Results 161 to 180 of 182
Thread: 1965 Fastback Mustang Project
-
03-11-2012 #161

 Registered User
- Join Date
- Nov 2007
- Location
- Lafayette, LA, USA
- Posts
- 485
 Yes but there are legal ways of dealing with that and they cost a lot less..
 Originally Posted by syborg tt

 Life's journey is not to arrive at the grave safely in a well preserved body, but rather to skid in sideways, totally worn out, shouting - Holy cow - what a ride!!!
See my build
Jason
-
03-11-2012 #162
Registered User
- Join Date
- Aug 2008
- Posts
- 41
Jay,
Fair question, there may have been a point where, melting the thing would have been the way to go, but at that point I was deployed overseas and was willing to gut it out. Also, would rather have an original VIN and can't get a 65 Dynacorn.
Rusty and Brian have very fair rates, especially considering their quality. I also trust the guys and given the number of paint jail stories on the site, that counts for a lot.
In terms of costs, i got most of the drivetrain and EFI cheaply, so in the drivetrain part of the build, it will be reasonable.
Lastly, some of the custom stuff is cheaper to do when The car is apart, thing like the cowl, drip rails, subframes, rear wheelhousings all would have to be done by pulling stuff apart. In this case, it was as far apart as possible.
Thanks for following along, there are a few more custom touches in the works.
Take Care,
Chris
03-11-2012 #163
Registered User
- Join Date
- Nov 2007
- Location
- Lafayette, LA, USA
- Posts
- 485
I guess having a Falcon I am used to not having replacement parts while the Mustang guys always seem to have everything (complete bodies included).
Life's journey is not to arrive at the grave safely in a well preserved body, but rather to skid in sideways, totally worn out, shouting - Holy cow - what a ride!!!
See my build
Jason
03-12-2012 #164 Registered User
- Join Date
- Oct 2004
- Location
- Orlando, Fl
- Posts
- 1,229

Seems like ages ago now that I think about... The drivetrain came out of the car in Vermont, right?
Nick DiPrenda
03-12-2012 #165
Registered User
- Join Date
- Aug 2008
- Posts
- 41
Yeah Nick. Got the engine and trans out of 450 89 5.0 rust bucket in Vermont, including wiring harness and all accessories. That was one hard car to pull apart (rusted together...what is it about Mustangs and Rust?). For those that have heard of the Grassroots Motorsports $200x Challenge. Nick and I built a 88 notchback for the race, did OK and then removed it for a future project.
04-10-2012 #166 Registered User
- Join Date
- Sep 2009
- Location
- Port Richey Fl
- Posts
- 775
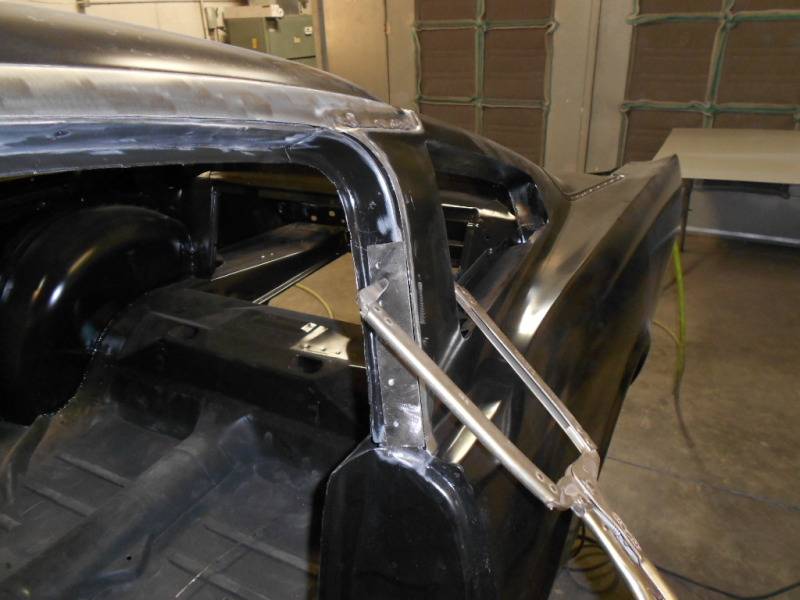
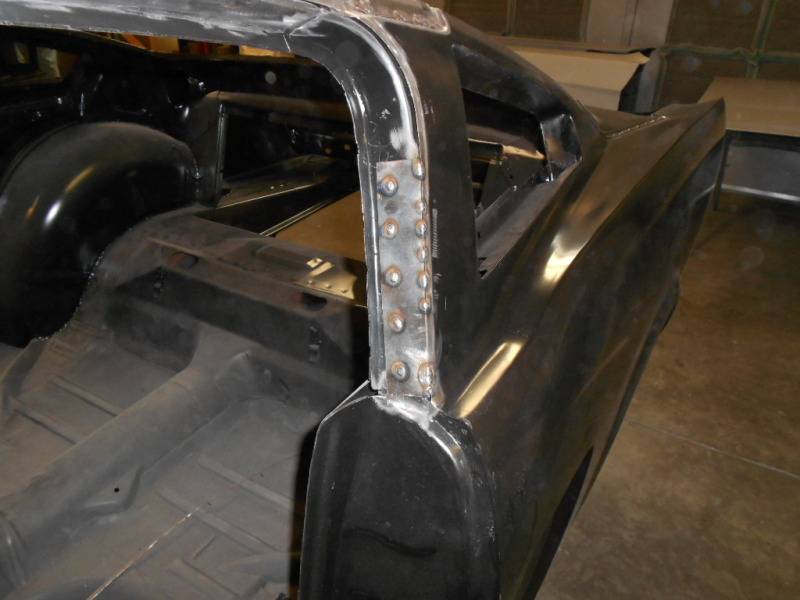
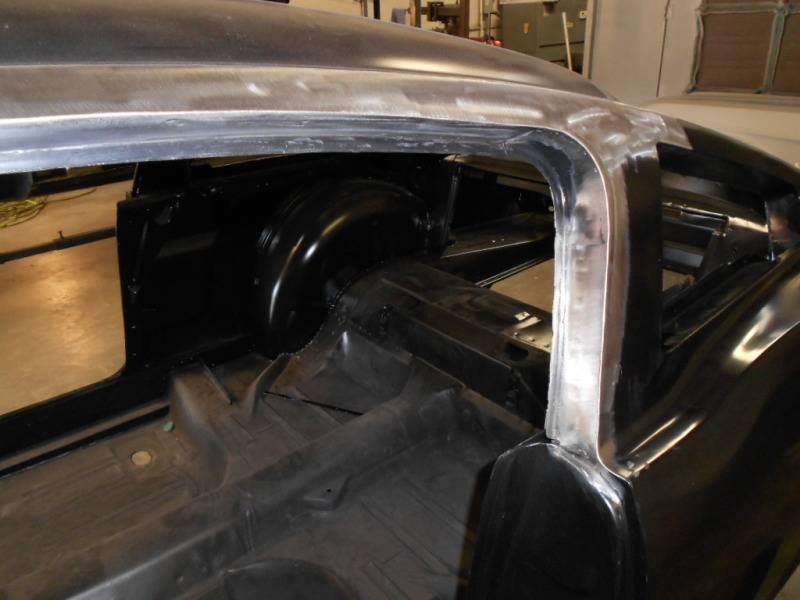
Today Brian worked on the left side
 Rusty Gillis
Former SS/FA & SS/GA NHRA National Record Holder
04-17-2012 #167
Registered User
- Join Date
- Sep 2009
- Location
- Port Richey Fl
- Posts
- 775
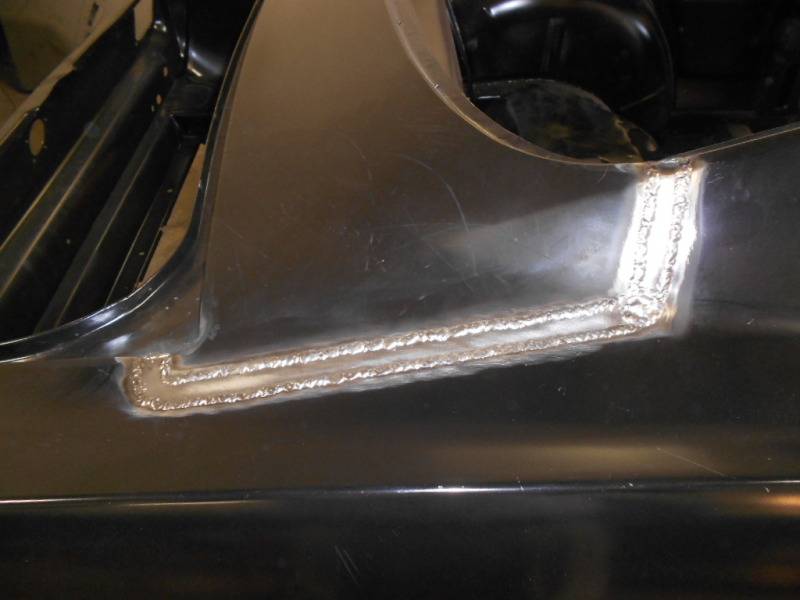
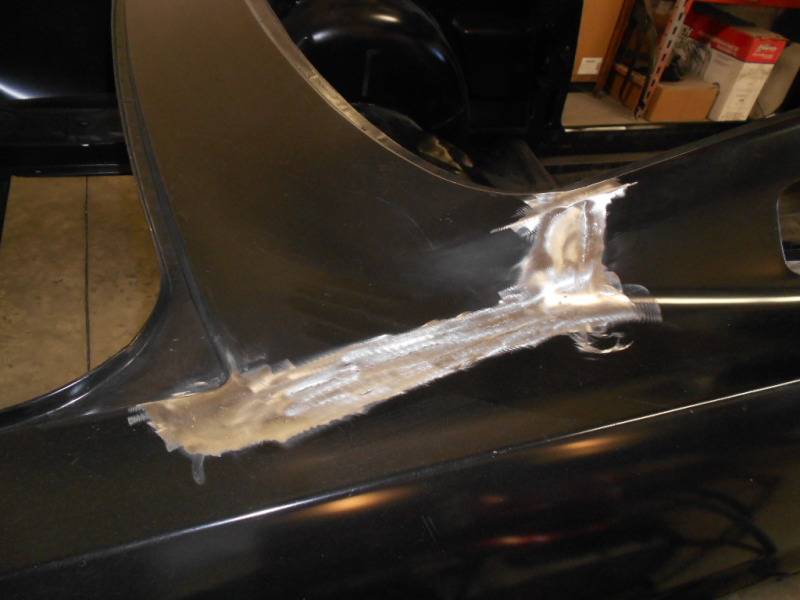
More rust repair
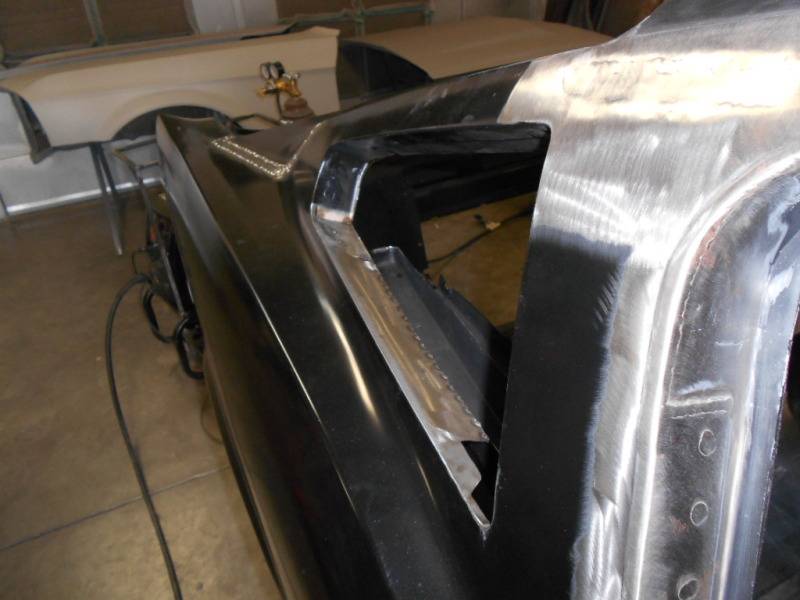
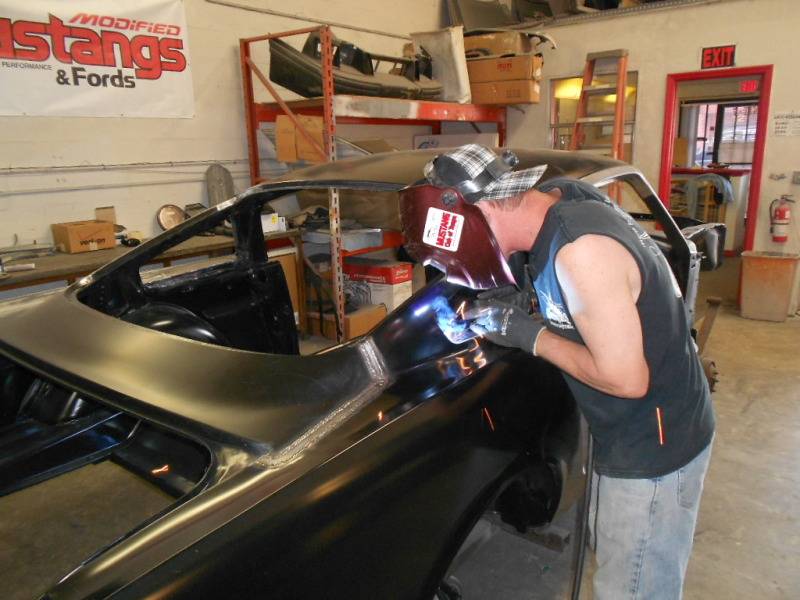
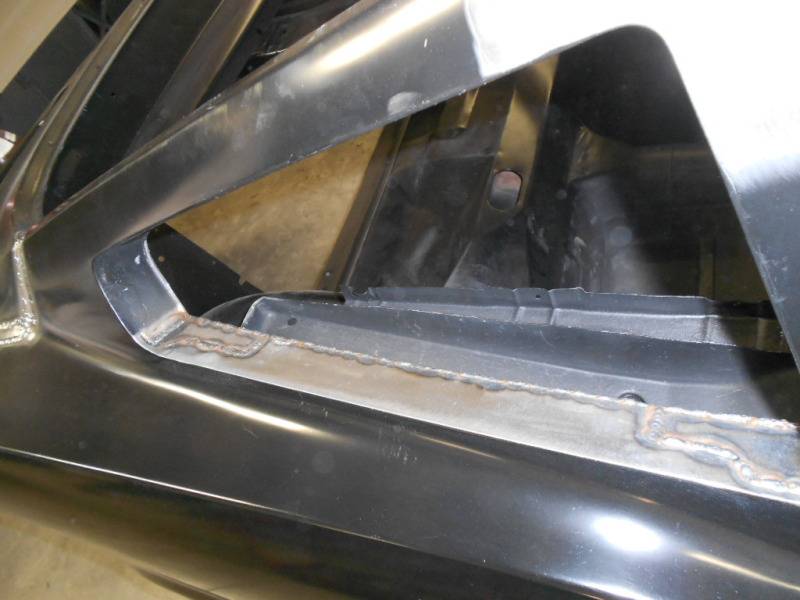
Filling the factory lead joint
 Rusty Gillis
Former SS/FA & SS/GA NHRA National Record Holder
04-20-2012 #168
Registered User
- Join Date
- Sep 2009
- Location
- Port Richey Fl
- Posts
- 775
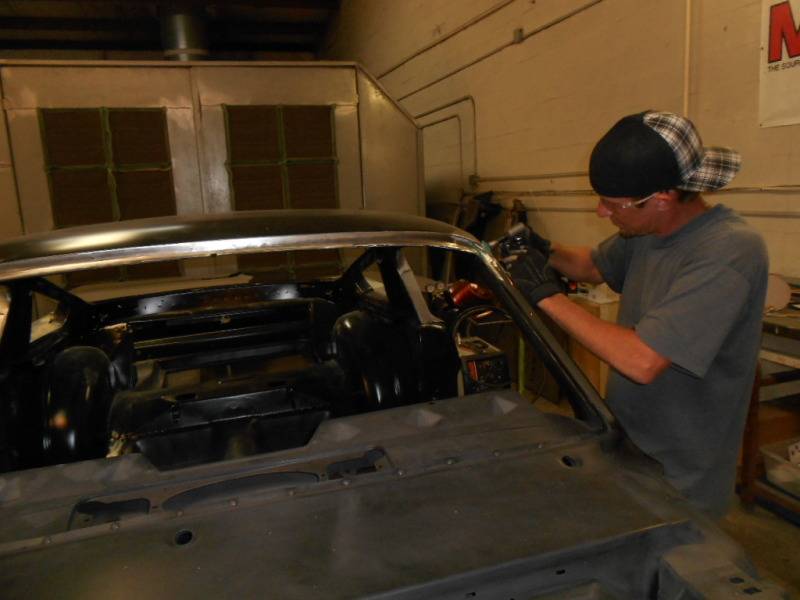
The last patch needed on the roof
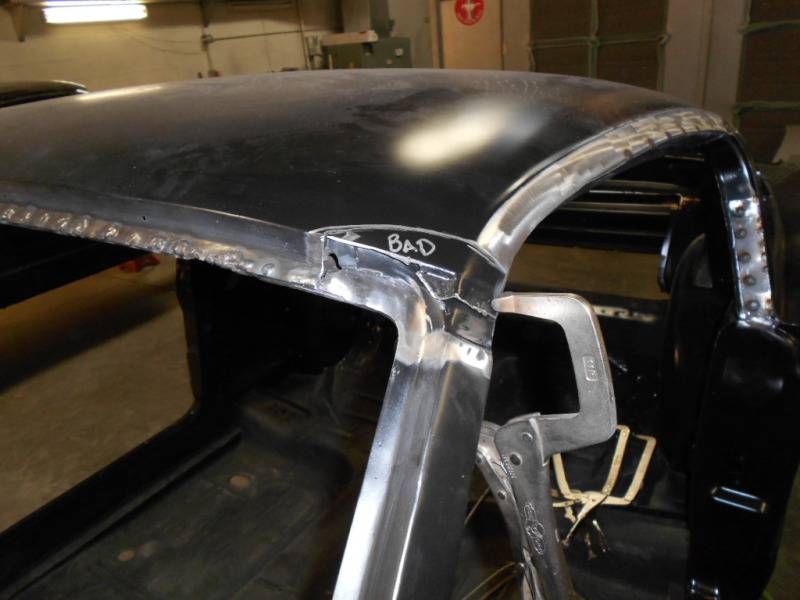
Brian cut out the rust than epoxy primed
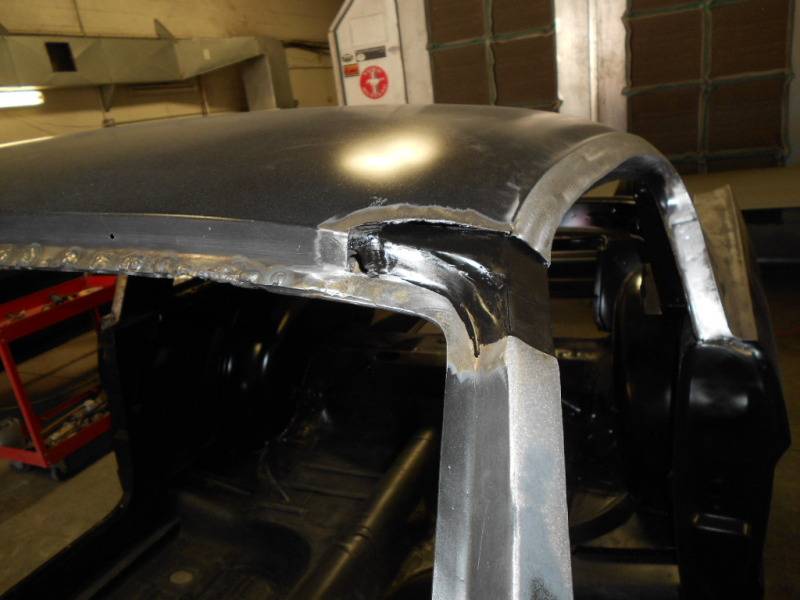
Next he made a few patches
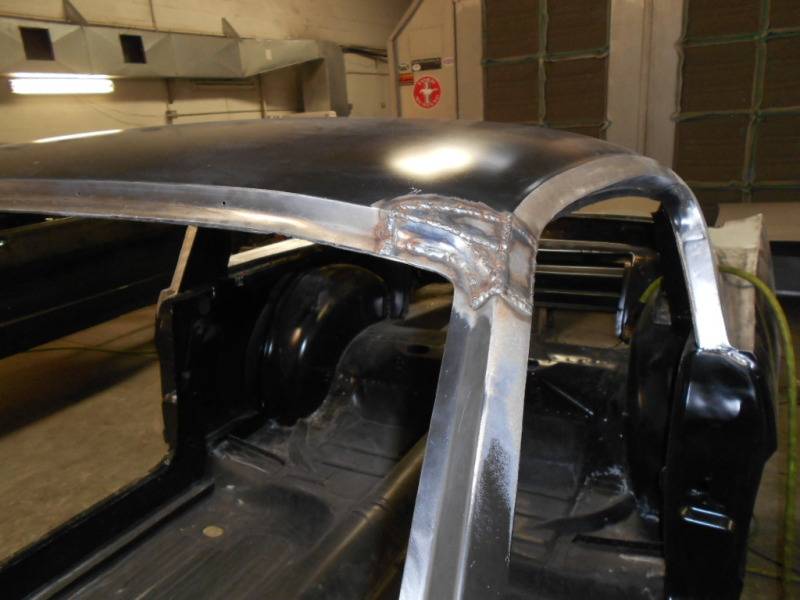
Brian at work grinding the welds
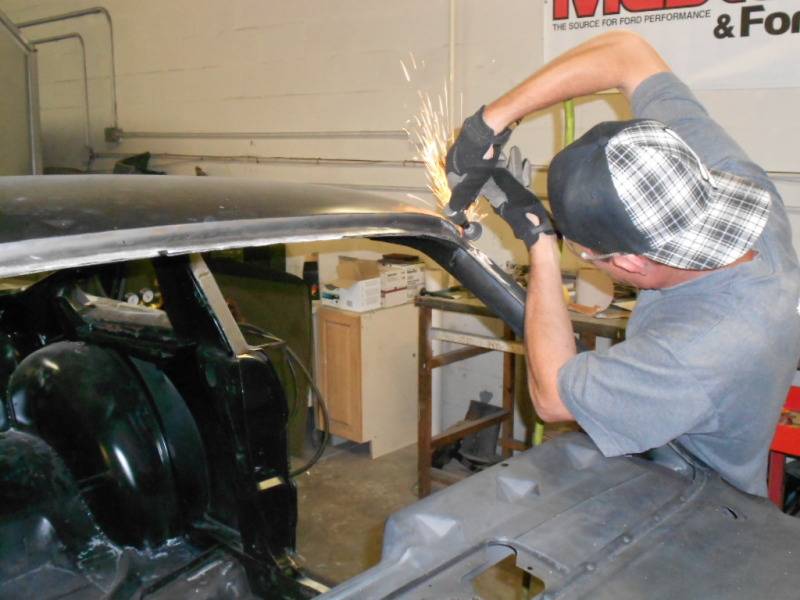
Finished grinding
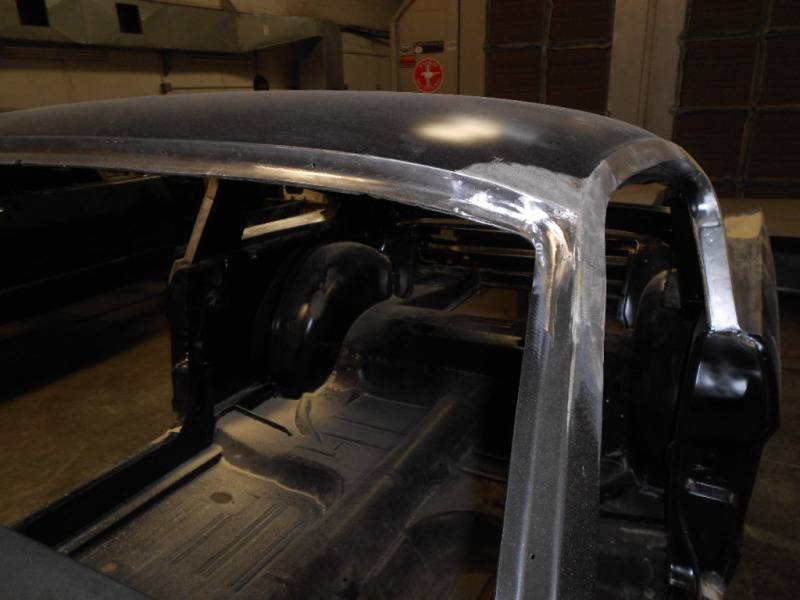 Rusty Gillis
Former SS/FA & SS/GA NHRA National Record Holder
04-24-2012 #169
Registered User
- Join Date
- Sep 2009
- Location
- Port Richey Fl
- Posts
- 775
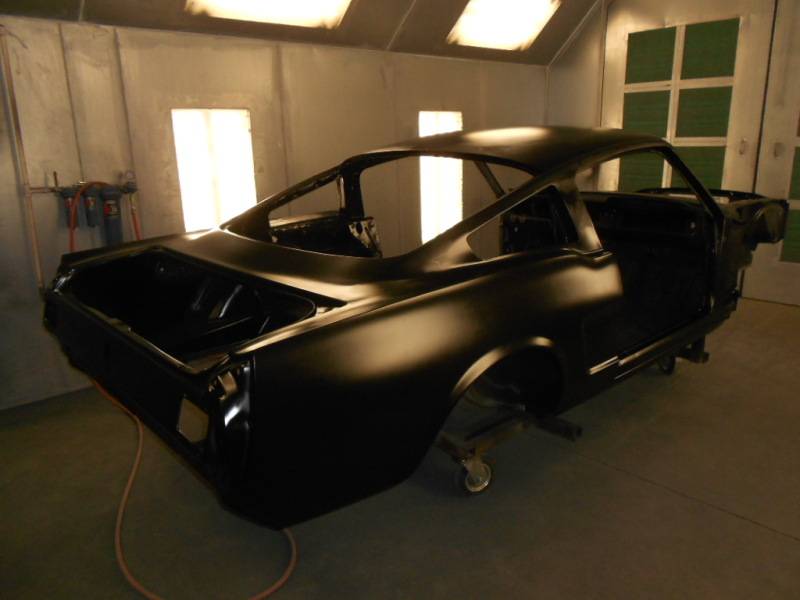
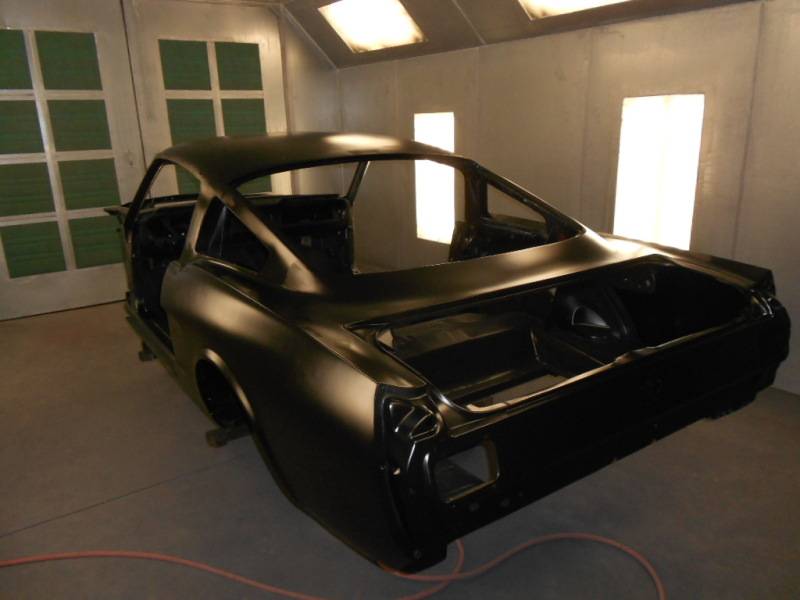
I finished most of the body work and now ready for epoxy primer
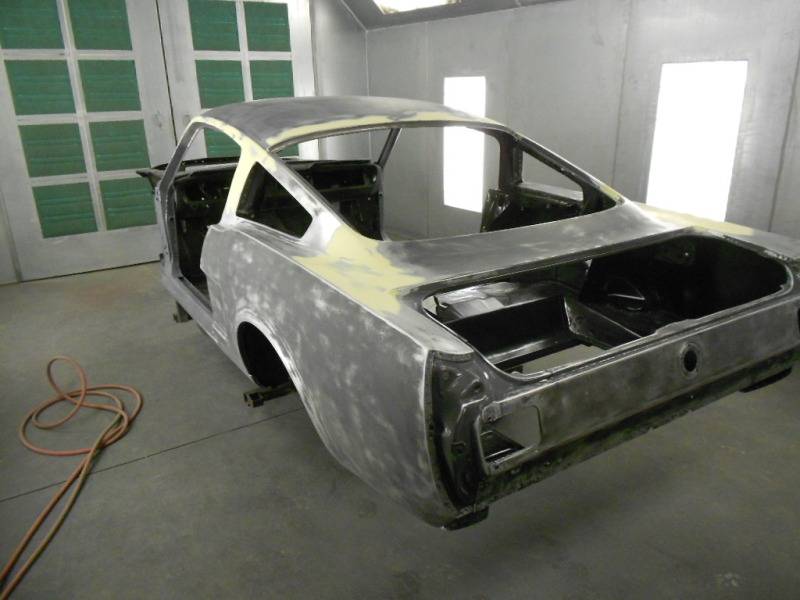
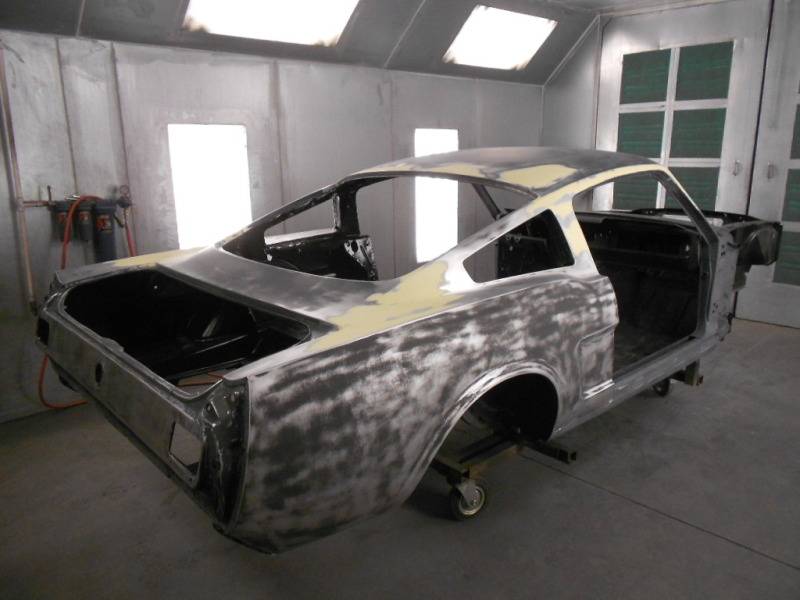
I sprayed 2 coats of SPI black epoxy
 Rusty Gillis
Former SS/FA & SS/GA NHRA National Record Holder
04-24-2012 #170 Registered User
- Join Date
- Feb 2005
- Location
- Sydney, Australia
- Posts
- 1,797

Nice!!!! Very clean!
Regards,
Leigh
Sydney, Australia
1971 Firebird 455
https://www.pro-touring.com/showthre...Project/page27
06-27-2013 #171
Registered User
- Join Date
- Jun 2013
- Posts
- 1
What do these two things have in common? Jesus walked on water and you fixed that mustang. =)
Pretty amazing!
How are things with it now?
07-01-2013 #172 Registered User
- Join Date
- Sep 2010
- Posts
- 29
drip rails
Hey Rusty,
wanted to see if you could give me some guidance on the drip rail shaving or repairing.
I am in the middle of restoring my 67 fastback and have it on the rotissiere.
I had some rust in the door opening where the drip rail piece wraps underneath and plug welds to door opening. The rust wasn't terrible but had a few holes thru the drip rail piece underneath as well as the base metal for the opening.
I had planned to cut out both layers and weld in a couple patches but after removing some of the drip rail piece underneath it has more corrision than I expected. I am trying to figure out should I try and patch them, replace them completely or shave them.
To patch them will be tough since I would need to trim out the entire a pillar piece from underneath and would likely have to butt weld them back together in the actual drip rail seam and that would probably be a nightmare to grind smooth and make look right.
To replace the entire drip rail(they do have replacements) I can see how the rails attach underneath at both pillars but in the middle of the door it looks like the lip is vertical and slides between the roof structure and roof. Not sure how I can remove that and would removing the roof be required to do that?
The last option is to shave them and I kind iof have mixed feelings on this. The cars you have done look pretty slick but I was hoping to not make drastic mods to the care although I probably will never sell it.
If I shave them I should drill out the spot welds and remove the part of the rail that plug welds in the dopr opening. then trim close to car with body saw or die grinder/cut off wheel then gring the area down flush and but weld the panels together. Working a small section at a time. That sound about right.
Any advice or info is appreciated, Mike
07-01-2013 #173
Registered User
- Join Date
- Nov 2010
- Location
- Wharton, Tx
- Posts
- 113
Over a year since last post from builder or owner. Is the project still going?
07-01-2013 #174
Registered User
- Join Date
- Sep 2009
- Location
- Port Richey Fl
- Posts
- 775
It was on hold for a little while but we now have it on a rotisserie to clean up the bottom and epoxy prime. Originally Posted by kmdracer
Rusty Gillis
Former SS/FA & SS/GA NHRA National Record Holder
07-01-2013 #175
Registered User
- Join Date
- Sep 2009
- Location
- Port Richey Fl
- Posts
- 775
I like the look without the drip rails so I would cut them off and patch whatever is needed under them. You could get new drip rails (have never put them on so not sure if they will fit) but you have to make sure and put them in the right place or your trim under the roof rail weatherstrip won't fit. Also replacement drip rail trim that I have seen is thinner and does not want to fit. Originally Posted by 1fststang
Rusty Gillis
Former SS/FA & SS/GA NHRA National Record Holder
07-01-2013 #176
Registered User
- Join Date
- Nov 2010
- Location
- Wharton, Tx
- Posts
- 113
Thanks for the answer Rusty! Good to hear the project is still moving forward.
07-01-2013 #177
Registered User
- Join Date
- Aug 2008
- Posts
- 41
KMD,
I just sent Rusty a rear valence, decklid and doors from NPD. Yesterday, I picked up an 8.8 I had narrowed. It is from an Explorer with 3.73s and discs.
Some incremental progress!
Thanks for following.
Chris
07-05-2013 #178
Registered User
- Join Date
- Nov 2010
- Location
- Wharton, Tx
- Posts
- 113
Awesome! I have a fondness for first gen Stang fastbacks. Judging from the market, so do many others lol
12-17-2013 #179 Registered User
- Join Date
- Dec 2008
- Location
- Blanchard, Ok
- Posts
- 112
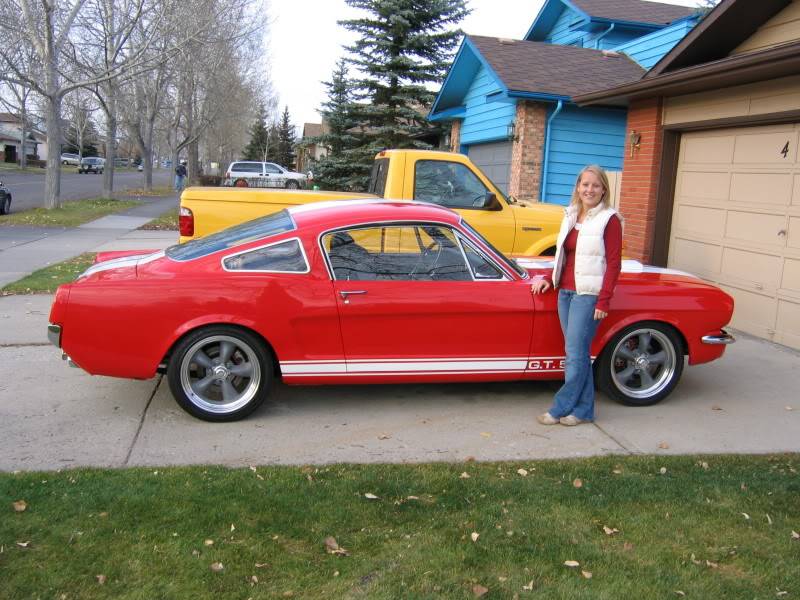
Not to hijack a thread, but do you have any more info on this car? That thing is beautiful. Originally Posted by fordsbyjay
Brad Bickers
'67 Camaro, Blueprint 383/ 700r4
12-18-2013 #180
Registered User
- Join Date
- Nov 2007
- Location
- Lafayette, LA, USA
- Posts
- 485
It has a 347/AOD in it. It is a stock style suspension with standard upgrades from years ago. For the amount he has in it today you could build a much nicer car underneath. The inside/outside is gorgeous. I just need to introduce him to DSE now. ;) Originally Posted by skooli
Life's journey is not to arrive at the grave safely in a well preserved body, but rather to skid in sideways, totally worn out, shouting - Holy cow - what a ride!!!
See my build
Jason

 Reply With Quote