


Results 1 to 17 of 17
Thread: 67 Bird From rust to.....
-
12-30-2009 #1
 Registered User
- Join Date
- Aug 2009
- Posts
- 10
67 Bird From rust to.....
The beginning stages....
Day1
What have I gotten my self into?
https://www.pro-touring.com/forum/at...4&d=1262220141
-
12-30-2009 #2
Registered User
- Join Date
- Jun 2009
- Posts
- 47
I'd say you have gotten yourself smack dab in the bottom of a project pit! Have fun! Will be fun to watch you progress.
12-30-2009 #3
Banned
- Join Date
- Aug 2003
- Location
- Orlando, FL
- Posts
- 8,745
That thing looks like a honey! Keep us updated with pics, and if you have any questions let us know.
12-30-2009 #4
Registered User
- Join Date
- Feb 2005
- Location
- Indianapolis, Indiana
- Posts
- 337

Glad to see another 67' Firebird. I never posted any pics of mine before I started and totally regret it. Good Luck. The fact that it was solid enough to get up on the trailer is a good sign.
Ben Mowery
67 Firebird -Powered by Pontiac w/ RAM AIR V.
12-30-2009 #5
Registered User
- Join Date
- Aug 2009
- Posts
- 10
Well Guys I have ton of pictures
IMG]http://i797.photobucket.com/albums/yy260/makaveligh/fb2.jpg[/IMG]
12-30-2009 #6
Registered User
- Join Date
- Aug 2009
- Posts
- 10
I've been at it for about 2 months.....
Here are some shots of the tear down. I have replaced all parts on the bird with new ones from Classic Industries and Year One. I never imagined it would be so expensive.
For the body work the car was sanded down to the metal by me and then it was treated with acid and the body work started to take shape.
The undercarriage was blasted and I had to have frame pieces cut out and replaced. I spent over 80 hrs repairing the frame then I used por-15 to seal the frame.
In additon to the frame modifications, I converted the front drum breaks to discs, added a subframe connectors, added covertible floor crossbar, added traction bars,
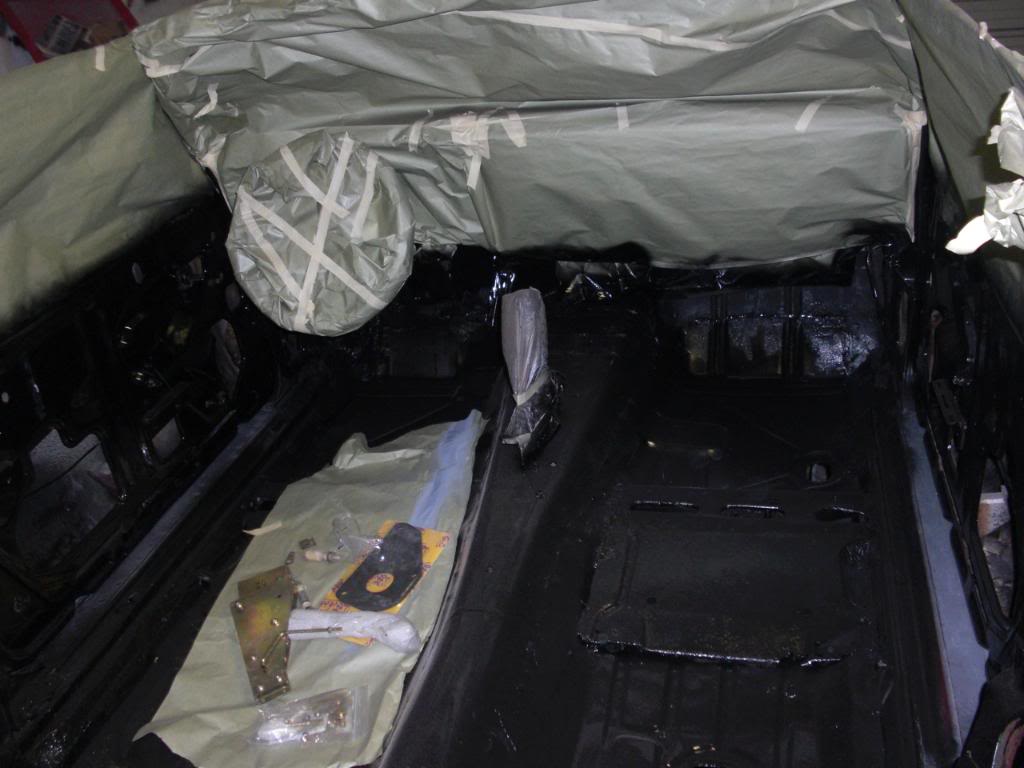
After the interior was gutted, I used por-15 to seal it the top side as well.
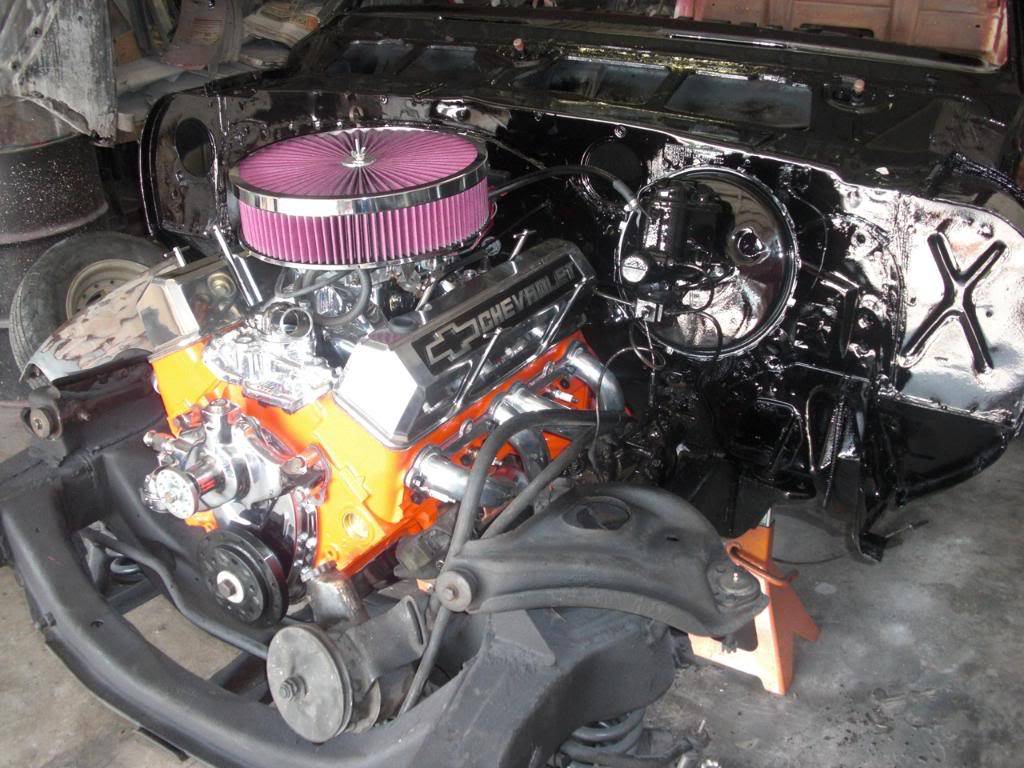
The engine is a Chevy 327, which I had rebuit, 270 Cam, bored .40, heads 283 had them modified for larger valves, rolling rockers, everything chromed and using March sepertine pully system
old engine
 [/IMG]
new installed engine
12-30-2009 #7
Registered User
- Join Date
- Aug 2009
- Posts
- 10
When will it end!!!!
Starting to take better shape...
[/IMG]
POR-15 Interior Floors and preping for car re-wiring
12-30-2009 #8 Registered User
- Join Date
- Nov 2006
- Location
- Ma.
- Posts
- 5,560
Nice work . Keep us posted .
Wayne
Car FINALLY home !!!!!! lol
Project FNQUIK https://www.pro-touring.com/showthre...ghlight=FNQUIK
12-30-2009 #9 Registered User
- Join Date
- Sep 2006
- Location
- Southern Indiana
- Posts
- 4,709
Man I was gonna say it would buff right out,,,,,I was right! nice project.
12-31-2009 #10 Registered User
- Join Date
- Mar 2009
- Location
- overseas
- Posts
- 3,434
woohoo sweet
 Kevin S. (overseas in Germany)
1963 Chevrolet Impala 2d ht Coupe
www.CruznArt.com
CRUZN - Automotive Artworks
10-12-2010 #11
Registered User
- Join Date
- Aug 2009
- Posts
- 10
Updates Coming Soon
The car is still a work in progress. I attended the Good-Guys Hot Rod and Custom show at the Texas Motor Speedway a few weekends ago and decided to add air ride Technologies Street Challenger Kit to my bird. The car is away getting custom interior work done.And now I've modified it again by adding air ride to it.
I have decided to forgo this year and get this last major modification done before I will enjoy the pleasure of driving her. I've got it bad and now I"m so far gone in this project that I wish I would have simply purchased a bird complete and saved a couple of pennies.
The best phrase I've seen and have learned to appreciate is "cool ain't cheap" and I love cool cars!!! I hope at the end of the day she will make me proud!!!
10-15-2010 #12
Registered User
- Join Date
- Aug 2009
- Posts
- 10
Here are some updated Pics
01-23-2011 #13
Registered User
- Join Date
- Aug 2009
- Posts
- 10
More Pics
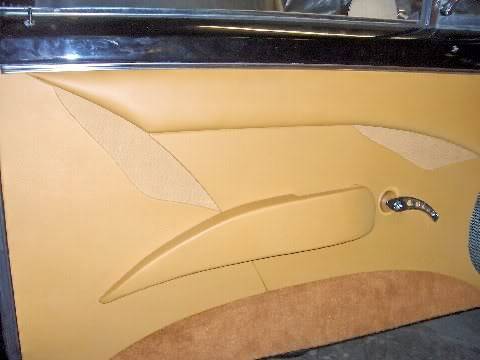
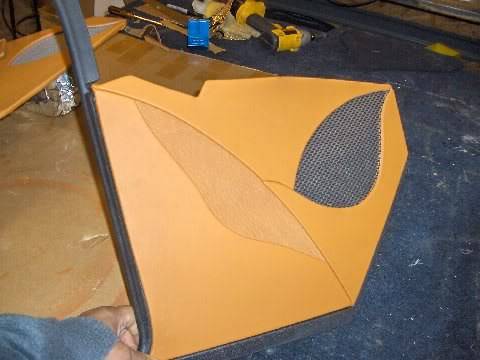
Custom Door Panels
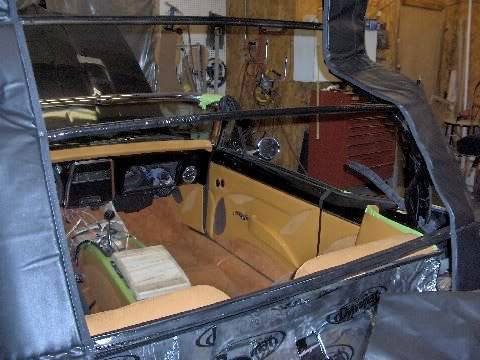
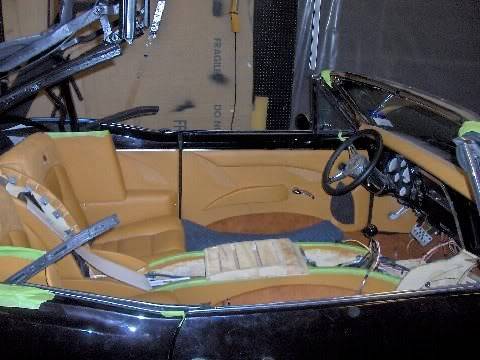
Rag Top Under Construction
Custom Kick Panels
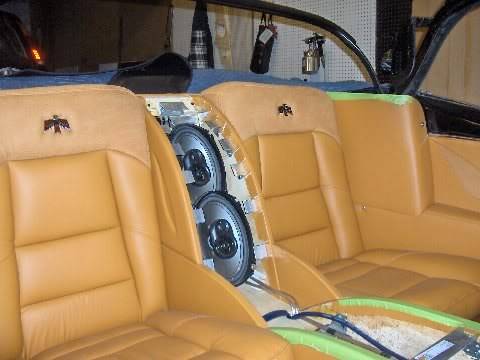
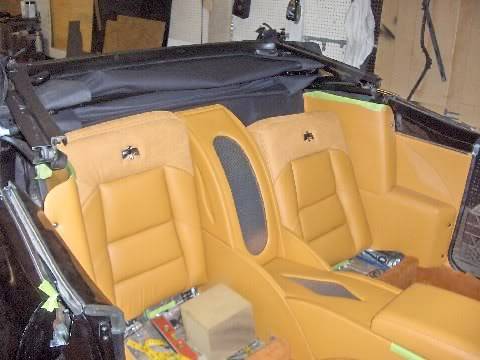
Rear Bucket Seats and Custom Center Console
Work in Progress
01-24-2011 #14
Registered User
- Join Date
- Mar 2009
- Location
- Houston, TX
- Posts
- 1,197
NIce.
Tu Ho
Firebird V2-LS swap
01-24-2011 #15 Registered User
- Join Date
- Apr 2004
- Location
- Cedar Rapids, IA
- Posts
- 999
Wow that interior jumps out.
How the heck did you build the door panels and the rear seats? How do the door grabs fasten to the door? and How did you make the kick panels?
looks like your ready for a convertible top.
BTW you have the wrong color motor in the engine bay;)Some times I'm fast sometimes I'm half-fast
01-26-2011 #16
Registered User
- Join Date
- Aug 2009
- Posts
- 10
A buddy of mine is doing the interior and he is located in Jackson MS. He re-wrap the kick panels and built the air rest from scratch. He is doing a complete custom interior for the bird. He does outstanding work but is a little slow. The top has been installed and soon I will pick up the car and place it into another shop to have an air ride challenger III system installed. The car should be ready by Mar 1, 2011.
02-04-2011 #17
Registered User
- Join Date
- Aug 2009
- Posts
- 10
Here are some random pictures
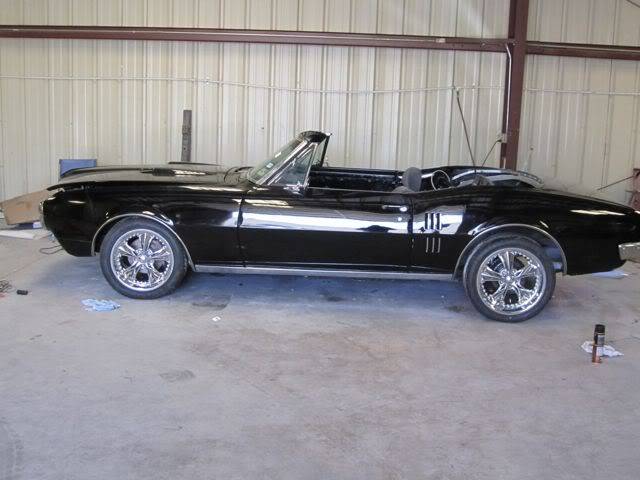
Body work and paint nearly finished
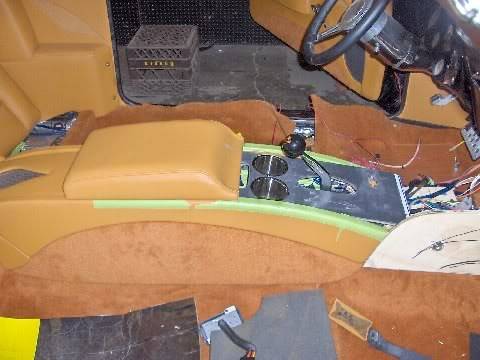
Center Console Overlay Complete
Front Console Work in progress

 Reply With Quote