

Results 1 to 20 of 31
Thread: 77 corvette pro touring
-
07-07-2008 #1
 Registered User
- Join Date
- Nov 2004
- Posts
- 444

77 corvette pro touring
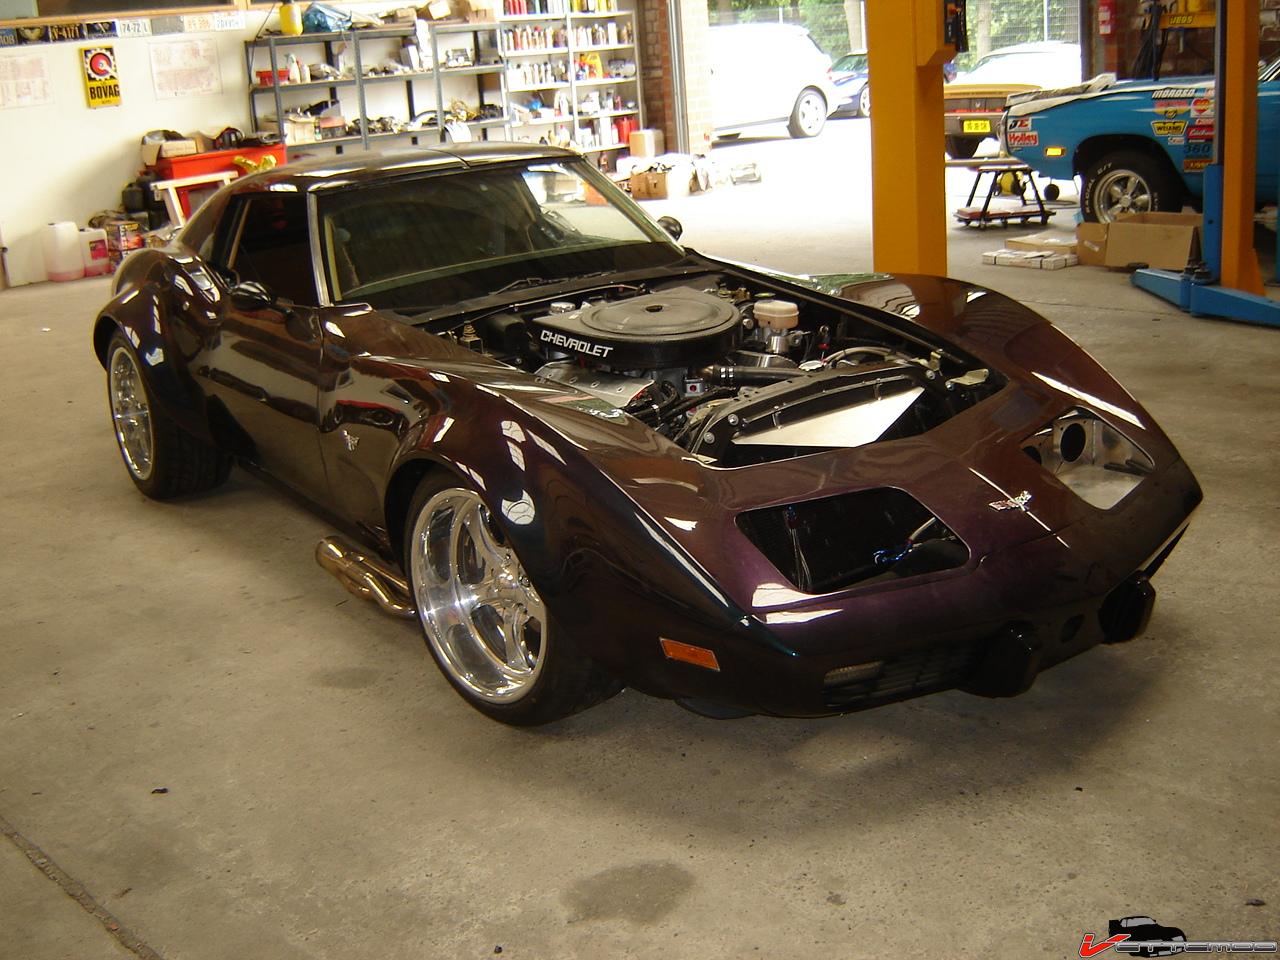
Figured I'd post a little update. Been working on this one for the last year (and have not been working on my 82 :( ) but it's almost done now.
It's completely new/redone from the ground up with some nice tids and bits here and there. I posted some pics of it in my 82 thread and in the slammed ried but here's how it stands now.
All that needs to be done is finish the headlamps (I have xenon hella projectors for hi and lo beam) and install a new oil cooler (mocal junk, leaked like a sieve out of the box and warrently? they never heard about that, company I bought it from said I must have messed it up with a crappy install...suuure, the install was crappy)
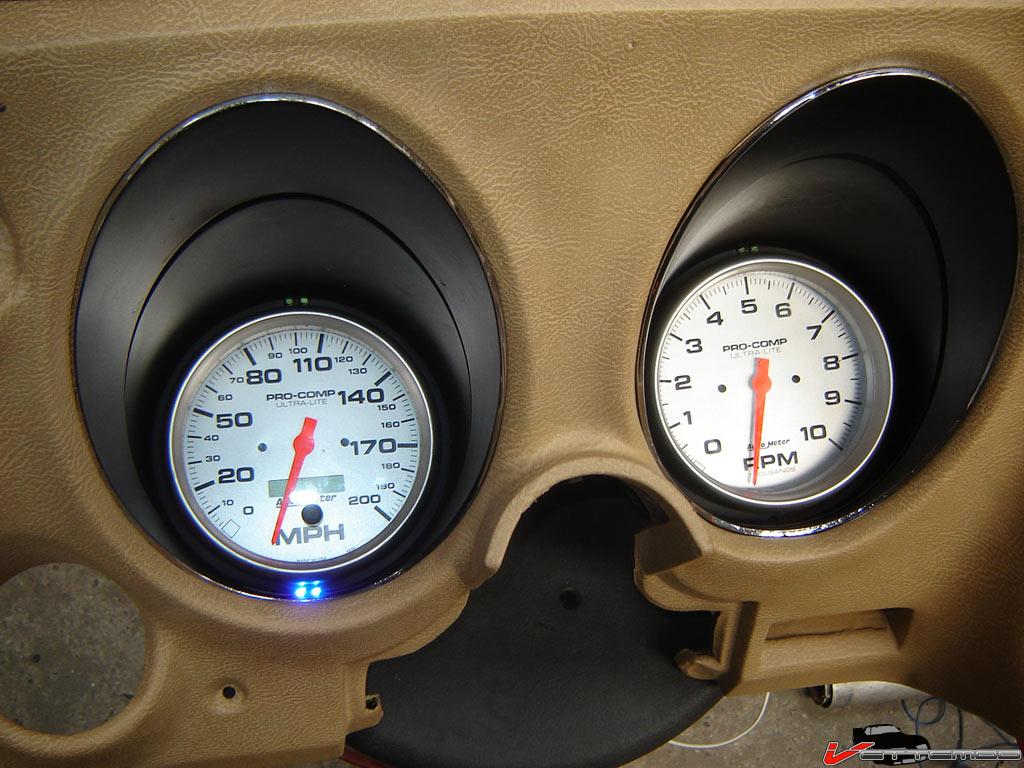
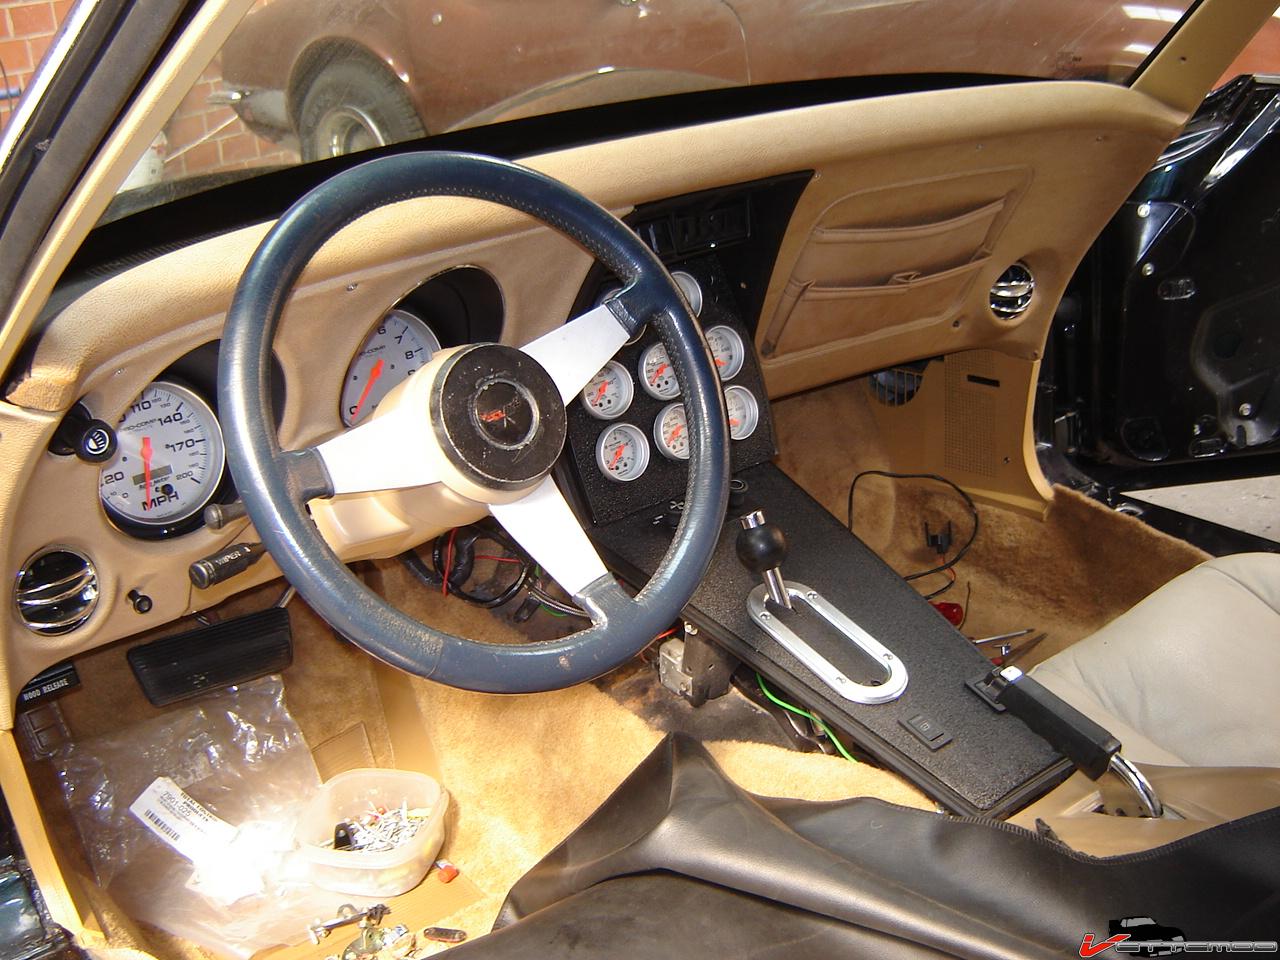
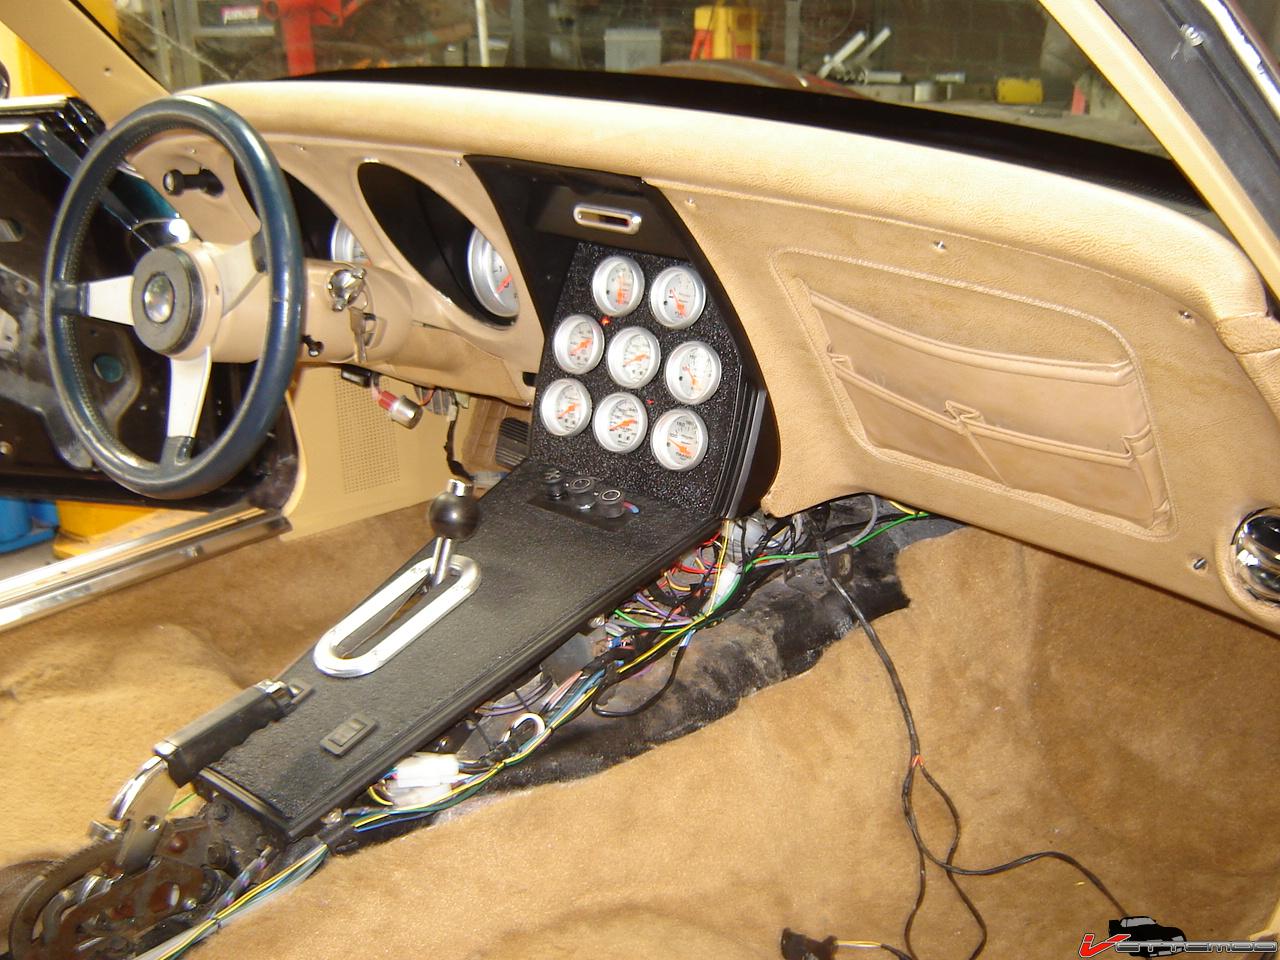
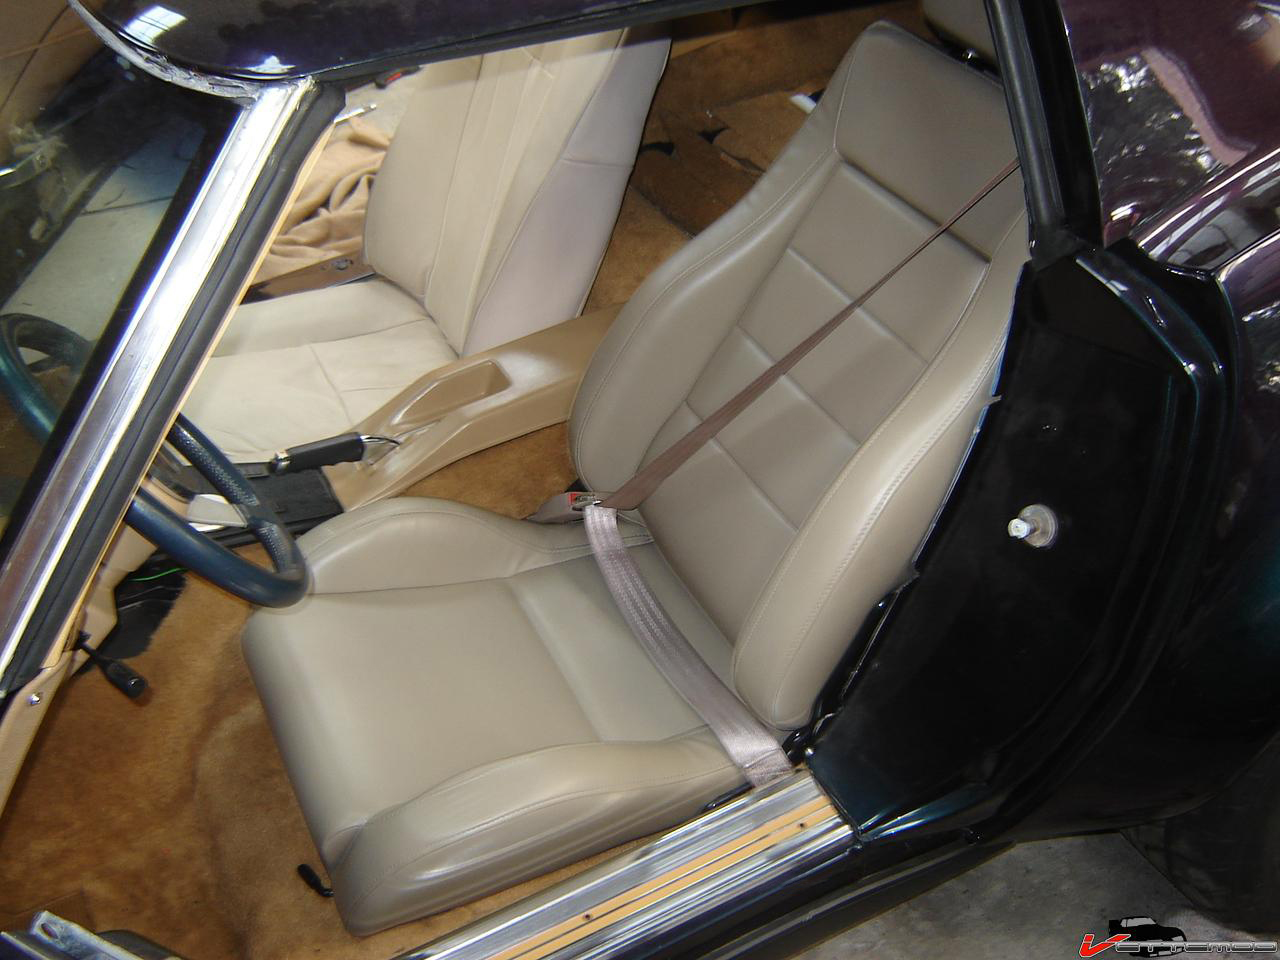
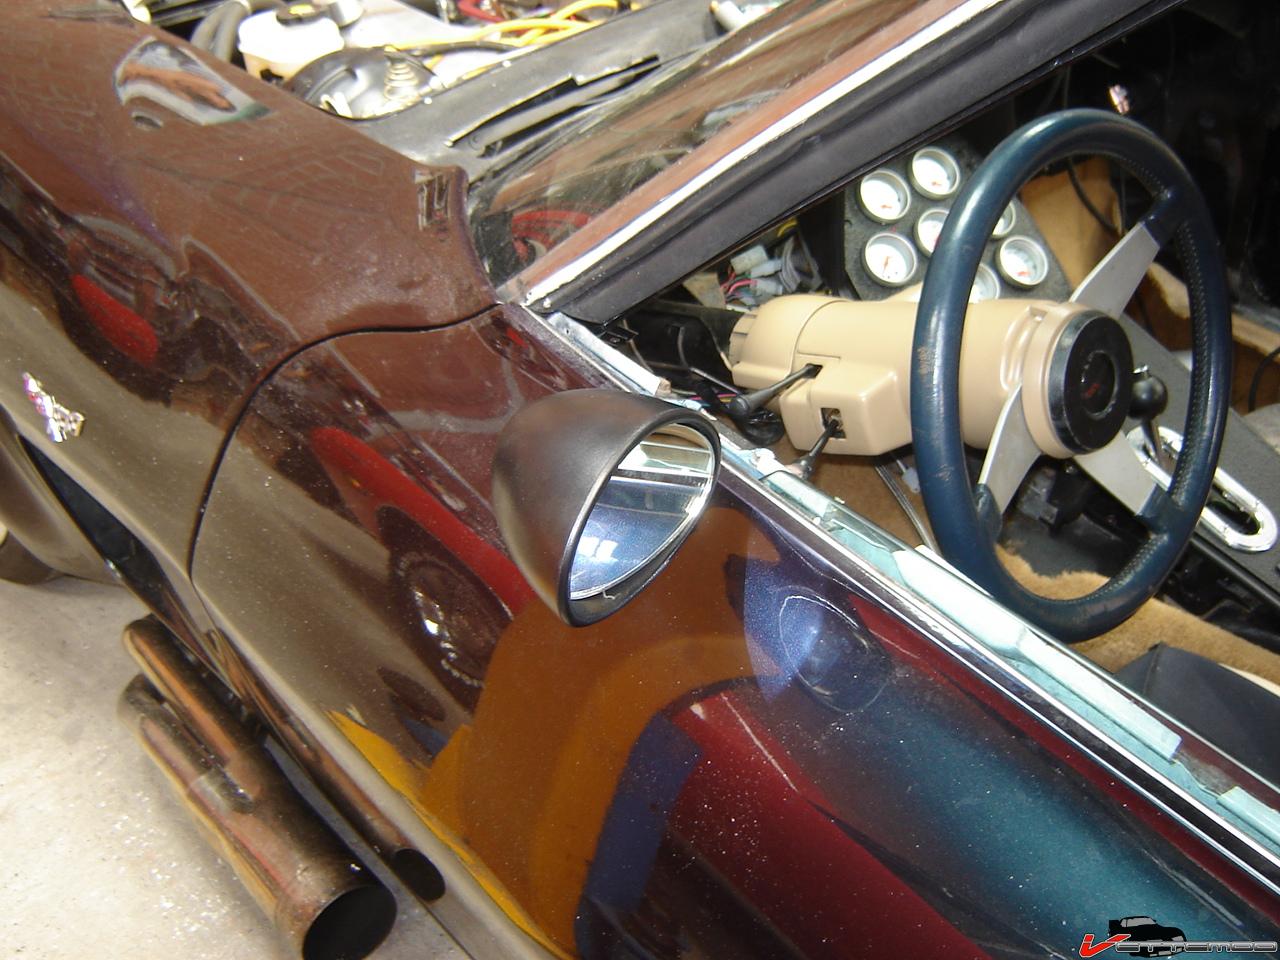
Here's the almost finished custom interior with all autometer gauges, custom made warning lights (end lenses), hi intensity leds for low oil and hi water pressure warning (next to gauges). In the later pics the center air vents are gone, I mounted a lokar shift indicator there.
The bezel around the shifter is also from lokar but it's their parking brake bezel. Their indicator shift boot is too large for the narrow console. The console faces are aluminium that I cut to size and then sprayed with wrinkle/texture paint for a neat look. Turned out pretty well IMO. The window switches are modern backlit ones. All wiring is new and custom made for the car.
The speedo and tach have double green leds above them for indicators, the speedo has blue ones for hi beam below and the tach has orange ones below for lo beam indicators.

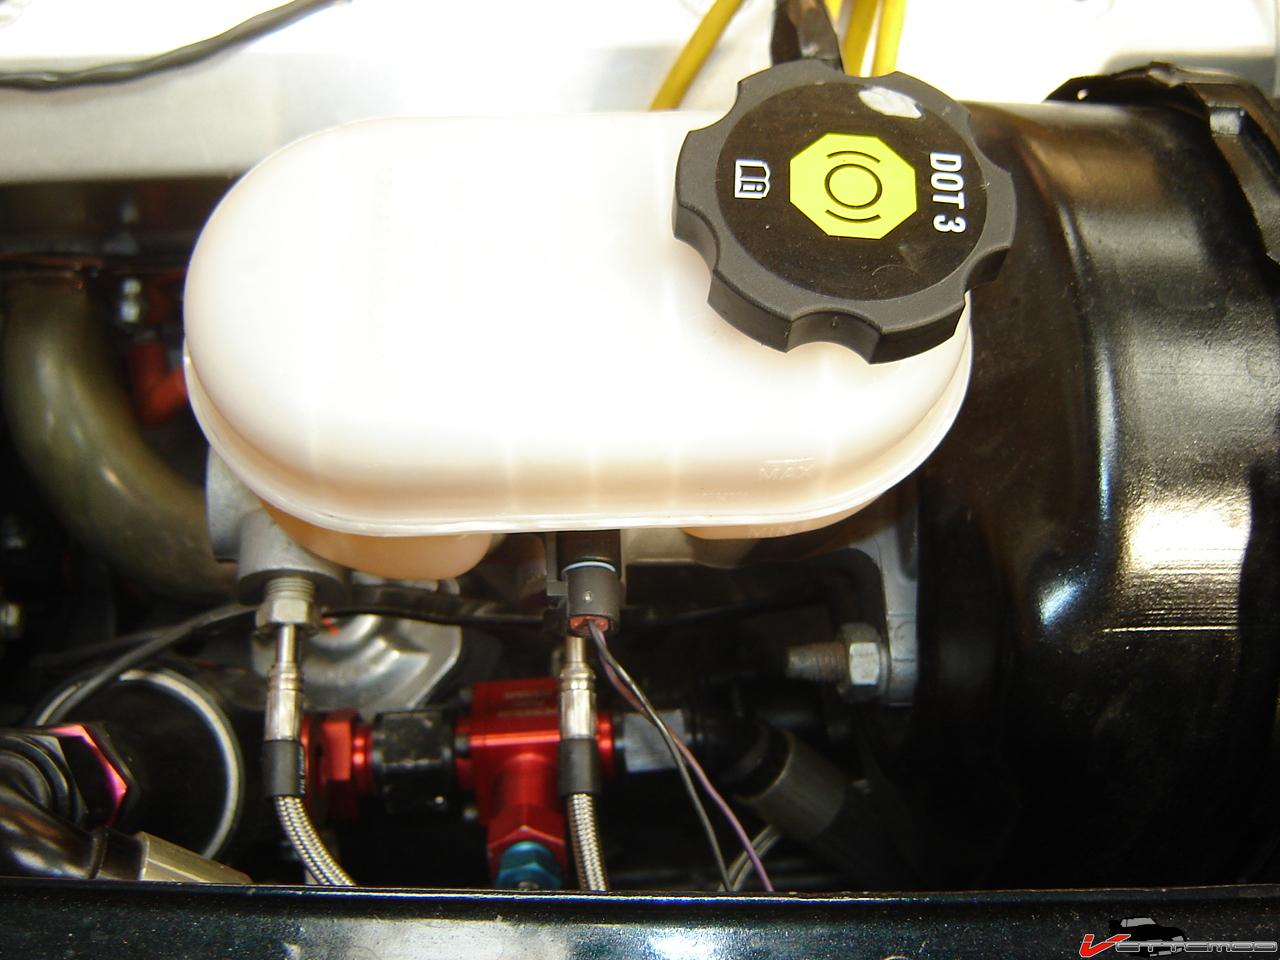
There are 3 brake warning switches, one for parking brake, one for low fluid level (C5 MC has optional low level switch) and one for brake bias/pressure problems.
The C5 master is bolt in, just needed some custom lines (M12x1,5 & M12x1 hookups)
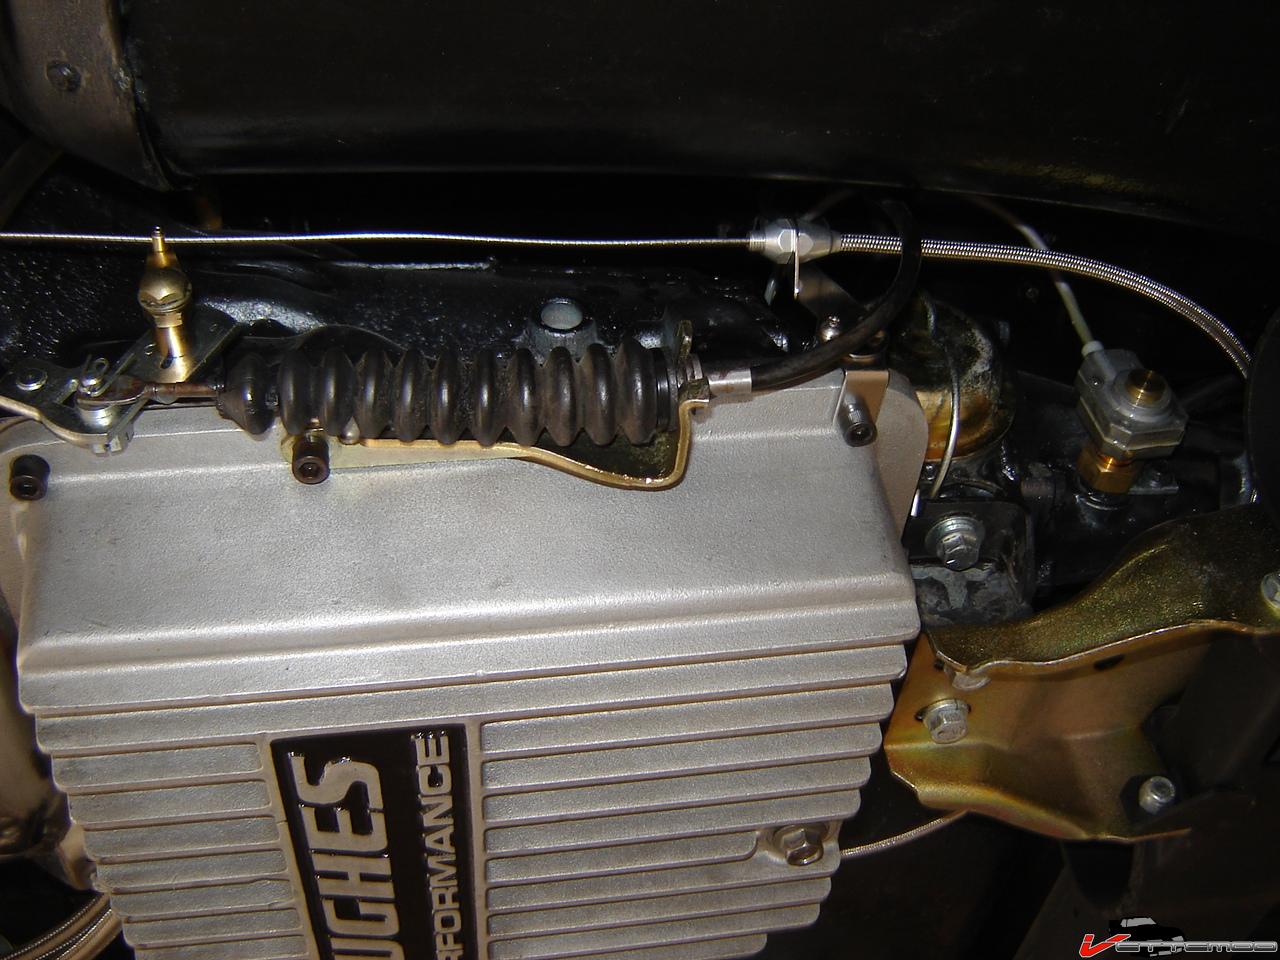
Here's how the lokar stuff mounts to the tranny:
Some new seats for good measure, need to dye them. Right now they match the color of the f body rear seat belts that I used to replace the rusted stockers.

-
07-07-2008 #2
Registered User
- Join Date
- Nov 2004
- Posts
- 444
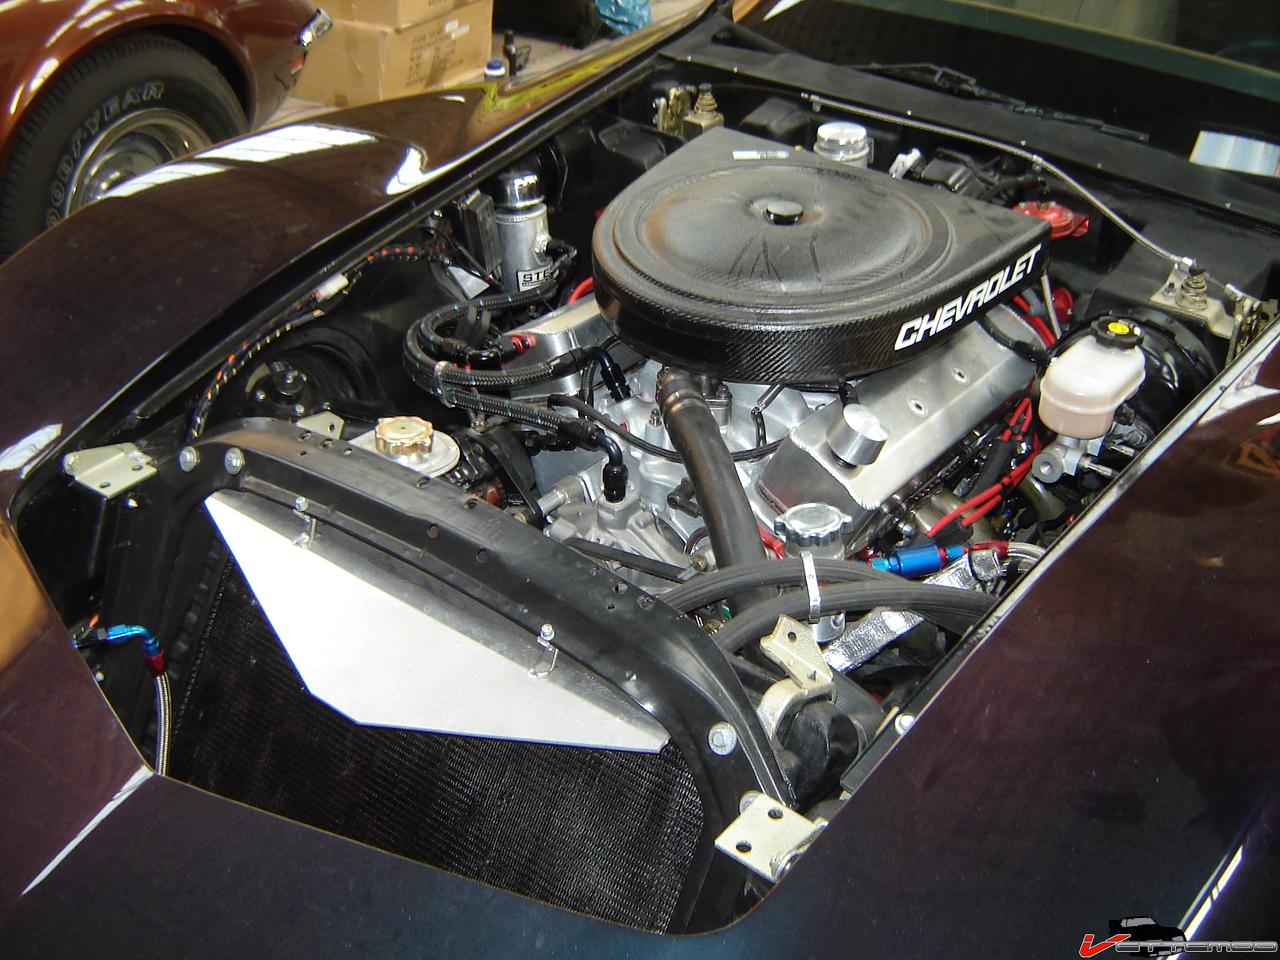
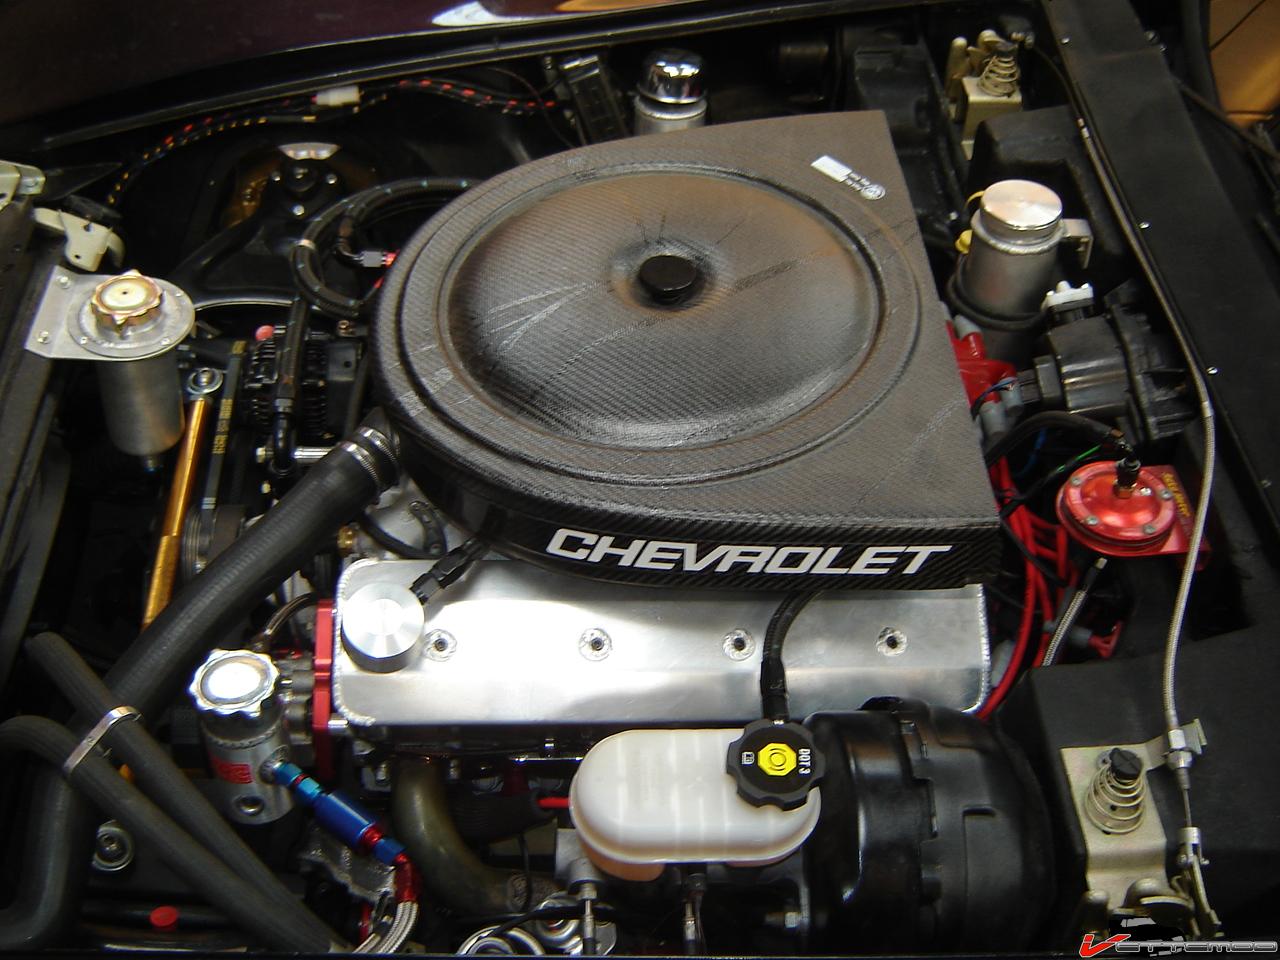
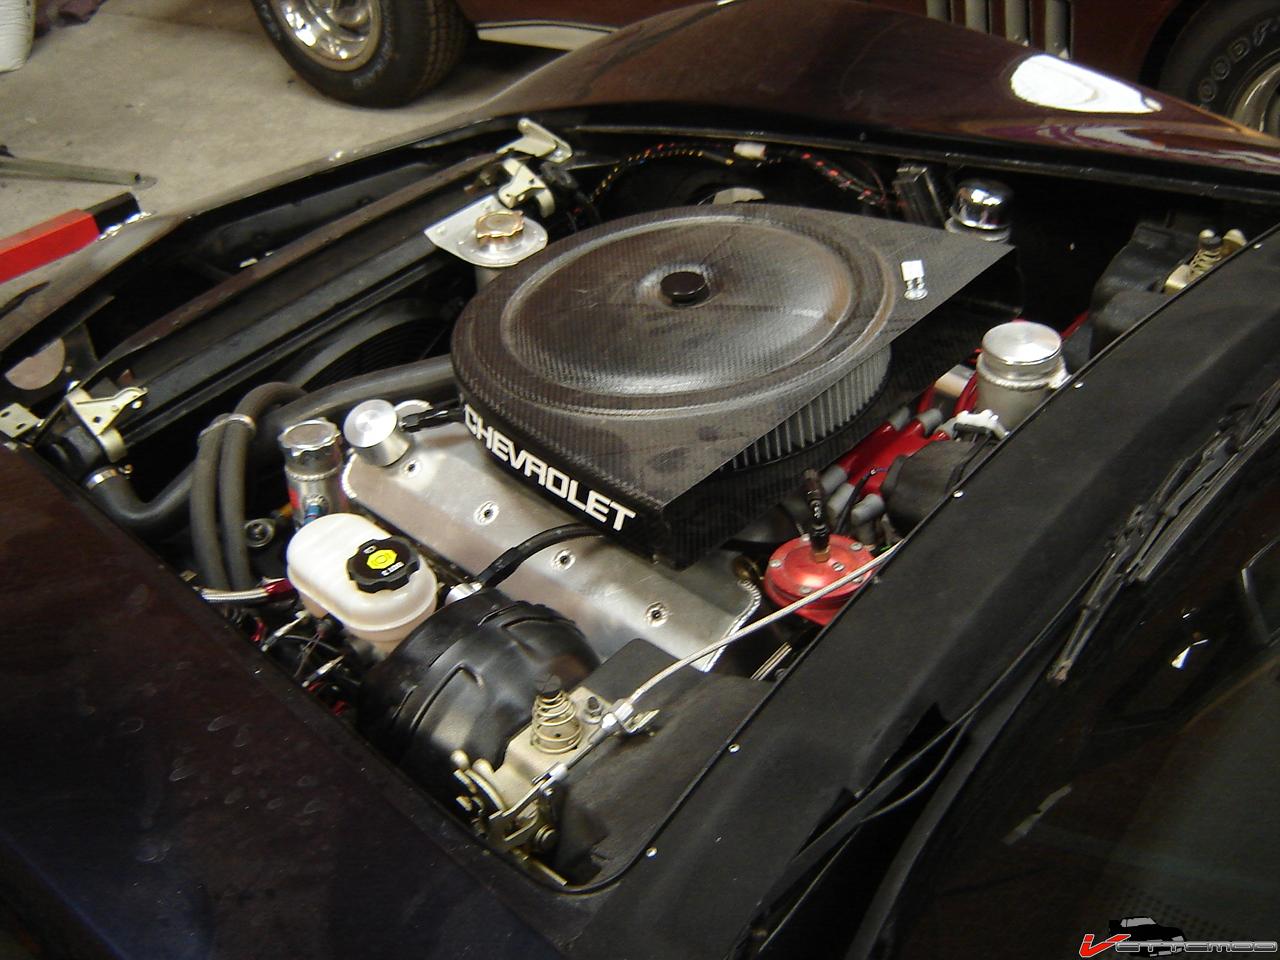
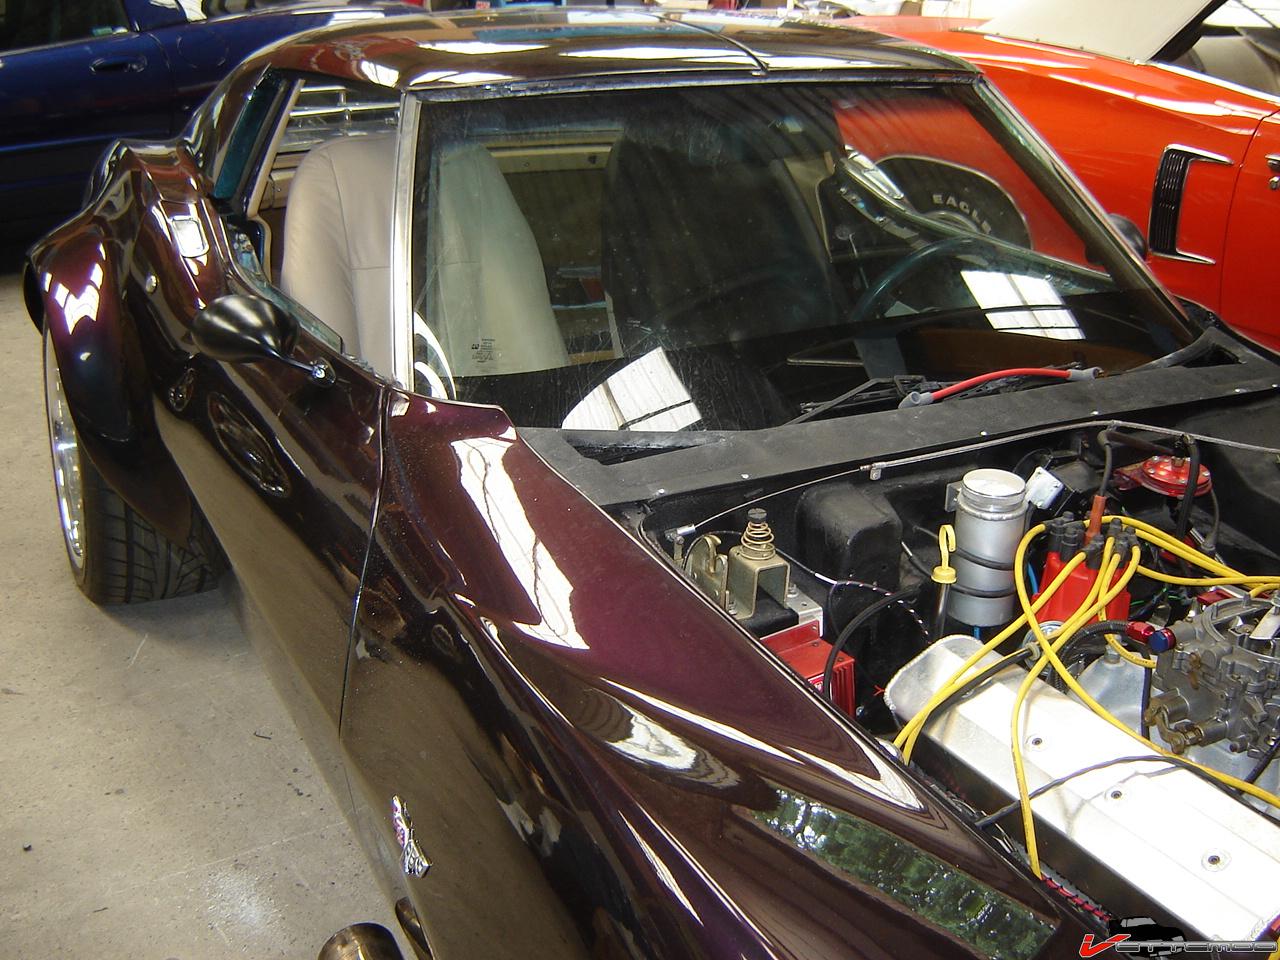
The engine is also finally done, after running into problems with my custom modified mallory magnetic breakerless distributor I had to wait for a new MBI module so I ha it hooked up with a MSD billet tach drive dizzy and some awful looking old accel wires. With the flat cap in place the air cleaner also fits again
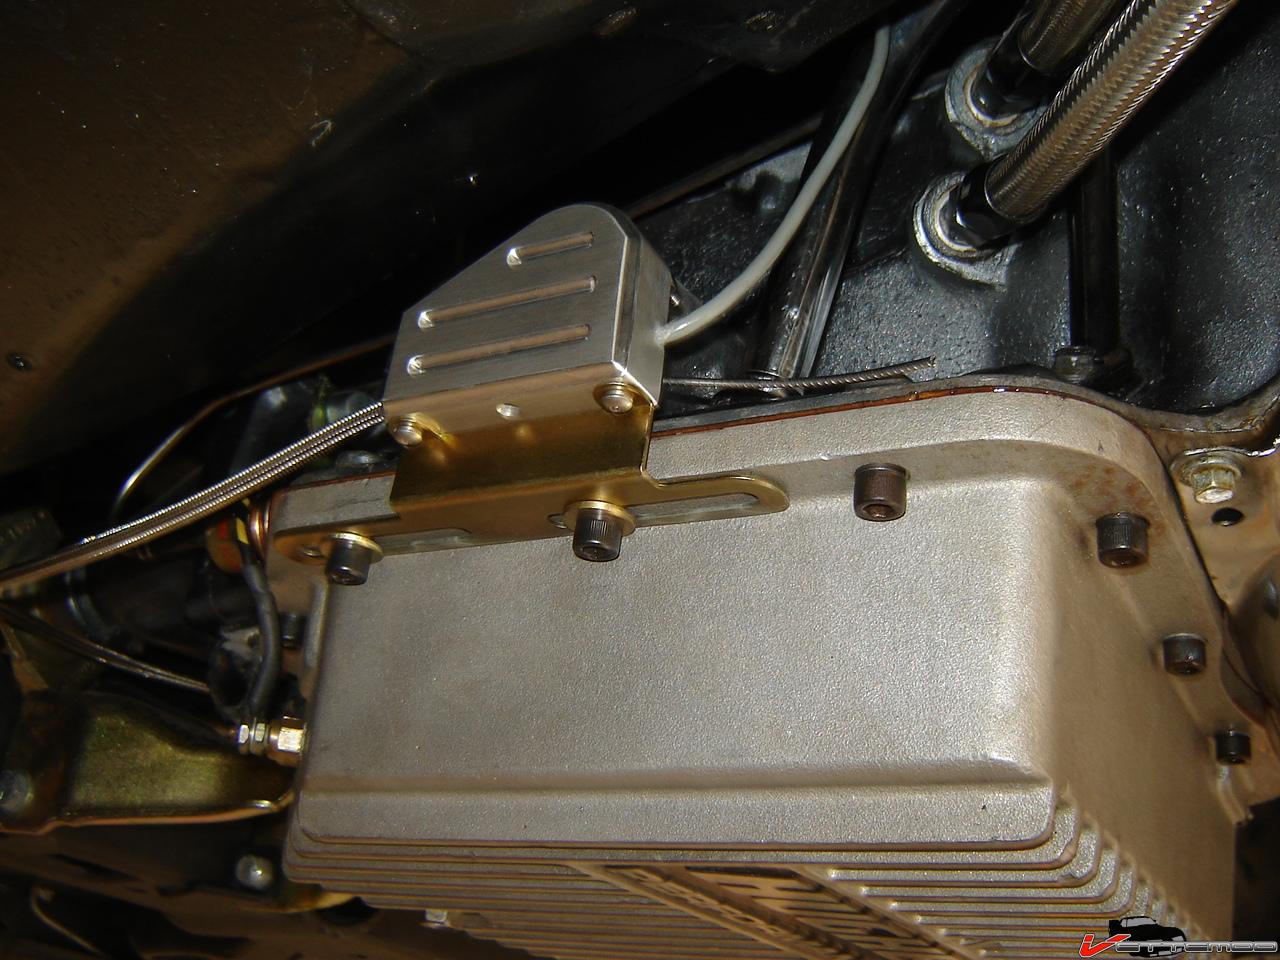
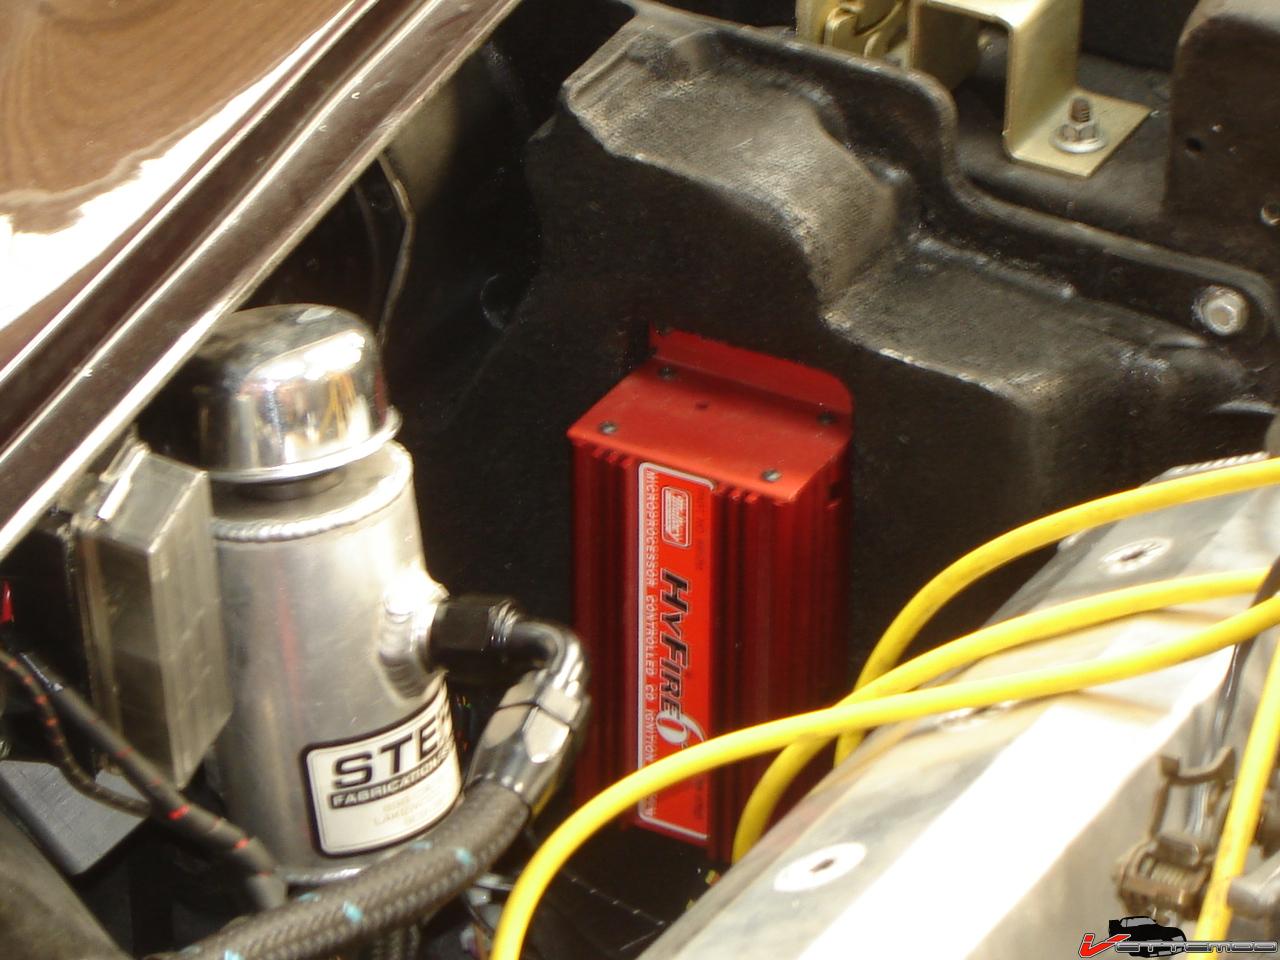
Here's where I stuck the mallory ign. box
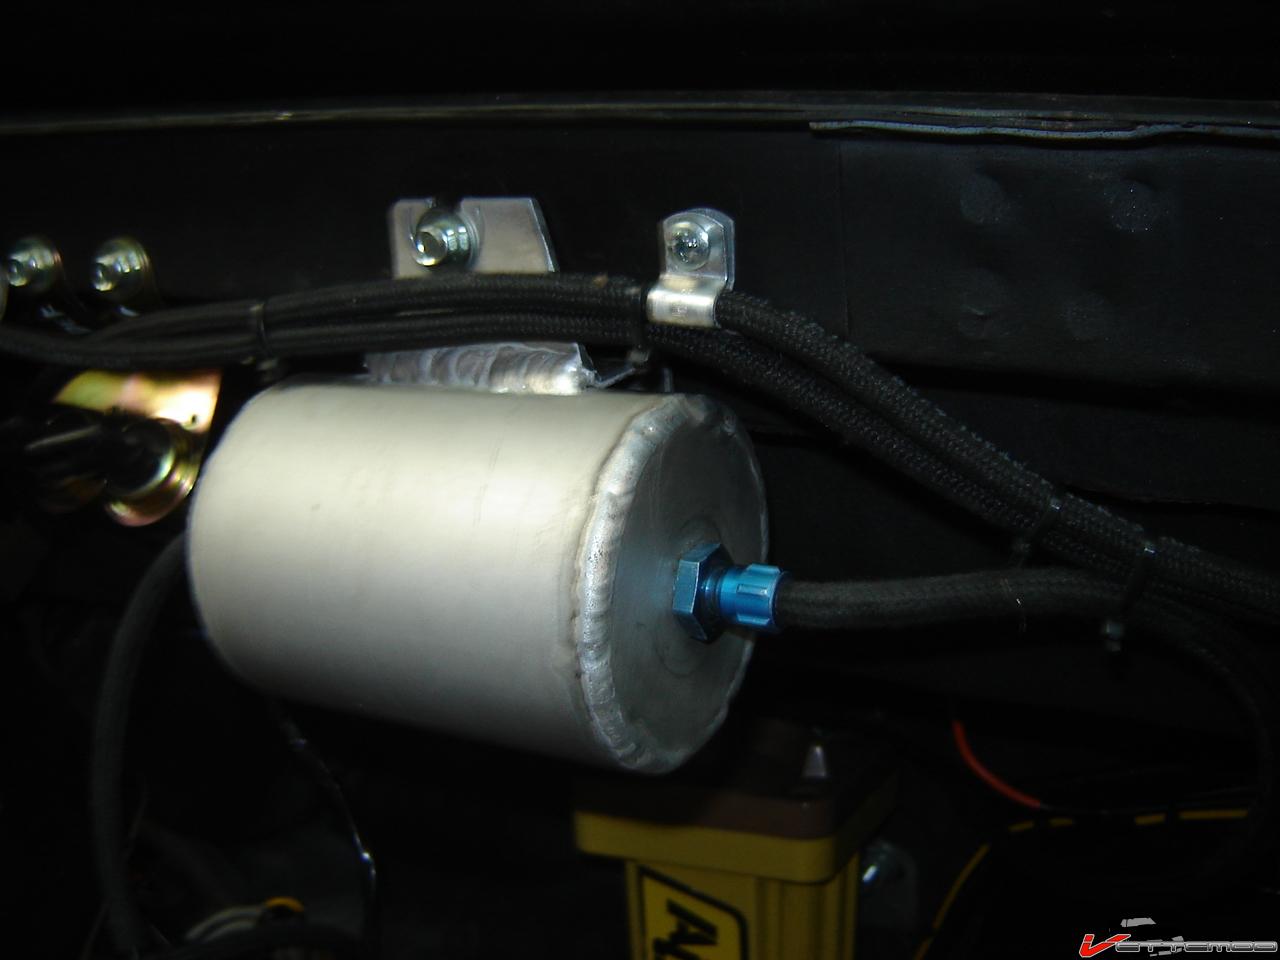
Custom heater setup, used a hot rod air system but modified it, got rid of the bolt on blower and erworked the thing to accept air from the front so I could use the stock blower setup. Also needed a vac. reservoir so I welded one up, installed in in the car so not to clutter the engine bay anymore. I used festo fittings and nuts, had to rework the nuts (open the id up a little) to be able to use them with the thicker vac hose instead of the festo plastic lines (ugly blue, didn't want to use that...even though you'll never see it)
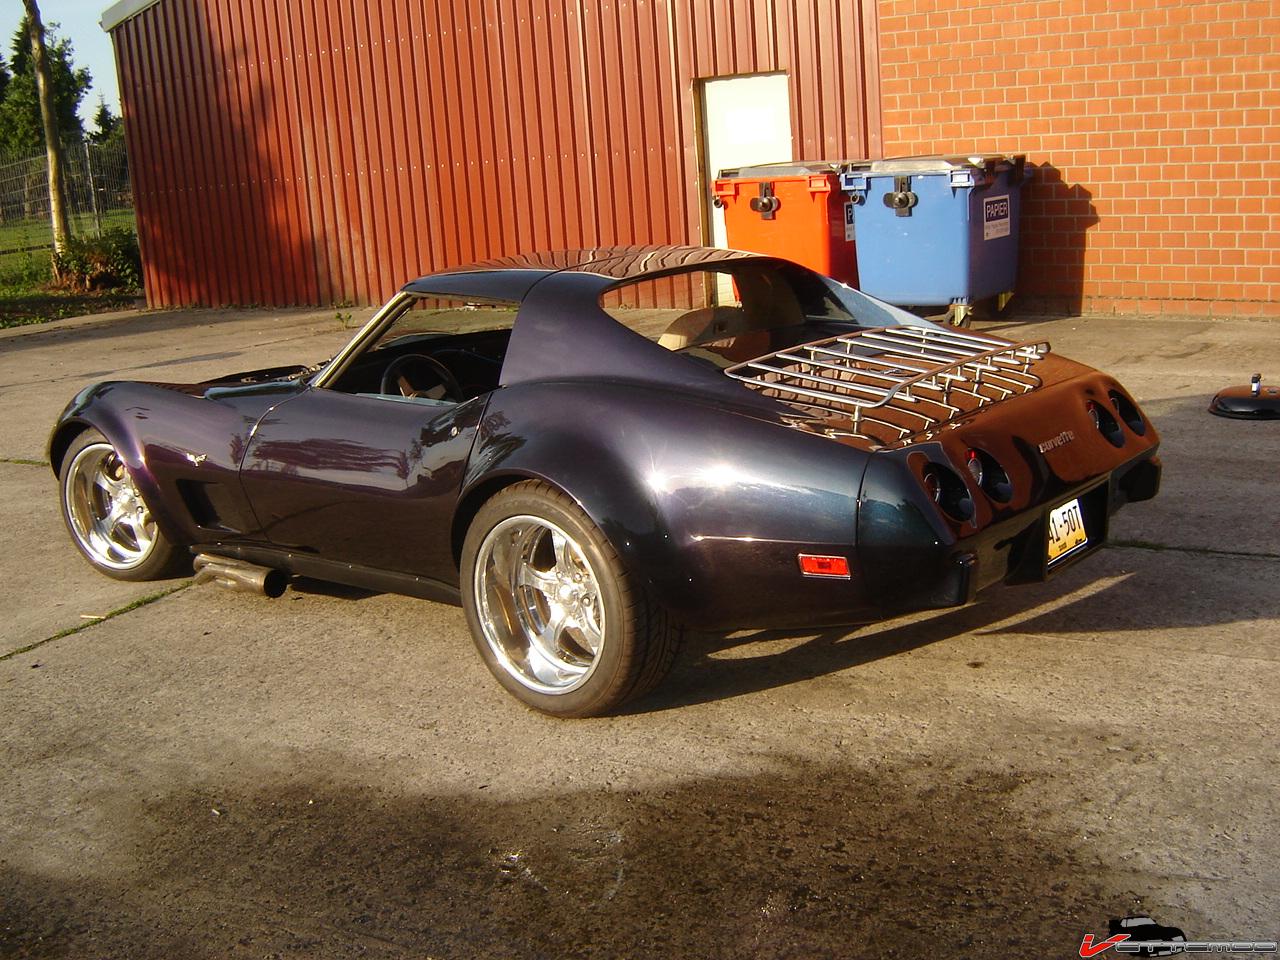
For mirrors I chose flat black Vitaloni californians, I think they go well with the flat black rocker panels and some other features on the car (should have had the ugly luggage rack powdercoated black, but for that I need to drop the tank and dont feel like that, it'll have to do for now until I get real sick of looking at it)
07-07-2008 #3
Registered User
- Join Date
- Nov 2004
- Posts
- 444
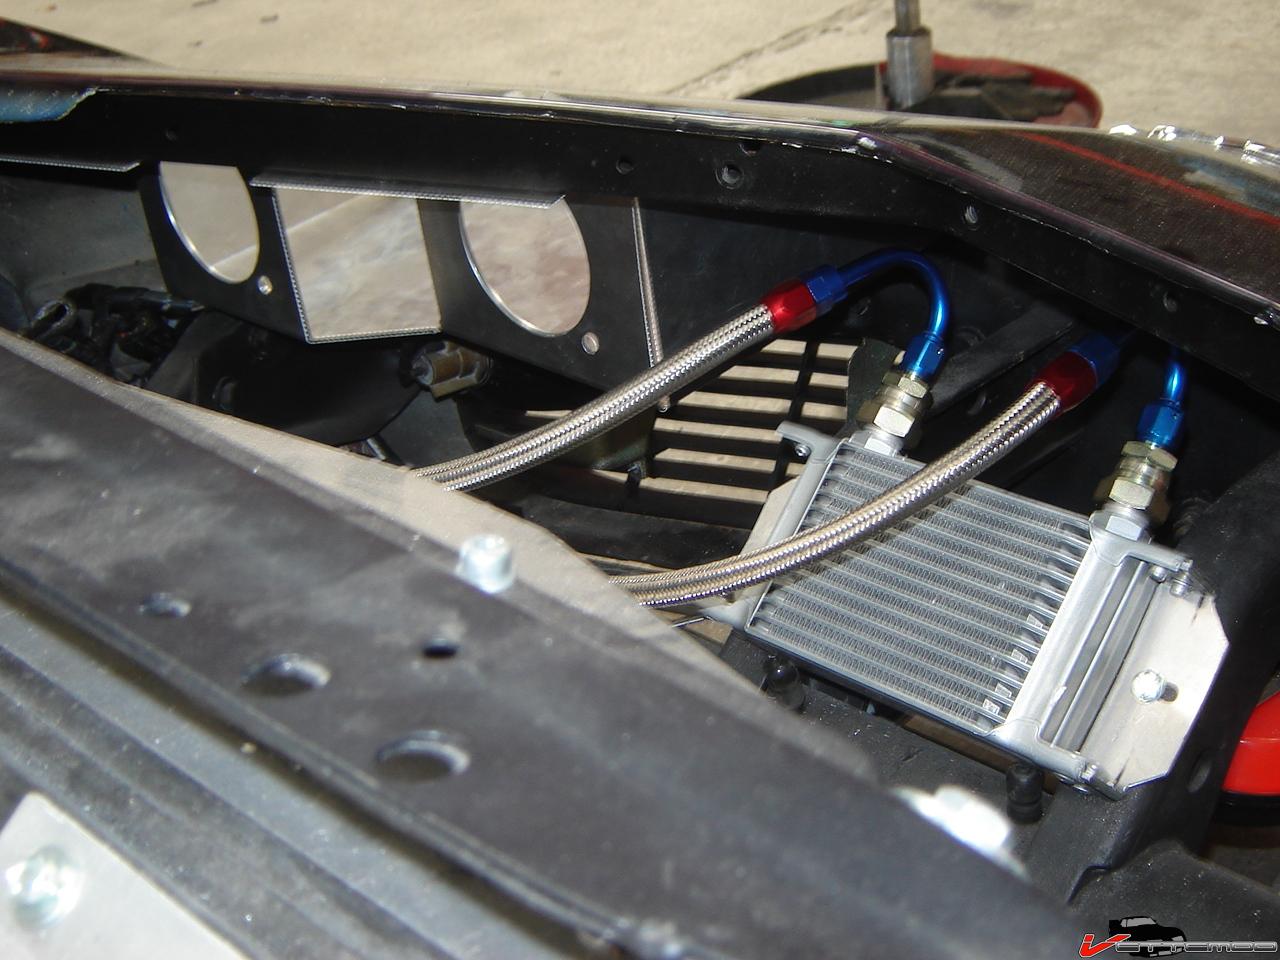
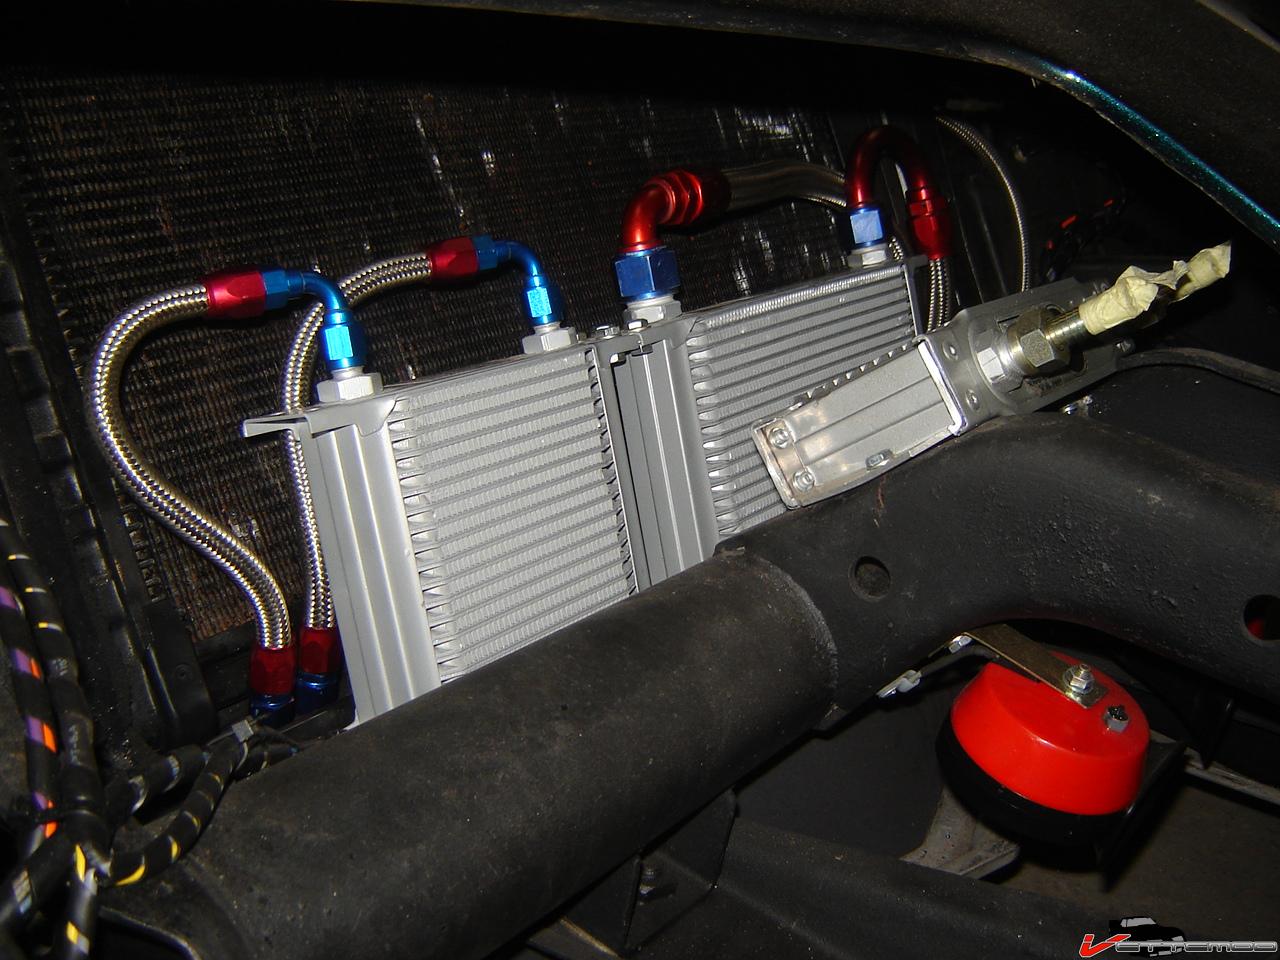
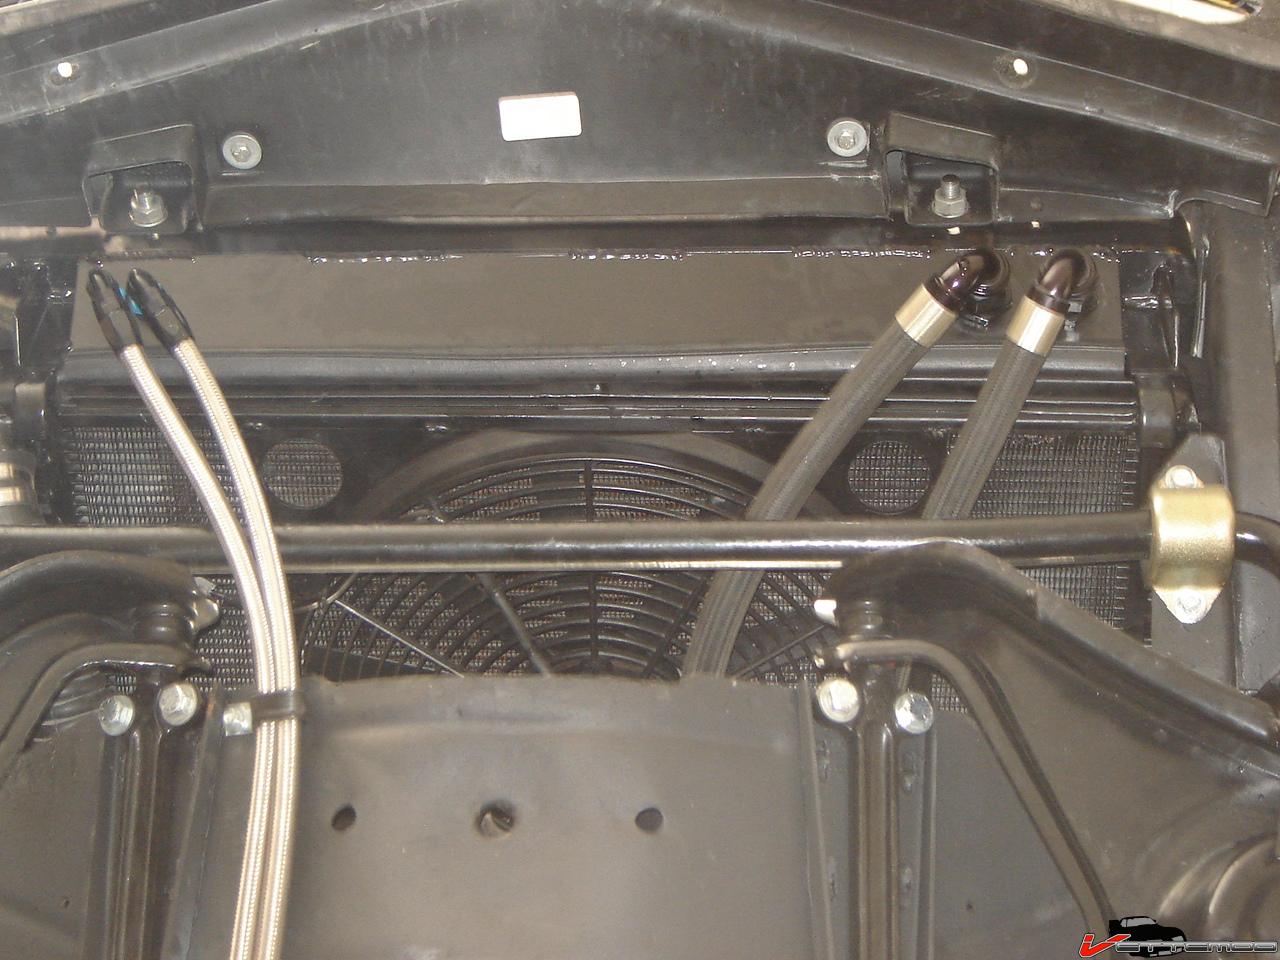
Here are some pics of the coolers:
Power steering cooler (mocal, expensive junk, developed a leak, just like the engine oil cooler. Tested to 12 bar...right! , well, the KRC setup will not exceed that but still it blew on the side, one of the brazed sections failed..... have a new one...that I had to pay, warrenty? no such thing! must be the crappy install using cheap chit :D )
The coolers are hooked up via bulkheads through the custom rad frame.

Here's the rear suspension with custom coil overs and strut rods:
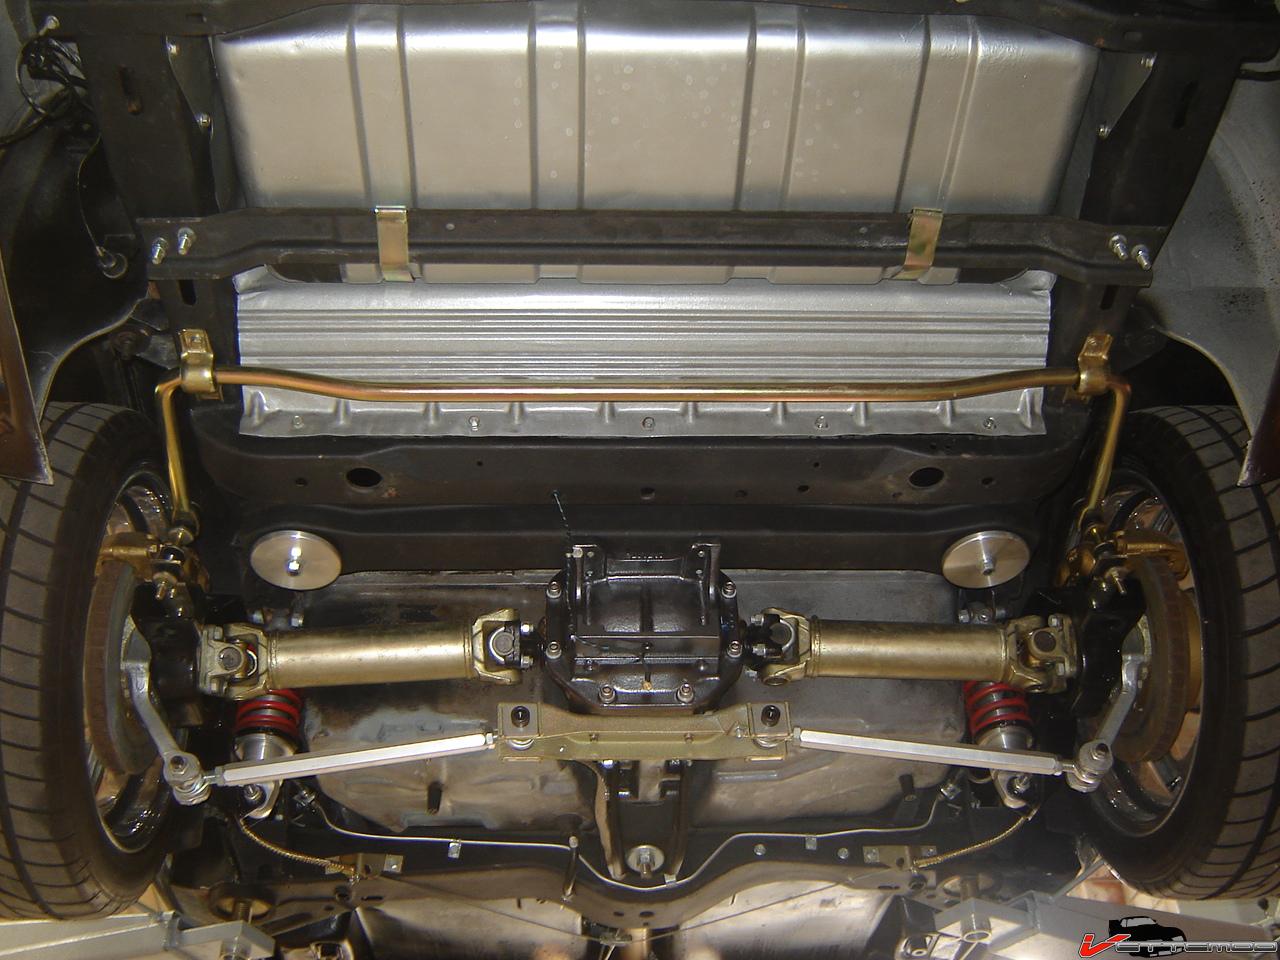
The trailing arms were modified for the coil overs and I added some holes w/ tubes welded in them to give the arms more strength to keep them from twisting because of the way the shock excerts a force on the trailing arm via the long mounting bracket.
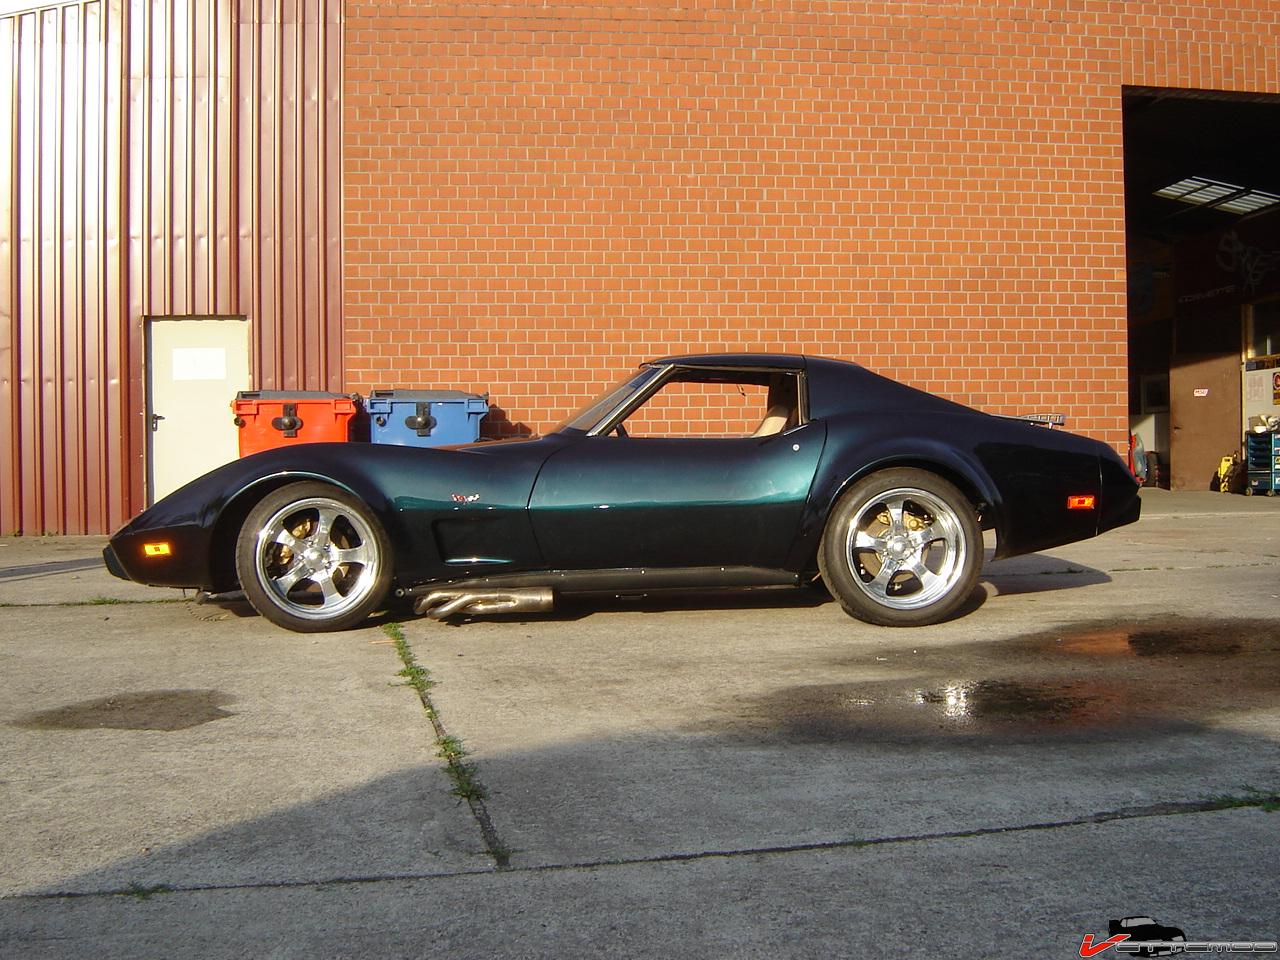
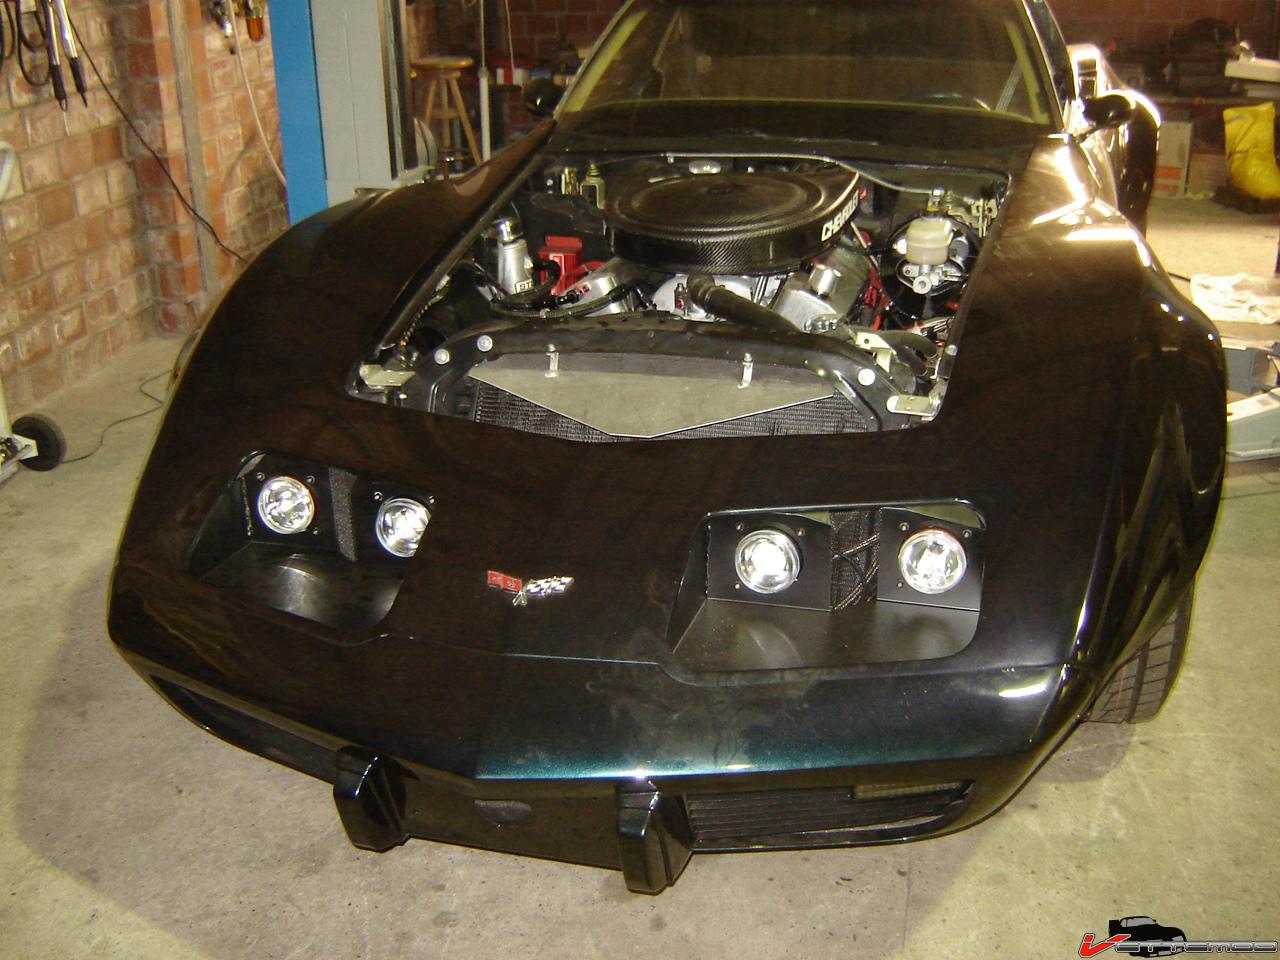
And here's the car as she stands now, needs wider rear wheels and tires so I'm going to order some 18x12 intros and some 335s to fill the wheel wells up. You can see part of the headlight bucket, that side is almost done. The hella 90mm projectors simply snap in and the lenses are almost flush, they protrude just a little. The buckets will be painted or powdercaoted flat black. I already fabbed up lexan covers and bent them to body contour (nothing worse than crappy fitting flat pieces in there)
Bucket, yet to be drilled and profiled to proper contours (sides):
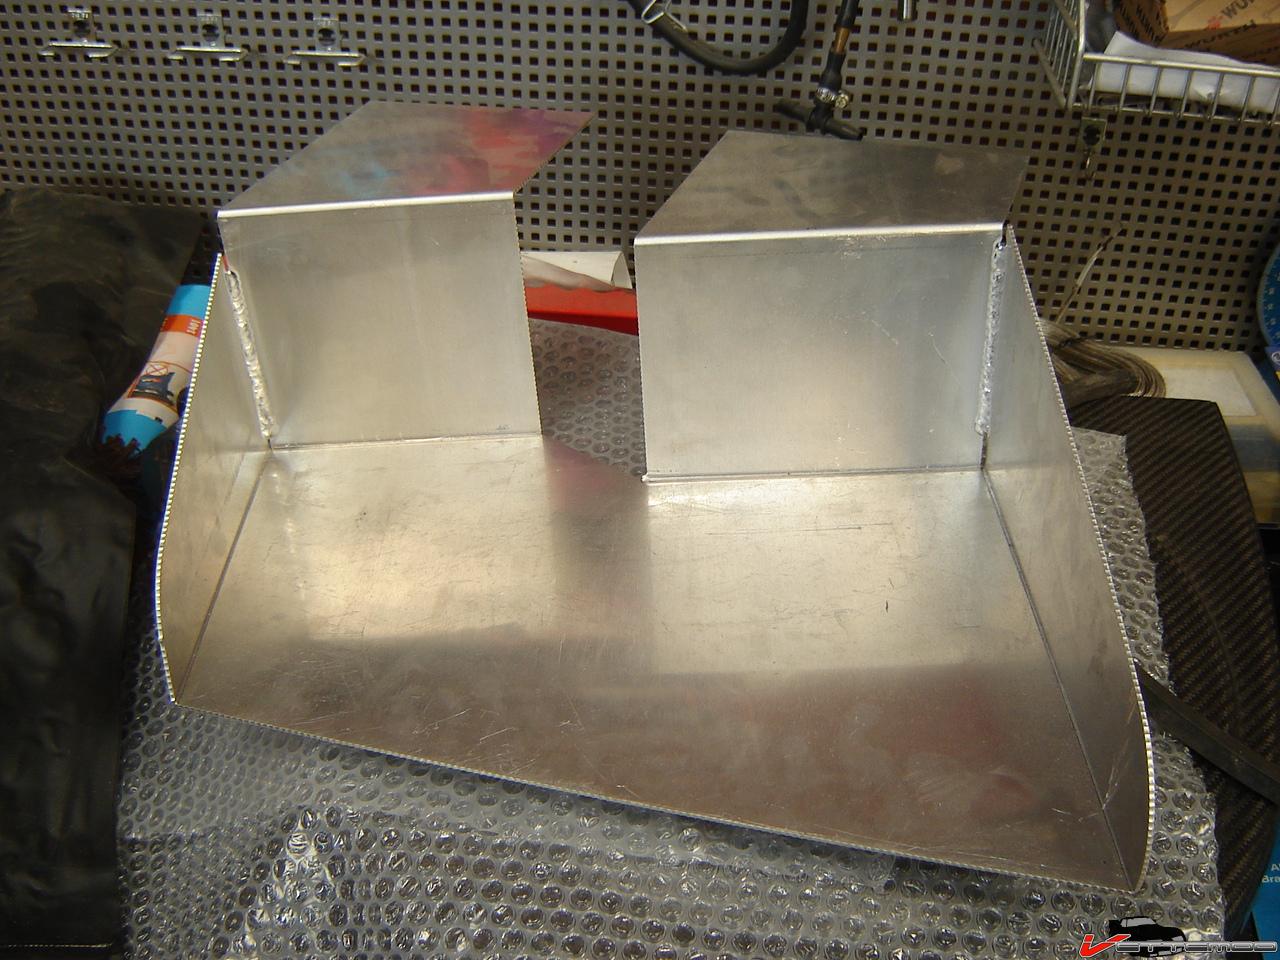
The rest:
 '
'
07-07-2008 #4 Registered User
- Join Date
- Apr 2005
- Location
- dayton, oh
- Posts
- 952
um... wow.

07-07-2008 #5
Registered User
- Join Date
- Jun 2008
- Location
- Carol Stream, IL
- Posts
- 586

LOVE it! Look forward to seeing it with a hood and headlights
07-07-2008 #6
Registered User
- Join Date
- Apr 2008
- Posts
- 9
Where did you get the nascar style air cleaner?
07-07-2008 #7 Registered User
- Join Date
- May 2007
- Location
- Houston, Tx
- Posts
- 2,200
looks good! i dig that air cleaner!
Colin Russ
07-07-2008 #8
Registered User
- Join Date
- Aug 2004
- Location
- Dunwoody, GA
- Posts
- 4,984
glad to see you still are making progress on this car. Keep it up, you're doing great.
Trey
"The early bird may get the worm, but the second mouse gets the cheese."
~ Jon Hammond
1979 WS6 Trans Am stock LT1/T56 drive train out of my Formula. BMW M-parallel rims. C5/C6 brakes
build thread https://www.pro-touring.com/showthre...ghlight=begins
07-07-2008 #9 Registered User
- Join Date
- Jun 2007
- Location
- Dayton Ohio
- Posts
- 1,283
very nice overall I like it except the luggage rack
GTO Project https://www.pro-touring.com/showthre...-The-Great-One
Colorado Project https://www.pro-touring.com/showthre...cab-CodeRedZQ8
Check Out My YouTube Channel http://www.youtube.com/c/geedsgarage
07-07-2008 #10 Registered User
- Join Date
- Nov 2006
- Location
- chicagoburbs
- Posts
- 37
pics
looks very cool.
07-07-2008 #11 Registered User
- Join Date
- Aug 2007
- Location
- Tennessee
- Posts
- 499
Nice real nice!!
07-08-2008 #12
Registered User
- Join Date
- Nov 2004
- Posts
- 444
The aircleaner is from debotech. Got it off ebay. It's new & unmolested. Most on the bay are vut, painted white and a lot of them have a small tube epoxied in for starter fluid.
I don't like the luggage rack either but it was already on there and it's drilled through the fiberglass, so when you remove it you're left with a bunch of holes. What to do...what to do.
The rear holes wouldn't have been a big problem, a big wing could have taken care of those, ...the forward ones however.
There are so many of these C3s with a rack, I'd swear britons owned them. They apparenlt like luggage racks and packing a picnic box on them :D
I'll probably powdercoat it black sometime, if it still looks like azz I may try some plastic caps to plug the holes, might even look better than this.
07-08-2008 #13
Registered User
- Join Date
- Jun 2007
- Location
- Dayton Ohio
- Posts
- 1,283
 Originally Posted by Twin_Turbo
some fiberglass filler would work I rather fill fiberglass holes than metal holesGTO Project https://www.pro-touring.com/showthre...-The-Great-One
Colorado Project https://www.pro-touring.com/showthre...cab-CodeRedZQ8
Check Out My YouTube Channel http://www.youtube.com/c/geedsgarage
07-08-2008 #14
Registered User
- Join Date
- Nov 2004
- Posts
- 444
Yes, but then it needs to be painted, and it's next to impossible to match that effect color. I still hav a bunch of the black undercoat, the effects coat and the clear...but I'm afraid it will look like crap. Also, when just filling the holes, they have been known to sag & crack. The only proper way with no 100% guarantee is to lay in fresh enw glass and hope for the best. Too big a chance of ff-ing it up IMO.
I'd rather fill holes in sheet metal. At least it's not prone to issues later on. Fiberglass may look easy but it can be a real PITA, especially since the bodies are SMC and they have a mold release agent in them. Simple polyester glass will not stick proeprly, you'll need special formulated stuff or even epoxies but epoxies don't have styrene to break down the binders in the crushed fibers mat.
07-08-2008 #15
Registered User
- Join Date
- Apr 2005
- Location
- dayton, oh
- Posts
- 952
put some stripes on it Originally Posted by Twin_Turbo

07-08-2008 #16
Registered User
- Join Date
- Nov 2004
- Posts
- 444
:D stripes wouldn't cover it, it would need the whole rear deck done, between the sugar scoops, then I'd have to have the front done also.
07-08-2008 #17 Pro-Touring Veteran
- Join Date
- Jun 2007
- Location
- Fort Myers, FL
- Posts
- 1,003
Your vette is absolutely SICK. i say powdercoat the rack flat black and call it a day, I think it keeps somewhat of an old school vibe besides it may come in handy for pickin up the ladies just strap them in.
Chris Smock aka Blazed67
1967 Firebird Convertible- Tough Luck- never ending
2003 VW Jetta Wagon 1.8T- the new DD
2006 Suzuki SV1000R- greatly missed
07-08-2008 #18
Registered User
- Join Date
- Nov 2004
- Posts
- 444
The flat back thought is not leaving my head....but I'll drive it first.
Been thinking about painting the wheel centers black too....hmmmmmmm..maybe i need to do some photoshopping first
07-08-2008 #19 Registered User
- Join Date
- Sep 2006
- Location
- New York, NY
- Posts
- 458
If the holes are small, you can try just filling with epoxy, very very carefully sand down, and touch up with the paint...you might notice it, but it's nowhere as risky as trying to blend the new paint, and not as obtrusive as caps.
Also, I think you need a warning light to tell you that a warning light is out. haha, just kidding, car looks great, love the headers sticking out like that.
Jerome
08-25-2008 #20
Registered User
- Join Date
- Nov 2004
- Posts
- 444
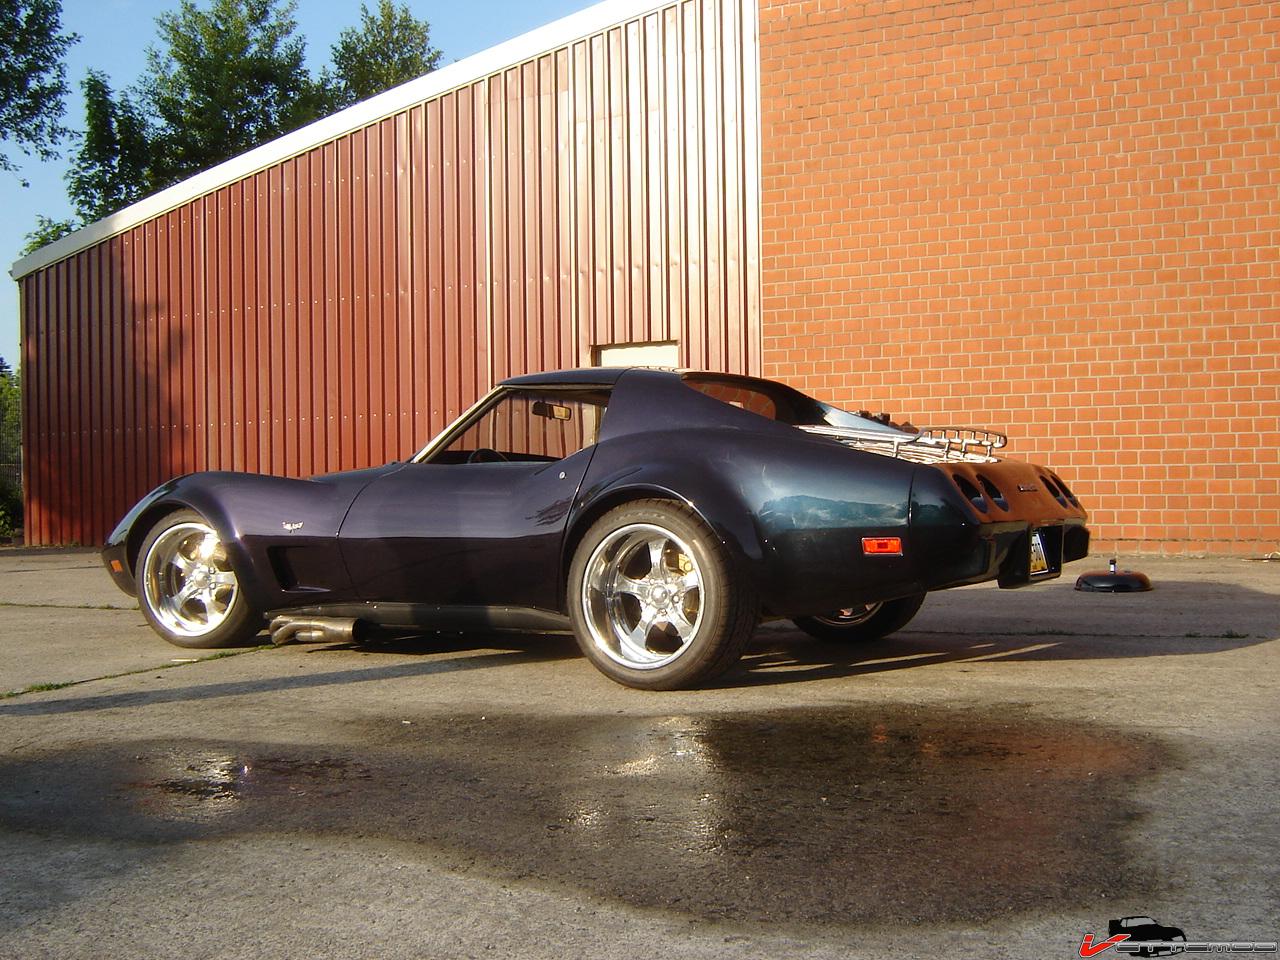
Some small updates. That horrible stained fiberglass in the rear was bugging me, and there was just a bit too much play in the side yokes. I had redone the diff already but with the coil overs pulling and pushing on the long bracket they really force the halfshaft in and out, so i took it all apart again and shimmed up the clutches a little more, just enough to get rid of the excessive play and not to end up with a hammering posi. (Gotta love it that you have to take off the ring gear and all to remove this stuff, bascically needing a complete teardown again)....so this is the result. Added a diff cooler because I had the pump and parts lying around anyway. Still need to add a screen filter (dry sump scavenge filter) to protect the pump.


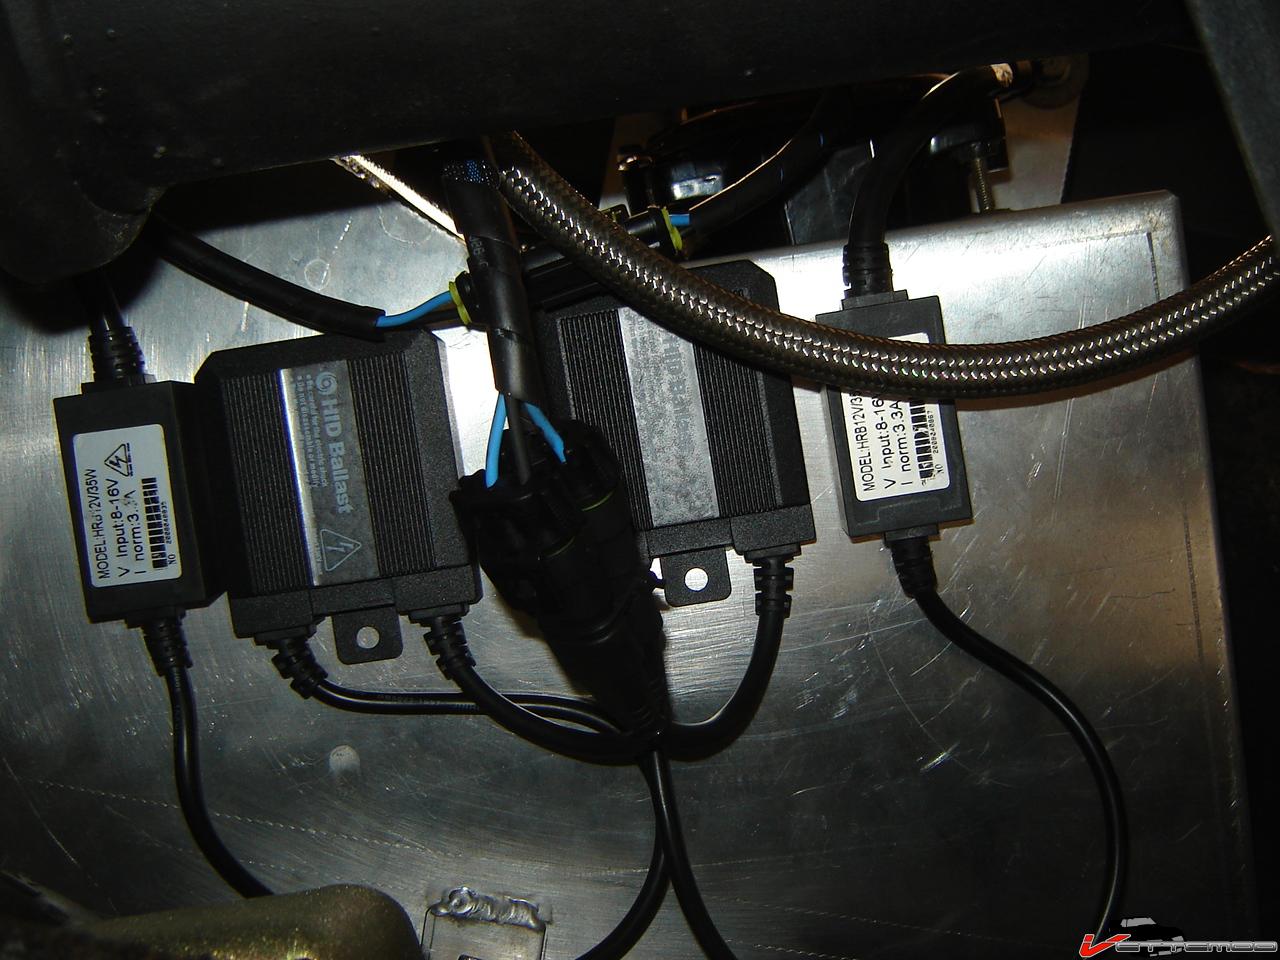
Also got most of the headlights sorted. Still need to do the lexan covers and i need to put a small retainer ring under the body (above the headlamp bucket) for the screws to go in to hold the lexan but I will do that after I get back from my trip down I66 (I'll be on your side of the pond the next 4 weeks)
The lights are Hella 90mm modules with Xenon (both hi and low beam)


 Reply With Quote


