


Results 301 to 320 of 681
Thread: Project FNQUIK
-
03-19-2015 #301

 Registered User
- Join Date
- Nov 2006
- Location
- Ma.
- Posts
- 5,560

Thanks Sam!
I'm picking up some parts to install the motor and trans. I have some metric tools but I didn't even have bolts to mount it on the engine stand to get rid of the crate it came in to make some room to move around. I got those the other day so all I need is to decide on a set up to lift the motor. I'd like to do it all in one shot without removing the supercharger. I'm looking at the Mac's pivot engine lifter, they make an adapter for the LS motors. Has anyone used one of these? What do you think of it?
Does anyone know where I can get one of these adapters for the in tank fuel module line connections for the corner pick ups in the vaporworks tanks? I'm going to check with Carl from Vapor works.

ThanksWayne
Car FINALLY home !!!!!! lol
Project FNQUIK https://www.pro-touring.com/showthre...ghlight=FNQUIK
-
03-19-2015 #302
Registered User
- Join Date
- Sep 2013
- Location
- Hood River, OR
- Posts
- 165
I have a Mac Pivot lifter and have used it a few times. It's super easy to use and makes fine adjustments a breeze during the install/remove process.
Unfortunately I haven't used the LS adapter yet. I will be needing it soon, so it's on my list.
-
03-19-2015 #303
 Registered User
- Join Date
- May 2008
- Location
- Austin, Tx.
- Posts
- 1,539
Hey Wayne,
It's great to see some action on your project! My project has been in hibernation it seems like for 3 years! My wife is going to be able to retire (teacher) in May and FINALLY move to Houston with me. It has been a VERY long 3-1/2 years of driving an 8-hour round trip to Louisiana and back every weekend... Let's try and finish our rides this year... that sound good to you?? Ray
Ray
FEW FRILLS, just BIG CHILLS!!!
1972 VW Bug (427LS/T56 Magnum/9"-3.70 gears)
18"x10-1/2" (315/30/18) Front, 18”x12" (335/30/18”) Rear
https://www.pro-touring.com/showthre...-Lady-Bug-quot
-
03-19-2015 #304
 Registered User
- Join Date
- Feb 2006
- Location
- Tennessee
- Posts
- 814
Wow, great engine choice!!
66 Chevelle - LS-Leap
LQ9 / T56 Complete - Phase 2 in process!!
https://www.pro-touring.com/threads/...t-LS-Heap-quot
SC&C, Kore3, Detroit Speed, BBS, Advanced Induction, TickPerf, Currie, Moser, Holley, Hellwig, Edelbrock LS-Kit, Mast, Wilwood, BP-Automotive, StopTech, Ridetech, Hotchkis, UMI, Energy Suspension, AAW, B&B Classic's, PPG, Aeromotive, Canton, C&R, Sparco, Ididit, Spectre, Bridgestone, DakotaDigital, Alpine, RockfordFosgate
-
03-19-2015 #305
Registered User
- Join Date
- Nov 2006
- Location
- Ma.
- Posts
- 5,560
Hell yea it does! Ray. My wife is a teacher assistant so I know what they do for these kids, so if she has enough time she deserves it.
Thanks Kerry, Oregon
I just talked to Carl Casanova and I'm ordering my vaporworks controller tomorrow and then I can install the fuel pump and the tank when ever I'm ready for it. It feels so good to finally make some progress.Wayne
Car FINALLY home !!!!!! lol
Project FNQUIK https://www.pro-touring.com/showthre...ghlight=FNQUIK
-
04-21-2015 #306
Registered User
- Join Date
- Nov 2006
- Location
- Ma.
- Posts
- 5,560
After punishing my self by hand digging a 4'x4'x 42" deep dry well in the front yard Saturday. I was going to get some stone for it today but the weather tuned nasty up here so I got out in the garage. I Changed to an old set of valve covers so the LS lift adapter could fit and finally got the engine out of the crate and on the stand. I'm hoping to prep it and paint some clear on it to help make it easier to keep clean. Then I'll put the Auto Kraft oil pan, motor adapter plates and motor mounts on it and see how its looking. I'll probably try the headers on it to see if there is enough room to run an Improved Racing oil thermostat off the oil filter area.
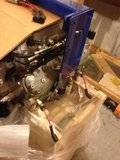
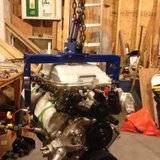
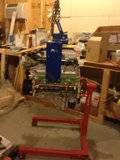
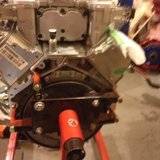
What do you guys think about the way the engine stand is bolted to the back of the engine, the way the right side is on the two lower bolt holes because of no bolt hole at the 2 o'clock location?
Wayne
Car FINALLY home !!!!!! lol
Project FNQUIK https://www.pro-touring.com/showthre...ghlight=FNQUIK
-
05-14-2015 #307
Registered User
- Join Date
- Nov 2006
- Location
- Ma.
- Posts
- 5,560
I tried the headers on the motor to see what they looked like for fitting an oil cooler thermostat near the oil filter, it looks kind of tight.
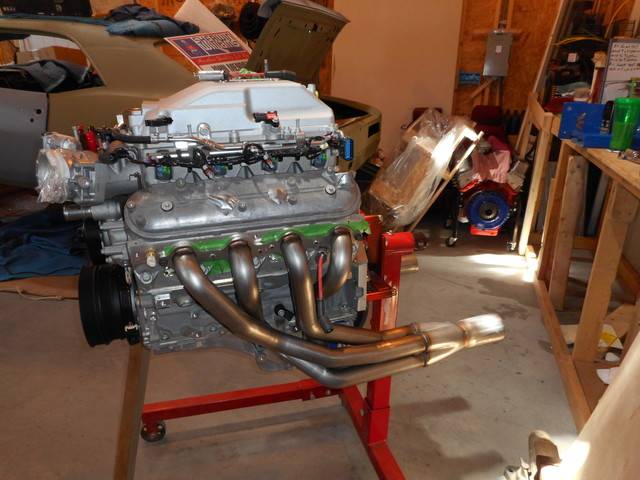
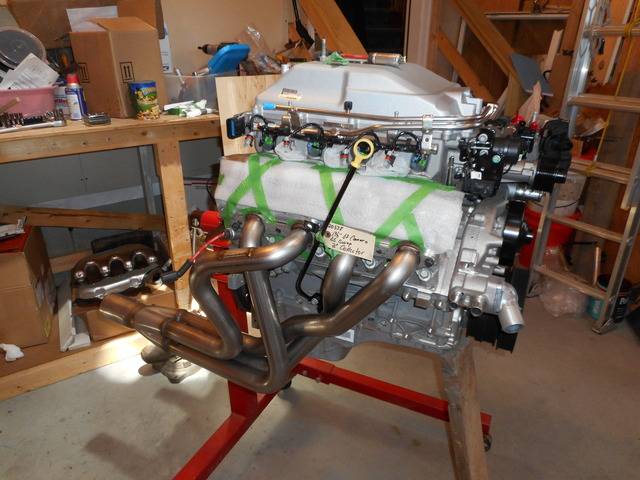
This is tight ! Its a bad angle.
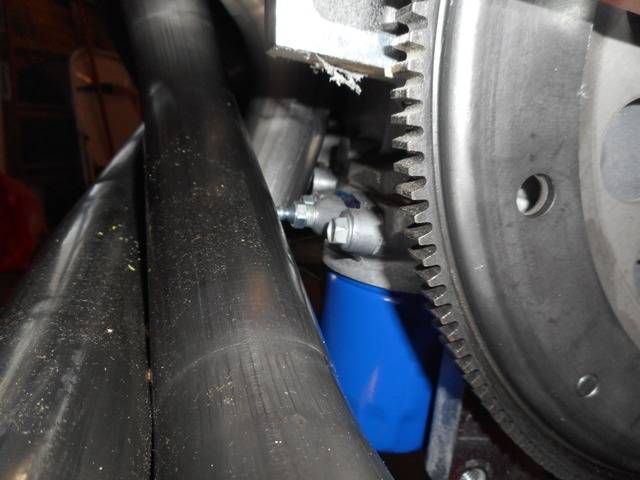
There is just enough room to get my finger in there
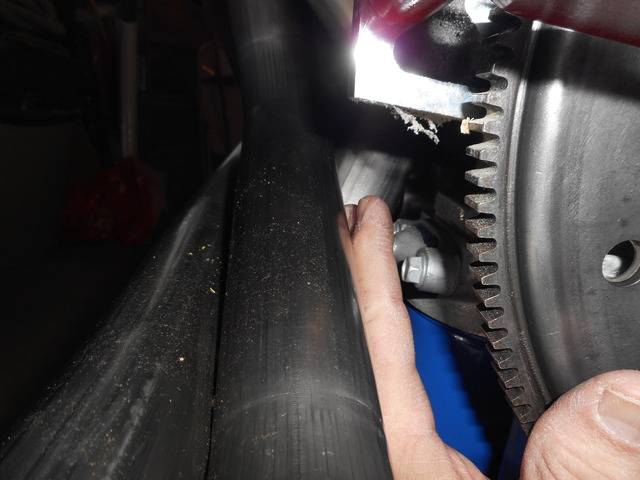
I'm not sure if its too tight to the headers for the Improved Racing oil thermostat to fit without soaking up too much heat and the thermostat staying open because of it.Wayne
Car FINALLY home !!!!!! lol
Project FNQUIK https://www.pro-touring.com/showthre...ghlight=FNQUIK
05-14-2015 #308
Registered User
- Join Date
- Jul 2011
- Posts
- 134
Headers look great Wayne, maybe you can get away with modifying them slightly.
05-14-2015 #309
Registered User
- Join Date
- Nov 2006
- Location
- Ma.
- Posts
- 5,560
They sell a remote thermostat but this would be a cleaner set up. If It won't work I think I'll use the remote set up.
Wayne
Car FINALLY home !!!!!! lol
Project FNQUIK https://www.pro-touring.com/showthre...ghlight=FNQUIK
08-30-2015 #310
Registered User
- Join Date
- Nov 2006
- Location
- Ma.
- Posts
- 5,560
I started fitting up my Heat Exchanger and condenser this week. I'm leaning mine back towards the radiator support by spacing the top bracket from behind the mounting point of the hood latch. I will need to make a taller aluminum bracket for the top of the HX. The top of the condenser has been notched already and the hood latch is being trimmed. I made a cardboard template of the bracket that mounts to the Rad support, hood latch, upper and lower valances to see how much I need to trim the bracket..
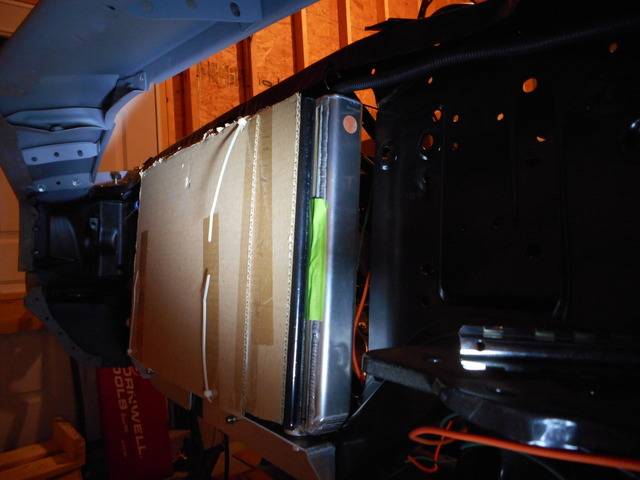
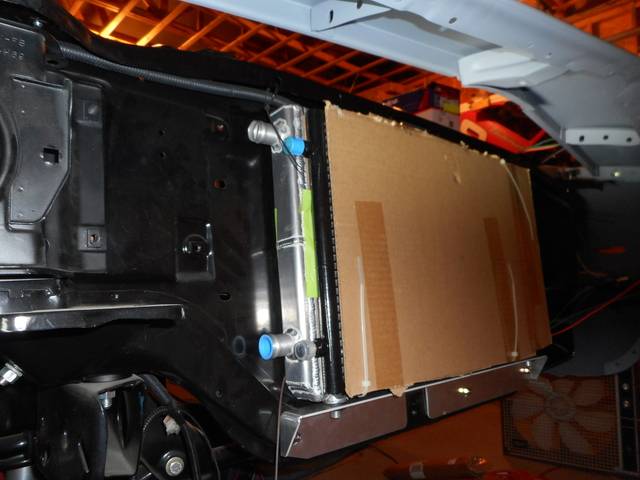
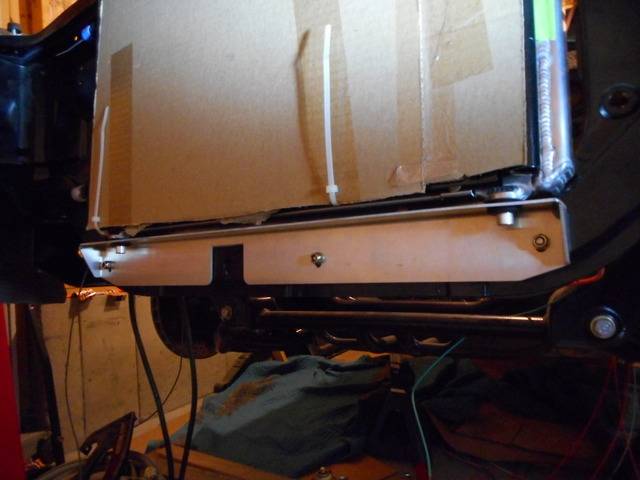
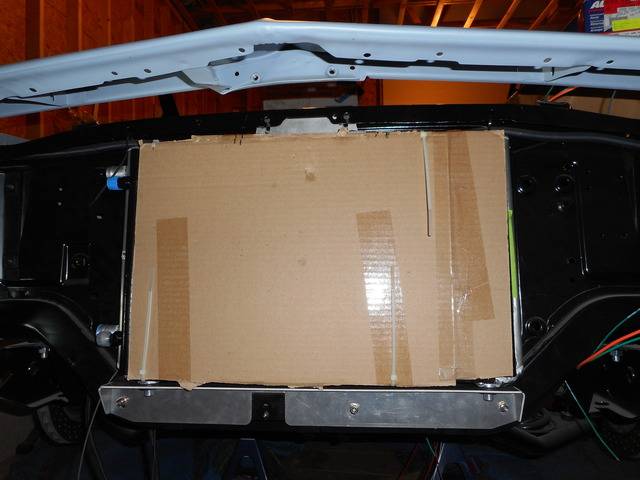 Wayne
Wayne
Car FINALLY home !!!!!! lol
Project FNQUIK https://www.pro-touring.com/showthre...ghlight=FNQUIK
08-30-2015 #311 Registered User
- Join Date
- Aug 2009
- Location
- Chandler, Az (from west NE)
- Posts
- 240
Looking good, Wayne. Thanks for the pics.
Ric
2002 s10, DD and AutoX.
1966 Malibu owned since 1971. Drag car converting to track toy!
08-31-2015 #312
Registered User
- Join Date
- Apr 2014
- Posts
- 803
Great project! and you have a tremendous amount of patients look forward to seeing you completing this car and enjoying it!
Good luck!
Pat
08-31-2015 #313
Registered User
- Join Date
- Nov 2006
- Location
- Ma.
- Posts
- 5,560
Thanks guys.
Wayne
Car FINALLY home !!!!!! lol
Project FNQUIK https://www.pro-touring.com/showthre...ghlight=FNQUIK
09-03-2015 #314
Registered User
- Join Date
- Nov 2006
- Location
- Ma.
- Posts
- 5,560
Spent most of the day out in the garage today. Installed the AutoKraft oil pan and dip stick, then I washed the motor down and sprayed it with Eastwood's 2K High temp ceramic gloss clear. I'm no painter by any stretch of the word but I'll tell you it came out nice! The nozzle was great, nice fan pattern and it worked great. I also cleared my Street & Performance LS swap adapters. They look great.
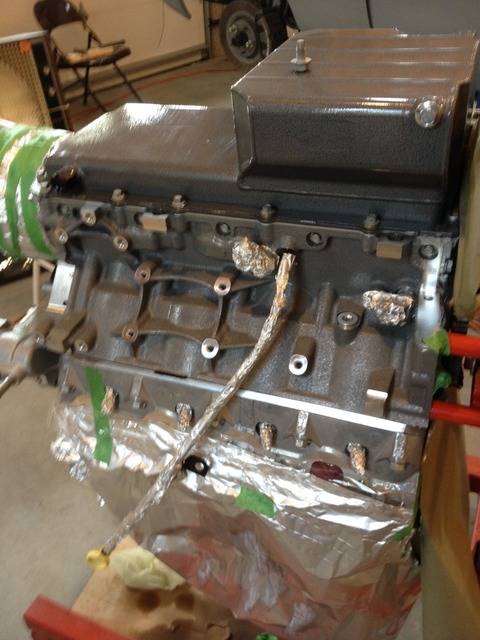
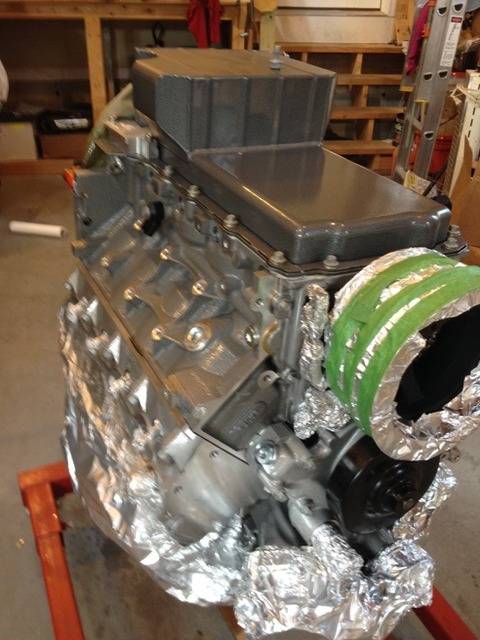
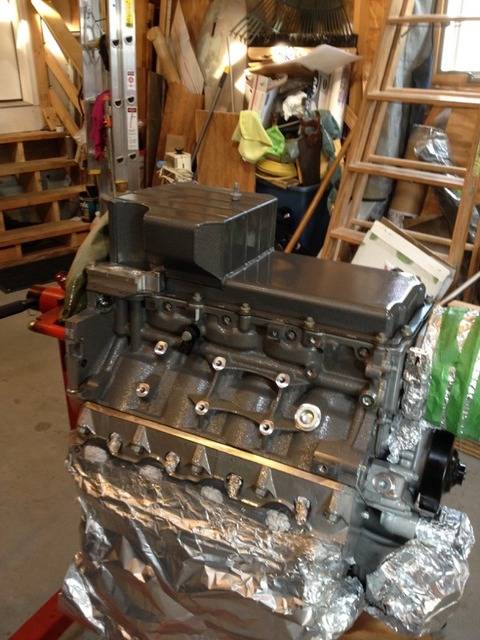
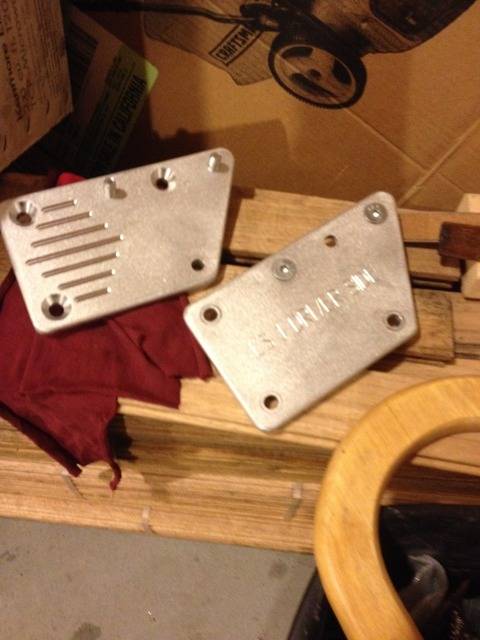
Tomorrow I plan on rotating the engine right side up.( This thing seems so heavy on this engine stand.)
Then we will change the supercharger lid to the ZL1, and put the swap plates on. then see what we do from there.Wayne
Car FINALLY home !!!!!! lol
Project FNQUIK https://www.pro-touring.com/showthre...ghlight=FNQUIK
09-04-2015 #315 Registered User
- Join Date
- May 2010
- Location
- WV
- Posts
- 202
Glad to see progress Waynie,looks great.
09-04-2015 #316
Registered User
- Join Date
- Nov 2006
- Location
- Ma.
- Posts
- 5,560
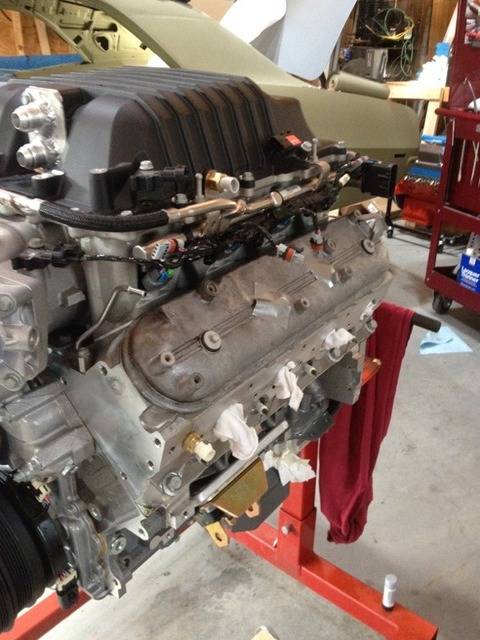
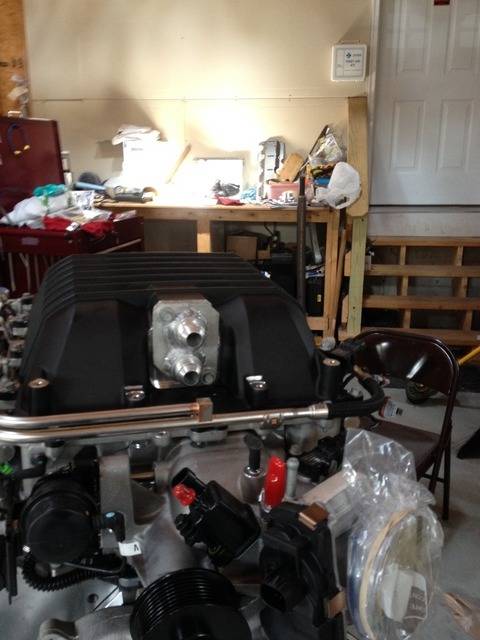
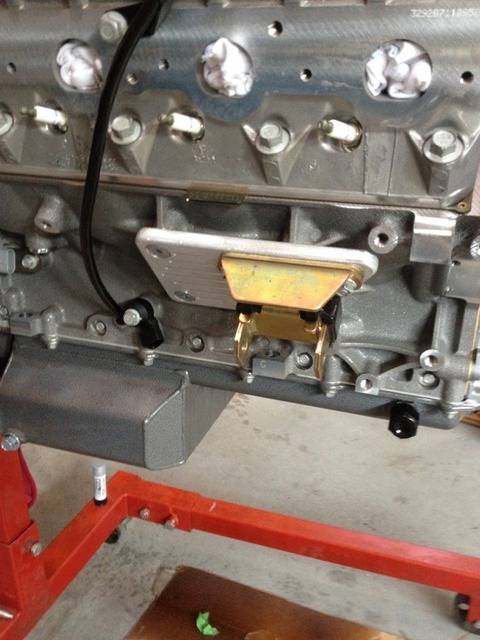
Went out in the garage today. We got the ZL1 lid on and the swap plates and motor mounts. We had to grind down the spacer plates from the back of the poly motor mounts so they would sit flat against swap plates, then I sprayed them with some paint to prevent any rust build up. If I would have thought of it before I painted the swap plate, I would have routed them out to fit. Lesson learned.
I had -12 AN fittings put on the the ZL1 lid so I can use a -12 to-16 hose fittings to matchup to my Stewart EMP water pump which has a 1" hose ends, it should make a difference in the IAT2 temps with more flow.
 Wayne
Wayne
Car FINALLY home !!!!!! lol
Project FNQUIK https://www.pro-touring.com/showthre...ghlight=FNQUIK
09-06-2015 #317
Registered User
- Join Date
- Nov 2006
- Location
- Ma.
- Posts
- 5,560
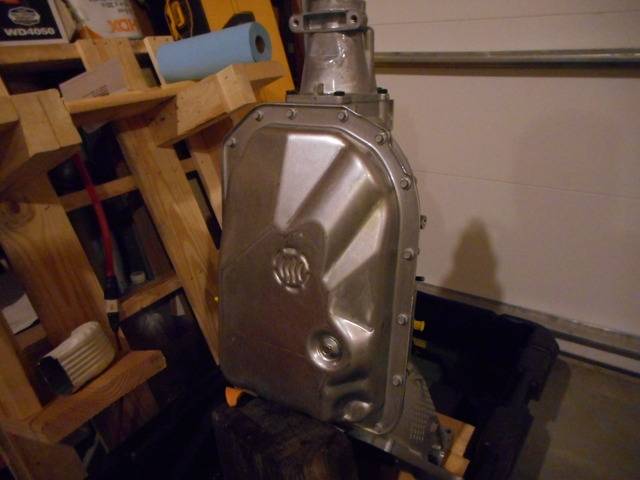
I spent most of yesterday in the garage working on getting the transmission prepped and clear coated. First I had to go and pick up a new respirator my old one failed on me when I painted the engine. I didn't smell anything but boy did I get dizzy and a head ache. Not good!
I washed the transmission down and sprayed it and the dust cover with the Eastwood 2K Clear. They look pretty good. This paint is easy to spray because I'm usually heavy handed when I spray but no sags with this paint.
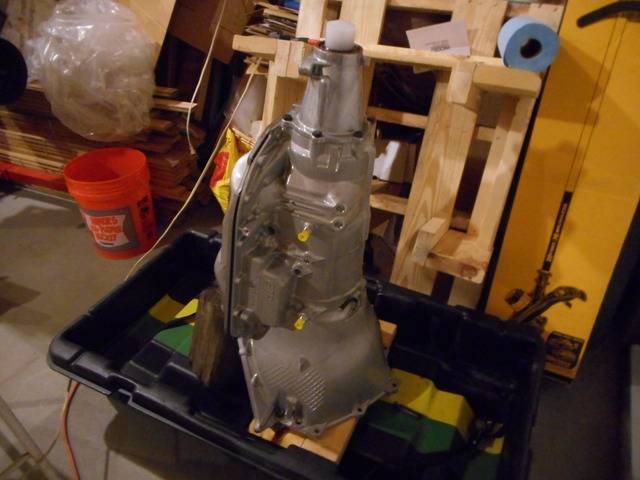
Not much light in the garage but it shows the gloss.Wayne
Car FINALLY home !!!!!! lol
Project FNQUIK https://www.pro-touring.com/showthre...ghlight=FNQUIK
09-06-2015 #318 Registered User
- Join Date
- Jul 2010
- Location
- OREGON
- Posts
- 364
They both look great glad to see you making progress
09-15-2015 #319
Registered User
- Join Date
- Nov 2006
- Location
- Ma.
- Posts
- 5,560
Made a little progresstoday
Yesterday I went to my friends house and got his engine crane. Took it home and got it assembled and put the Mac's lift plate on the engine. Then the dreaded honey do list reared its ugly head and I was toast for the rest of the day!
But today was a good day! We hooked up the crane to the engine and rolled it over and within 30 minutes it was in! When we tried the first time the bolt on the driver side went right in. I couldn't believe my good luck, then the other side was not even showing the hole in the frame mount. CRAP ! We put the jack under the drivers side and lifted and I saw daylight on the passenger side mount. I worked a screw driver in and the bolt went right in. These plates were an excellent fit. Now if the headers fit with them like they are supposed to we'll be golden.
Here are some pictures.
First the money shot LOL
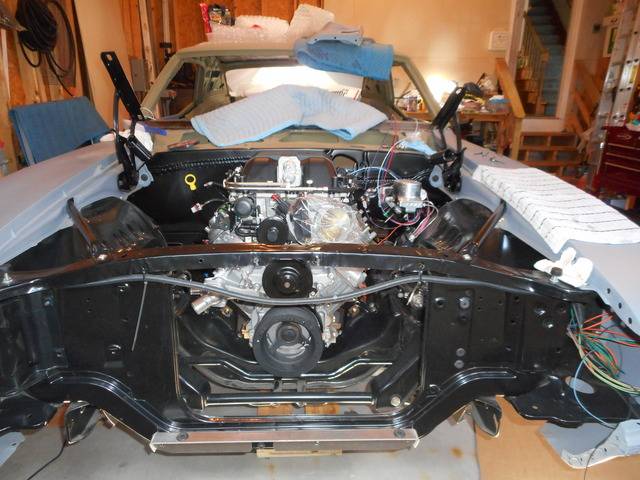
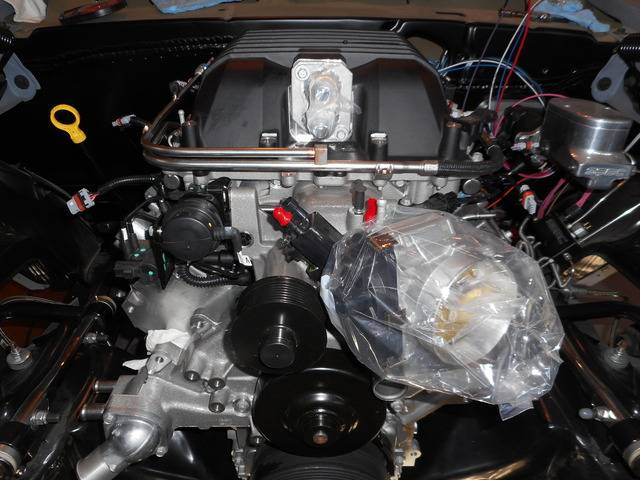
Room on the drivers side 2-3"s
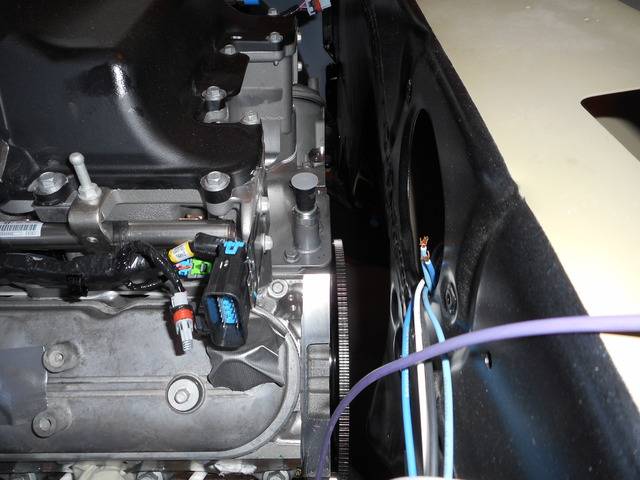
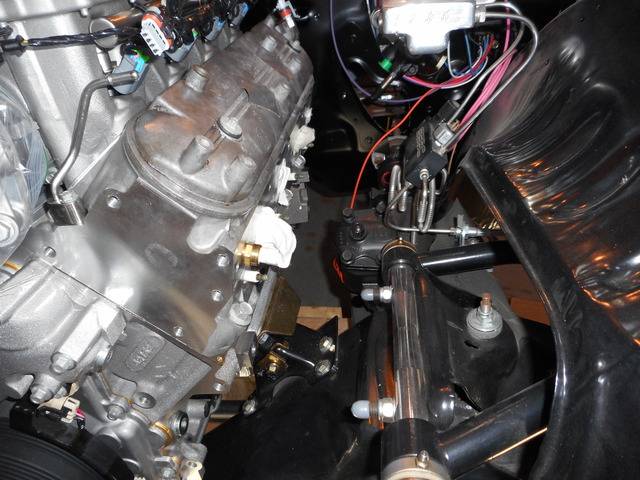
Tons of room in front of the motor
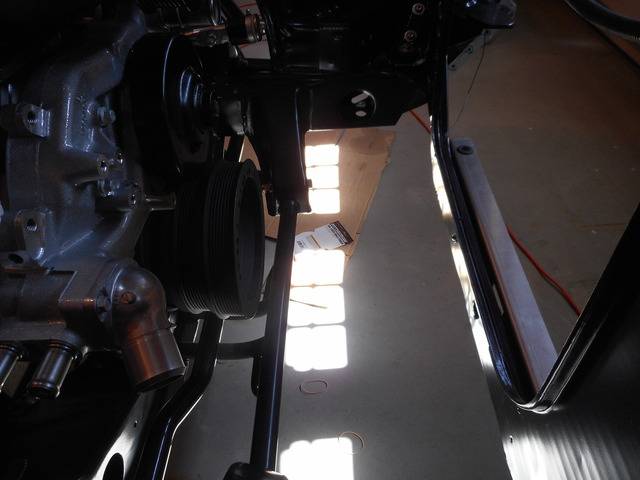
Looks like plenty of room for the headers on the passenger side.
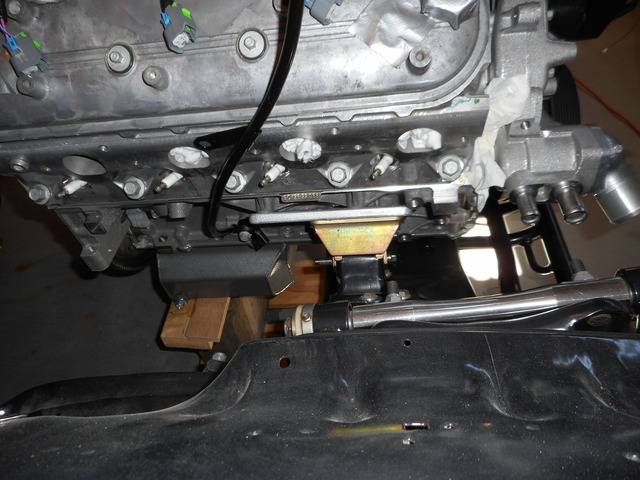
Plenty of room back here.
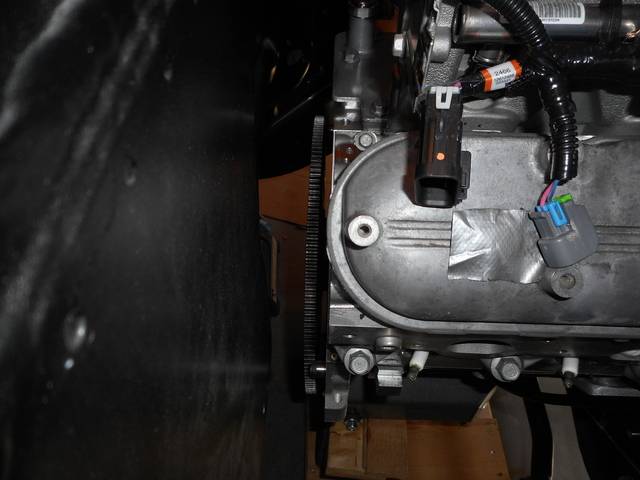
I have an Auto Kraft oil pan on here and it has plenty of room with the factory frame mounts and steering. Not touching anywhere. I turned the steering both ways and no problem. I used the backing plates that came with the poly mounts. If I see there is enough room, I might try it without them but if it helps the headers tuck up tight to the floor they will stay. I have plenty of room above the Transmission because I had the tunnel raised just incase the T56 I was going to use was tight.Wayne
Car FINALLY home !!!!!! lol
Project FNQUIK https://www.pro-touring.com/showthre...ghlight=FNQUIK
09-15-2015 #320
Registered User
- Join Date
- May 2011
- Location
- Brisbane, Australia
- Posts
- 453

A good day indeed! That's exciting progress and you have stacks of room. Very nice.
1967 Mustang Fastback - widebody https://www.pro-touring.com/threads/...stang-Fastback
1966 Plymouth Fury III
1961 Oldsmobile 88 "bubbletop" = next project


 Reply With Quote





