


Results 1 to 20 of 63
Hybrid View


-
11-28-2022 #1

 Registered User
- Join Date
- Jul 2021
- Posts
- 70
Introducing BISKWIK! 1961 Biscayne
Hello Everyone. I’m finally getting around to starting my build thread. I am enjoying the pleasure of making this 1961 Biscayne road worthy once again. A little back story… I have been around and wrenched on this car for almost 30 years now. I became friends with the owner when I was 17. I met him when I had questions about my 1963 Corvair w/400 SBC in the front. Anyhow, he had sold and bought back this car numerous times. Each time it went to different hot rodders who were friends of his. Each person made changes, upgrades, downgrades, whatever to it. I believe he owned it a total of five times since I have known him. It had combinations ranging from a 350 SBC w/671 blower, to 502 BB w/Procharger and 150 shot of nitrous. It was mostly a street/strip car that he took to car shows. The last owner who had it before he bought it back put a 454 w/671 blower in it. He became ill and was not able to complete the car. My buddy bought it back with intentions of retiring it from the racing scene and make a cruiser out of it. A year and half into it, he lost interest and that’s where I come in!
The car has a full cage in it now but will be modified to accommodate easier entry to the back seat for my kids. The setup it had when I acquired it was a bone stock 6.0 LQ4 with 4L60E. He purchased a Vintage Air AC kit, power steering setup, and a few other goodies for it. The power steering setup was installed and the AC kit is still in the box. Me being who I am, I could not have this beautiful machine running around with a stock motor in it.. especially after the history it has in my area.
Project updates will be added in upcoming posts. In the meantime, here are some pics…
The first pic is from 1997 when it had the 502 in it. It was a respectable land yacht that ran mid-6's in the 1/8th. I took this pic when he let me drive it for the weekend. The others are of when he got it back with the 454 in it and of the interior.
-
11-28-2022 #2
Registered User
- Join Date
- Jul 2021
- Posts
- 70
Picking up BISKWIK to bring it to its new home.
- - - Updated - - -
It's resting place for a bit as I acquired parts...
11-28-2022 #3 Registered User
- Join Date
- May 2012
- Location
- Kansas City, Missouri
- Posts
- 668

Cool project and story. Looks like the body is in great shape. Looking forward to updates
11-29-2022 #4
Registered User
- Join Date
- Jul 2021
- Posts
- 70
Thank you! It is in good shape for sure. The previous owners did take good care of it. Originally Posted by thumper877

It has definitely been slow going. I have had it for about a year now and do not get to work on it much. Between that and trying to do everything in my very used garage, it is a challenge at times. I will do my best to update the thread to its current state. Stay tuned!
11-29-2022 #5
Registered User
- Join Date
- Jul 2021
- Posts
- 70
One of the biggest hurdles I will have to overcome is how to run the exhaust. The frame is braced as you can see in the pic. I think I may obtain some square tubing two weld in place between the bracing and frame to make a channel. I do like the idea of having the X-frame braced, I just don't know if I can make it work. I do not want to run the exhaust under the bracing as that will kill any ground clearance. Thoughts anyone?
11-29-2022 #6
Registered User
- Join Date
- Jul 2021
- Posts
- 70
Goodies from CPP and Summit start to arrive…
CPP - Big brake upgrade and brake booster
SUMMIT - Stage 2 Pro LS Truck Cam Kit, Stainless fuel line, a few odds and ends, and a Holley Terminator X Max 4 months later.
11-30-2022 #7 -Moderator/Sponsor-
- Join Date
- Apr 2001
- Location
- The City of Fountains
- Posts
- 16,125
Really cool history and neat project.
Since you have the Terminator X Max, I suggest using an intake with a 4 bolt flange and going with a stock 90mm LS3 DBW throttle body. Also, if you don't already have a radiator or cooling fan, I suggest using one of the modern brushless fans. The Terminator X can generate an appropriate signal for it and run it variable speed.
Also, Vintage Air offers kits to install a pressure sensor in the AC system. My suggestion is to wire that as an input to the Terminator X. Then we can use AC pressure to control the sped of the fan, regardless of engine temperature.
All of these things will make it work like a modern car. If I can help with any of this and the tuning, please keep me in mind.
Andrew1970 GTO Version 3.0
1967 Cougar build
GM High-Tech Performance feature
My YouTube Channel Please Subscribe!
Instagram @dr__efi
I deliver what EFI promises.
Remote Holley EFI tuning.
Please get in touch if I can be of service.
"You were the gun, your voice was the trigger, your bravery was the barrel, your eyes were the bullets." ~ Her
12-01-2022 #8
Registered User
- Join Date
- Jul 2021
- Posts
- 70
Thank you for those tips, Andrew! I am using a DBC TB currently. What would the advantage be for going to DBW? Originally Posted by andrewb70
12-28-2022 #9
Registered User
- Join Date
- Jul 2021
- Posts
- 70
Hello Everyone! I'm working on catching this thread up to present day....
First order of business, I wanted to rebuild the front end. It received new ball joints, bushings, tie rod ends, drag link, springs, and the brake upgrade. It already had a CPP Power Steering unit installed with a new Pitman arm, so that was good. I will install the front sway bar later once I figure out and fabricate the sway bar bolt mounts for the control arms.
I don’t know what springs were in it when I got it, but it looked like it was shooting for some good 60’s! Definitely had to fix that ASAP!
I'll update pics when I take more with all the new suspension/steering components in place.
12-28-2022 #10
Registered User
- Join Date
- Jul 2021
- Posts
- 70
Wheels were ordered and received. BISKWIK will be sporting a set of Boyd Coddington Junkyard Dog to the tune of 20" REAR and 18" FRONT.
I will more than likely be dropping the front a little bit more. We shall see once I get a tire mounted.
I will be running 285/35/20 on the rear and 24/45/18 on the front.
12-28-2022 #11
Registered User
- Join Date
- Jul 2021
- Posts
- 70
I can't be left unsupervised....
Out with old.... In with the new!
- - - Updated - - -
I also added a LS2 style dampener with Melling adapter bracket and new timing chain set.
01-17-2023 #12
Registered User
- Join Date
- May 2009
- Location
- Minnesota
- Posts
- 615
Love the new stance. It's amazing what new shoes can do for a car. And, the tires and rims you took off will look great on another car.
Are you going to replace the door cards so you have arm rests again?? Keep the updates coming.
01-28-2023 #13
Registered User
- Join Date
- Jul 2021
- Posts
- 70
Thank you! Yes, wheels can make or break a ride, in my opinion. I will find a new home for the wheels I took off. They have 0 miles on them and even come with a matching spare. Originally Posted by 68400BIRD
I will come up with something to add armrests for the doors. I would really like to change the interior completely. That is a lot of white! It just isn't in the cards for me at the moment though.
07-31-2023 #14
Registered User
- Join Date
- Jul 2021
- Posts
- 70
WOW! I have definitely been slacking on updating my thread here. I apologize about that everyone.
Well.. Here goes!
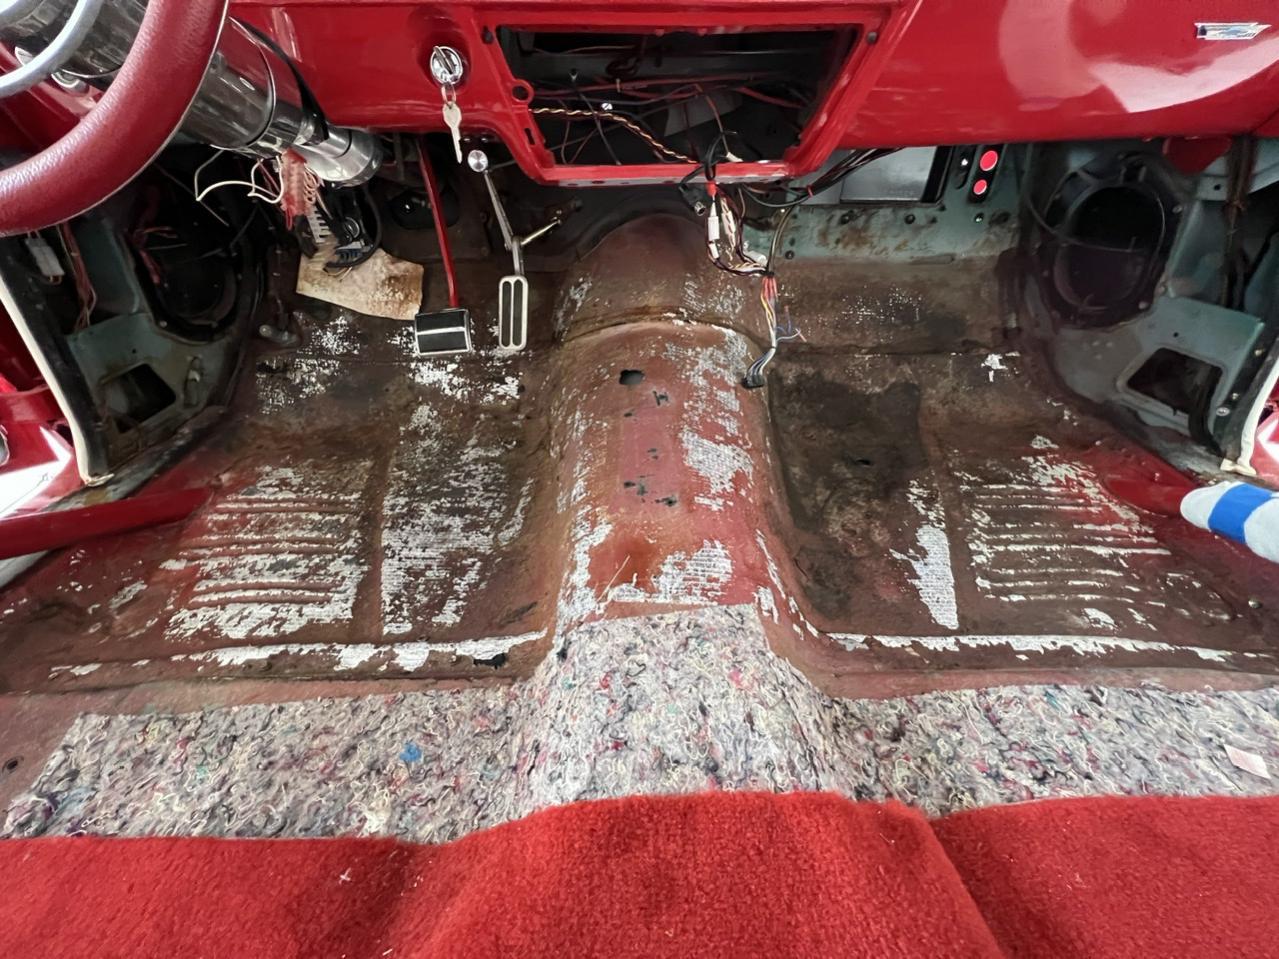
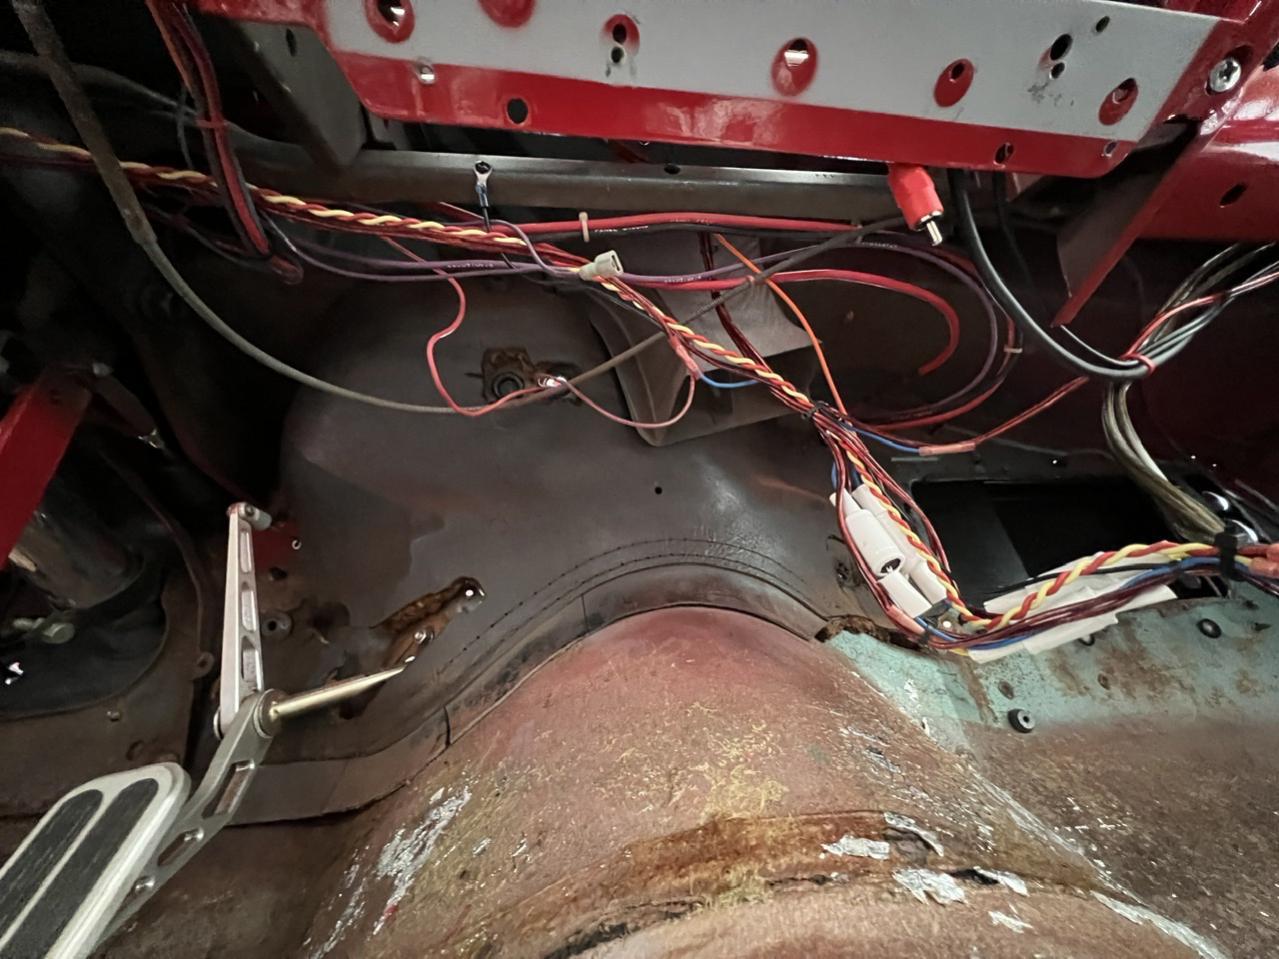
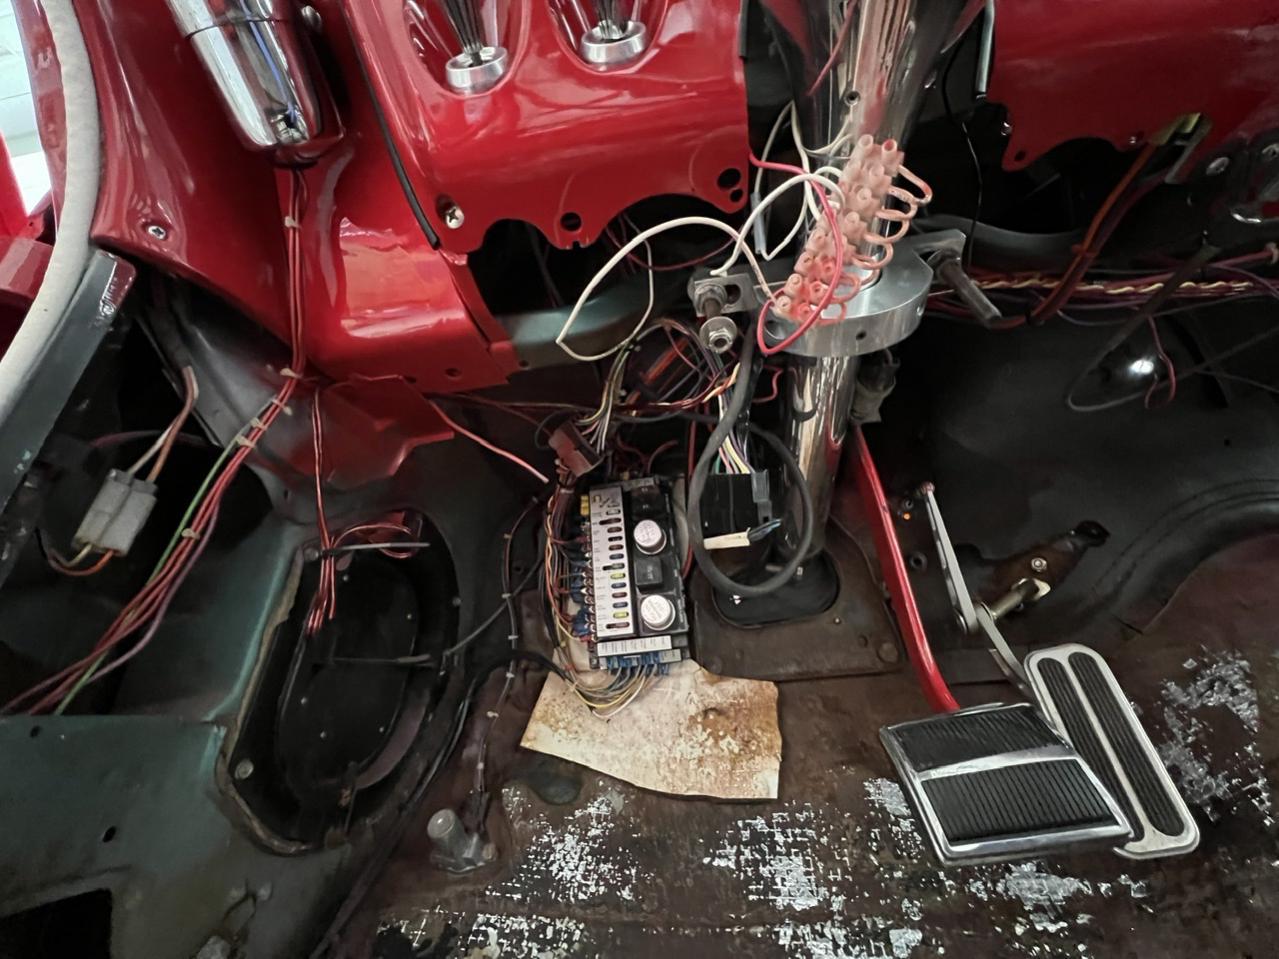
The floor pans are in good shape. I’ll deal with the wiring nightmare as I work on the Vintage Air.
07-31-2023 #15
Registered User
- Join Date
- Jul 2021
- Posts
- 70
I started working on mocking up the Vintage Air system. I can say that I definitely do not like the chincey plastic firewall cover that is supplied with the kit. I would like to replace that with metal and used bulkhead fittings. We shall see what I can come up with. Anyone have any ideas in the meantime?
As you all can see, the many years in Kindergarten almost paid off. I stayed on the lines pretty much.
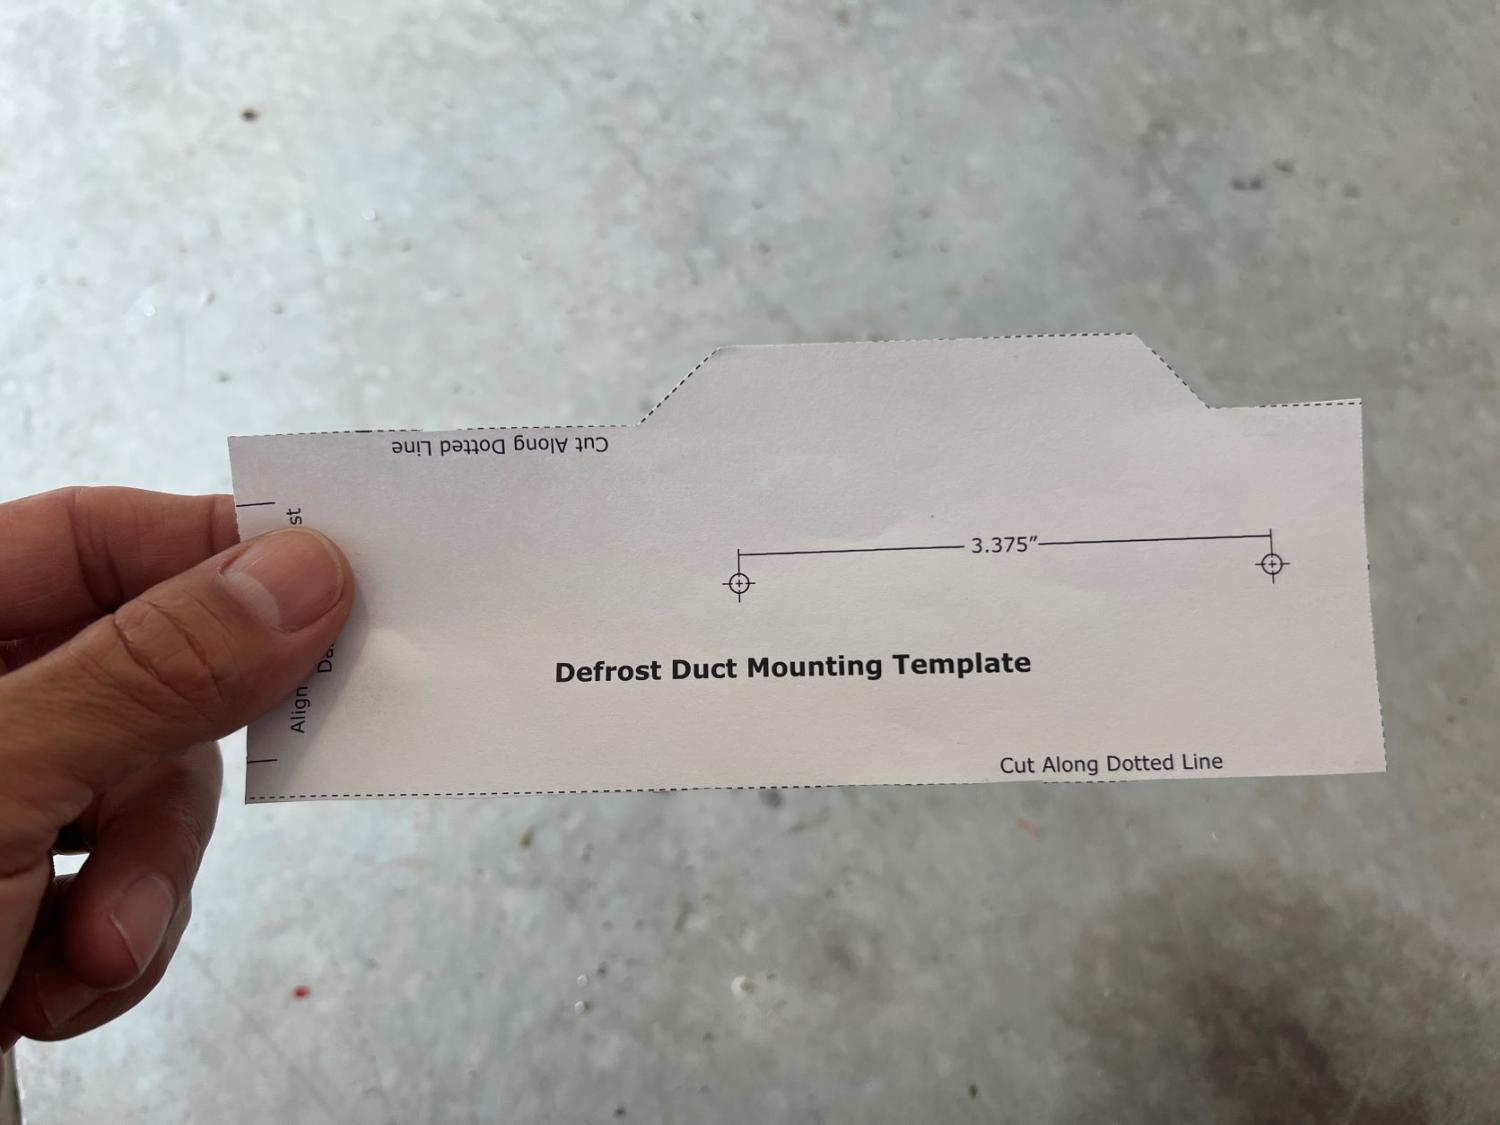
The template goes somewhere in this area. This looked like a good spot.
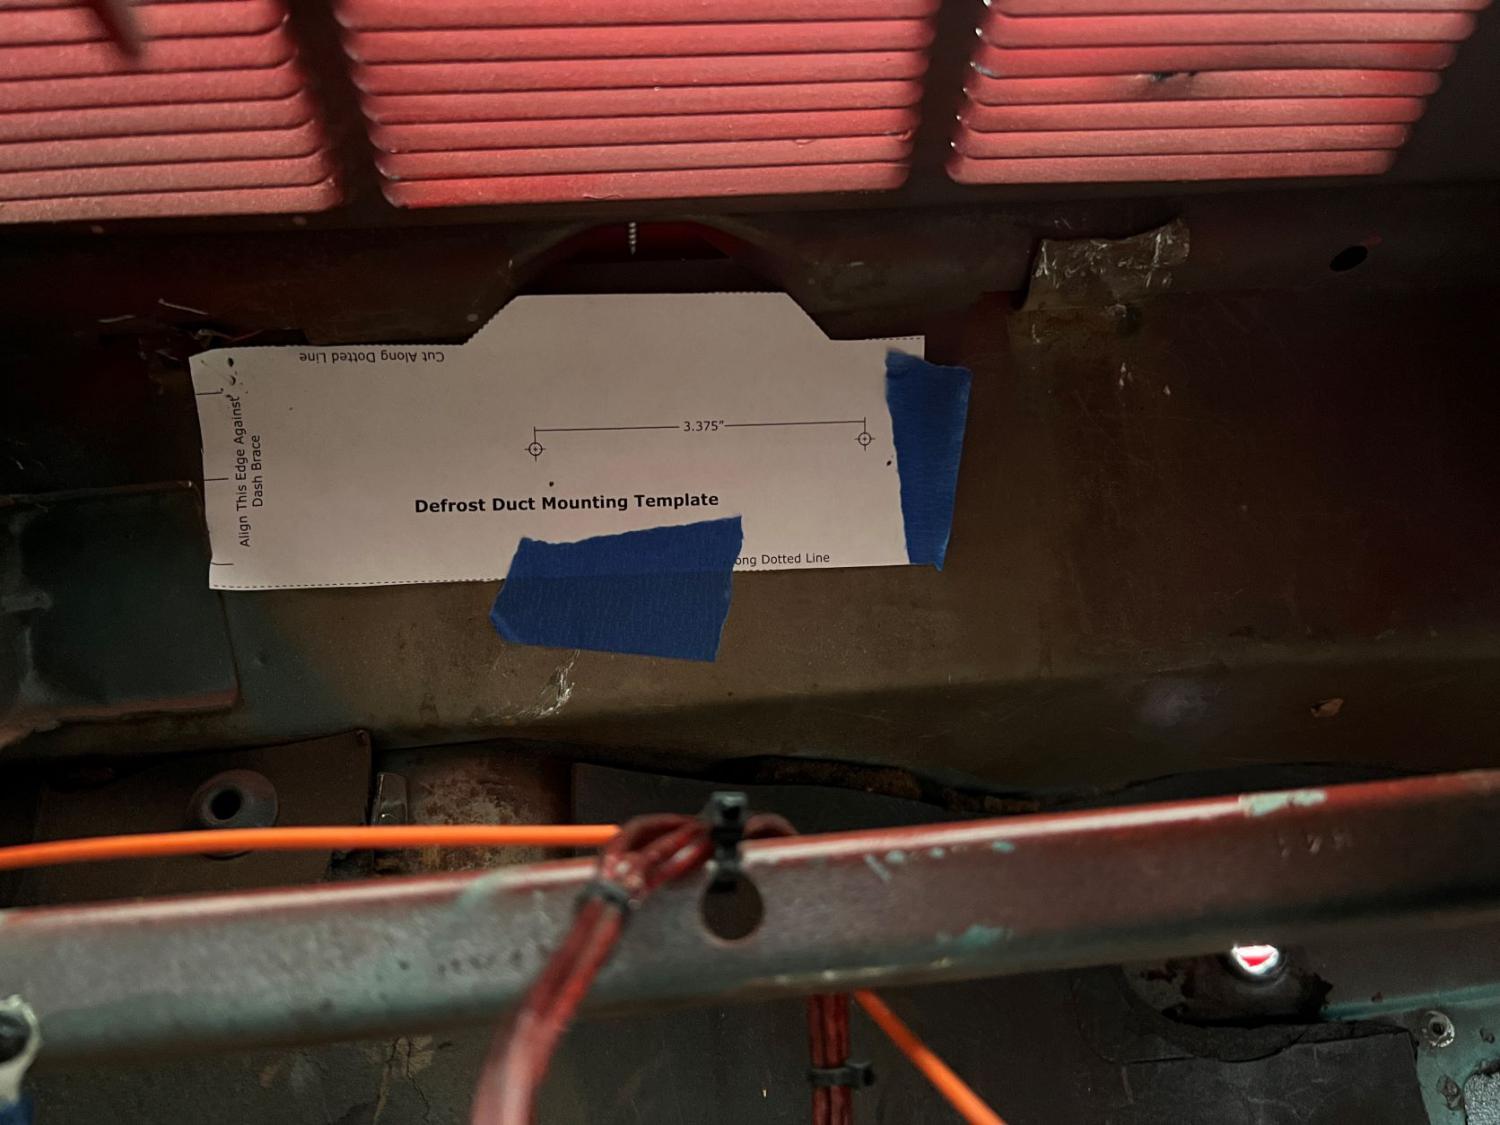
The template was pretty much useless if you ask me. I ended up just holding the duct in place and using a center punch to mark the holes. Worked perfect!
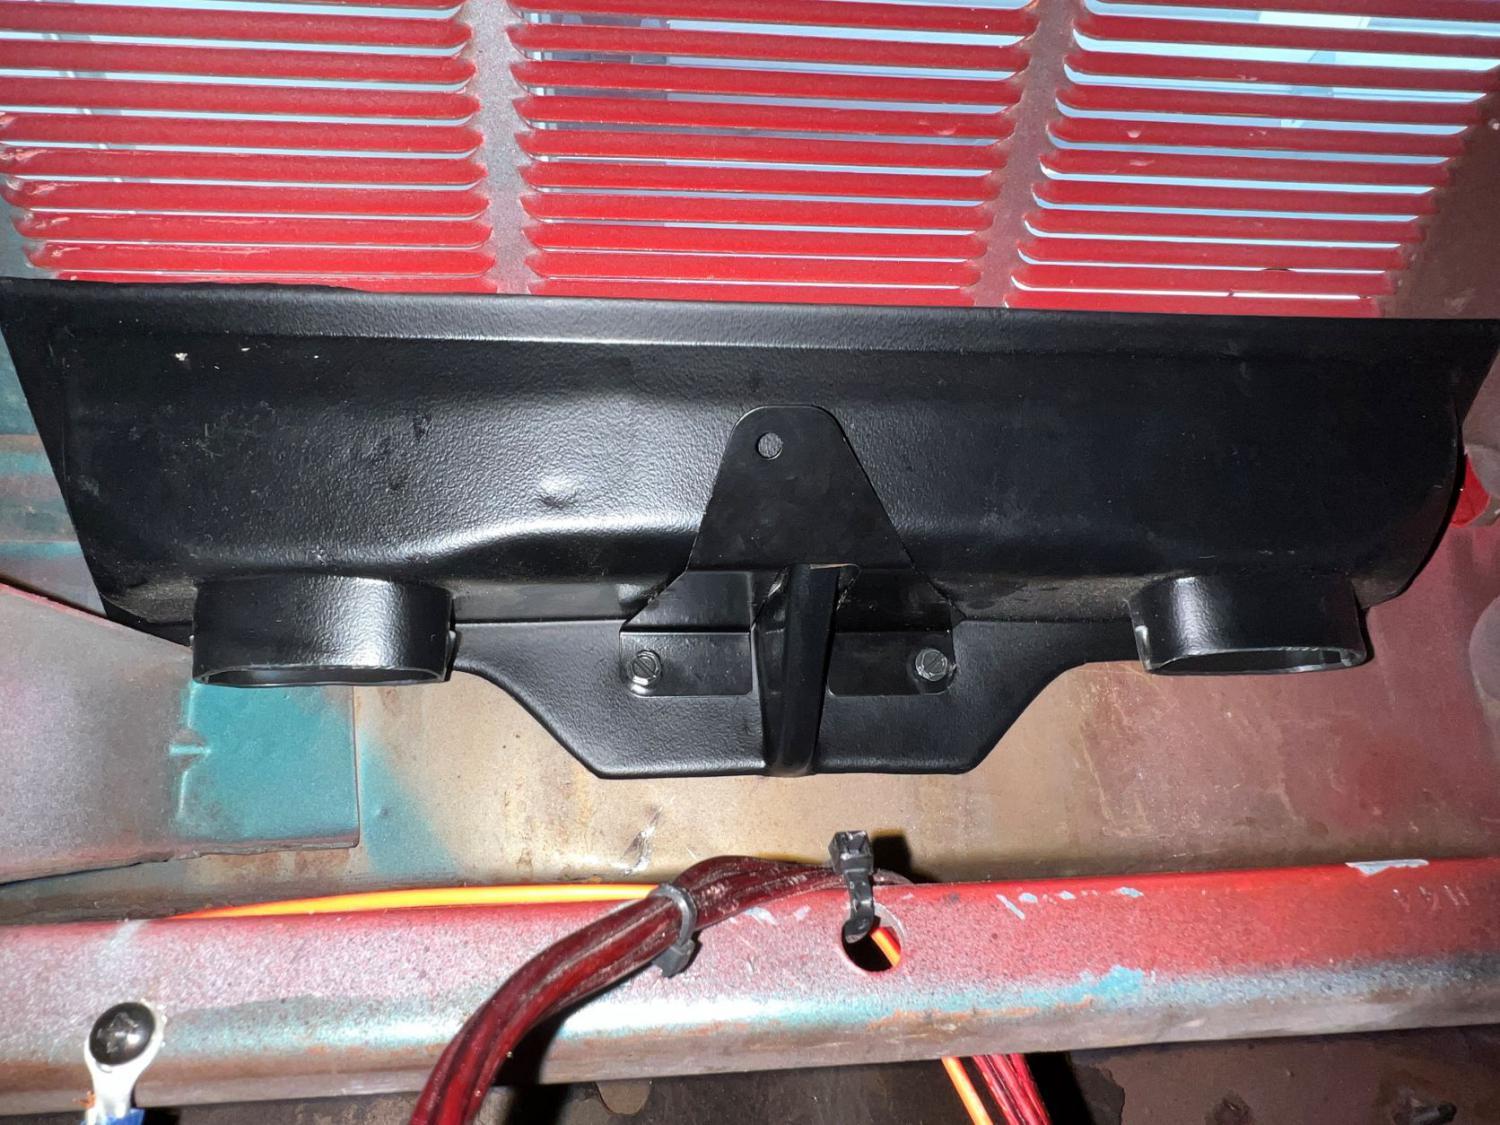
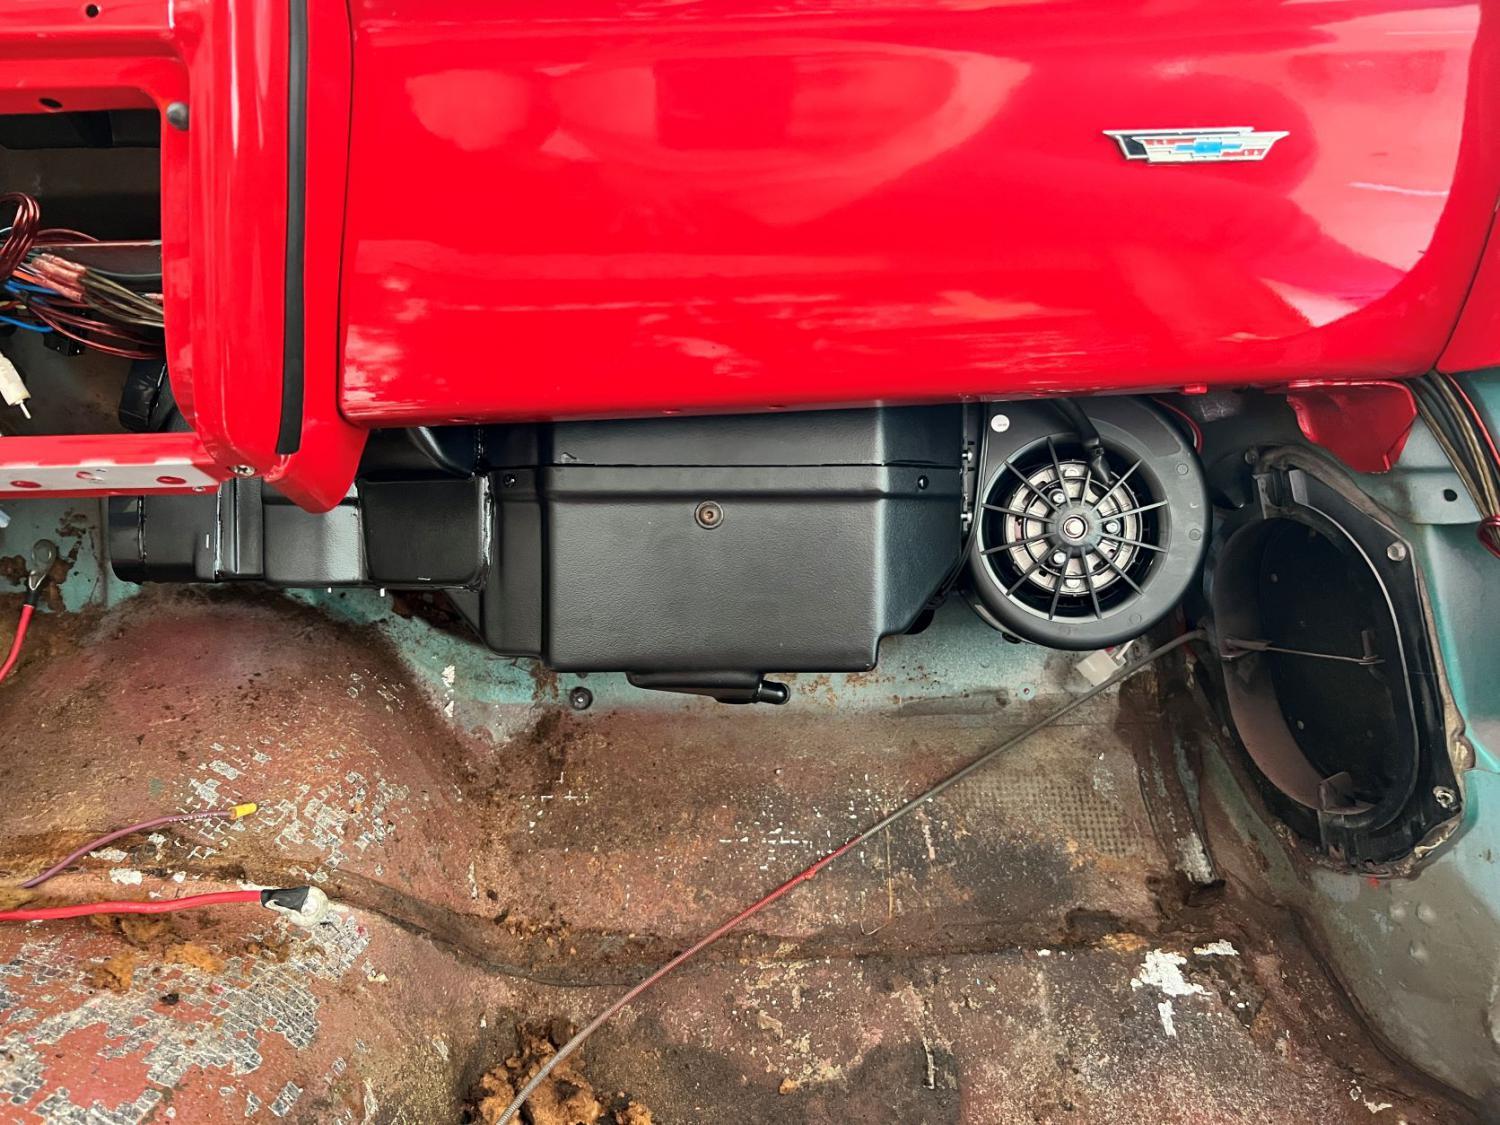
The airbox is mounted temporarily. I will layout everything for the Terminator X Max next and also determine how I want to run the AC and heater lines. And Yes, the wiring under the dash will be addressed too. I'm leaving it in place now for your viewing pleasure.
07-31-2023 #16
Registered User
- Join Date
- Jul 2021
- Posts
- 70
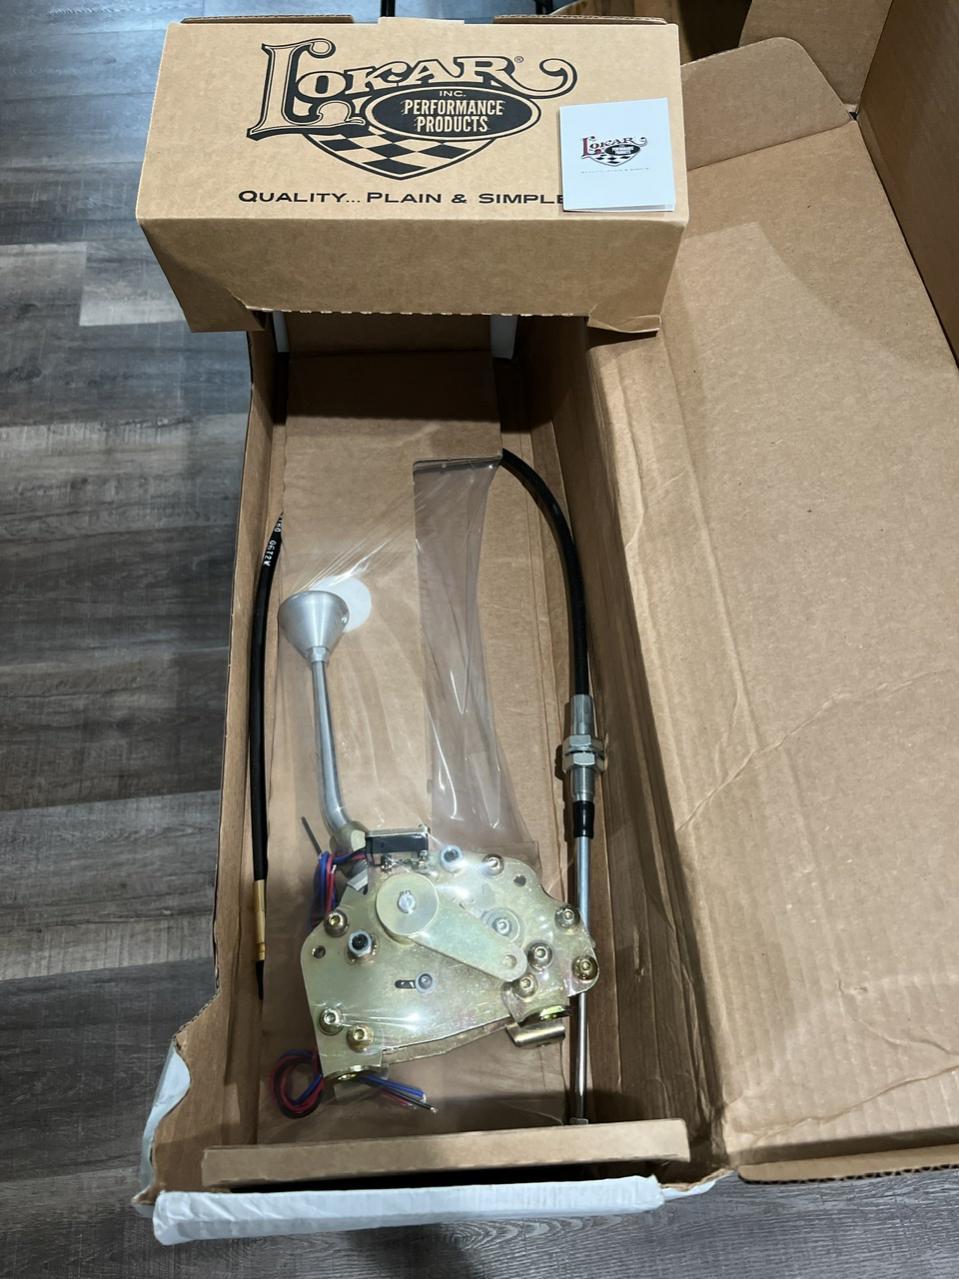
I finally received my Lokar shifter from Jeg's. It was not the original one I wanted, but it kept being pushed further and further away on backorder. I ended up contacting Jeg's and working out a deal for Lokar's "Smart Shifter." A bit more expensive than the one I ordered, but Jeg's worked with me on the price and got it to within $45 of what I paid originally.
08-01-2023 #17
Registered User
- Join Date
- Sep 2004
- Location
- Chicago - western burbs
- Posts
- 681
On your A/C closeout panel...dont the heater tubes and plastic case on the Vintage Air unit stick out past the fire wall (they do on mine, about 1/2")? Thats what the square recess on that ugly plastic panel is for. I am just gonna use the original heater box cover cause I don't really care for the flat panels either. It does however mean I'll need to do more work on custom lines as the VA provided ones will not work.
wow...that last picture of the bottom of the frame...how the heck did that get bent that bad?? Thats the center bearing mount, right? Being a former race car I assume a busted driveshaft? Are you using a one piece driveshaft now? Maybe just an optical illusion? but my two frames are perfectly flat on the bottom.
08-01-2023 #18
Registered User
- Join Date
- Jul 2021
- Posts
- 70
The unit used to stick out of the firewall. I modified the brackets on the unit to move it inward enough to clear the firewall. Mine only had the VA piece in place when I purchased the car. I ended up purchasing some reduced barrier A/C lines and fittings so that I can manipulate them easier under the dash. Originally Posted by Rubes
It may just be the angle that I took the pic. The carrier bearing mount is not twisted like it appears in the pic. It does have a one piece driveshaft now though.
08-02-2023 #19
Registered User
- Join Date
- Jul 2021
- Posts
- 70
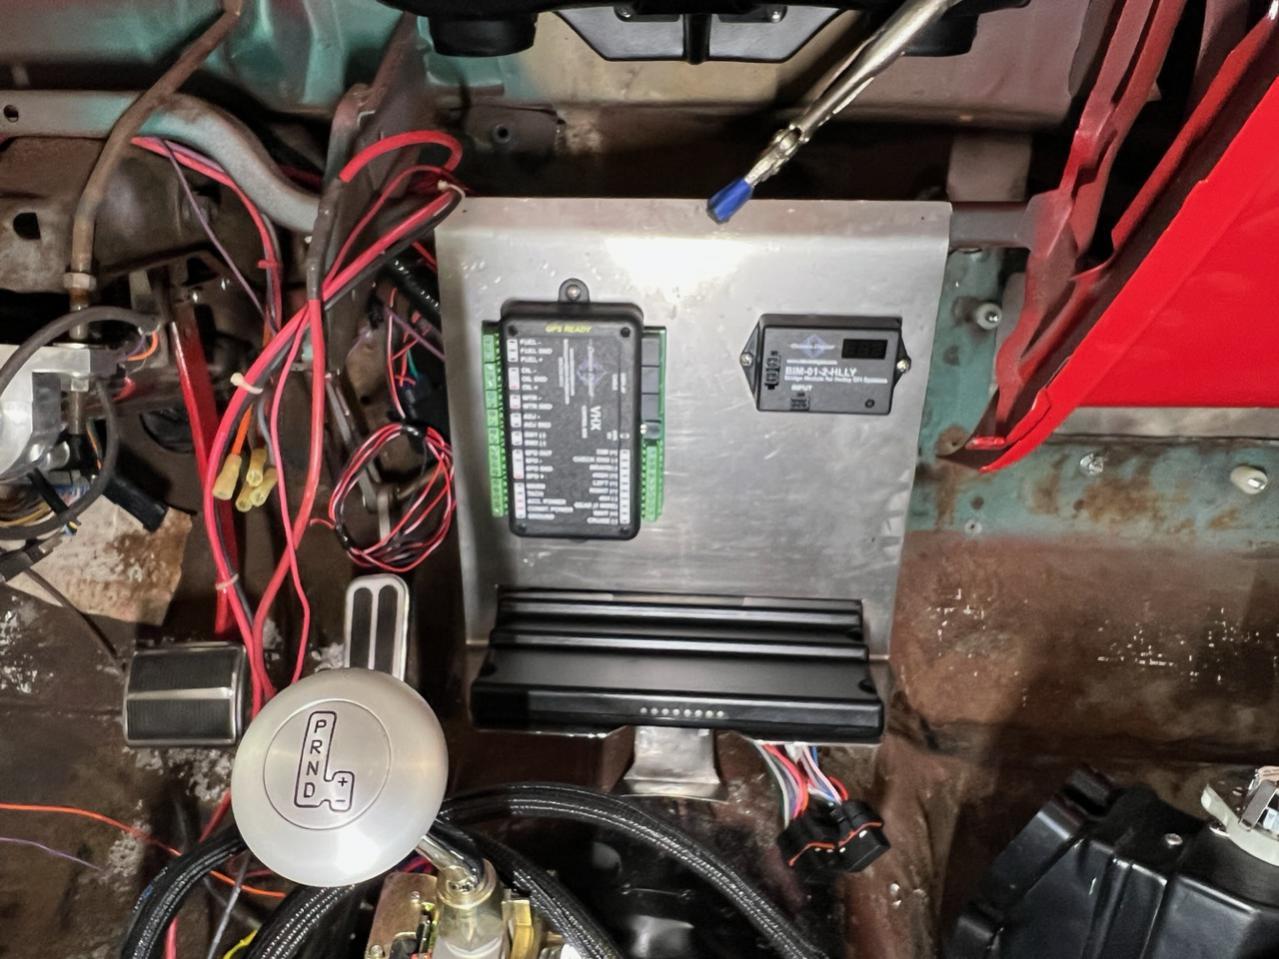
This is where I plan on mounting the modules for the Dakota Digital dash and the Holley Terminator X Max. I will clear the dash once it is back in place and still have room for the glovebox.
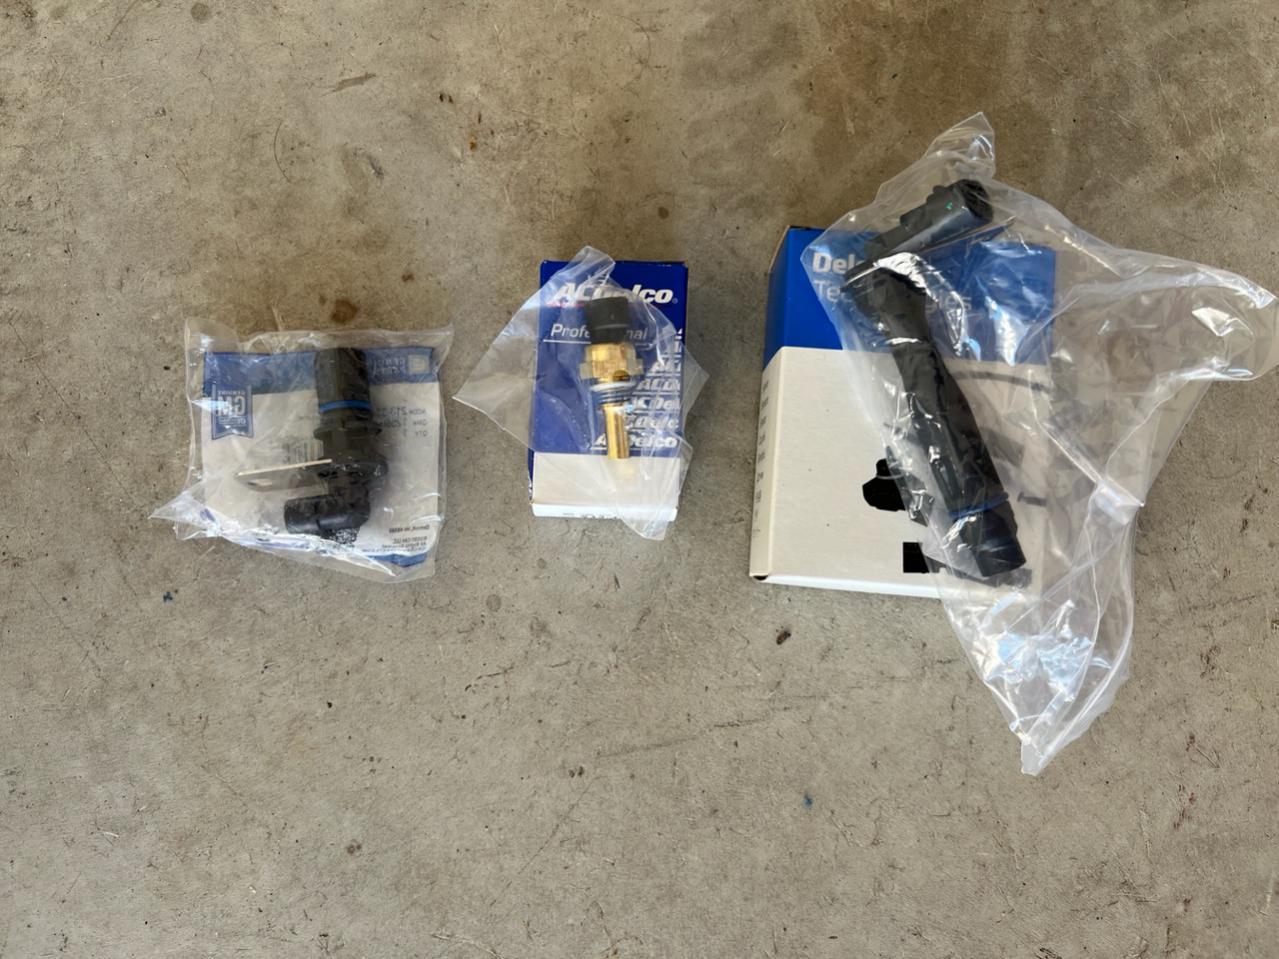
I also ordered new sensors to replace the old ones.
- - - Updated - - -
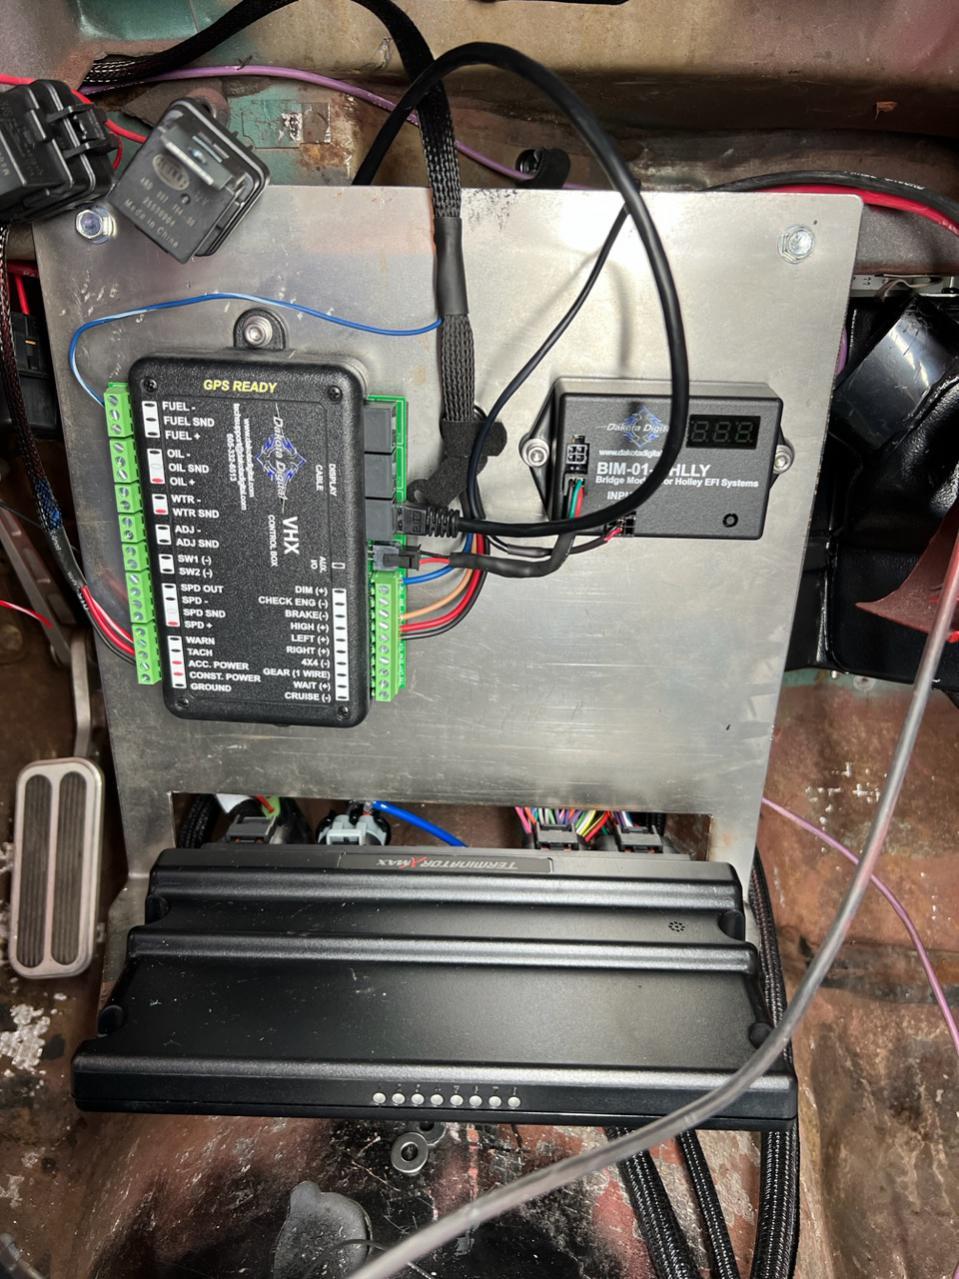
Really rough mock-up of the wiring... It will be dressed and secured nicely once completed.
08-02-2023 #20
Registered User
- Join Date
- Jul 2021
- Posts
- 70
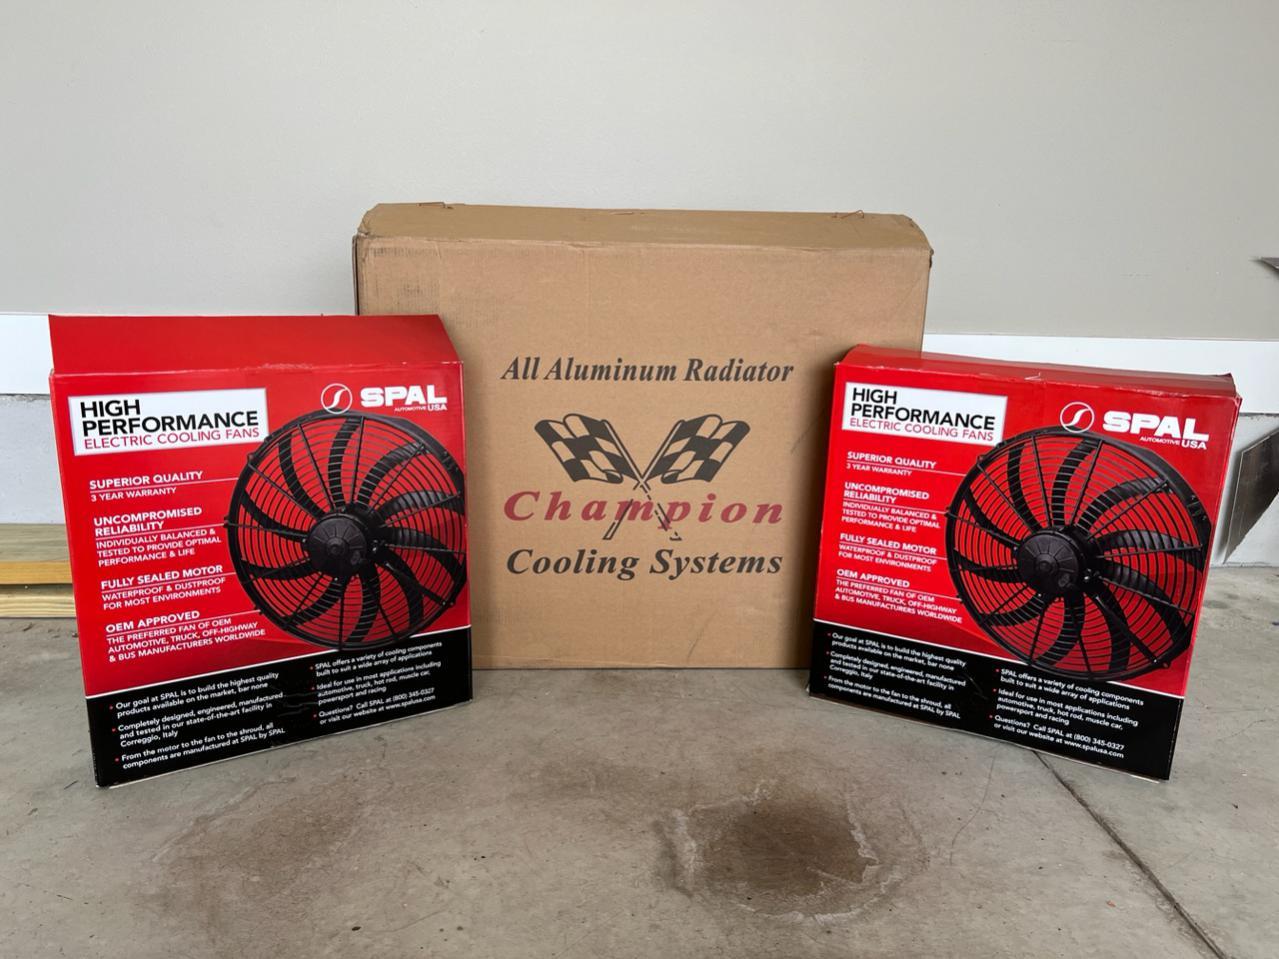
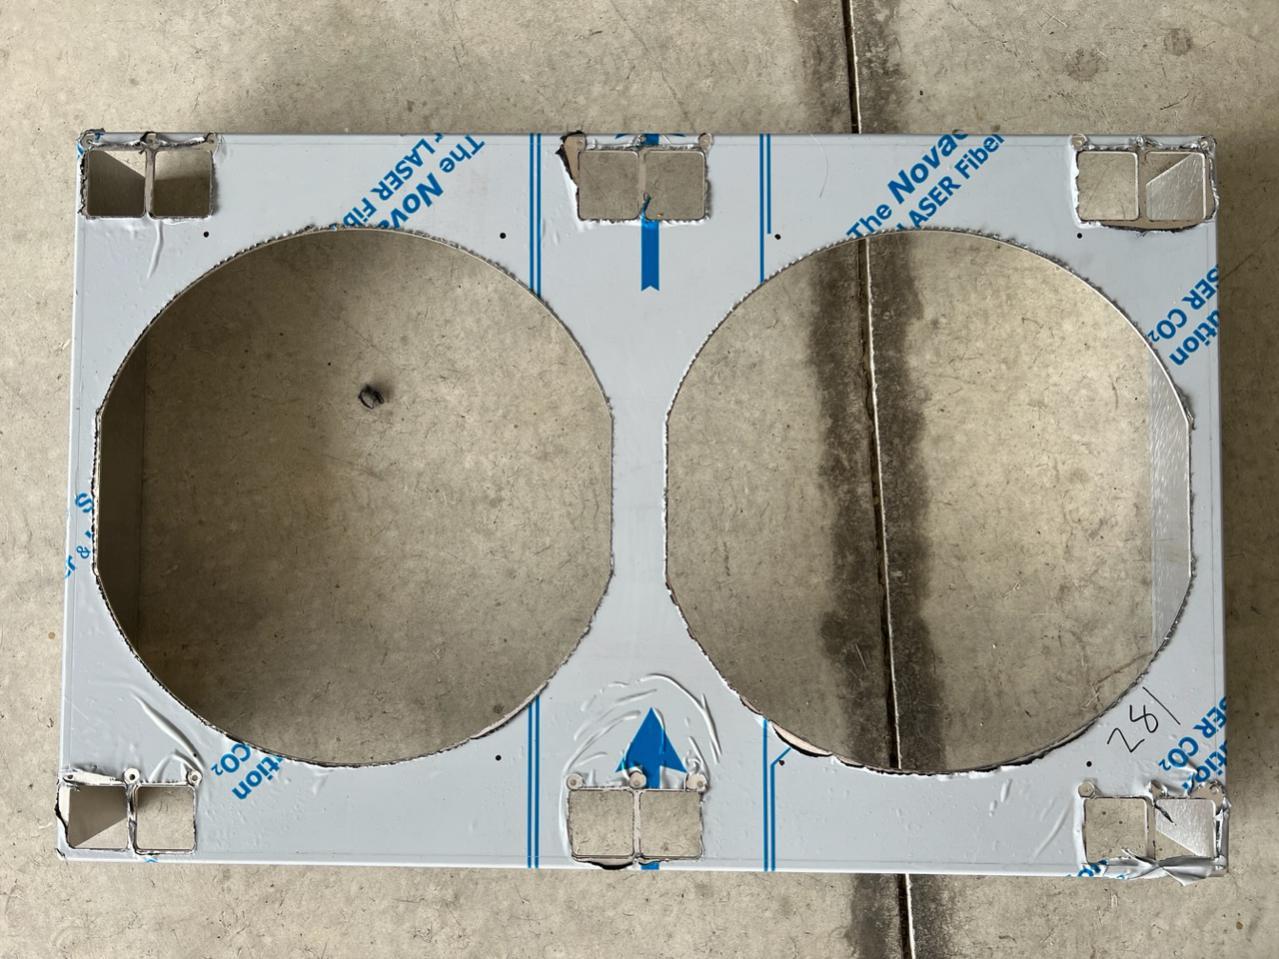
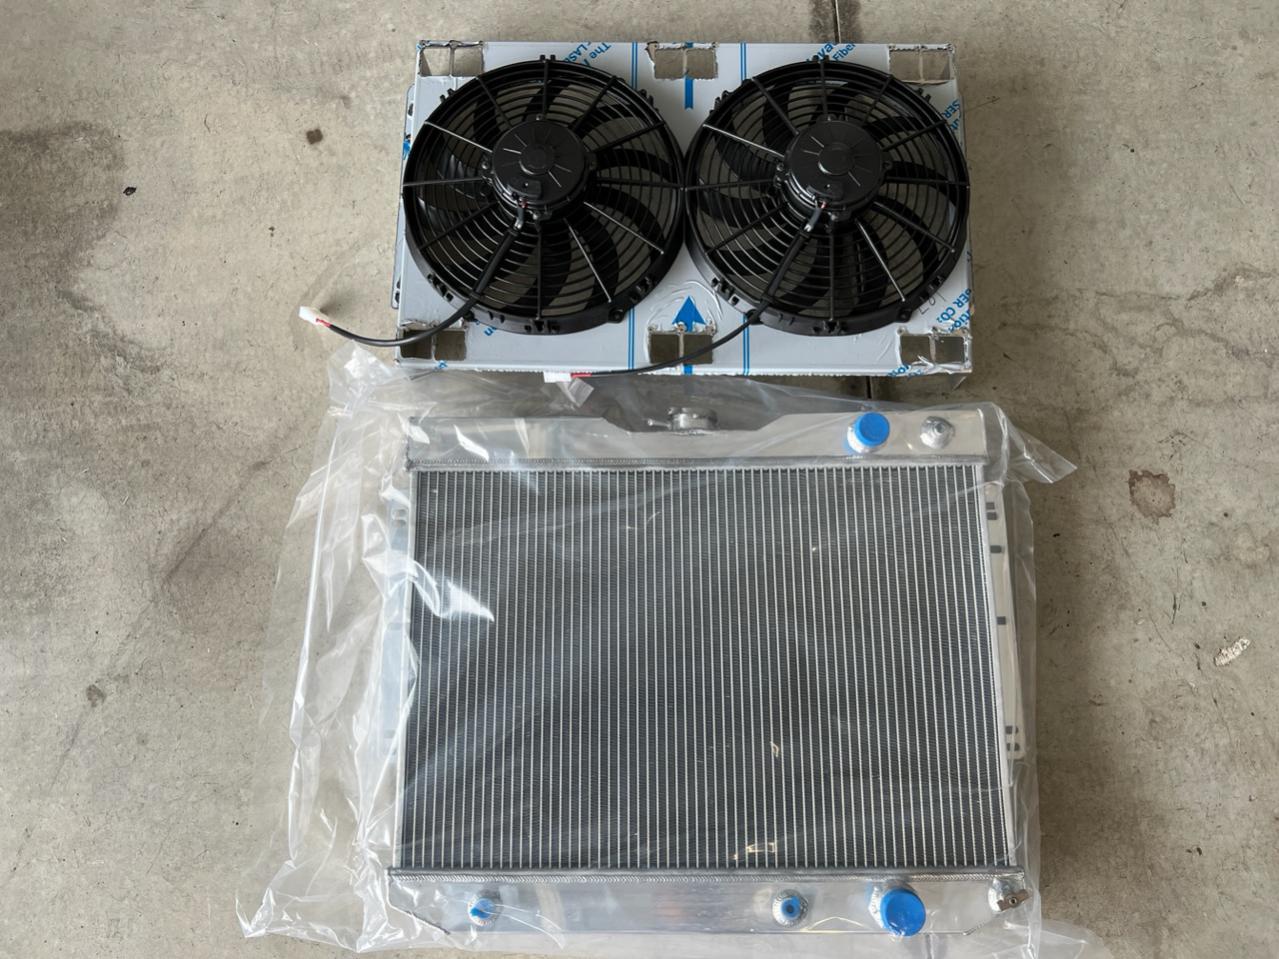
I managed to pick up an Impala/Biscayne LS Swap specific radiator/fan setup. It is a three row with a steam vent inlet and dual Spal fans. I'll pair these up with an MSD Sold State Relay. I was thinking of running them as pwm, but these are not brushless fans. Has anyone had success running brushed fans on a PWM? Please let me know!
Tags for this Thread

 Reply With Quote



