


Results 41 to 53 of 53
Thread: 1986 Nascarlo 2.0
-
12-11-2016 #41
 Registered User
- Join Date
- Jul 2013
- Location
- Grayslake IL
- Posts
- 312

So I'm at a crossroads with build here. My body guy friend cane over and saw what I did with the paint on this car...to say the least he thought it was atrocious haha. Not necessarily the color but the application. I too have been having doubts about the paint and am not as fond of the red/white/blue as I thought I would be so I come here to ask your guy's opinion because I go back and forth on the matter. Doni repaint it a different color scheme but still continue with a NASCAR theme and actually have a nice color combo and sticker it up with sponsor decals, numbers, the whole 9 yards? Or my alternative is I was thinking of just stripping all this paint and going with a simple white paint job, clean/subtle and ultimately not as crazy as this. What's your guys opinion?
I always tell others to take the high road, that way there's more room for me on the low road
Erik Peterson
1986 Monte Carlo SS Build Thread: https://www.pro-touring.com/threads/...6-Nascarlo-2-0
-
12-12-2016 #42
Registered User
- Join Date
- Nov 2013
- Location
- sacramento/redding CA
- Posts
- 14
Hi i just saw your thread and have to say looks like a fun build,
I've always loved the g-body in a nice clean white with the black cragars so i will say I'm biased. But at the end of the day what do you want? Clean subtle and maybe a little bit of a sleeper? or do you want something that's clean but also draws attention and will stand out more so?
12-13-2016 #43
Registered User
- Join Date
- Sep 2016
- Posts
- 44
At this point, I feel like I've seen 100,000 variations of paint on Monte Carlo's...from lowriders to drag cars. Yours was certainly different. I'm not a fan of all of the decals, but I think you can still go with red, white, and blue, just maybe in smaller doses. Maybe a white car with red/blue stripes or some variation of that. Originally Posted by epeterson

02-16-2017 #44
Registered User
- Join Date
- Jul 2013
- Location
- Grayslake IL
- Posts
- 312
Sorry for the lack of updates guys, I think its been around 2 months since I last posted progress. Been very busy prepping my 71' Chevelle for paint and sorting the mechanical's with that car. But back to the Monte!
The entire phase 1 build of the suspension is complete!
Here is a list of what has been added to make this car semi competent in the coming autocross season:
Front QA1 Sway Bar
2" Belltech drop spindles
Wilwood Hubs with ARP wheel studs
MOOG Balljoints
C5 corvette front brakes with UMI adapter bracket
1" drop springs which i had from a previous g body and have forgotten the company haha
UMI shocks
Flynbye stainless brake lines
Rear QA1 sway bar
Rear UMI shock tower brace
Rear UMI shocks
Rear UMI 2" drop springs
Rear QA1 lower trailing arms
17x8 Cragar Window D wheels with 255/40/17 Bf Goodrich Sport Comp 2's all around
1/4 Billet Spacers in the front to clear the caliper face
But thats about the extent of upgrades at the moment. This has been phase 1 of my suspension build to get me going out on the autocross course. As the car evolves more so will further suspension upgrades.
Upcoming plans for the car now are:
-New Paint! Not as fond of this paint as I thought i would be and i have started the process of sanding again to make way for a new more permanent paint job with the help of a body friend of mine. Undecided on the exact scheme but have a rough idea of how I want the car to look and I think its really going to be a looker once were done with that.
-New Rearend! The current 7.5 10 Bolt isn't going to cut it for the plans I have with this car so I am in constant search of a nice 8.5 rear that can bolt into this car.
-New engine! The plan is to build a 5.3 to go into here. I have one in the garage currently but am unsure if it will be a good starting point to build upon so I am looking out for a clean lower mileage one now. I have cam and heads for it along with an oil pan and all accessories. Once a new shortblock is purchased it should go together pretty quick.
-Seats. I sold the stock seats as the mounting brackets had broken and the stock side bolstering wasn't going to cut it. In the market for nice fixed back seats now.
Some pictures and updates from the last two months:
The driver front shock mount in the lower control arm had rusted and broke and in order to get the front springs and shock out I had to cut the shock and maneuver the coil spring out in order to get room to work on getting the lower mount off. This is the aftermath of that shock haha.
Old Windshield had some major cracks all throughout it and I didn't think tech inspection would let me run with it so a new windshield has gone in as well!
New FlynBye stainless brake lines, impressed with the quality and fit right up with no leaks, Also comes with standard banjo bolts for stock brakes and new banjo bolts for C5 calipers with associated washers.
First time the car has been off of jack stands, outside and seen the light of day since December, id say its coming along and the ride height is alright the way it is right now. It felt good to get all the dirt, dust and grime out from underneath where that car had been for months.
The chevelle thats been taking up most of my time along with the monte and daily driver silverado in the background.
Monte and the Daily Driver Silverado out for a picture during this week of nice weather.
Finally the clearance between the larger aftermarket sway bar and the 255 front section width of the tires. Most of the people on g body forums are saying a 245 is the maximum width for our cars before you end up rubbing on the front bar. Well even with the added girth of the new front bar and 255 I still do not contact at full lock. I'm sure once the car is out on the course and its in action it will rub somewhat, but on the few test drives i've done since all these upgrades I haven't gotten it to rub once, so i'm quite happy with that.
Well thats all for this update, I believe this post has been long enough haha. Thank you guys for checking it out and ill be sure to update with some more progress soon!I always tell others to take the high road, that way there's more room for me on the low road
Erik Peterson
1986 Monte Carlo SS Build Thread: https://www.pro-touring.com/threads/...6-Nascarlo-2-0
02-17-2017 #45 Registered User
- Join Date
- Aug 2004
- Location
- Greenville, IL
- Posts
- 262
Nice build, this actually gives me some motivation to work on my Monte. I will have to say I am not really a fan of the tri-tone paint scheme, but I am not one to tell how you "should" build your car. I enjoy seeing the g-bodies being built on here. Keep the updates coming. I will attempt to do the same. Unfortunately, that is going to be difficult for me with starting a new job.
Joe Marti
86 Monte Carlo SS build thread
65 Mustang Coupe
00 WS6 Trans Am (wife's car)
15 Silverado LTZ 4x4
03-01-2017 #46
Registered User
- Join Date
- Jul 2013
- Location
- Grayslake IL
- Posts
- 312
New update! Was having some issues with the brakes but got it all ironed out now and they stop hardddd! Very happy with the results. But the big news is I finally picked up the engine for the Monte! It's an iron 5.3 ls motor with roughly 80k when pulled. It's very clean inside and out so the main jobs will just be cleaning and installing new parts on it. I have new heads and an ms3 can to throw in it right now. I just purchased some arp head bolts and have some new head gaskets on the way so the motors top end should be all installed by the end of the weekend. More updates to come soon!
Unloading the engine off the truck next to the Monte
The garage in chaos because I was switching some motors around on the stands I have so I can work on this new 5.3 for the Monte
Finally getting some of these motors organized so I can work efficiently haha
Also removed the rear seat this weekend, going to be saving up for a cage to go in and the rear seat is not staying in the car so removed it when I had some free time. It's packaged up and sitting in the garages attic now in case I ever feel the need to put it back in the car
Closer look at the short block and the heads I got with the motor all cleaned up now
That's all for now! Hope to update soonI always tell others to take the high road, that way there's more room for me on the low road
Erik Peterson
1986 Monte Carlo SS Build Thread: https://www.pro-touring.com/threads/...6-Nascarlo-2-0
03-05-2017 #47
Registered User
- Join Date
- Jul 2013
- Location
- Grayslake IL
- Posts
- 312
Small update for the last few days! Started ordering parts and getting the motor assembled.
Putting a new rear main seal in as long with the rear cover gasket, really trying to cover the motor with all the new gaskets to not have this thing leak oil like any other 5.3 ive had for awhile! Haha
Then i attached the rear cover and got the flexplate on as well.
And yesterday I got my arp head bolts in the mail! Still waiting on the headgaskets to assemble the top end but they will be here soon!
Thats all for now, will update with new info soonI always tell others to take the high road, that way there's more room for me on the low road
Erik Peterson
1986 Monte Carlo SS Build Thread: https://www.pro-touring.com/threads/...6-Nascarlo-2-0
03-06-2017 #48
Registered User
- Join Date
- Jul 2013
- Location
- Grayslake IL
- Posts
- 312
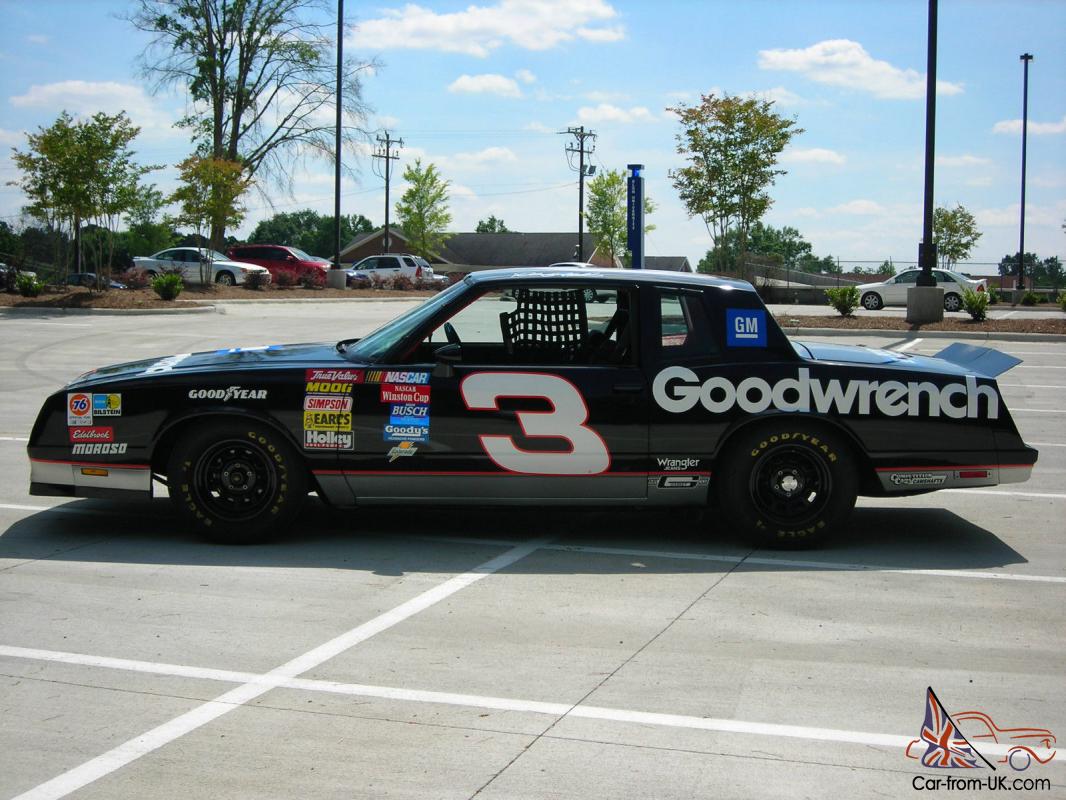
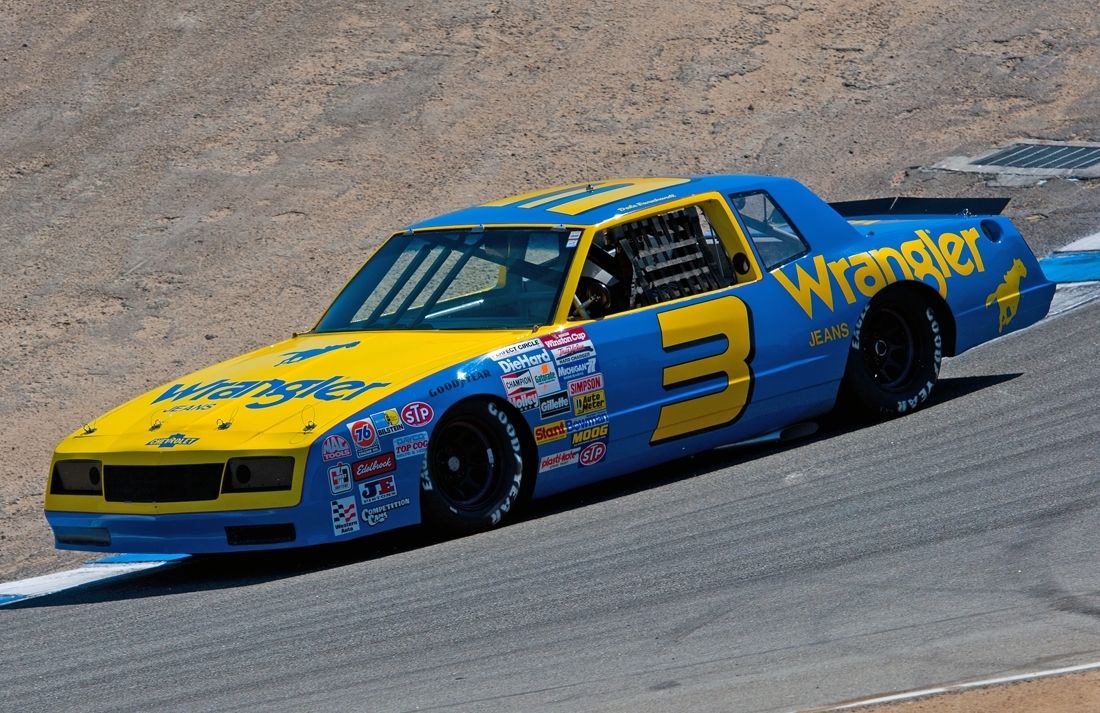
Another small update but an update nonetheless! The body/paint work is starting again. I've started to tackle the problem areas of the body that I neglected before the rattle can job. So this time around i'm ironing out the body and making that to the best it can be and then repainting the Monte. I have yet to decide the exact scheme but have a few ideas on how i want the car to look when i'm all said and done. The car is still going to be NASCAR themed and this time around I will actually start to put that vision into action with door numbers and "sponsor decals". I know its not everyone's style on here but that's how I envisioned building the car when I was shopping for a G body and I want to make it happen. Ill attach some pictures of the slow moving body work and some images of idea's on how I want the car to look at the end.
The worst area by far on the whole body is the passenger door, my body friend is going to try and correct it but if he cant then a new door is going to find its way on here in the near future.
The passenger quarter panel had some rust bubbling on it so I started sanding that tonight
Another problem area that had some rust buildup near the surface that I started to sand and then spot prime
Spot priming the quarter panel that i've been working on tonight
How the car sits right now, not much progress was made but any progress is good in my book. Im trying to get at least one thing a day done on this car so maybe ill be able to drive it sometime soon! Haha
Haha
Here are some photos of inspiration to what I want to design the car around. This time around i'm thinking of just a two color scheme and I'm leaning towards a blue and white scheme but its still up in the air. The body work has to be complete first before I have to worry! That's all for now.
I always tell others to take the high road, that way there's more room for me on the low road
Erik Peterson
1986 Monte Carlo SS Build Thread: https://www.pro-touring.com/threads/...6-Nascarlo-2-0
03-10-2017 #49
Registered User
- Join Date
- Sep 2016
- Posts
- 44
keep getting after it. Is there a build thread for the Chevelle?
03-11-2017 #50 Registered User
- Join Date
- Dec 2006
- Location
- oshawa ontario
- Posts
- 1,607

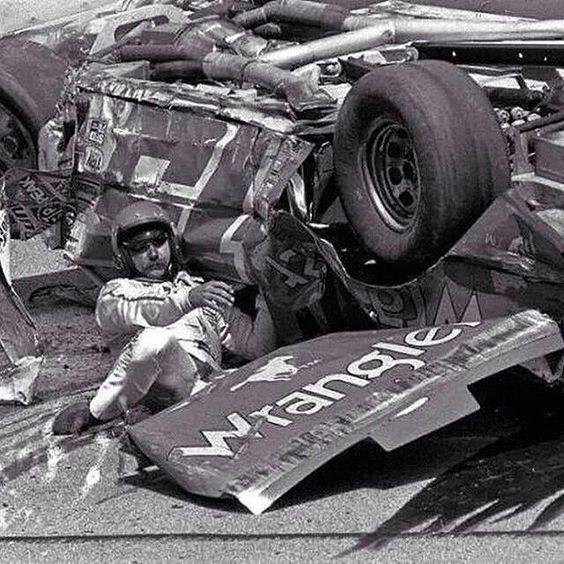 Nascar 69 Chevelle project, 1999 Hutch Pagan Nascar chassis, 69 Chevelle body,700hp, Penske's, slicks, roadrace track day https://www.pro-touring.com/showthre...le-Cup-project
89 Iroc 406 Fitech 5 spd
01 chevy 2500HD 4x4 8.1 Allison
31 Scarab 2 x 454
03-13-2017 #51
Registered User
- Join Date
- Jul 2013
- Location
- Grayslake IL
- Posts
- 312
No there is not one for the chevelle, its more of a restoration project with only a few 'pro-touring upgrades'. So I don't think that one will be getting a thread. Originally Posted by focused313
I always tell others to take the high road, that way there's more room for me on the low road
Erik Peterson
1986 Monte Carlo SS Build Thread: https://www.pro-touring.com/threads/...6-Nascarlo-2-0
03-13-2017 #52
Registered User
- Join Date
- Jul 2013
- Location
- Grayslake IL
- Posts
- 312
Been meaning to update for a few days now and i've finally got the time today! I went ahead and removed most of the interior from the car, assembled some more of the engine, and made more progress with the body work. Its been a busy week but i've got plenty of pictures for you guys, and Ill leave a description in front of every pic!
Remved all the old stereo wiring throughout the car, there is no longer a stereo or speakers in the car at this point and if I did happen to put a stereo in i'll run new stuff throughout.
Center console is out!
Getting the old crusty carpet out
Hard to tell in this picture but it turns out that the wiring from the neutral safety switch corroded at the connectors on my shifter and were so brittle they essentially broke as soon as i jostled the carpet around the shifter haha.
Carpet out and now onto getting all this insulation out. This took quite some time with it all being glued into place, probably one of my least favorite time consuming jobs i've encountered on this car so far.
Old carpet out with all the sun discoloring.
How I left my interior project that day after working in the garage for longer than I should of haha.
finally onto some motor assembly:
Soaking the ls7 lifters before installation
Cleaning up the deck surface before the head install
Lifters installed, new headgaskets on, and my 853 heads with arp bolts all on. Starting to actually look like an engine!
Garage all cleaned up and the monte back in one piece. Happy with the progress that got done this week and hope to update with new updates in the coming week. Thanks guys! Appreciate any and all feedback from you guys.I always tell others to take the high road, that way there's more room for me on the low road
Erik Peterson
1986 Monte Carlo SS Build Thread: https://www.pro-touring.com/threads/...6-Nascarlo-2-0
03-29-2017 #53
Registered User
- Join Date
- Jul 2013
- Location
- Grayslake IL
- Posts
- 312
New update for you guys and finally got a sizeable one! Ive been busy the last 2 weeks getting the monte's body work up to par and spending endless hours sanding. Pictures will follow!
Before getting into the body pics just wanted to show the small update on the engine, got my valley cover from ict billet as I will be going with a carb and do not need the provisions for knock sensors.
Started with the car being complete and 95% painted still on Saturday morning and this is the progression of body work and sanding throughout the day.
After bodyworking and sanding the car all week I finally got to a point this last weekend that I could get the car in primer. I hung some clear plastic around the garage ceiling to create my own make shift paint booth and to cut down on dust and overspray around the garage. It seemed to work out great for how low buck the whole operation is.
Thats all for now, I noticed a few small areas that need a bit more work once I got the car in primer so im still working on getting the body 100% and then ill be shooting paint in the next couple of weeks!I always tell others to take the high road, that way there's more room for me on the low road
Erik Peterson
1986 Monte Carlo SS Build Thread: https://www.pro-touring.com/threads/...6-Nascarlo-2-0

 Reply With Quote



