Results 1 to 20 of 25
-
07-18-2016 #1
 Registered User
- Join Date
- Oct 2015
- Posts
- 56

Project Never Finished: 68 Camaro
Hi everyone! I picked up a 68 Camaro a few months ago and happened to stumble across this website shortly thereafter. Like the majority of you I caught the pro-touring bug and I doubt the car will ever be officially "finished" as I constantly find new ideas here. I've combed through hundreds of the project build threads ad learned a great deal from them. Some stuff I liked and other stuff I didn't which is part of the reason I like this website so much. There isn't one "right" way to do things and it's about personalizing your car to what you like and what you want out of it. You all have a ton of talent and I'm making this thread to hopefully help others to pay back everything that I've been helped with and will continue to be helped by.
The car was a relatively stock nothing special 68 that had a LS1 swap one to it. I figured it would be the perfect car to mod without worrying about cutting up a numbers matching car. Enough with the words, here it is the day I picked it up at the dealer:
It is a fairly solid car with very minimal rust. It has a non-posi 10 bolt, LS1, Tremec 6 speed, 4 wheel disc brakes, and was recently "restored" according to the dealer.
I took a risk and decided to drive it the 400 miles back home from Denver where I bought it.
The paint had some flaws, the car didn't sit level, had horrible wheel gap, radio/wipers didn't work, and a few other issues. All of that could be fixed though. I am not a car mechanic or a mechanic at all for that matter, but I am mechanically inclined and know the basics. I want to try and do all (or most) of the work myself as a hobby and to teach myself as I do it.
Future Plans:
-LS3 (possibly turbo) or LSA swap
-12 bolt posi rearend
-Ridetech Suspension Kit
-Install AC
-Radio/Wipers/etc all operable
-Paint
-Tons of small things
-
07-18-2016 #2
Registered User
- Join Date
- Nov 2012
- Posts
- 346
Great looking car. You are so far ahead of the curve getting started with a car like that. So, what's first?
_______________
1969 Camaro
1966 Skylark
1964 Lemans
1960 Biscayne
Steve
07-18-2016 #3
Registered User
- Join Date
- Oct 2015
- Posts
- 56
I had all of these great ideas when I bought the car and brought it home until life started getting in the way. Between a change of jobs, military training, a move from New Mexico to Florida, and a pregnant wife more than 6 months passed by without much done. I didn't seem to mind as the car is a driver and I was able to enjoy it. I was able to get the lights, horn, and wipers working relatively easily by fixing the wiring mess that the previous owner had. A radio is a must while I'm driving so I got an amp to put in the trunk and ran an aux cord from it to the center console. I want a double din radio, but I can't bring myself to cut up my dash just yet. Plus, I am going to have to fab my own brackets since no double din aftermarket dashes are available and I want it to look professional. Something that I picked up along the way is you can use an iPod nano attached to an amp directly with an aux cord and use the radio from it or play music you download. The aux cord acts as the antenna for the radio and keeps you from having to lose the classic look of the stock radio or have something temporary. I installed 2 6x9's in the rear deck for the meantime.
07-18-2016 #4
Registered User
- Join Date
- Oct 2015
- Posts
- 56
I'm still trying to play catch-up here...
So I figured since the engine and paint/body are alright for now I should tackle the suspension first. I went head and bought the ridetech lvl 2 coilover suspension kit. I'm finally settled into my new house and want to do as much work as I can before my baby is due next month. This past weekend I was able to install the front and I'm going to do the rear next weekend. The two sides aren't level and I'm going to bring it up a tad due to my incline driveway I have to deal with. I had to remove the front spoiler to get it up the driveway as is.
It was about 4.5" from the top of the wheel to the bottom of the fender wheel well on the fronts!
After
This is about the stance I was looking for. I might go a tad higher. It drives great now and I'm sure it will only get better after I get it aligned.
The car isn't on stands in this picture. This is how much the ridetech hardware dropped the car:
The drivers side is lower than the passenger side and needs to come up more. No rub though
The passengers side
Front minus the spoiler which couldn't make it up the driveway
I really like how the fitment turned out (the steering wheel is slightly off center here)
Now the back really needs to drop to get the stance and performance I've been looking for.
07-18-2016 #5
Registered User
- Join Date
- Oct 2015
- Posts
- 56
This is the last post tonight...I swear! I'm almost all caught up with my progress.
I decided it's the perfect time to go ahead and replace the one legged 10 bolt with 2 something gears while I'm switching out the rear suspension. I decided to get a 9 inch over a 12 bolt and ordered one from Quick Performance with 3.89 gears and 31 spline trac-lock posi. The welds and quality of it look amazing so I'm sure I won't have any issues when I throw it under the car.
07-19-2016 #6 Registered User
- Join Date
- Sep 2009
- Posts
- 2,998
Just curious, what made you choose the 9 inch over the 12 bolt? Nice car, I will be doing something very similar on my 68 Camaro.
1955 Nomad project LC9, 4L80e, C5 brakes, Vision wheels
1968 Camaro 6.2 w/ LSA, TR6060-Magnum hybrid and etc SOLD
1976 T/A LS1 6 Speed, and etc. SOLD
Follow me on Instagram: ryeguy2006a
07-19-2016 #7
Registered User
- Join Date
- Oct 2015
- Posts
- 56
I got a really good deal on one that I couldn't pass up! Originally Posted by ryeguy2006a

07-26-2016 #8
Registered User
- Join Date
- Oct 2015
- Posts
- 56
Sadly, I haven't made much progress. I pulled the old rear and bolted in the ridetech airbar, but that's about it. I'm still trying to find someone to weld the tabs on my rearend. I've only found one place so far and they want $1,000 to weld the tabs on and weld the airbar in. That's a bit more than I was expecting and will buy a welder and weld it myself before I pay someone $1,000 to do it. I found another shop about an hour away who can do it in about a month that is more reasonable on the price. I really wasn't expecting the car to be on stands for this long so I might start the re-wiring process while I'm waiting. I tried searching the forums and saw the AAW classic upgrade wiring kit wasn't too difficult to install and will probably go that route. How long did it take most of you to install it?
07-26-2016 #9
Registered User
- Join Date
- Jul 2016
- Location
- Los Angeles
- Posts
- 29
WOW! 1k just to weld the small tabs seems kind of outrageous. I was looking at doing the ridetech level 2 set up as well. Hopefully you find someone a bit more reasonable closer to you. Let us know how she rides once you have it all dialed in.
07-26-2016 #10
Registered User
- Join Date
- Mar 2009
- Location
- Houston, TX
- Posts
- 1,197
Nice project. I'll be following along.
Regarding the ridetech tabs, while $1k to weld in the tab may seem excessive, it's not as simple as just welding on the tabs. First off, I'll admit I'm a newbie at the ridetech installation. It took me and a buddy close to 2 hrs to measure the mounting tabs using the mounting jigs/trim it for best fit on the axle tube, centering the rearend and measure the pinion angle. The actual welding only took less than 20 mins.Tu Ho
Firebird V2-LS swap
07-27-2016 #11
Registered User
- Join Date
- Oct 2015
- Posts
- 56
Yeah I have the rear aligned and the tabs secured where they needed to be welded already. It is a ton of work getting the spacing and everything perfectly aligned! In their defense they were going to weld the air bar in and align it too. Maybe if they did all of the aligning and setting the pinion angle I could see their price, but just for the welding aspect I can't justify paying their cost. Originally Posted by rickpaw
You have put a lot of work into your firebird. Any new updates or are you just enjoying the car for now?
07-30-2016 #12
Registered User
- Join Date
- Mar 2015
- Posts
- 251
I will be following your build as well. How much did you pay for the car. I drove from TN to TX to get my LS 69 Camaro. Needs more work than I thought :(
07-30-2016 #13 Registered User
- Join Date
- Jun 2014
- Location
- California
- Posts
- 83
I would never pay $1k to weld tabs. Take your time get everything aligned and pinion set... Im gonna do the same with my upper tabs as well as the weld on lower shock mounts. I just bought the exact gears and set up you got from the same guys. Looking forward to seeing yours done! Does this 3rd member look familiar?
07-31-2016 #14
Registered User
- Join Date
- Oct 2015
- Posts
- 56
Don't feel bad, the more I dig around the more I realize my car needs more work than I initially thought. It's great from 5 feet, but the previous owner took a lot of shortcuts. Originally Posted by camarodude87
07-31-2016 #15
Registered User
- Join Date
- Oct 2015
- Posts
- 56
That does look a bit familiar. I've heard nothing but good things about them. I should hopefully have mine installed by this weekend and I'll update everyone once the ride tech rear is on! Originally Posted by Rick2964
08-01-2016 #16
Registered User
- Join Date
- Mar 2009
- Location
- Houston, TX
- Posts
- 1,197
I've been enjoying the car. The LS swap was the best thing I've ever done to the car. Just jumped in the car, turn the key and drive off. Originally Posted by robby8388
I have plans for the car later this year (6 speed swap/more power, chassis reinforcement). Right now my buddy's 65 Mustang is occupying the space in my 2-car garage, so have to wait until the Mustang leaves.Tu Ho
Firebird V2-LS swap
08-01-2016 #17 Registered User
- Join Date
- Feb 2013
- Posts
- 1,557
Great looking car! Let me know if you need any help with our kit or anything else in the future!
08-19-2016 #18
Registered User
- Join Date
- Oct 2015
- Posts
- 56
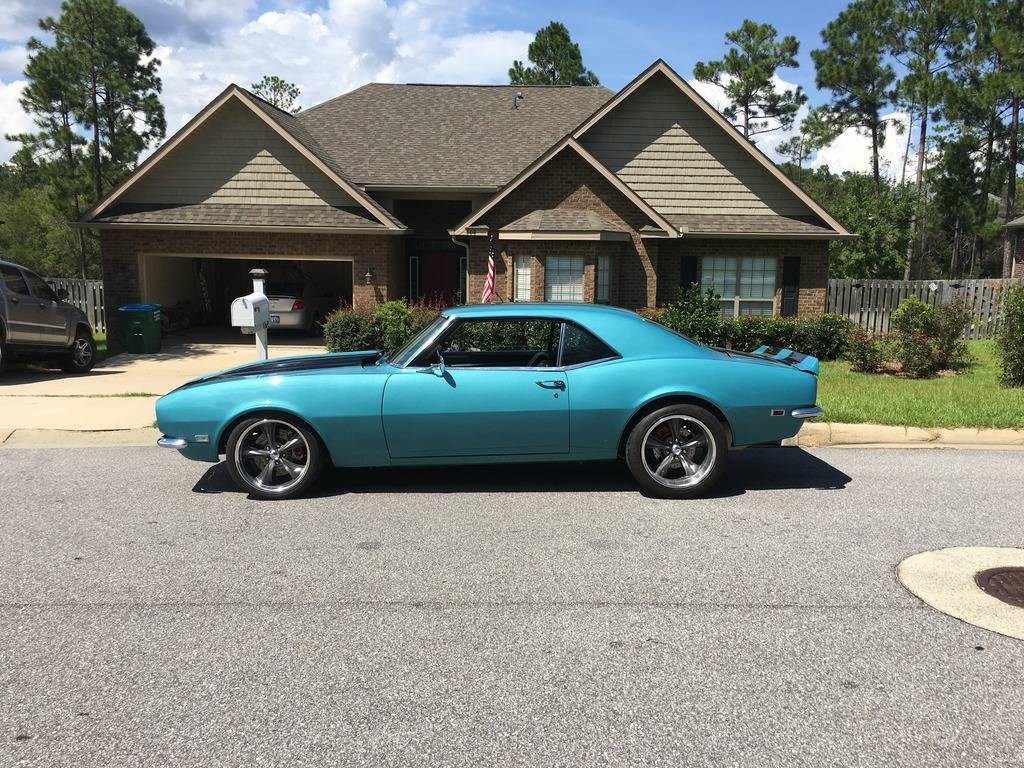
It seems like just as soon as I cross something off of my to-do list I add two more things! Progress is progress though.
I got the 9 inch installed and going from 2.56 gears to 3.89 gears is a HUGE difference. 6th gear is actually usable now. I'm glad I didn't go any higher though. Even with my LS1 with a mild cam it's pretty easy to break the rear loose. A mini-tub is definitely going to need to be in the future to go with the LS3 swap. I went ahead and had the ridetech cradle welded to the frame for a little extra peace of mind.
The car's stance is a lot better, but I'm building the car to drive so hopefully I'll get some time this weekend to test it out and see the new limits.
08-19-2016 #19
Registered User
- Join Date
- Oct 2015
- Posts
- 56
While I was under the car I saw the rear brake line was pinched in a couple spots so I went ahead and replaced it. I needed a new master cylinder so I replaced that while I was working on the lines. I also had the fenders rolled to give the rear tires a little more clearance.
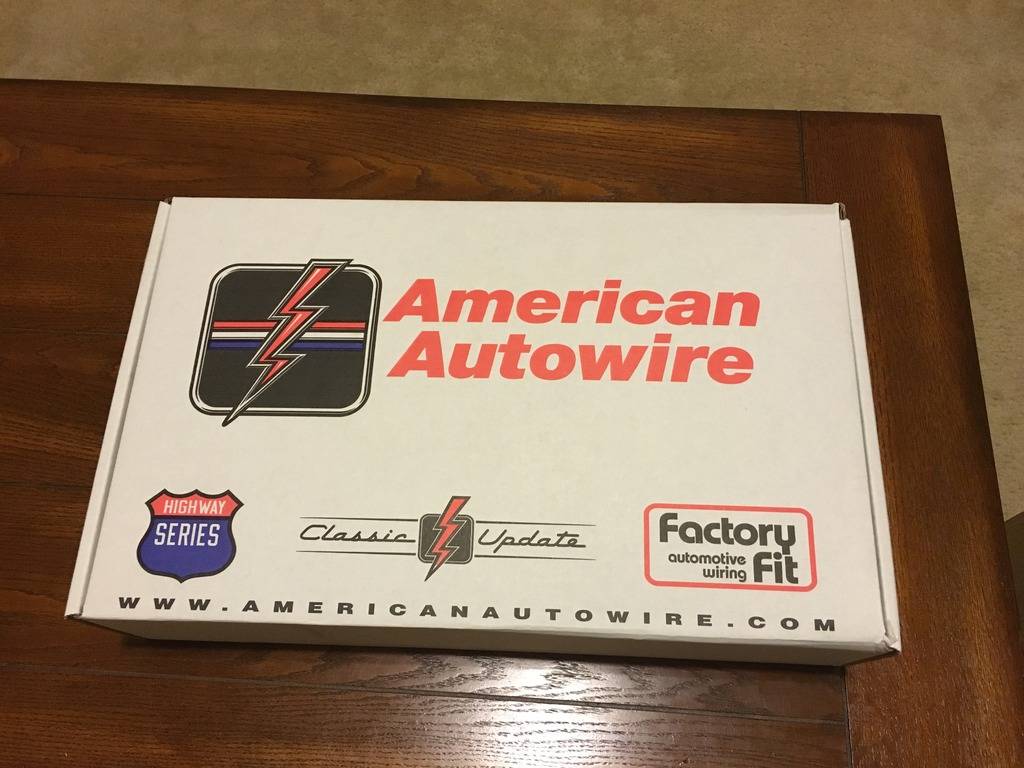
Florida is entirely too hot without an AC so I ordered a Vintage Air kit which means I need to replace some electrical so I picked up an AAW classic update kit which came in the mail today. I'll be off of work for a couple weeks when my wife has the baby so I'll be staying busy with the rewire and vintage air install.
08-19-2016 #20
Registered User
- Join Date
- Nov 2012
- Posts
- 346
You're definitely doing this one right, fine ride!
_______________
1969 Camaro
1966 Skylark
1964 Lemans
1960 Biscayne
Steve

 Reply With Quote