


Results 1 to 8 of 8
Thread: Project: Pro-Rat
-
02-01-2016 #1
 Registered User
- Join Date
- Sep 2015
- Posts
- 15

Project: Pro-Rat
The Truck: 1955 Chevy 3800 9ft box
Engine: 1.9L VW ALH TDI
Transmission: LT-1 T56 6-speed manual
Front suspension: '86 C10 IFS, 1" rotors, air bags
Rear suspension: Custom 4-link, fabricated 9", air bags
Chassis: Custom, all round tube, with interior cage of some kind
Power options: None (manual brakes/steering/windows)
Exterior: as-is
Interior: Vintage air, tunes, new paint, custom seat(s)
Purpose: daily driver
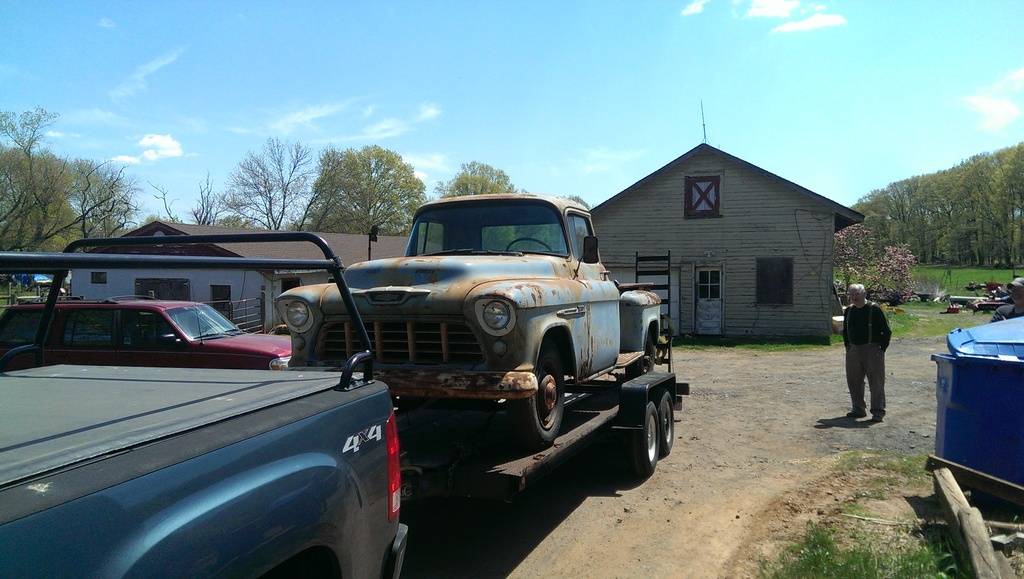
So currently i drive a 2002 VW Golf to commute to work. i love driving the diesel with a stick and the fuel mileage, i however HATE that it is front wheel drive and is a VW Golf! the search was on for what to build. the wife n i have zero plans for kids so no back seat needed, must be somewhat practical, but ultimately have character and just be fun. i have always been a tri-five fan, and what's more practical then a pickup. found this beauty in NJ. i do intend to drive this a lot of places that a static drop truck could never go however, so air was a must. comfy/hot rod on the inside, rat rod on the outside, pro touring underneath.
before ya'll have the same reaction most of my friends did ... "this needs a loud V8! you are stupid!!" i already have a '99 wrangler with a 6.0L LQ4 on 37s that i occasionally drive to work, and the wife just bought a '16 'vette. i have "fast n loud" options.
-
02-01-2016 #2
Registered User
- Join Date
- Sep 2015
- Posts
- 15
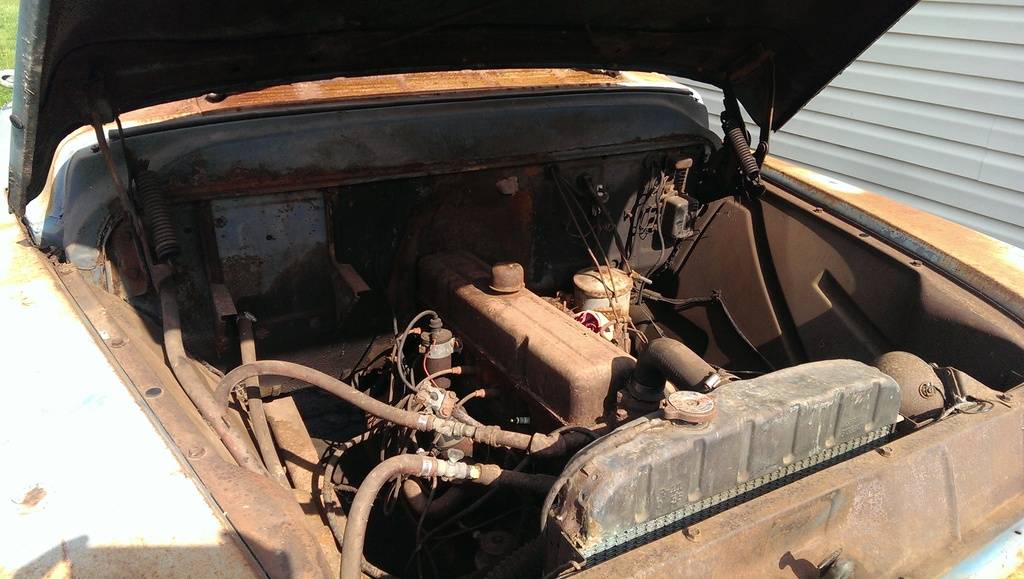
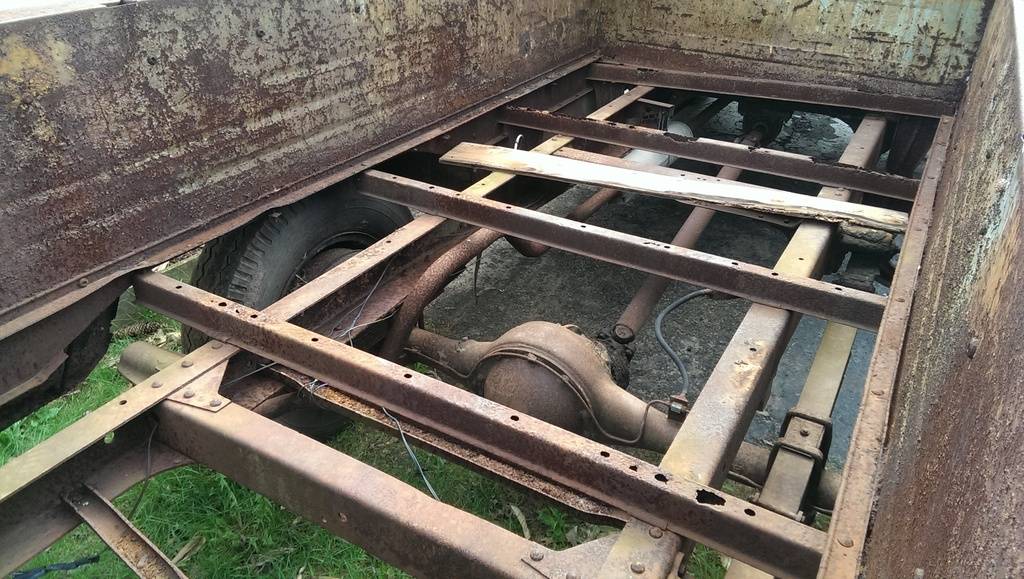
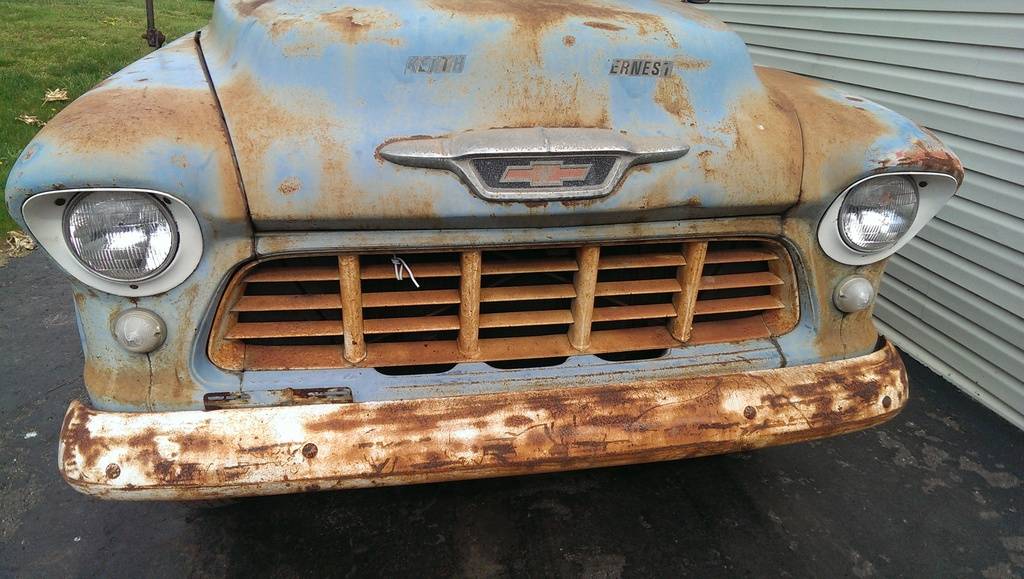
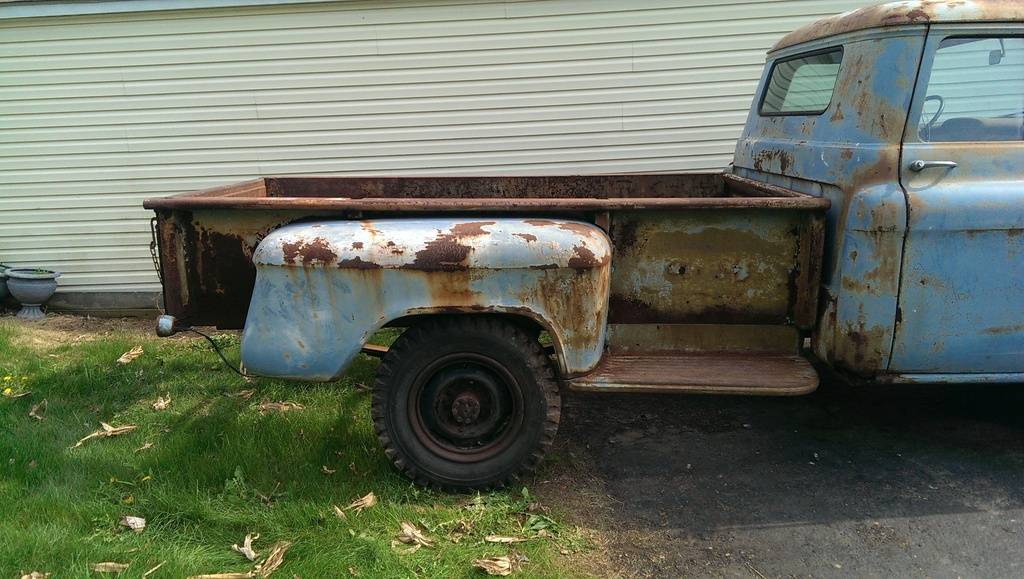
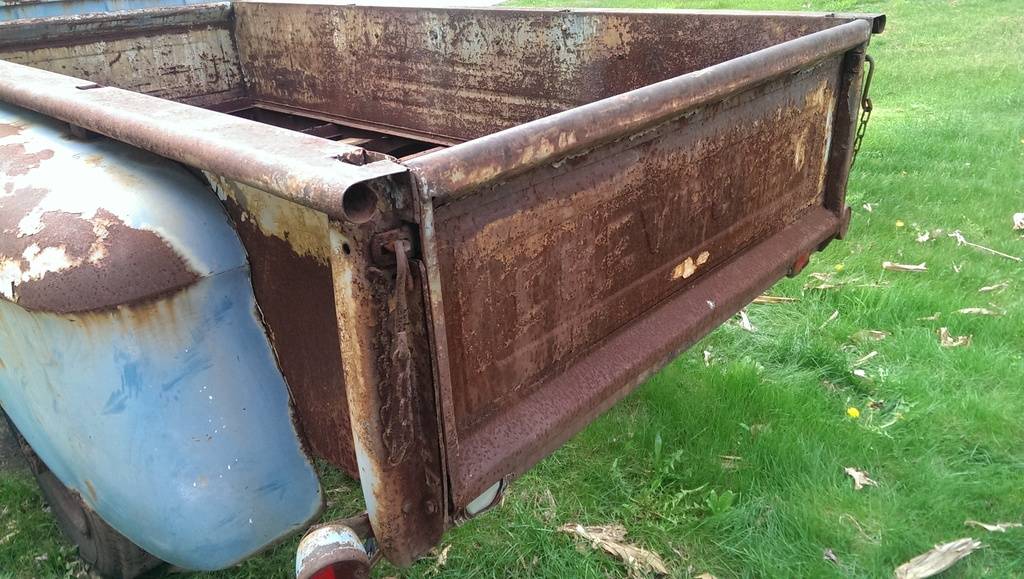
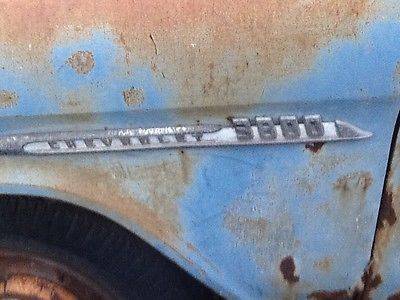
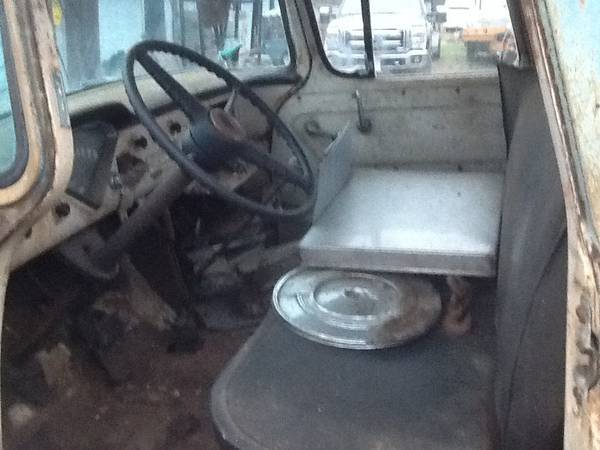
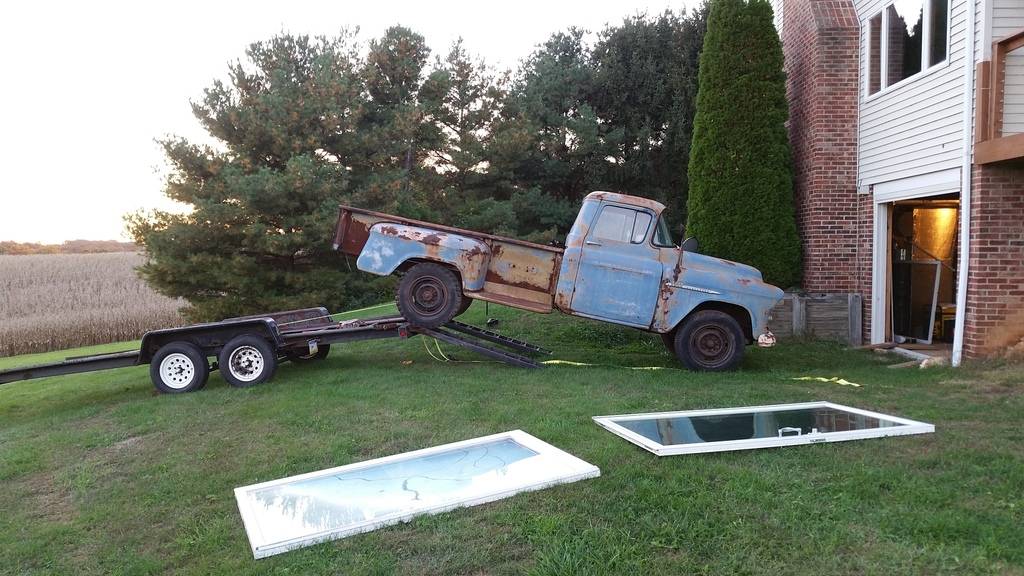
more on the truck, was a true barn find (on craigslist). not in the greatest shape, but exactly what i needed and with an awesome look.
-
02-01-2016 #3
Registered User
- Join Date
- Sep 2015
- Posts
- 15
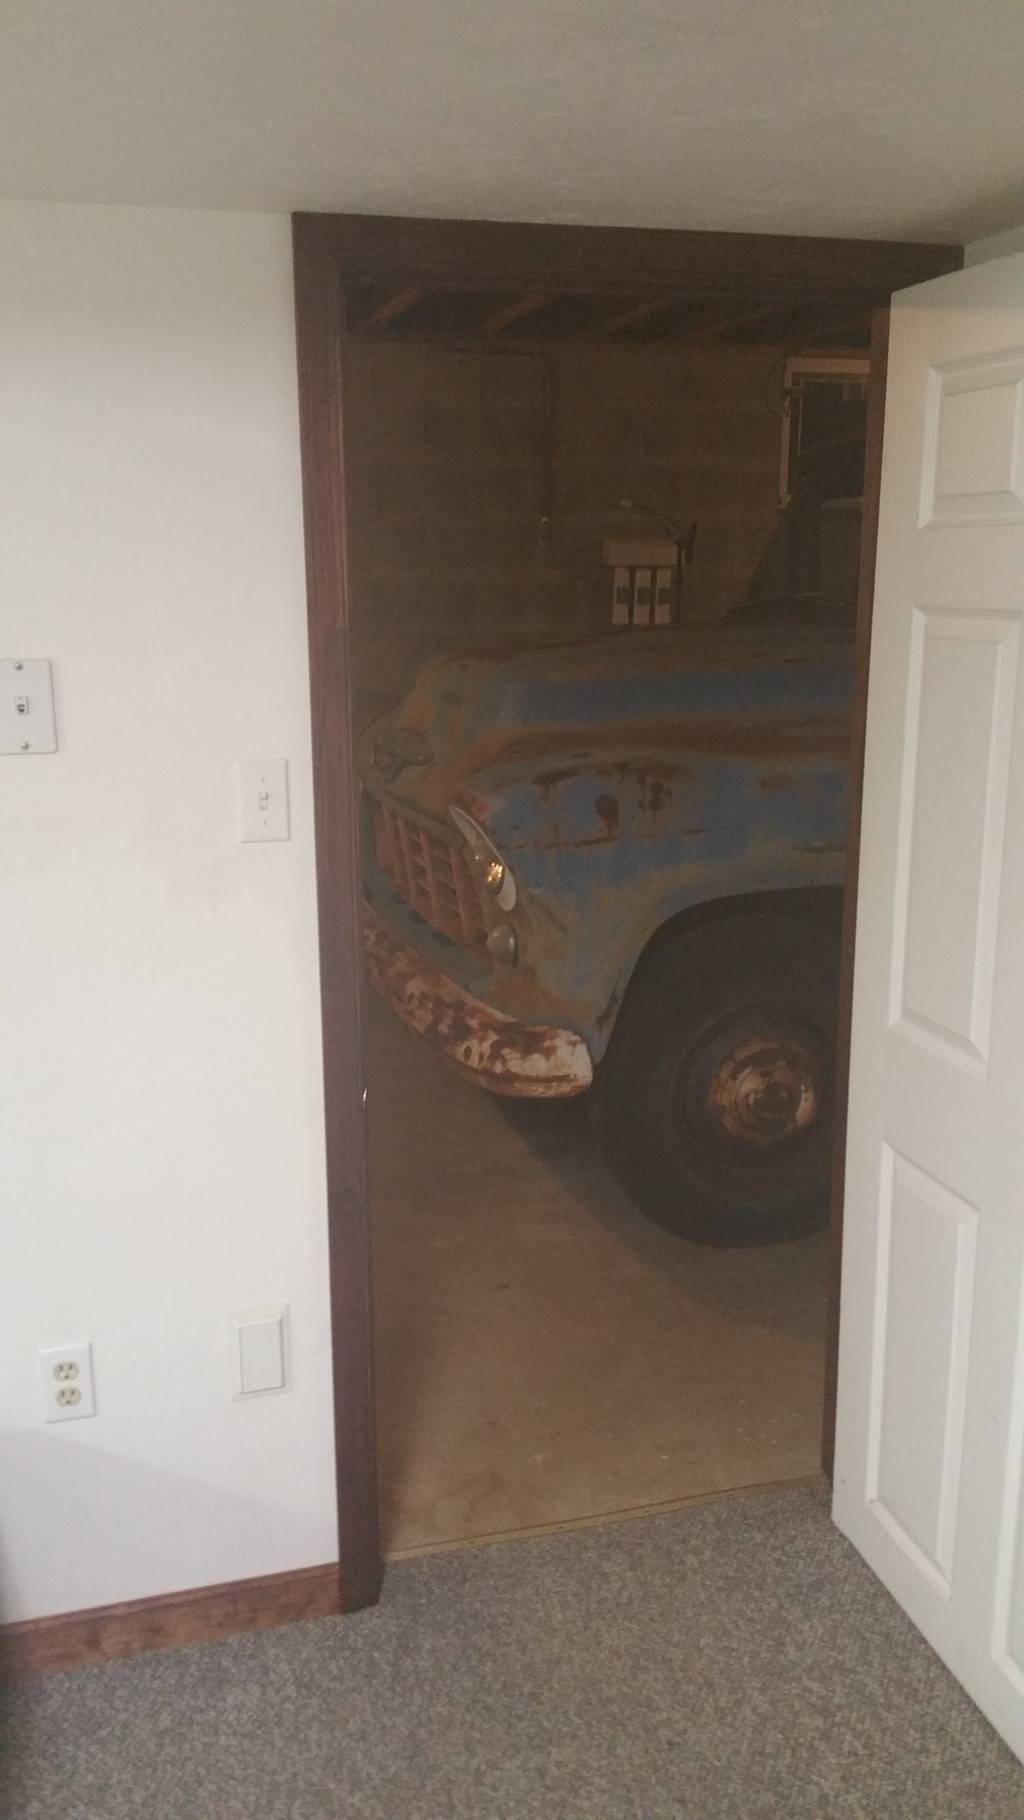
truck got moved into the basement for tear down during the snow season, since my shed/workshop is taken up with the chassis build.
-
02-01-2016 #4
Registered User
- Join Date
- Sep 2015
- Posts
- 15
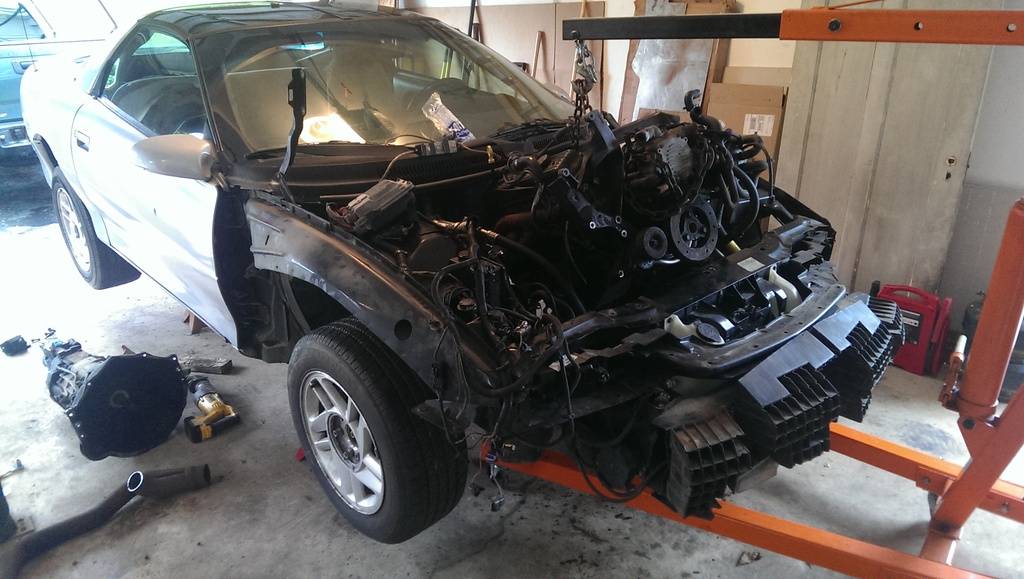
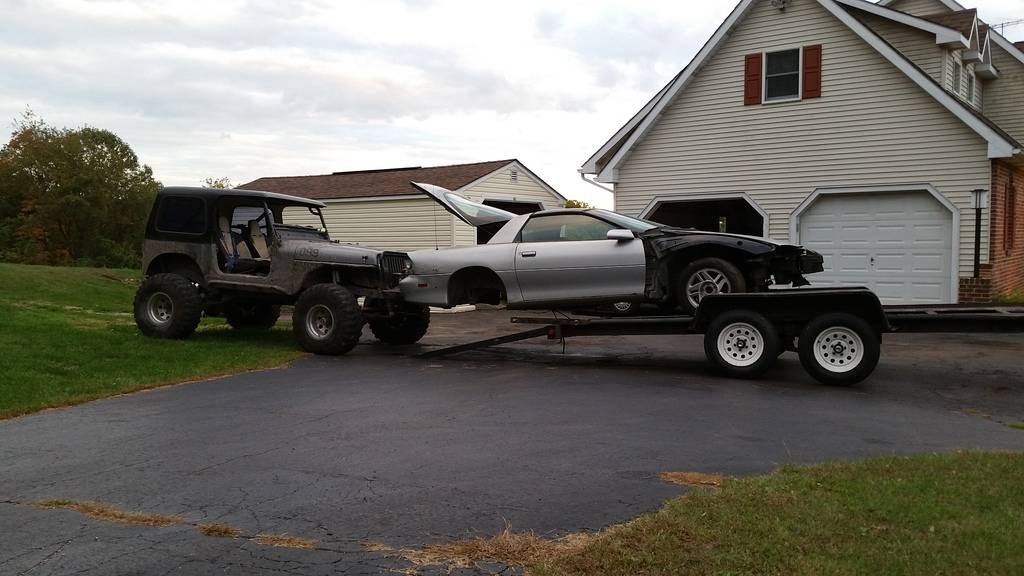
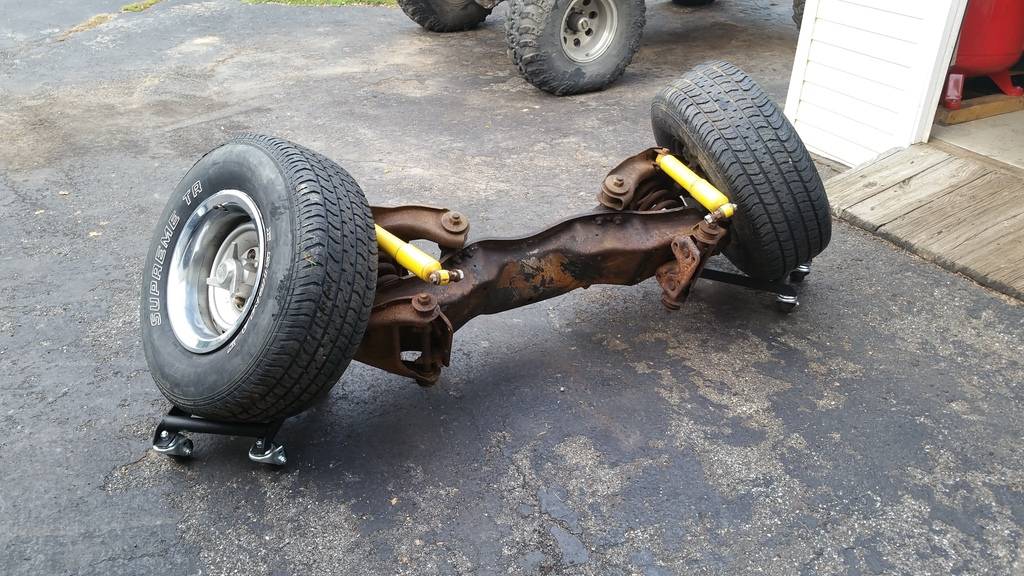
the parts ... bought a '95 Camaro for $1200, parted it down, ended up $500 into my T56 with all possible associated parts. got this c10 chassis for $350, i'll use the entire IFS and ended up falling in love with the wheels for this build as well. still trying to sell the frame and rear axle from the c10, no one wants them!
-
02-01-2016 #5
Registered User
- Join Date
- Sep 2015
- Posts
- 15
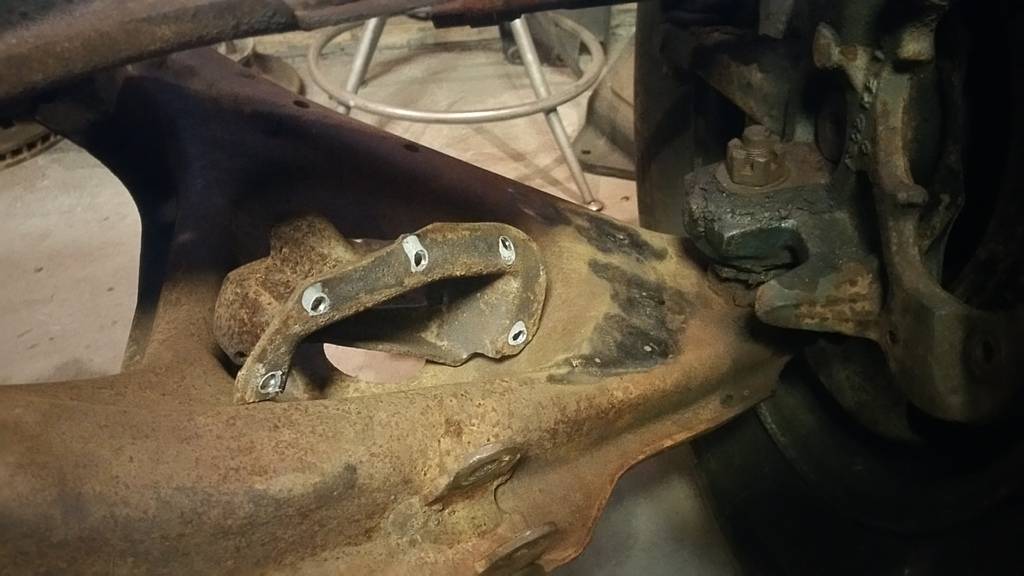
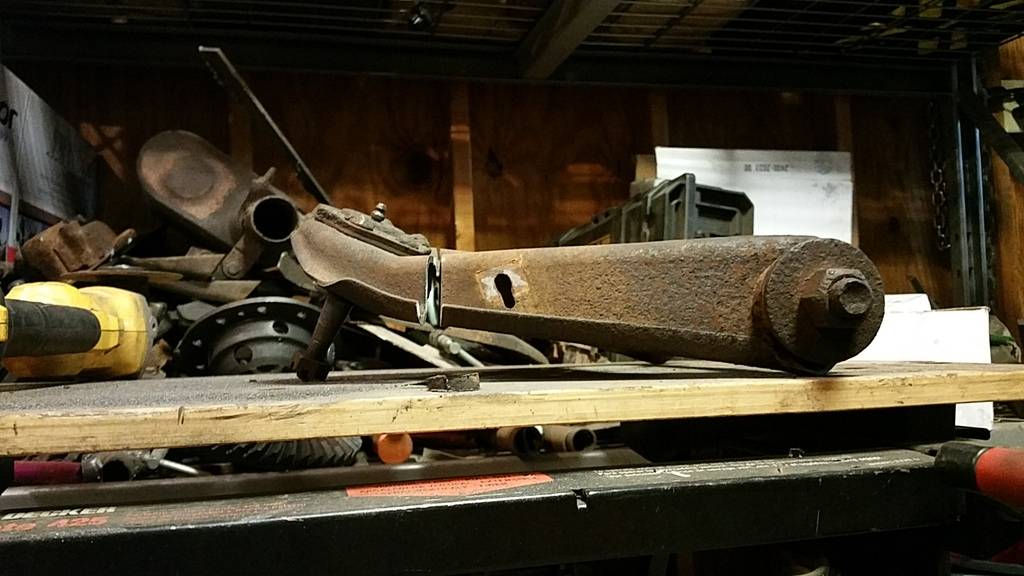
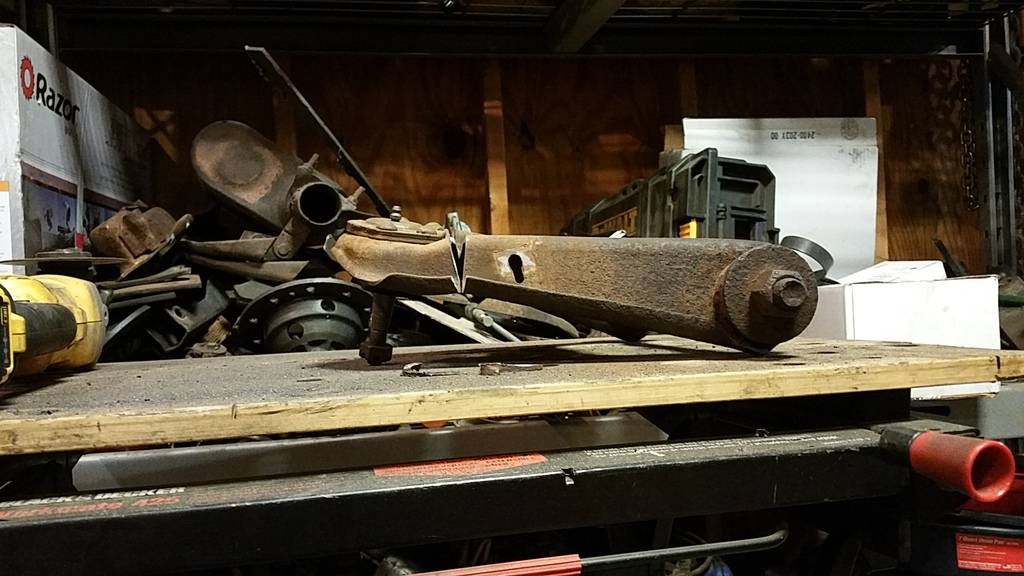
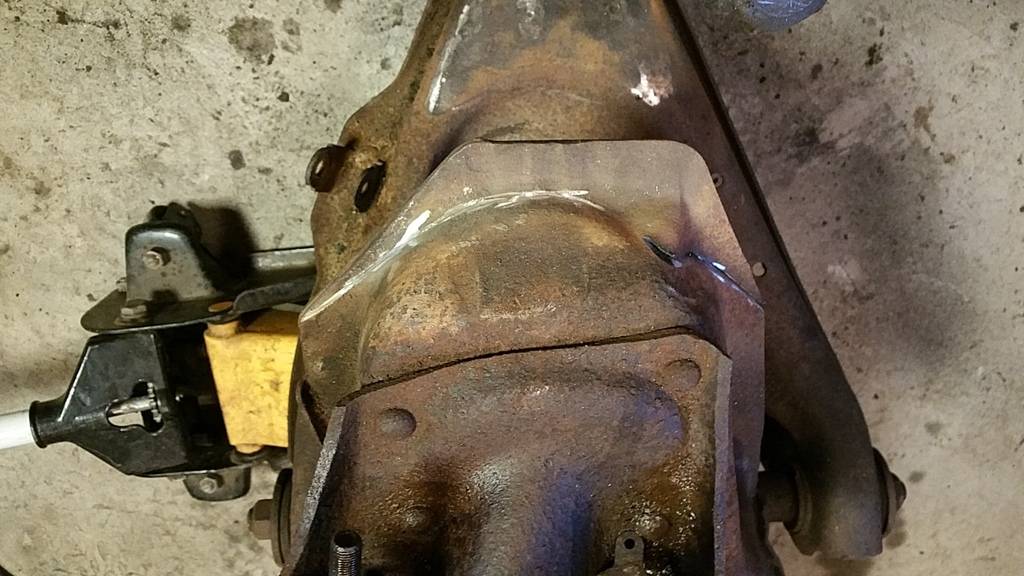
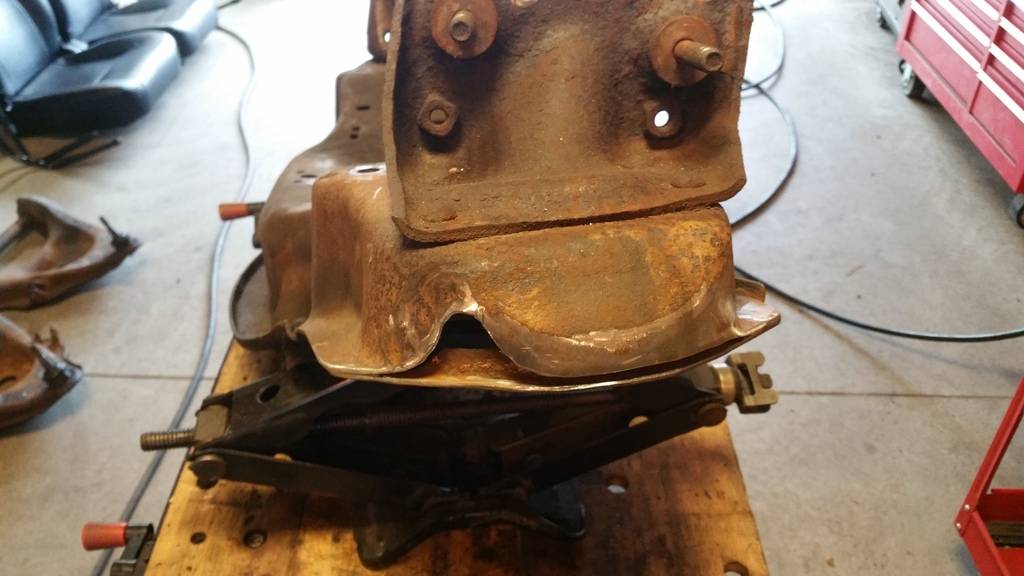
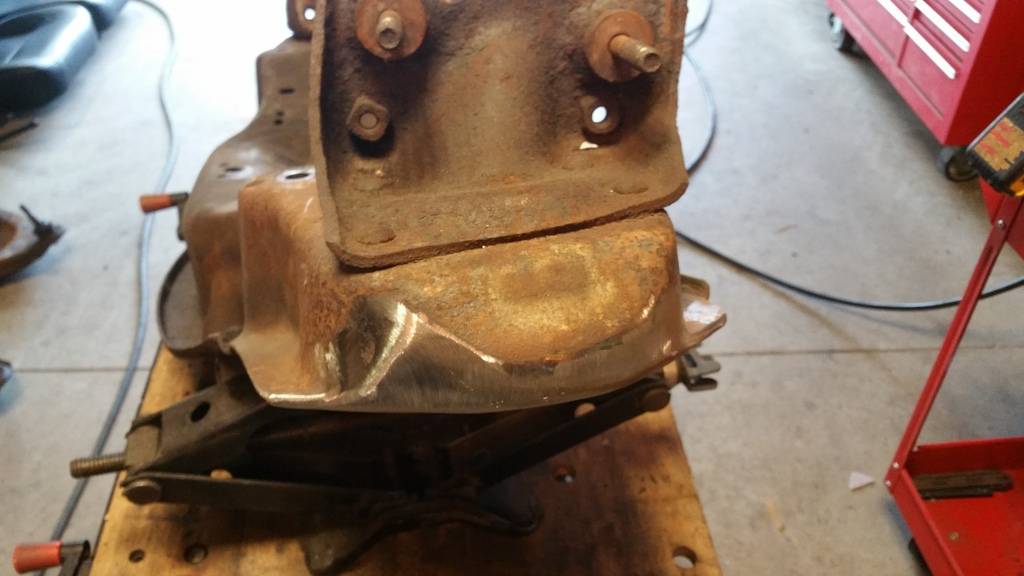
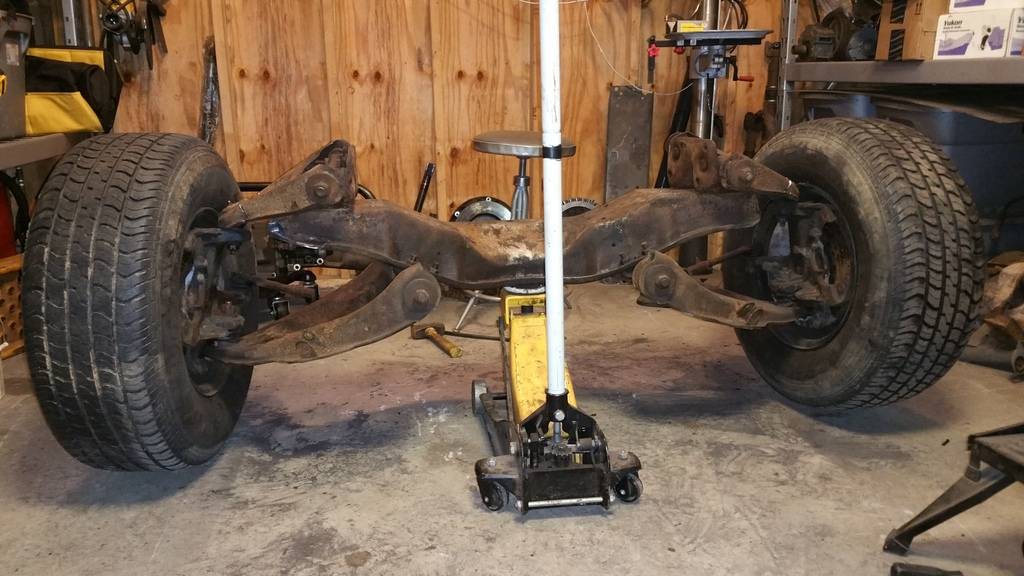
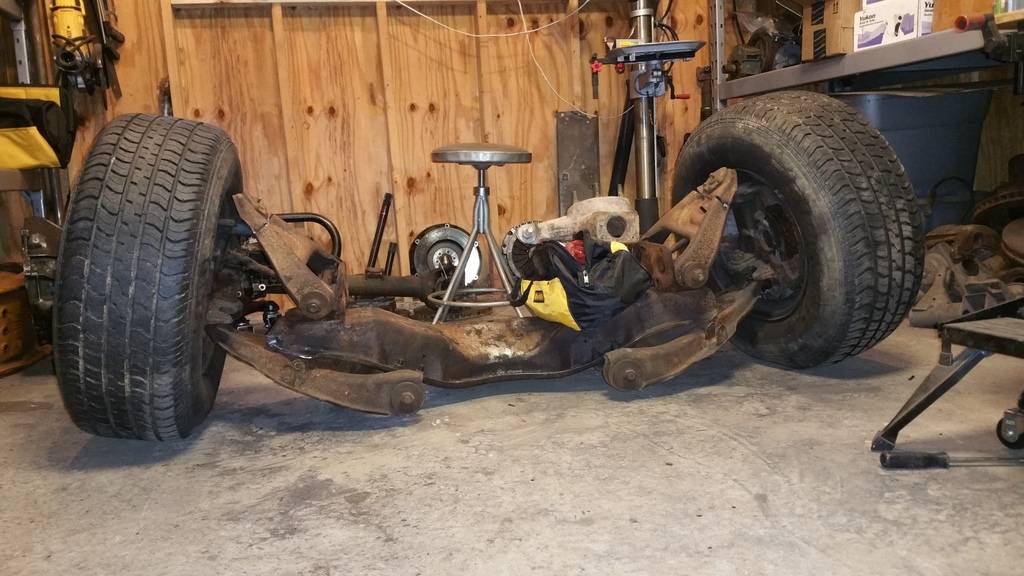
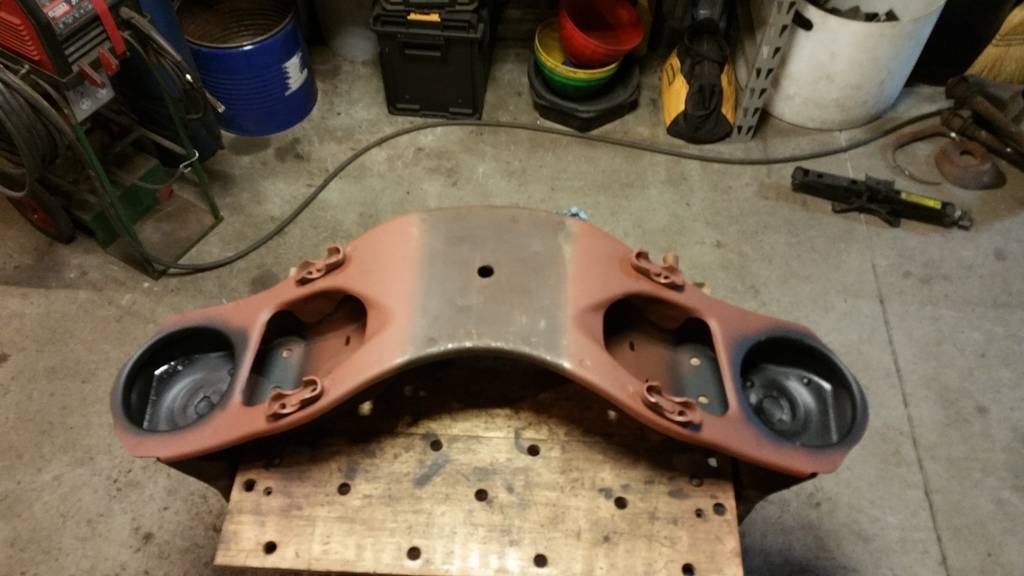
started in on the IFS to prep it for air. my goal was to get it as low as possible with all stock components, and with as much travel as possible.
the bags (front and rear): 26c Double Convoluted ... http://www.ridetech.com/store/air-sp...onvoluted.html
-completely removed the bump and steering stop pads from the LCA
-trimmed the x-member pinch seam back and welded back together
-UCA ball joint is the limiting factor in travel (bump stops set as functional limits)
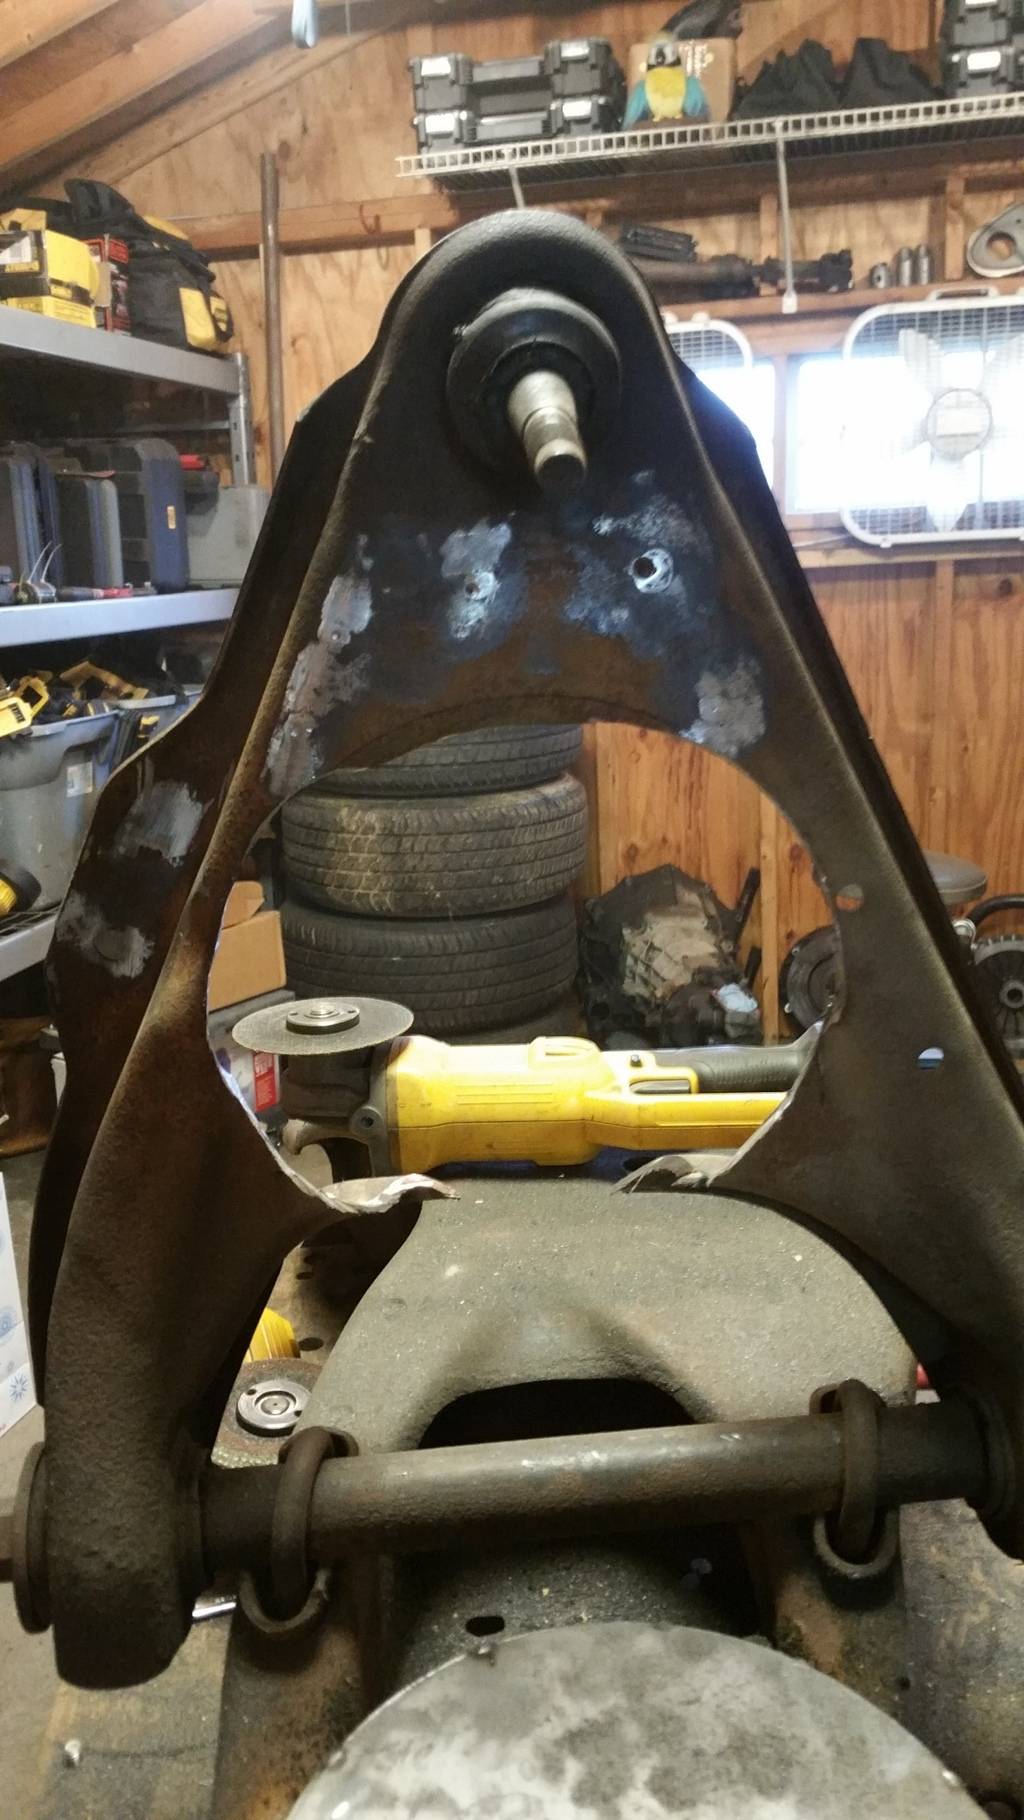
-UCA pie cut to adjust travel. the arm was cut, assembled to IFS, i sat on the x-member until the LCA contacted the x-member, and re-bent the UCA to the ball joint limit. tacked, removed, fully welded.
-the factory LCA rubber bumps assemble into the UCA once the slot is opened up, with slight trimming of the rubber the limit can be tuned. i'll do this with the fully assembled truck and the bags at full PSI.
-upper bag mounts are nested into the factory spring perch and perfectly leveled to the frame mounts. the slots would allow me to place the bag anywhere from centered at the factory spring to 1" towards the front of the truck. the 1" fwd let me center the lower cup into the LCA and is exactly what i used.
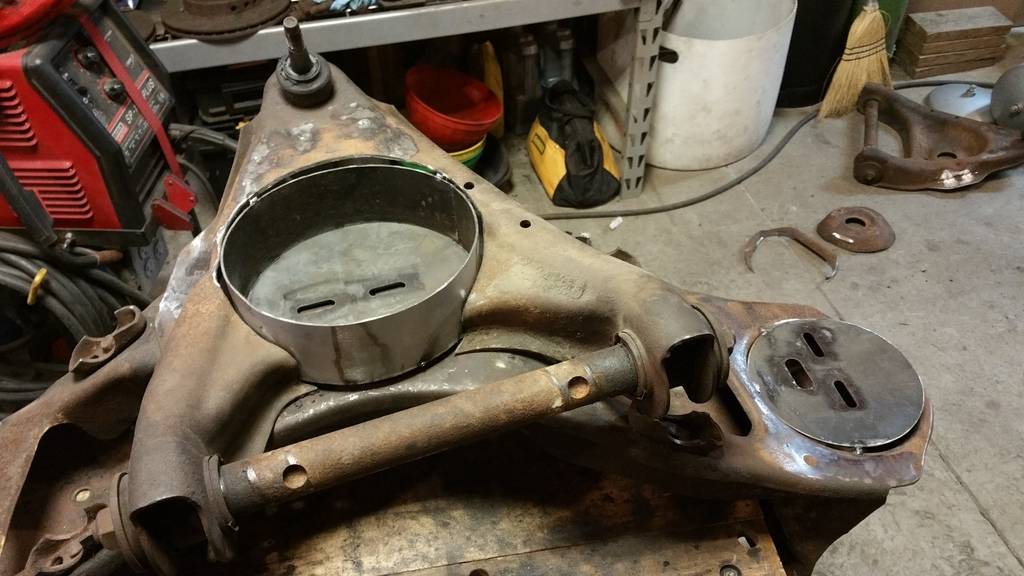
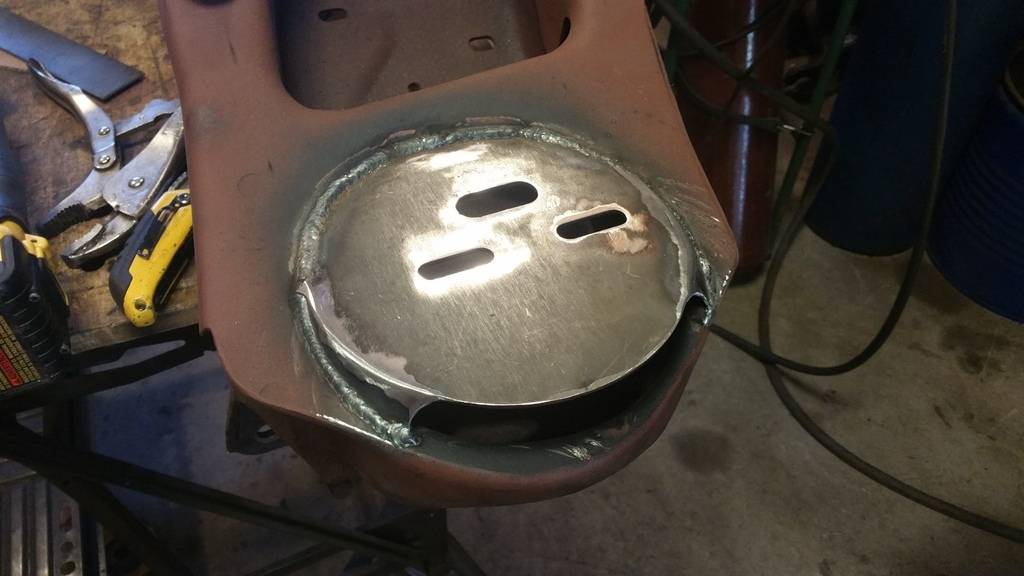
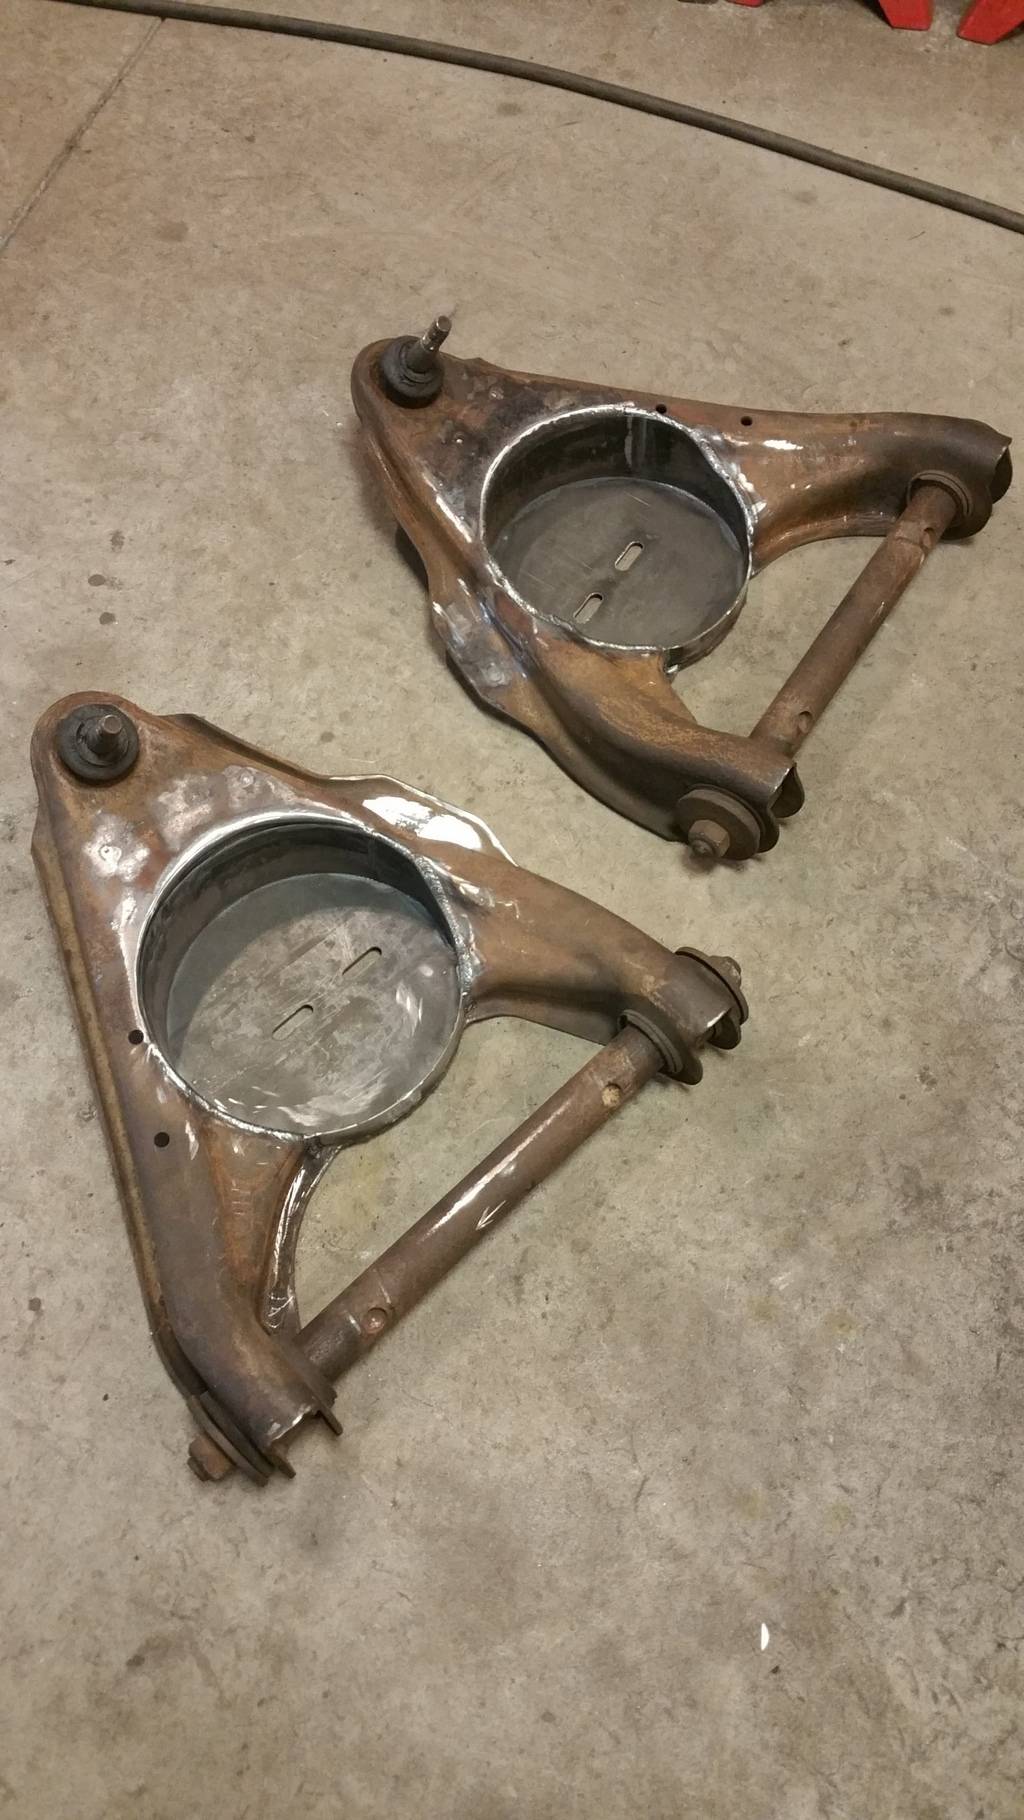
-LCA bag cups are 9" ID, slots were accidental after copying the upper plate in 3D.
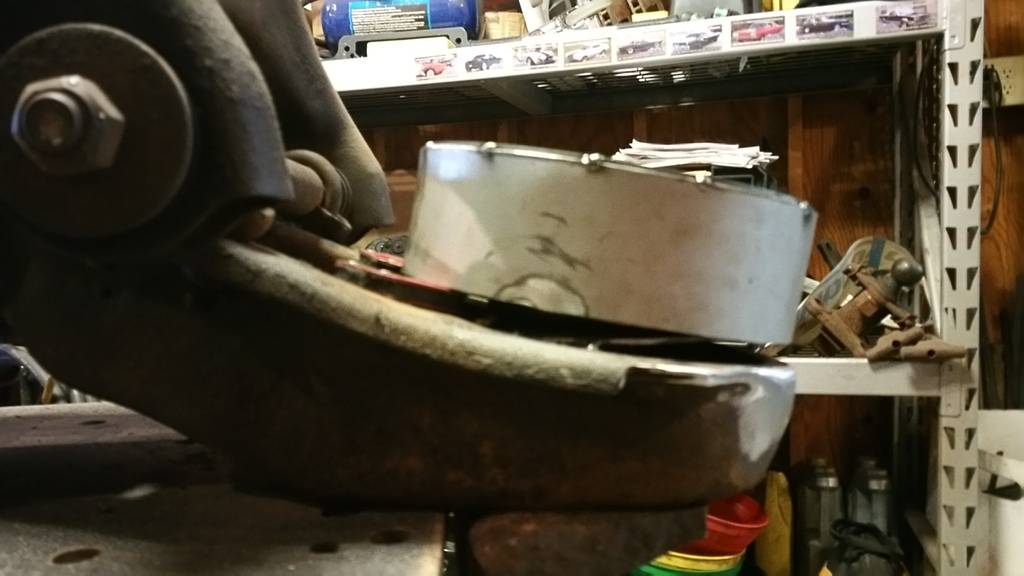
-i fully deflated a bag, taped the port, and bolted it to the x-member and cup. i put spacers under the cup edge to tip it out, stretching the bag with no air held everything nice and tight and aligned in place. this also kept the bag on it's bump stop. i then kept cutting on the LCA until it fell over the cup and landed on the x-member. the very outside edge of the hole is JUST short of no longer hitting the x-member, I got lucky so don’t cut too much. cup was tacked, pulled the LCA, trimmed to contour with the LCA, and fully welded.
-the cup is 3" deep, but if doing it again i would make them 3.5". then no spacers needed, this would tip the cup exactly where it ended up.
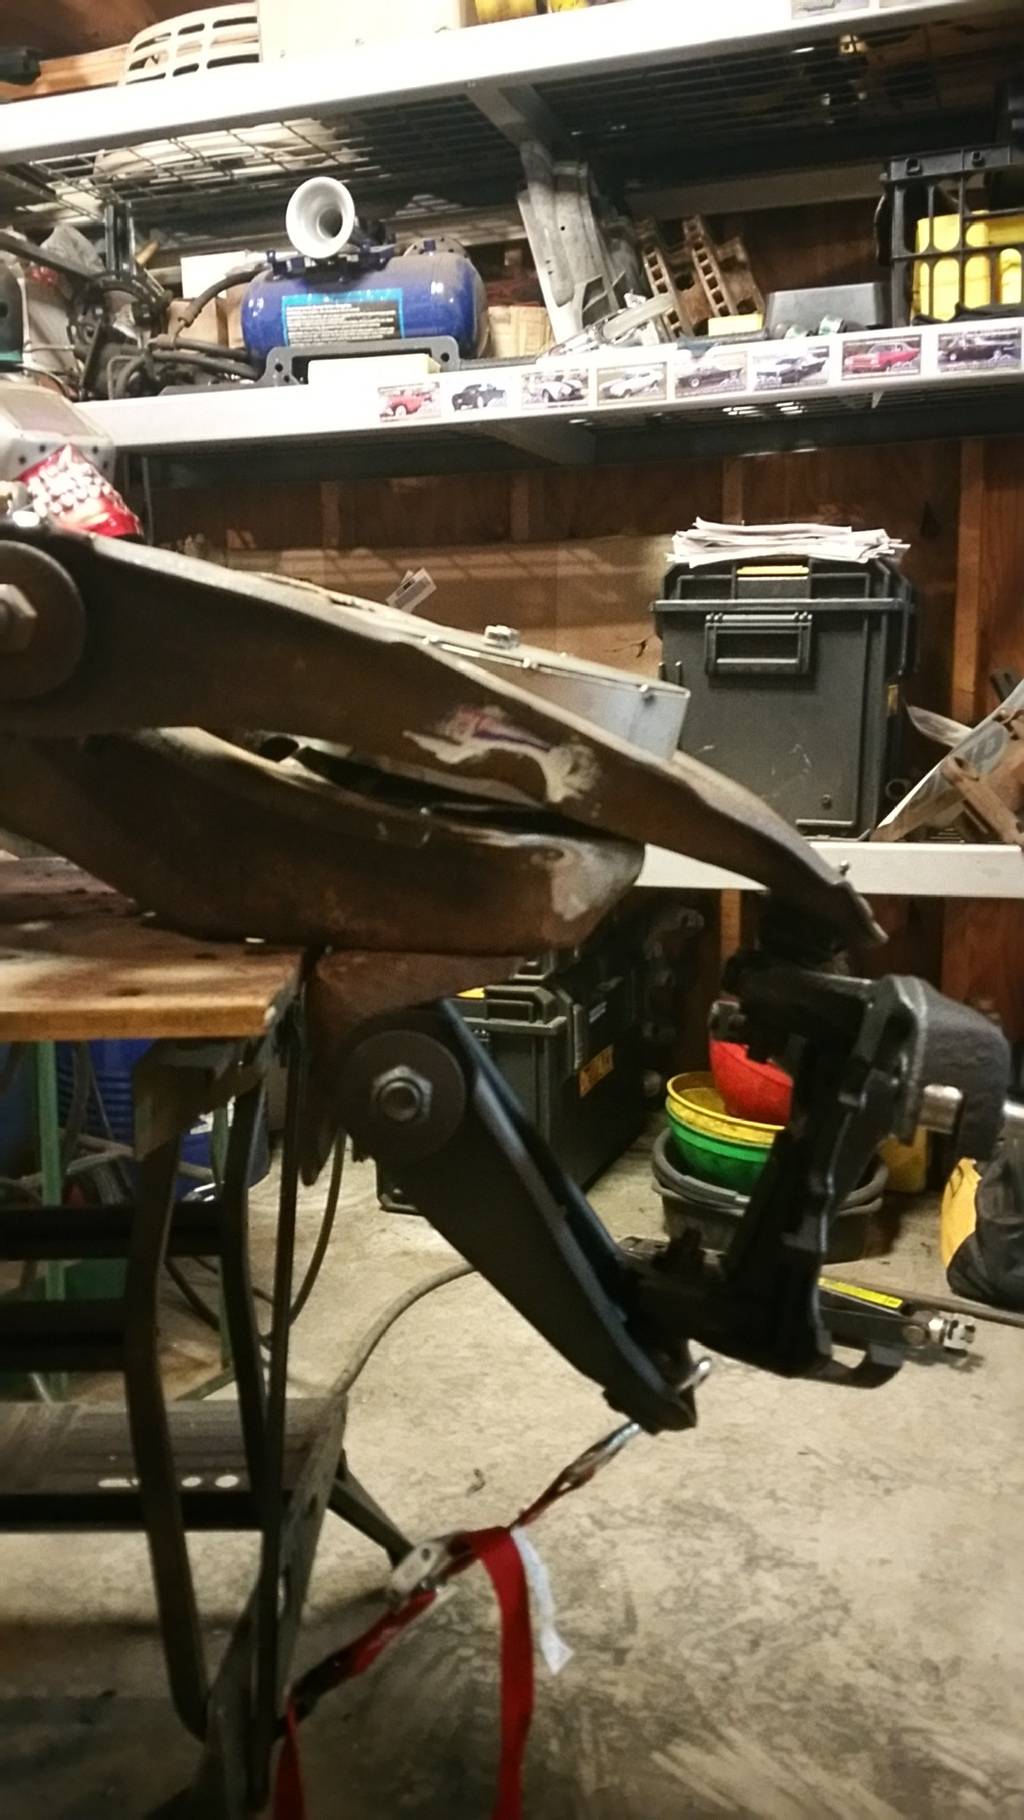
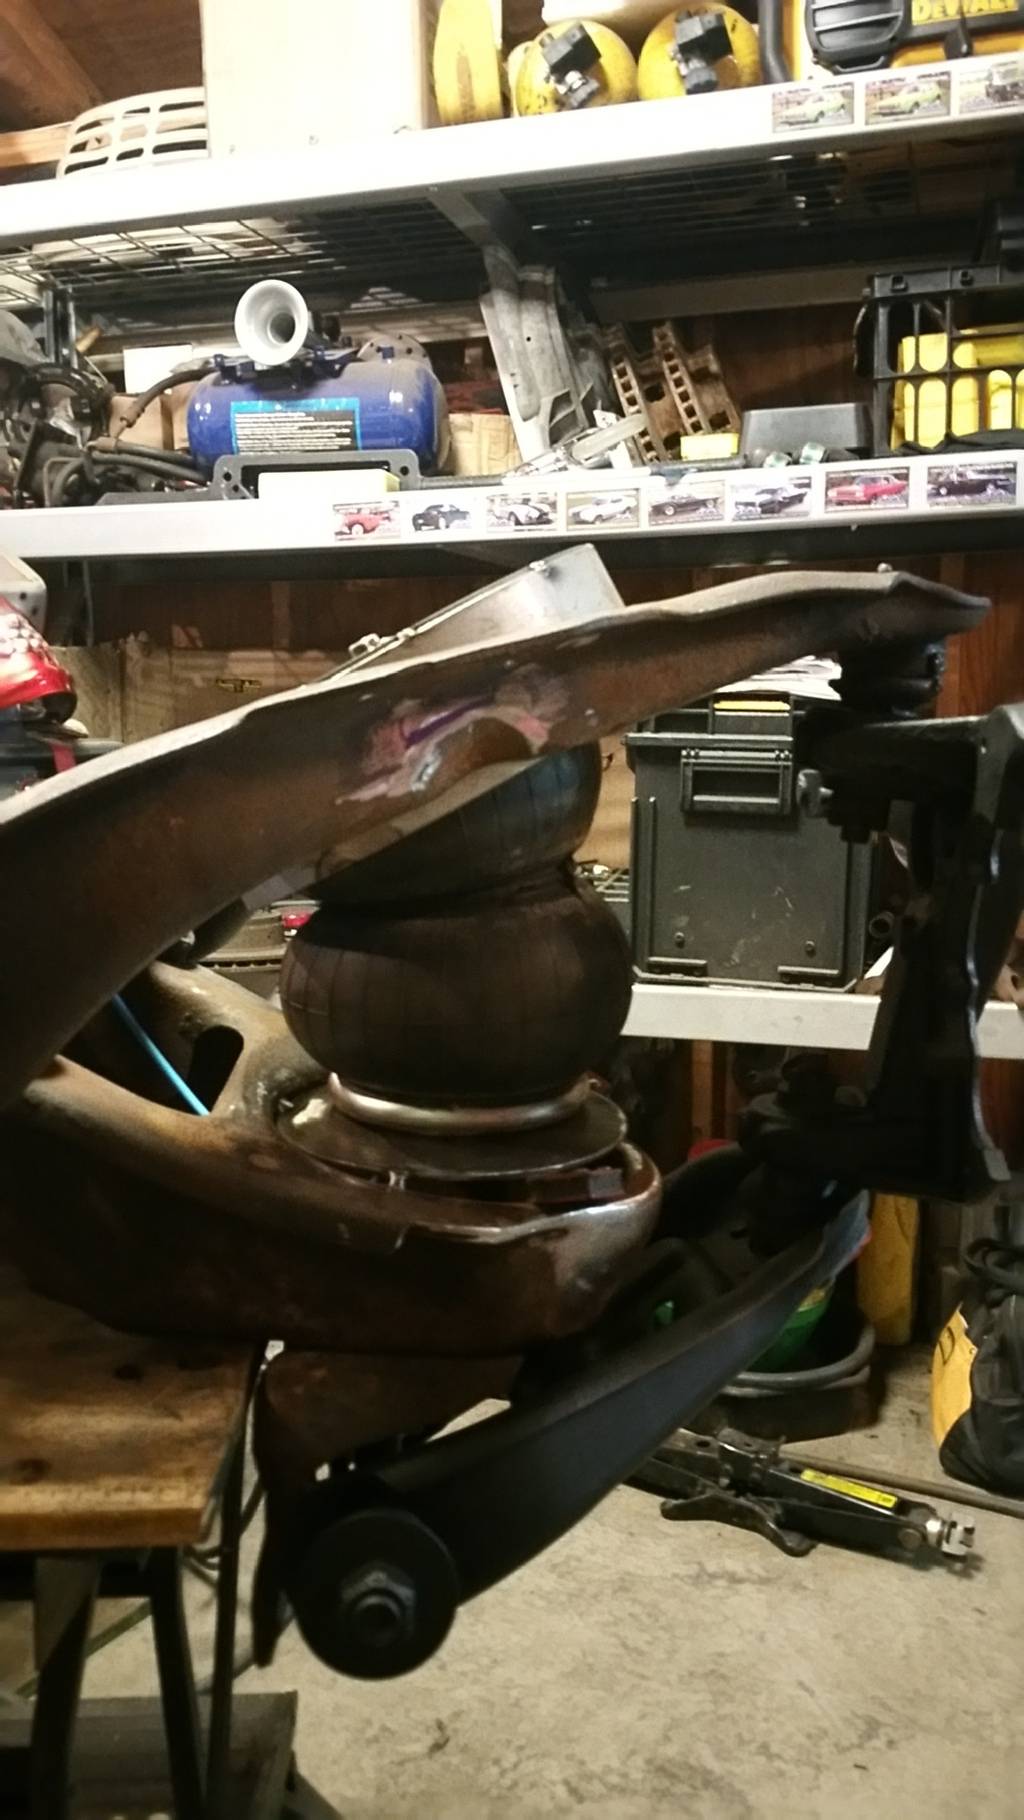
-12.25" of total travel before rubber bumps
I’m pretty happy with the look I got on the upper bag mounts. Should be pretty cool lookin in paint and right side up.
-
02-01-2016 #6
Registered User
- Join Date
- Sep 2015
- Posts
- 15
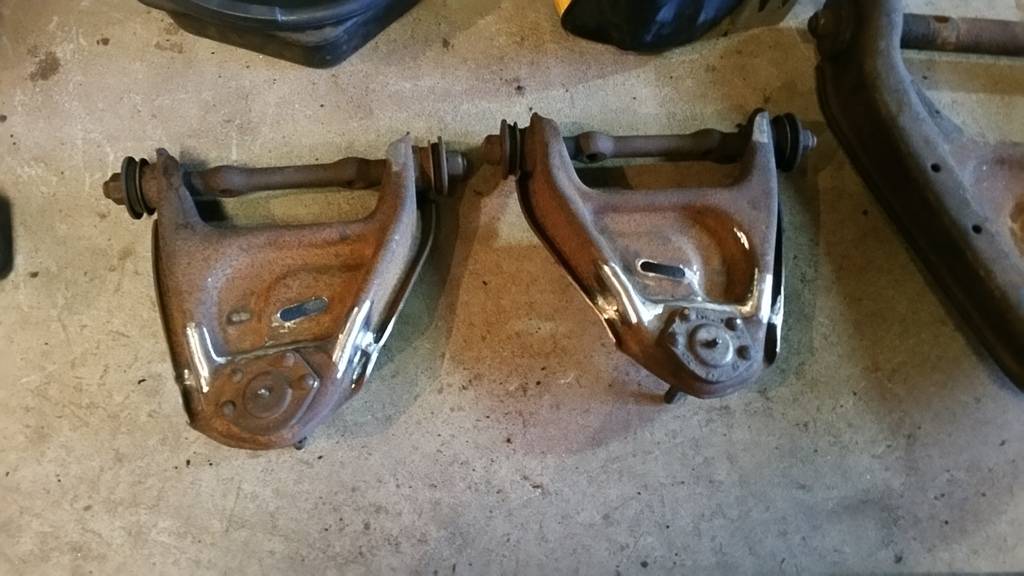
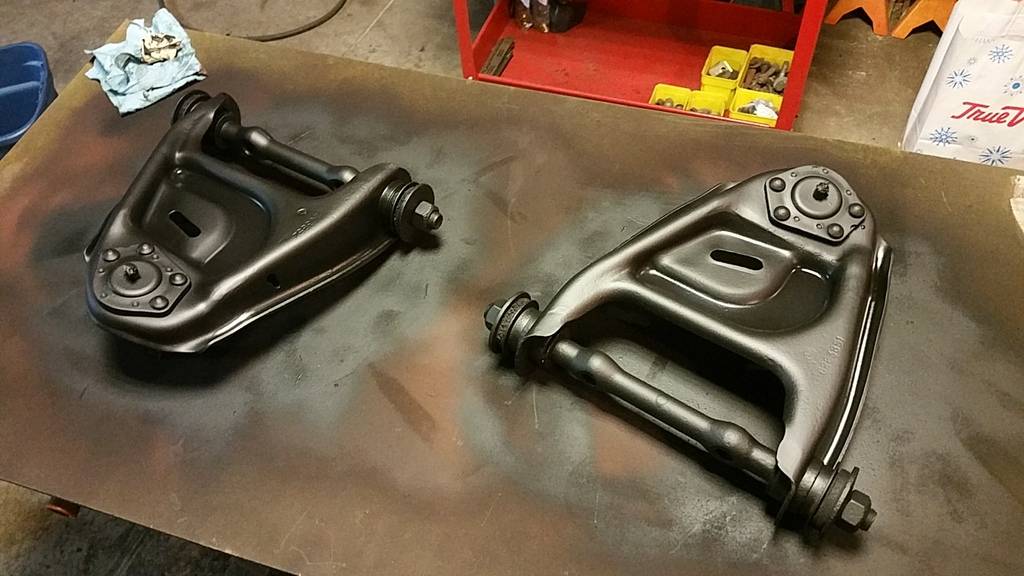
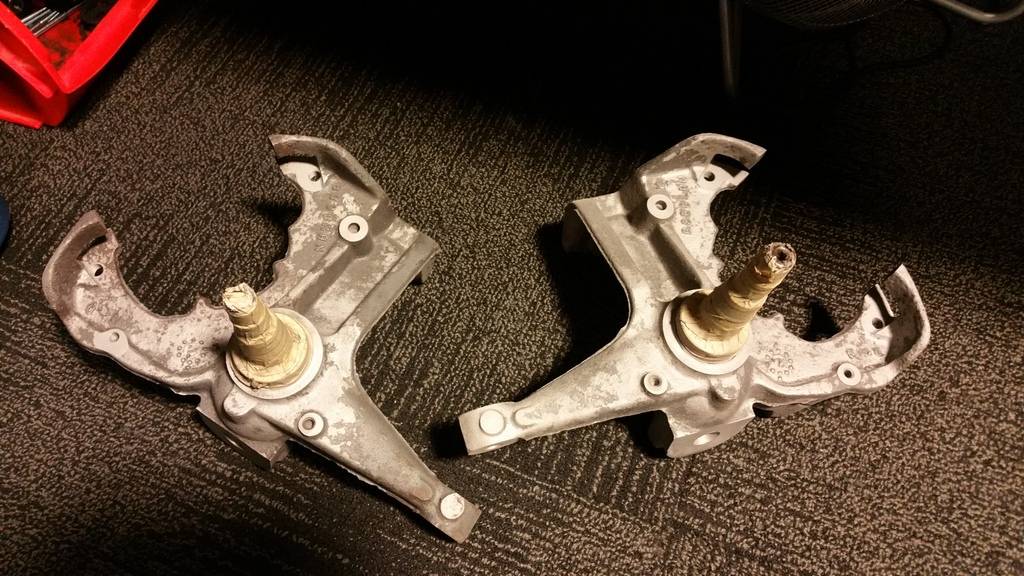
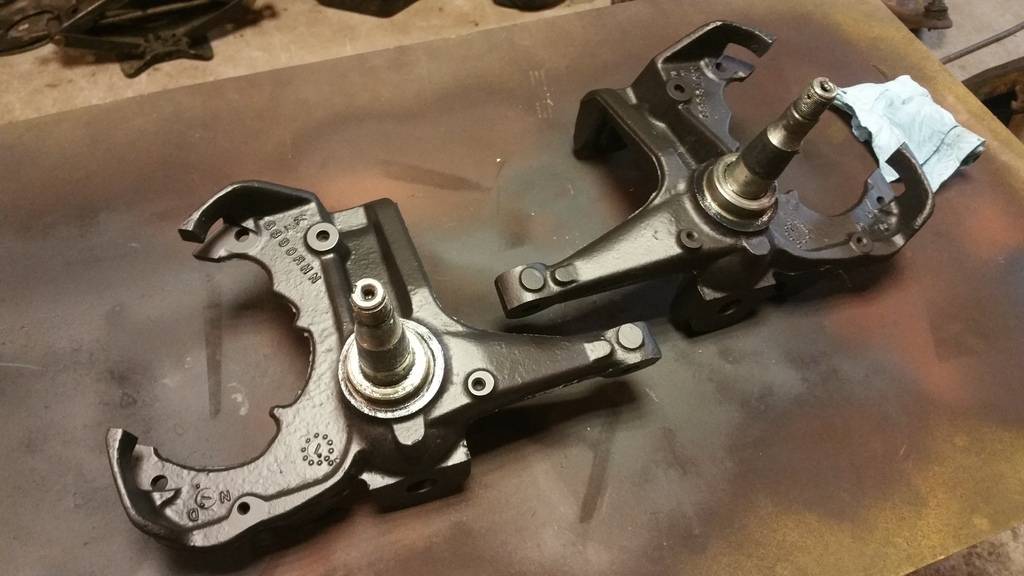
started cleaning things up ...
-
02-01-2016 #7
Registered User
- Join Date
- Sep 2015
- Posts
- 15
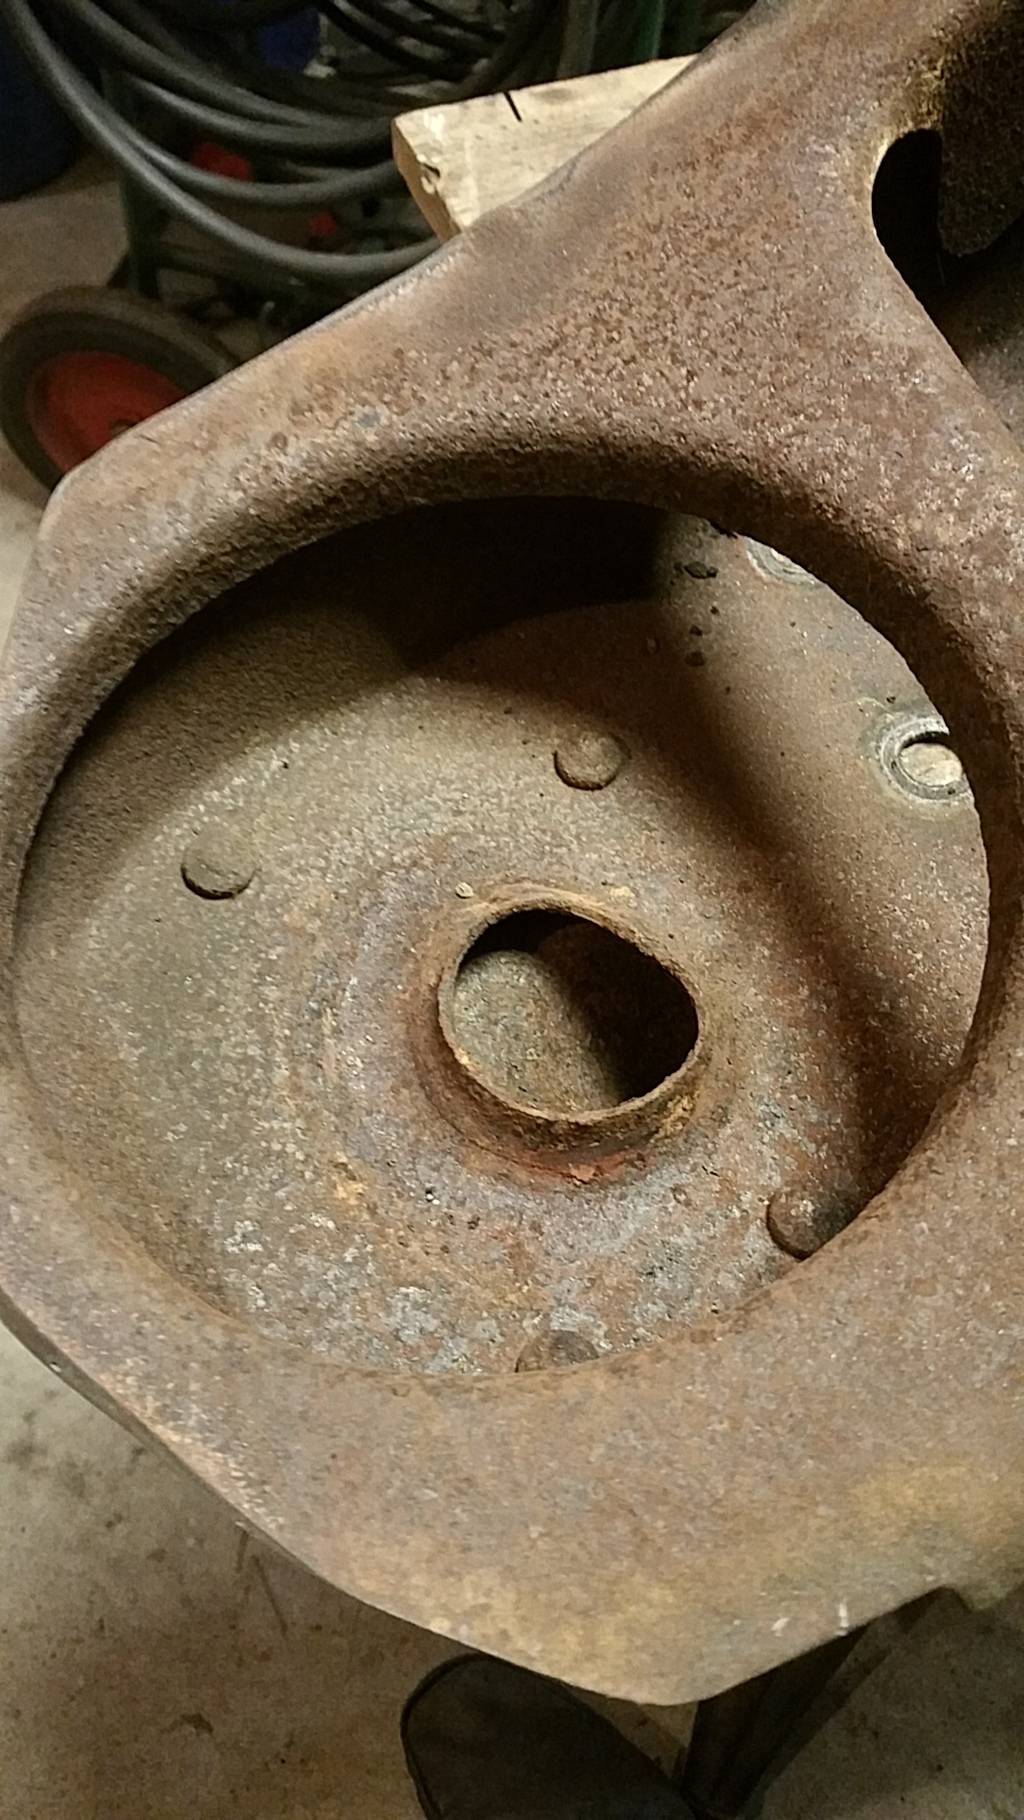
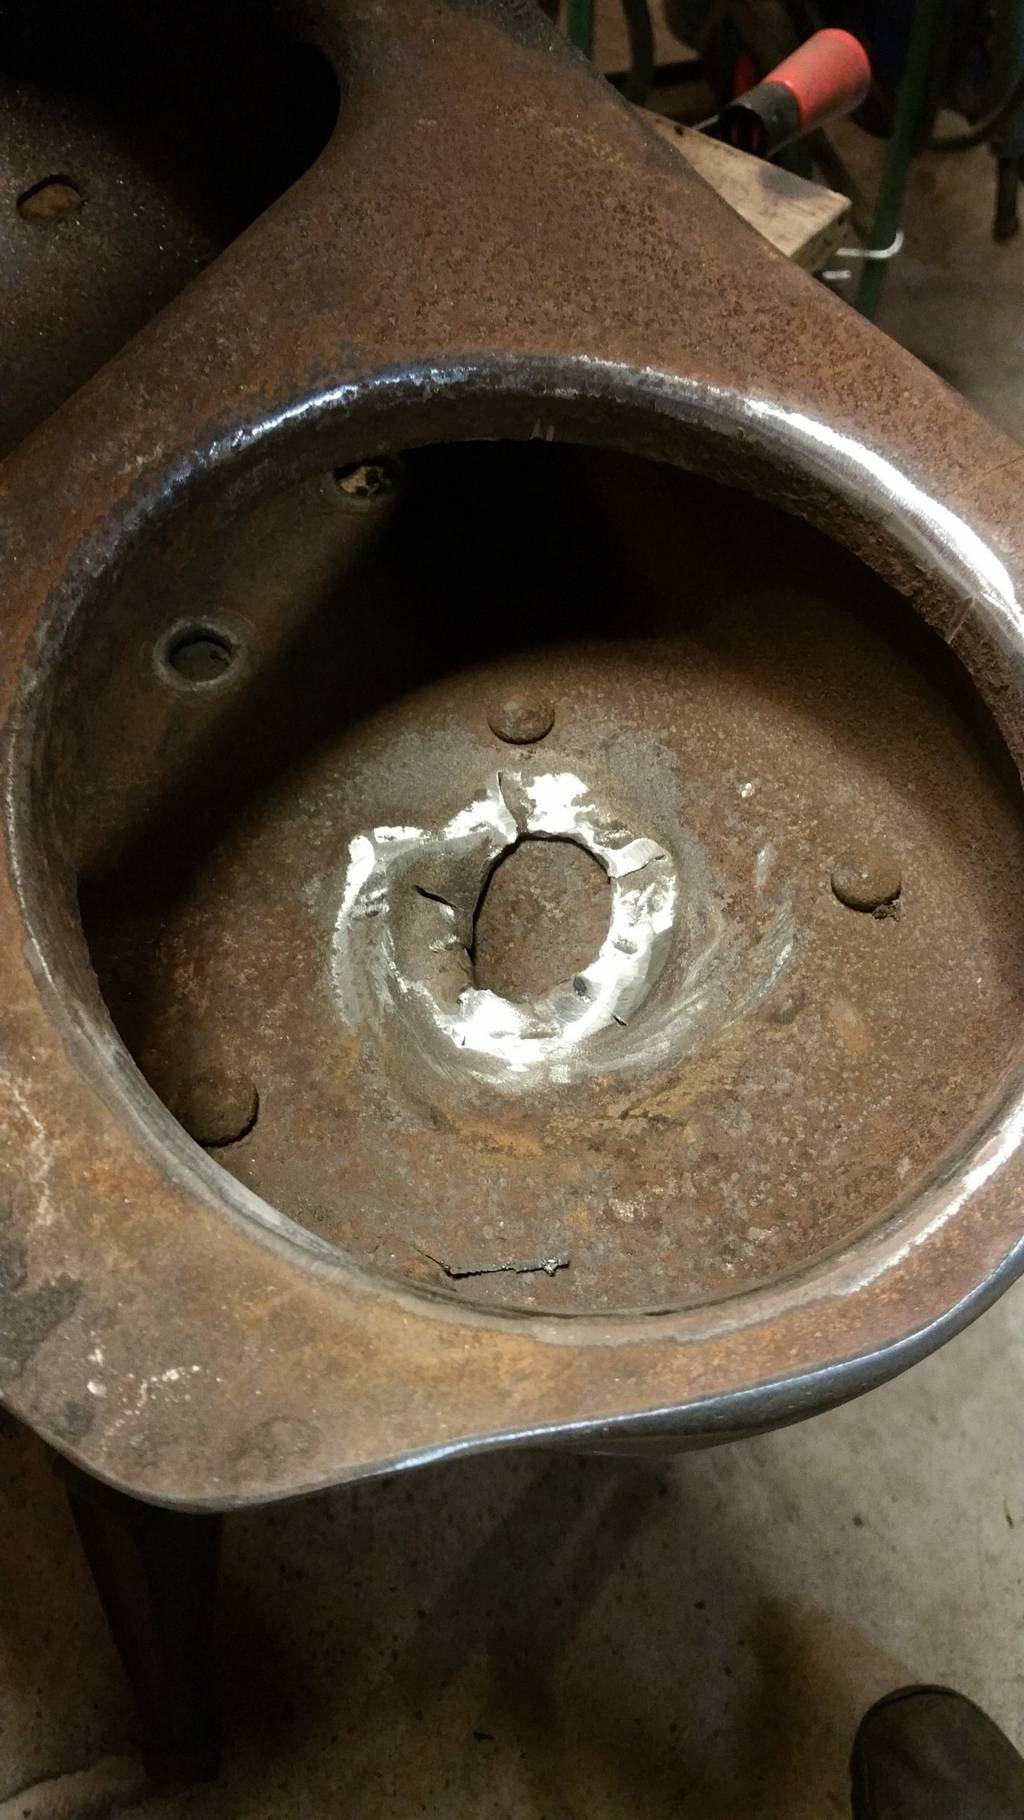
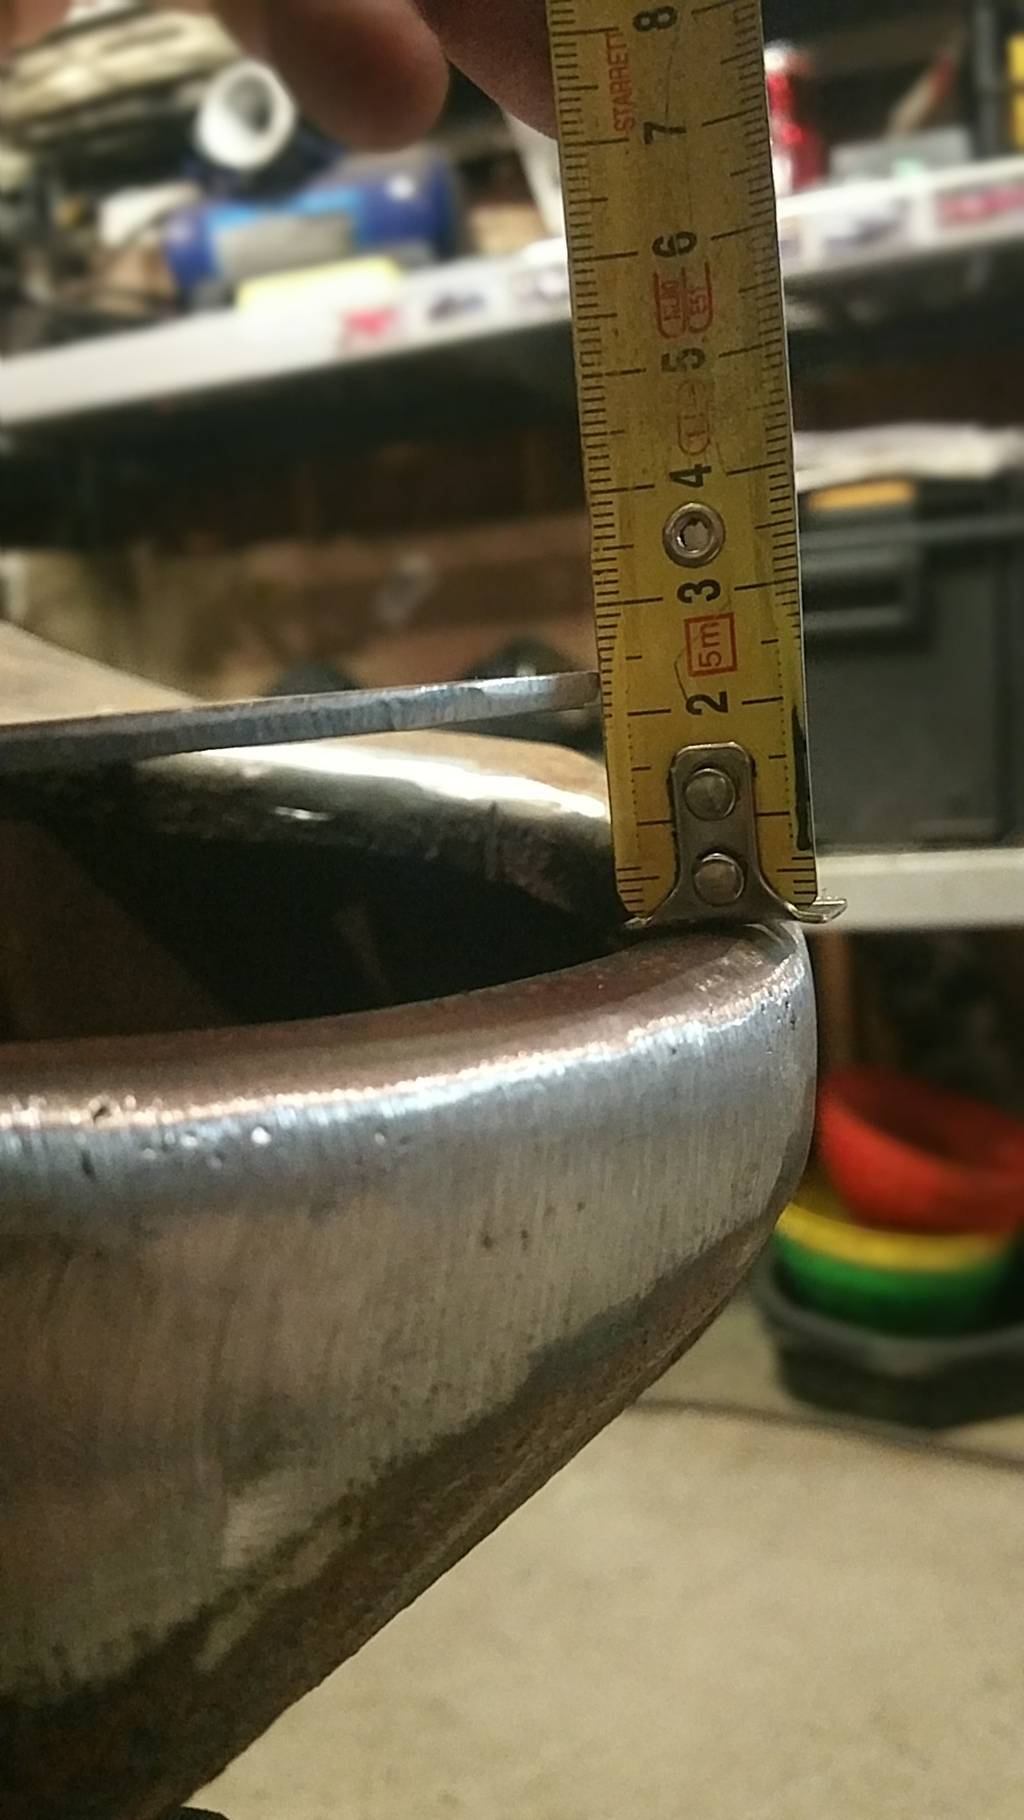
and the LCA set up. you can see where i cut and beat the old upper spring perch flat for more hand room inside the x-member. i cleaned and painted it all inside before i sealed it with the upper mount.
-
02-01-2016 #8
Registered User
- Join Date
- Sep 2015
- Posts
- 15
pictures at full travel
-

 Reply With Quote



