


Results 1 to 20 of 153
Hybrid View


-
08-30-2022 #1

 -Moderator/Sponsor-
- Join Date
- Apr 2001
- Location
- The City of Fountains
- Posts
- 16,125

Let me know if you need any help with the integration between the Holley ECU, Bowler box and DD. Hopefully you're using the DD BIM module.
Andrew1970 GTO Version 3.0
1967 Cougar build
GM High-Tech Performance feature
My YouTube Channel Please Subscribe!
Instagram @dr__efi
I deliver what EFI promises.
Remote Holley EFI tuning.
Please get in touch if I can be of service.
"You were the gun, your voice was the trigger, your bravery was the barrel, your eyes were the bullets." ~ Her
-
08-30-2022 #2 Registered User
- Join Date
- Aug 2012
- Location
- Phoenix
- Posts
- 162
I looked at it but have not pulled the trigger. Am I setting myself up for multiple headaches? Originally Posted by andrewb70
 Kris - Building the poor man's '68 Mustang.
08-30-2022 #3
-Moderator/Sponsor-
- Join Date
- Apr 2001
- Location
- The City of Fountains
- Posts
- 16,125
No, all of those parts work well together. But the Holley software has to be configured precisely according to the DD instructions for everything to work properly, especially with the speed input from the Bowler all in one box. Originally Posted by arcane73
Andrew1970 GTO Version 3.0
1967 Cougar build
GM High-Tech Performance feature
My YouTube Channel Please Subscribe!
Instagram @dr__efi
I deliver what EFI promises.
Remote Holley EFI tuning.
Please get in touch if I can be of service.
"You were the gun, your voice was the trigger, your bravery was the barrel, your eyes were the bullets." ~ Her
08-30-2022 #4
Registered User
- Join Date
- Aug 2012
- Location
- Phoenix
- Posts
- 162
Thanks. I'll know more once I get power to everything. My primary concern was making sure I get all of the firmware updates done correctly and in order. I knew there would be some signal matching work to do when it came to making everything play nice together. Originally Posted by andrewb70
I appreciate it!Kris - Building the poor man's '68 Mustang.
08-30-2022 #5
-Moderator/Sponsor-
- Join Date
- Apr 2001
- Location
- The City of Fountains
- Posts
- 16,125
Also keep me in mind for future tuning work. Originally Posted by arcane73
Andrew1970 GTO Version 3.0
1967 Cougar build
GM High-Tech Performance feature
My YouTube Channel Please Subscribe!
Instagram @dr__efi
I deliver what EFI promises.
Remote Holley EFI tuning.
Please get in touch if I can be of service.
"You were the gun, your voice was the trigger, your bravery was the barrel, your eyes were the bullets." ~ Her
09-12-2022 #6
Registered User
- Join Date
- Aug 2012
- Location
- Phoenix
- Posts
- 162
I figured I'd update this again even though it has felt like I haven't done much. It's been a series of events that I had to stop what I was doing and sit back to think of the next steps.
I got the MDL clutch MC mounted and remounted the steering column. I need to get the brake MC mounted at some point and I'm considering calling ClassicTube because I've read/heard that they offer prebent stainless lines to mate up to willwood MC/prop valve combos. Haven't decided yet. I have a spool of nicopp hanging on the wall but I don't know if I want to try bending lines with the engine in place.
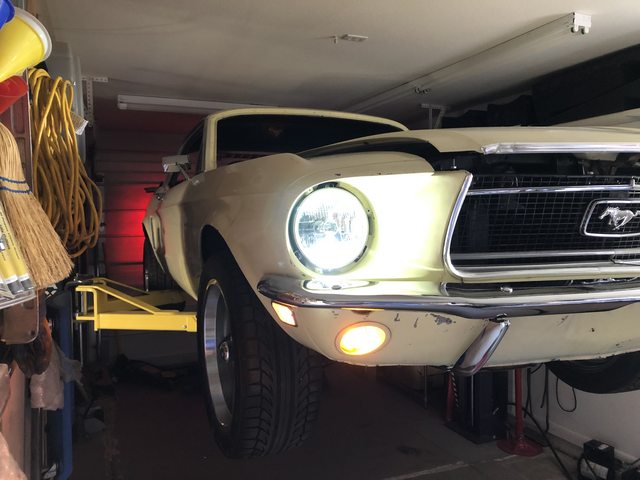
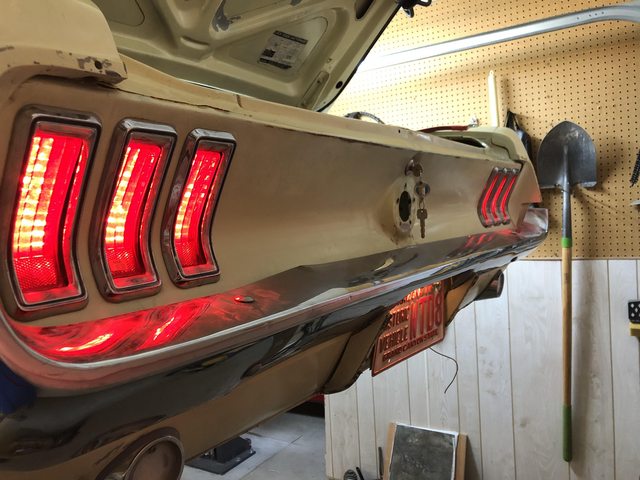
I have run power through the car and have all of the lights/horns functional and working correctly.
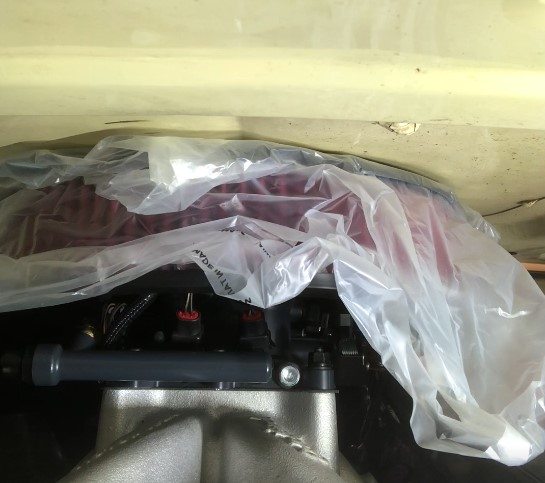
I mounted the throttle body and put on the 14" x 3" air cleaner on a 1" drop base. There is zero clearance. This brings me to the decision of sorting out a lower drop base, running a 'cold-air' type setup, or, most likely, cutting a hole in the hood and doing a Mach 1 scoop to sort of mimic the 68 CJ look. Still undecided.
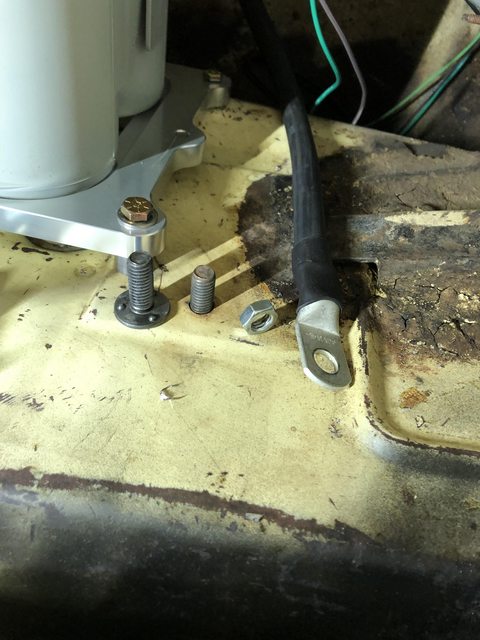
On to battery cables and mounting. I started finalizing the battery cables and mounting and decided to weld in a ground stud. I used a 3/8 weld stud and tacked it to the frame rail and ran my battery ground to that. The weld stud i used is on the left, the finished product is the one on the right. It worked out well.
That allowed me to power up the ECU and check firmware. I'm way out of date which isn't a surprise seeing as the ECU was dated 9/2013. I didn't even get the touchscreen out to check it. I'll get it all mounted and update the firmware on all three after that.
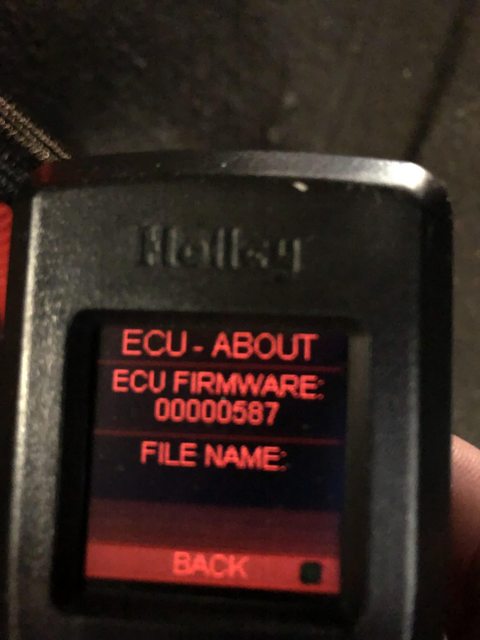
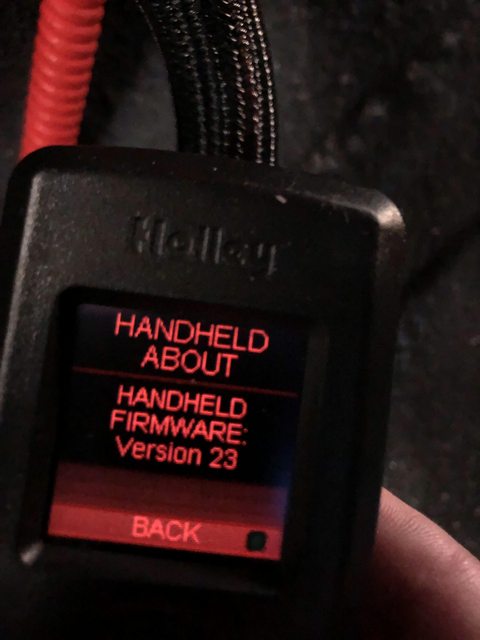
Since the EFI kit is older, there are only 3 I/O wires on it. That's easily remedied since the system can support 8 (4 input/4 output) and Holley sells the add-in wires in a kit (Holley 558-420) -thanks for the lead on that, Andrew!
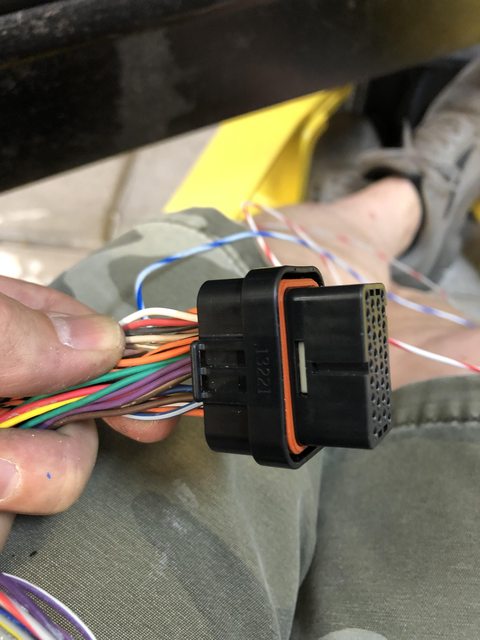
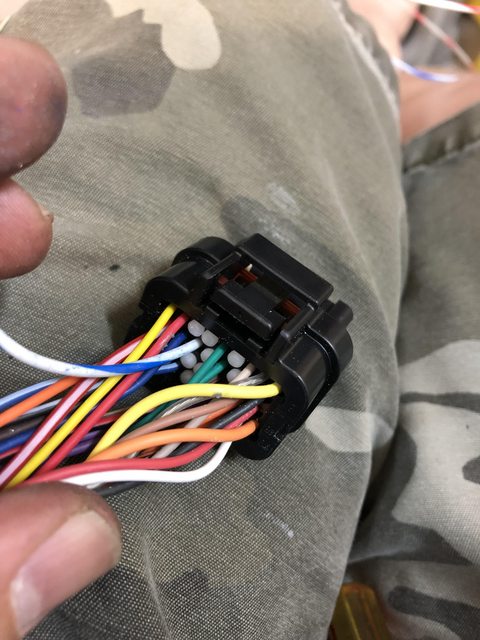
Adding them was super simple. The harness is numbered 1-XX depending on the number of pins from top left to bottom right. The instructions tell you where to add which color wire.
You press the lock (white plastic tab) to release the wires while being careful not to pull any out:
Pull out the white pin that fills the selected spot you need:
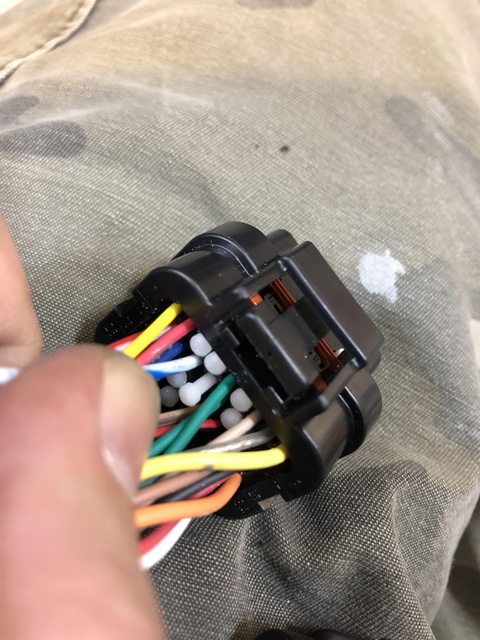
That leaves you a hole in which to shove the appropriately colored wire.
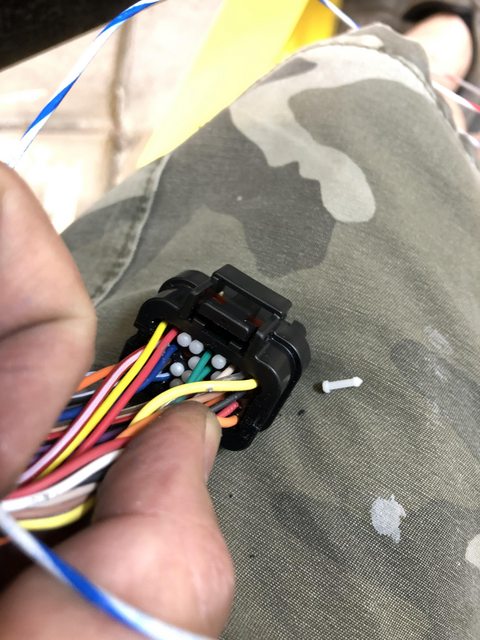
And lock the tab back when you're done. The blue/white wire was slotted in on connector JA, pin 12.
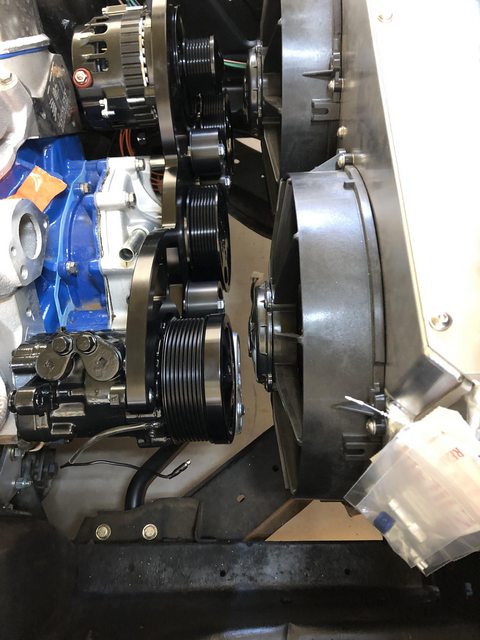
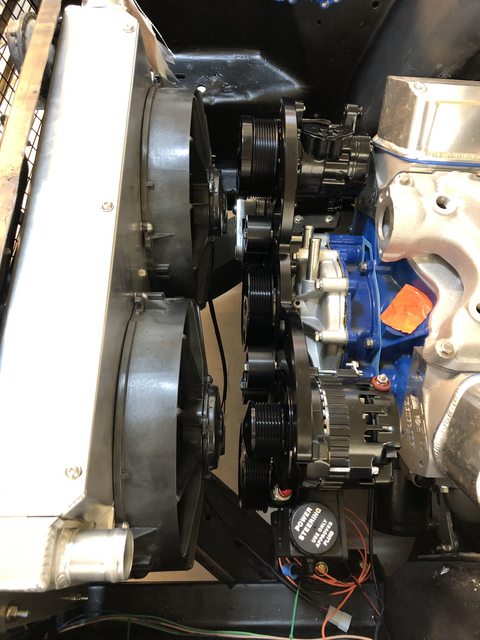
The last part is something I'm not proud of. I've been sitting on a CVF front accessory drive since 2019. I finally got around to installing it this weekend. I started out by test fitting the water pump and just putting regular bolts in the back to hold the backing plate on. I stopped to run into town and then came home and ate lunch. I got back to work and forgot all about the bolts in the back and cracked my timing cover as I tightened the drive bracket down. I could likely ignore it and move on, but I'd be so mad if it leaked when I first started it. That lead me to decide to order a new cover and pull it all back down to do it right since it's easier now with no fluids in it. I could likely repair the existing cover or it may not even be damaged. But if I'm pulling it off, I'm replacing it. My mistake for not paying better attention. Learn and move on. I decided to test mount the rest of the kit and discovered that my crank pulley spacer was about 1" too thick. I called CVF today and they're sending me a spacer that is for a factory balancer. The confusion came from the balancer on the car being aftermarket but a 'factory-style' replacement. They just asked that I pack the one I have back up and send it to them when I verify all is well. That works for me.
Here is how much room I'll have with the full kit on and running a shorty ford water pump:
For now, I'm waiting on parts and still chipping away at it. Here's to hoping it's running by year's end!Kris - Building the poor man's '68 Mustang.

 Reply With Quote


