


Results 61 to 80 of 90
-
04-27-2017 #61

 Registered User
- Join Date
- Aug 2008
- Location
- Charleston, SC
- Posts
- 354
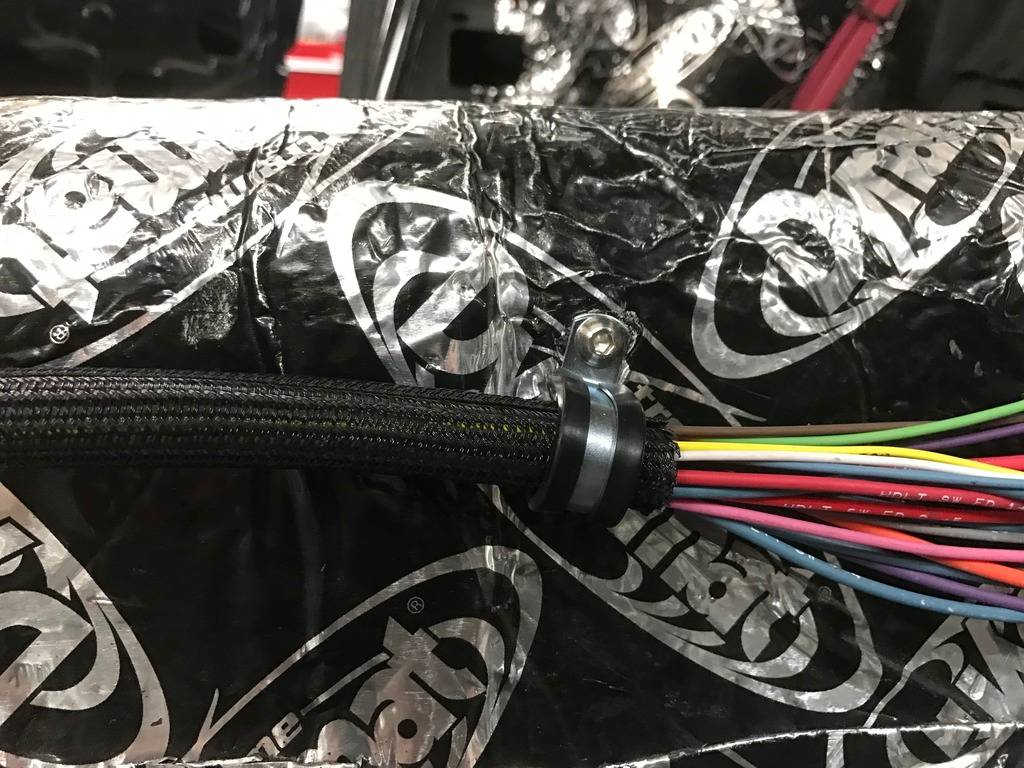
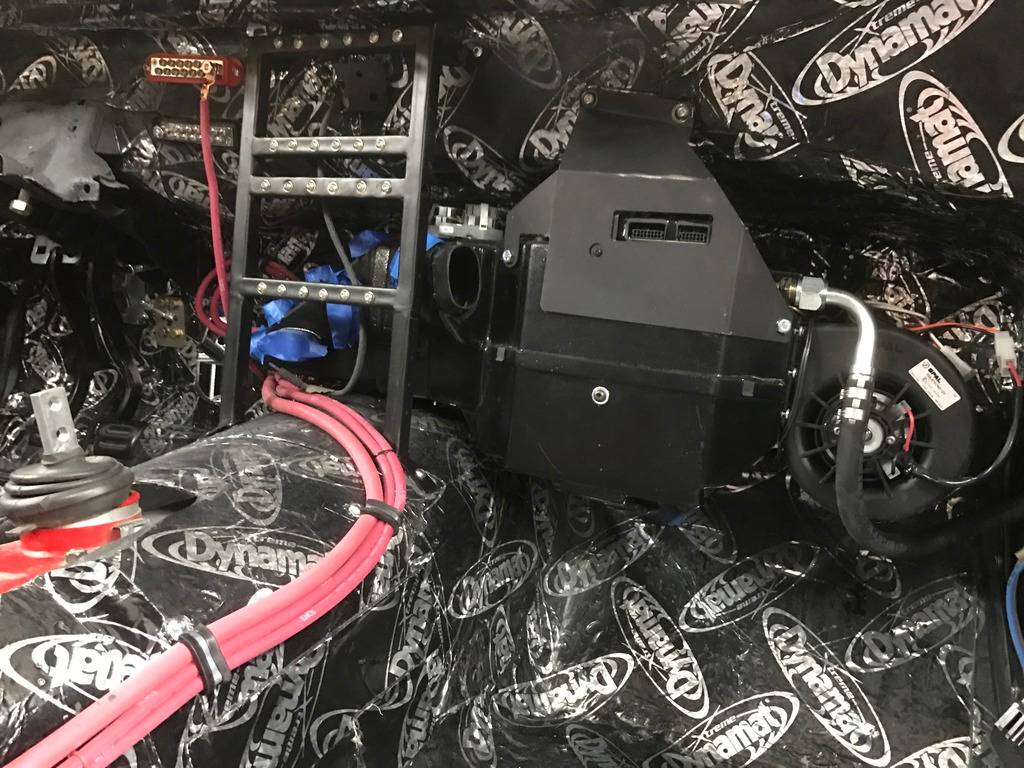
Ran some wires for the trunk mounted battery. I'm running the starter off a solenoid in the trunk so that line is hot only while cranking. Everything else will be run off of 4/0 gauge wire that runs back to 250 amp circuit breakers. Mounted the wiring with rivnuts, adel style clamps and stainless button head screws for neatness.
-
04-27-2017 #62
Registered User
- Join Date
- Apr 2017
- Location
- Fort Worth, Tx
- Posts
- 19

This thing is really coming along nicely. I really like these 2nd gen bird cars.
04-27-2017 #63
Registered User
- Join Date
- Apr 2014
- Posts
- 803
Very nice! You look like you're making a lot of progress and getting close to being on the road.
Pat
05-06-2017 #64
Registered User
- Join Date
- Aug 2008
- Location
- Charleston, SC
- Posts
- 354
A few more updates. I put some 1/8" aluminum panels in each side of the radiator support. THe primary purpose was to mount stuff on them and run wires and hoses behind them. I like the look so much that I'm trying to relocate some of the electrical stuff I was going to mount on them. If I can, I'll polish any scratches out of the aluminum and leave them bare.
I use rivnuts to hold them in.
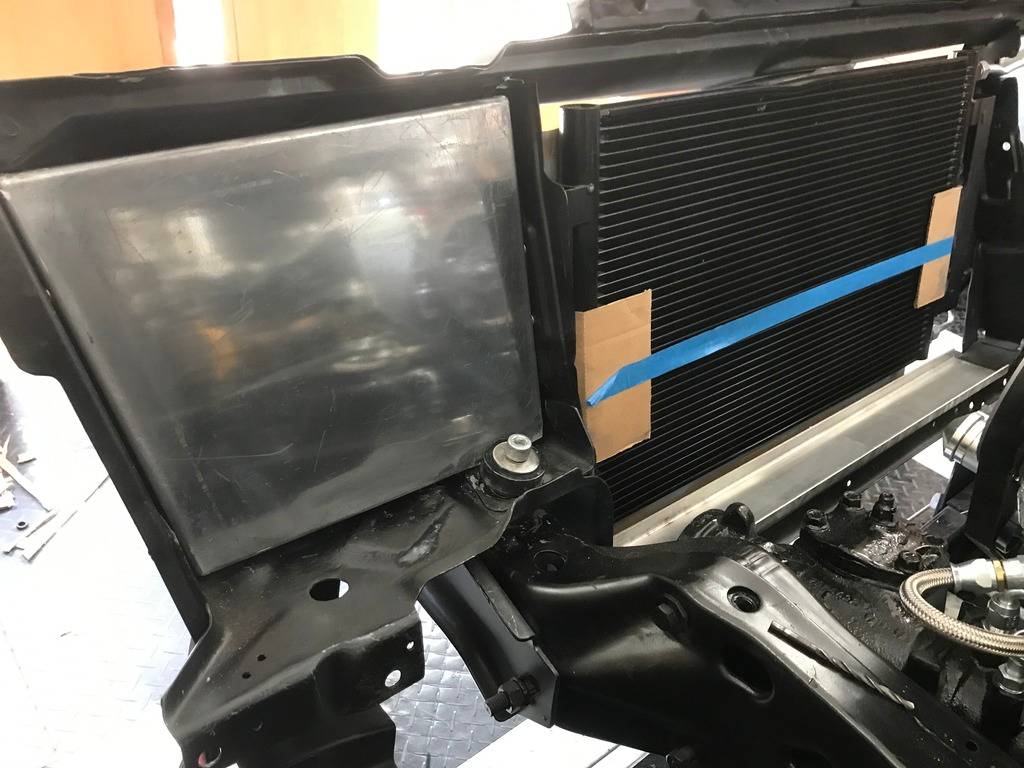
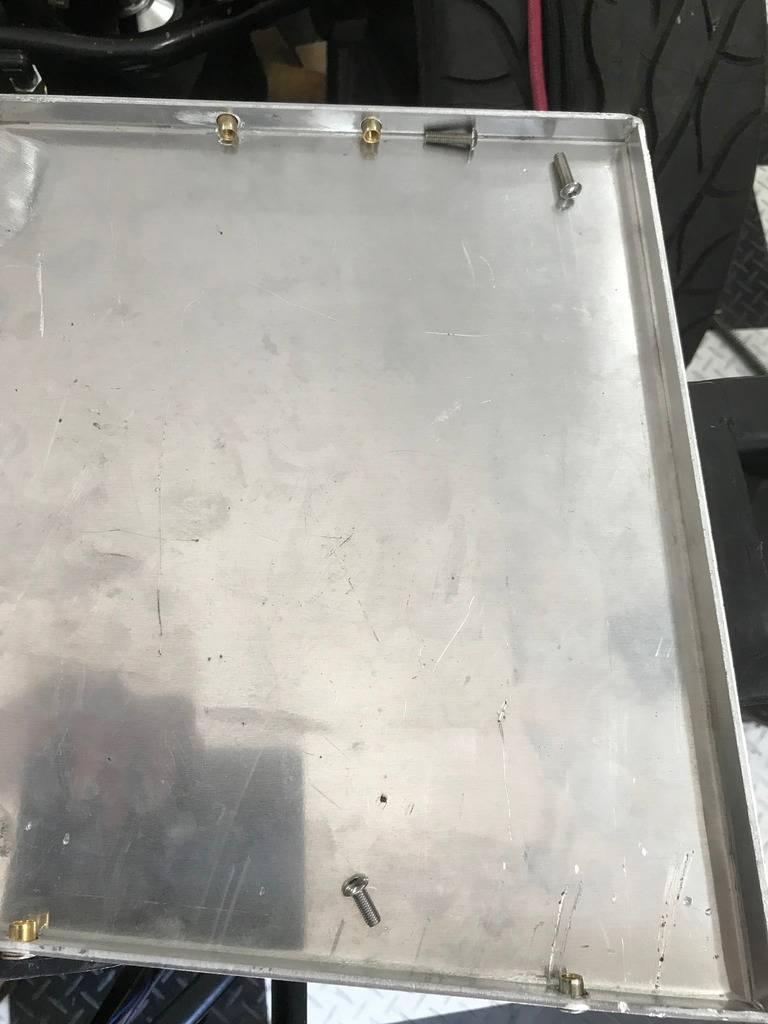
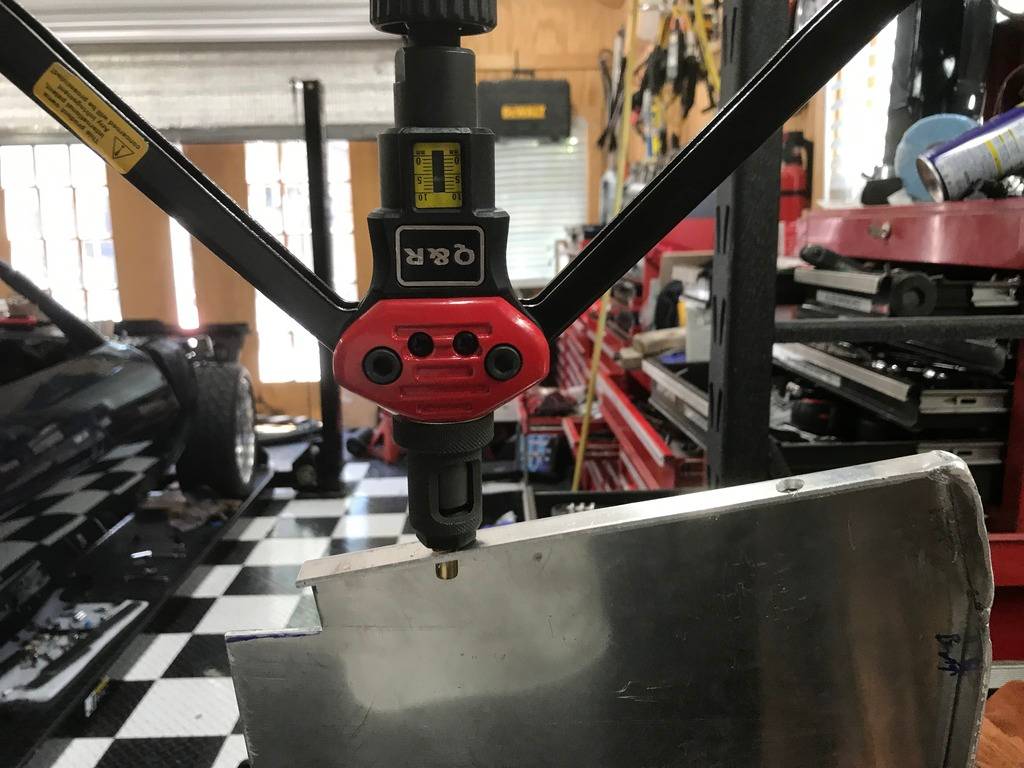
The passenger side was a little more challenging. I now have both hoses running behind the mounted panel. I'm going to order a straight T fitting with the pressure port in it, so I can drill a small hole in the panel so the port can be accessible.
05-06-2017 #65
Registered User
- Join Date
- Aug 2008
- Location
- Charleston, SC
- Posts
- 354
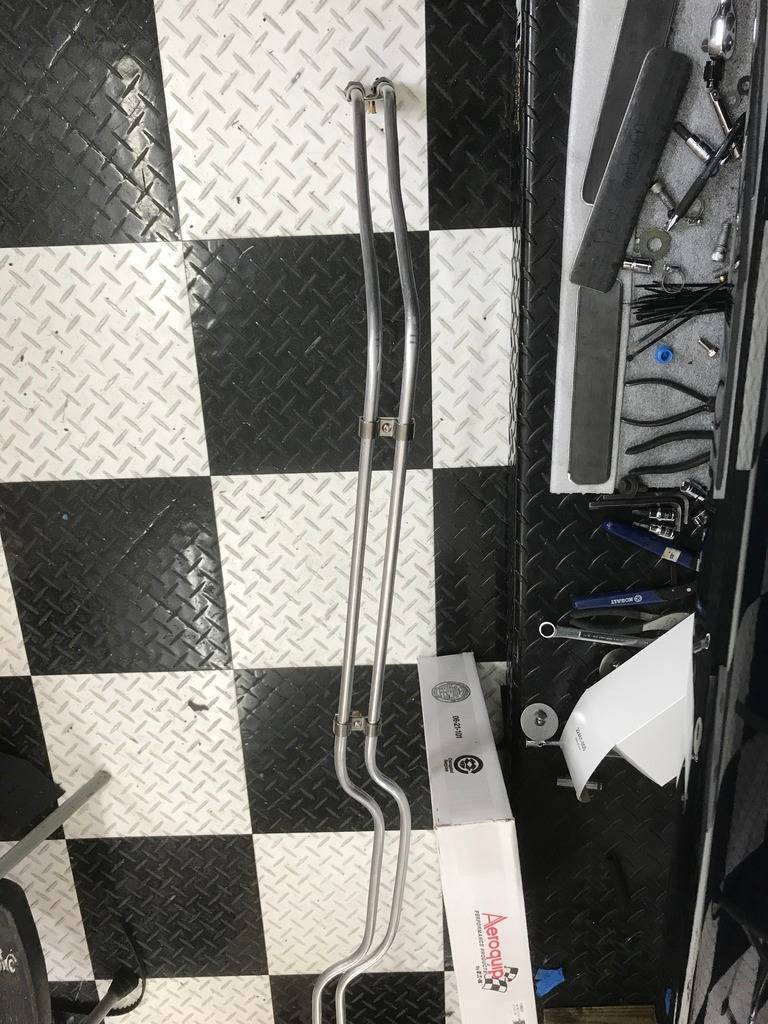
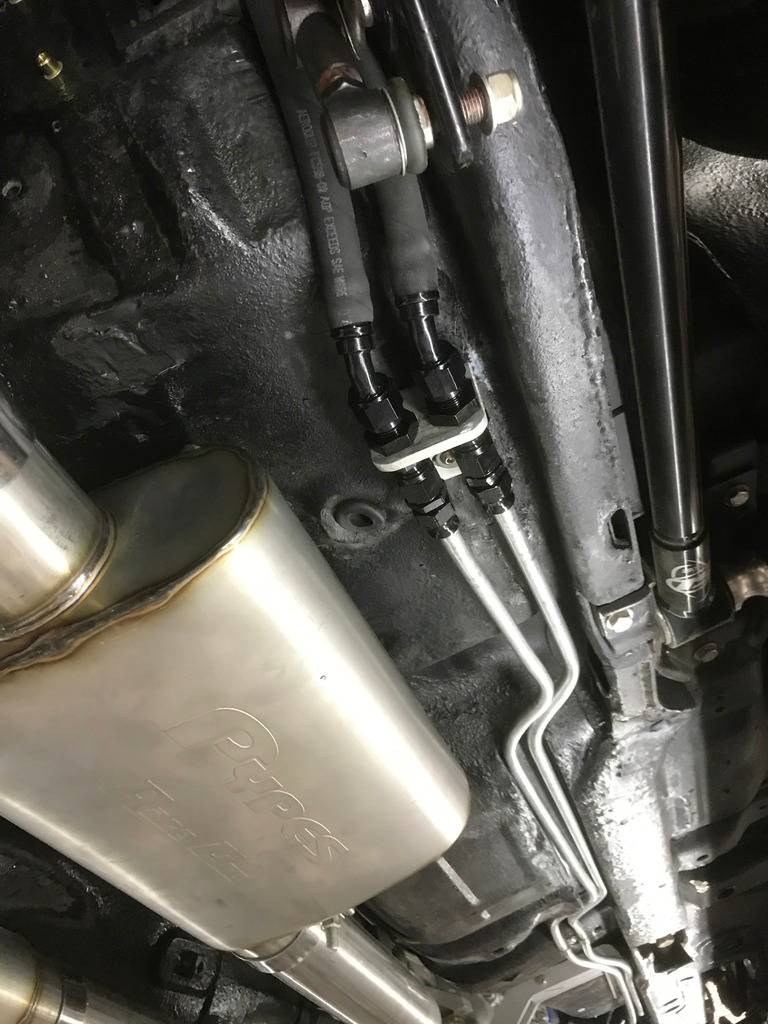
I fabbed a couple of brackets to use with bulkhead connectors to secure the fuel lines
06-20-2017 #66
Registered User
- Join Date
- Aug 2008
- Location
- Charleston, SC
- Posts
- 354
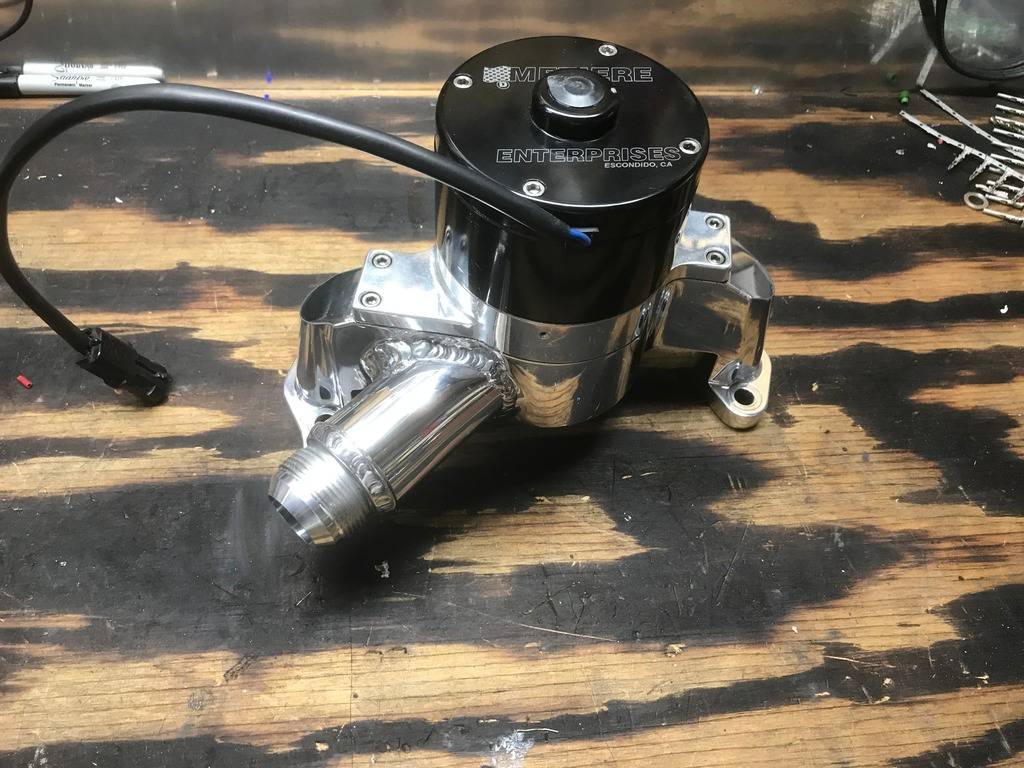
Water neck on thermostat housing and water pump and the inlet and outlet of the radiator are now all converted to AN fittings and a new neck was welded on.
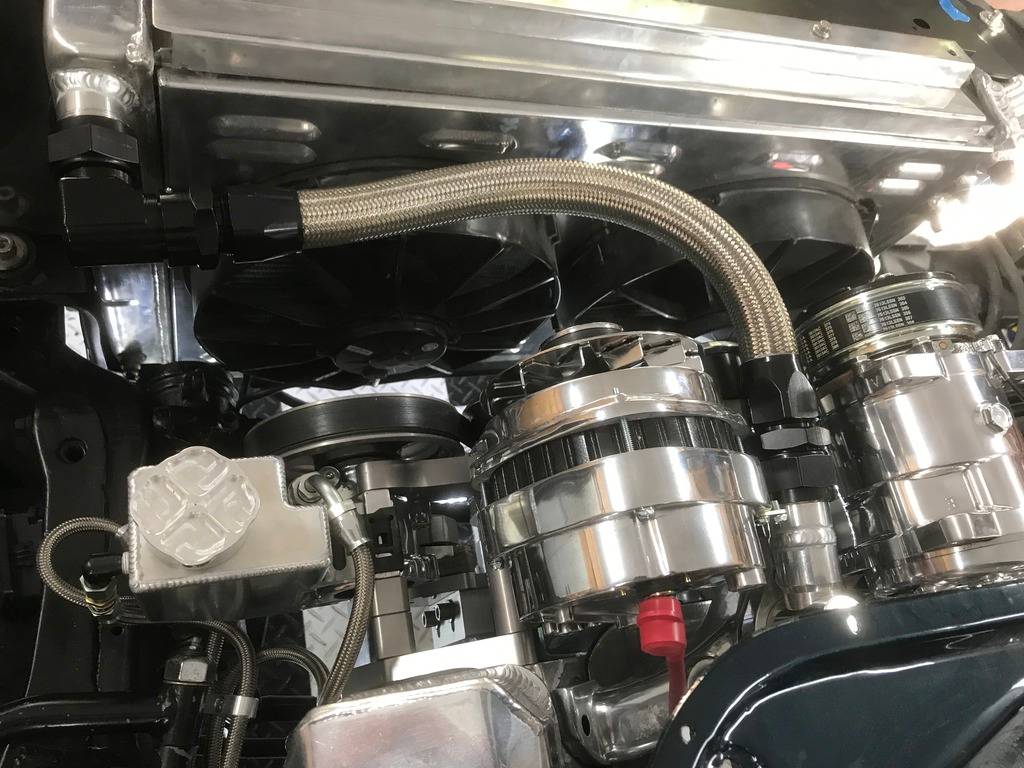
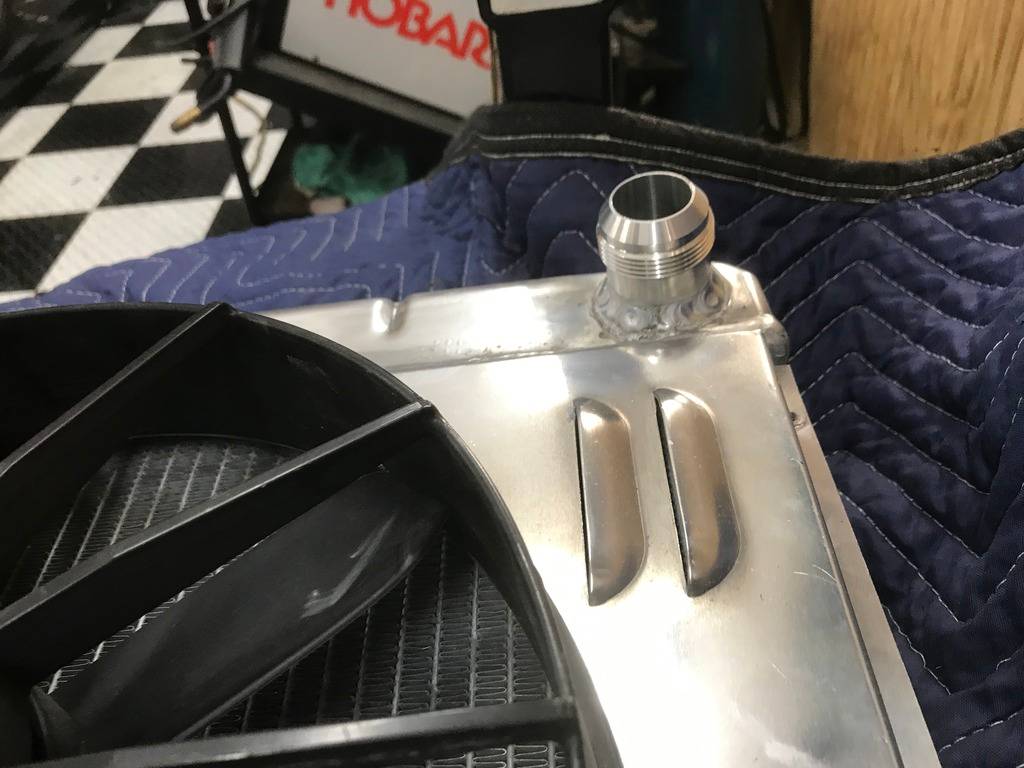
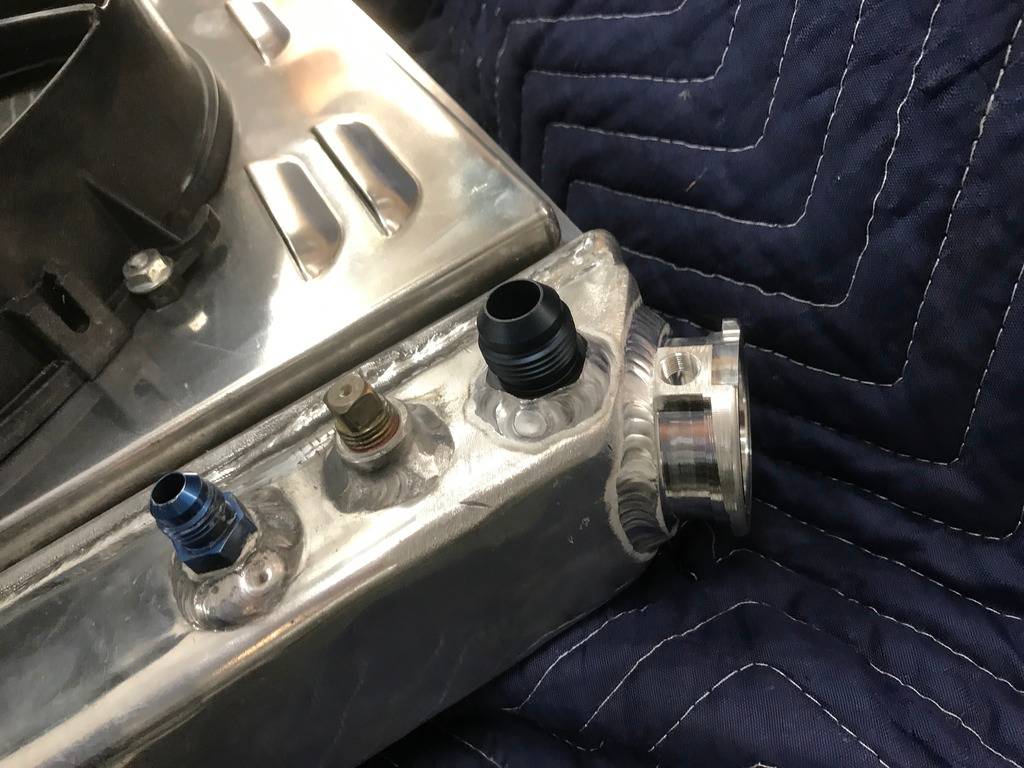
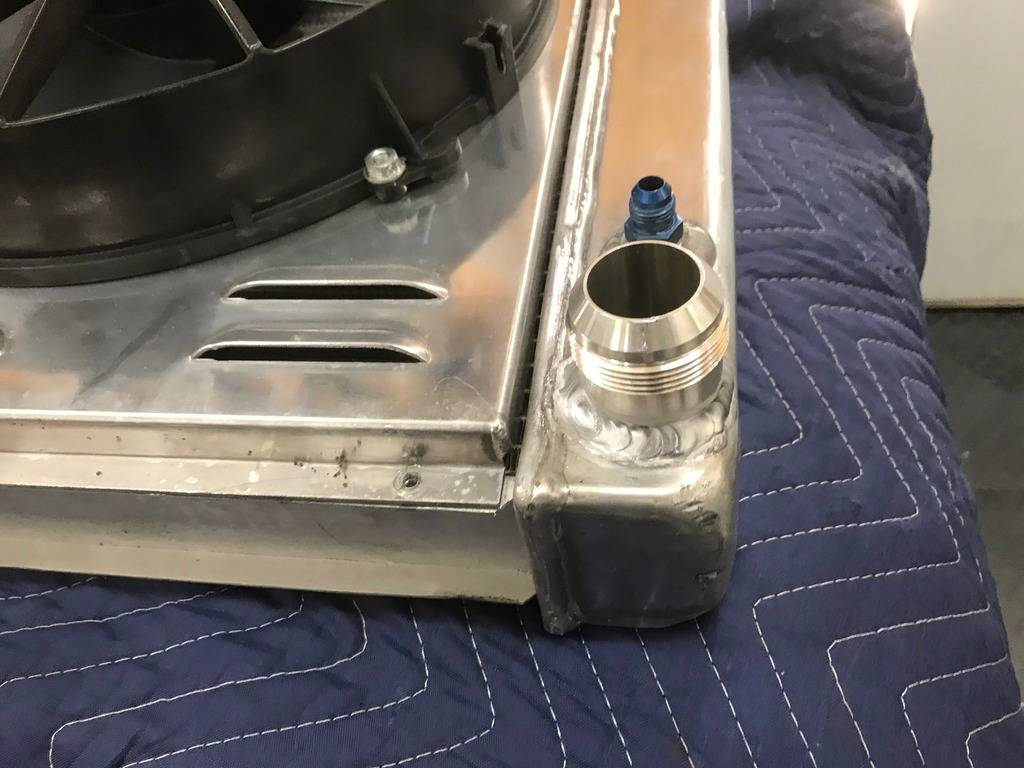
Mark at Luhn Performance also machined the water pump for O-Rings after installing the AN 20 inlet.
06-20-2017 #67
Registered User
- Join Date
- Aug 2008
- Location
- Charleston, SC
- Posts
- 354
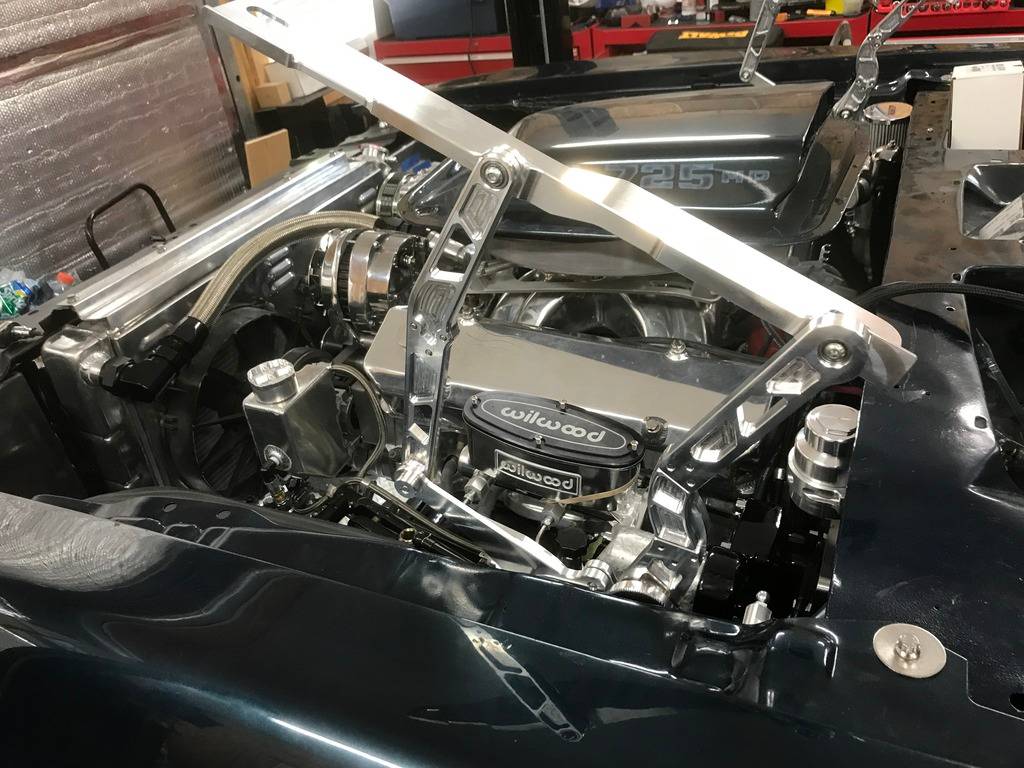
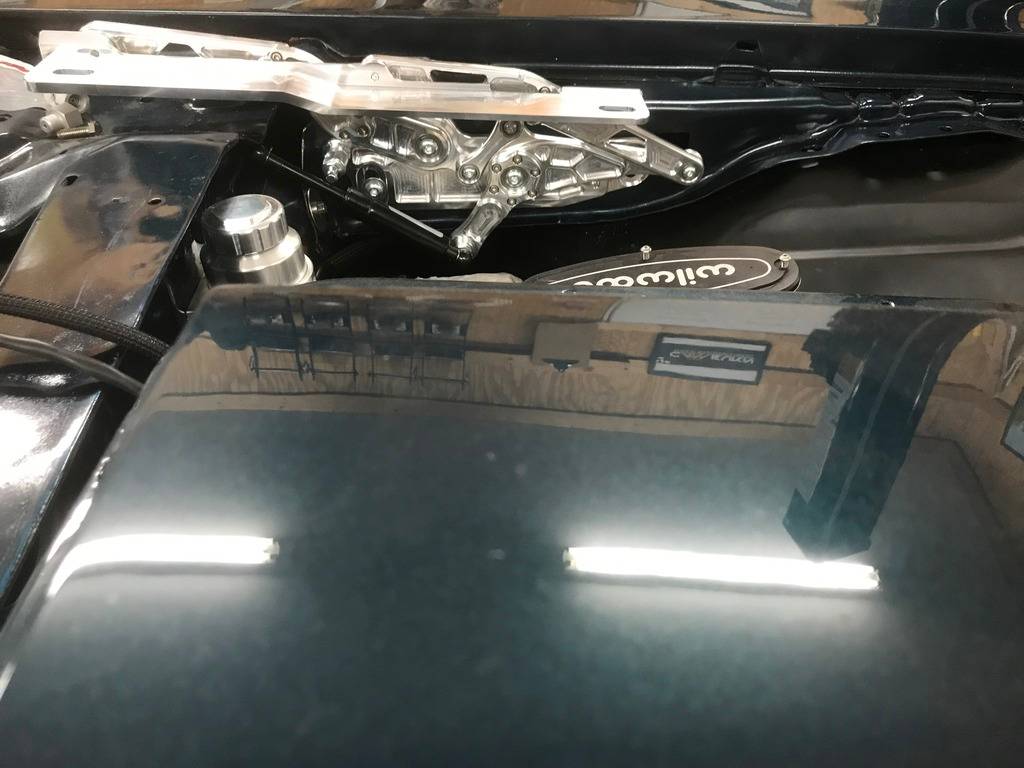
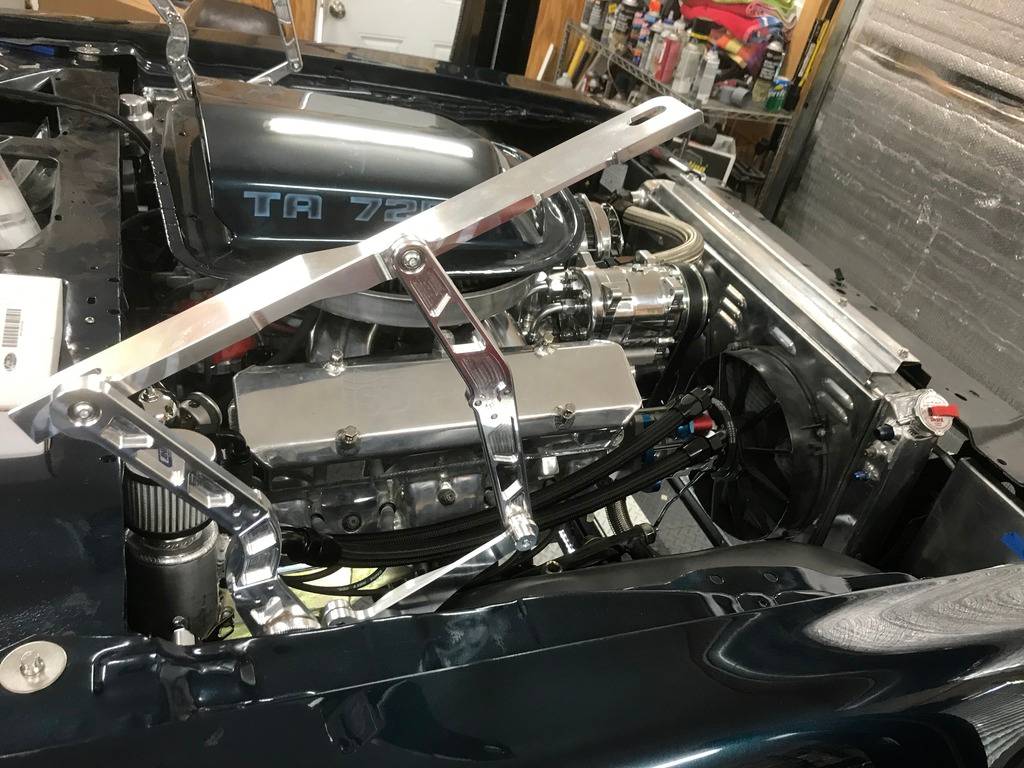
Some Ring Brother's hinges were added.
06-20-2017 #68
Registered User
- Join Date
- Aug 2008
- Location
- Charleston, SC
- Posts
- 354
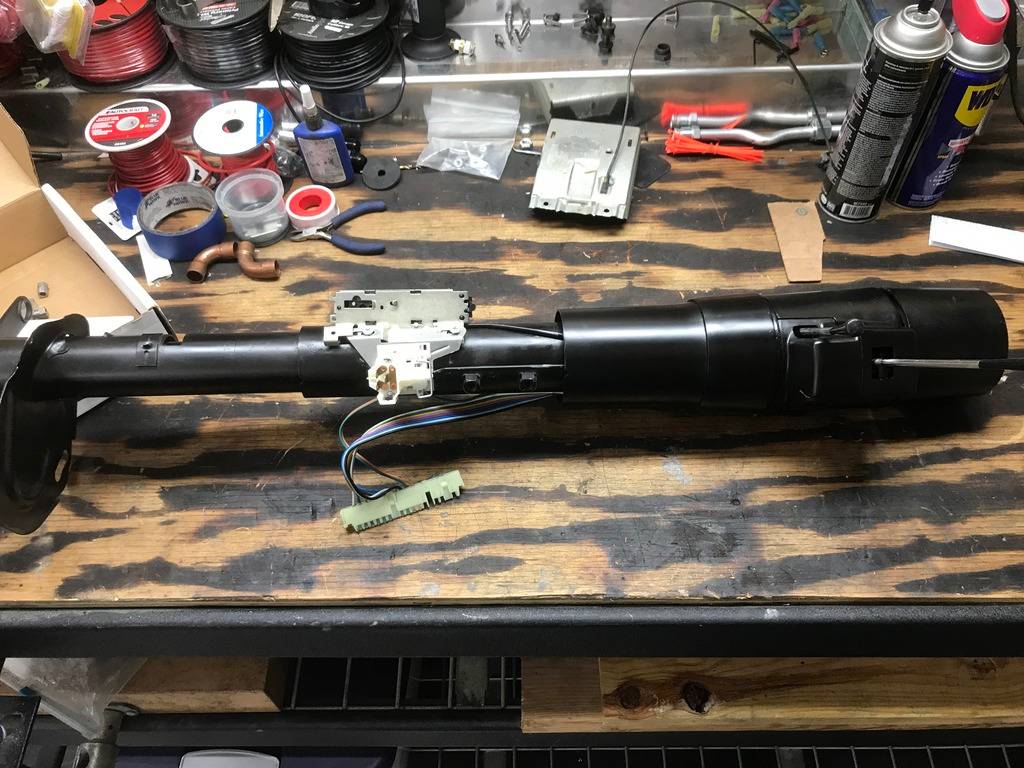
Steering column received some TLC with new bearings, all new electrical switches and a fresh coat of paint.
06-20-2017 #69
Registered User
- Join Date
- Aug 2008
- Location
- Charleston, SC
- Posts
- 354
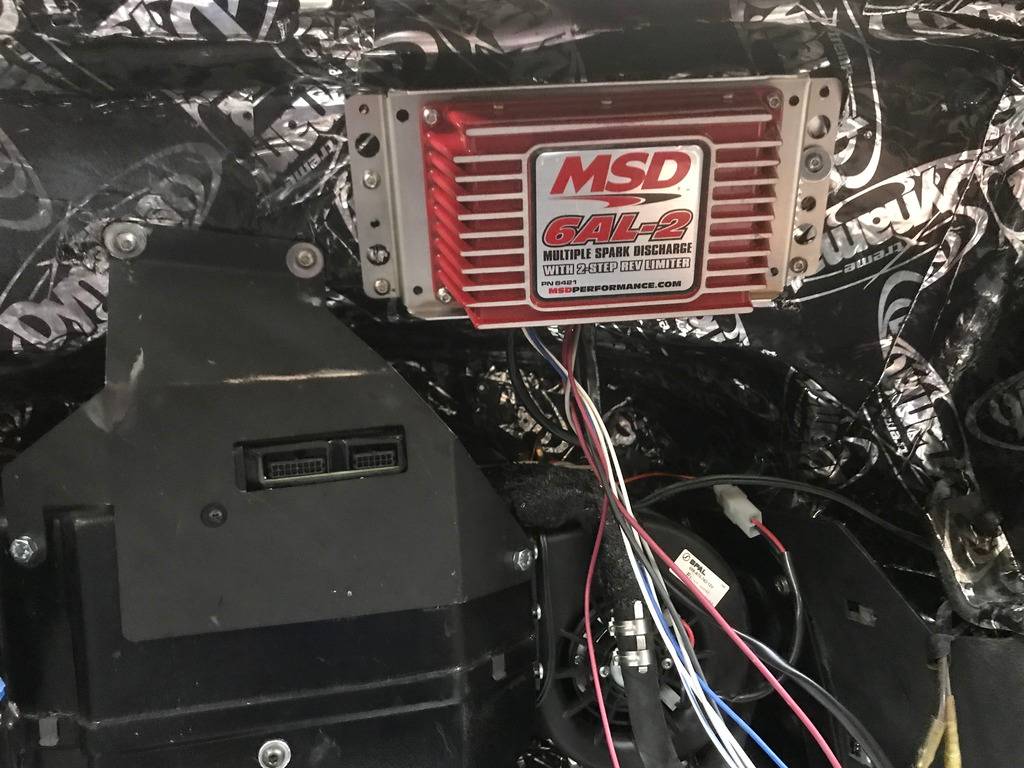
Found a suitable location for mounting the MSD box. After the coil, we'll be ready to put the dash back in.
06-20-2017 #70
Registered User
- Join Date
- Aug 2008
- Location
- Charleston, SC
- Posts
- 354
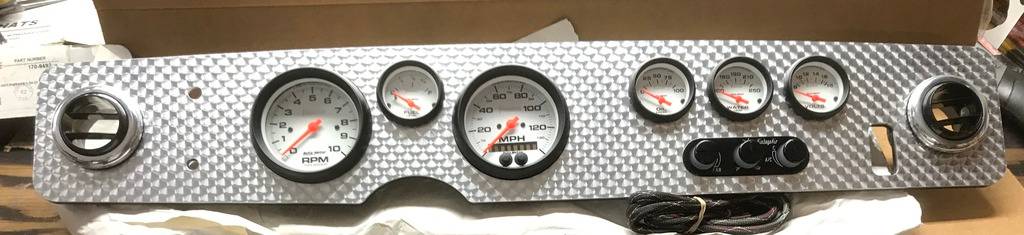
Here's a sneak peek at the gauges and custom bezel.
07-06-2017 #71
Registered User
- Join Date
- Aug 2008
- Location
- Charleston, SC
- Posts
- 354
I finished off the most of the underdash wiring, with a few minor exceptions and installed the AC hoses and dash. It was quite a sight under there before I got it all loomed up and organized. One of the things I did a bit differently was to install a 0 gauge ground wire the full length of the car and install several busses like the one pictured below. At each junction, I'd connect the primary wire, another 0 gauge wire going to another actual ground nearby and then a third leg continuing on to the next buss. The fourth connection was generally out to a smaller ground buss so it would be easy to find a ground pretty much anywhere and the whole system would be grounded numerous places throughout the car and to the negative terminal on the battery. It was overkill but I really hate ground problems!
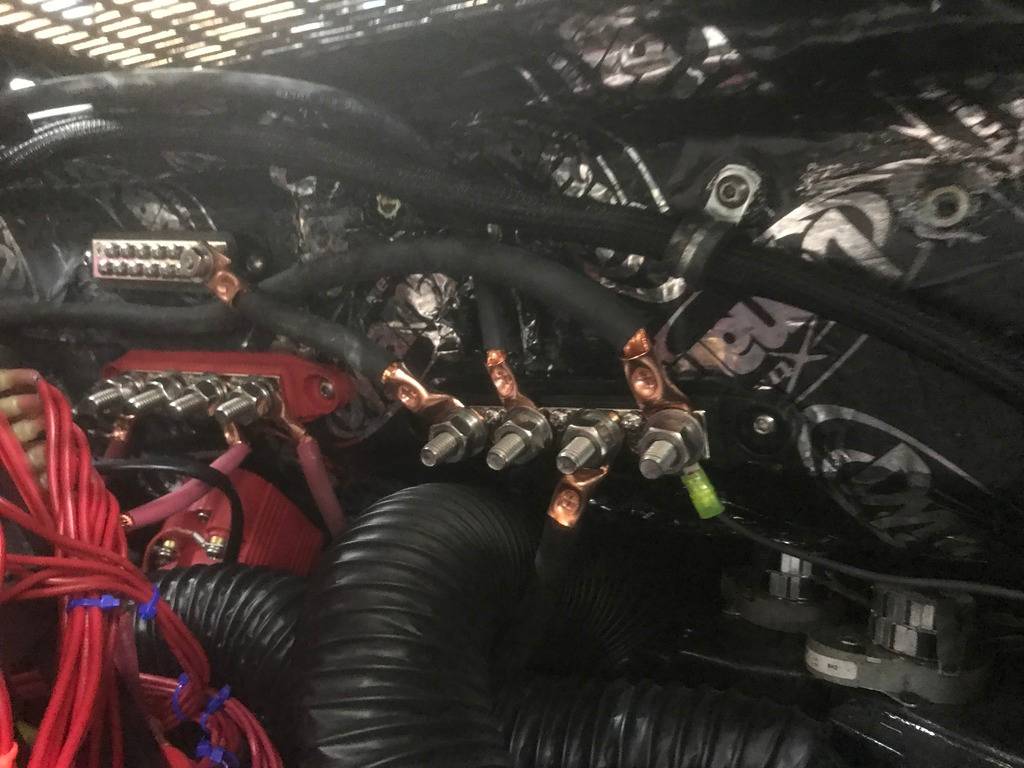
I also have a 0 gauge hot wire running the length of the car and have smaller hot busses coming off of those, with one being switched and the other always on. Adding accessories is simple with this setup. No need to splice into anything to add additional circuits.
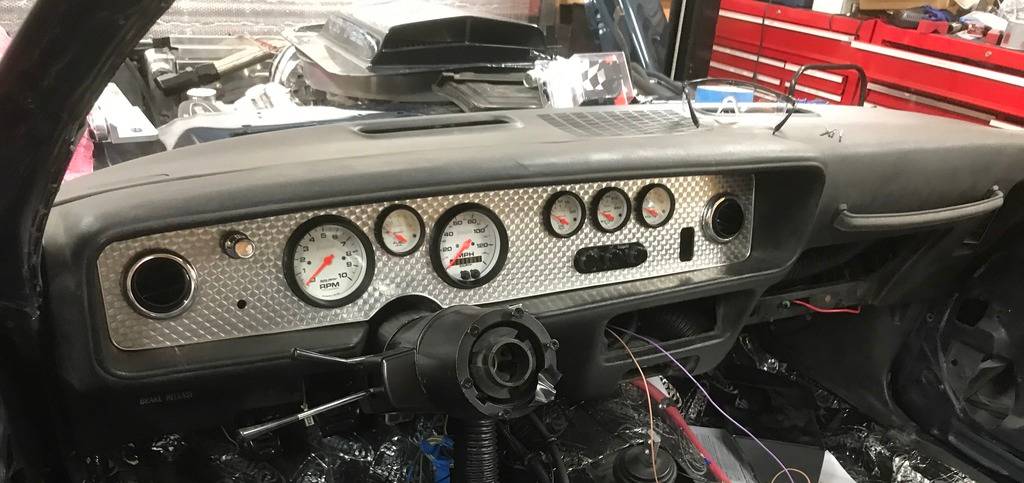
So here are the dash and gauges installed.
I should soon be able to get back to finishing off the rear seat delete platform I began roughing in.

07-07-2017 #72 Registered User
- Join Date
- Mar 2007
- Location
- Florida
- Posts
- 2,391
Looking good! The full length ground is a good idea, I've seen too many problems with rear mount batteries not using a full length ground.
07-07-2017 #73
Registered User
- Join Date
- Aug 2008
- Location
- Charleston, SC
- Posts
- 354
Thanks! I know the importance of a separate ground buss. Datacenter design is just one of the things in my skillset. lol.
07-07-2017 #74
Registered User
- Join Date
- Mar 2007
- Location
- Florida
- Posts
- 2,391
Dunno how much electrical background you have but be cautious of creating ground loops that can become a problem. I've seen ground loops do some weird things to aftermarket EFI etc. Here's some info for anyone interested http://www.w8ji.com/ground_loops.htm
07-07-2017 #75
Registered User
- Join Date
- Aug 2008
- Location
- Charleston, SC
- Posts
- 354
2nd Gen Trans Am
Interesting reading. I might have even picked up a nugget or two in there!
07-28-2017 #76
Registered User
- Join Date
- Aug 2008
- Location
- Charleston, SC
- Posts
- 354
2nd Gen TA
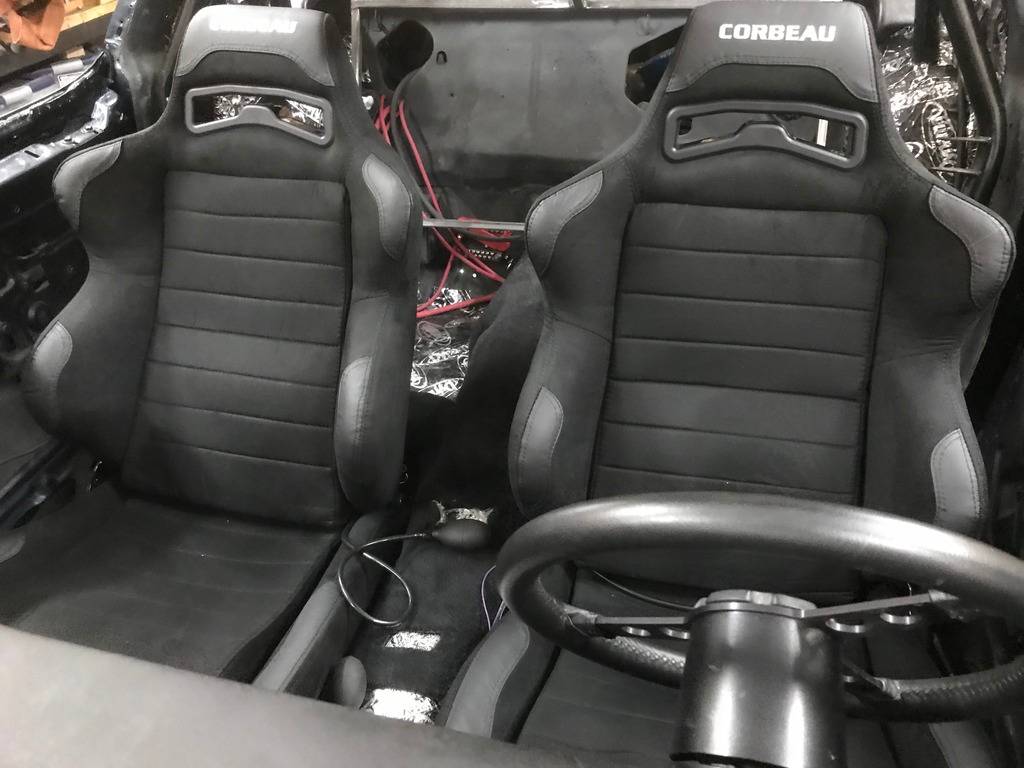
New seats installed!
11-02-2017 #77
Registered User
- Join Date
- Aug 2008
- Location
- Charleston, SC
- Posts
- 354
Alright. Here is the mostly finished interior complete with an Alpine stereo system with a 5 channel 700 watt Amp, sub in the trunk, Apple Car Play, Nav, backup camera, alarm and "other" security features, remote door and trunk locks, Nav, Backup Camera, Apple Car Play, etc.
I also added a White Lightning Shifter to the T56 Magnum Extreme. This thing is SWEET.
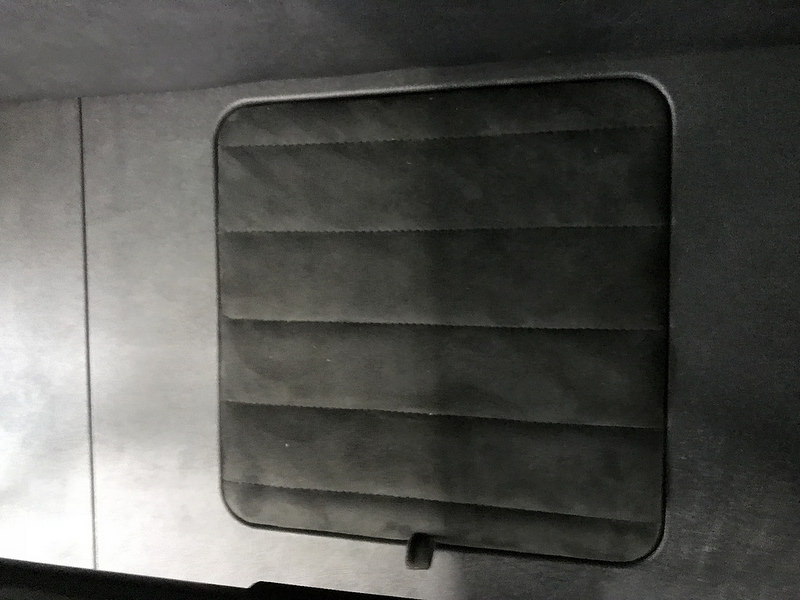
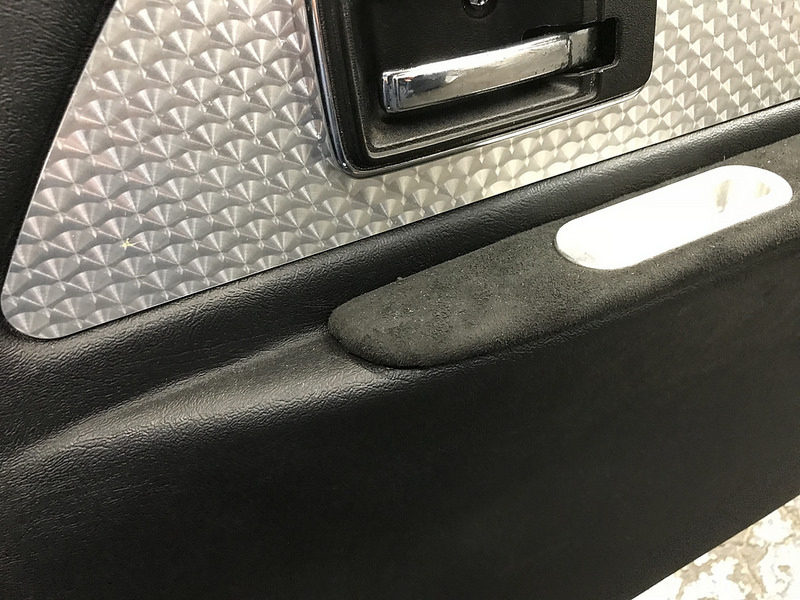
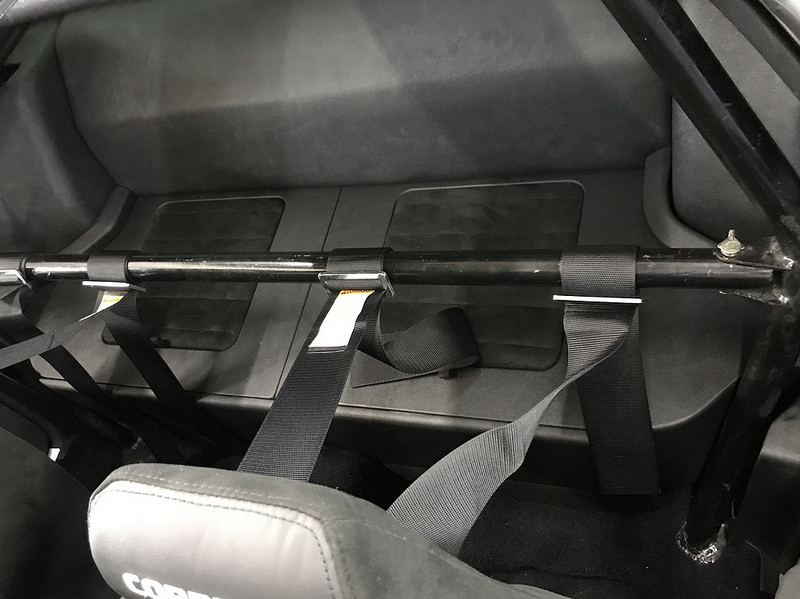
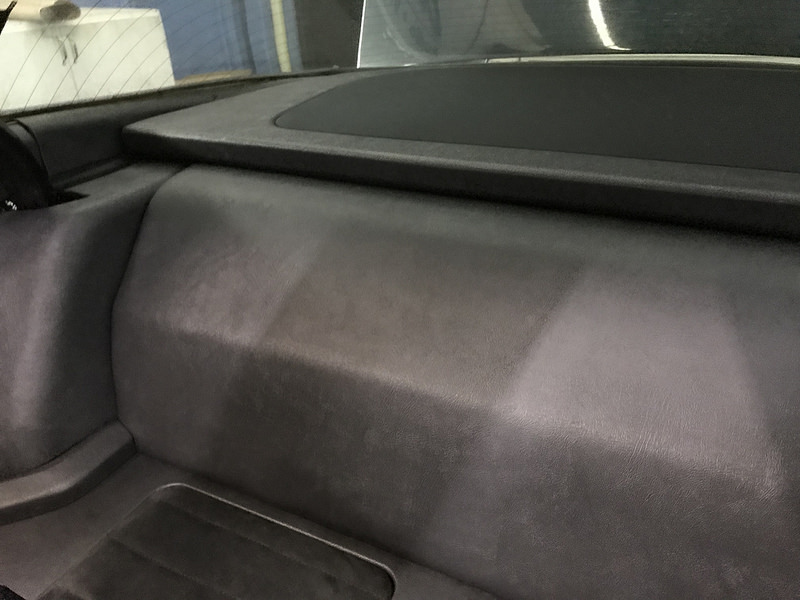
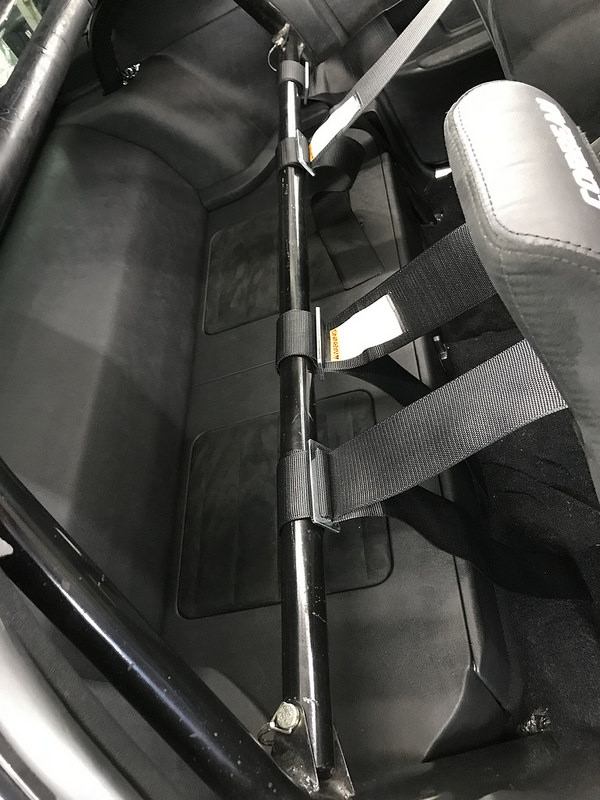
The rear seat delete really exceeded my expectations. I still need to get a roll bar cover (carbon fiber sleeves), a billet shifter boot retainer and have the headliner installed but the rest is done. The Year One door panels, sail panels, and interior quarter panels were all covered (The rear panels had to be widened to fit the DSE tubs. I'll let the pictures do the talking....
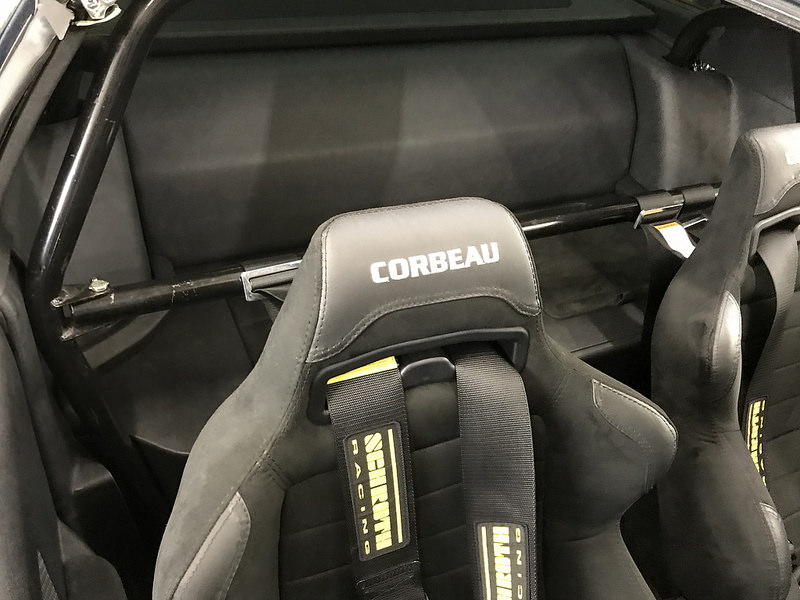 Untitled by Doug Camburn, on Flickr
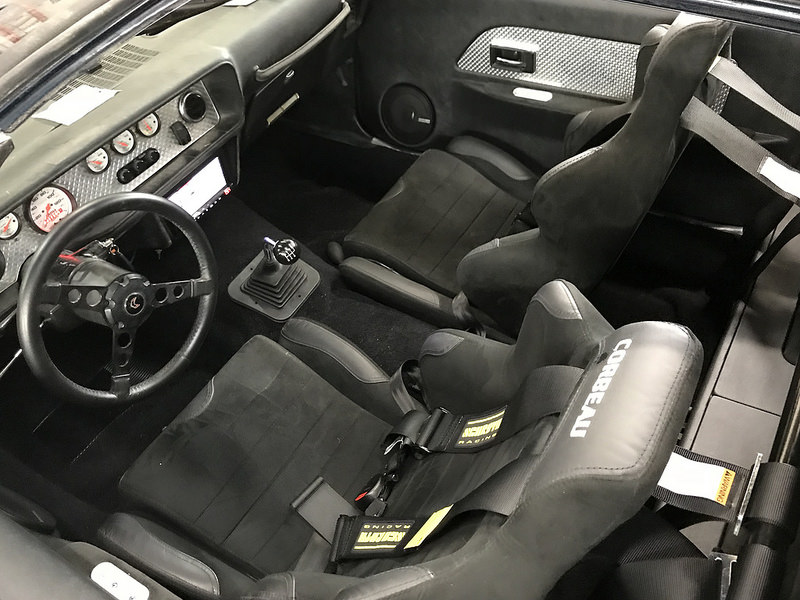 Untitled by Doug Camburn, on Flickr
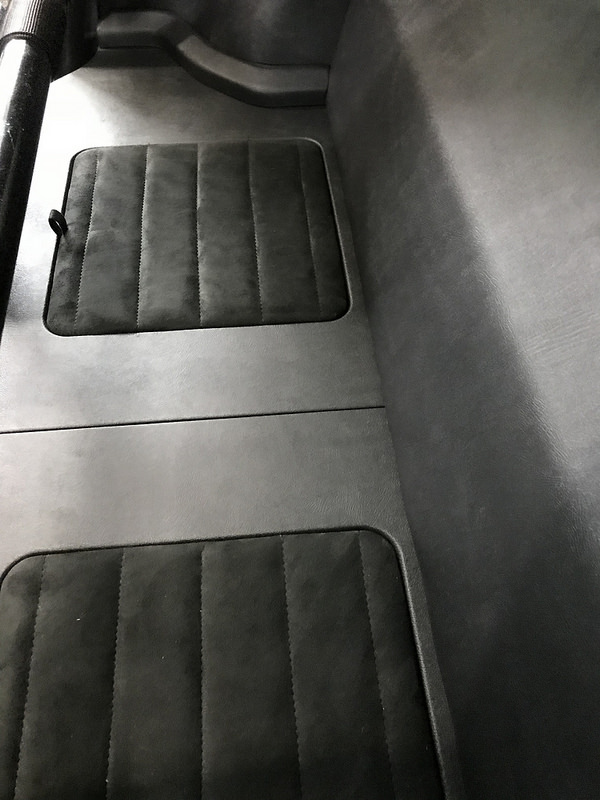 Untitled by Doug Camburn, on Flickr
 Untitled by Doug Camburn, on Flickr
 Untitled by Doug Camburn, on Flickr
 Untitled by Doug Camburn, on Flickr
 Untitled by Doug Camburn, on Flickr
 Untitled by Doug Camburn, on Flickr
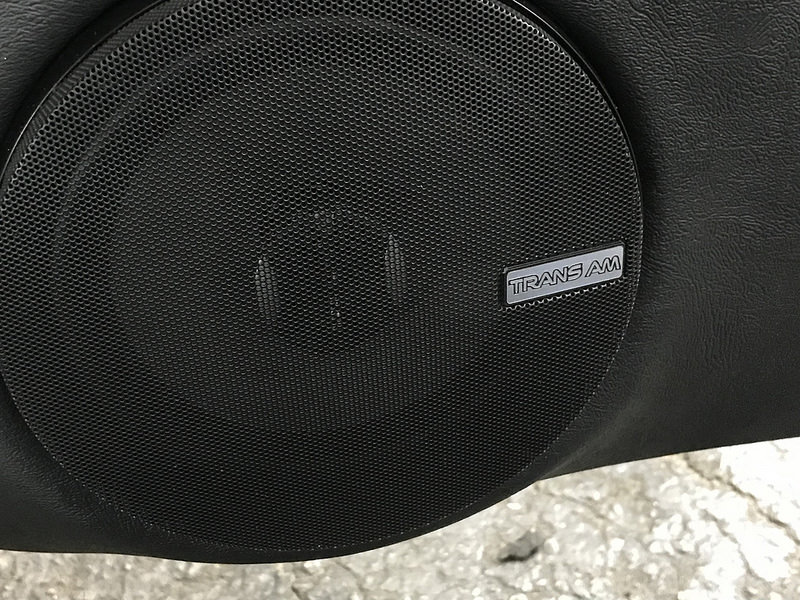
Access speakers with custom grill covers and badging
 Untitled by
 Untitled by Doug Camburn, on Flickr
https://www.flickr.com/photos/159188510@N03/]Doug Camburn[/url], on Flickr
 Untitled by Doug Camburn, on Flickr
 Untitled by Doug Camburn, on Flickr
11-02-2017 #78
Registered User
- Join Date
- Mar 2007
- Location
- Florida
- Posts
- 2,391
Looks really nice Doug. The rear seat area came out exceptionally well. Rarely have I seen a rear seat delete that didn't look like a seat delete but more like it came from the factory like that.
11-02-2017 #79
Registered User
- Join Date
- Aug 2008
- Location
- Charleston, SC
- Posts
- 354
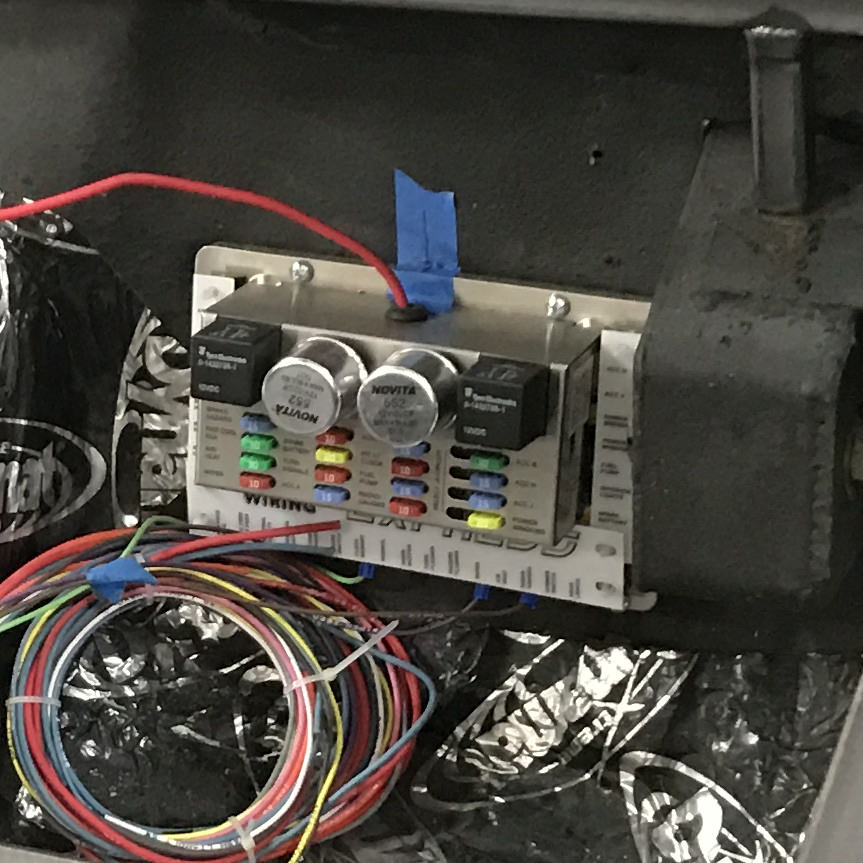
Thanks John. It took them a while but they really came through. And those pull out panels used to gain access to the electrics are so cool. When you remove them, there is a lip beneath that it is covered as well so it looks factory designed. One of the cool features I planned ahead on was to get the removable aluminum mount for the Ron Francis fuse block. I can lift the fuse block off the angled billet mount and set it up on the outside of the seat delete to work on it as needed. When finished, it sets back on the mount and automatically locks in place. I'll get some pics of that this weekend. Here's a photo before the seat delete was done. Originally Posted by NOT A TA

 Untitled by Doug Camburn
11-03-2017 #80
Registered User
- Join Date
- Mar 2007
- Location
- Florida
- Posts
- 2,391
Removable fuse panel is a great idea! They're always in a place that's awkward to get to never mind actually being able to see well enough to determine if a fuse is blown. Can't tell you how much time I've spent over the years kneeling on the ground next to the drivers side of old GM cars with my head stuck under the dash and contorting to mess with fuses.

 Reply With Quote



