

Results 1 to 12 of 12
Thread: 1970 RS Z28 Build Thread
-
08-07-2014 #1
 Registered User
- Join Date
- Aug 2014
- Posts
- 8

1970 RS Z28 Build Thread
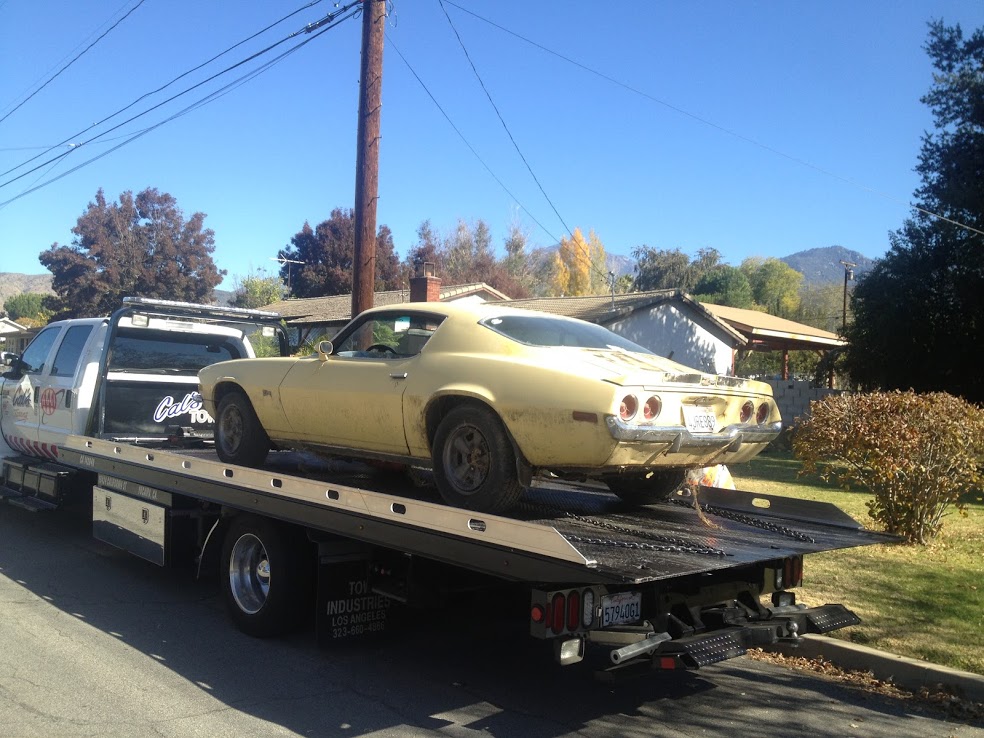
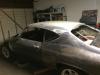
Hello All. I have my main thread over at ls1tech and also one on nastyz28 but seeing as I am about to fire this thing up and then switch to suspension/brakes/wheels I wanted to get over here and start my thread and document the actually driving feature parts of the car.Gonna just dump a bunch of photos in the first couple replies. BACKSTORY:I received this car back in 2000 from my father. It has been in the family since the early 80's. I got it, bought a 350 and had it running after a year or two of slow working on it as a poor kid. I had it running and was driving it to school for a few months when I was sick of paying for gas. Bought a honda and put in storage (stupid 19yr old me.) A lil over a year ago I was itching and wanted a project and decided to build this thing right and finish it. Still stupid but with a couple more dollars. I had it towed over to a garage that I could work on it on the weekends and get things going on it. At first I wasnt sure what route the engine would go as the 350 I had in it had less than 1k miles and started right up after sitting for a few years. But I always hated the street manners of a 350 and a 4spd. So after doing months of research I decided on an LS. I thought I found a good deal on a 5.3 that ended up being a horrible deal and a total rip off. Basically scammed. But I ended up finding a 5.3 alum block and building the engine myself which I was quite happy about. Doing a full engine build and knowing exactly whats in your motor is an awesome feeling.Now for pics.On flat bed
 Dirty engine bay. Replaced fuel lines and started right up.
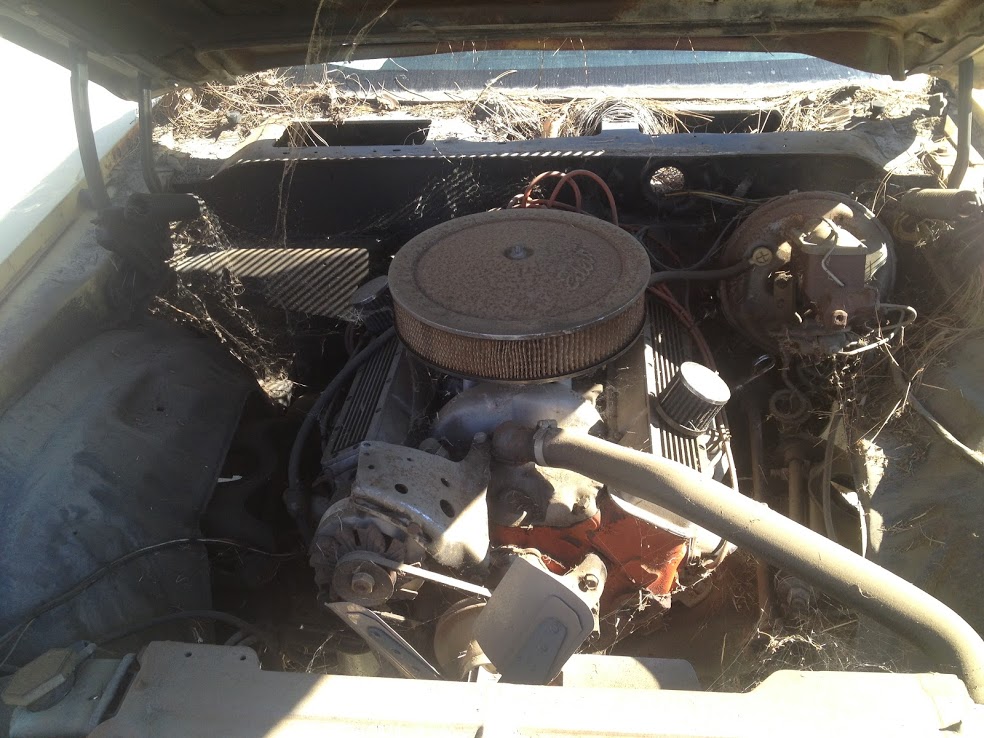 Interior stripped. No real rust issues.
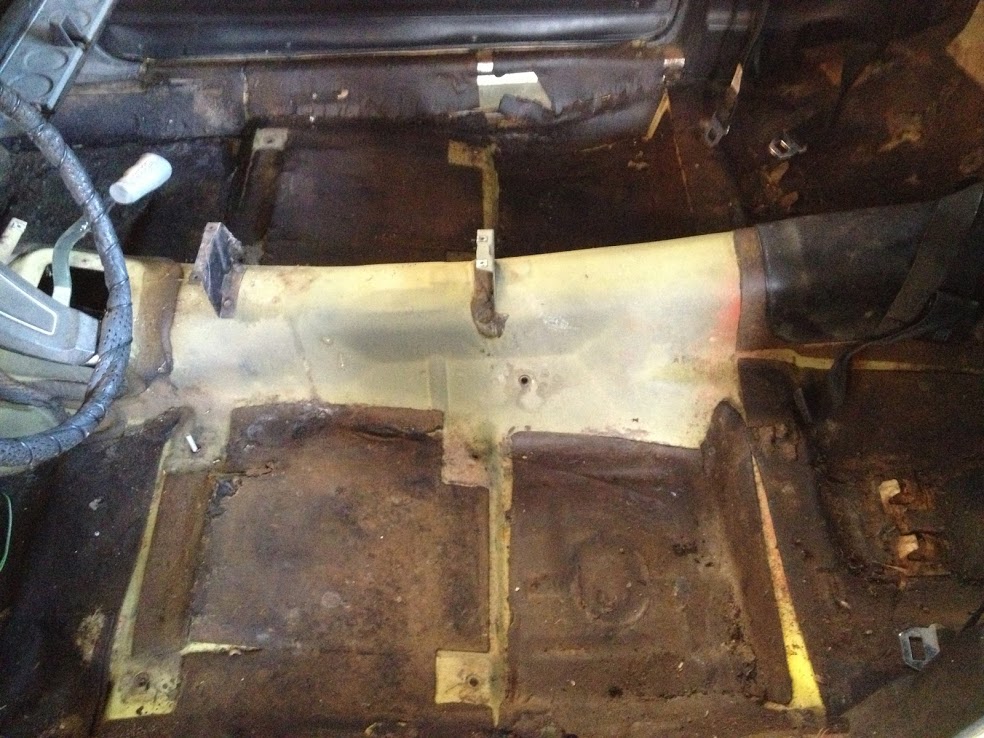 Took subframe off for powder coat. But had to wait...
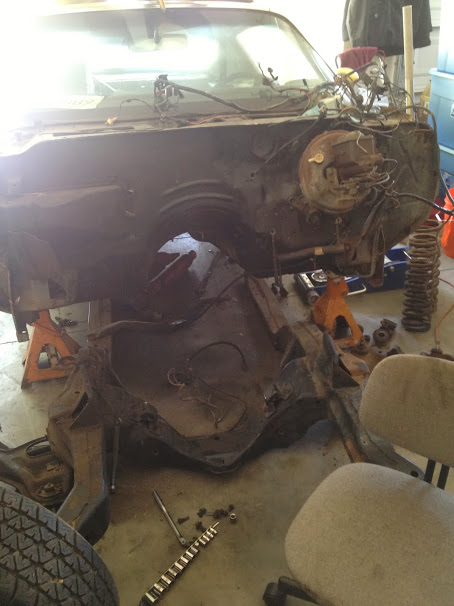 Bolted subframe back in and mocking up motor.
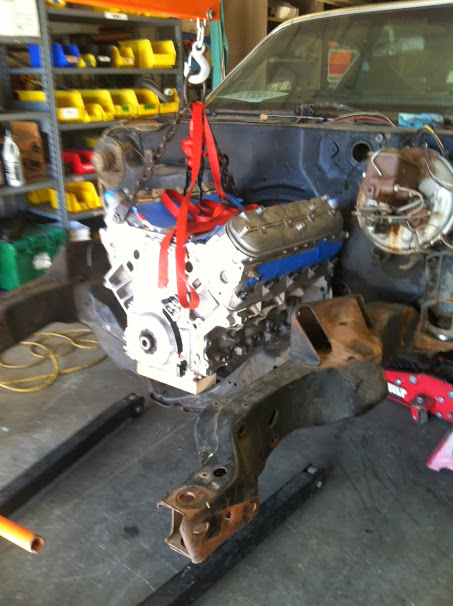 Fresh built 5.3 + T56 bolted together.
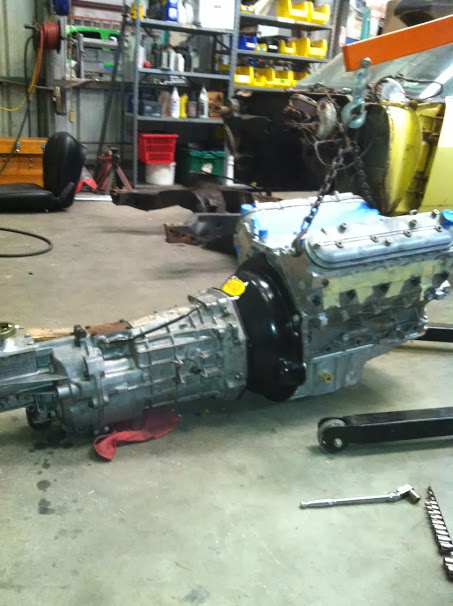 Trans in the car
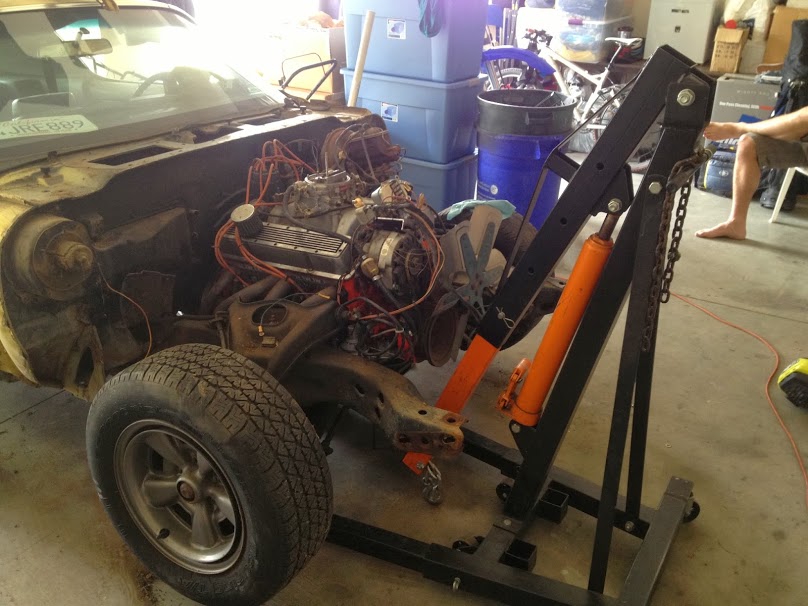 top motor mount
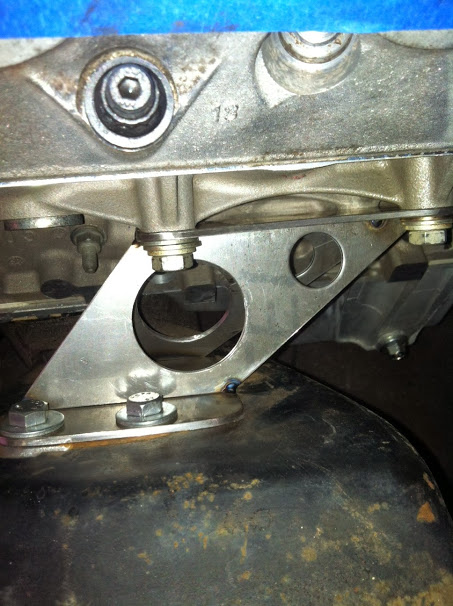

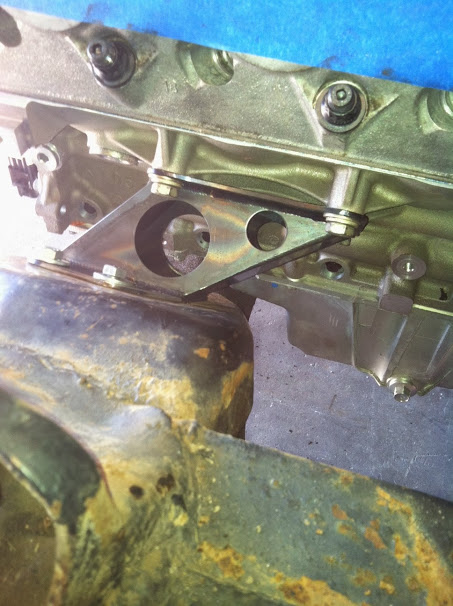 motor mounts done
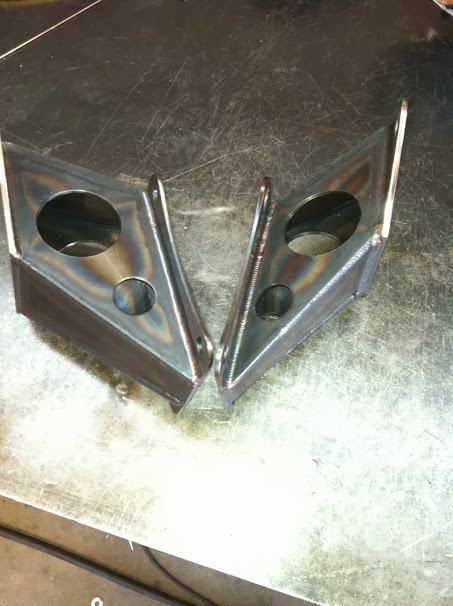 motor mounts bolted in
 tranny mount
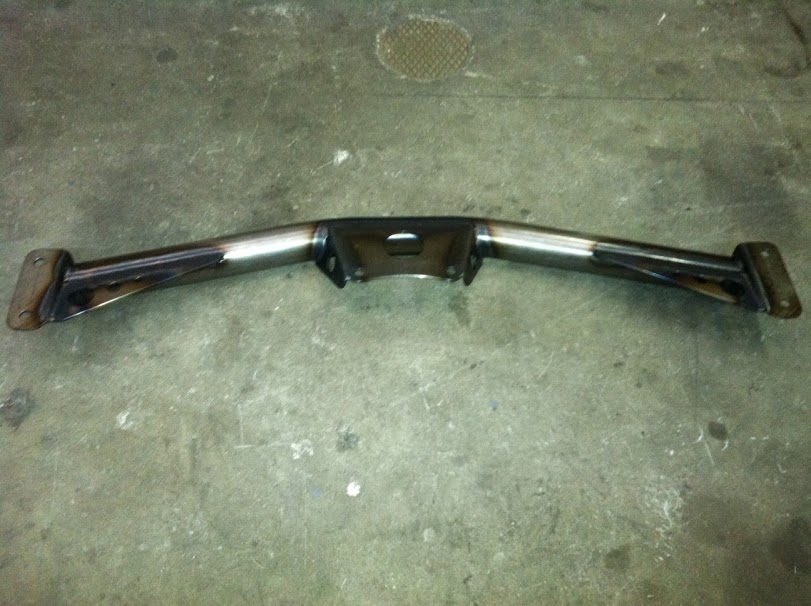 made a bad decision
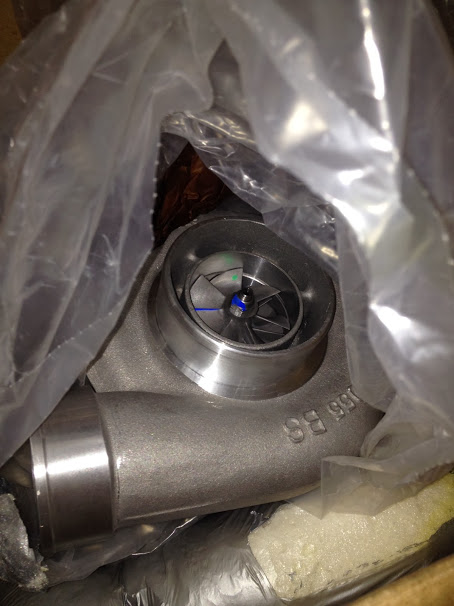 flanges
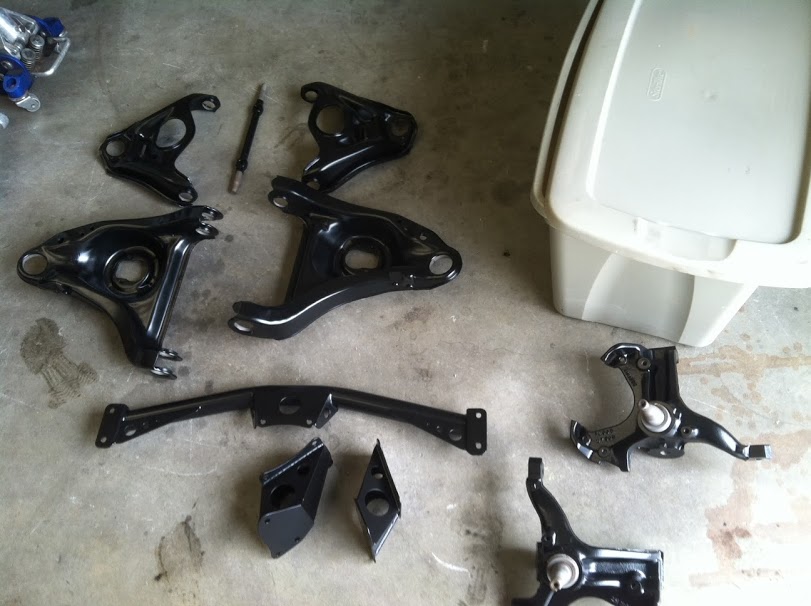
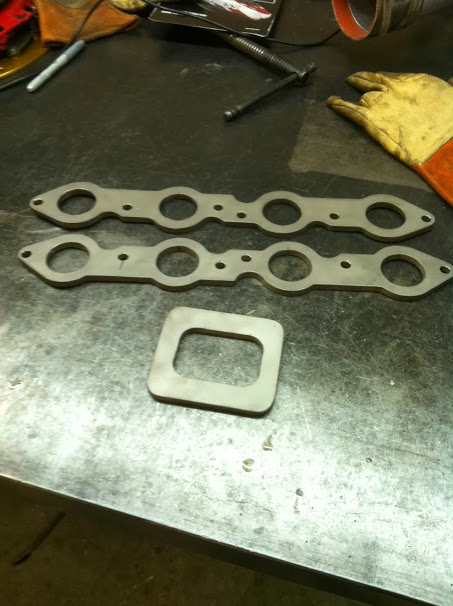 Got some stuff back from powder coat
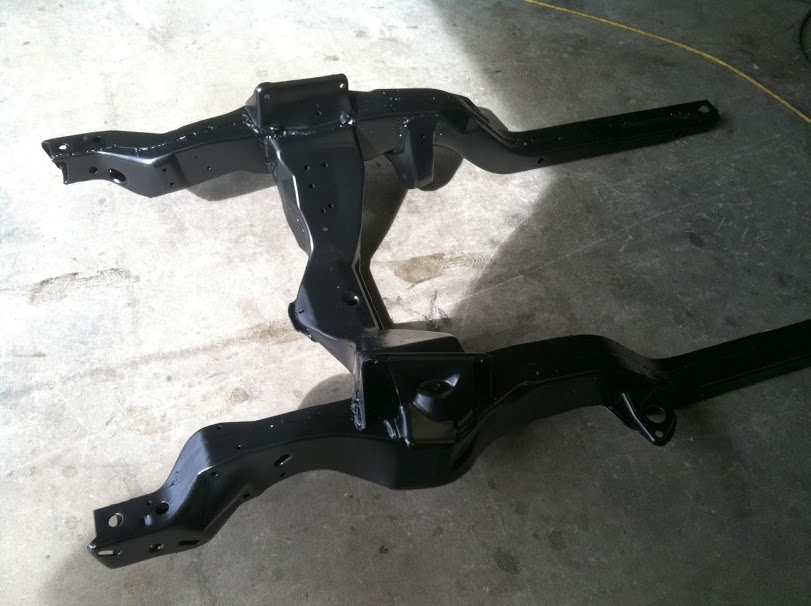
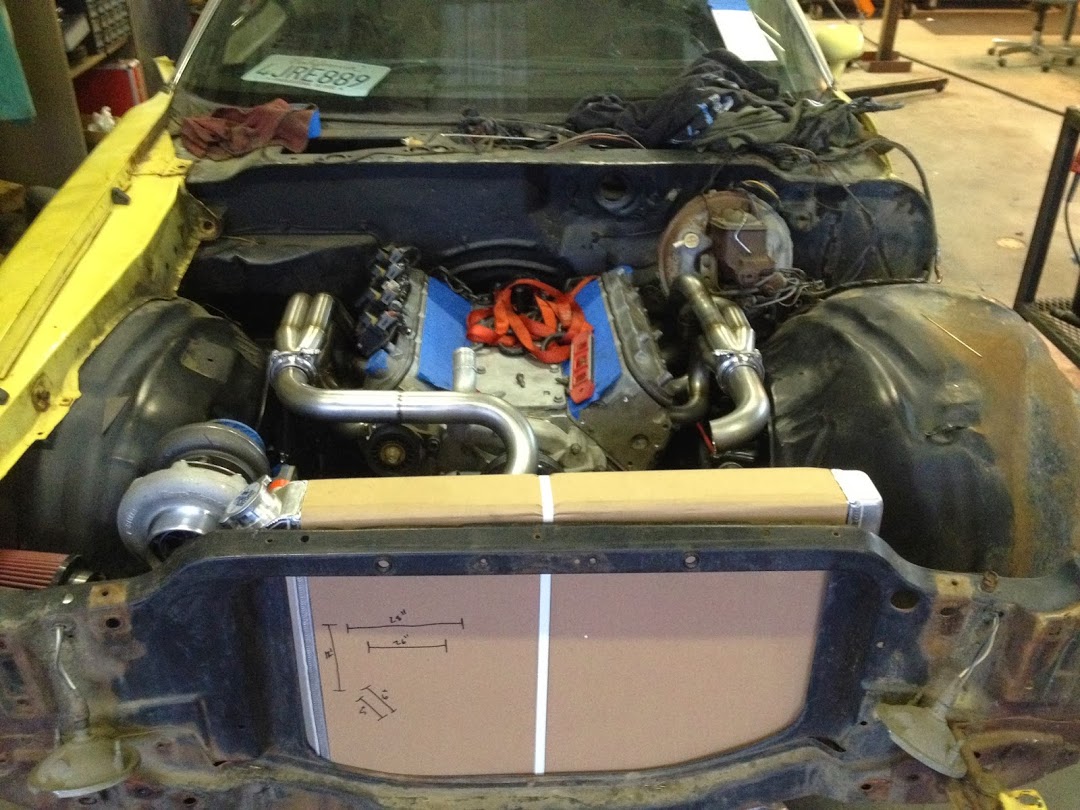
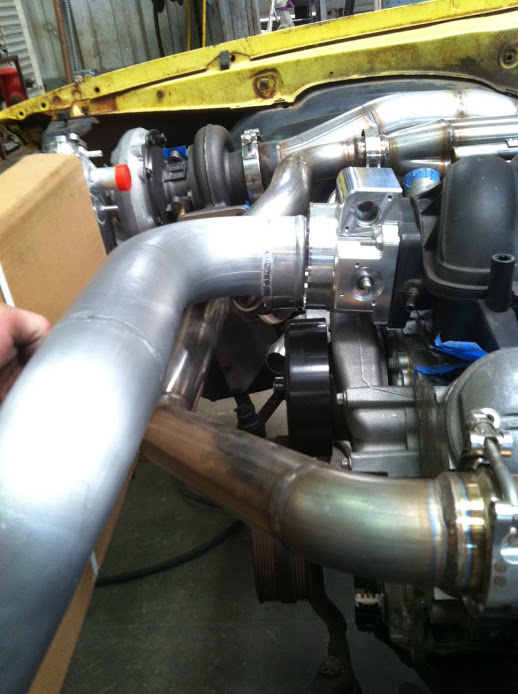
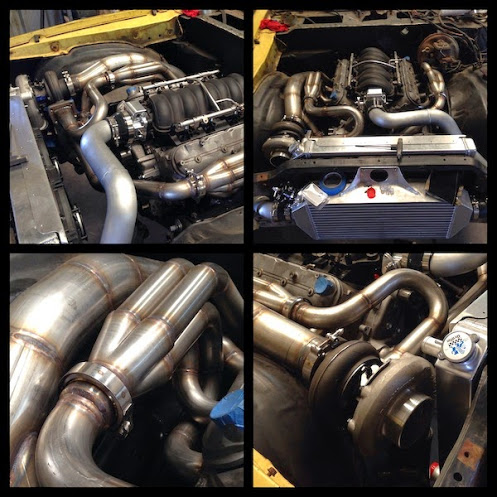
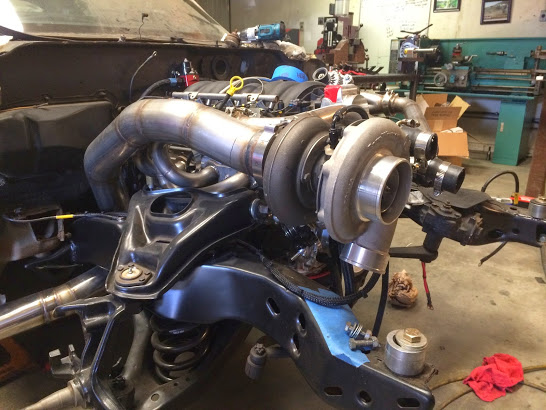
 turbo mock up
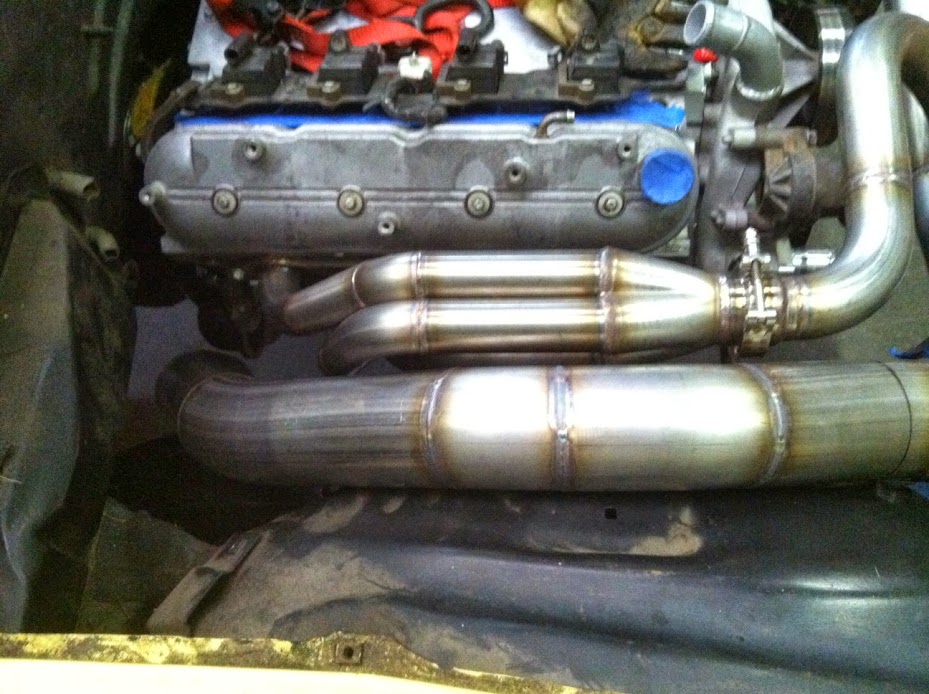
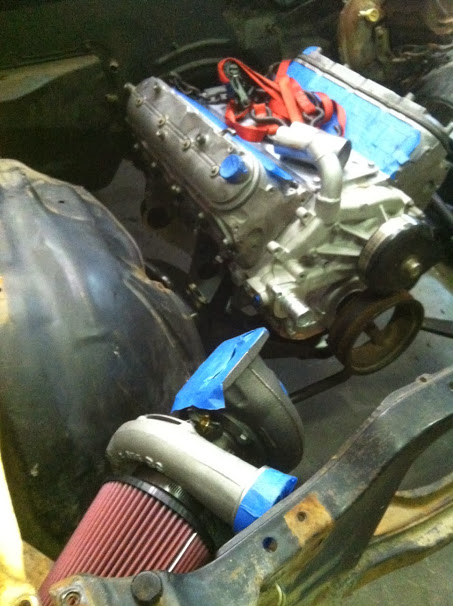 pass header building
 driver side header
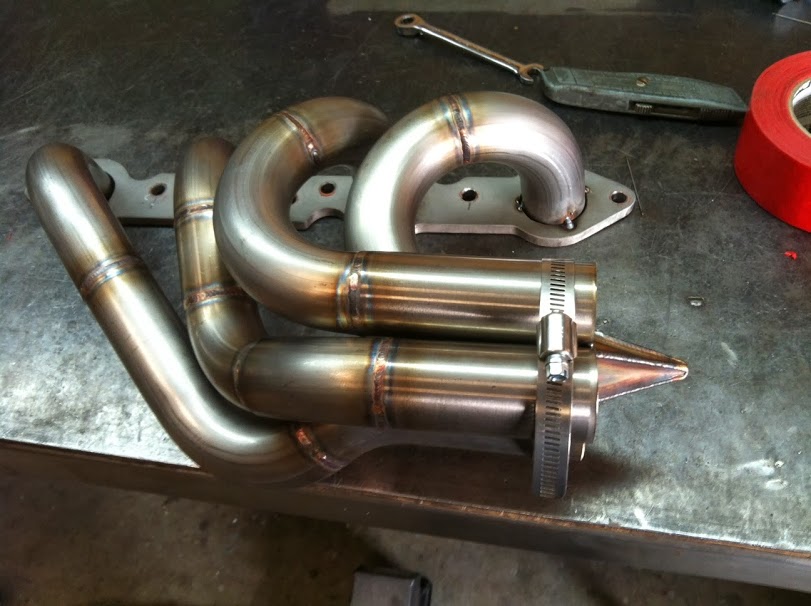 I ordered vbands and they sent me the wrong ones so waiting for that to get situated. Also ordered radiator today. So once all thats in then hot side piping will be completed and get going on cold side.
-
08-07-2014 #2
Registered User
- Join Date
- Aug 2014
- Posts
- 8
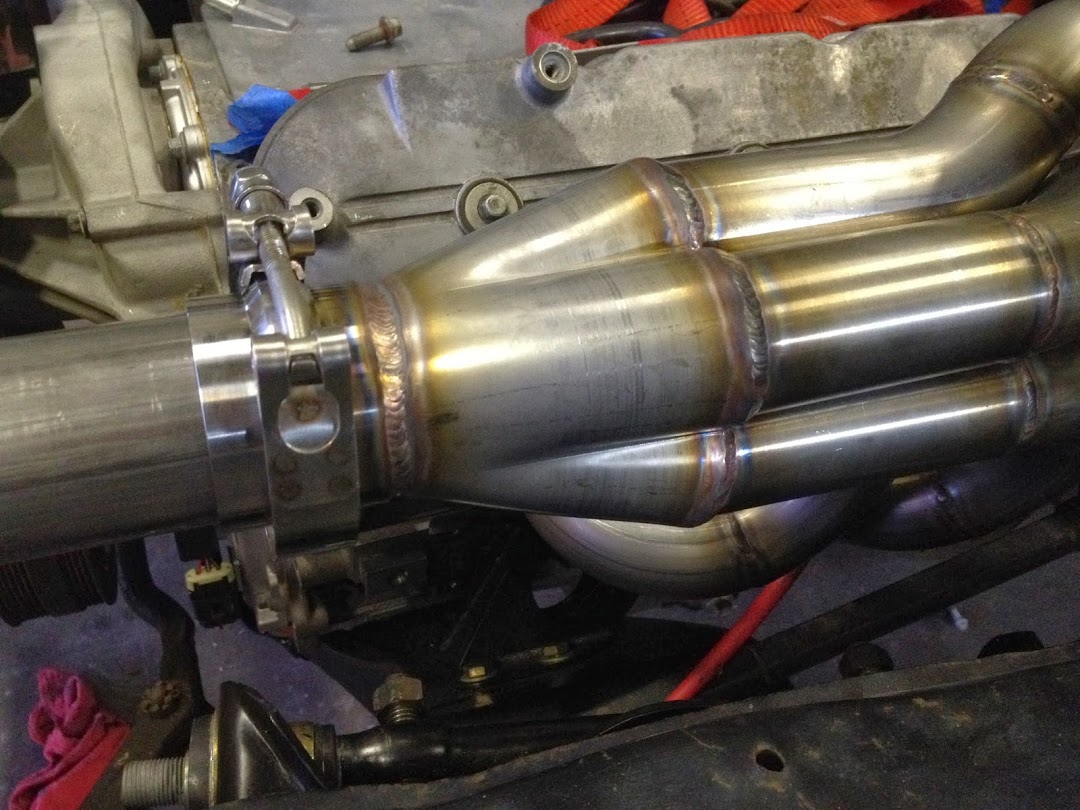
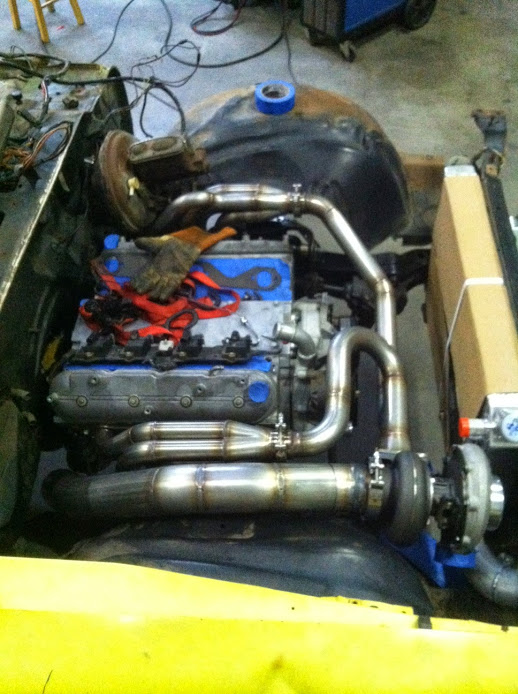
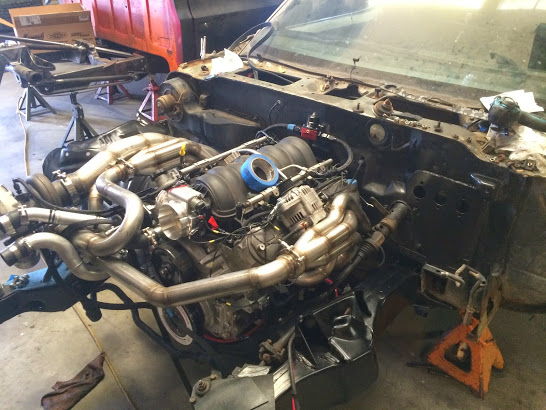
Both headers in.
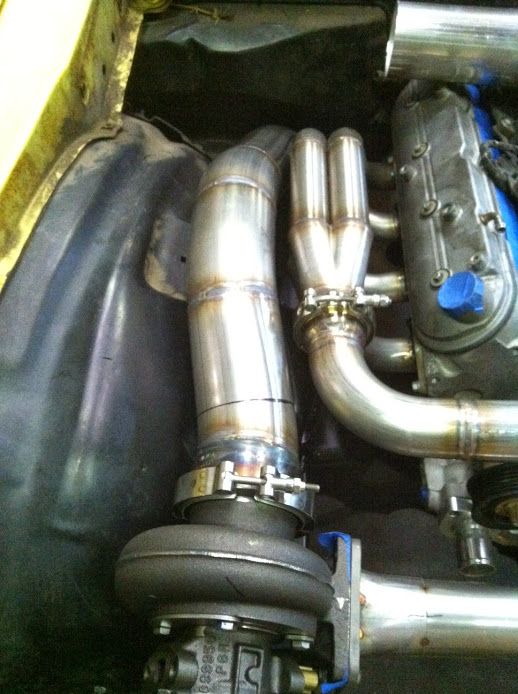
drivers side header with vbands all attached (on header side at least)
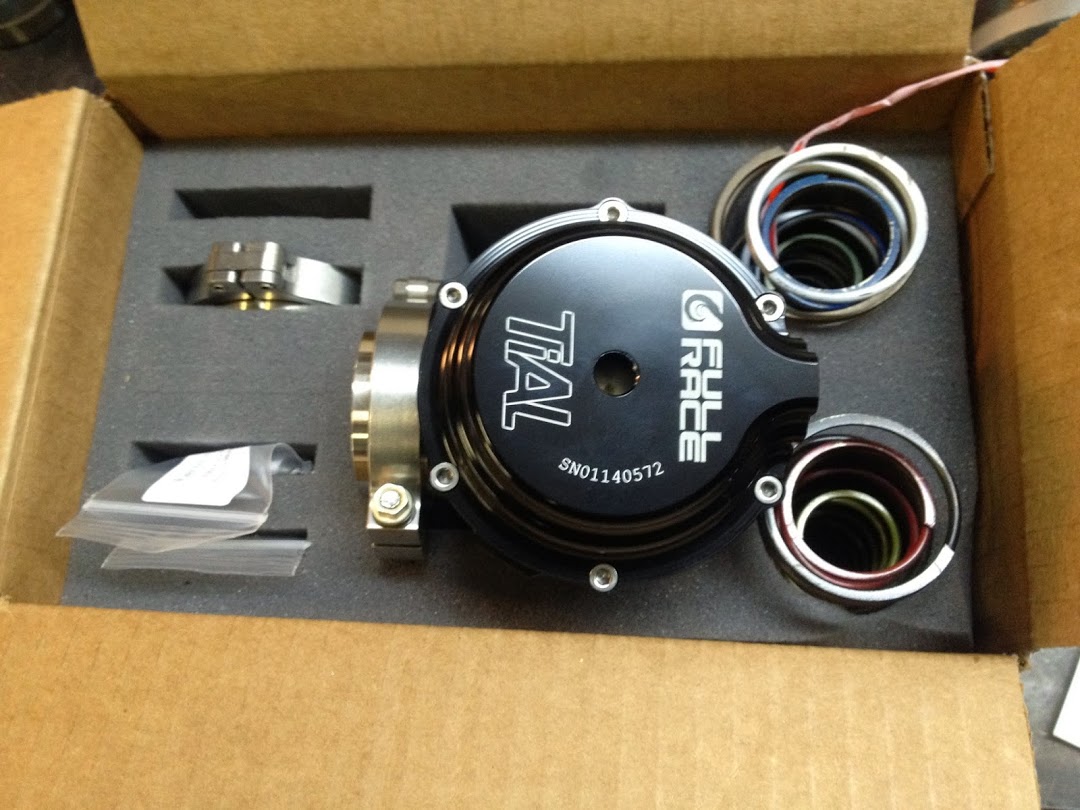
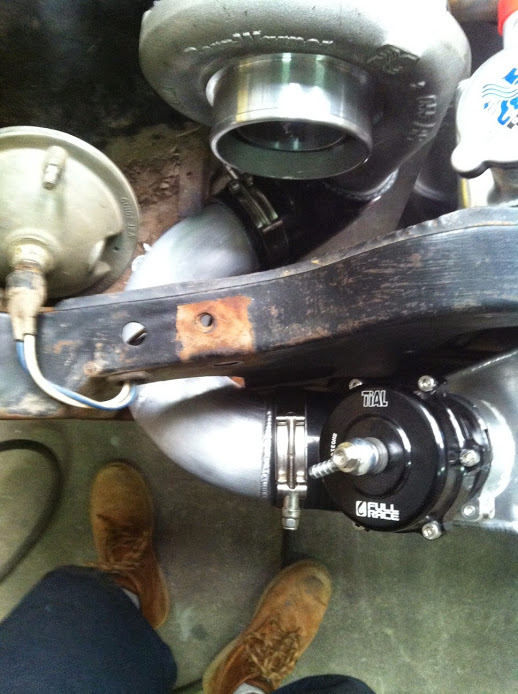
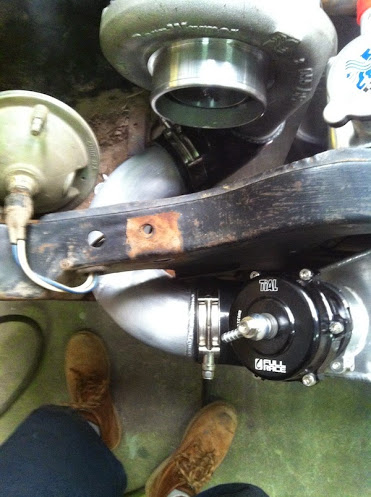
Sexy Full-Race Wastegate. One of my favorite companies.
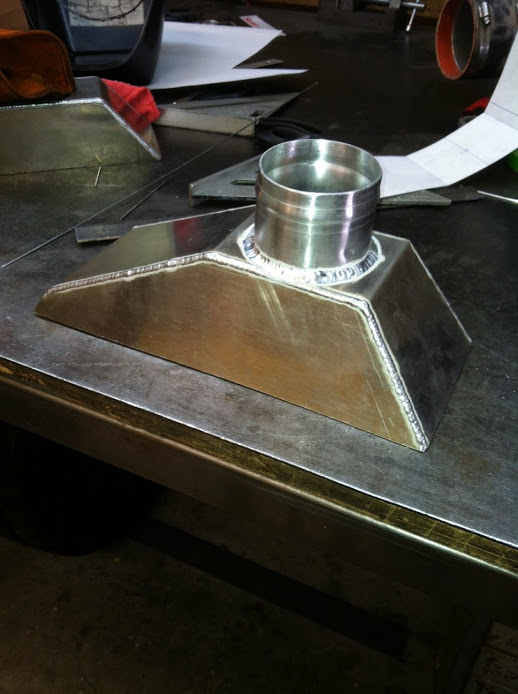
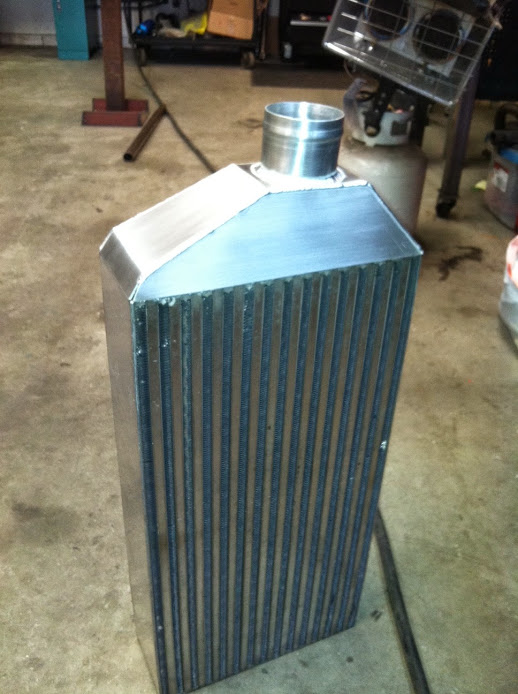
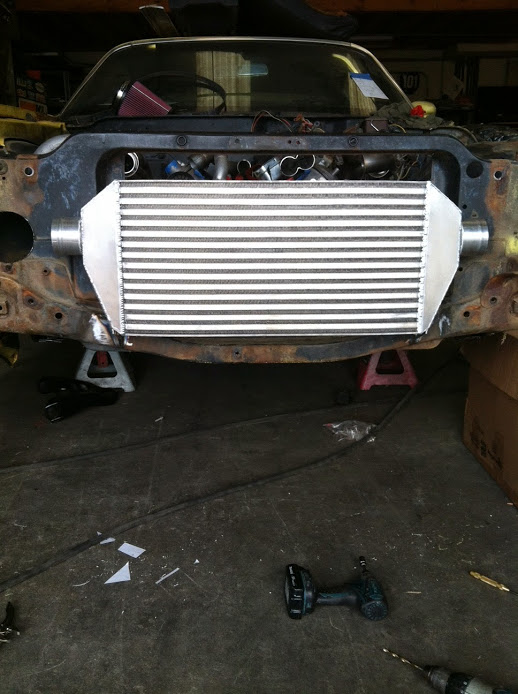
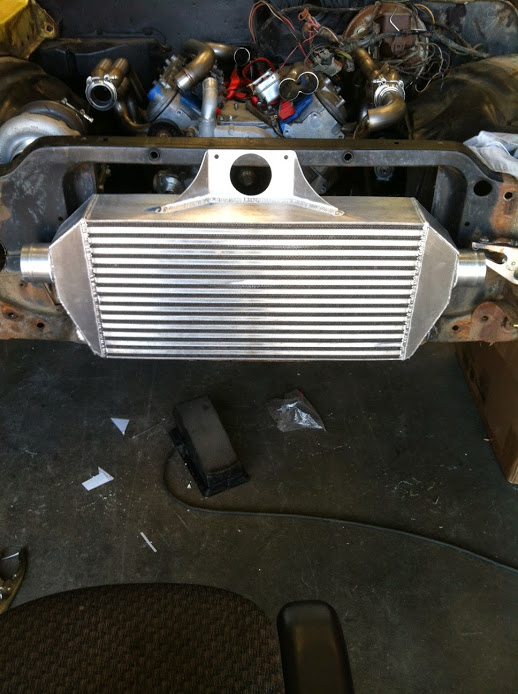
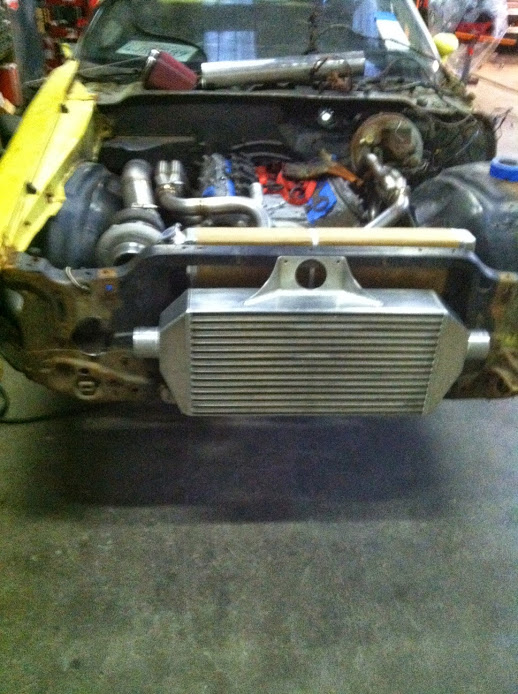
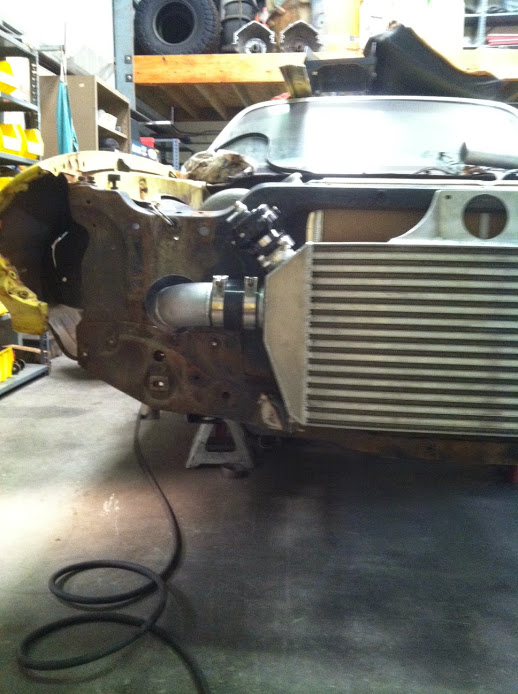
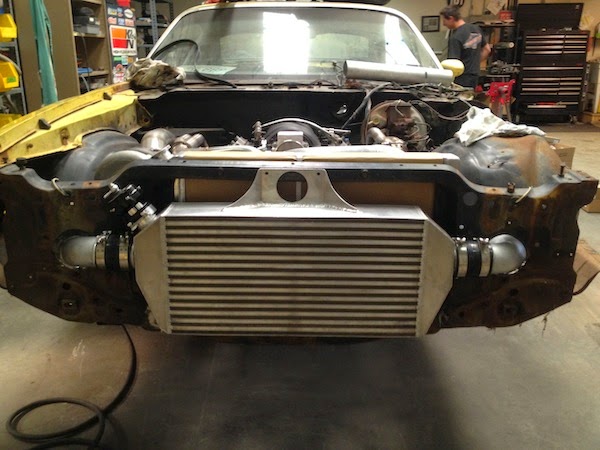
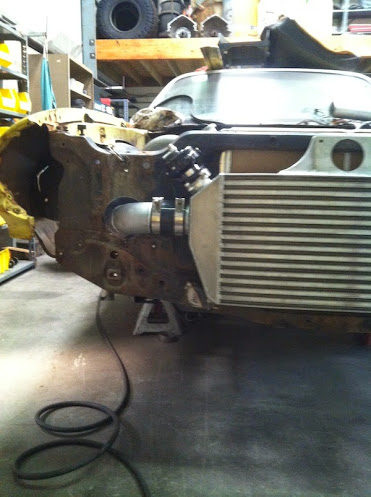
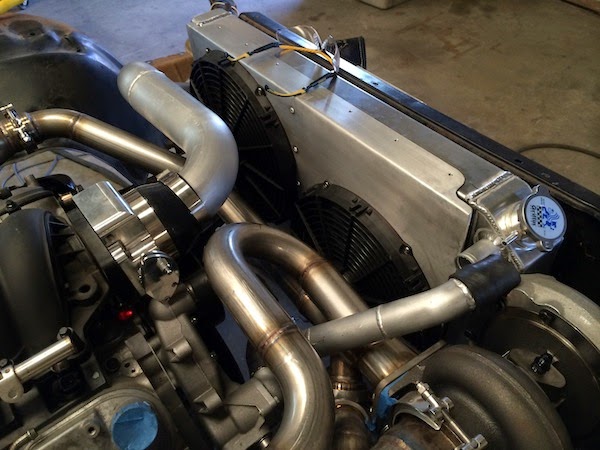
Intercooler is done and mounted!


08-07-2014 #3
Registered User
- Join Date
- Aug 2014
- Posts
- 8
Cold Side


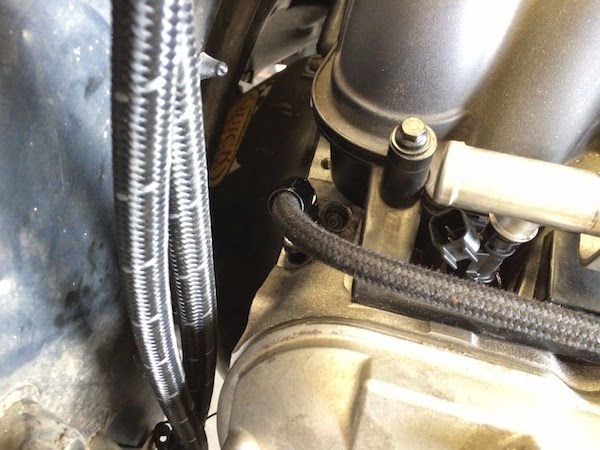
Oil feed for turbo
Oil Return
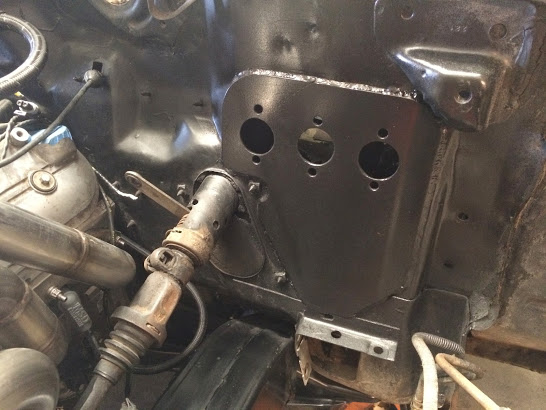
Shroud

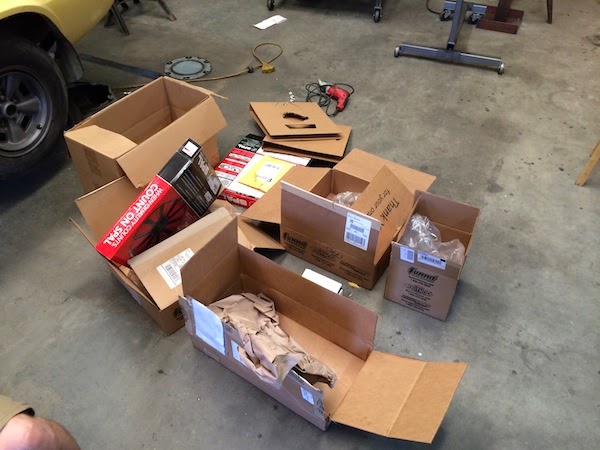
Expensive Hobby
I found this piece of paper thats worth thousands! Maybe not, but pretty cool to find the build sheet.
Sexy.

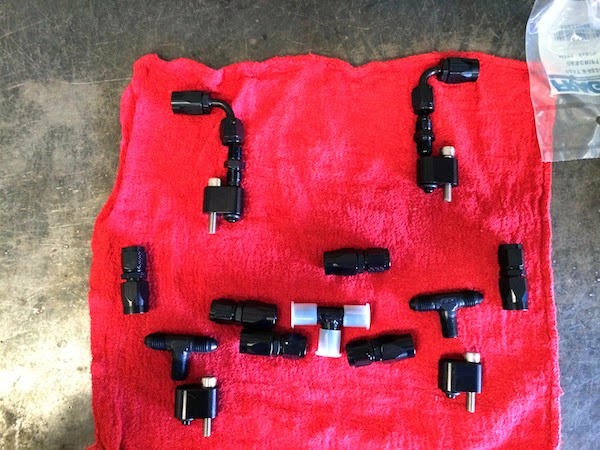
Lots of monies. Fuel parts.
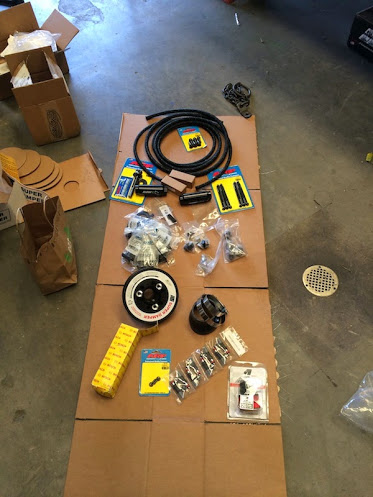
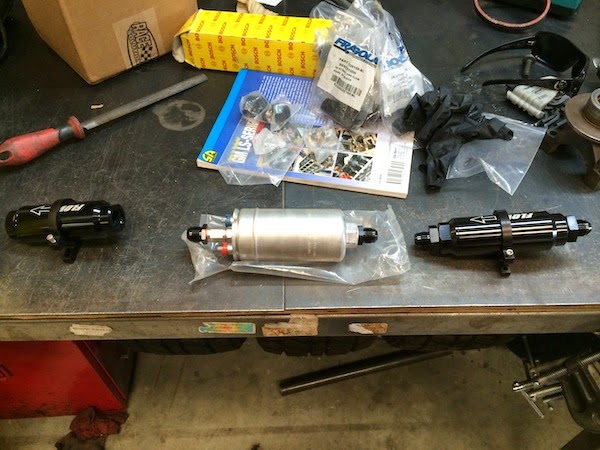
Pre pump filter, pump, post pump filter
Shroud mounted


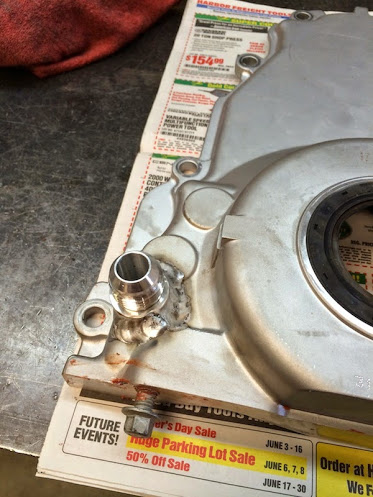
Had to plumb the steam ports
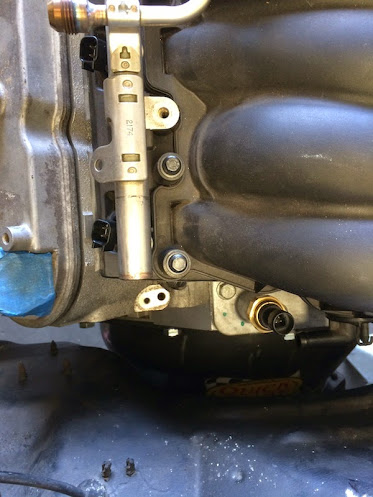
Basic ports
General Idea of steam port setup
FPR, fuel line, and steam ports ran from back to front

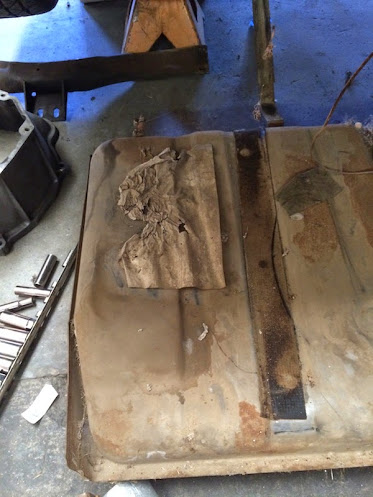
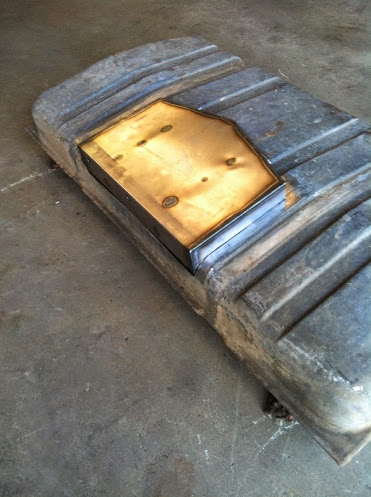
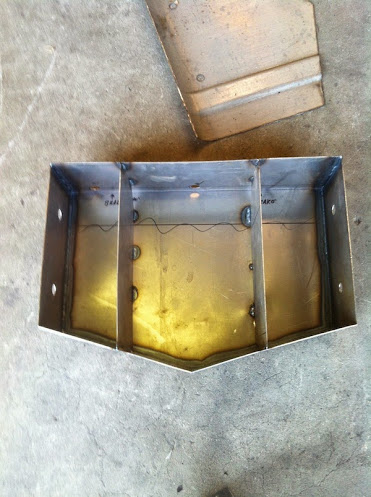
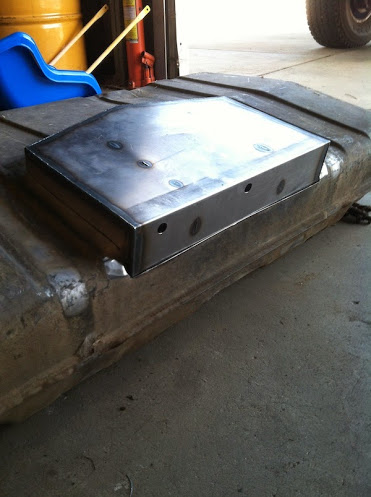
Fuel sump being built (borrowed design from a post on here)
08-07-2014 #4
Registered User
- Join Date
- Aug 2014
- Posts
- 8
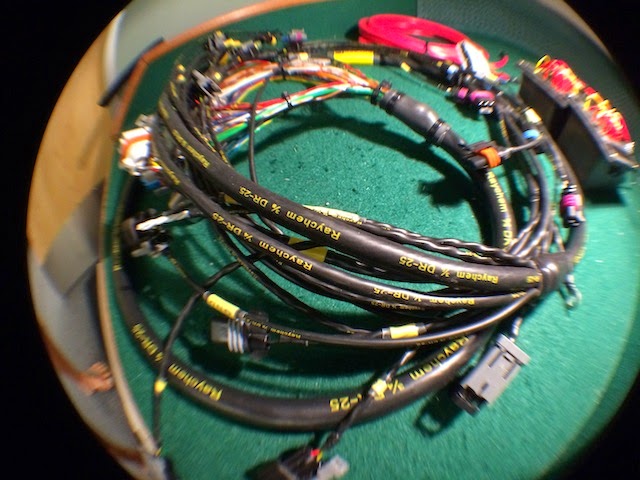
Super excited today. Went down to Rywire to pick up my harness. Very impressed by their costumer service and their attention to detail. They are next level. And they put out a very nice product. I went down and spoke with them and placed the order. In 2 weeks I have a 50+ email thread with questions/updates. I went in today and had them put next connections on my fans and now the harness is all mine! It will be installed and hopefully the car running next weekend (swamped at work.)
Full harness detail. Dont mind the gambling table.
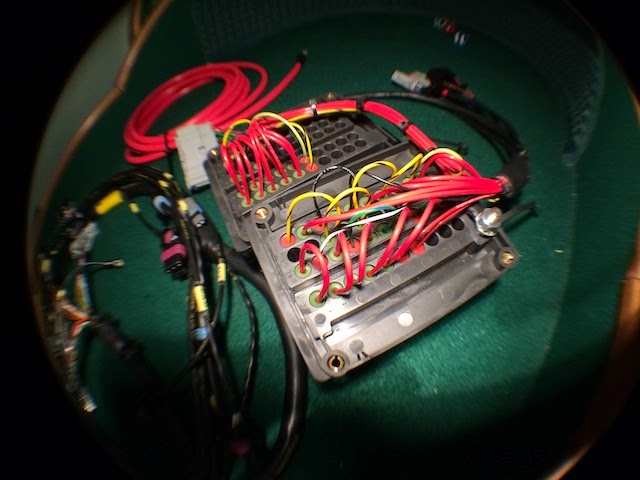
Fuse Boxes
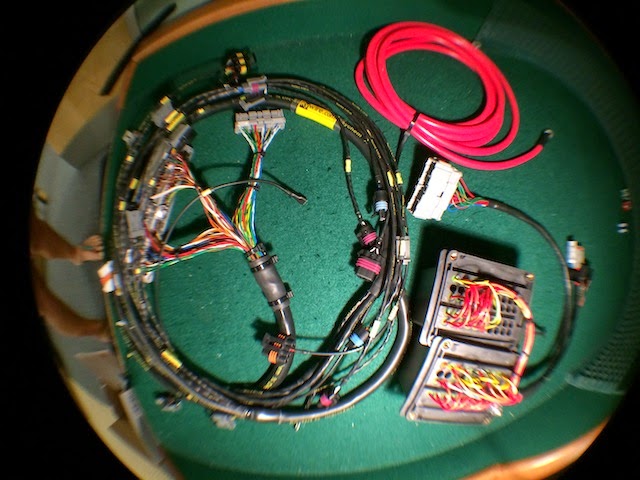
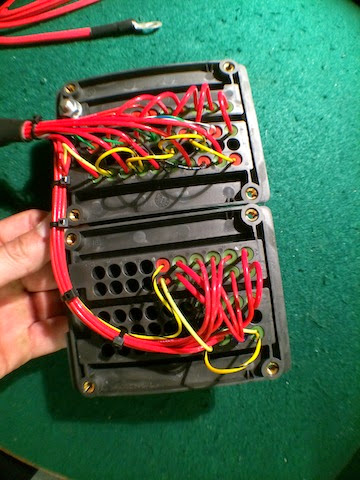
Harness + Fuse Boxes + Power Cable
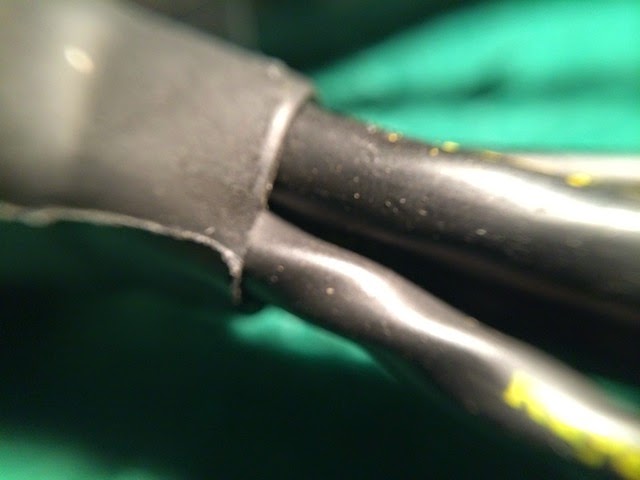
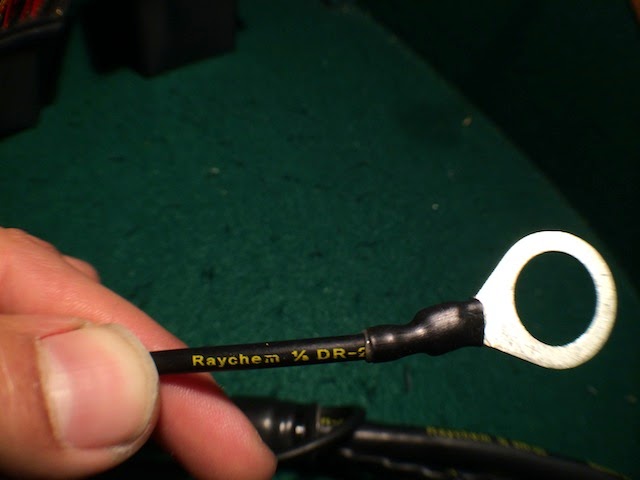
Raychem detail shot. The best wrap you can get. EVen the boots are Raychem.

Even the grounds have a good protection/shrink wrap treatment.
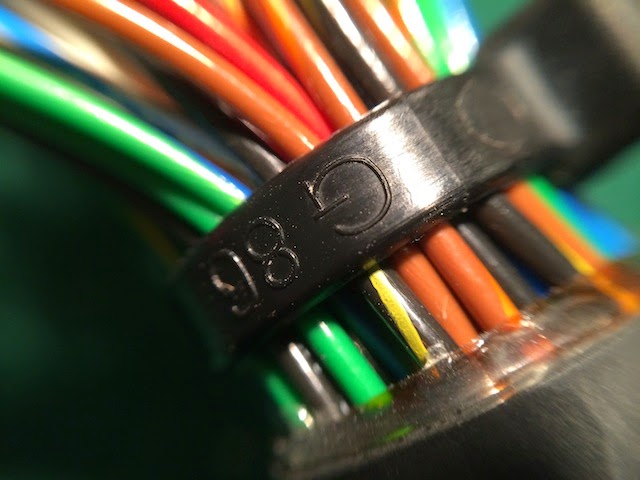
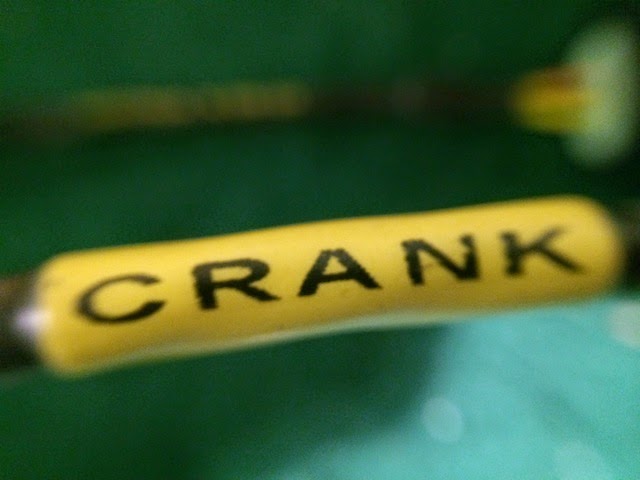
Every connector is individually labelled.
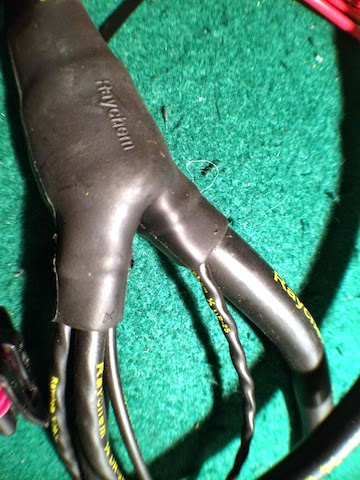
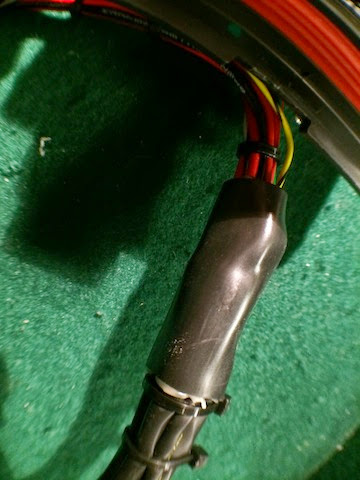
Y split detail shot.
All new plugs. OEM crimping techniques and just the wire goodness.


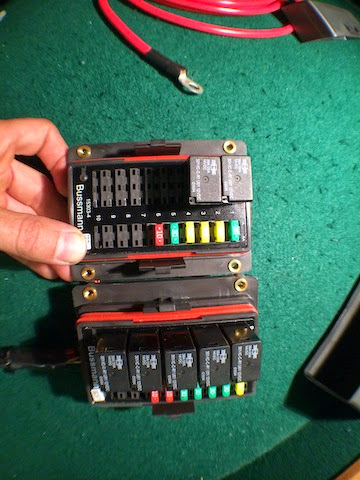
Fuse box details. Setup to run both fans and 2 fuel pumps, even though only 1 fuel pump to begin with. Always have the future in consideration.
Even though I originally wanted to do it myself, I am beyond pleased with this product. The quality + attention + service are all second to none. Cant wait to get it installed and running. I will post before install/after install photos. Thanks for the harness Rywire!
Other updates: Ordered plugs, oil, katech tensioner pulley, spark plugs, spark plug wires, some fittings, a battery, and some other stuffs. I am planning on taking next friday off and doing a friday + saturday marathon session to get this thing wrapped up. SOOOOO CLOSE!
08-07-2014 #5 Registered User
- Join Date
- Jul 2013
- Location
- Gilbert, AZ
- Posts
- 934
Awesome project, looking forward to it. Even more awesome, Daytona Yellow! Going to stick with it? I'm fairly partial to it since my dad has a 70 RS in Daytona Yellow. You don't see many in that color.
Josh Campbell- Pushing the limits of my HOA since 2011
71 Firebird- 455, Ridetech front suspension. https://www.pro-touring.com/threads/...04#post1124504
67 Camaro RS/SS clone, Speedtech front suspension, coilovers, soon to get LT1/T56.
82 Z28- cheapie beater, soon to get a 406.
66 Mustang coupe- 393, T-5, sold. https://www.pro-touring.com/threads/...-Coupe-GT393-C
08-08-2014 #6
Registered User
- Join Date
- Aug 2014
- Posts
- 8
Thanks! I do plan on keeping it Daytona Yellow with black stripes. Paint will be last though. I need to get the suspension/wheels/brakes going. Originally Posted by CampbellshotrodsAZ

10-14-2014 #7
Registered User
- Join Date
- Aug 2014
- Posts
- 8
startup video:
http://youtu.be/MaAOrCYc8sg
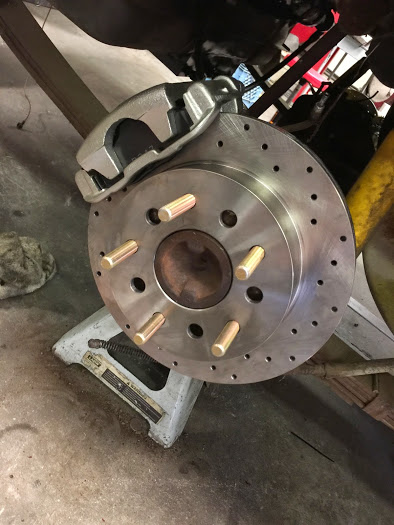
bought rear disc conversion from summit.
and bought a D52 wilwood caliper + stoptech rotors for front. Onces those are on, it will be time to conquer rear suspension. once thats done and car is sitting, time for drive shaft. then tuning. then burnouts.
10-14-2014 #8
Registered User
- Join Date
- May 2013
- Location
- Colton Ca.
- Posts
- 623
Very very very nice. I'm digging the turbo set up, nice fab skills.
Ahmad B.
10-21-2014 #9
Registered User
- Join Date
- Oct 2014
- Location
- So Cal
- Posts
- 43
Awesome job, love the fab work! Beautiful welds and looks like a ton of attention to detail. Can't wait to see what you end up doing suspension/wheels/interior.
David S.
1969 Chevrolet Chevelle
406 SBC, 507hp
700R4 by Monster Transmissions
Hotchkis TVS Extreme
"Slowly building something fast..."
https://www.pro-touring.com/threads/...-1969-Chevelle
12-02-2014 #10
Registered User
- Join Date
- Aug 2014
- Posts
- 8
I havnt been posting updates lately but thats mostly because ive been to lazy to take photos. Most of the work I have been doing is tedious boring not fun to photograph work. Like pressing in new wheel studs.
After the car started, I took a bunch of stuff off and sent it to powder coat. That took about 3 weeks because for what ever reason 1 week doesnt mean 1 week anymore. I also received my breaks.
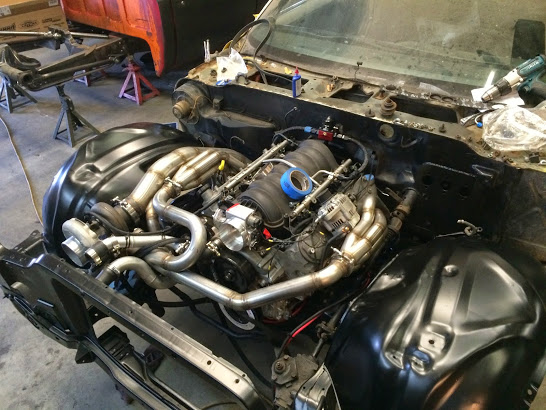
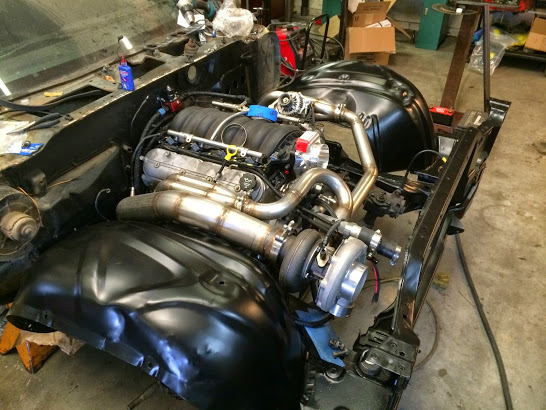
Teaser:

I wish I could just run the engine like this. looks so mean.

Firewall prepped for some sexiness. I completed this but those photos are on a different phone.
parts back from powder coating. loooking sexy and awesome.
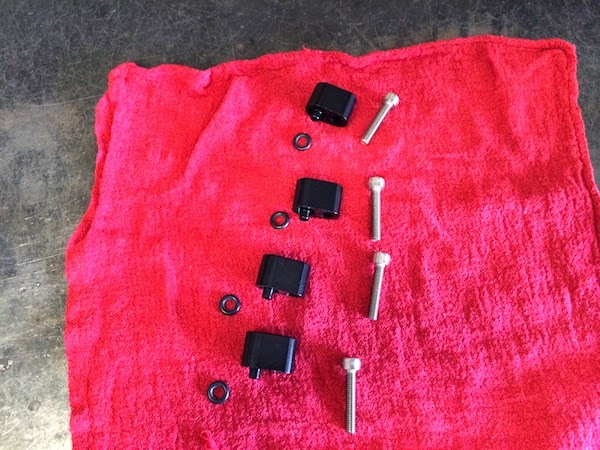
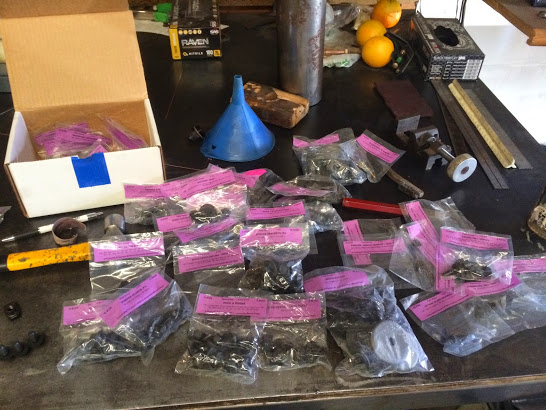
front end bolt kit. all individually labelled. quite useful.
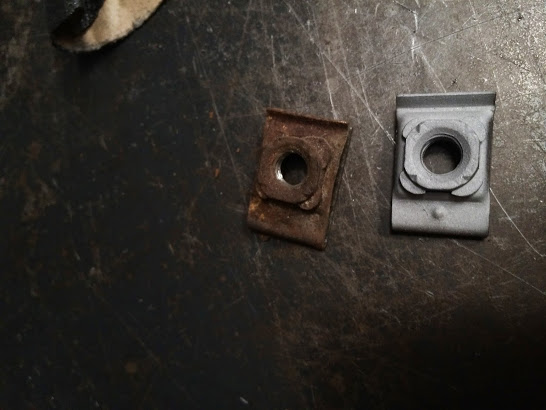
Has to reuse some of the old clipbolts and they were a little dirty. got to use the cabinet sand blaster for the first time. thing works well.
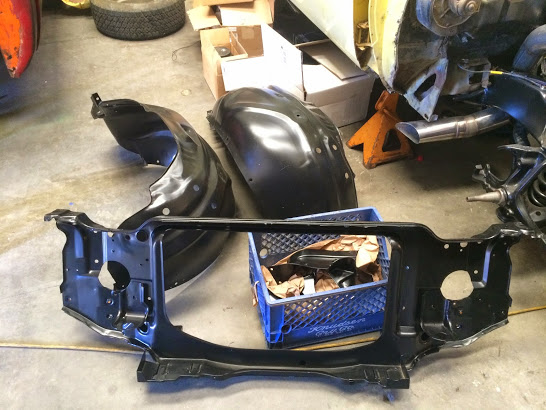
inner fenderwells and rad support installed. looking good.
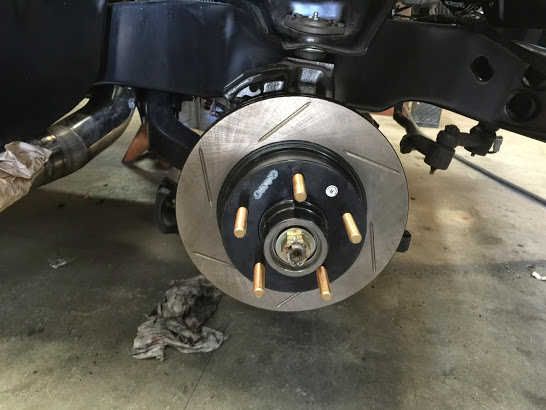
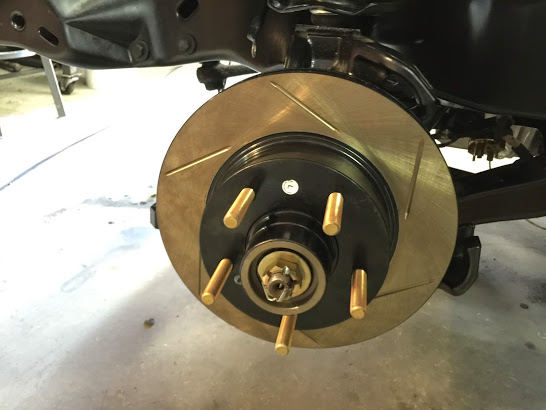
rotors installed with ARP extended wheel studs. mostly for aesthetics.
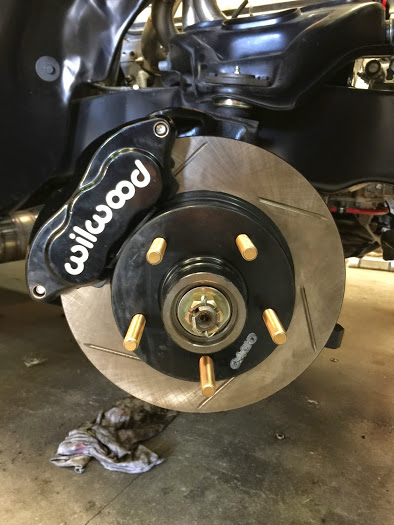
wilwoods installed.

this is the rear disc from summit installed. kinda sad i had to go with this but this is the only rear kit i found that will work with stock rims. I wanna get this beast on the road and now wait another few months to save up for rims + bigger breaks.
all new steering parts being installed.
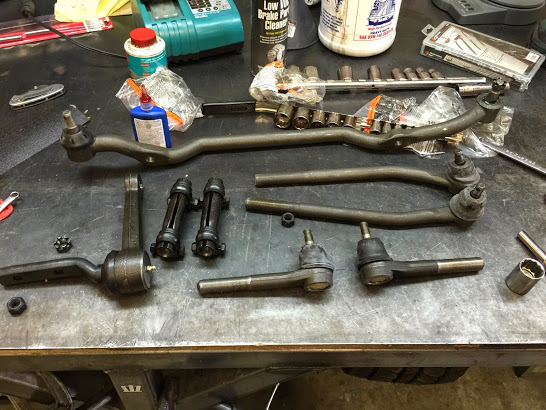
will post some more photos tomorrow.
12-02-2014 #11 Registered User
- Join Date
- Dec 2010
- Location
- Charlestown NH
- Posts
- 352
Awesome fab work, you do some nice header work! keep it up!
https://www.pro-touring.com/showthre...-Touring-Truck
DMP Fabrication LLC
Follow me on Instagram for welding and truck progress! - Americangraffiti
12-04-2014 #12 Registered User
- Join Date
- Nov 2006
- Location
- Ma.
- Posts
- 5,569
I agree Awesome fab work! I love what your doing on this project.
Wayne
Car FINALLY home !!!!!! lol
Project FNQUIK https://www.pro-touring.com/showthre...ghlight=FNQUIK

 Reply With Quote


