


Results 1 to 20 of 22
Hybrid View


-
05-29-2014 #1
 Registered User
- Join Date
- May 2013
- Posts
- 35

1966 GMC 2500 - Project Second Chance
Hey all,
Long time project lurker, first time project poster.
I have been documenting my semi pro-touring build of my 1966 GMC 3/4 ton 2wd over on a chevy truck forum, but thought I'd start a thread here to get some insight from some of you more experienced builders. There are some excellent builds here, and mine won't be near on the level of some I have seen, so consider this a total amateur job .
The back story on this truck is that in high school and through about 3 years of college it was my daily driver. In my third year of college back in 2006 or so I realized I needed something I wouldn't tinker with, and something that would be more reliable, See, my friend and roommate at the time owned a C4 Corvette, so we were always messing with the TPI. This gave us the idea of swapping a TPI into the truck, which we did on a pretty finite budget. I even learned to tune and burn my own chips to save money. It was functional, but really skimpy overall. The wiring was a mess, the return fuel line was held to the tank via JB Weld.
In 2006 (or thereabouts) I sold the truck. Since I have had quite a few cars, most of which have been performance oriented. Fast forward to Fall of 2013, a weekday night around 10 PM I was perusing craigslist in bed as I often do. I searched GMC in the 1960-66 range, again as I often do. I say a post that said "1966 GMC Hotrod." Even before clicking it I had this feeling that it might be my truck. And it was. I nearly leapt out of bed. Seven years later my truck was for sale again, and I was in a position both financially and space-wise to reclaim some of that history.
So I bought the truck back (for $500 less than I sold it) and brought it home. Oddly enough, nothing on it had changed. It even sported the same worn tires it had seven years prior. I found papers and receipts under the seat that were MINE from years prior. I think the guy was kind enough to simply store it for me and drive it occasionally. That said, the truck wouldn't start now, and I knew somewhere in the wiring or sensors was the issue.
In any case, I was determined to get it roadworthy again and make it a true daily driver. But beyond that, I wanted it to drive like something from 1990, rather than 1960. So thus began my semi pro-touring rebuild.
The plans included:
1. Modifying the Gen I SBC for true sequential fuel and spark. Yes, I could have dropped in a LS1+, but I already had this motor, and had already invested a good amount of money years back in nice cylinder heads and pulleys. And I wanted the challenge of taking something old, and merging it with something new(er). This would be accomplished with a Megasquirt system. I'd install a 36-1 crank wheel and sensor, and find a way to get a 4x cam signal from the dist. I'd also install coil packs and be rid of the single coil/rotor setup.
2. Update the suspension and steering as best as possible.
3. Convert it 5-lug for more wheel options.
4. Convert it to 4-corner disc brakes
5. Lower it slightly.
6. Redo the interior with more modern gauges and finishes
7. Relocate/replace the fuel tank with something more modern and in a better location (stock is inside the cab).
8. Fix any rust issues and sound deaden the interior.
9. Rewire the entire truck
Goals mainly included:
1. Healthy amount of power (350-400)
2. Healthy fuel economy (aiming for 18+ highway)
3. Great road manners
4. Modern comfort/sound levels
5. Reliability of a more modern daily driver.
Essentially, I wanted this to replace my DD when my lease is up (Chevy Volt) should I choose not to keep the car.
And so the project began . . .
-
05-29-2014 #2
Registered User
- Join Date
- May 2013
- Posts
- 35
Here is the truck back in highschool

And here it is being unloaded at home years later . . .

And the strip show begins!
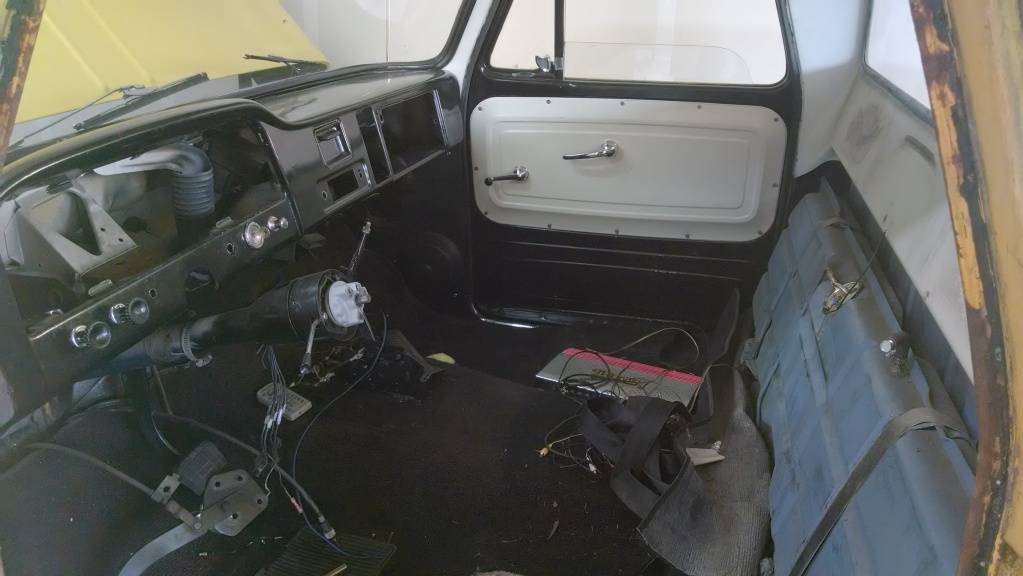
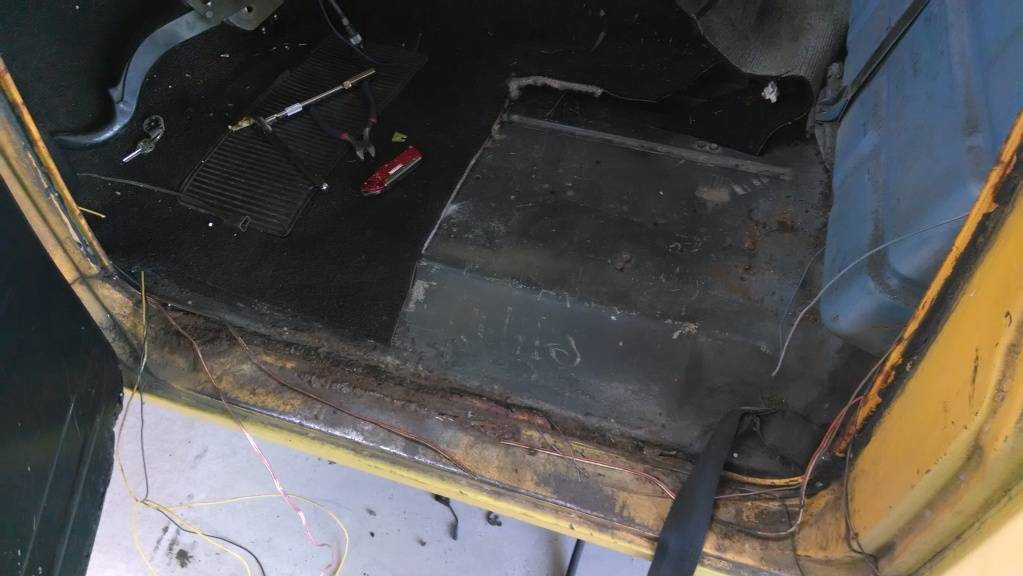
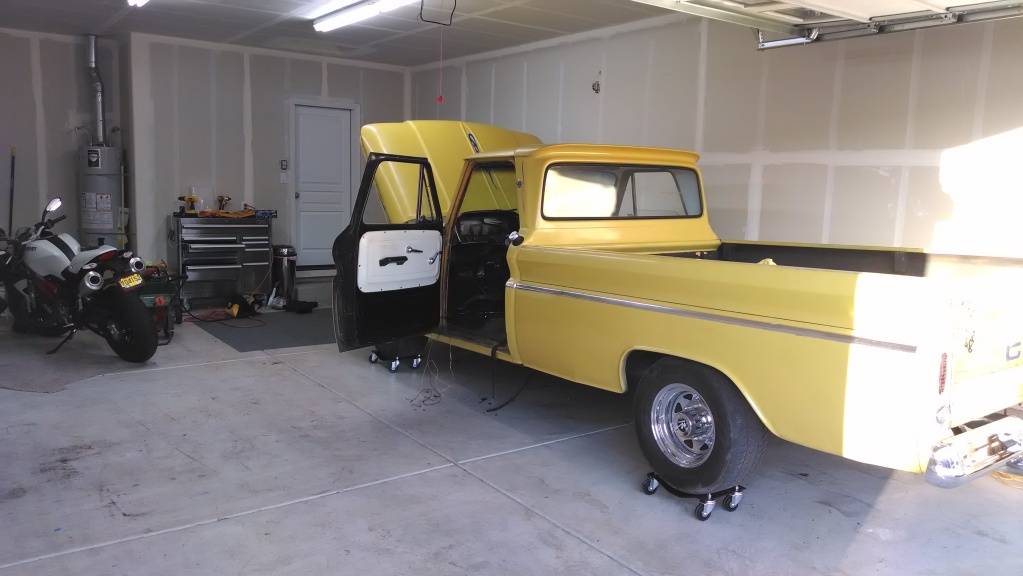
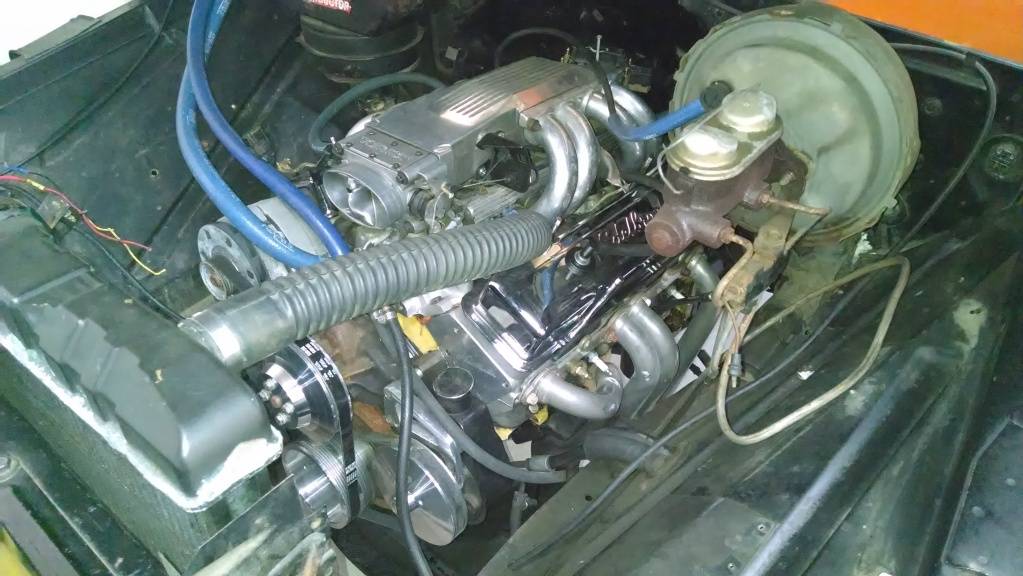
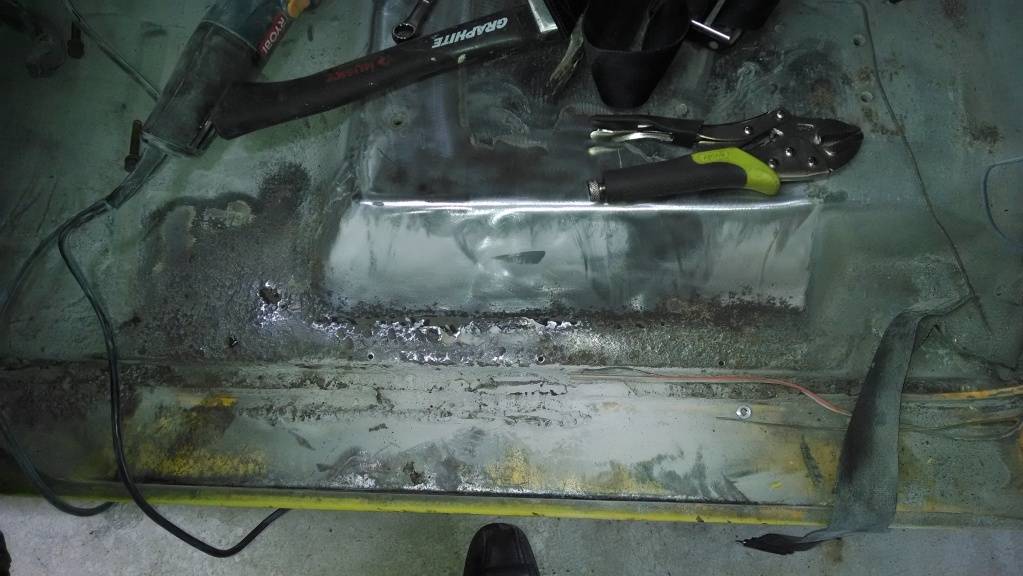
Some nice floor holes that will need to be addressed at some point . . . It was hidden under a layer of bondo.
05-29-2014 #3
Registered User
- Join Date
- May 2013
- Posts
- 35
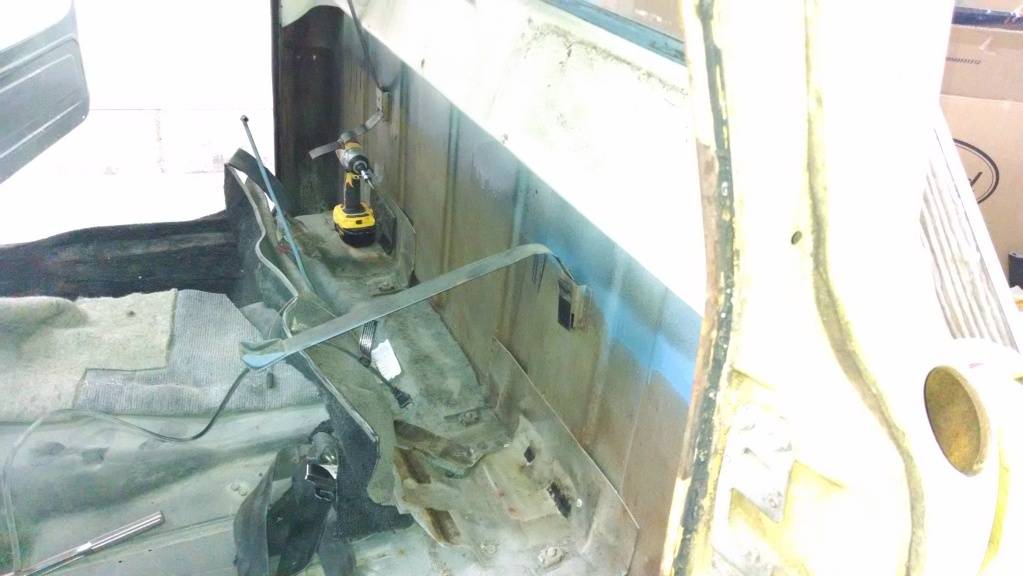
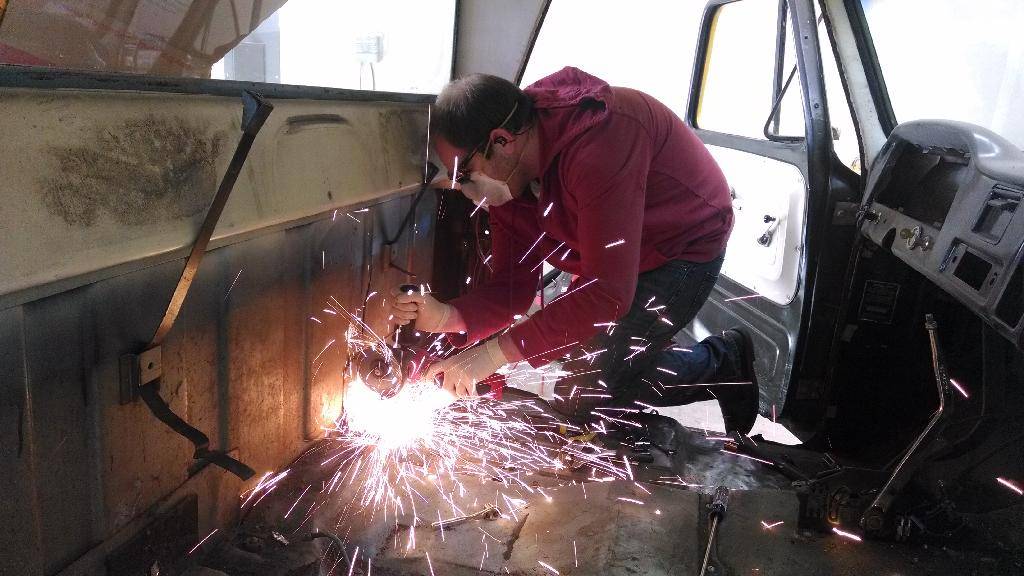
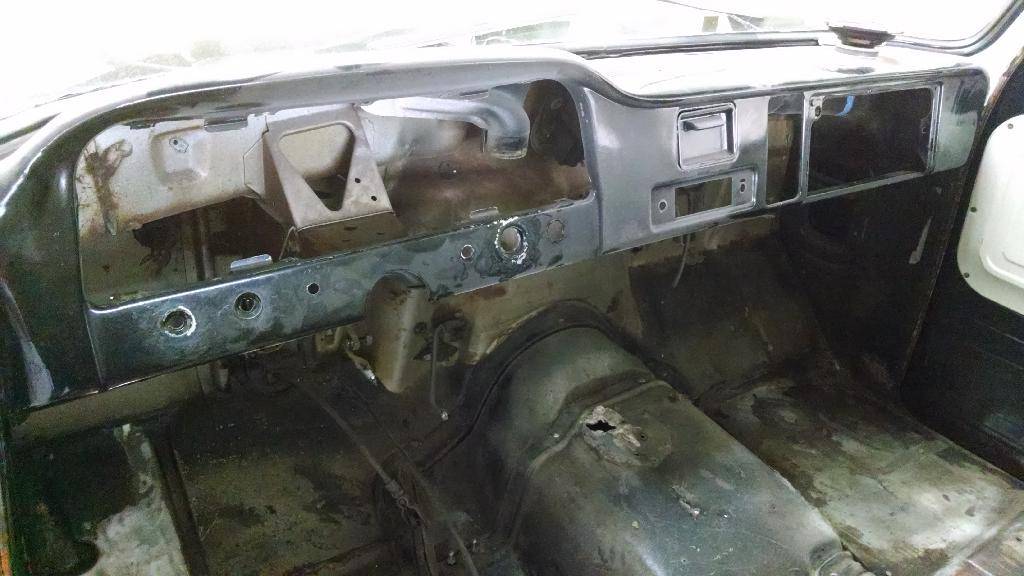
Old Tank out
I stripped the old tank out, which was more difficult than I thought it would be! The cab mounting brackets doubled as the tank mount brackets. Doh!
Mounts removed:
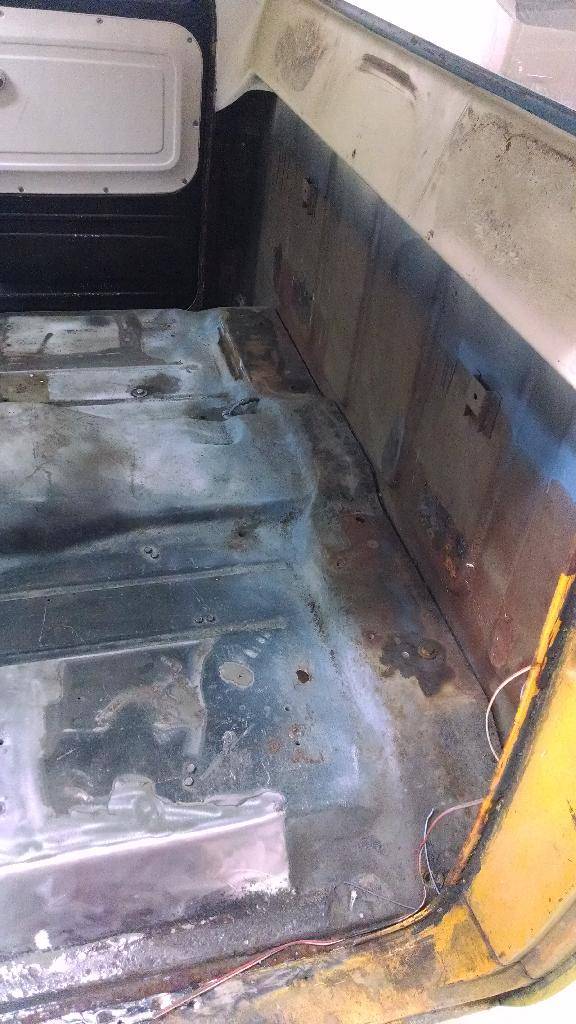
More of the interior removed:
05-29-2014 #4
Registered User
- Join Date
- May 2013
- Posts
- 35
Body coming off
Next I started to remove body panels:
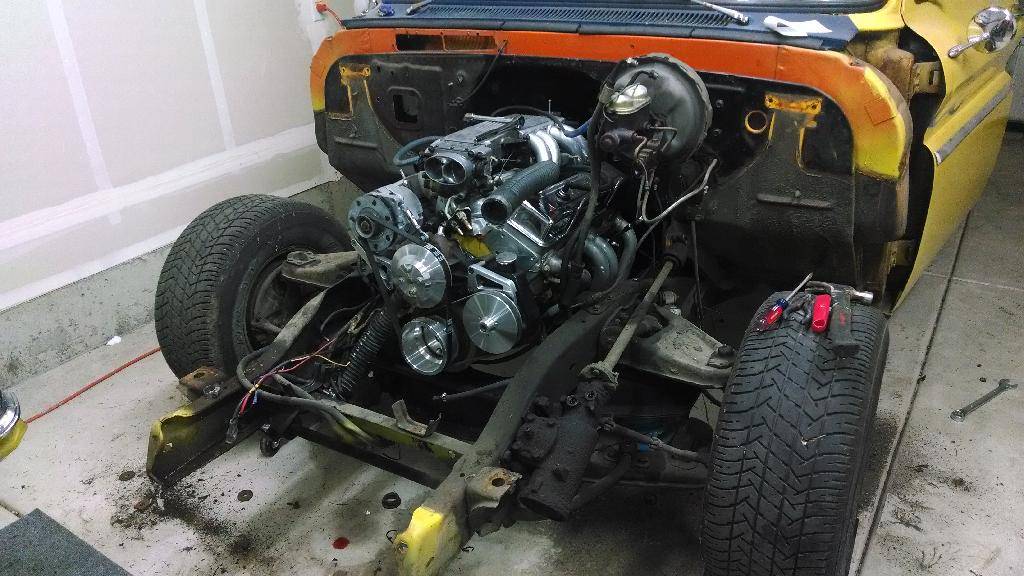
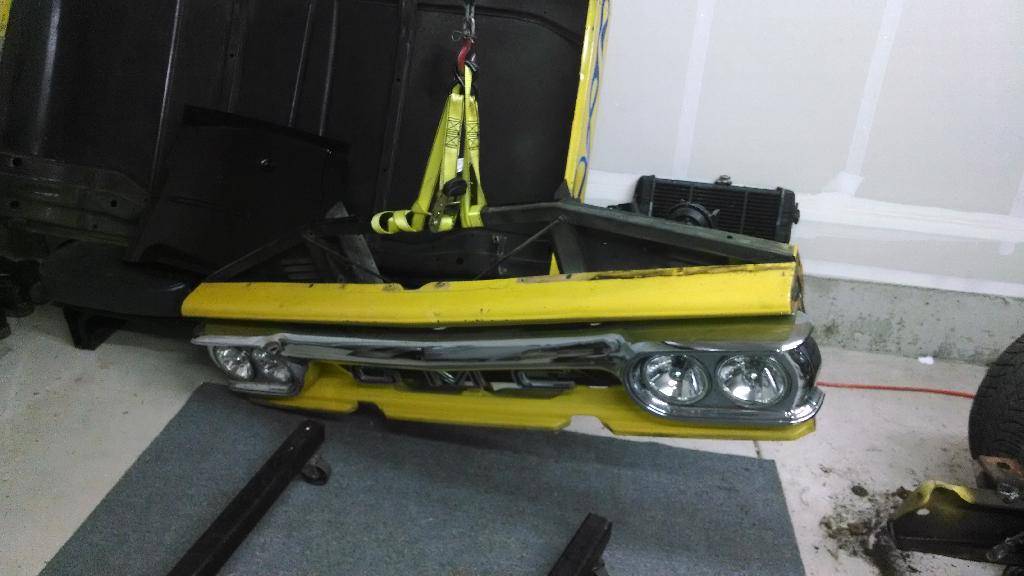
Once I had enough off I pulled the cab, in what was a white-knuckle experience.
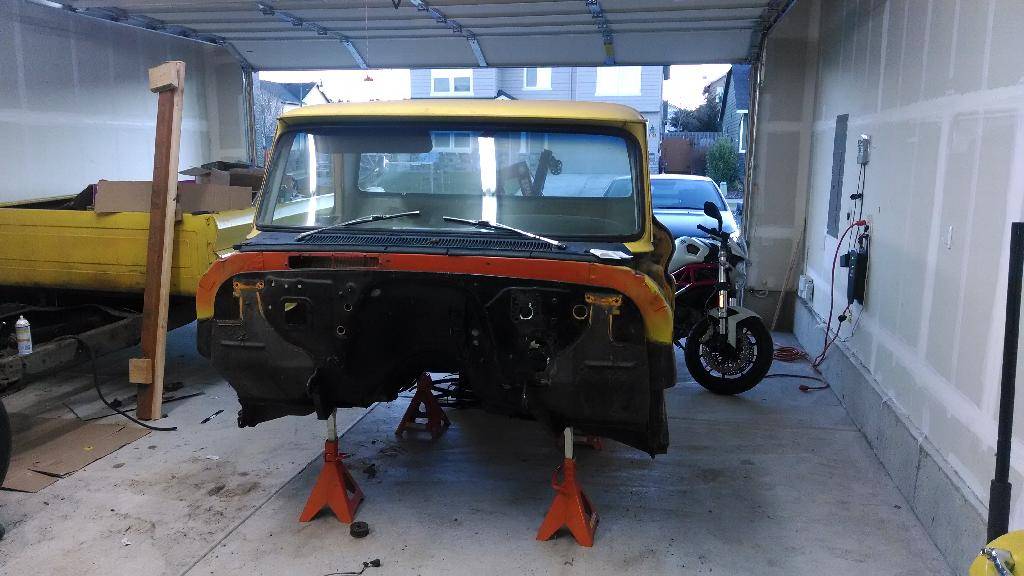
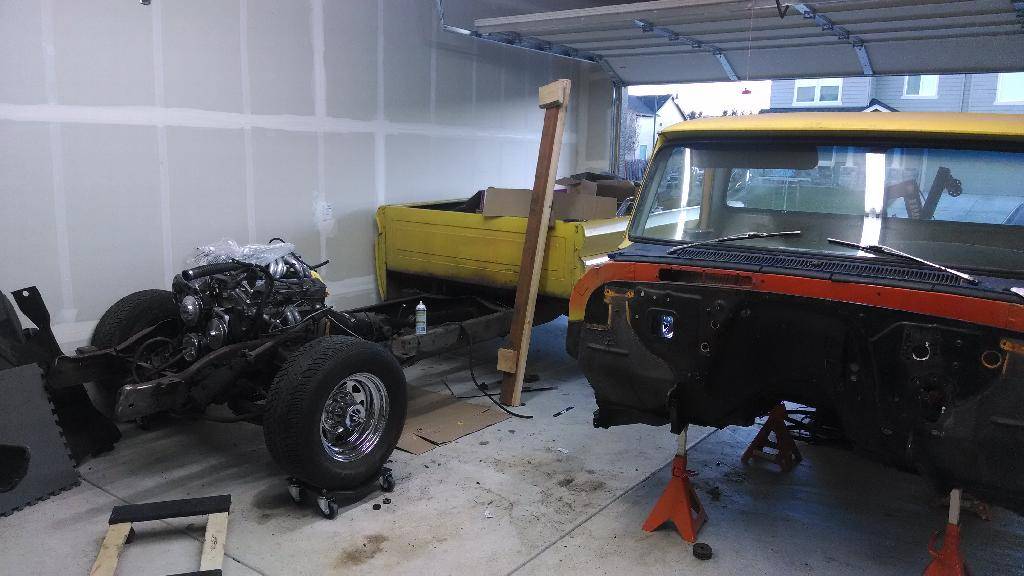
Then came the motor:
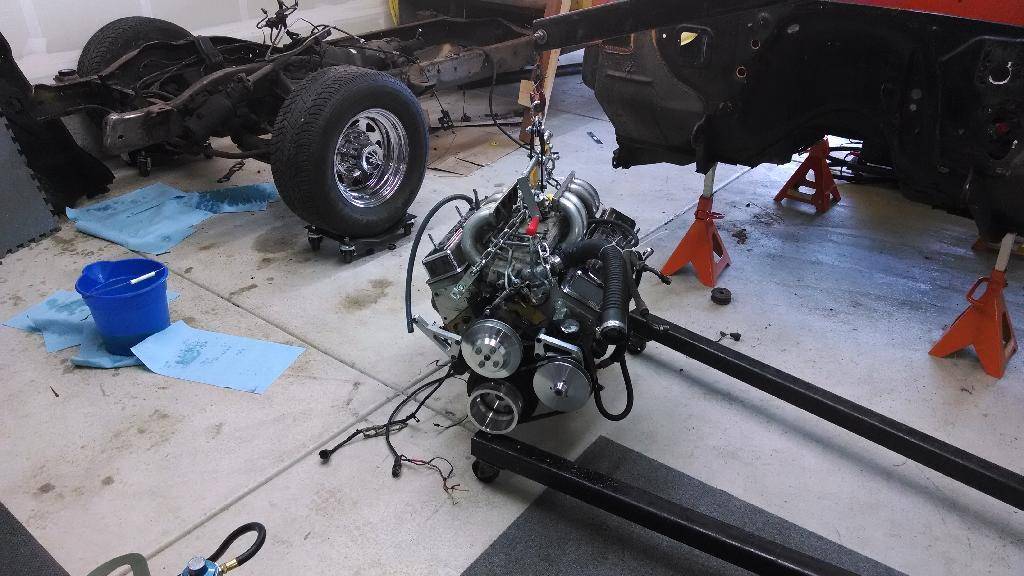
05-29-2014 #5
Registered User
- Join Date
- May 2013
- Posts
- 35
Motor refresh
With the motor out I began doing a cosmetic refresh. I had replaced the headgaskets, cam, lifters, etc years back, and given the lack of additional tire wear I can't imagine the guy put too many miles on the motor. The oil was dirty, but moisture free, so I took a chance and didn't pull it apart.
I started by refreshing the paint using a Por-15 engine enamel. This is brushed on:
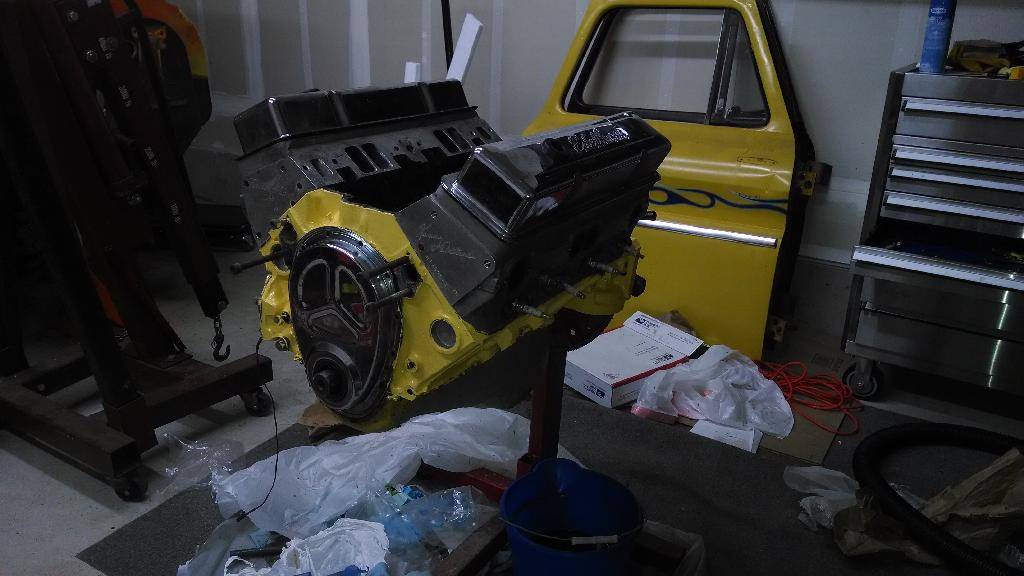
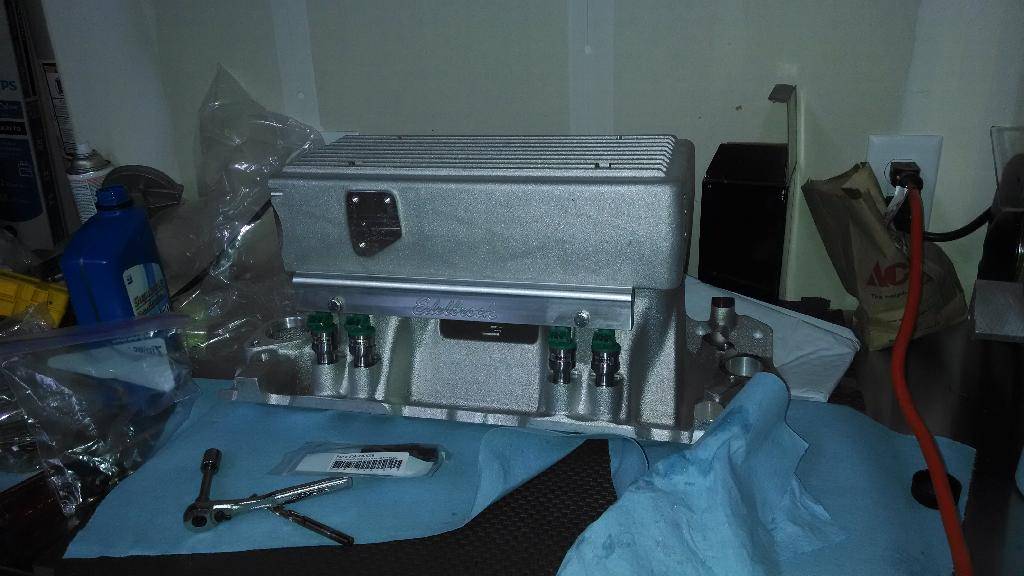
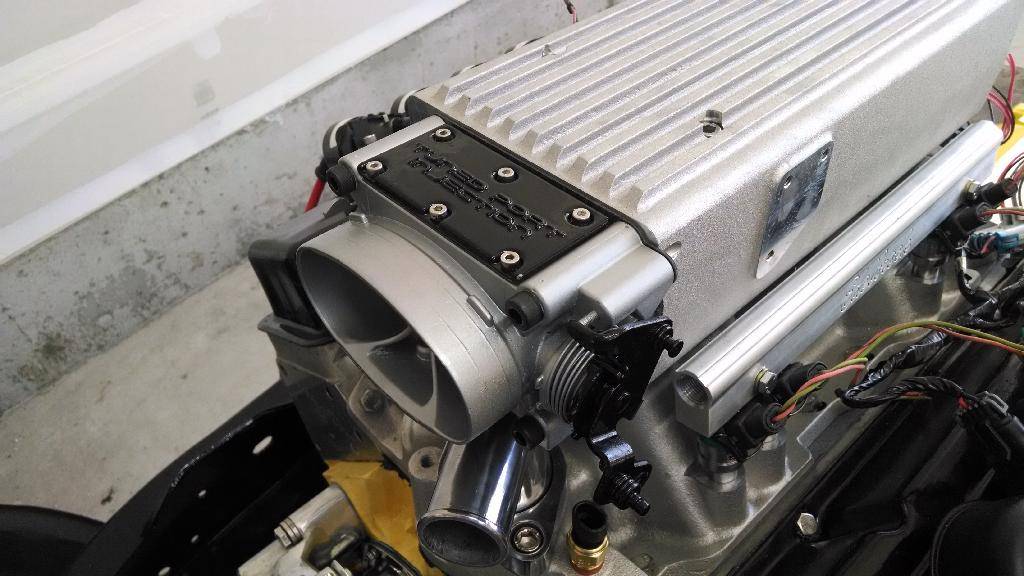
Next in line was an intake upgrade. The old TPI was suffocating the 350 with decent heads. To be installed was a stealth ram with new injectors!
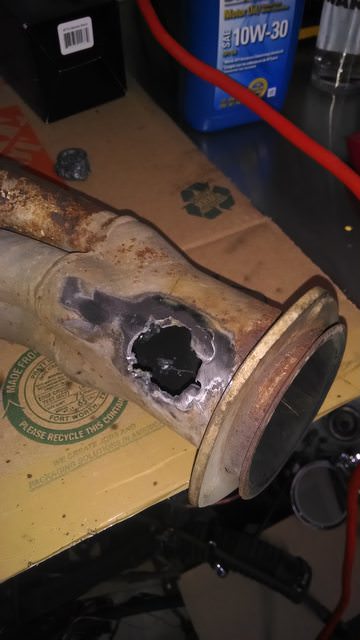
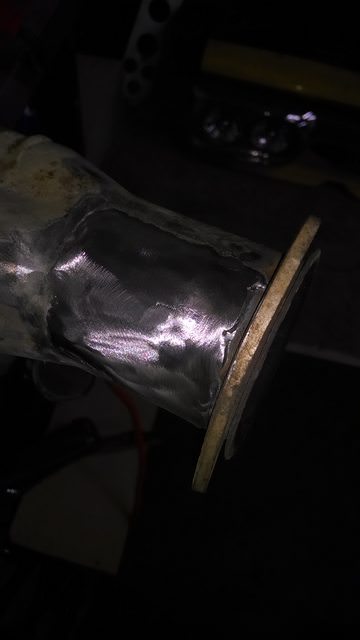
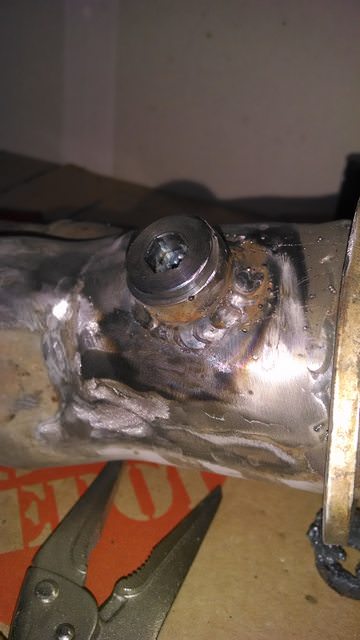
I also to cut out the old O2 sensor bung as it was rusty. The cutout was UGLY, so I tried to patch it over as best as my poor welding skills would allow:
New bung welded in:
05-29-2014 #6
Registered User
- Join Date
- May 2013
- Posts
- 35
All about the timing
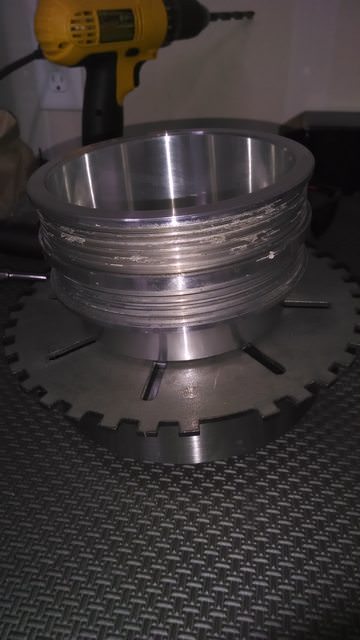
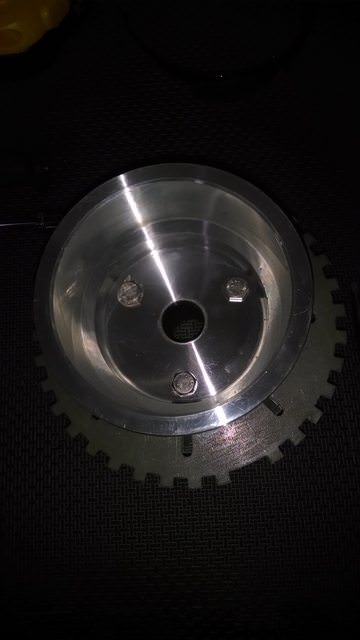
Next up was to get starting on my components needed for sequential spark. It included fitting a 36-1 crank trigger wheel between the harmonic balancer and crank pulley.
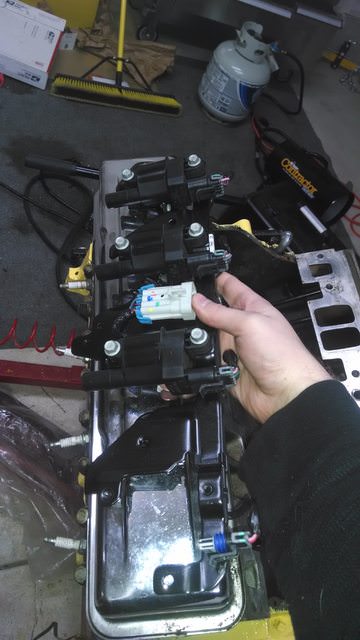
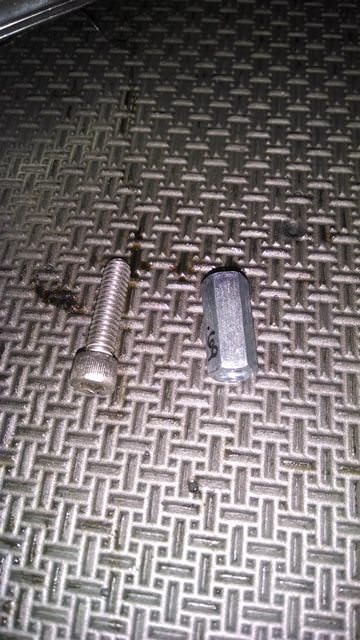
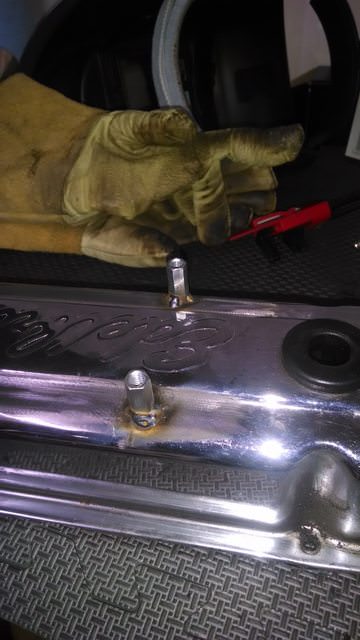
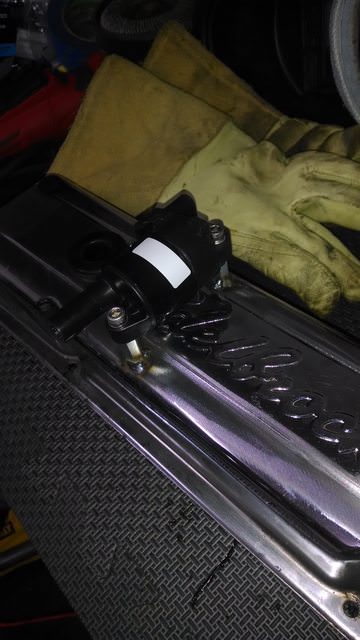
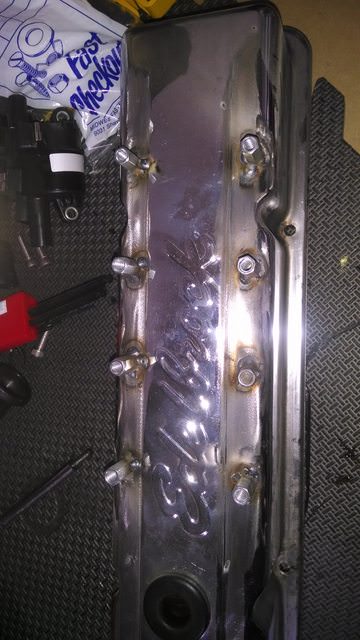
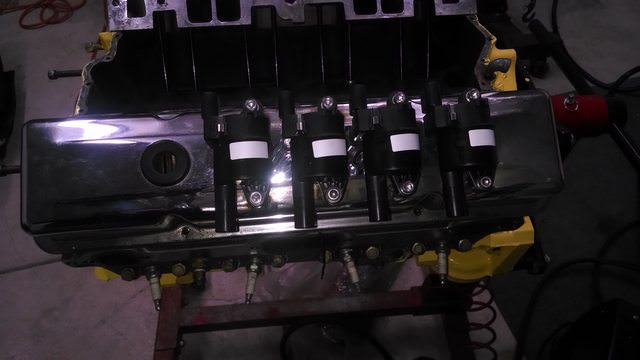
Next step was to figure out how to mount my LS2 coil packs. I didn't want to drop serious coin on fancy valve covers, so I took my old chrome ones and modified them a bit. They wouldn't fit with the included coil brackets, but I found some stuff at Ace that would work:
05-29-2014 #7
Registered User
- Join Date
- May 2013
- Posts
- 35
Blast Off!
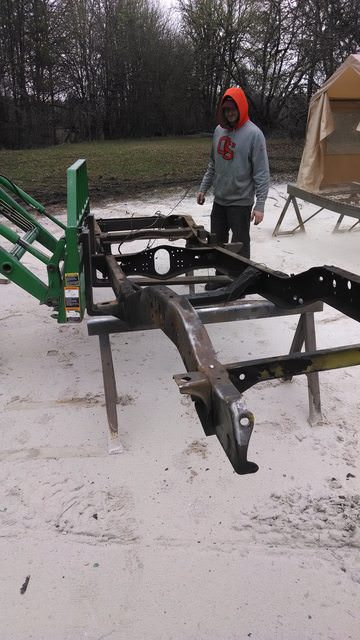
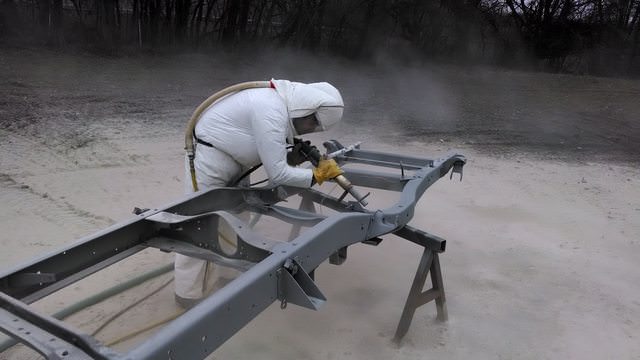
At some point we had some decent weather, so I took advantage of it and decided to sandblast the frame at a friends house.
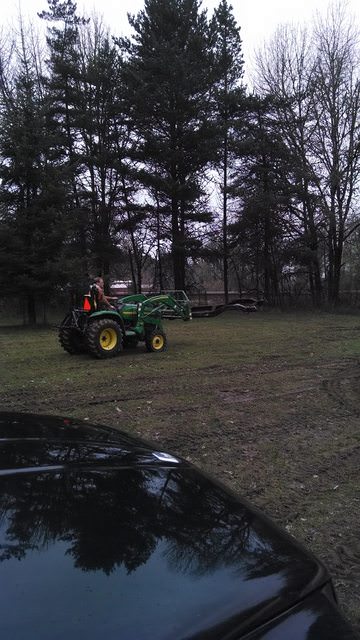
Friend:
Me blasting:
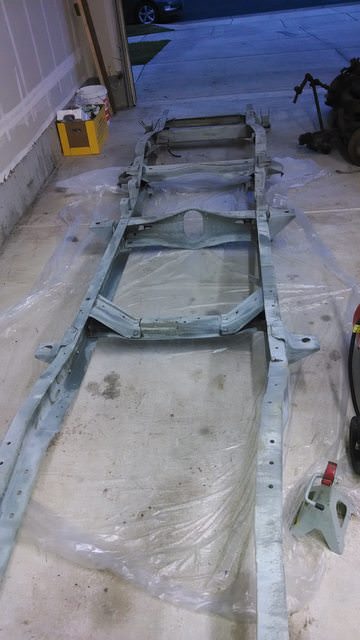
Home drying after etching it ready for Por-15 treatment
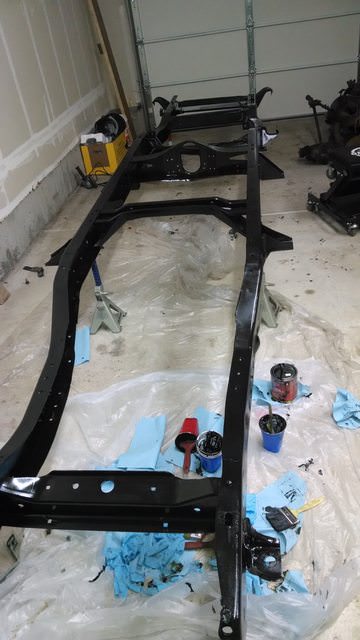
Then began the painting!
More updates to come soon! I have much more progress to show but I need a typing break!
05-29-2014 #8
Registered User
- Join Date
- May 2013
- Posts
- 35
New tank
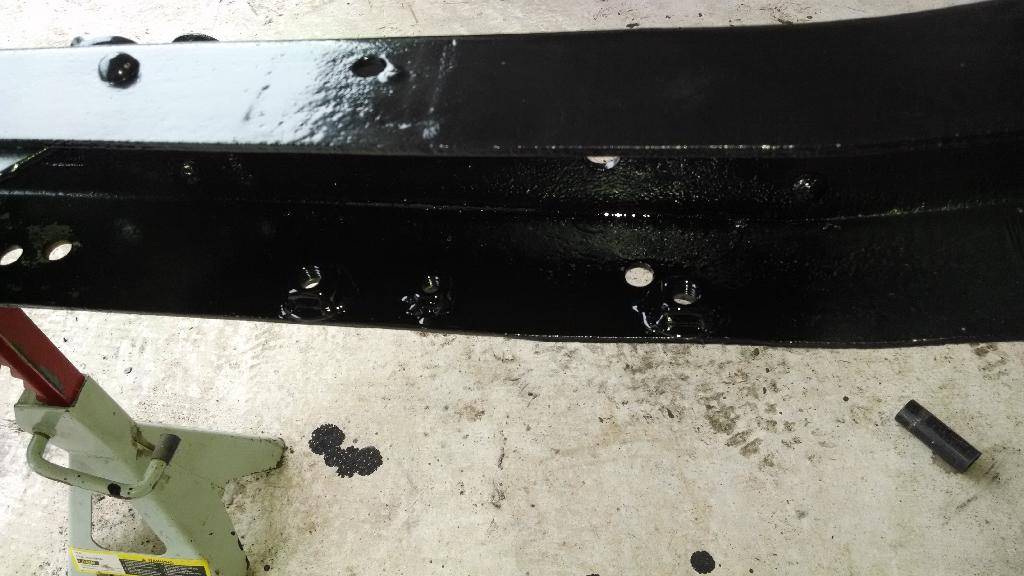
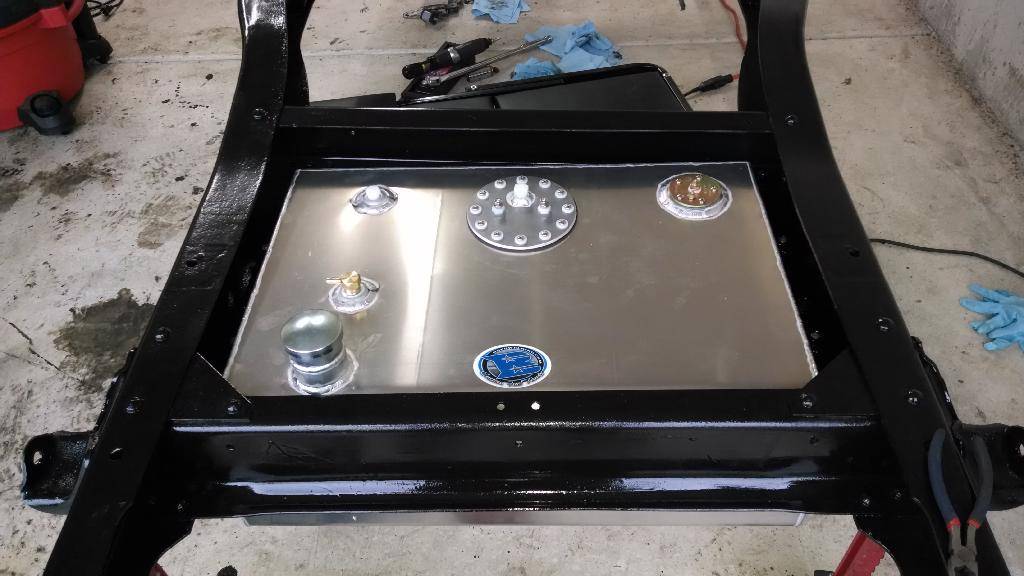
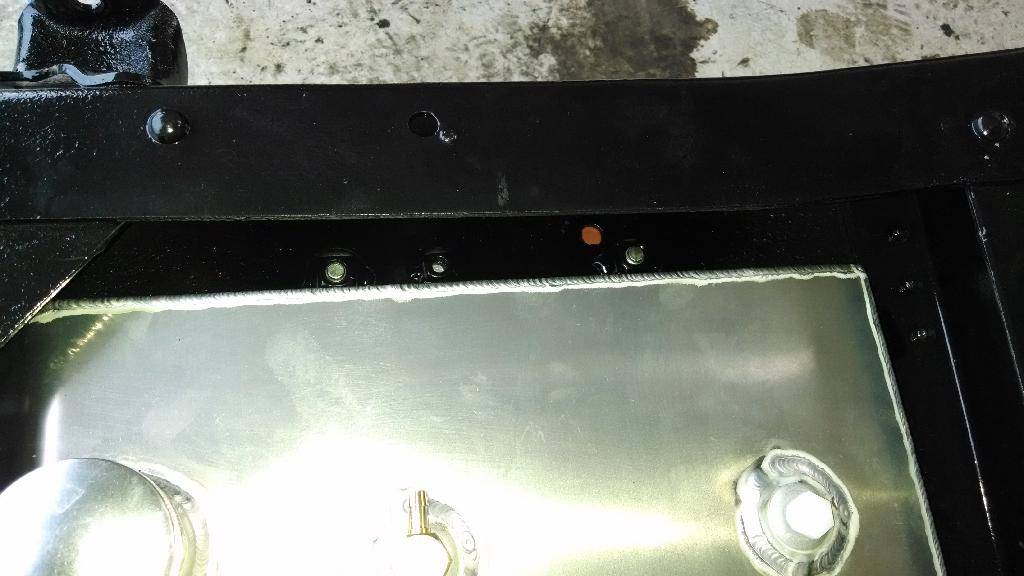
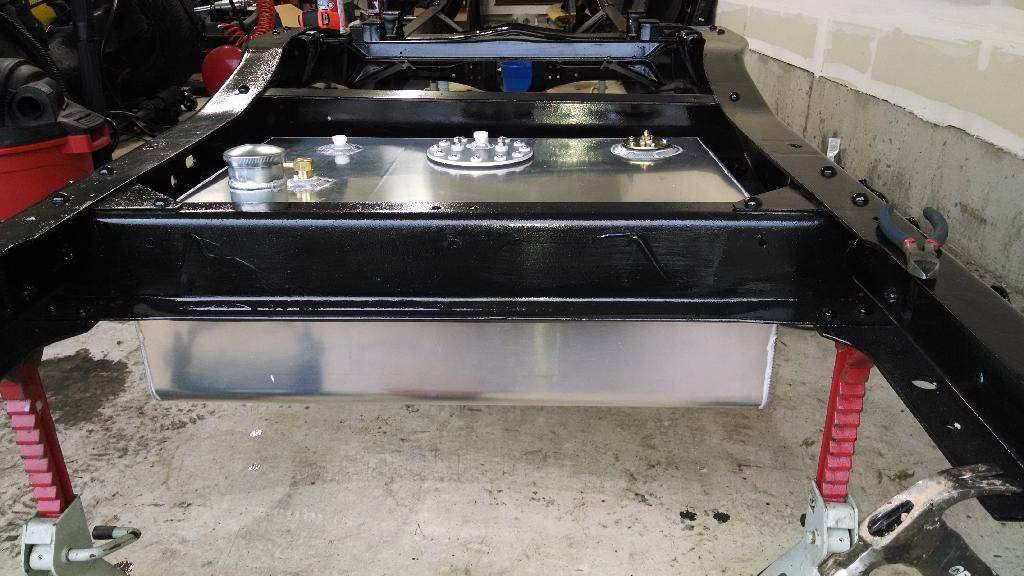
Next I received the new fuel tank from Boyd's Welding. I had to remove a frame crossmember but it was small. Instead of doing the old bolt on one side and nut on the other side of the tank I welded some square nuts on the inside. This means I can remove the tank without having to pull the bed or part of the bed. Makes pump swaps, etc a snap.
Here is a mockup of the tank in place:
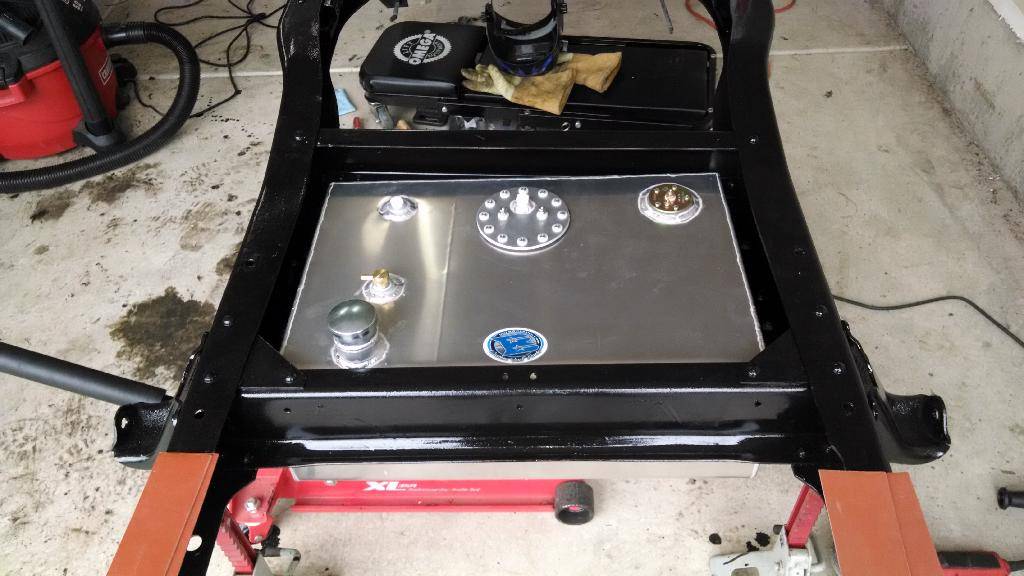
Holes drilled
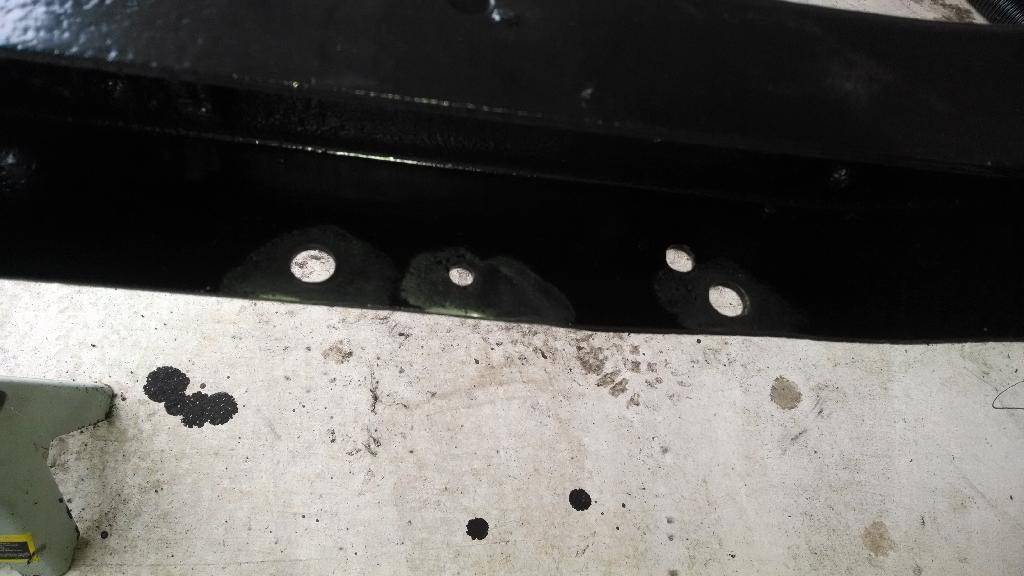
Mounting nuts welded and painted:
Tank in place:
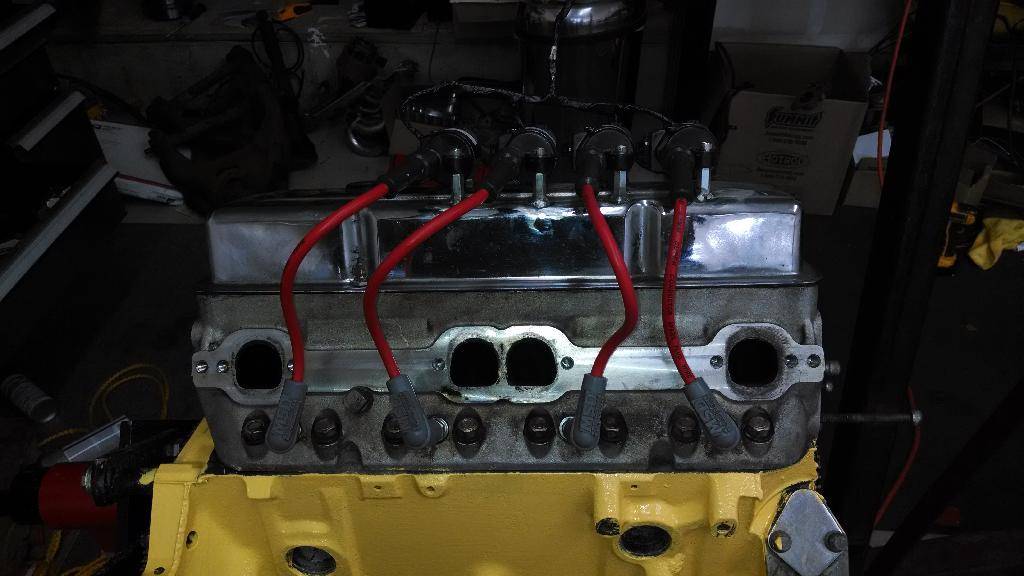
Also took some time to cut down my old wires and recrimp for the coil packs. Will need to redo two each side with straight plugs to clear new headers I ended up getting:
05-29-2014 #9
Registered User
- Join Date
- May 2013
- Posts
- 35
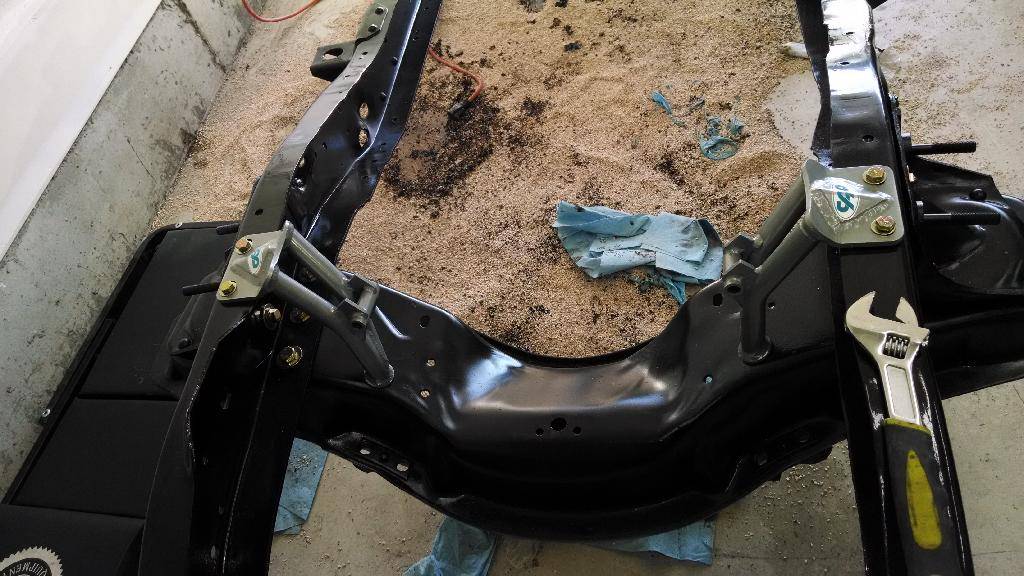
New crossmember
So in order to put disc brakes on, I grabbed the front crossmember from an 85 C10. Guy I bought it from had drop spindles so I nabbed those too. In order to mount it I had to drill two new holes and elongate two others, but the rest of the holes lined up.
I blasted and painted this piece too.
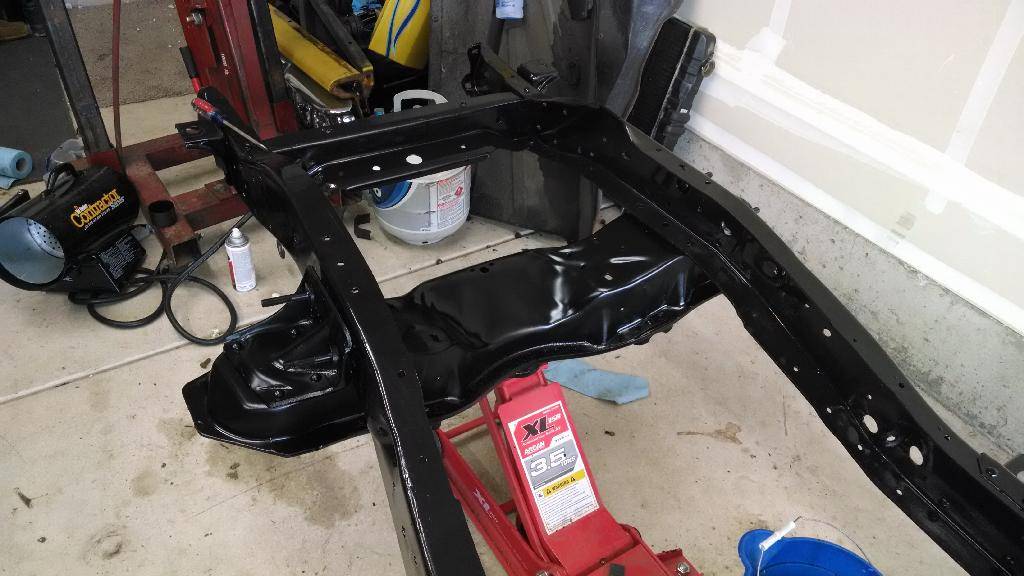
Once that was bolted in place I installed the new tubular engine mounts. You'll notice the cleanup of the giant oil mess I made when I knocked over my oil bucket:
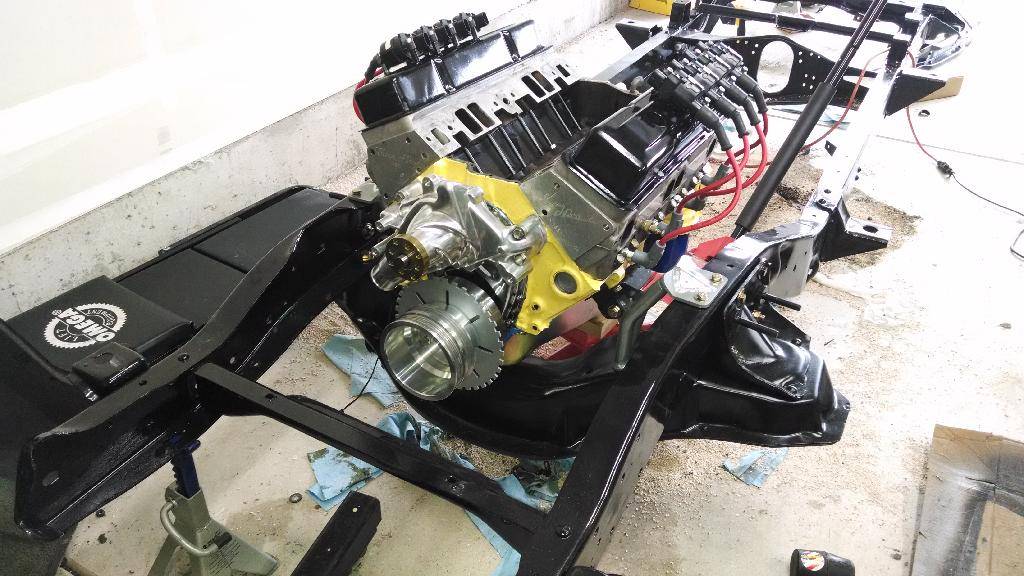
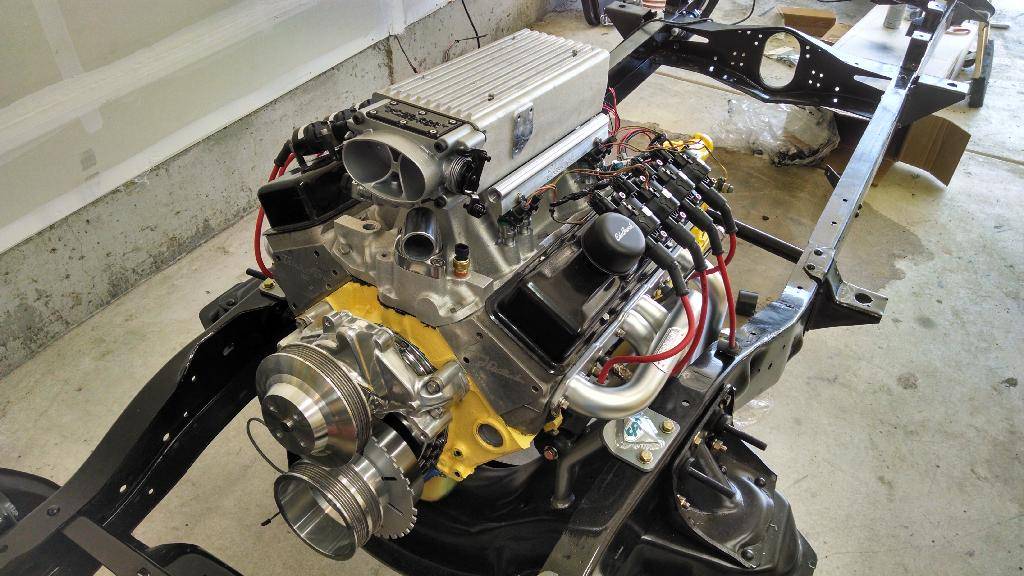
With the mounts in place I dropped the engine back into place:
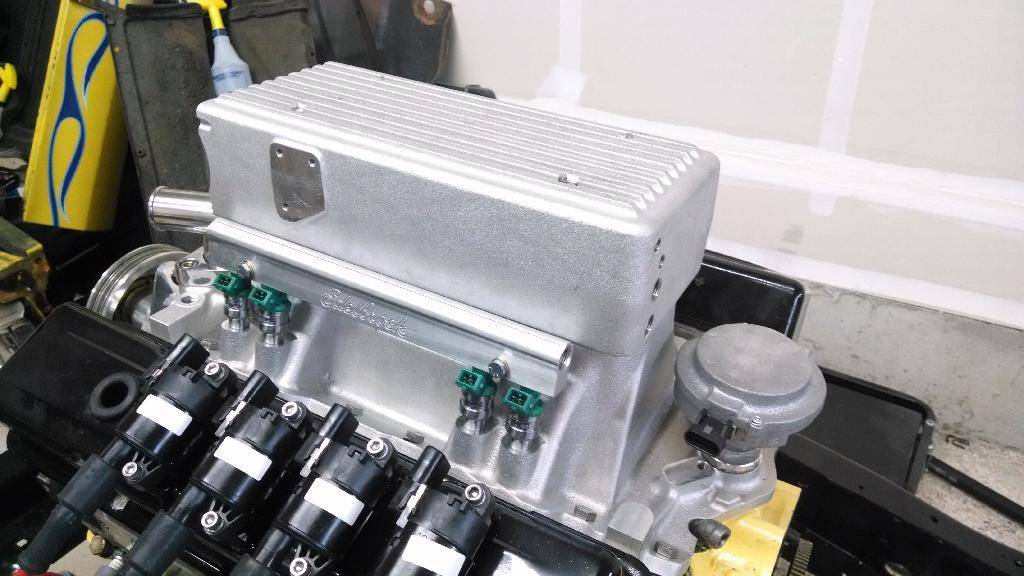
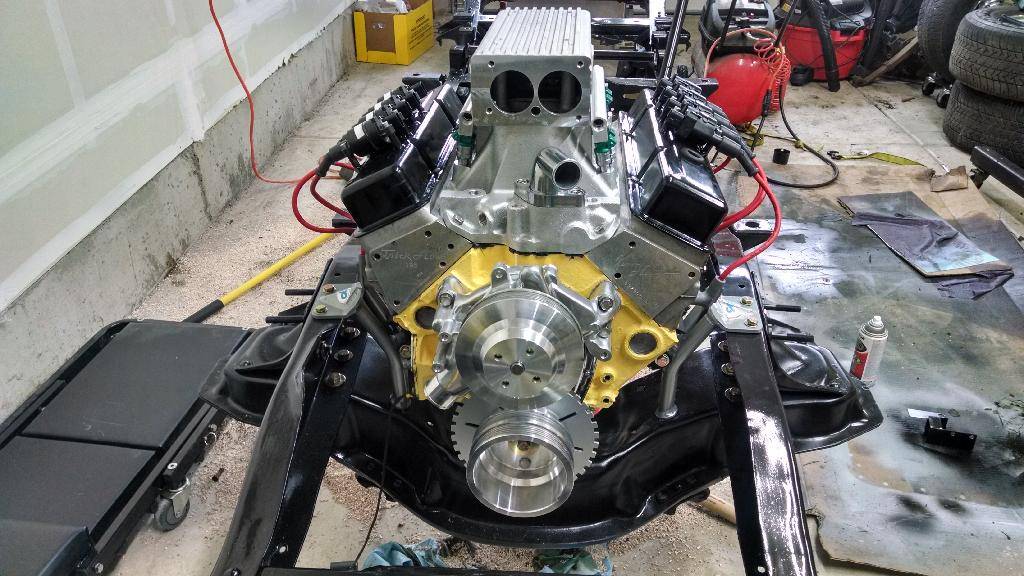
Then I put the intake back on:
05-29-2014 #10
Registered User
- Join Date
- May 2013
- Posts
- 35
Timing part 2
In order to finish the crank timing I had to figure out a way to get the crank hall sensor in the right spot. I made up an effective, albeit ugly bracket.

With that done I went back to painting the tranny, which is a 700r4:
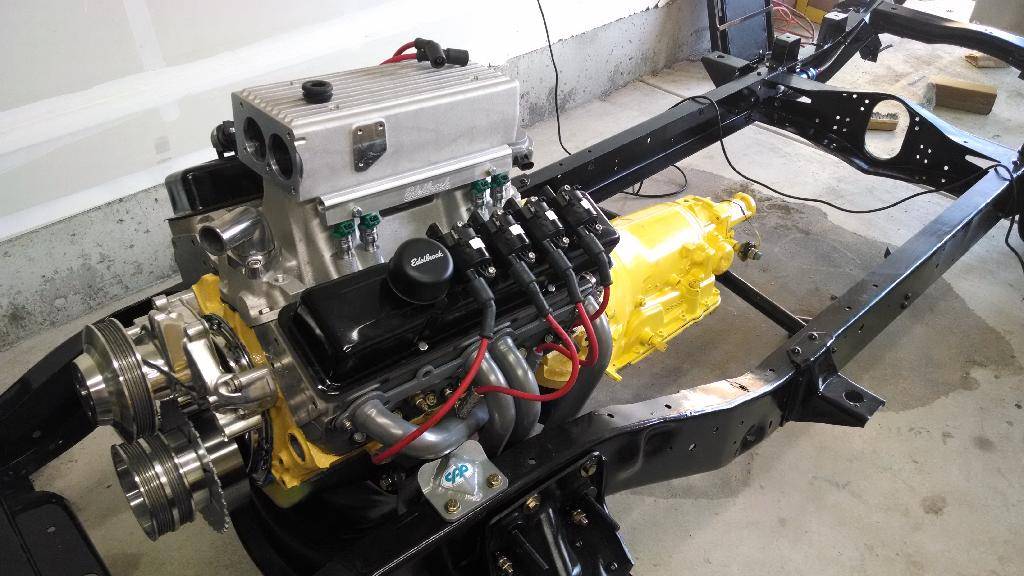
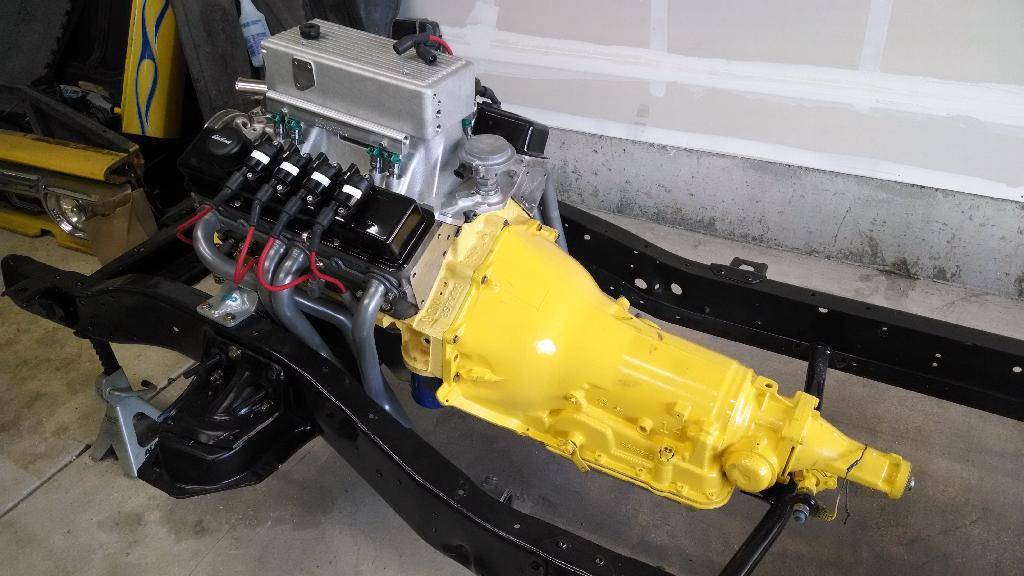
Header trouble
So originally I just took my old headers and had them cleaned and a new ceramic coating put on. In that time the new engine mounts came in. So when I went to put the old headers on they wouldn't clear the new mounts on the passenger side. So . . . new headers were ordered and they fit great.
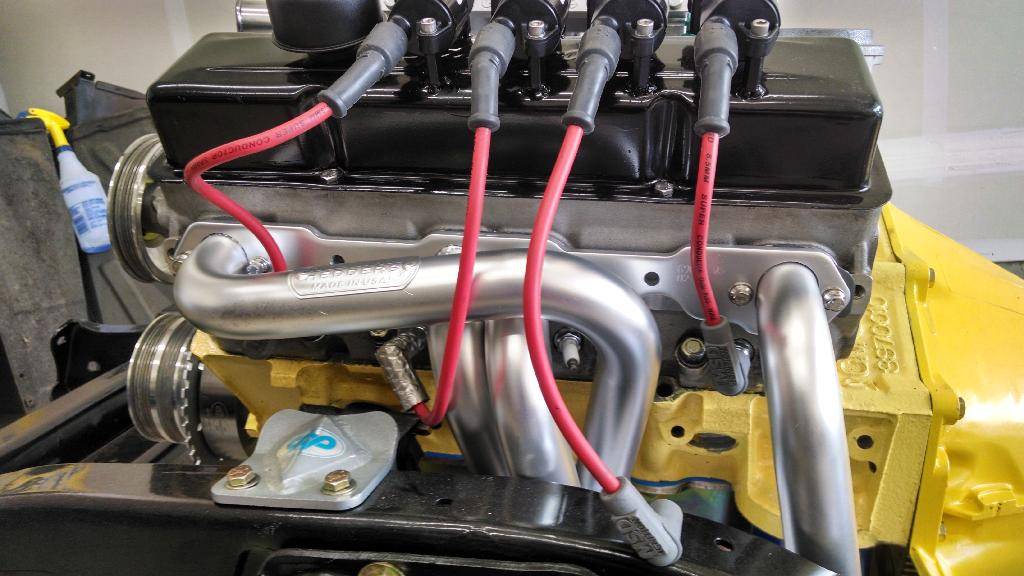
Plenty of clearance on this side now.
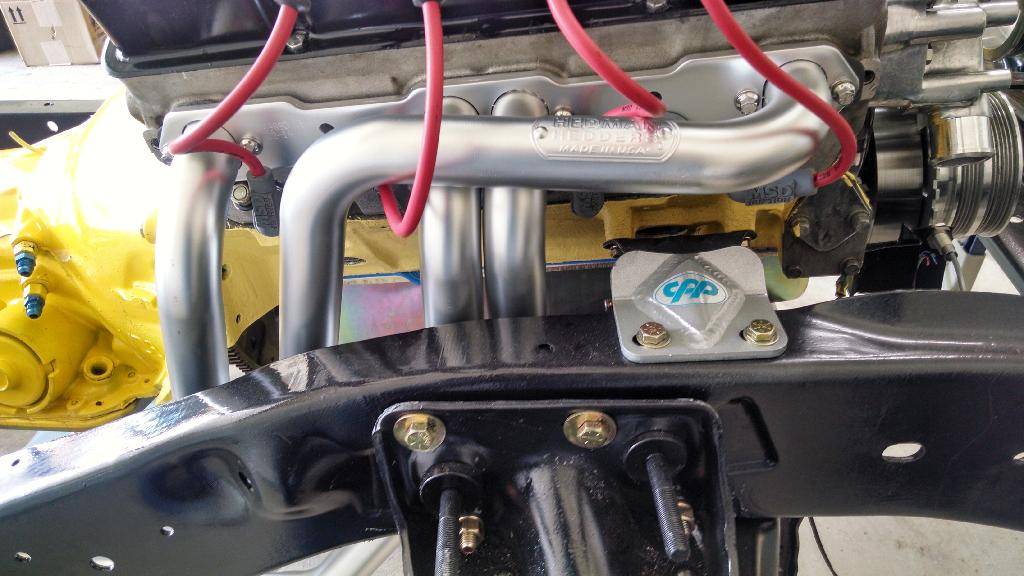
I also took an old crusty Throttle body my friend had for his now parted out Corvette, cleaned it up and painted it. Then mounted it on the engine:
05-29-2014 #11
Registered User
- Join Date
- May 2013
- Posts
- 35
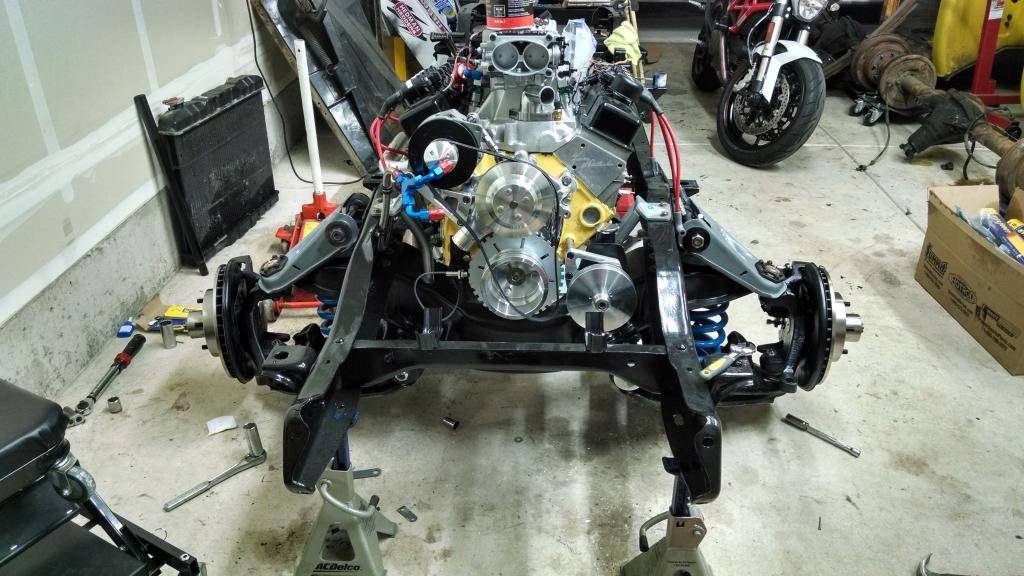
Suspension/brakes
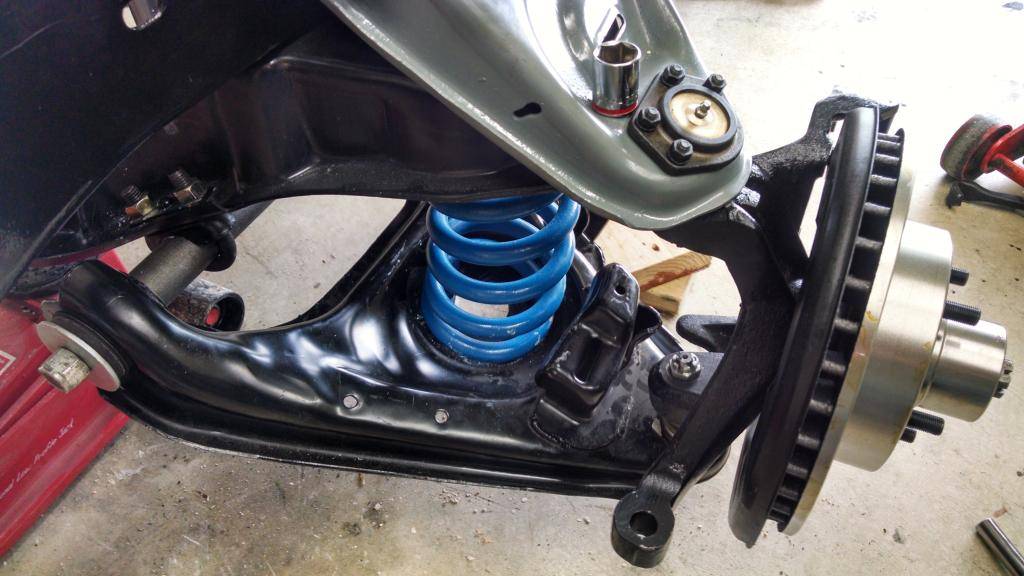
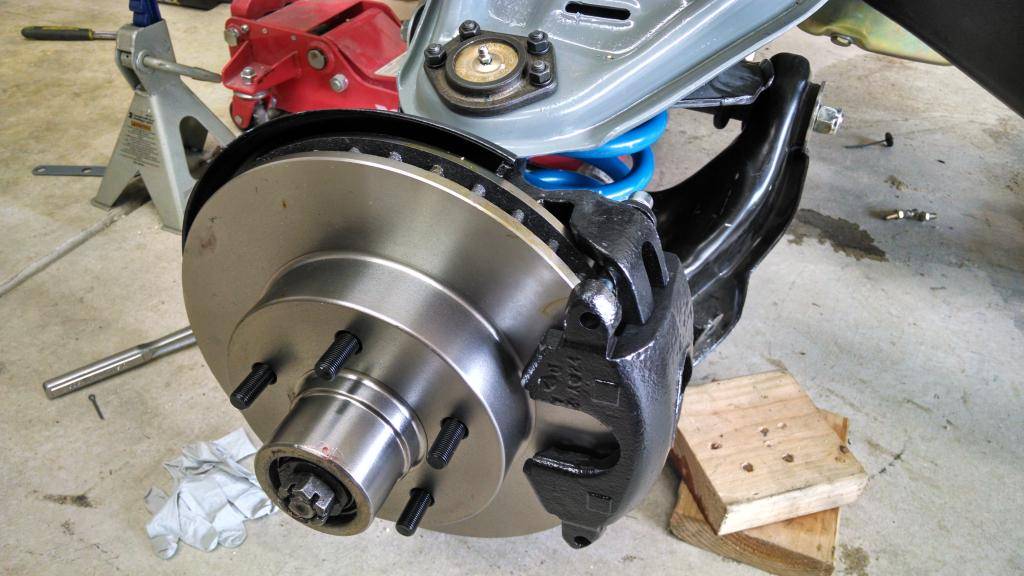
Next to go in was the suspension and brakes. I just blasted and painted the old stock springs, and used new LCAs as I got fed up messing with the bushings on the old ones. New balljoints were installed too top and bottom, as well as new brake components.
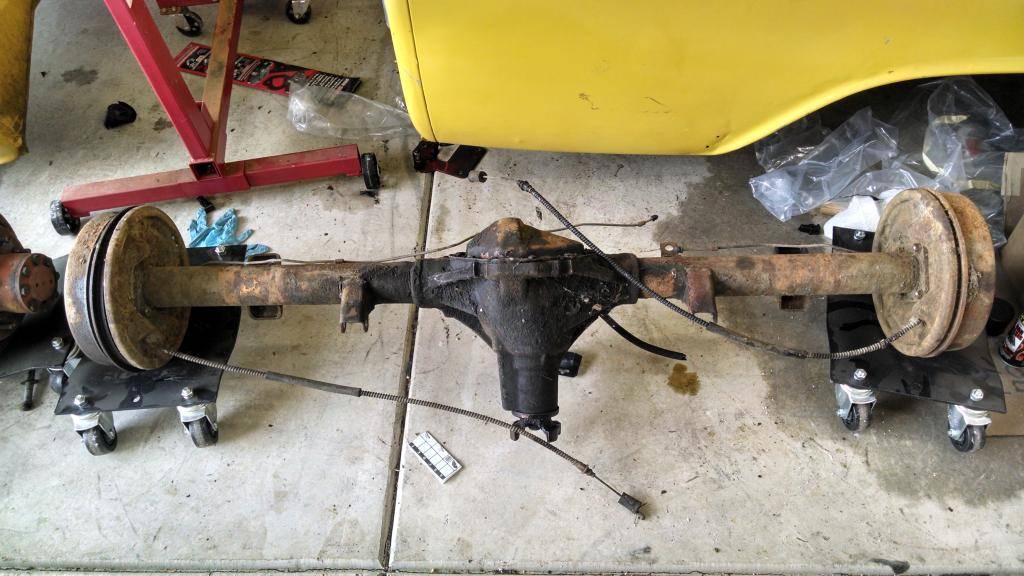
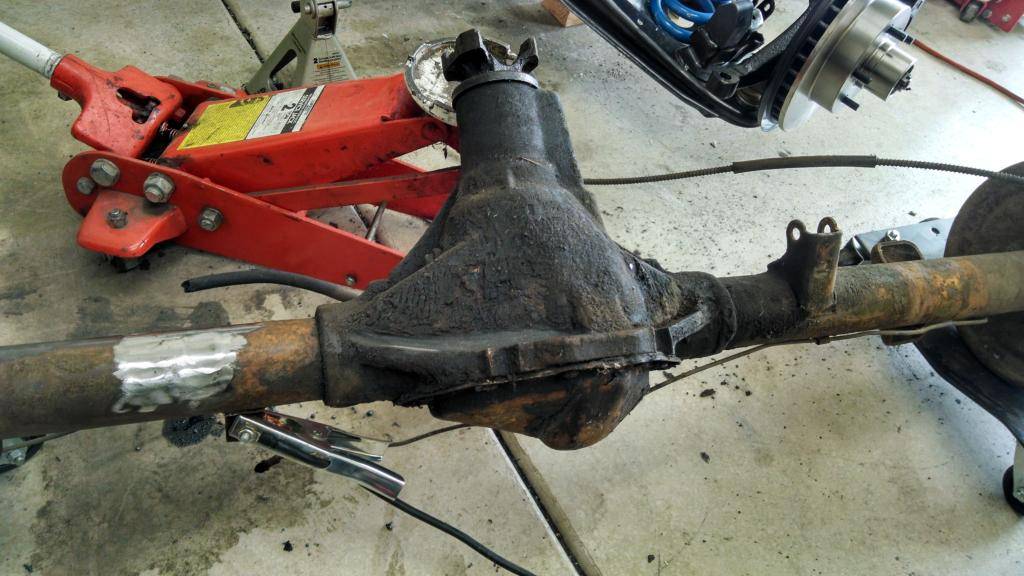
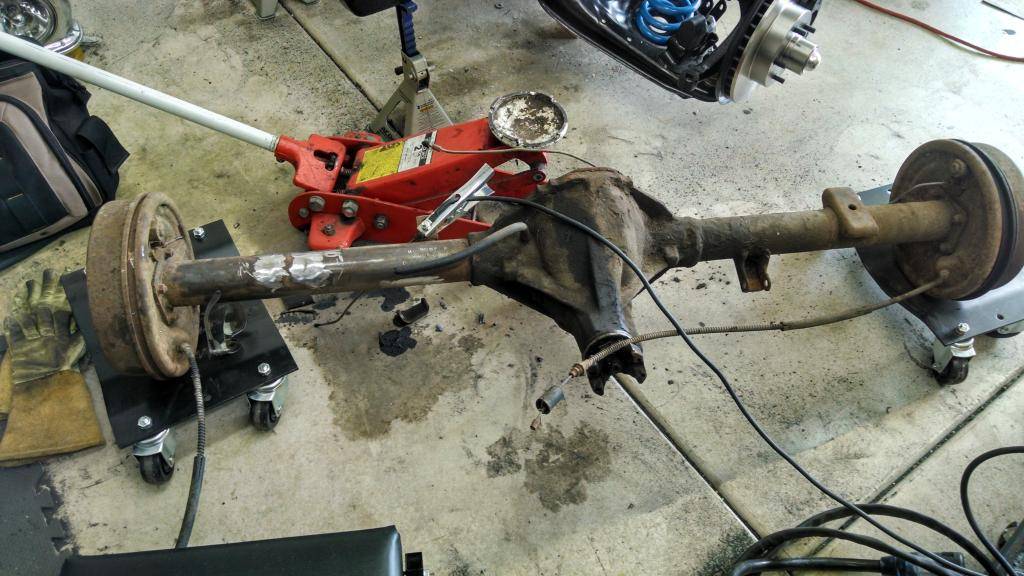
I also picked up a 12-bolt that I can switch to a 5-lug to match the front end. This will get cleaned up, and then new perches and shock mounts will be welded on, along with new axles, bearings and seals installed:
Cheers all. More to come tomorrow!
05-30-2014 #12 Registered User
- Join Date
- Dec 2005
- Location
- Birmingham, AL
- Posts
- 3,355
I like the build. I have always liked the gmc grille.
Stephen
05-30-2014 #13 Registered User
- Join Date
- Sep 2006
- Location
- New York, NY
- Posts
- 458
Do you have any more details on the EFI system? The coil-on-plug seems like the way to go. What distributor are you using? Is it just providing cam timing? What computer are you running to control spark and injectors? Any estimate of cost of the swap?
Thanks,
Jerome
05-30-2014 #14
Registered User
- Join Date
- May 2013
- Posts
- 35
Thanks Trinity!
Jerome:
The distributor is from EFIConnection. It's essentially a 4-1 cam position sensor built into a dist housing. Lets me retain my oil pump driver which is obviously pretty important. It was fairly cheap. EFIConnection actually has a full conversion kit, but it was more than I wanted to spend at the time.
I'm going to be using the MegaSquirt MS3 with the MS3X expansion board for spark and fuel.
Costs so far are as follows (some based on memory so might be a bit off)
1. Megasquirt, expansion board, wiring, wideband, misc relay board - $1,200
2. Trigger wheel, sensor, O2 bung - $98.00
3. Cam sync distributor - $125
4. LS2 coils - $210 for set of 8
5. Hardware to mount - $10
There will be a few sensors I need to replace that will add to the cost, but most of them I pulled from the old setup.
Costs will vary based on what you're starting with. If you're carbed now you'll need to take into account changing the fuel system (at least pump/regulator).
If you count the new tank w/pump, and fuel system I put in (AN fittings) I'm probably $2500 into the injection system. Could be done cheaper, but since I have everything exposed I wanted to do it the way I felt was right.
Hope that helps. Let me know if you have any more questions.
05-30-2014 #15
Registered User
- Join Date
- May 2013
- Posts
- 35
Fuel System Work
After the suspension I started working to complete the fuel system. I wanted to branch it before the rail, have them both enter in the front, and then exit in the rear into the pressure regulator, and then a single line back to the tank.
The lines and fittings were pretty, so I didn't mind having it exposed. This isn't a show truck, it's a "go" truck, so I don't mind not hiding things.
Left side is the feed side. It comes off the frame, into a bracket I built that holds it away from the header:

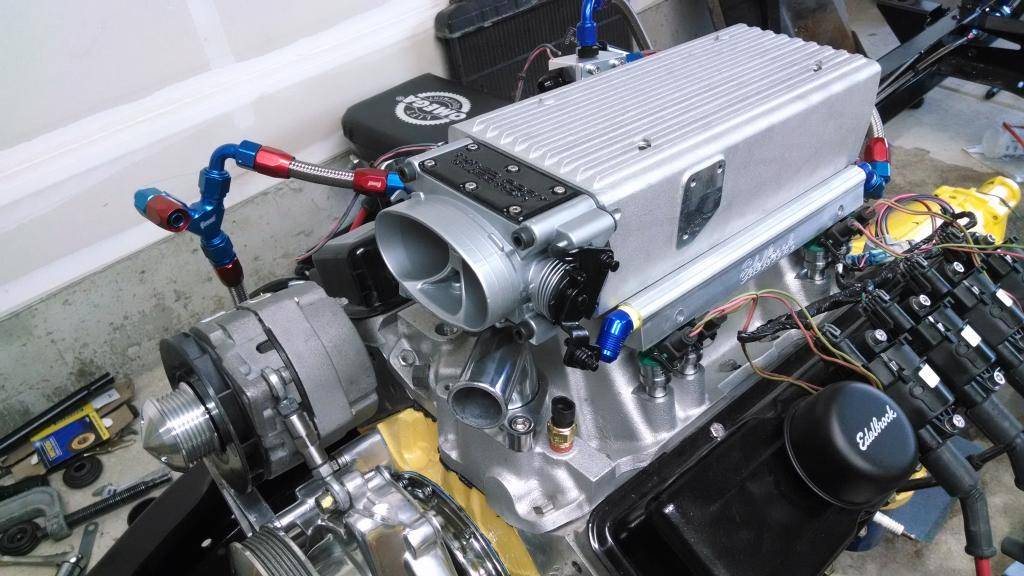
Driver side rail exit:
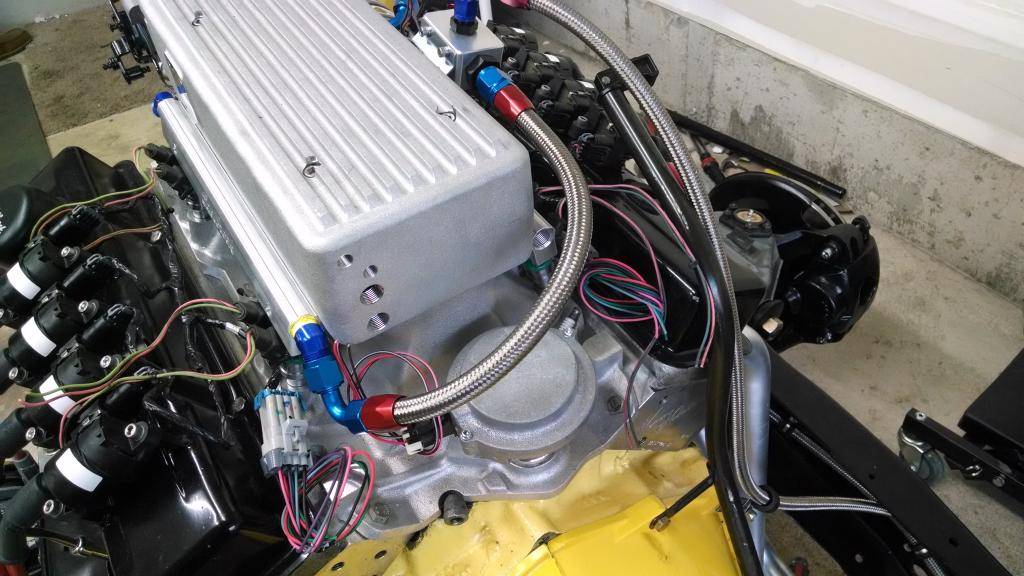
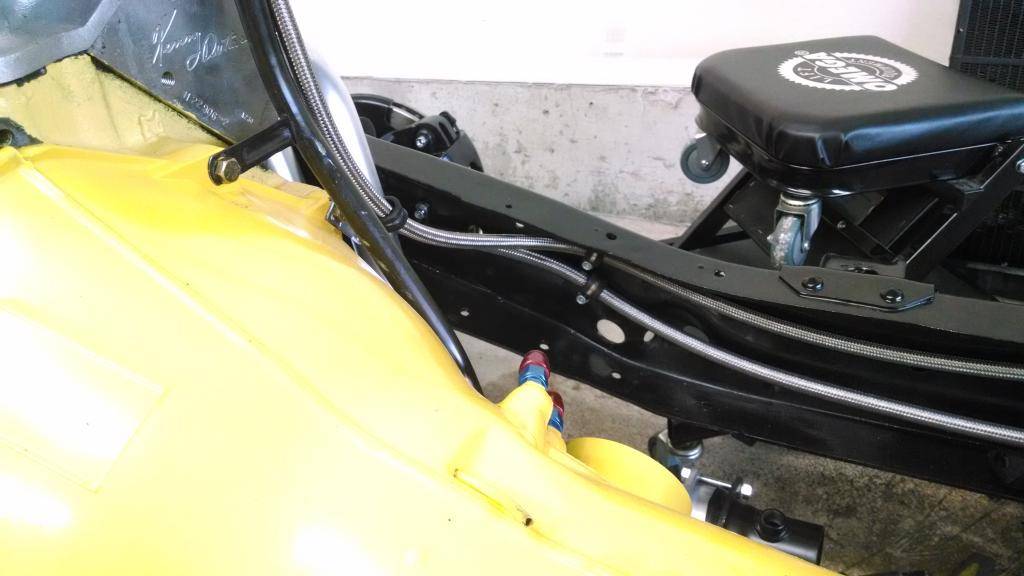
Return line back to the tank. Fuel regulator is Velcro'd on at the moment:

Return and feed along rail:
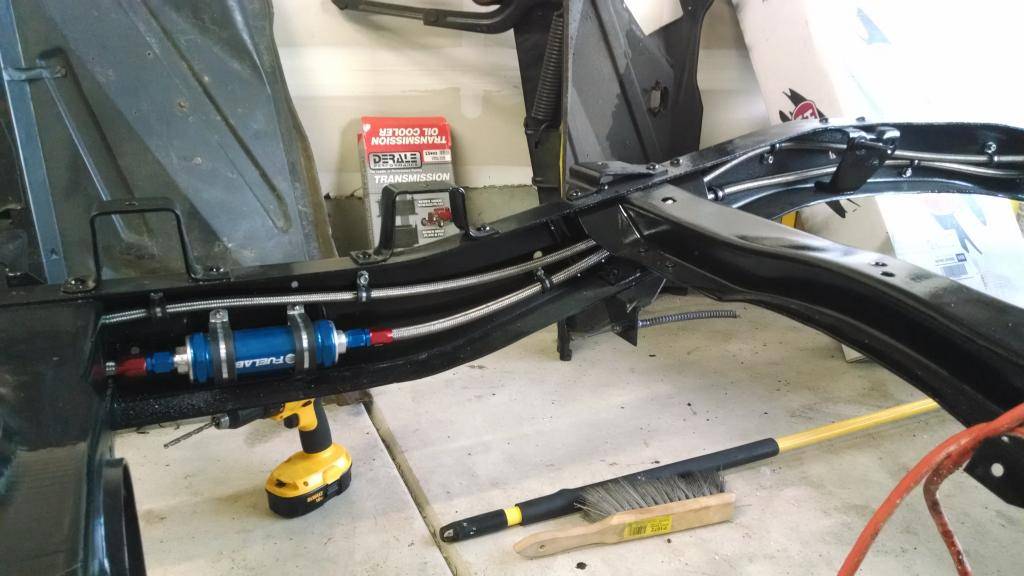
Shot of the lines and the fuel filter:
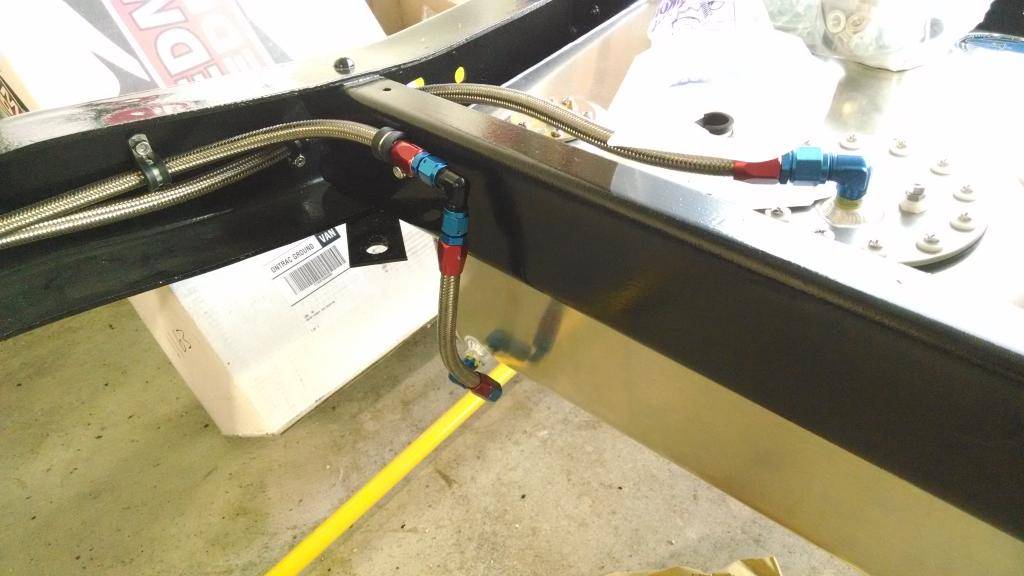
Feed and return to the tank. I'm actually going to cut the feed line and put two fittings and an adapter in about 2 feet after it starts. That way if I need to drop the tank I can disconnect the line at an easy spot, rather than dropping the tank AND then trying to disconnect it on the top.
05-30-2014 #16
Registered User
- Join Date
- May 2013
- Posts
- 35
Fuel Part 2
Next I wrapped up the fuel system:

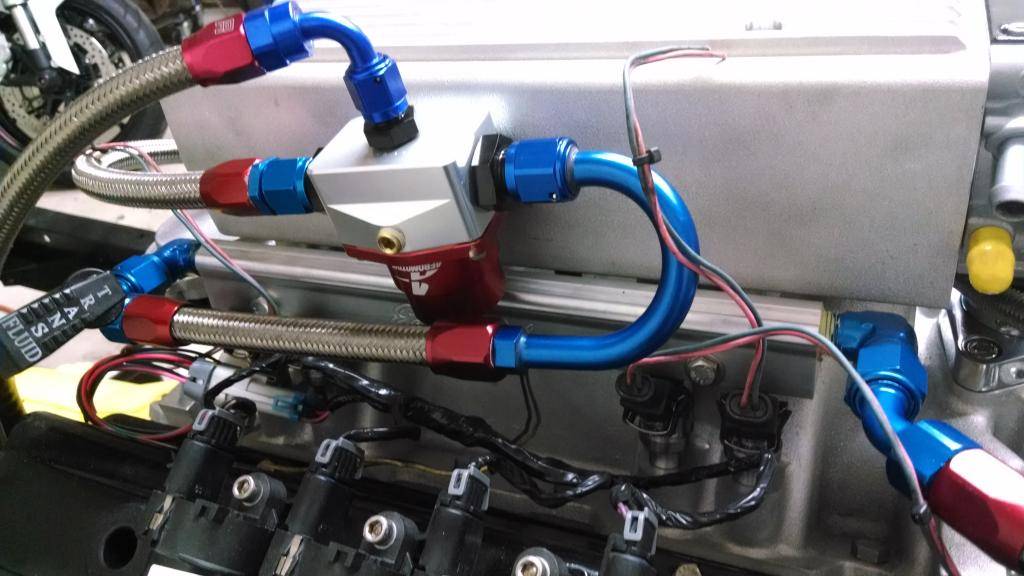
Then I drilled and tapped the intake, and mounted the fuel rail. Not especially pretty, but it works right now:
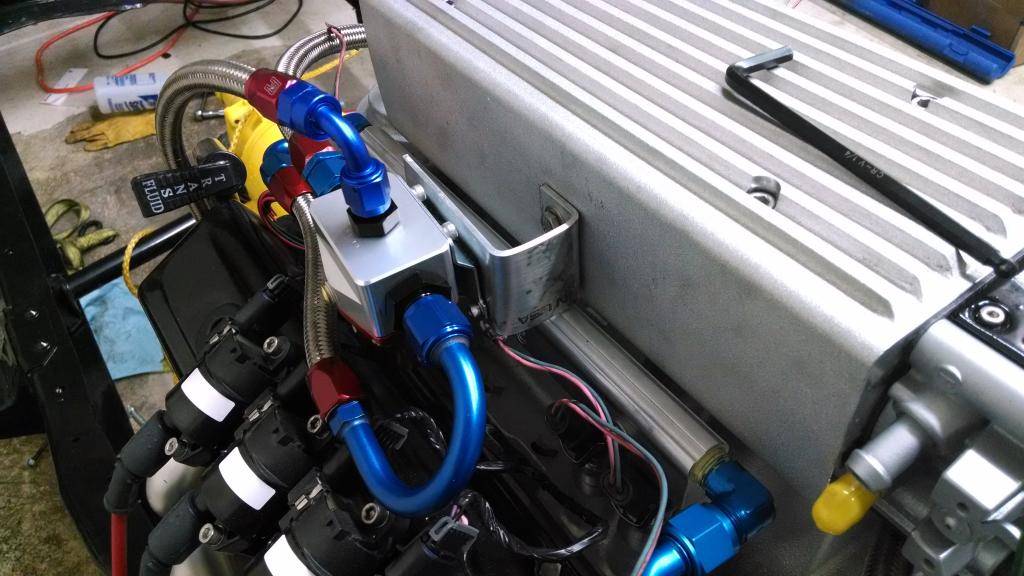
Up next is the exhaust
Started on the exhaust system. I'll be reusing my Borlas from the old system, but new pipe everywhere else:
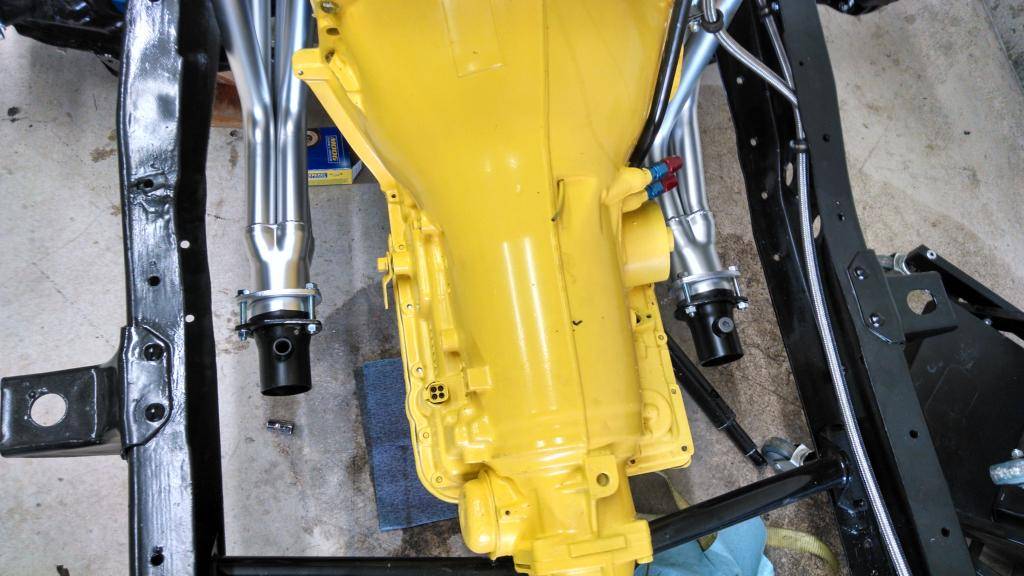
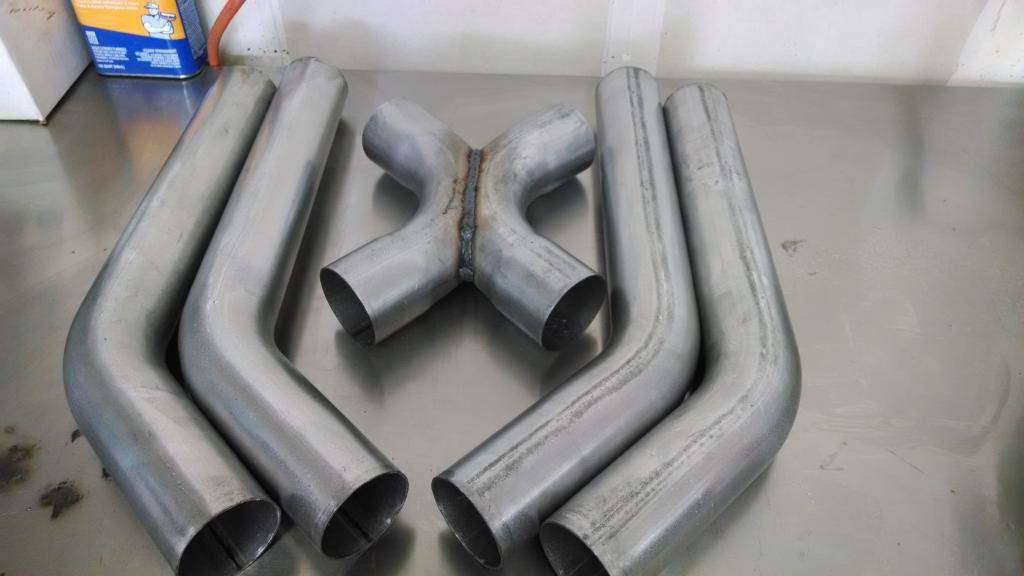
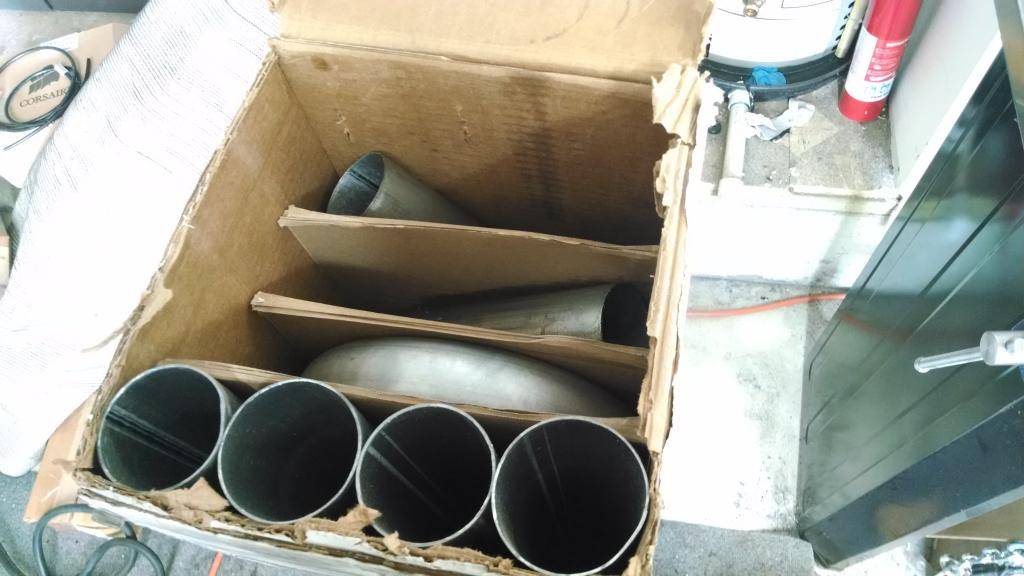
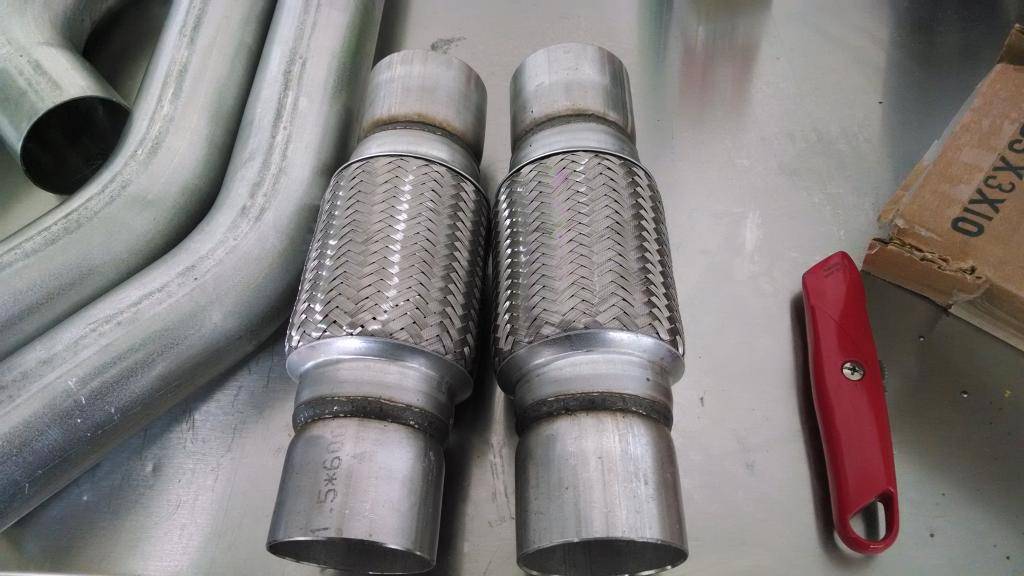
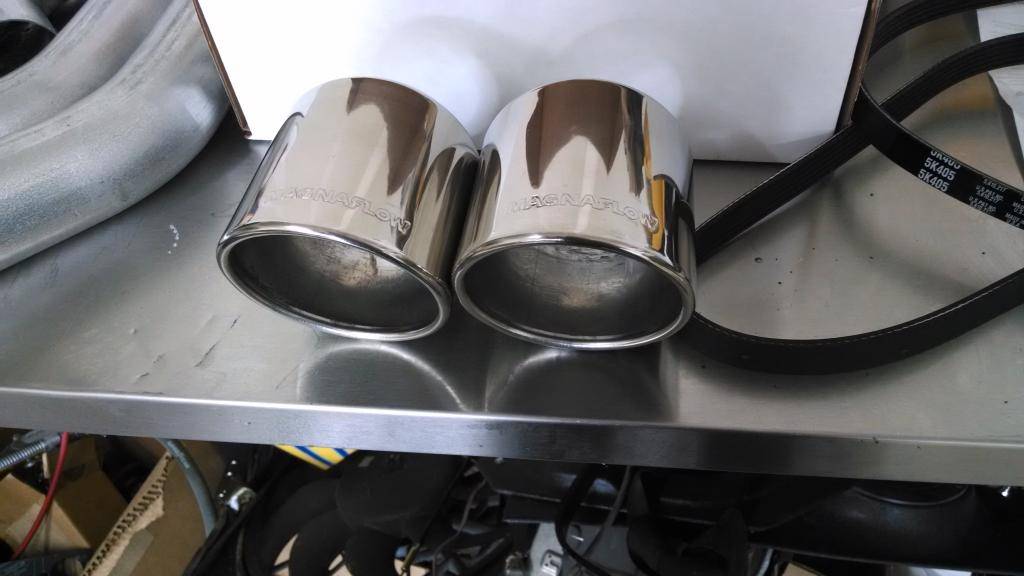
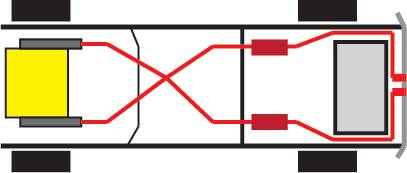
Routing plan:
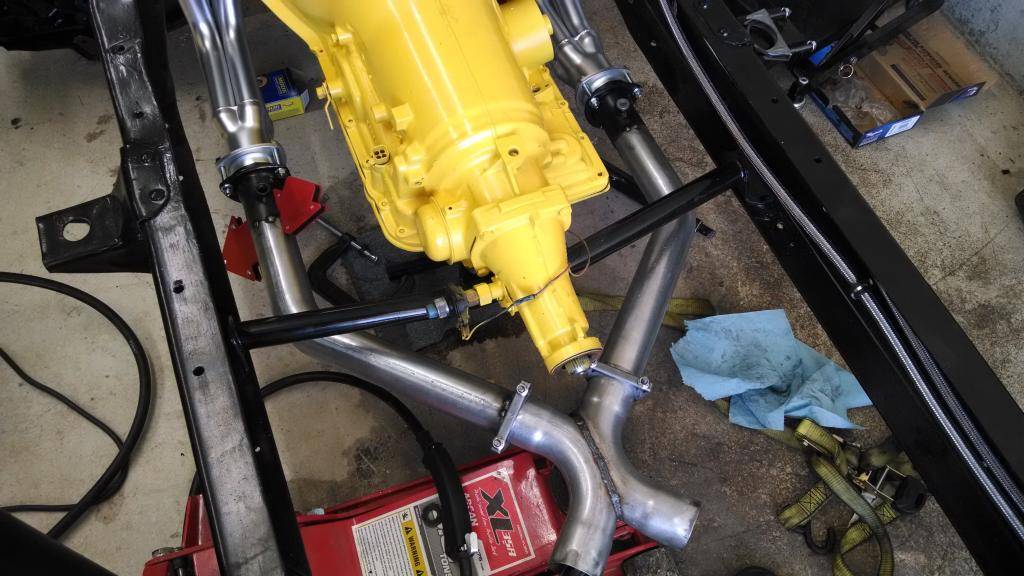
Mocked up and tacked together:
Rear prep
I also began prepping the rear for blasting and refresh. I removed all the old mounts:
And with that, you're all up to date on my build. I'll continue to update as I progress. Thanks all, cheers!
05-30-2014 #17
Registered User
- Join Date
- Jan 2014
- Location
- Austin, TX
- Posts
- 667
Awesome build! Its cool seeing something a little different. Im actually half way through with a very similar build on my 1972 C20 Suburban...I may start a thread, originally I wasn't sure if it was pro-touring enough, but perhaps Ill just post it, and if the mods deem it inappropriate, they can delete it. I ran into the same problem with those CPP motor mounts. They're really nice pieces, and as far as I could tell, the only aftermarket ones that work with the 3/4 ton cross member. I had planned on using some cheap off brand shorty headers, but ended up having to buy the fancy, application specific long tubes as they were the only ones that fit the LS with the CPP mounts. Keep up the good work!!
05-30-2014 #18
Registered User
- Join Date
- May 2013
- Posts
- 35
Haha I hadn't really considered if my build was pro-touring enough or not. There are so many pro builds on here I figured if anything it was too amateurish enough to be here. Seems like pro-touring is one of this loosely defined things that can apply in a number of ways. Originally Posted by FLYNAVY53

I really didn't want to buy new headers. And once I did, the headers actually interfered with the lower control arms. I didn't document it, but I actually ended up moving the LCAs forward about .5" by redrilling the locating holes. It'll shift the wheel forward a bit and center it better, and supposedly add some caster.
Supra510: Thanks!
05-30-2014 #19
Registered User
- Join Date
- Jun 2005
- Posts
- 126
Nice work
Anthony
http://www.cardomain.com/ride/674663
'71 Datsun 510, 2jz-gte (Supra TT) engine
http://instagram.com/supra510

06-04-2014 #20
Registered User
- Join Date
- Sep 2006
- Location
- New York, NY
- Posts
- 458
Thanks for the info on the EFI system. I'd love to do that on my carb'd SBC but the cost of the EFI system just doesn't quite make sense compared to the cost of a LS motor, especially because I would also need the intake manifold, throttle body, injectors, and fuel rail in addition to the parts you listed.
Just one comment on the exhaust routing - center exhaust doesn't usually play nice with a trailer hitch if you want to keep that option open.

 Reply With Quote