


Results 661 to 680 of 1589
Thread: Modern Bullitt Charger build
-
02-19-2017 #661
 Registered User
- Join Date
- Sep 2013
- Location
- sw Kansas
- Posts
- 1,661

I sure hope you used on of those new hi-tech non-stick coatings so the bottom stays clean.

Looks great.
-
02-19-2017 #662
 Registered User
- Join Date
- Nov 2006
- Location
- Ma.
- Posts
- 5,560
[QUOTE=keepat;1220962]Landing gear is on and she will be on the ground soon. Then I'll hang the doors, fender, hood and trunk to set & correct the gaps.
Thanks
Pat]
Great news! Your boat show season all done?Wayne
Car FINALLY home !!!!!! lol
Project FNQUIK https://www.pro-touring.com/showthre...ghlight=FNQUIK
02-20-2017 #663
Registered User
- Join Date
- Apr 2014
- Posts
- 803
Just base coat/clear coat Originally Posted by wfo guy

With a car lift its easy to wipe the bottom down after a long road tour, the engine bay is a lot more work!
Thanks
Pat
02-20-2017 #664
Registered User
- Join Date
- Apr 2014
- Posts
- 803
[QUOTE=Motown 454;1220987]
Not yet, just finished up with the Miami show, Next a small show in Stuart FL, and then another in Palm Beach. Originally Posted by keepat
Thanks
Pat
02-22-2017 #665
Registered User
- Join Date
- Aug 2016
- Posts
- 7
they have non stick coatings? i thought rhino lining was the end all be all
03-03-2017 #666 Registered User
- Join Date
- Jun 2005
- Location
- Bruxelles Belgium
- Posts
- 74
Hi Pat,
Your car is on Build-Threads website....dedicated to great builds :
http://www.build-threads.com/build-t...llitt-charger/
Regards
David
1972 Buick Skylark Coupe Pro-Touring (of course!)
1968 Pontiac Catalina Station Wagon
1971 El Camino SOLD
1978 Dodge B200 Tradesman Maxivan ShaggyVan
03-03-2017 #667
Registered User
- Join Date
- Apr 2014
- Posts
- 803
David, Originally Posted by Pro-Buick
Very cool! Thank you for posting the link!
Pat
03-08-2017 #668
Registered User
- Join Date
- Apr 2014
- Posts
- 803
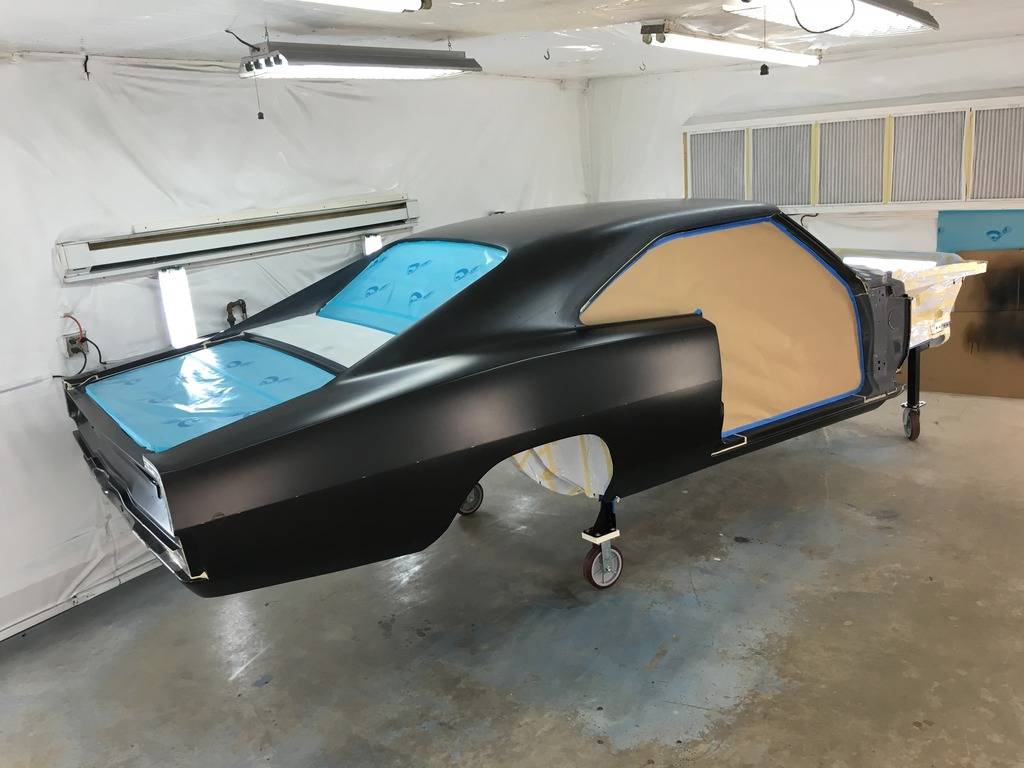
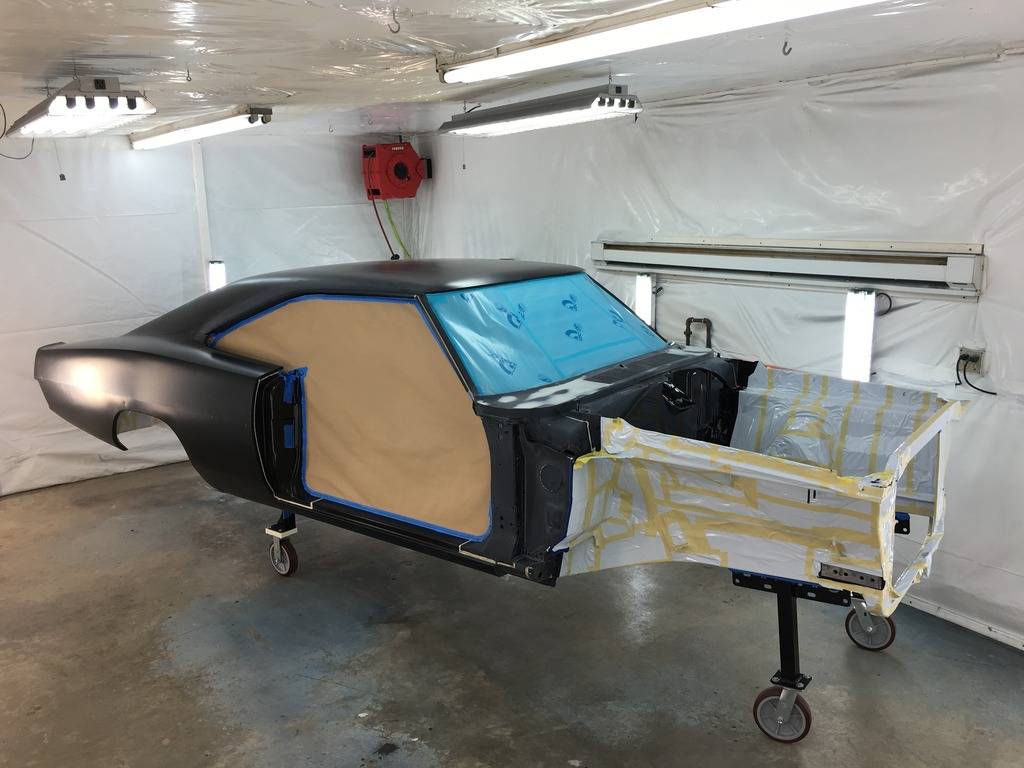
Off the rotisserie and on four wheels ;-)
Thanks
Pat
03-08-2017 #669
Registered User
- Join Date
- Nov 2006
- Location
- Ma.
- Posts
- 5,560
This is getting good!! Nice progress.
Wayne
Car FINALLY home !!!!!! lol
Project FNQUIK https://www.pro-touring.com/showthre...ghlight=FNQUIK
03-09-2017 #670
Registered User
- Join Date
- Sep 2013
- Location
- sw Kansas
- Posts
- 1,661
About another 1000 hours ought to do it.
03-09-2017 #671
Registered User
- Join Date
- Apr 2014
- Posts
- 803
I hadn't really thought about how many hours to finish this charger, but your post made me think about it. I'm shooting to be completed with this project by next spring and if I average about 20 hours a week X 52 weeks that works out to about 1040 hours. So your estimate (joke or not) is pretty close ;-) Originally Posted by wfo guy
Thanks
Pat
- - - Updated - - -
Thank you! Originally Posted by Motown 454
Pat
03-09-2017 #672
Registered User
- Join Date
- Sep 2013
- Location
- sw Kansas
- Posts
- 1,661
Geez, Pat, I'm kinda sorry for mentioning that. That kind of knowledge could put some of us on anti-depressants.
However, the people that enjoy watching you work will want this to last as long as possible. Your build is a great example of : however long it takes. I fully respect how you have gone about this. I know this isn't your first and it shows.
03-11-2017 #673
Registered User
- Join Date
- Apr 2014
- Posts
- 803
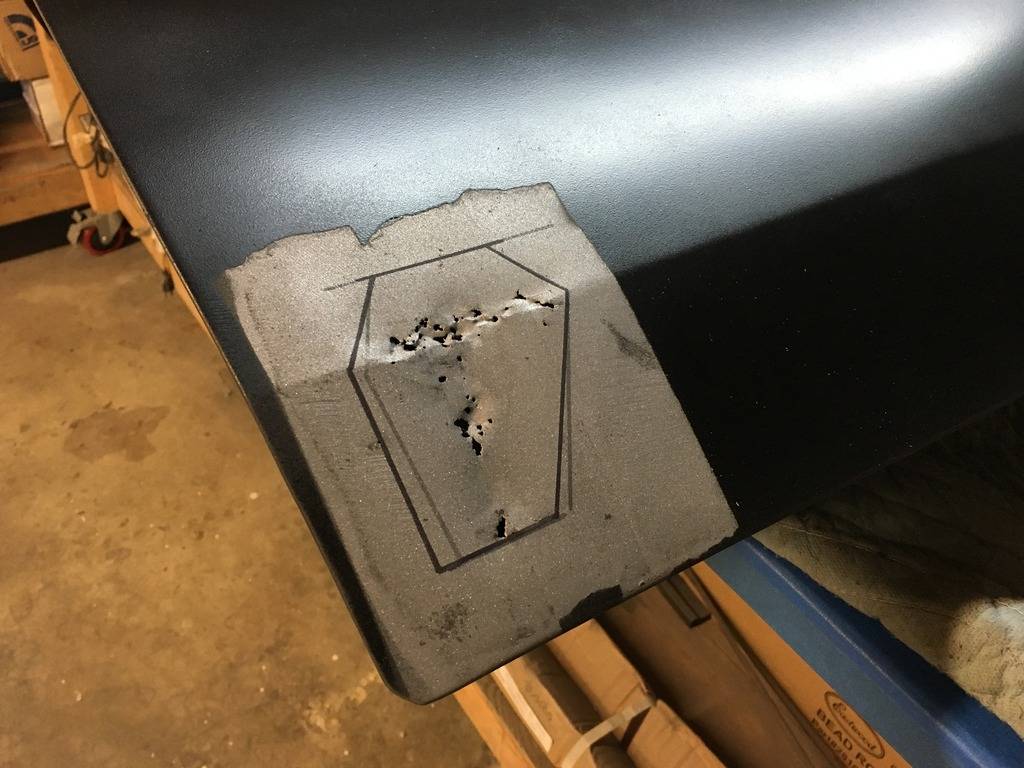
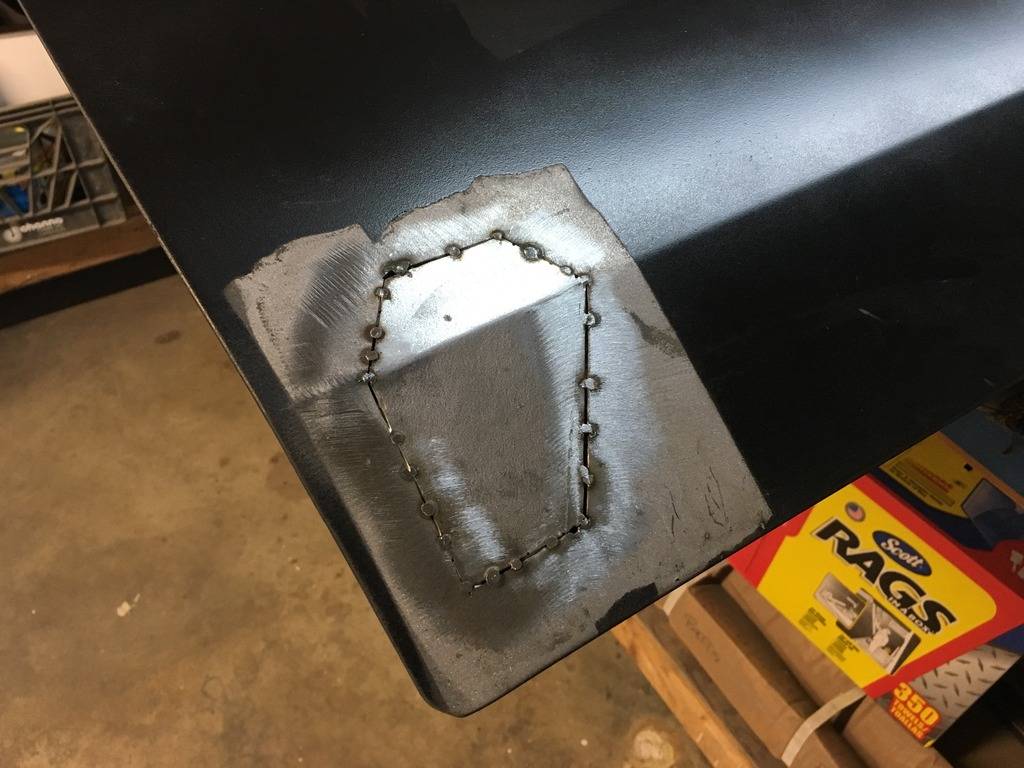
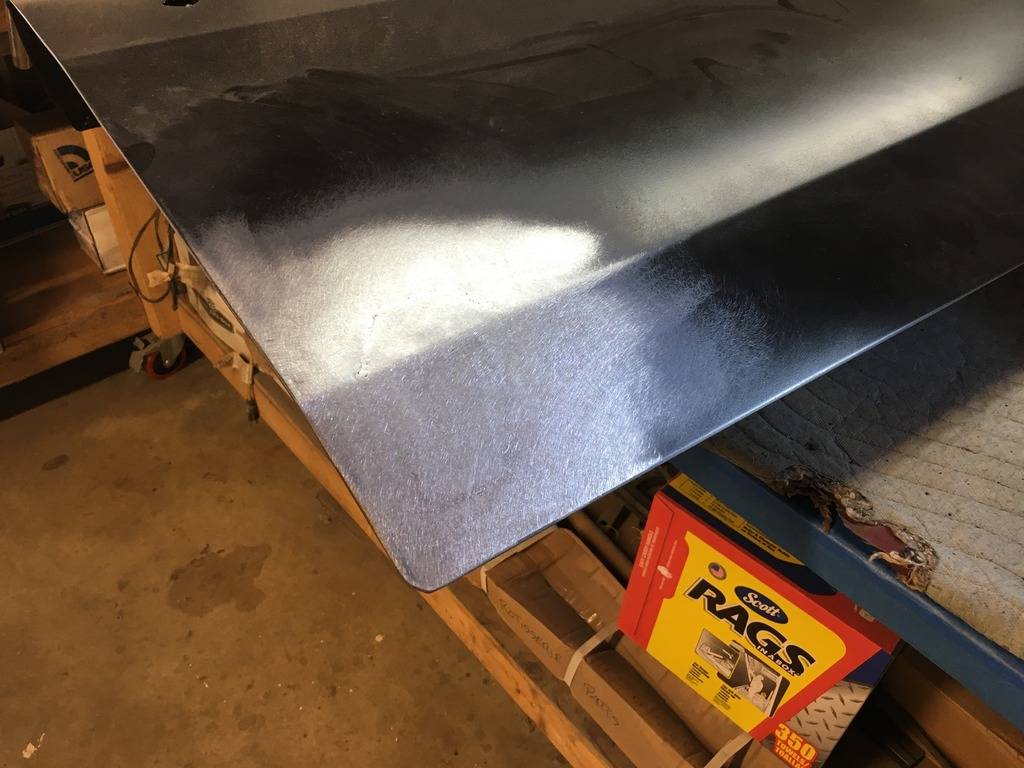
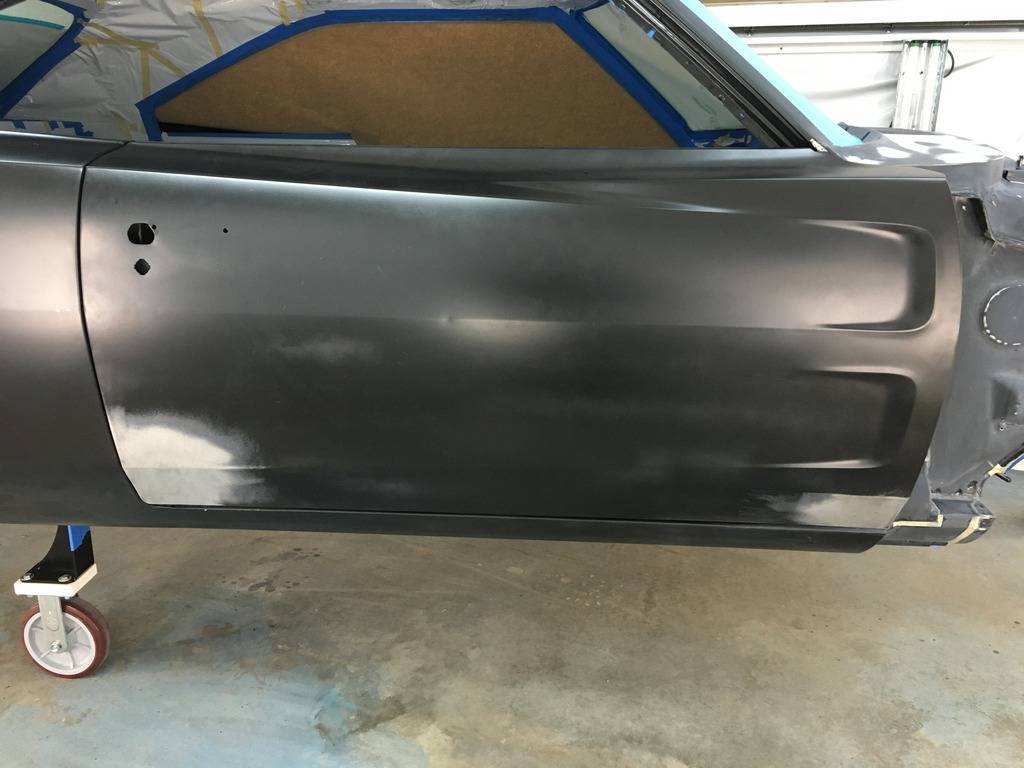
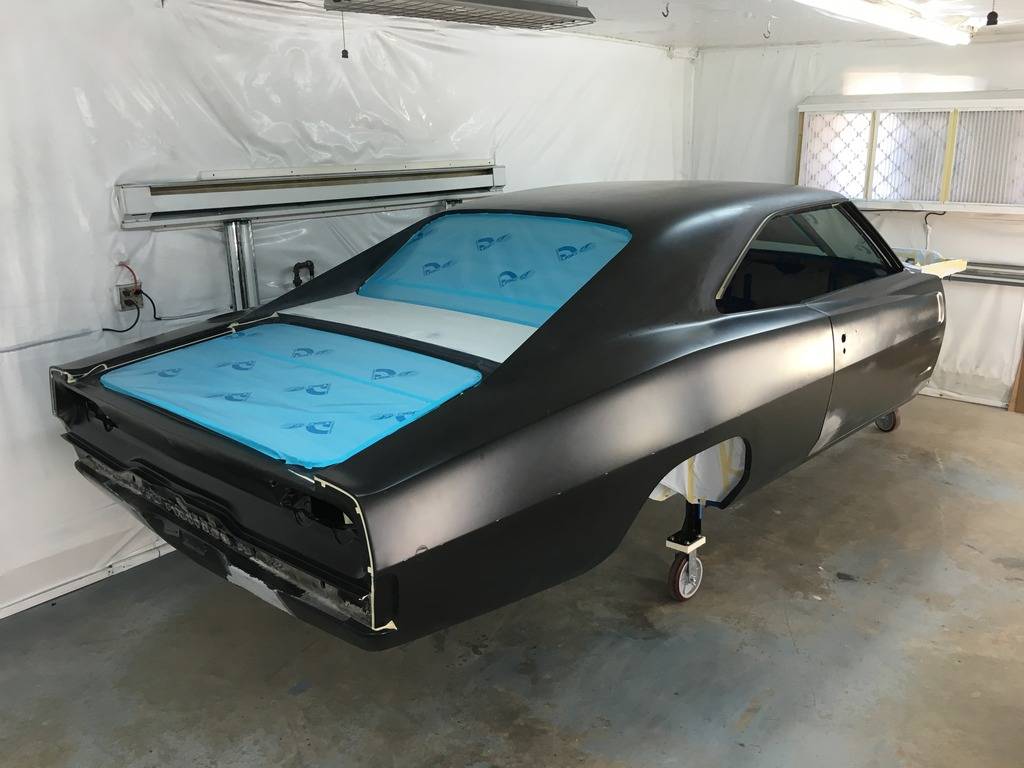
Had to do a little metal work on the passenger door before I could hang it.
Thanks
Pat
03-11-2017 #674 Registered User
- Join Date
- Apr 2015
- Location
- Burlington KY
- Posts
- 357
just the amount of time you spent on masking paper blows my mind.
"Racing is life. Everything else is just, waiting"
03-12-2017 #675
Registered User
- Join Date
- Apr 2014
- Posts
- 803
My wife thinks it's a sickness and, she said the medical acronym for it was ANAL ;-) Originally Posted by xsboost90
Thanks
Pat
03-12-2017 #676
Registered User
- Join Date
- Apr 2014
- Posts
- 803
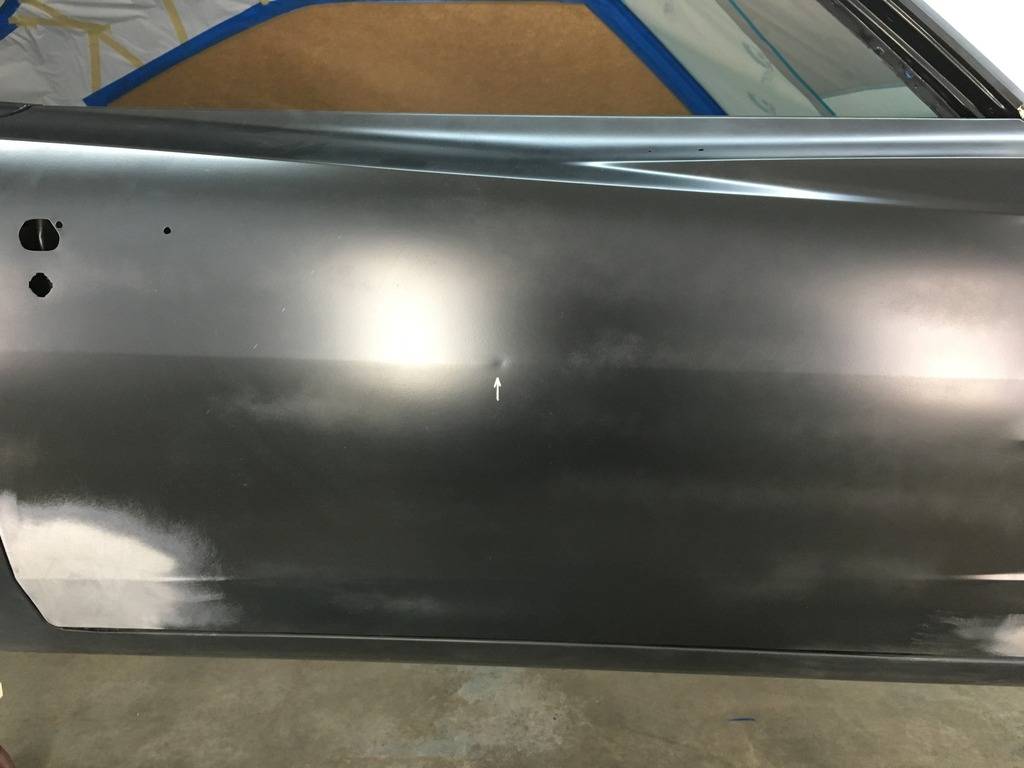
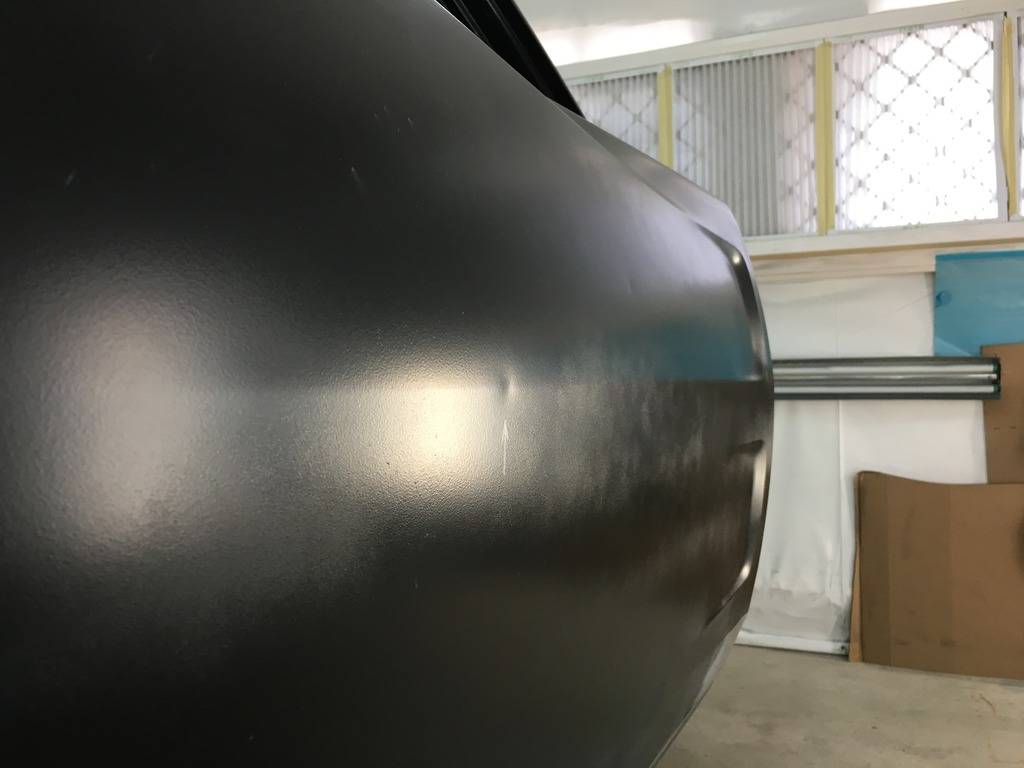
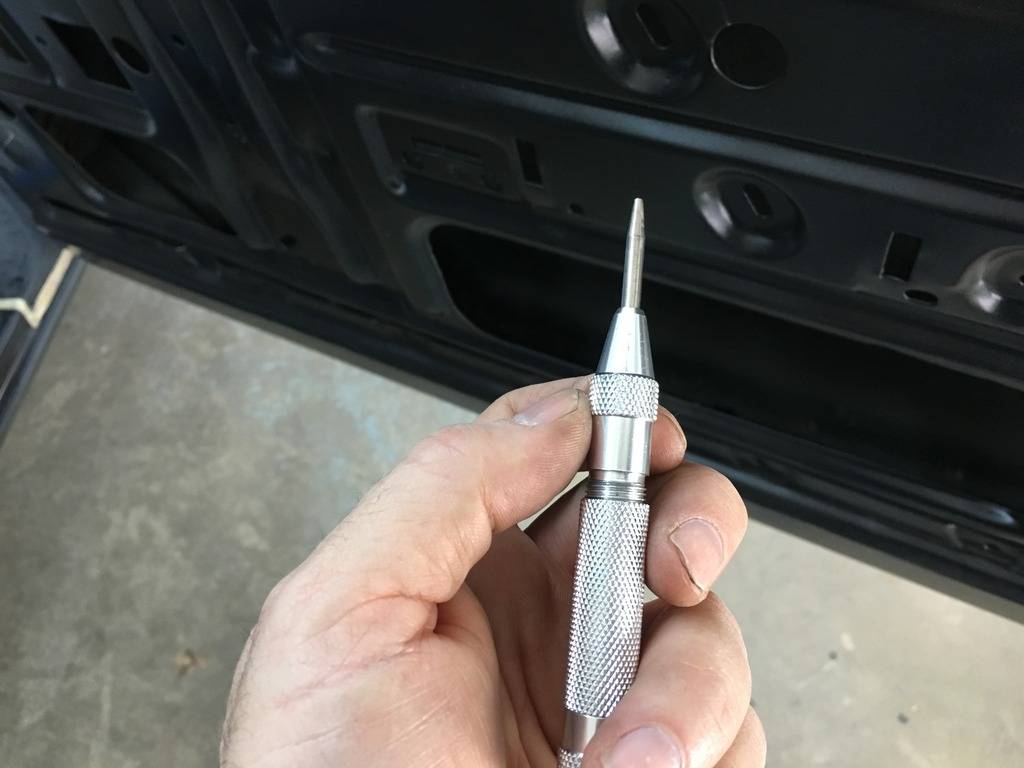
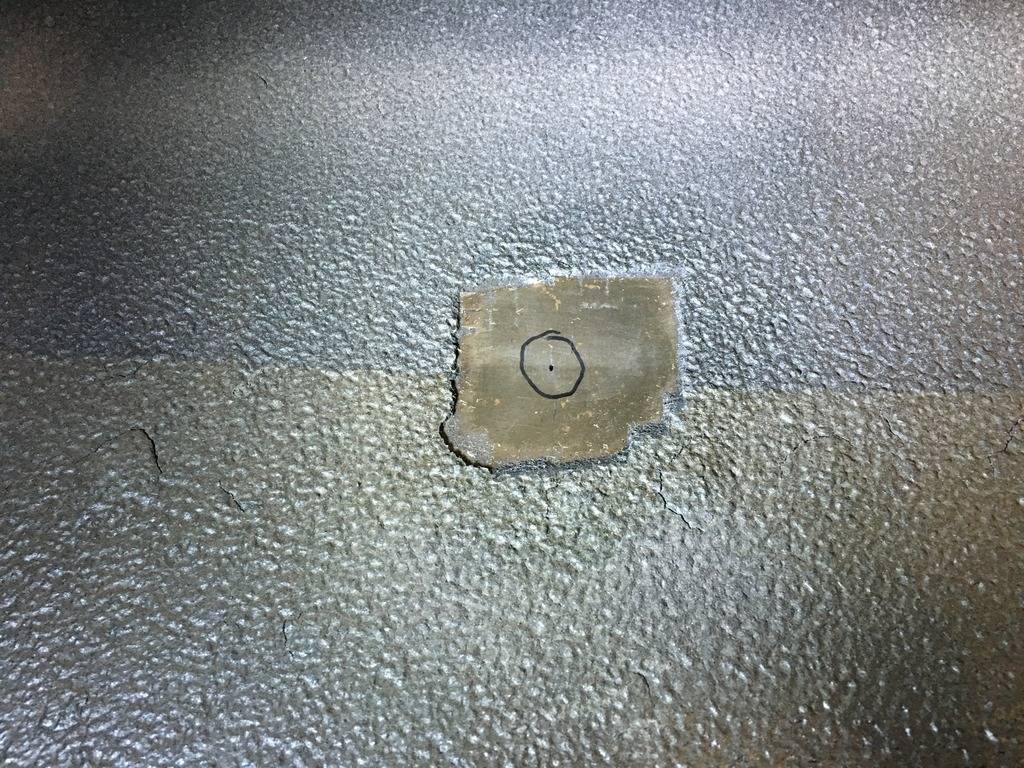
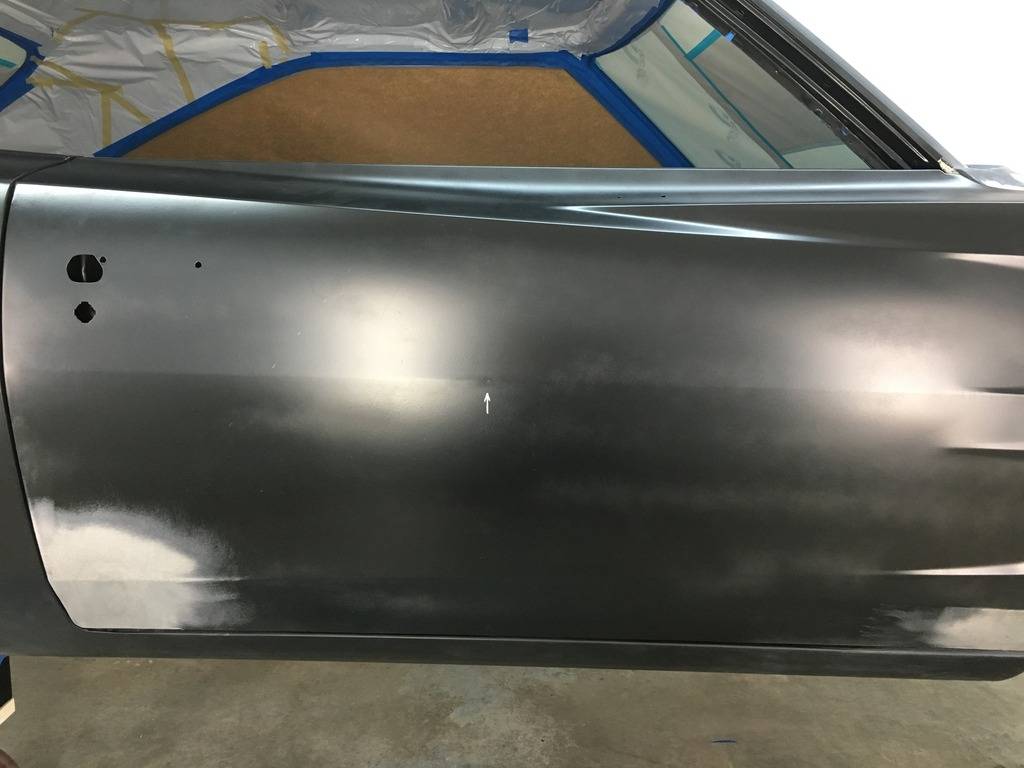
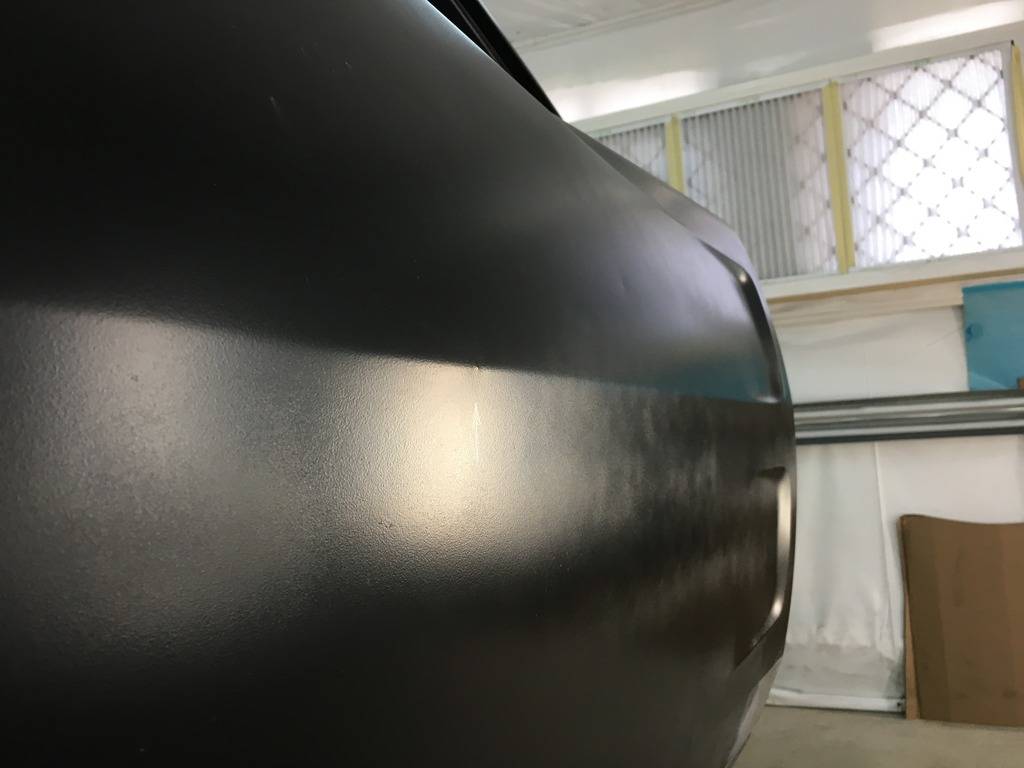
The subject of small dings and dents was brought up, so I thought I would post a few pictures of how an old body man showed me an easy technique to work them out if you have access to the other side. Using a spring-loaded center punch with a filed down blunt end.
Start with locating and marking the dent from the backside. Then unscrew the spring-loaded center punch a few turns as to lessen the blow for the first try. It may take two or three strikes to get the panel flush, along with changing the tension on the spring loaded center punch. You may need to move the impact point a 16th of an inch in either direction to work the dent out.
Thanks
Pat
03-12-2017 #677
Registered User
- Join Date
- Sep 2013
- Location
- sw Kansas
- Posts
- 1,661
Pat, your wife surely knows that the less mess you create, the less cleaning you do.
The center punch deal is interesting. I'm going to buy one and modify it for this.
03-12-2017 #678 Registered User
- Join Date
- Feb 2015
- Location
- Montana
- Posts
- 183
So, dumb question. Do you punch the center of the dent or massage around the center. Love your build, always look forward to seeing your progress.
03-12-2017 #679
Registered User
- Join Date
- Nov 2006
- Location
- Ma.
- Posts
- 5,560
Slick!
Wayne
Car FINALLY home !!!!!! lol
Project FNQUIK https://www.pro-touring.com/showthre...ghlight=FNQUIK
03-13-2017 #680
Registered User
- Join Date
- Apr 2014
- Posts
- 803
Curt, Originally Posted by MTZ28
Always start at the center of the dent and slowly work your way out. Most small door dings only require 2 or 3 spring loaded hits to make flush.
Thanks
Pat

 Reply With Quote





