


Results 1 to 20 of 22
Thread: Project (sorta kinda) 69 Nova SS
-
03-20-2014 #1

 Registered User
- Join Date
- Jul 2005
- Location
- Texas
- Posts
- 255

Project (sorta kinda) 69 Nova SS
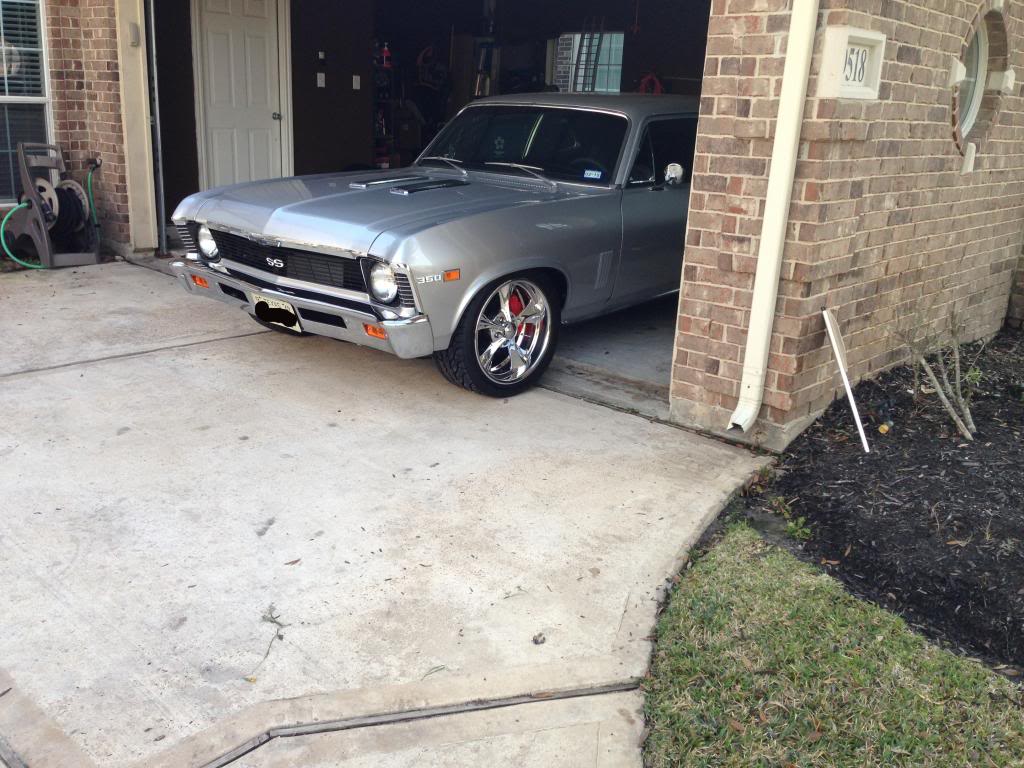
Purchased a 69 Nova SS about a month ago. She is already together, but I wanted to update the suspension, brakes, and rolling stock with some goodies. I thought I would just buy it and cruise, but I got spoiled with all the suspension mods I did to my 72 Chevelle, so I ordered a few upgrades. Hence, the "sorta-kinda" part of the title. She was already built....I'm just building her up proper and felt like sharing.
Future plans include:
Big Block or LS3/TKO600 or T56
Serpentine Drive System
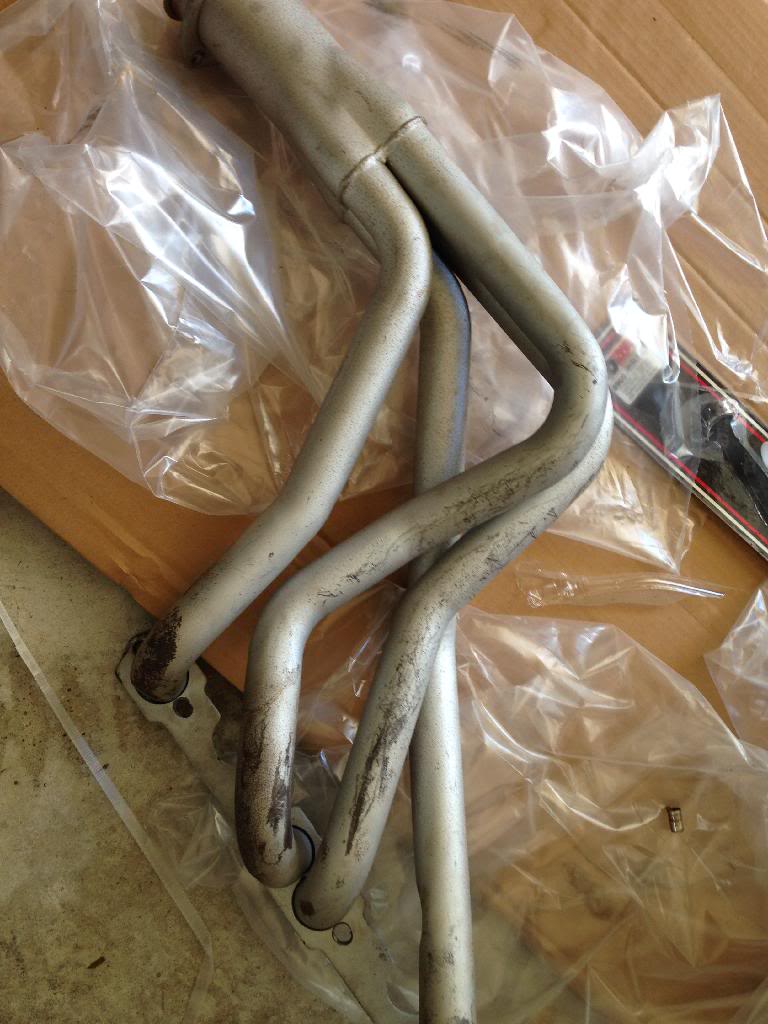
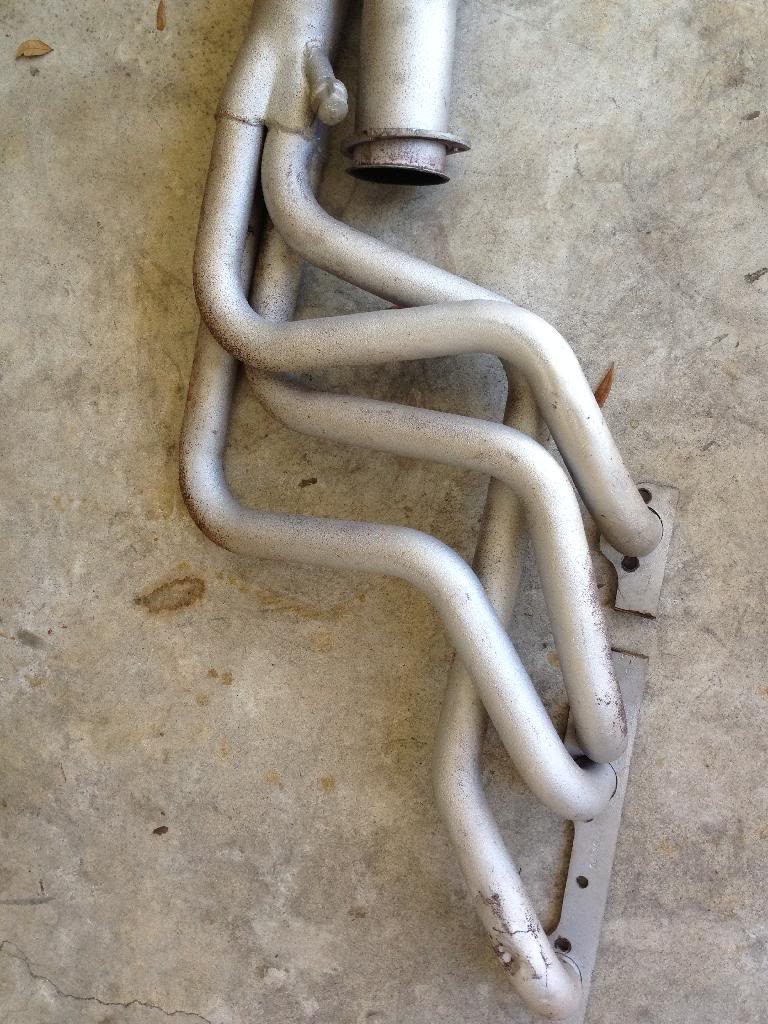
Hooker Ceramic Coated Headers (not sure why the PO used these cruddy ones)
Dakota Digital VHX
Vintage Air
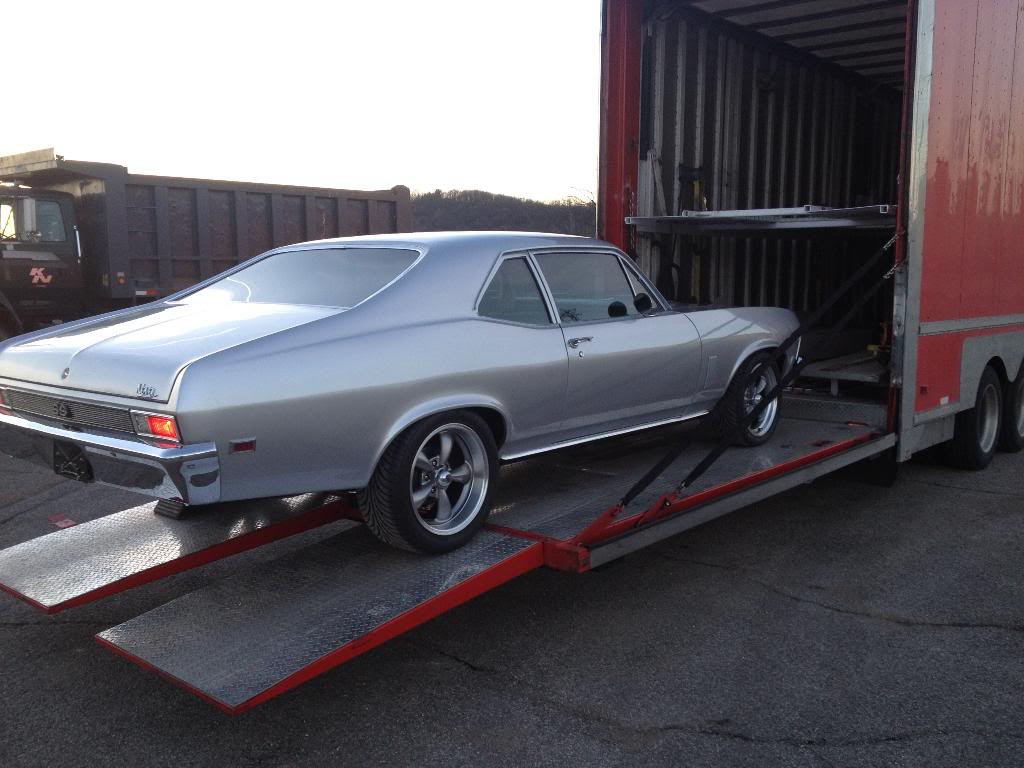
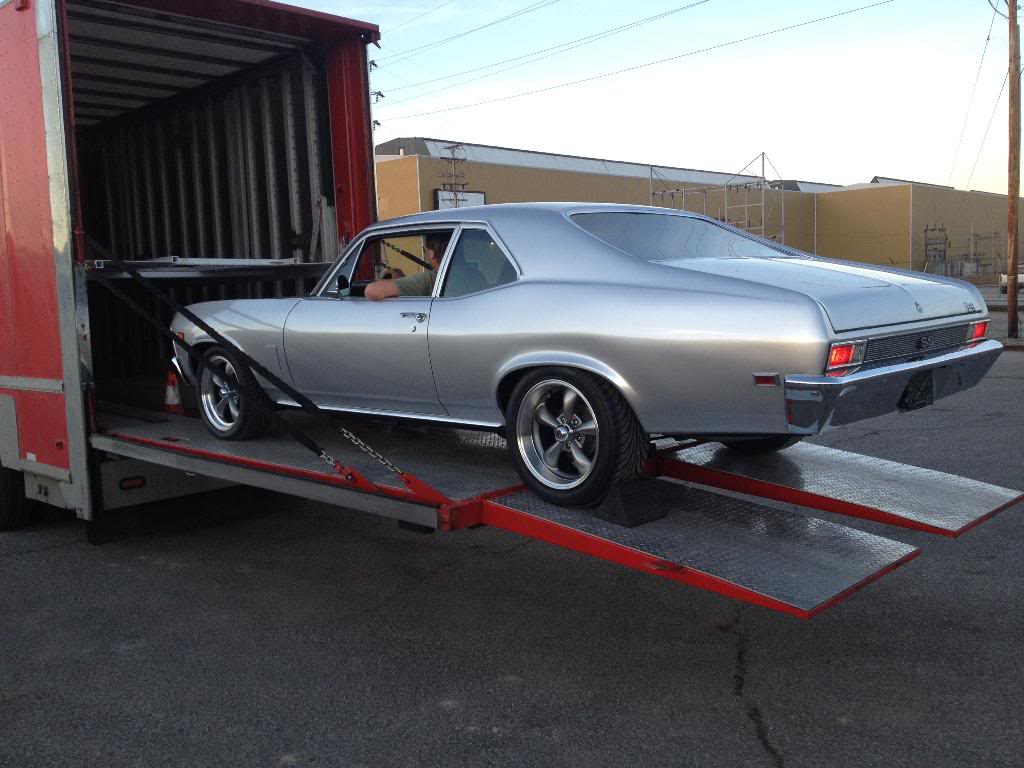
As she was delivered
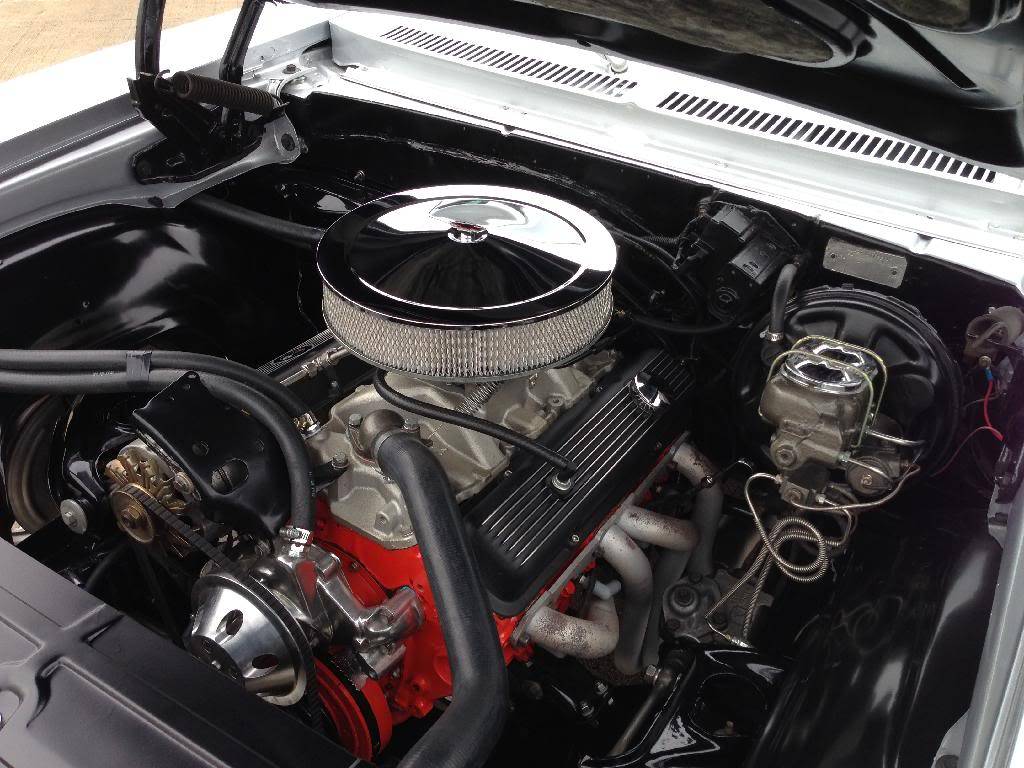
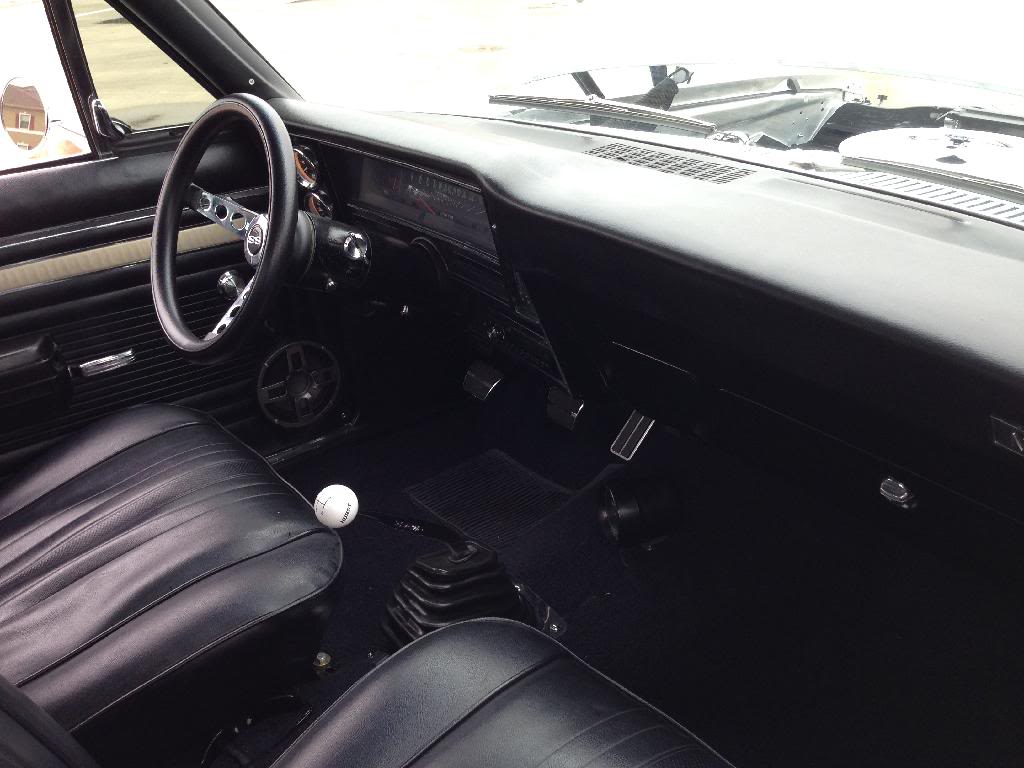
1969 Nova SS - 350ci/300hp - Muncie M21 4 spd - 12 Bolt Posi - Power Front Disc Brakes
Parts Ordered
ridetech Tru Turn
ridetech 4 Link
Ridetech RQ Coilover (rear)
Ridetech Strong Arms
Ridetech HQ Coilover (front)
DSE Minitubs
DSE Sway Bar
Wilwood Brakes Front and Rear
18x9/18x10 Billet Specialties Dagger Polished
275 35 18/295 35 18 BFGoodrich KDW2 Tires
MOMO Steering Wheel
CPP Power Steering Conversion
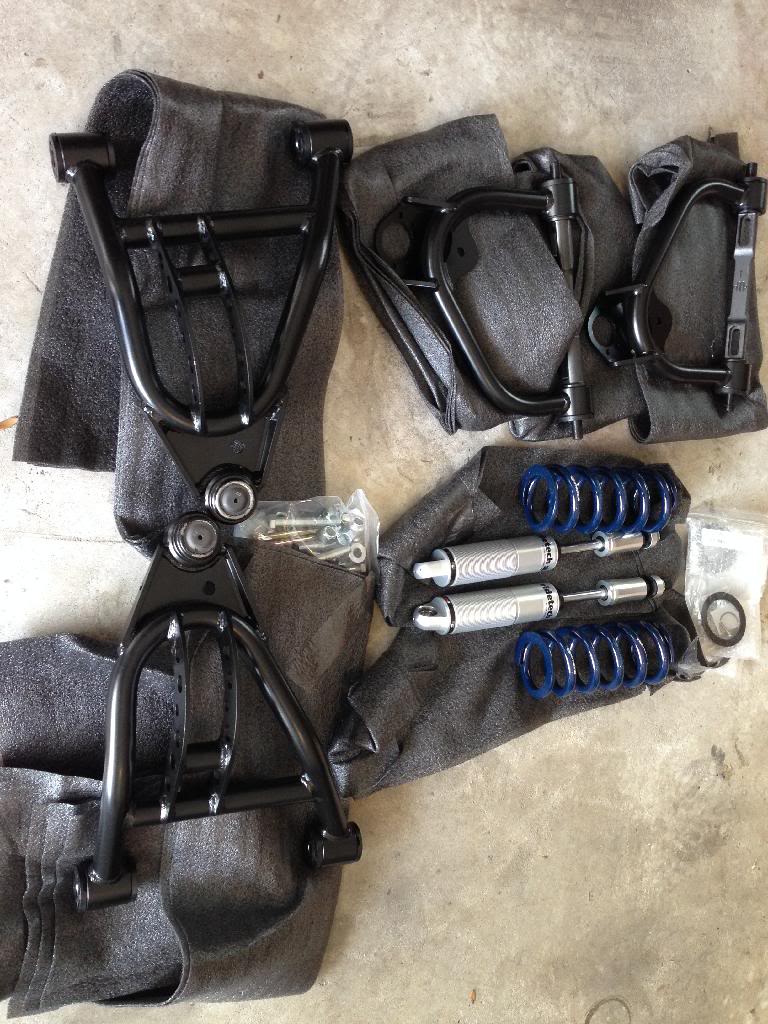
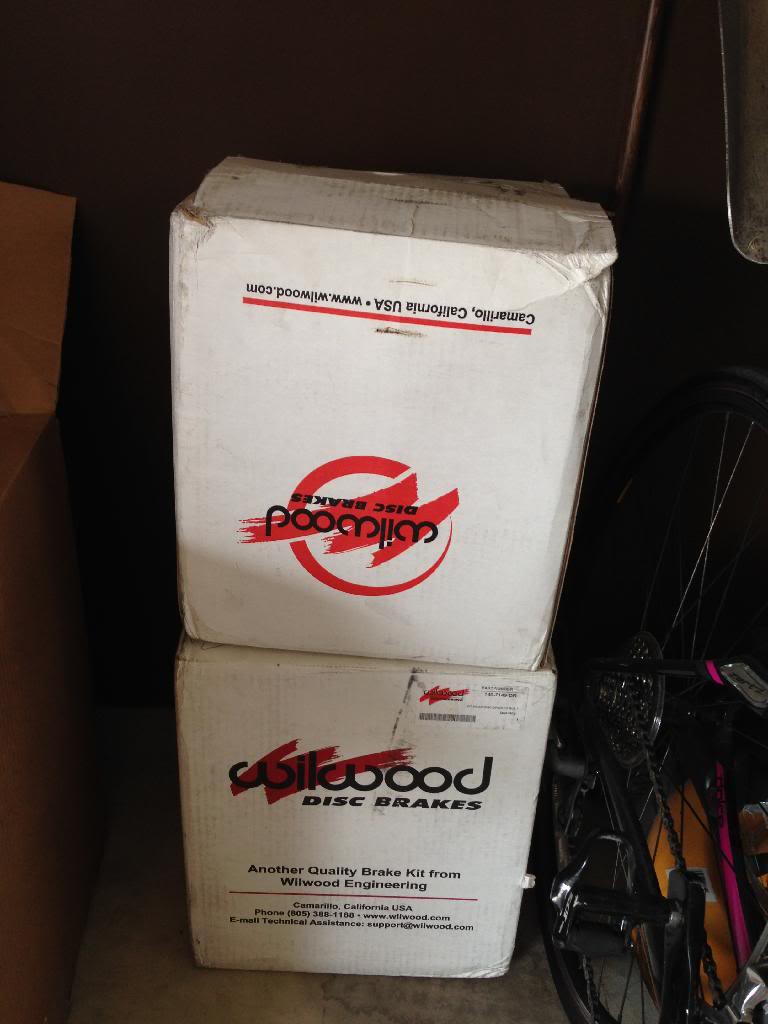
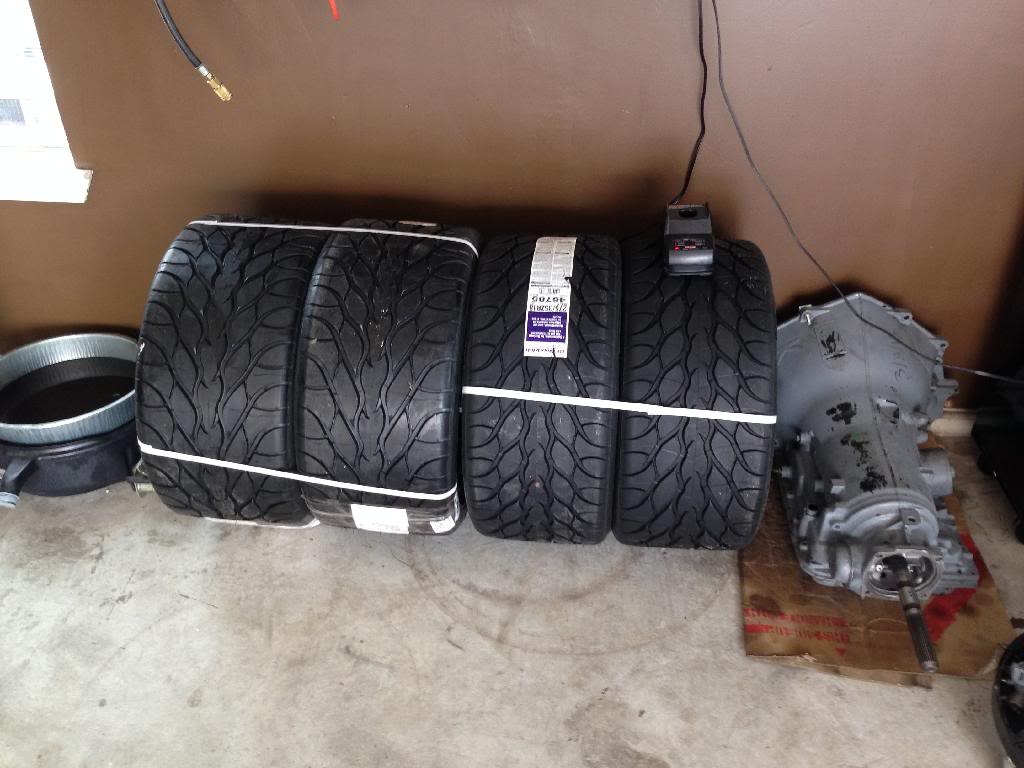
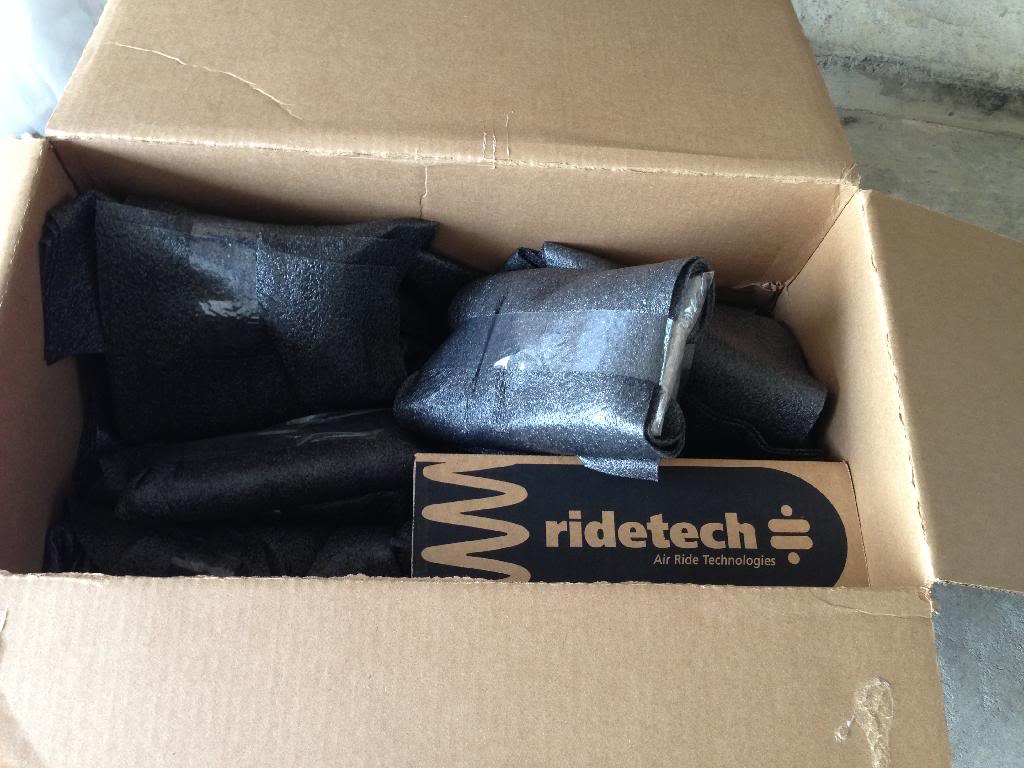
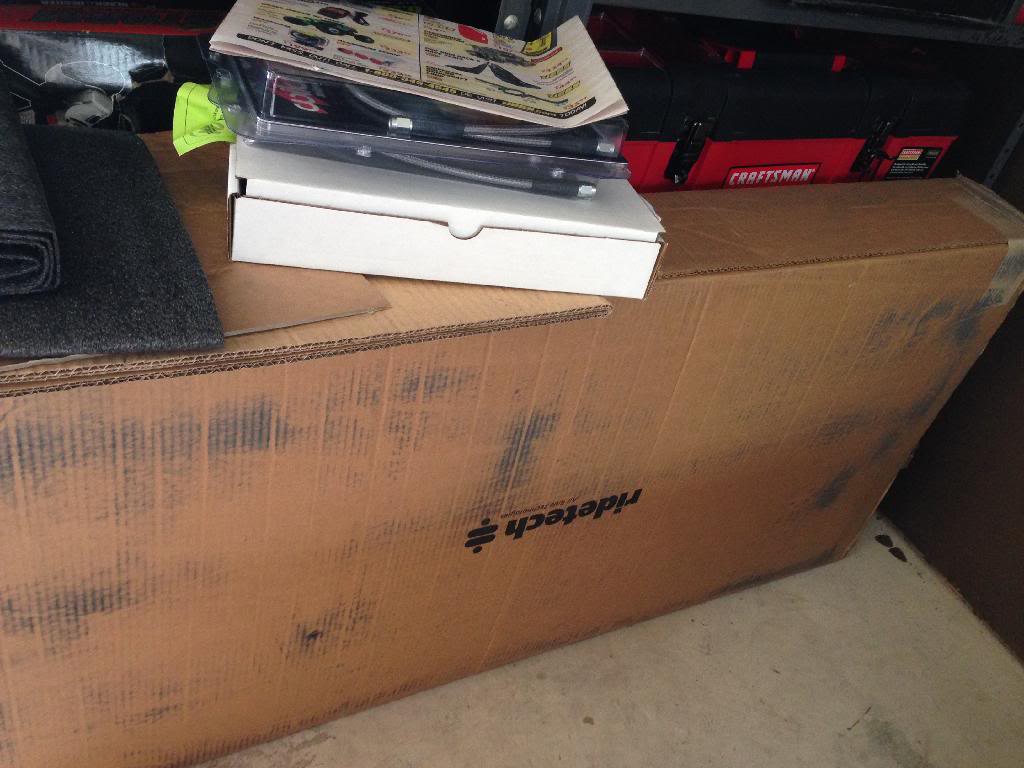
More to follow.....
-
03-20-2014 #2
Registered User
- Join Date
- Jul 2005
- Location
- Texas
- Posts
- 255
Figured I would tackle parts of the project that I have the skill/equipment to complete myself (front suspension, brakes, power steering conversion, steering wheel).
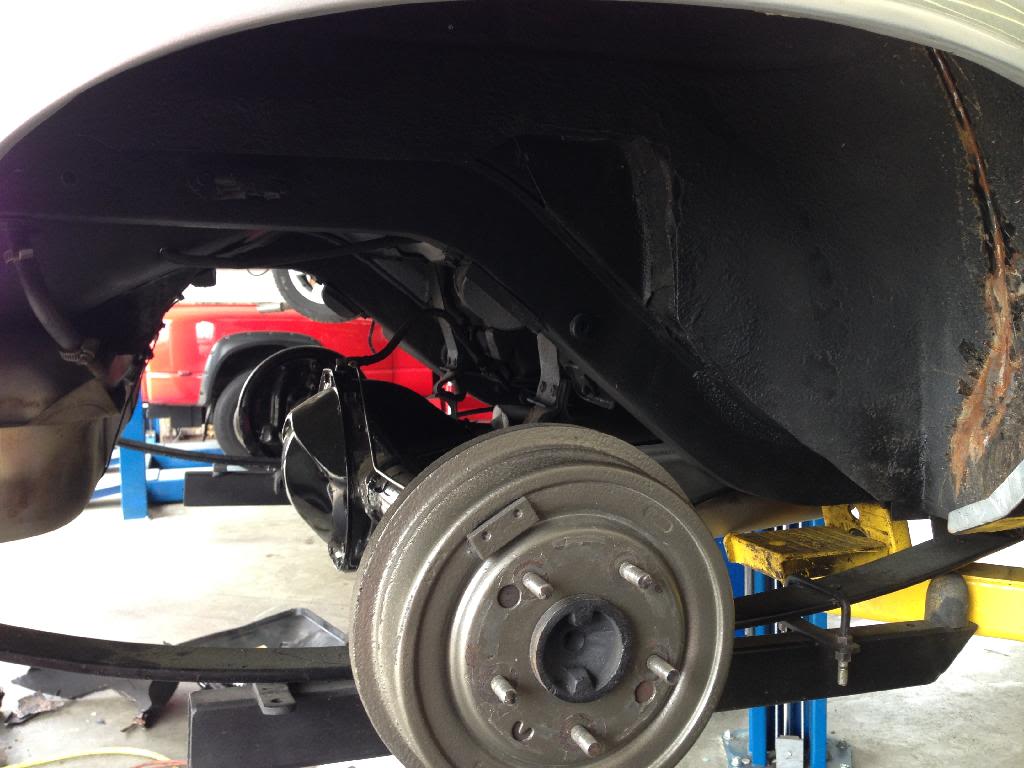
I don't have a welder, nor do I possess the skill to weld, so a local shop that I outsource big jobs to will handle the mini tubs, installing the 4 link and welding the 4 tabs to the axle, and the rear brakes. I am still not confident enough in pulling the rear axles out. I feel I will muck that up, so I will leave it to the professionals.
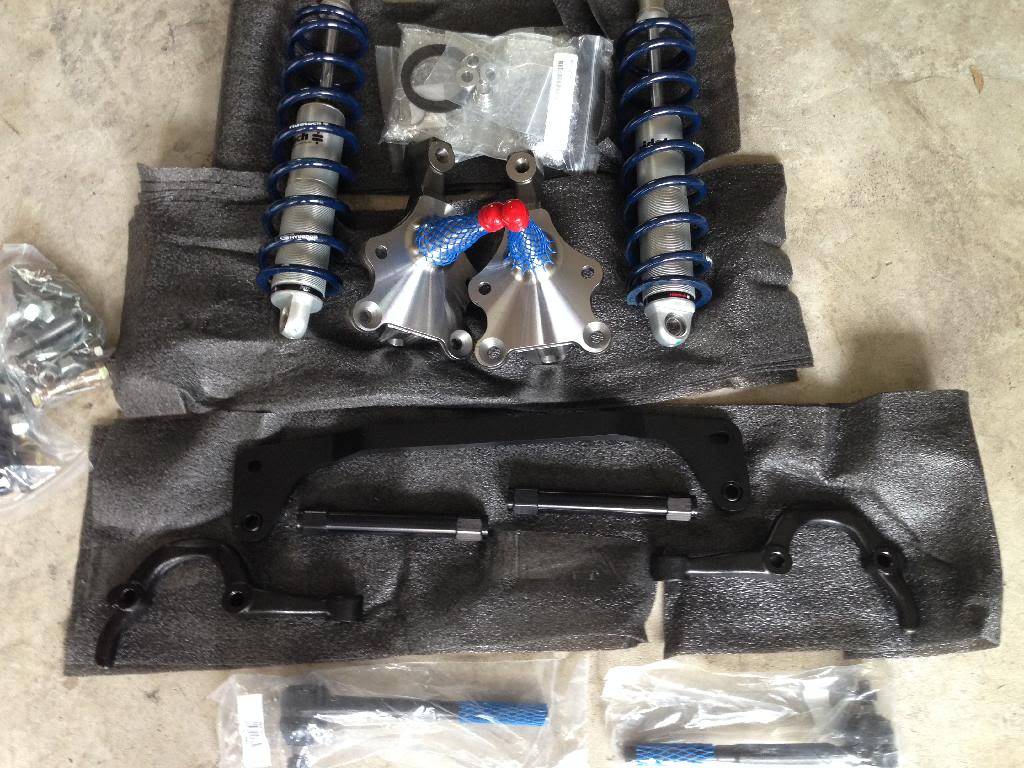
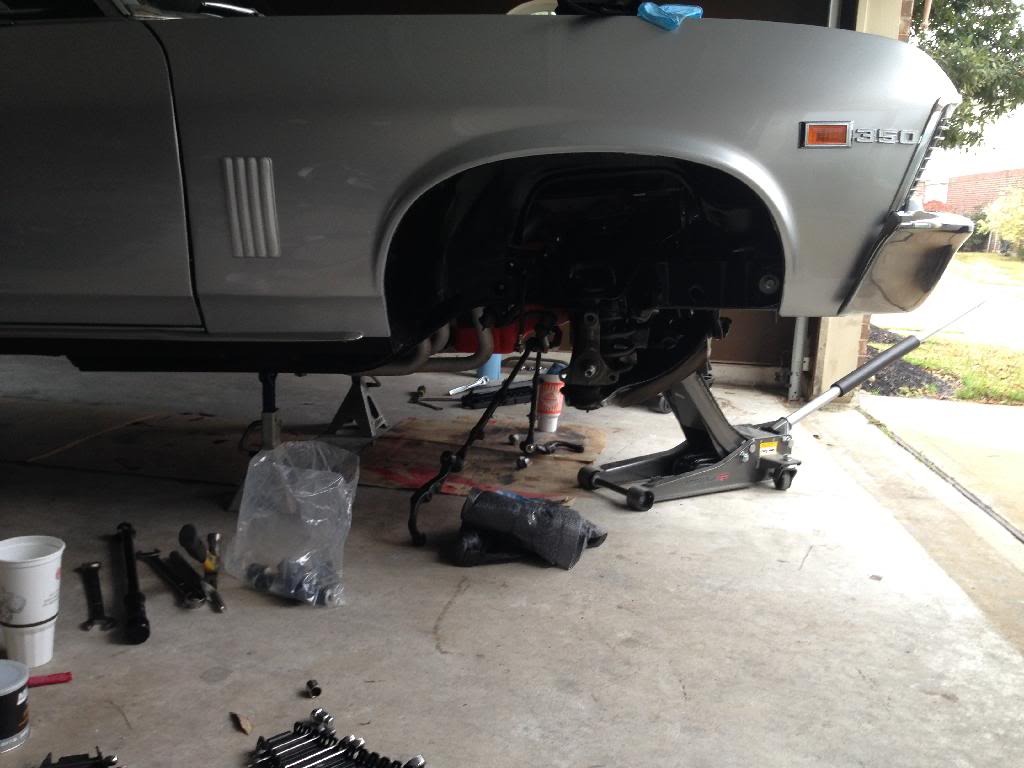
Started with the ridetech Tru Turn, ridetech Strong Arms & Coilovers, and Wilwood Front Brakes....

03-20-2014 #3
Registered User
- Join Date
- Jul 2005
- Location
- Texas
- Posts
- 255
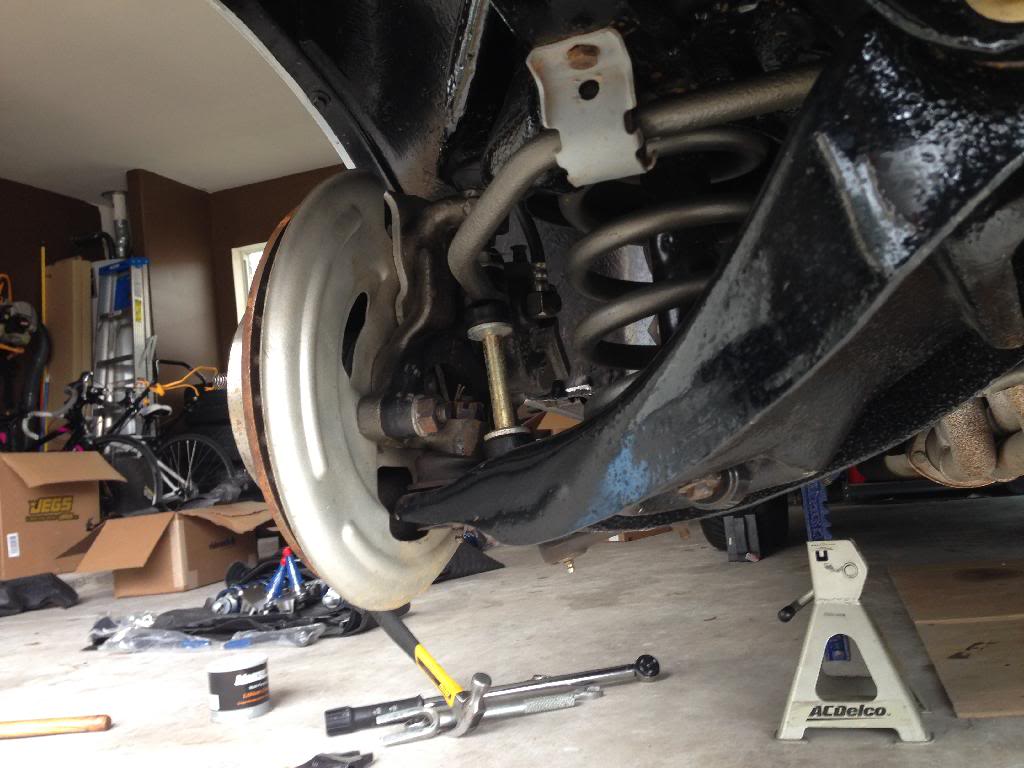
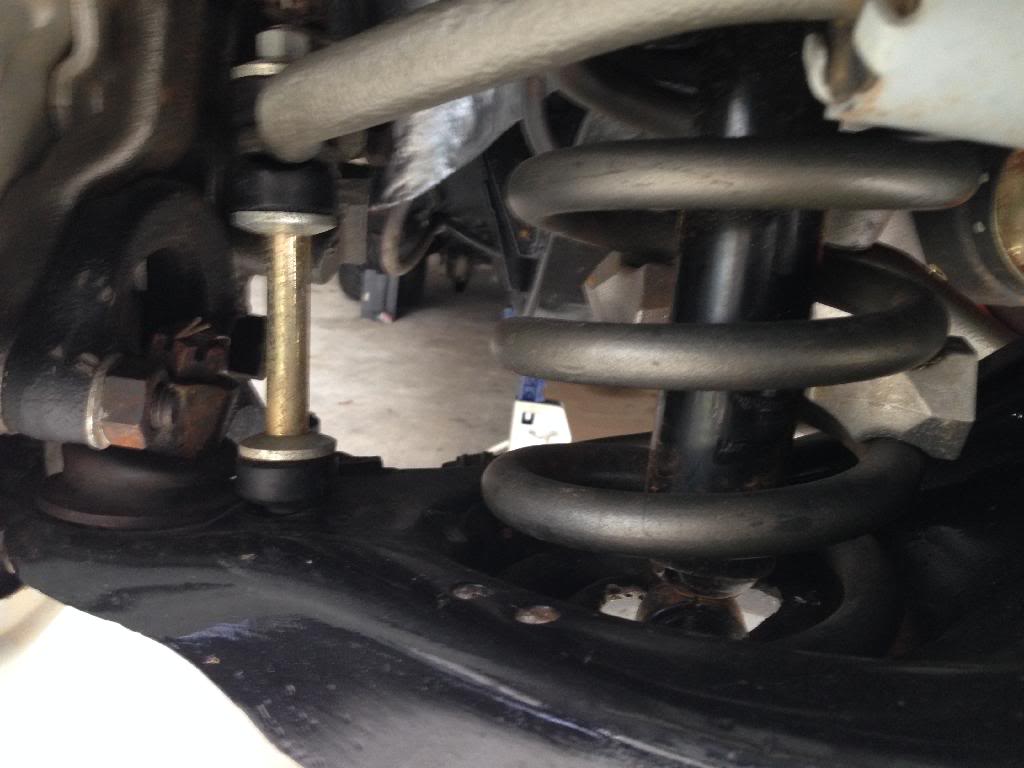
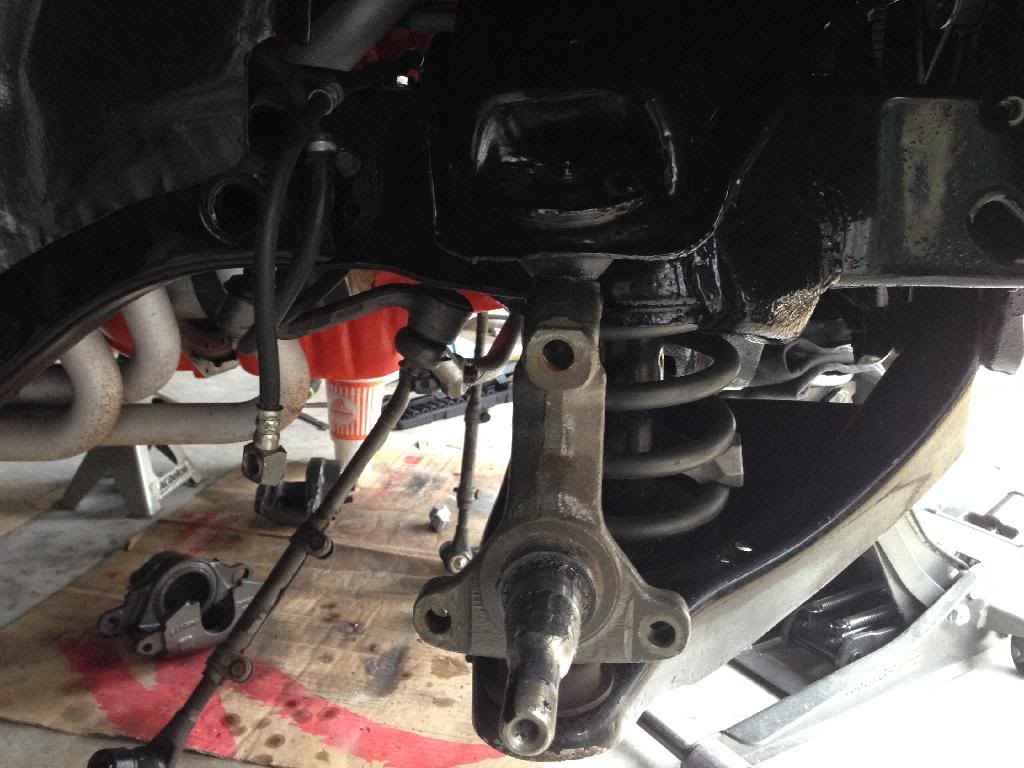
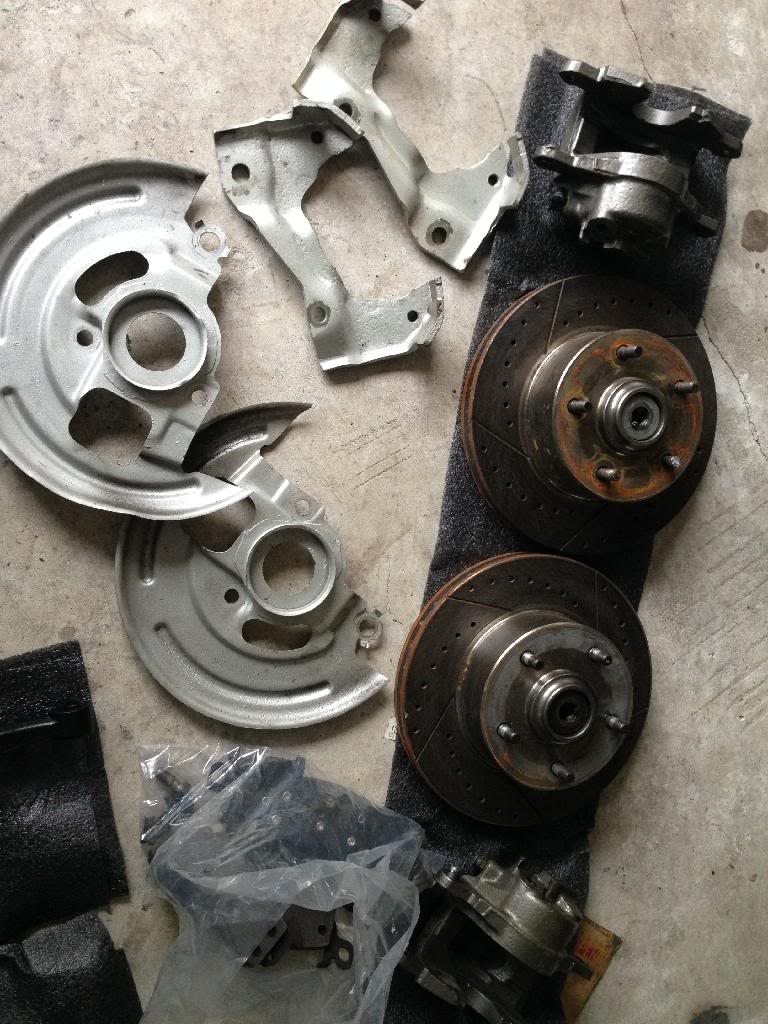
Dismantled or removed current steering arms, tie rods ends, uppers/lowers, brakes, shocks, coil springs, sway bar, etc....
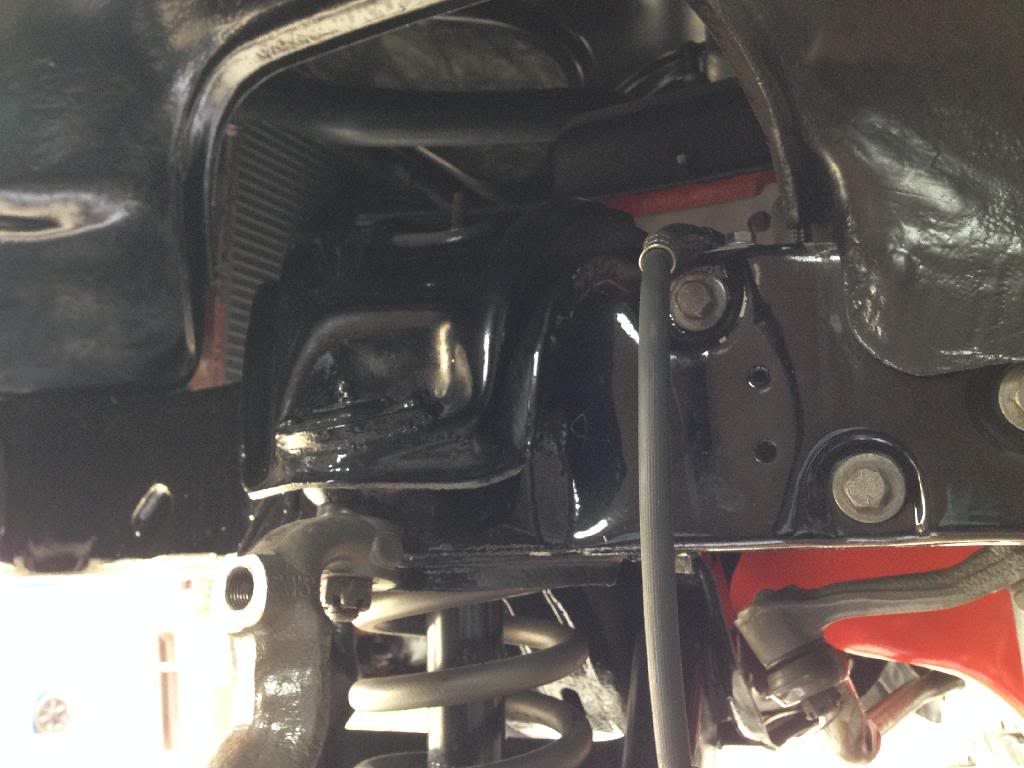
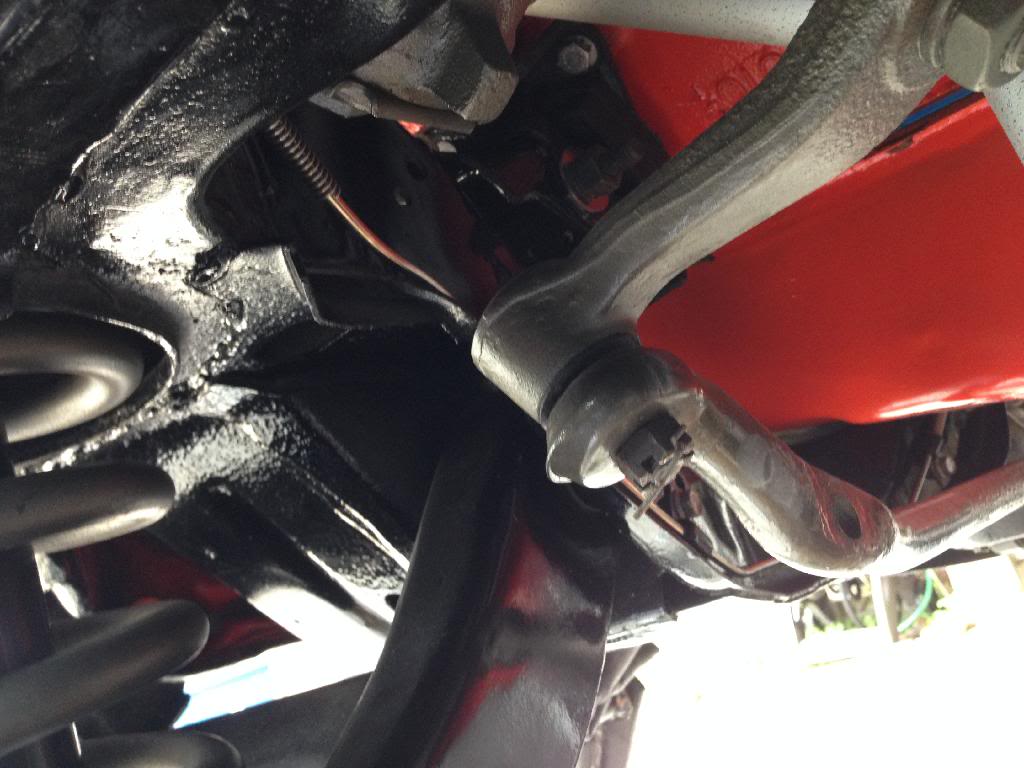
Installed Tru Turn Bar to original center link, along with new adjusting links and tie rod ends and steering arms...
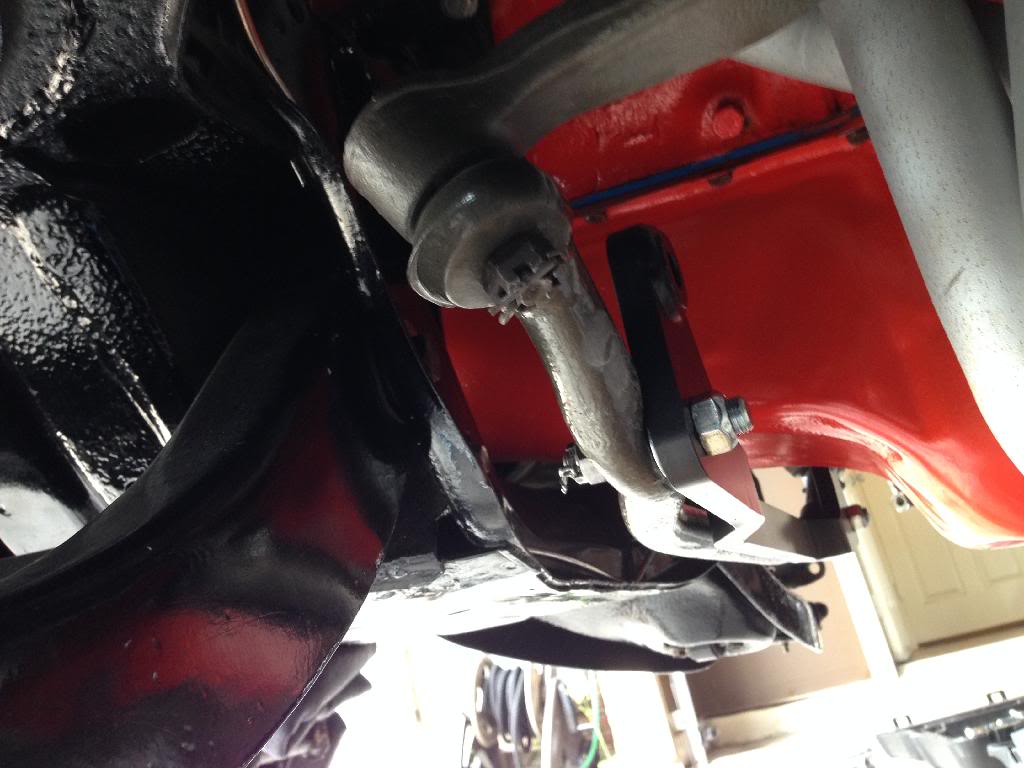
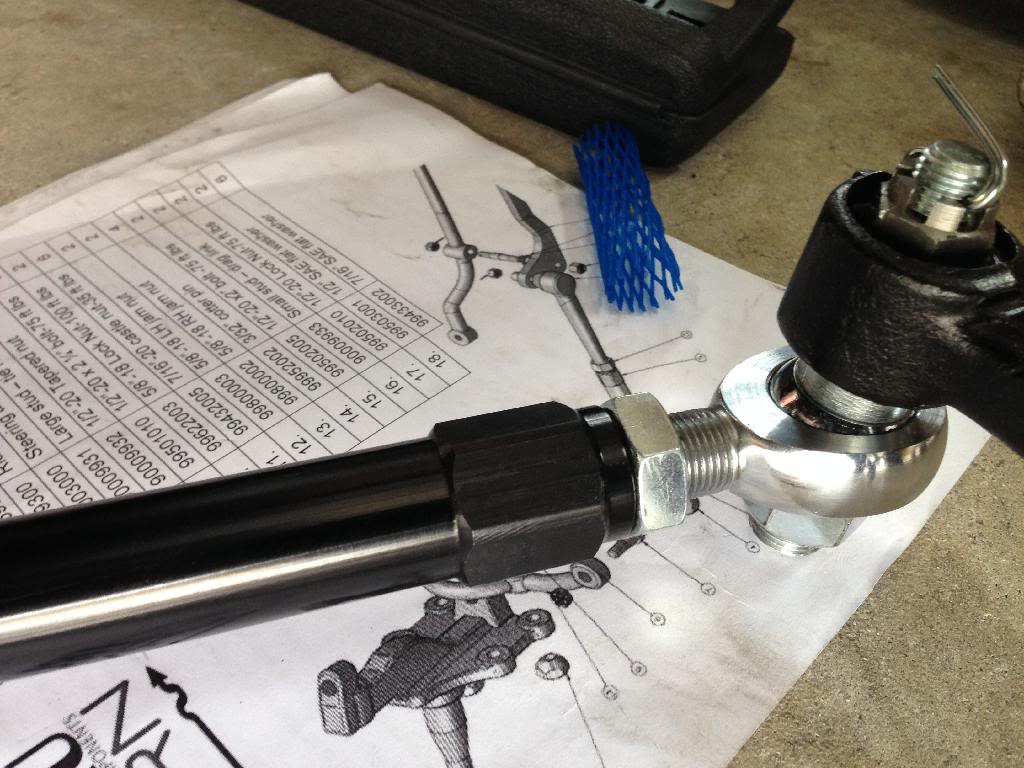
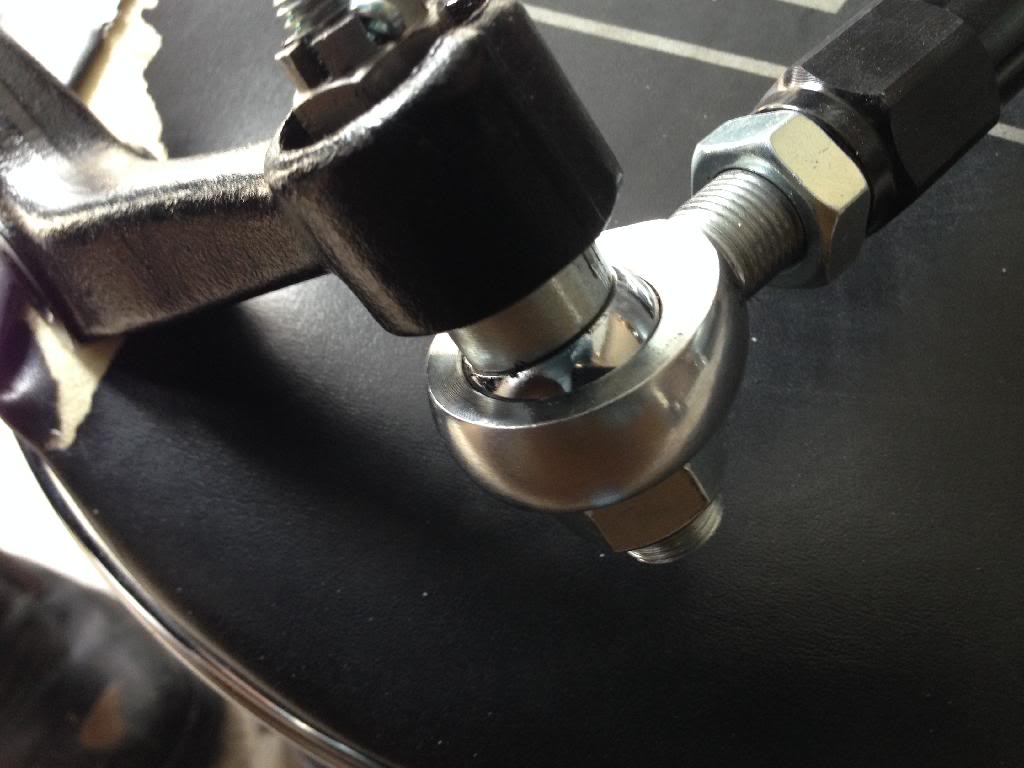
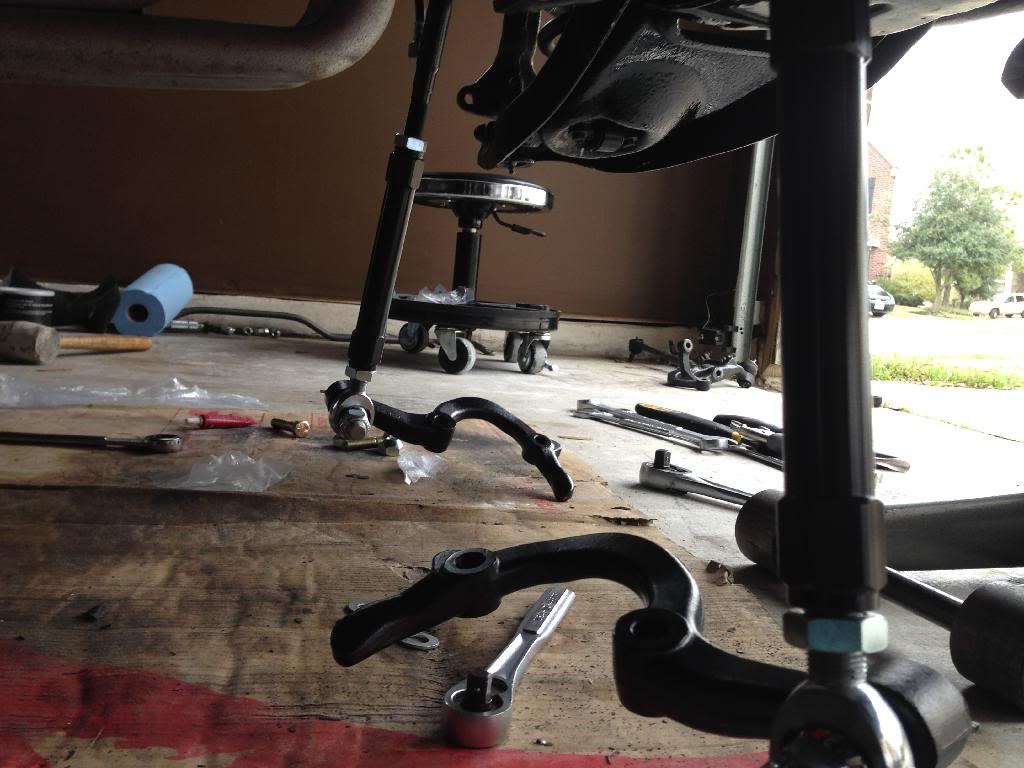
Then ridetech Uppers with existing shims....
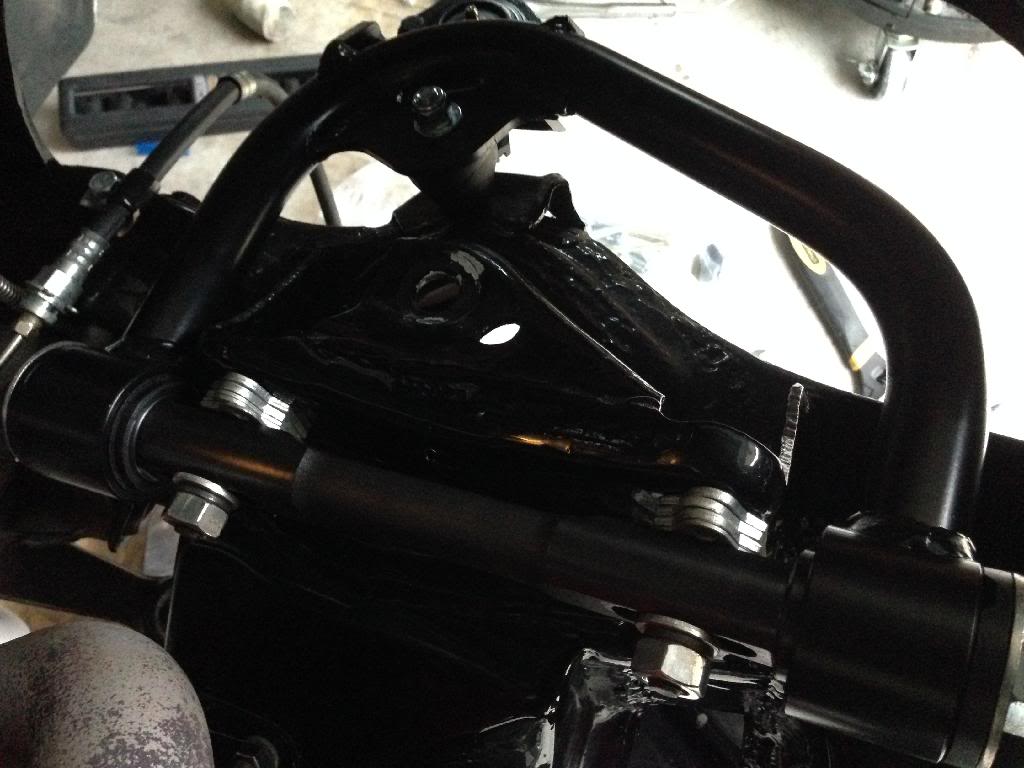
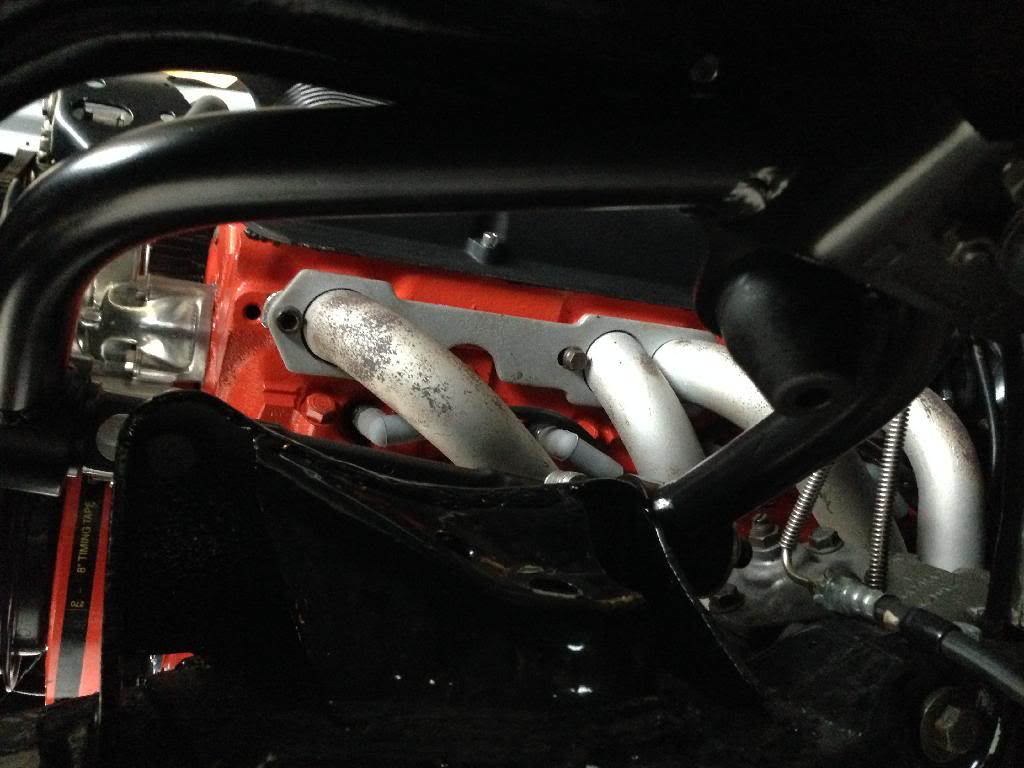
03-20-2014 #4
Registered User
- Join Date
- Jul 2005
- Location
- Texas
- Posts
- 255
03-20-2014 #5
Registered User
- Join Date
- Jul 2005
- Location
- Texas
- Posts
- 255
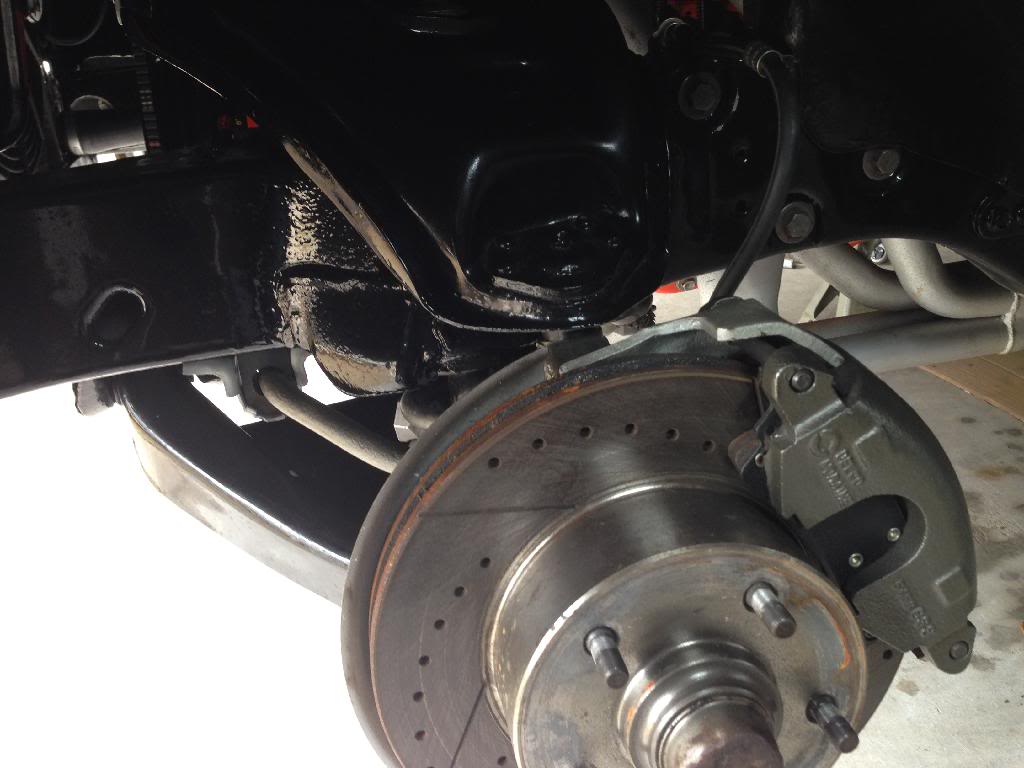
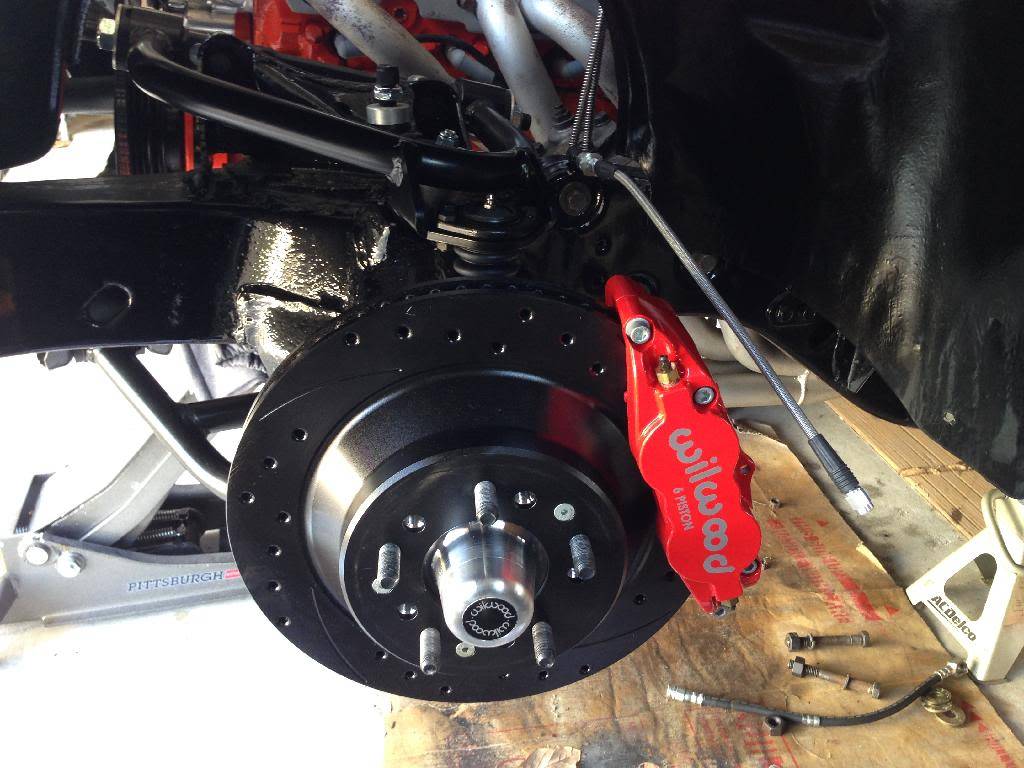
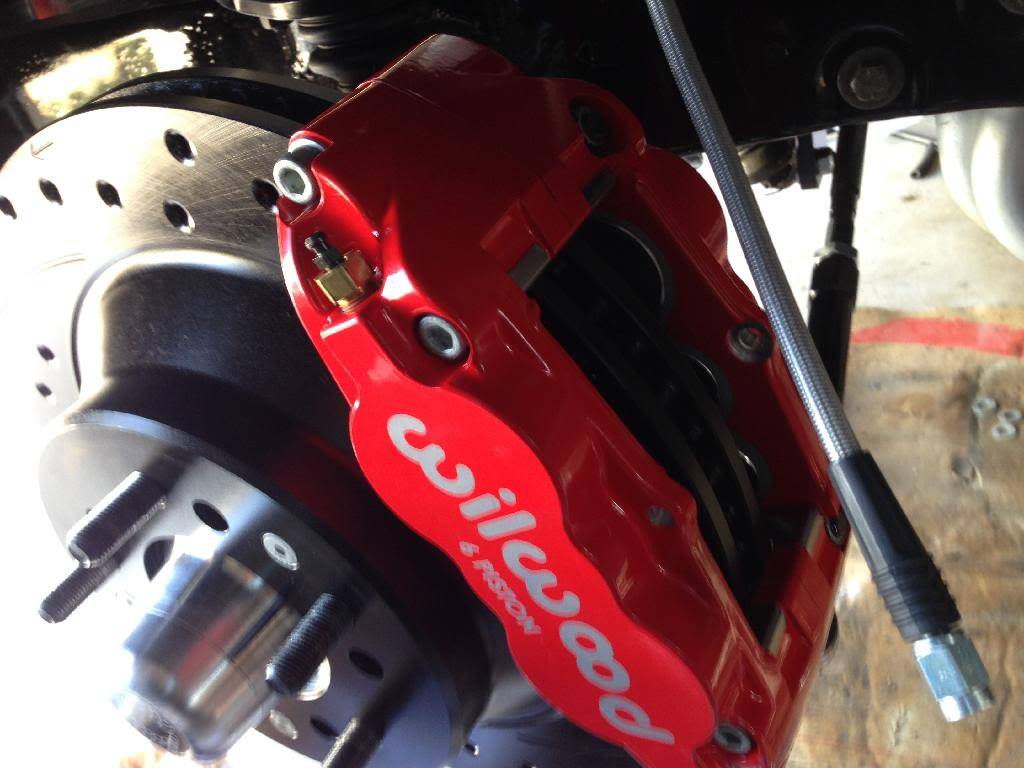
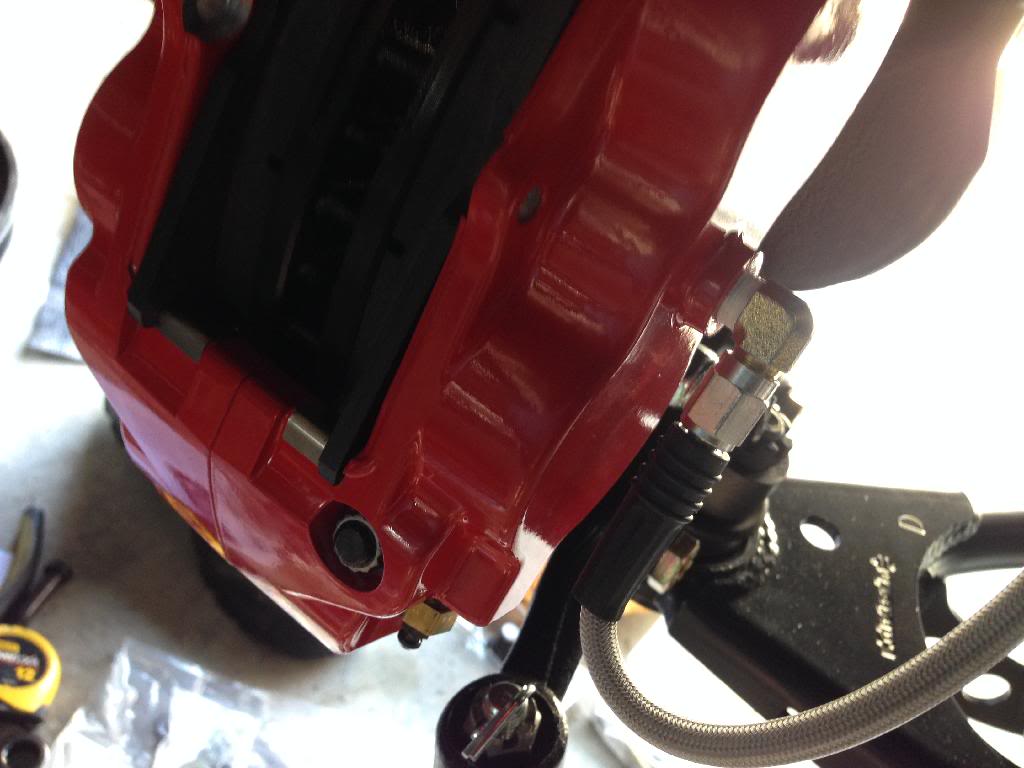
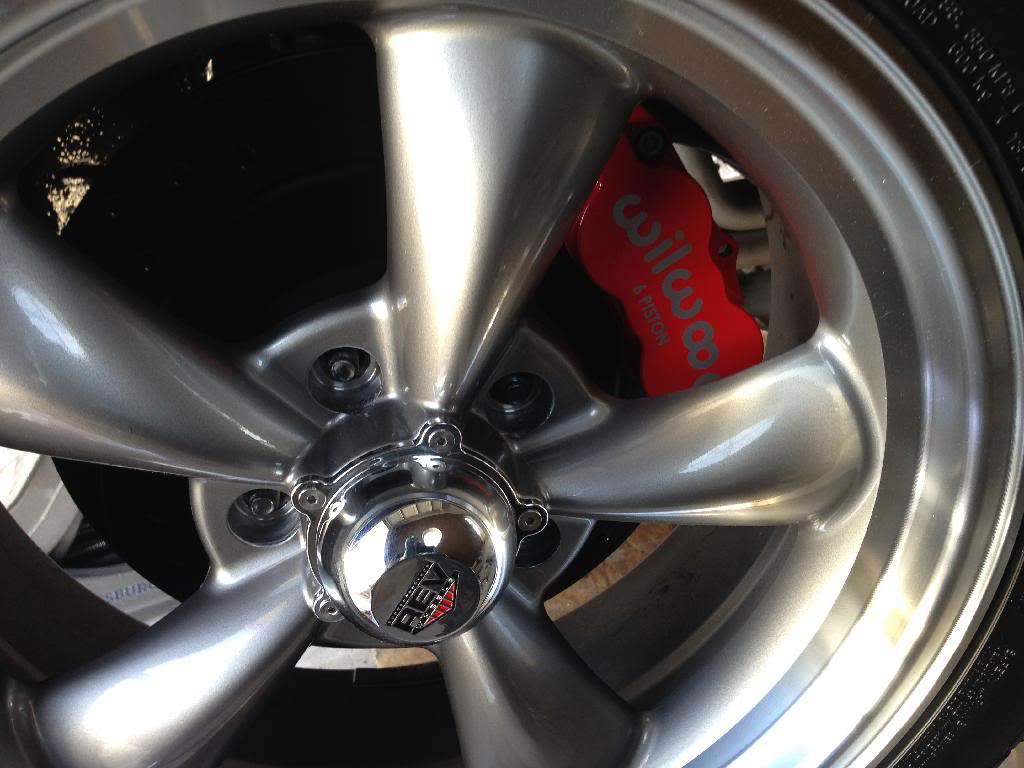
Getting the new Wilwoods and Wilwood Steel Braided Flexlines on was next....
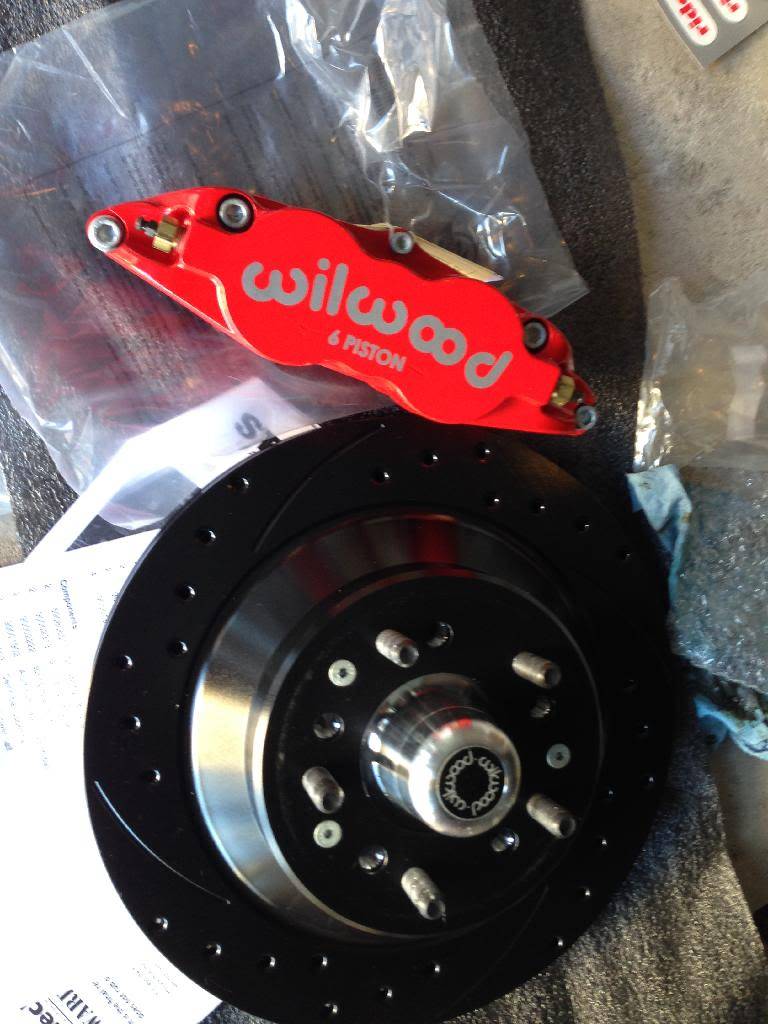
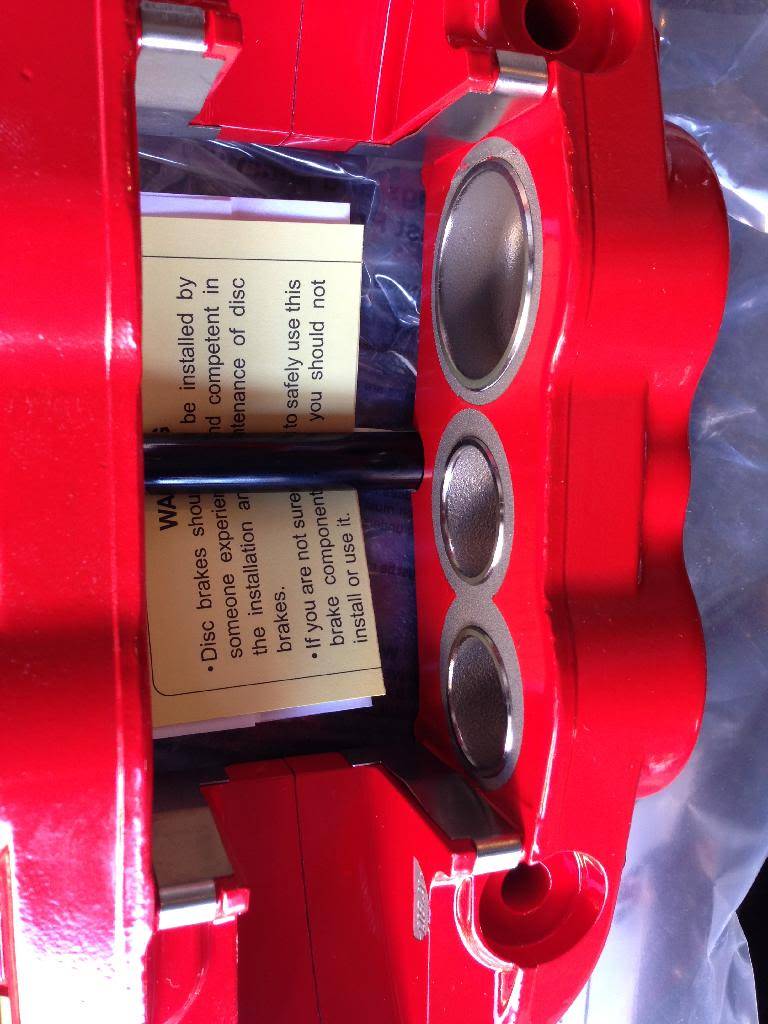
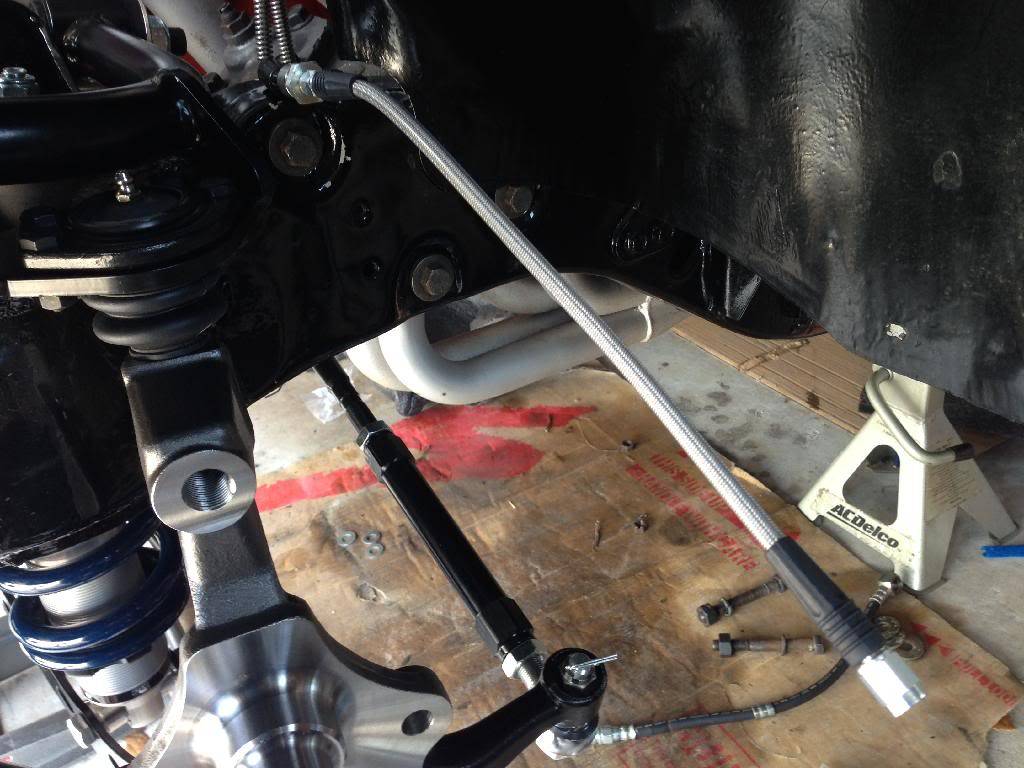
Caliper brackets first...
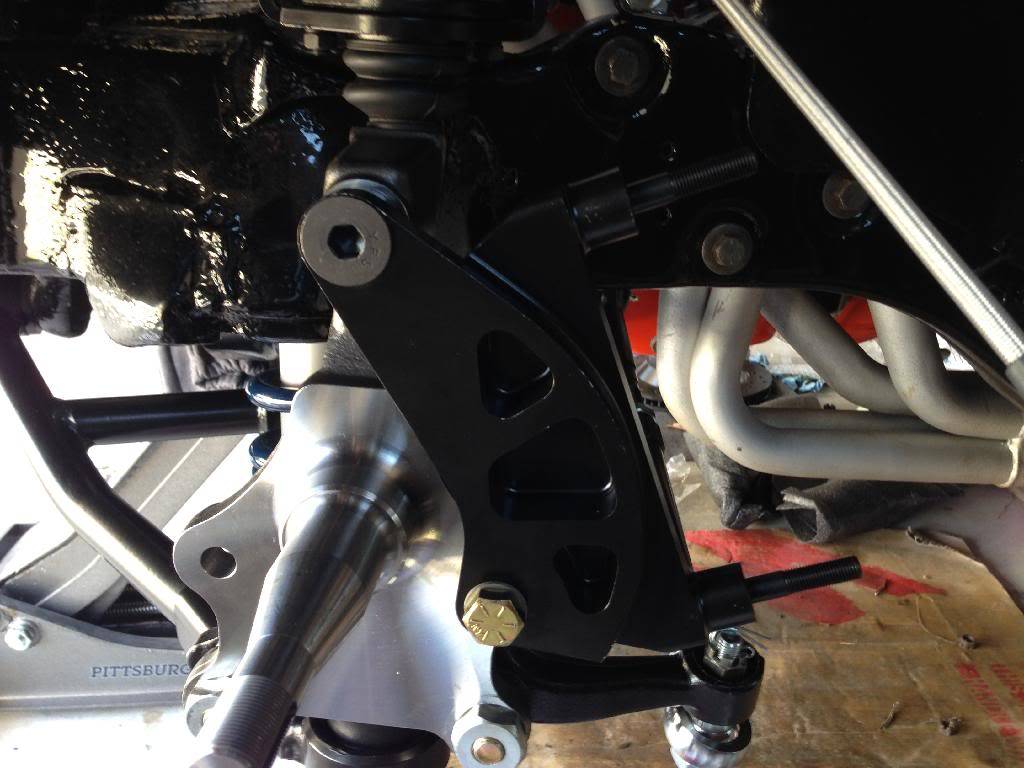
Hub and rotor....
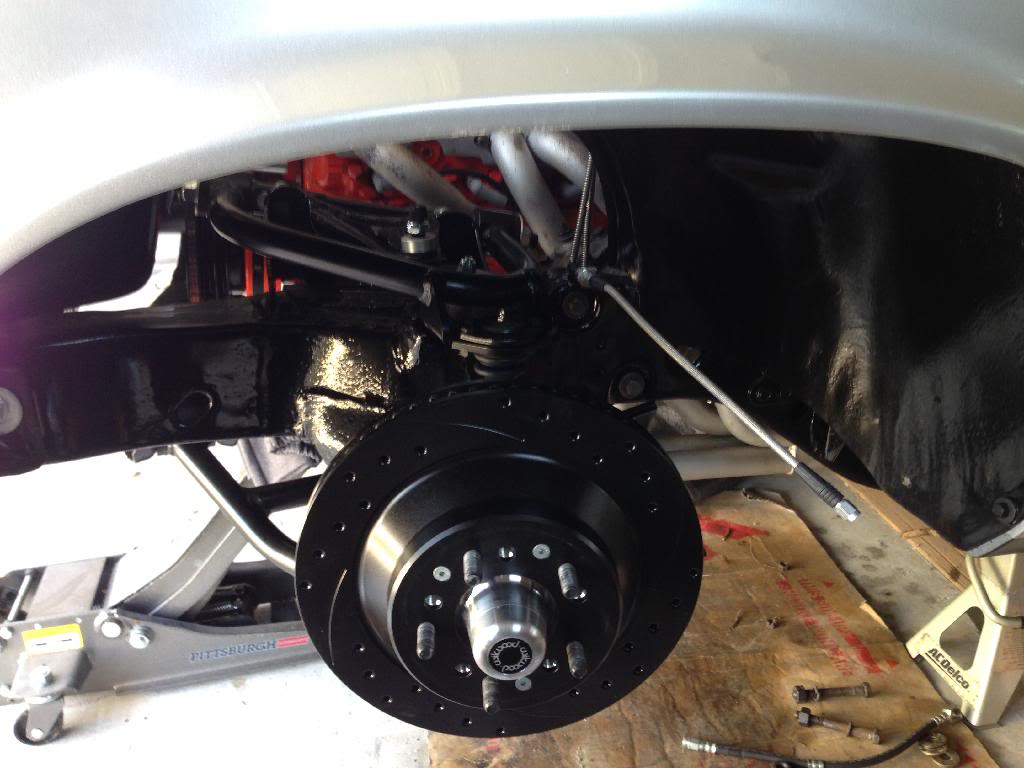
Then caliper and pads, then brake lines to caliper. Advice for anyone doing the same brakes on a Nova - order the 16 or 18 inch flex lines instead of the 14 inch. They are just a tad short for my taste on the passenger side during a full lock left turn. Clearance is good everywhere else.
Behind old wheels....
03-20-2014 #6
Registered User
- Join Date
- Jul 2005
- Location
- Texas
- Posts
- 255
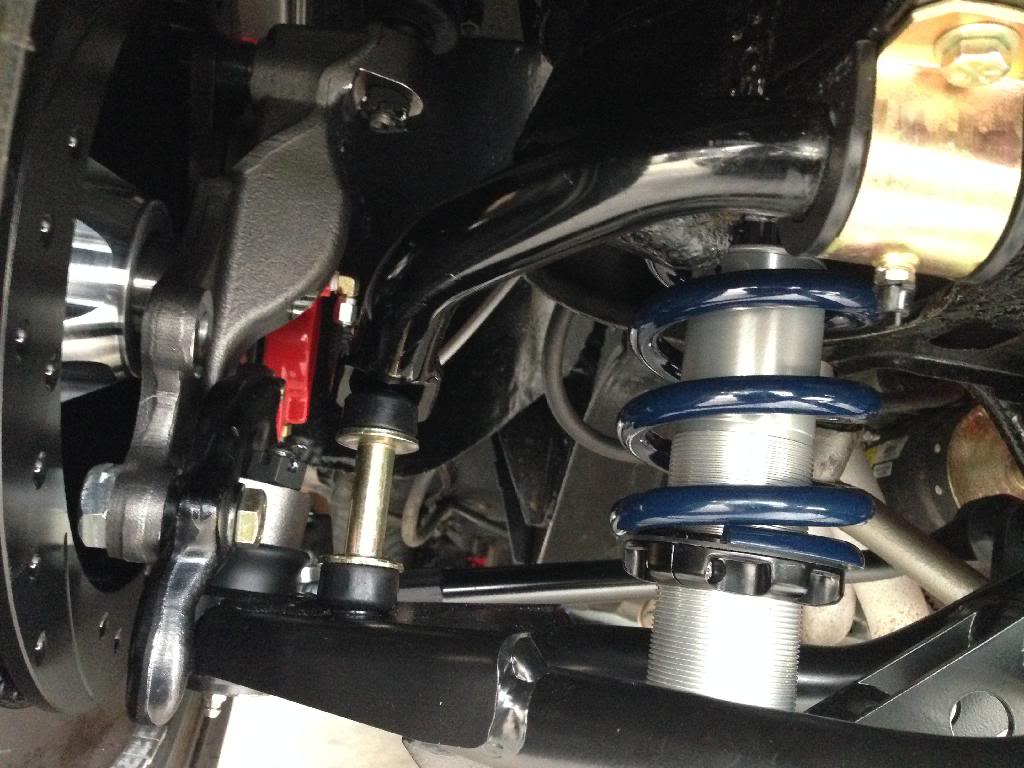
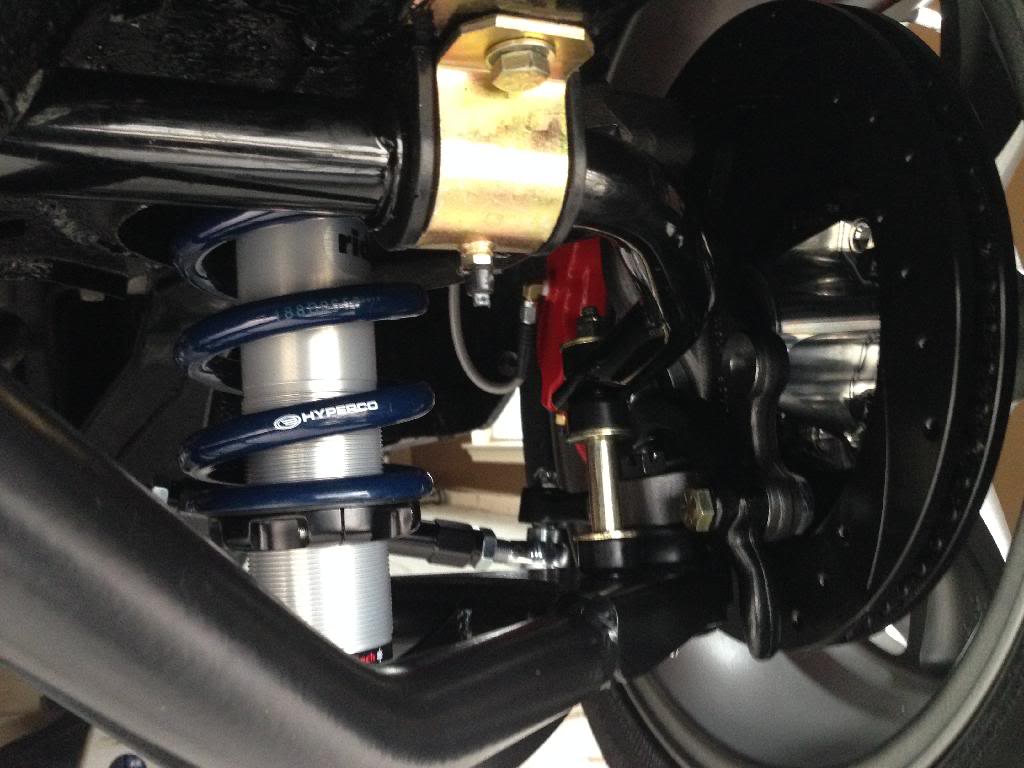
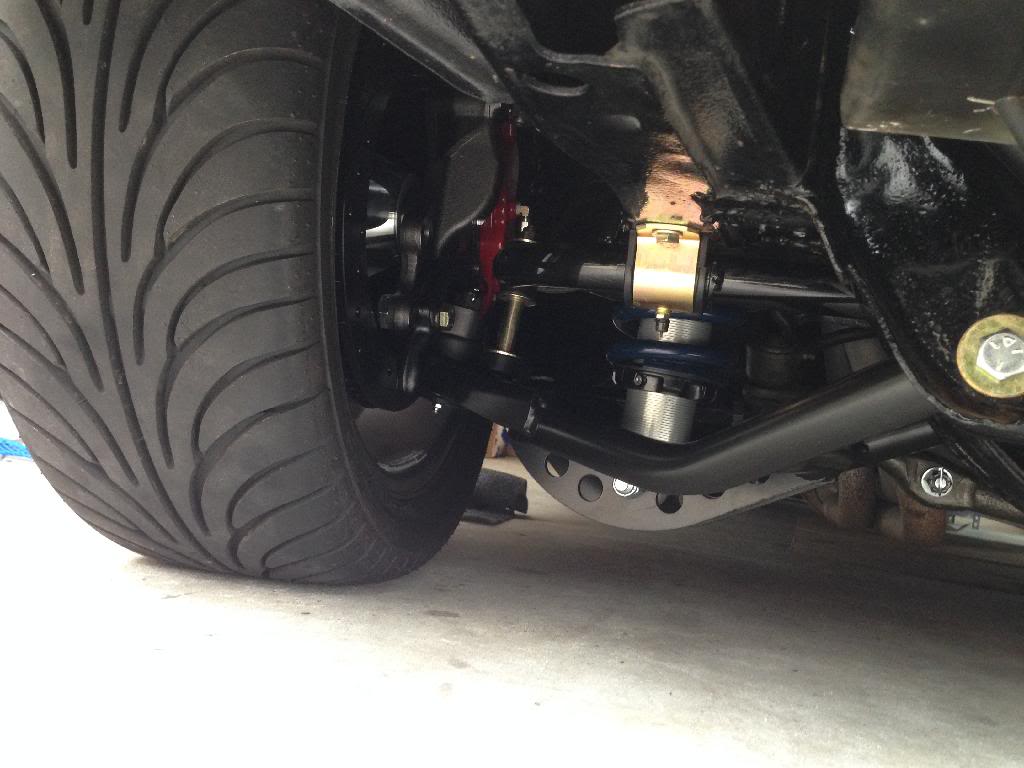
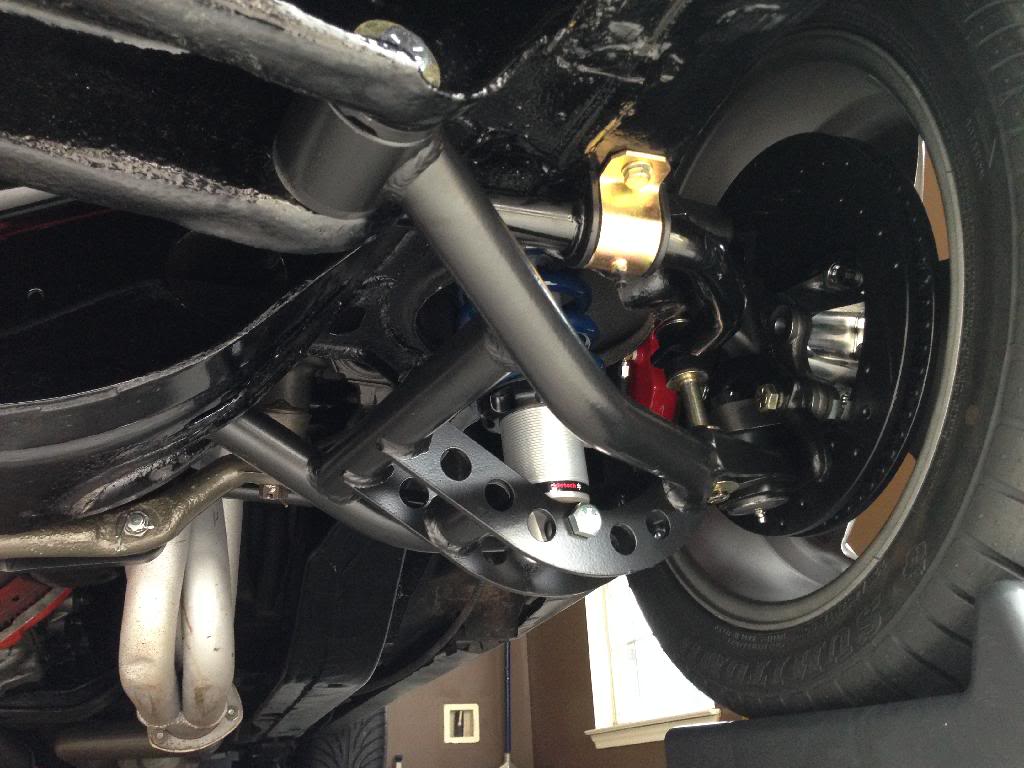
Installed DSE sway bar. Eventhough I spent a crap ton of $$$ on ridetech parts, I just couldn't bring myself to pay $500 for the ridetech Muscle Bar....maybe later down the road. Hell, I can get 2 and a half DSE sway bars for what the Muscle Bar costs...lol.
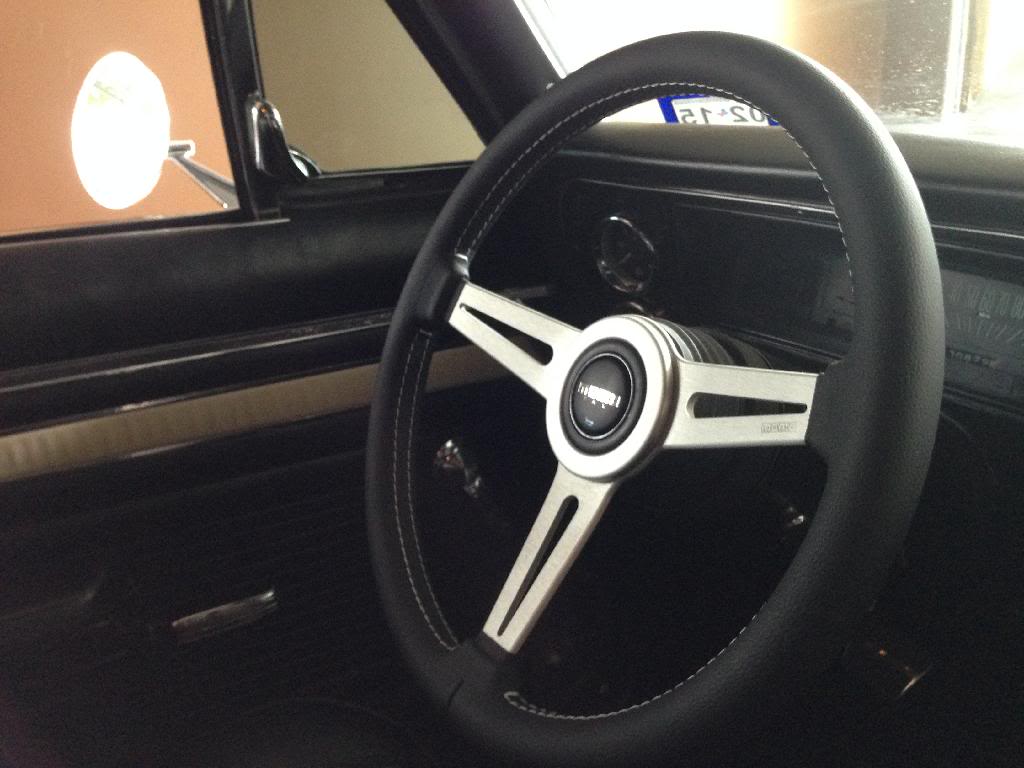
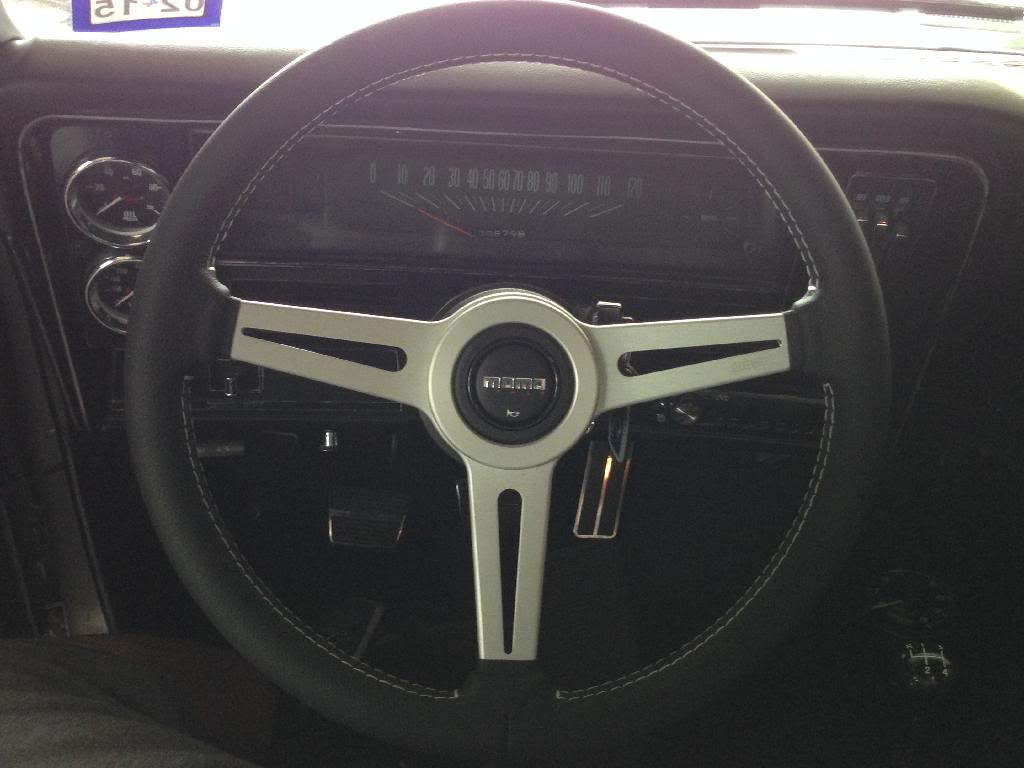
Freshened the interior up a bit with the MOMO. Still has a sort of nostalgic look and feel to it.
03-20-2014 #7
Registered User
- Join Date
- Jul 2005
- Location
- Texas
- Posts
- 255
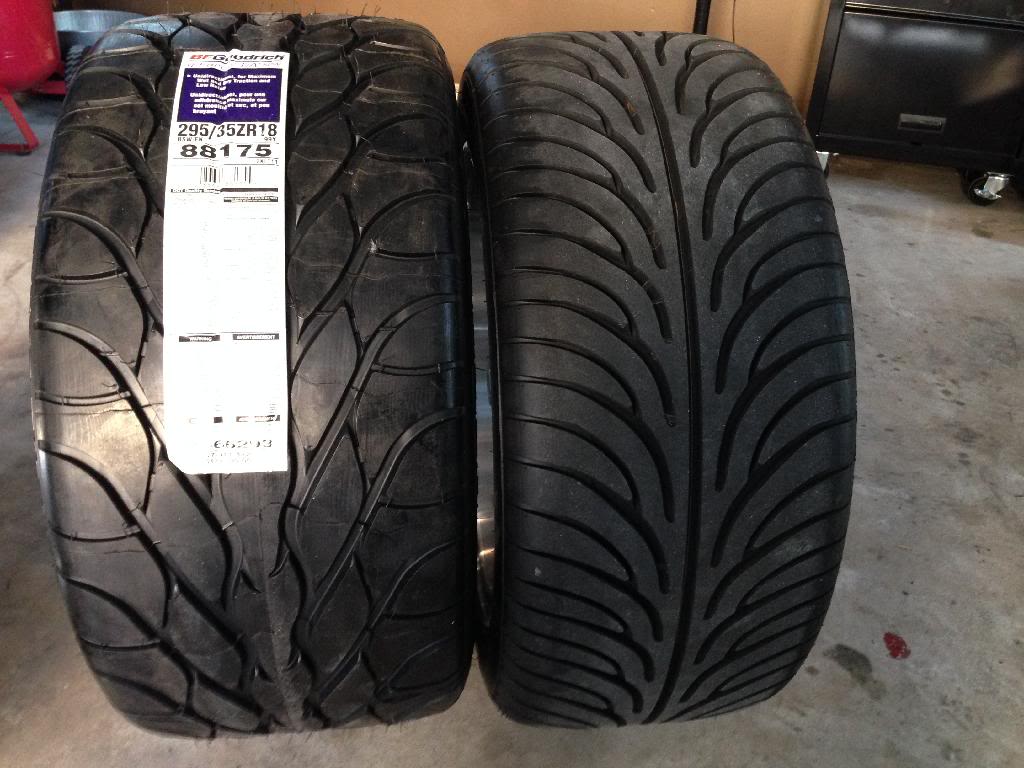
In my impatience, I had to at least mock up the BFGs while waiting on the wheels to arrive. Where is that d@mn UPS truck????
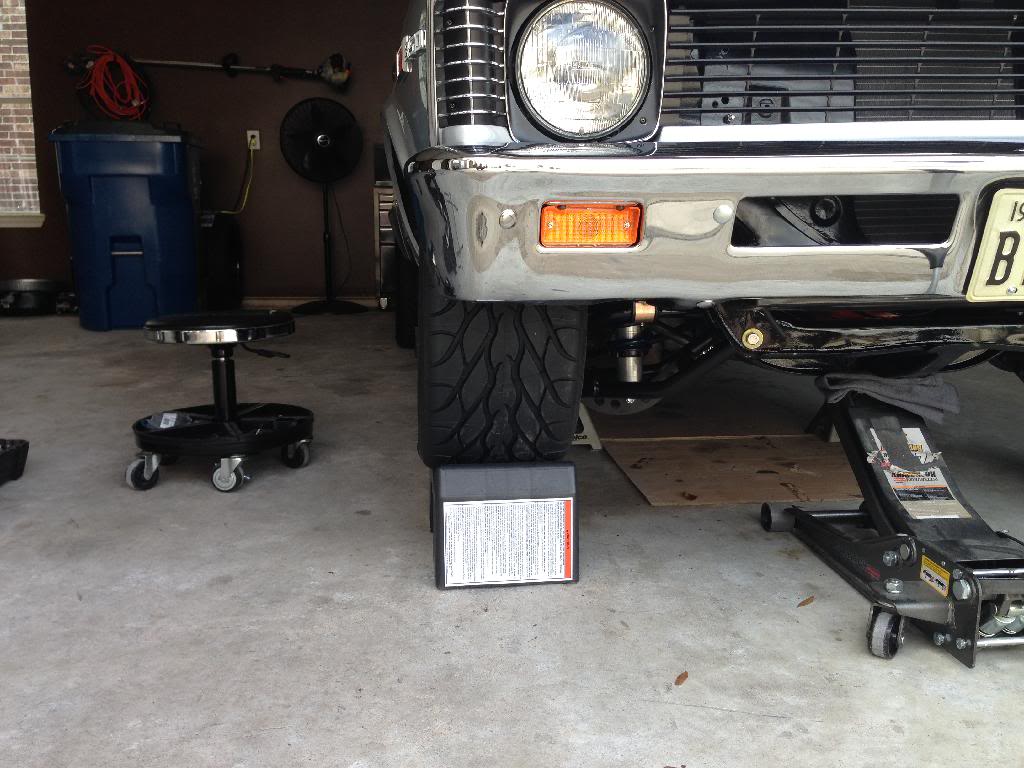
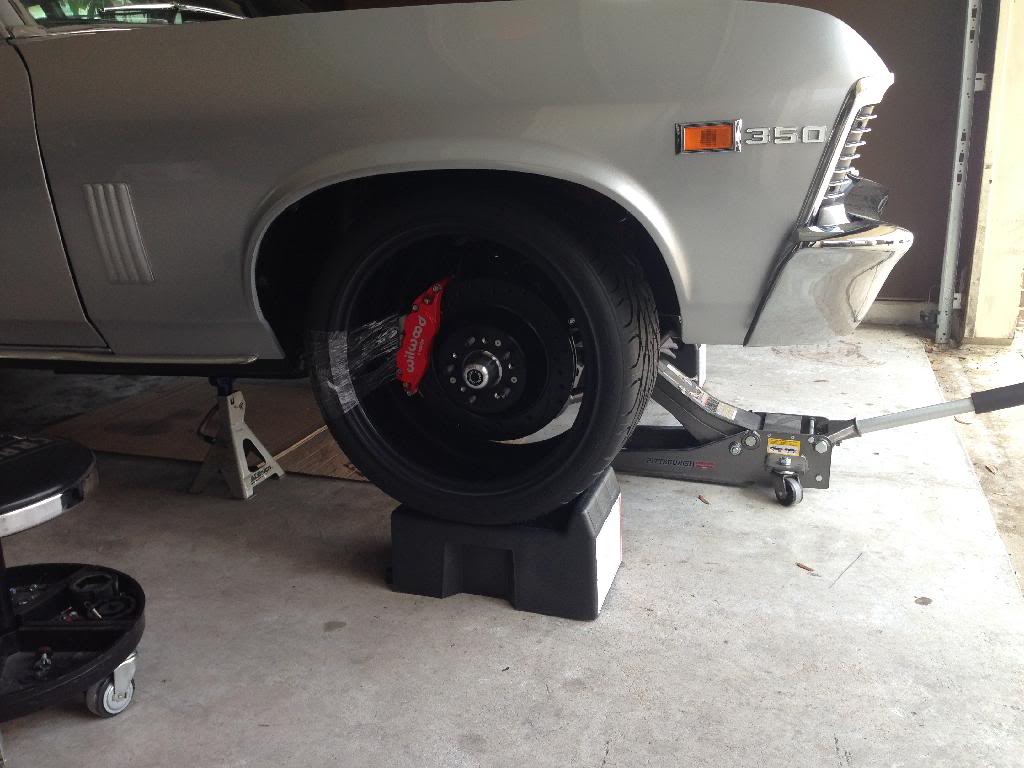
Finally arrived....
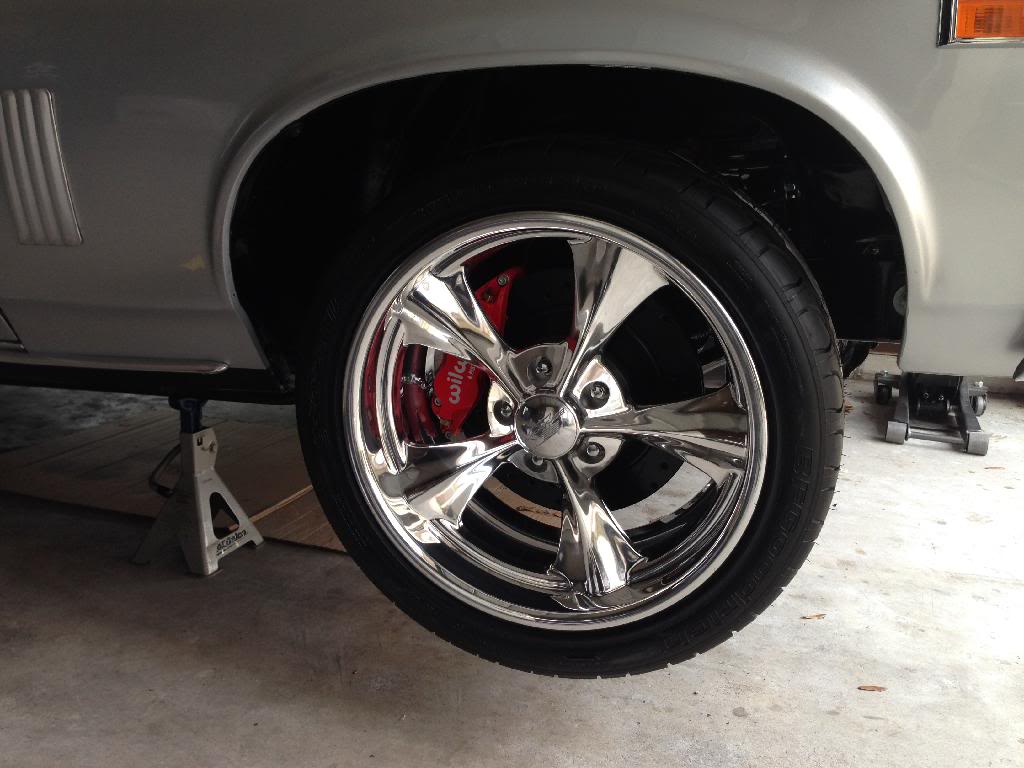
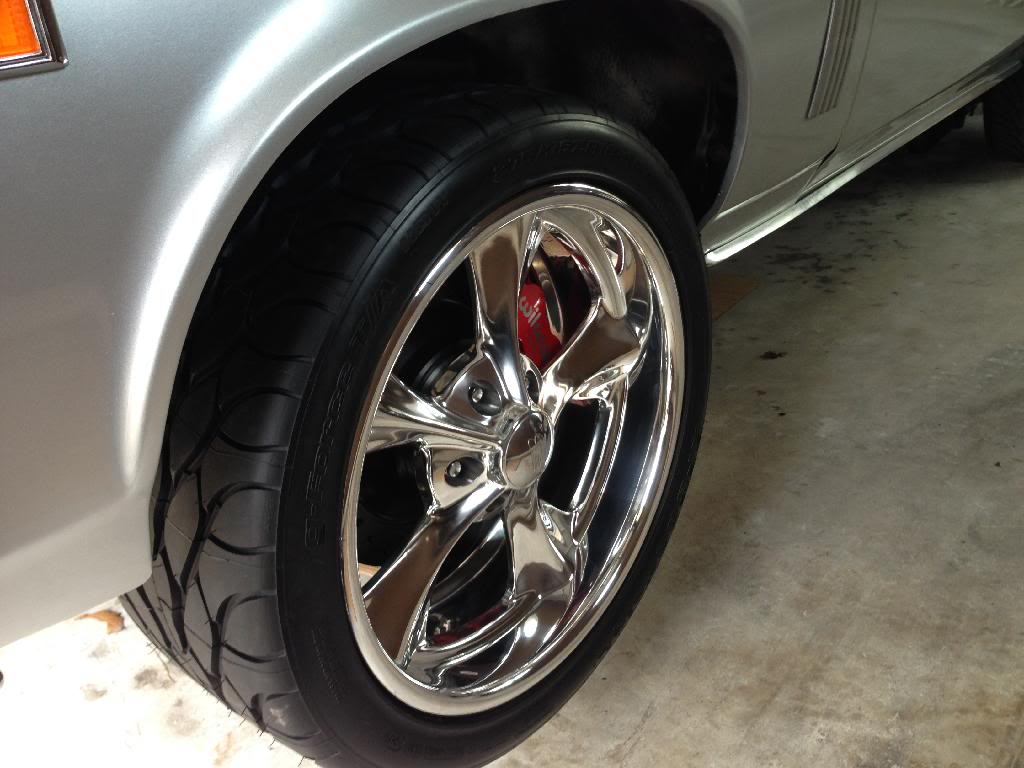
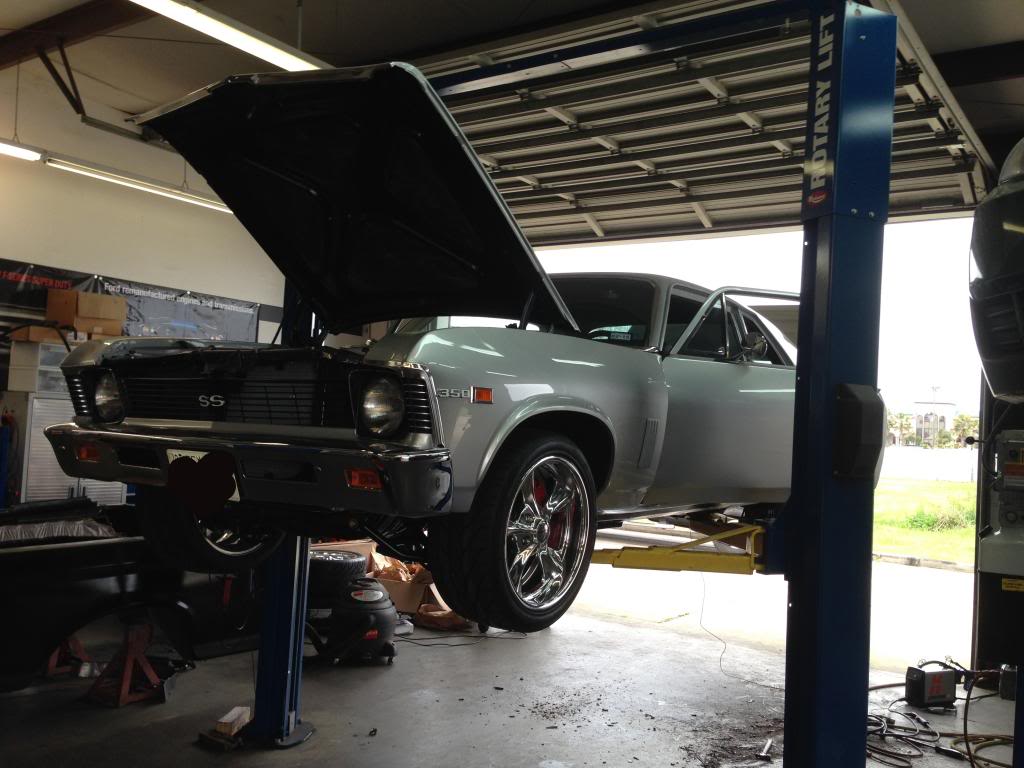
Cant get the firkin rears on until the mini tubs and all are done. Just dropped her off yesterday. Hope to have her by middle of next week.
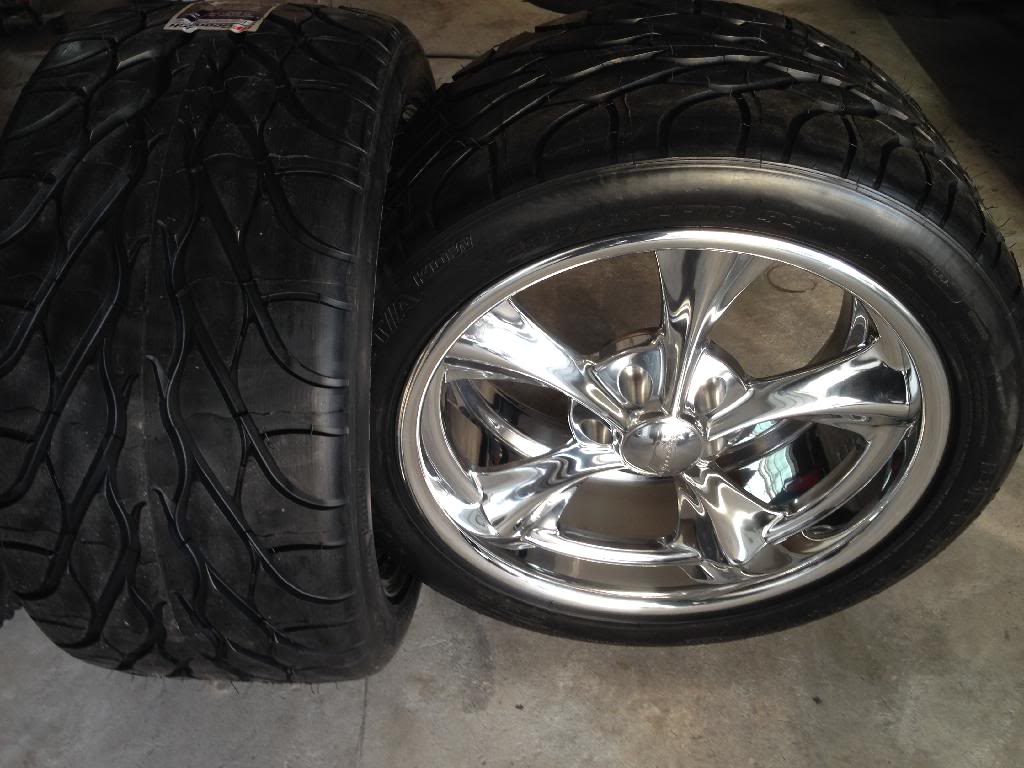

New 295s versus old 255s.
Stay tuned for more....
03-20-2014 #8
Registered User
- Join Date
- Jul 2005
- Location
- Texas
- Posts
- 255
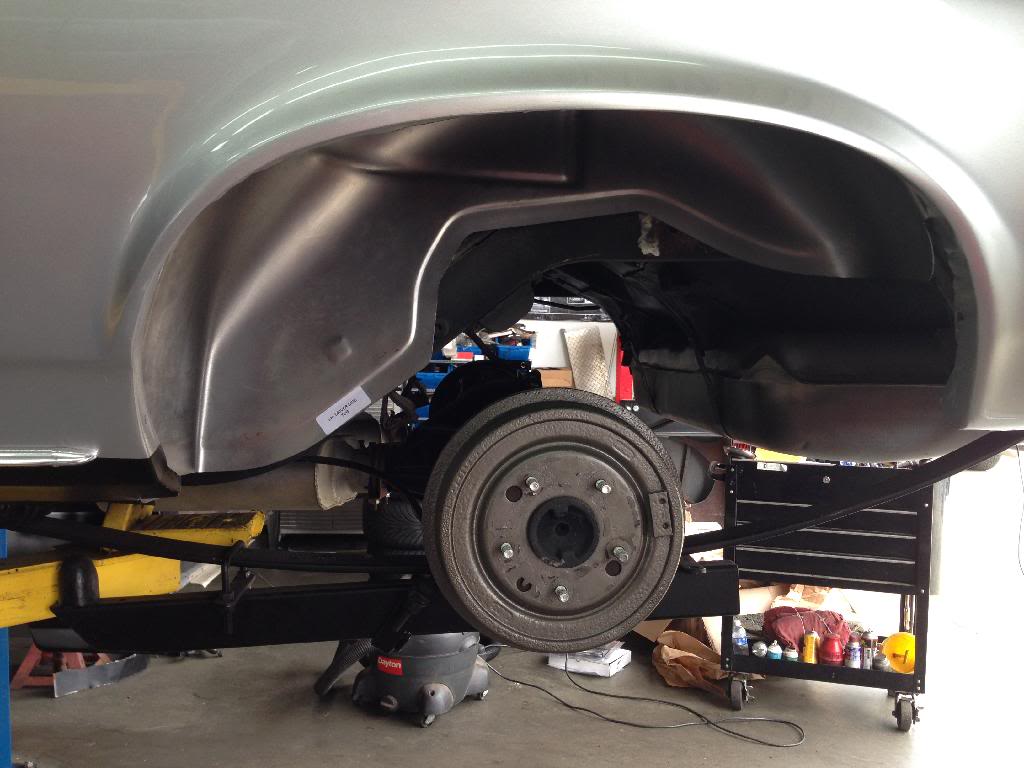
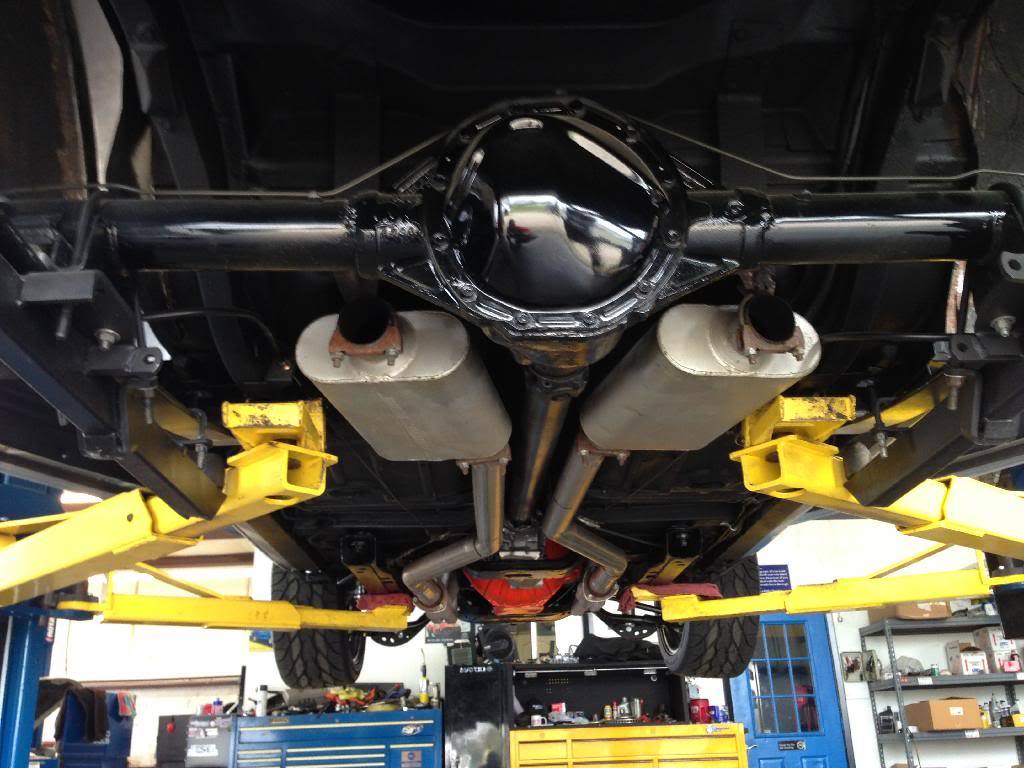
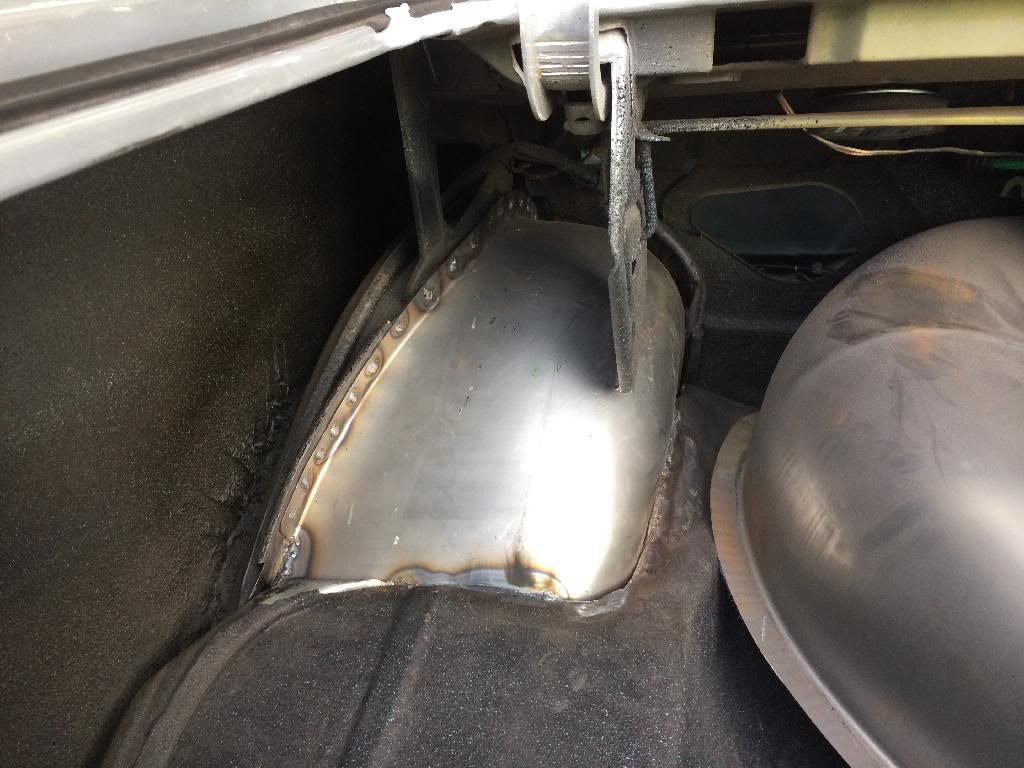
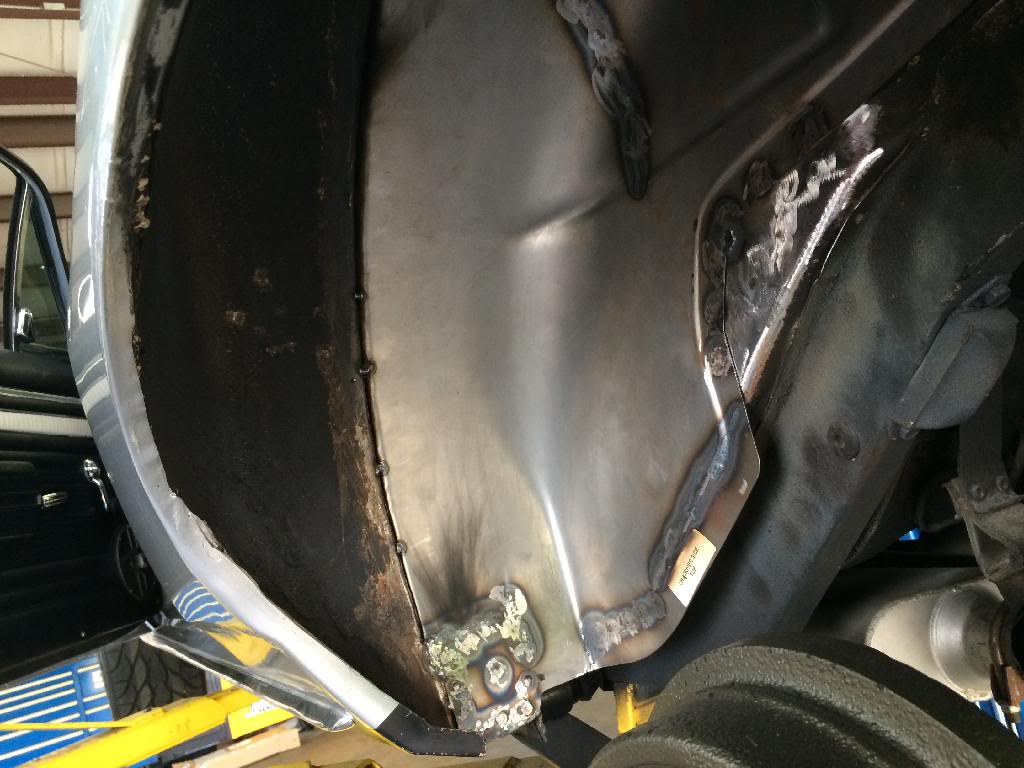
Minor update....dropped by the shop to check progress. They started on the mini tubs.
03-24-2014 #9
Registered User
- Join Date
- Jul 2005
- Location
- Texas
- Posts
- 255
A little more progress...
 1969 Nova SS Build Thread https://www.pro-touring.com/threads/...da)-69-Nova-SS
03-25-2014 #10 New to Pro-Touring
- Join Date
- Jan 2014
- Posts
- 71
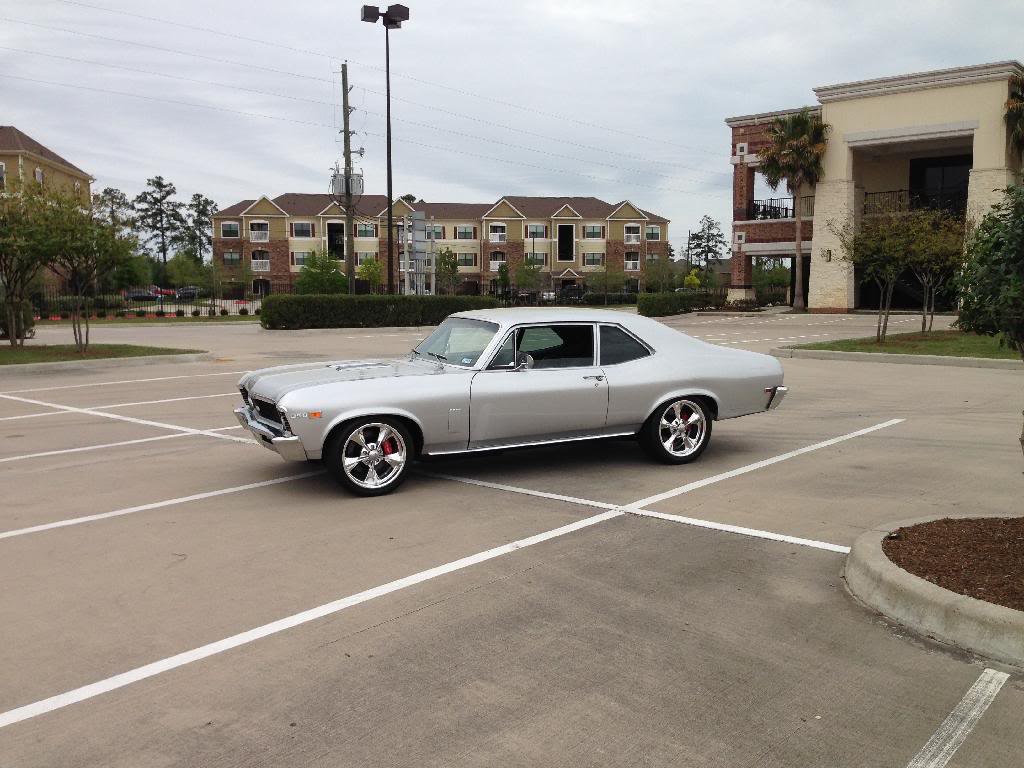
sweet Nova. is that paint Cortez Silver?
Wine me Dine me 69 me....Nova that is
03-25-2014 #11
Registered User
- Join Date
- Jul 2005
- Location
- Texas
- Posts
- 255
Thanks....Yes, the PPG version. Originally Posted by dairdvl
 1969 Nova SS Build Thread https://www.pro-touring.com/threads/...da)-69-Nova-SS
03-26-2014 #12 Registered User
- Join Date
- Apr 2010
- Location
- PHX, AZ
- Posts
- 71
Very nice 3rd gen! Why stop at 295? 315s fit with the DSE tubs, and doesn't that sound soooo much better than 295?
03-26-2014 #13
Registered User
- Join Date
- Jul 2005
- Location
- Texas
- Posts
- 255
Trust me when I say I wanted to go bigger. However, I really wanted the BFG KDW2 tires, and the next biggest size after 295 is 335, which was not going to work without further modifying the DSE tubs. Bad94 on this site had to really work to get those puppies (335s) to work on his set up, and I didn't want to incur any additional labor hours on that, as this is a budget build of sorts. That's why I opted for a deeper BSing on the rear wheels (7in BS) to keep from spending an additional $1000 or so to shorten the rear end. Originally Posted by hookemdevils22
After I burn up the BFGs, I will consider another tire that offers a 315. Maybe around that time, I will be more inclined to shell out the extra $$$ for narrowed rear end and another set of wheels...or at least a deeper lip on the same rears (a new set of 2).1969 Nova SS Build Thread https://www.pro-touring.com/threads/...da)-69-Nova-SS
03-26-2014 #14 Registered User
- Join Date
- Dec 2005
- Location
- Birmingham, AL
- Posts
- 3,355
This is shaping up nicely. I think next go around, I am going to buy a painted car if I can help it. Things move a lot quicker and you are going to have a killer ride with all the right pieces.
Stephen
03-26-2014 #15
Registered User
- Join Date
- Jul 2005
- Location
- Texas
- Posts
- 255
I have tried it both ways - building from ground up and modifying something already built. Let me tell you, it's much better to go the already built route. Of course, this is my personal opinion. Many would argue that you know that every nut and bolt is accounted for when building from ground up, and that you avoid those awesome little surprises such as rust, shotty body work, etc. And then there are the folks that simply enjoy taking their time and doing it themselves. I have much respect for those folks, as I simply don't have the patience, nor the skill to take on a true ground up build. Aside from suspension, brakes, wheels, and interior, and simple drivetrain stuff, I have to rely on farming out the rest. I've found it much simpler and cost effective to purchase something complete and then modify it to make it my own. Originally Posted by srh3trinity
1969 Nova SS Build Thread https://www.pro-touring.com/threads/...da)-69-Nova-SS
04-01-2014 #16
Registered User
- Join Date
- Jul 2005
- Location
- Texas
- Posts
- 255
Minitubs are in, sealed up, rubber coated, and matched.
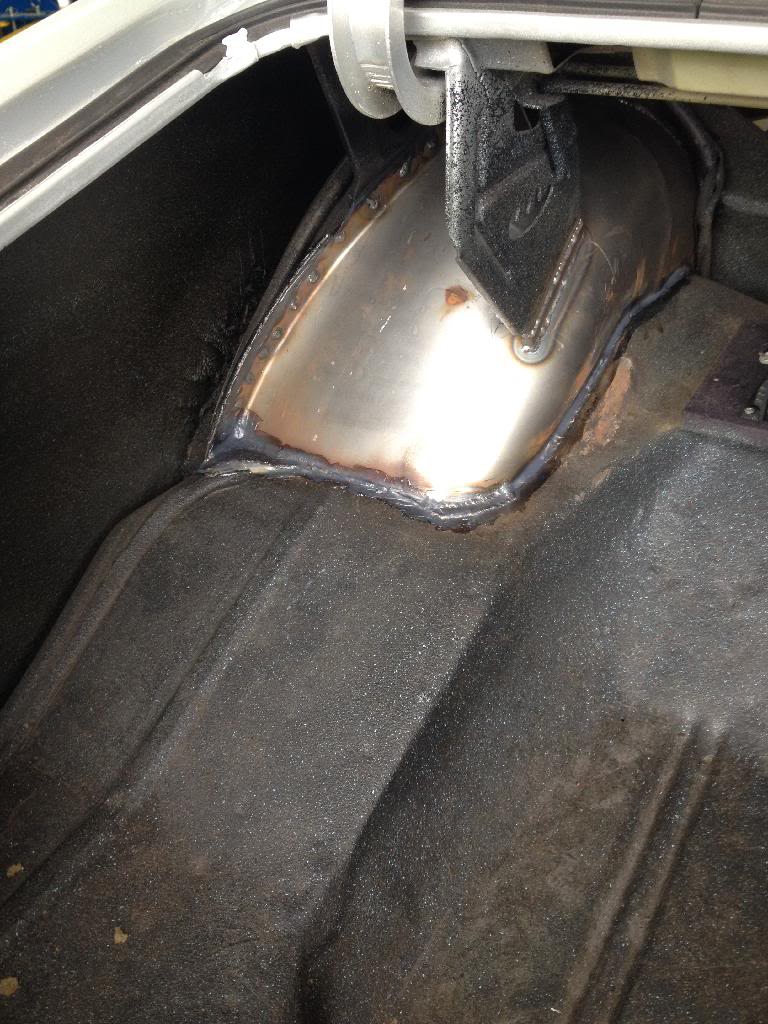
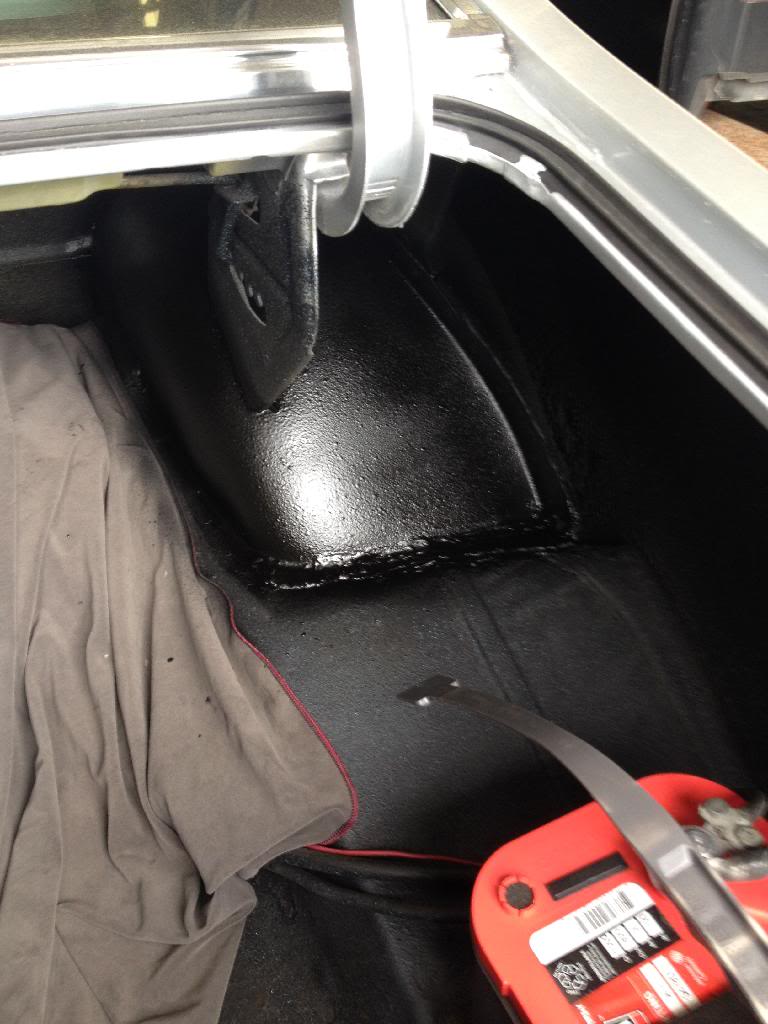
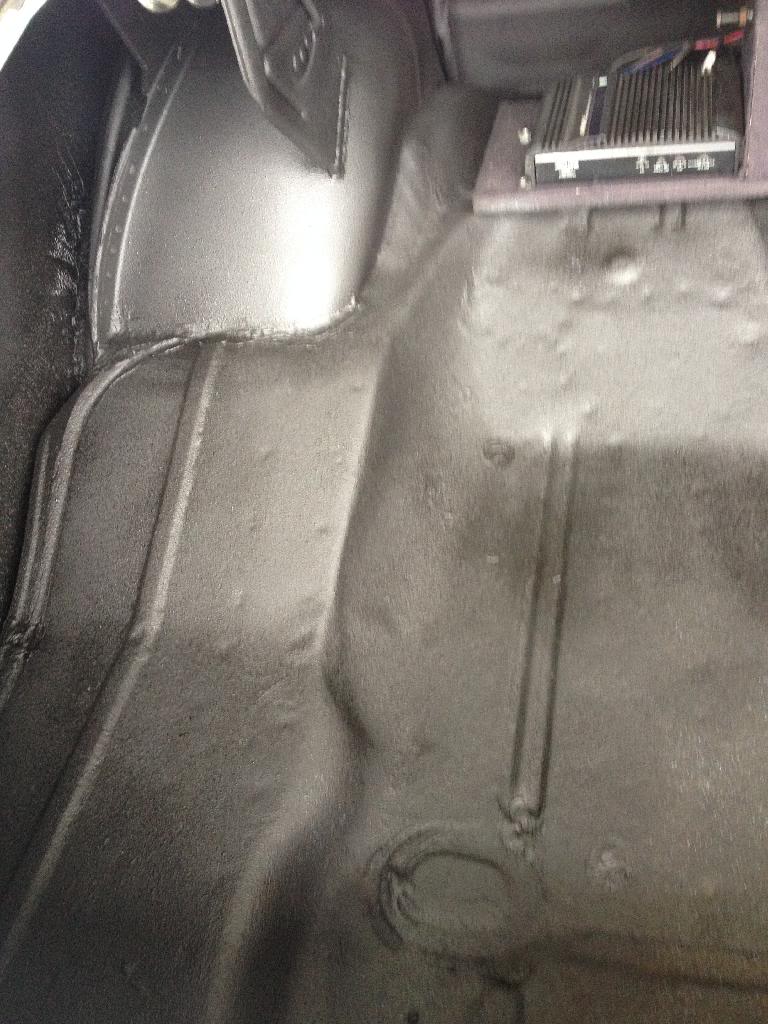
Next order of business is the ridetech 4 Link and Coilovers!!!1969 Nova SS Build Thread https://www.pro-touring.com/threads/...da)-69-Nova-SS
04-01-2014 #17 Registered User
- Join Date
- Mar 2013
- Posts
- 308
Looking good. Keep up the good work!
04-02-2014 #18
Registered User
- Join Date
- Jul 2005
- Location
- Texas
- Posts
- 255
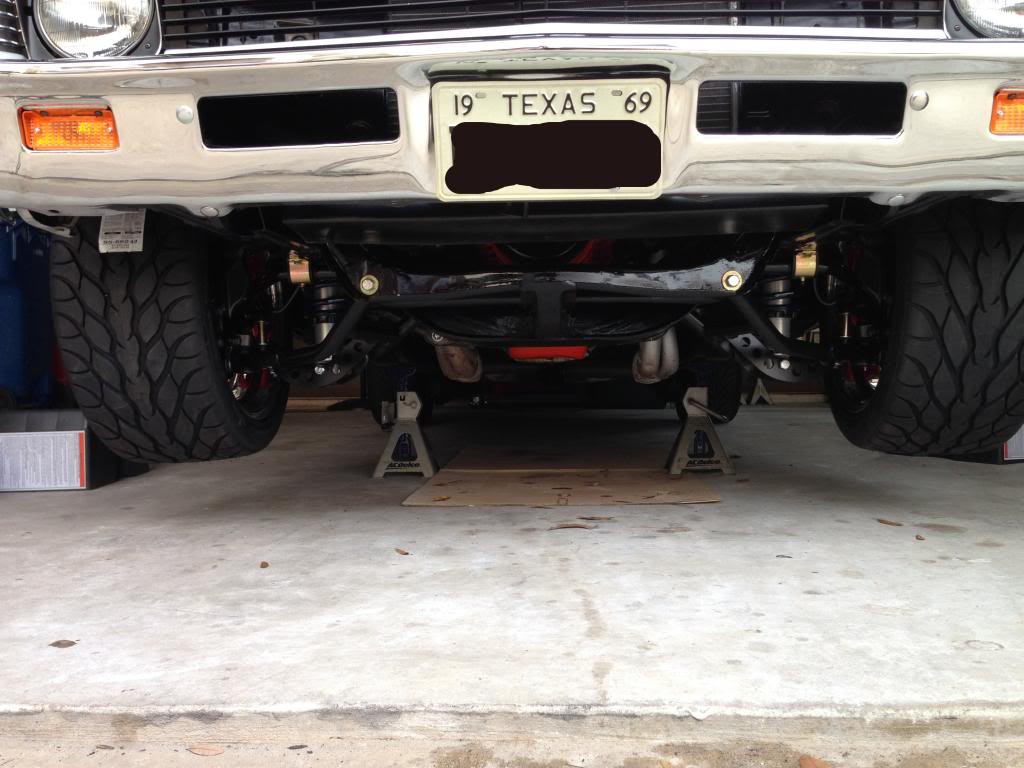
ridetech 4 Link installed. Just working on pinion angle and overall stance now. Tabs also need to be welded to axle housing. Exhaust needs to be re-hung.
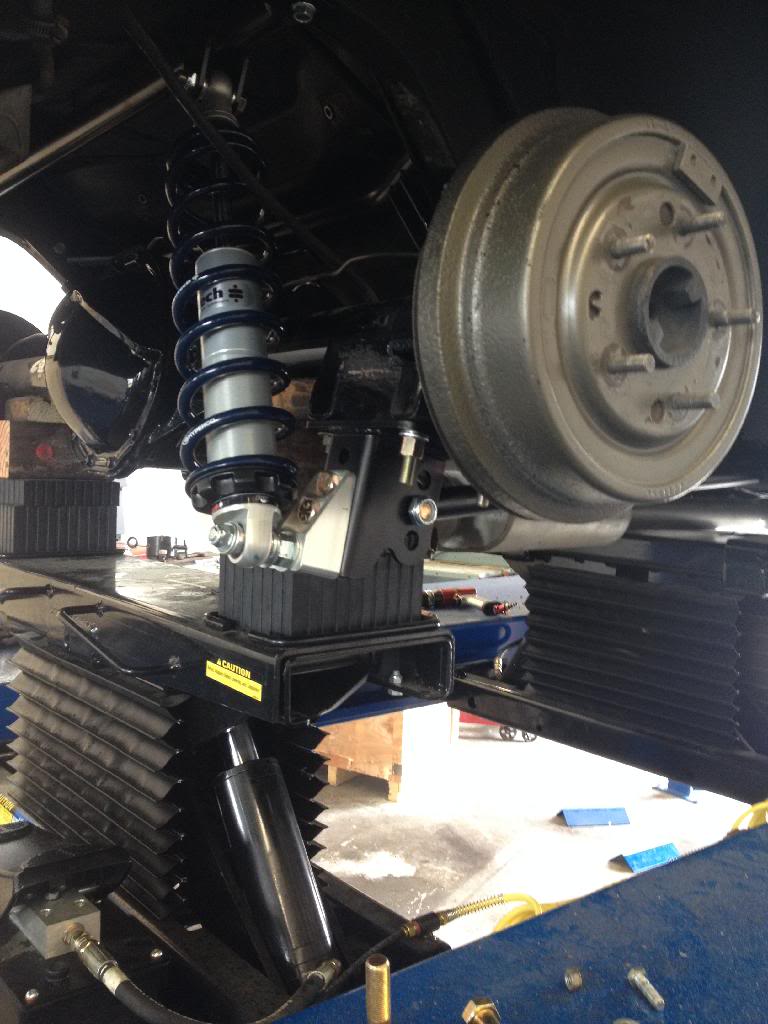
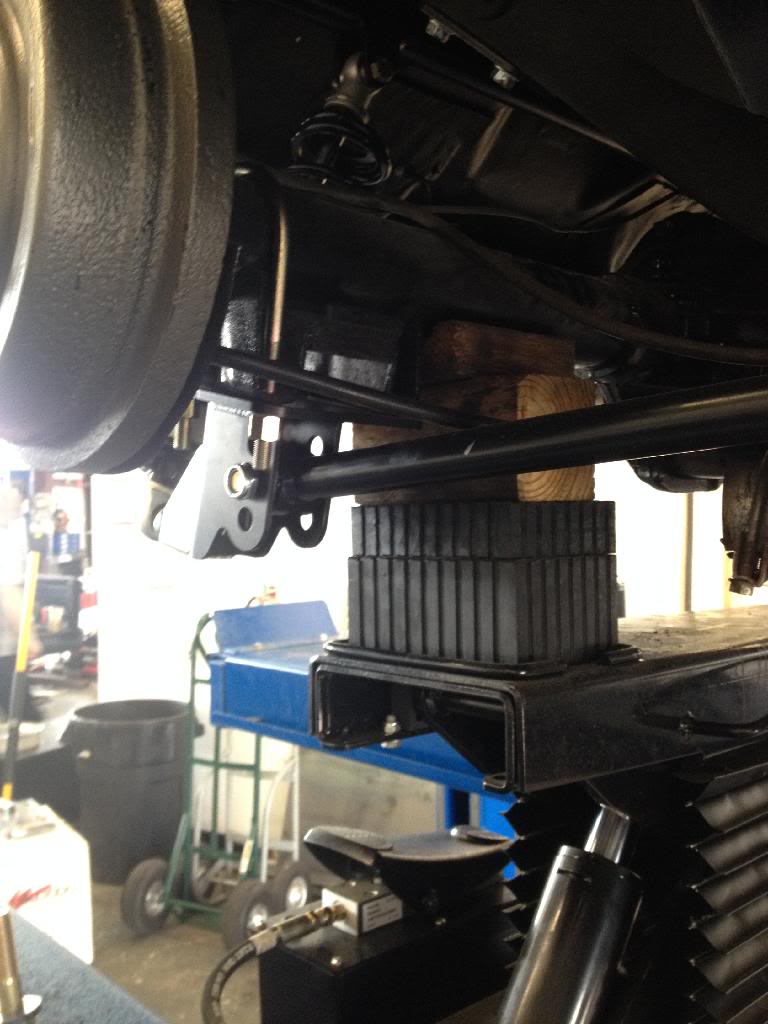
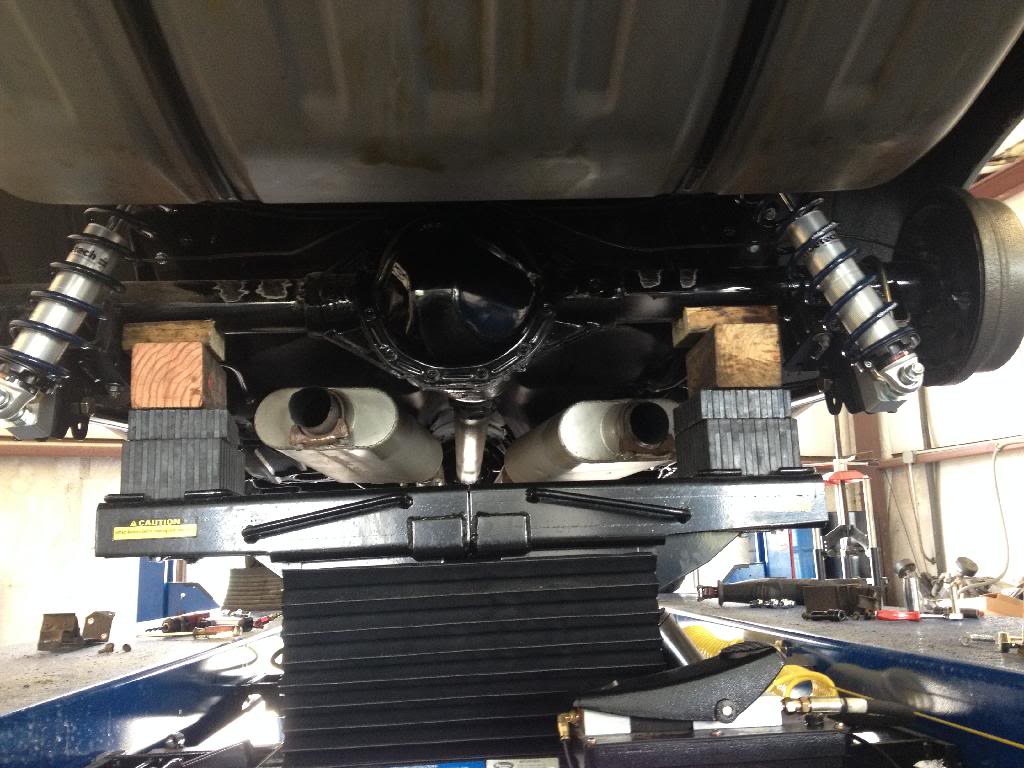
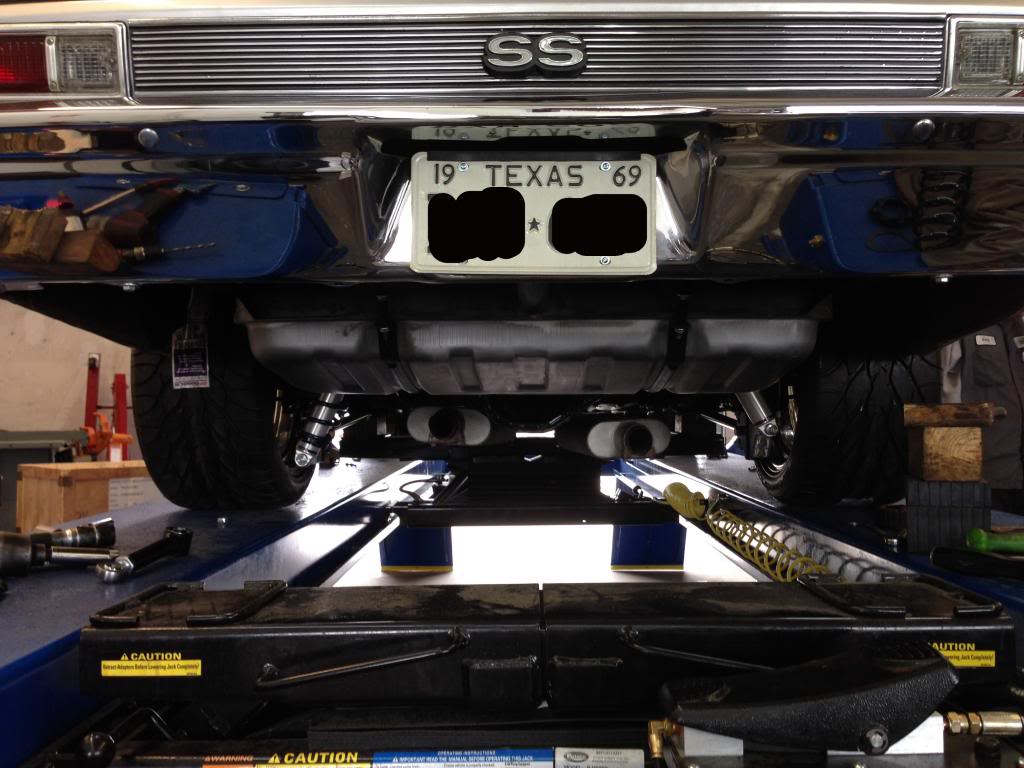
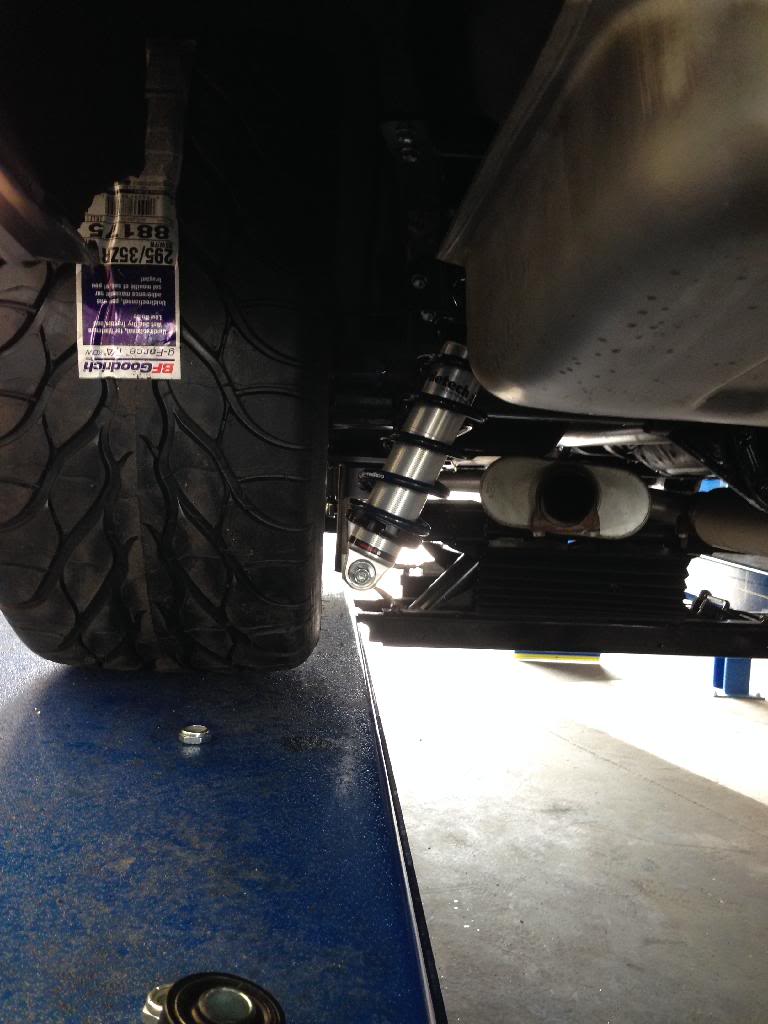
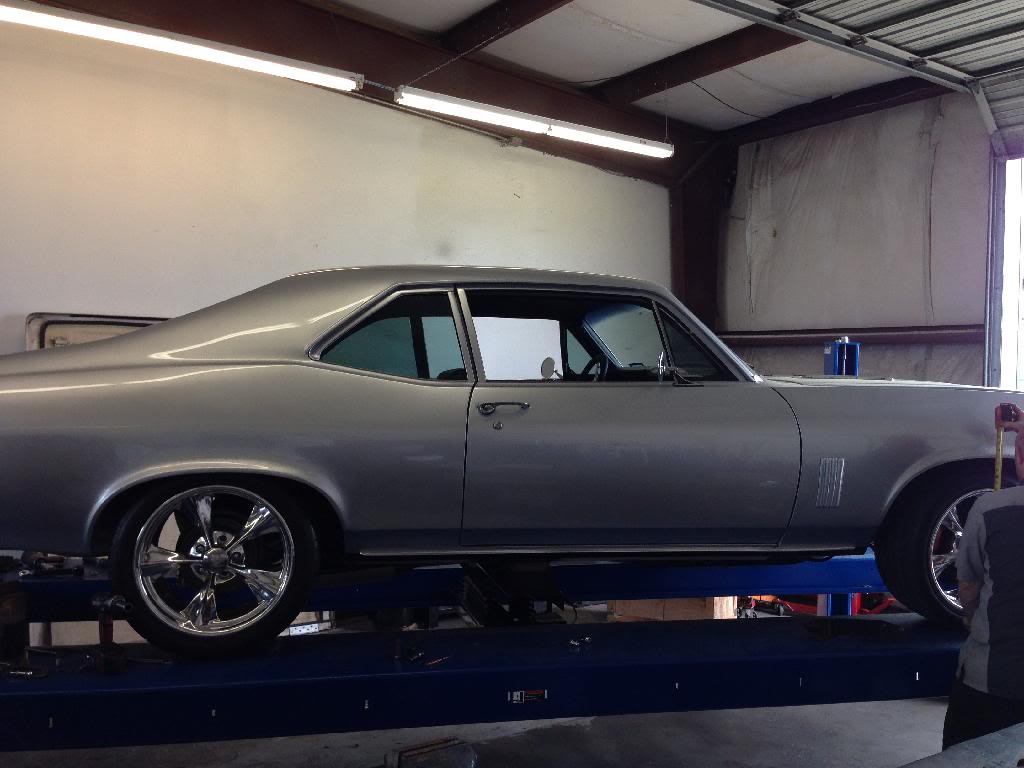
Both the front and rear will settle once they have a load and a few miles on them.
Wilwood rear brakes are next....1969 Nova SS Build Thread https://www.pro-touring.com/threads/...da)-69-Nova-SS
04-03-2014 #19
Registered User
- Join Date
- Jul 2005
- Location
- Texas
- Posts
- 255
Coming together.
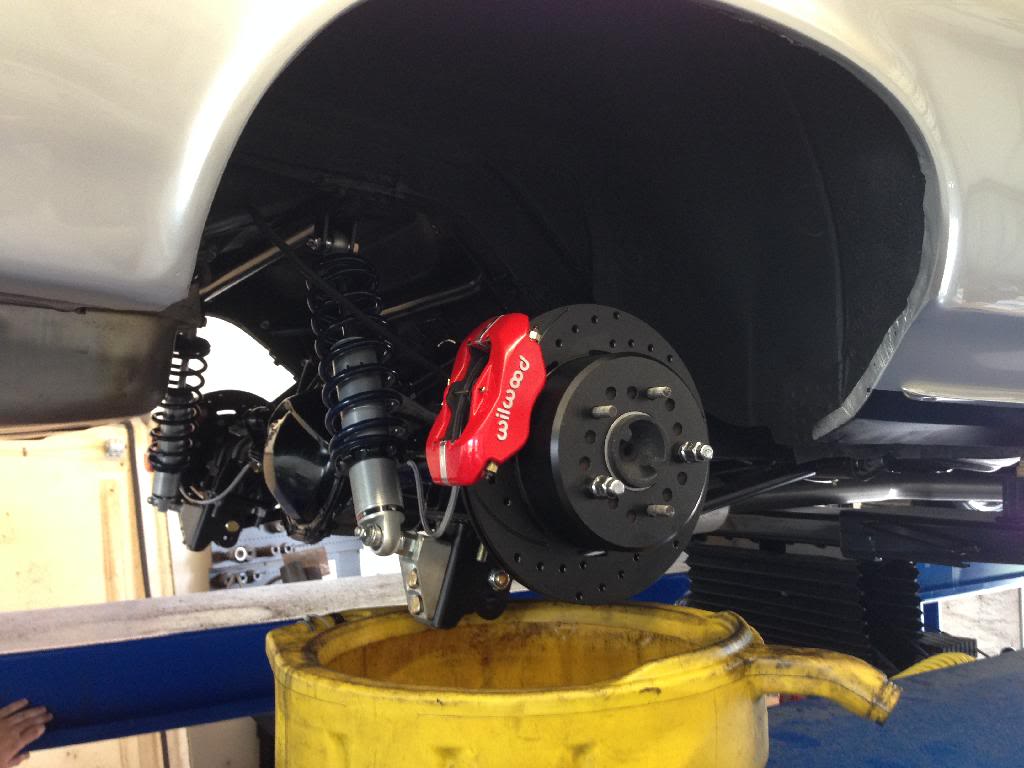
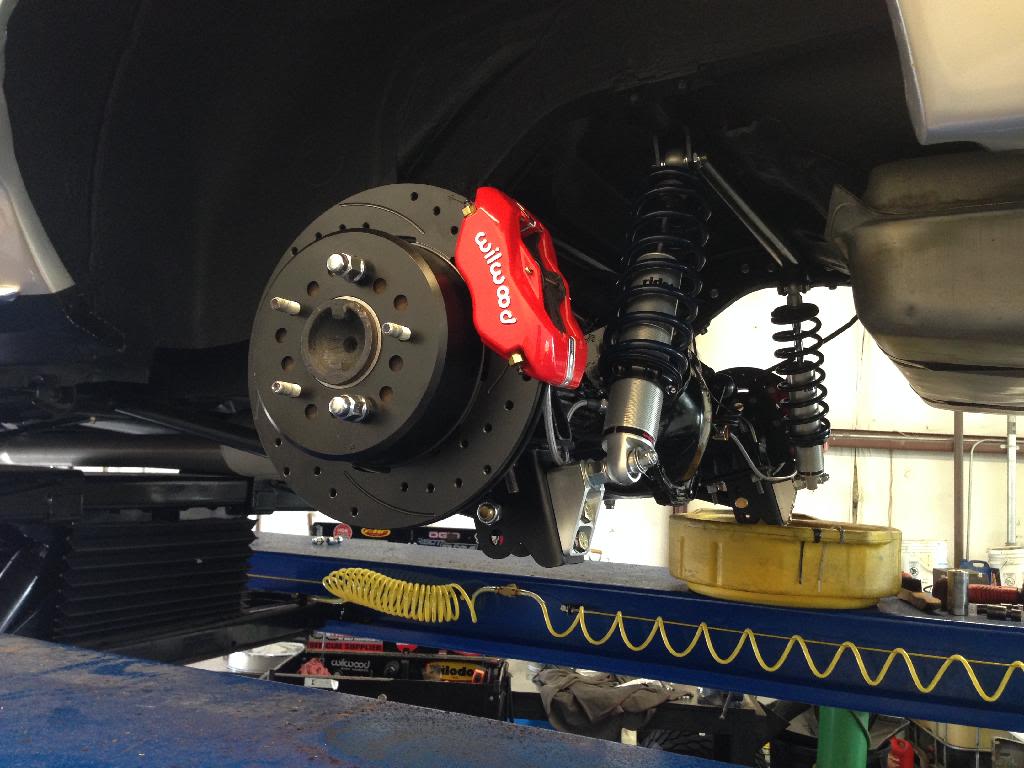
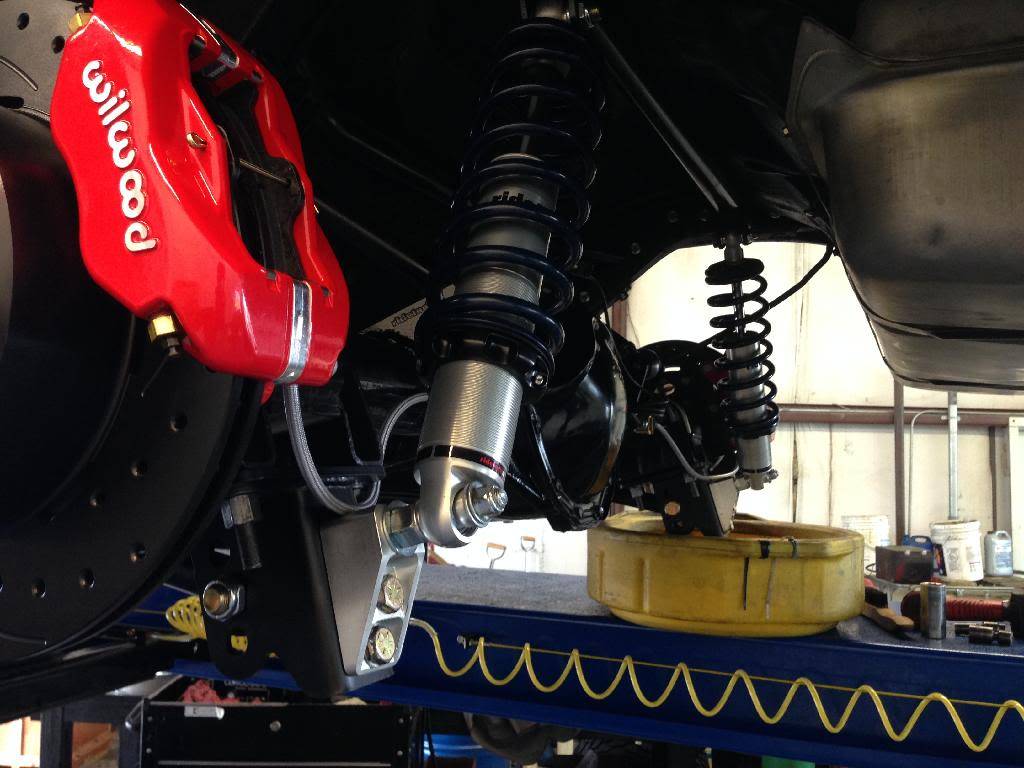
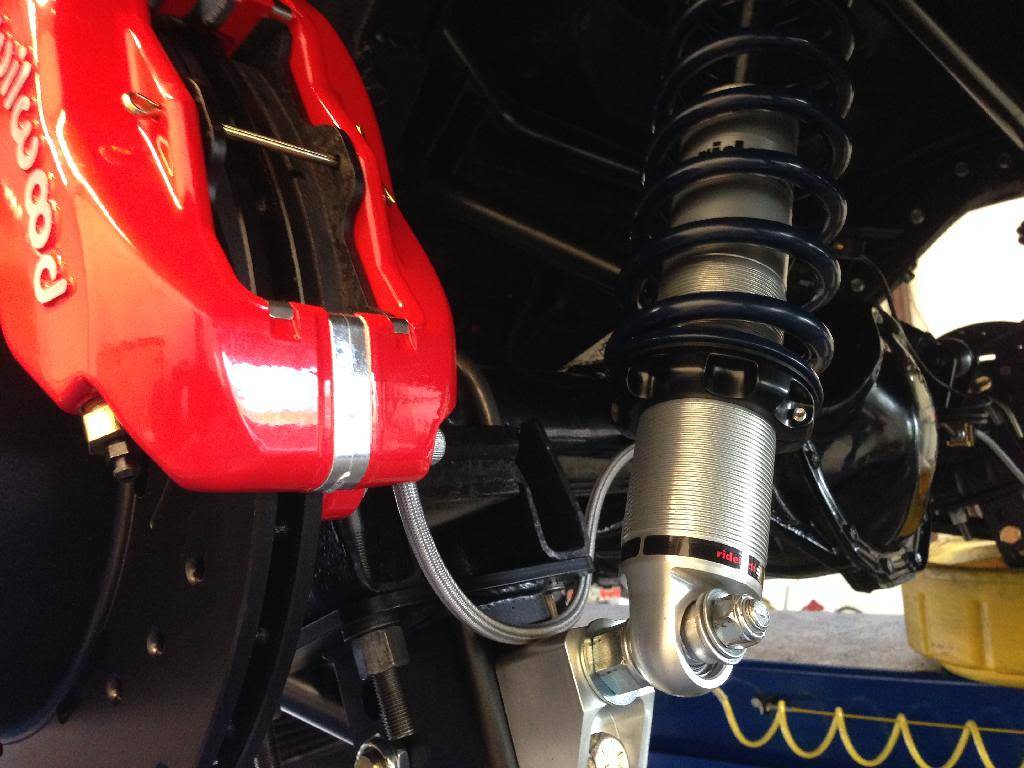
Should be ready for alignment tomorrow....1969 Nova SS Build Thread https://www.pro-touring.com/threads/...da)-69-Nova-SS
04-12-2014 #20
Registered User
- Join Date
- Jul 2005
- Location
- Texas
- Posts
- 255
Well, got her out of the shop last week. However, things were moving too smoothly....something crappy was bound to happen.
Picked it up, brought it home, then back out for a shakedown drive to test the new suspension bits, rear brakes, ride quality, and alignment. Wanted to get the suspension to settle so I would know if I needed to make any adjustments before really putting her on the road.
I drove about 4-5 miles and the m21 shifted fine. Then as I downshifted to 1st to pull into a shopping center parking lot, it just stuck in 1st gear. Its not the shifter. Its internal. Detached the linkage and tried shifting manually, and it was not to be. I will be replacing it soon. In the meantime, here are some minor updates and pics.
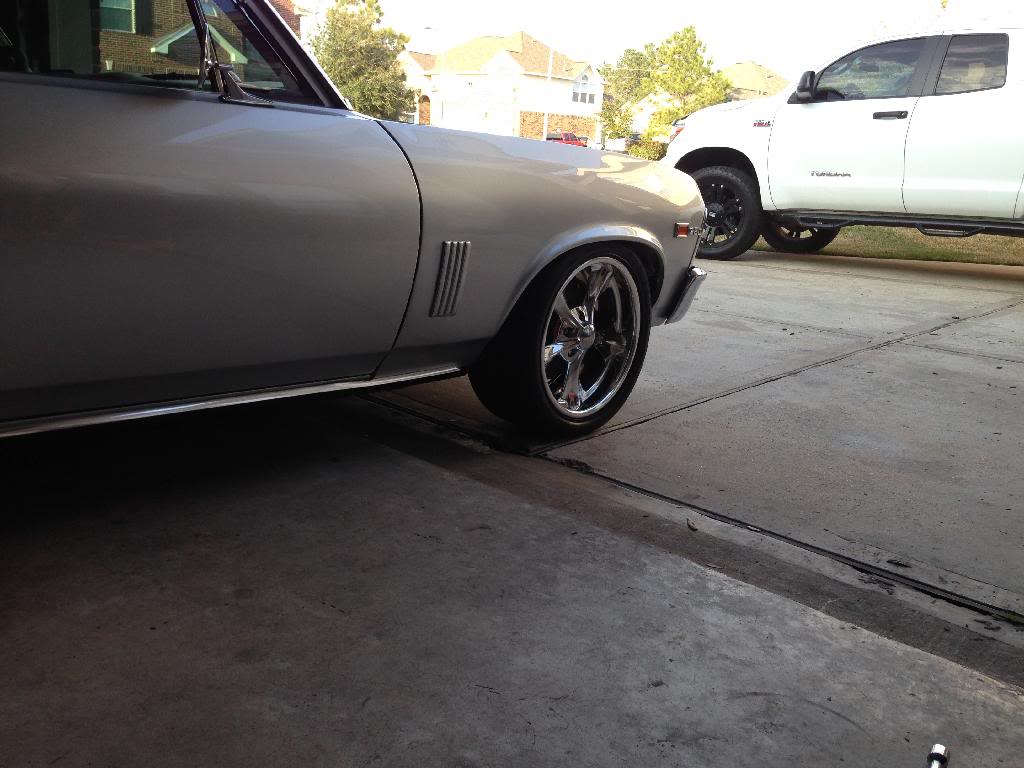
Took these in the parking lot that I pulled into when the tranny failed :mad: The front will come down a bit more.
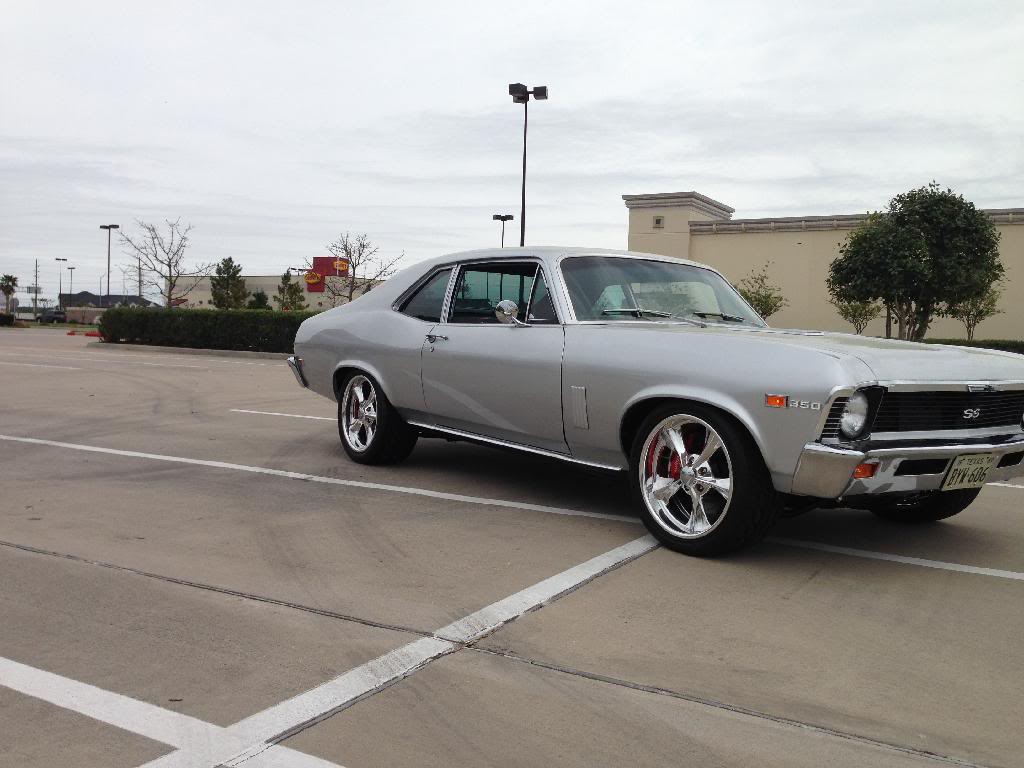

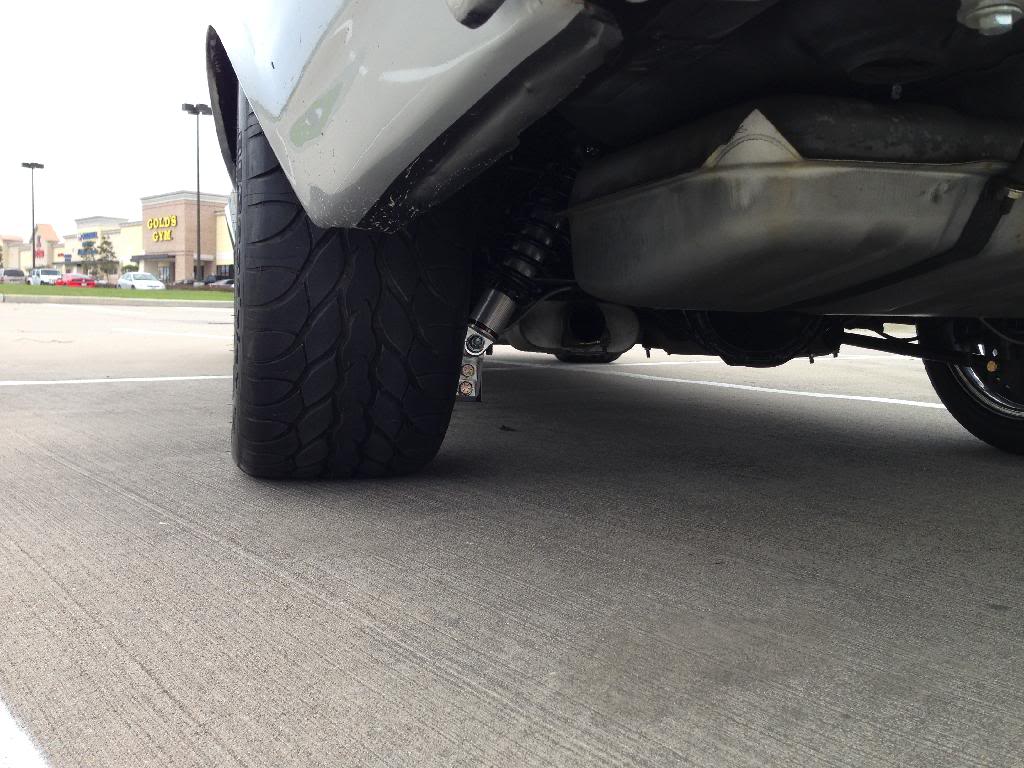
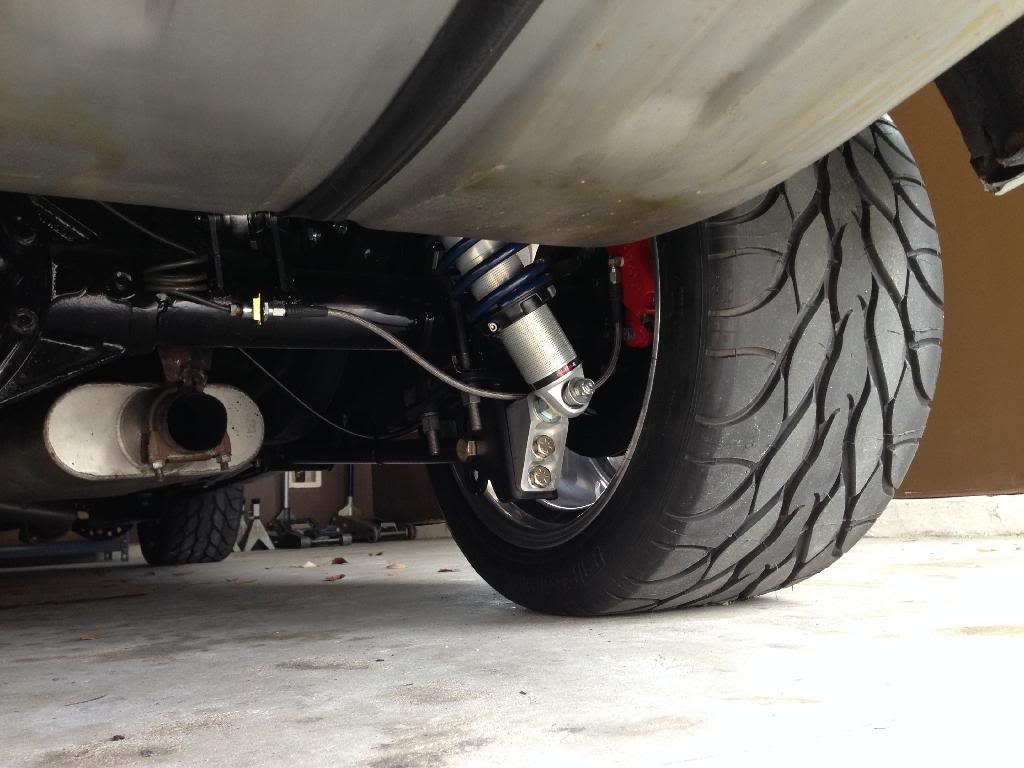
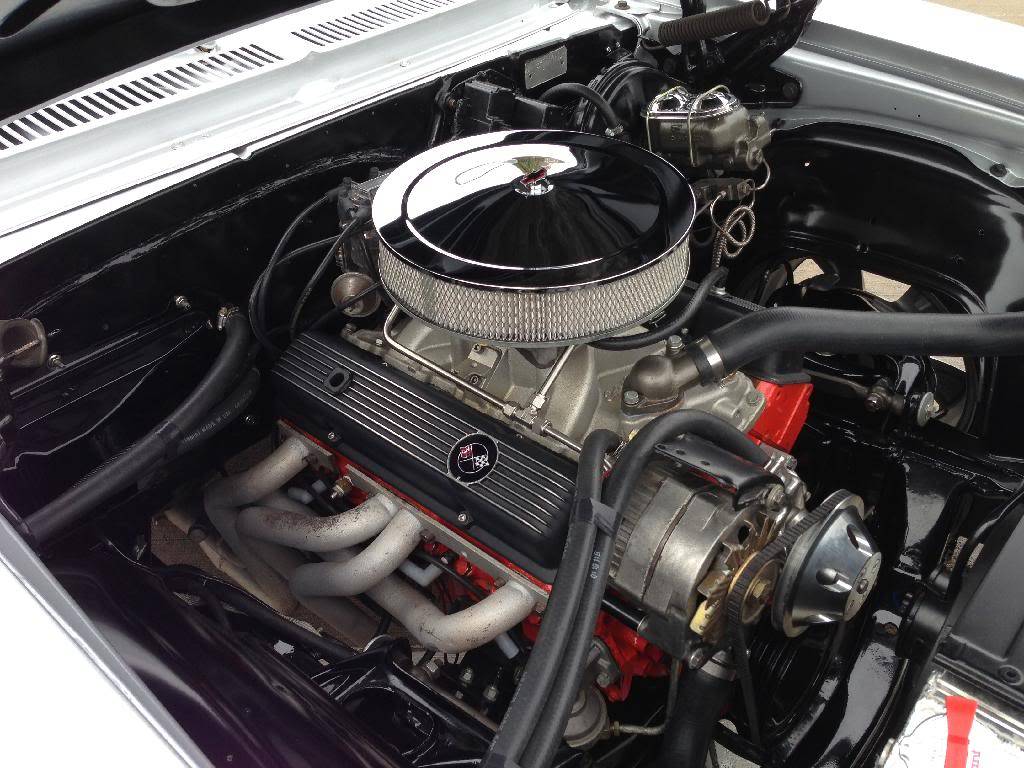
While my baby is in cripple mode, I at least had plenty time to clean up the engine bay by swapping those crappy looking headers out for a new set of Hooker ceramic coated ones and a nicer air cleaner and K&N filter element.
Old headers...
Before
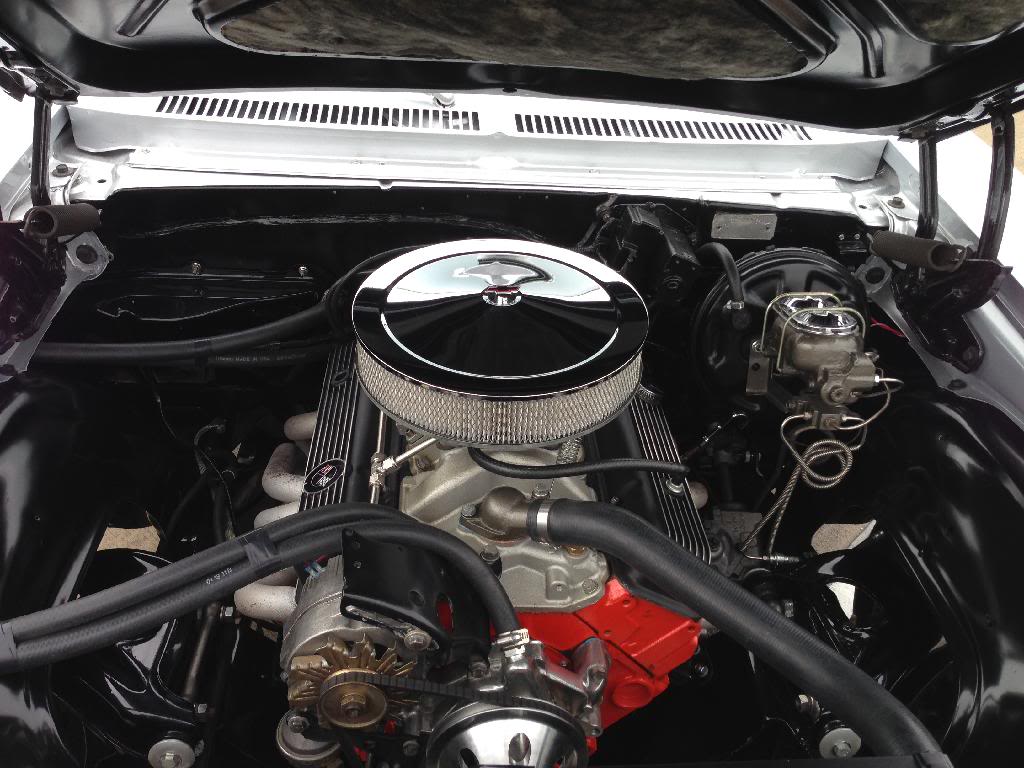
After
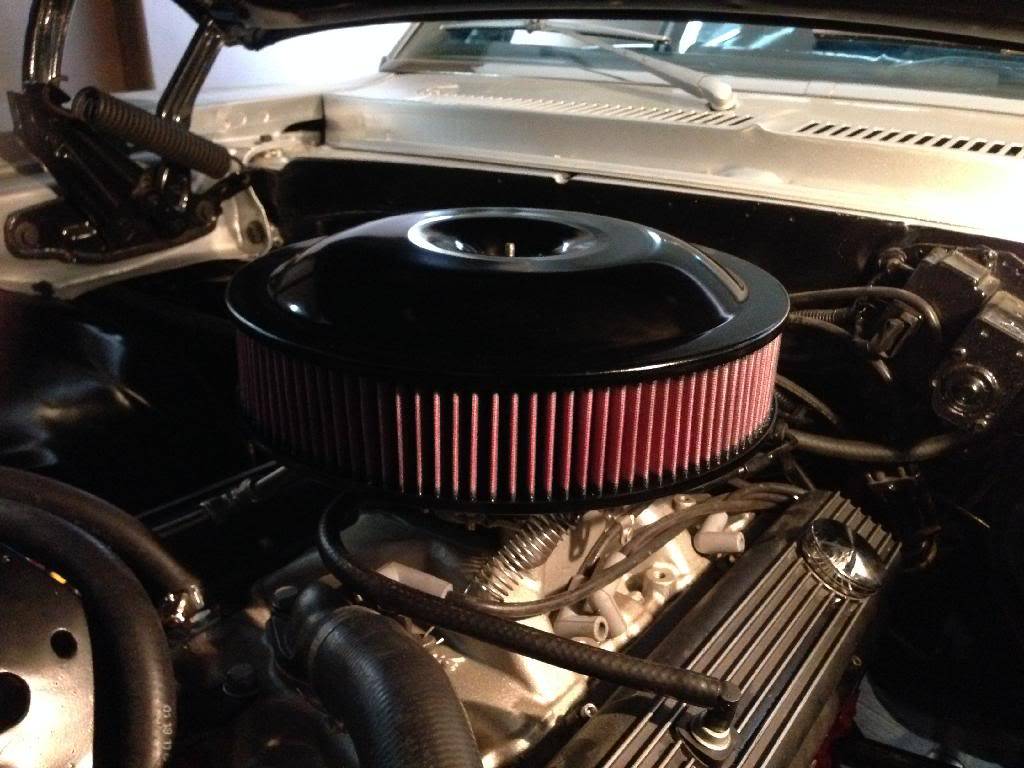
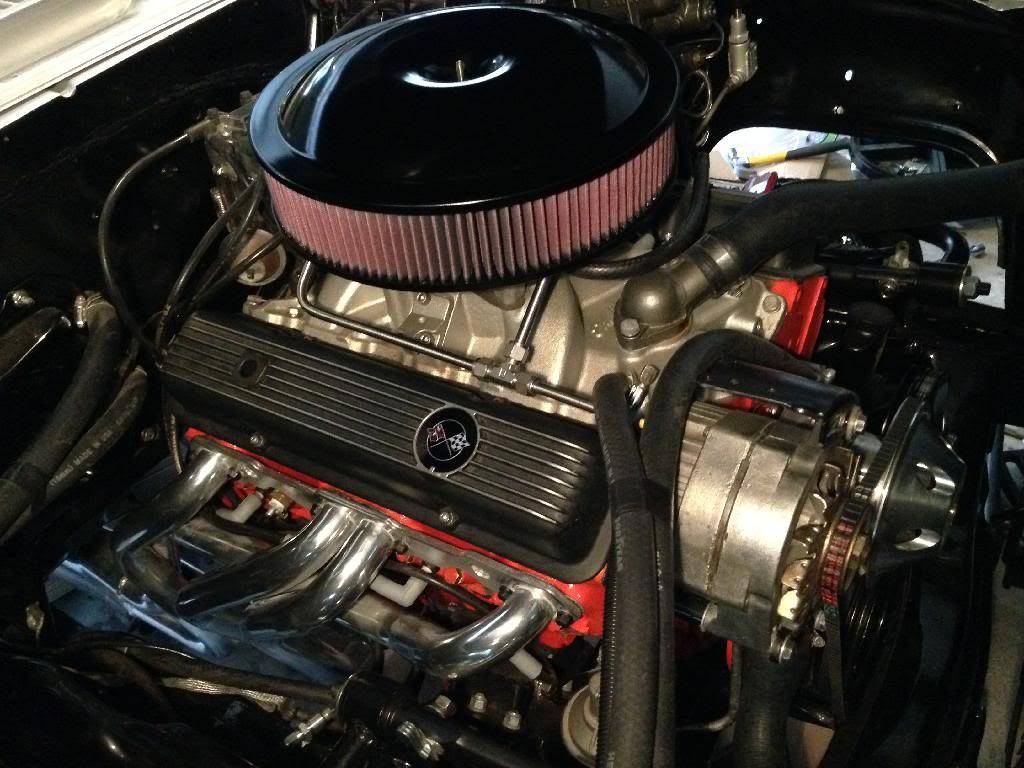
New breather is on the way...
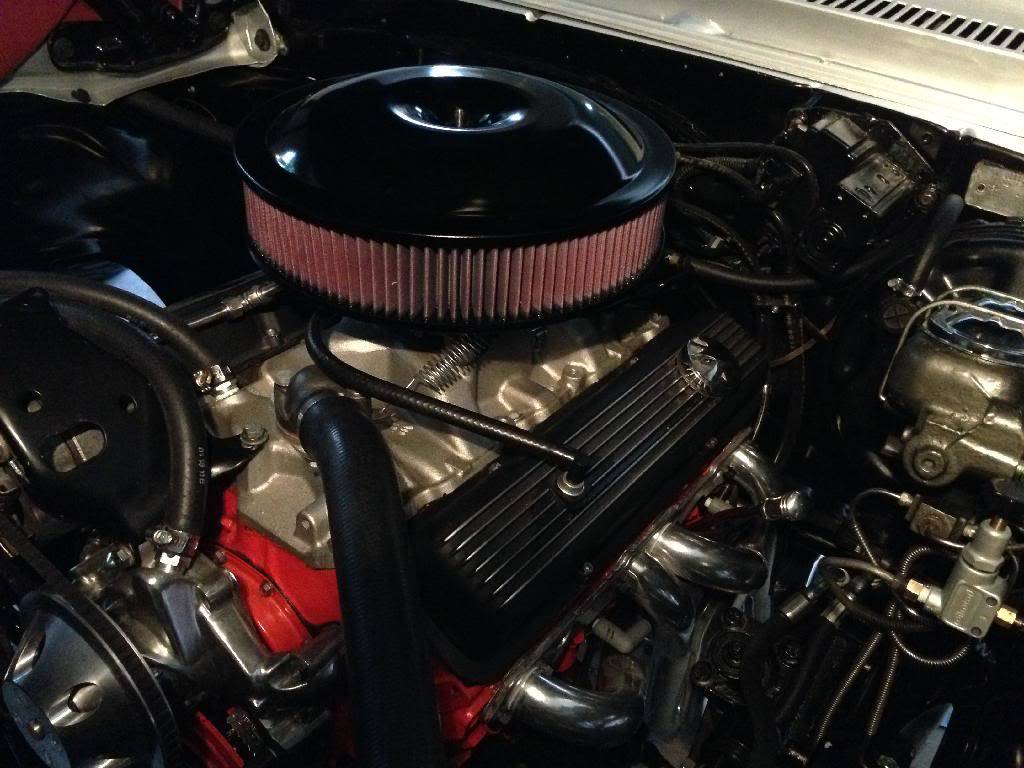
Next items on list...
Replace tranny, of course
Finish exhaust
Have rear seat trimmed to fit mini tubs
More to come.........1969 Nova SS Build Thread https://www.pro-touring.com/threads/...da)-69-Nova-SS


 Reply With Quote





