


Results 1 to 9 of 9
Thread: Rool-a-Round Metal Cutoff Rack
-
02-15-2014 #1

 Registered User
- Join Date
- Mar 2004
- Location
- Mid-Michigan
- Posts
- 2,764

Rool-a-Round Metal Cutoff Rack
I have gone out in the shop a half dozen times to clean up my drop pile but, once I get out there and look at all of it, I stop. I have no where to put it that is easily accessible and orderly so I was getting a little frustrated...
I got to thinking about all of the buckets (8 of them!) I am using right now as containers and decided to design a mobile rack to use those buckets.
I measured up a couple of buckets (I have a few different sizes) and modeled up an average size in UG. I had an idea already in my head so I ran with it on the computer. Once the bucket was modeled the rest was easy.
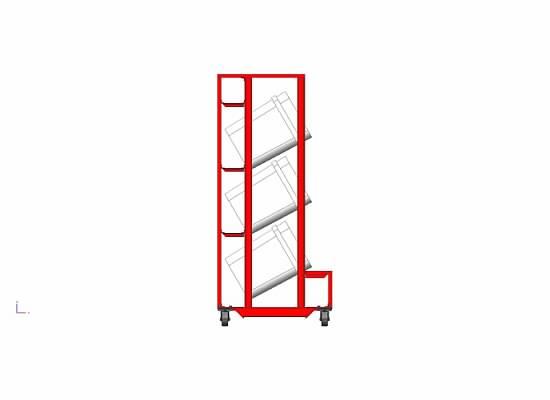
This is a side view. The rack is 24 inches wide.
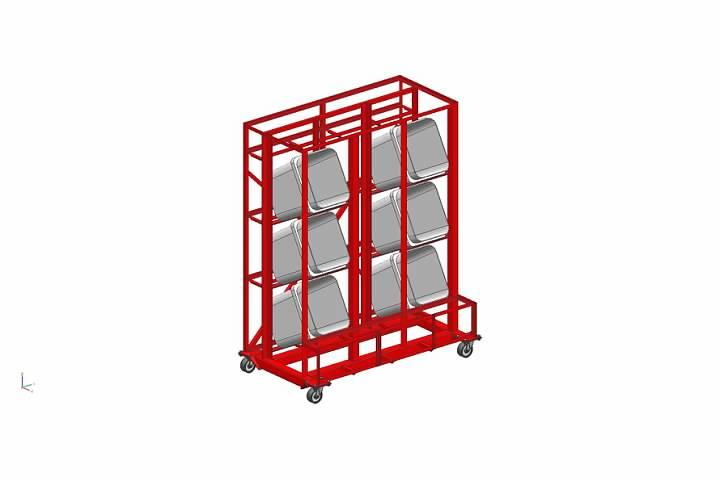
Here is a front view. It is 42 inches long and about 48 inches high. Six buckets fit comfortably with room for three more in the middle if I decide to go that way. Right now I am thinking I will make this middle bay a vertical rack for longer drops.

The buckets set in, and on, 3/4 x 3/4 angle at about a 30deg tip.
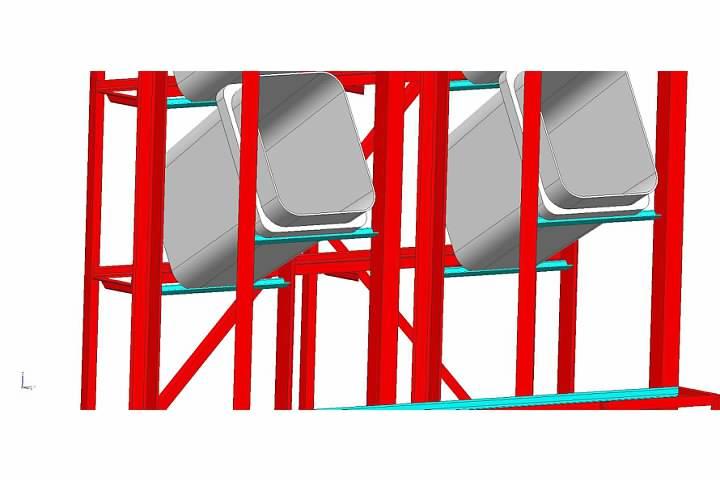
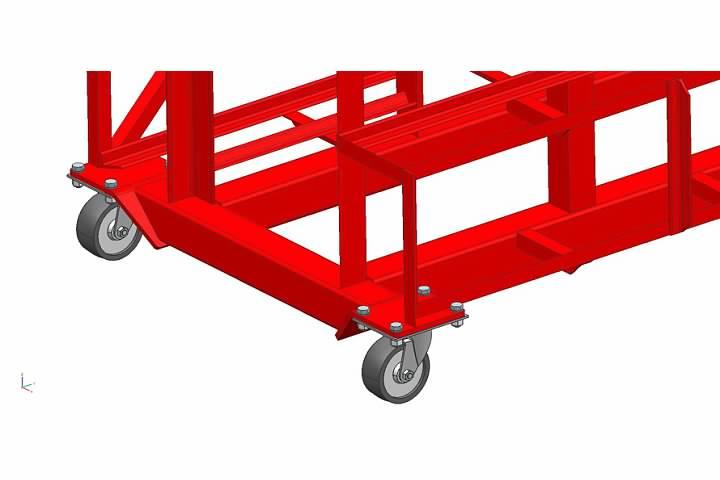
A close up of the casters. You can see I am also building in a lot of narrow racks for long lengths, whether sheet metal or tubing, Should work very well. I plan to put steel on the bottom and aluminum higher up.
I did the details last Monday night to build my stock list and ordered the steel Tuesday afternoon. It was in Wednesday so I picked it up and had in the shop by 5.

Got started on the build this morning about 8. I used some reclaimed 2 x 2 x 1/8 wall tubing to build the lower frame. Spent a few minutes cleaning that up with a flap wheel on my HF angle grinder.
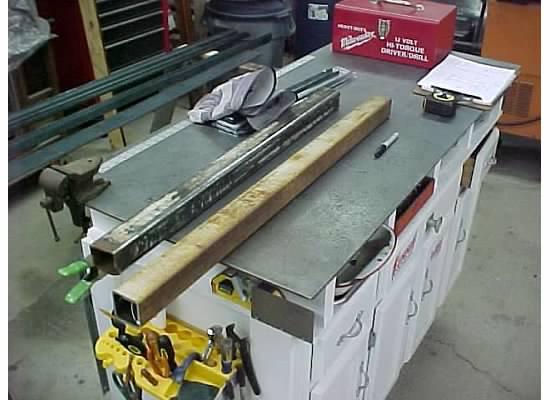
Lower frame pieces cut and ready to weld
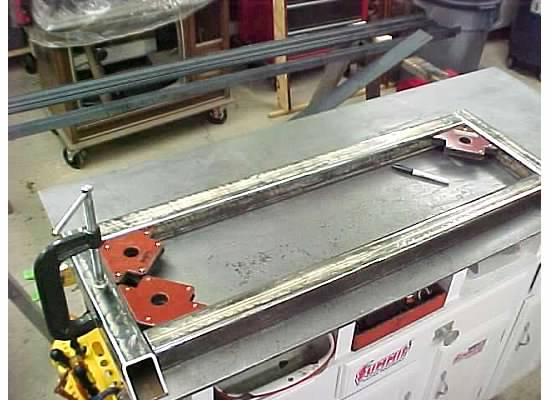
With the lower frame done we started making the caster brackets. Cut these out of some 1/4" plate. Drilled out to match the caster bolt pattern and put a 45 deg bend on them.
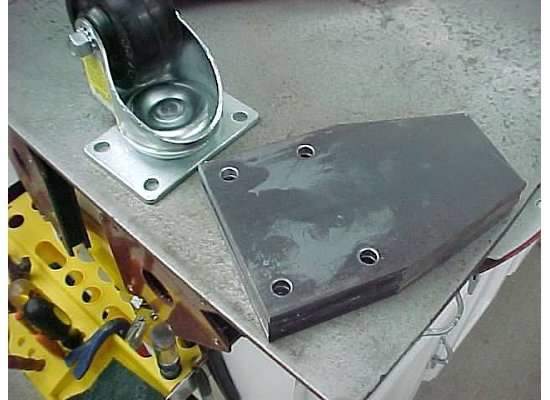
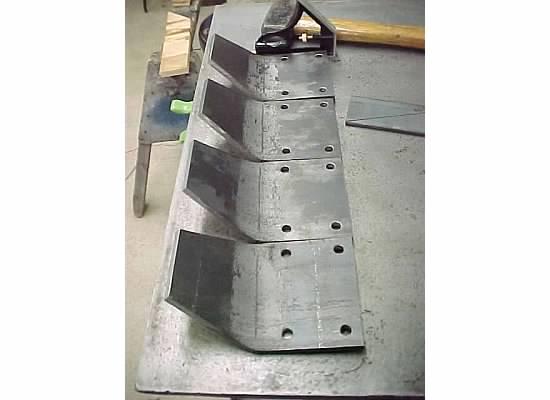
Welding on the caster plates.
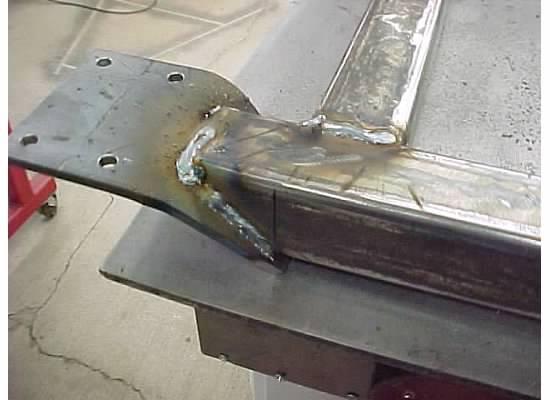
While Mel was working on the caster plates I was cutting steel for the actual rack part of the build.
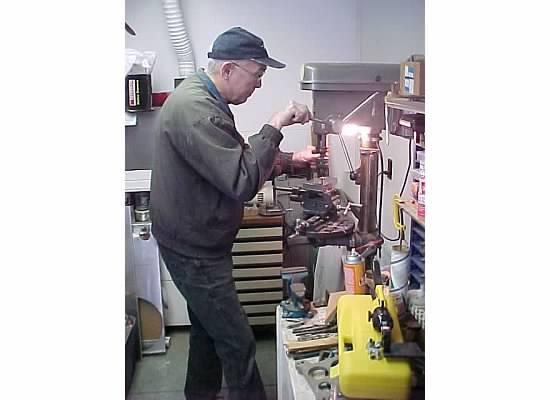
Mel drilling the plates.
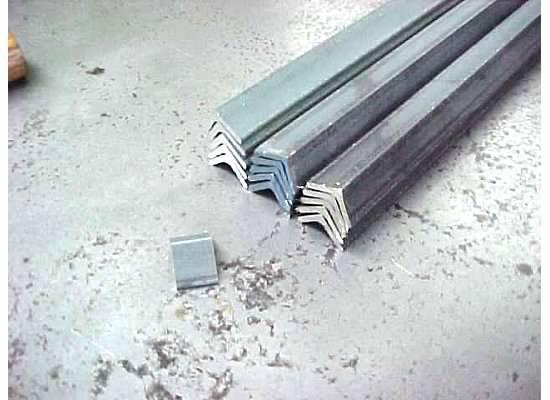
Some of the steel I cut. These are 3/4 x 3/4 angle which make up most of the horizontals. The length of the rack proper is 39.75 inches. This let me get three pieces out of a 10' long piece. That little chunk in front is what was left from each piece as "scrap"...
The vertical pieces going together. These are 1 1/2 x 1 1/2 x 48" long. The rack isn't all that big 24" wide x about 42" long and 51" tall. It will have a lot of storage in it though.
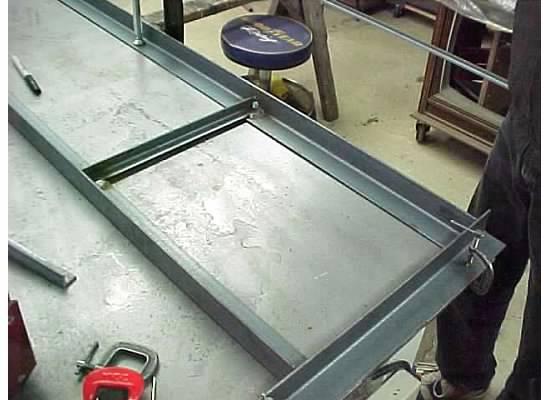
With the lower frame done, 4 vertical frame done and most of the horizontals cut we will get this thing welded together tomorrow.

Mark
Mark:
"Bad Ast" Astro Van. Just because I did it... Doesn't mean it's possible...
This my Bad Ast thread...
https://www.pro-touring.com/showthre...roject-Faze-II
This is my Fotki album...
http://astroracer.fotki.com/
-
02-15-2014 #2 Registered User
- Join Date
- Oct 2010
- Location
- Mena, AR
- Posts
- 287
Mark
Great idea! I like the design, but I have a question or suggestion. Could you add a narrow shelf or ledge across the back of the frame to give you a place to put larger pieces of sheet metal without cover the bins on the front. That way if you have a 4x6 piece of 18 or 20 gauge after a project it's out of the way but easily accessed. Just a thought.
Chris
Chris
1967 ElCamino
2004 Chevy SSR (my sons)
1951 Chevy pickup(my sons)
1967 Elky https://www.pro-touring.com/showthre...587-Evil-Angel
1951 truck https://www.pro-touring.com/threads/...3-year-old-son
02-16-2014 #3
Registered User
- Join Date
- Oct 2012
- Posts
- 219
Thats brilliant.
02-16-2014 #4
Registered User
- Join Date
- Mar 2004
- Location
- Mid-Michigan
- Posts
- 2,764
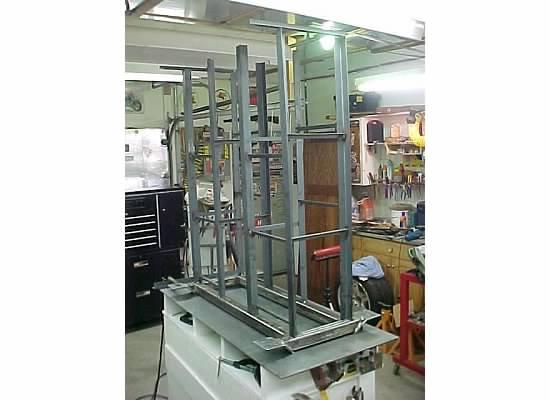
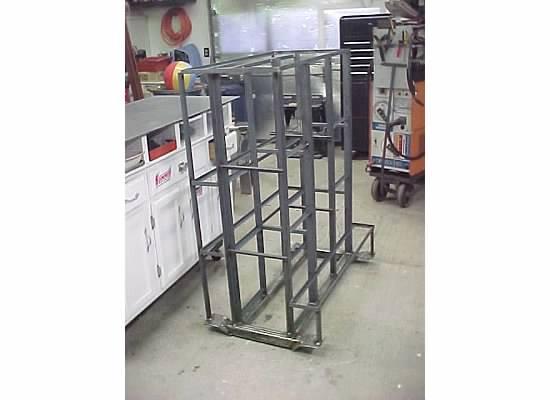
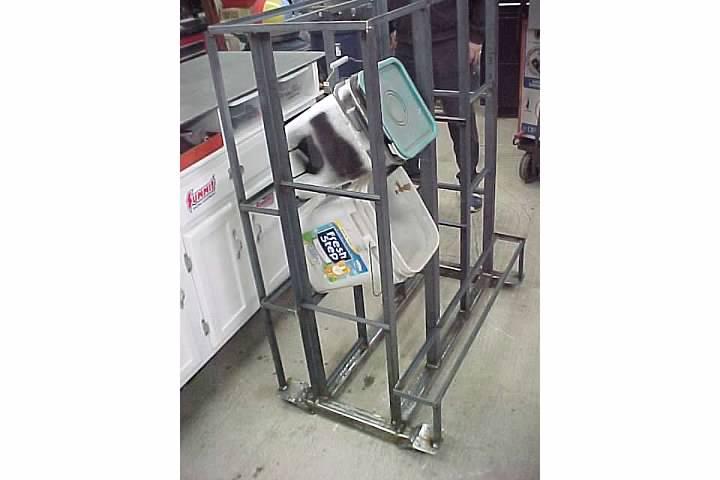
Thanks for the positive responses guys! The rack went together very well. I will be getting it ready for paint in the next few days (evenings I guess).
Chris, I had considered Sheet stock storage when designing it but decided not to worry about it. This is basically just a cut-off and drop organizer and all of my good/new stock is already stored in other spot.
We got it wrapped up today and I think it turned out great!
 Mark:
Mark:
"Bad Ast" Astro Van. Just because I did it... Doesn't mean it's possible...
This my Bad Ast thread...
https://www.pro-touring.com/showthre...roject-Faze-II
This is my Fotki album...
http://astroracer.fotki.com/
02-23-2014 #5
Registered User
- Join Date
- Mar 2004
- Location
- Mid-Michigan
- Posts
- 2,764
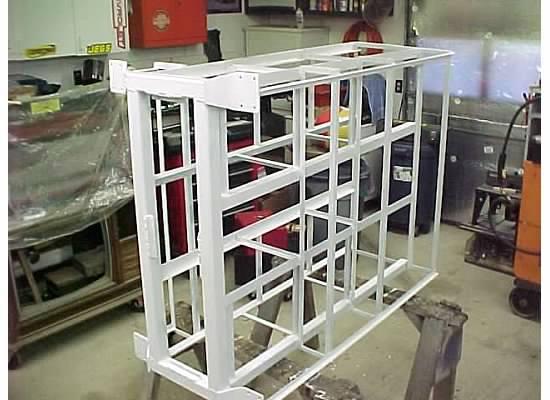
Spent a few hours during the week getting the welds cleaned up and the rack wire brushed. Saturday I got a coat of primer on the rack. I brushed it on. Would have went through three cans of spray paint if I had gone that route and I didn't want all of that overspray in the shop.

I used Rustoleum's clean metal primer. It is white so the red paint should be pretty brite over the top of that.
While the paint was drying I was working in the house changing out the old hollow core bathroom door with a new oak 3 panel door that I stained and finished a while back. New door frame and all. Mark:
Mark:
"Bad Ast" Astro Van. Just because I did it... Doesn't mean it's possible...
This my Bad Ast thread...
https://www.pro-touring.com/showthre...roject-Faze-II
This is my Fotki album...
http://astroracer.fotki.com/
02-23-2014 #6
Registered User
- Join Date
- Mar 2004
- Location
- Mid-Michigan
- Posts
- 2,764
Went out this morning and started putting on the red. This is Safety Red I get at Ace hardware. It's oil based and very tough when it dries.
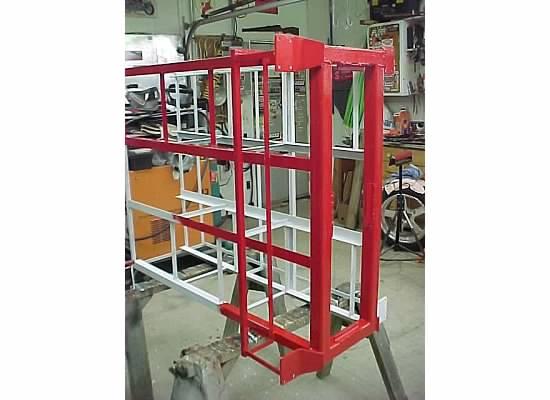
Got a first coat on most of it and worked on the door install while it was drying.
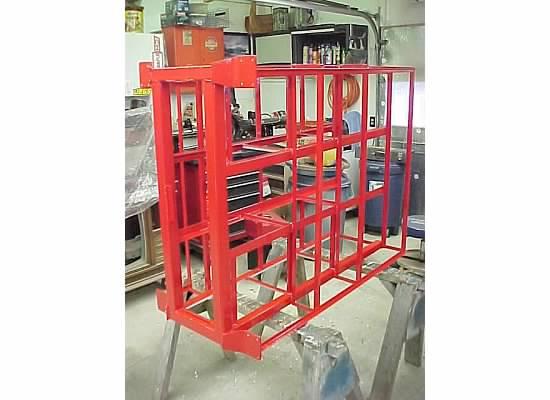
Once the rack was mostly dry my wife helped flip it over so I could finish the paint.

Had a good weekend. Got the rack all painted and that door finally installed. Tomorrow will get the casters installed and I can start sorting thru the pile...
What did you guys do?Mark:
"Bad Ast" Astro Van. Just because I did it... Doesn't mean it's possible...
This my Bad Ast thread...
https://www.pro-touring.com/showthre...roject-Faze-II
This is my Fotki album...
http://astroracer.fotki.com/
02-23-2014 #7
Registered User
- Join Date
- May 2010
- Location
- kitchener,Ontario,Canada
- Posts
- 2,358

I liked at the drawing you sent...then I sat on the couch lol the Canadian men's and women's curling and hockey....then attempted to watch the rain delay 500
Ryan
02-25-2014 #8
Registered User
- Join Date
- Mar 2004
- Location
- Mid-Michigan
- Posts
- 2,764
Got the casters bolted up and the shelves cut out of 1/2" OSB tonight. The cart rolls around very nicely. I'll start sorting thru the scrap pile tomorrow. ;D
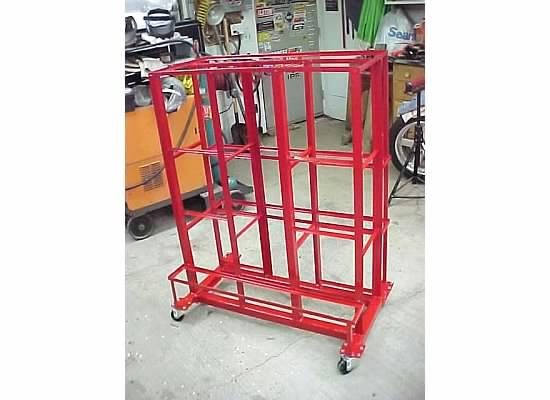
I have to get all of my buckets emptied out so I start sorting...
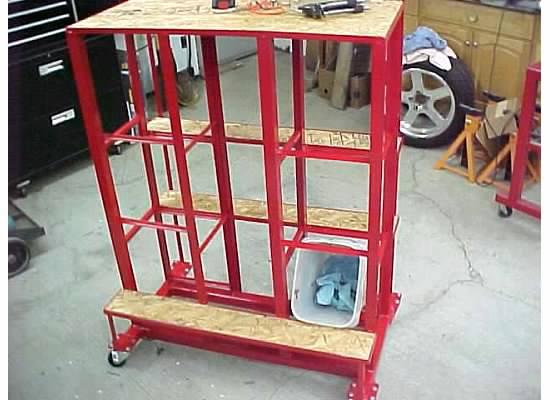
I still have one shelf to make. The lower one in between the 2 x 2's
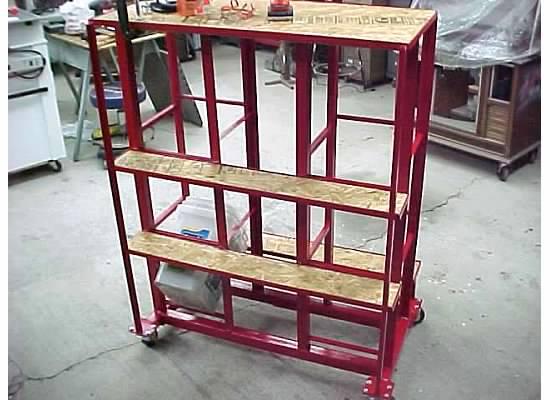
I think this will be a much better solution to storing my cut-offs then piling them on the floor.Mark:
"Bad Ast" Astro Van. Just because I did it... Doesn't mean it's possible...
This my Bad Ast thread...
https://www.pro-touring.com/showthre...roject-Faze-II
This is my Fotki album...
http://astroracer.fotki.com/
03-01-2014 #9
Registered User
- Join Date
- Mar 2004
- Location
- Mid-Michigan
- Posts
- 2,764
The rack turned out real nice and I finally got the time to get that pile of scraps cleaned up this morning. I started by dumping a bucket on the table so I had something to start sorting into.
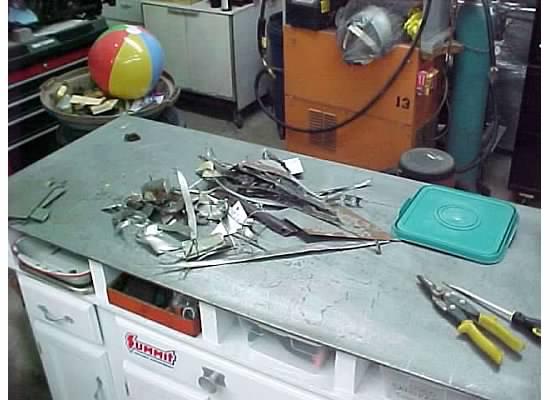
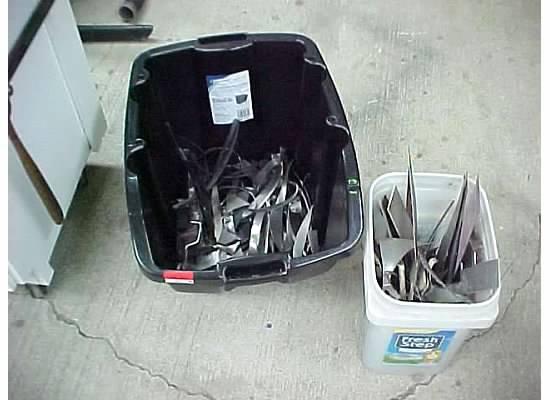
There was a LOT of junk in the buckets. I started tossing all of the unusable stuff into a tote bin. 75% of what I sorted through went into the tote...
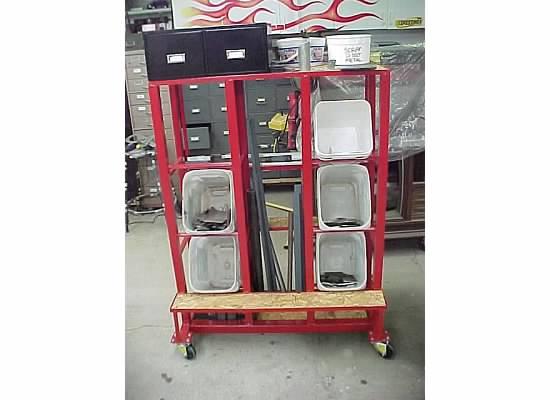
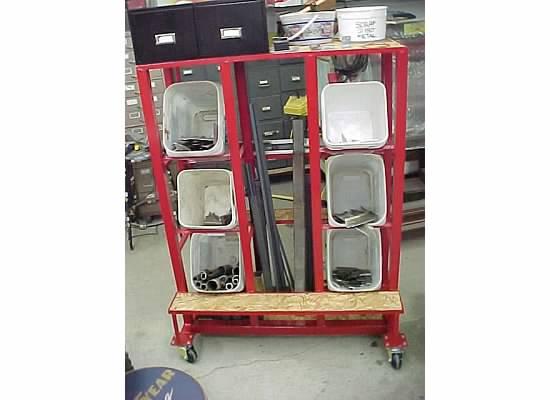
After I had been through four or five buckets this is where I was at. All of the heavy stuff, tubing and anything over an 1/8th inch is in the bottom buckets. Sheet metal up to 14ga is in the middle two and the lighter stuff and aluminum or up top. The drawer unit I had laying around and it seemed like a good storage unit for plate and tube aluminum.
This a pic of the SECOND tote I filled with stuff to go to the recycler.
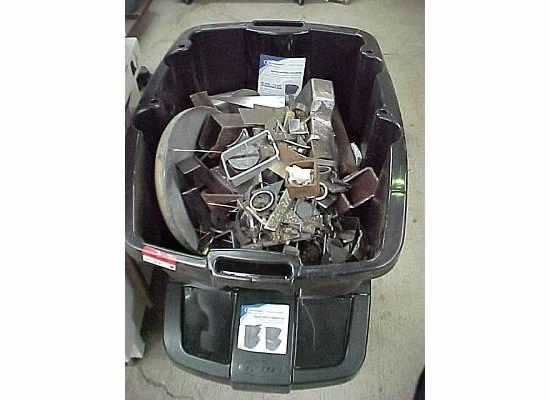
Getting the pile gone.
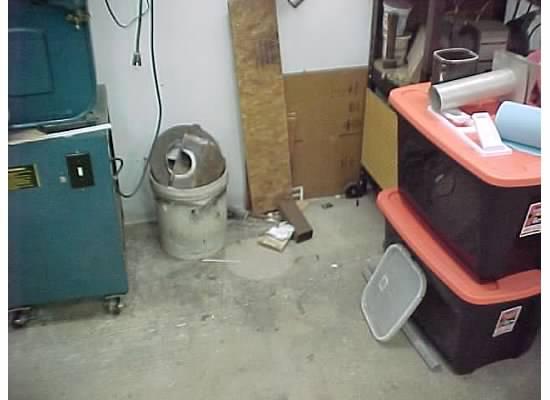
With everything cleaned up I am left with this. Everything is in it's place and there is plenty of room for more.
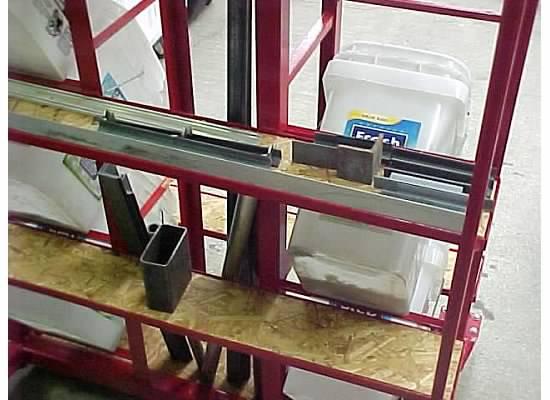
The back shelves hold a lot of shorts. I am already coming up with some ideas to modify the cart....
This was good project. I am glad it's done and can be utilized now.Mark:
"Bad Ast" Astro Van. Just because I did it... Doesn't mean it's possible...
This my Bad Ast thread...
https://www.pro-touring.com/showthre...roject-Faze-II
This is my Fotki album...
http://astroracer.fotki.com/

 Reply With Quote


