


Results 1 to 2 of 2
-
11-20-2013 #1

 Registered User
- Join Date
- Mar 2004
- Location
- Mid-Michigan
- Posts
- 2,764

Drive Adapter for my HF Elec Pipe Threader
Doing the SWAG mod to my Harbor Freight tubing roller.
http://www.swagoffroad.com/Harbor-Fr...-Kit_p_74.html
They say to just mash the 1/2" threading die onto the 3/4" drive shaft for the roller. I want to keep the 1/2" die usable so I designed an adapter to fit the octagon drive bore in the threader. This is an 8 sided bore. Would it have been to easy to make a 6 sided one?
The HF Pipe Threader.
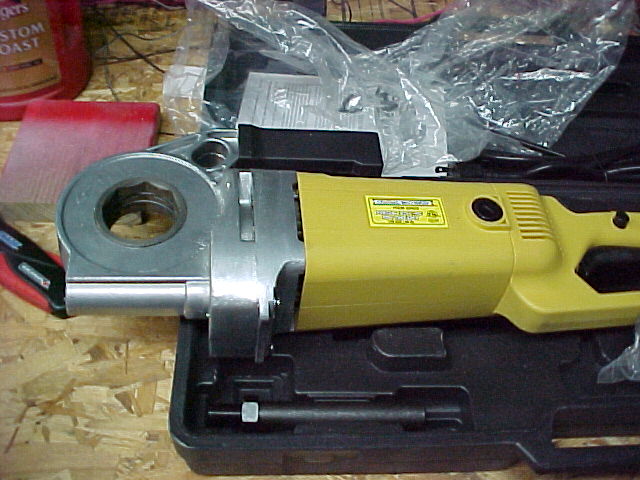
This is one of the original dies... 8 sides, not 6... Is this a "metric" hexagon?

I designed the adapter in 3D CAD so it was easy to get good dimensions. I first designed it by cutting 8 chunks of 3/8th's plate but thought it would be easier to assemble if they were all one piece.
We laid out all of the cut lines on a piece of 3/8 x 1 1/2" plate and clamped it to a small angle block.
Doing all of the cutting on the VBS was pretty quick with the layout lines and another block clamped on to guide the initial cut.
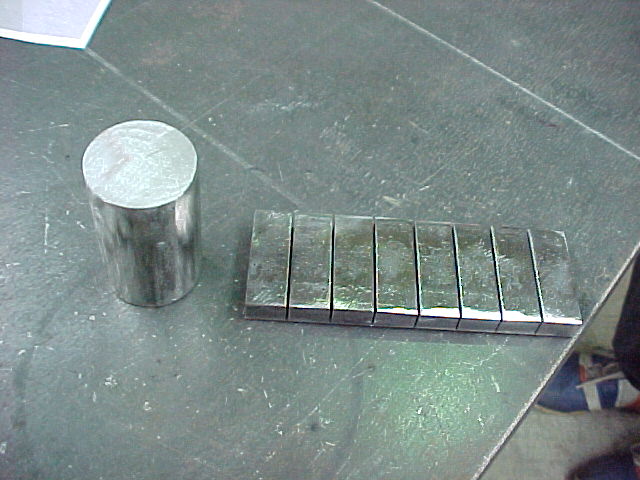
The spacing was .526 inches between the centers of the cut. With all of the cuts made.
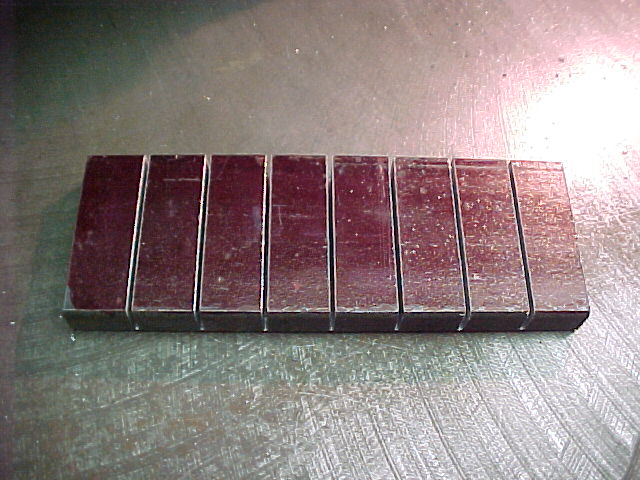
We left about .030 at the bottom of the cut to hold all of the pieces together.

This is the "spindle" for the adapter. I cut a chunk of 1 1/4" dia. steel, cleaned it up in the lathe and bored a .75 hole thru the middle.
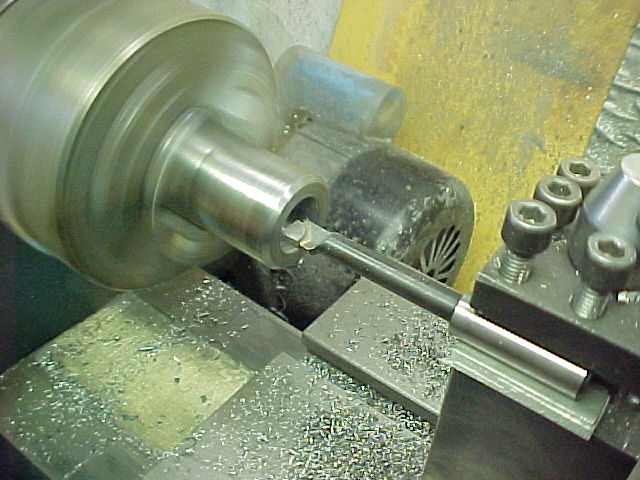
Drilled and tapped two holes on one end, 90 degrees apart, to clamp the adapter to the shaft.
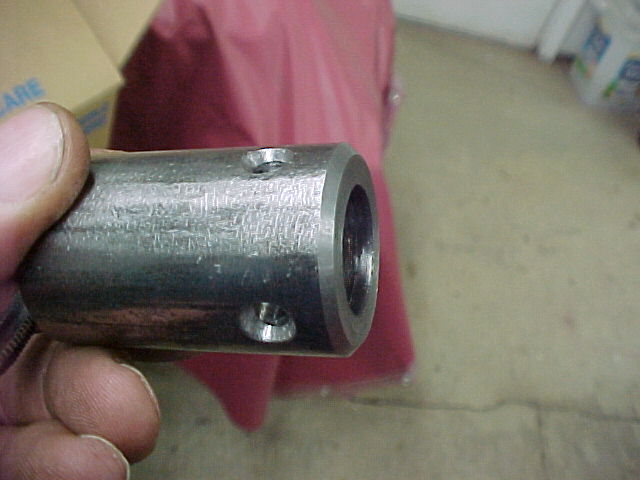
Used the spindle to form the 3/8th's plate. This wasn't that easy. It took two sets of pliers to do the bending.
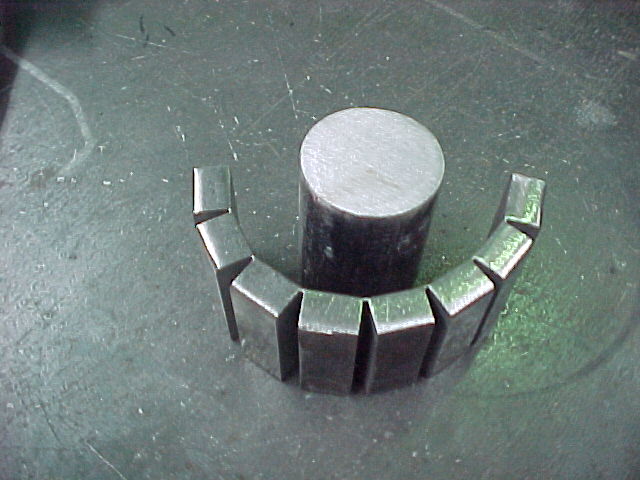
Getting it there...
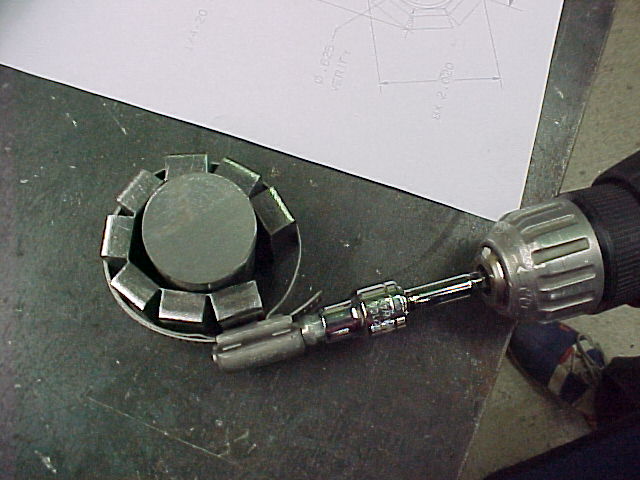
The hose clamp pulled it down pretty close but we ended up using a hammer to get it the rest of the way.
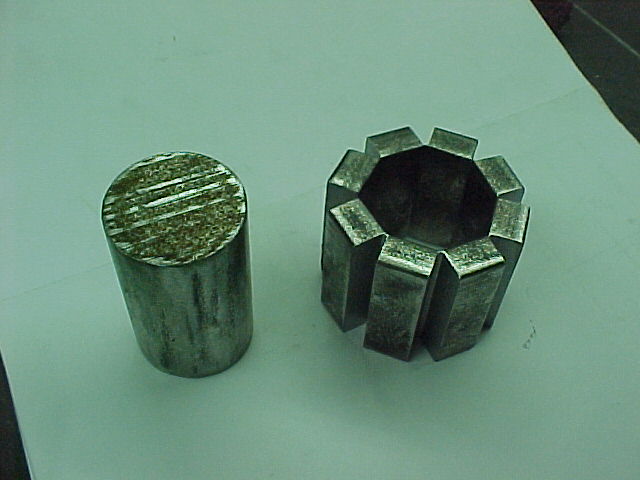
Adjusting the fit. It fit real well on the first try.
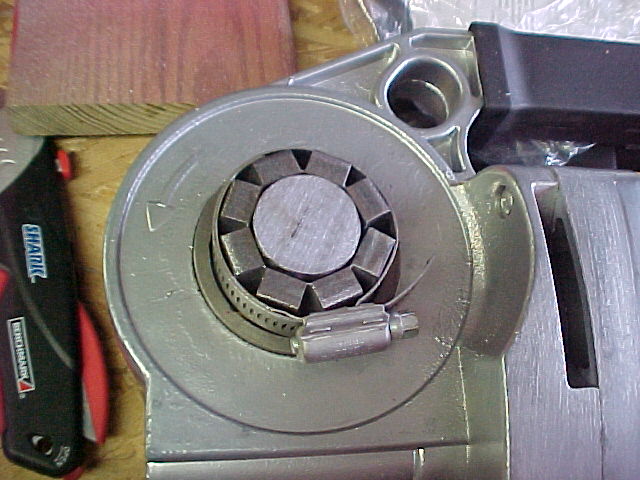
I welded everything up and checked the fit. Did a little clean up grinding and it was good to go. It's not pretty but it will do the job.
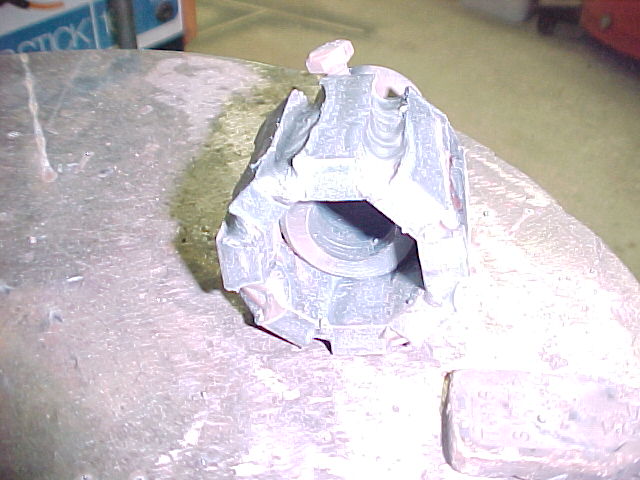
This thing got very hot during the welding but it still fit the shaft and the drive bore with no problems after it cooled.
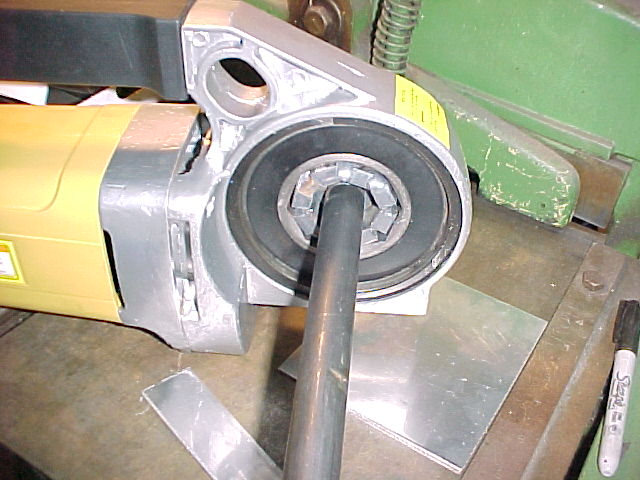
I'll end up painting it black but this will do the job and I don't have to destroy the pipe tap from the kit.
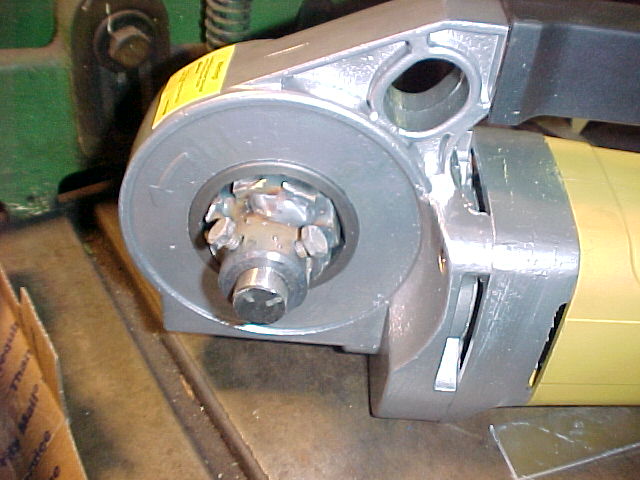
Thanks for looking.
Mark
Mark:
"Bad Ast" Astro Van. Just because I did it... Doesn't mean it's possible...
This my Bad Ast thread...
https://www.pro-touring.com/showthre...roject-Faze-II
This is my Fotki album...
http://astroracer.fotki.com/
-
01-15-2014 #2
Registered User
- Join Date
- Sep 2010
- Location
- S.F. Bay
- Posts
- 54
Nice write up.

 Reply With Quote


