

Results 1 to 20 of 48
Thread: 67 Bel Air
-
11-04-2013 #1

 Registered User
- Join Date
- Aug 2009
- Location
- wisconsin
- Posts
- 194
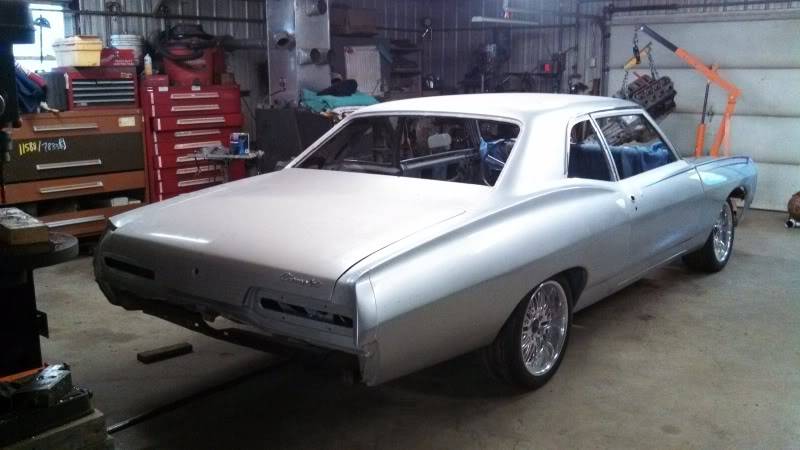
67 Bel Air
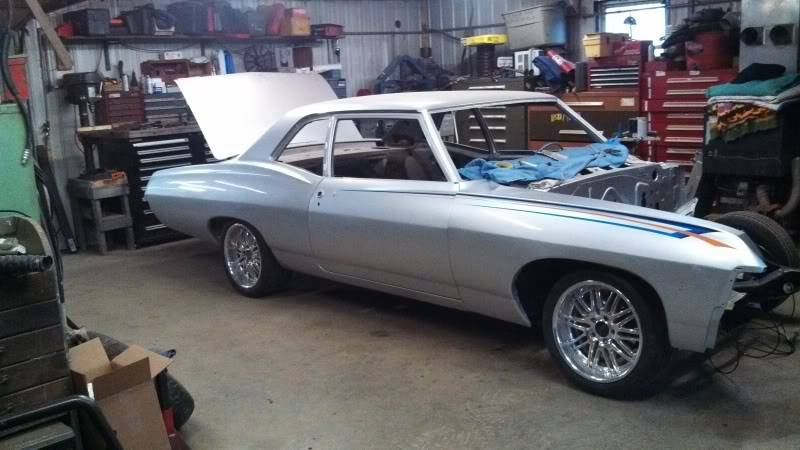
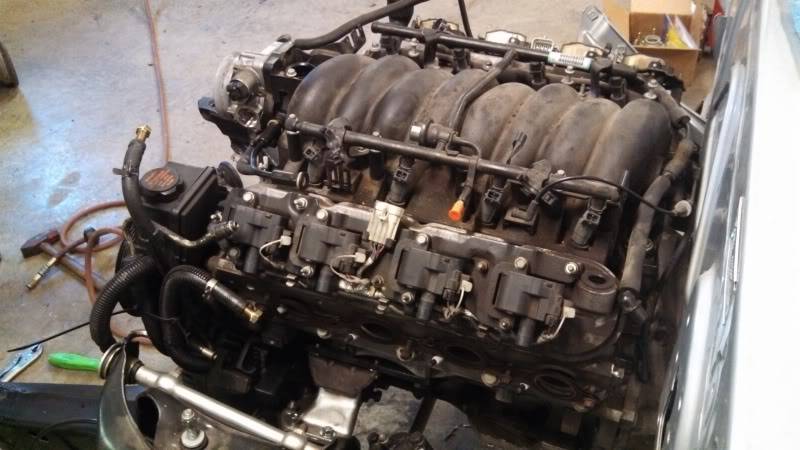
I bought this car from my brother, who just lost interest in it after doing all of the hard work. When he got it about ten years ago it was a rust free southern car with a healthy 454. He drove it off and on for a couple years and then decided to paint it. The body came off the frame, and everything was refinished. Frame blasted and painted.Body stripped down to bare metal and refinished with House Of Kolor start to finish. The suspension was assembled with alot of Hotchkis parts. And that is when progress came to a halt. It sat in his garage for 5 years like this. I bought it a year and a half ago, and am just now getting started on it. Here is what we are starting with. I almost feel like I am cheating, starting with something this nice that has alot of blood and sweat stuck into it already!

So far I have fit a ls in the car with a t56 trans. I am working on getting some ls1 brakes on it. I will need a pair of hubs from Kore 3 to make it work. stay tuned, more pics to follow!
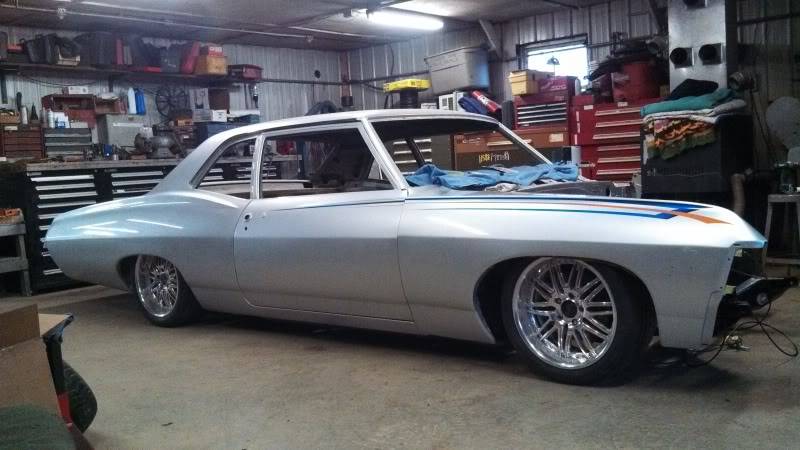
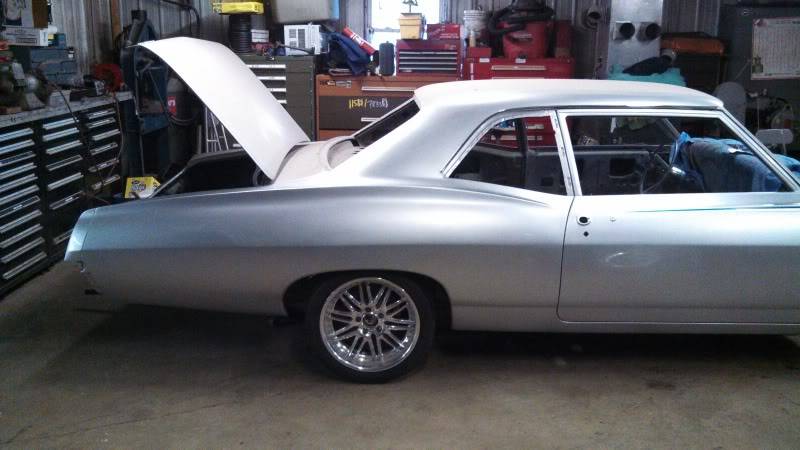
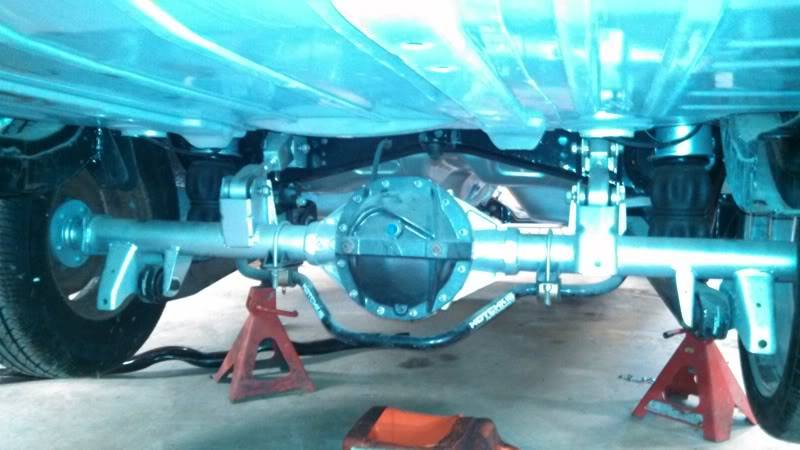
this shot with bags aired up
and down

-
11-05-2013 #2
Registered User
- Join Date
- Aug 2004
- Location
- St. Louis
- Posts
- 191
Awesome, great head start. Lots of info on forums like this, I'm dropping in a LS2 right now in a 61 Bel Air, if you have any questions just ask.
11-07-2013 #3
Registered User
- Join Date
- Aug 2009
- Location
- wisconsin
- Posts
- 194
Thanks Jon, I might hold you to that Originally Posted by Jon69RagTop

11-07-2013 #4
Registered User
- Join Date
- Aug 2009
- Location
- wisconsin
- Posts
- 194
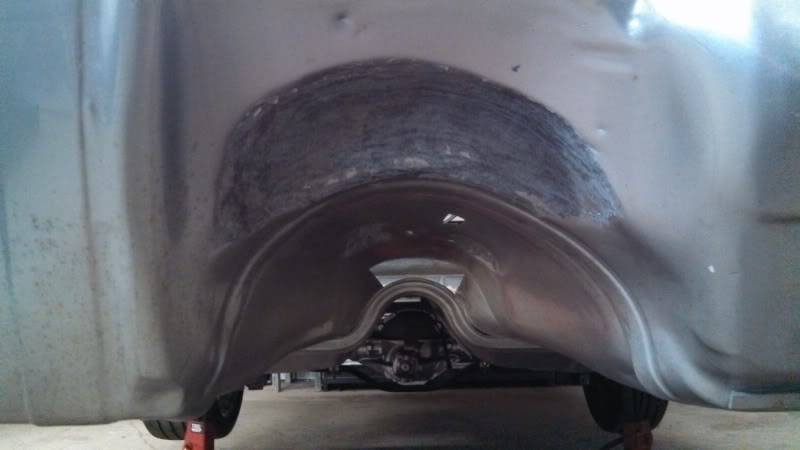
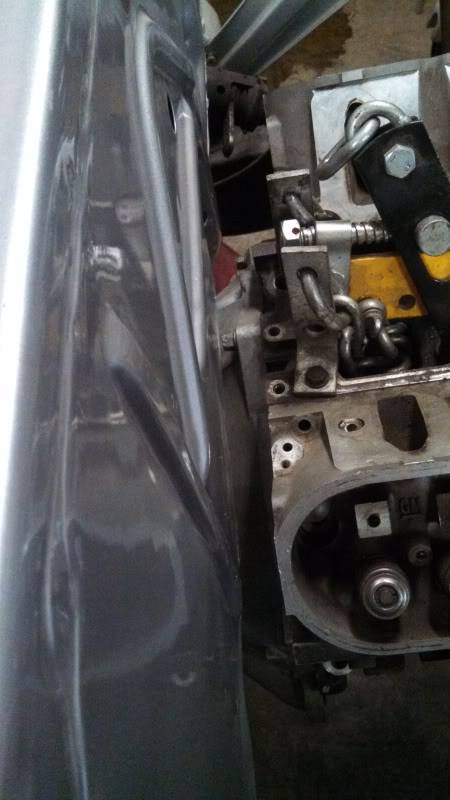
In order to get the T56 in the tunnel, I had to massage some of the tunnel. a couple spots right above the access plate on the trans, and this spot in the pic. The dark area is the metal that I used an air impact hammer on. I prefer this method to cutting and welding any day
11-07-2013 #5
Registered User
- Join Date
- Aug 2009
- Location
- wisconsin
- Posts
- 194
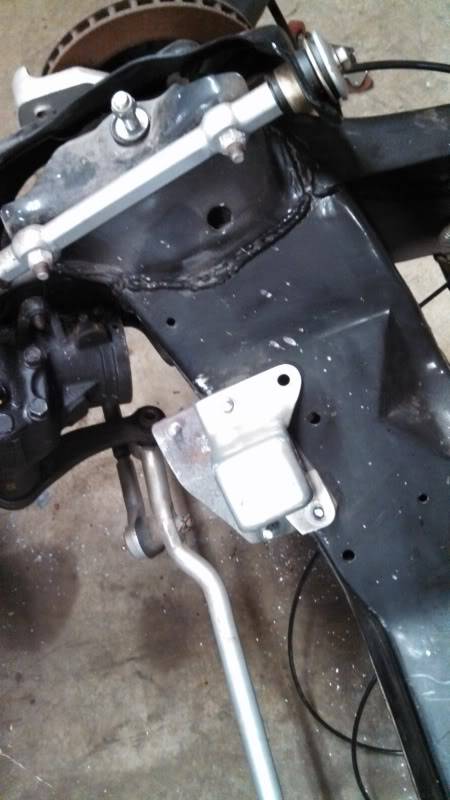
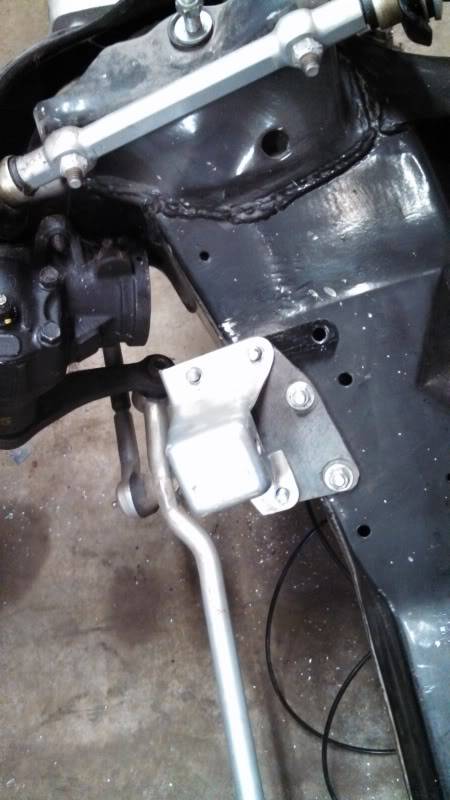
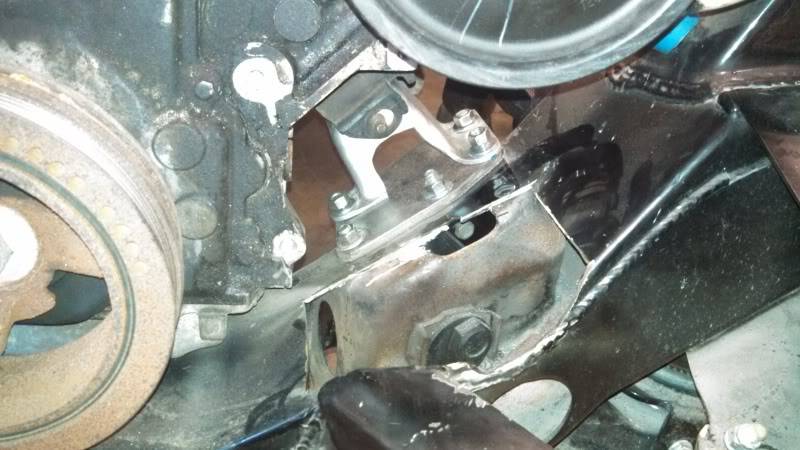
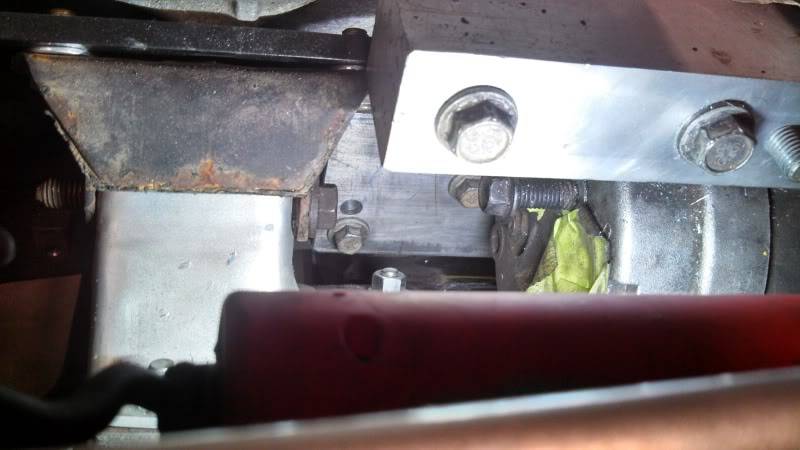
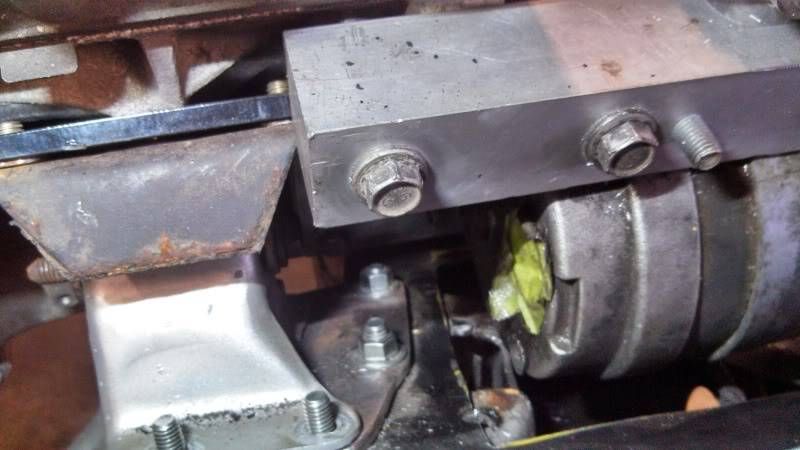
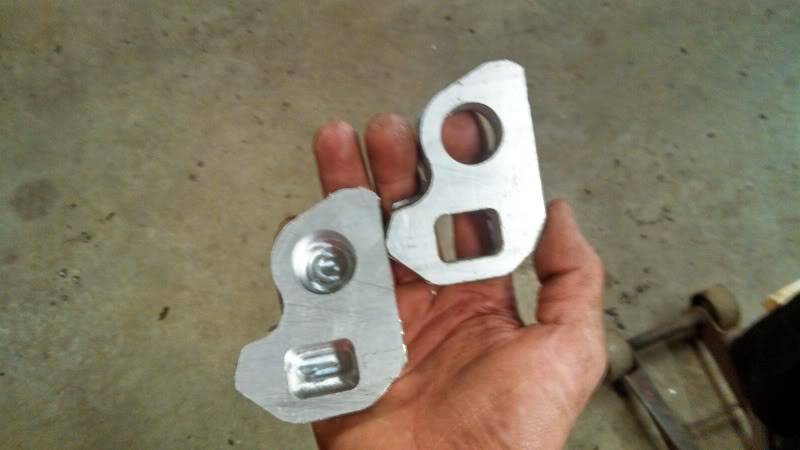
I decided to move the engine back closer to the firewall, this will give me room to work with the radiator. this pic shows the plates I used to set back the mounts
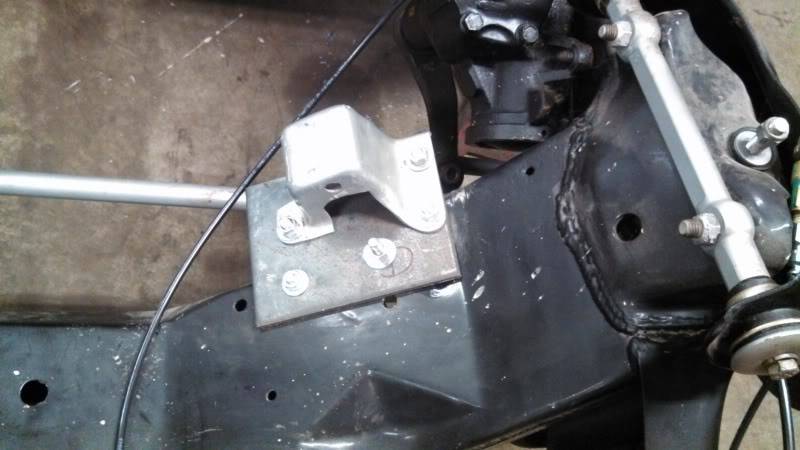
after trimming
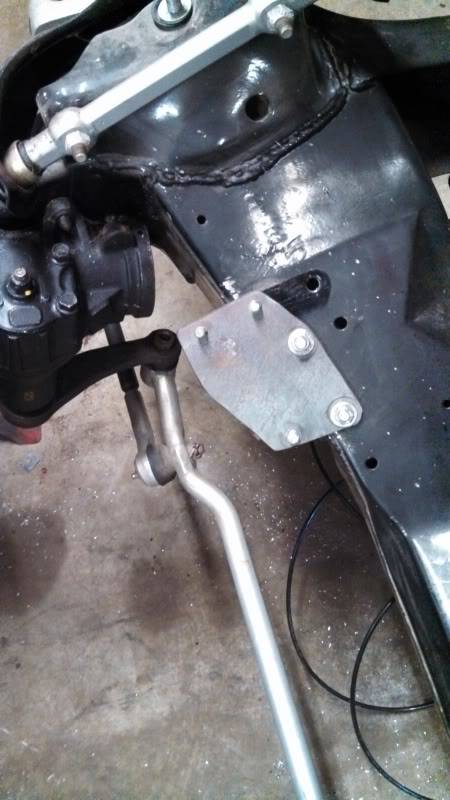
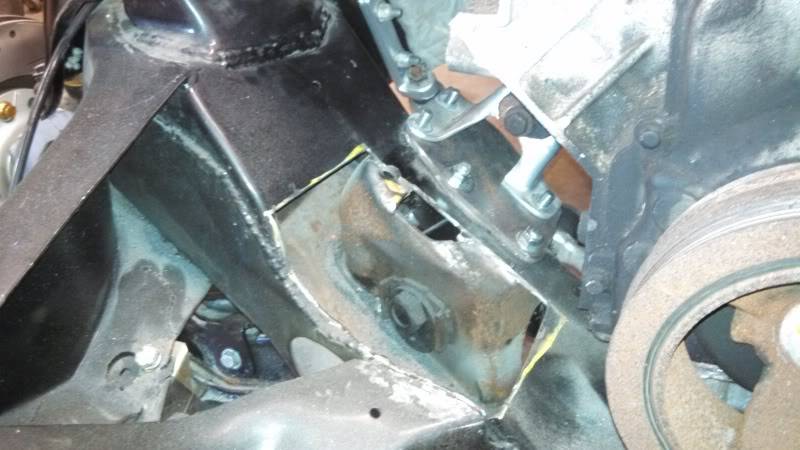
and the next two pics shows how far back I moved the mount. First pic is stock location, second is where I put it.
And with the engine in, this shot shows the distance to the firewall
11-07-2013 #6
Registered User
- Join Date
- Aug 2009
- Location
- wisconsin
- Posts
- 194
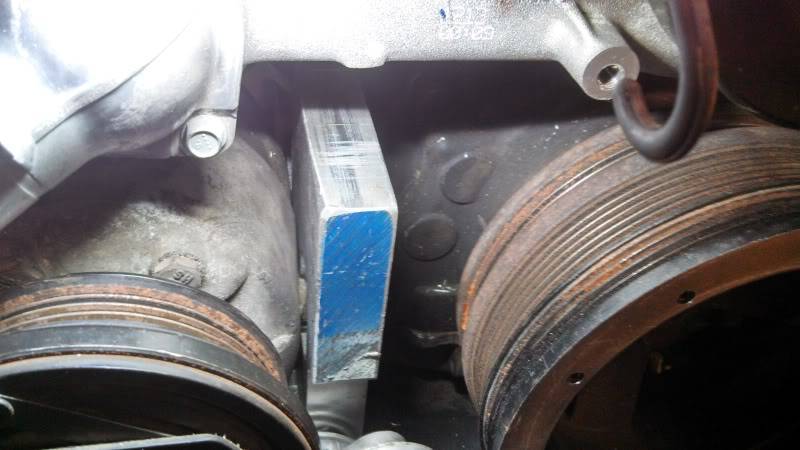
I am able to use the original crossmember, and locate it in the original spot, but I had to modify the center mount for the trans.
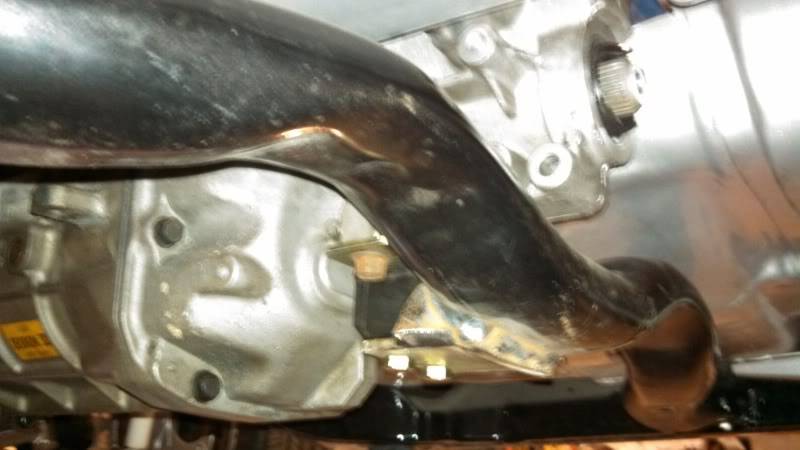
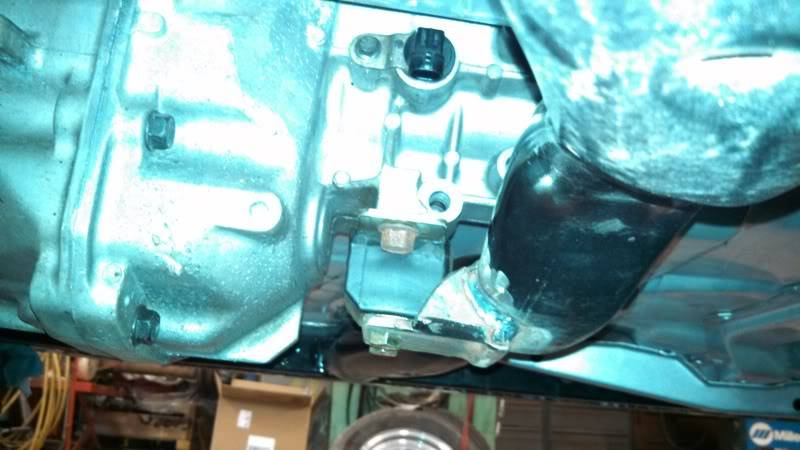
This shot shows the front of the oil pan to the crossmember. I already cut the bump out of the passenger side of the pan because it would be touching the frame
11-07-2013 #7
Registered User
- Join Date
- Aug 2009
- Location
- wisconsin
- Posts
- 194
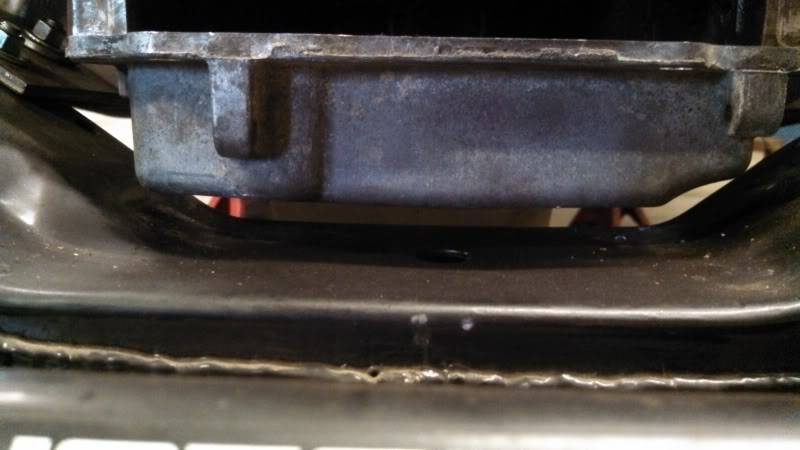
This is a truck pan, so like everyone else that uses them, the hang down too low. I did try an F body pan, but since these B body cars have all of the steering behind the crossmember, that pan would have needed to be cut also, so the truck pan is what I will use.

11-07-2013 #8
Registered User
- Join Date
- Aug 2009
- Location
- wisconsin
- Posts
- 194
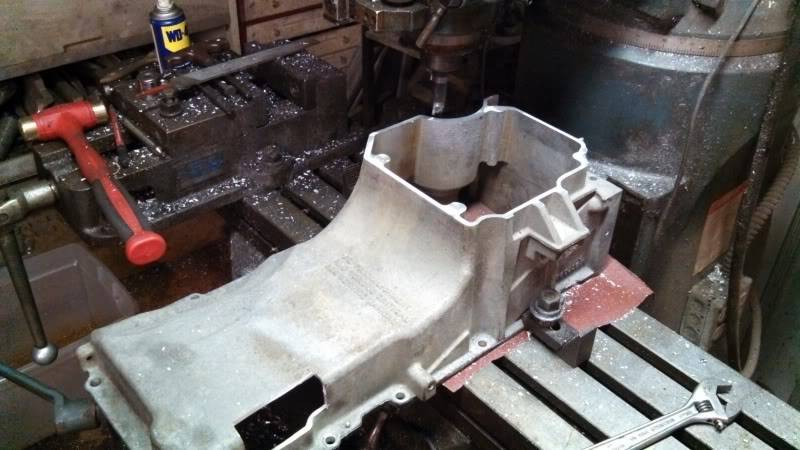
I cut the bottom of the pan off with a cut off wheel, and then took the mill to it so I have a nice clean and flat surface to weld to. I will have to round up some 1/4 inch plate for the bottom. Im not sure how I will configure the drain plug yet,I will give that some thought.This pic also shows the area at the front of the pan that I cut out for clearance on the crossmember.
11-10-2013 #9
Registered User
- Join Date
- Nov 2013
- Location
- Roswell, GA
- Posts
- 6

I'll definitely be following this build... My '67 Impala needs lot of modernization when it comes to suspension and braking. Car should be lots of fun. Is it a stock LS going in?
11-12-2013 #10
Registered User
- Join Date
- Aug 2009
- Location
- wisconsin
- Posts
- 194
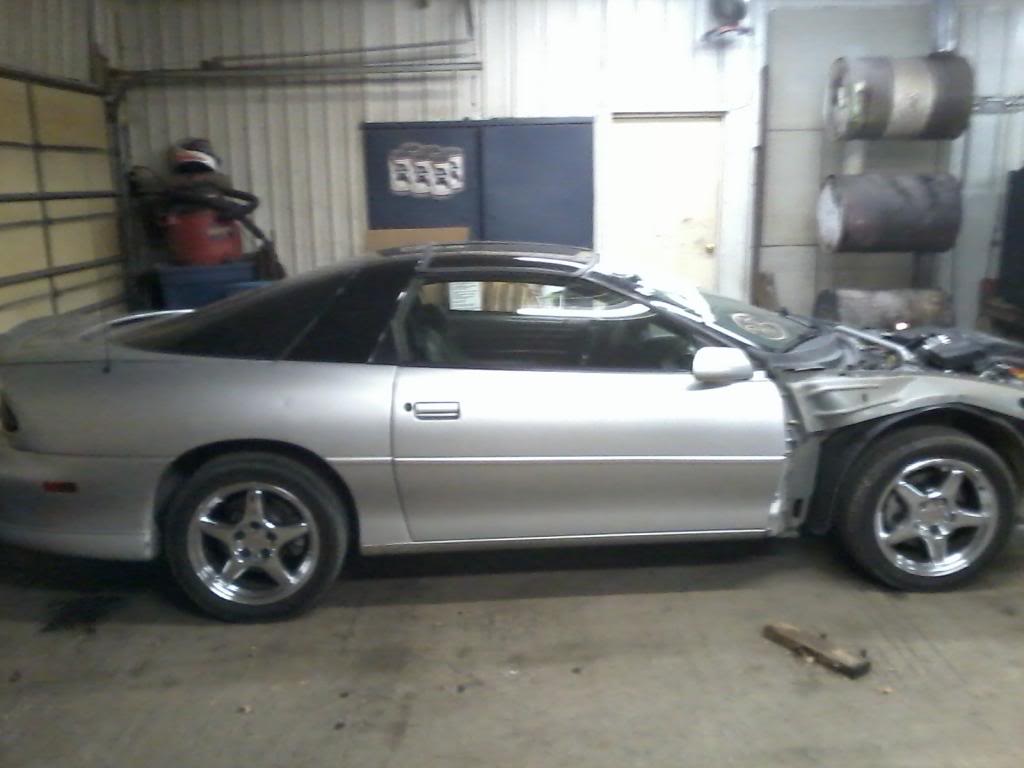
Yes, I will be using an engine out of a 2000 camaro SS, and just keeping it on the tame side for now. I bought this car wrecked for 3500$, had 80,000 on the odometer. I kept all the brakes and rotors that I will use on the Bel Air. Kept the seats and door panels, and of course the engine and 6 speed trans. I sold the body for a good price, and sold the seats, so i did ok. Originally Posted by rose jackets67
This is what the camaro looked like when I got it. Had a light front hit. Car drove down the road just fine, but it had a junk title.
11-13-2013 #11
Registered User
- Join Date
- Jun 2010
- Location
- Georgia
- Posts
- 2,177
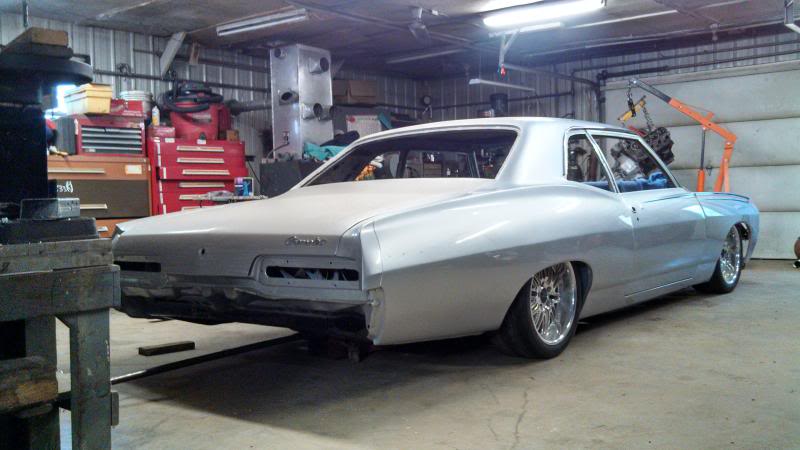
that'll be a cool car with an LS, and I love the silver color.
11-13-2013 #12 Registered User
- Join Date
- May 2011
- Location
- Spokane, Washington
- Posts
- 125
Love it. Keep the pics coming! I'm curious to see how your oil pan turns out. You are going to mod the pickup tube as well right?
11-15-2013 #13
Registered User
- Join Date
- Aug 2009
- Location
- wisconsin
- Posts
- 194
Yes, pickup tube has been cut down. I had installed the pan, but today I removed it and took some pics for you Originally Posted by nicke
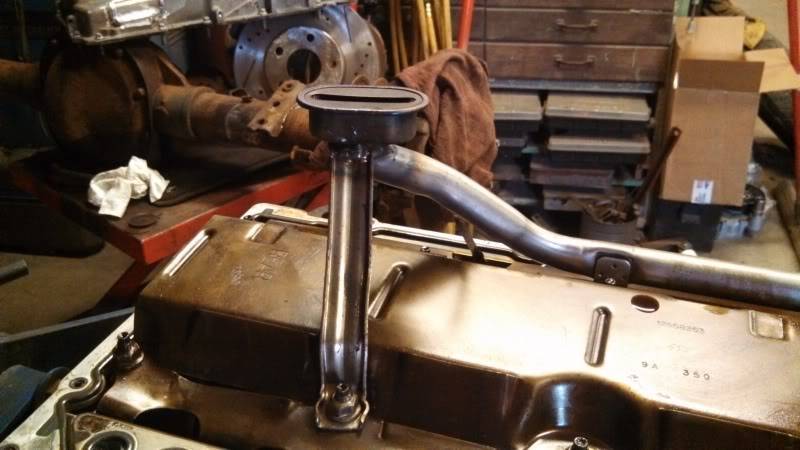
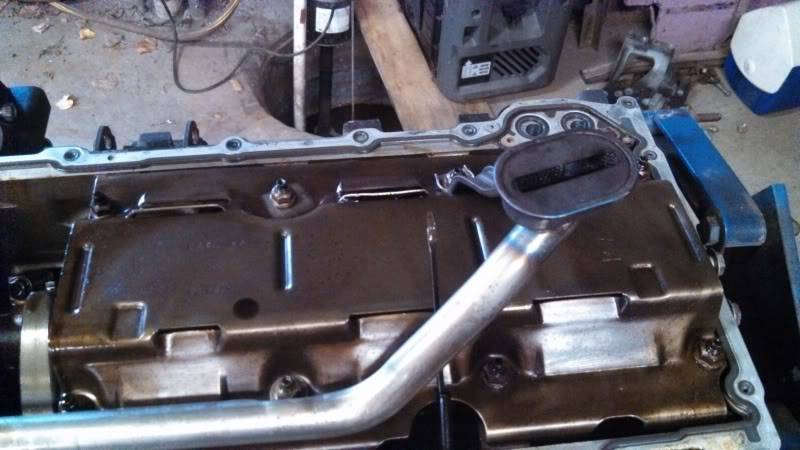
So I ended up welding a piece of 3/16" on the bottom of pan. Then I made this little "thimble" to weld to the pan to use as the drain plug bung. I will tap it so I can use the factory drain plug.
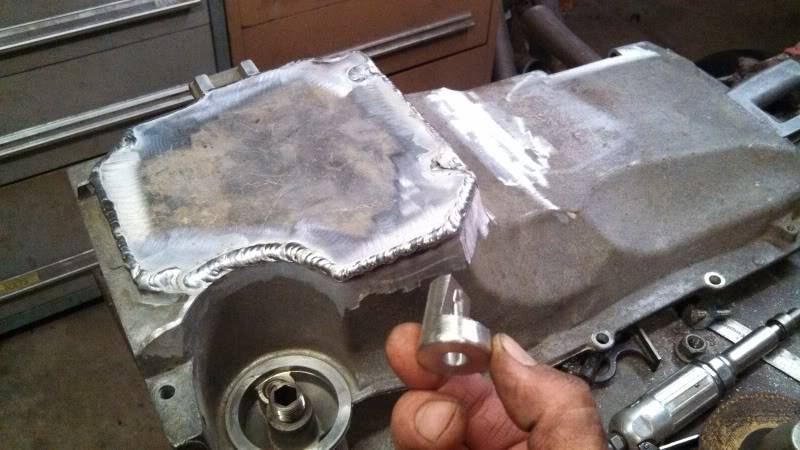
Here is the bung welded to the bottom of the pan
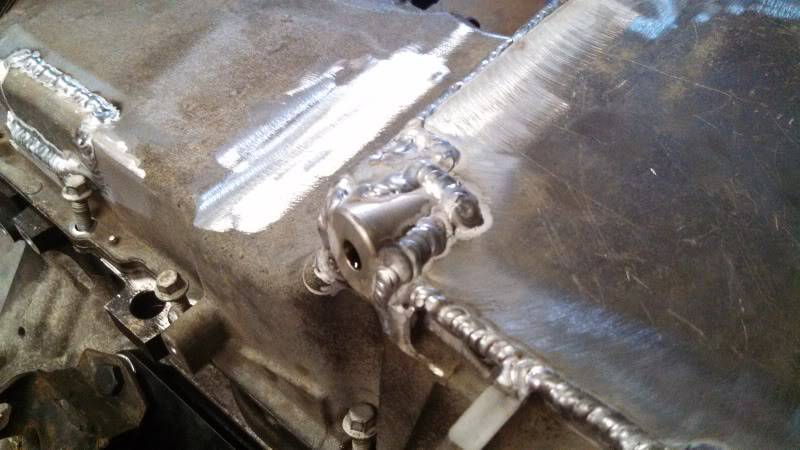
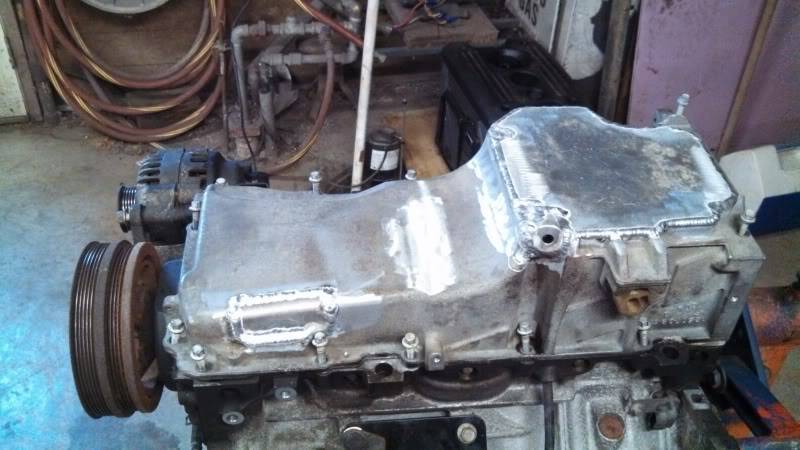
And here is the pan all welded. I will grind the weld down when I prep the engine for paint, but for now it will remain like this
11-15-2013 #14
Registered User
- Join Date
- May 2011
- Location
- Spokane, Washington
- Posts
- 125
Nice work! That looks fantastic! I'll be following this thread for sure!
-Nick
11-19-2013 #15
Registered User
- Join Date
- Aug 2009
- Location
- wisconsin
- Posts
- 194
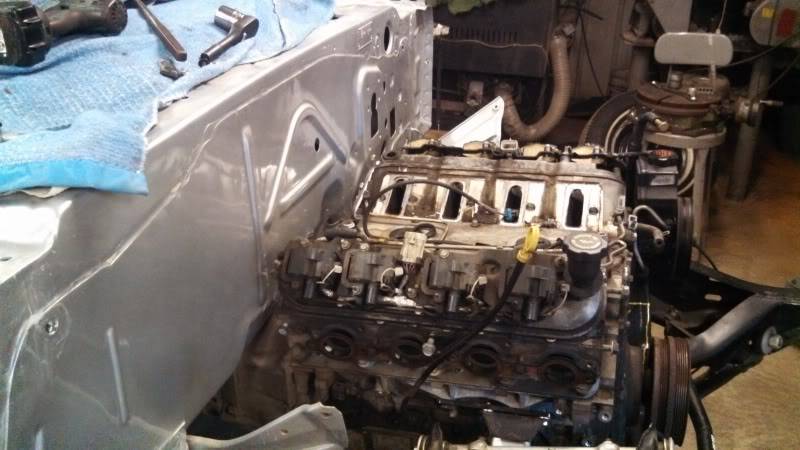
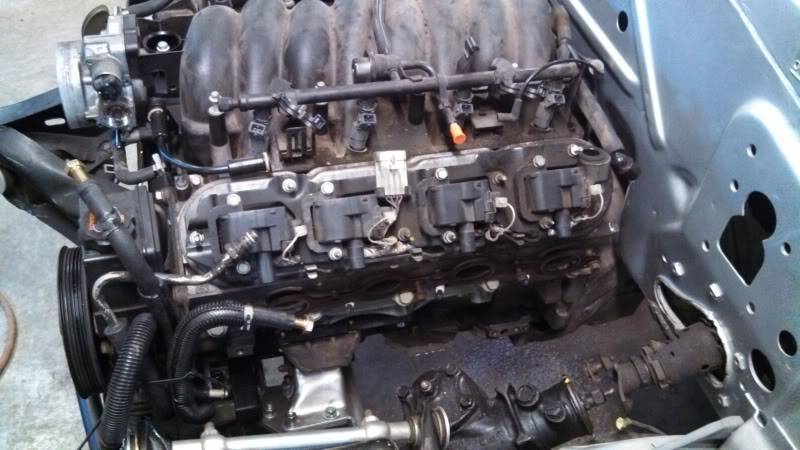
Ok had some time today to work on this car. I put the engine and trans in. Dont worry, once I figure out how to mount everything it will be pulled out, cleaned up and painted.
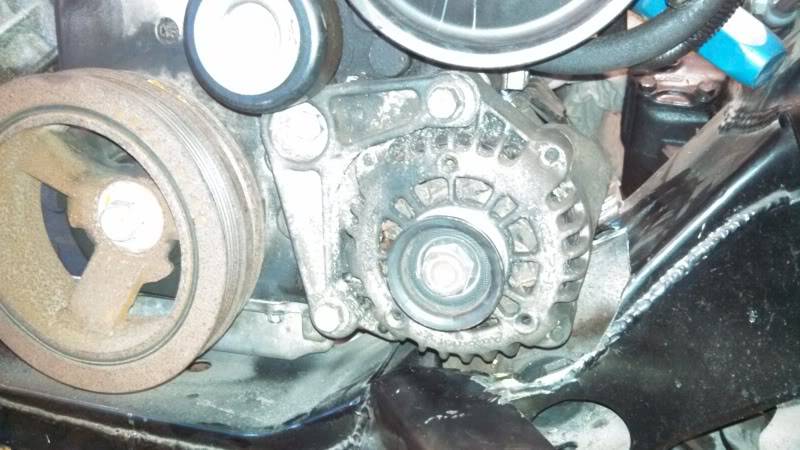
Once the engine was sitting on the frame, I determined what material had to be removed from the crossmember to clear the alternator on the drivers side and the a/c compressor on the passenger side.

And with the pieces removed
And now I have room to bolt up the alternator
11-19-2013 #16
Registered User
- Join Date
- Aug 2009
- Location
- wisconsin
- Posts
- 194
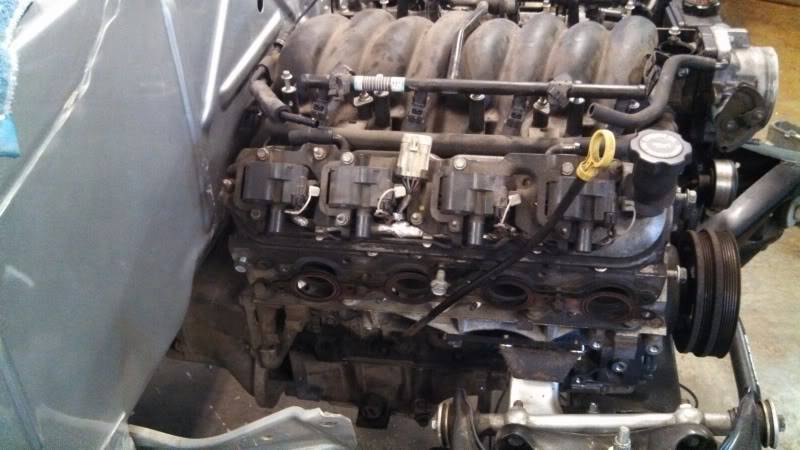
Side views of engine. I have alot of room for headers from what I can see. Not sure what I am going to go with. I have seen some other build threads where guysd are using camaro headers. I will have to check that out.
And this shot shows how the modified oil pan now looks in the car, and it doesnt hang down below the cross member anymore
12-12-2013 #17
Registered User
- Join Date
- Aug 2009
- Location
- wisconsin
- Posts
- 194
I have been working on getting the a/c compressor to fit in the lower passenger side of the engine compartment. To do this, I had to relocate the compressor farther forward from the original mounting place. Instead of running the a/c pulley off the factory a/c serpentine drive groove that is closest to the engine, I moved it out farther, and added another serp. groove to the outside of the pulley. I took a truck balancer, and cut the a/c serpentine groove off. After truing up on the lathe and cutting on the mill, I drilled 12 holes in it with countersinks for some small socket head cap screws. This pic. shows this piece bolted up to the original balancer
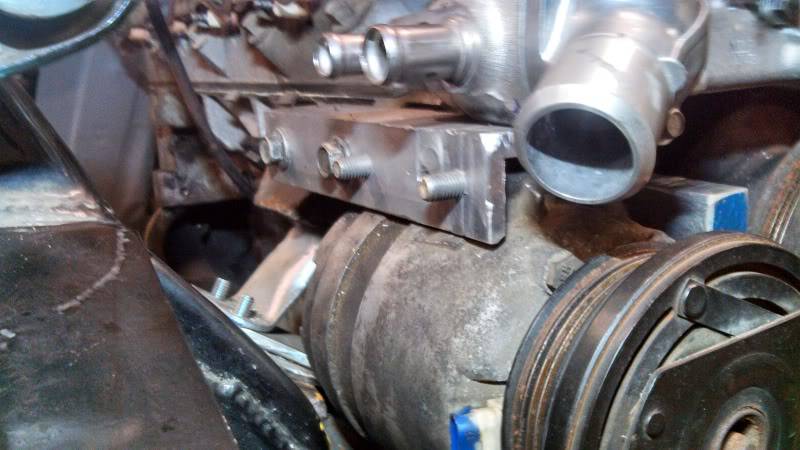
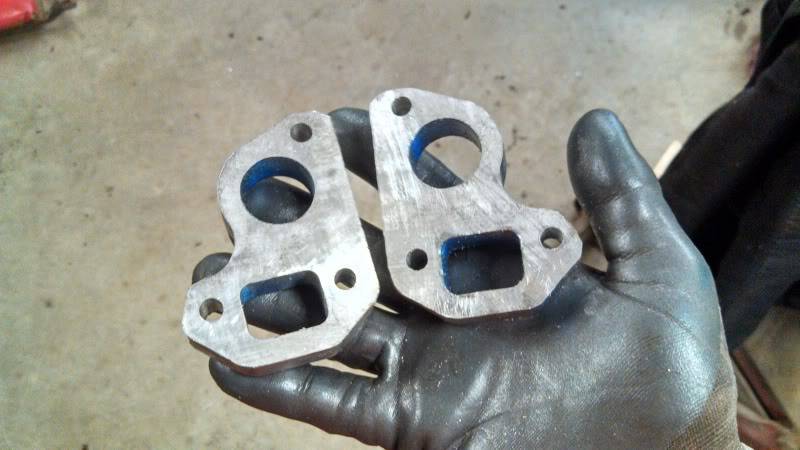
I milled up some aluminum brackets to mount the a/c compressor. These are just my "prototypes", they will look much better when I make a new set on the cnc.
12-12-2013 #18
Registered User
- Join Date
- Aug 2009
- Location
- wisconsin
- Posts
- 194
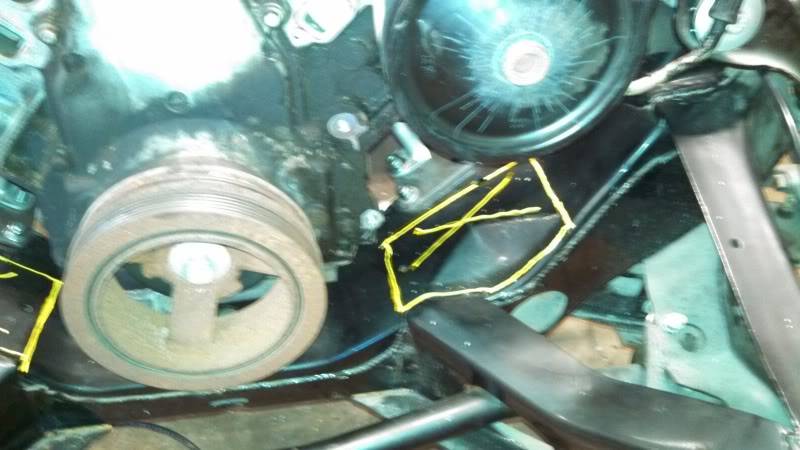
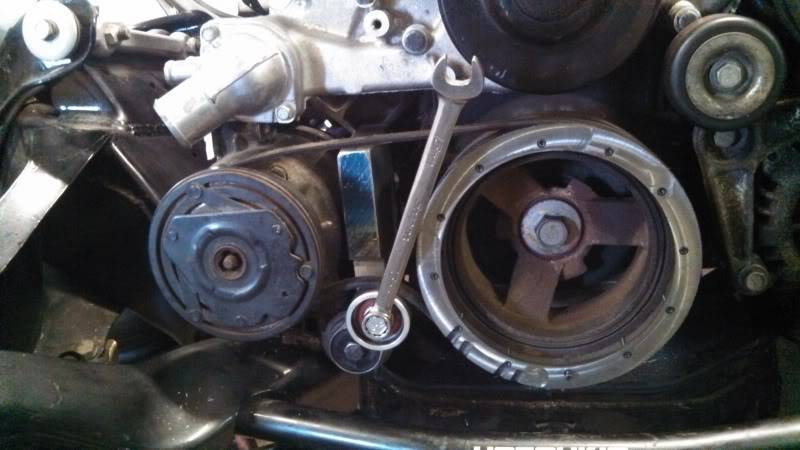
I mounted the belt tensioner down low. I had to make a new smaller diameter pulley for it because there is less room between compressor and crank pulley.The factory pulley just wouldnt fit. I still need to find a belt that will fit.
12-12-2013 #19
Registered User
- Join Date
- May 2011
- Location
- Spokane, Washington
- Posts
- 125
Nice work. Go ahead and buy some headers and tell me what works, so I can copy you ;-)
12-14-2013 #20
Registered User
- Join Date
- Aug 2009
- Location
- wisconsin
- Posts
- 194
MMM headers. I'm not sure what I will do with that yet, time to start looking for something. Originally Posted by nicke
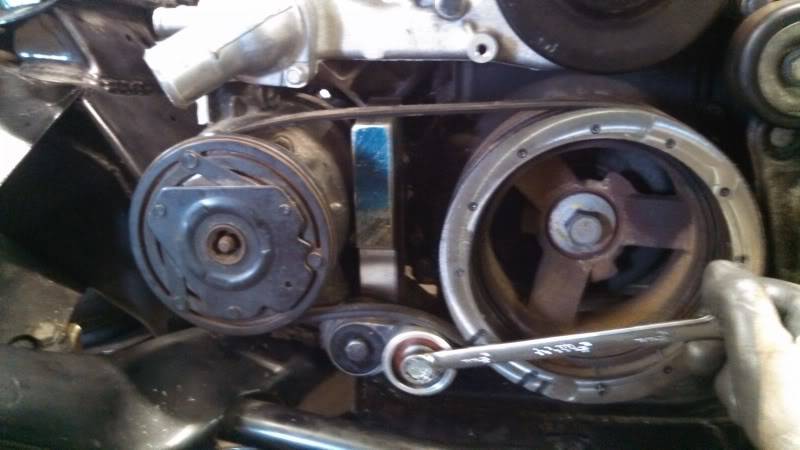
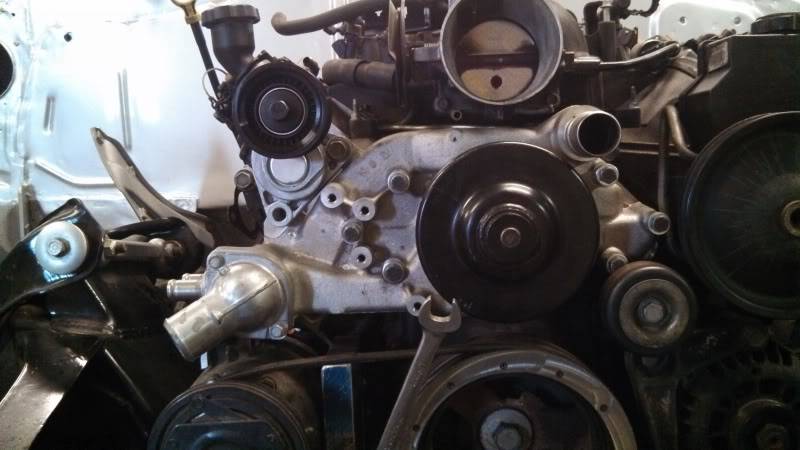
I will be running a new corvette ls3 water pump. I think they look so much better then the ls1 style, and the upper radiator hose doesnt need to be routed across the pulley. here is a front shot of it mounted on the engine
The corvette pump pulley sits closer to the engine by 3/4 of an inch, so i had to mill a pair of spacers to bring it out to line up with the rest of the ls1 pulleys.


 Reply With Quote


