


Results 1 to 15 of 15
Thread: Built to drive 74 Chevelle
-
10-04-2013 #1

 Registered User
- Join Date
- Mar 2013
- Posts
- 308

Built to drive 74 Chevelle
The car: 1974 Chevelle Malibu Classic.
Current Engine: 1974 - 350 SBC for a pickup.
Edelbrock 600 CFM carb
Weiand 7530 intake
Generic Headers
Flowmaster Exhaust
Current Trans: 350 from the same truck.
Driveshaft cut, shortened and put back together to fit in the long shaft tranny.
Rearend: Original 8.5 inch 10 bolt. I think it is like a 2.88 gear or something similar. The car was originally a 250 ci. straight six car.
Suspension: Stock
Interior: Original Black cloth with full bench in front.
The top was cut out with the intent for adding t-tops before I received the car. The car was actually purchased from a junkyard to ran in the demolition derby car. Luckily I saved it.
So, here are a few updates for ya.
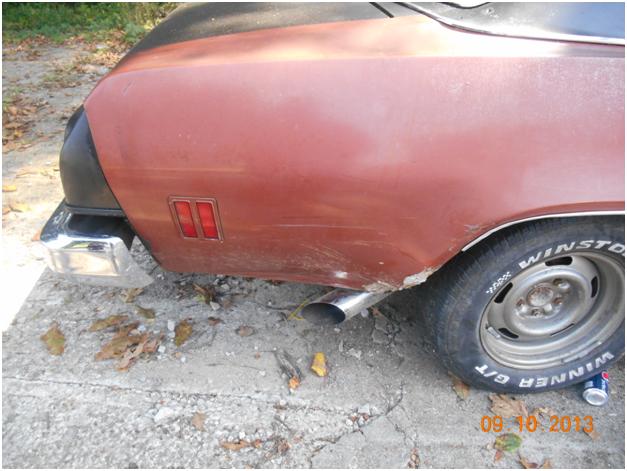
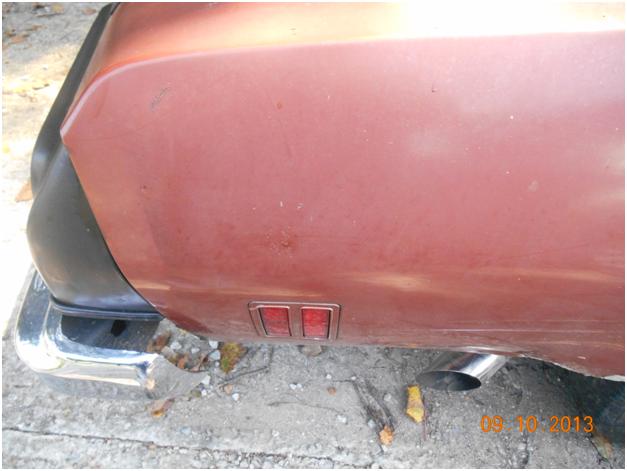
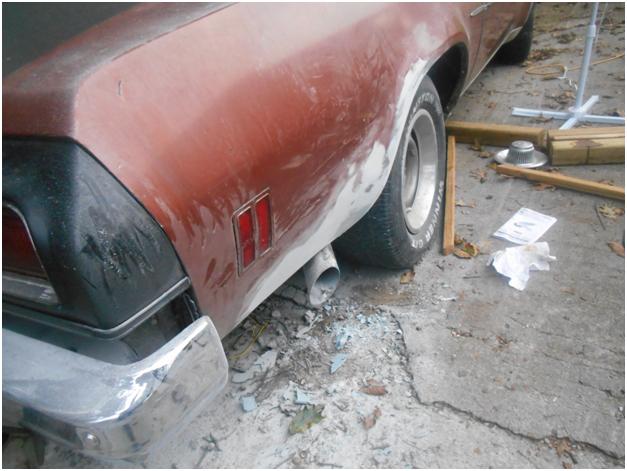
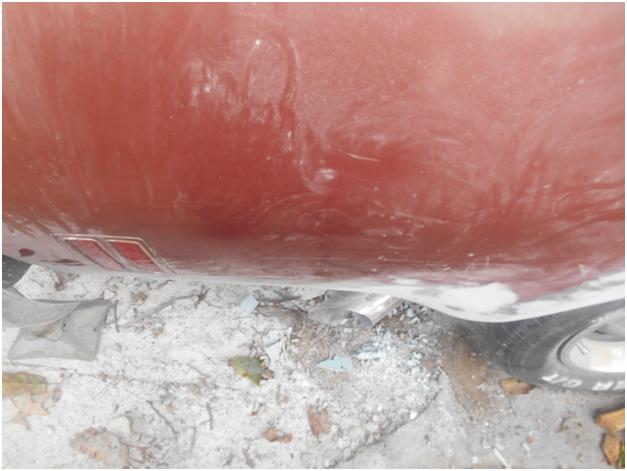
Here are a few shots of the dents after I was hit back in July. I had to total the car out and now have a rebuilt title. :(
I missed the photo with the dent in the exhaust tip.
Enlarge this image Click to see fullsize
Enlarge this image Click to see fullsize
Pulling it out little by little.
Enlarge this image Click to see fullsize
Enlarge this image Click to see fullsize
Enlarge this image Click to see fullsize
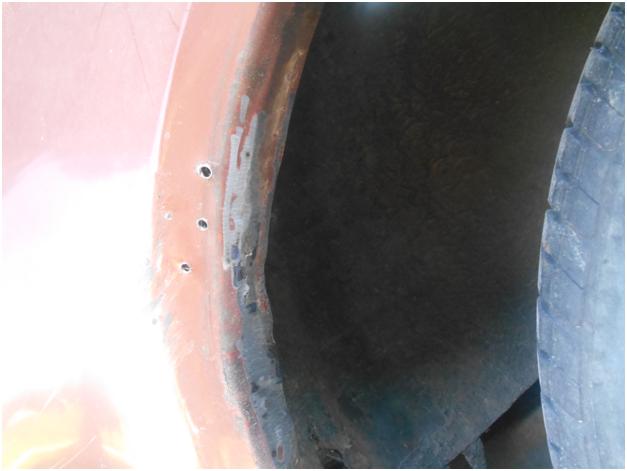
Enlarge this image Click to see fullsize
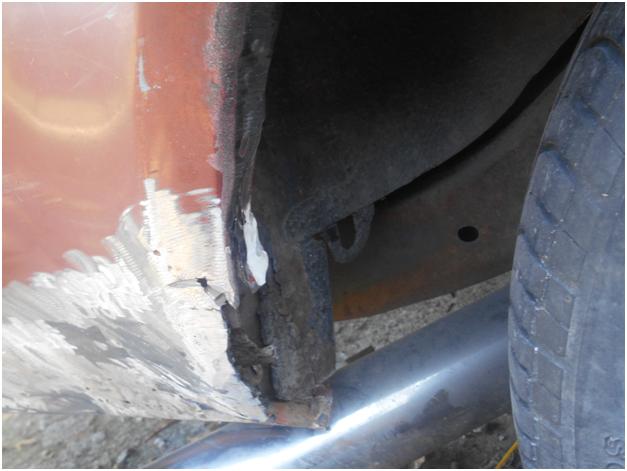
Enlarge this image Click to see fullsize
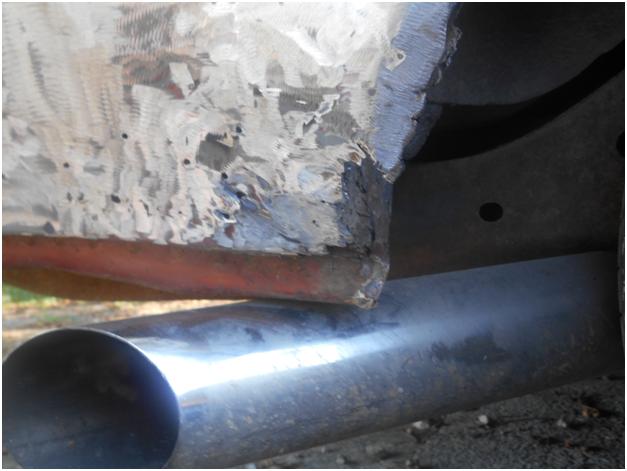
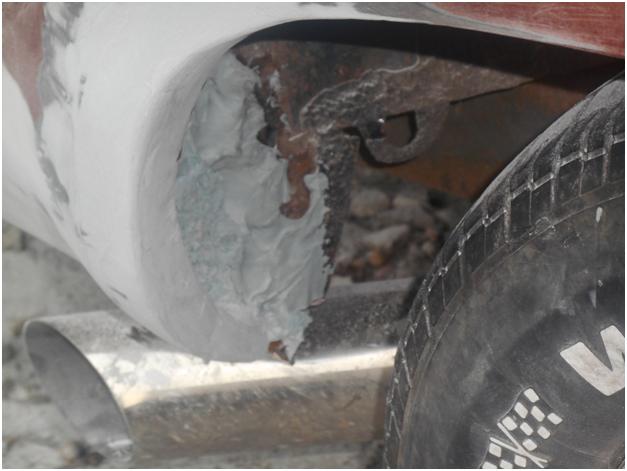
Fixed the dent in the exhaust! Then got bondo on it. I think I even hit it with the grinder once. 30$ and a new tip will probably come soon.
Enlarge this image Click to see fullsize
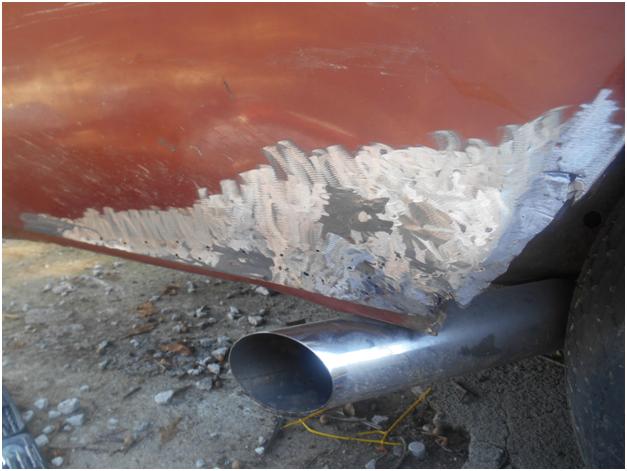
Filling the whole and dent. Hope it holds!
Enlarge this image Click to see fullsize
Enlarge this image Click to see fullsize
Enlarge this image Click to see fullsize
Enlarge this image Click to see fullsize
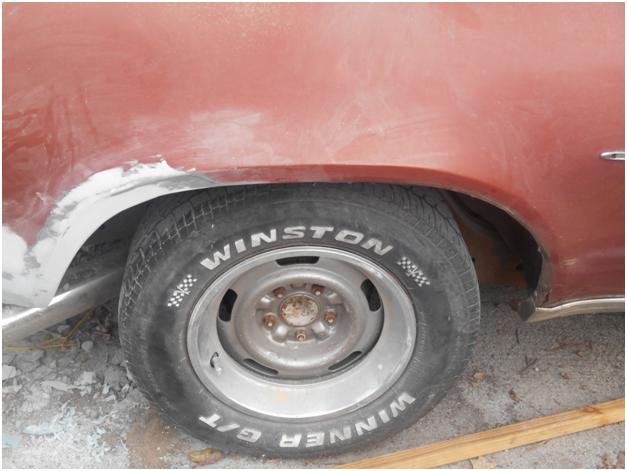
Somernites Cruise!
New front spoiler. Trying to decide how to make it fit a little bit better. Any ideas?
Enlarge this image Click to see fullsize
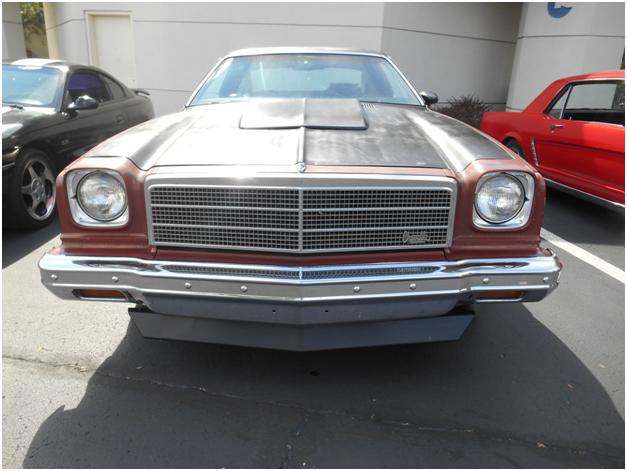
Enlarge this image Click to see fullsize
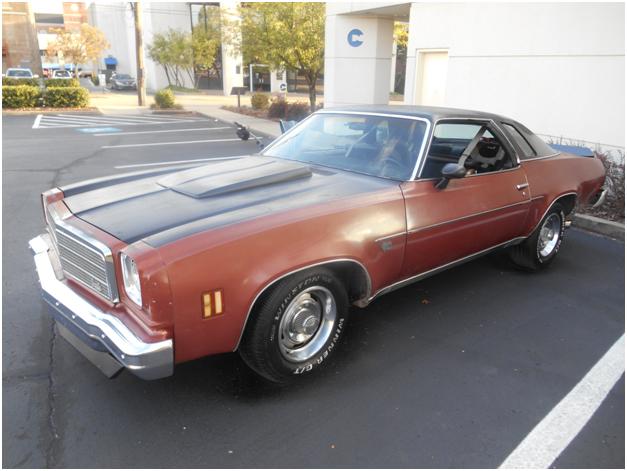
Can't wait to see all the new suspension on there and check out the stance. All I need is time.
Enlarge this image Click to see fullsize
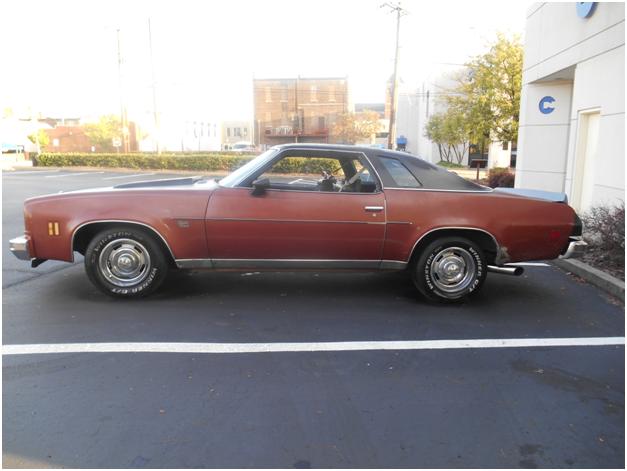
Oh, and notice the whole that is missing behind the drivers door glass! There was a golf ball sized whole there a couple weeks ago. Filled it too!
Enlarge this image Click to see fullsize
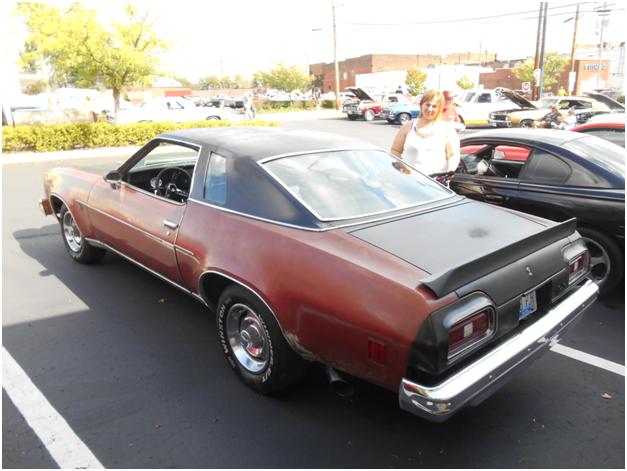
Let me know what you think!
-
10-05-2013 #2
Registered User
- Join Date
- Mar 2013
- Posts
- 308
No, nice job, keep up the good work, no nothin... Well, Good job Chris! Keep up the good work!
10-05-2013 #3 Registered User
- Join Date
- Aug 2013
- Location
- Shelton WA
- Posts
- 152
Love that body style.
10-05-2013 #4 Registered User
- Join Date
- Mar 2007
- Location
- Mission Viejo, CA
- Posts
- 631
Glad to see another '73-'77 getting some attention. What are some of your ideas for the car? Do you have any parts set aside yet?
1973 Hurst Edition Pontiac Grand Am: 430 CI of ERL built LS7, Tremec Magnum T-56 6-speed, Global West / Speedtech Suspension, Custom rear coil-over suspension, QA1 double adjustable shocks, Wilwood 6/4 piston disc brakes, Modulare C1 19" concave wheels. Shooting for 625 HP and 20 MPG!
10-09-2013 #5
Registered User
- Join Date
- Mar 2013
- Posts
- 308
Thanks for the replies. I love all g3 A body cars.
Just got a set of 1 inch lowering Belltech springs for the rear. Installed those with the Gabriel Ultra shock yesterday. 1 inch is definitely enough with my current tires in the back. I hope that when I do the front that it is not to low. I got the 2 inch drop spindles for the front with HD laguna springs and Gabriel Ultra shocks for it as well. I did not want a low rider, just wanted it to handle a bit better. Oh and look mean!
I have all new parts for the front as well. Just waiting for time and help installing them. Can't wait!
10-09-2013 #6 Registered User
- Join Date
- Jun 2012
- Location
- South Lyon, MI
- Posts
- 1,244
I really like this body style. It has been so overlooked.
Keep up the good work.Bill Harvey
Scope Creep - 1974 Nova - https://www.pro-touring.com/showthre...rit-of-America
Family Fun - 1955 Belair - https://www.pro-touring.com/showthre...hter-55-Belair
10-09-2013 #7 New to Pro-Touring
- Join Date
- Sep 2013
- Posts
- 31
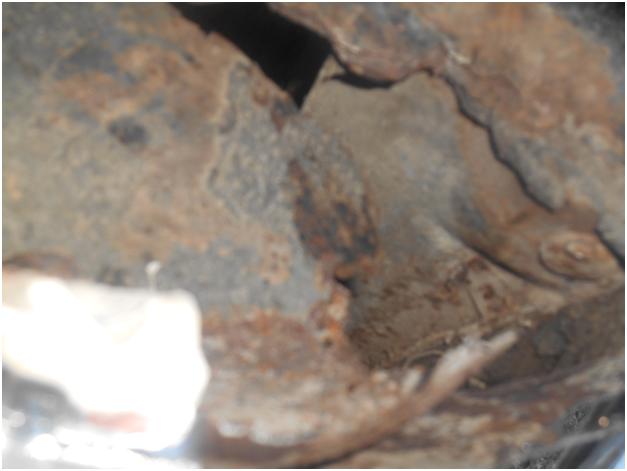
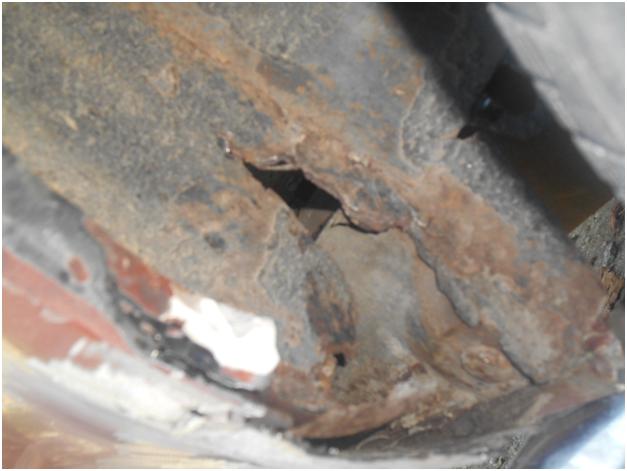
so... this thread is just to show you threw some bondo over rust and in your wheel well? you know that will only make it worse over time right?
10-09-2013 #8
Registered User
- Join Date
- Mar 2013
- Posts
- 308
Just until spring. Then hopefully new quarters and actual rust repair. Just learning to do some of this, but thanks for making me feel like what I have done was worthless.

No welder, as of right now and just wanted to at least attempt at keeping from slinging more mud and water into my trunk.
10-09-2013 #9
Registered User
- Join Date
- Nov 2011
- Location
- San Diego
- Posts
- 31
I like this body style too. Keep the images coming.
10-09-2013 #10
Registered User
- Join Date
- Jun 2013
- Location
- San Diego
- Posts
- 275
What part of the country are you in?
That two tone paint really works well on that body style.
what types of projects you got planned? I think once you figure out that suspension and the stance of that car it will look sick. I'd throw some different rims on it.
Out here in socal, a bondo job like that will last you 5-10 + years....that's exactly why I'm doing the same thing on my ride. Sure I could do the rotisserie thing and replace every single panel, but that's not in everyone's stack of cards. I can spread some bondo, spray a little paint and enjoy it on the road for many many miles before I could finish a full on rotisserie restoration.
I vote keep up the good work!
10-10-2013 #11
Registered User
- Join Date
- Mar 2013
- Posts
- 308
Thanks. I drew up a rendition of what I am thinking of going with as far as the look of the car. I should have it online by tomorrow. Finished it about 1:30 this morning. I like the look!
10-12-2013 #12
Registered User
- Join Date
- Mar 2013
- Posts
- 308
What do you think. Starting at the bottom to the top bottom being the closest to the current style and a few different looks to choose from.
10-22-2013 #13
Registered User
- Join Date
- Mar 2013
- Posts
- 308
No comments on the designs. Well anyway, I got the front suspension done.
I bought the control arm bushings but did not change them as I do not have a press and we were pressed for time Plus they looked really good except one which wasn't really bad. Here is what we did change.
Sway bar bushings and end links.
Inner/Outer tie rod ends and adjusters.
Centerlink
Idler arm
2 inch drop spindle
Shocks
Springs
I think that was is, but it seemed like a lot more. I hope it comes down some in the front. I just can't believe it is sitting as high as it is with a 2 inch drop spindle. My uncle thinks they gave me BB springs. I have no idea!
Please drop a little more in the front car!!!
10-22-2013 #14 Registered User
- Join Date
- Mar 2009
- Location
- overseas
- Posts
- 3,434
good work so far!! I like design 1, 2 and 3!
 Kevin S. (overseas in Germany)
1963 Chevrolet Impala 2d ht Coupe
www.CruznArt.com
CRUZN - Automotive Artworks
10-22-2013 #15
Registered User
- Join Date
- Mar 2013
- Posts
- 308
Thanks!

 Reply With Quote



