


Results 61 to 80 of 129
Hybrid View


-
10-30-2013 #1
 Registered User
- Join Date
- Nov 2012
- Location
- Birmingham, Alabama
- Posts
- 146

354 hours
Lots of little things have been address and I will post pictures of them later, but for now, here is the state of the body.
I block sanded the entire body again, then applied two more coats of SPI black epoxy. After the SPI black epoxy sat overnight, i applied two coats of Evercoat Slick Sand. I just finished blocking the slick sand on the front end and engine bay this evening.


One of those small details i was talking about above. Hinges rebuilt and coated with SPI black epoxy. This happened a few weeks ago.

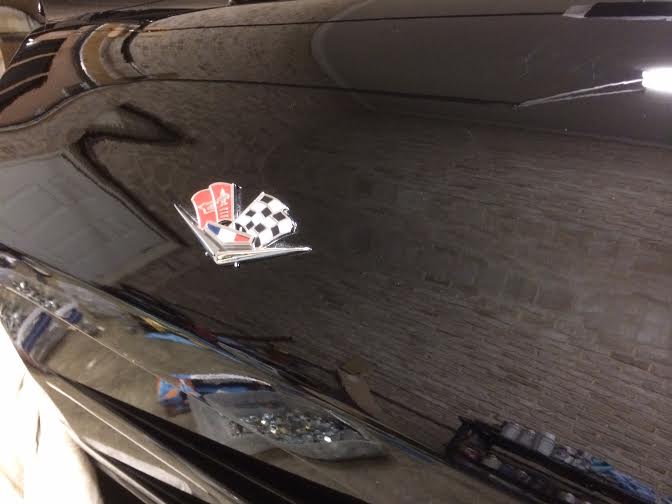
I decided to ditch the fuel injection emblems and go with the early style 63 emblem, which i thought was original to the car since it has an October 62 build date. I think i might have received the wrong emblems. The original holes for the emblems were wide, while the pegs on these emblems are narrow and do not penetrate very far through the fiberglass. However, i like them and Im going to use them alone without the fuel injection emblems.


-
11-13-2013 #2
Registered User
- Join Date
- Nov 2012
- Location
- Birmingham, Alabama
- Posts
- 146
434 Hours
After seeing a 63 split window without an antenna at SEMA i decided that i would copy that person's car and do the same. Removing the antenna gives the rear of the car a much sleeker look. I used a Hideaway antenna on a custom Mustang i built last year, so i will do the same for this one.


Two more coats of slick sand and a whole hell of a lot more sanding. I sure hope this thing is as smooth as glass! Oh, and surprise...I ordered SPI black today for the basecoat. I saw a 63 in cyber gray a few weeks ago and it did not look so hot. I thought about switching to silver, but most every 63 restomod i have seen in the last year has been silver, so black it is...straight black, no metallic.


Oh, and i see what y'all mean about Foose wheels now, or at least the nitrous II wheels. I got to see them up close and personally at SEMA and was not impressed. I think i will go with one of the selections from the new line of wheels offered by Billet Specialties.
11-15-2013 #3
Registered User
- Join Date
- Sep 2013
- Location
- sw Kansas
- Posts
- 1,662
I see that you and I used the same paint booth company.

11-15-2013 #4
Registered User
- Join Date
- Nov 2012
- Location
- Birmingham, Alabama
- Posts
- 146
Zipwall! It works for primer and painting small panels. However, i will be turning the 63 over to performance car craft next week for a professional spray job. I dont want to screw this one up!
12-03-2013 #5
Registered User
- Join Date
- Nov 2012
- Location
- Birmingham, Alabama
- Posts
- 146
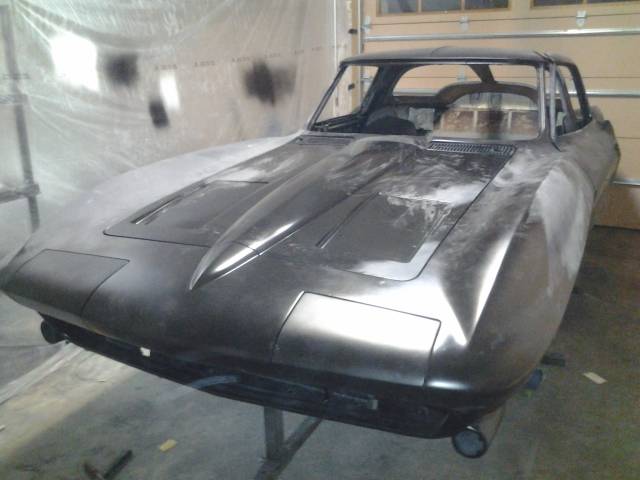
I dropped the car off two weeks ago at paint. They fit the hood a bit better and adjusted the wiper grilles, but that is about all that has happened so far. Hopefully they can have it in color by January. Apparently my novice skills at blocking werent the best, so they are going to reshoot the car with slick sand and block one more time.
The night before i dropped her off at the painter.
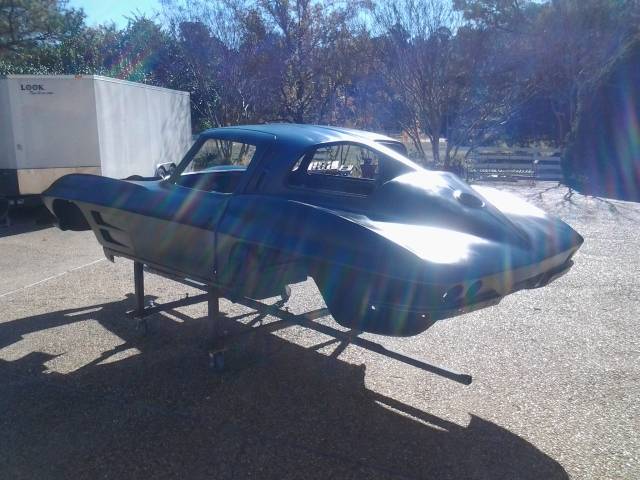
Baking in the sun
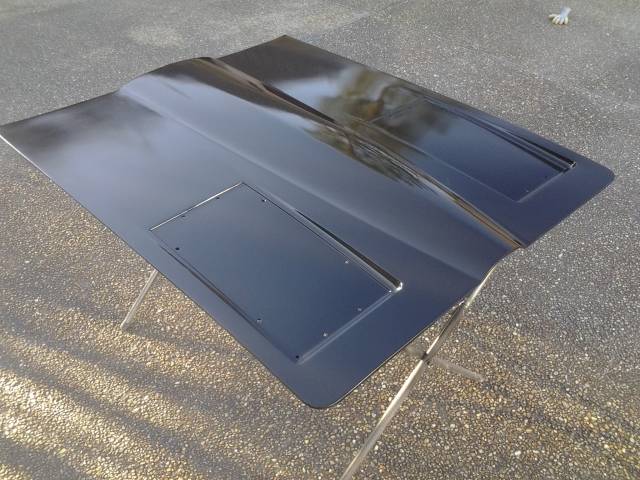
Hood after two coats of epoxy, two rounds of slick sand and blocking, and two more coats of epoxy.
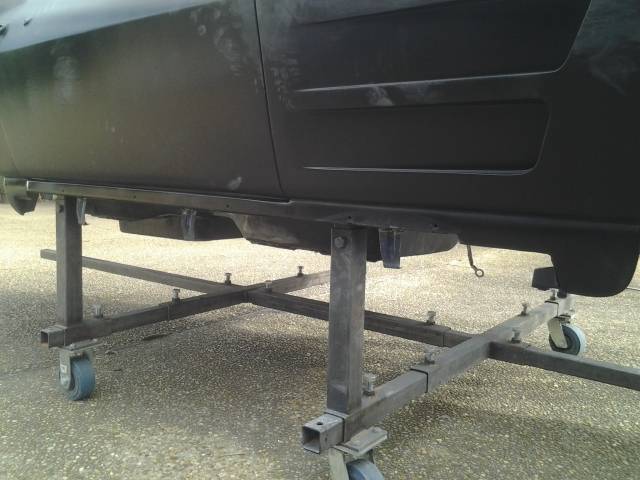
I added 3 rocker tabs back per side to support the rocker panels. I had the tabs leftover from the 66 i built last year, which i added sidepipes to.
Both headlamp bucket skins had come unglued, so i bonded them back together with 3m panel bond.
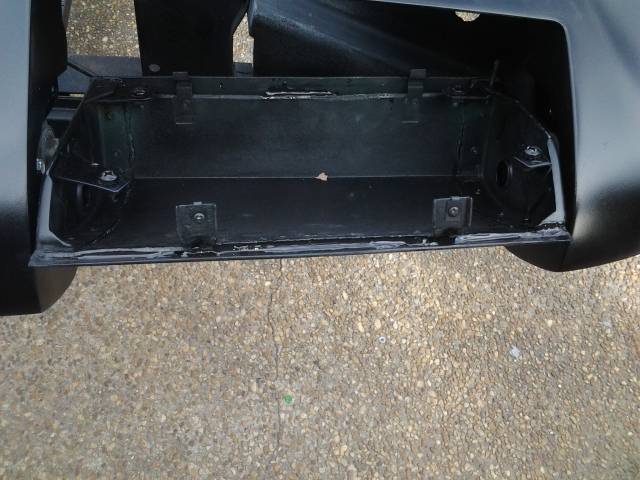
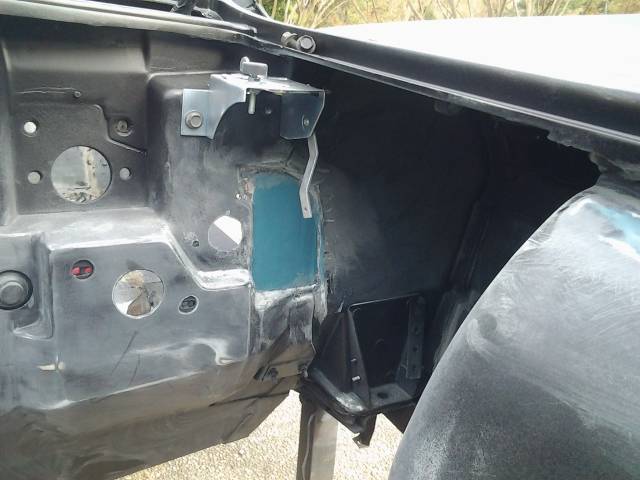
And, i decided to switch to the american auto wire afrermarket harness instead of modifying the new 63 harnesses i purchased, so i glassed and filled in the cut out for the fuse box in the firewall.
That's all for now. Hopefully I will have a painted body to show off soon!
01-31-2014 #6
Registered User
- Join Date
- Nov 2012
- Location
- Birmingham, Alabama
- Posts
- 146
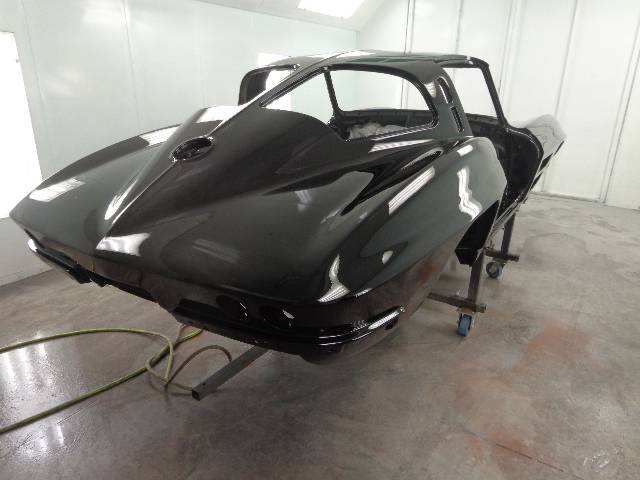
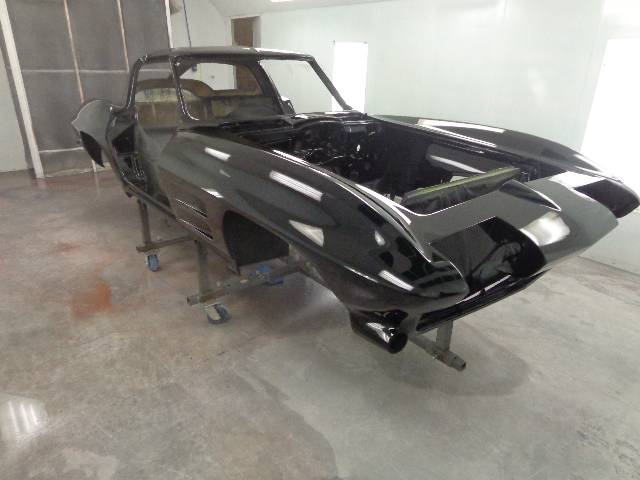
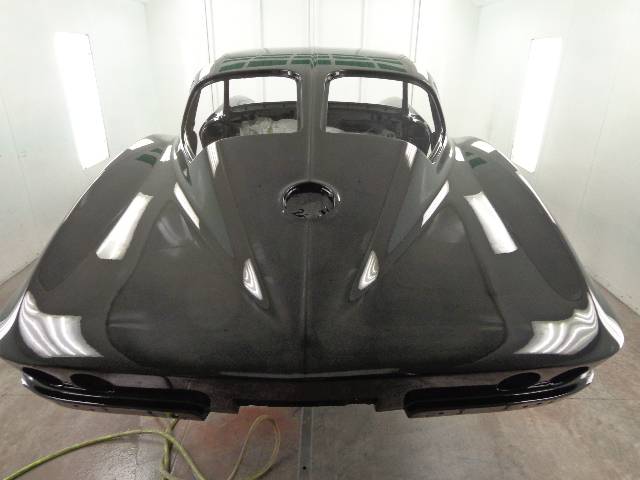
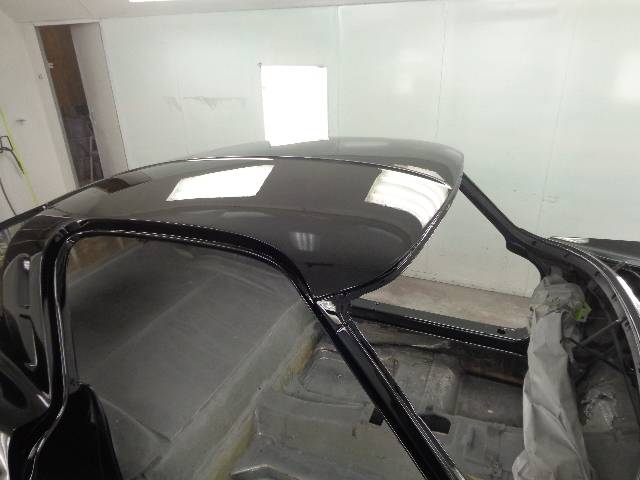
We have color!
Back in Black, not that it matters! I'm really glad i went with the black over the charcoal gray. She's going to be stunning!
01-31-2014 #7
Registered User
- Join Date
- Nov 2012
- Location
- Birmingham, Alabama
- Posts
- 146
I decided to match up the calipers to the paint. I did not want to pay the extra 400-500 to have them powdercoated black,(might as well go for a wilwood upgrade if i was going to spend the extra money), so i ordered them in standard reconditioned color. A simple $8.00 can of dupont caliper paint and about 10 mintues per caliper, and I have black calipers.
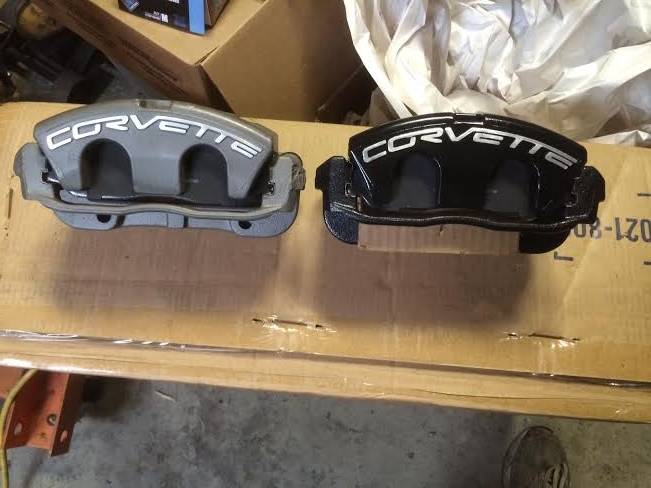
Now they match!
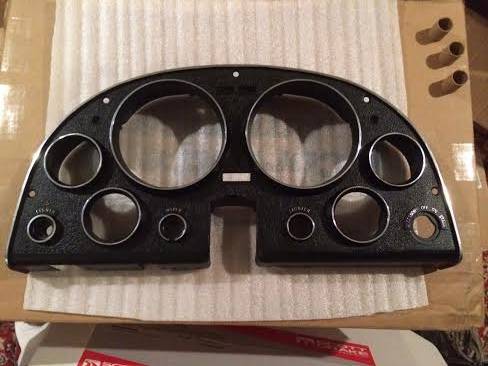
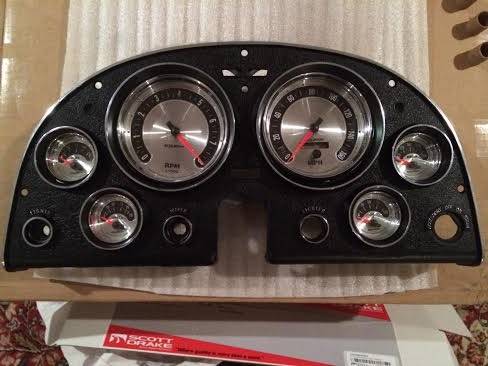
I also reconditioned the gauge console i purchased recently. i forgot to order the indicator lenses, so i cant fully assemble and wire it yet.
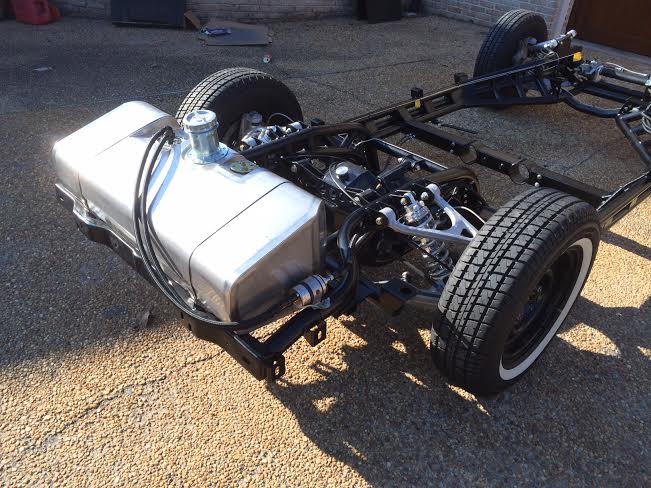
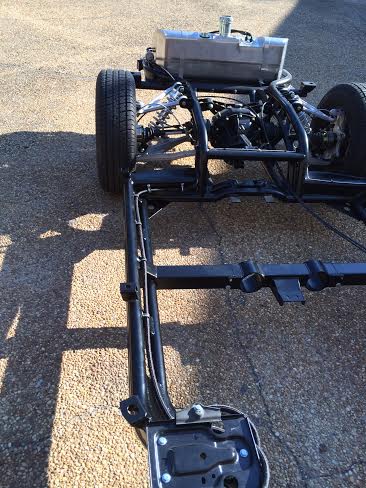
I ran the fuel lines as well.
02-01-2014 #8
Registered User
- Join Date
- Sep 2013
- Location
- sw Kansas
- Posts
- 1,662
I'm glad you found a shop that went to work and got your stuff painted. I expect to see burnout pics shortly.
02-01-2014 #9
Registered User
- Join Date
- Jan 2014
- Location
- Austin, TX
- Posts
- 667
awesome build!
02-06-2014 #10
Registered User
- Join Date
- Nov 2012
- Location
- Birmingham, Alabama
- Posts
- 146
2/6/14
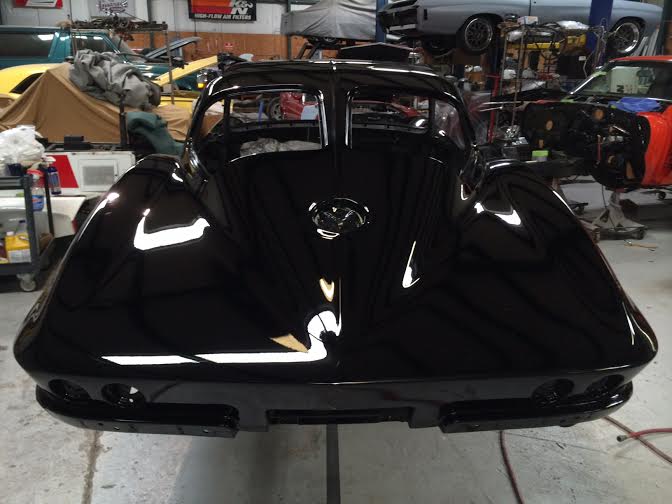
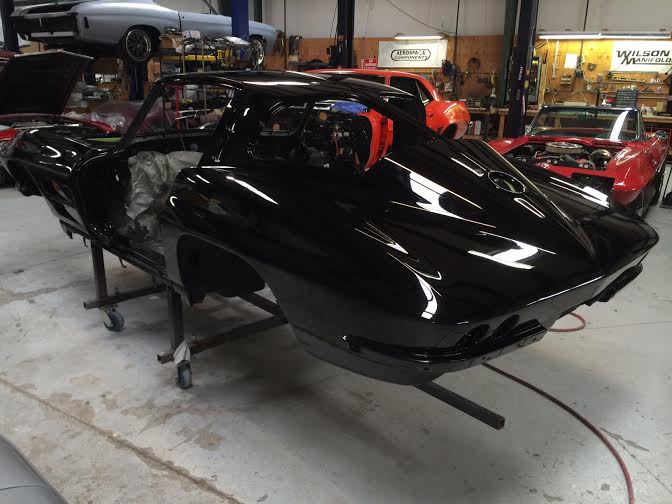
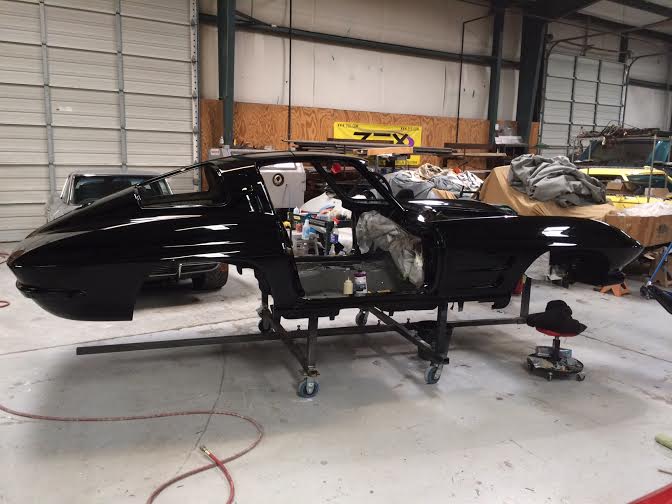
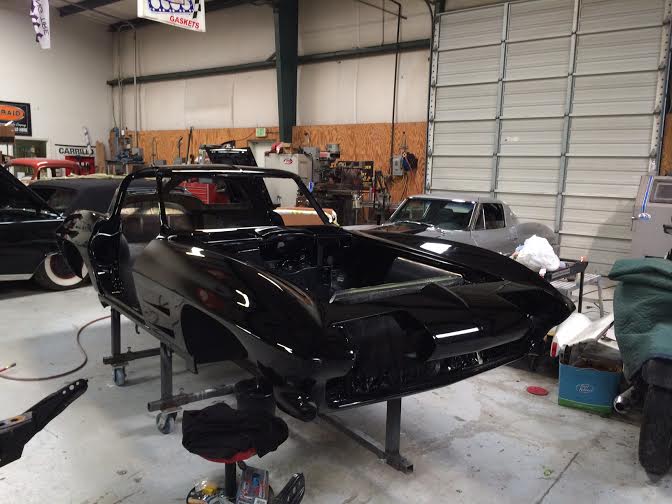
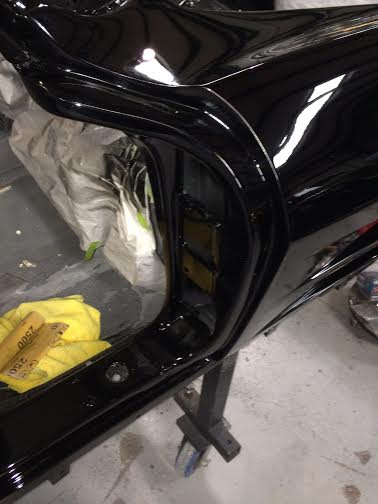
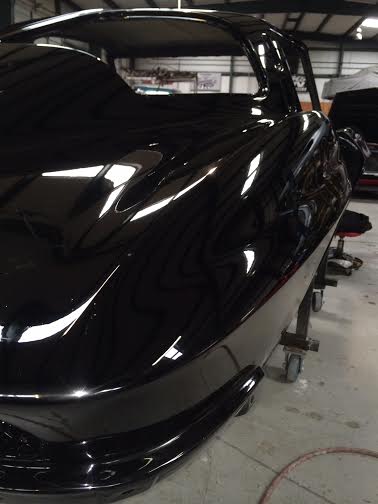
Got to see the paint in person for the first time today. To say the paint looks incredible would be an understatement. Wow is all i can say!
Color is Southern Polyurethanes Inc. Black with their universal clear.
02-07-2014 #11 Registered User
- Join Date
- Feb 2005
- Location
- Metro Detroit
- Posts
- 865
One hell of a build.
 Rims you chose help take the car to the next level. So far it looks like you have done everything right.
 Excellent detail work. I going to show you my Billet Specialties rims. Remember this car was finished seven years ago. I have a lot of chrome and stainless steel trim that sticks out on this car so I went with aluminum rims .
I had my son photo shop quite a few rims on the car before I purchased a set. Keep up with the excellent work it will pay off in the end,
02-10-2014 #12
Registered User
- Join Date
- Nov 2012
- Location
- Birmingham, Alabama
- Posts
- 146
 Originally Posted by Roger Poirier

Those look nice and that is a great looking build! I need to purchase photoshop...it would come in handy!
02-10-2014 #13
Registered User
- Join Date
- Nov 2012
- Location
- Birmingham, Alabama
- Posts
- 146
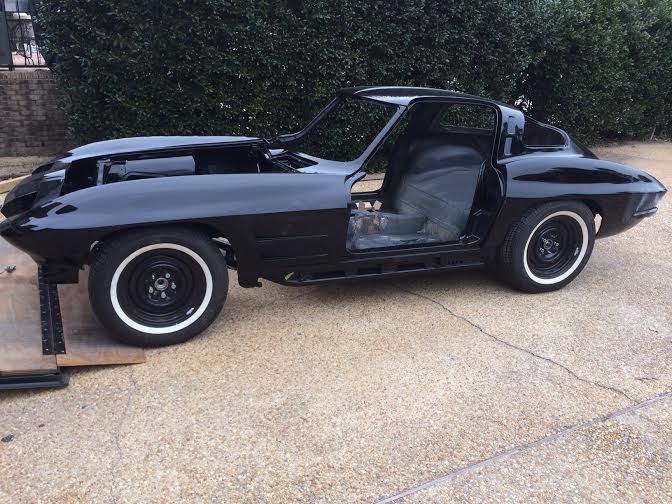
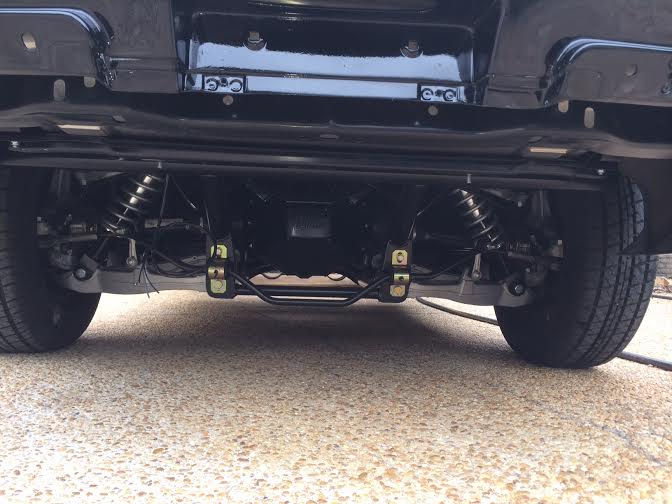
We lowered the body back on the chassis today. Had a good bit of interference on the fender skirts at the rear of the control arms and the lower portion at the bend in the frame rails. A little minor trimming with a saber saw and everything cleared.
Oh, and BTW, if you ever plan on using the original wheels as rollers on a newer chassis, be warned, they will hit the quarter panels. We had to double stack body spacers at the rear for clearance.
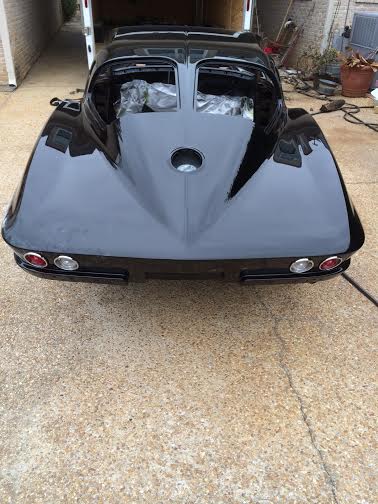
Best to run the wires for the fuel sender and fuel pump before body drop or you will have a hard time connecting them! You can see my wires hanging down in this photo.
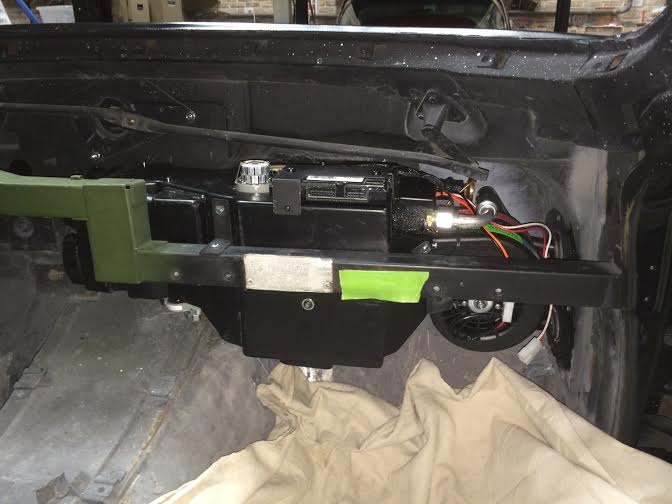
I installed the Vintage AC this afternoon. What a PITA. I dont know how anybody manages to install their new system with the dash still in place. I had to remove all of the electrical components from the box just to gain enough clearance to slide it into place. It will go into place easily without the hoses connected, but once they are installed, it's a battle. If you attempt to install the hoses afterward, well, good luck!
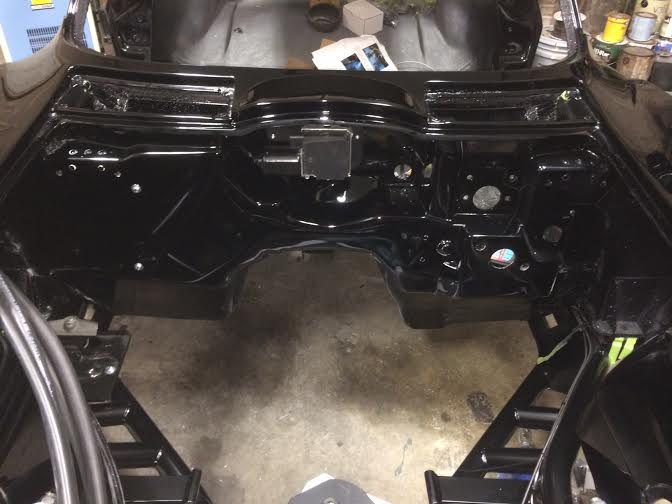
Im really glad I decided to go with the base coat/clear coat in the engine bay. It looks fantastic! All that filling and sanding to smooth out the firewall and skirts paid off!
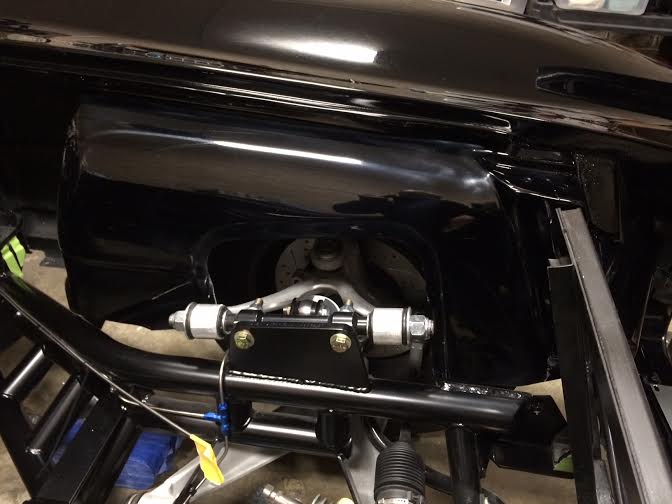
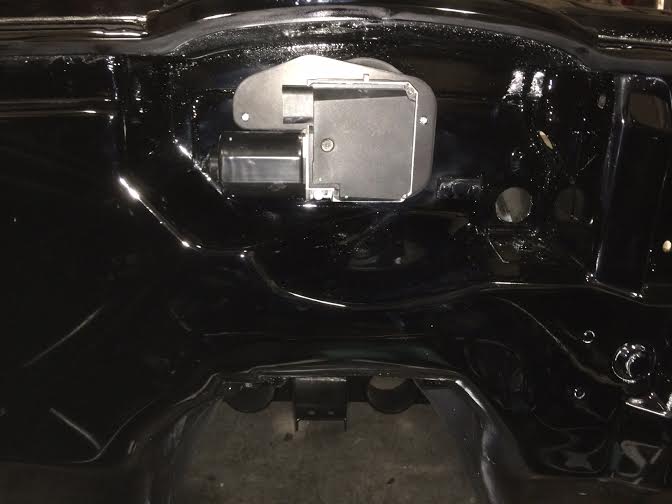
Detroit Speed Wiper Motor installed
Thin Side Emblems...they look so much better than the fatter emblems, in my opinion.
02-06-2014 #14
Registered User
- Join Date
- Nov 2012
- Location
- Birmingham, Alabama
- Posts
- 146
Glad you all like it! Thanks for the compliments!
02-07-2014 #15 Registered User
- Join Date
- Mar 2008
- Location
- Brisbane Australia
- Posts
- 410

I'm just amazed how much body work you did on a car that looked nice in original photos. Frame looks the business, how much floor did the frame require you to move?
Hot rodder's recycle, wheres those prius' going when the tree huggers have a new fad.
02-10-2014 #16
Registered User
- Join Date
- Nov 2012
- Location
- Birmingham, Alabama
- Posts
- 146
If you look back at page 3, you will see the photos of the section i removed. Basically, everything from the luggage divider back had to go away. Originally Posted by linkstar69
The body was nice and in driver condition, but not show condition. The gaps were off and things didn't line up right in certain areas, like the headlamp buckets and the tops of the doors.
02-11-2014 #17
Registered User
- Join Date
- Jan 2014
- Location
- Austin, TX
- Posts
- 667
any idea if that DSE wiper motor will work on a C3? Just curious as Ive never worked on a C2 so not sure if the OE set up is similar. Project looks amazing!!!
02-11-2014 #18
Registered User
- Join Date
- Nov 2012
- Location
- Birmingham, Alabama
- Posts
- 146
The original wiper motor for the 68-75 doesnt look that much different that the 63-67 Unit, so it might, but I am not a c3 expert by any means. I would call detroit speed if i were you! They are really friendly and I am sure would be more than happy to discuss it with you. Originally Posted by FLYNAVY53
02-11-2014 #19
Registered User
- Join Date
- Jan 2014
- Location
- Austin, TX
- Posts
- 667
awesome, thanks!!
02-11-2014 #20 Registered User
- Join Date
- Nov 2008
- Location
- st. paul mn.
- Posts
- 438
nice pick of the right car for the job. Love this body style and can't wait to see this one progress. be really careful putting things together now would not be the time to back up and do more paint touch up, you have along way to go but it will all be worth it in the end! keep up the great work!
Follow Us on Facebook!
http://www.Facebook.com/ErodzCustoms
Visit Our Website!
http://www.ErodzCustoms.com
Follow our Crazy Shop Mod's!
http://www.garagejournal.com/forum/s...ad.php?t=48204

 Reply With Quote




