


Results 21 to 40 of 144
Thread: My Little '67 Mustang
-
11-29-2012 #21

 Registered User
- Join Date
- Aug 2005
- Location
- SF, Bay Area
- Posts
- 447
Damn Brandon, your not just flooding CA fords with pics anymore? you had to post whore over here as well!?
1965 Chevelle. PM me about wheel tool rental
-
11-29-2012 #22
Registered User
- Join Date
- Nov 2012
- Posts
- 128
 It's all Z06killinSBF's fault, he recruited me! lol
 Originally Posted by 67cougnut
 ...Cars are my drug and I don't need intervention
Therapy provided by: https://www.pro-touring.com/showthre...ang&highlight=
BK
11-30-2012 #23
Registered User
- Join Date
- Nov 2012
- Posts
- 128
That is one heck of a compliment, thanks! I do OK. Originally Posted by rustomatic
 ...Cars are my drug and I don't need intervention
Therapy provided by: https://www.pro-touring.com/showthre...ang&highlight=
BK
11-30-2012 #24
Registered User
- Join Date
- Nov 2012
- Posts
- 128
lol and thanks Todd. I have always been a bit of an "underdog" and I enjoy being a little different. My old '67 fastback Shelby Mustang was a really cool car but I feel a little more comfortable with this car for some reason. I guess when I used to run a '63 Falcon Sprint back in the day and everyone else had a Mustang, Chevelle or a Camaro it left an impression on me that being a little different was cool. Originally Posted by Todd in Vancouver
...Cars are my drug and I don't need intervention
Therapy provided by: https://www.pro-touring.com/showthre...ang&highlight=
BK
11-30-2012 #25
Registered User
- Join Date
- Nov 2012
- Posts
- 128
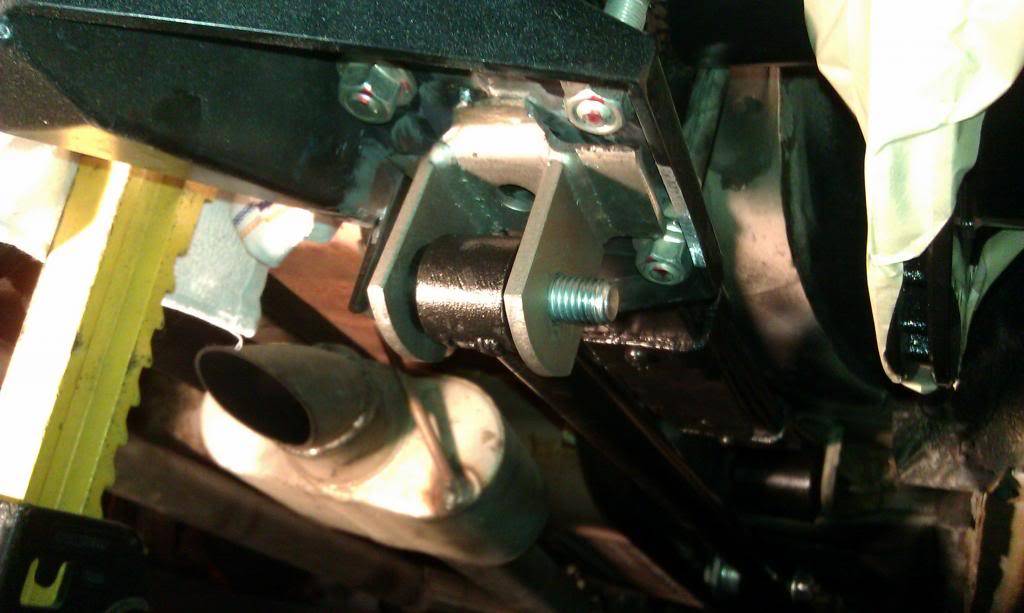
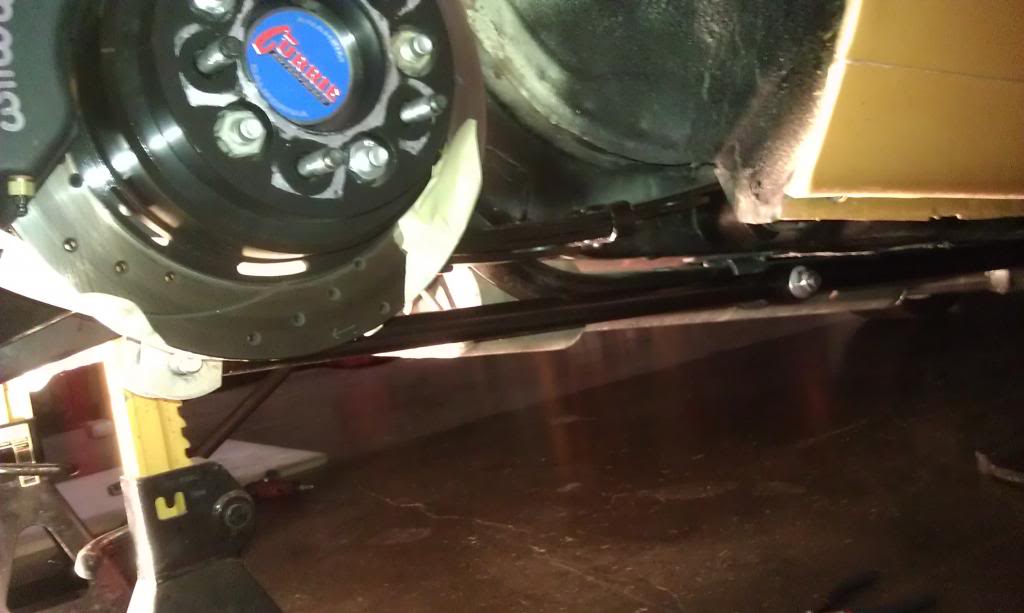
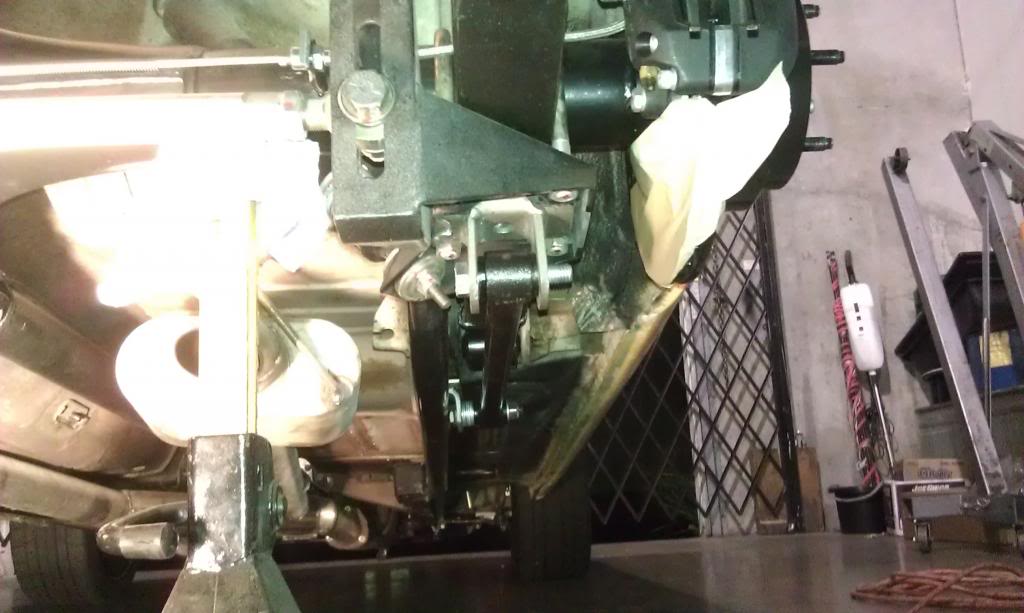
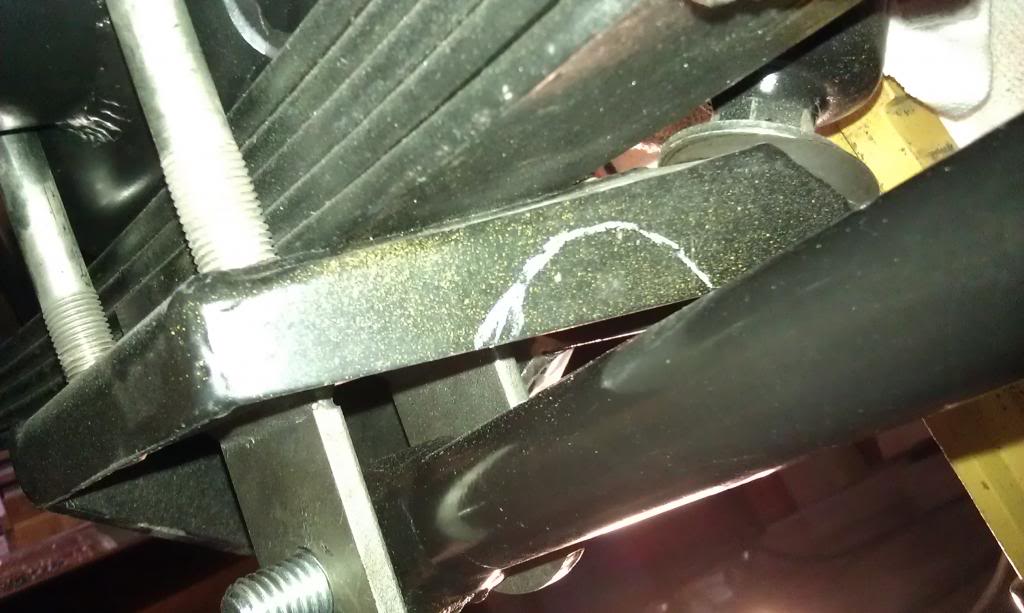
LCA/Traction bar install....
These normally just bolt below the factory leaf spring plates. My plates have been modified for the Maier panhard and the wider spacing for the 3.25" truck axle tubes and U-bolts. So I decided to weld the bars directly to my modified plates. I also welded the front mounts to the subframe connectors AND the frame rails.
MOCKING UP THE REAR
MOCKING UP THE FRONT
NICE AND STRAIGHT
A LITTLE TOO CLOSE TO THE MAIER PLATE
A LITTLE CLEARANCE FOR GOOD MEASURE
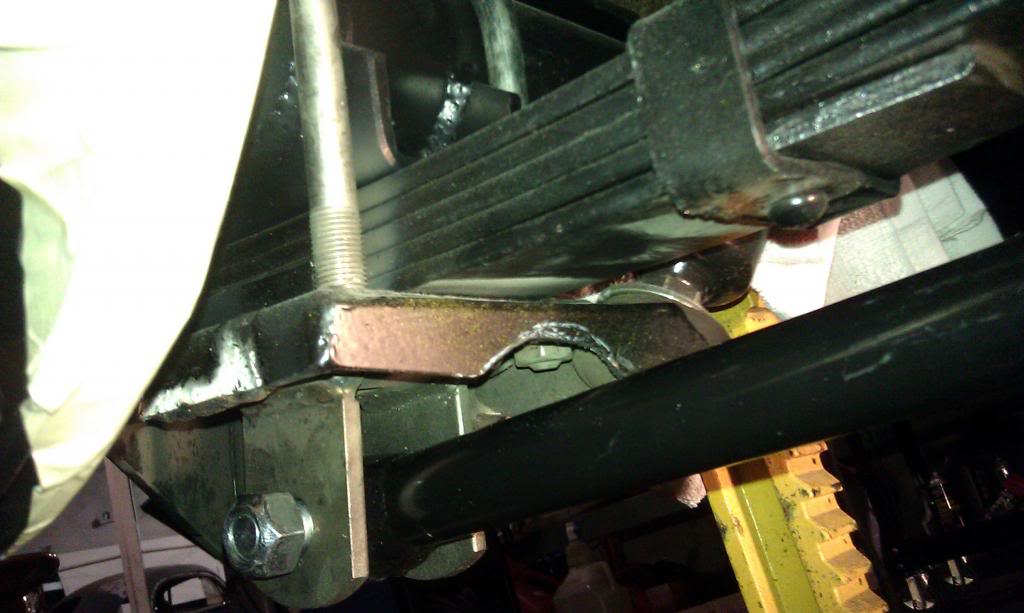
LOTS OF WELDING! ...PASSENGER SIDE ALL DONE
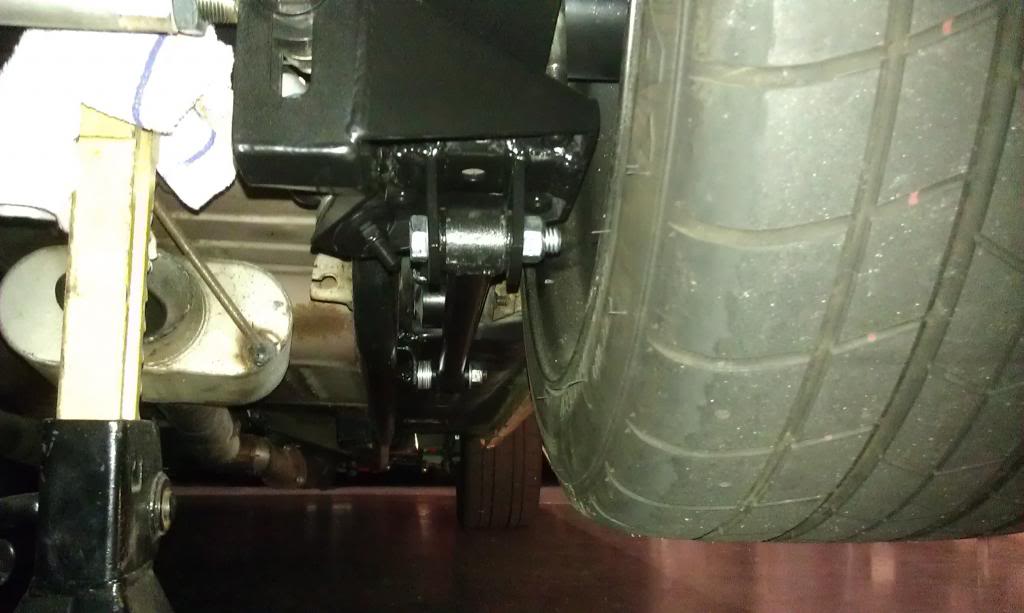
DRIVERS SIDE ALL DONE
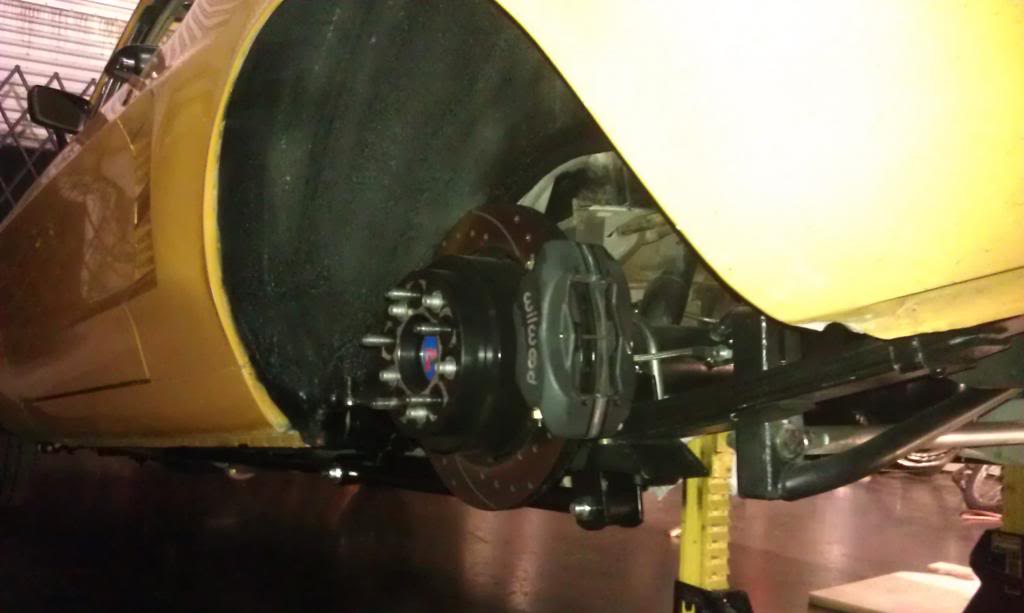
Took her for a little test drive and SHE HOOKS! Zero wheel-hop and much better communication in corners on and off throttle.
Best $100 I've spent so far.
...Cars are my drug and I don't need intervention
Therapy provided by: https://www.pro-touring.com/showthre...ang&highlight=
BK
11-30-2012 #26
Registered User
- Join Date
- Nov 2012
- Posts
- 128
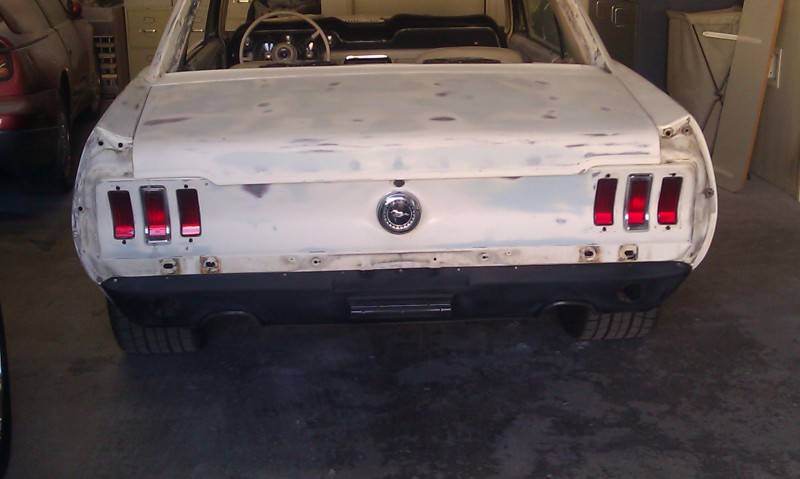
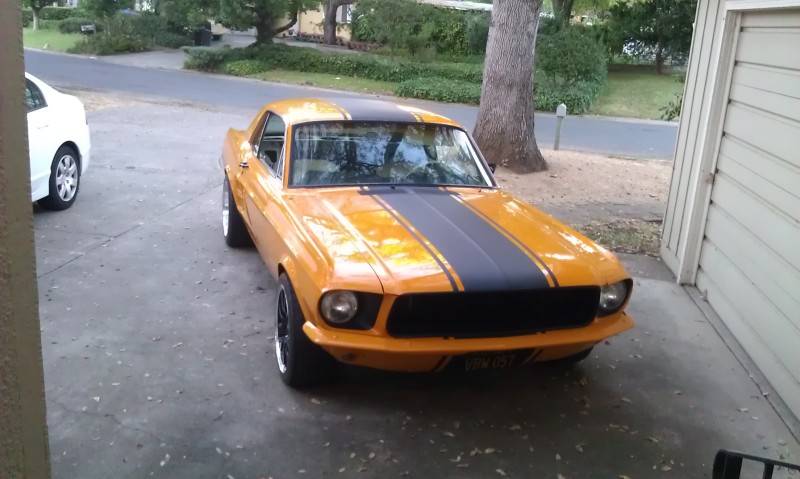
Here are some paint and body pics...
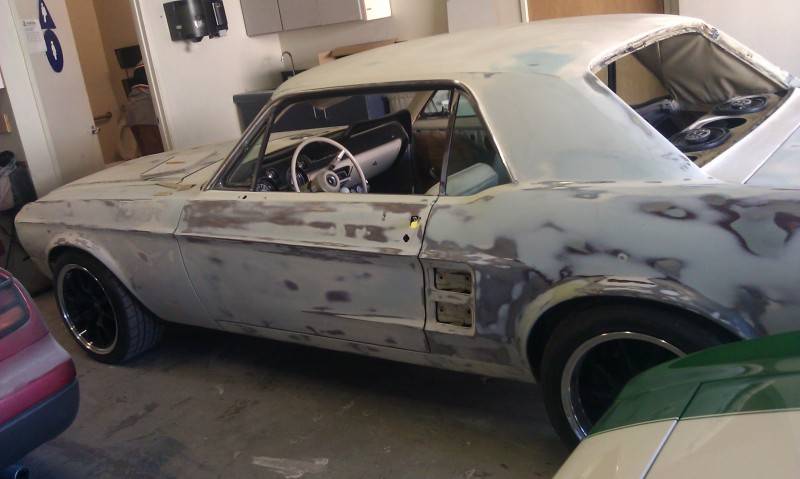
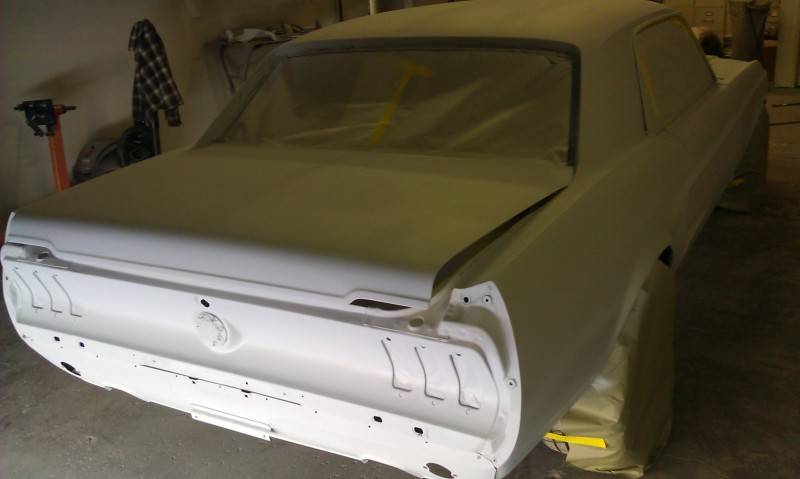
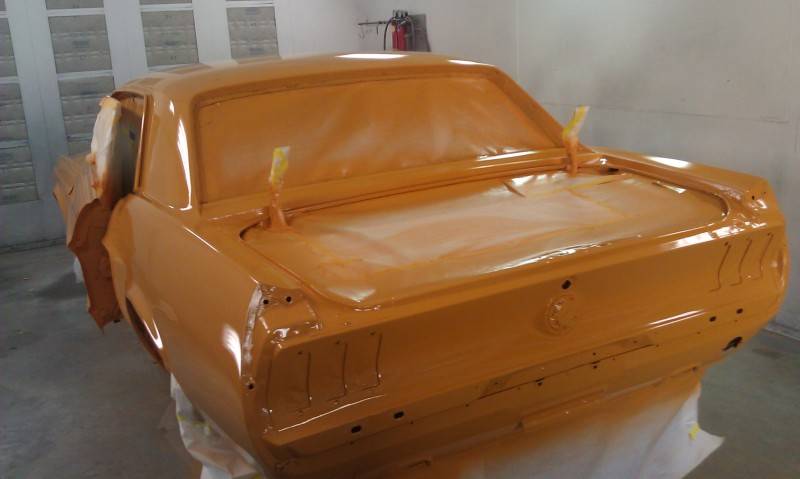
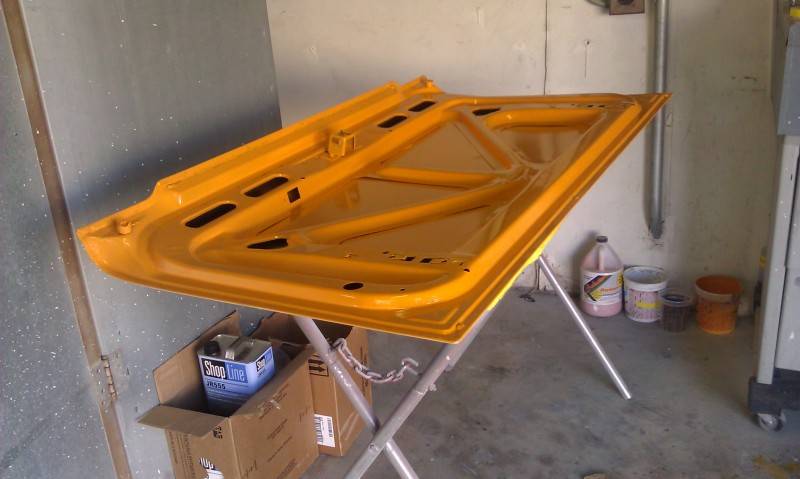
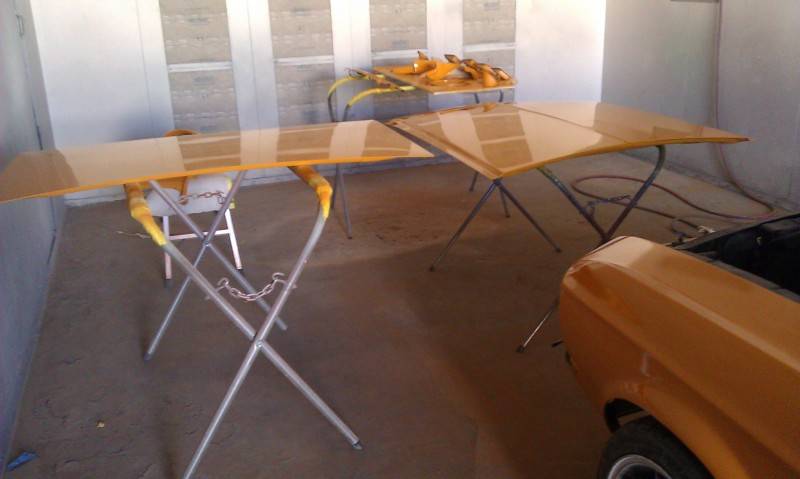
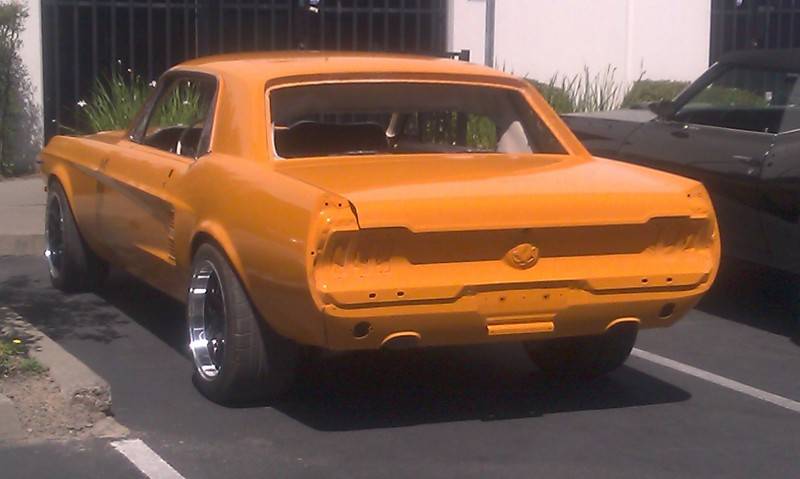
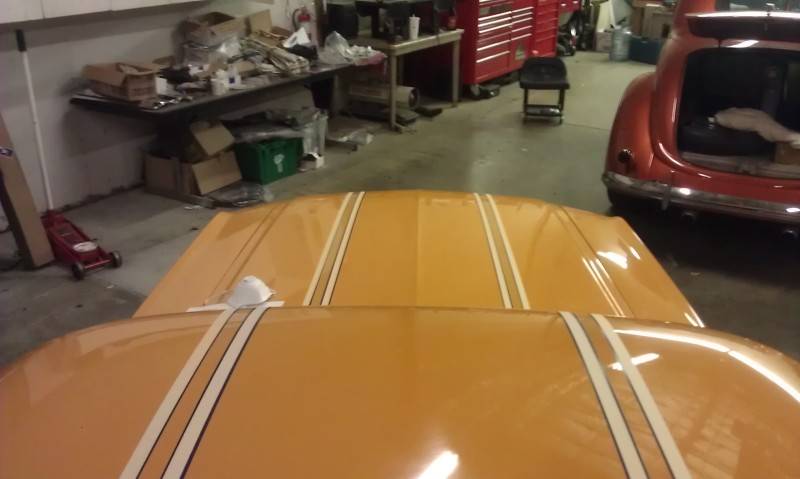
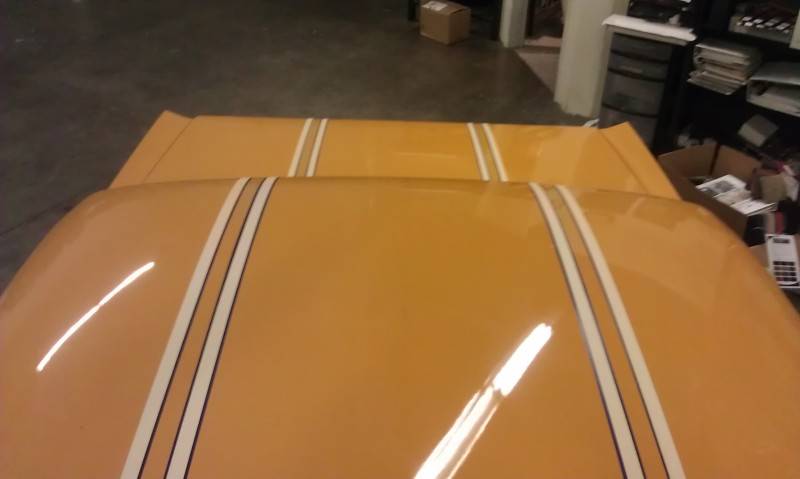
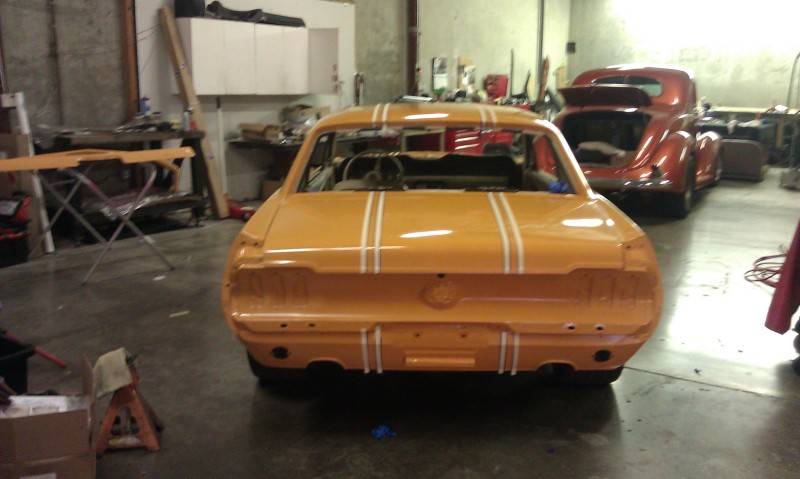
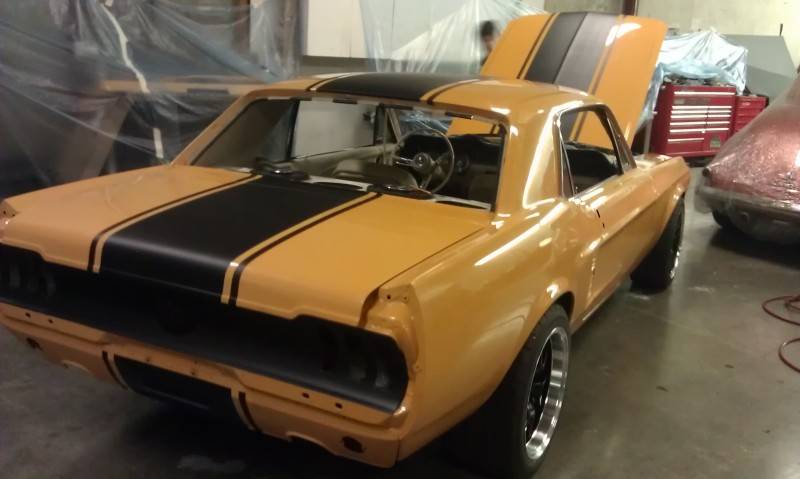
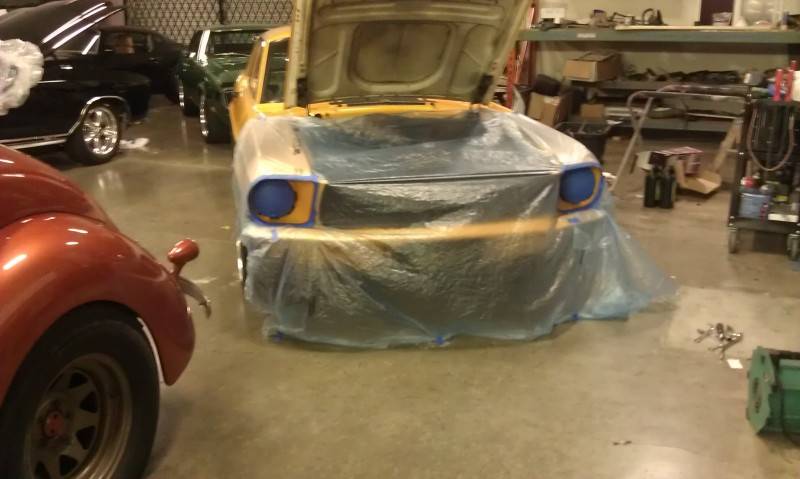
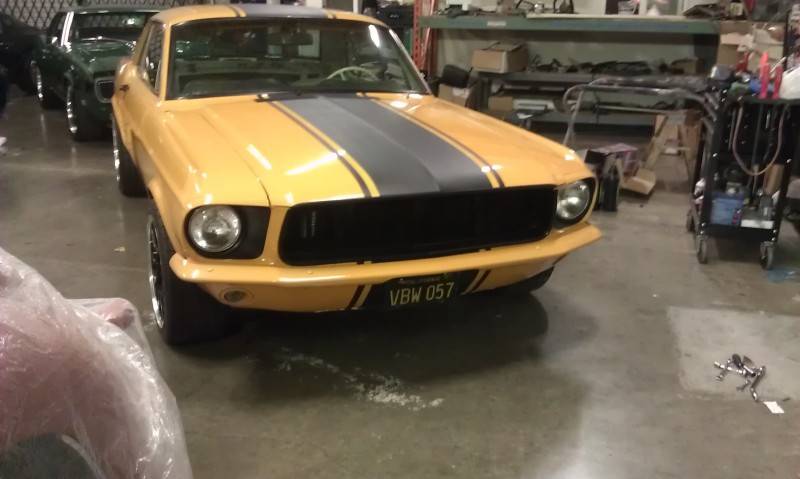
 ...Cars are my drug and I don't need intervention
Therapy provided by: https://www.pro-touring.com/showthre...ang&highlight=
BK
11-30-2012 #27
Registered User
- Join Date
- Nov 2012
- Posts
- 128
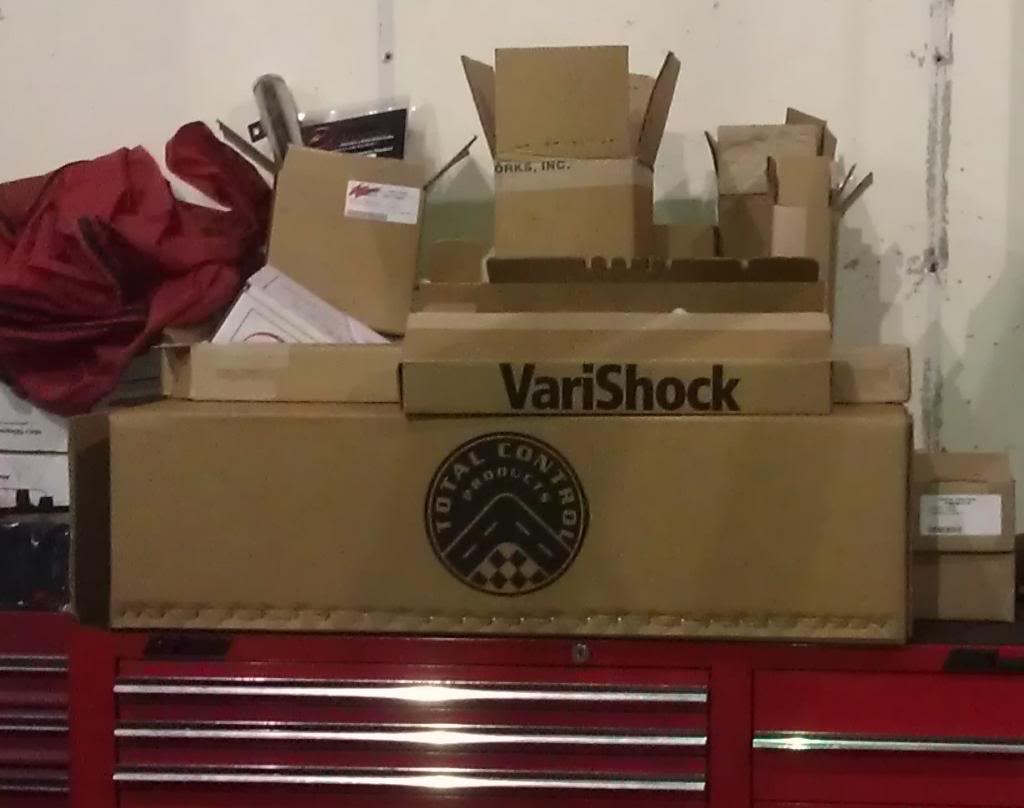
Suspension and steering arrived early!
...pics coming soon
...Cars are my drug and I don't need intervention
Therapy provided by: https://www.pro-touring.com/showthre...ang&highlight=
BK
11-30-2012 #28 Registered User
- Join Date
- Jan 2006
- Location
- McKinney, TX
- Posts
- 1,625
And you're welcome. Originally Posted by bwkelley76
66 Mustang "Project: Ballin on a budget"
89 Mustang "Box Wine"
12-01-2012 #29
Registered User
- Join Date
- Nov 2012
- Posts
- 128
Merry Christmas to the Mustang and I!
 ...Cars are my drug and I don't need intervention
Therapy provided by: https://www.pro-touring.com/showthre...ang&highlight=
BK
12-01-2012 #30
Registered User
- Join Date
- Dec 2010
- Location
- N. Carolina
- Posts
- 44
I'm jealous!
12-01-2012 #31
Registered User
- Join Date
- Nov 2012
- Posts
- 128
TCP FRONT-END, RACK & PINION, and WILWOOD BRAKE INSTALL
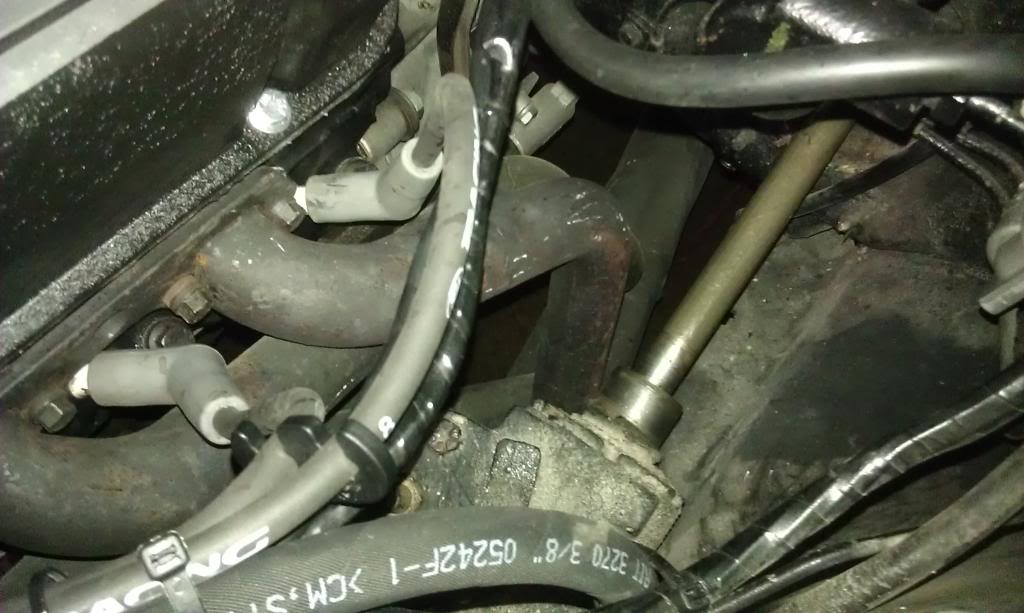
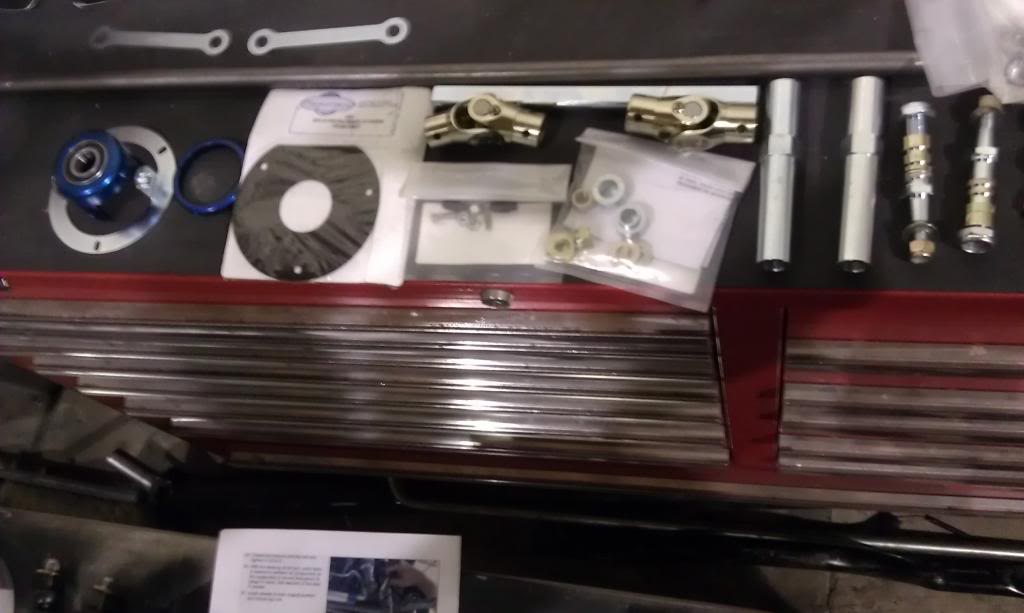
The TCP rack reuses the factory column or an aftermarket coulmn, your choice. For the '65-early '67 Mustangs that have the one-piece steering box and shaft combo it comes with a new center shaft that replaces the factory one, lower u-joints, and coupling shaft to attach to the rack down below. You will need to cut the stock column so the TCP kit also includes a retainer bearing/column cap assembly, a firewall support bracket and boot.
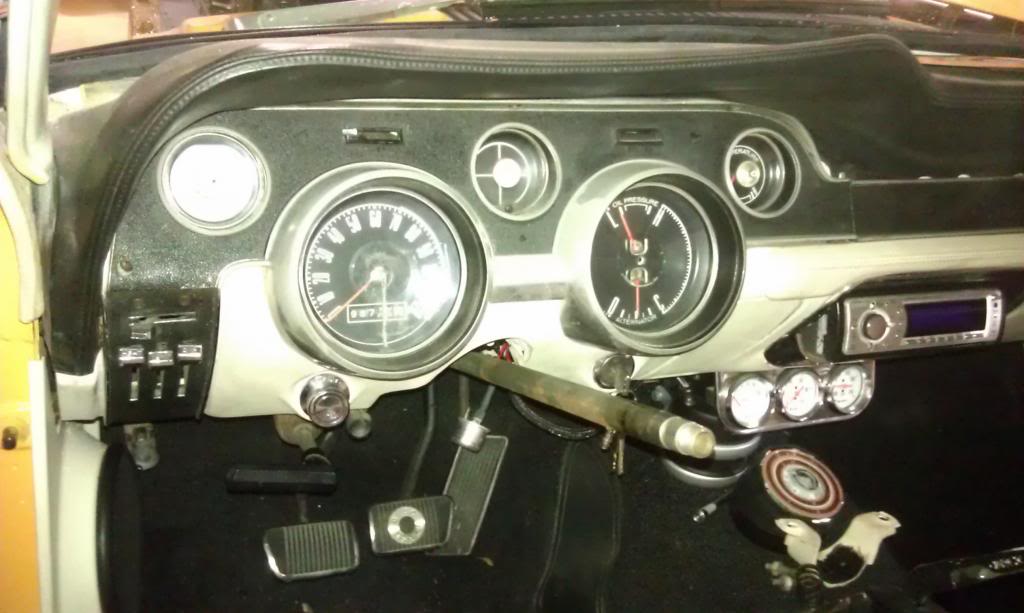
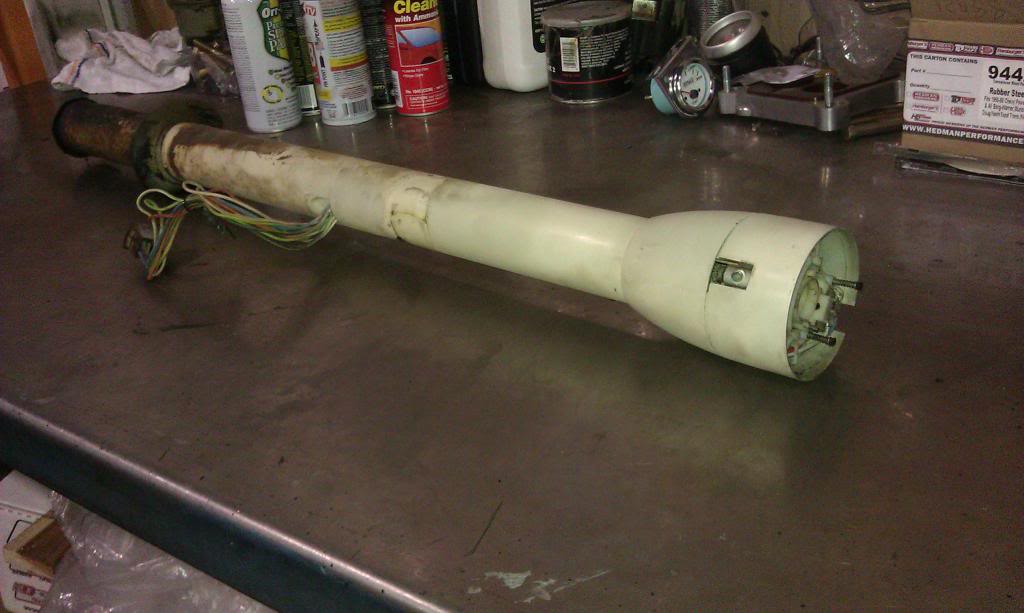
The stock column popped right out and slid off of the factory steering shaft that is one-peice with the box. I used a little persuasion (pry bar) between the box and the column to unseat 45 years of stick! Only took about 20 minutes and it was out and on the bench.
-
-
-
-
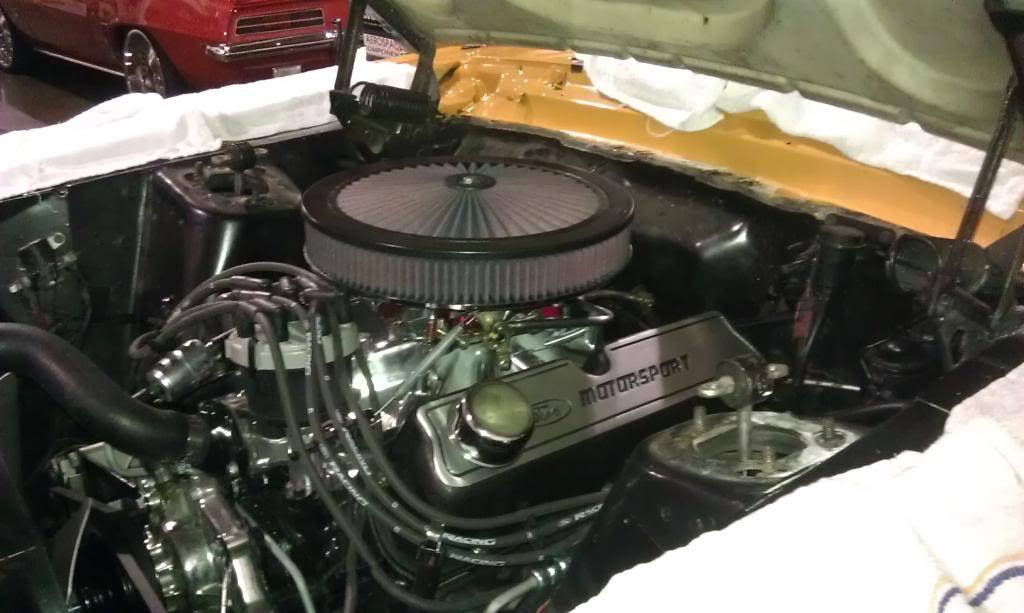
Next with the car still on the ground I removed the shock tower caps and took off the strut rod bushing nuts. This allows the suspension to droop all the way down once raised on the lift. I then removed the export brace in preparation for the TCP suspension install later on.
-
-
-
-
Here's the order I chose to do drop the suspension, steering and brakes this time around...
I usually drop all of the suspension, steering and brakes at the same time when I'm in a hurry. If you have access to a lift it can be done that way to save time.
Always keep the end result in mind though and DO NOT OPEN FLUID LINES or hoses unless you plan on finishing the job "the same day" or don't mind making a mess.
In my case I only have a few hours to tackle some things today, and I will be parking another car underneath this one overnight, so I'm being a little conservative.
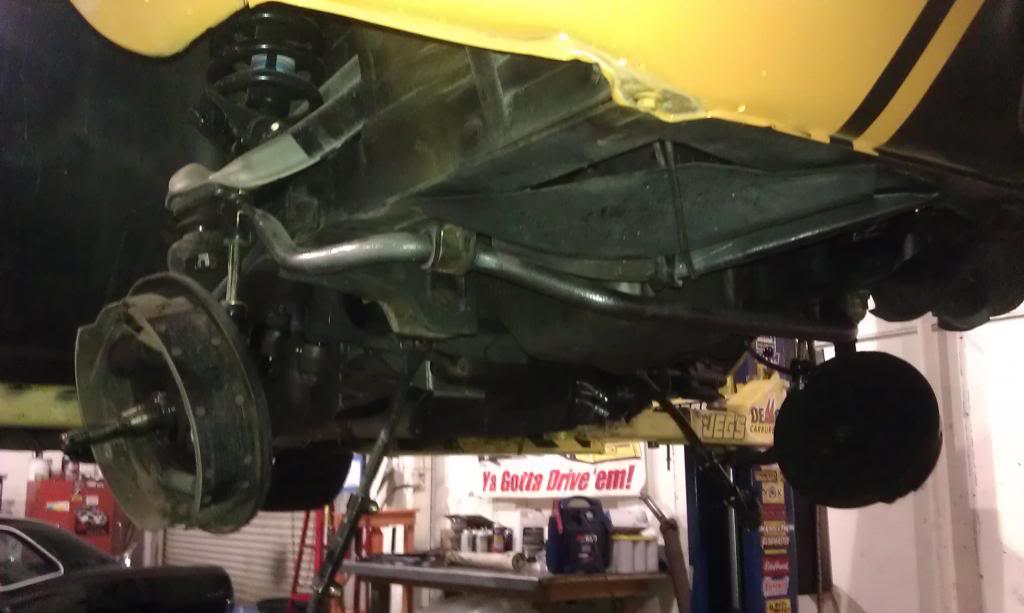
So, keeping that all in mind I racked and raised the car, removed the wheels, removed outer tie rod ends and front drums from the spindles, and removed the sway bar end link bottom nuts from the lower control arm, sometimes these are on the top which makes for a messy removal(I promptly put them back on once the end-link was pulled from the lower control arm). I'm reusing the sway bar in this case so it's OK to leave it on the car, it shouldn't get in the way too badly.
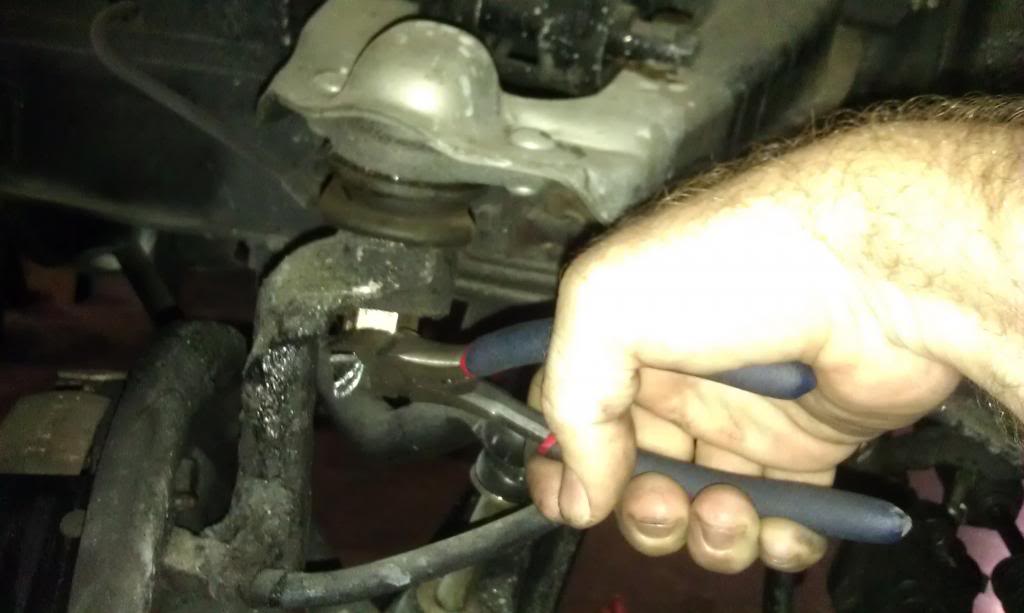
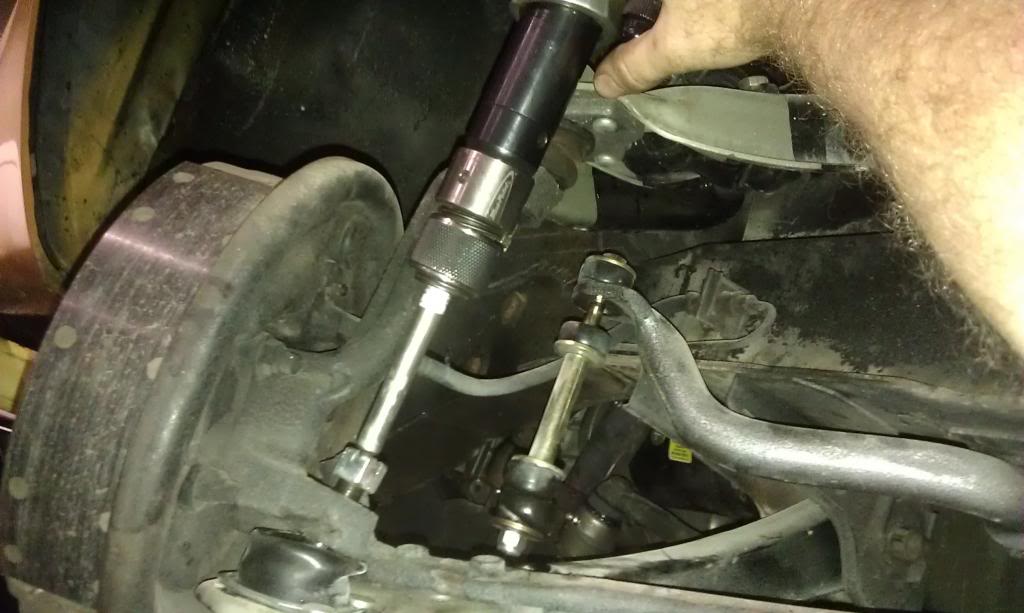
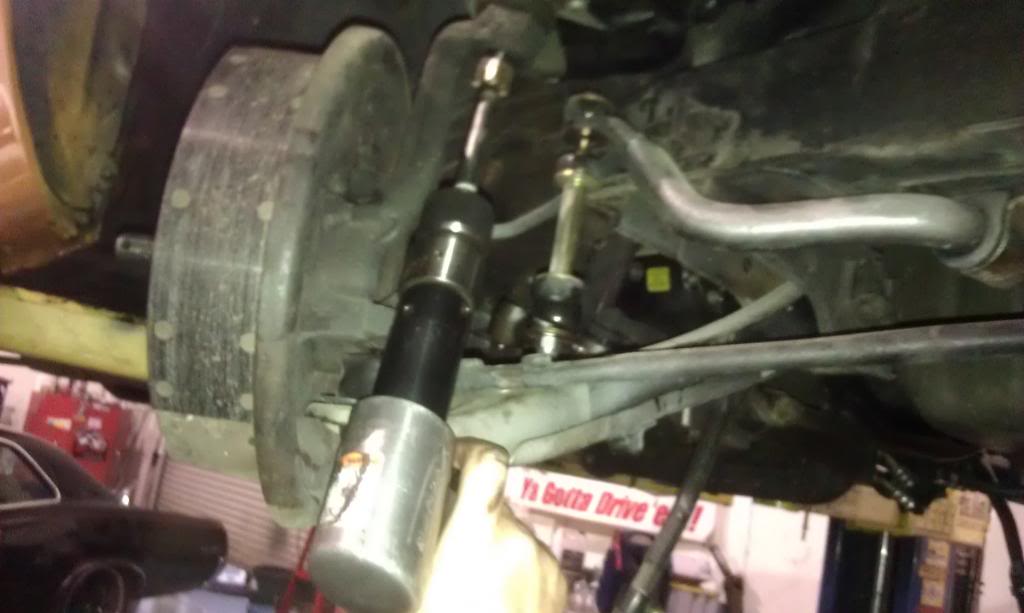
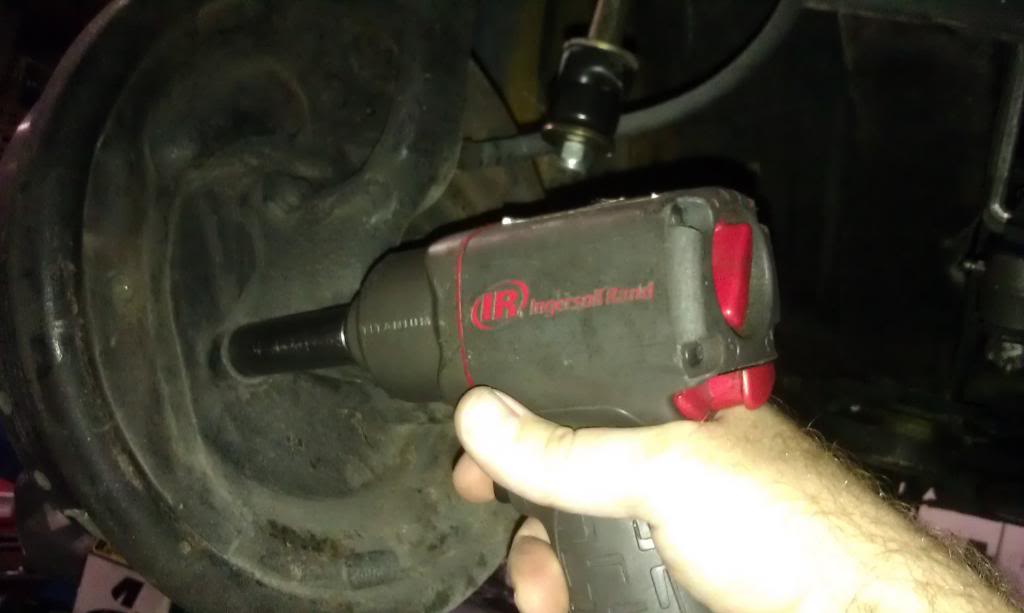
Now that everything is hanging and no longer under stress I unseated the ball-joints from the spindles. ...Note the use of the side-cutters to remove the cotter-pins and the air hammer and corresponding bit at the very tip of the ball-joint studs, being careful not to damage the threads. This is my personal method of choice to unseat ball-joints and tie rod ends from spindles. ...The use of a pickle fork here would definitely prove death for the ball-joints and tie rod ends, not good if you plan on ever reusing them on another car. I'm not that fond of pickle forks either way though. You can hit the spindle with a large hammer also for a similar result, but I don't want to put big dents in my spindles in this case either.
-
-
-
-
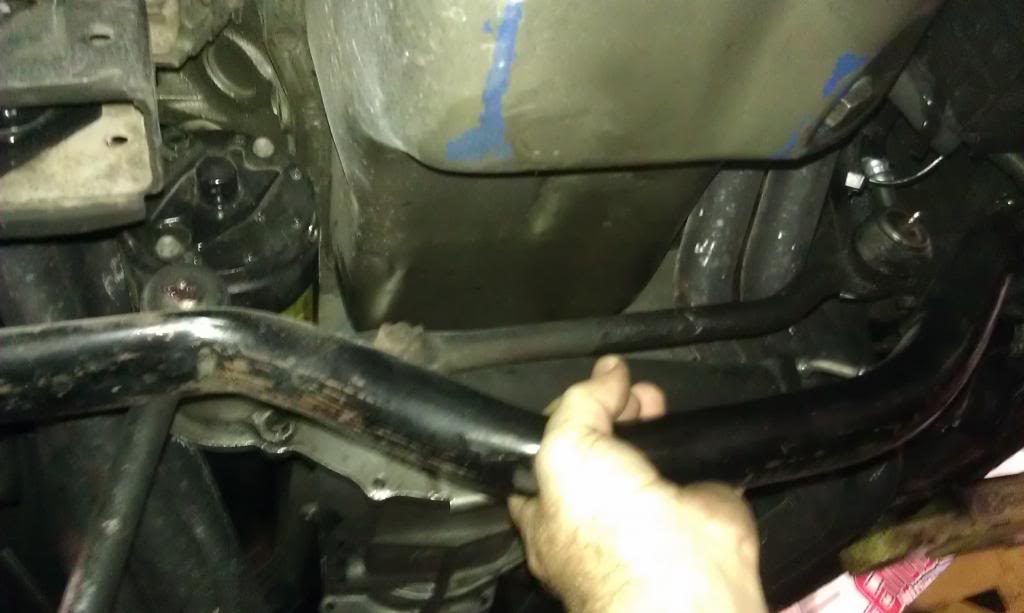
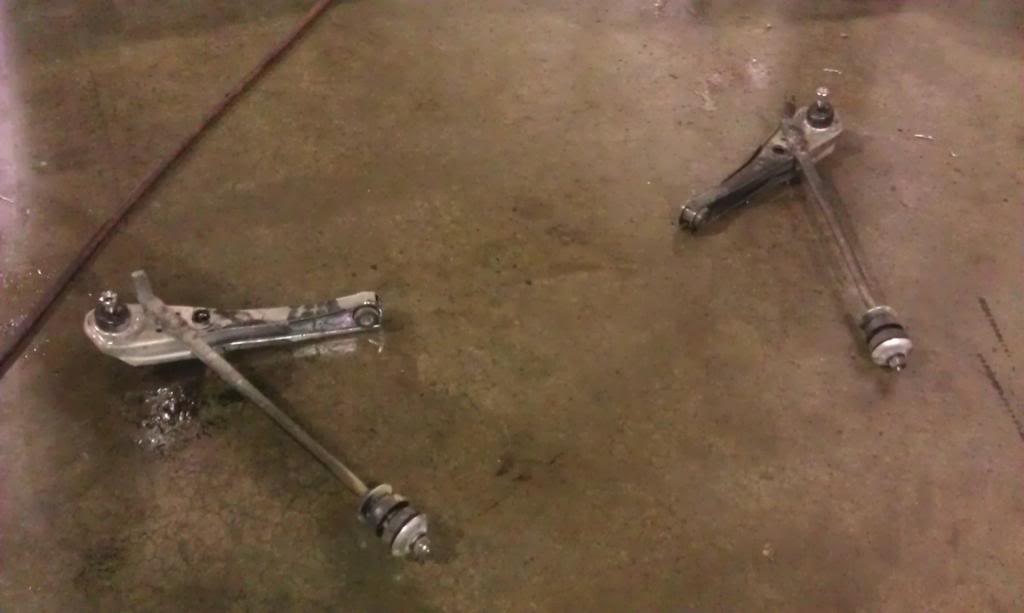
Now it's time to remove the center brace for access to the lower control arm bolts/eccentrics. Then I removed the lower control arms and strut rods as a complete unit.
TO BE CONTINUED......Cars are my drug and I don't need intervention
Therapy provided by: https://www.pro-touring.com/showthre...ang&highlight=
BK
12-01-2012 #32 Registered User
- Join Date
- Feb 2010
- Location
- Central NJ
- Posts
- 792
Love the stance, wheels and paint! its got a really nice trans-am vibe!
-SeanMy 1973 Chevelle "Bad Buzz" build: https://www.pro-touring.com/showthre...velle-PT-Build
12-02-2012 #33
Registered User
- Join Date
- Dec 2010
- Posts
- 709
To take the position of suspension weenie here, did you try the car (hard, in turns at varying speeds) with the Panhard before you put the traction bars on? The reason I ask is related to the potential roll center conflict between the traction bars and p-rod; in other words, the traction bars might actually limit the positive axle locating effect/vertical travel ability of the p-rod, creating unfortunate/conflicting binding events (losing traction at really bad times). If it does work well, and doesn't make you feel like you need a rear sway bar, I may try it, so as to avoid breaking my back tires loose every time I downshift to first gear...
Which Wilwood kit/kits did you go with, if you don't mind my asking?
12-04-2012 #34
Registered User
- Join Date
- Nov 2012
- Posts
- 128
Originally Posted by rustomatic
I have not tried it hard in corners yet but I will soon enough. If they don't work out well I will get a set of slide-a-links as per Maier's recommendation. I'm only out a bill if these don't work.
Brakes are the dynalite 12.9's because I'm a cheap-ass ;) ..drilled and slotted of course....Cars are my drug and I don't need intervention
Therapy provided by: https://www.pro-touring.com/showthre...ang&highlight=
BK
12-04-2012 #35
Registered User
- Join Date
- Nov 2012
- Posts
- 128
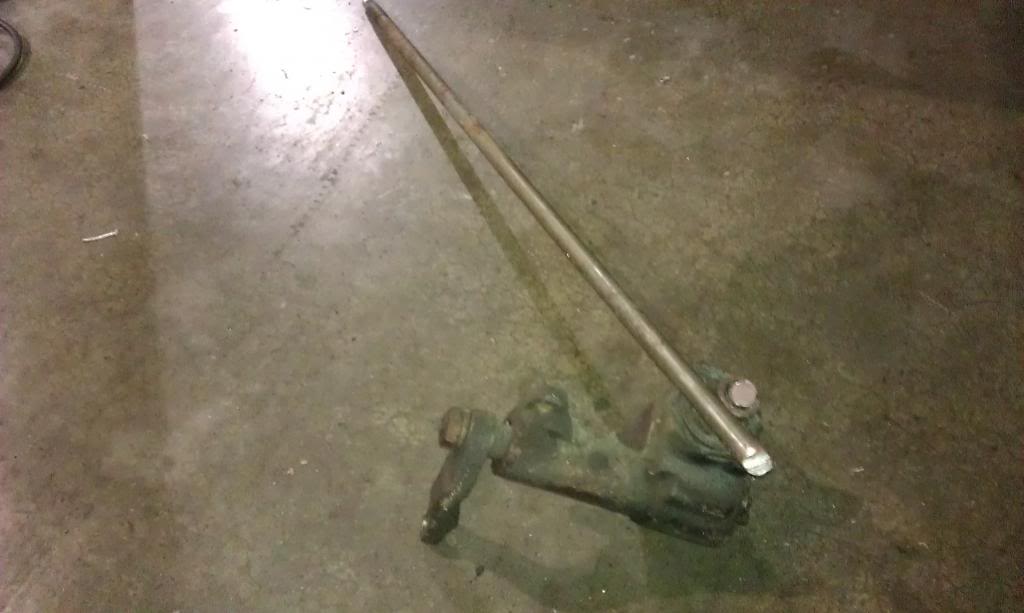
Removing spindles an throwing them in the parts washer
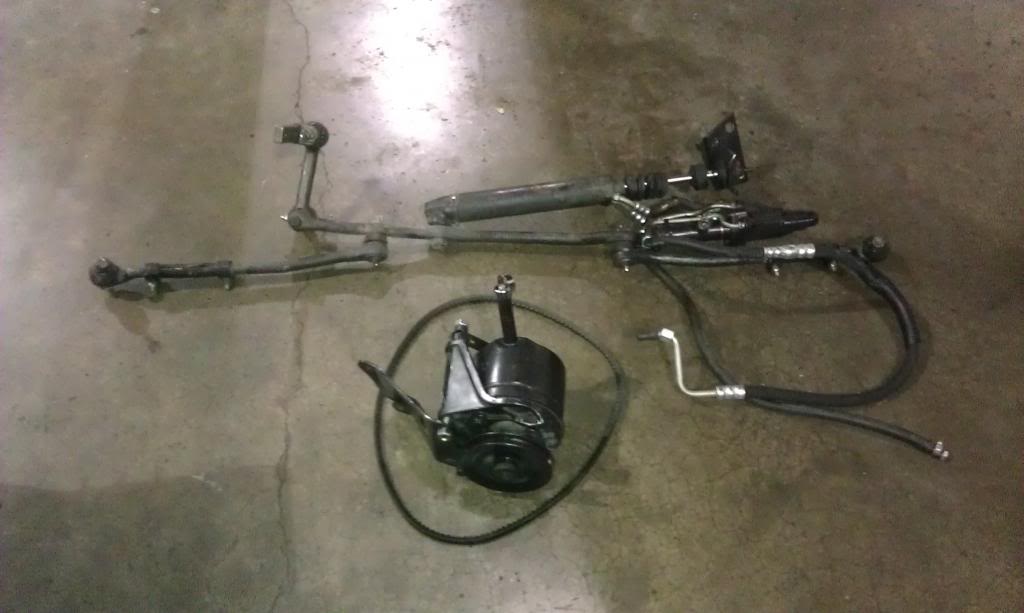
Removed lower half of the steering components plus the pump and bracketry
Removing the steering box
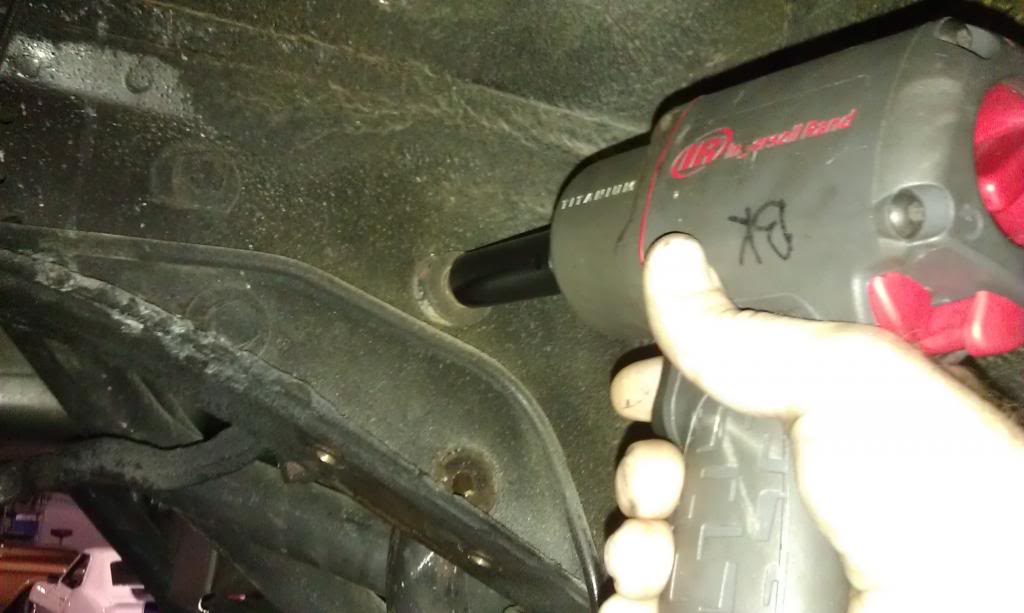
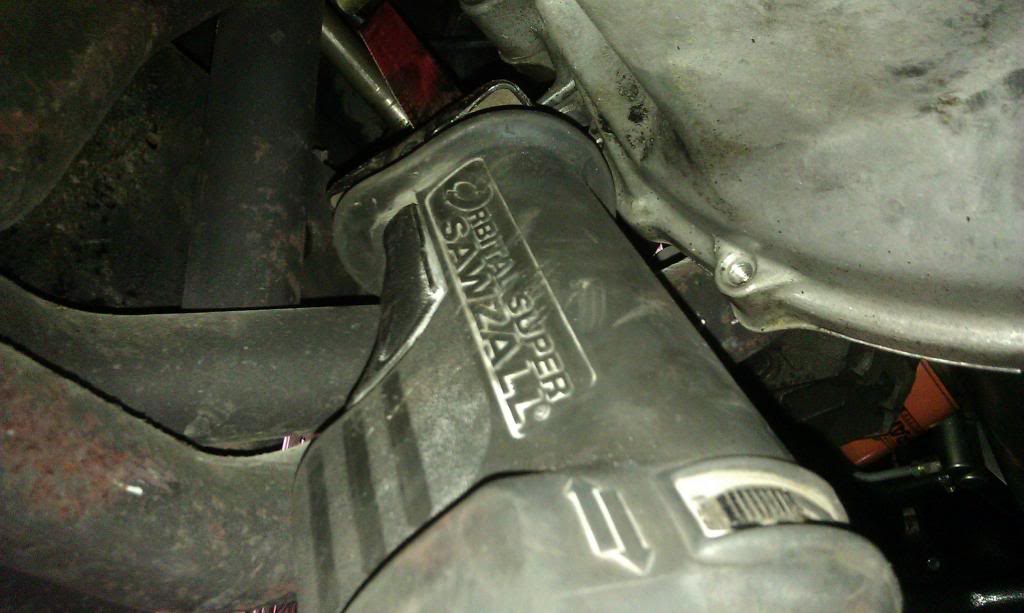
Removed all of the upper suspension as a whole
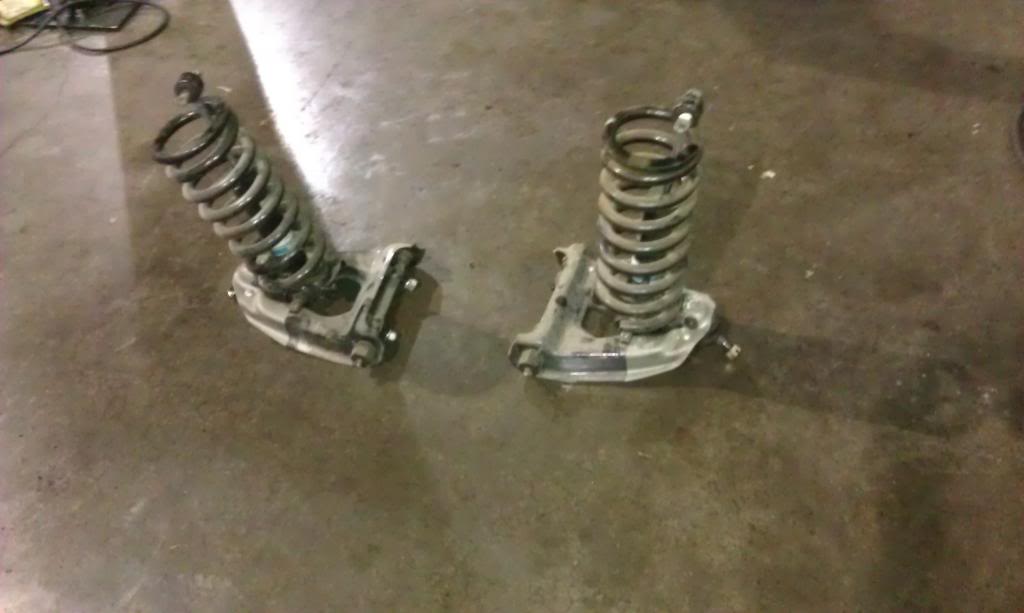
THE HEAP IS GROWING!
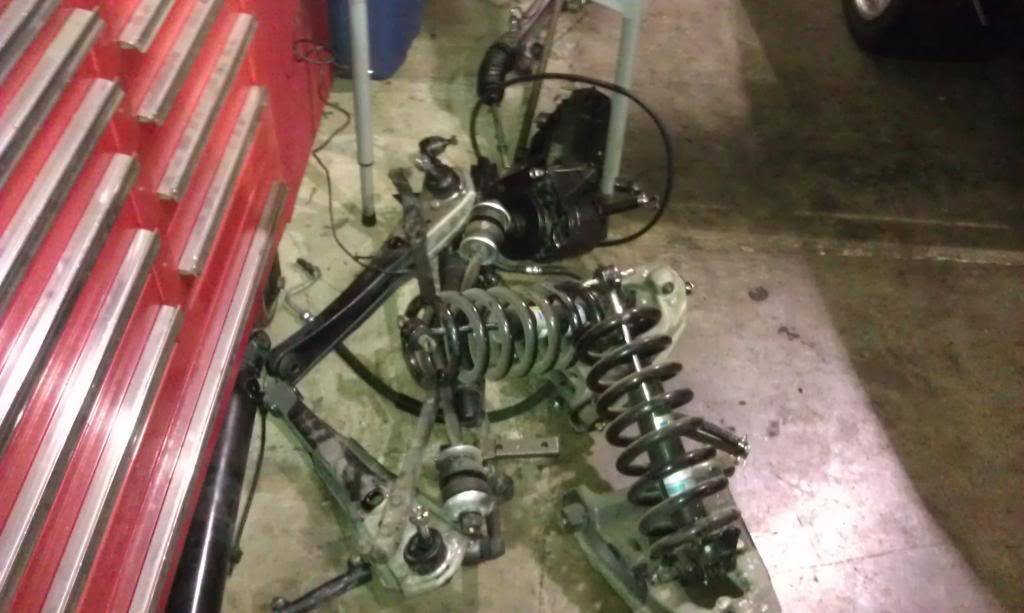
Cleaning time!
Much Better!
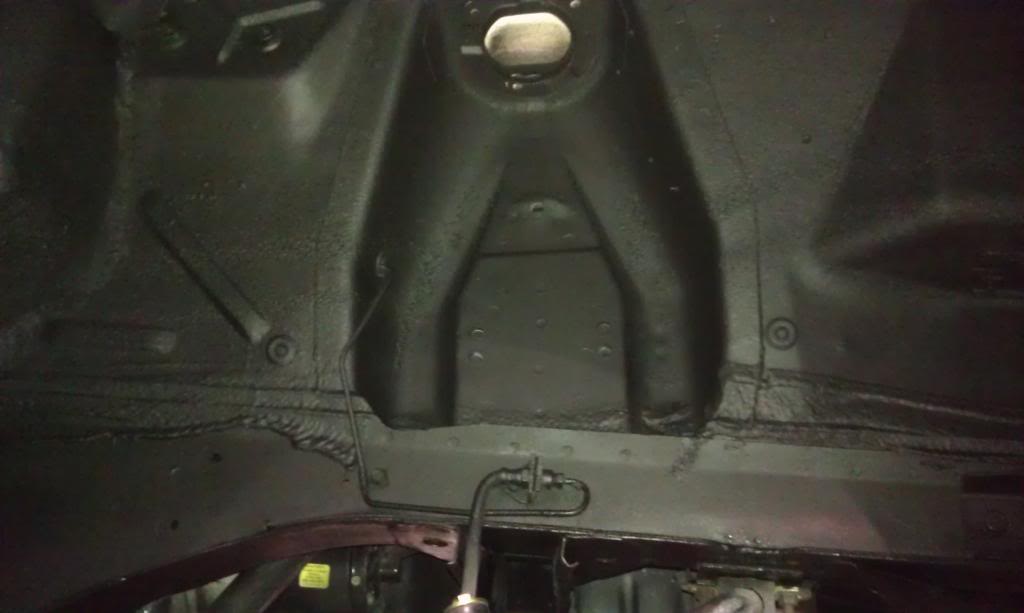
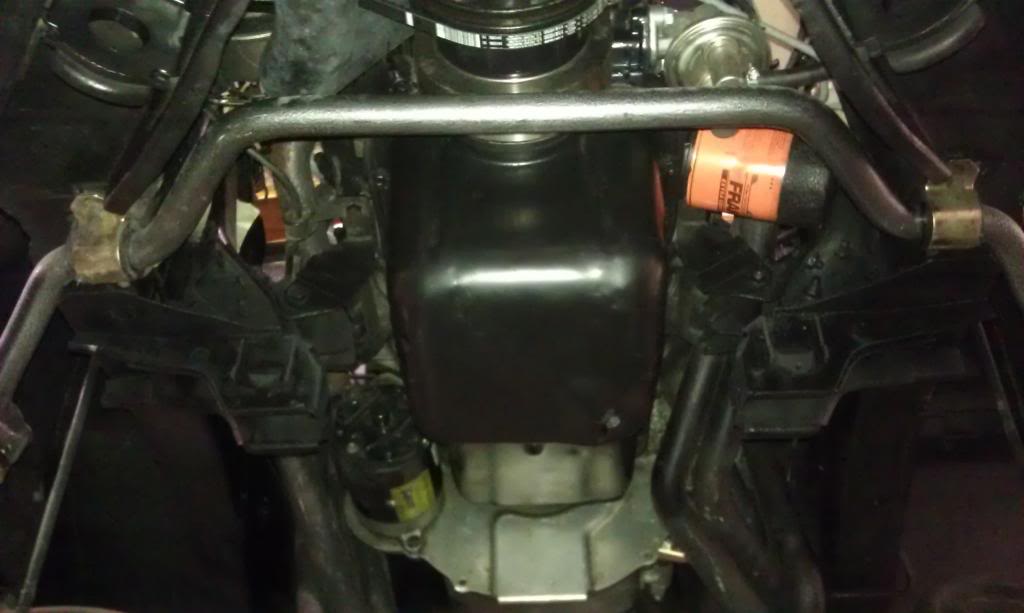
...Really good stuff!
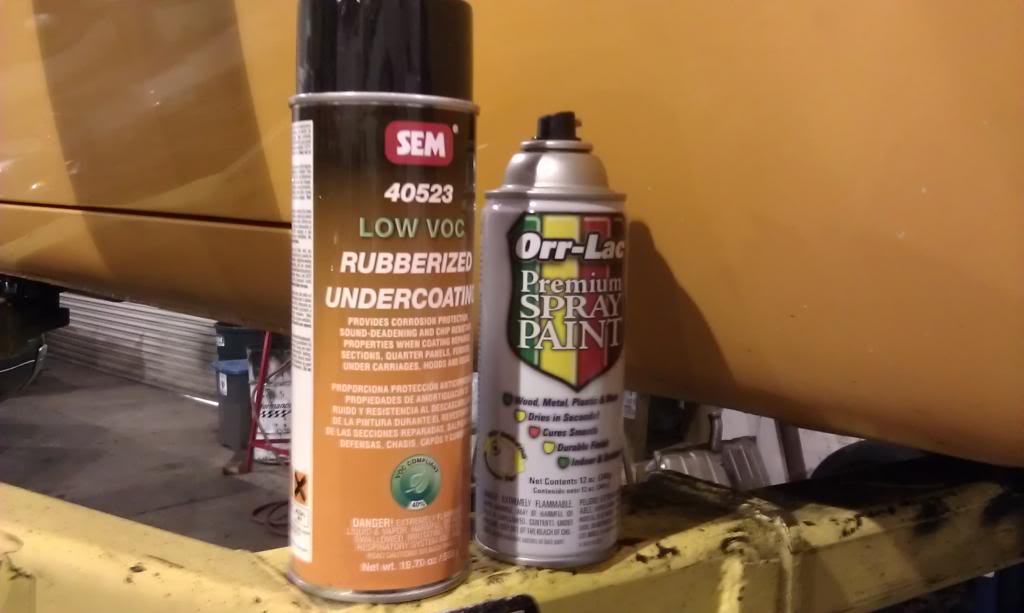
Sand blast time
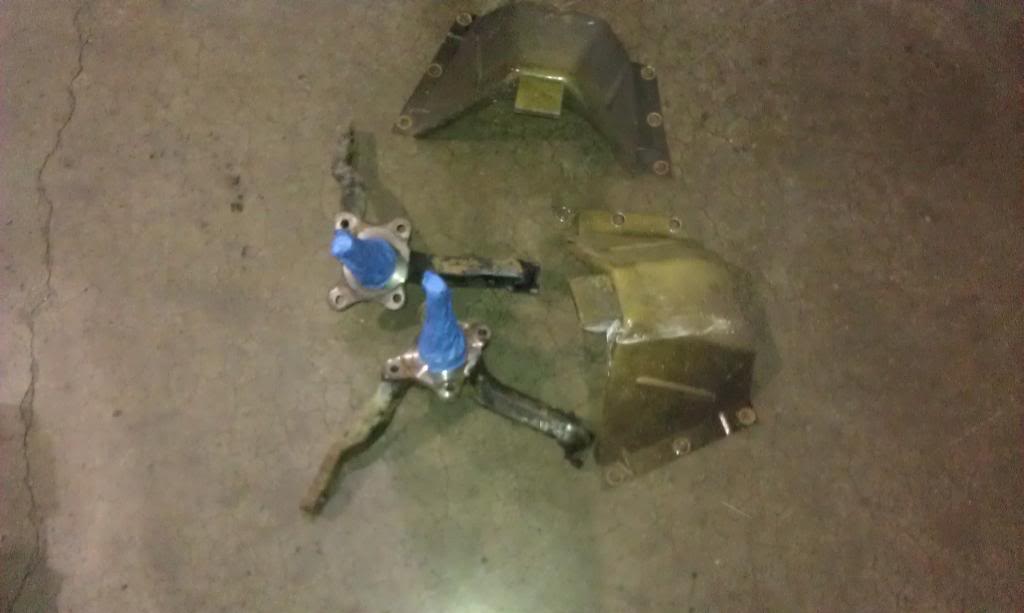
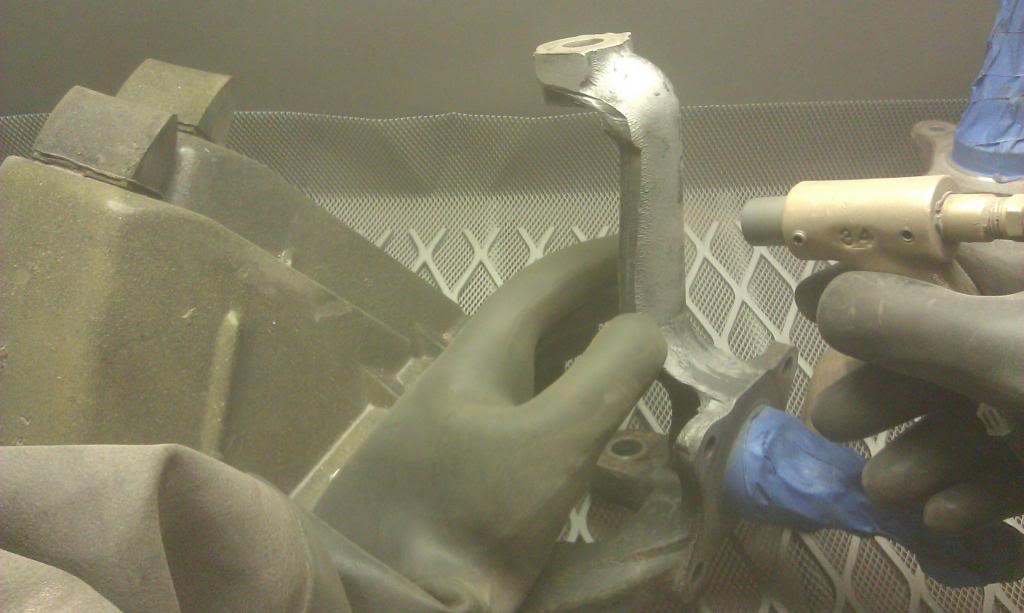
A little blasting and paint goes a long way! (also a little random sneak peak of a few of the new parts that you weren't supposed to see until later) ;)
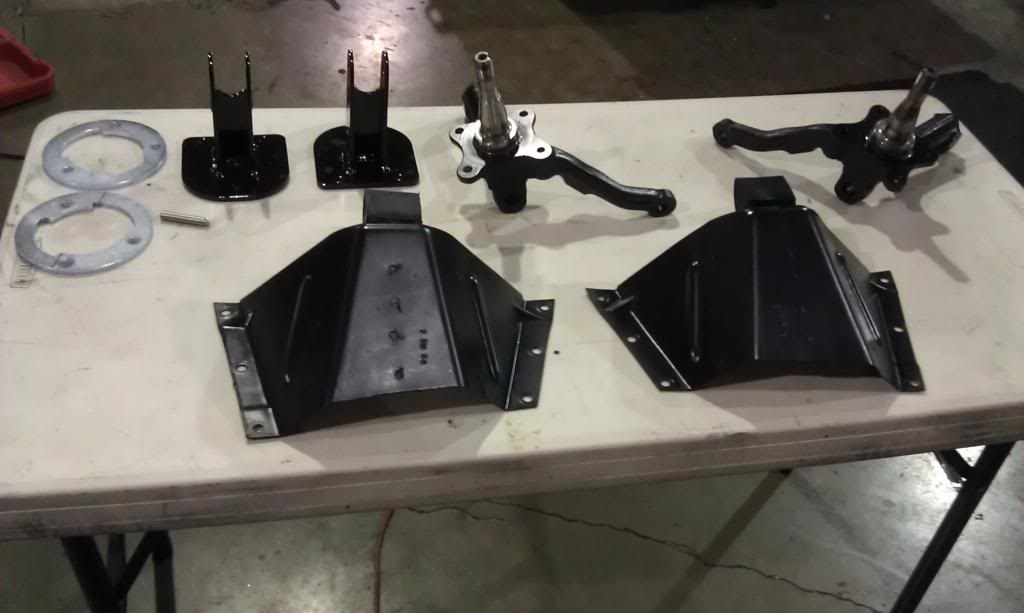
HERE WE GO!!!!!
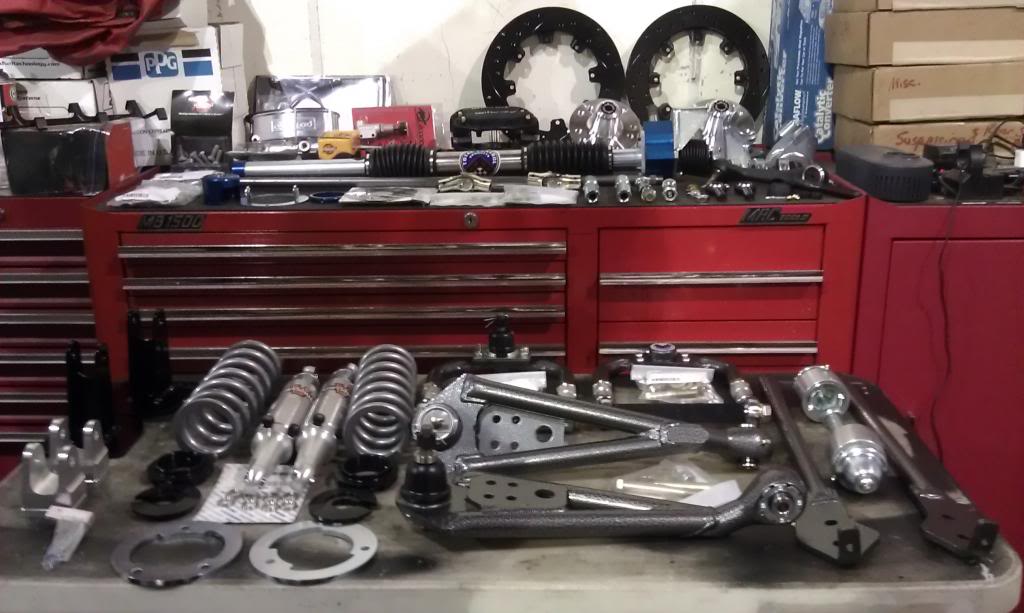
...Wait, don't forget the instructions. Where's my beer?
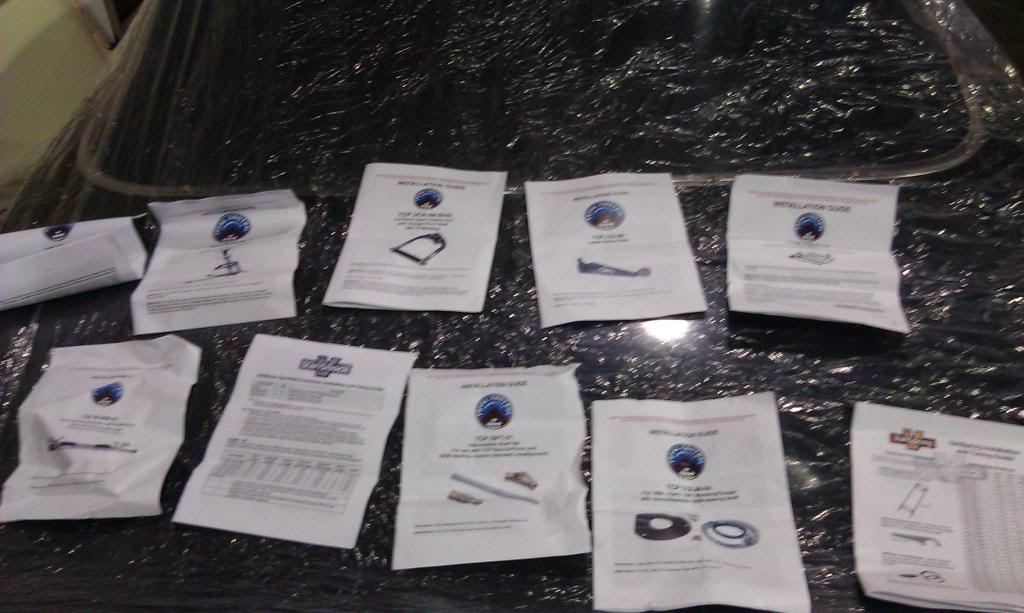
TO BE CONTINUED.....
-
-
-...Cars are my drug and I don't need intervention
Therapy provided by: https://www.pro-touring.com/showthre...ang&highlight=
BK
12-05-2012 #36 Registered User
- Join Date
- Feb 2012
- Location
- the Netherlands
- Posts
- 76

Nice work!
Manuel Compaan
the Netherlands

12-05-2012 #37
Registered User
- Join Date
- Dec 2010
- Posts
- 709
Nothing TCP or Wilwood is "cheap-ass;" as proof, I do not have any of their parts. (I am old enough to have watched some of the early evolution of the TCP parts, on that black Mustang fastback with Alaska plates, back when the "steering shaft" of their rack and pinion was like a big chunk of cable--I wonder if these are still around.) Single piston GM calipers with heavy Ford rotors might have fit this description; stock drums resist this designation by simply being old-ass/no-tech (however quite effective on a light car). The car is definitely prettyin' up real nice underneath!
12-06-2012 #38
Registered User
- Join Date
- Nov 2012
- Posts
- 128
OK HERE WE GO...
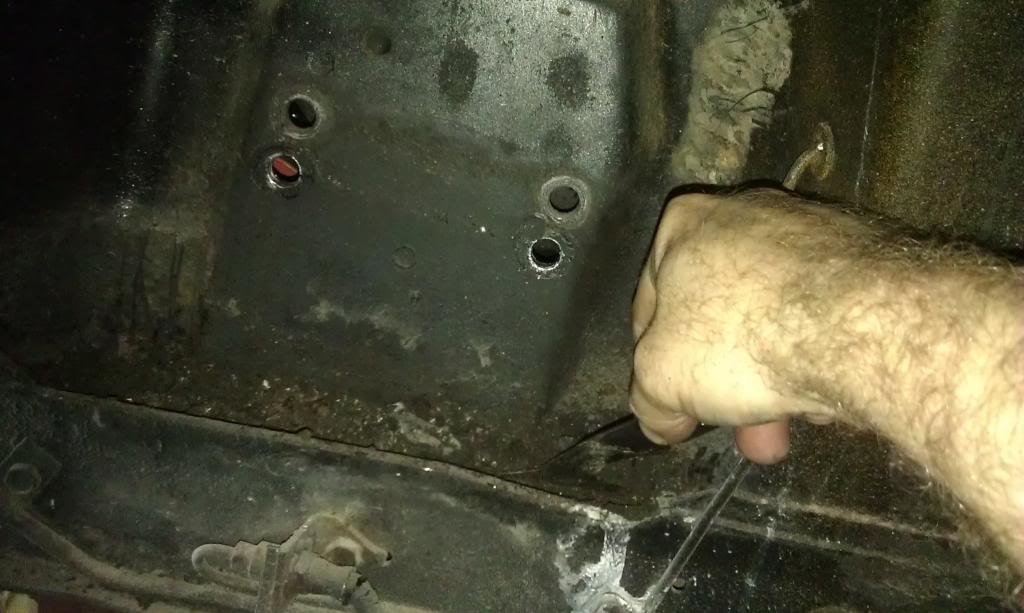
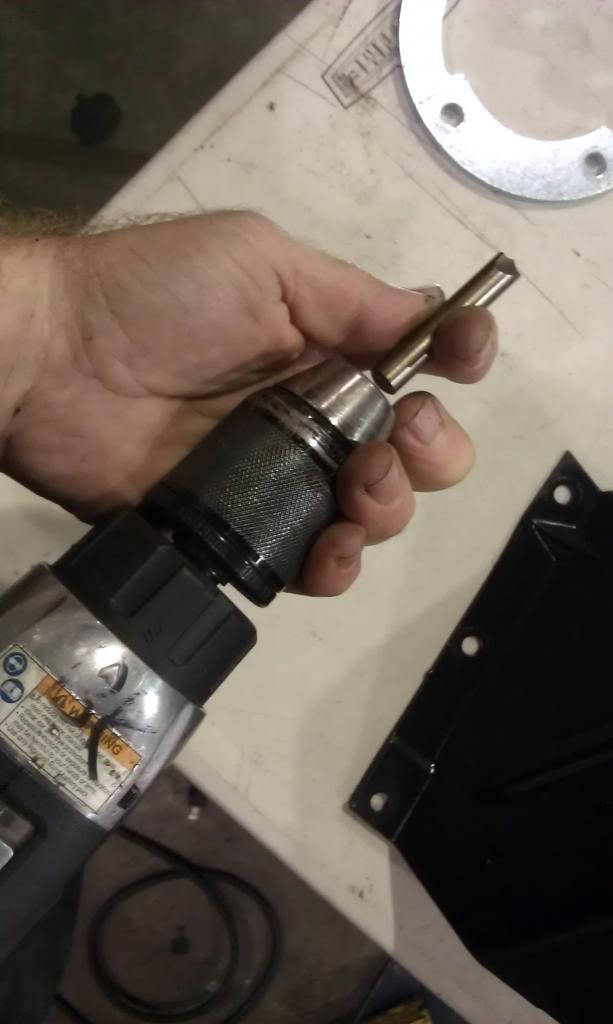
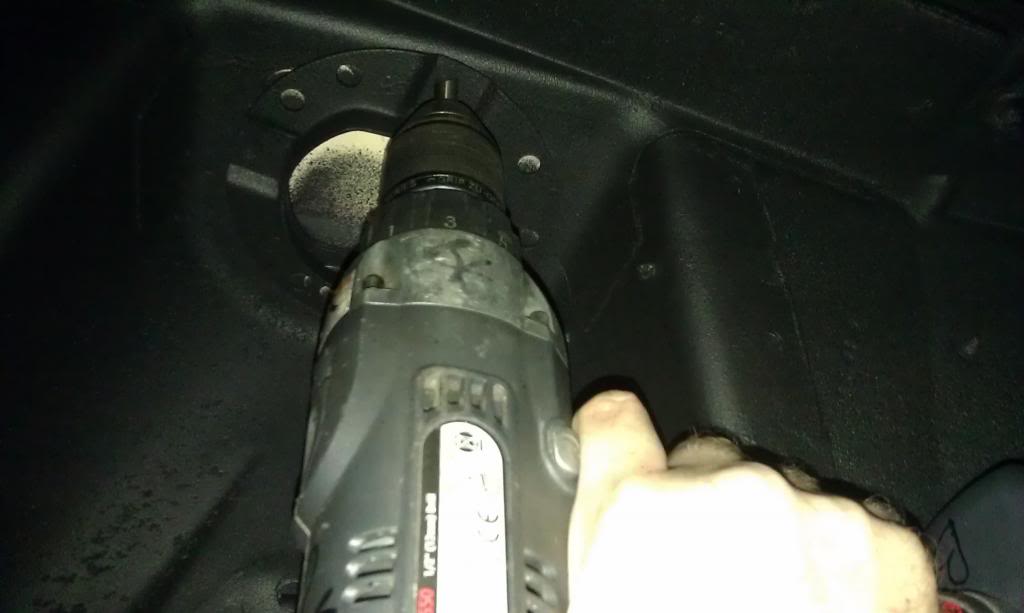
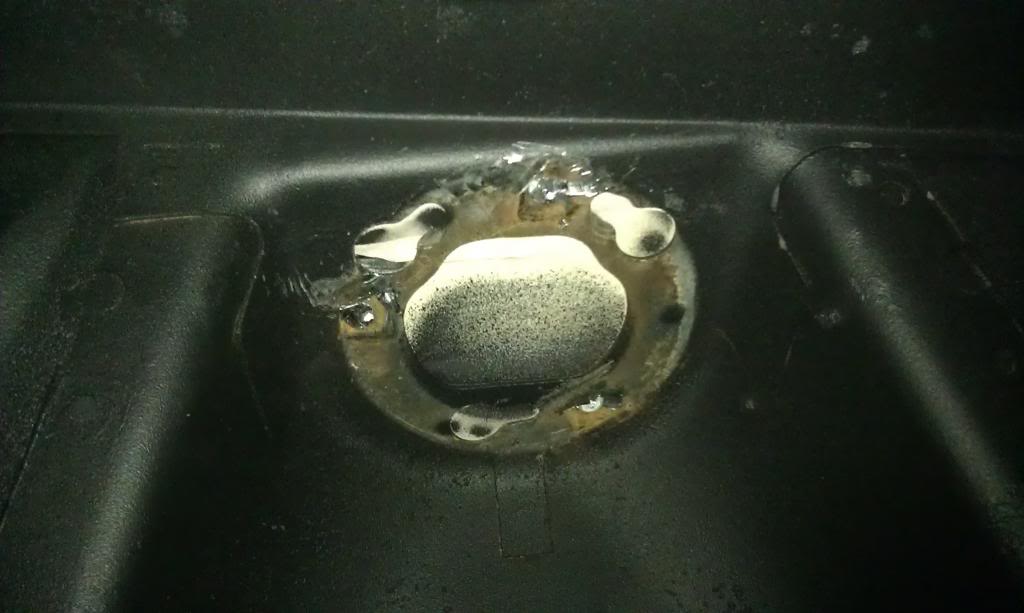
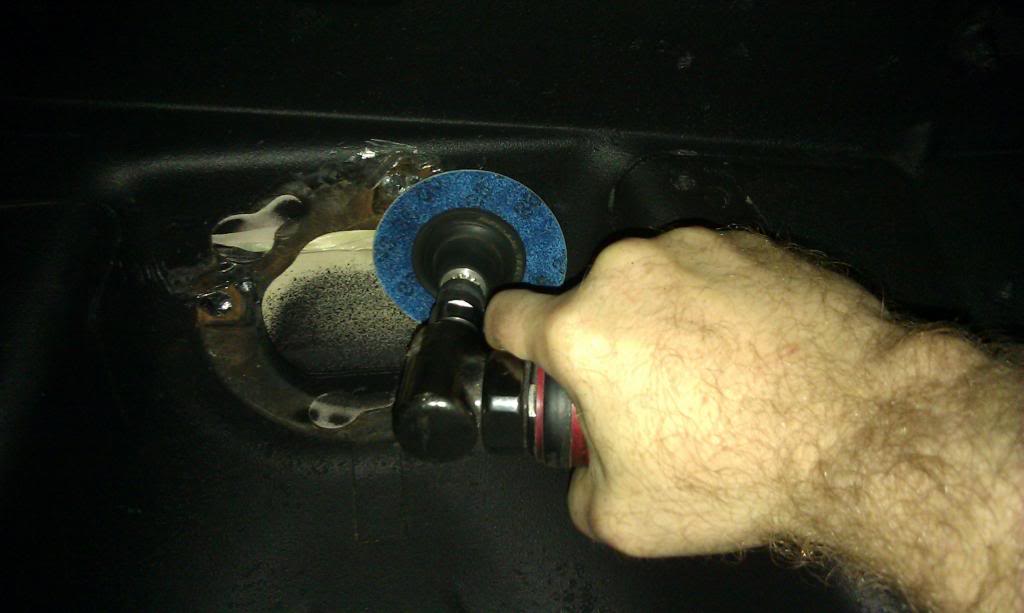
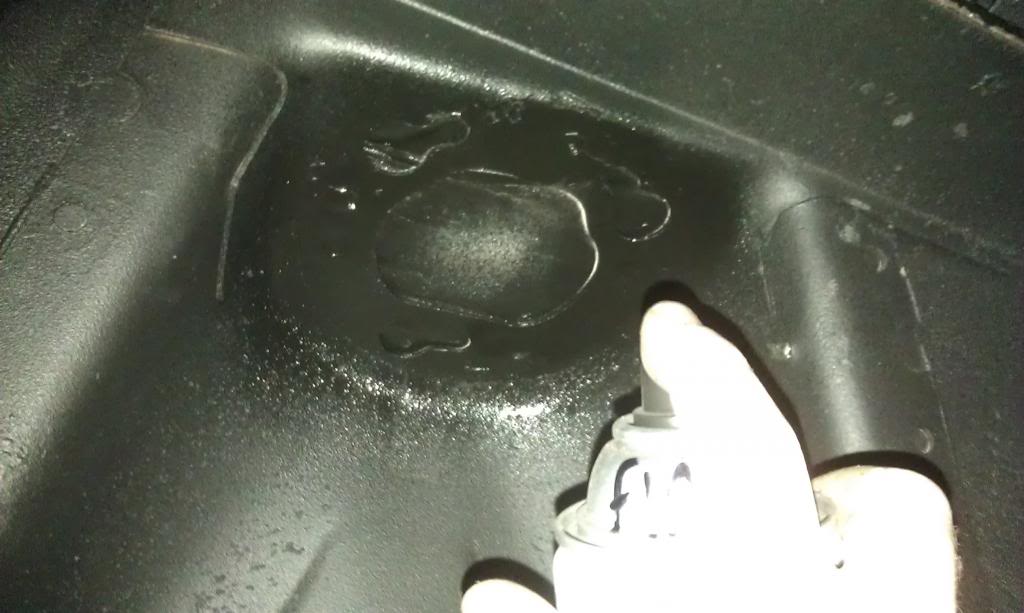
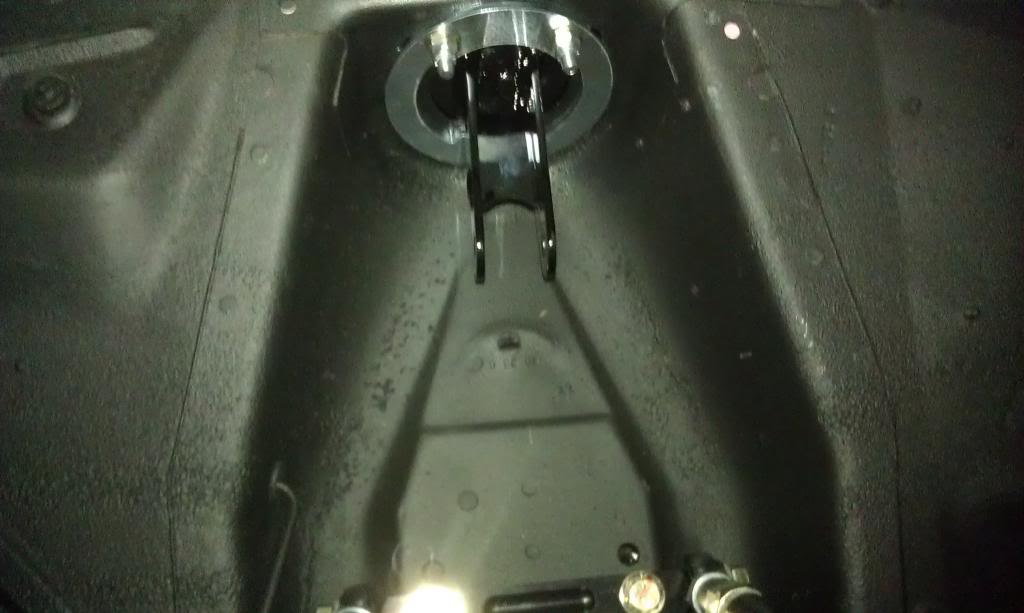
First step is to remove the factory spring locator plate from inside the shock tower. You can use the spot-weld drill/bit provided with the kit or whatever method works for you. When you are done removing the plates be sure to clean up the area and paint it so it doesn't rust.
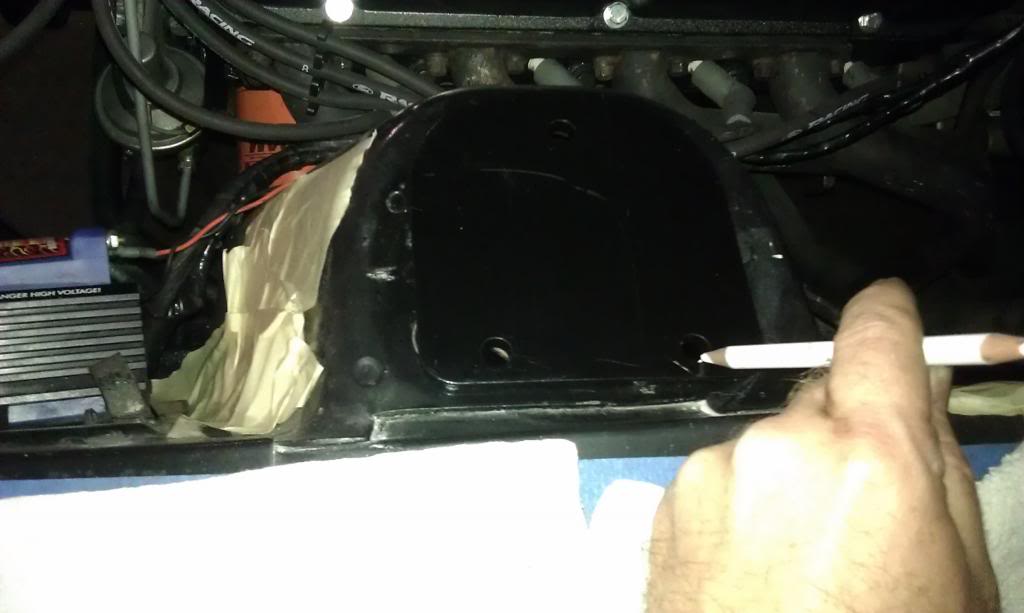
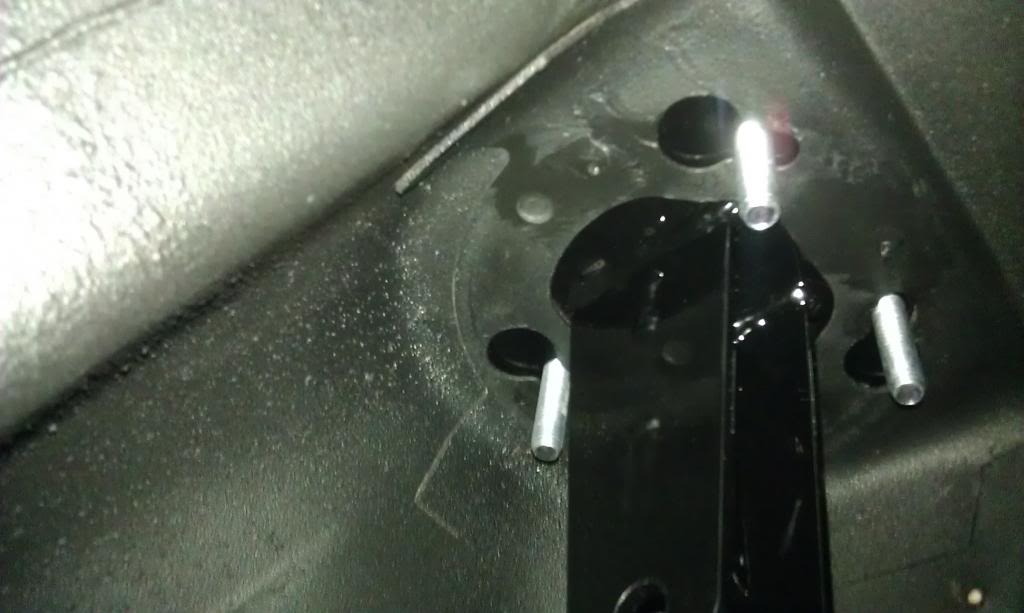
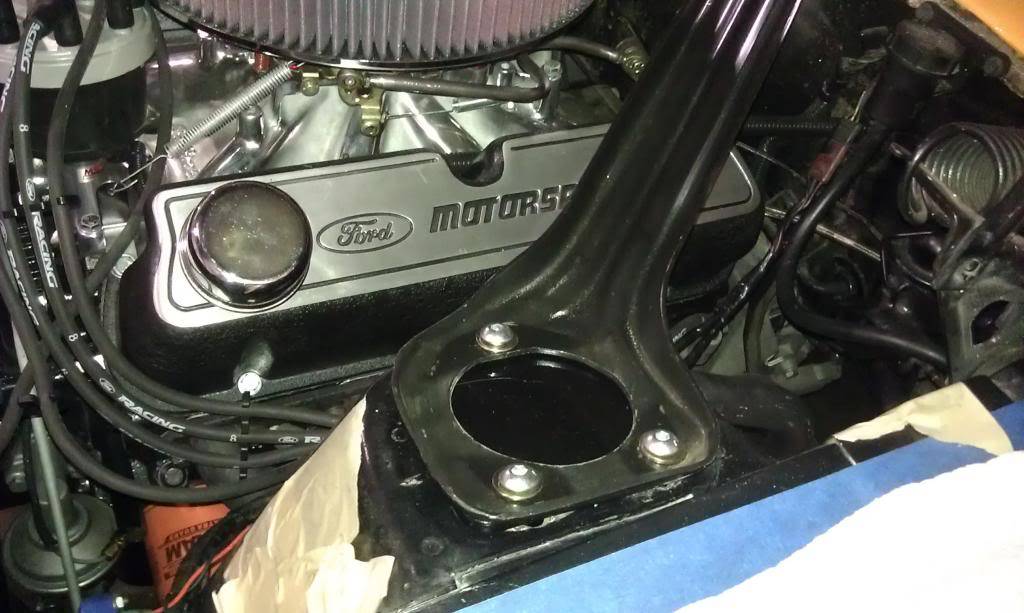
Installing the upper coil-over mounting plates is super easy, just mock them up and hog/drill out any of the car's factory holes that need it. THERE IS A PASSENGER AND DRIVER'S SIDE PLATE and they are marked "D" and "P" The markings are hard to see since they are laser-etched and then powder-coated.
In my case all but one of the holes on each plate lined right up to the shock tower. Do the same with the holes on your factory or aftermarket strut tower brace to make installation easier. Your brace will bolt right on top of the coil-over mounting plate. ...In order from top to bottom you will have a shock tower brace, TCP coil-over mounting plate, factory shock tower, and finally underneath will be the TCP lower retainer plate followed by lock-nuts and washers.
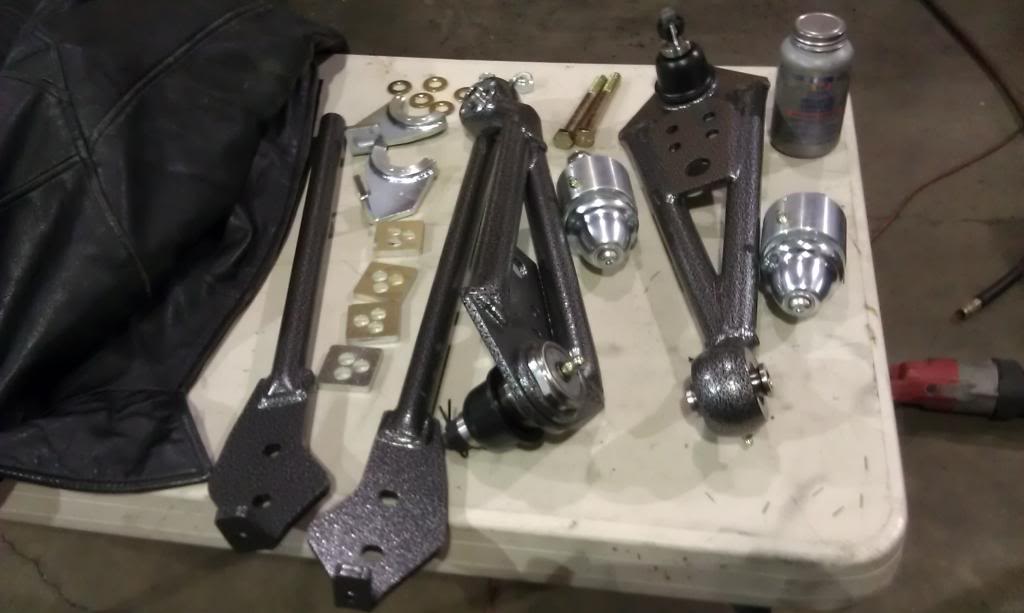
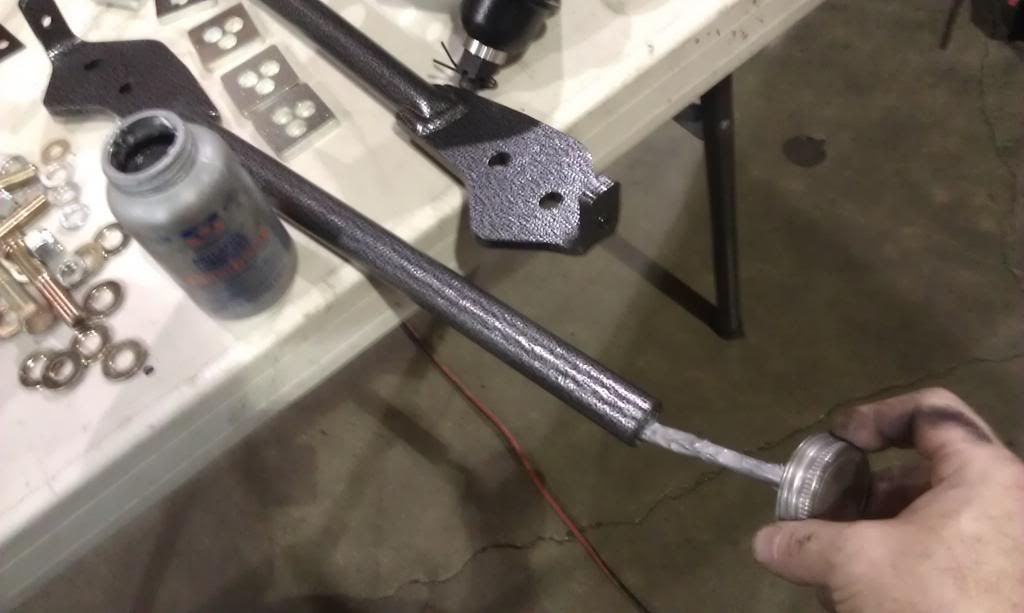
Now on to the lower control arms, eccentric eliminators, and strut rods. Make sure to use anti-seize on strut rod adjusters and also if you're running a TCP rack & pinion make sure the LCA bolts you use are long enough to incorporate mounting of the rack. My kit came with 2 sets, one was included with the rack and one with the LCA's. Both sets ended up being the same length in my case but it's still a great idea to check.
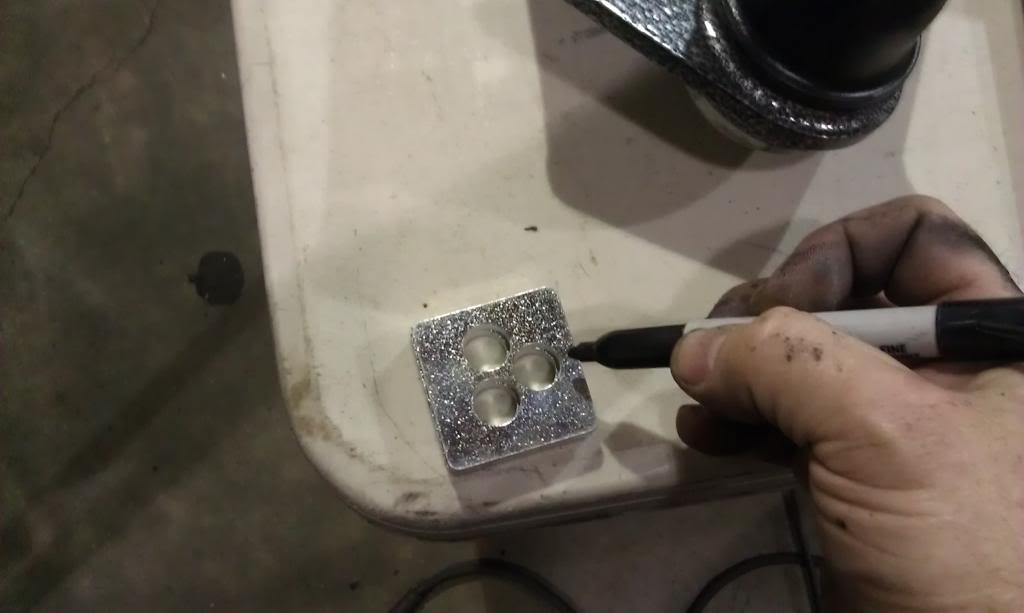
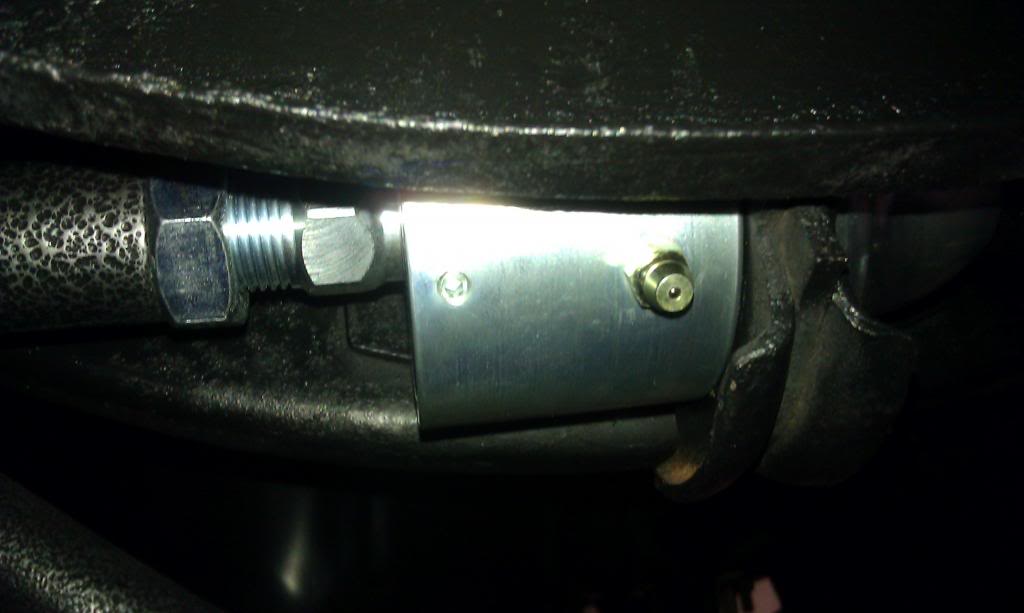
Be careful not to damage the Zerk fitting on the LCA when installing the arm.
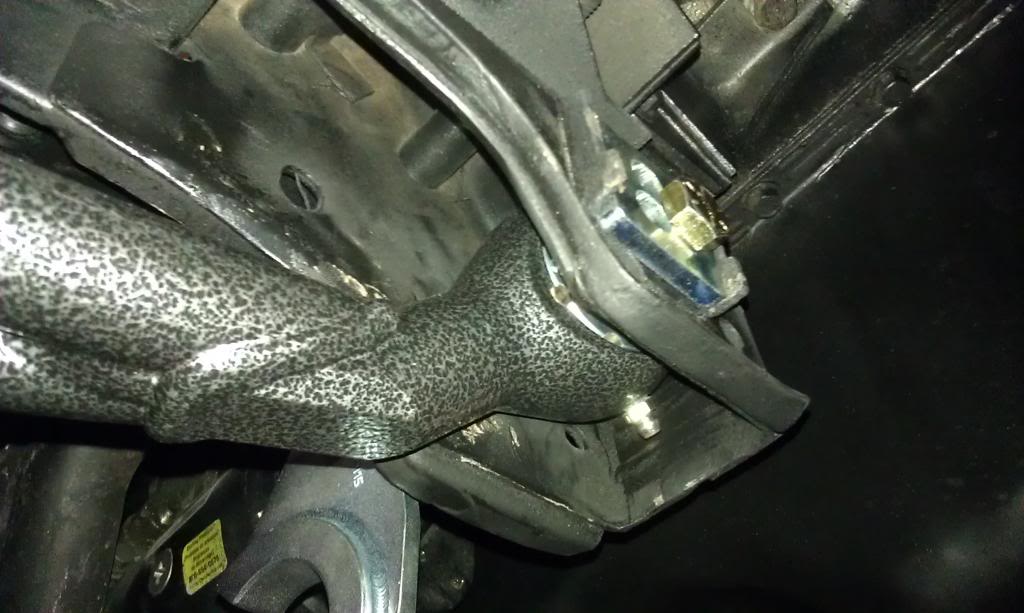
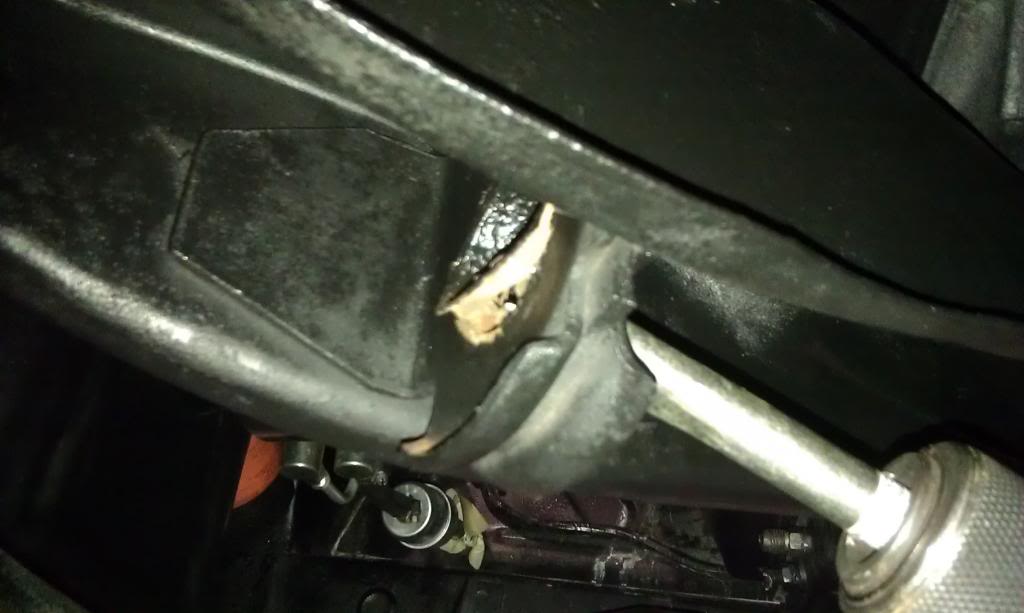
Remove collar/sleeve from factory strut rod mount
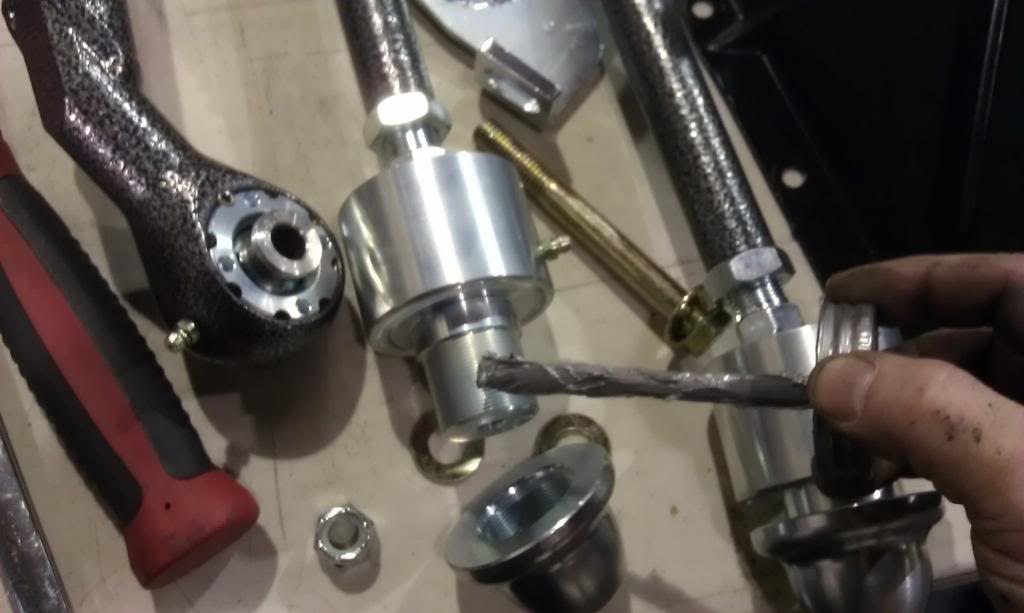
When installing the strut rod bushing to the car you need to read the instructions carefully, you will need anti-seize for the big threads and loc-tite for the small retainer bolt. TORQUE SPECS ARE MANDATORY. ...Very clever engineering was put into this part, I LIKEY.
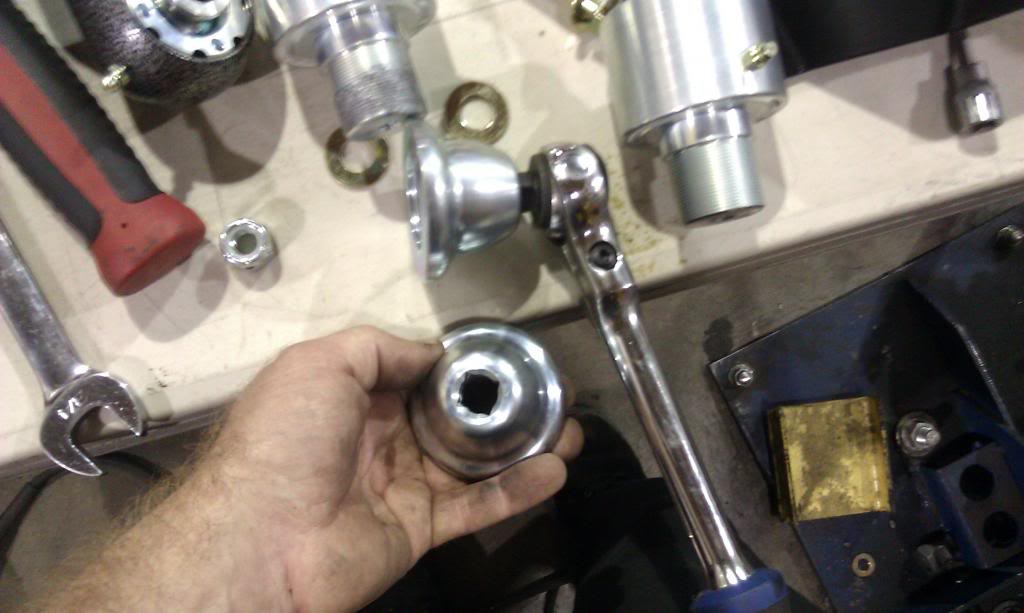
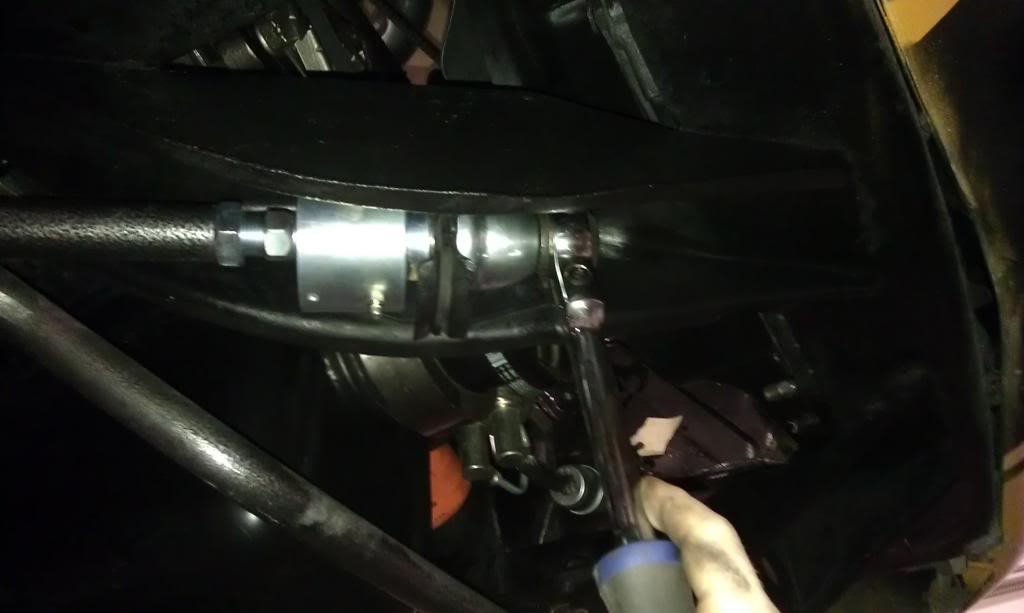
Zerk fitting aligned accordingly for service.
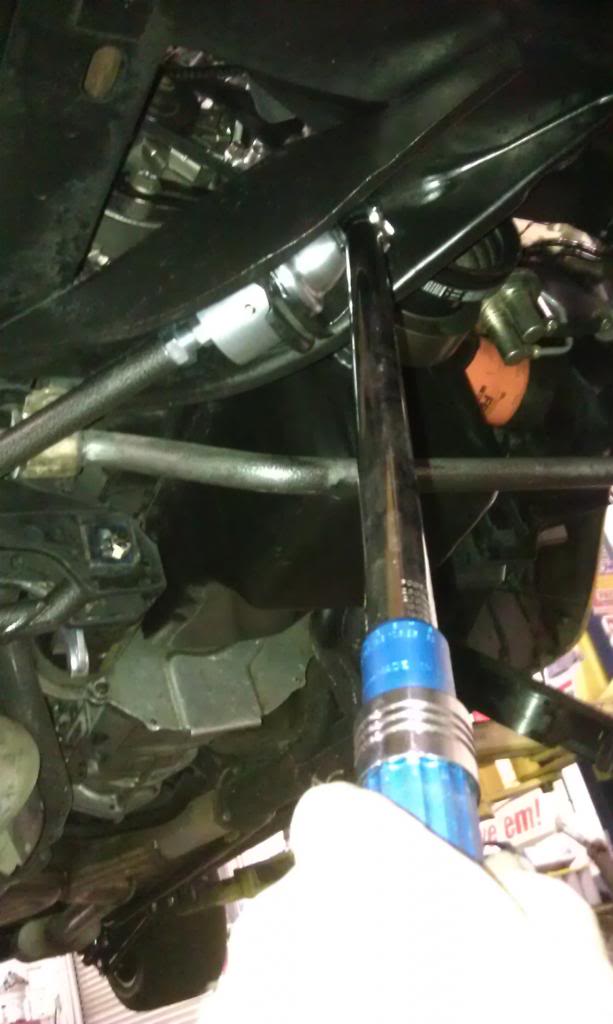
Lower coil-over perch is directional and doubles as the nut to mount the strut rod to the LCA.
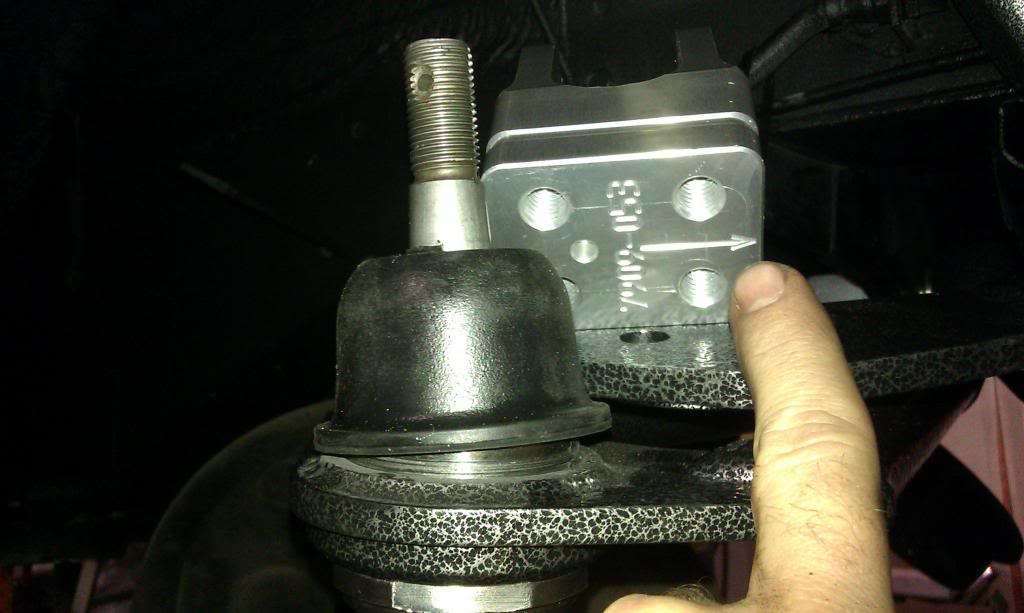
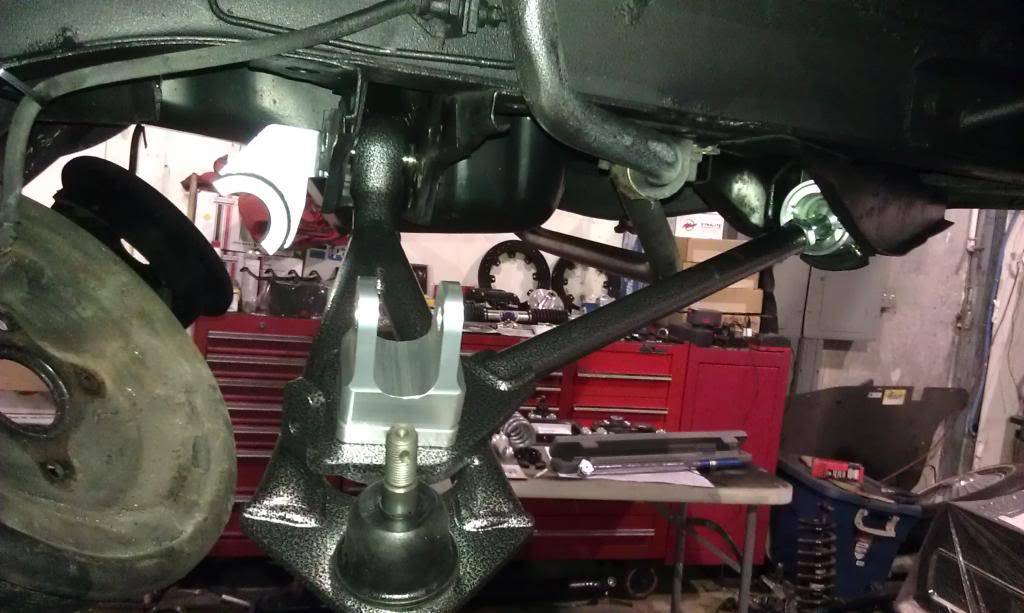
Steering stop will be adjusted later
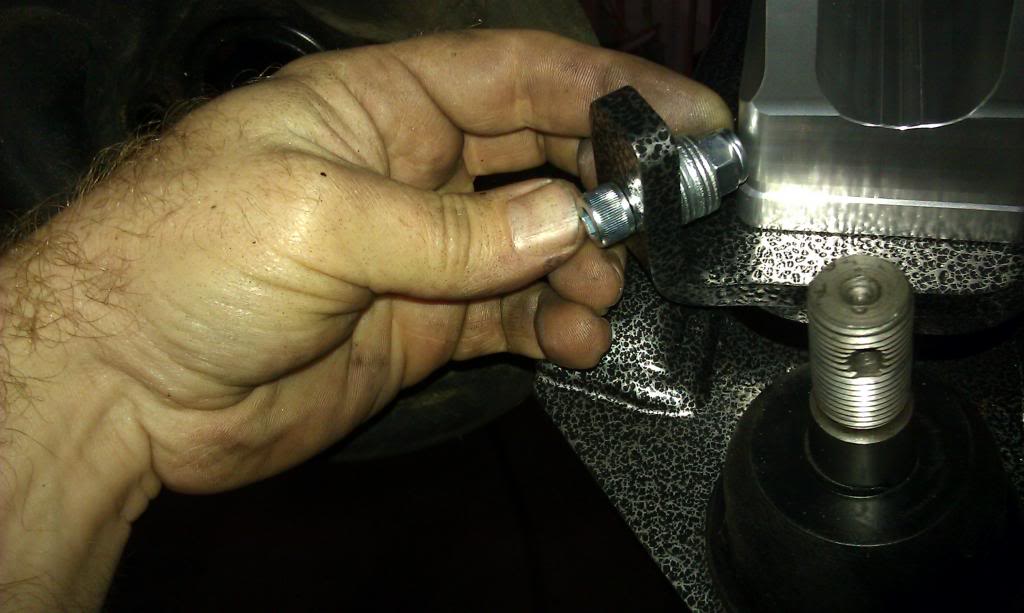
TO BE CONTINUED......Cars are my drug and I don't need intervention
Therapy provided by: https://www.pro-touring.com/showthre...ang&highlight=
BK
12-07-2012 #39
Registered User
- Join Date
- Nov 2012
- Posts
- 128
...Continued
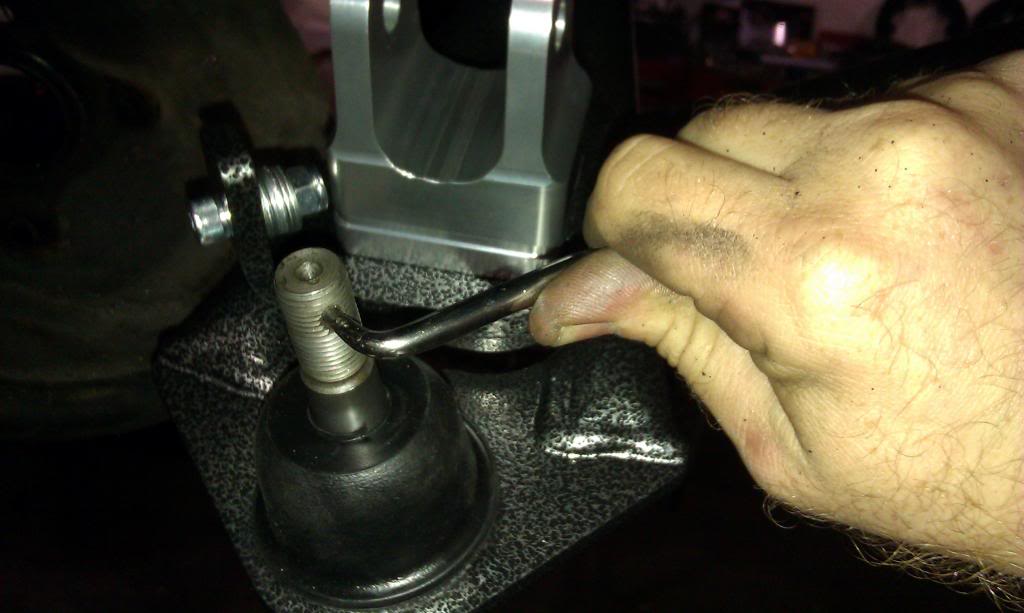
Upper control arms go on super easy. Mine are the straight shaft instead of the drop-down ones since my car already has the 1" UCA (Shelby) drop holes drilled.
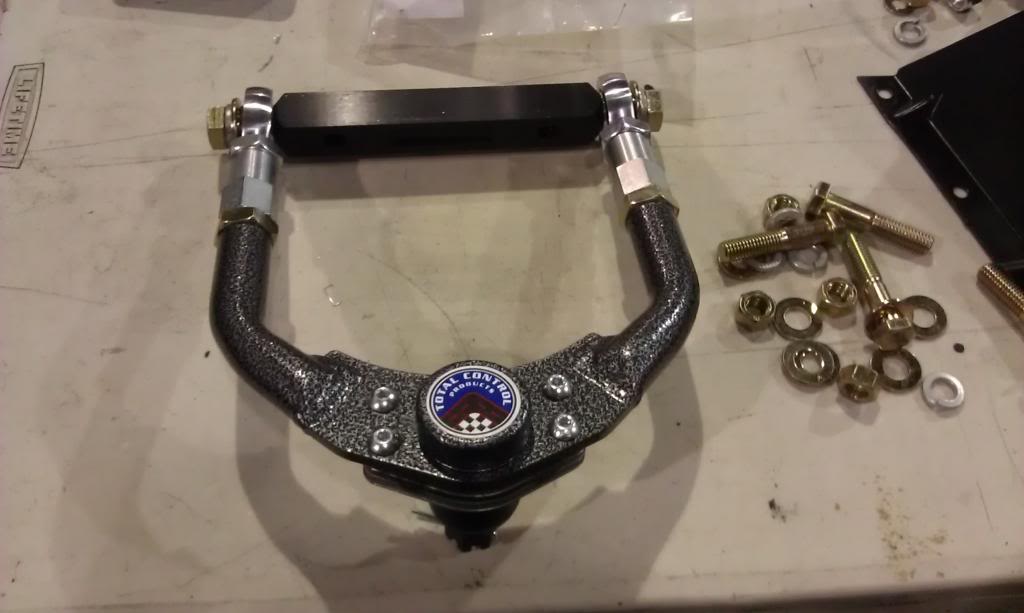
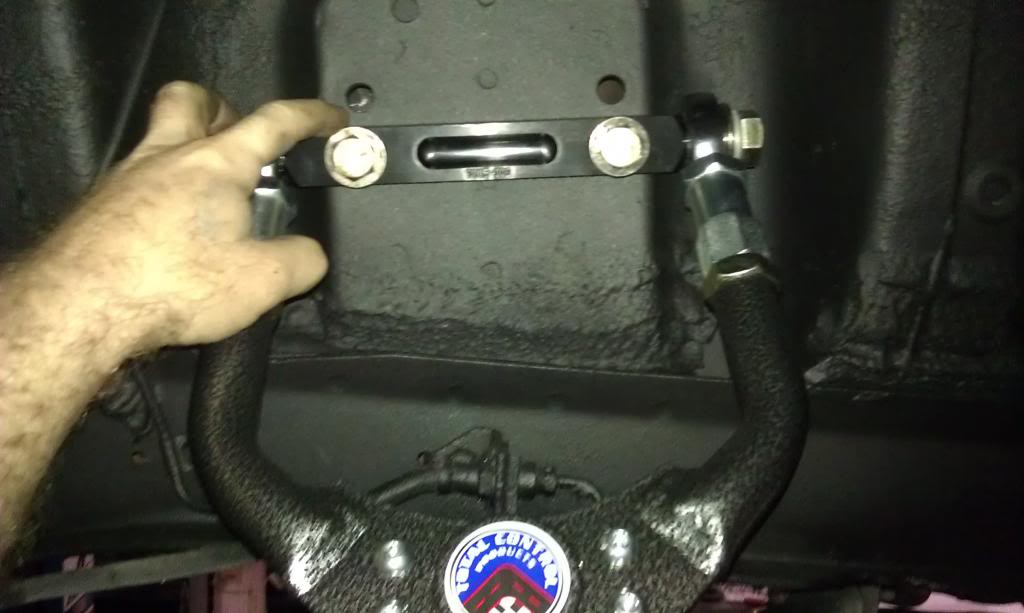
Aligning/clocking the cotter pin holes so they line up with desired position (not pointing right at the spindle which makes it impossible to install and remove them later.
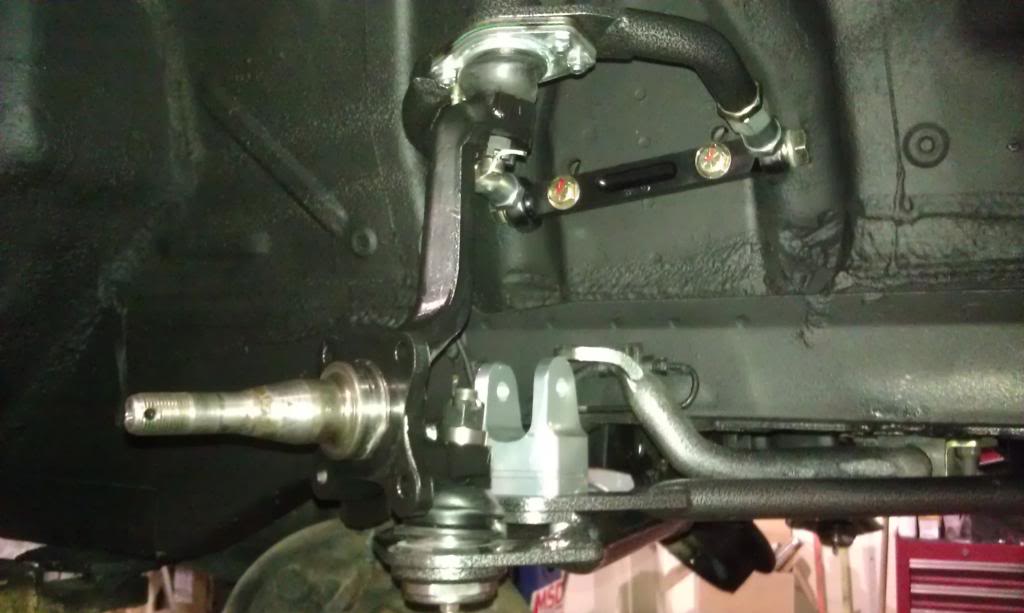
Spindles go on next
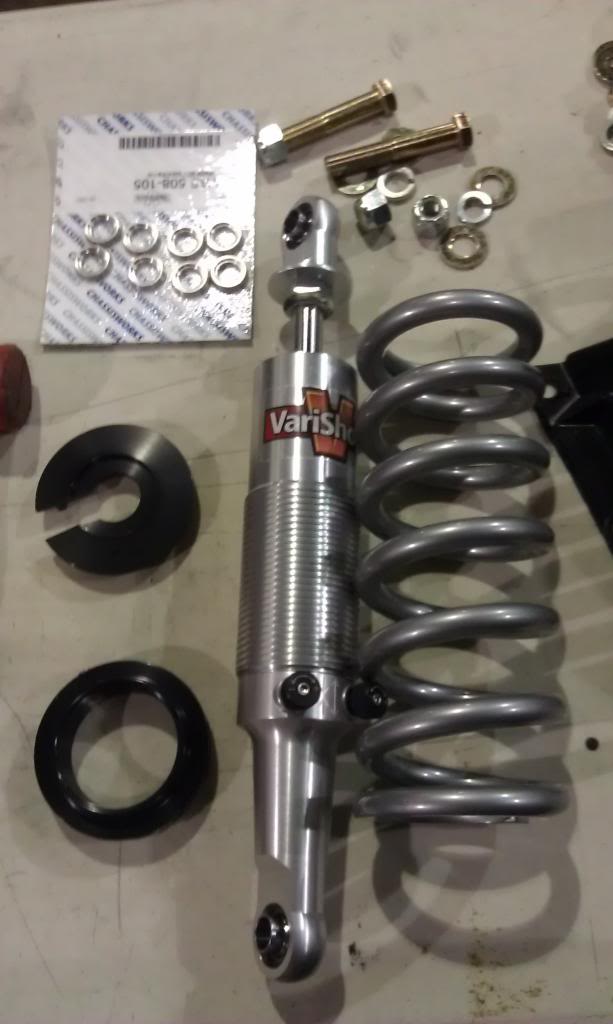
Now it's time for the coil-overs. Setting them on the lowest setting really helps make the job easier. USE LOTS OF ANT-SEIZE ON THE SPANNER THREADS AND DONT FORGET TO LOOSEN ALLEN LOCKS. I also opted for a set of spanner bearings which make the adjusting job easier and protect your spanners from wear.
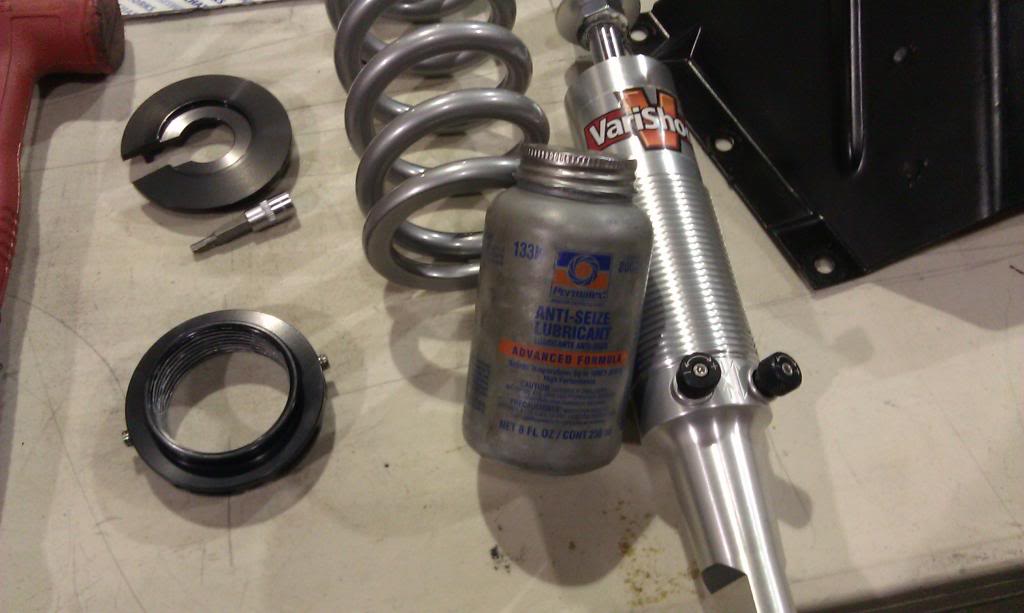
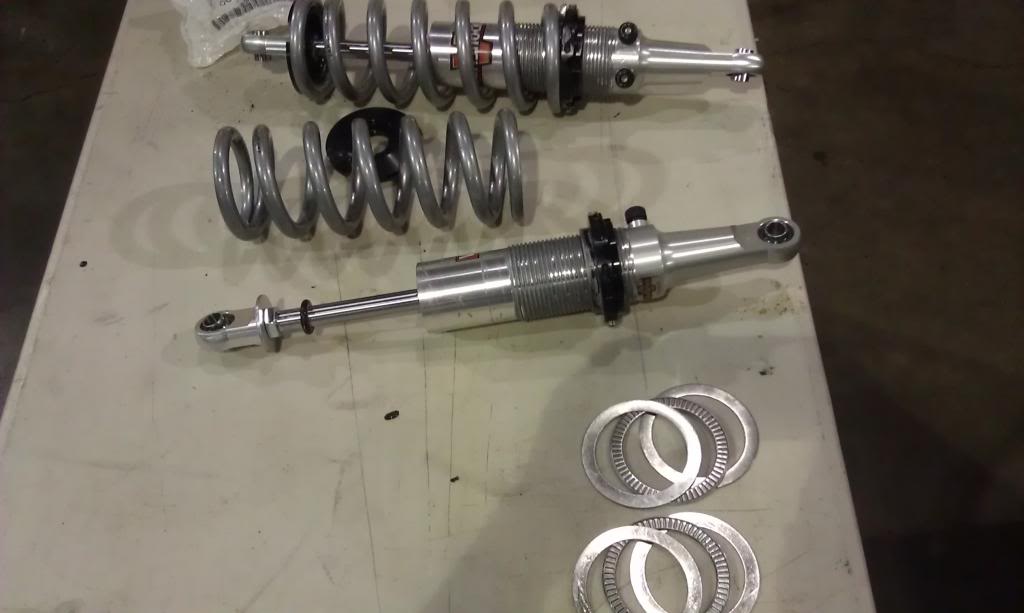
(Note the sneak-peak of the rack & pinion mocked up in this pic)
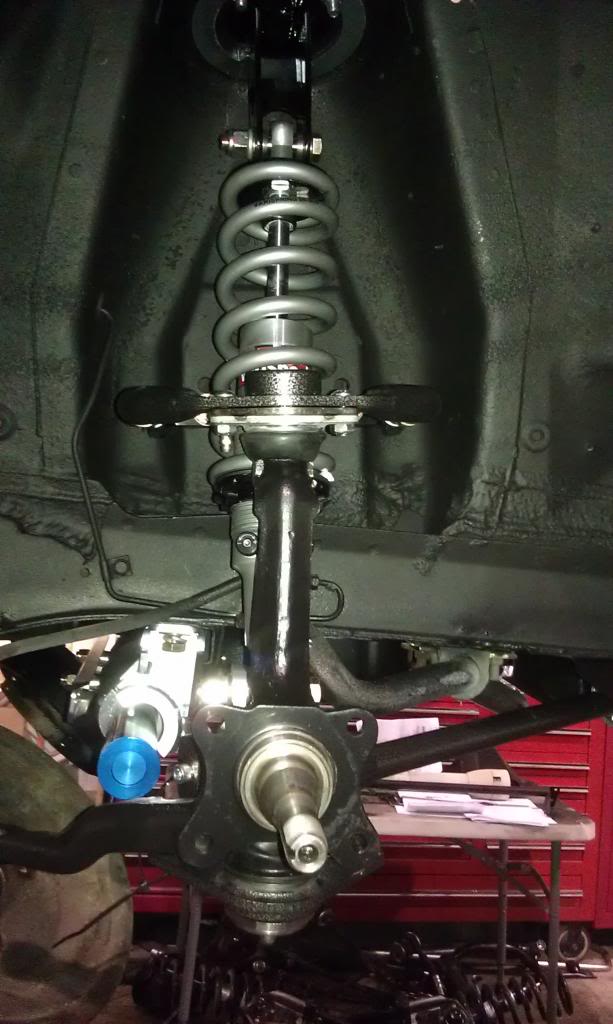
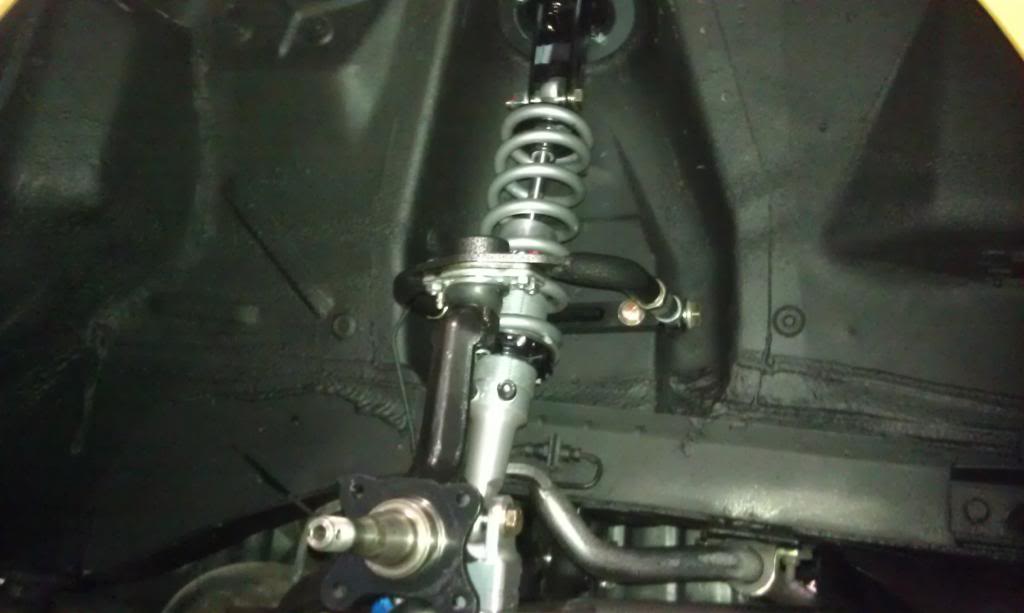
Manual Rack & Pinion Install. Friendly advice; READ INSTRUCTIONS AND DO NOT DEVIATE WHATSOEVER or you could ruin your rack.
Clamps install in a certain order and will require shims to the frame. A drive-on lift is the best option so the chassis isn't in a bind or slightly tweaked. The instructions go over a few troubleshooting scenarios if for some reason you install it wrong and put the rack in a bind with the frame.
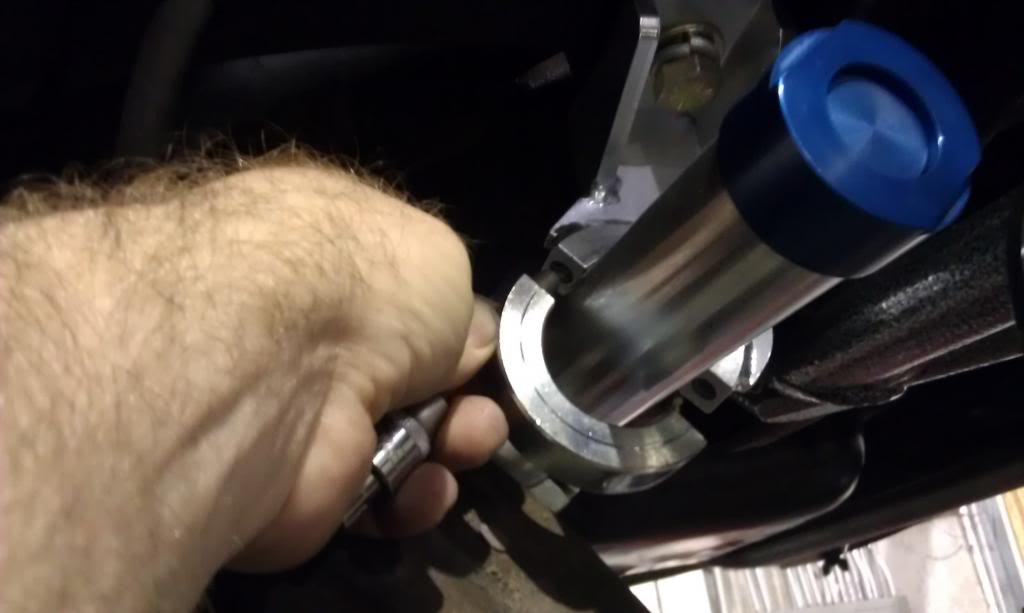
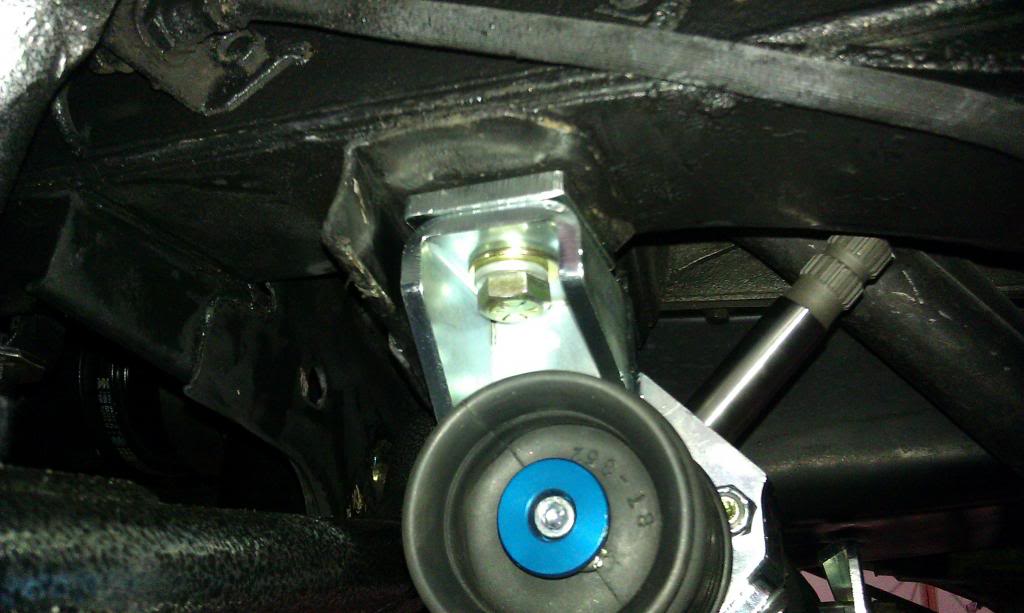
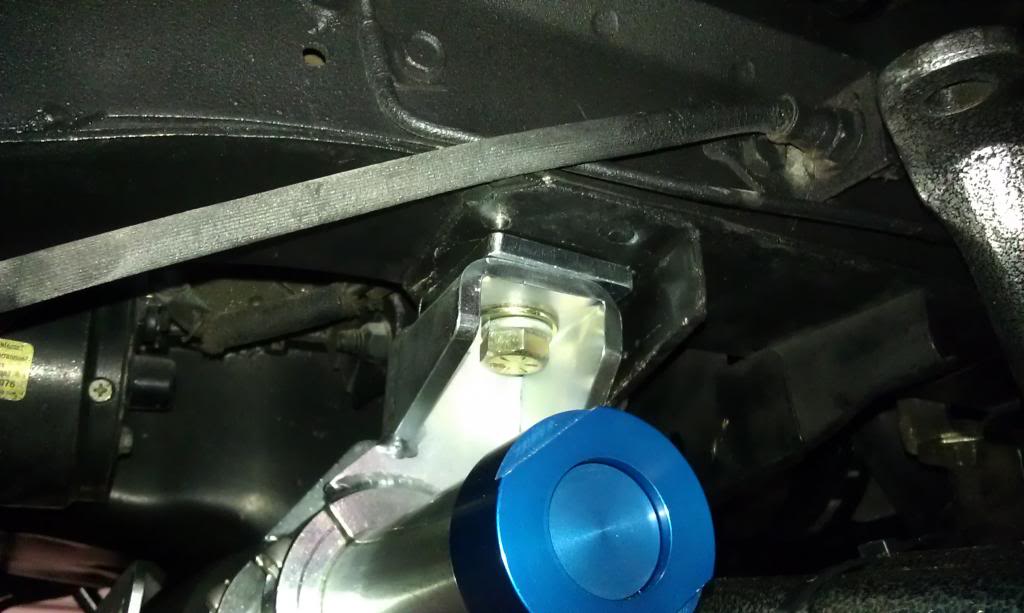
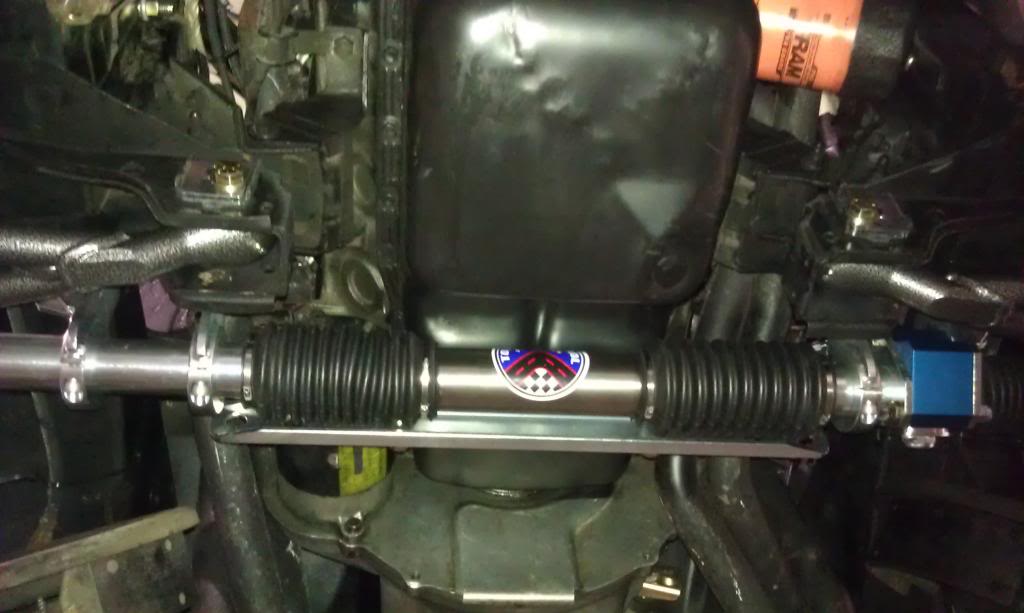
If your column isn't installed yet you can move the rack by hand to see if it is binding or making noise, etc. The instruction manual will help you do the job correctly, hopefully the first time.
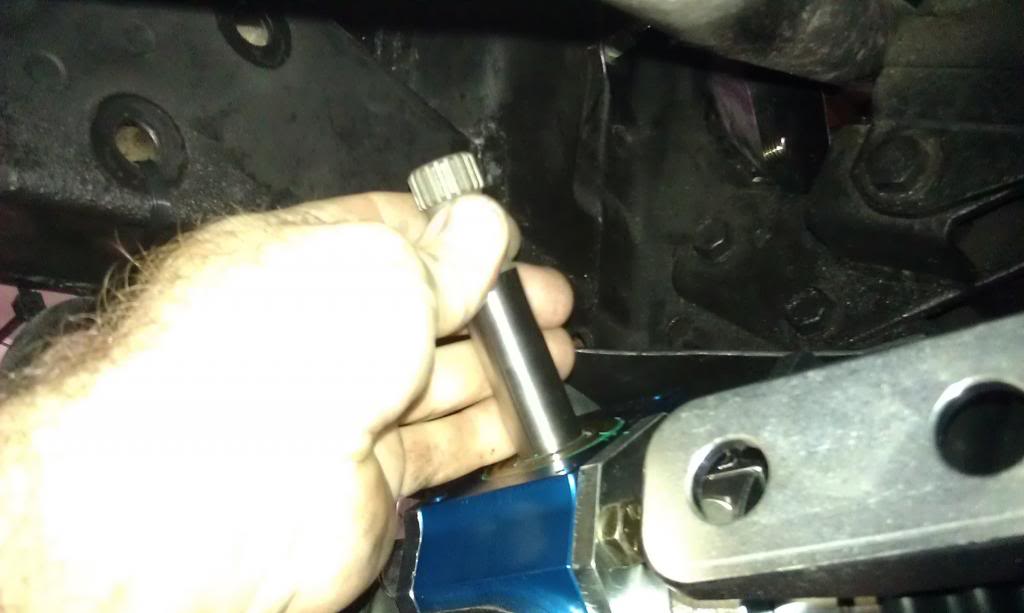
TO BE CONTINUED....
-
-
-
-
-...Cars are my drug and I don't need intervention
Therapy provided by: https://www.pro-touring.com/showthre...ang&highlight=
BK
12-08-2012 #40
Registered User
- Join Date
- Nov 2012
- Posts
- 128
Continued...
Time to modify the factory steering column to work with the TCP manual rack. The parts come with the kit so all you are out is your time/labor on this. The other option is to buy their tilt column which is made by "Ididit". To keep cost down I decided to go this route although the Ididit column is really nice.
Once again the instructions are really helpful. There are a few things you will need to know like how to adjust/shim or cut to obtain the right end-play on the shaft.
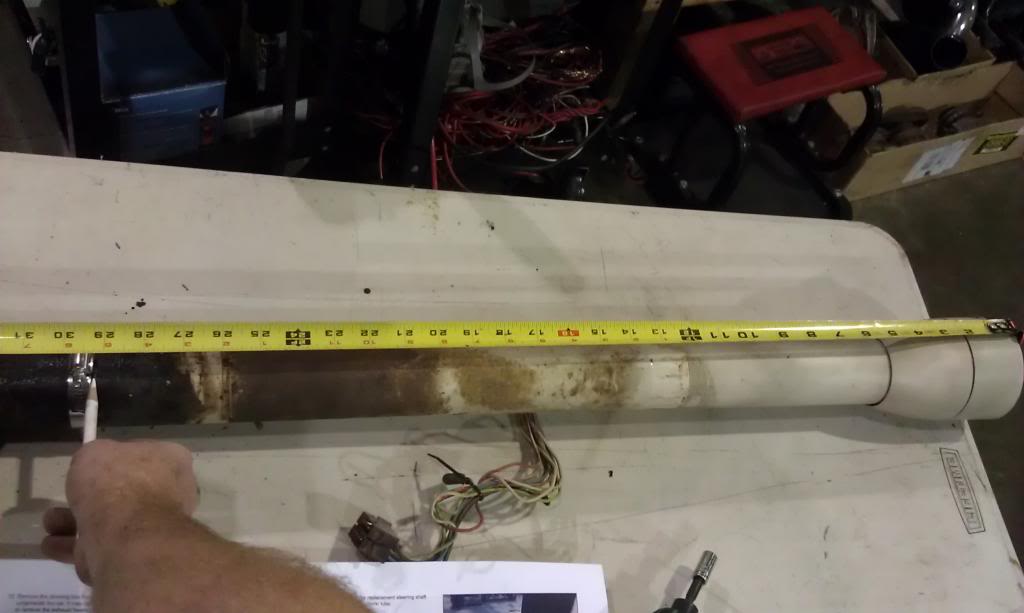
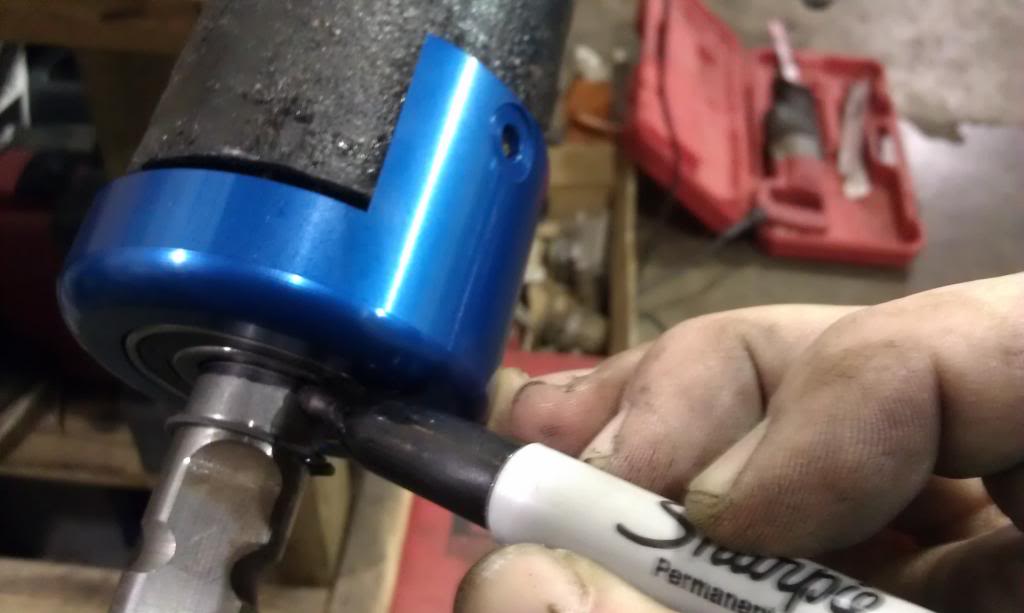
Measure and cut the old column to the length specified in the instructions. I used a hose clamp to make a straight cut. After cleaning up the cut end of the column I used a file to clean it up and then I painted the lower portion to avoid rust. Then I installed the supplied retaining collar onto the column.
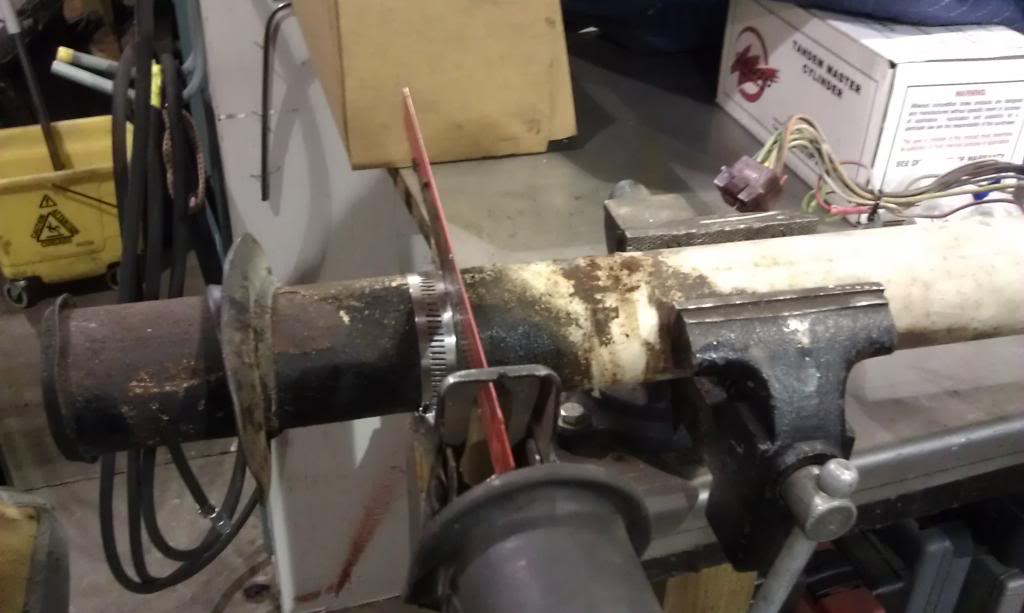
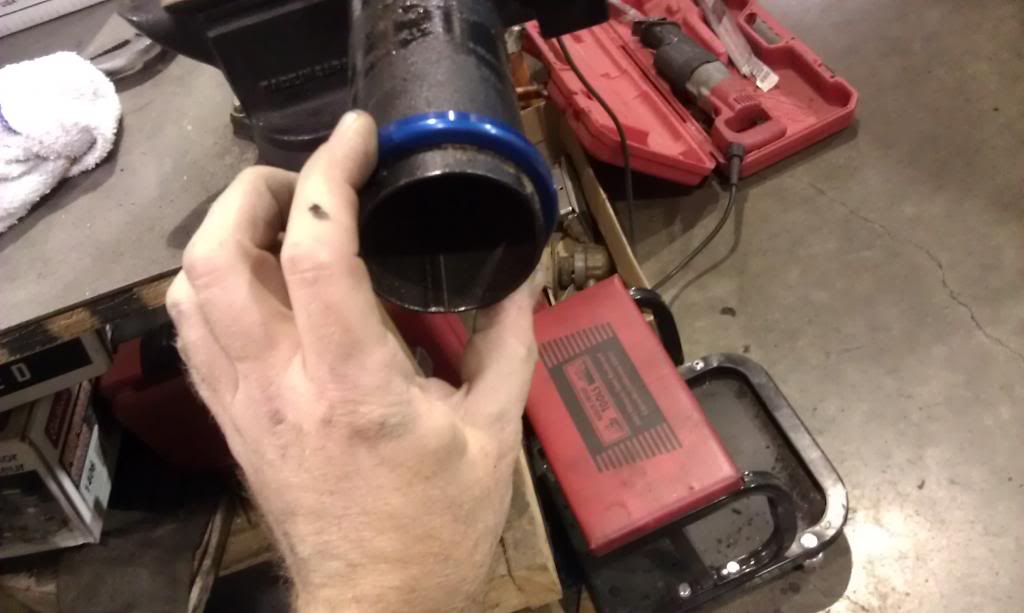
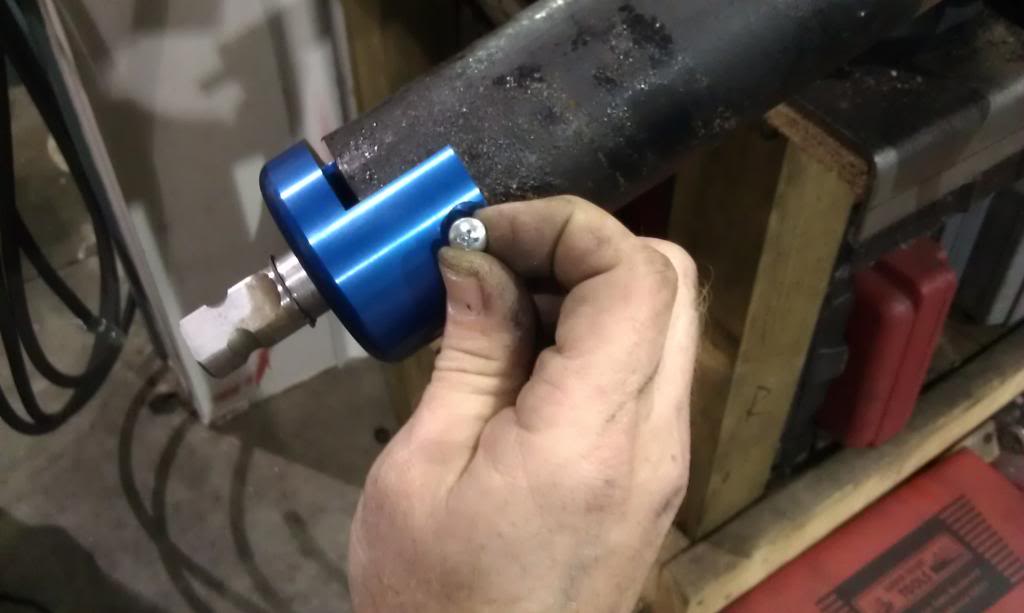
End cap/shaft support bearing assembly slides right onto the end and then it's attached with 3 sheet-metal screws (good idea to mock up shaft and steering wheel before screwing this to the column)
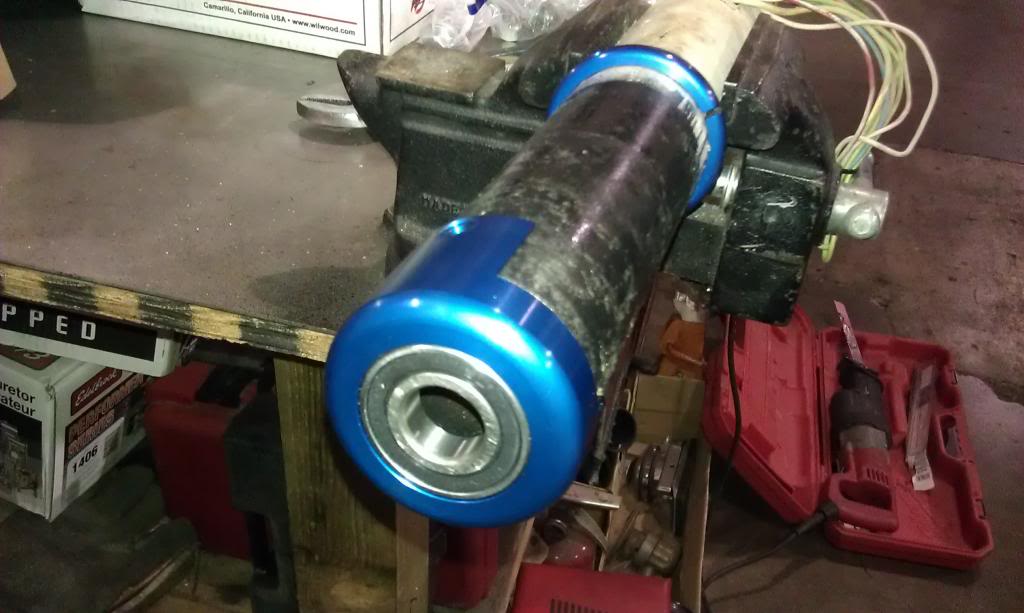
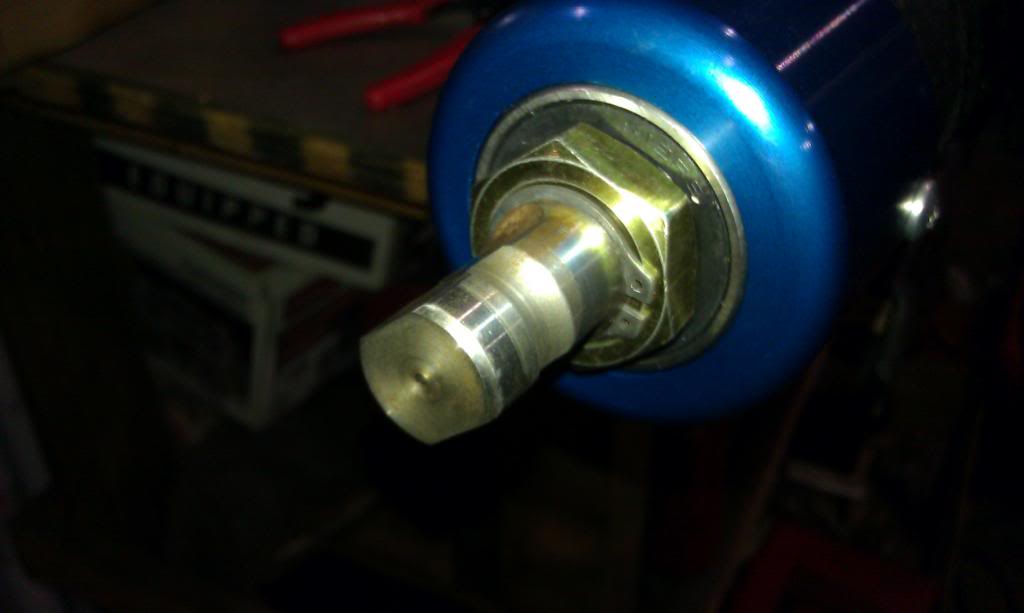
Now insert the supplied steering shaft and attach the steering wheel. The top half of this shaft is identical to factory and will reuse the original nut, spring and collar/bushing. I installed the wheel and set up the turn-signal cancel geometry and column to bell clearance, etc.
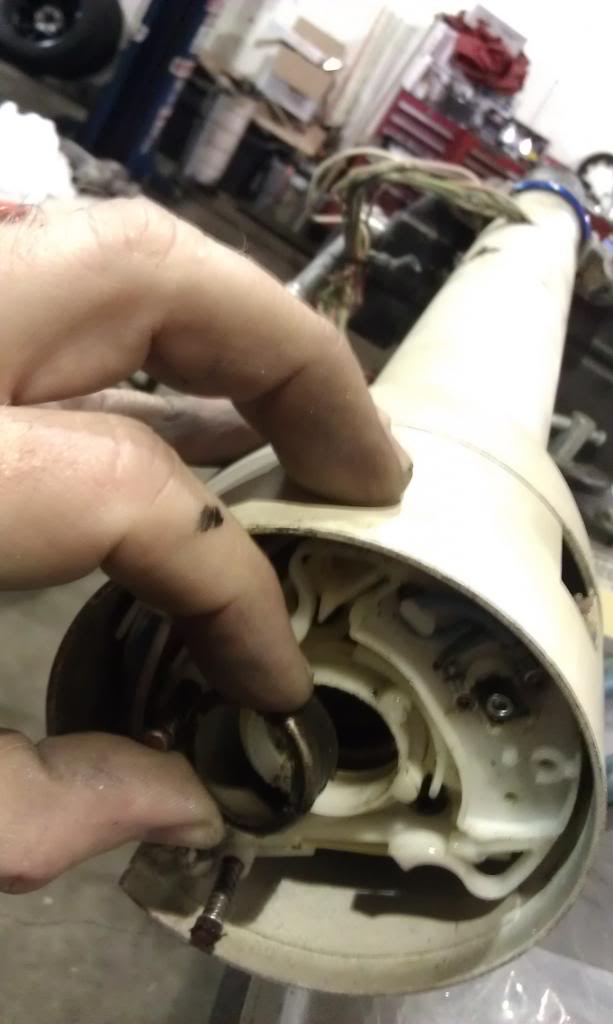
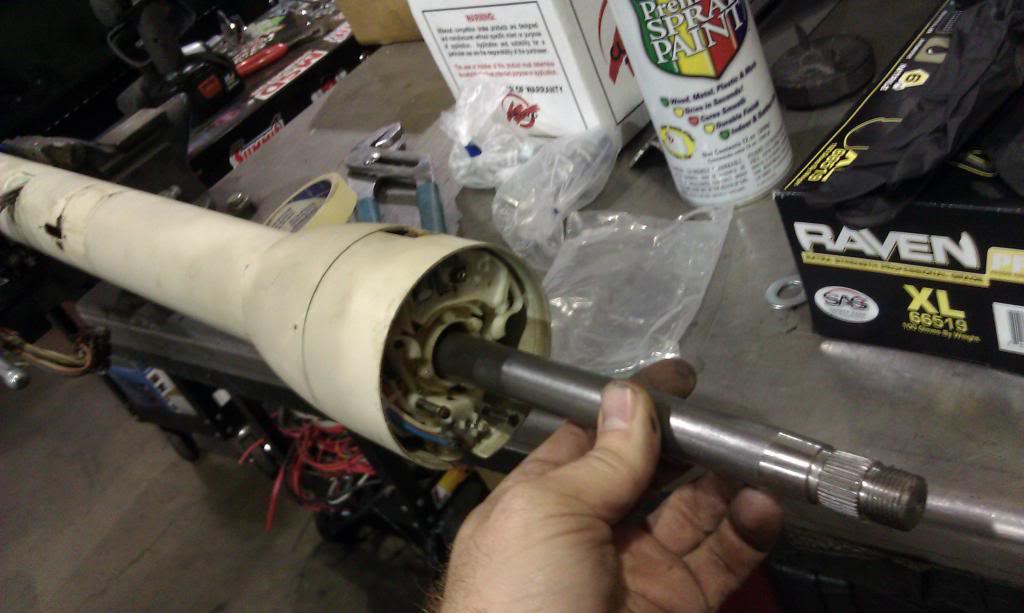
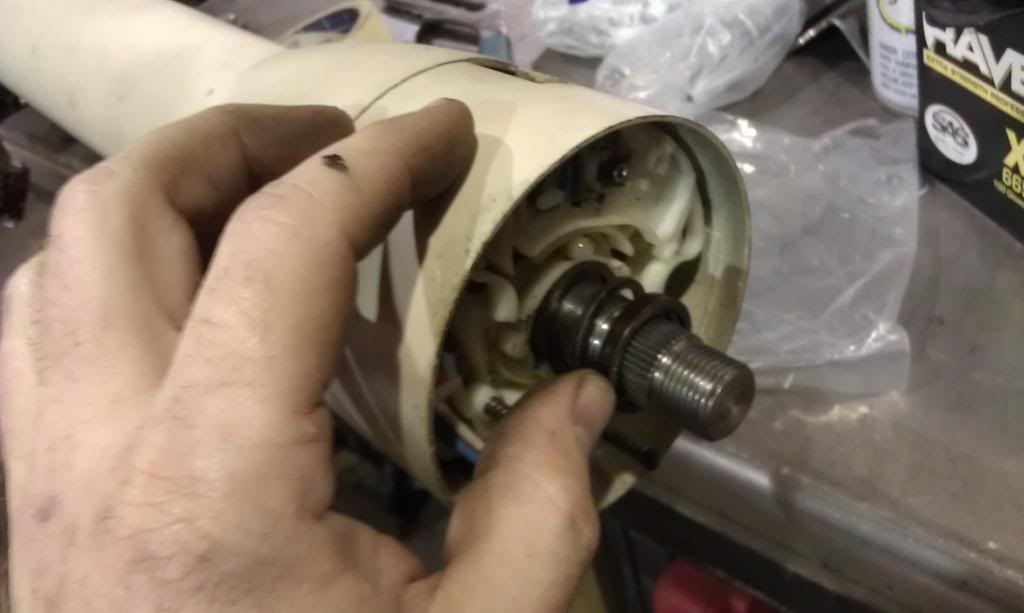
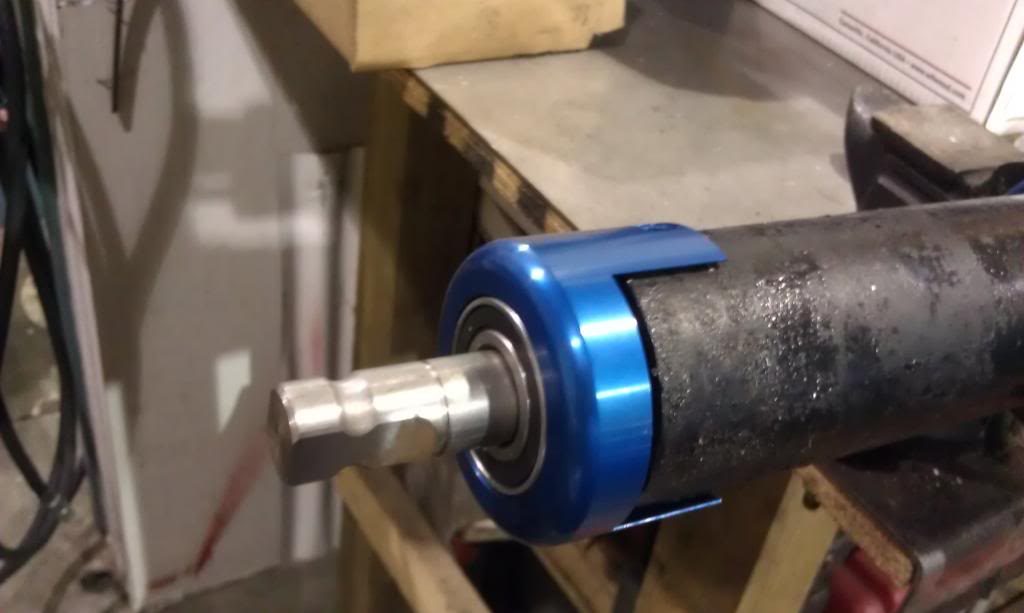
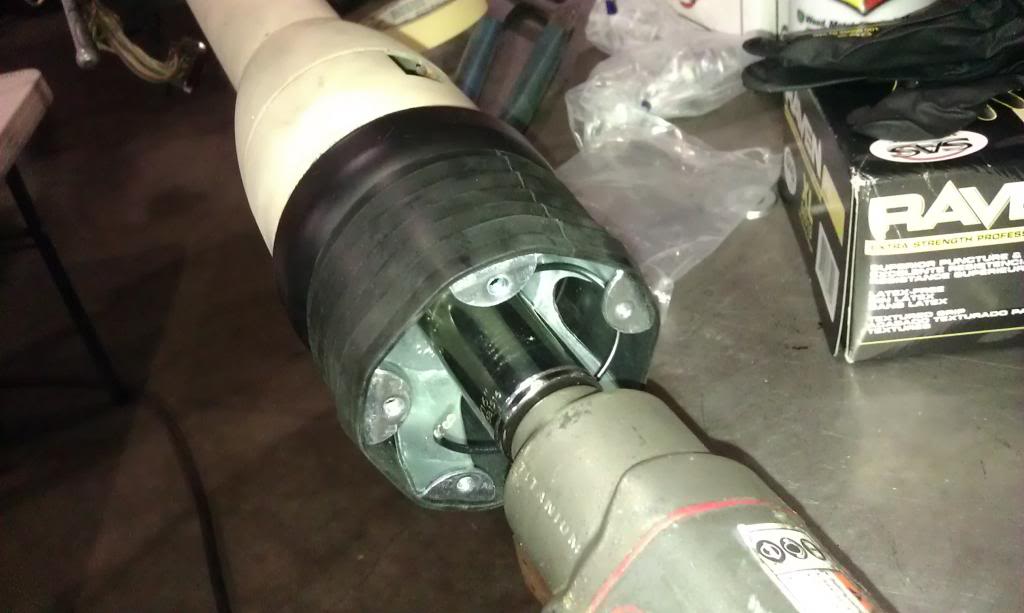
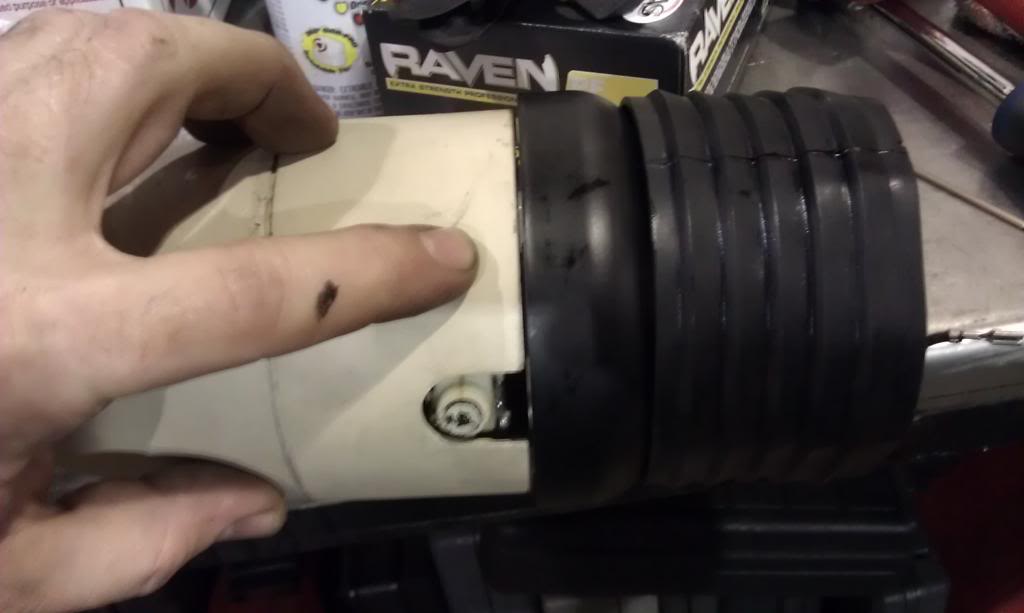
Now it's time to set the end-play (telescopic play) so that your steering wheel and its shaft do not slide up and down (in and out) in the column. I installed the retainer clip at the bottom and then checked my clearance at the steering wheel-to-column bell top. Because there is a spring trying to pull the shaft outward this can be a little tricky. Once the correct position is obtained check the clearance between the shaft support bearing and the clip. Make sure the column cap and support bearing are ALL THE WAY onto the column. Determine if you need to cut more off the column or add shims to make up for play. Once you get the column close to the right length you can screw the bearing support down. In my case I needed almost 1/4" of shim so I found a nut that fit perfectly. ...hey it was free and available. lol
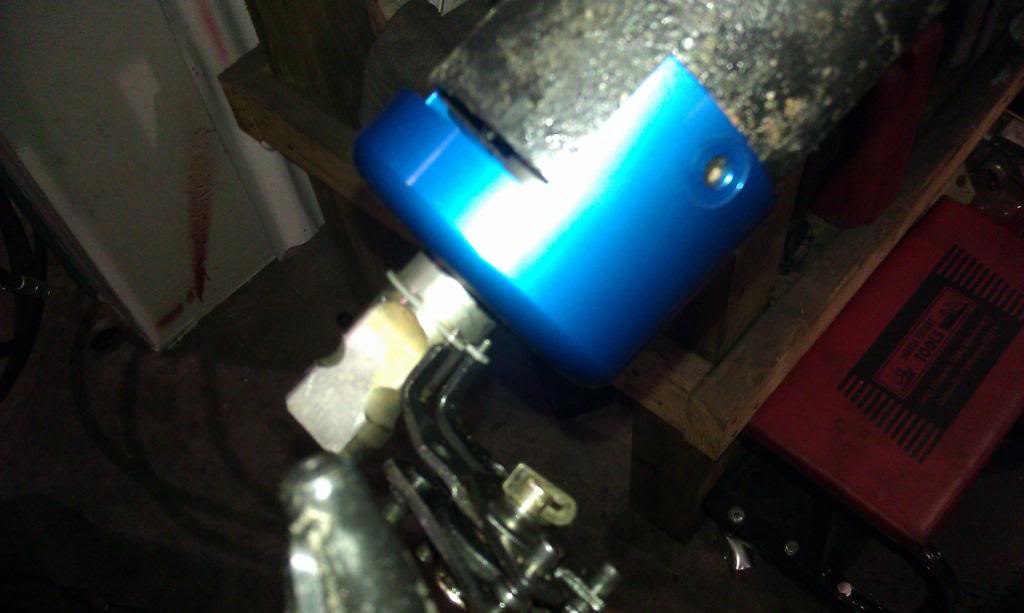
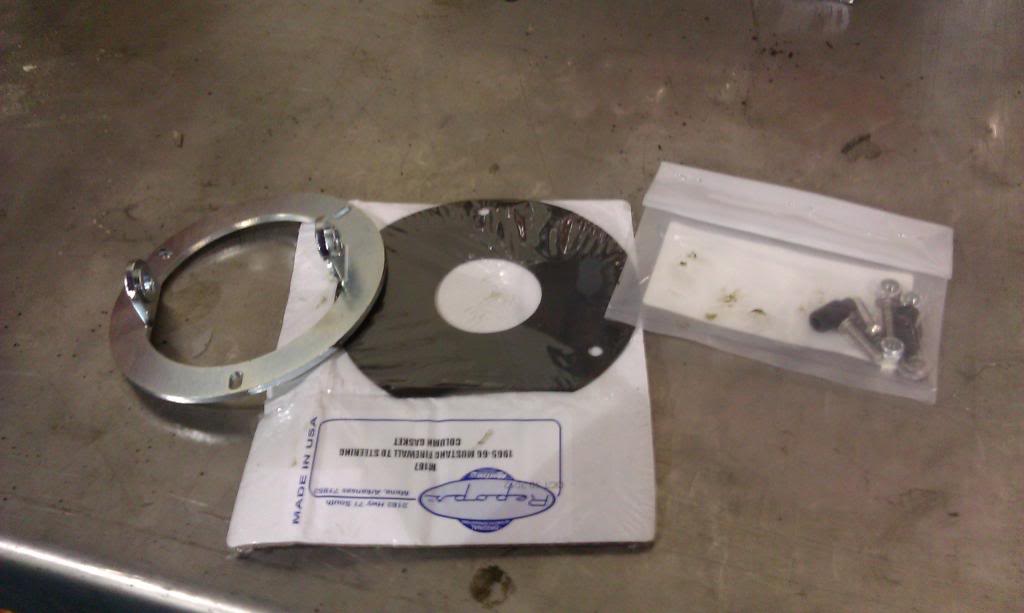
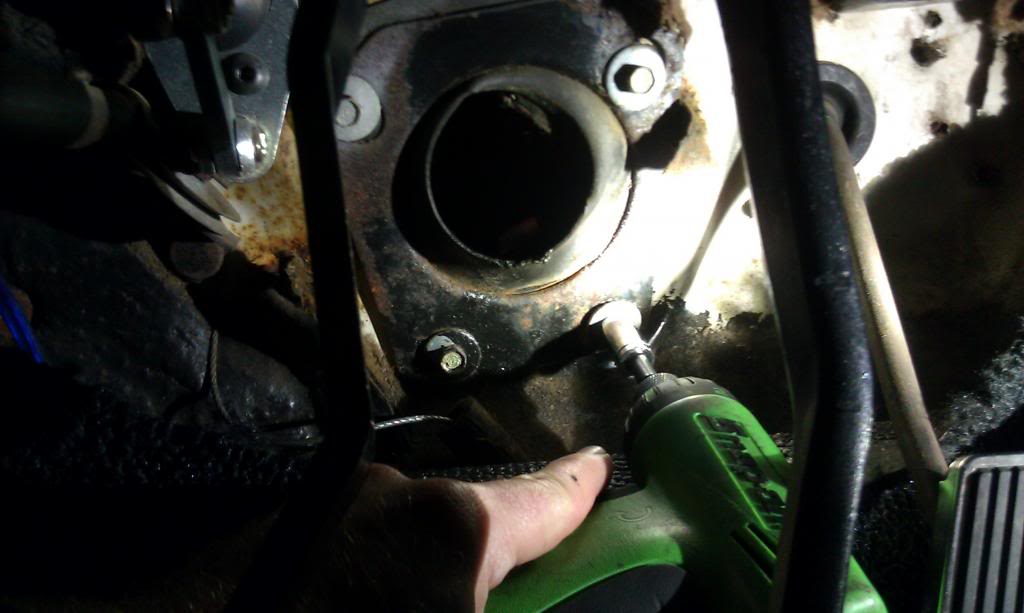
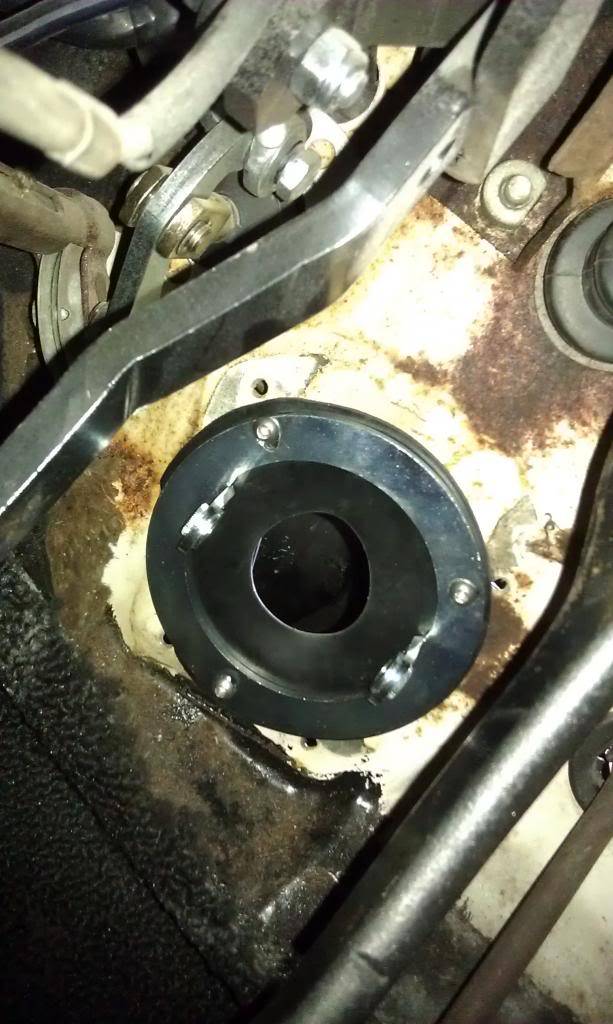
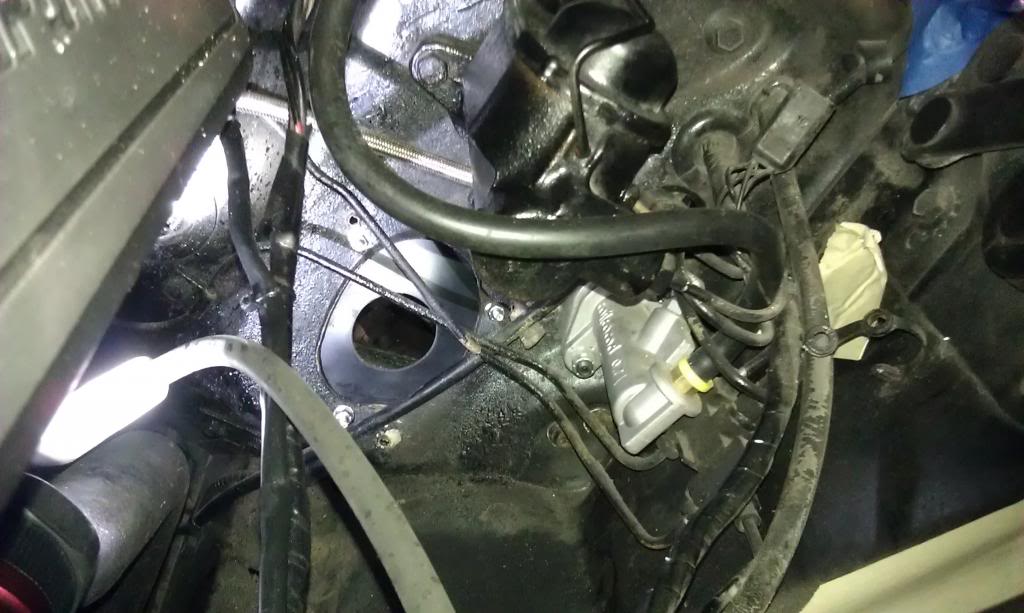
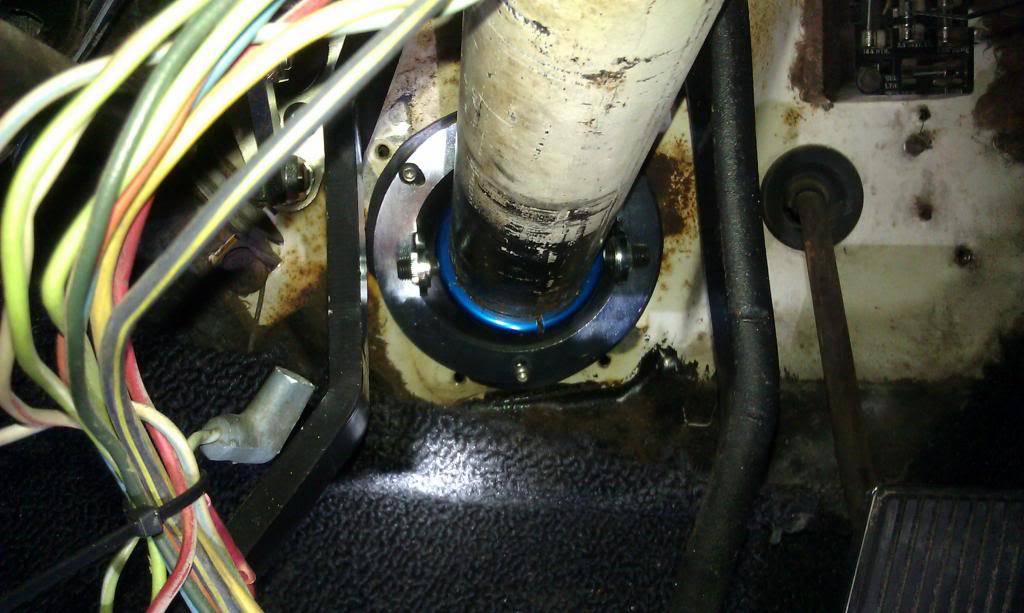
Now It's time to install the column and the lower steering shaft and u-joints into the car. I removed the old boot and installed the supplied boot and mount bracket as per the TCP instructions. These parts are universal from 65-69 as far as I know, and some cars may require you to drill new holes. My holes did not line up so I centered the assembly and drilled new holes. The column then slides in and bolts to the dash like normal. The slip-on support collar that was put on the column earlier slides down in-line with the boot and bracket and you screw the set screws into the collar.
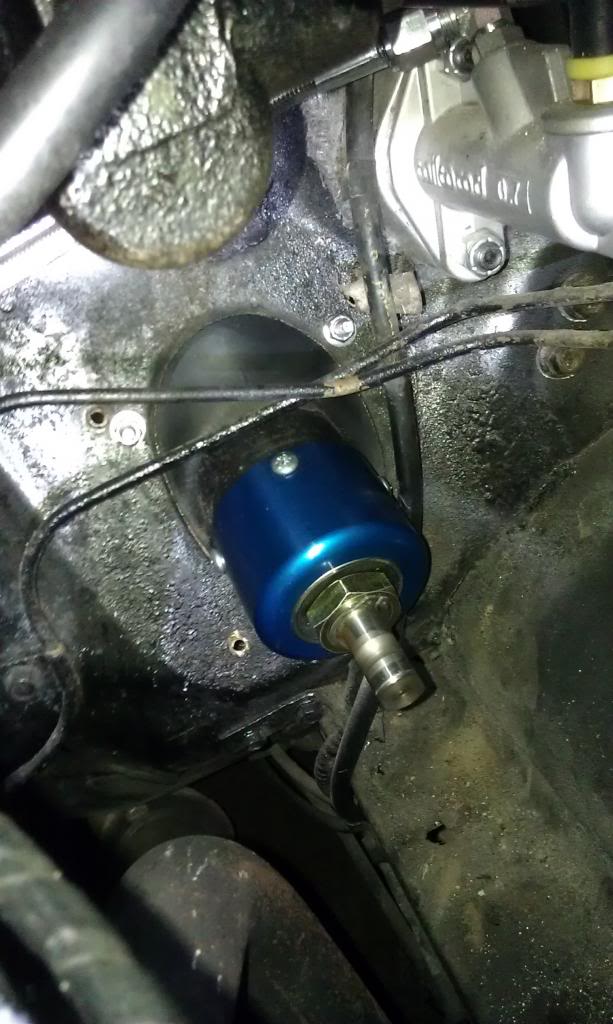
TO BE CONTINUED...
-
-
-
-...Cars are my drug and I don't need intervention
Therapy provided by: https://www.pro-touring.com/showthre...ang&highlight=
BK

 Reply With Quote



