


Results 1 to 20 of 78
-
02-12-2015 #1

 Registered User
- Join Date
- Jan 2015
- Posts
- 149

Project JUNK$ the ultimate budget project!! 1979 Camaro
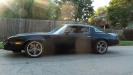
This is a perfect example of a budget build done in a suburban house in a normal two car garage. This is the first project like this I have done and basically learned as I went.
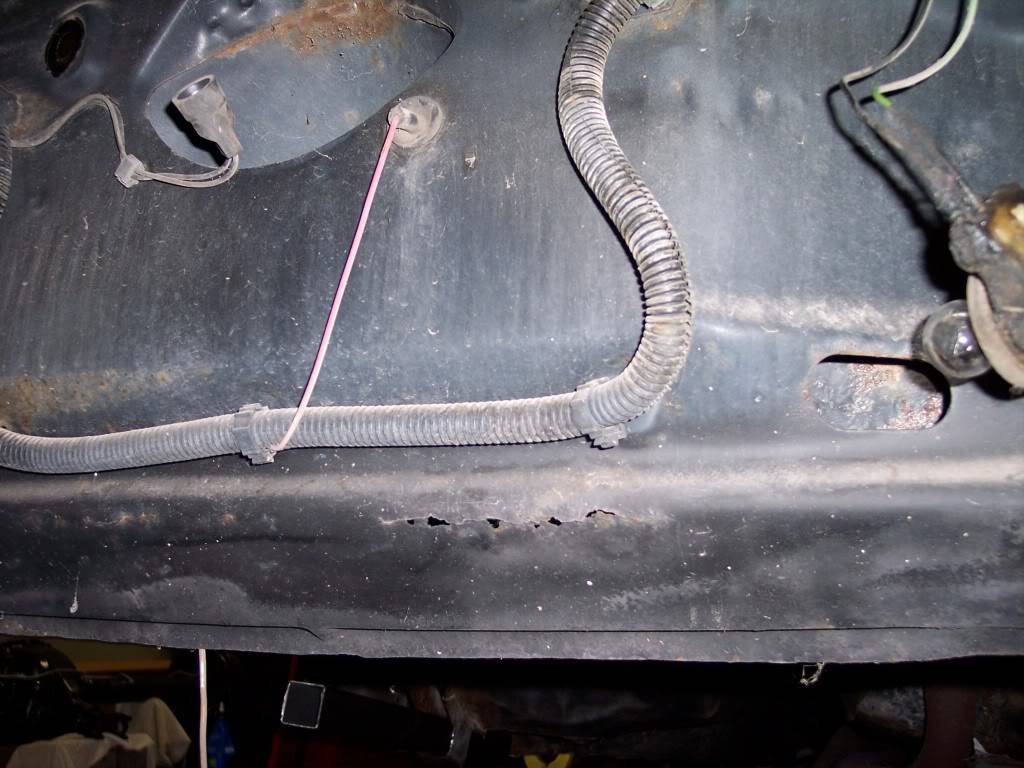
I was never a big fan of Camaros especially late second gens but this one fell into my lap. My inlaws bought it new in 1979 and used it to haul five kids around....figure that out!! When my brother inlaw turned 16 he acquired it and drove it through high school and college and was his daily driver till 1997. He stopped driving it because the rear frame rails were rusted and one was almost gone.
Fast forward to 2008. He wanted to junk it so I agreed to take it and drove it a few blocks to my house and began assessing the issues and tearing it apart. It had typical midwest rust and a lot of it!! The drivers rear frame rail was basically non existent, the hood and trunk had rust holes, the dash had rust, holes in the floors, engine had a miss and ticked like a time bomb and paint was faded from all those years of exposure and wax jobs.
The only way my wife would agree to me taking on this project was if no "family" money was used and the work was in my spare time. I agreed, joined a website called NastyZ28.com and began my research and collecting parts and knowledge.
I had a 110 flux core welder, a 20 gallon air compressor and some tools. My original plan was to patch it up, keep it stock and spot paint the areas that needed attention. Of course that plan changed over the years. At different times i considered making it a Z28 clone, rolling on rustoleum paint or taking it to Maaco.
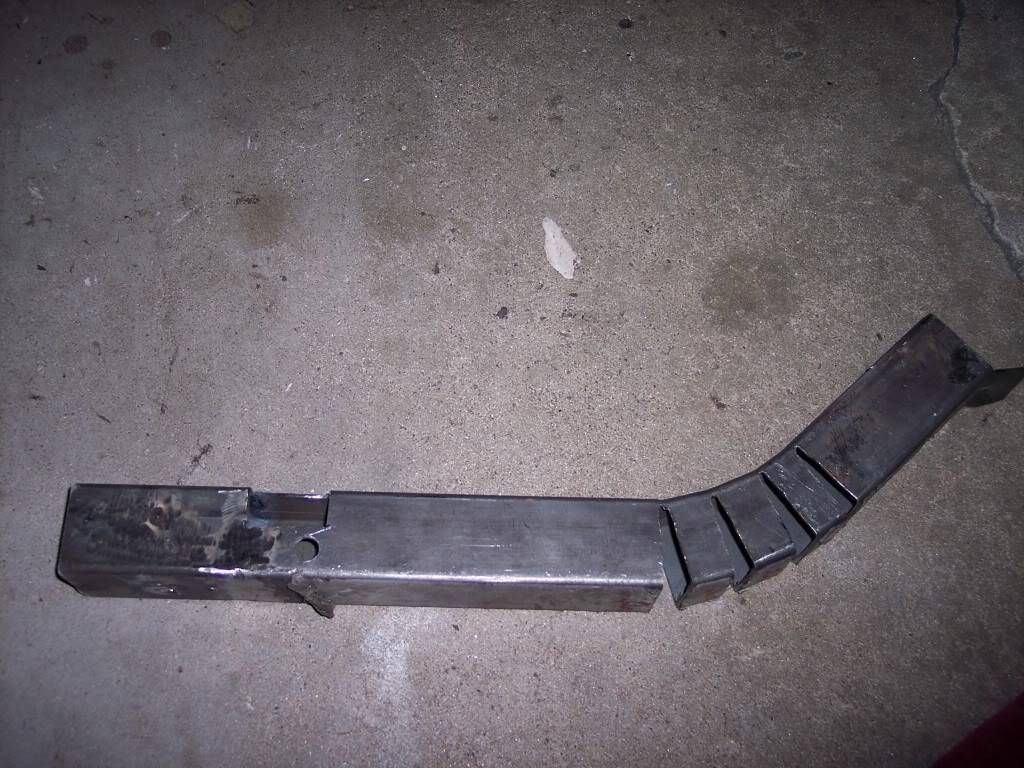
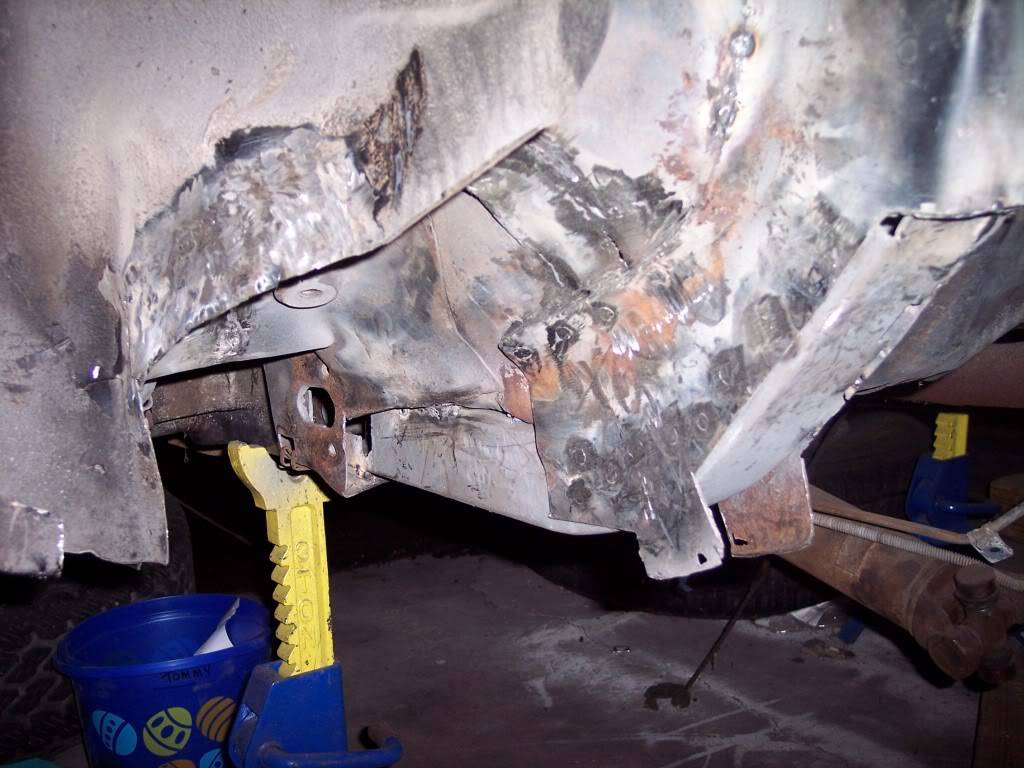
Since I was on a tight budget I had to get creative with obtaining and financing parts. Craigslist, eBay and the swap meet section of NastyZ28.com were most of the sources. I started collecting scrap metal and anything people were throwing away and would resell the good stuff on Craigslist or ebay and get scrap money for the rest. The patch panels for the quarters, fenders and floors were made out of scrap body parts I grabbed from local body shops. I rebuilt the rear frame rail with some square tubing wrapped in scrap sheet metal.
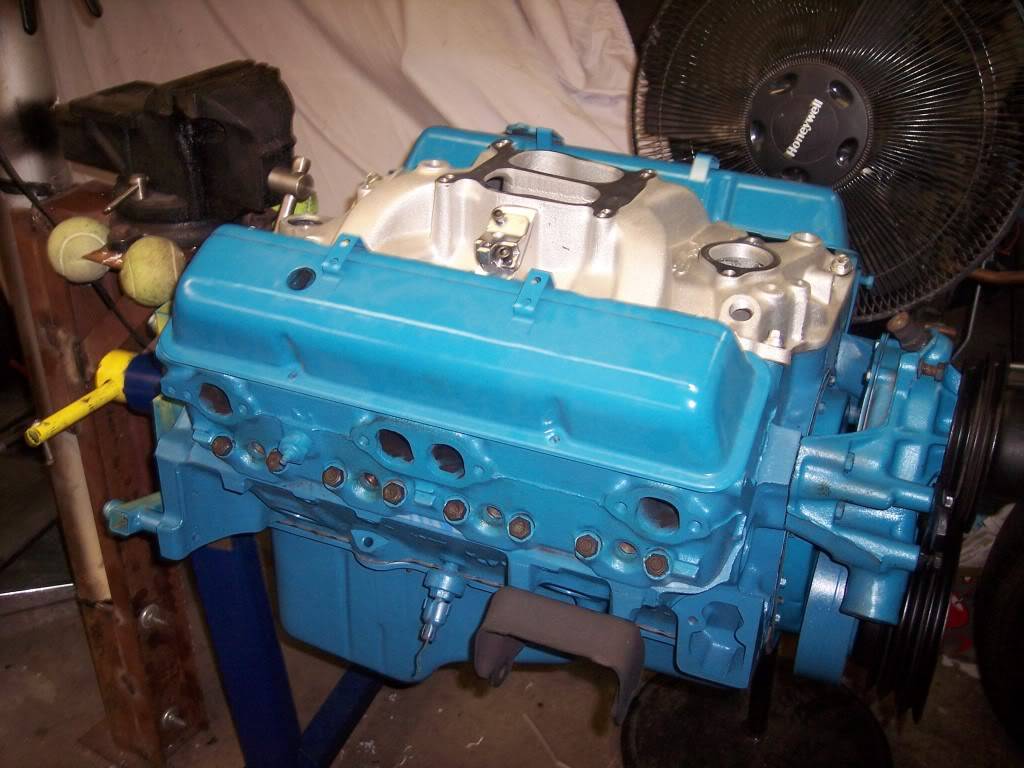
Once all the rust was fixed it was time to pull the 305 and tear it down. Once apart i discovered it fell victim to the notorious cam failure and had other lower end issues so I found a 350 short block on Craigslist for 50.00. I honed, re-ringed,installed a new stock crank and bearings, mild cam and used my old 305 heads that I put new valve seals and lapped the valves. Since the block did not have a mechanical fuel pump I had to utilize an electric one. I topped it off with an edlebrock intake and Holley 4bbl carb. Also installed some Craigslist headers and used dual exhaust from EBay.
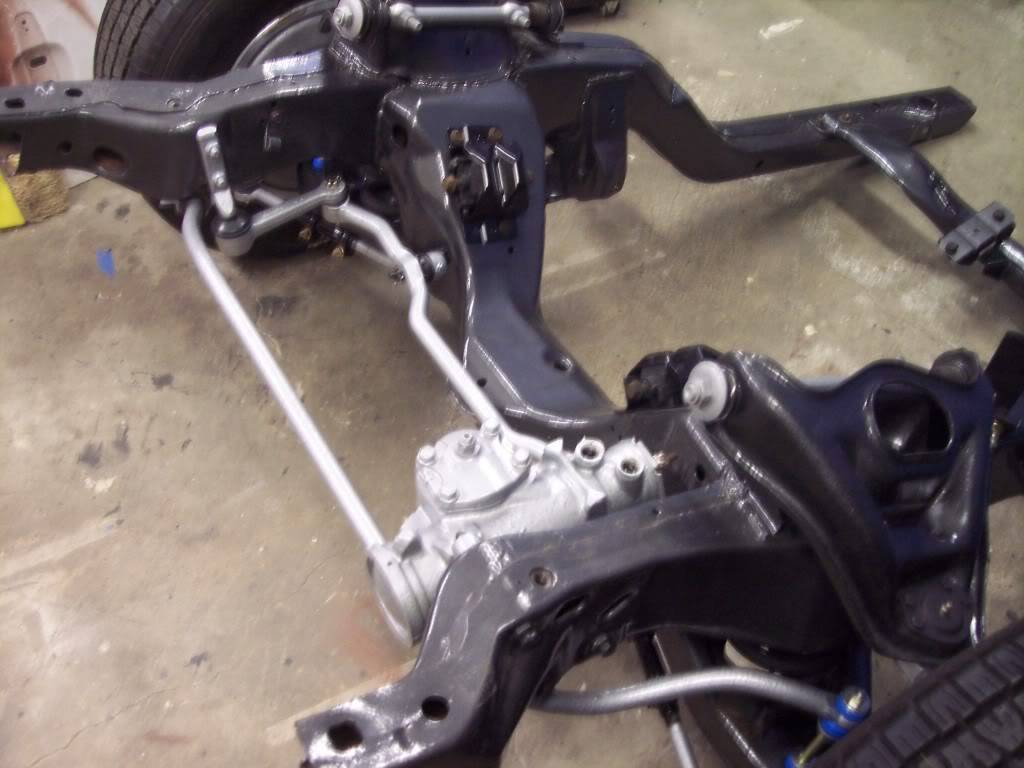
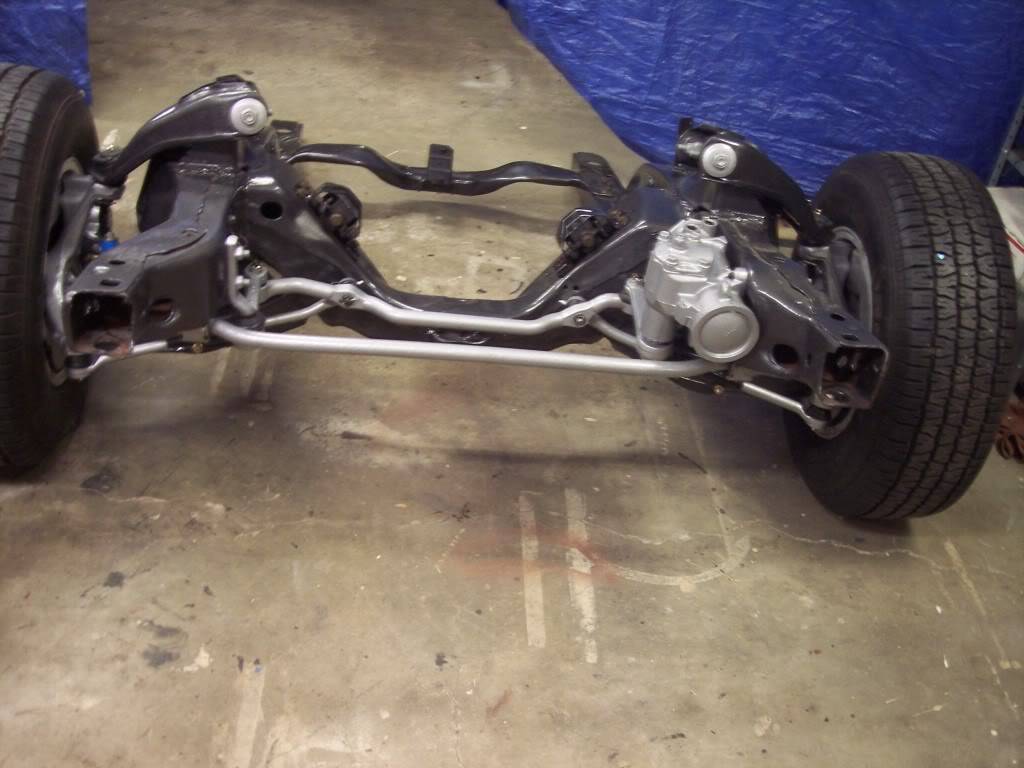
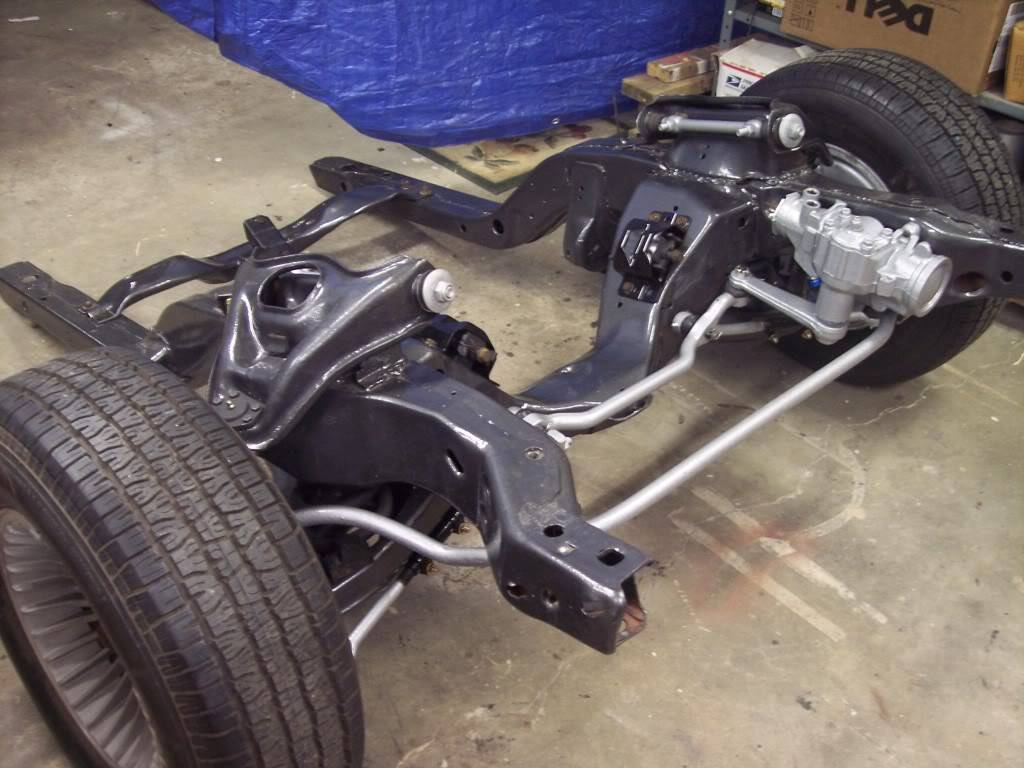
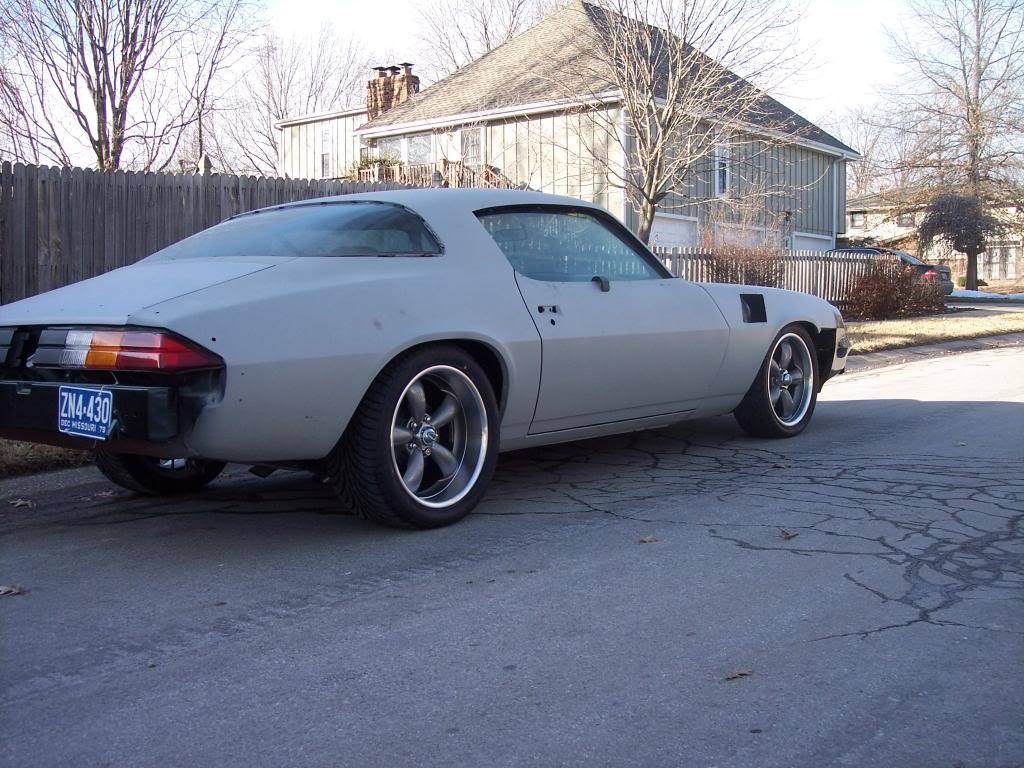
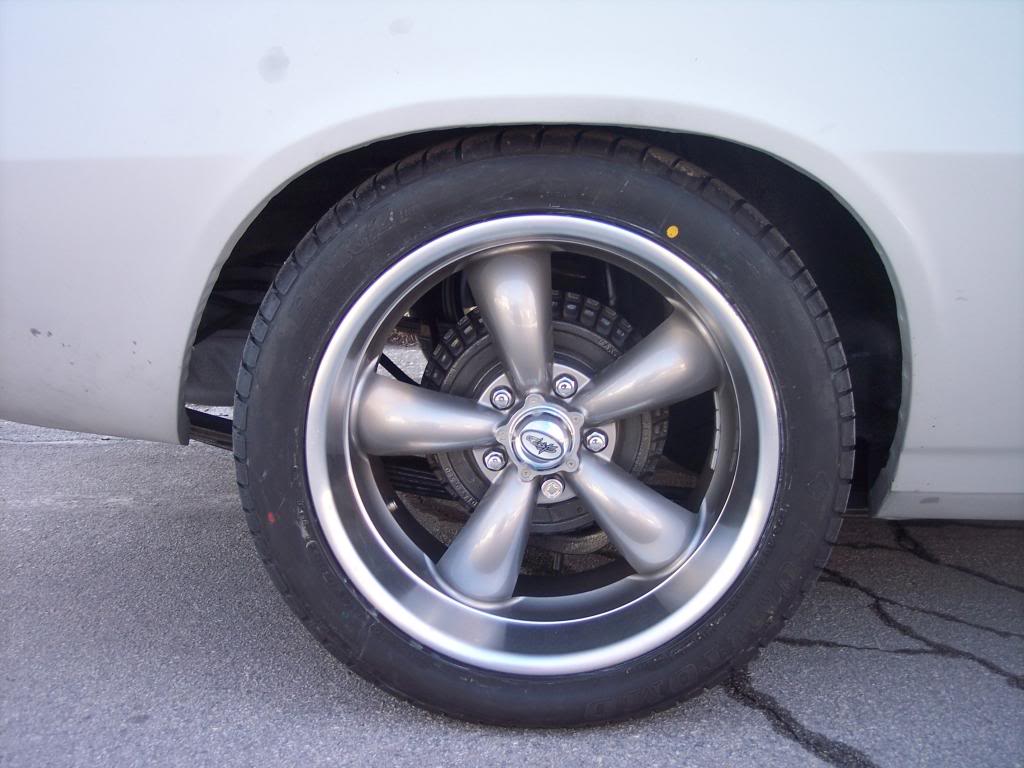
I removed the subframe, cleaned it up, painted and rebuilt the suspension with stock components and got a great deal on some used 18 wheels and tires. It is lowered 2 inches in the front and 3 in the rear. I did some research and did the alignment myself with some string and a carpenter level.
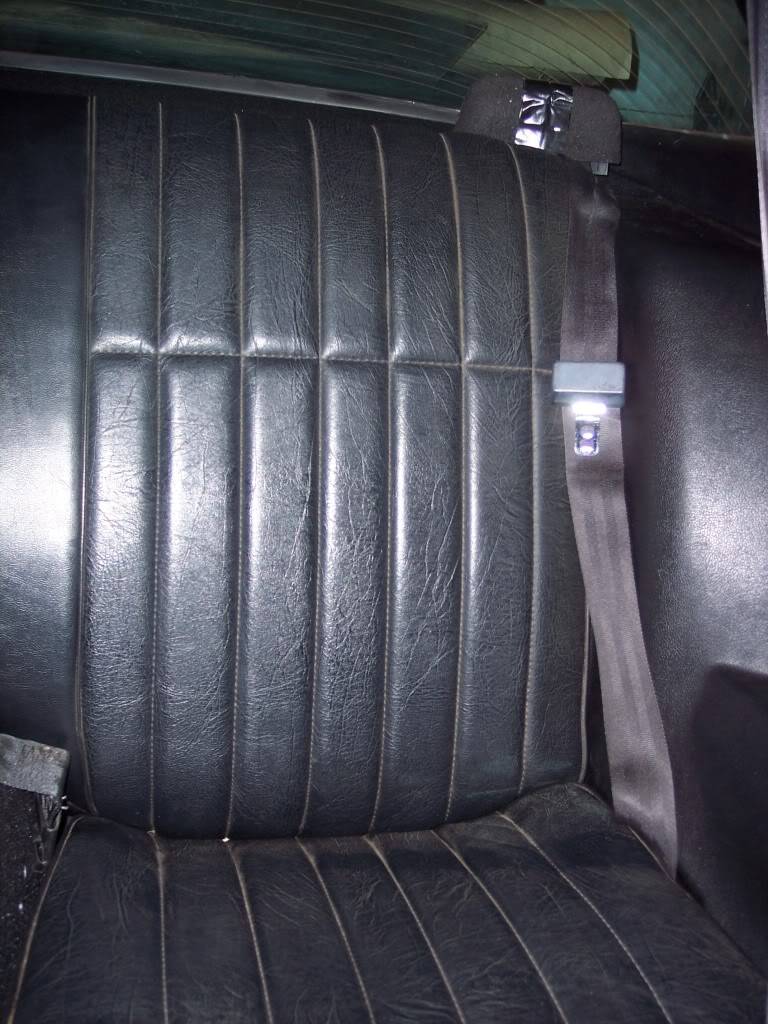
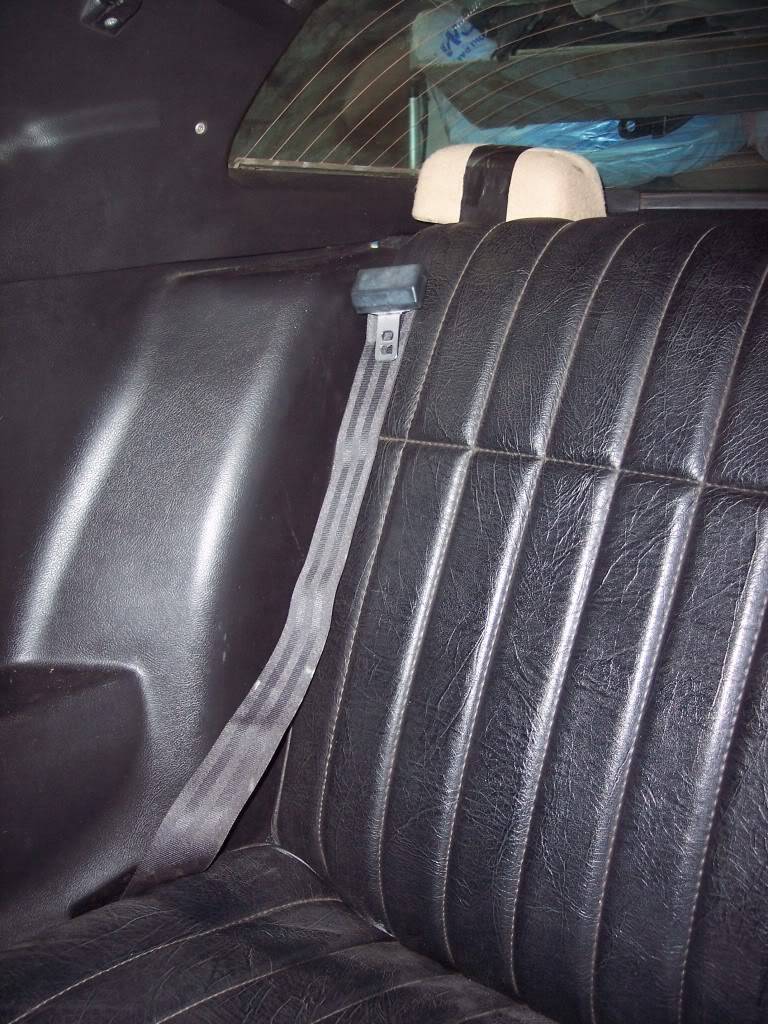
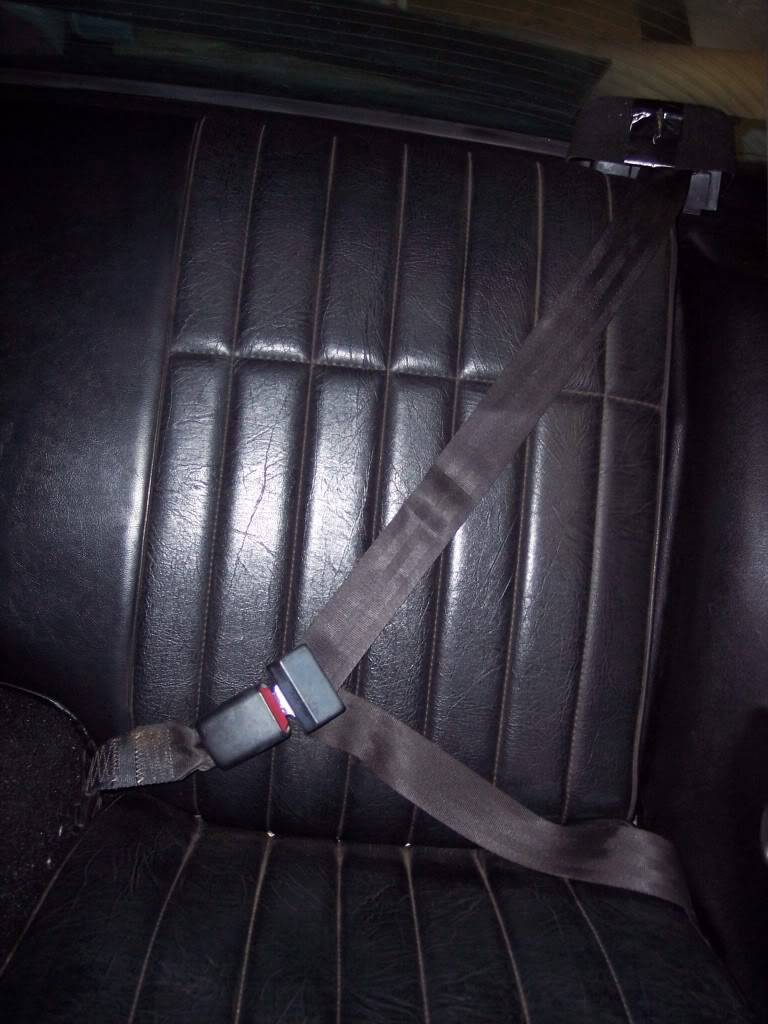
I replaced the headliner, carpet and a seat cover myself. Also I installed rear shoulder belts out of a mid 90's Cougar and updated the fronts from a '00 Trans Am. The door panel chrome was peeling so I covered the chrome in aluminum tape to match the brush look on the outside.
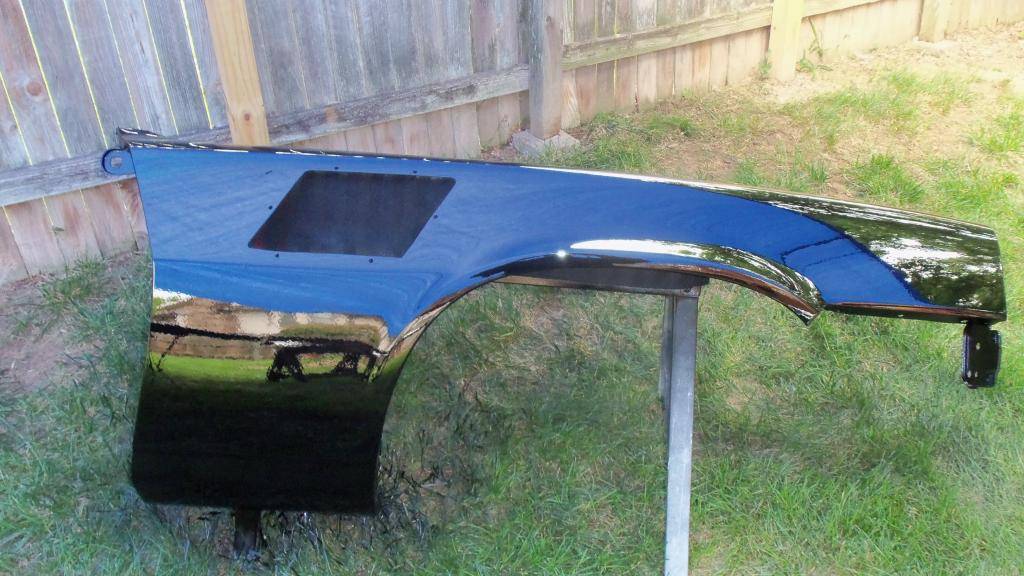
After doing a ton of research I decided to tackle the bodywork and paint myself and go with the stock black color for my first attempt at paint and major bodywork! Many hours were spent blocking and sanding multiple times to prep for the black paint. All of the primer and paint was shot either in my garage or in my backyard with my 20 gallon compressor a cheap LVLP paint gun and a tarp to protect it while painting. The color is Eastwood Boulevard Black single stage with a satin black hood stripe in Plasi Dip. I used Scothchbrite pads to make all of the chrome have a brushed look to match the wheels. The Camaro emblems have been shaved and painted to match and the fenders modified to fit Z28 air extractors.
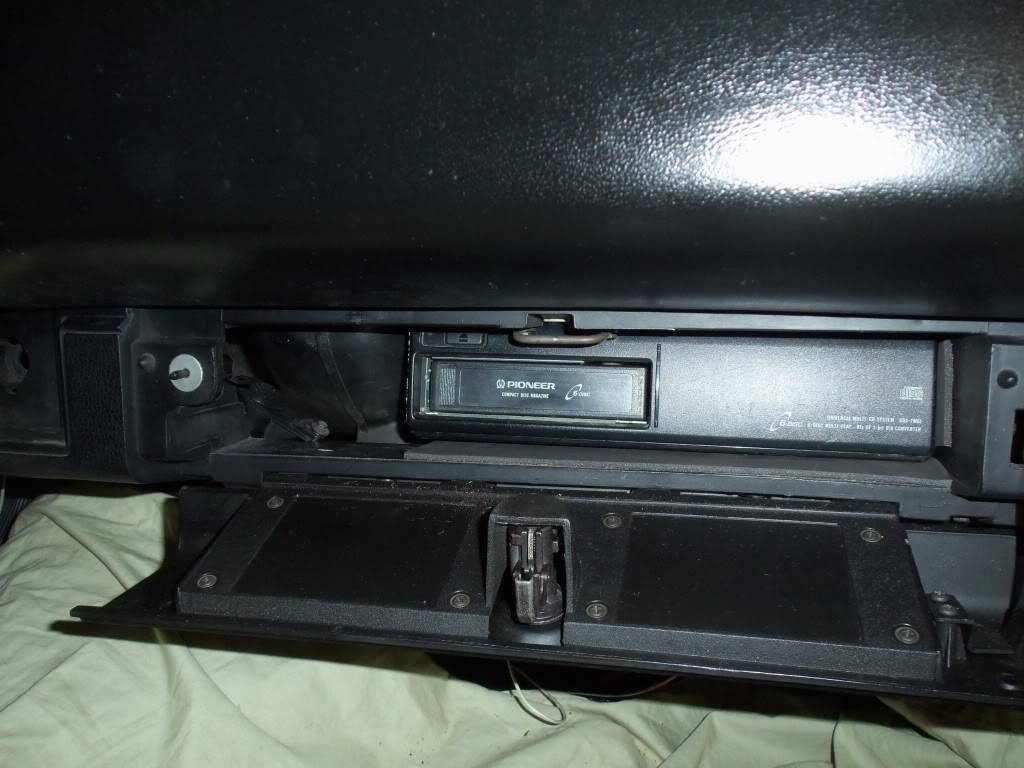
The stereo is the Pioneer Super Tuner that my brother inlaw installed over 25 years ago, same vintage 6x9's and a Craigslist score Infinity Basslink sub/amp combo.
I am going to give Autocross a try in April with my son(12) as the co-pilot. Hopefully we will be able to attend atleast one event a month over they Summer.
I am proud to say that all of the work has been done by me, in my garage, driveway or backyard and this whole project was funded by picking up other people's free stuff and either reselling or selling for scrap. It took almost 7 years to complete in my spare time but I have learned a TON and had a blast doing it.
It is reliable enough to drive anywhere and gets alot of thumbs up everywhere I go. This just prooves that if you do the research and take your time you can complete a project like this with minimal tools, space and experience. Oh and the total invested is the price of a low end used car.....funded by junk money of course!
The following is all the pics from the last 7 years. Some of the commentary might not make sense because it is copied my build thread from Nastyz28.com(hopefully that is ok).....here goes...
-Kevin
Project Thread: https://www.pro-touring.com/threads/113334-Project-JUNK-the-ultimate-budget-project!!-1979-Camaro
-
02-12-2015 #2
Registered User
- Join Date
- Jan 2015
- Posts
- 149
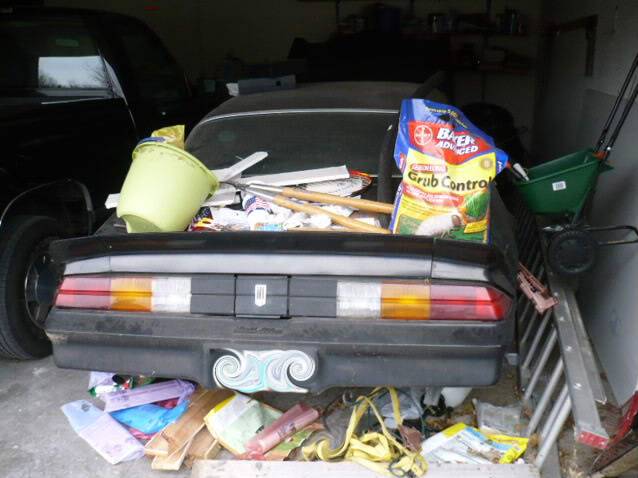
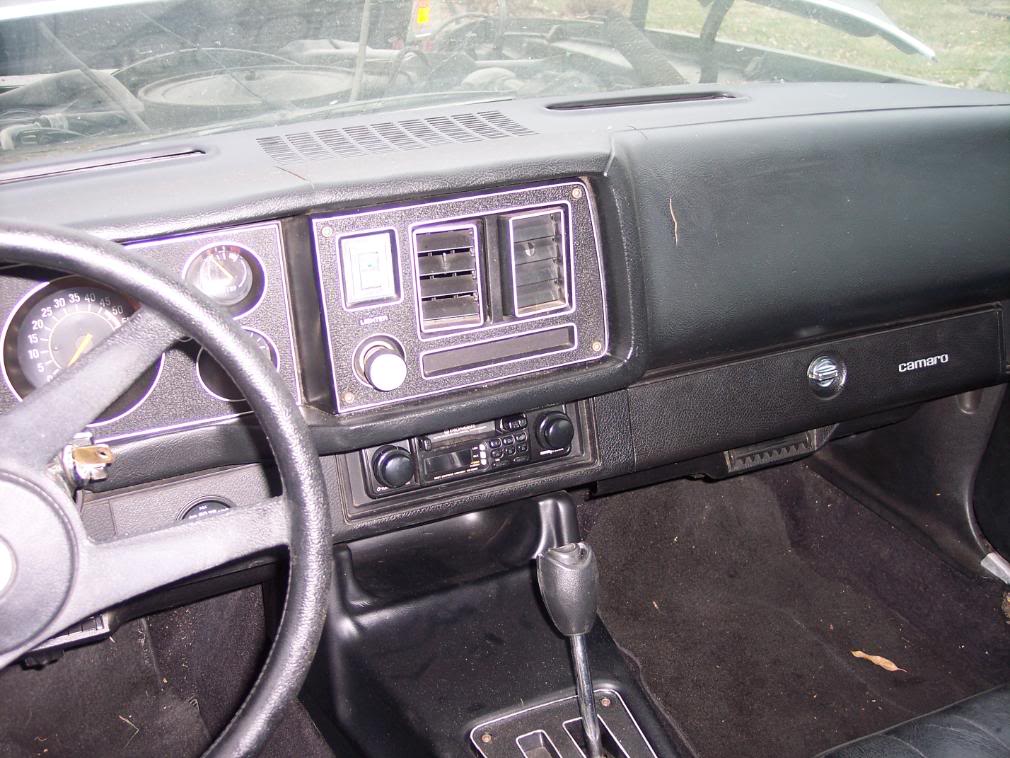
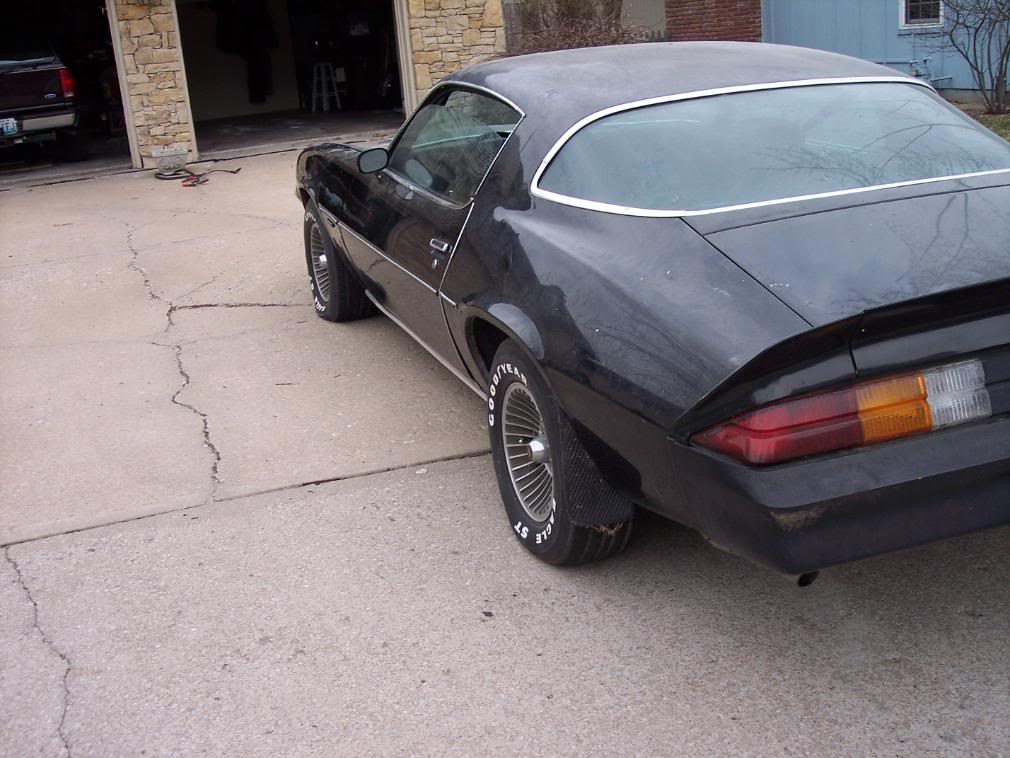
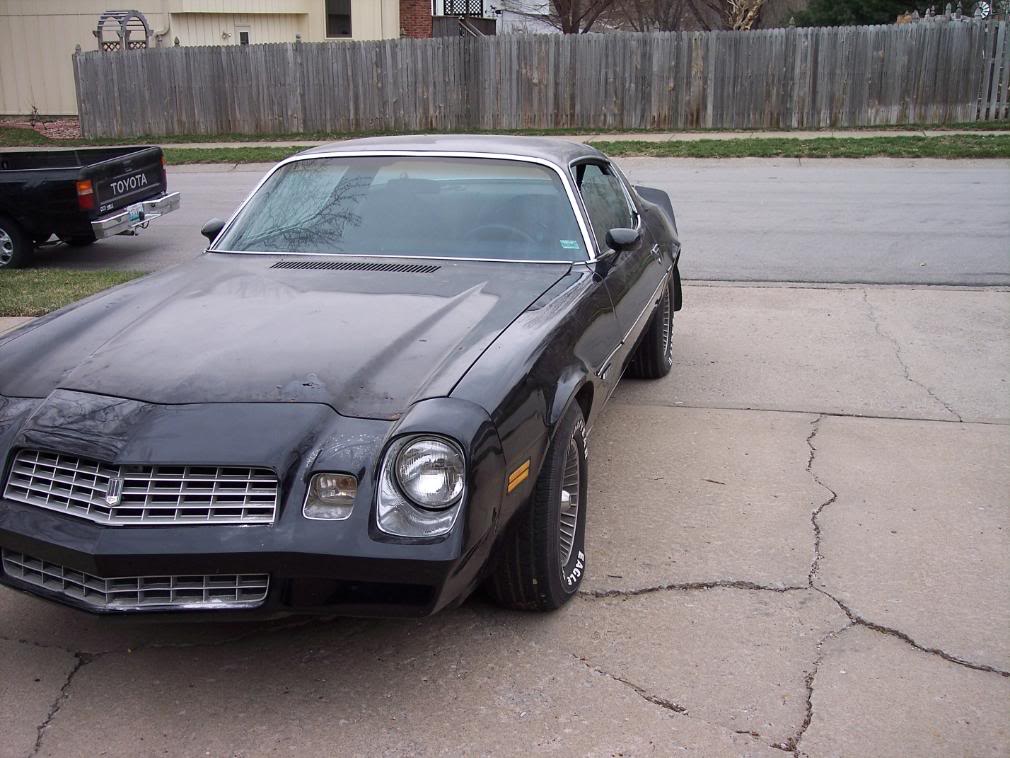
This is how it had been setting for the last 5-6 years
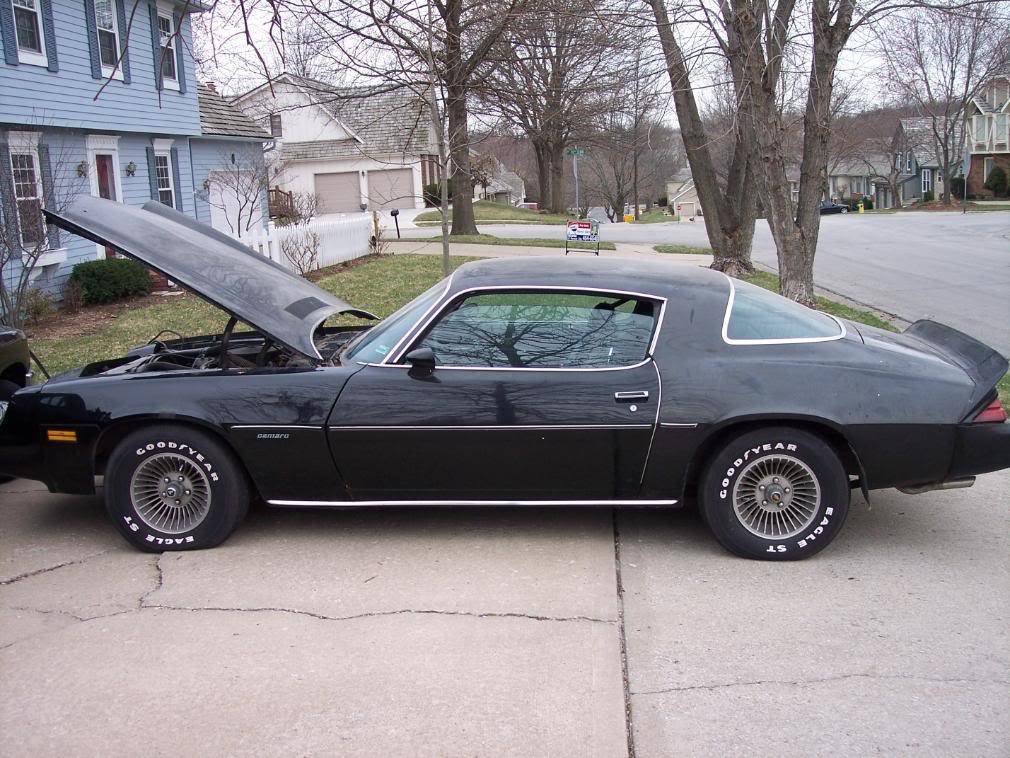
This is right after I got it home
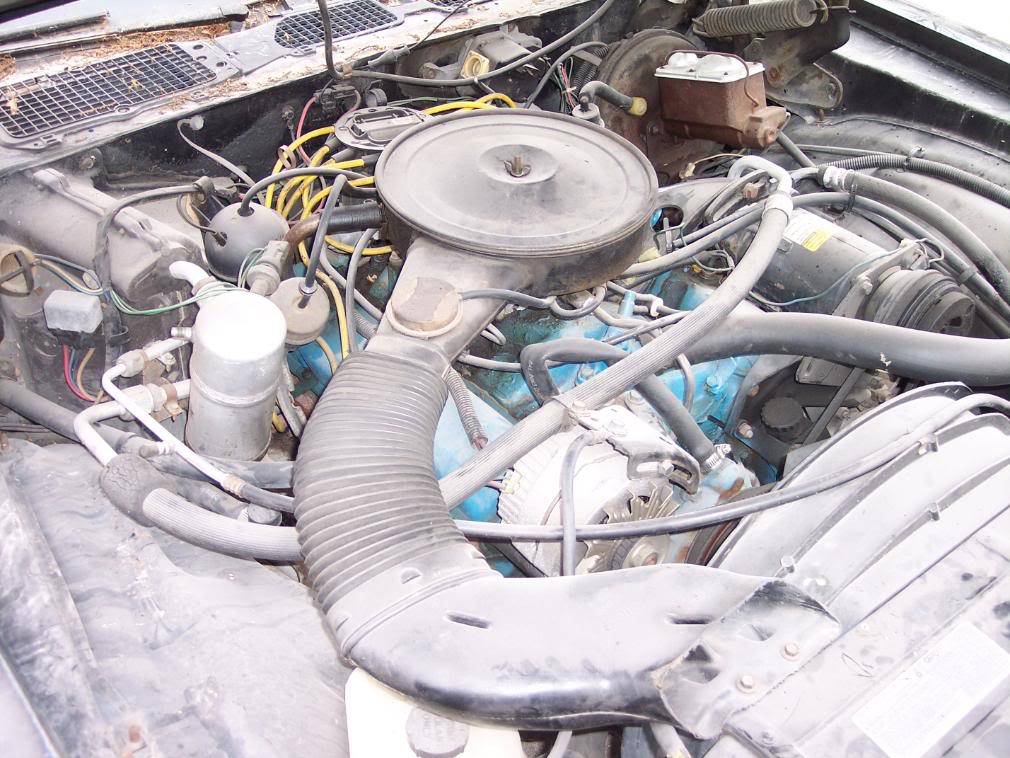
before
after
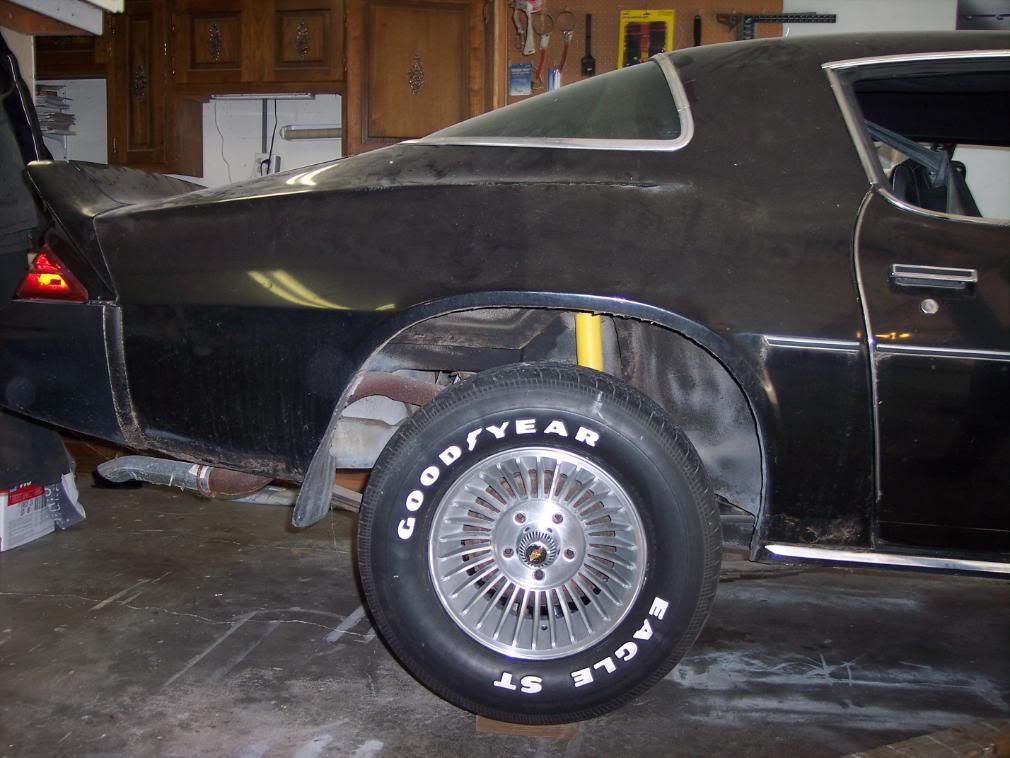
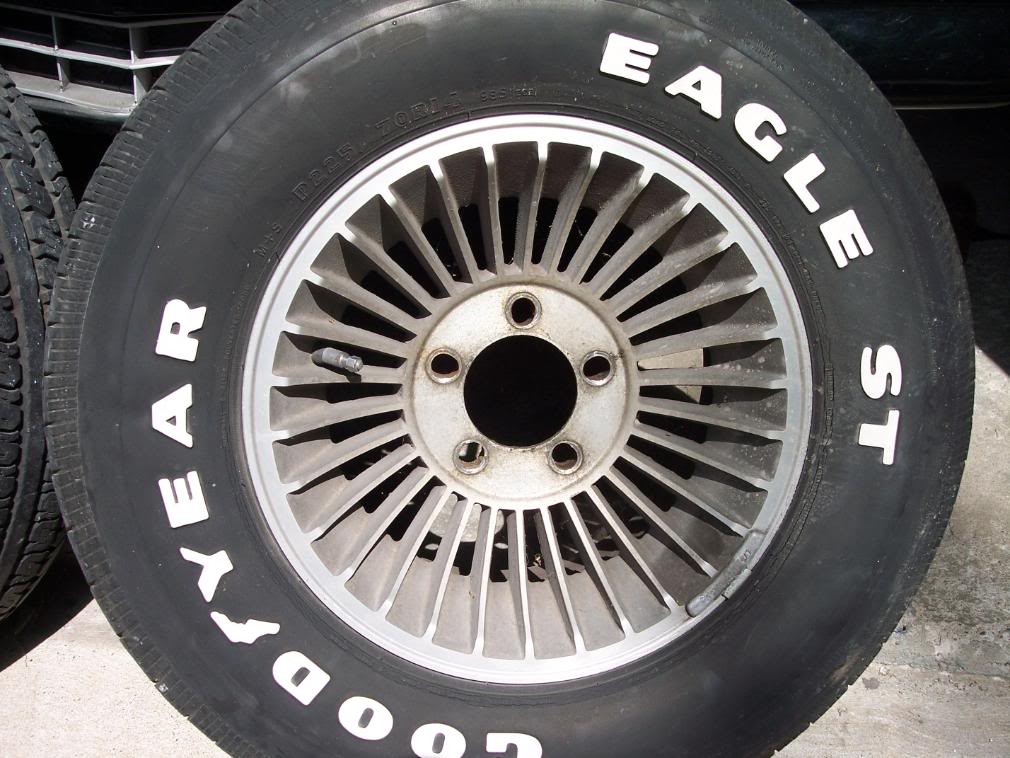
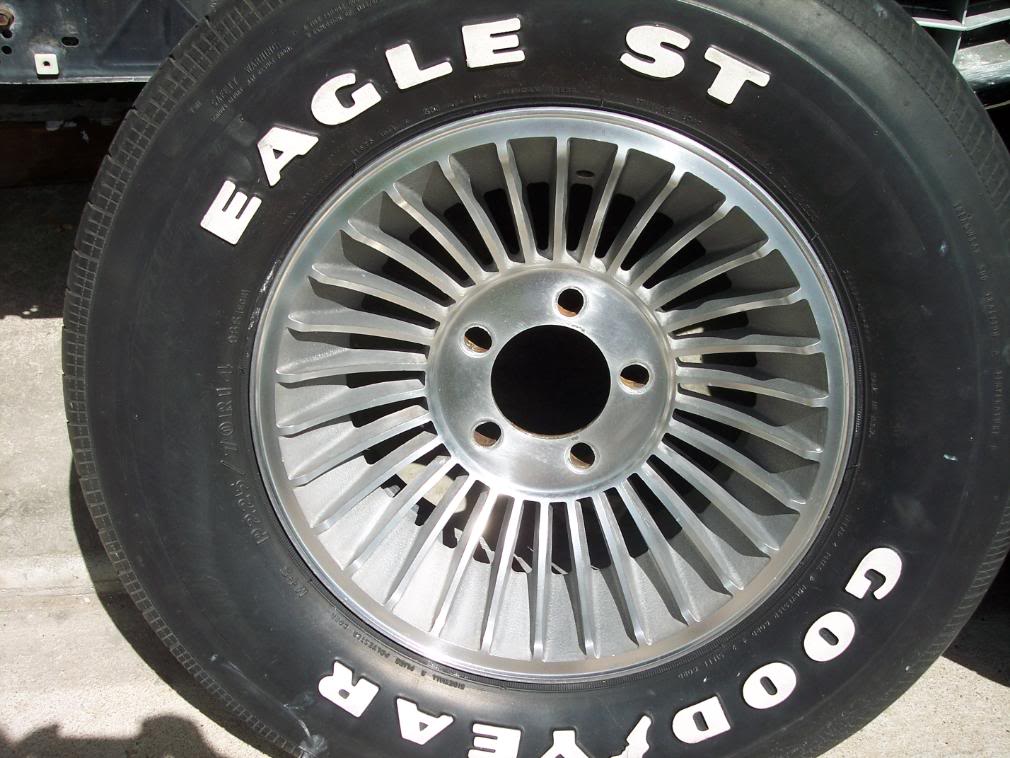
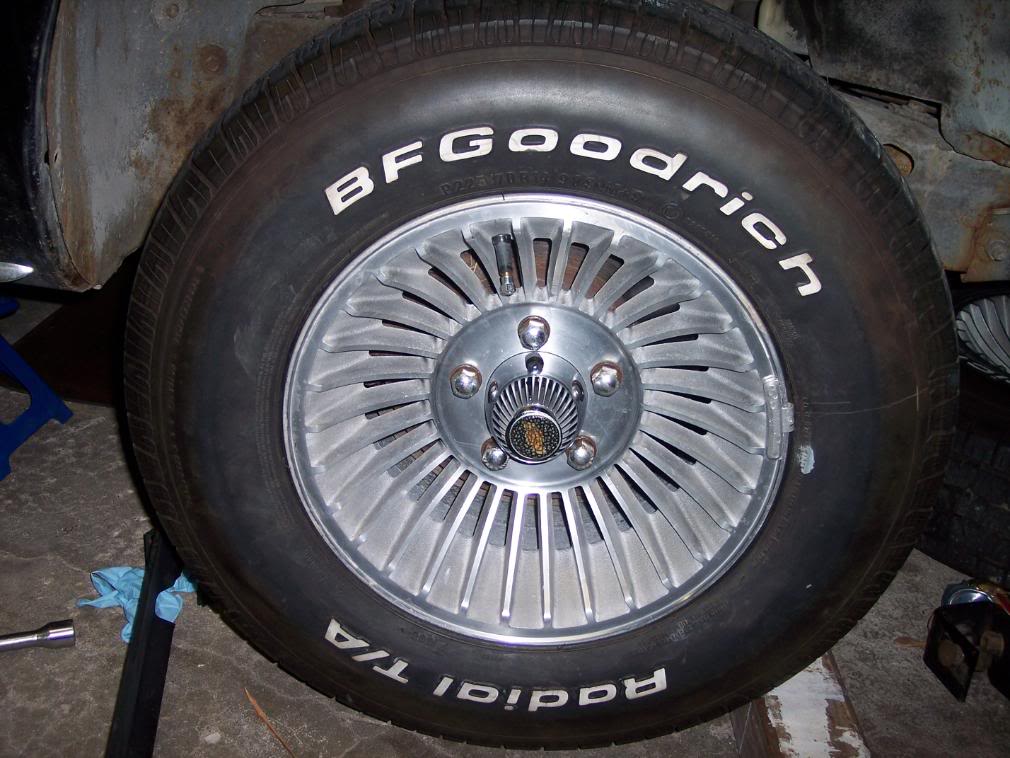
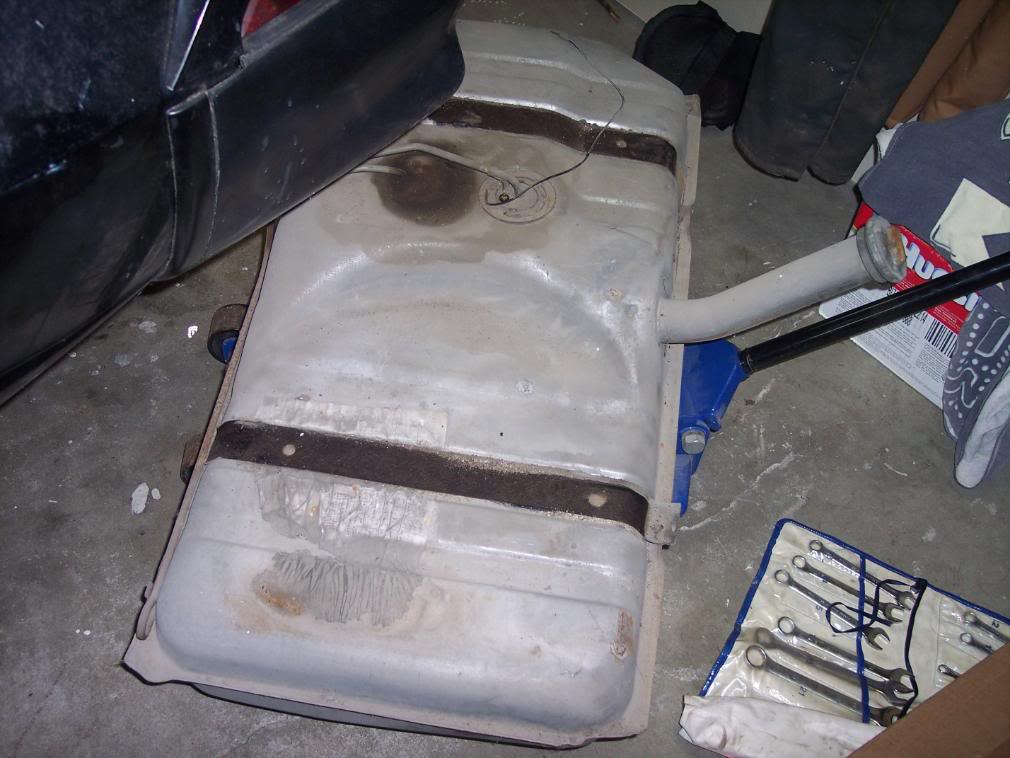
Well here is a small update...I got all of the wheels finished and the "new" tires mounted and balanced(BTW Wal-mart is the cheapest place...only 3.50 to mount carry in tires). Also got the gas tank removed.

 -Kevin
Project Thread: https://www.pro-touring.com/threads/113334-Project-JUNK-the-ultimate-budget-project!!-1979-Camaro
02-12-2015 #3
Registered User
- Join Date
- Jan 2015
- Posts
- 149
Next step is to get rear end out so I can start reparing the frame on the drivers side and get everything cleaned up and painted/undercoated. Then plan on removing rear bumper and repairing rust on tail panel(?) under bumper.
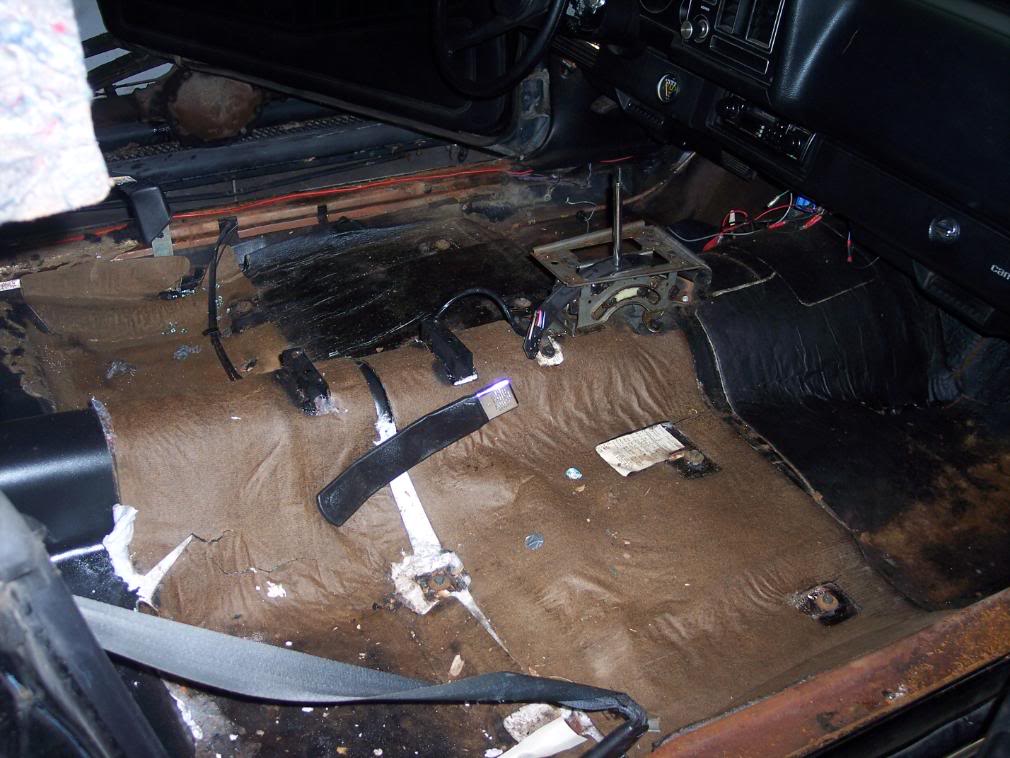
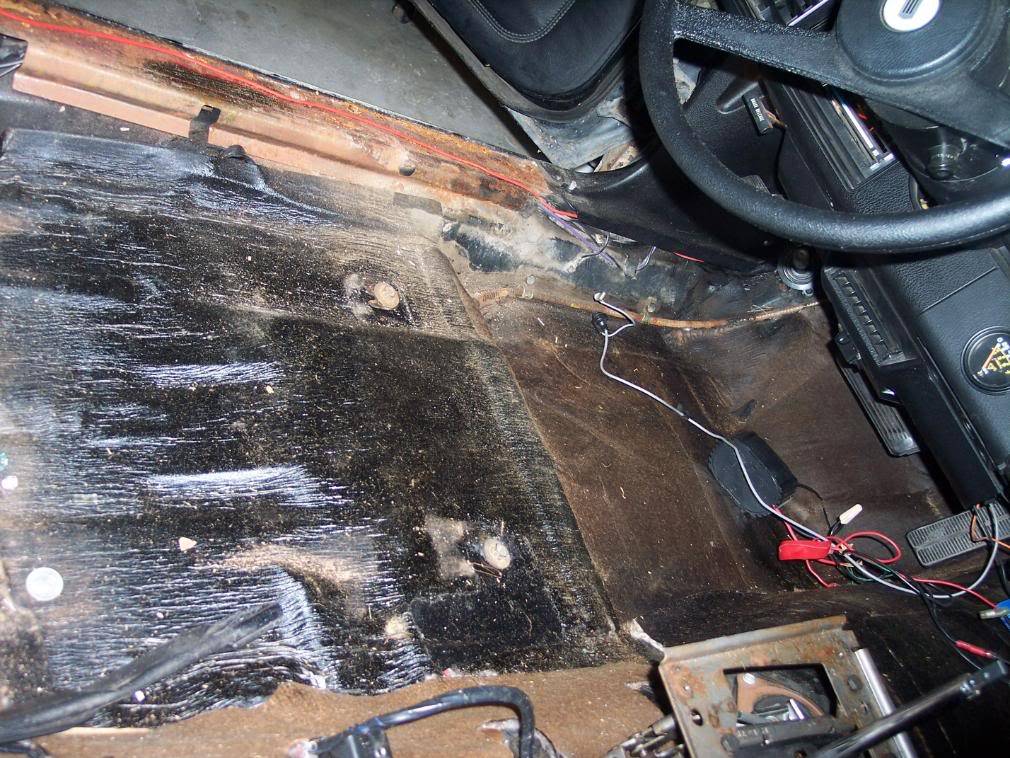
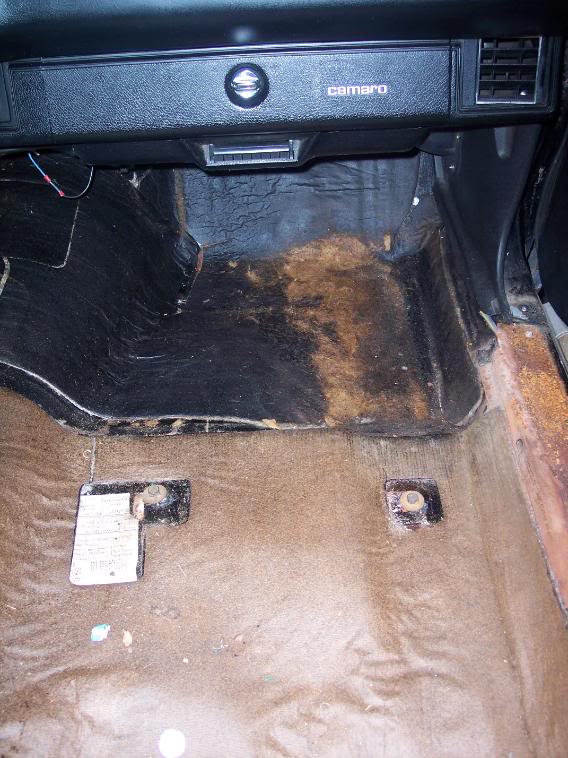
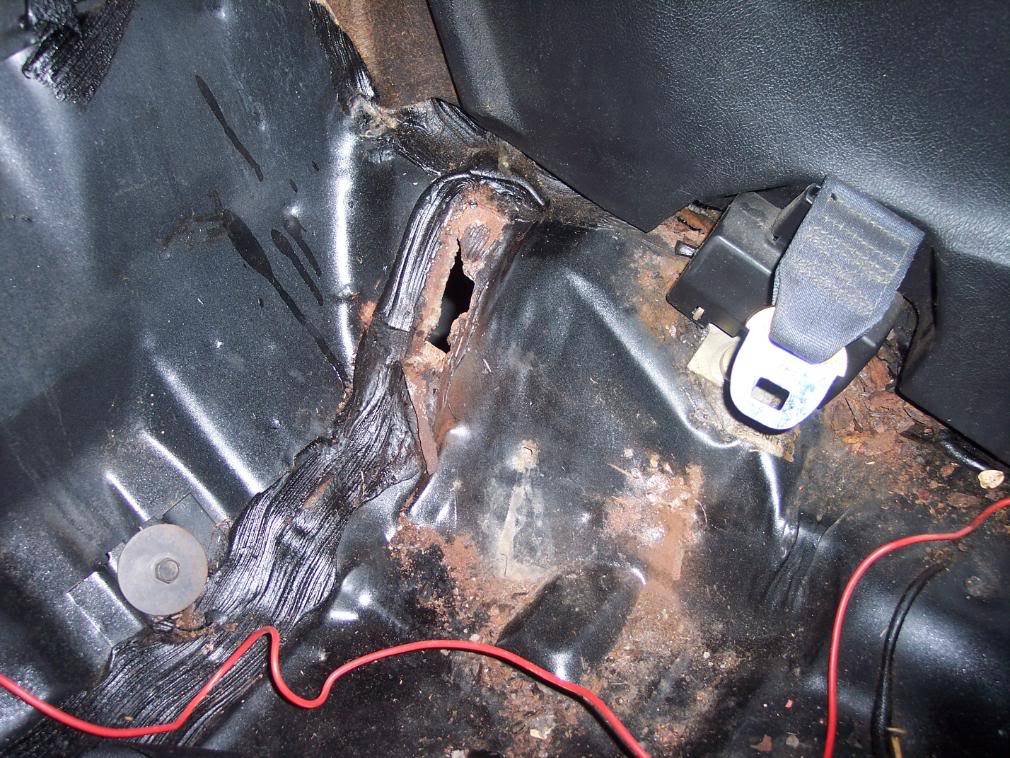
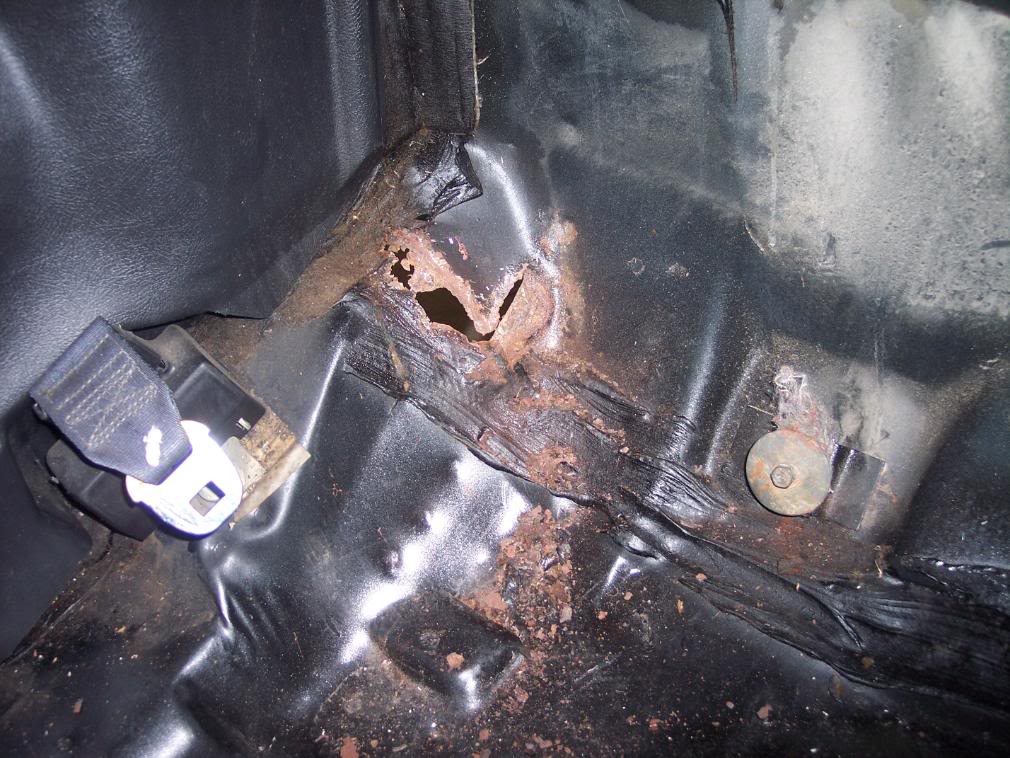
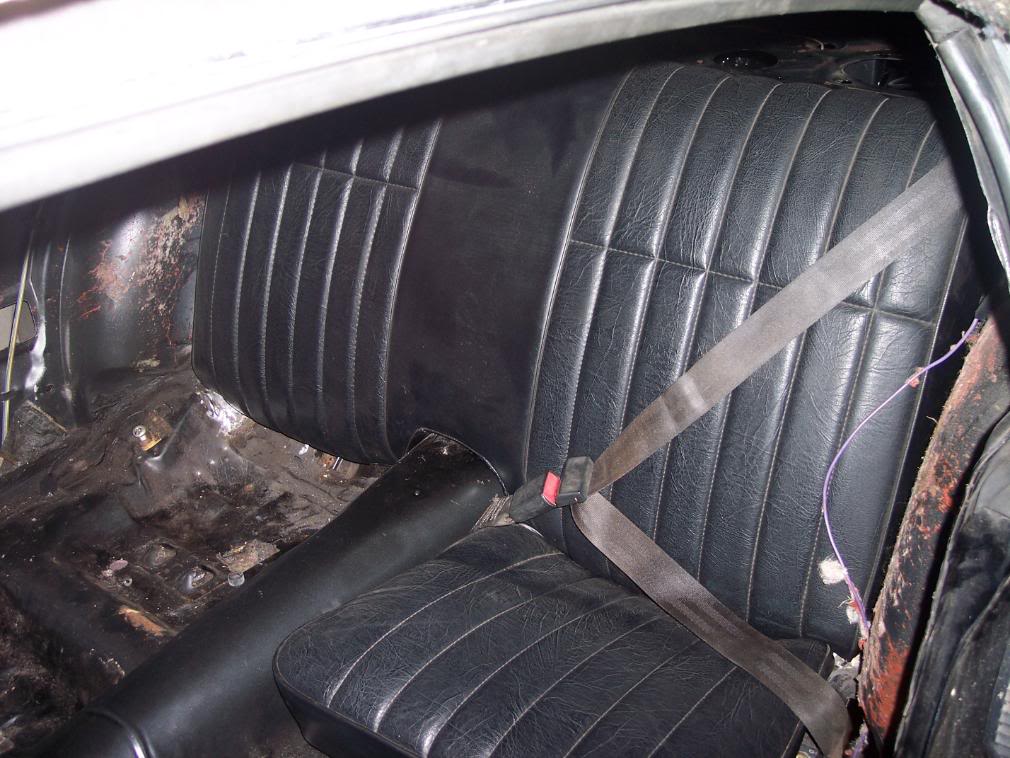
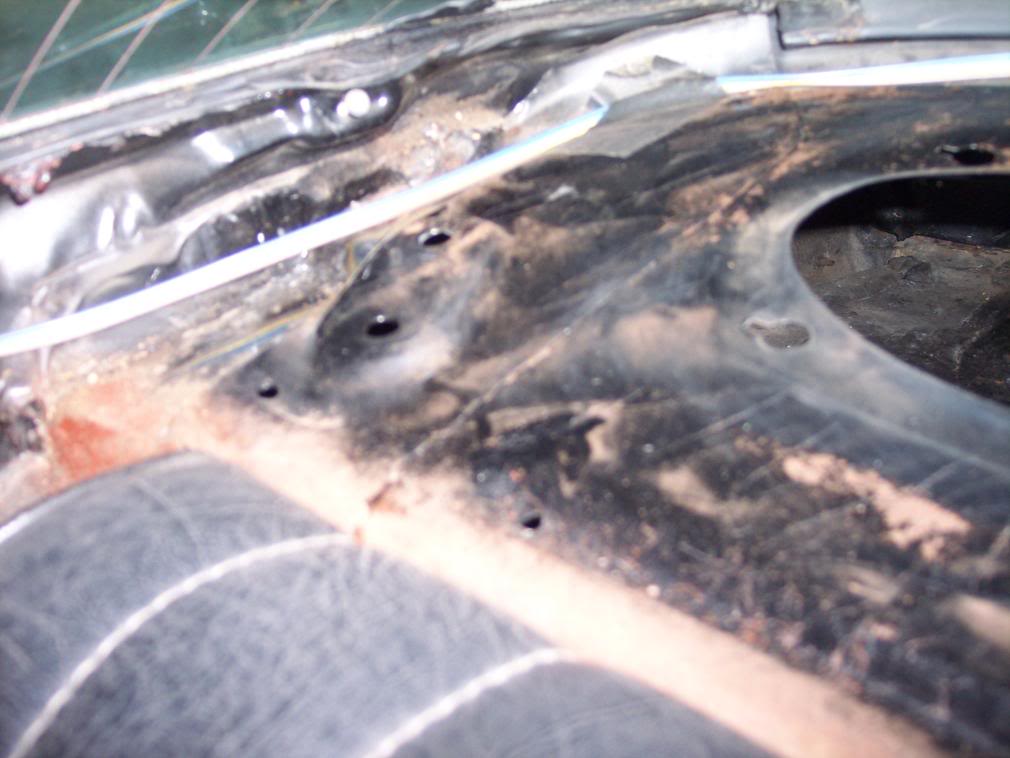
Well I got the rest of interior pulled out yesterday, all except for the dash. There is some rust holes in the floor under the rear seats, esp on the l/s around the seat belt.
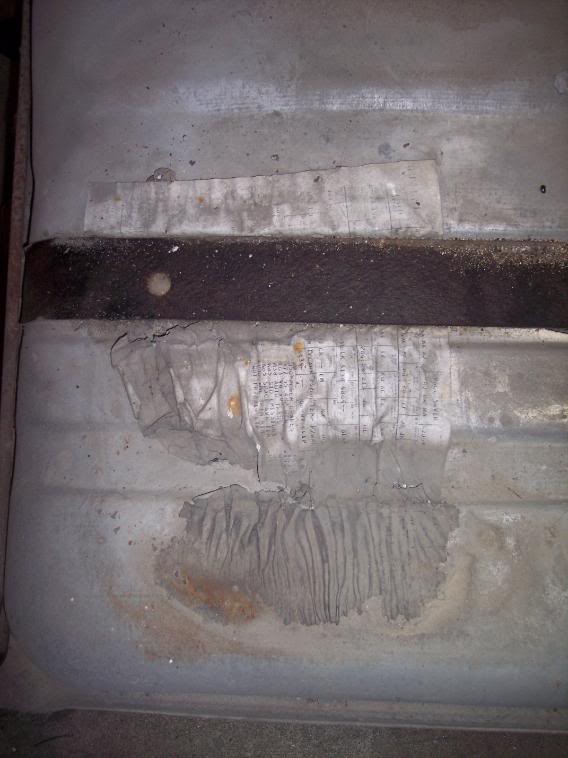
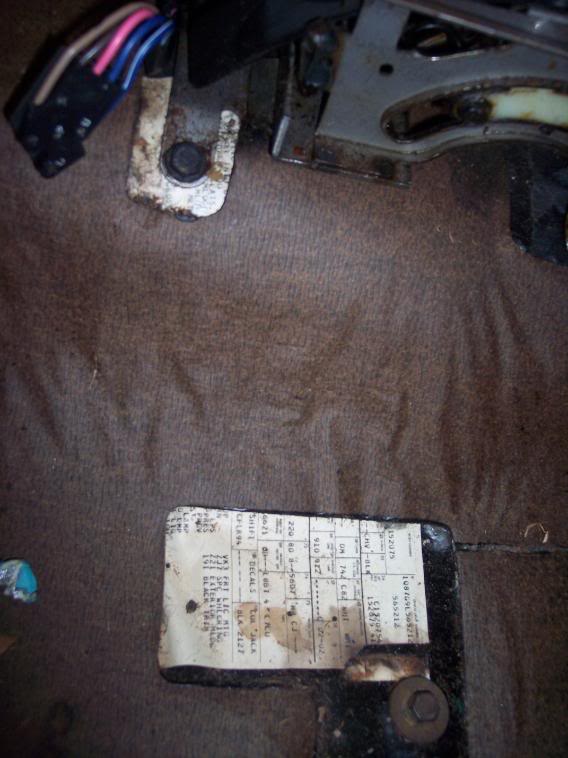
The rest of the floors look good and still have the factory sound deadner and the build sheet. My plan is to pull up the factory sound deadner and chk the rest of the floors and put new sound deadner down. Of course I will patch the holes in the rear while I am replacing the frame rail section.
 -Kevin
Project Thread: https://www.pro-touring.com/threads/113334-Project-JUNK-the-ultimate-budget-project!!-1979-Camaro
02-12-2015 #4
Registered User
- Join Date
- Jan 2015
- Posts
- 149
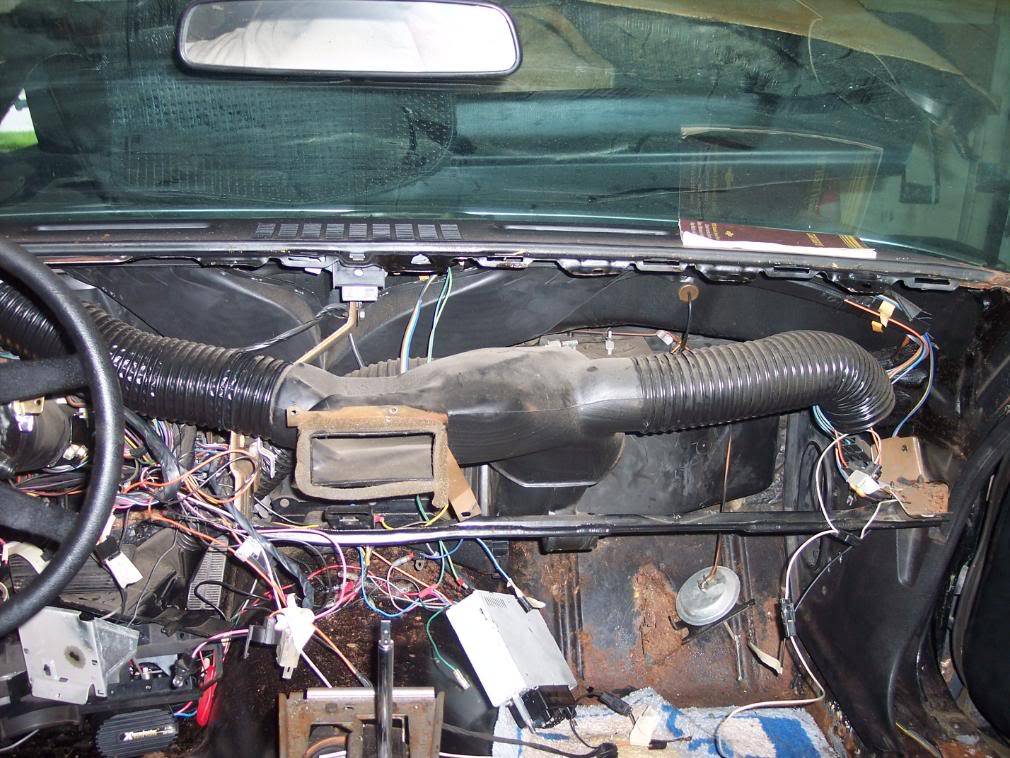
Well, I got the dash out and am going to replace the heater core, new dash speakers and repair the small amount of rust in the dash and floors. Then am going to tackle the l/r frame rail.
Here are some updated pics
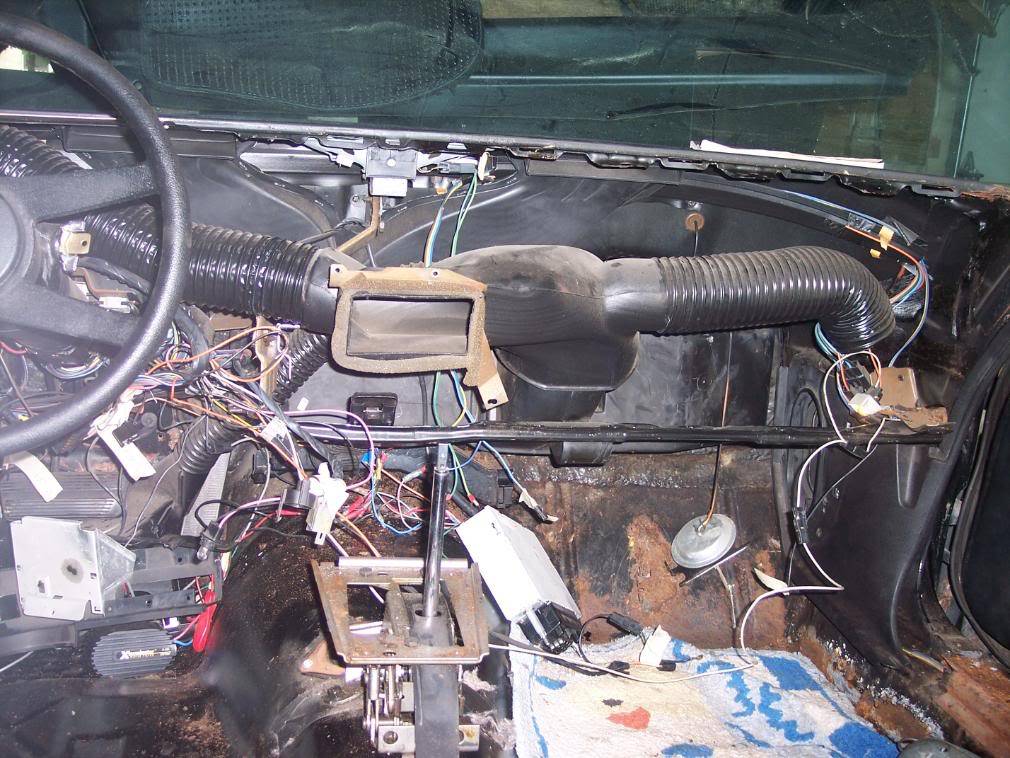
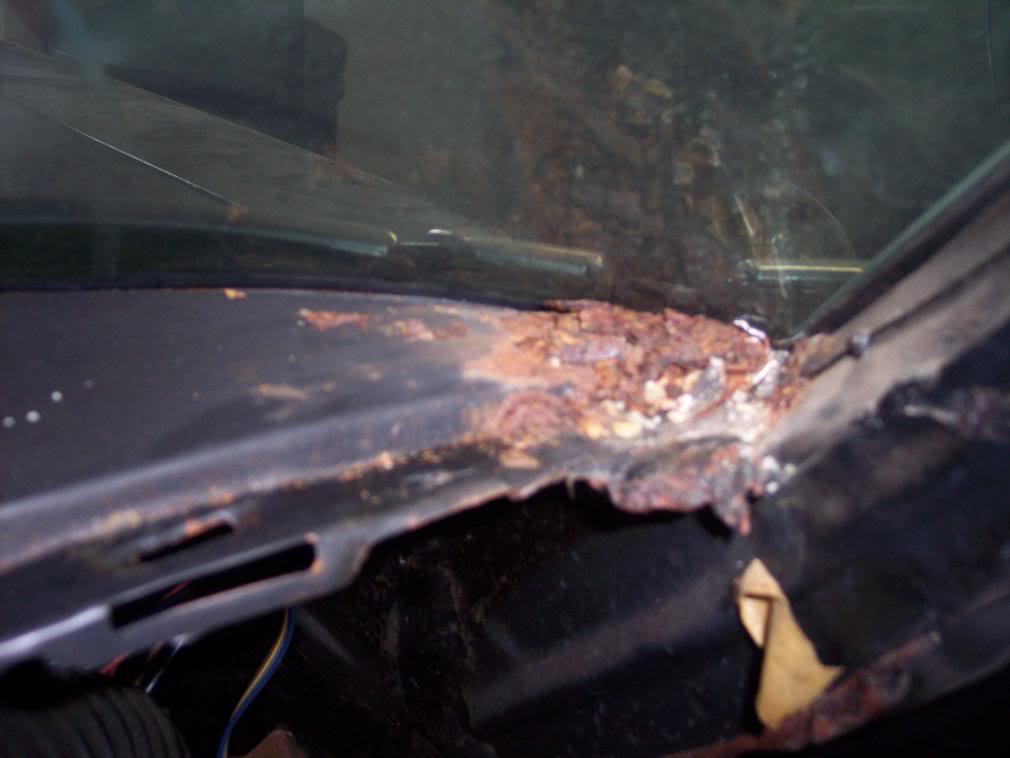
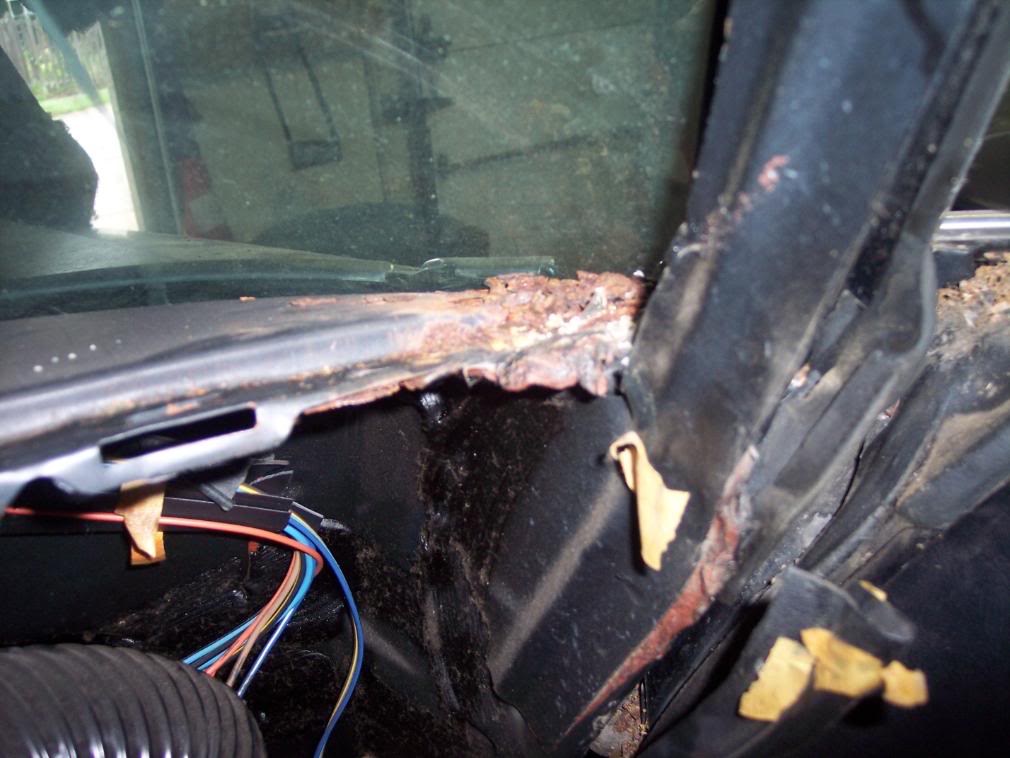
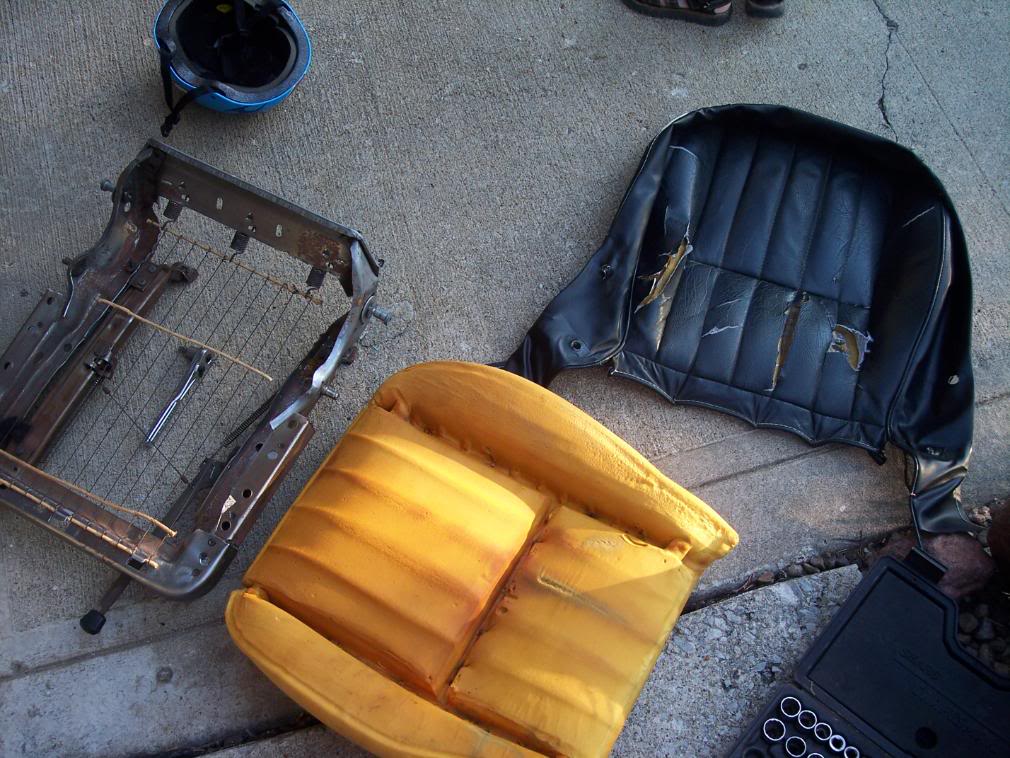
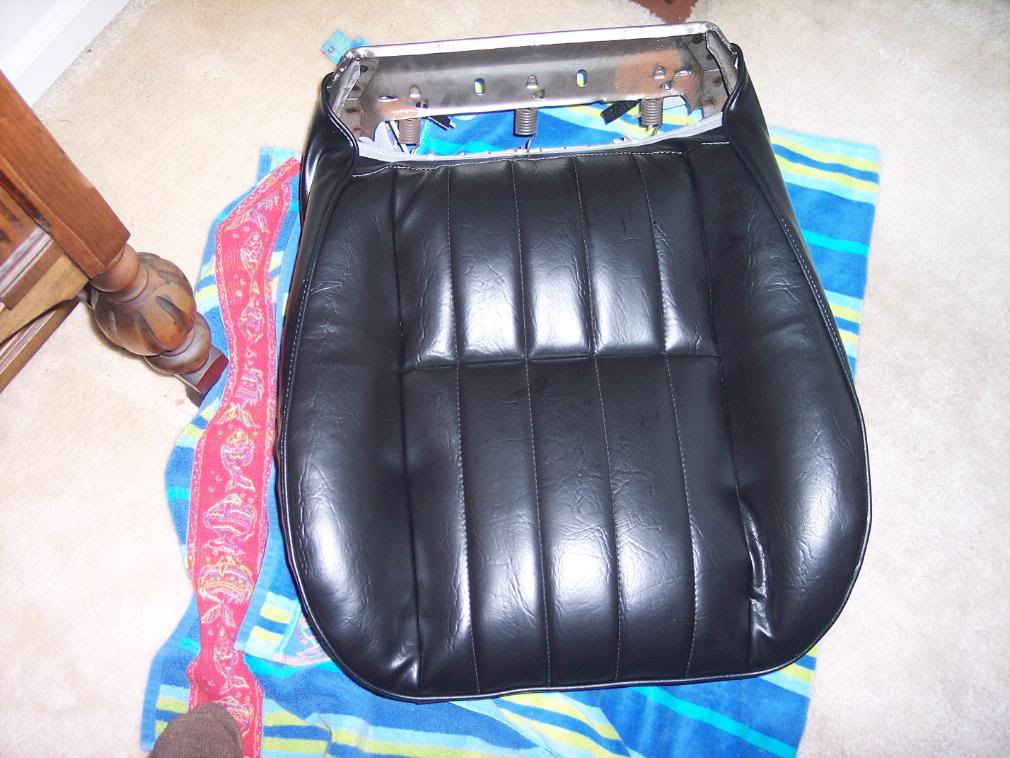
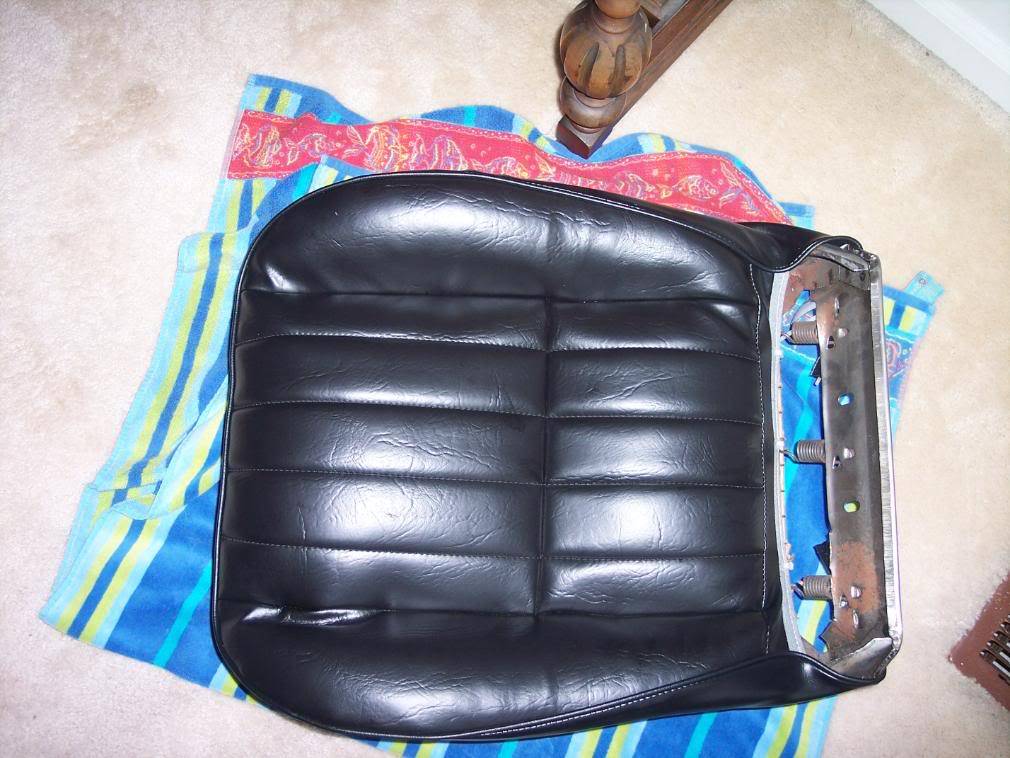
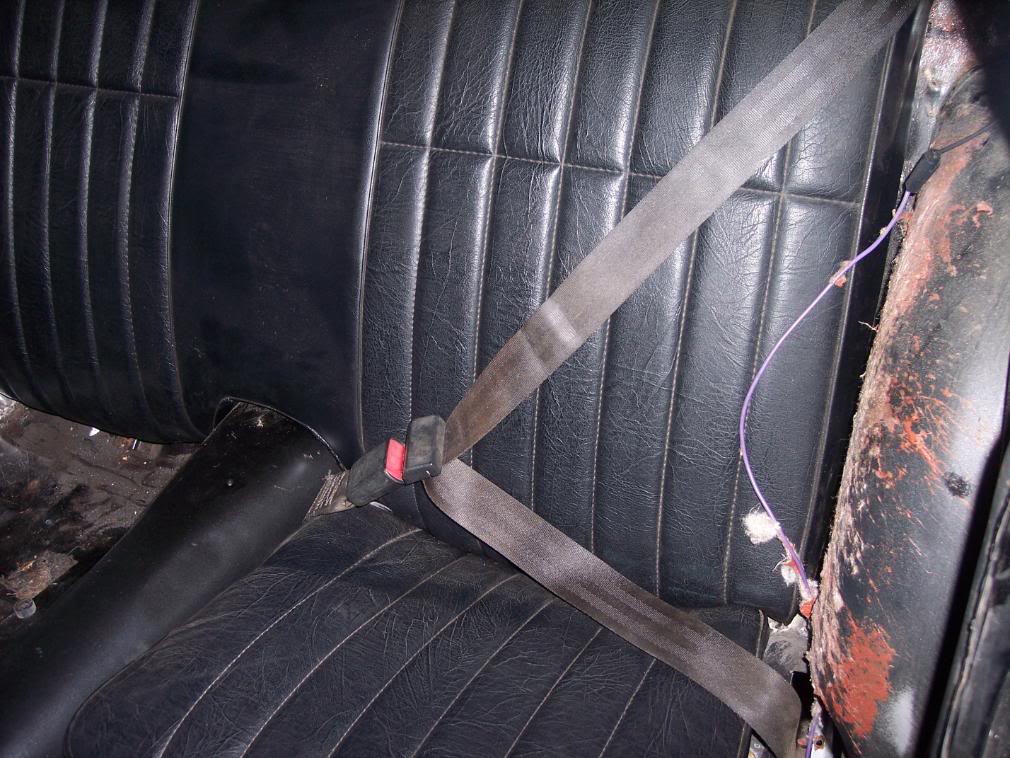
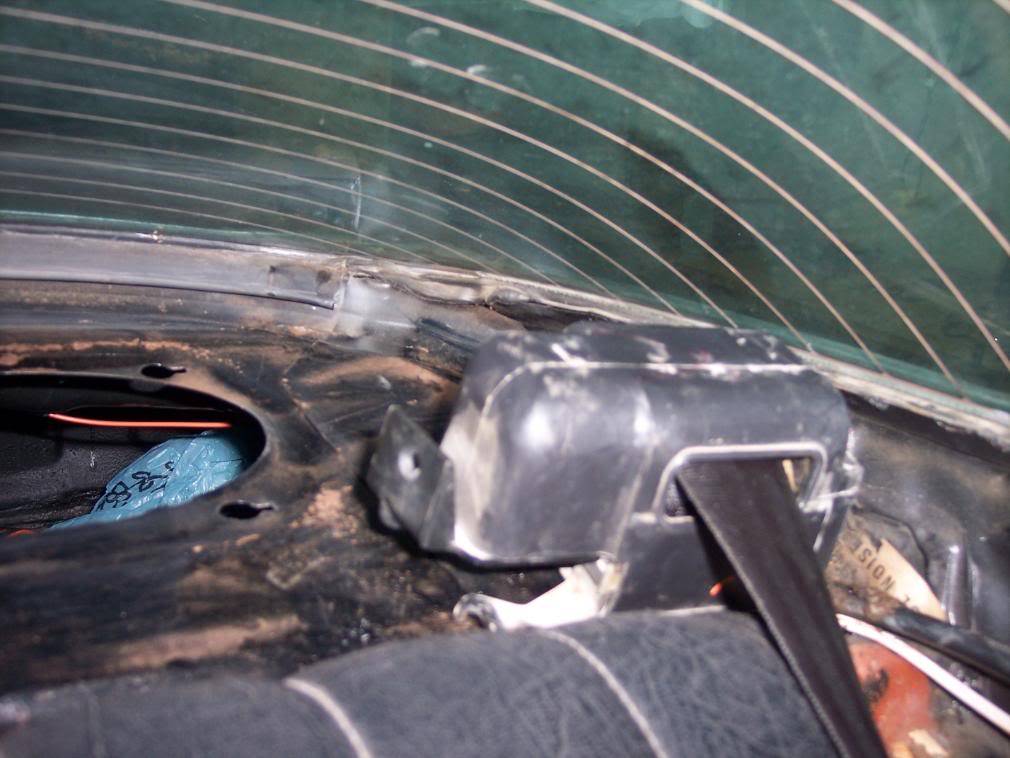
Well I have made some progress. I the drivers seat bottom taken apart and new cover put on. Also I purchased some rear shoulder belts from a mid 90's cougar and test fitted them. They seem like the will work well and will match the 4th gen fronts I have. Here are some pics.
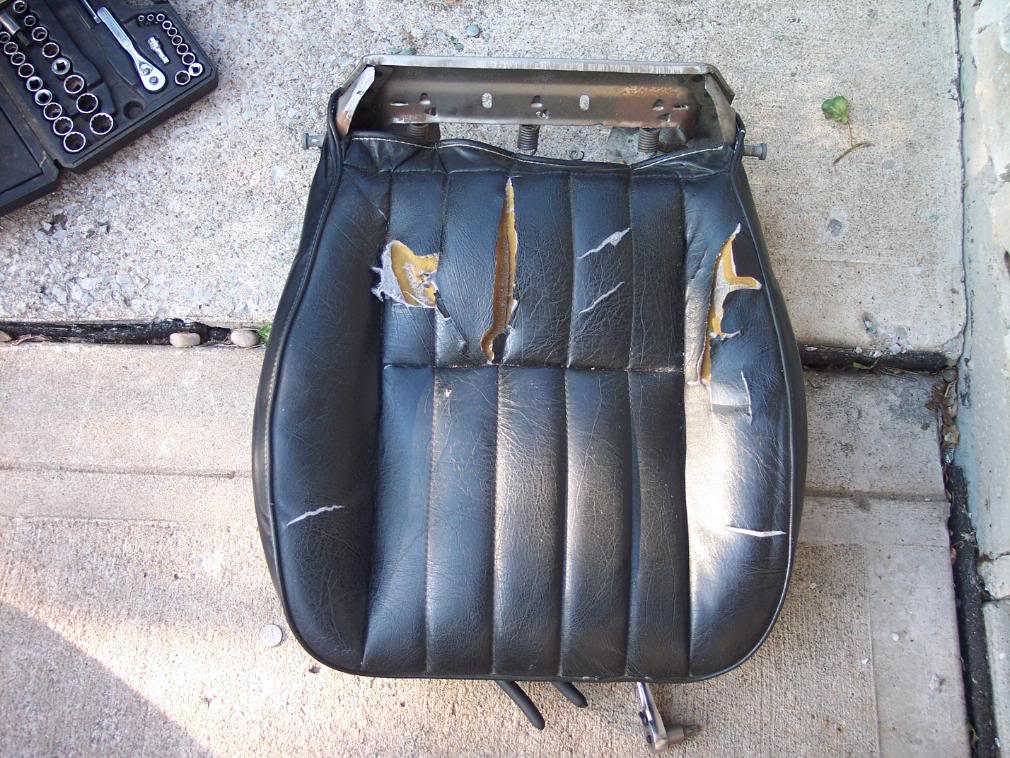
 -Kevin
Project Thread: https://www.pro-touring.com/threads/113334-Project-JUNK-the-ultimate-budget-project!!-1979-Camaro
02-12-2015 #5
Registered User
- Join Date
- Jan 2015
- Posts
- 149
Here is what the factory mount looks like on the rear deck if anybody is interested.
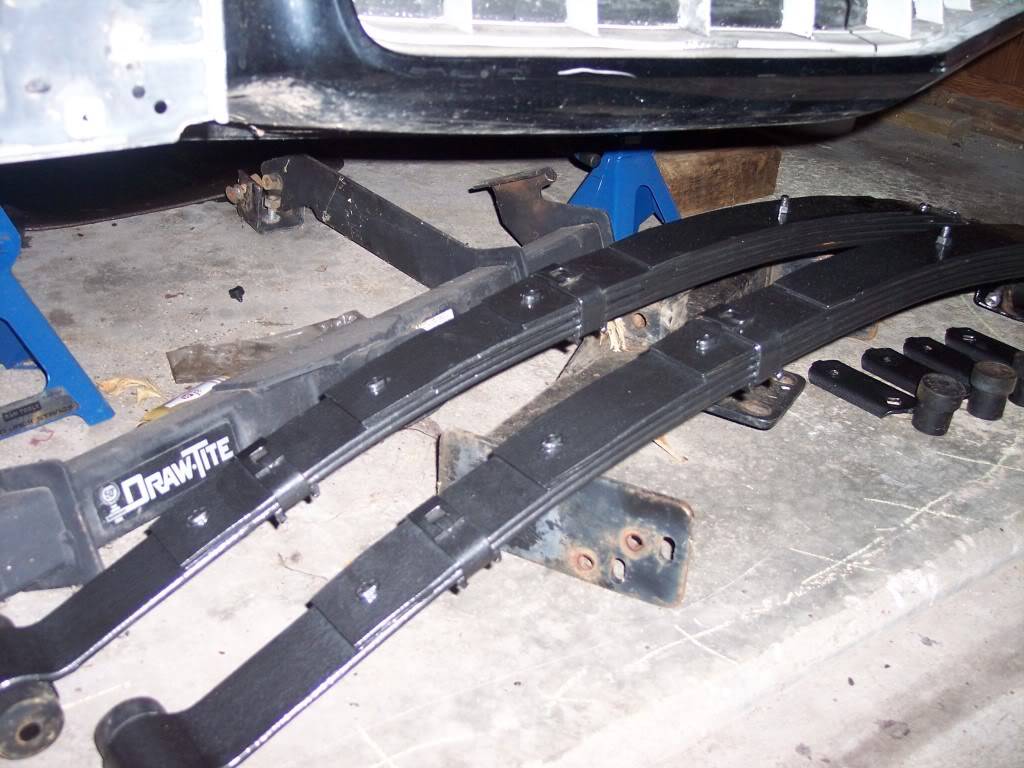
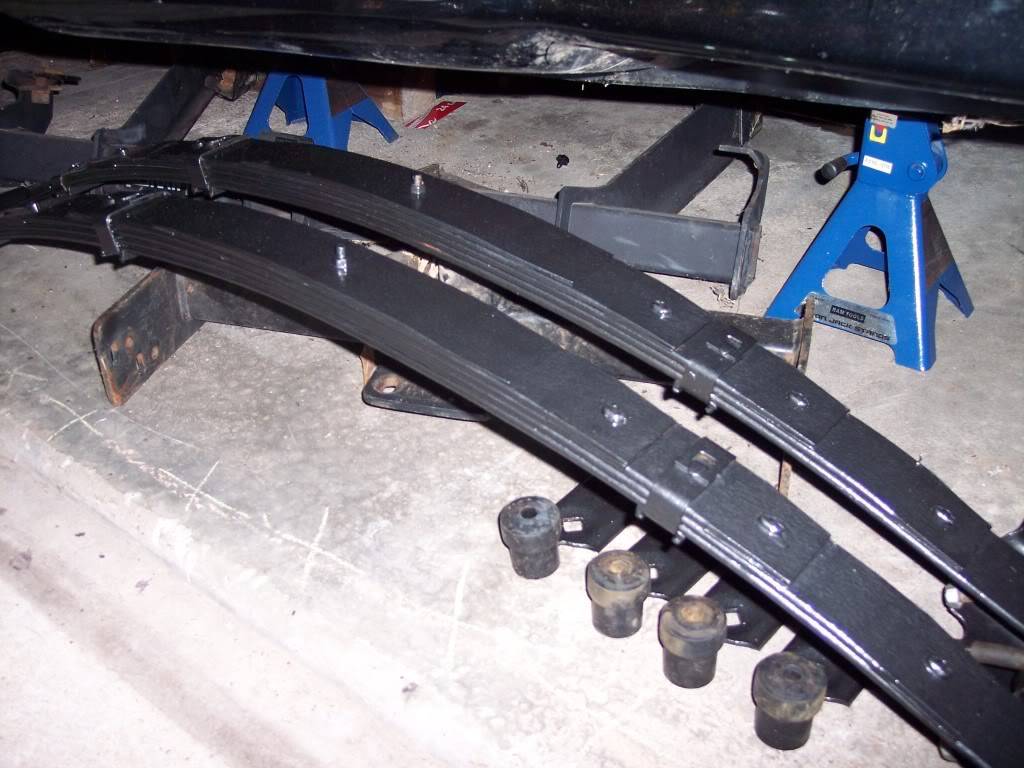
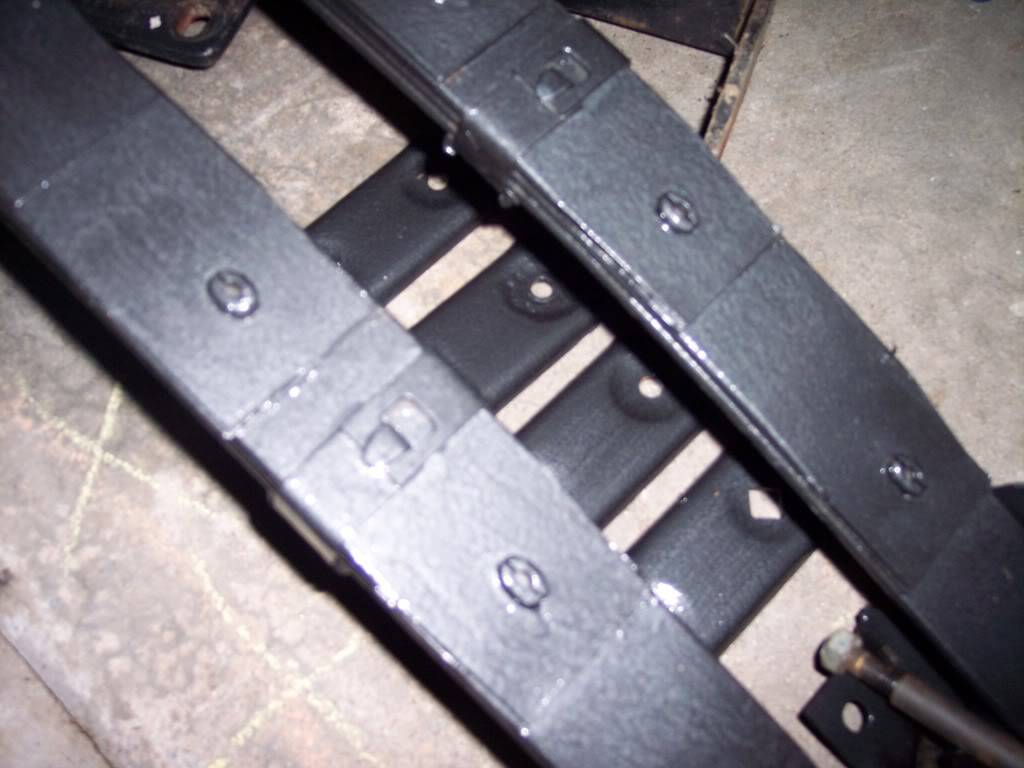
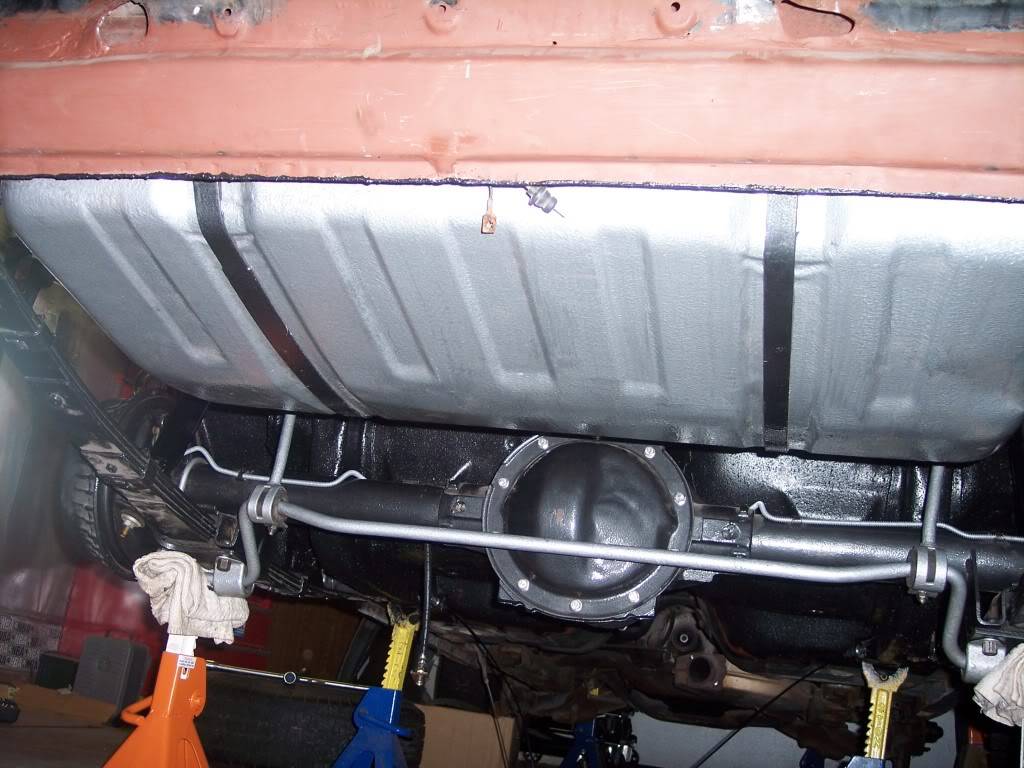
Well here is some progress(not much). I cleaned up the rearend and painted w/the Hammered Black. Actually I really like it. It is not black, but dark grey. I also painted the rear sway bar and links w/the Hammered Silver. The contrast is awsome. Here are some pics.
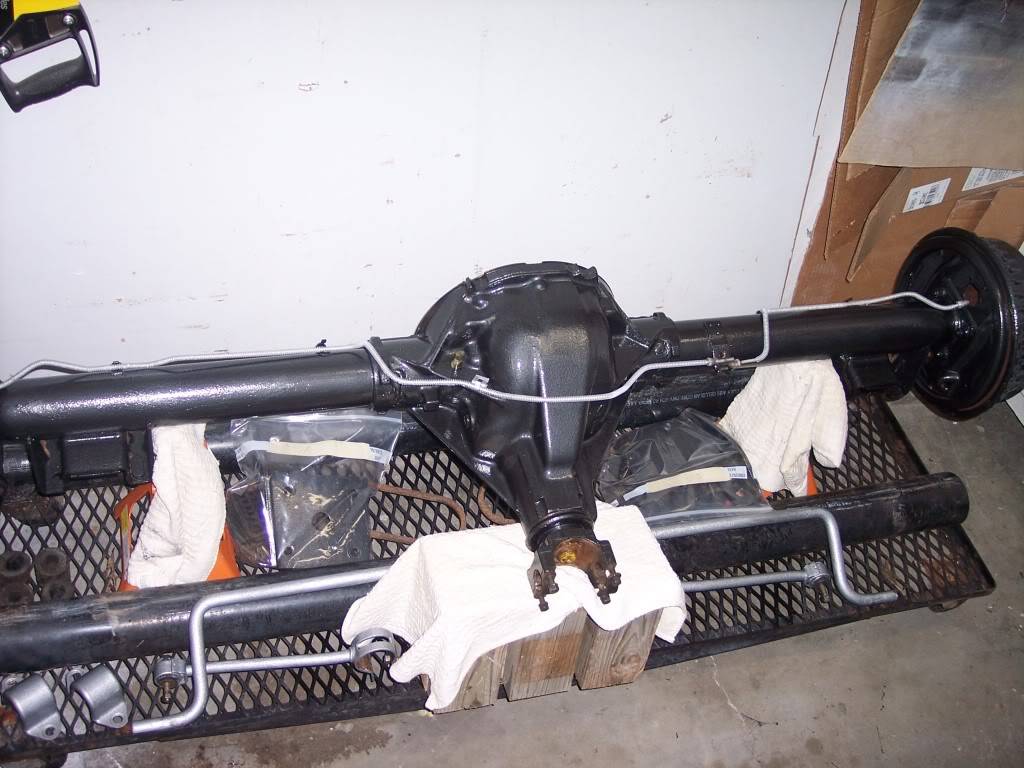
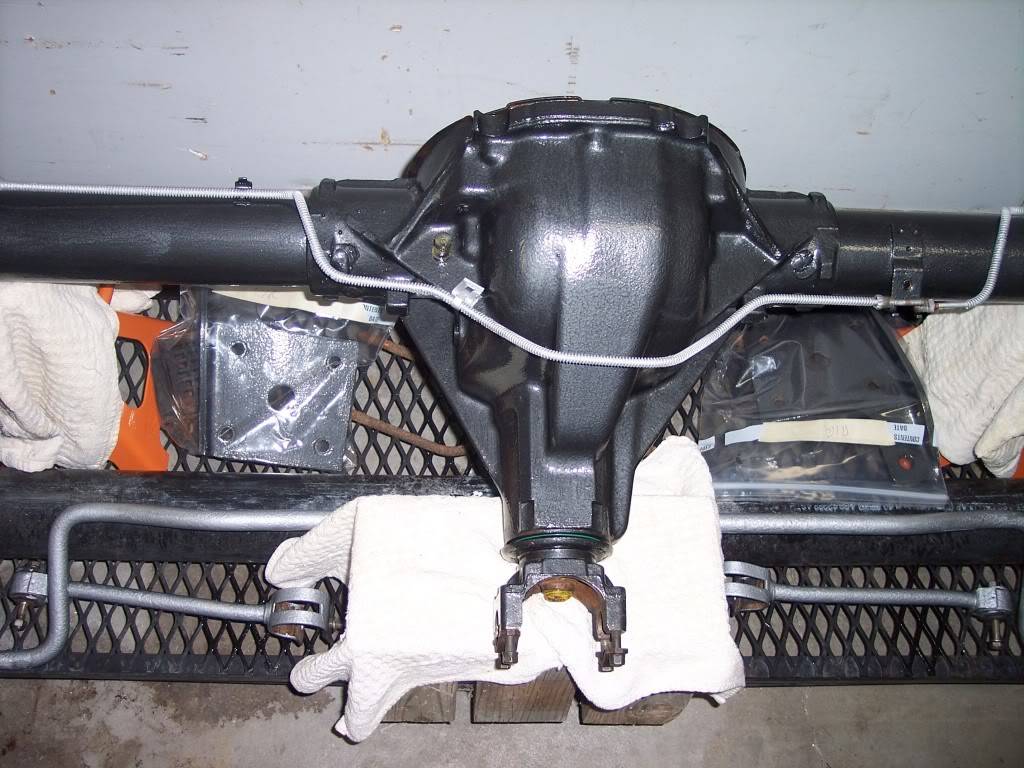
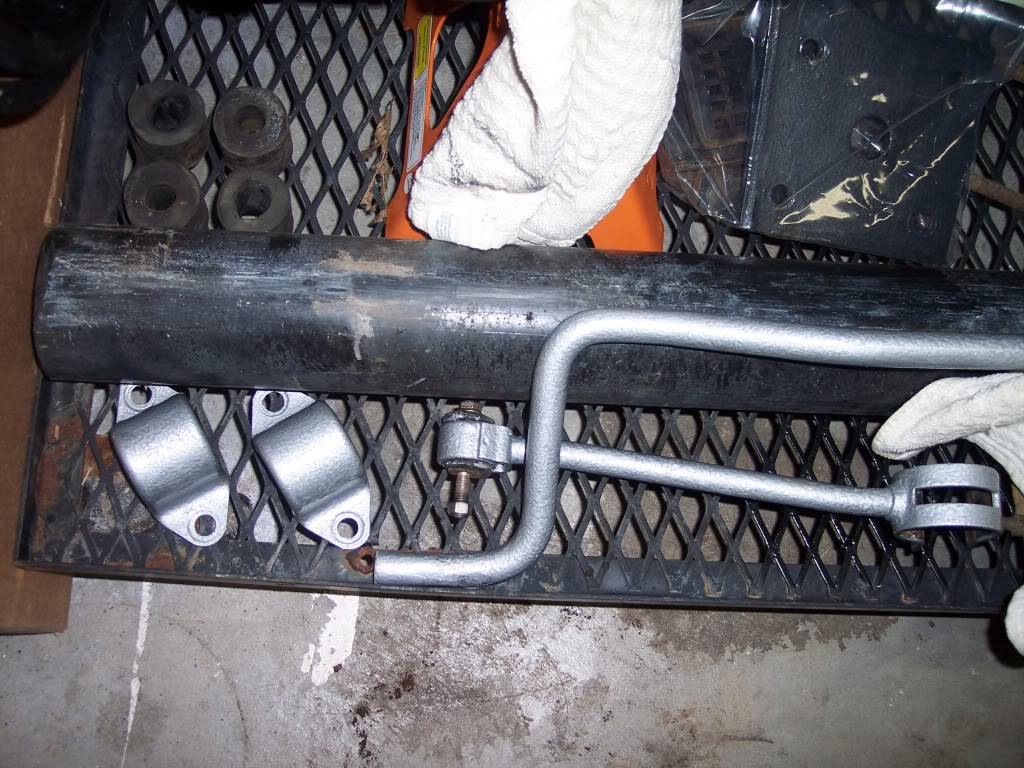
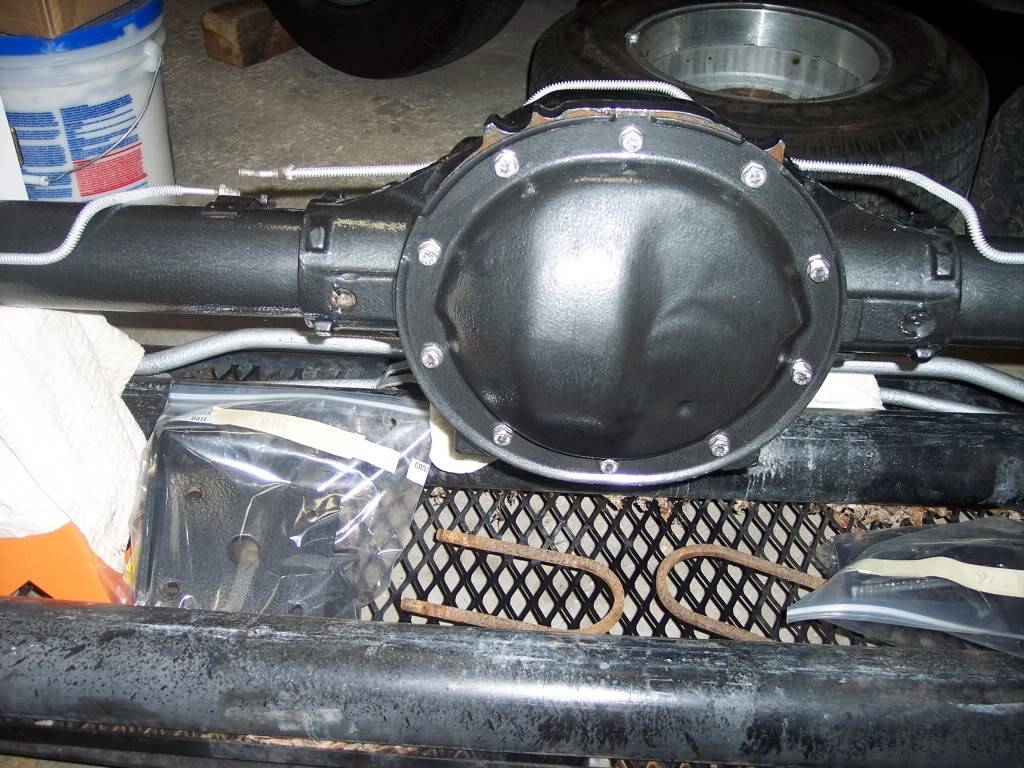
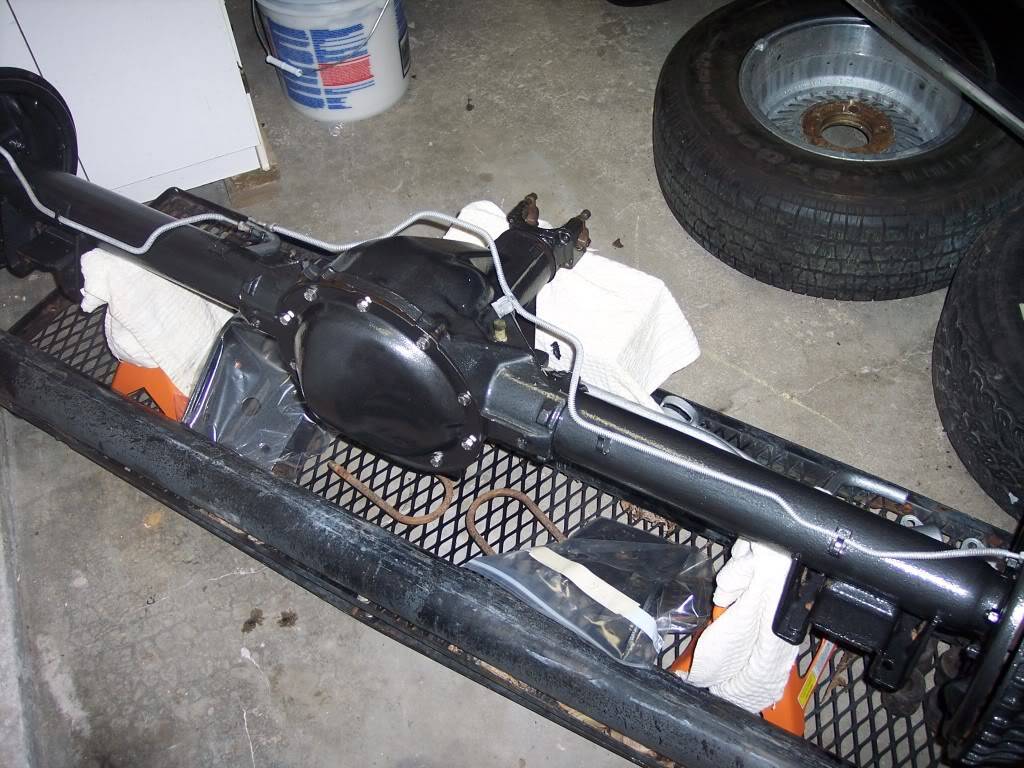
Oh yeah, I painted the springs and brackets w/the black also. My plan is to used the rubberized undercoating on the on the body portion, hammered black on suspension, hammered silver on sway bars and maybe tank. My tank is in pretty good shape, so it may clean up pretty good.
 -Kevin
Project Thread: https://www.pro-touring.com/threads/113334-Project-JUNK-the-ultimate-budget-project!!-1979-Camaro
02-12-2015 #6
Registered User
- Join Date
- Jan 2015
- Posts
- 149
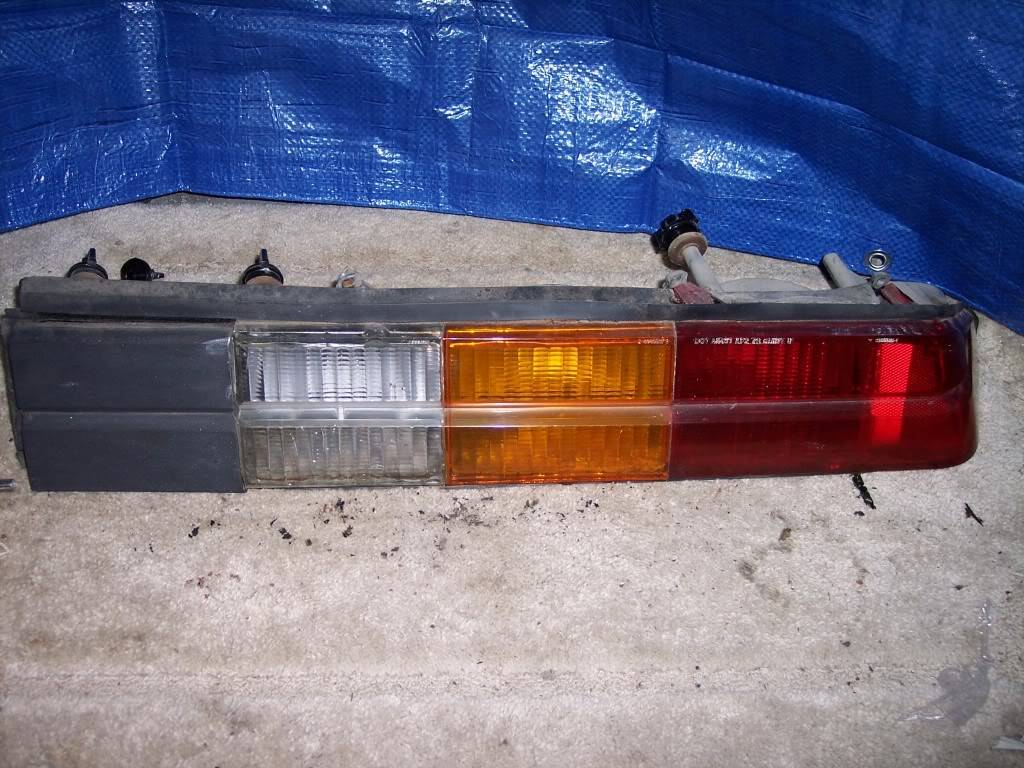
Well some more minor progress. We had a garage sale this weekend, so while I was sitting there I got some work done. Removed the tail lights and "restored" them. I took them apart, cleaned them up and repainted the silver w/some chrome paint. The actually turned out really good.
before
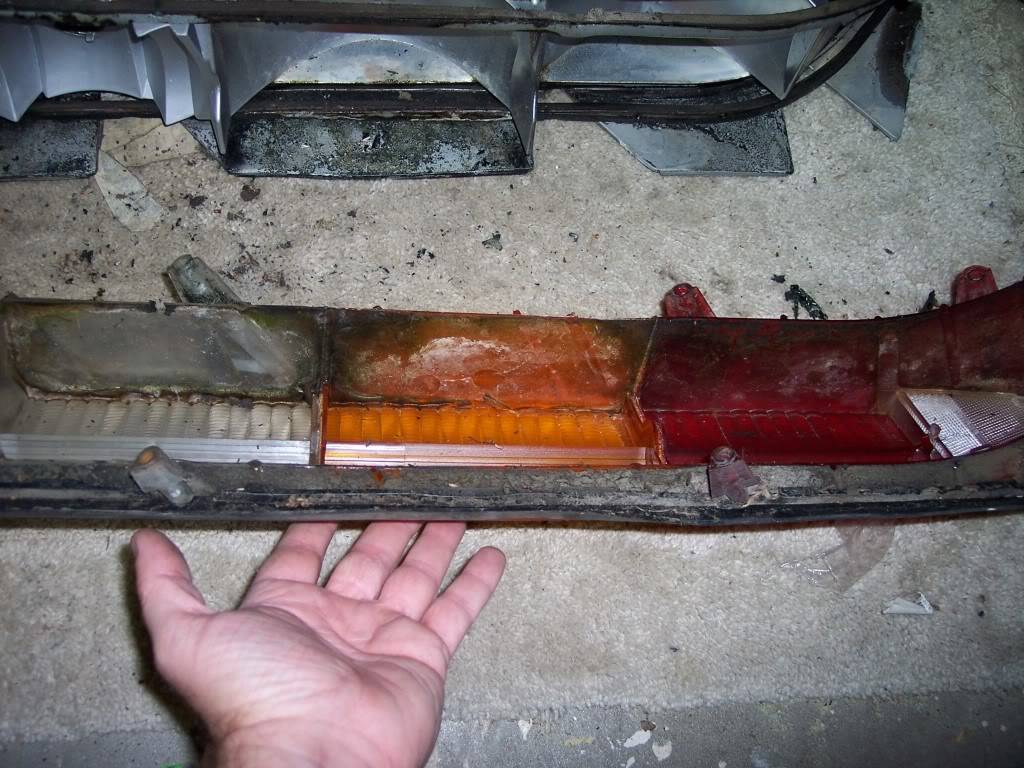
before
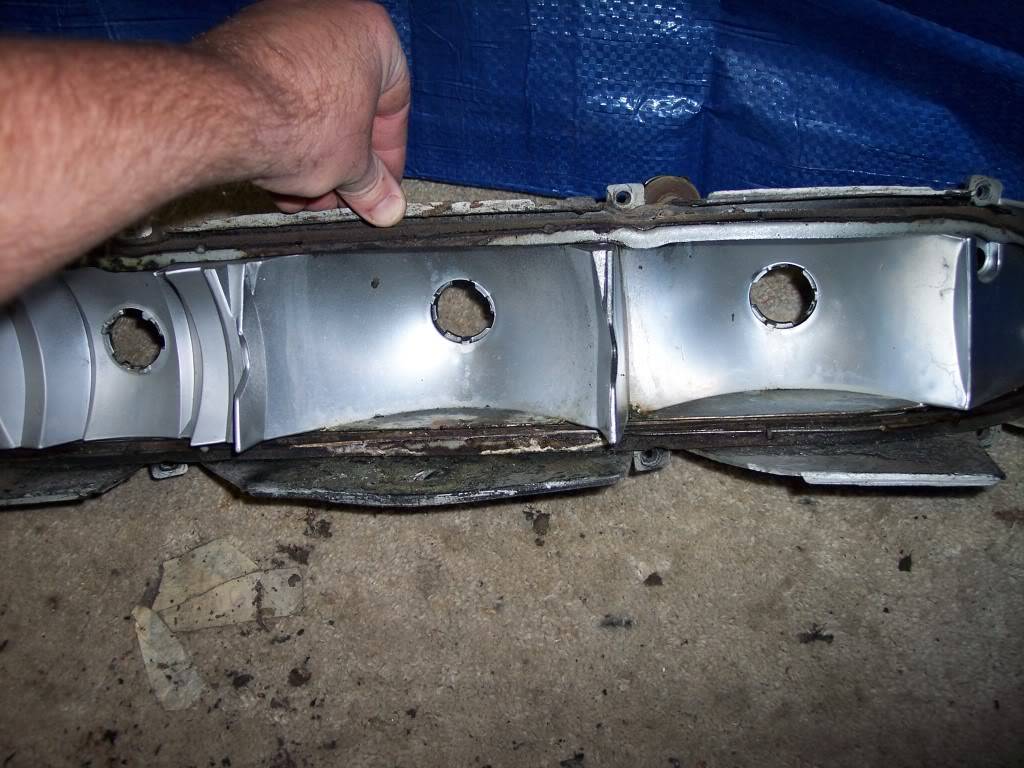
before
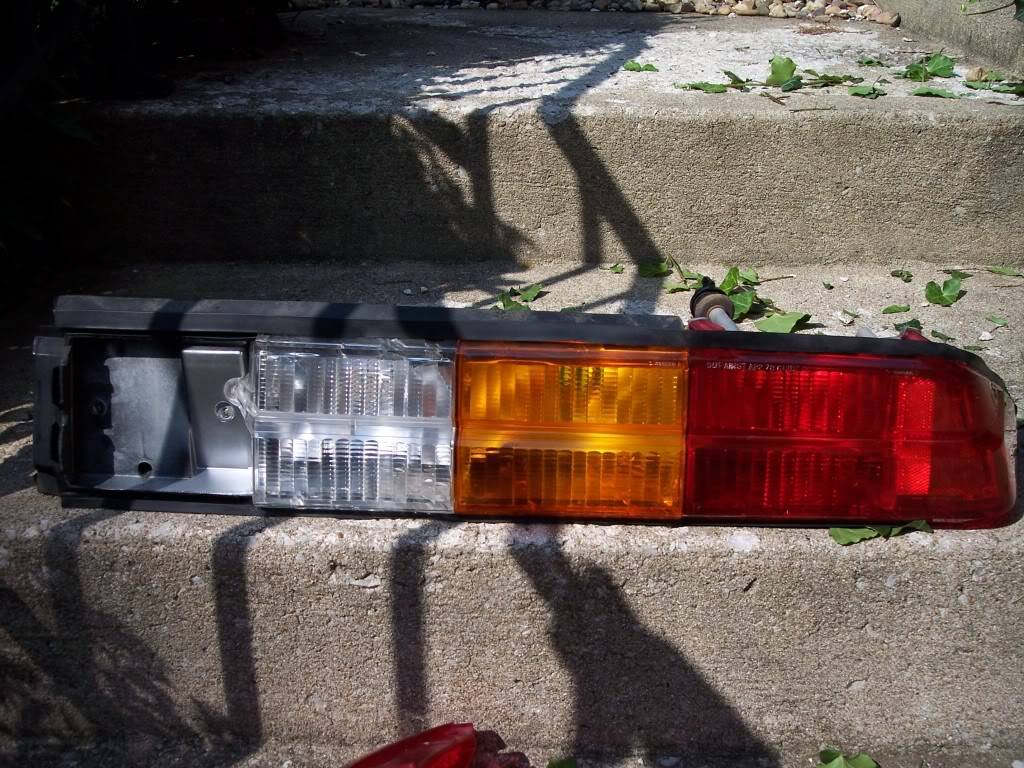
after
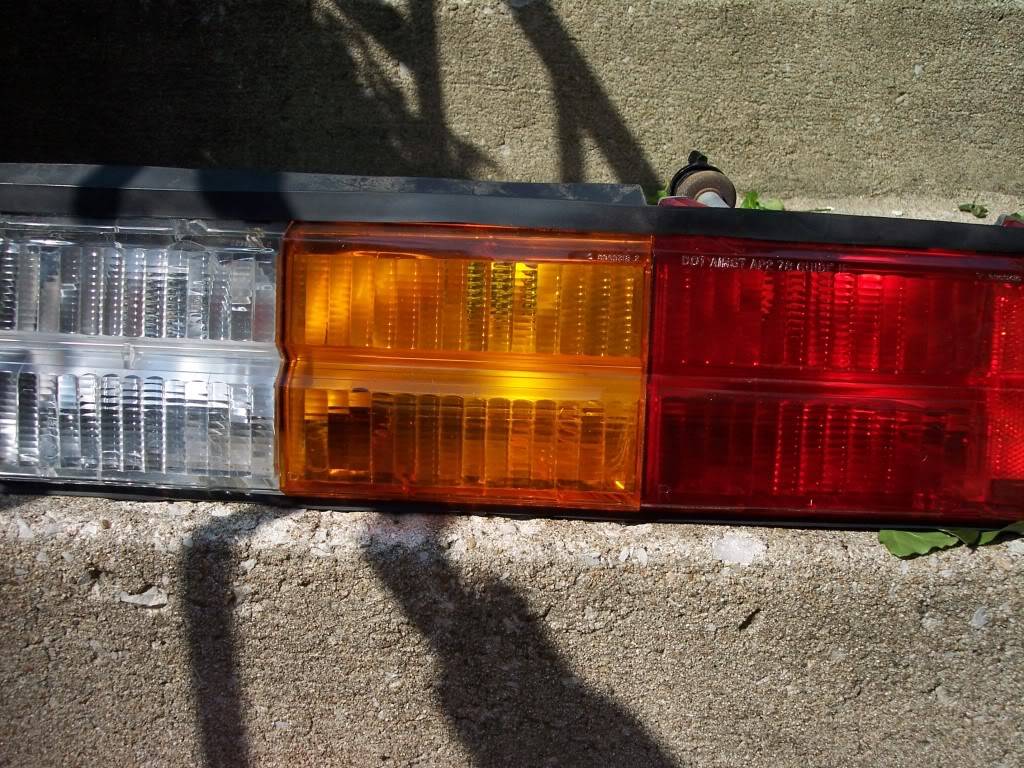
after
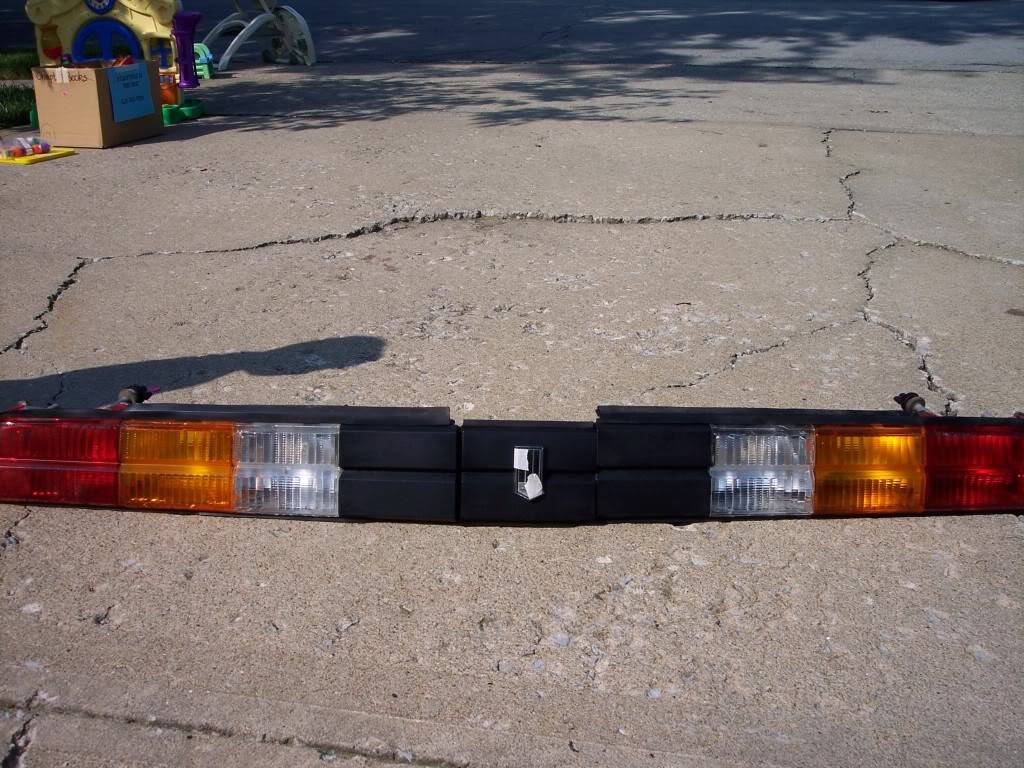
after
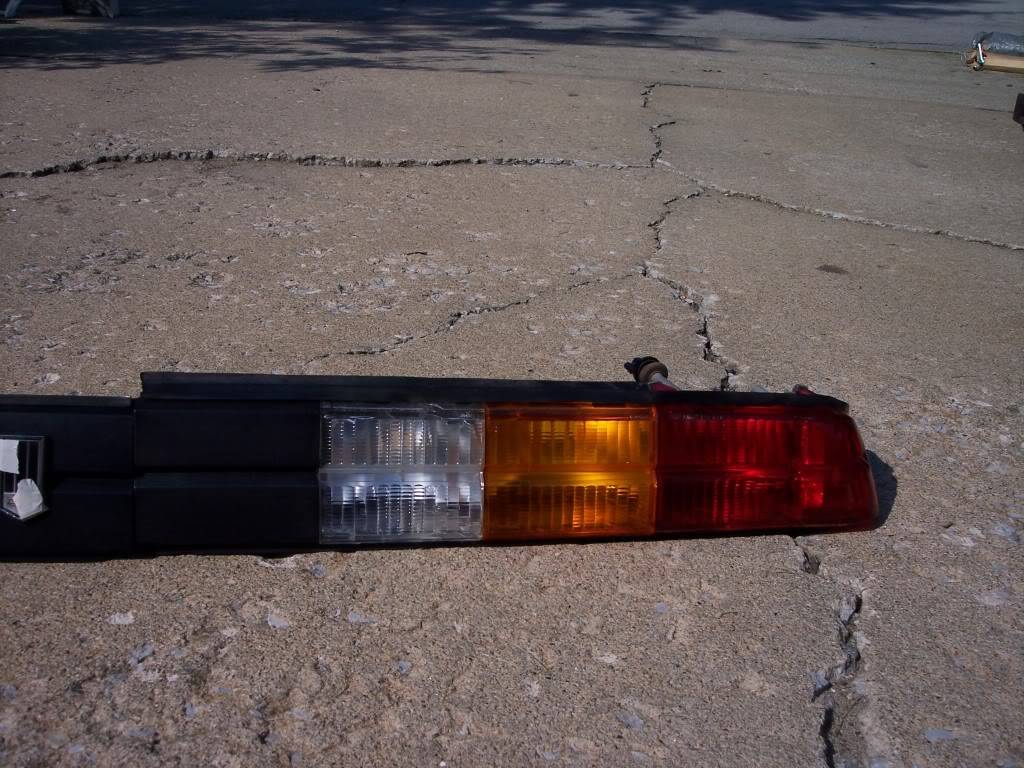
after
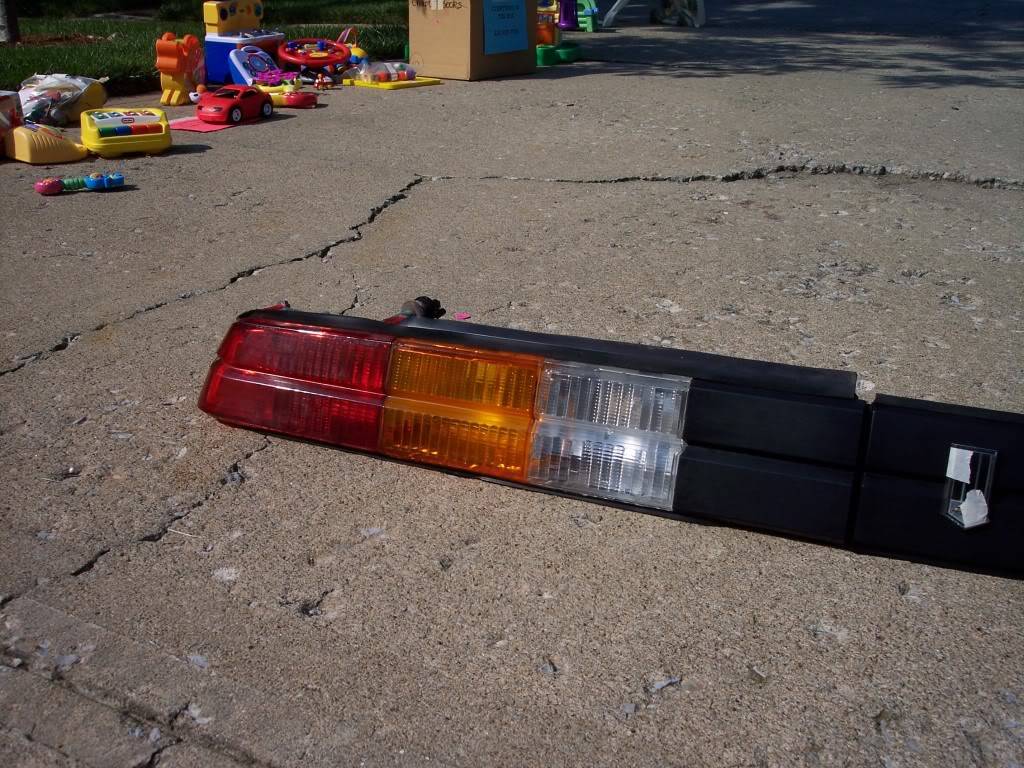
after-Kevin
Project Thread: https://www.pro-touring.com/threads/113334-Project-JUNK-the-ultimate-budget-project!!-1979-Camaro
02-12-2015 #7
Registered User
- Join Date
- Jan 2015
- Posts
- 149
Ok, a little more progress. I got the rear bumper cover and face bar off. Got a good look at how much I will need to repair on the tail panel.
Is this chalk mark from the factory?, If so, amazing it is still there after 30 years!!
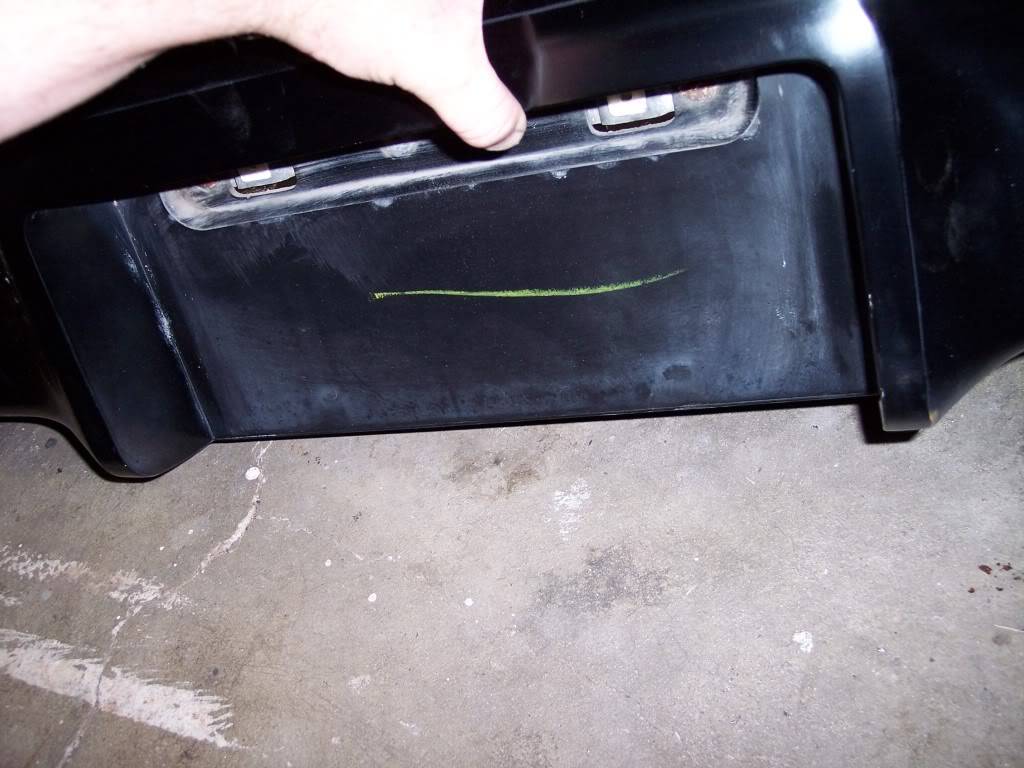
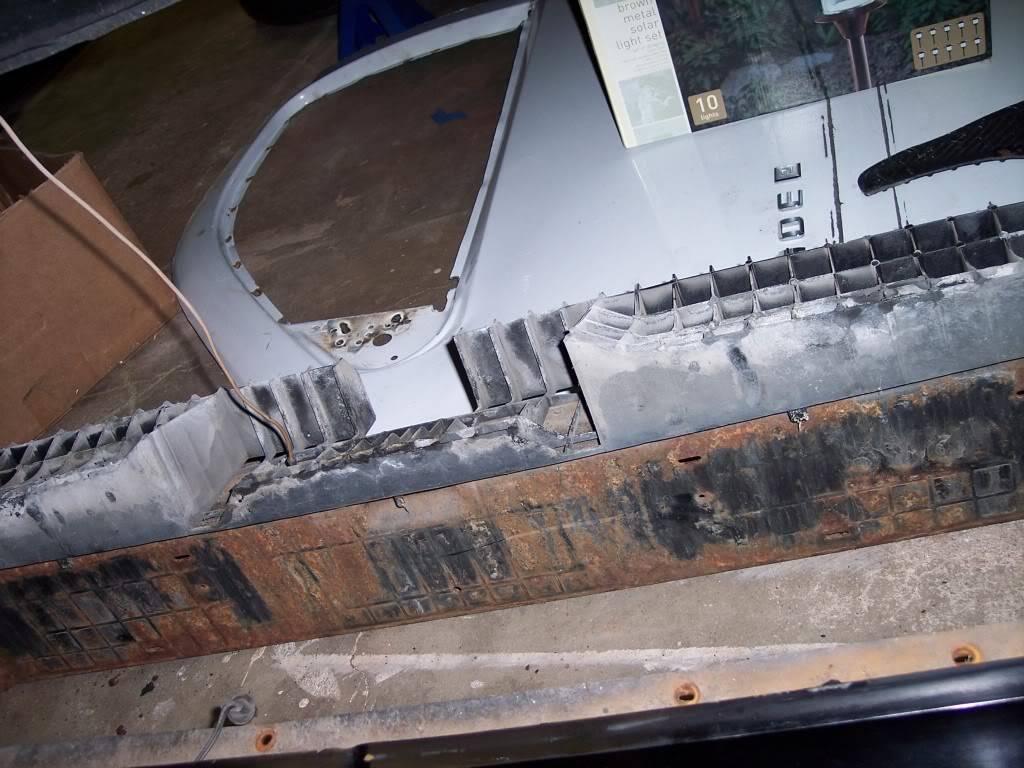
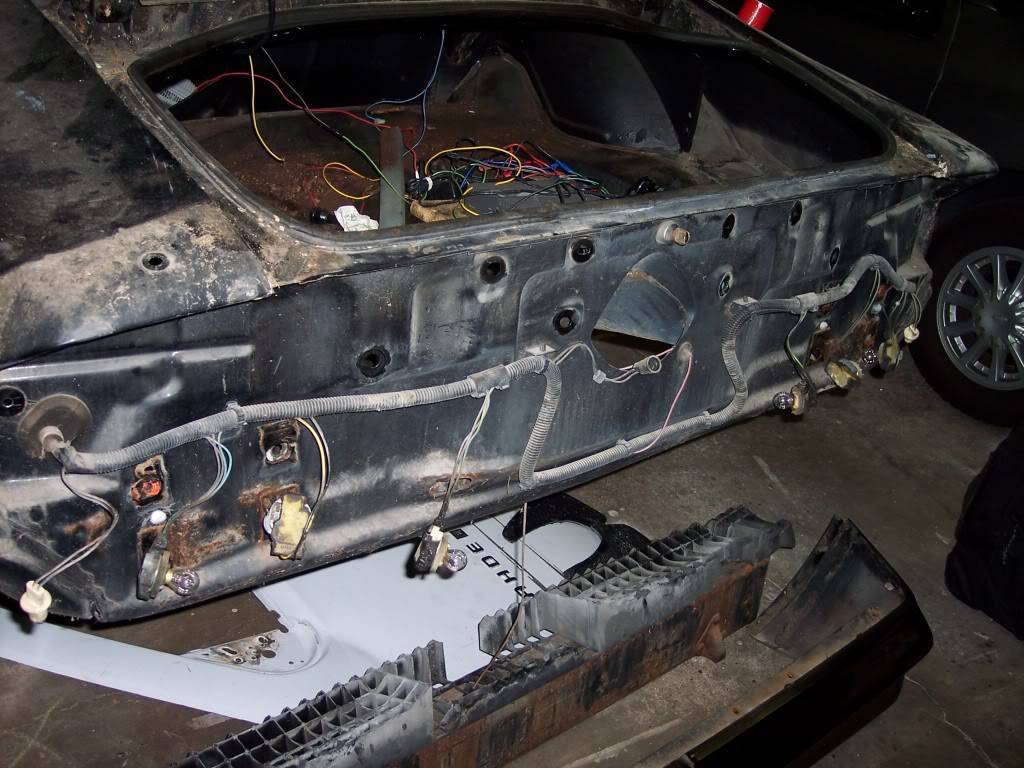
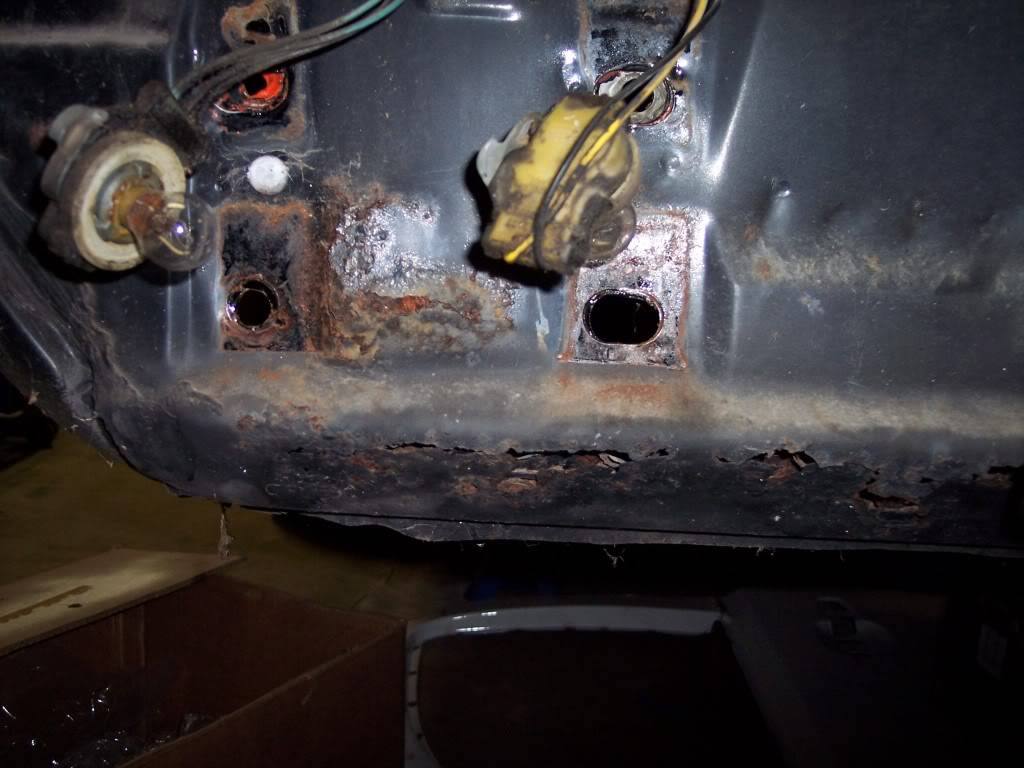
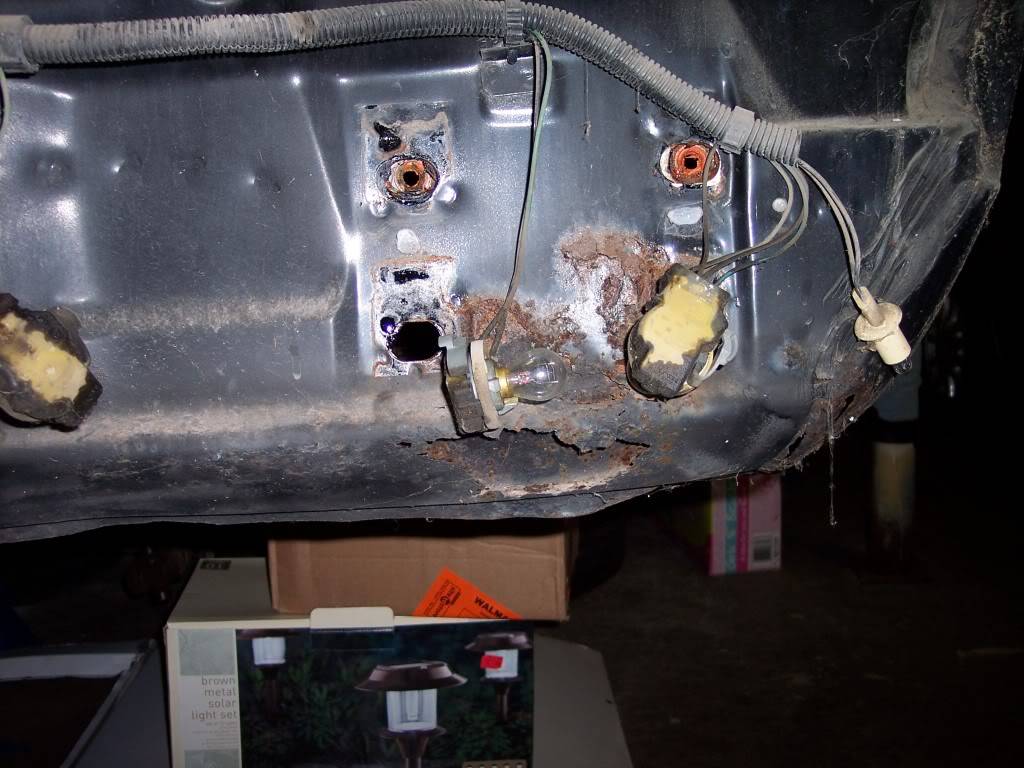
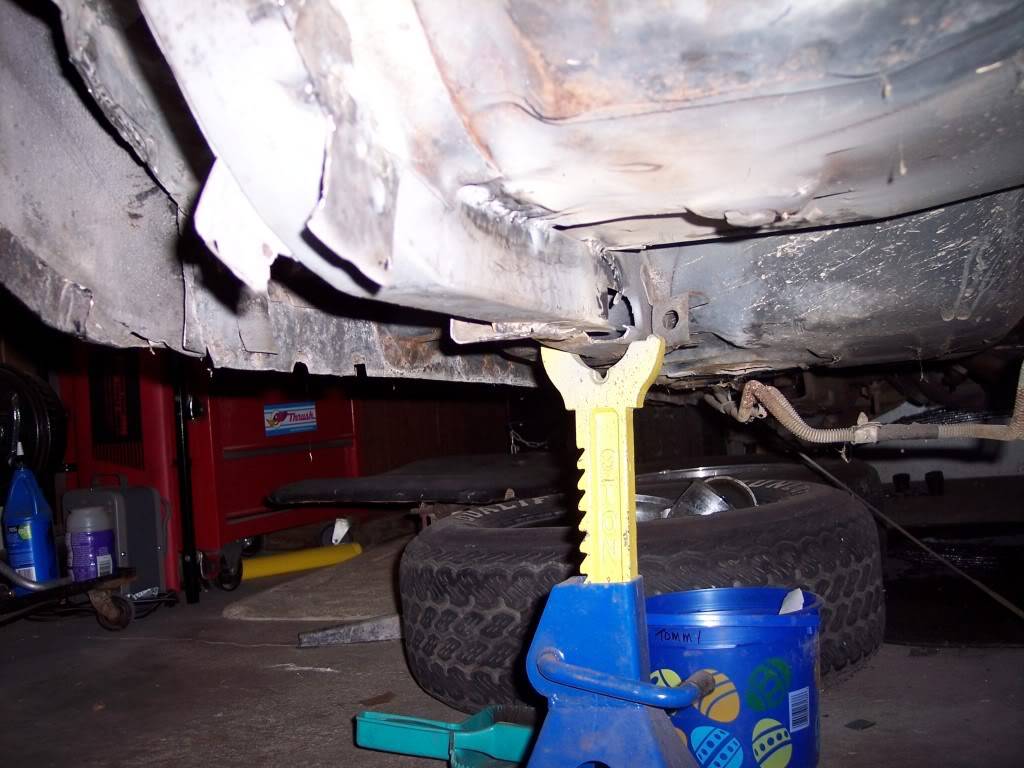
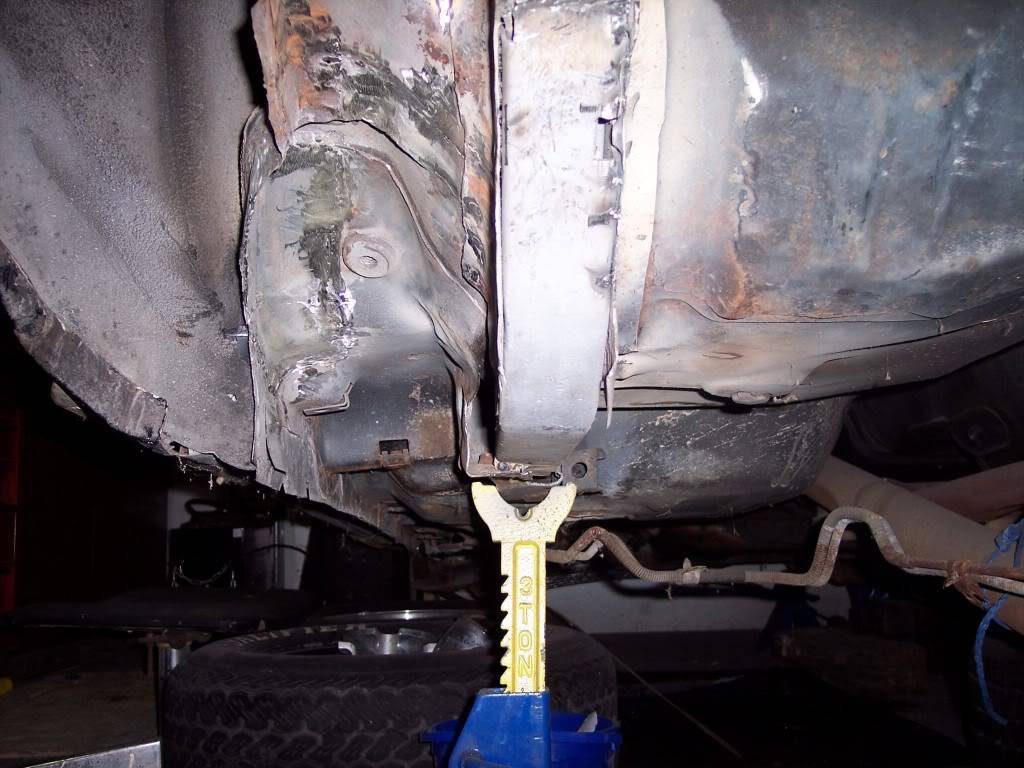
Well, I got my "inner frame rail" all fab'd up. I actually turned out pretty good considering my very limited welding skills

Well, I got the frame rail tubing partially installed. I think it is going to work out ok. It will give is some strength under the sheet metal I am going to wrap it with. Since there was some good metal left on the sides, I spot weld it to those, the floor and the torque box.
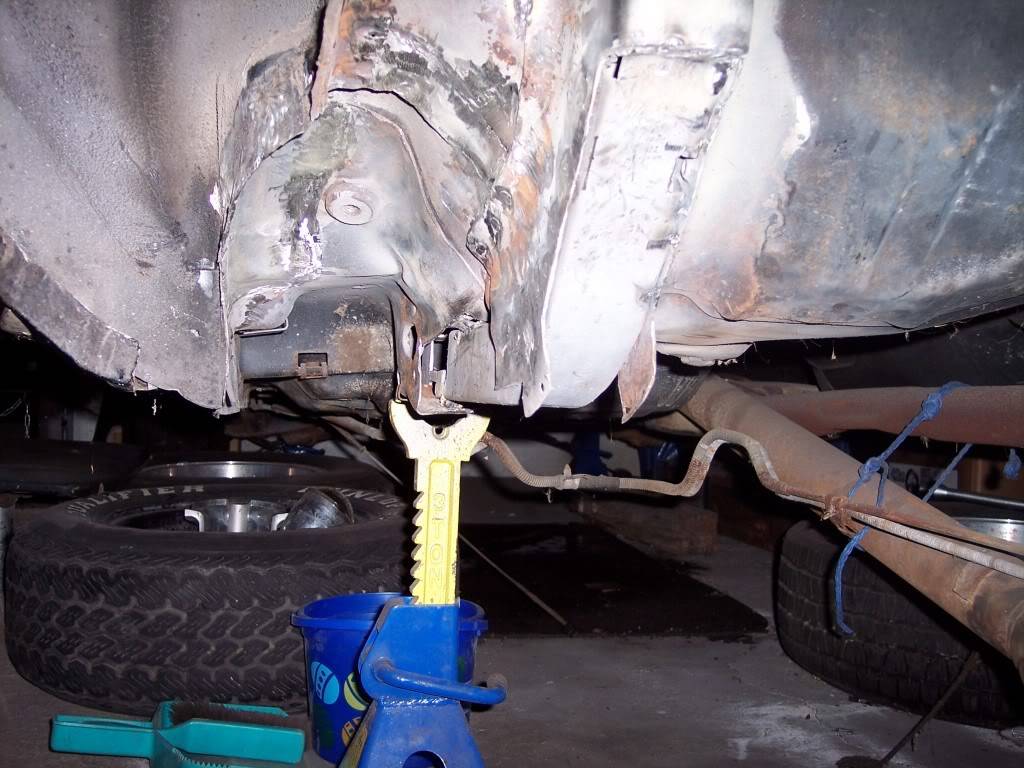
[IMG]http://i284.photobucket.com/albums/ll18/kevins_camaro/frame%20rail/100_6873.jpg[/IMG-Kevin
Project Thread: https://www.pro-touring.com/threads/113334-Project-JUNK-the-ultimate-budget-project!!-1979-Camaro
02-12-2015 #8
Registered User
- Join Date
- Jan 2015
- Posts
- 149
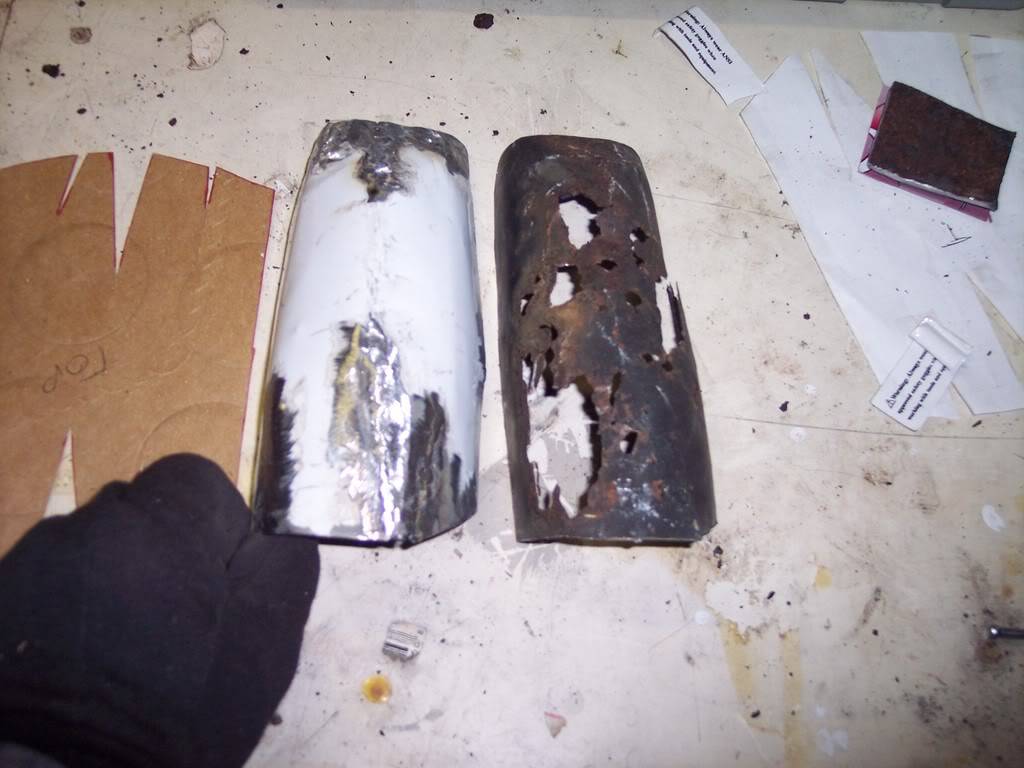
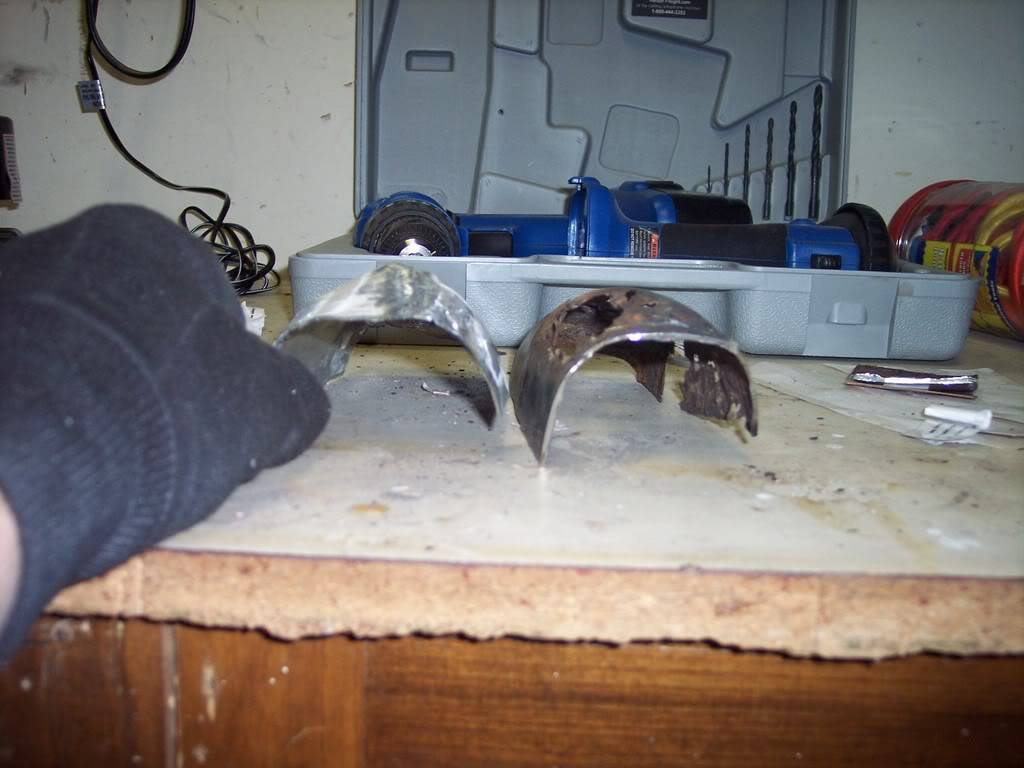
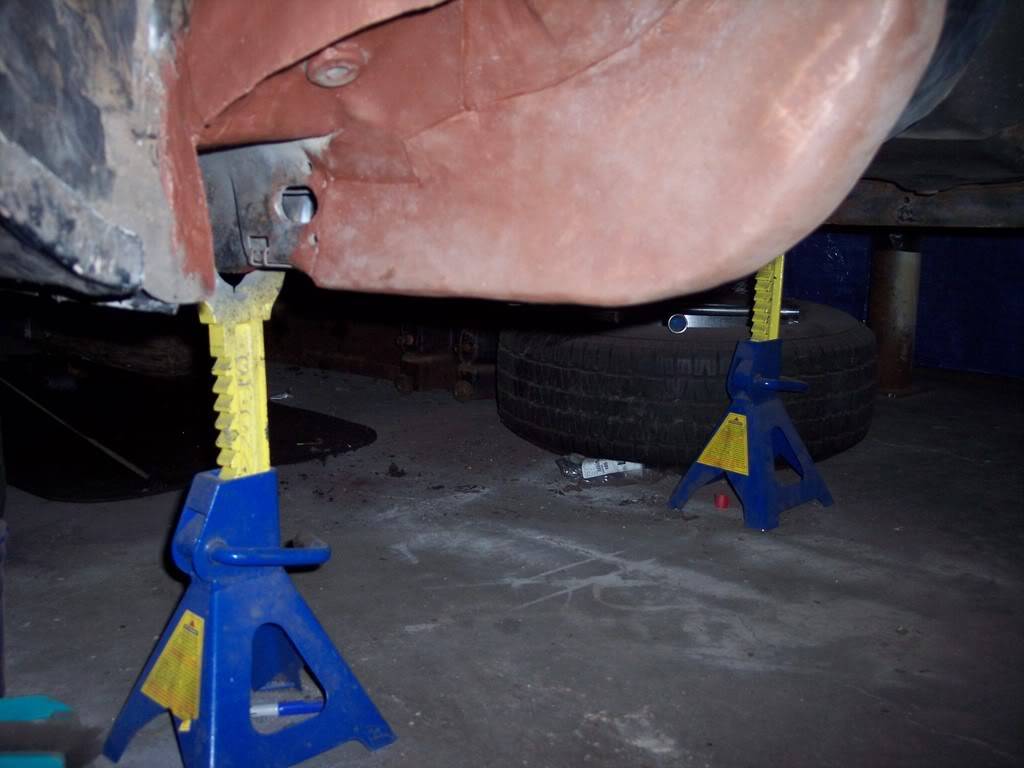
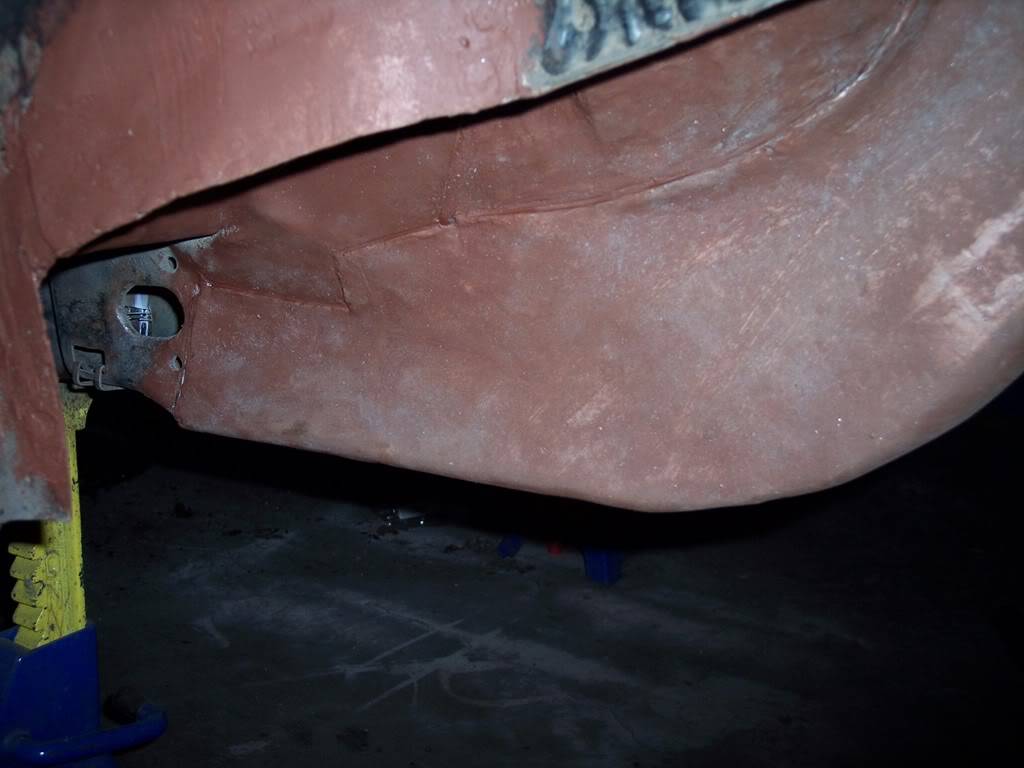
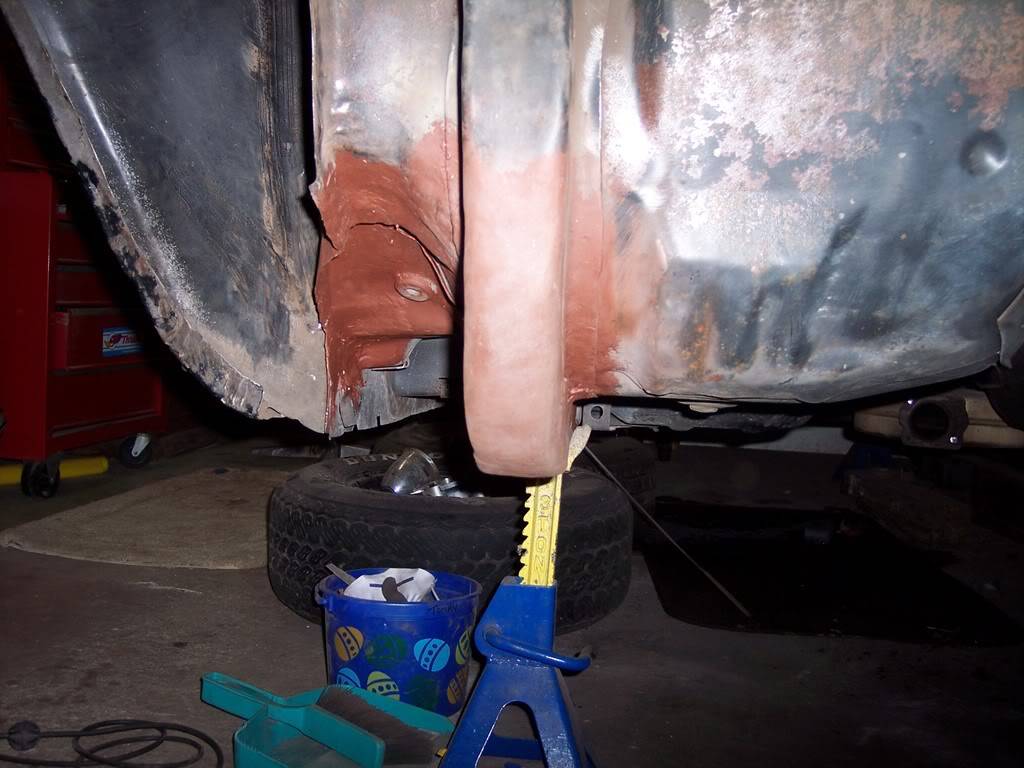
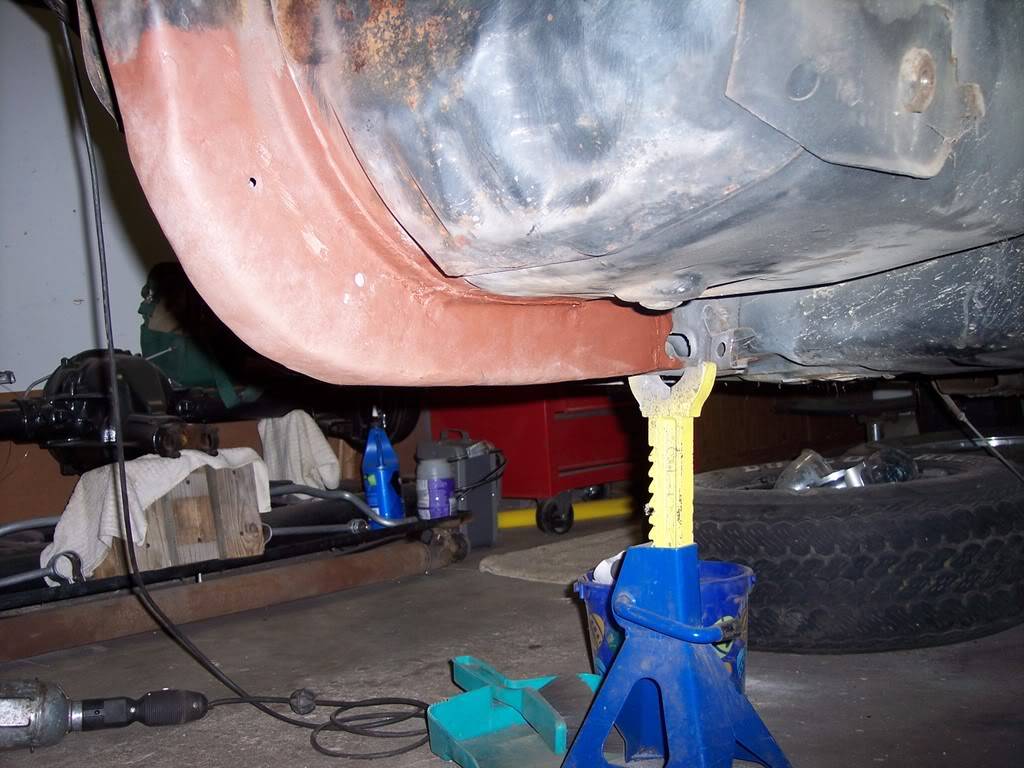
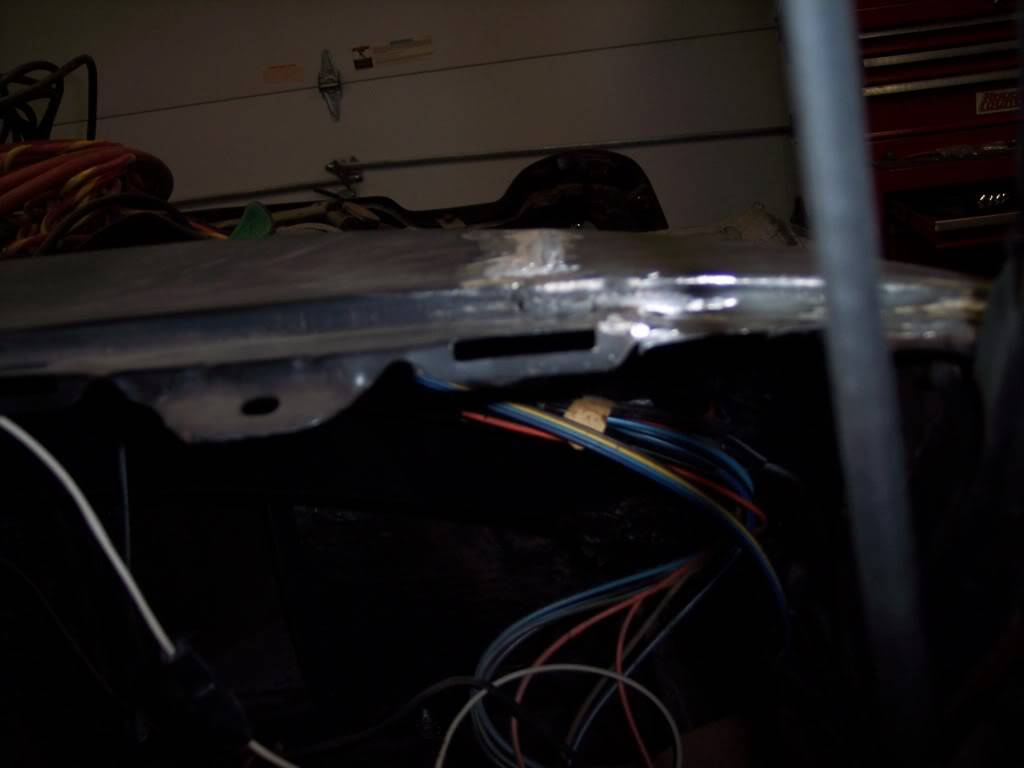
I did some more work on the frame rail today. I made a piece to cover the back part and got it welded on. I will probably put a light coat of body filler over it before I put the undercoating on just to smooth it out.
I made a template from the old one and cut it out and bent/welded to shape.
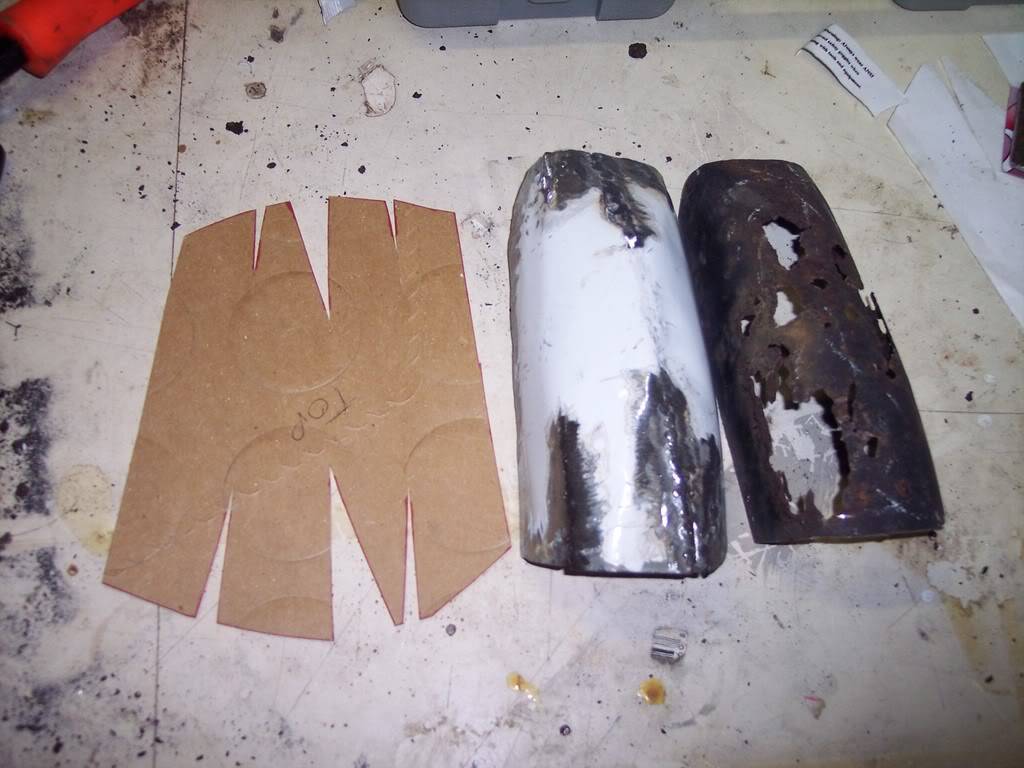
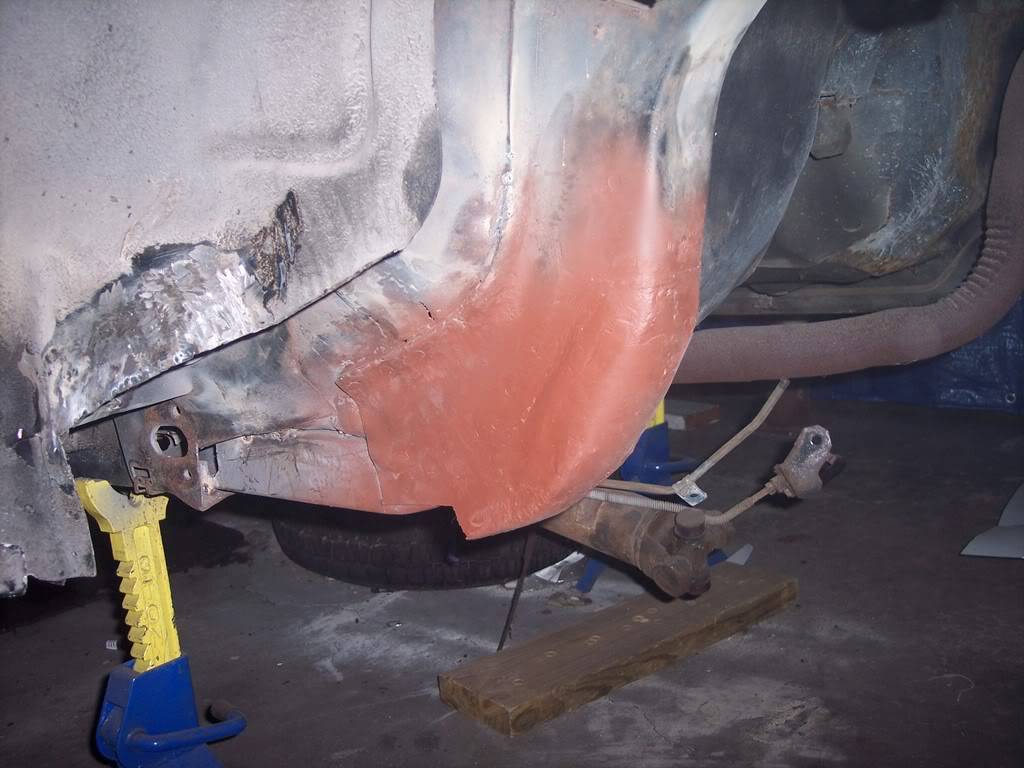
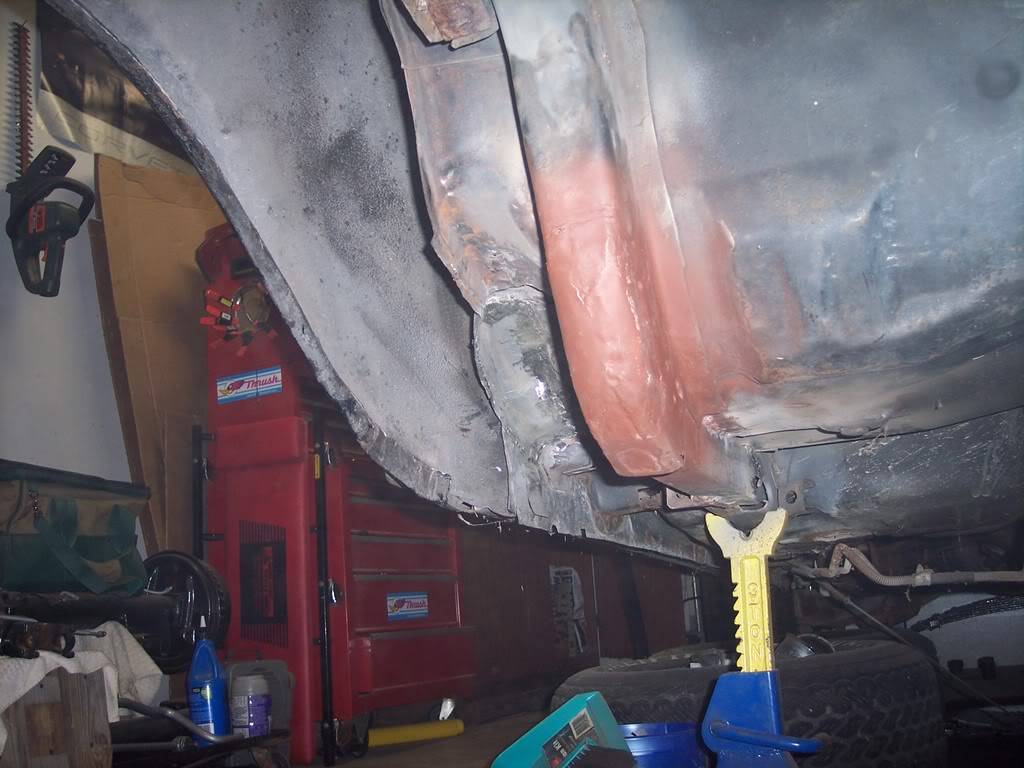
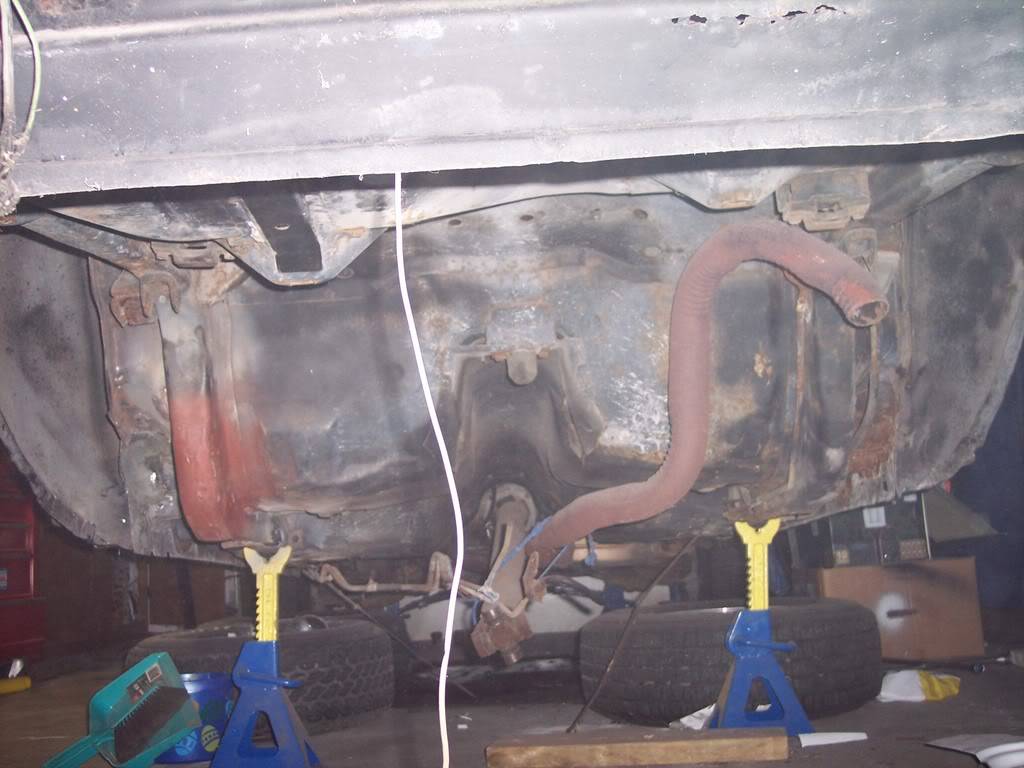
Well today I got the front inner portion of the frame done. All I need to do now is finish making the outer portion to over lap it and I will be done w/the frame and hopefully done laying on my back and welding!!!!:p
Its not pretty, but it is structurally sound now. Once I grind the welds and cover it w/undercoating, it will look good.
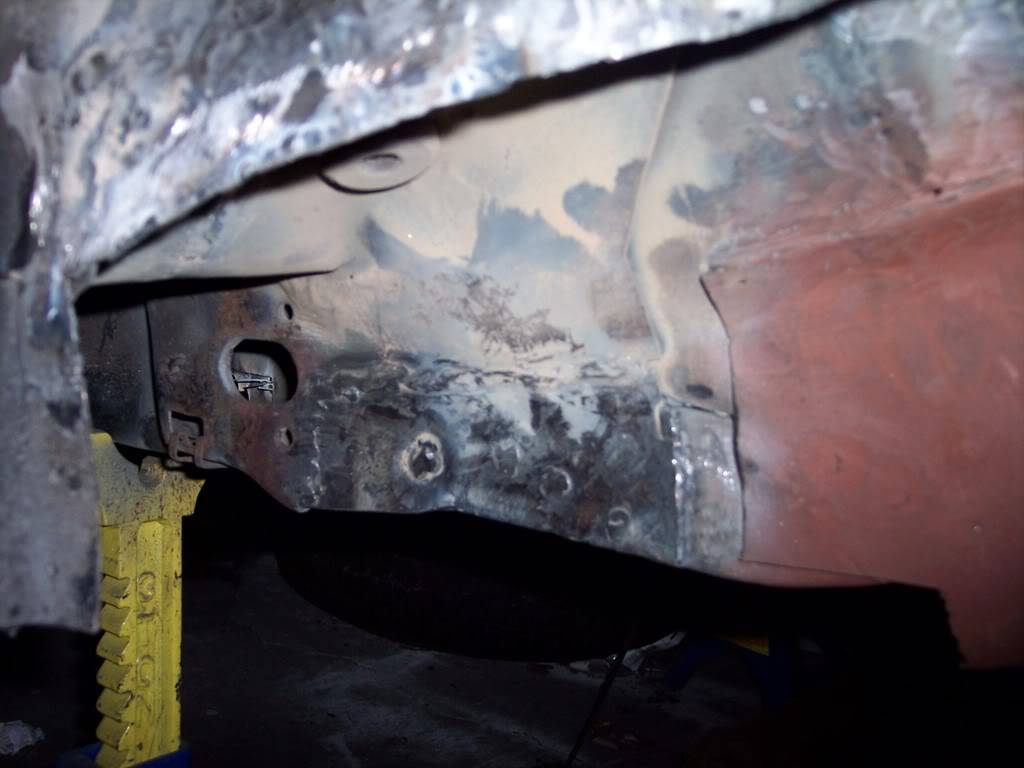
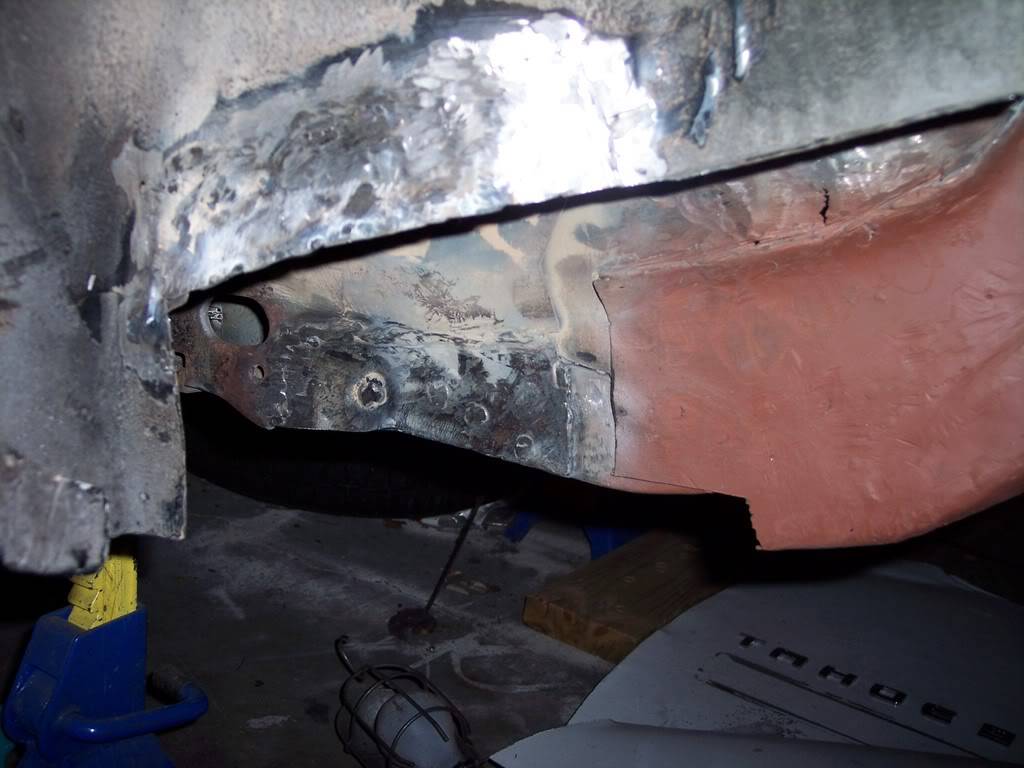
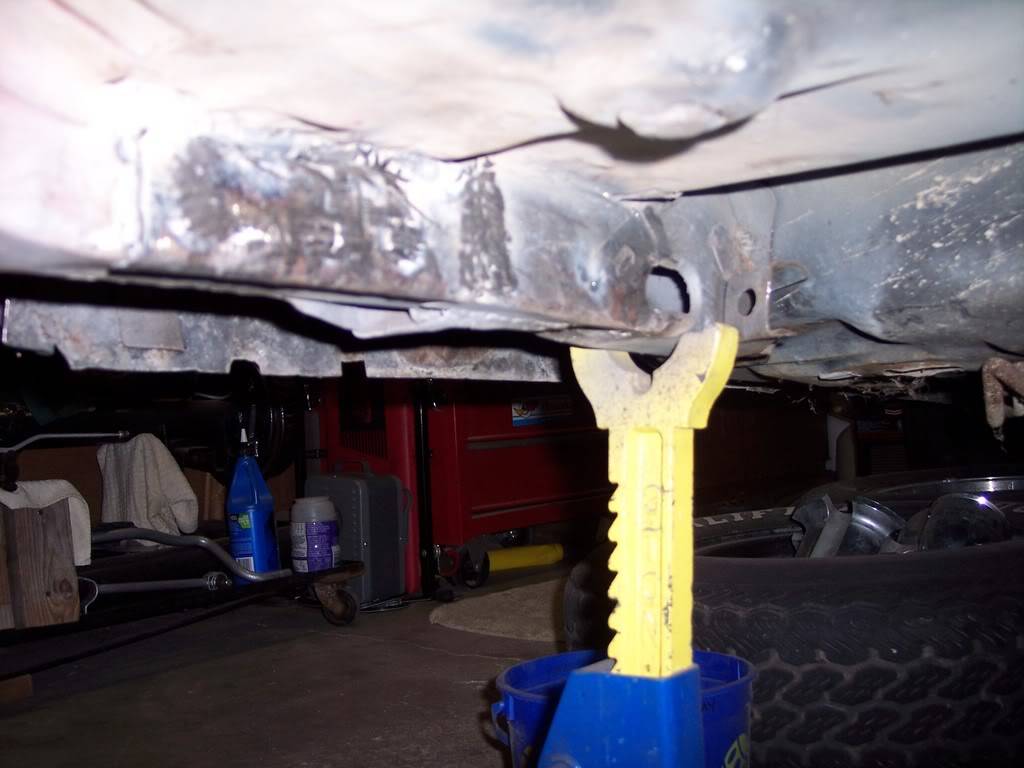
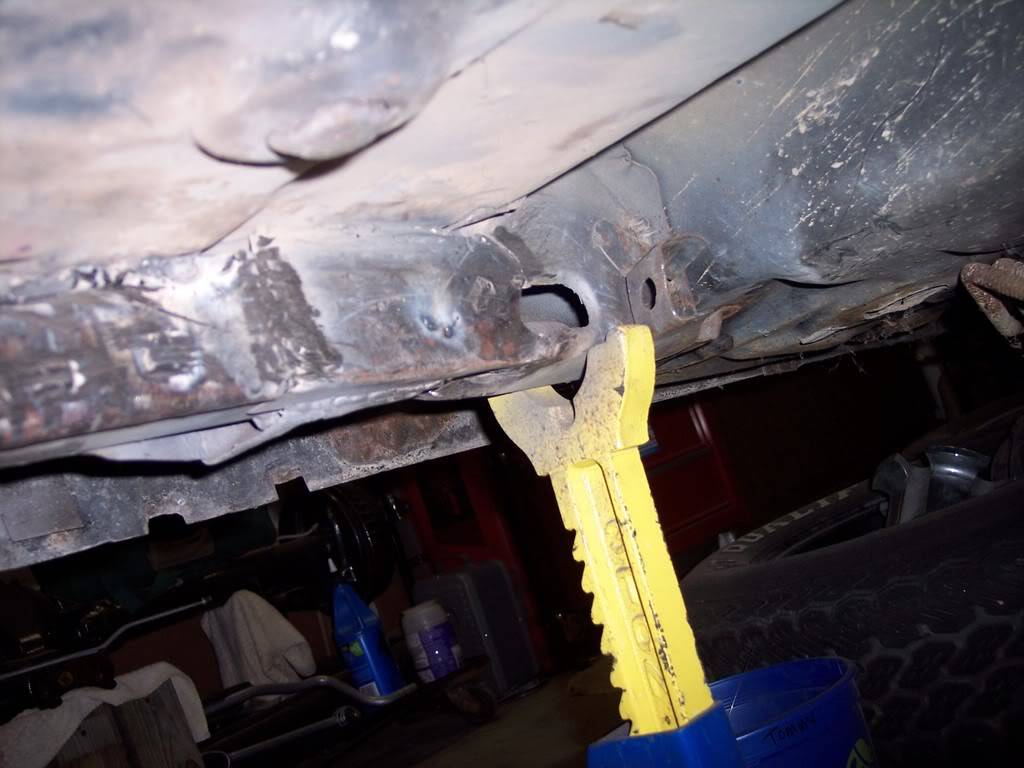
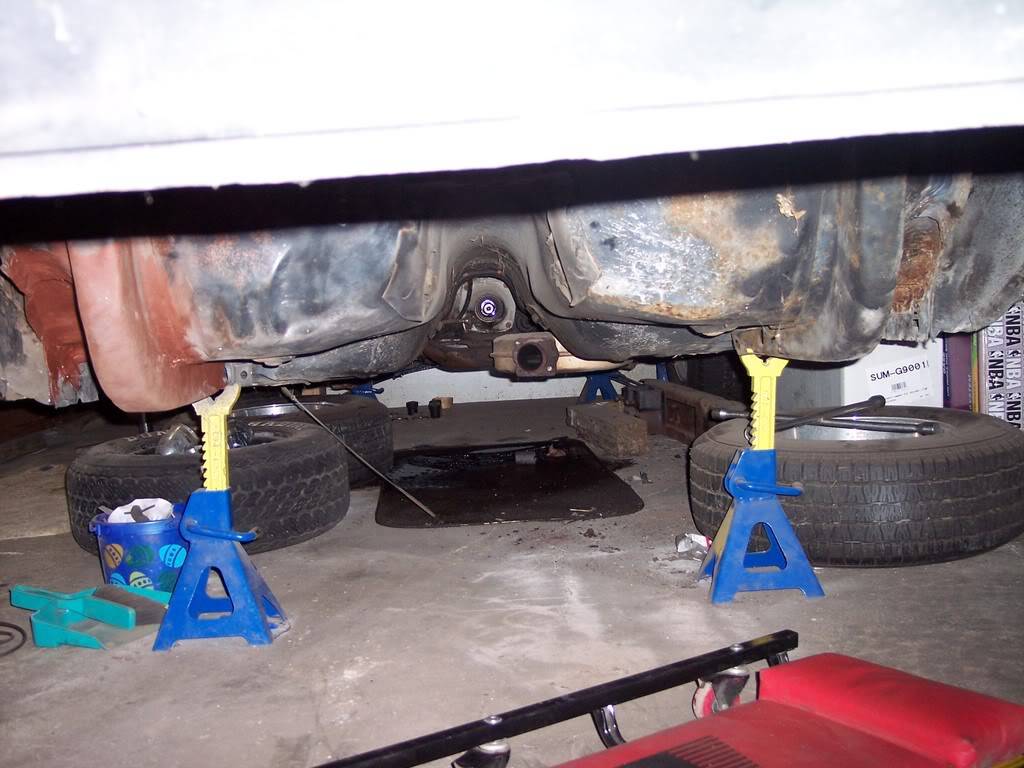
I finally got the frame rail all done!! I think it will actually be stronger that the other factory side and looks pretty close to the same also.
 -Kevin
Project Thread: https://www.pro-touring.com/threads/113334-Project-JUNK-the-ultimate-budget-project!!-1979-Camaro
02-12-2015 #9
Registered User
- Join Date
- Jan 2015
- Posts
- 149
I got the tail panel all finished today. After I welded all the new metal in, it would have been easier to buy the replacement lower panel!!! This didn't cost anything though. Now to start on the r/s lower 1/4.
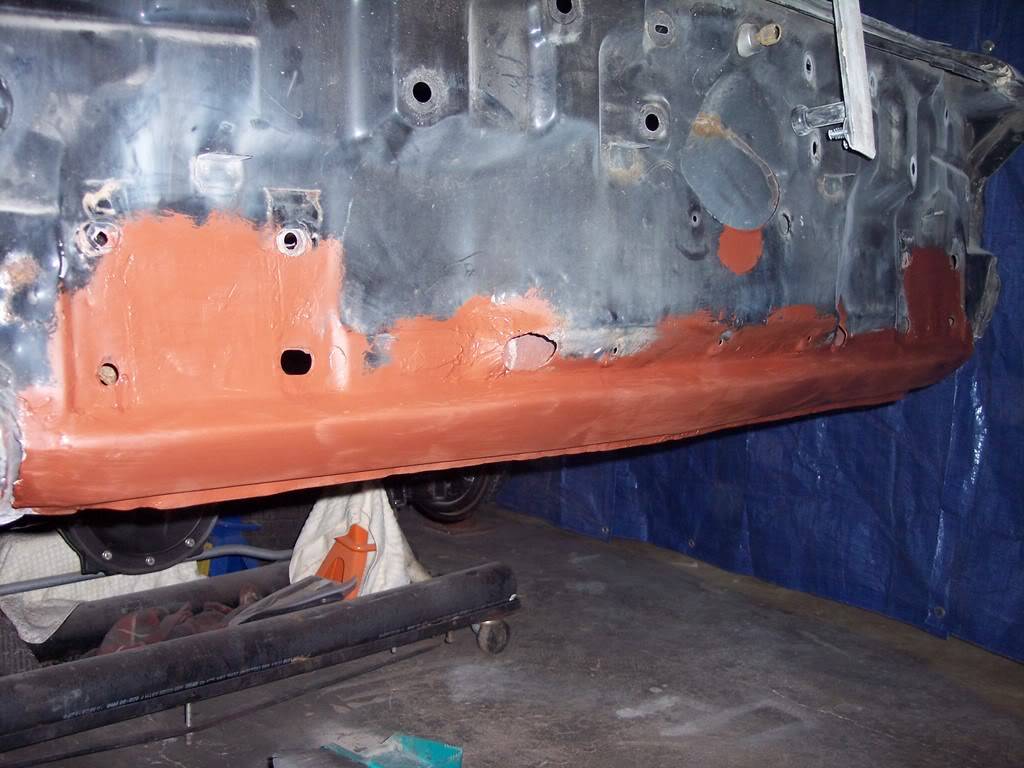
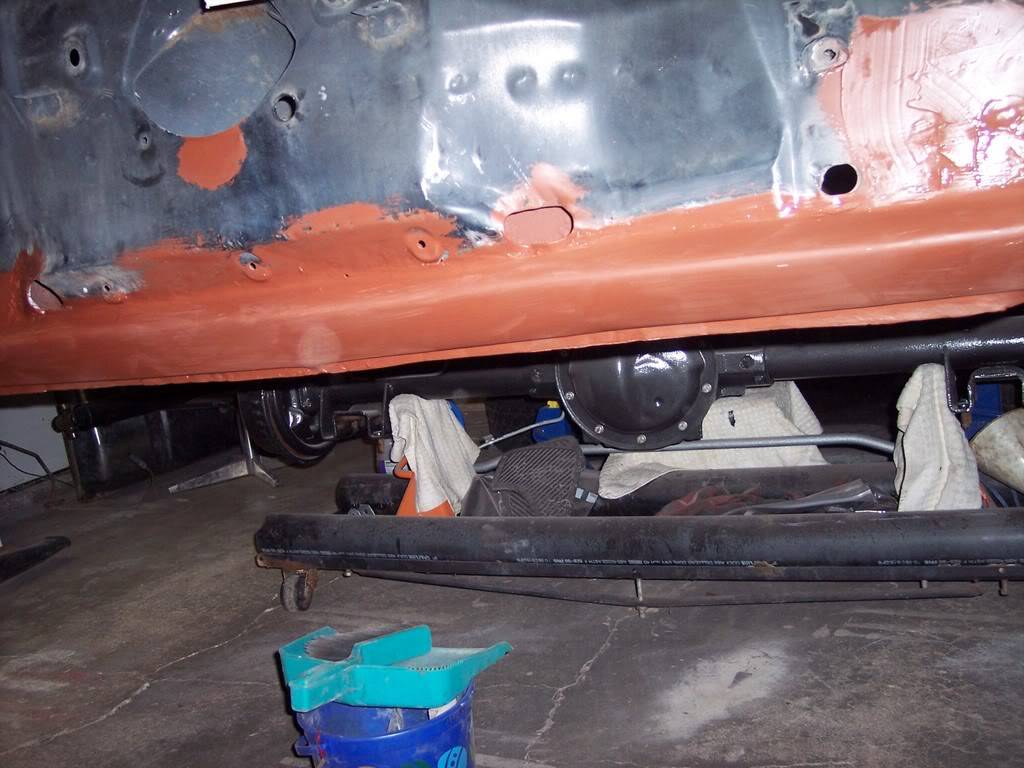
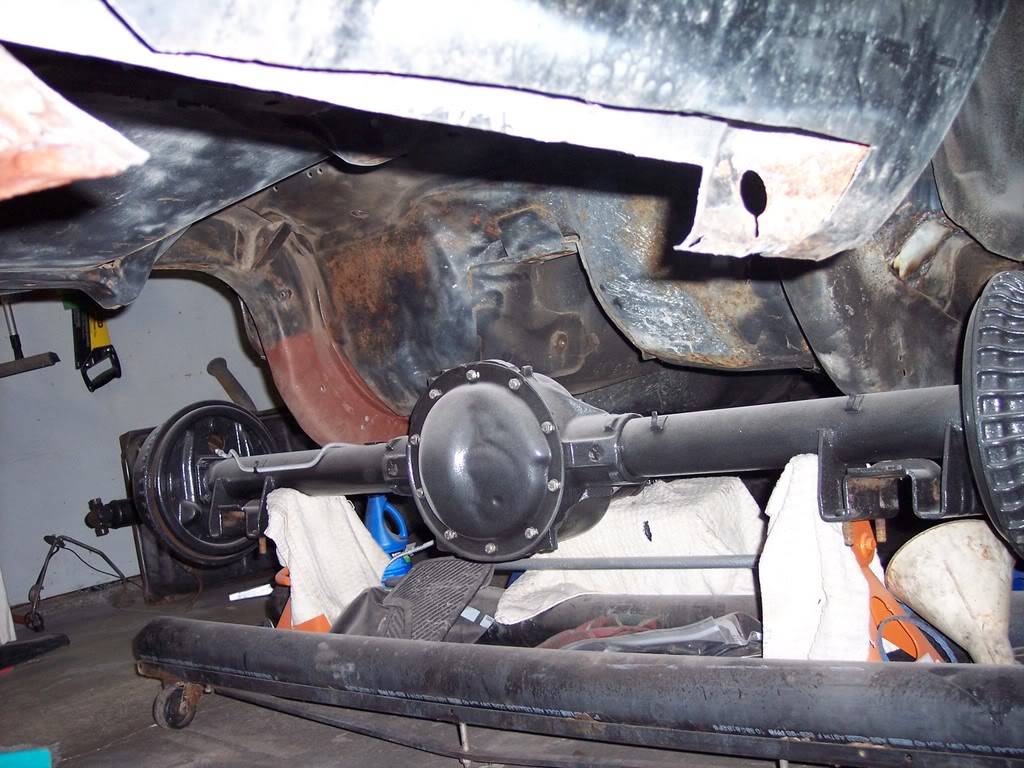
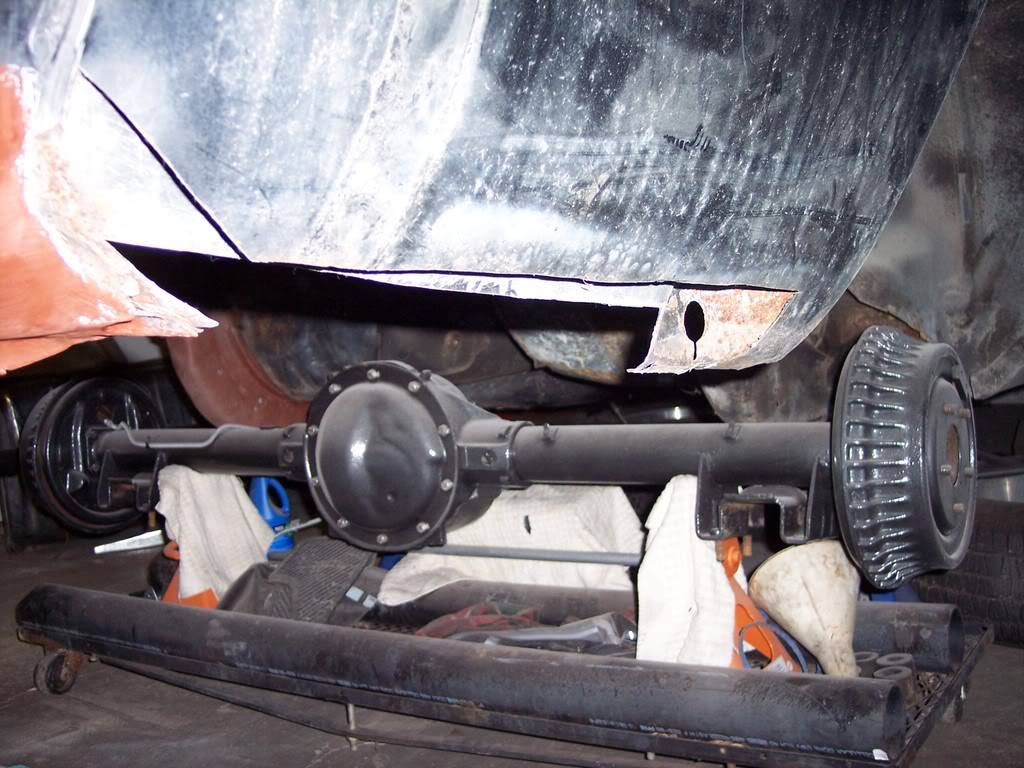
I got the r/s inner quarter done and the outer almost done. Not perfect, but it turned out pretty good.
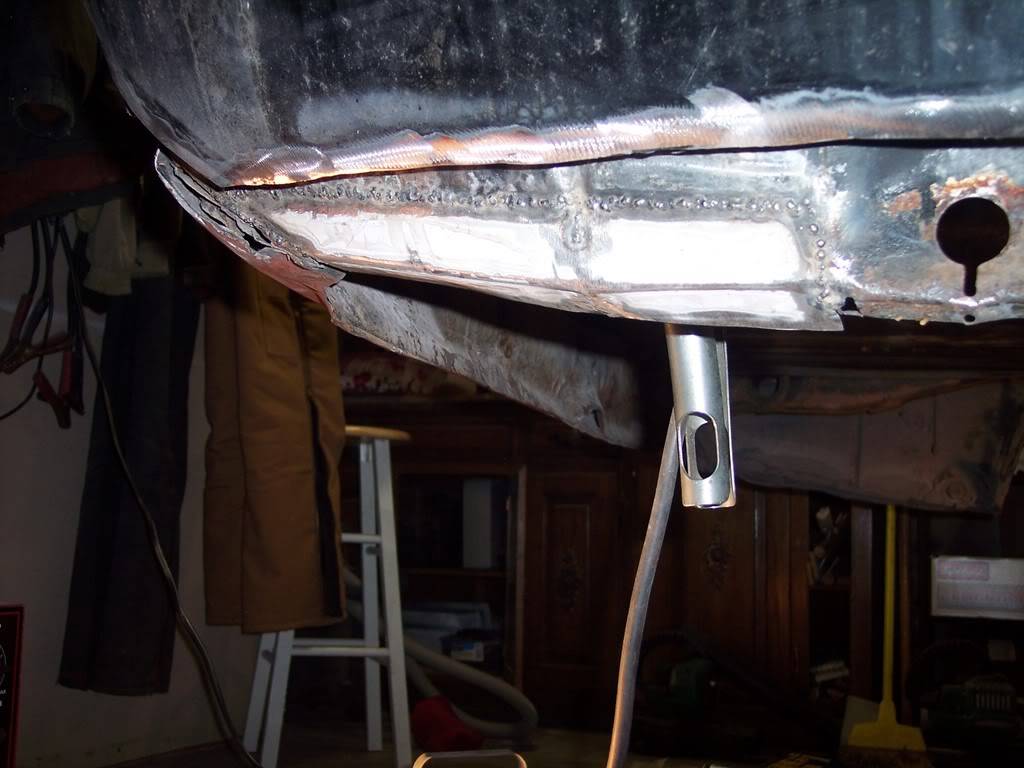
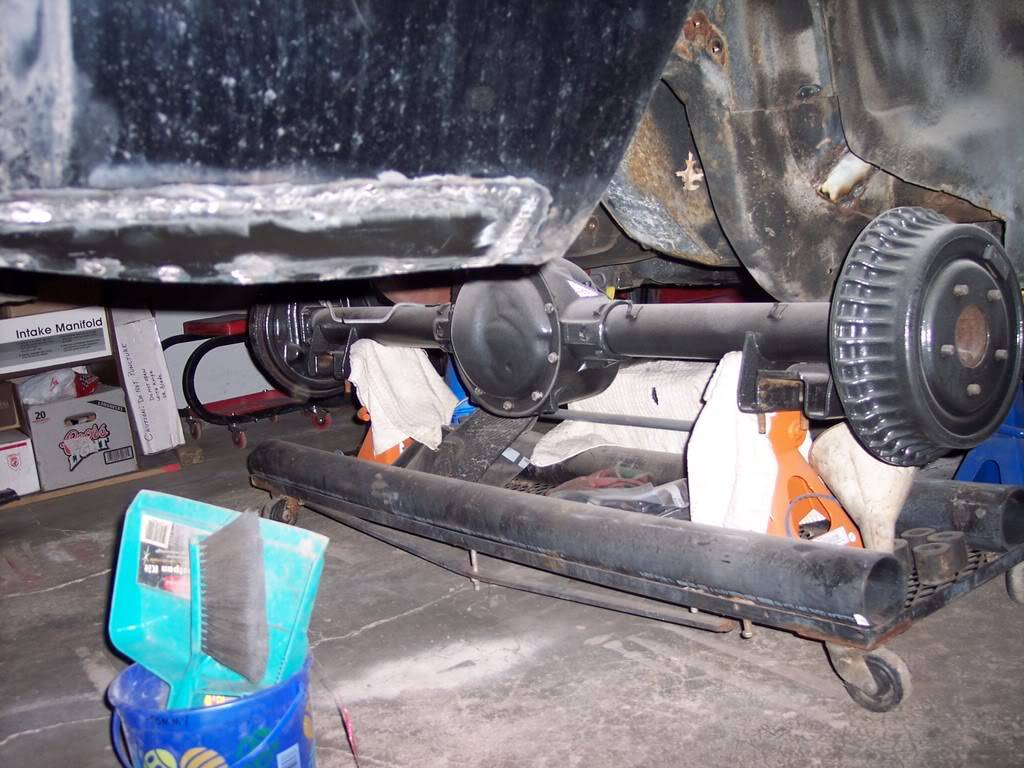
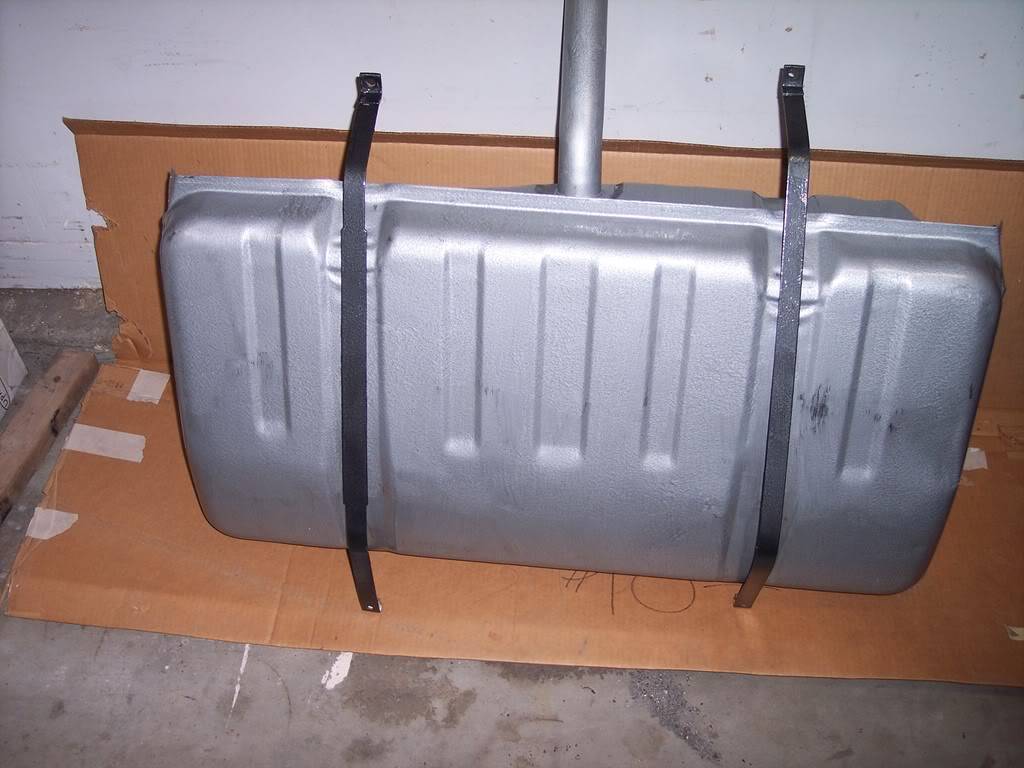
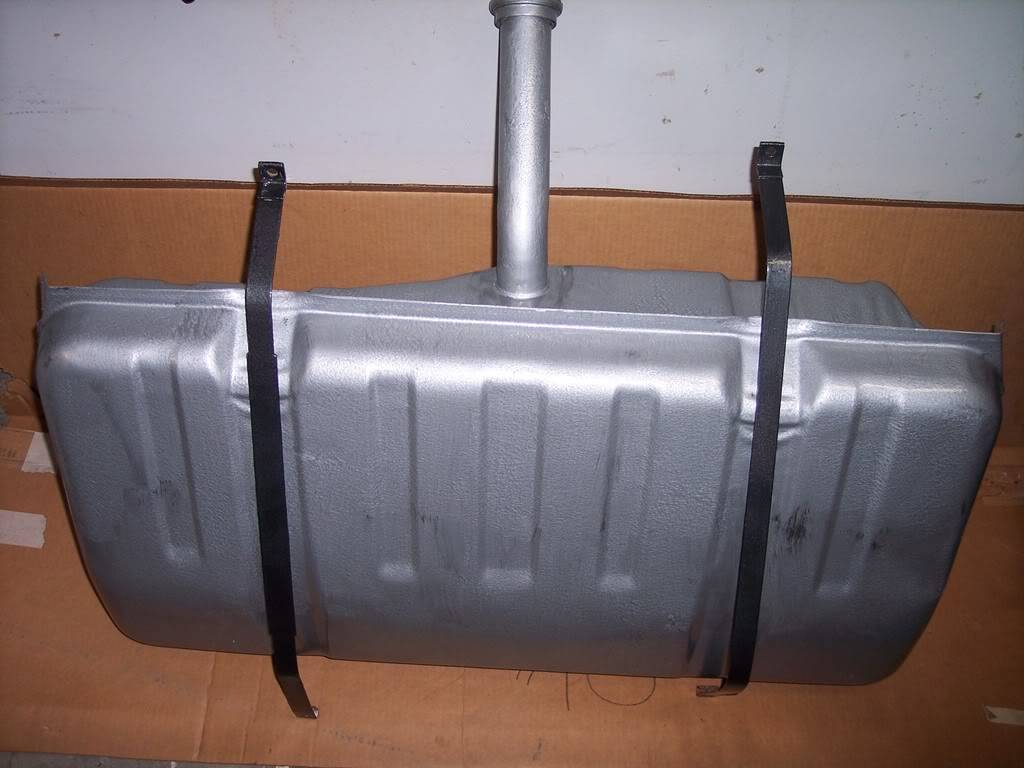
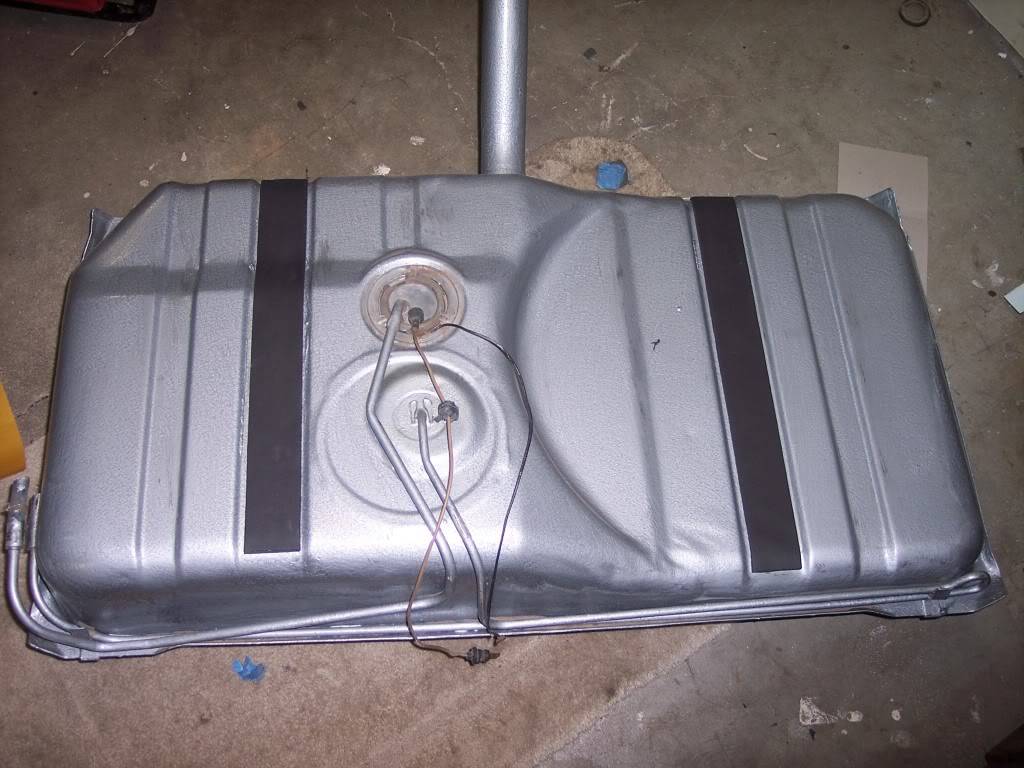
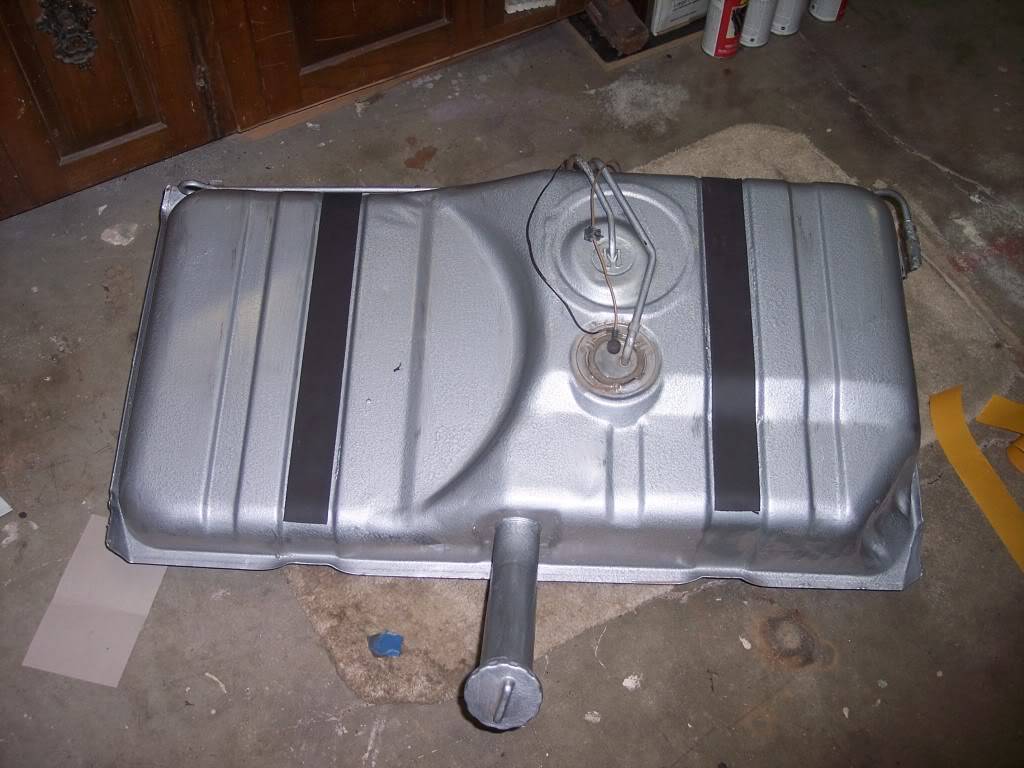
I got one coat of Rustoleum Hammered Silver on the tank. I brushed it on and it turned out pretty good. It still needs a second coat(directions say wait 7 days). I used the Hammered Black on the straps.
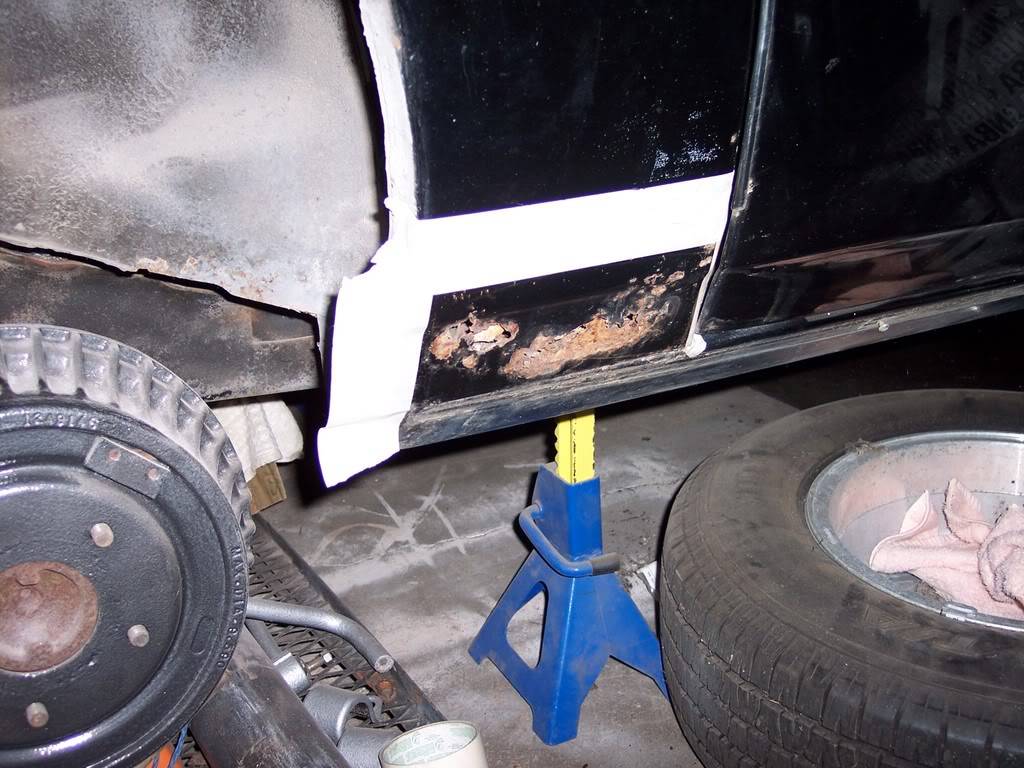
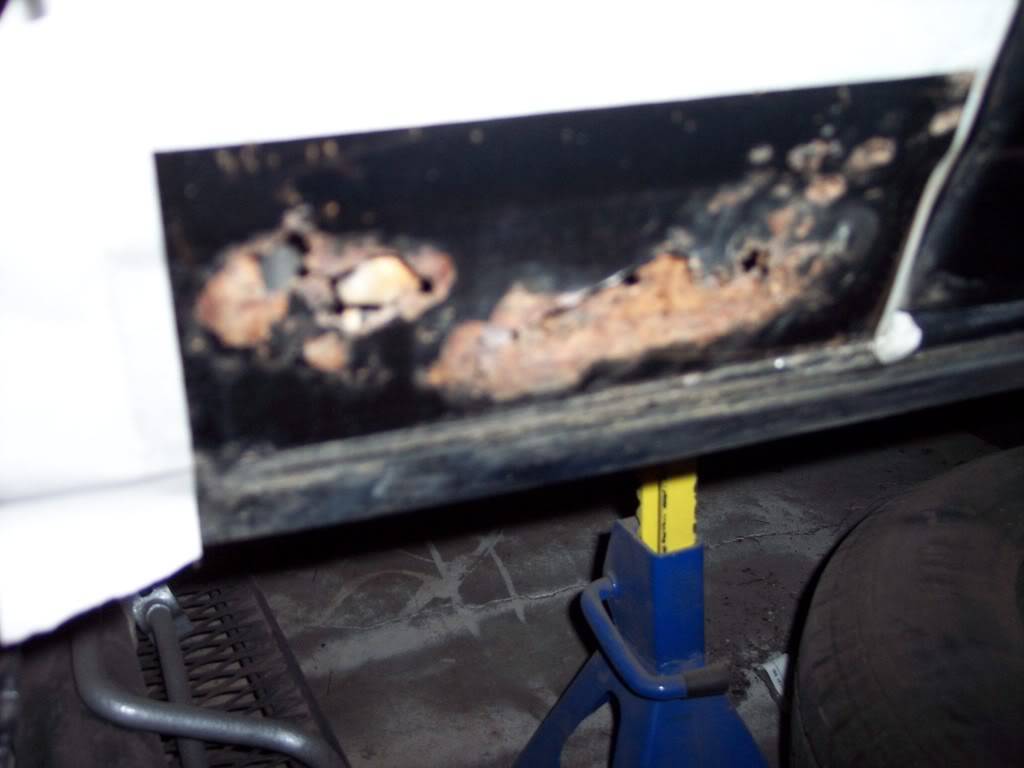
Next step is to fix more rust, this time on the front of the R/S quarter. I am going to try to make a patch.....if it doesn't turn out, I will get a patch panel. I'm worried about the body line turning out right.
Well I got my "new" air cleaner all painted. Also in the pics are my new carb and intake. I used hammered silver and taped off the letters. I still need to paint the base.

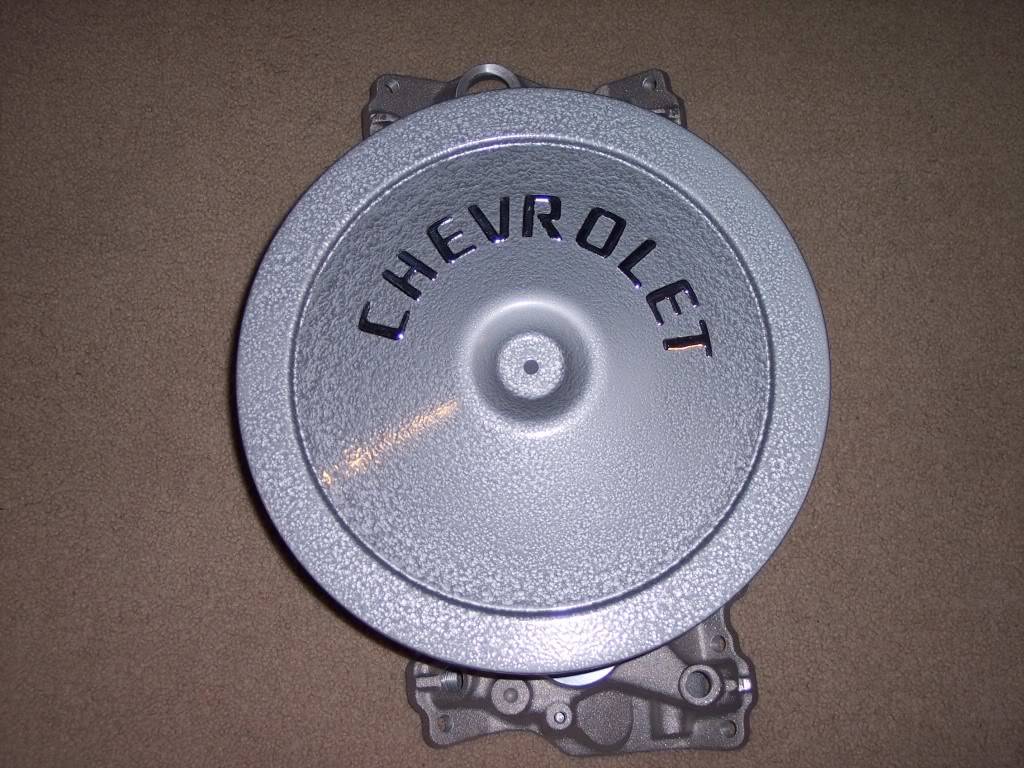
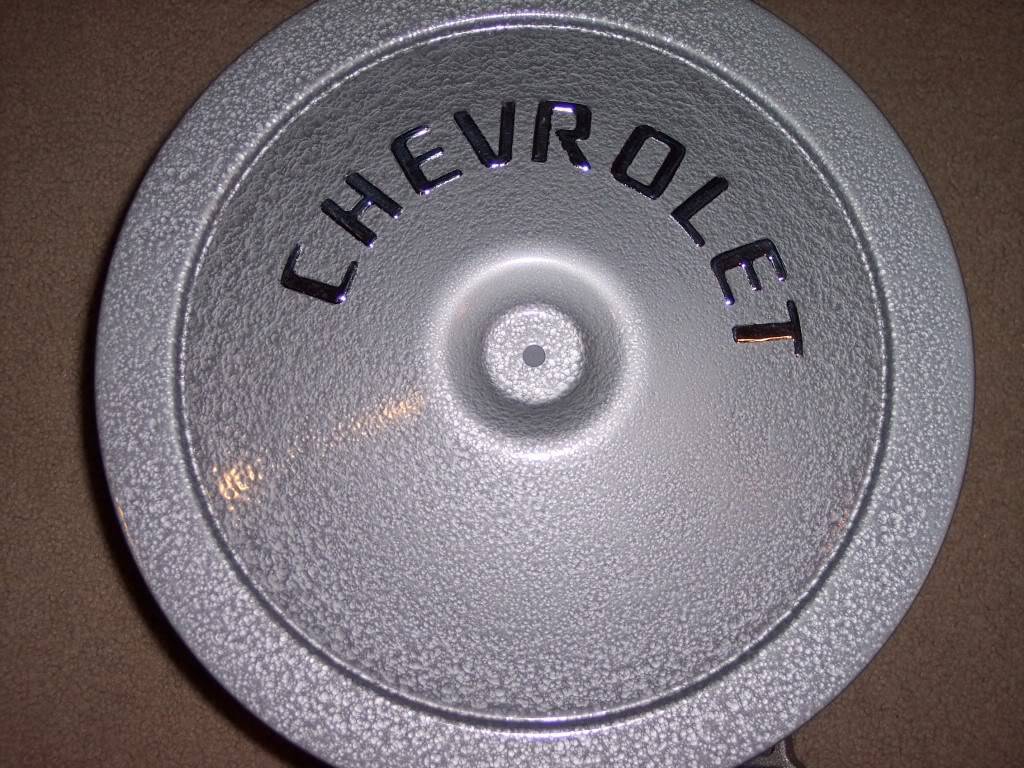
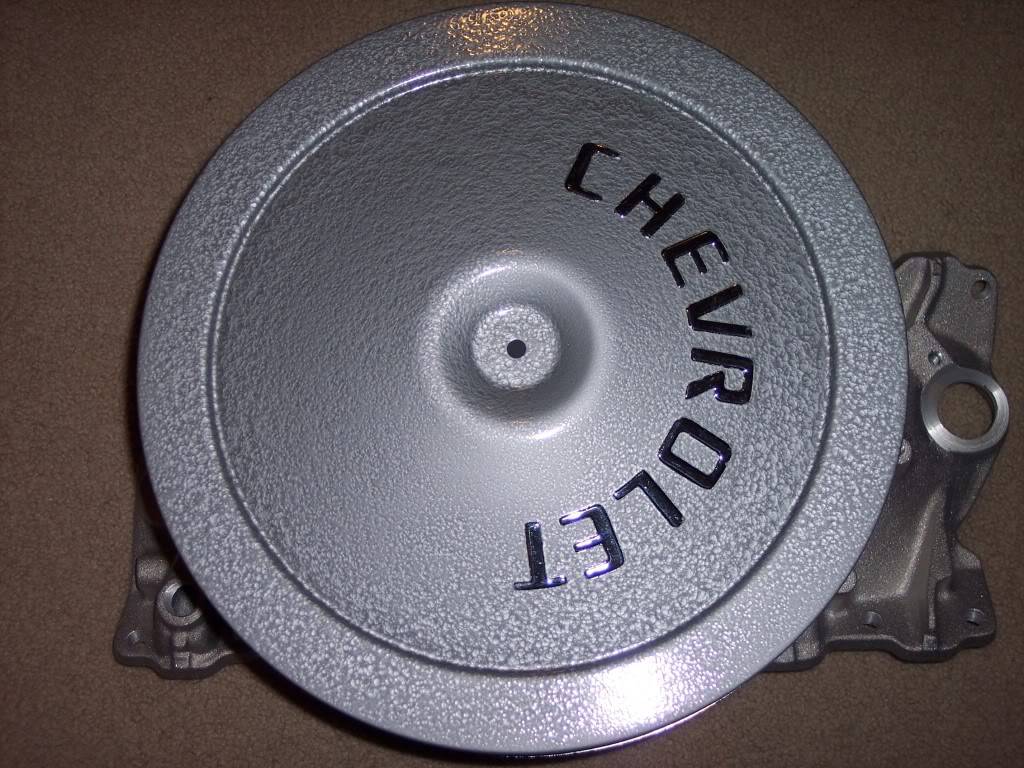
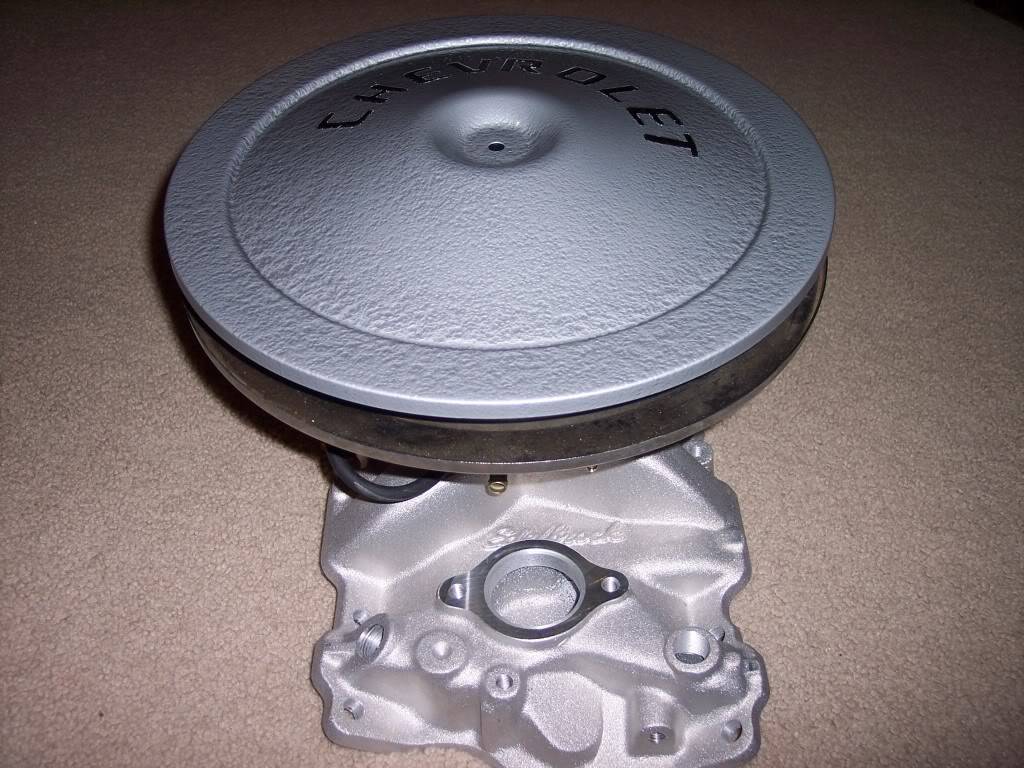 -Kevin
Project Thread: https://www.pro-touring.com/threads/113334-Project-JUNK-the-ultimate-budget-project!!-1979-Camaro
02-12-2015 #10
Registered User
- Join Date
- Jan 2015
- Posts
- 149
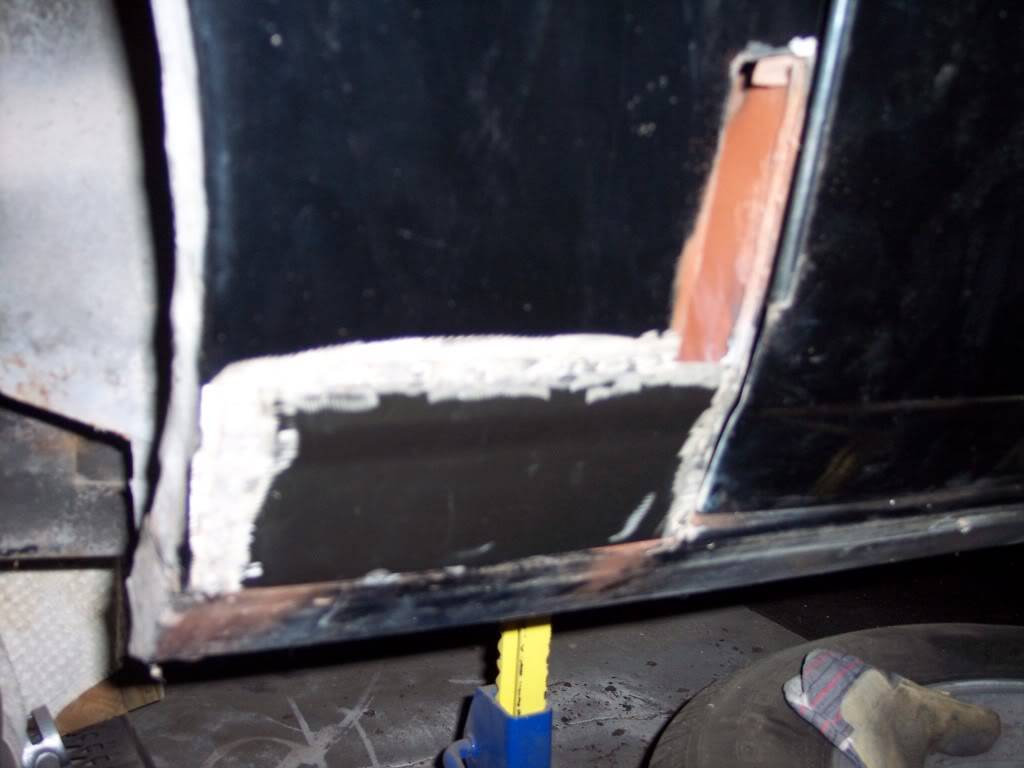
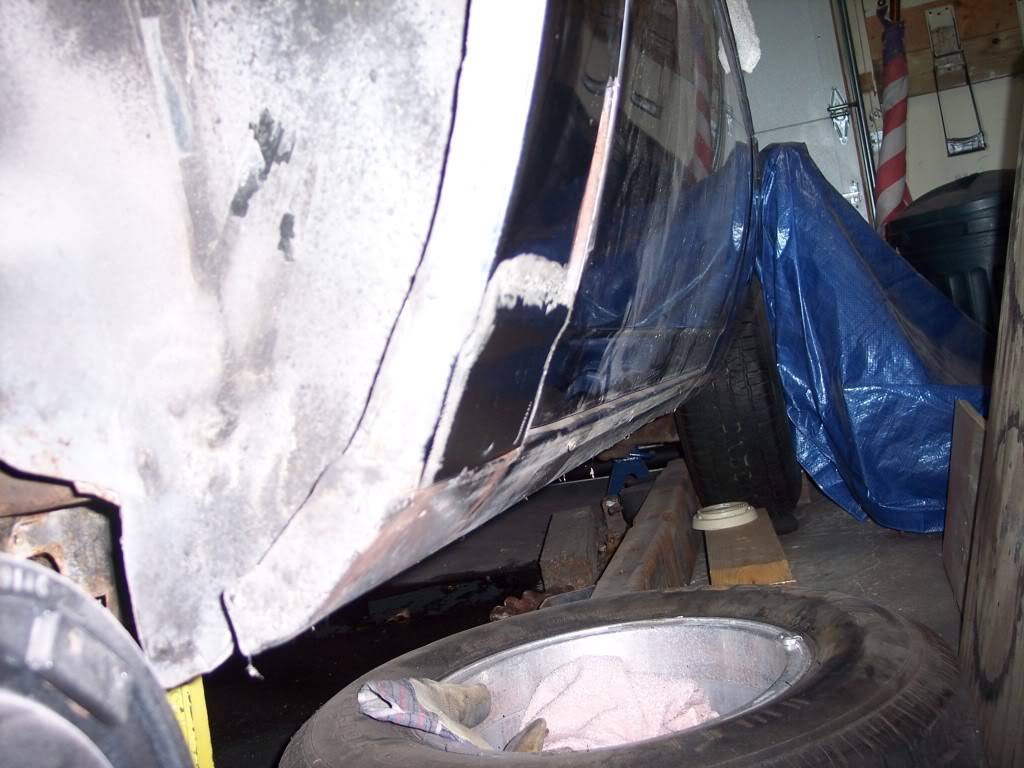
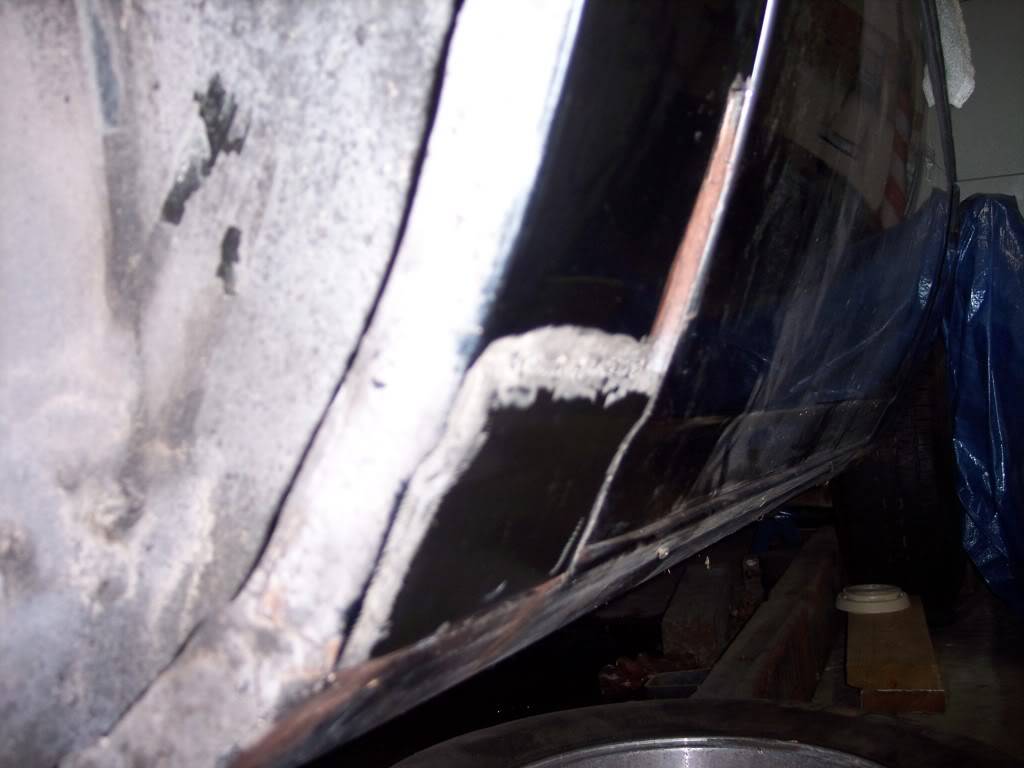
I just got done repairing the lower front part of the quarter yesterday. I made a patch from some metal and used a couple pieces of angle and a vise to form the body line. For the bottom I made a 90 degree bend inward. I still need to fill in the rectangle are above it and move to the next side.
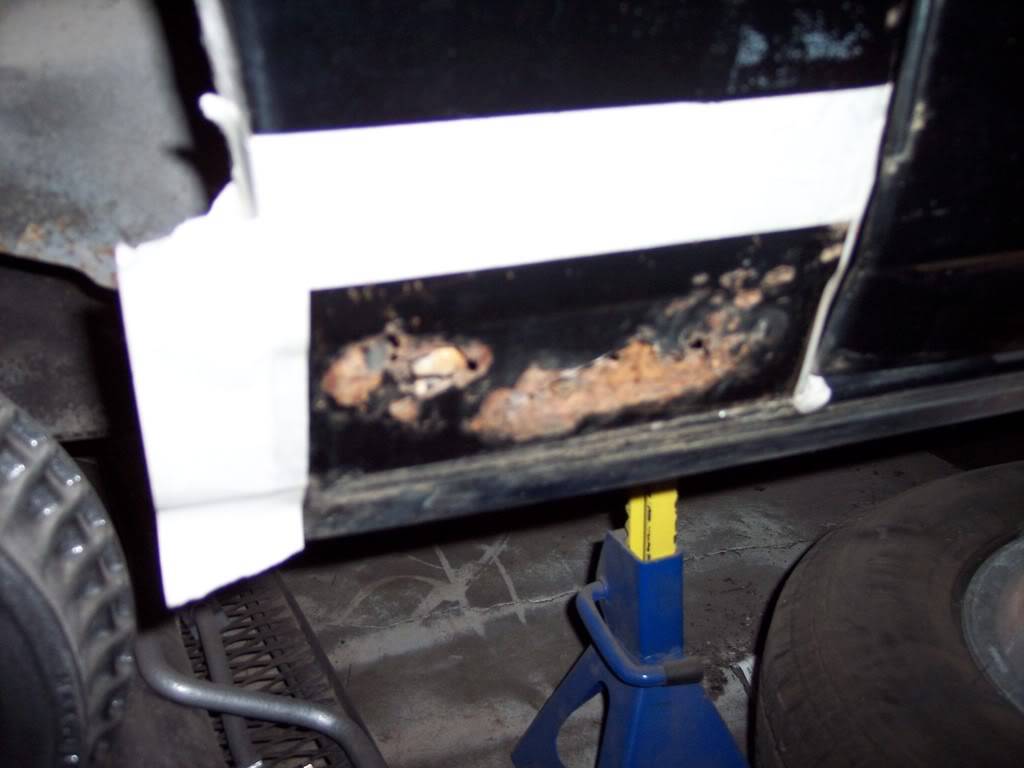
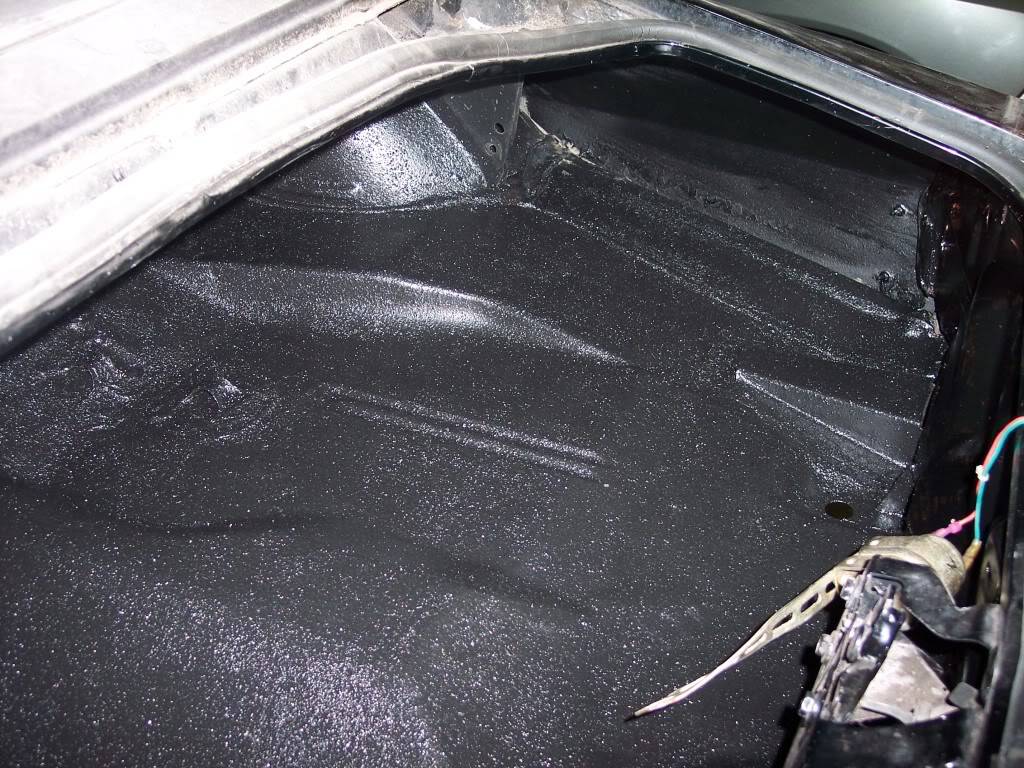
Finally a little more progress. I got the trunk all cleaned up and primed. I am going to try to get the bedliner painted on tomorrow. It had a factory undercoating material on it. I removed it by applying the paint stripper and scraping the top layer off w/putting knife and then putting another application on and using the drill and wire wheel. It worked pretty and didnt take too long. There was some minor surface rust, but no rot at all.
Before:
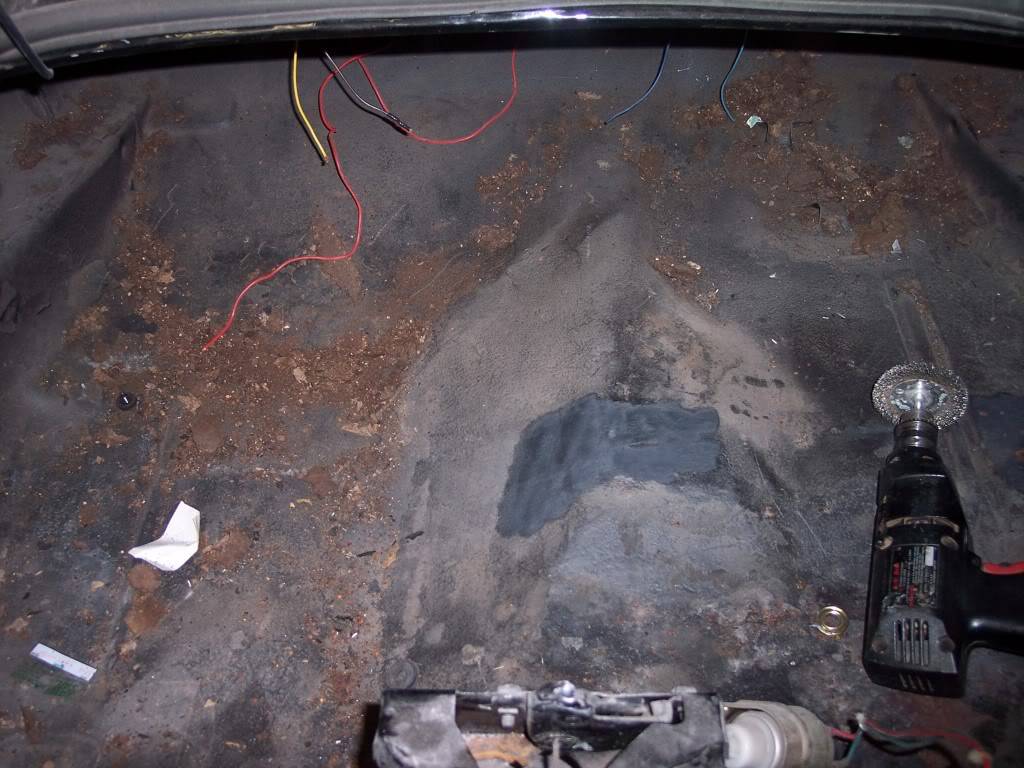
After cleaning:
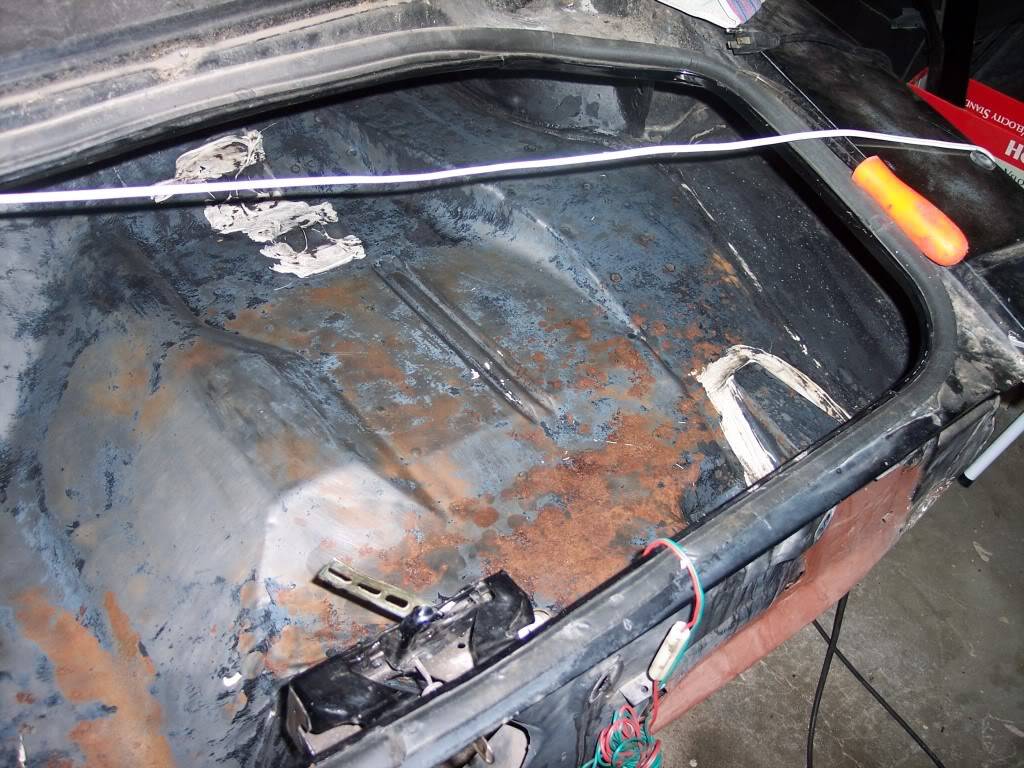
All primed:
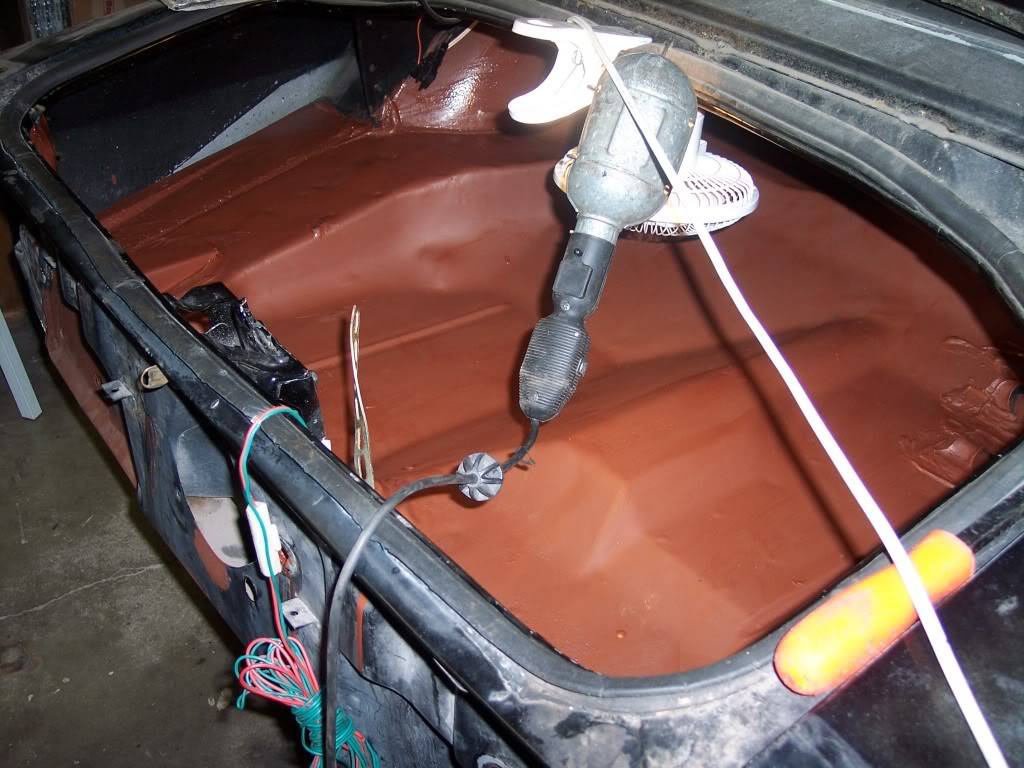
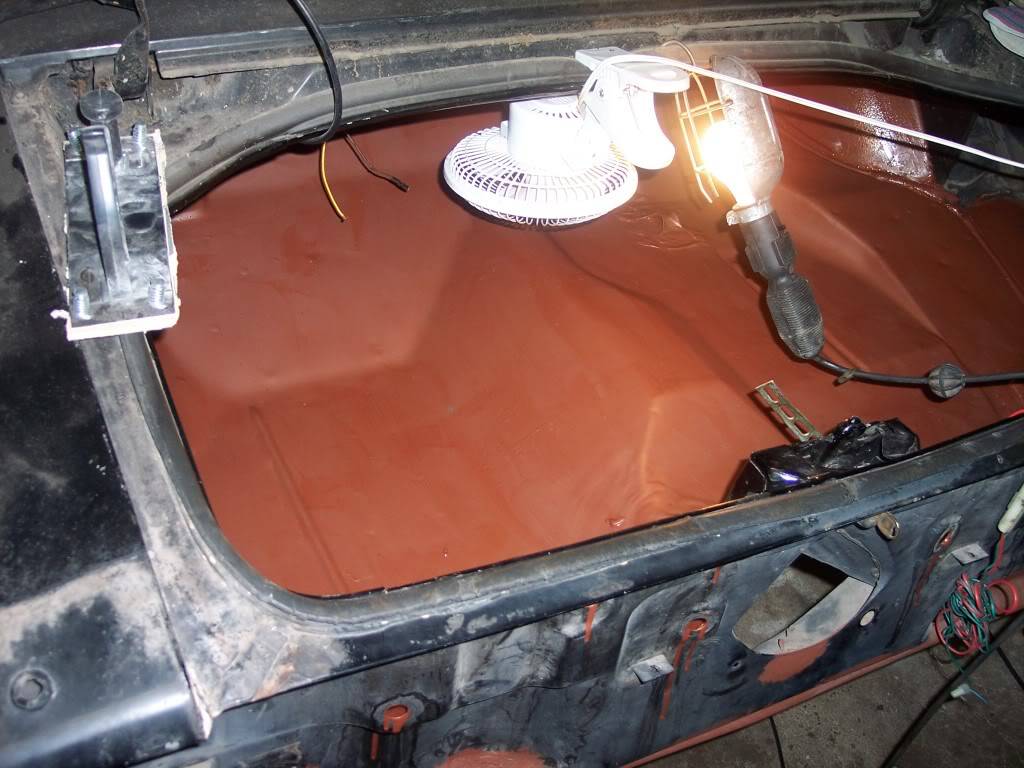
I finally completed a piece of the puzzle!! I got the trunk all done. The bedliner worked great, not too glossy and a mild texture.
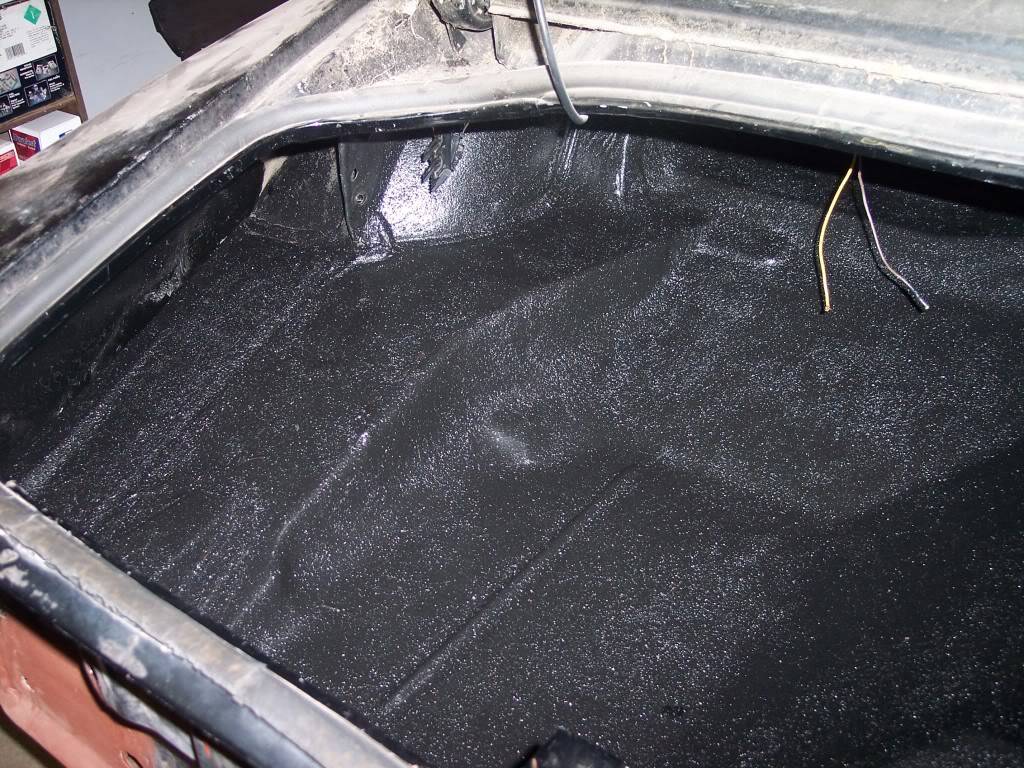
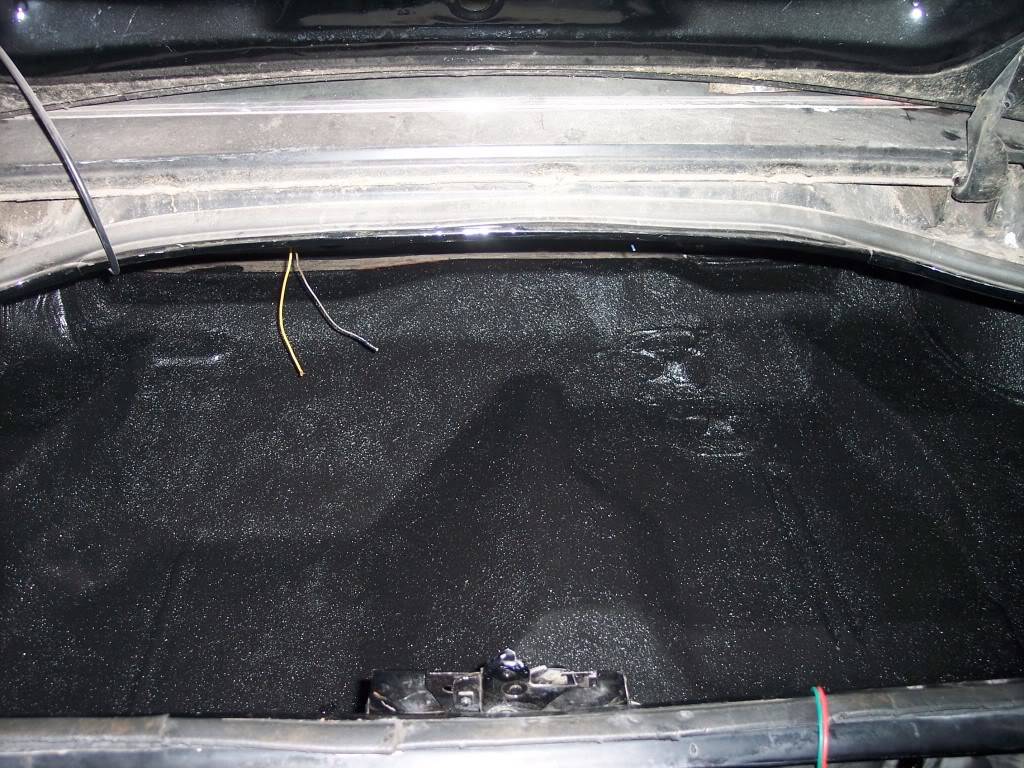
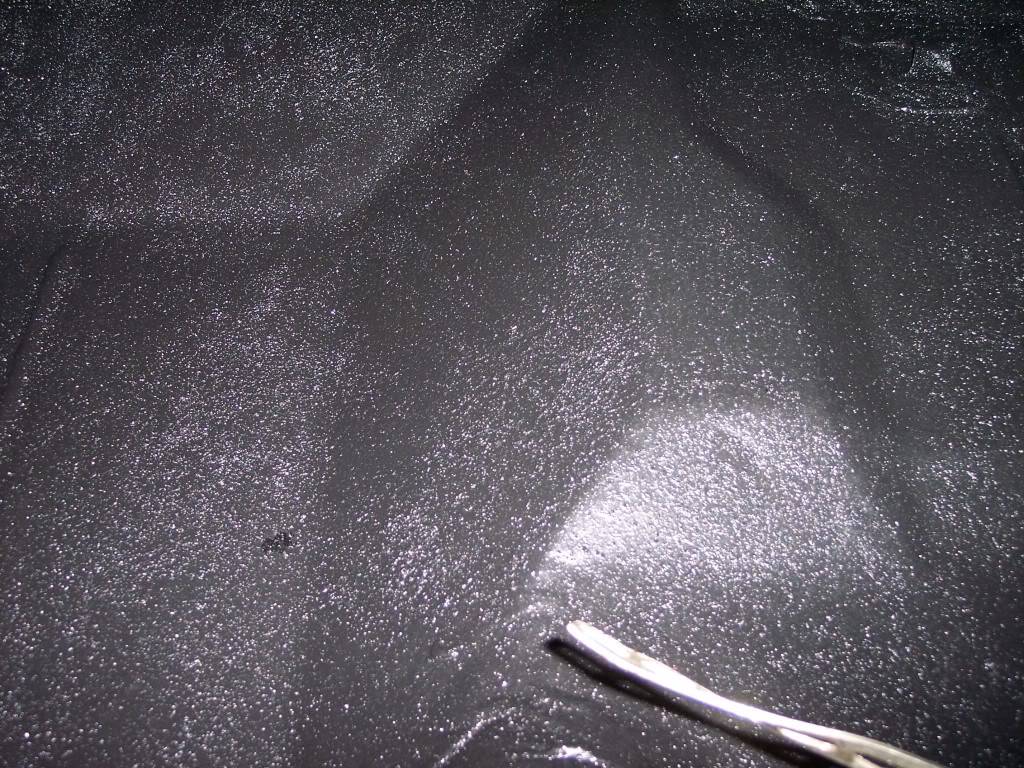
Well here is the drivers quarter patched up. I did the same as the pass side. I made the patch from a piece of sheet metal and bent the body line with a vise and some pieces of angle. This side turned out much better than the other side. Oh BTW you can see in the background my most recent purchase...the four dollies(skates). I bough them on CL for $50.00 and they are like brand new!!
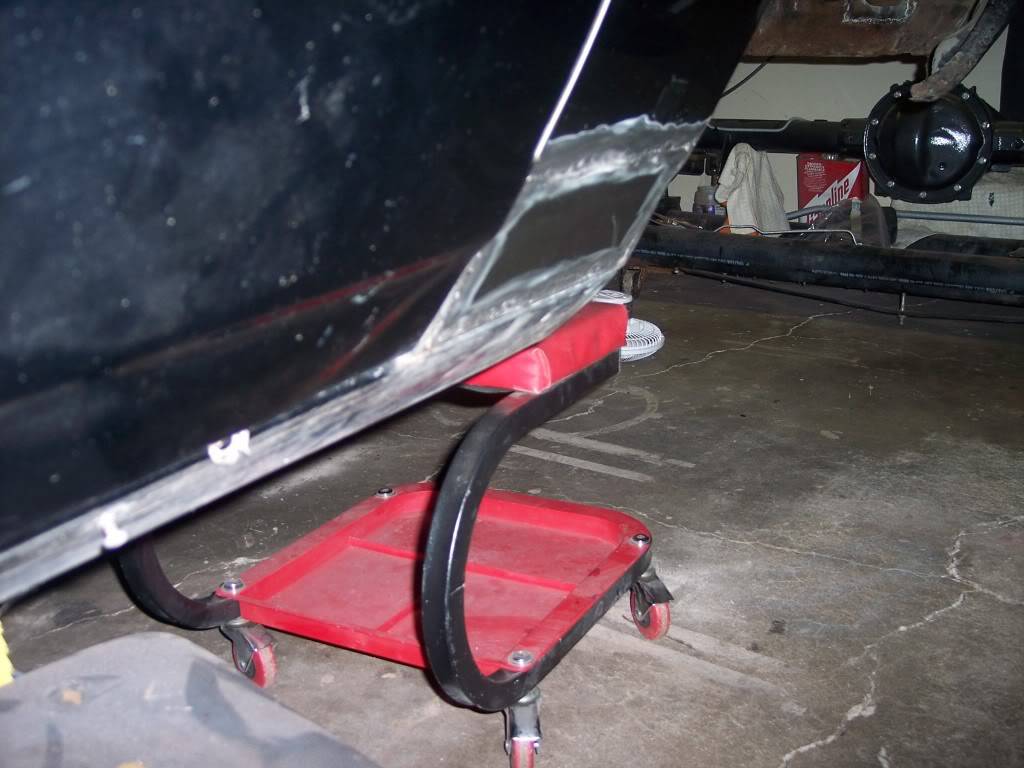
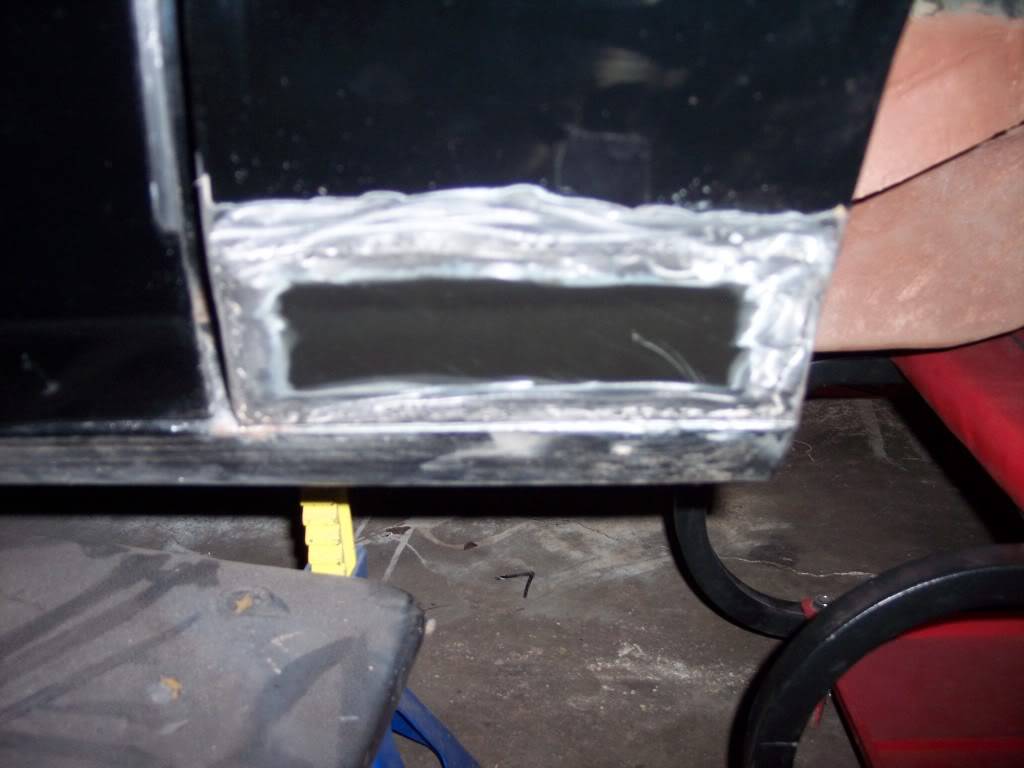
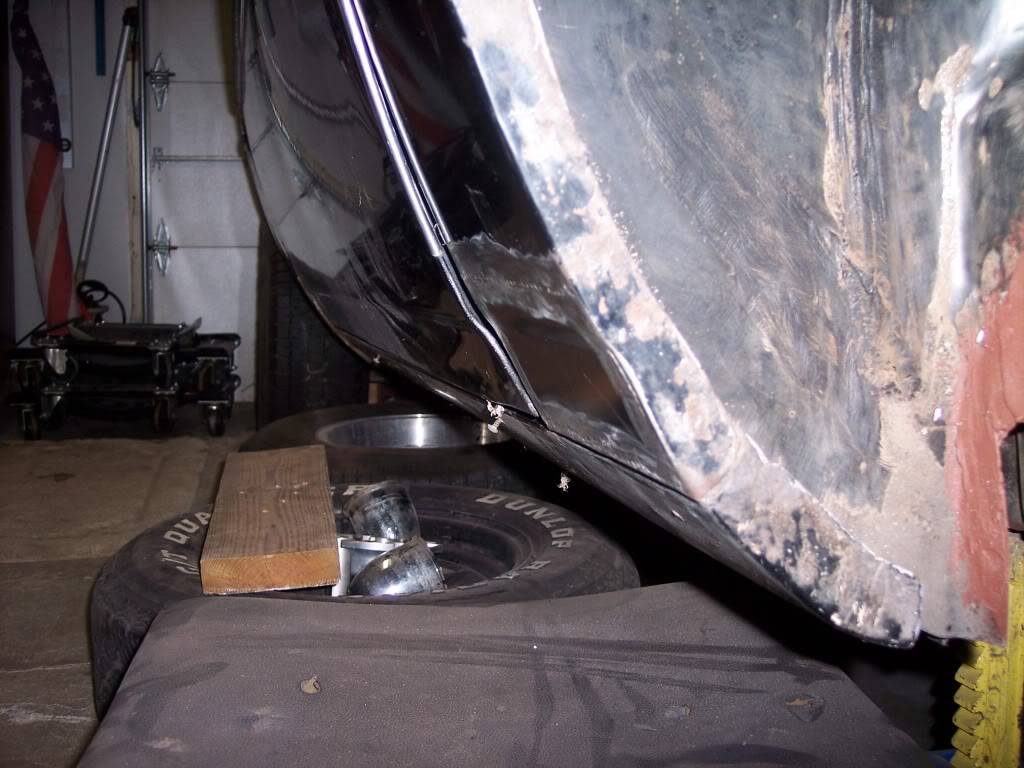
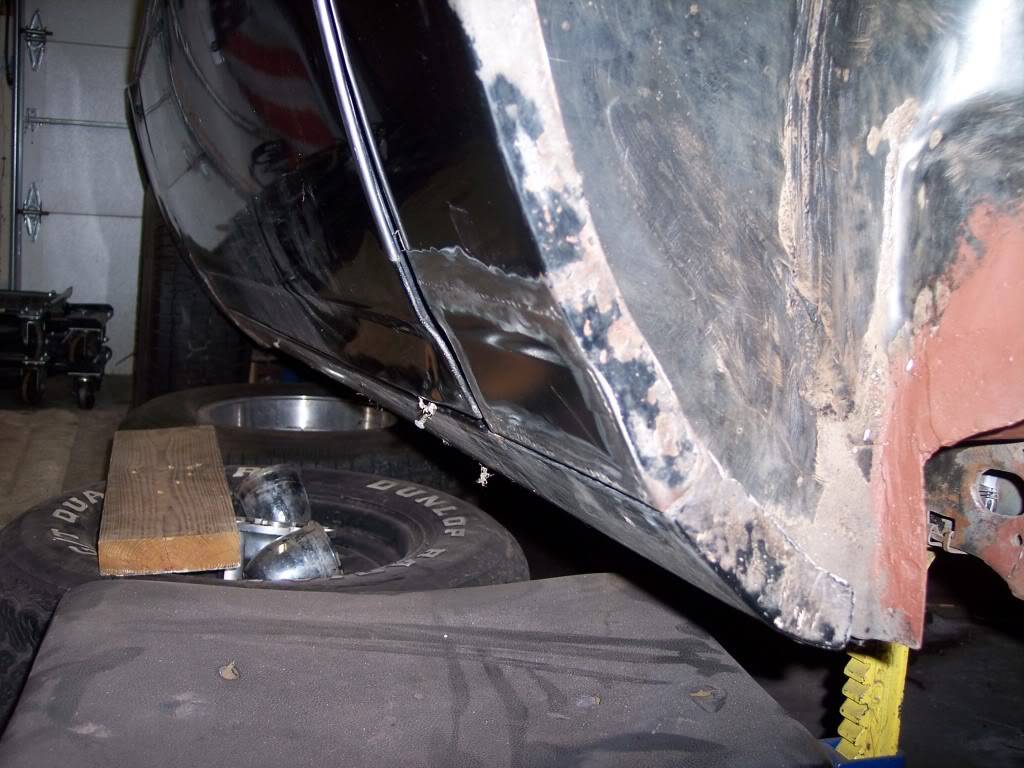 -Kevin
Project Thread: https://www.pro-touring.com/threads/113334-Project-JUNK-the-ultimate-budget-project!!-1979-Camaro
02-12-2015 #11
Registered User
- Join Date
- Jan 2015
- Posts
- 149
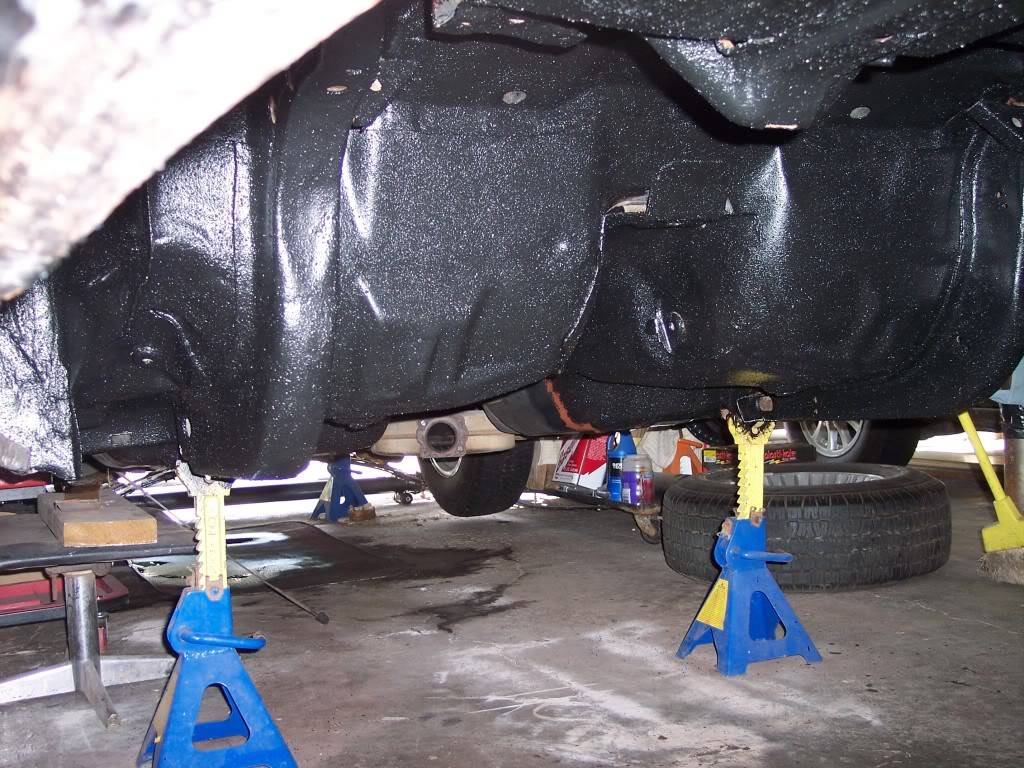
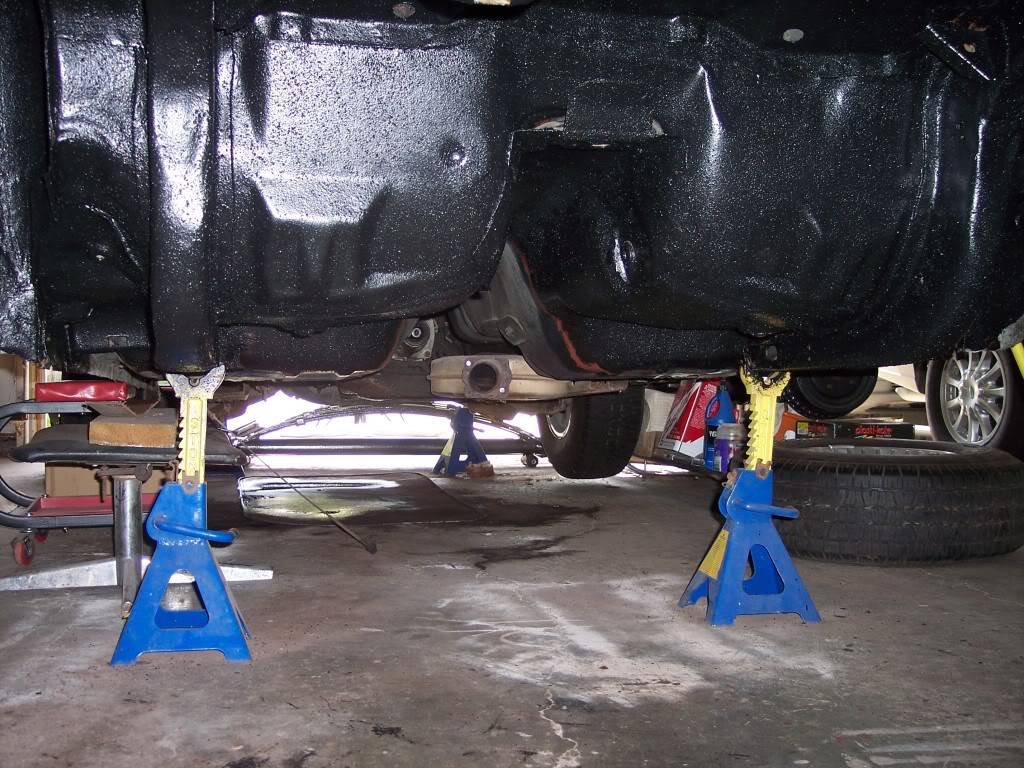
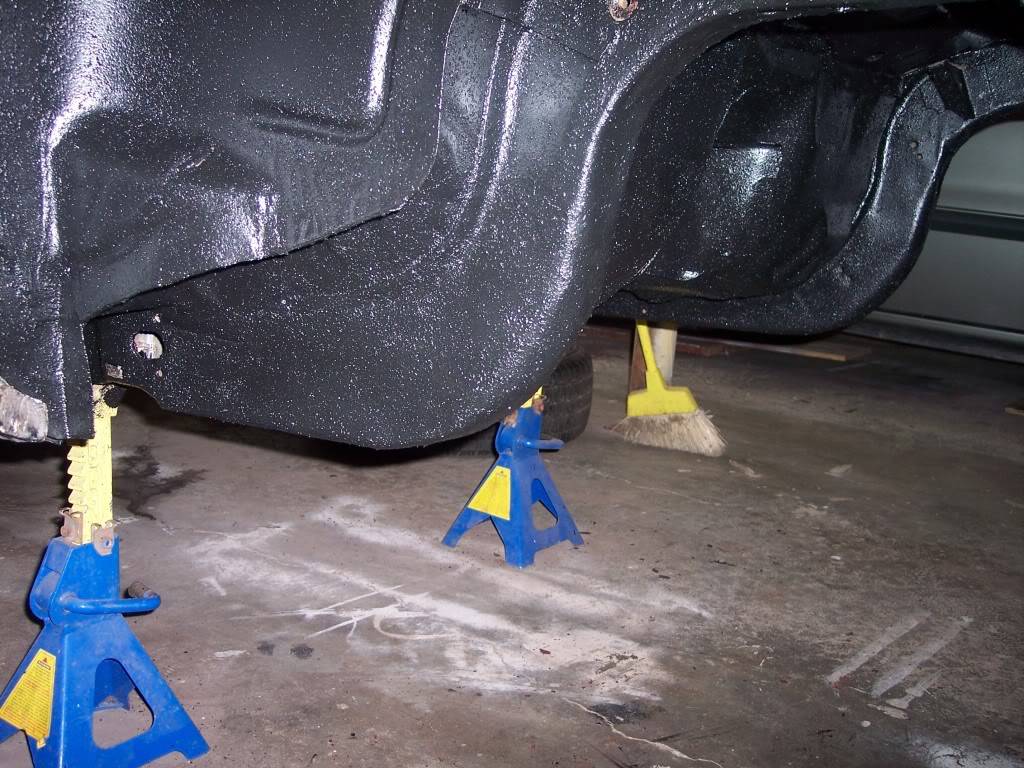
What a job!!! Laying on my back and cleaning the underside w/Purple Power....that stuff burns when it is dripping on you!! Anyway, got it all cleaned and primed ready for the bedliner, same as trunk. Will let the primer dry and apply bedliner next weekend hopefully.
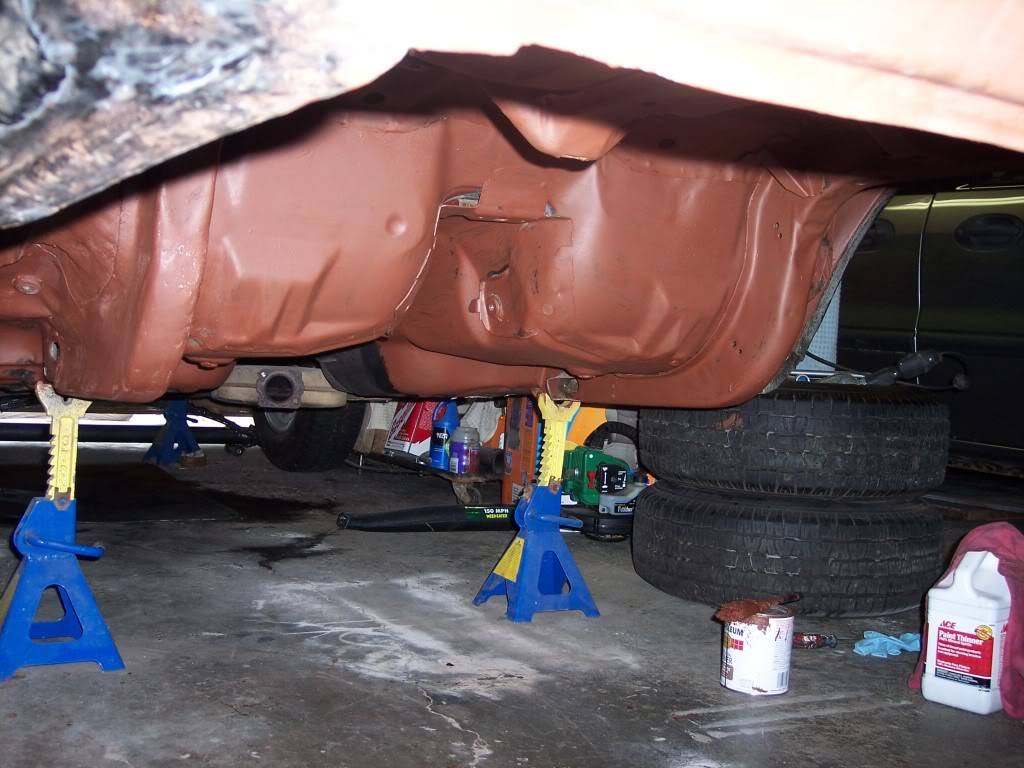
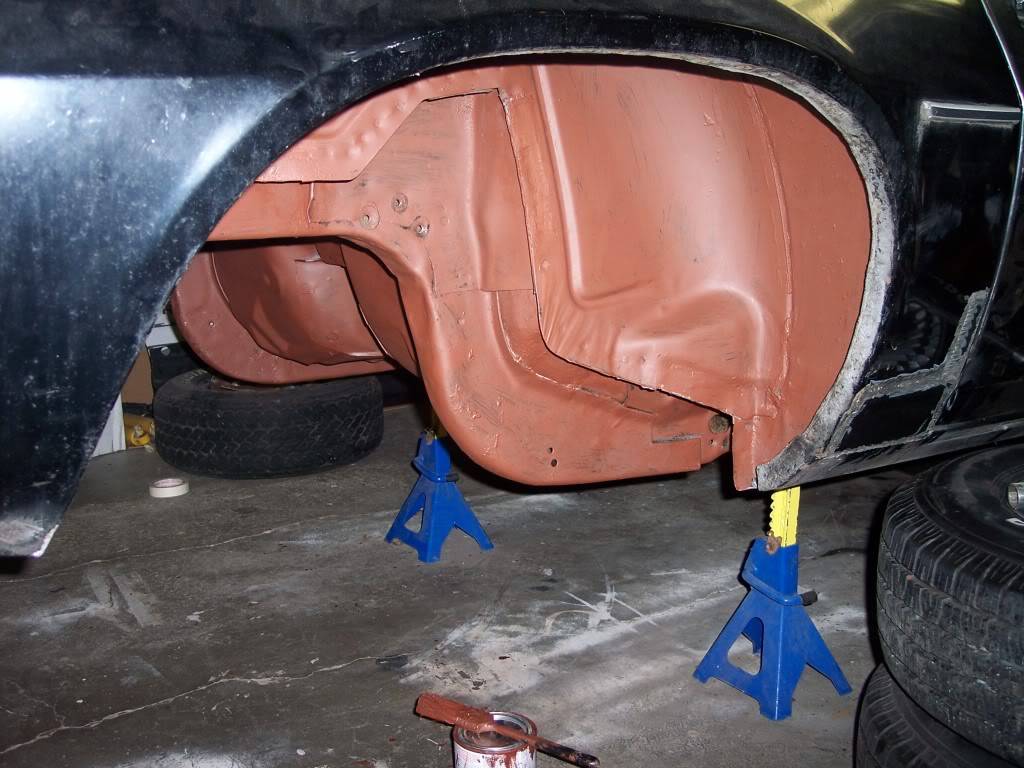
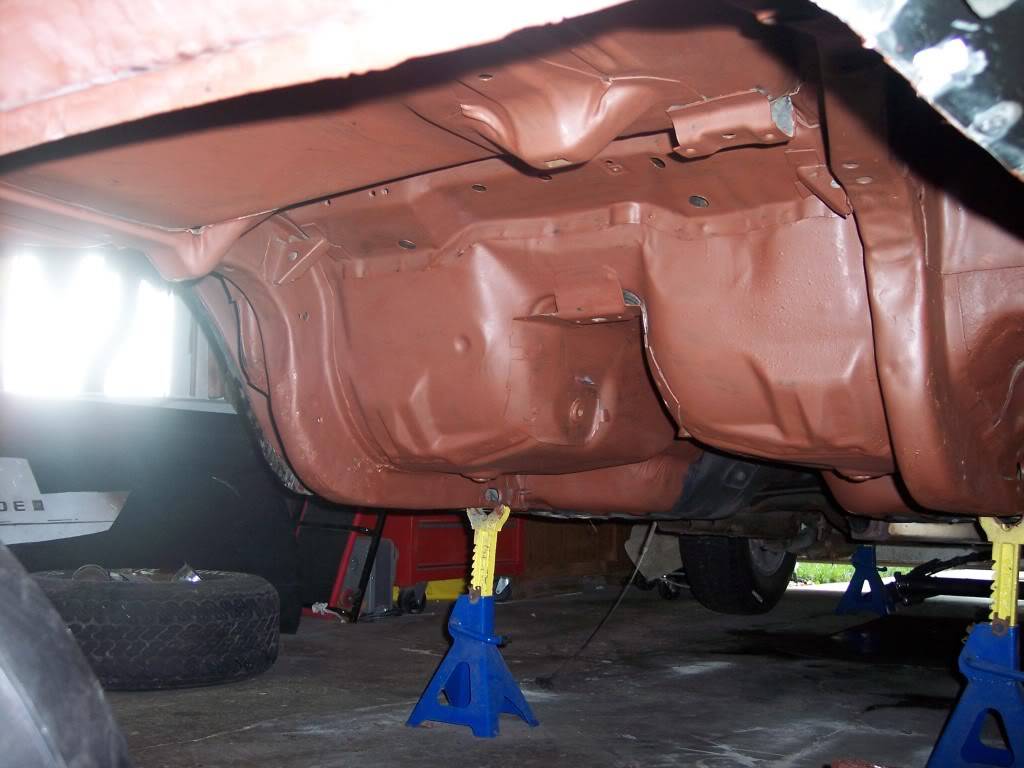
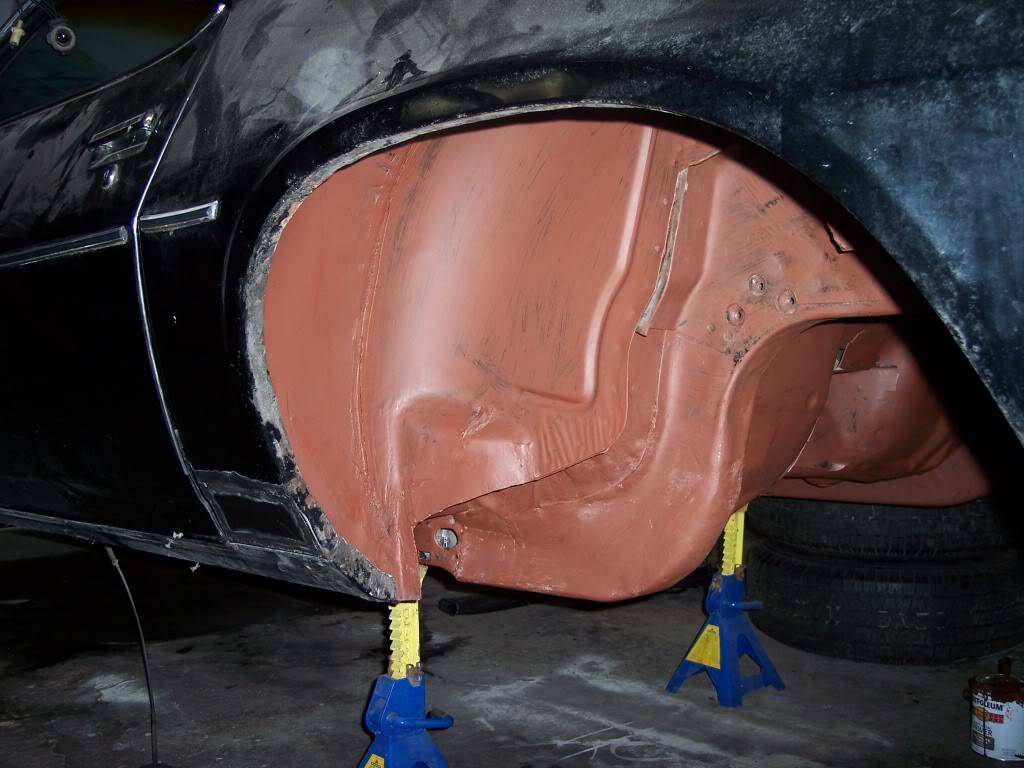
I got some bedliner on the wheel wells. It looks way better in person than in pics....doesn't look as shiny in real life. It is going to take more than I thought. It takes two coats to cover well and I have used about a quarter of the gallon for the trunk and back wheel wells!!
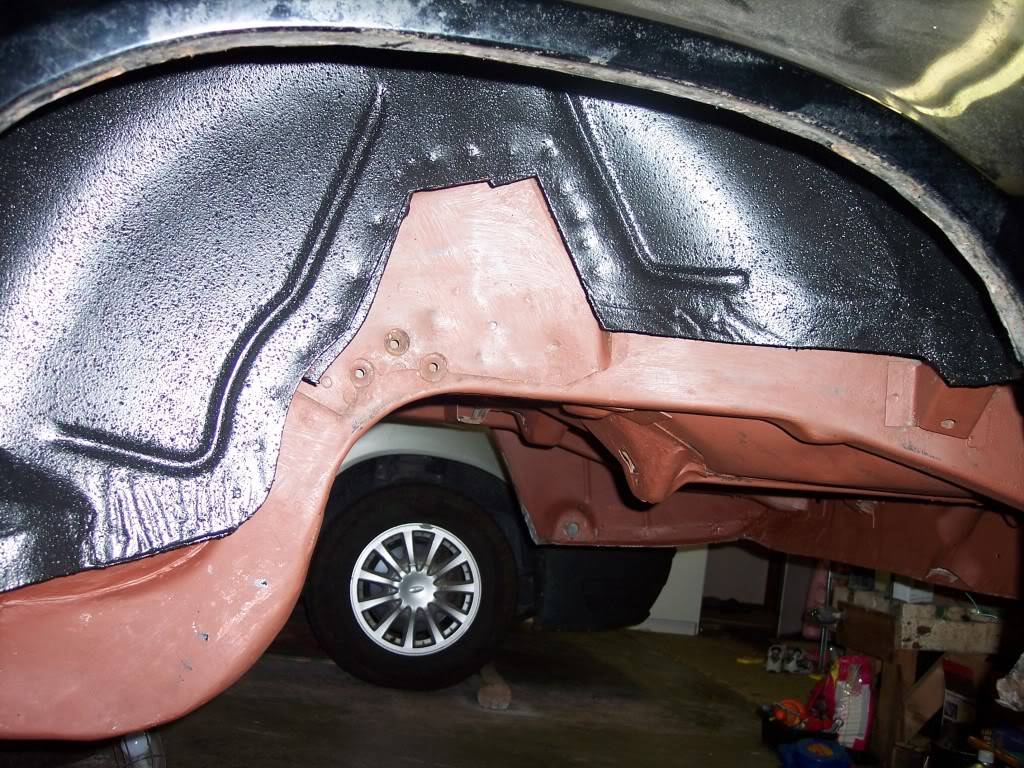
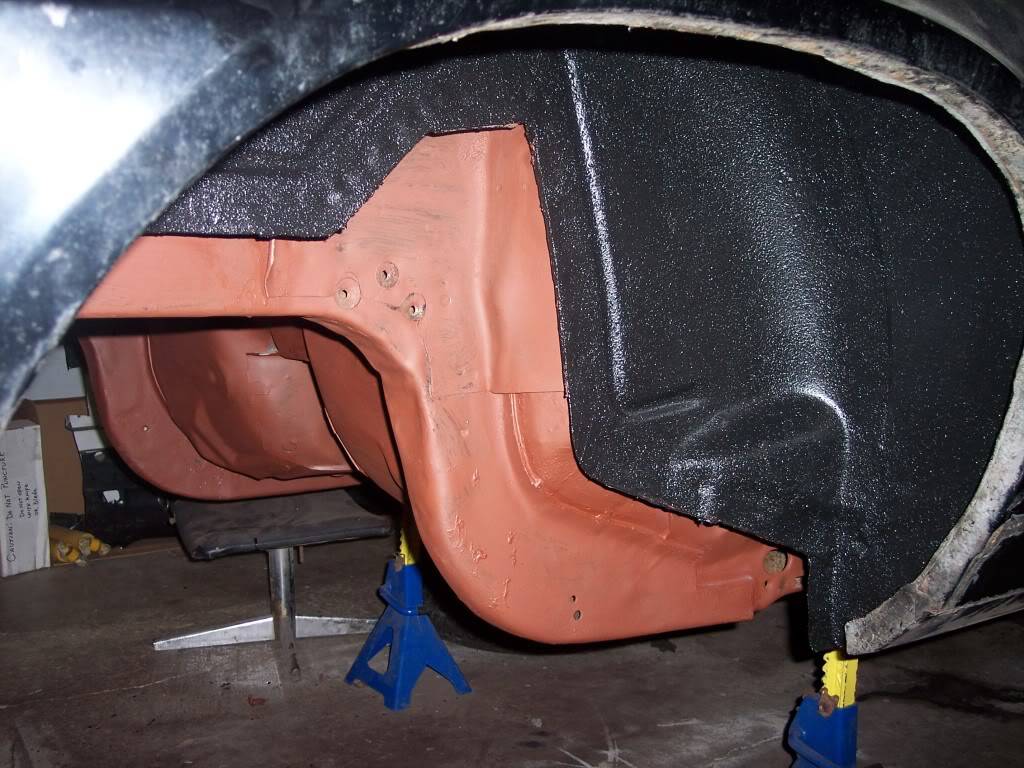
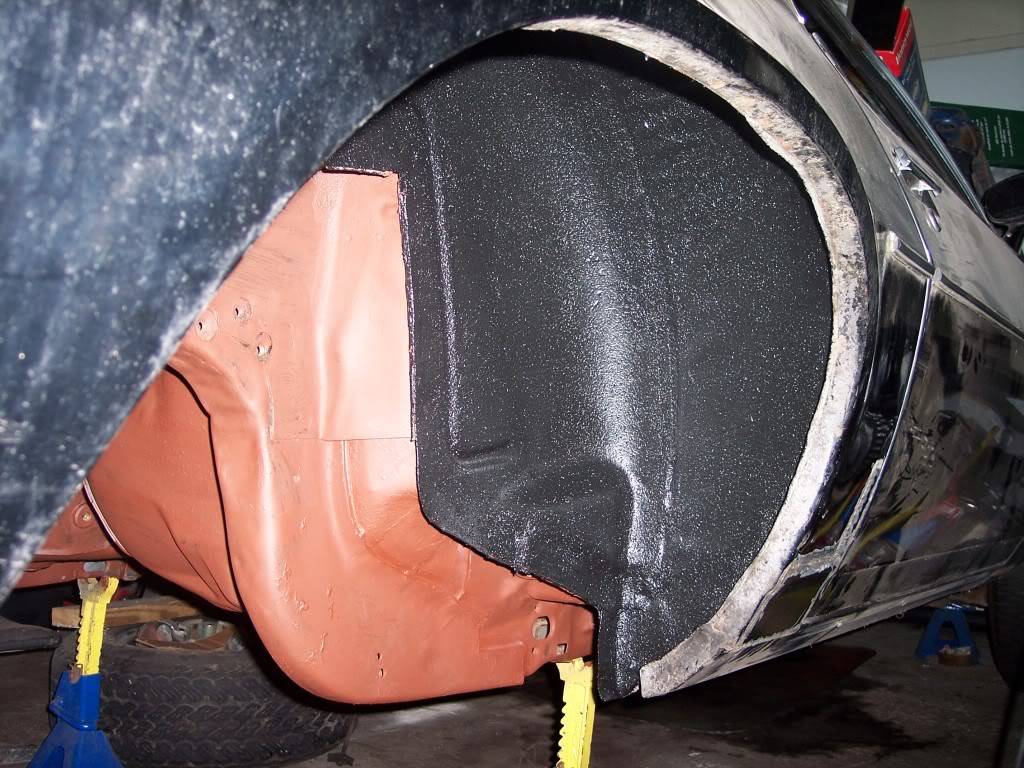
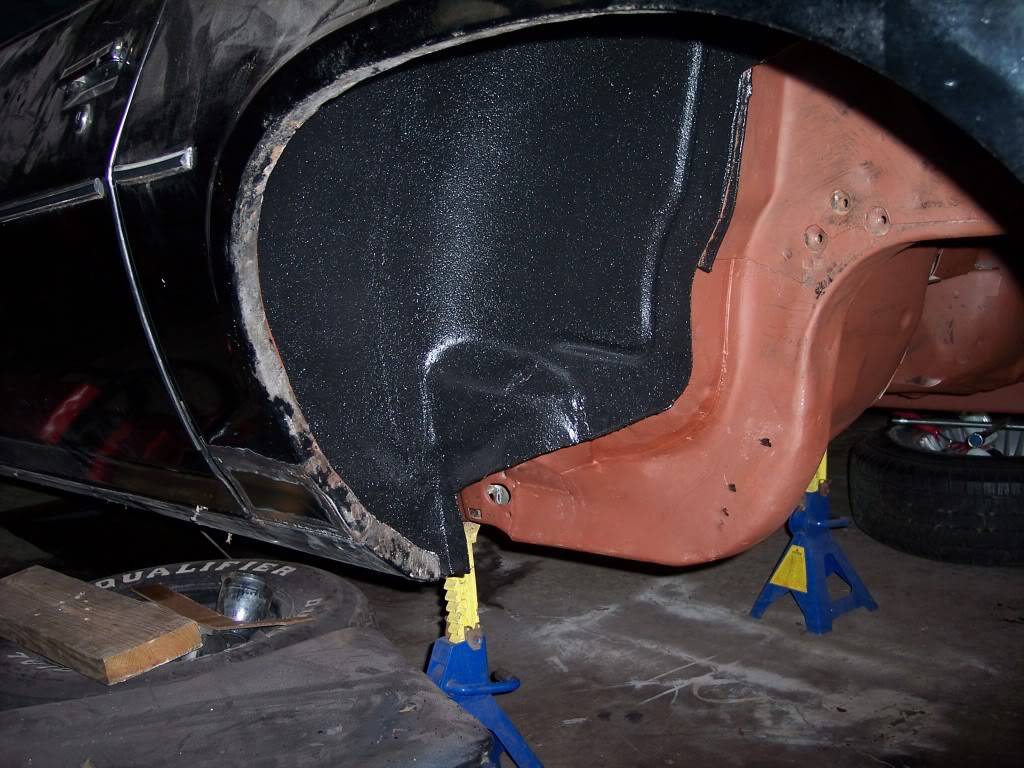
WOOHOOOO!!! i I finally got the rear underside all covered. It turned out good. There are a few spots to touch up, but I will wait till I get it back together and outside because I'm sure I will find more. Next step is to get the r/e and tank back in and get it back on the ground for the first time in over a year!!
You don't even notice the frame repair I did, I am very happy with the way it turned out....I just hope is sets even when back on the ground!
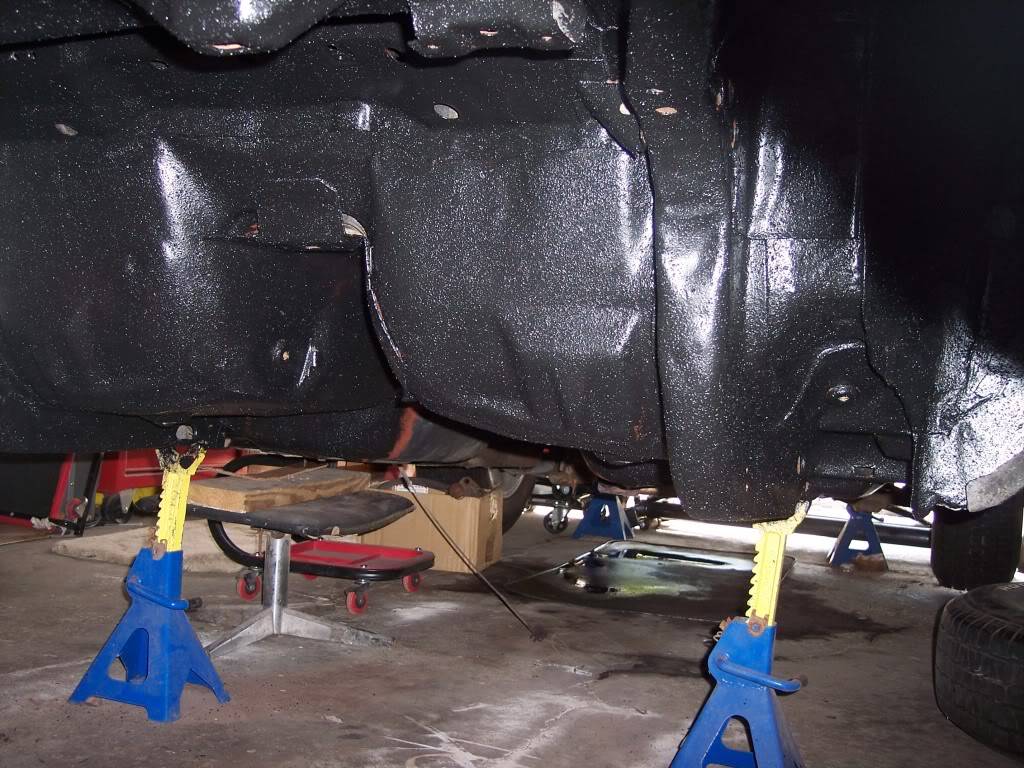
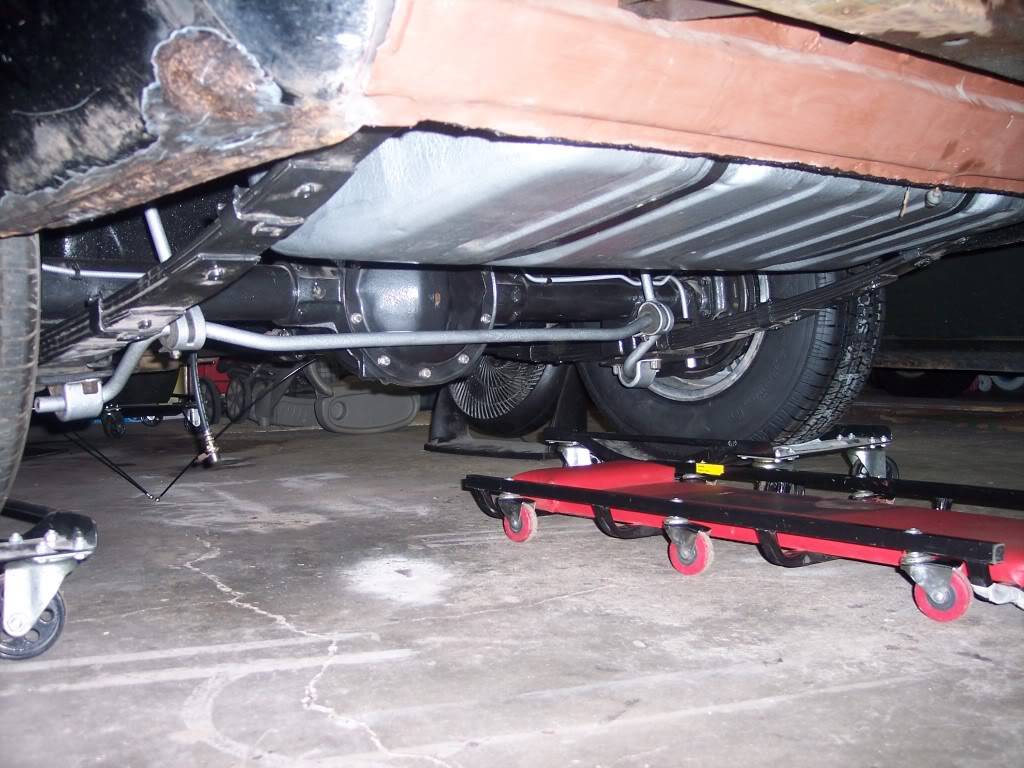
Got the r/e off its cart and on the dollies. Had to maneuver it around to fit w/the tires on. My plan is to attach the springs at the back, then bring them up to the r/e and attach, the pivot the whole thing up to the front frame mounts.
Didn't finish today because heard a pop in my back and then shot of pain....done for the day!!
BTW the dollies I got on CL sure paid off...made it alot easier to move the r/e around.
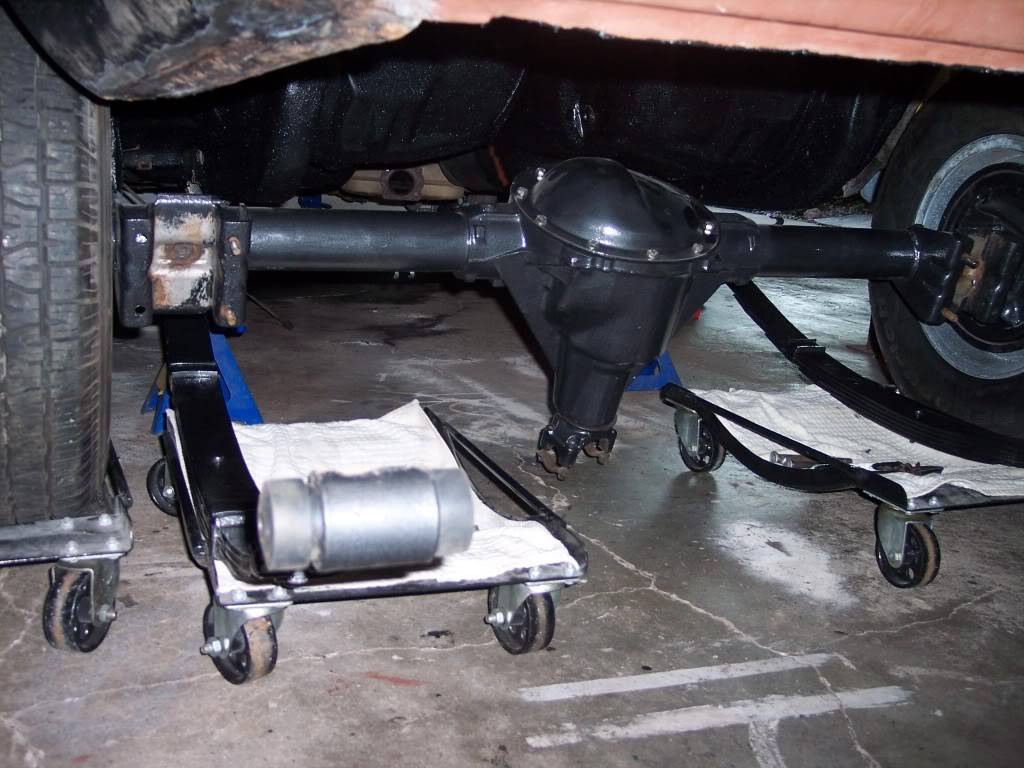
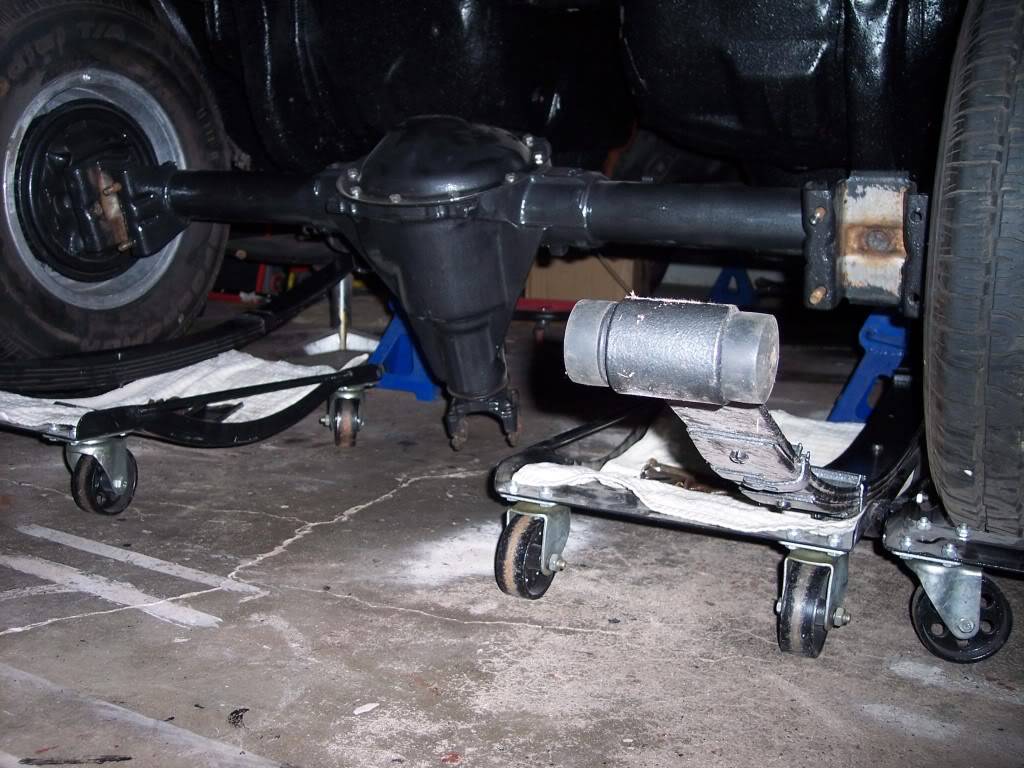
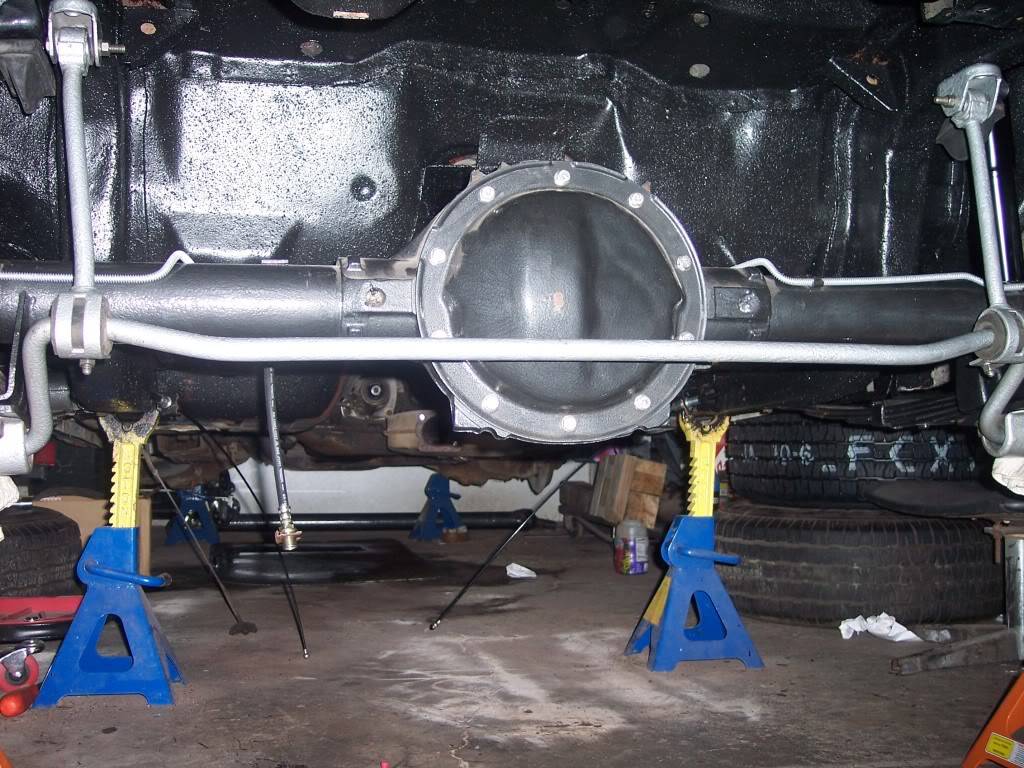
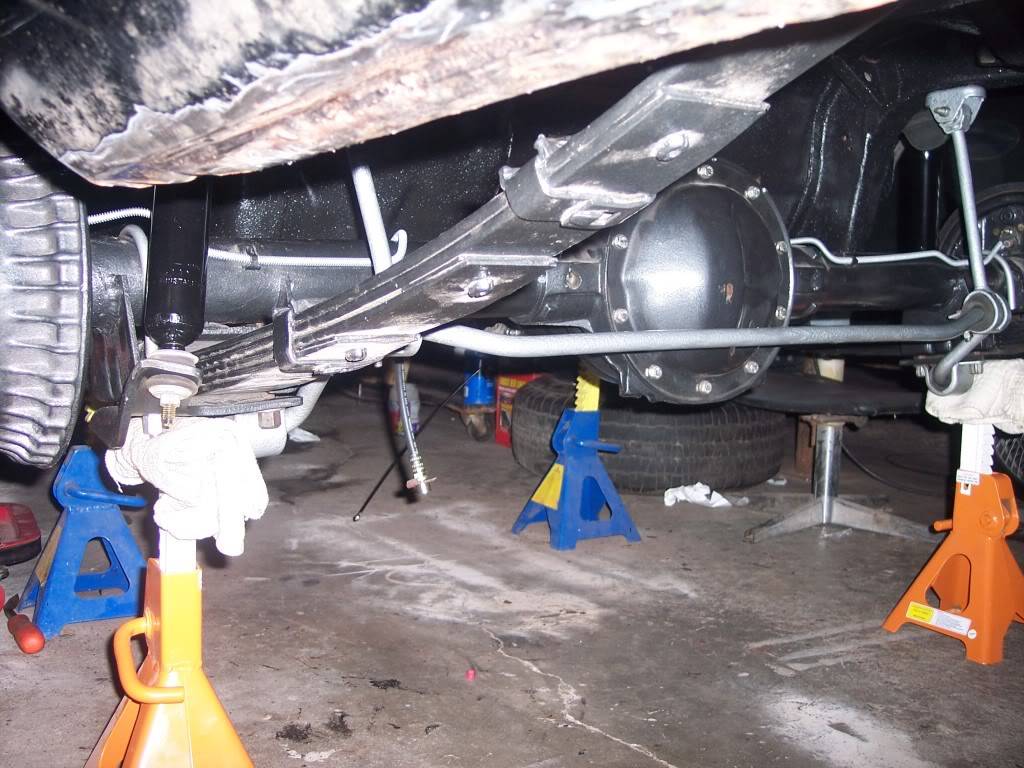
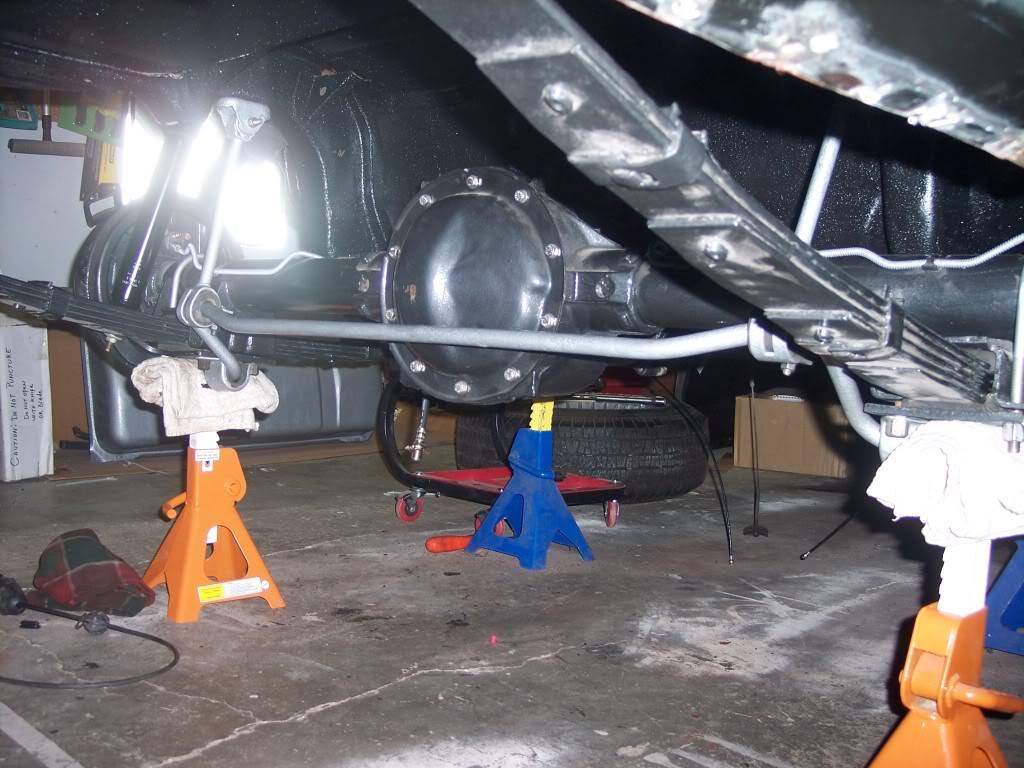
Got the rearend, shocks and sway bar back in. Need to touch up the r/e since I accidentally let it down w/out the shocks and the sway bar rubbed on it.:mad:
 -Kevin
Project Thread: https://www.pro-touring.com/threads/113334-Project-JUNK-the-ultimate-budget-project!!-1979-Camaro
02-12-2015 #12
Registered User
- Join Date
- Jan 2015
- Posts
- 149
Fuel tank all ready to install. I used some dense foam pipe insulation for the pads and also put it on the straps because I couldn't stand the bare metal touching my nicely painted tank.:D
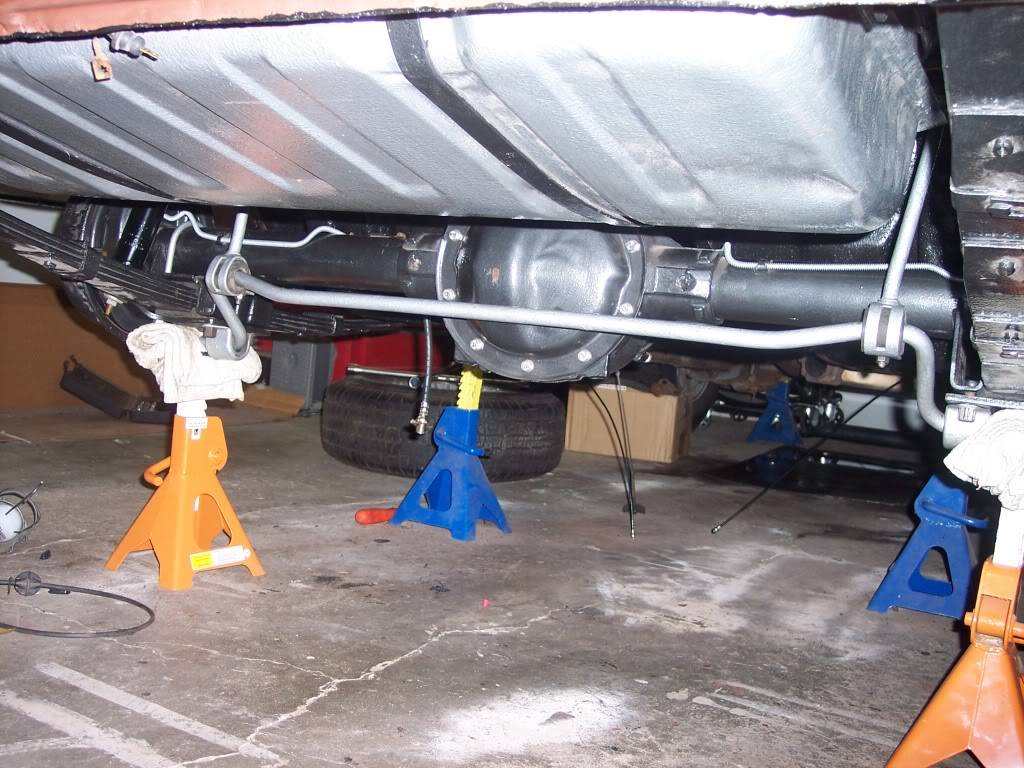
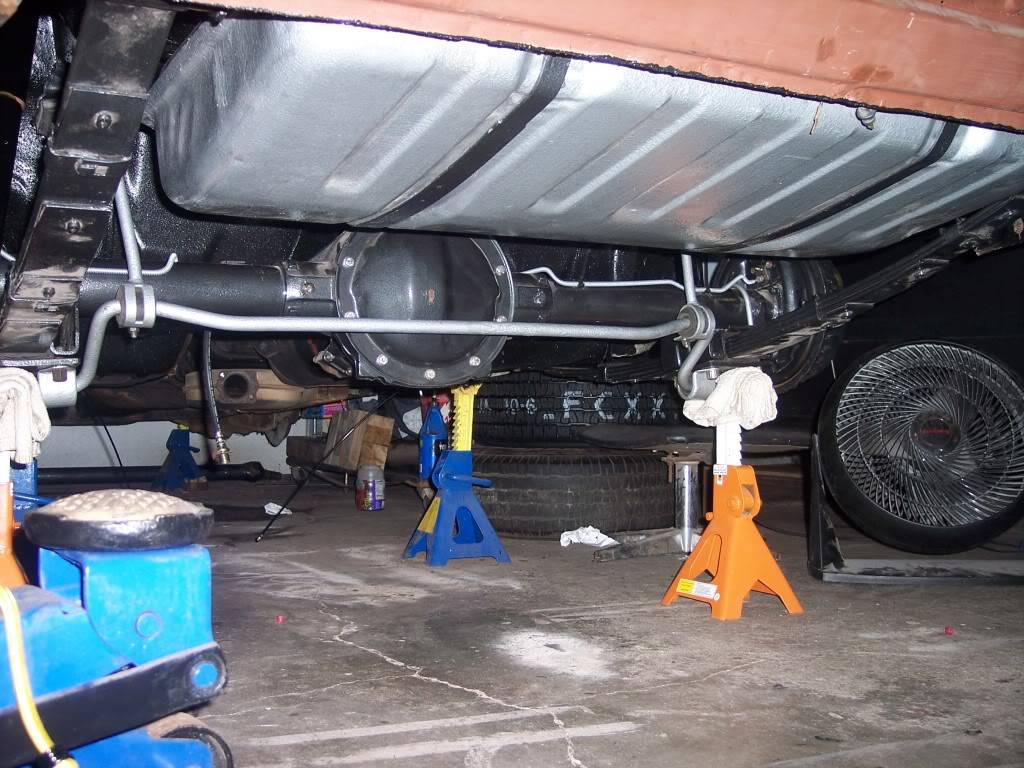
Fuel tank in........I think I am ready to finally put it back on the ground after 1.5 years in the air!!
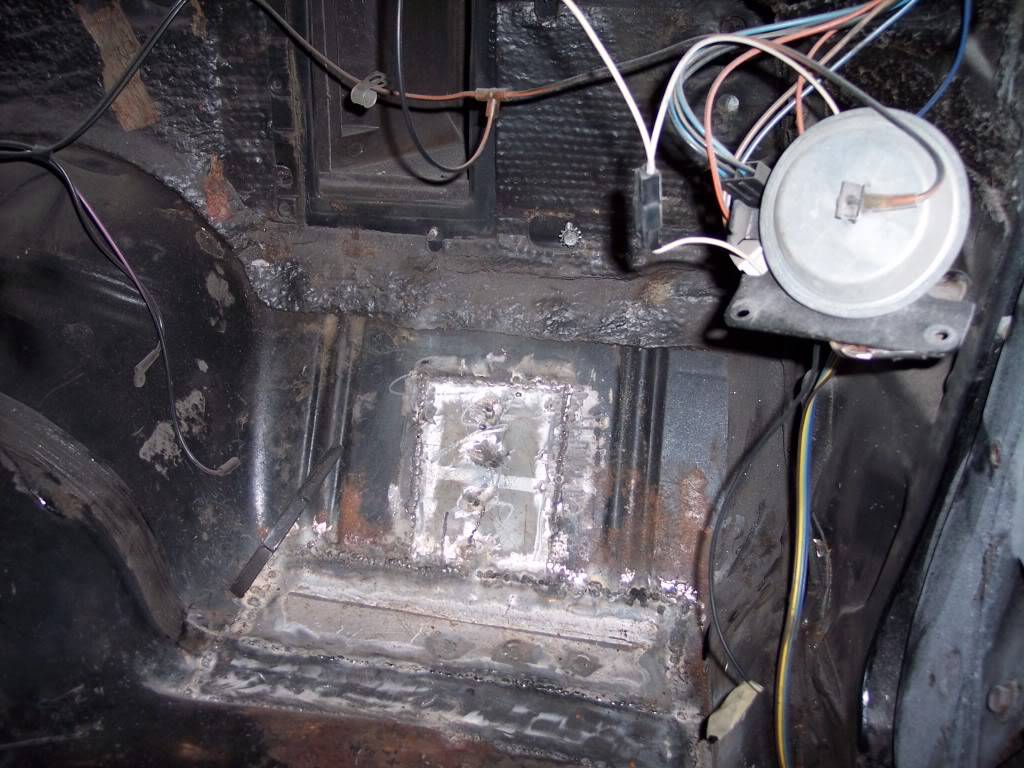
More updates.......I got the heater core out and the holes patched in the pass floor. I am now done w/all the holes in the floors. Next step is to tackle the rust on the dash.....I will get some pics of that later.
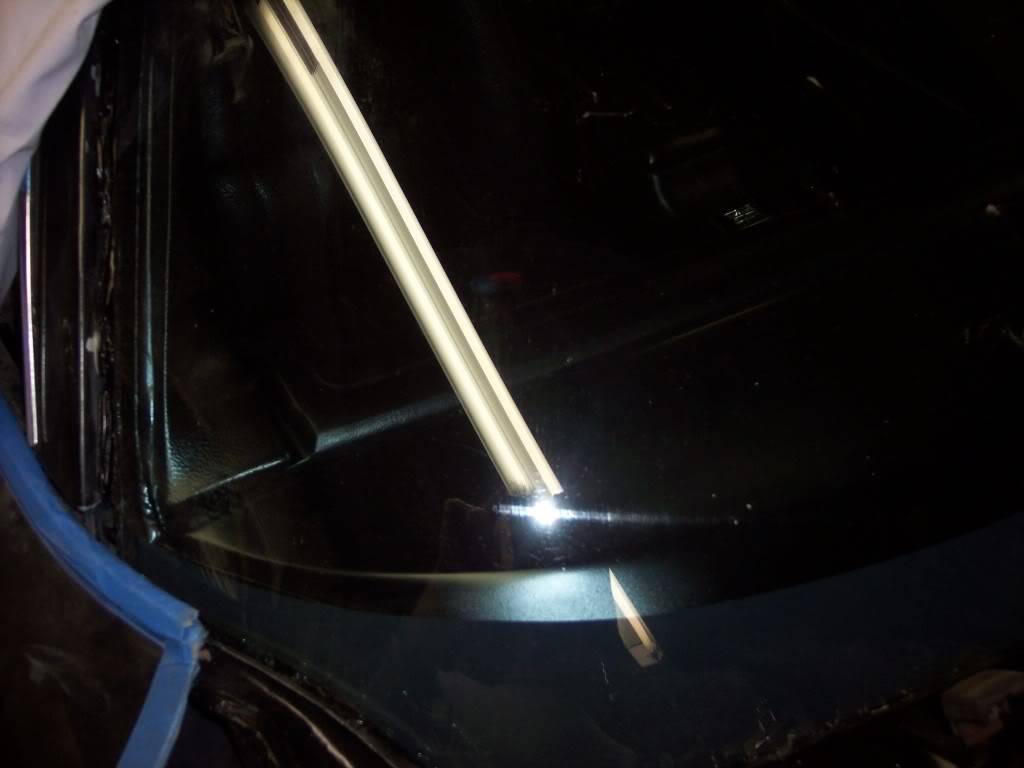
Well here is the next project. I had the glass company come out and remove the glass so I can fix the rust in the dash corner.
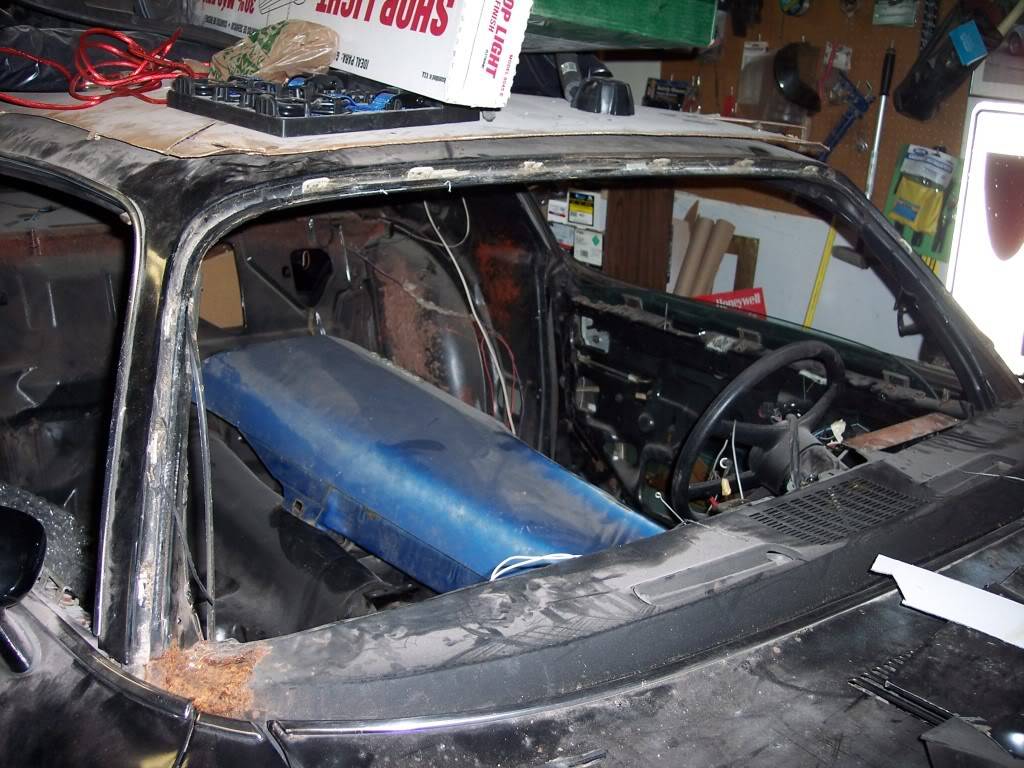
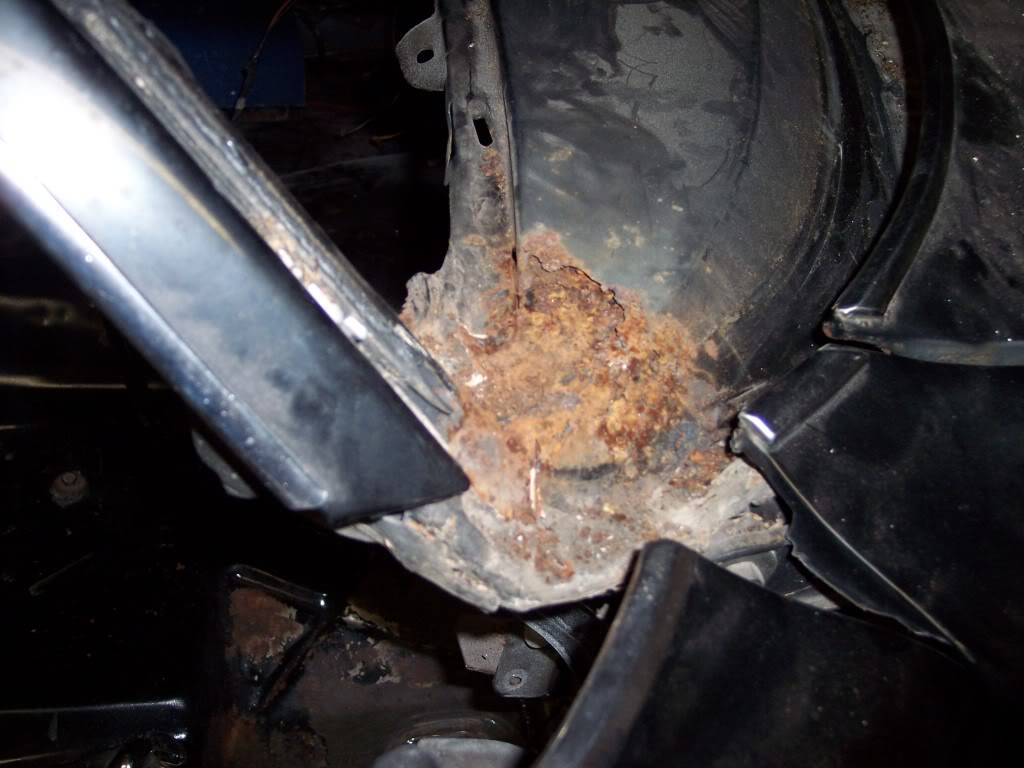
Much progress!!!! I got the hood and fenders off so I can start to repair the cowl. BTW good job GM for making it a pain in the @ss to get the f/e apart.....hood has to come off to get the fenders off......headlight buckets have to come off to get the fenders off(hidden bolts).....etc.
Then all of a sudden I hear water dripping and coolant is pouring out of the bottom of the radiator!! This thing hasn't been started for 1.5 years and then all of a sudden it starts pouring out for no reason(still not started).
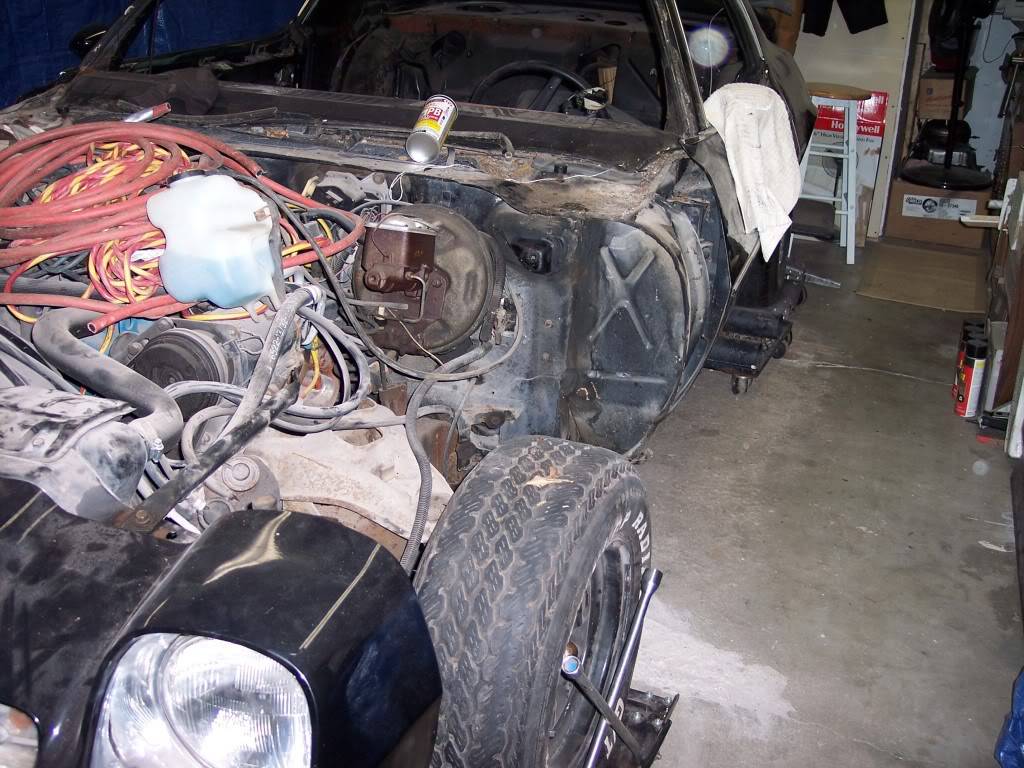
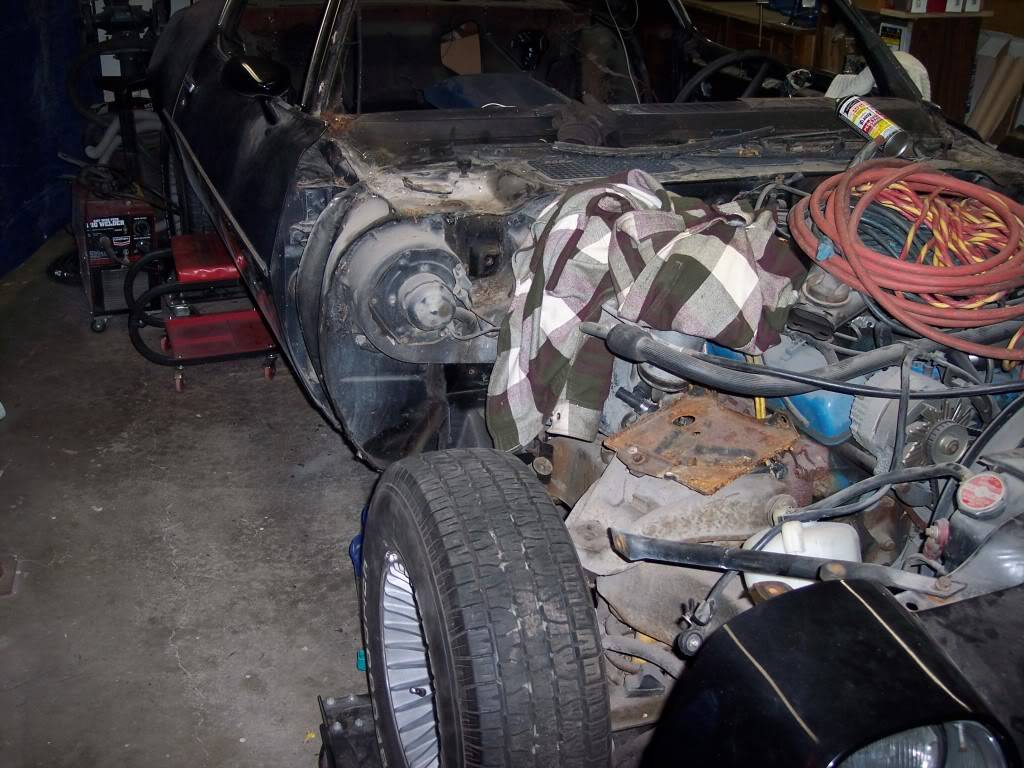
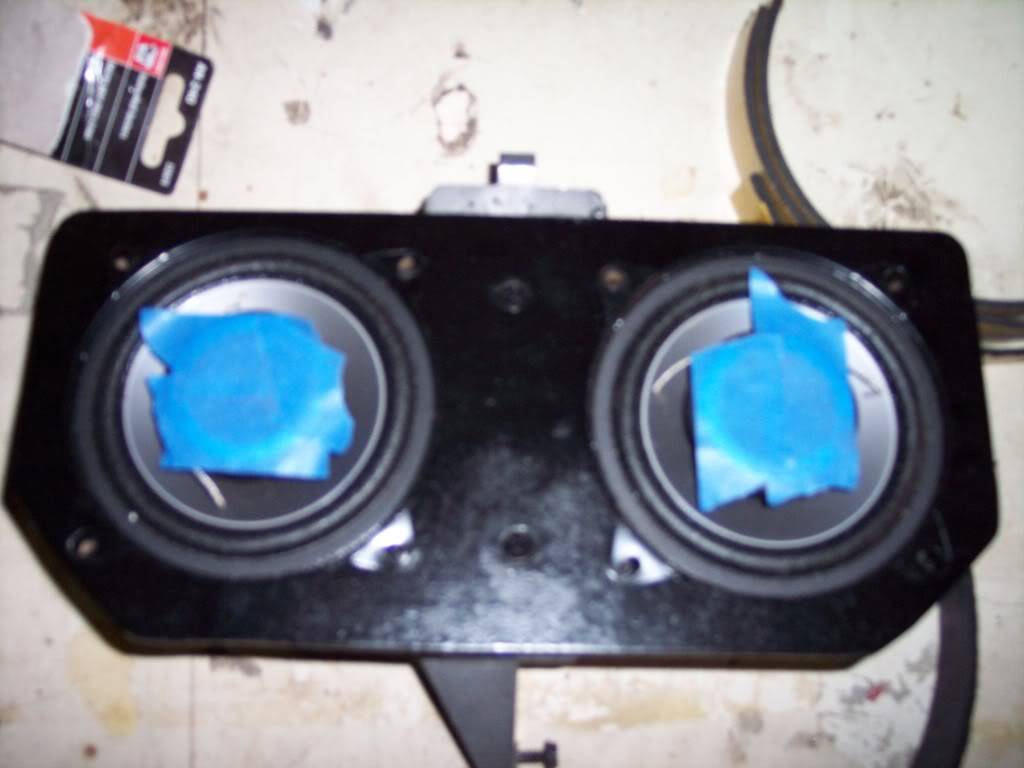
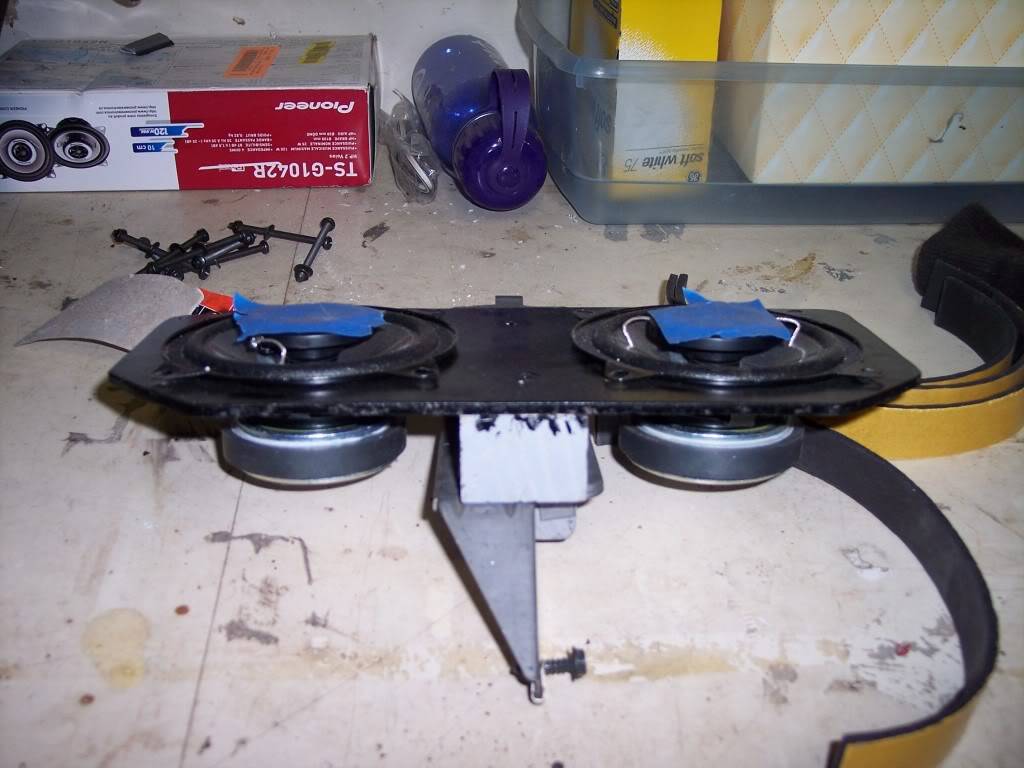
I figured since I will be working on the dash this winter that I would start w/the front speakers. I bought a set of Pioneers off Ebay and made a mount for it using the same dimensions as the old one and using the old bracket.
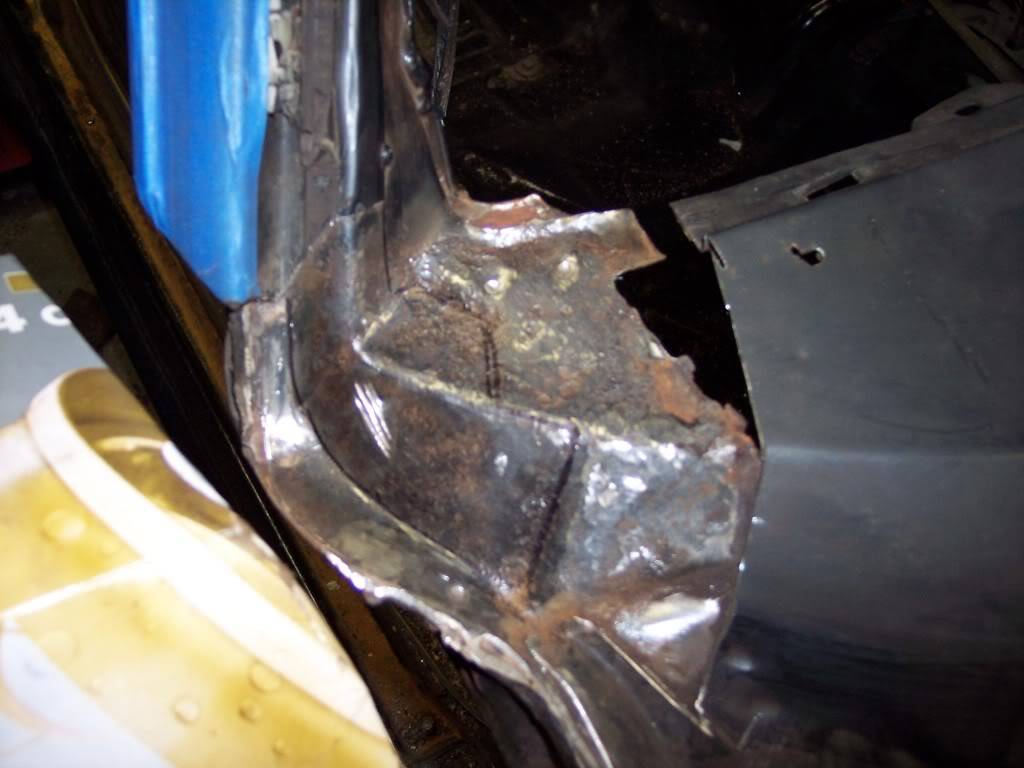
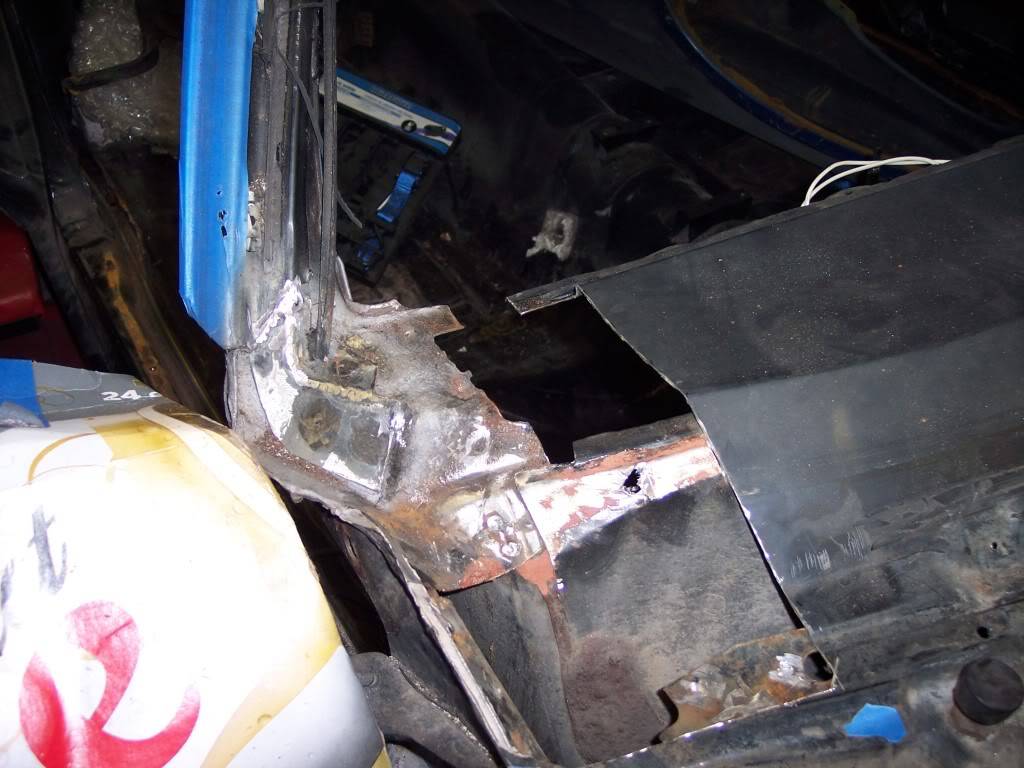
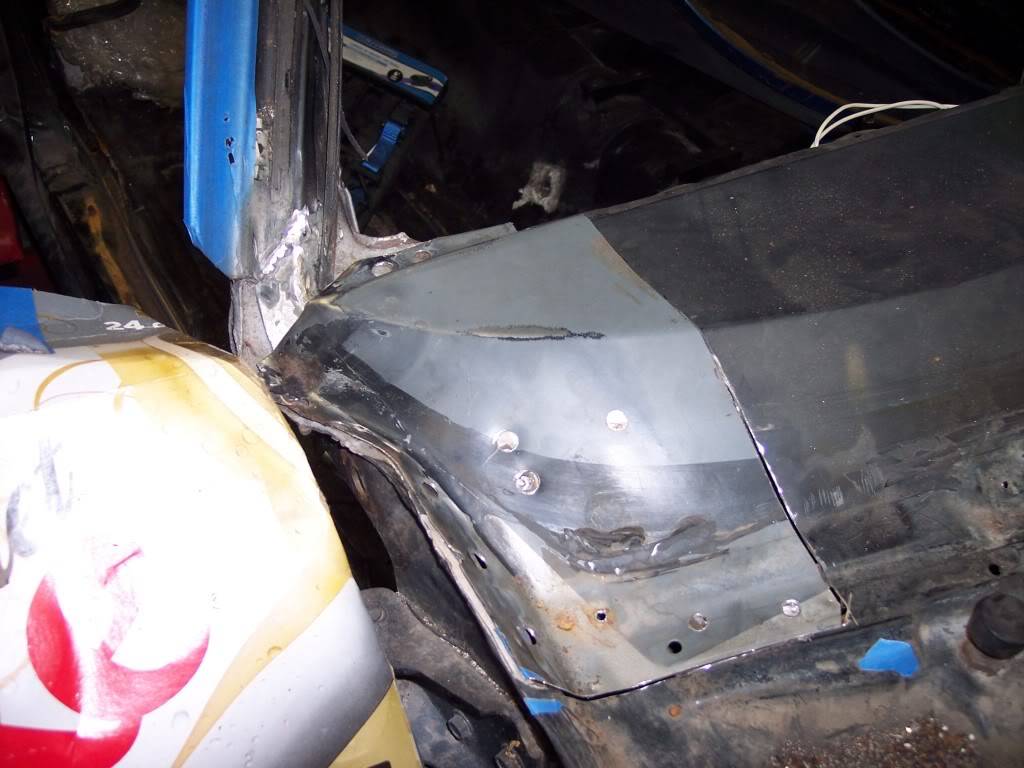
I got the dash piece cut out and found the outer lower portion of the "A" pillar rusted away. I fabbed up the lower portion and welded it to the cowl support. I kind of guessed on what shape it was based on the indentations on the support.
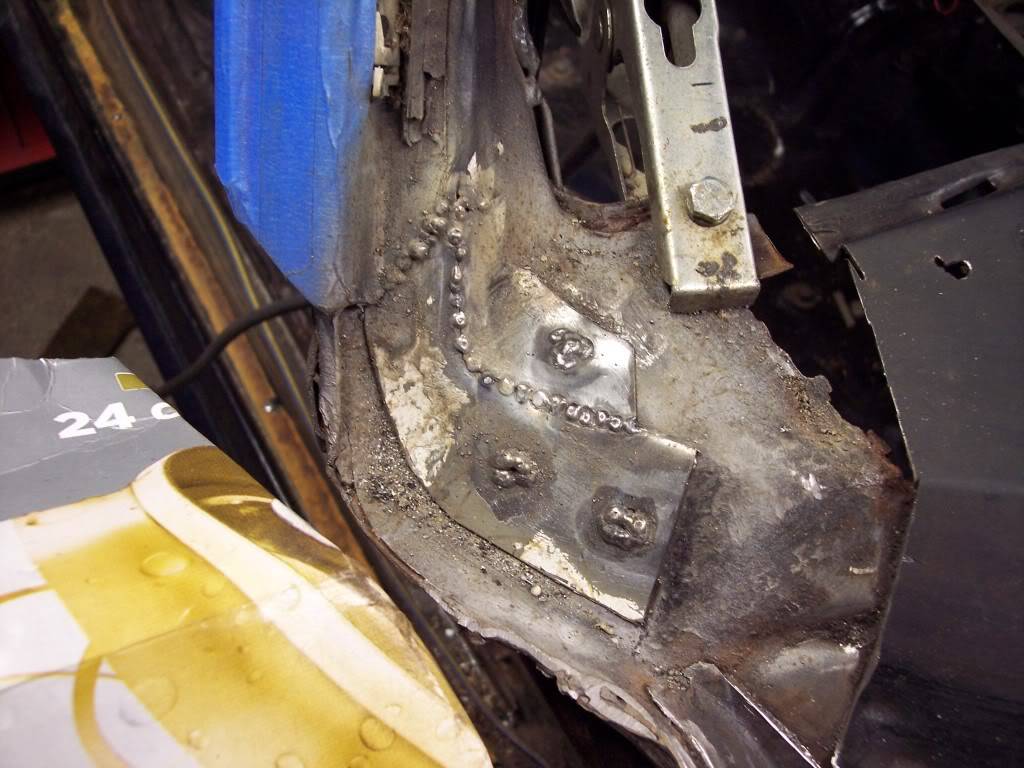
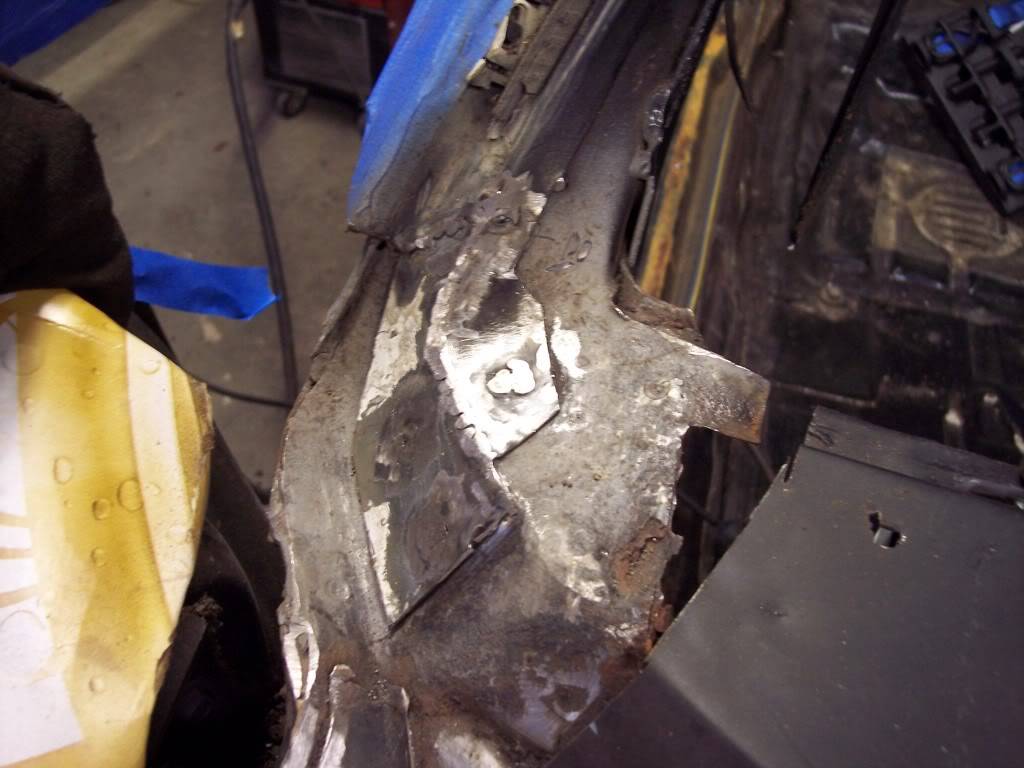
Got the corner all cut out and ready to weld the new piece Tony gave me in. Will probably get welded in next week.
 -Kevin
Project Thread: https://www.pro-touring.com/threads/113334-Project-JUNK-the-ultimate-budget-project!!-1979-Camaro
02-12-2015 #13
Registered User
- Join Date
- Jan 2015
- Posts
- 149
I got the metal all welded in the dash/cowl. Turned out real good. The piece Tony gave me was PERFECT for what I needed.
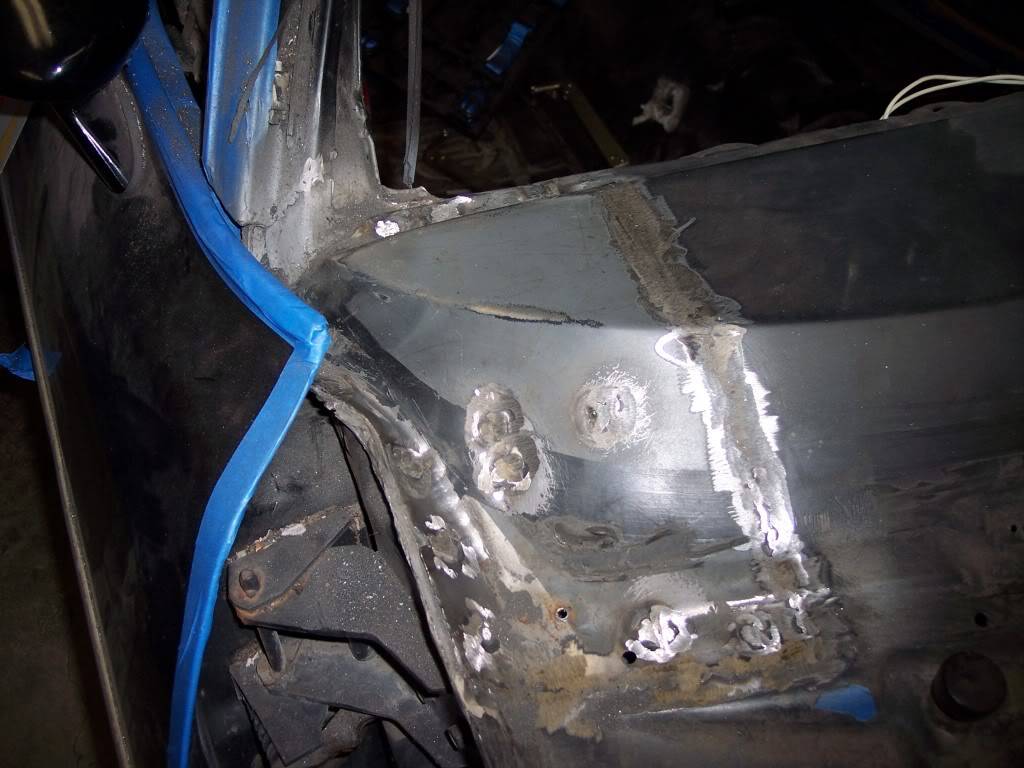
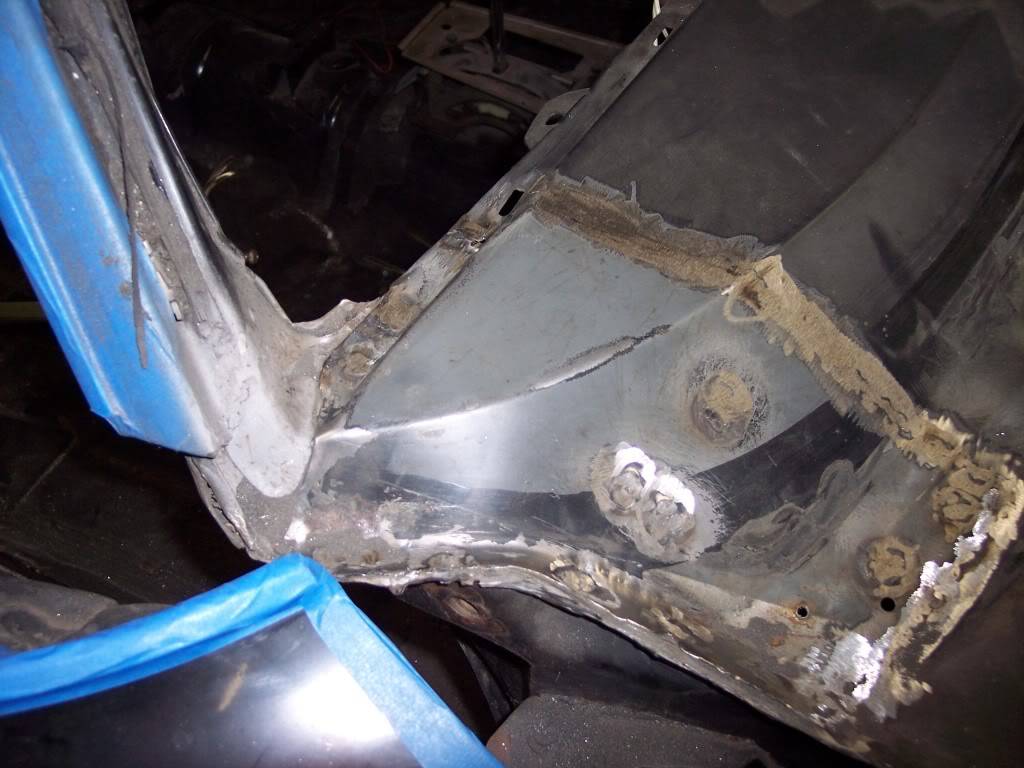
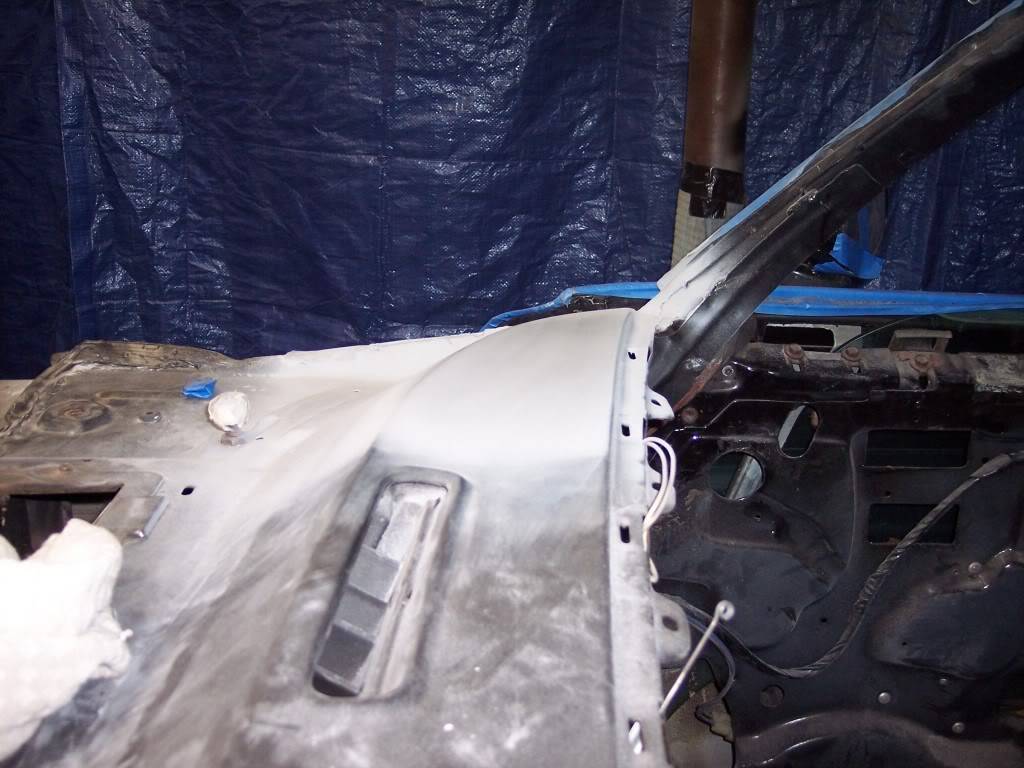
Got the dash all filled and primed. I will wait until it warms up to paint it and the whole cowl.
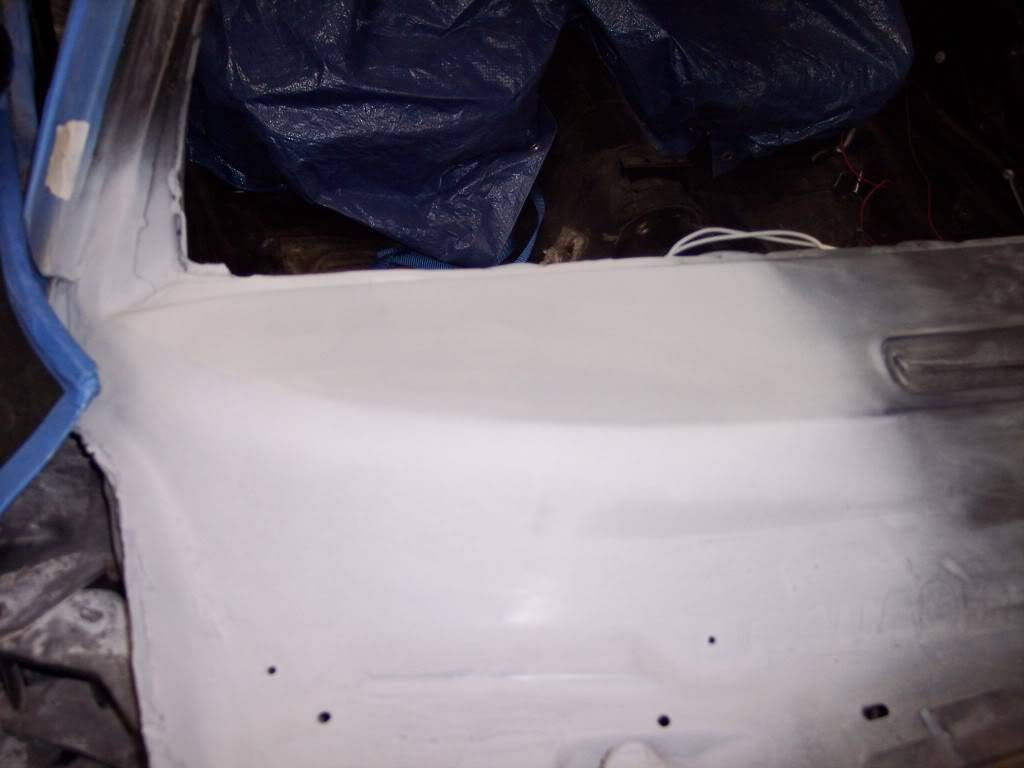
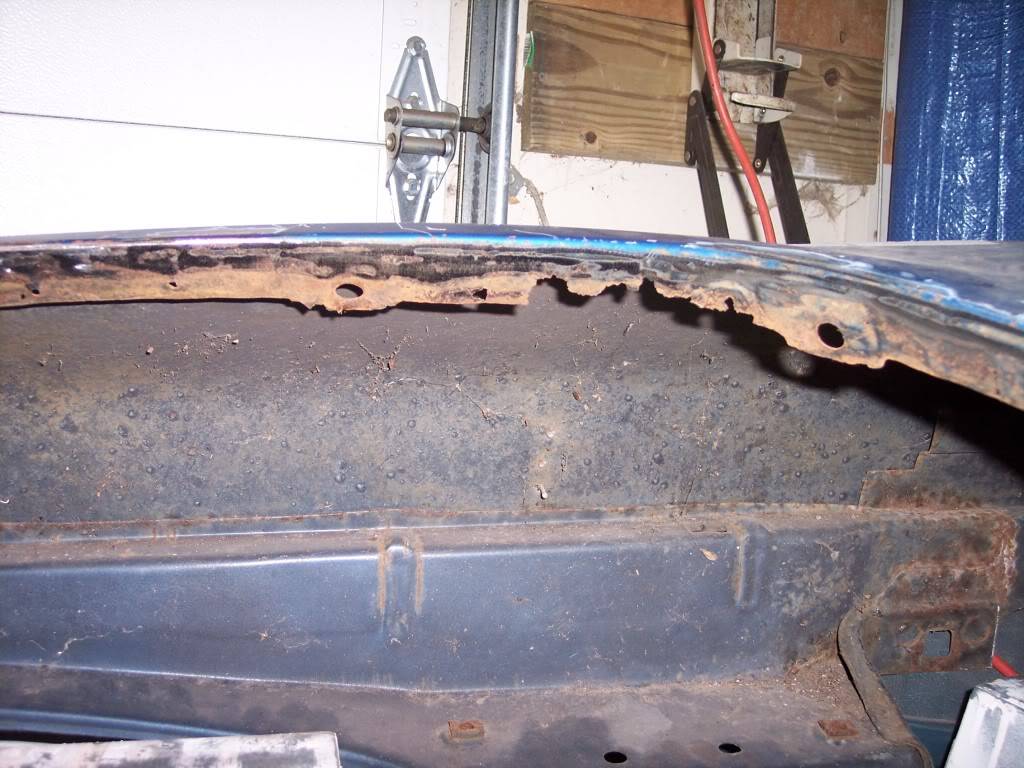
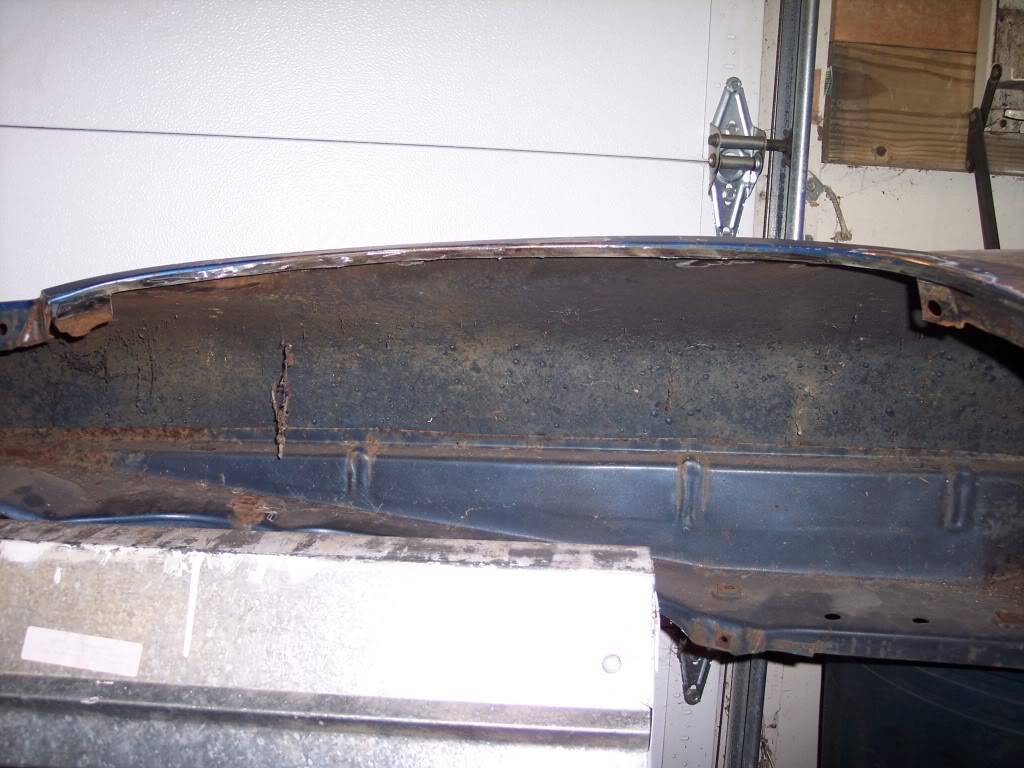
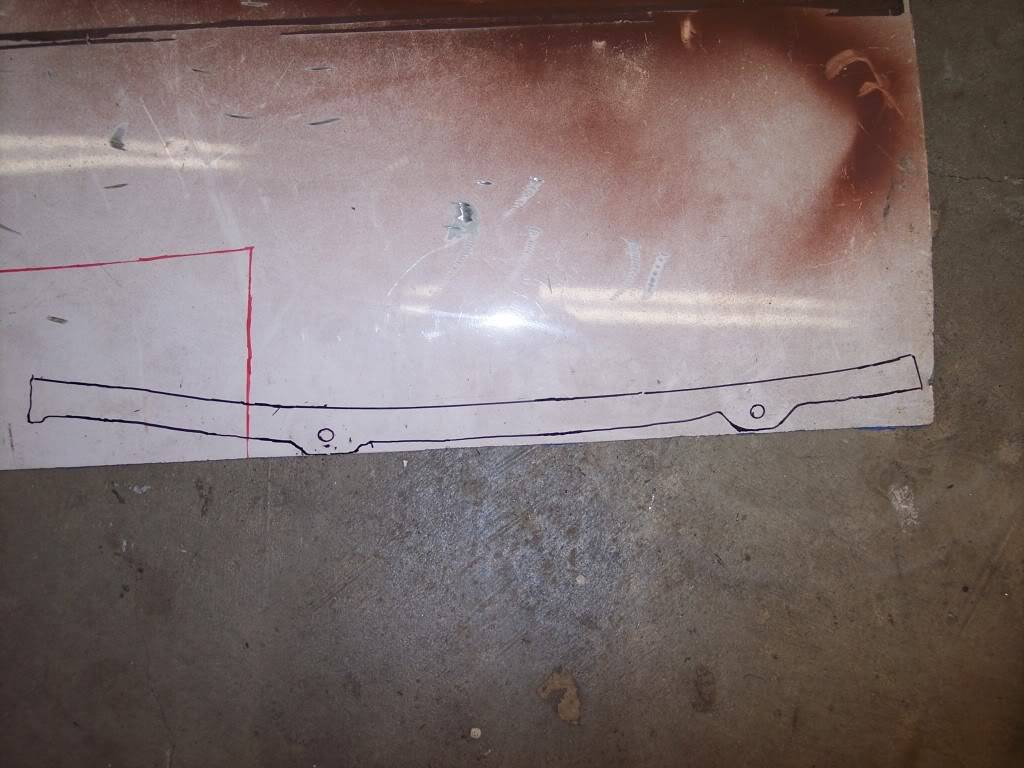
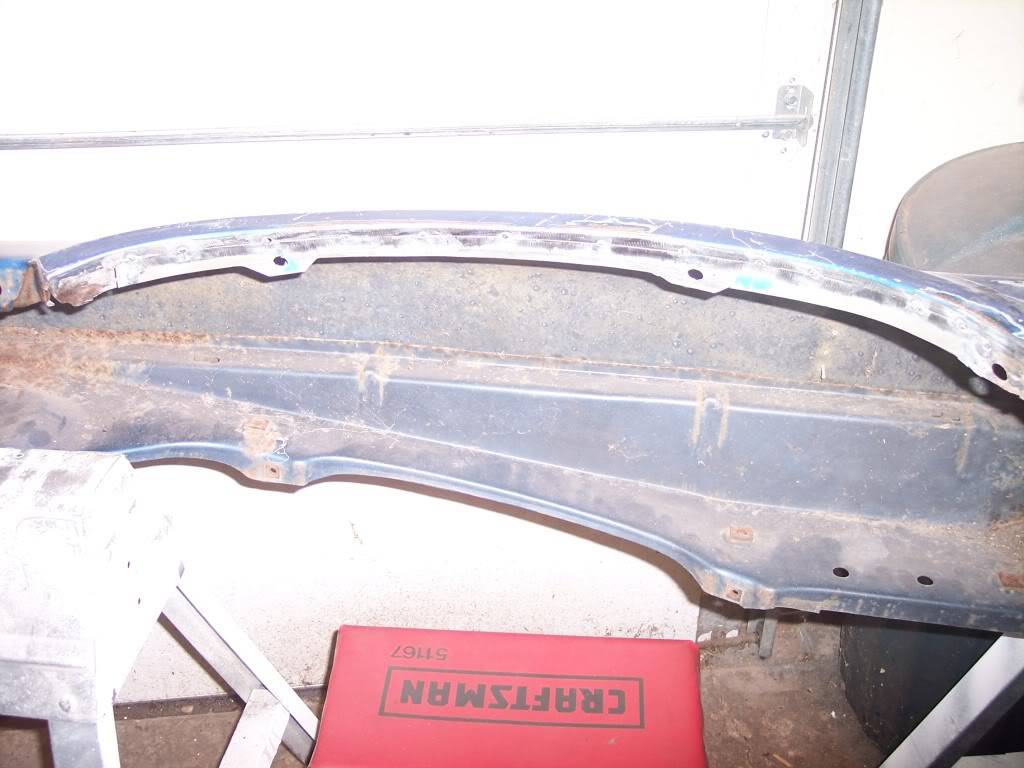
I got some more done today. Last year I bought a couple fenders off CL for 20.00 each. The were pretty rough but better than what I had. I am working on the drivers one now. The lower has very minor rust but the lip where the inner fender mounts was rusted pretty bad so I cut it out and replaced.
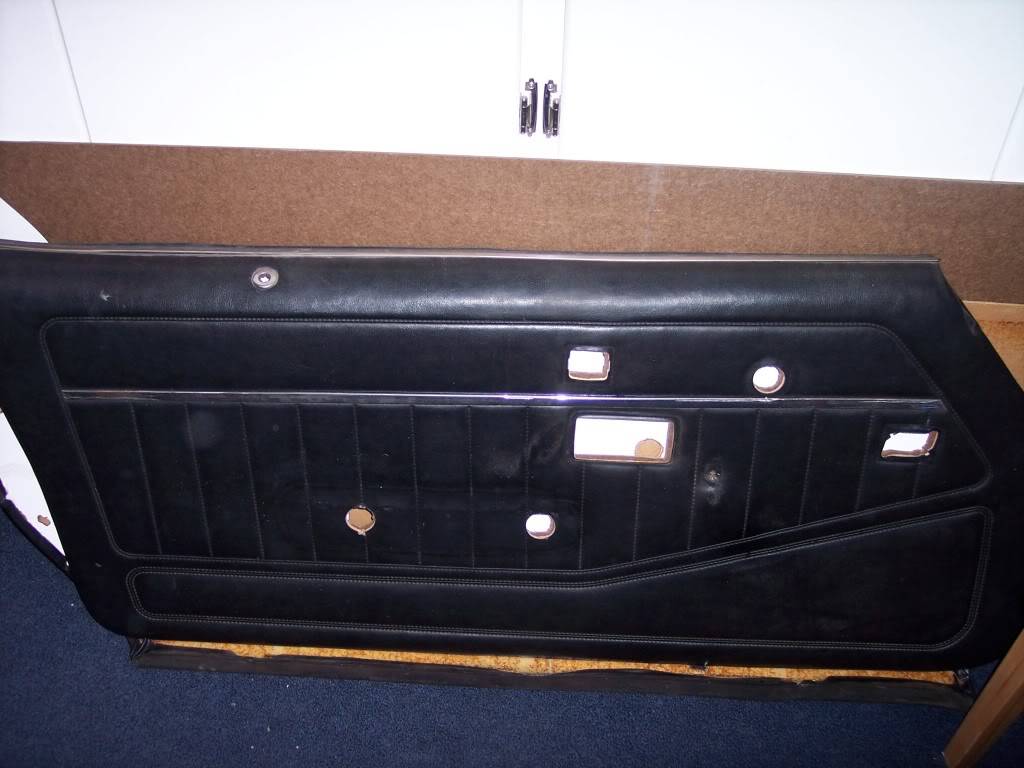
replaced the warped cardboard in my door panel's w/the 1/8 inch stuff from Lowes. Cheap fix, cost less than 15.00 for wood and glue.
BEFORE:
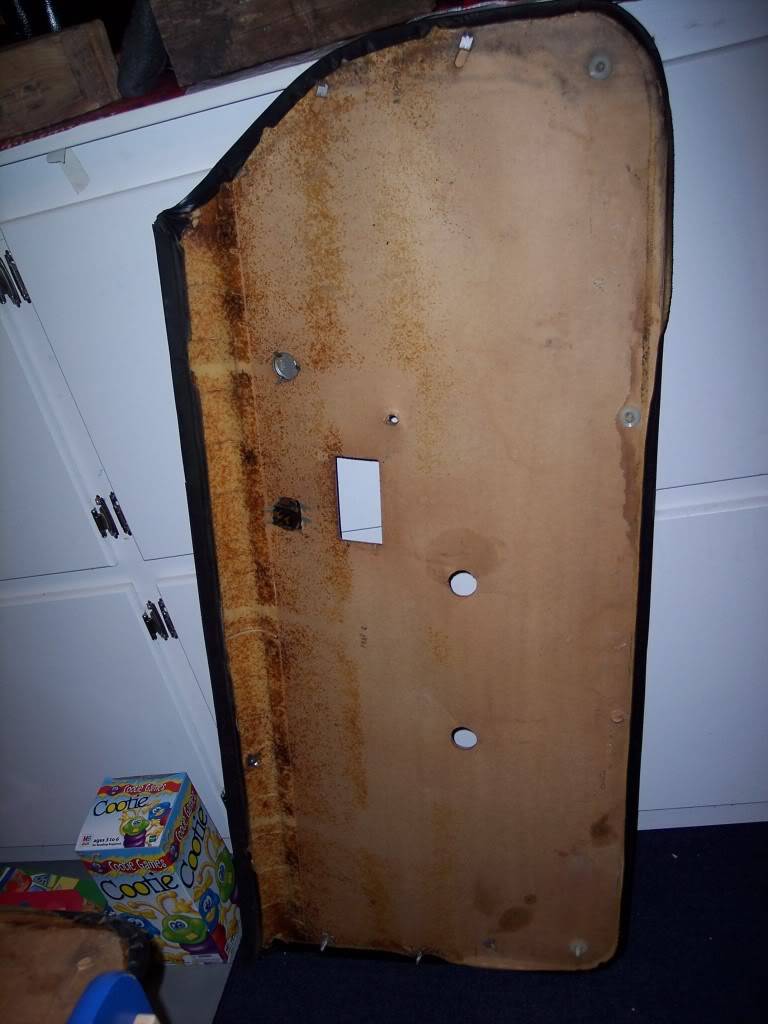
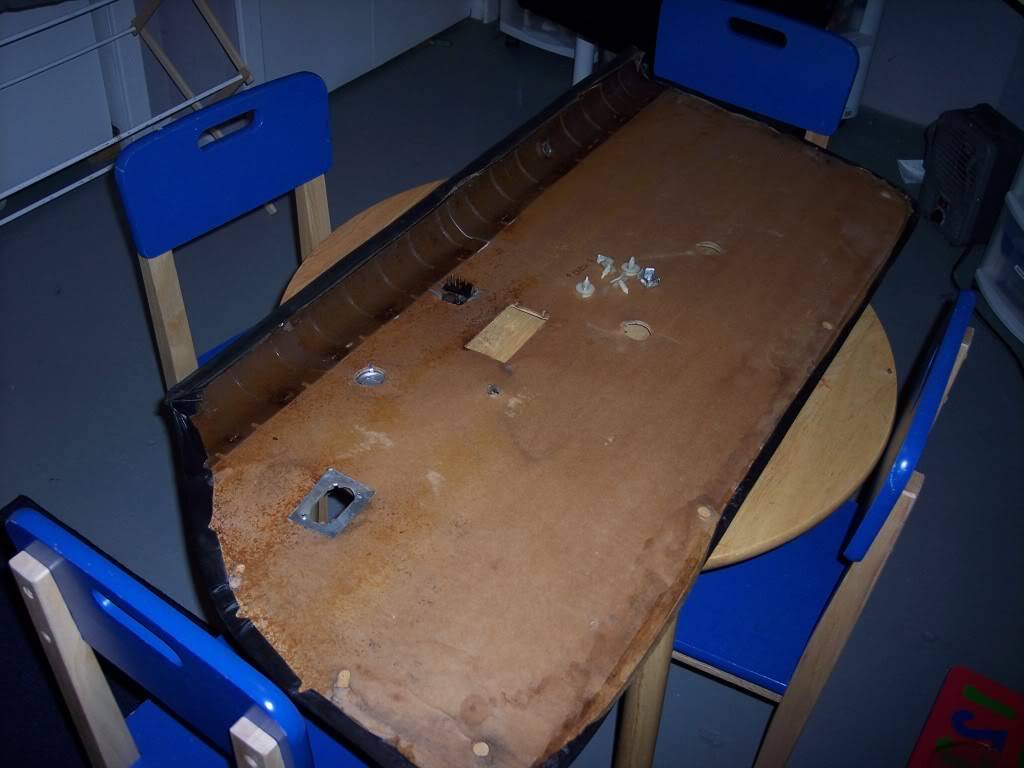
AFTER:
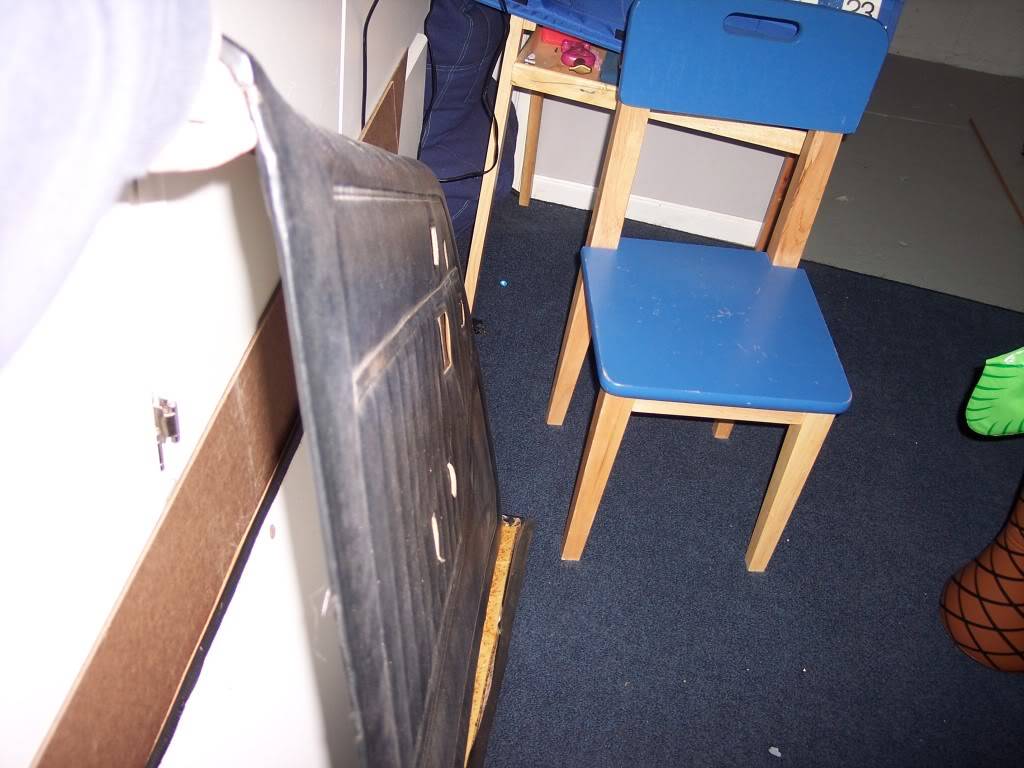
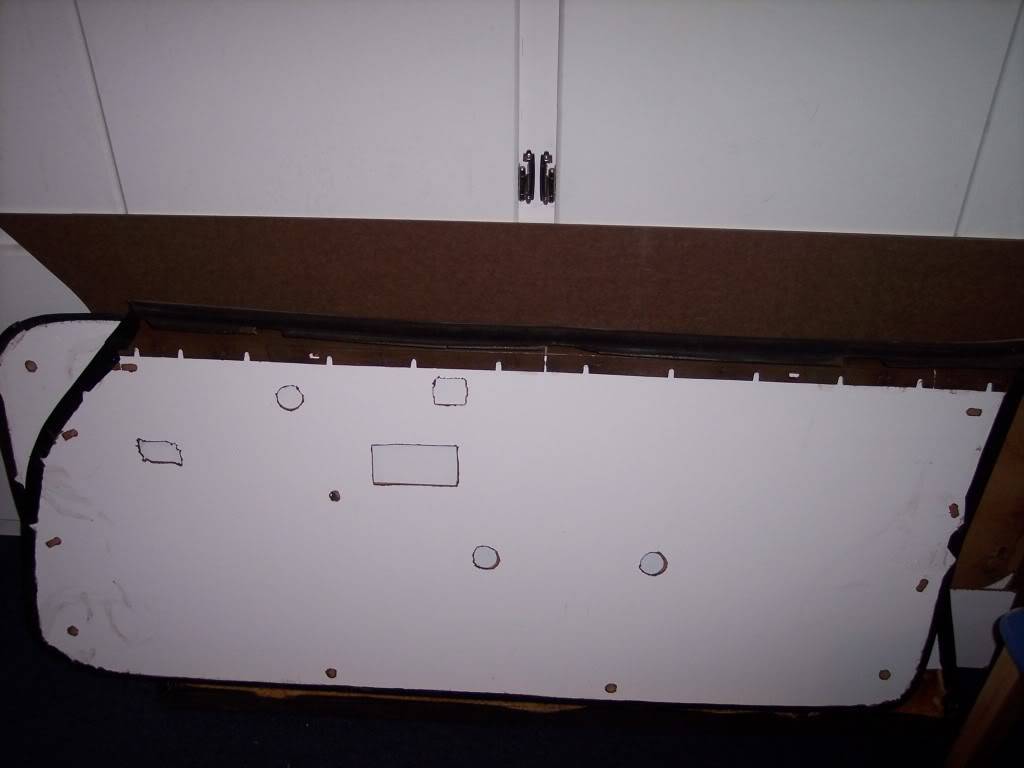
I'm now in the process of getting the engine out. Almost ready just a few more things to unbolt. Oh and more RUST!!!
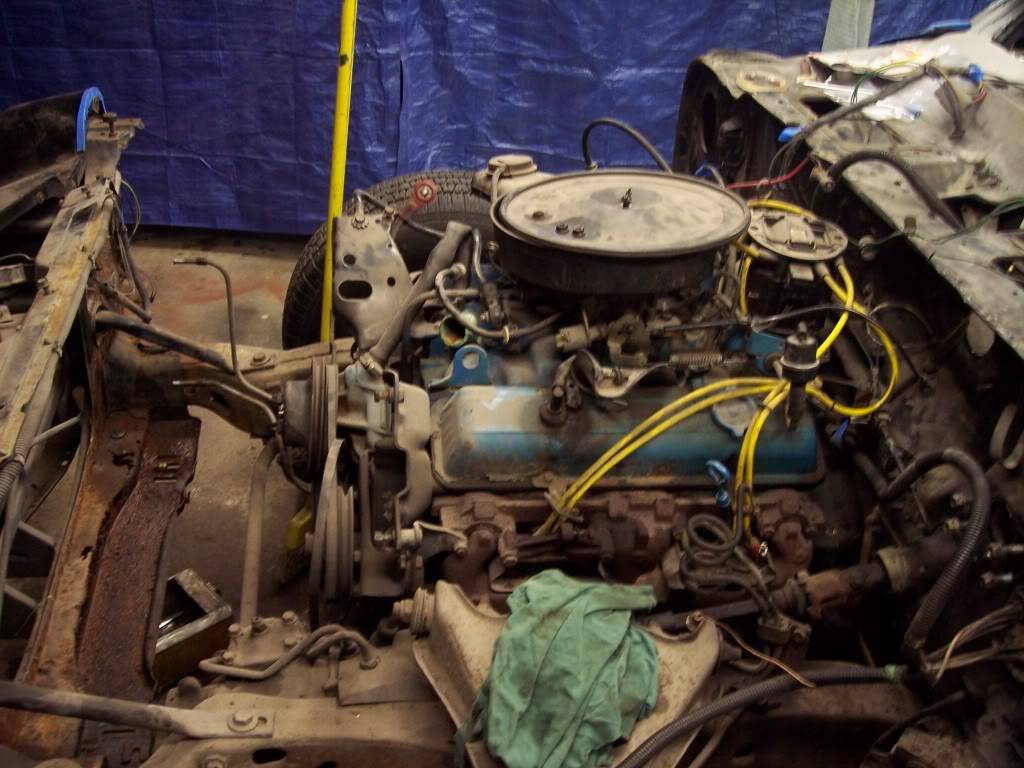
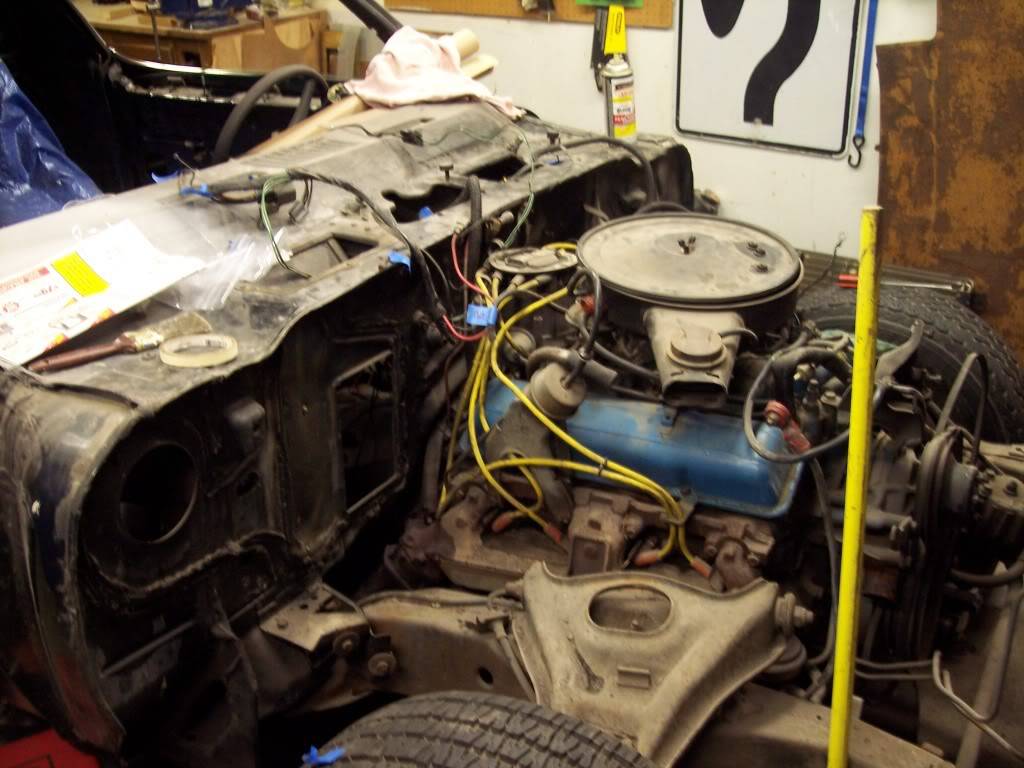
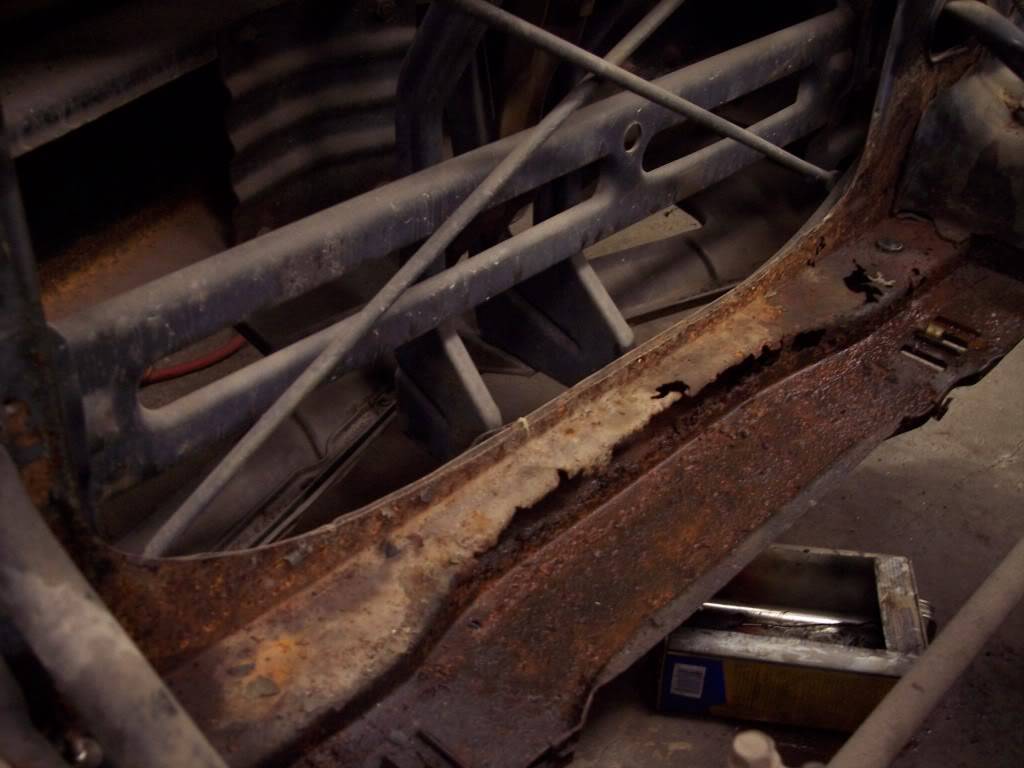
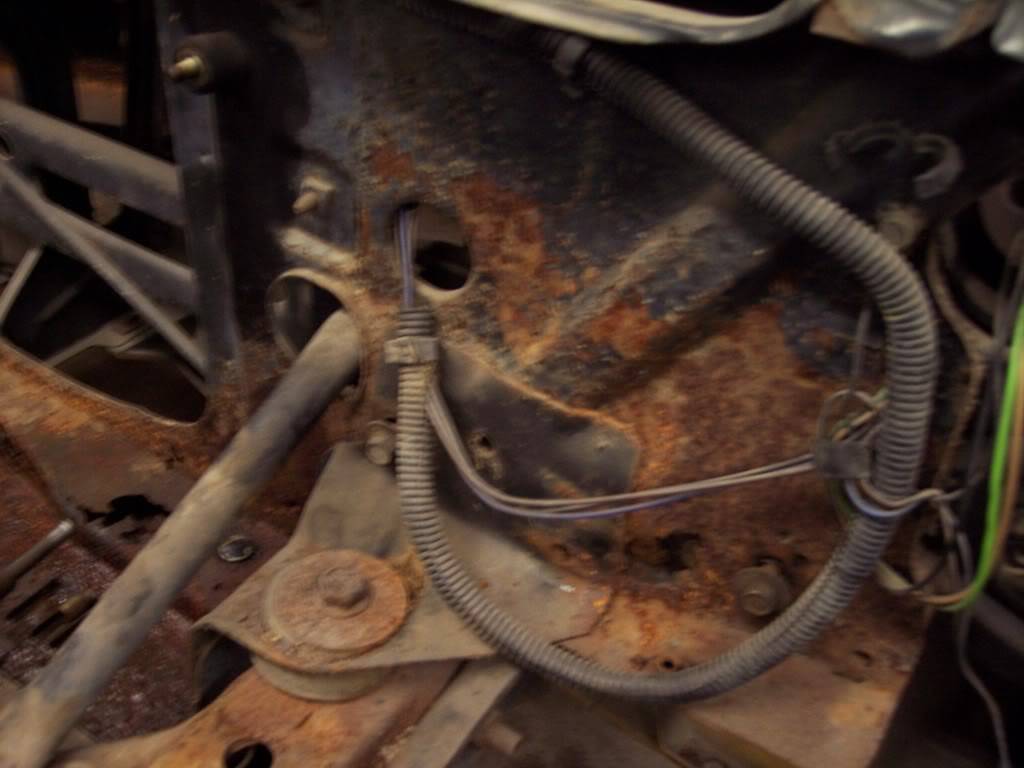 -Kevin
Project Thread: https://www.pro-touring.com/threads/113334-Project-JUNK-the-ultimate-budget-project!!-1979-Camaro
02-12-2015 #14
Registered User
- Join Date
- Jan 2015
- Posts
- 149
NEXT STEP....ENGINE OUT!!
I got it all ready to pull and plan on pulling it next Saturday. BTW, those dollies are a life saver. I am constantly moving it around as I work on different areas of the car. Now it is sideways in the garage and wife's van is in the driveway...she is not too happy about that!!
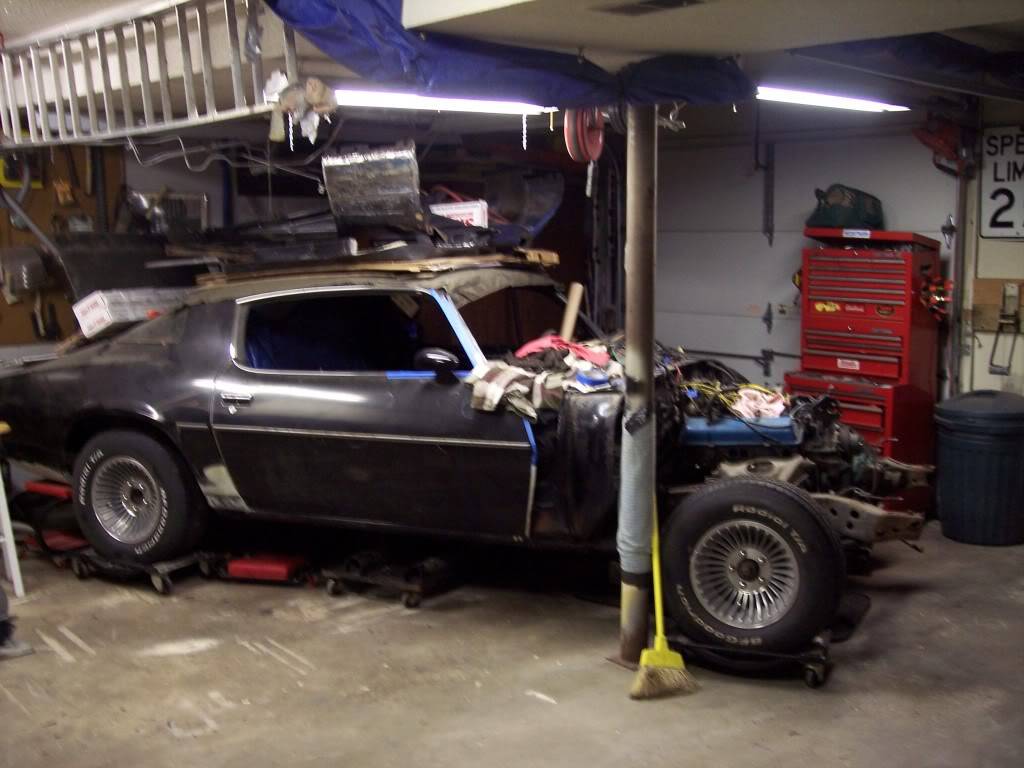
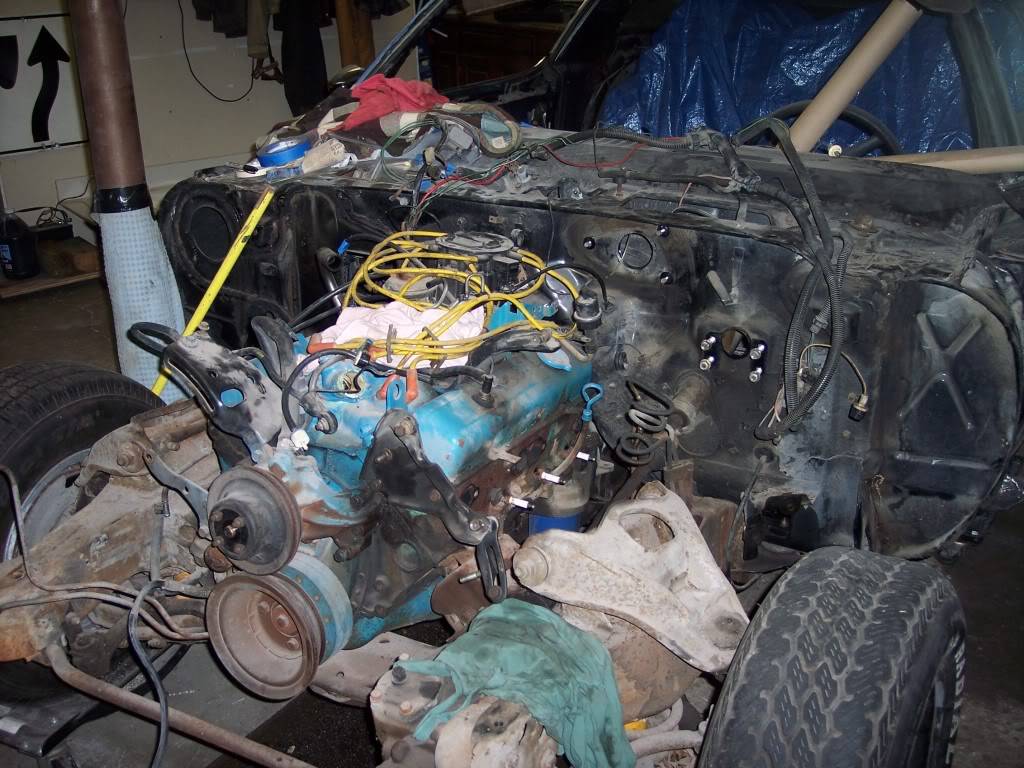
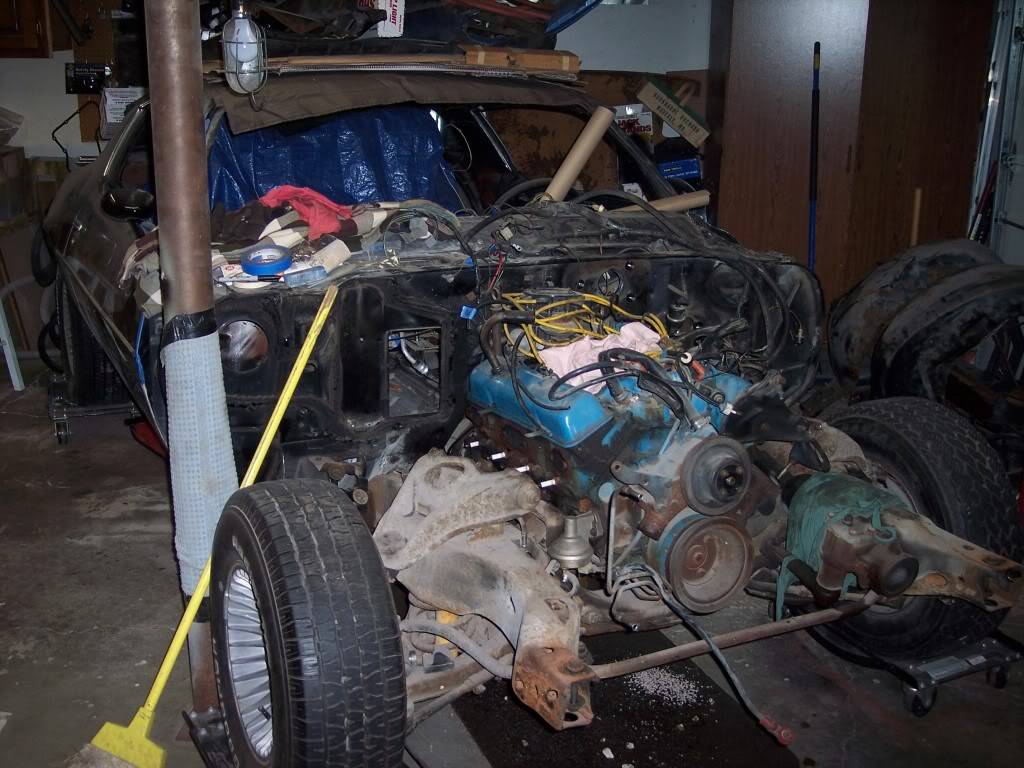
Ok, got the engine out!! Came out real easy w/everything off the front end. Next step is getting all the suspension parts off and separate the subframe from the body.
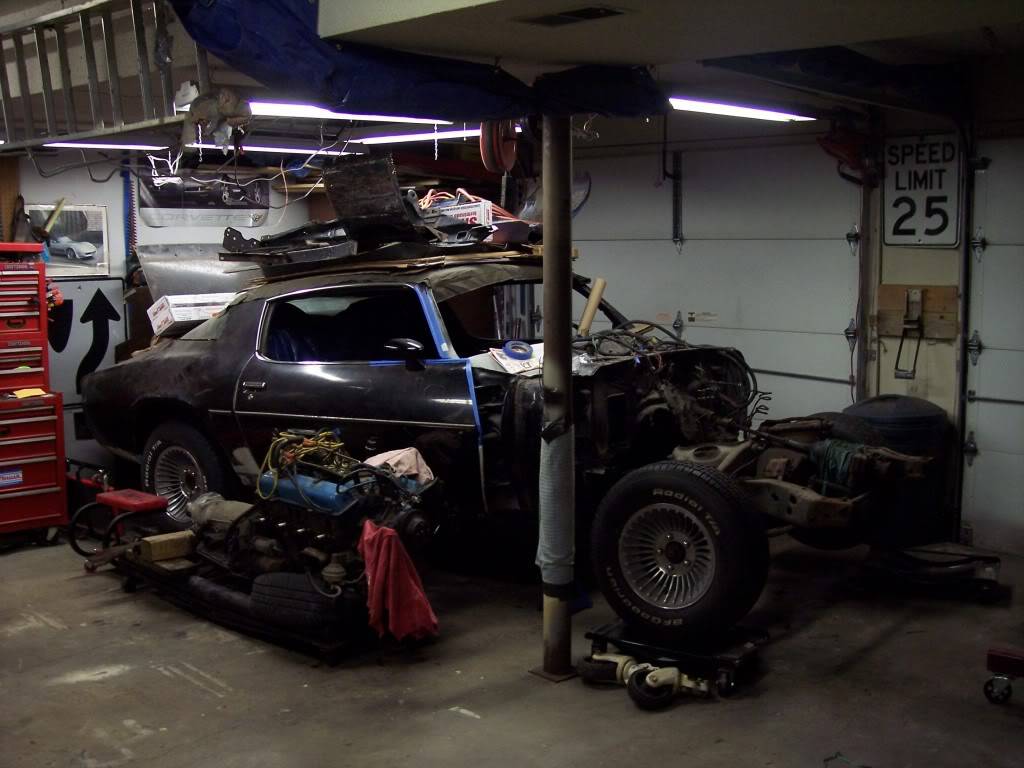
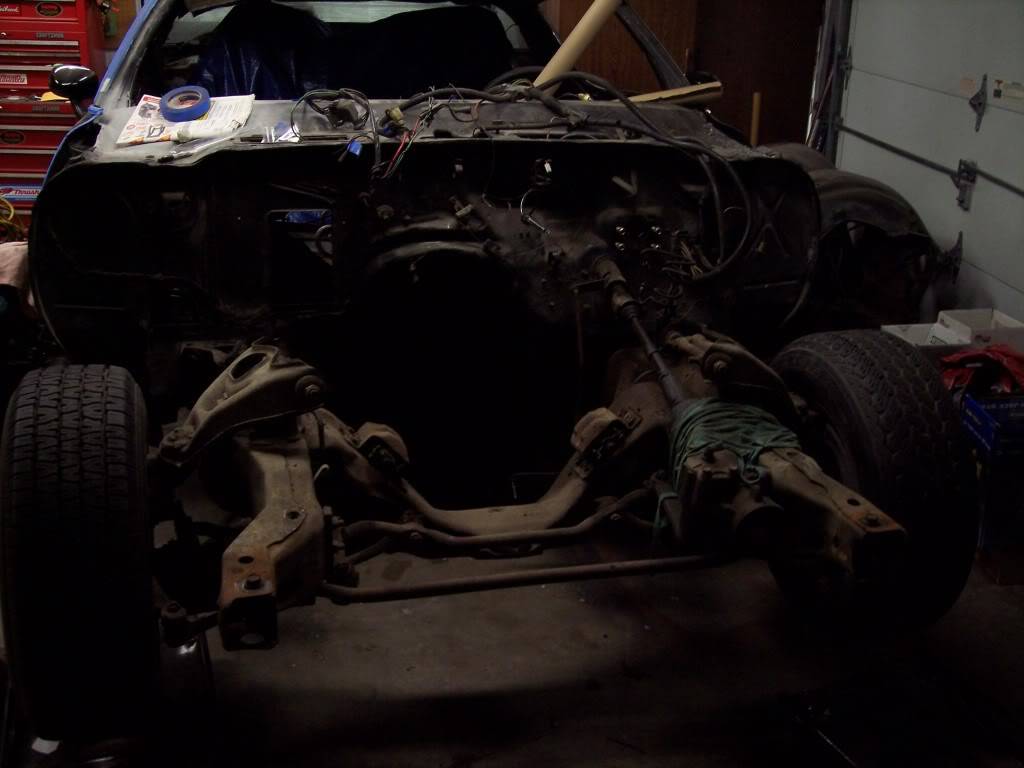
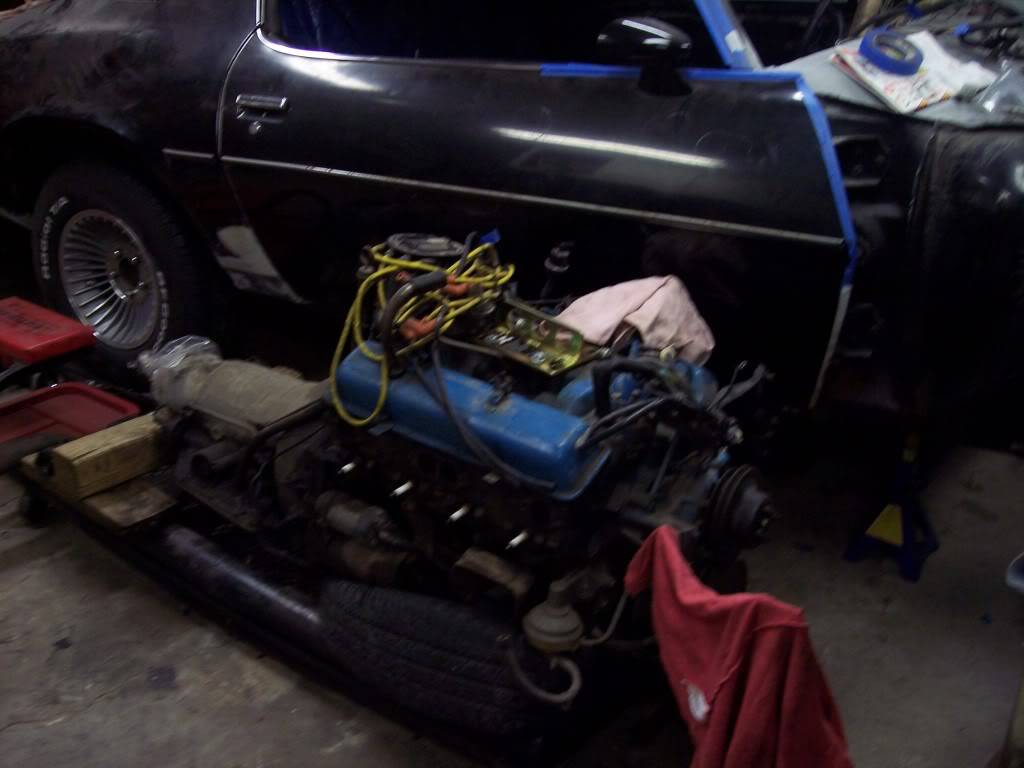
Well the wife's van needed tie rod ends, so it needed to go into the garage. I decided to go ahead and separate the frame from the body so I could use the other half of the garage.
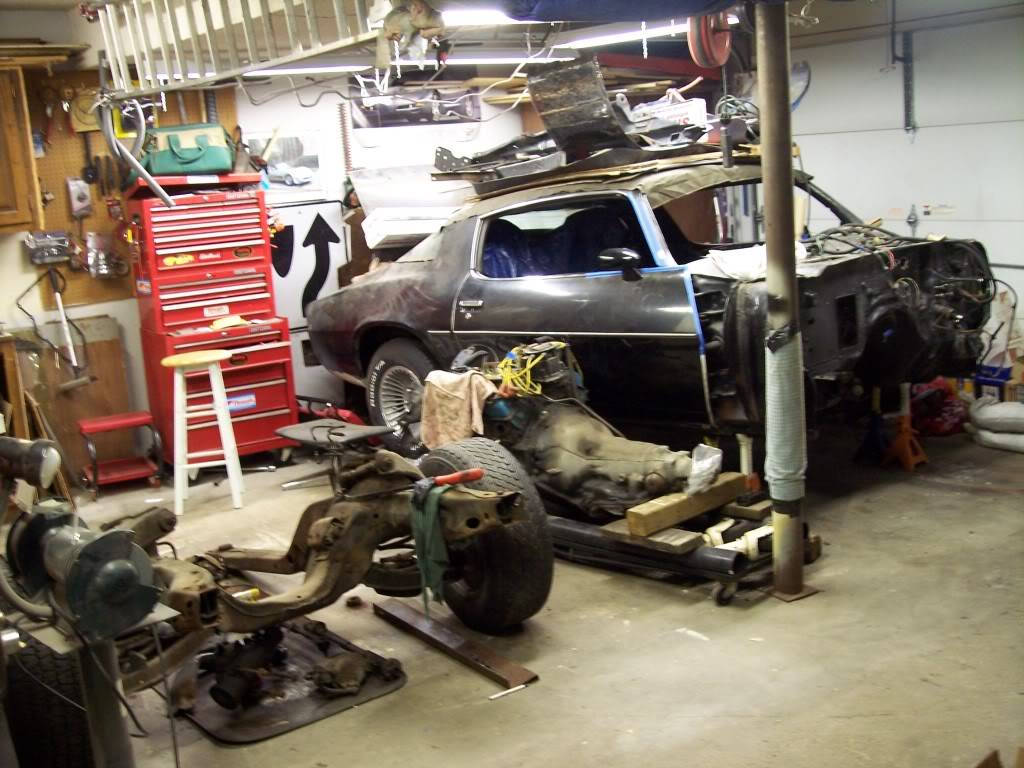
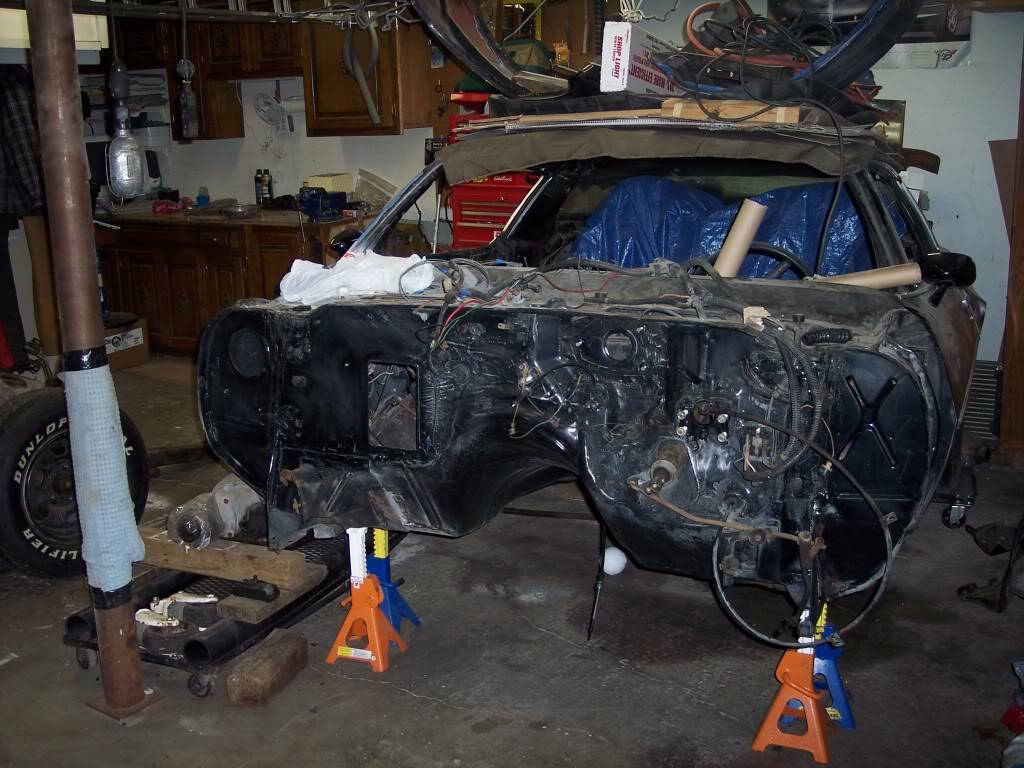
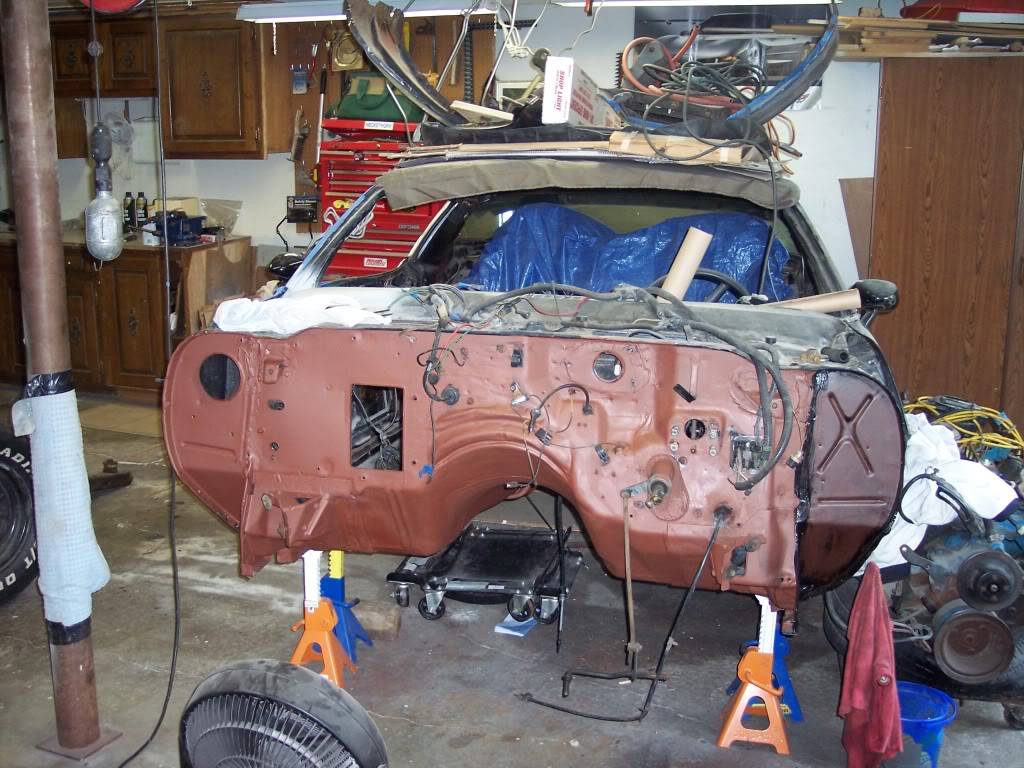
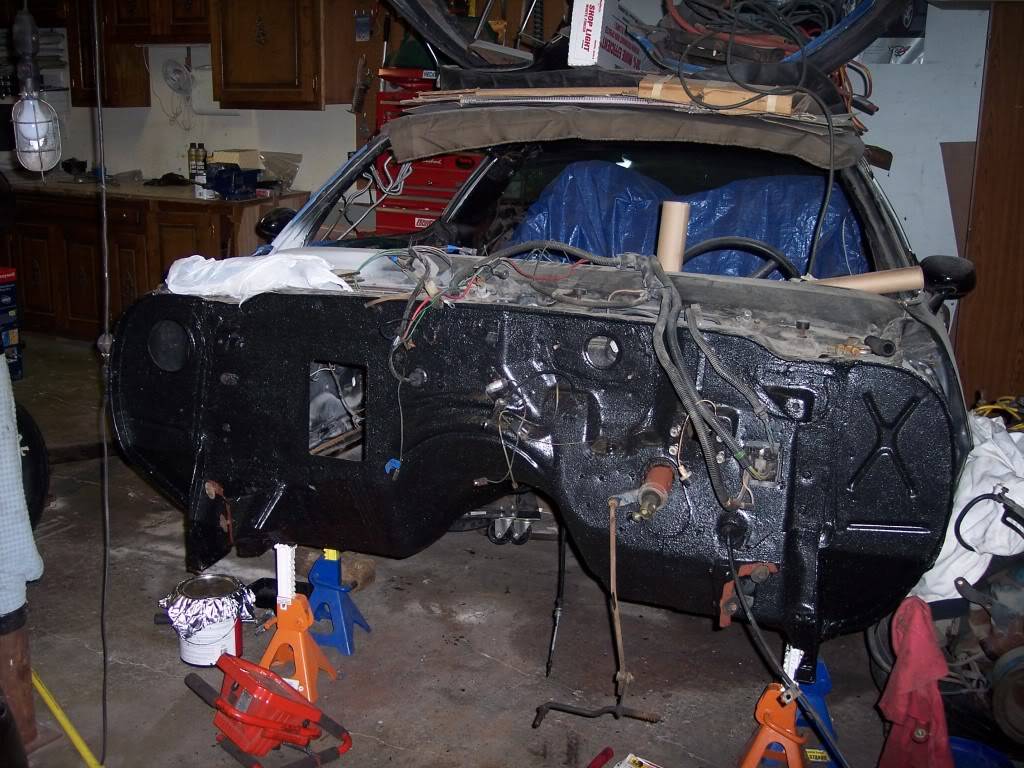
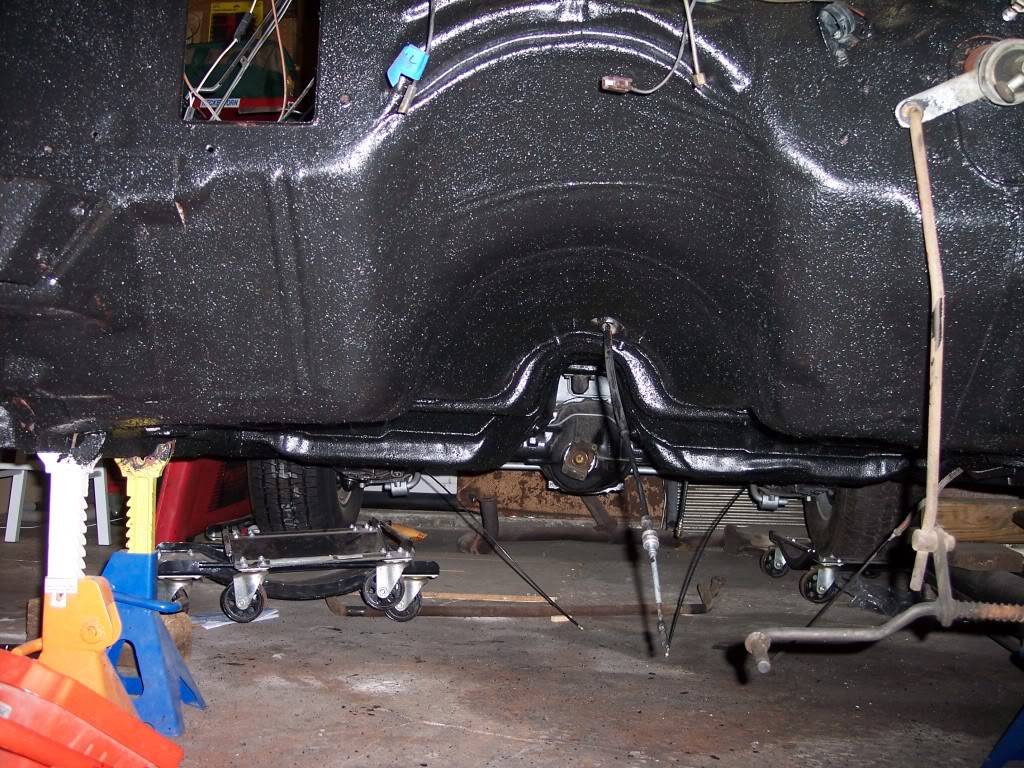
Got the firewall and front underside all ready for primer and paint/bedliner.
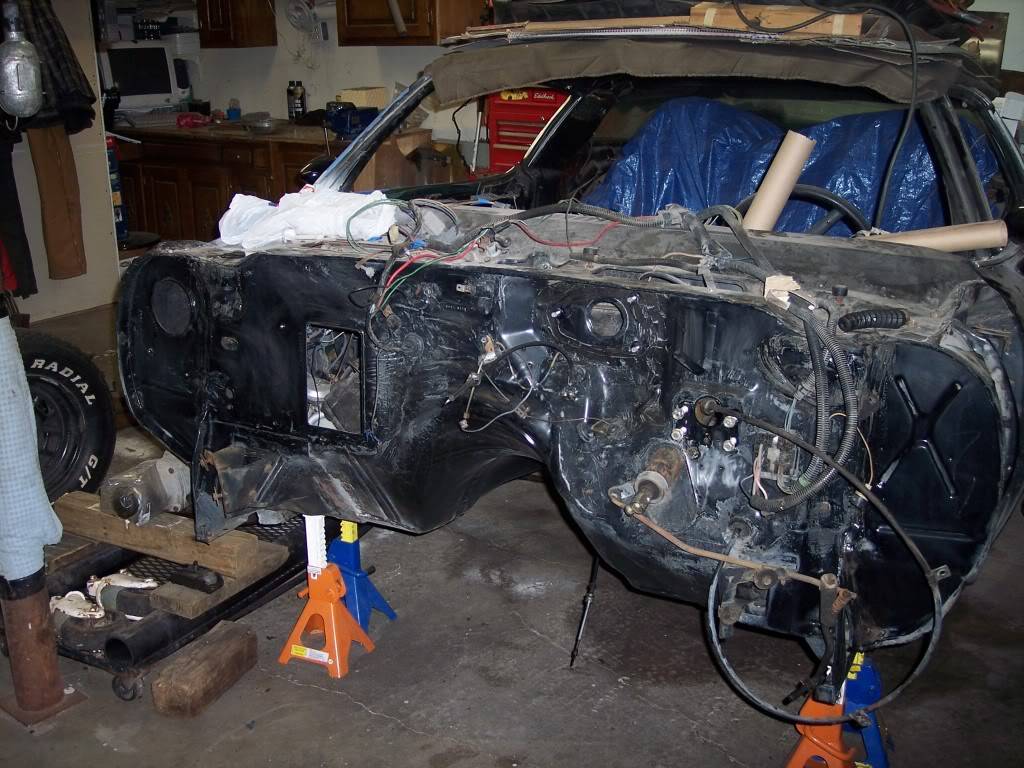
Got a little more done. The front underside and firewall is all cleaned up, primed and coated w/bedliner. I am real happy w/the results.
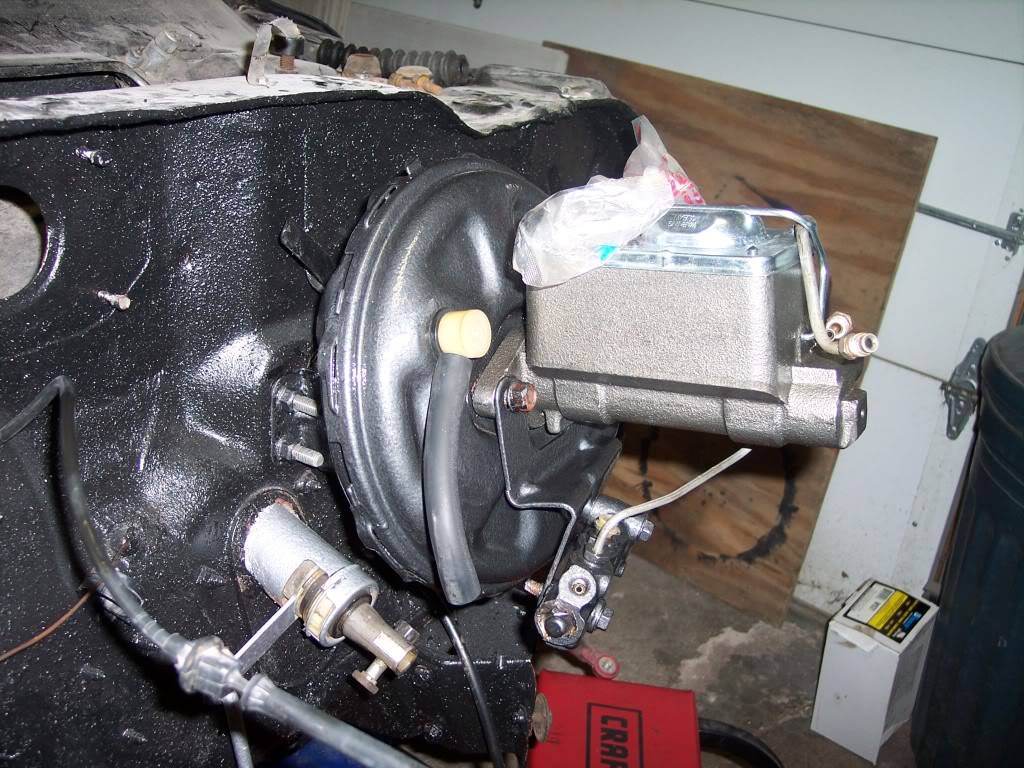
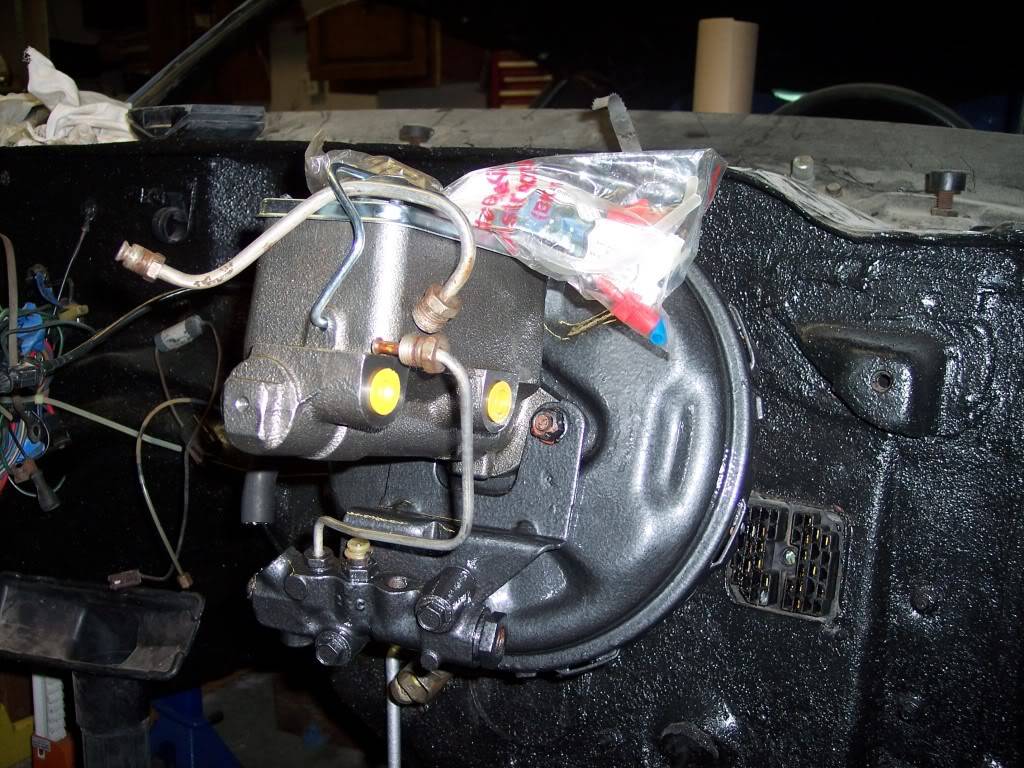
VERY little progress. I got the brake booster and valve all cleaned and paint. New master cylinder. Next step take the subframe apart and start painting and replacing bushings and ball joints.
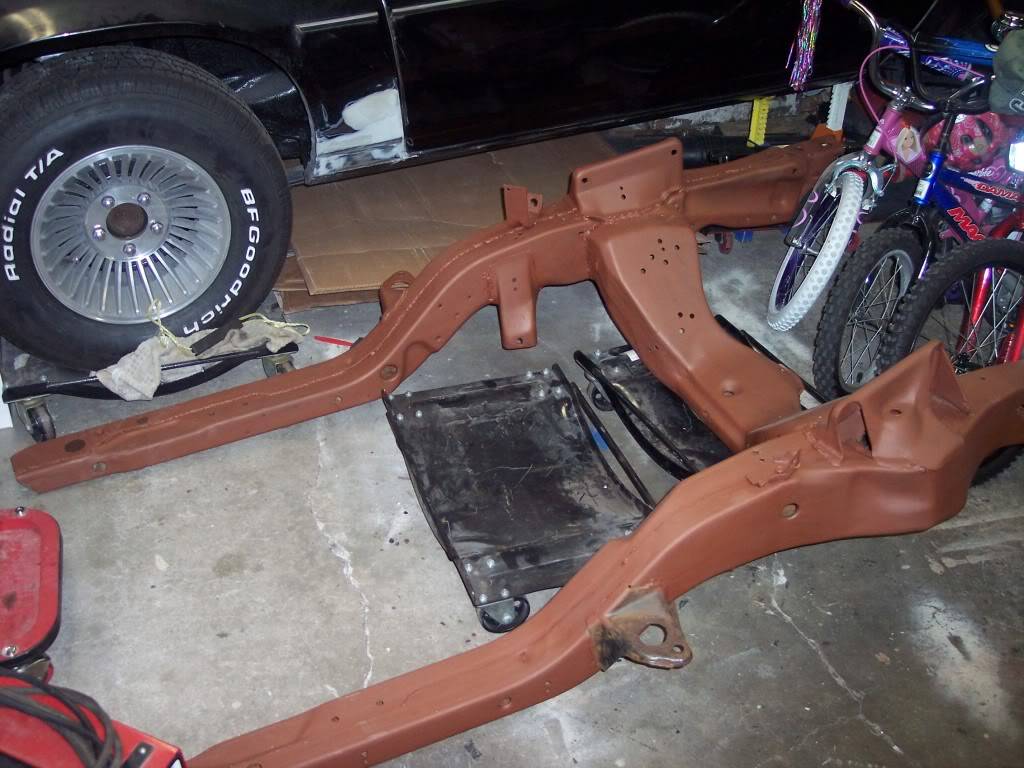
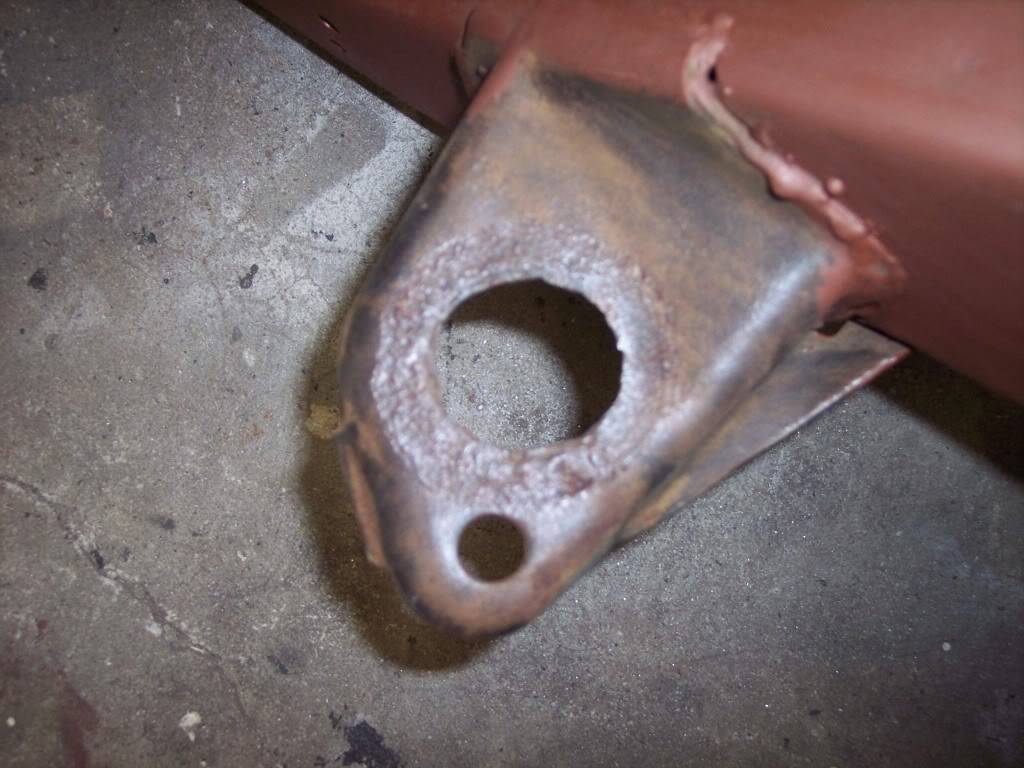
Got a chance to do some more work. Got the front suspension all apart and the sub frame cleaned up and primed. Found some rust around the pass side body mount and got it all ready to be welded in.
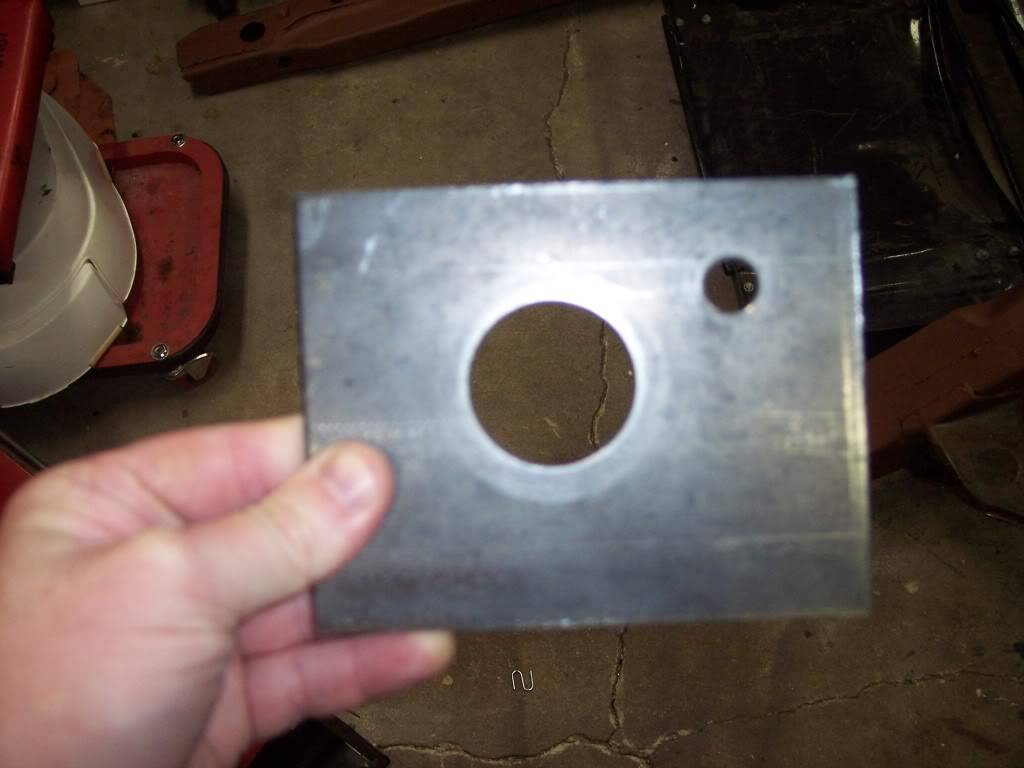
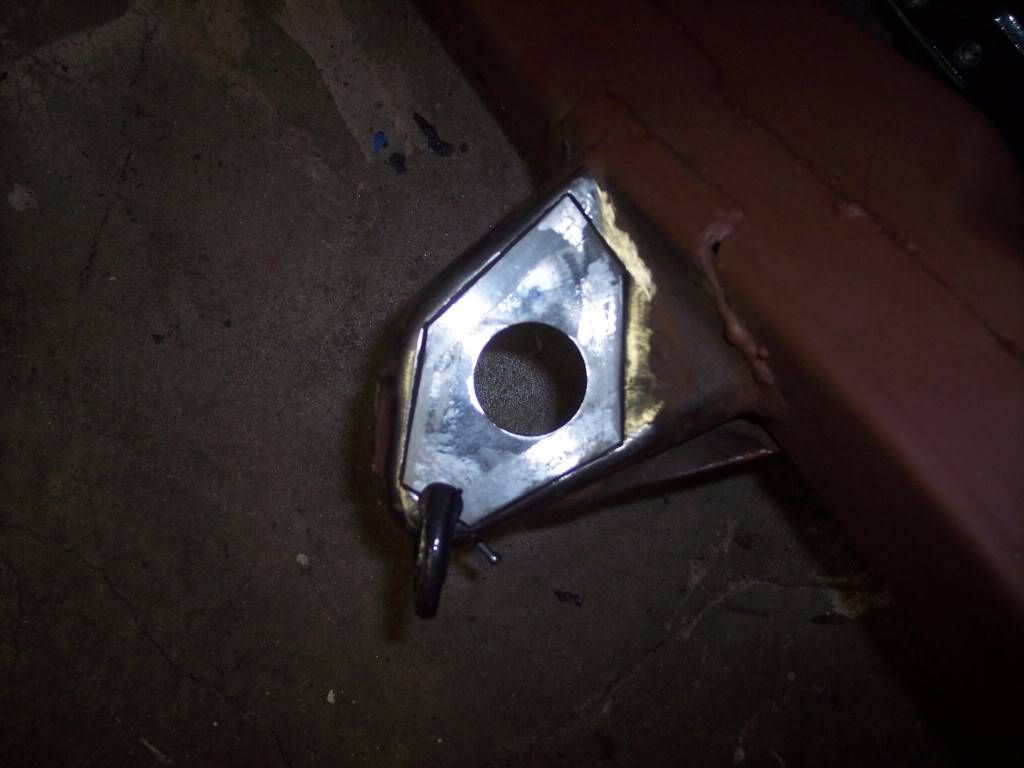 -Kevin
Project Thread: https://www.pro-touring.com/threads/113334-Project-JUNK-the-ultimate-budget-project!!-1979-Camaro
02-12-2015 #15
Registered User
- Join Date
- Jan 2015
- Posts
- 149
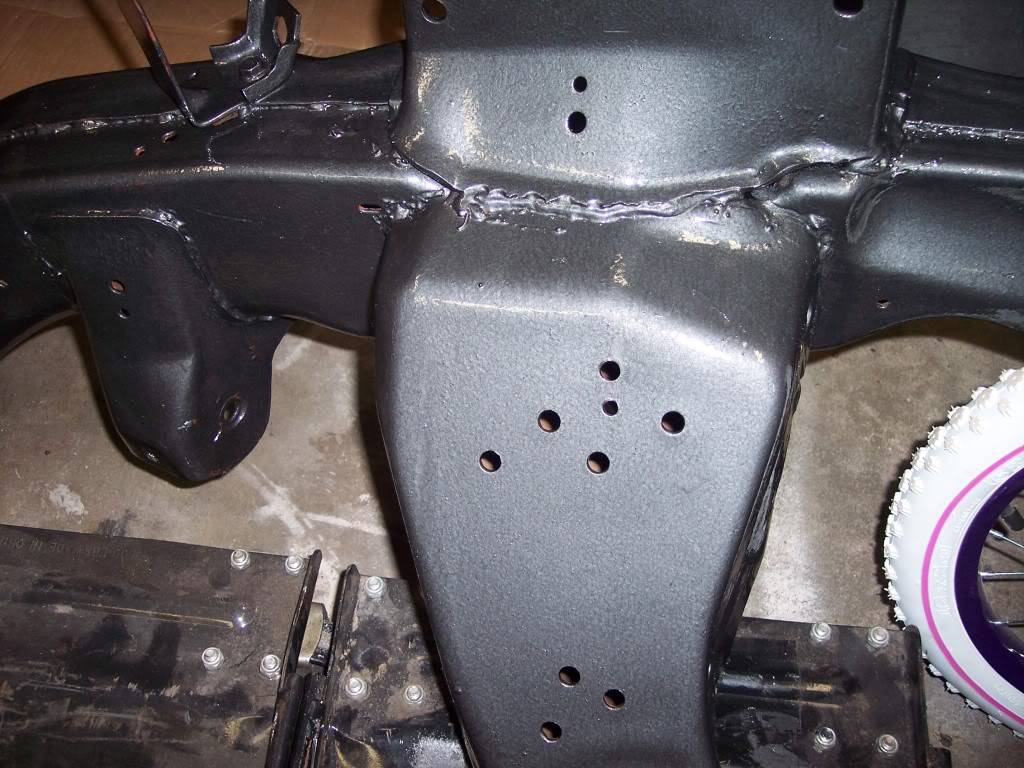
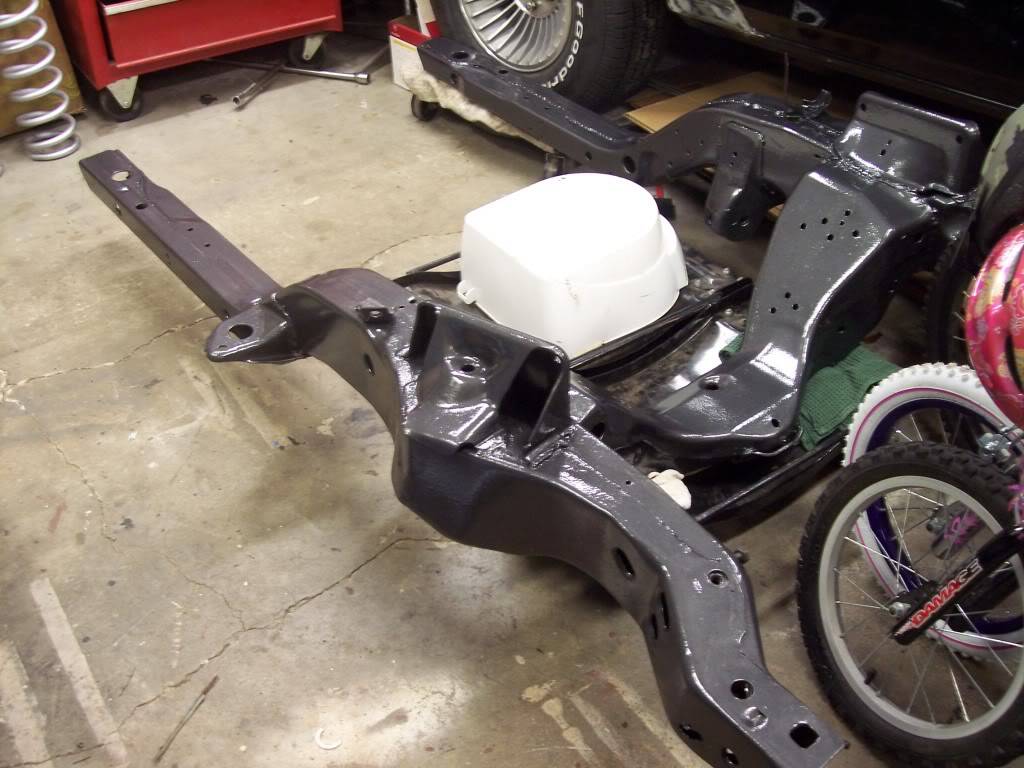
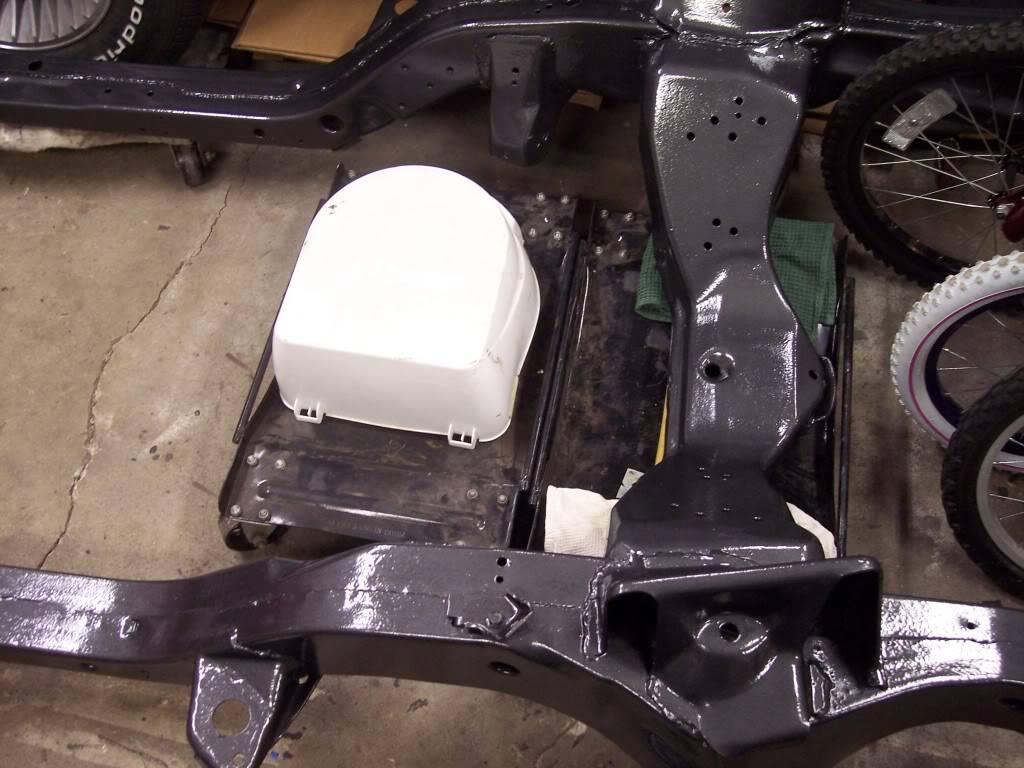
Ok, here it is all painted. I used the Rustoleum Hammered Black, rolled and brushed on. Turned out GREAT!!
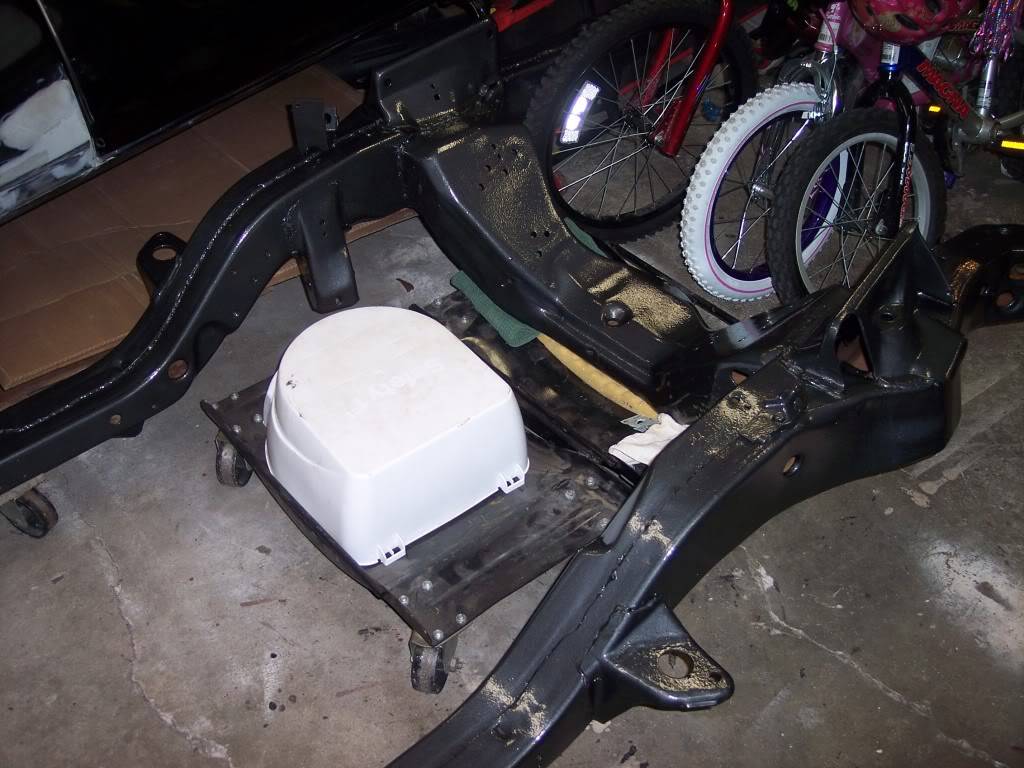
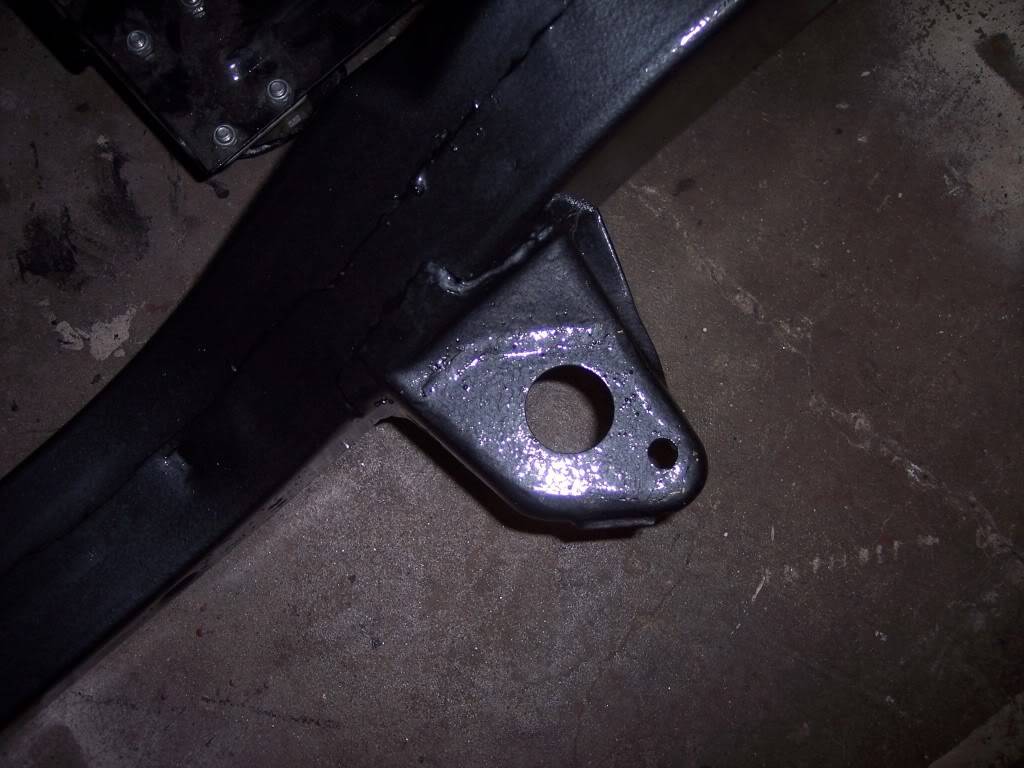
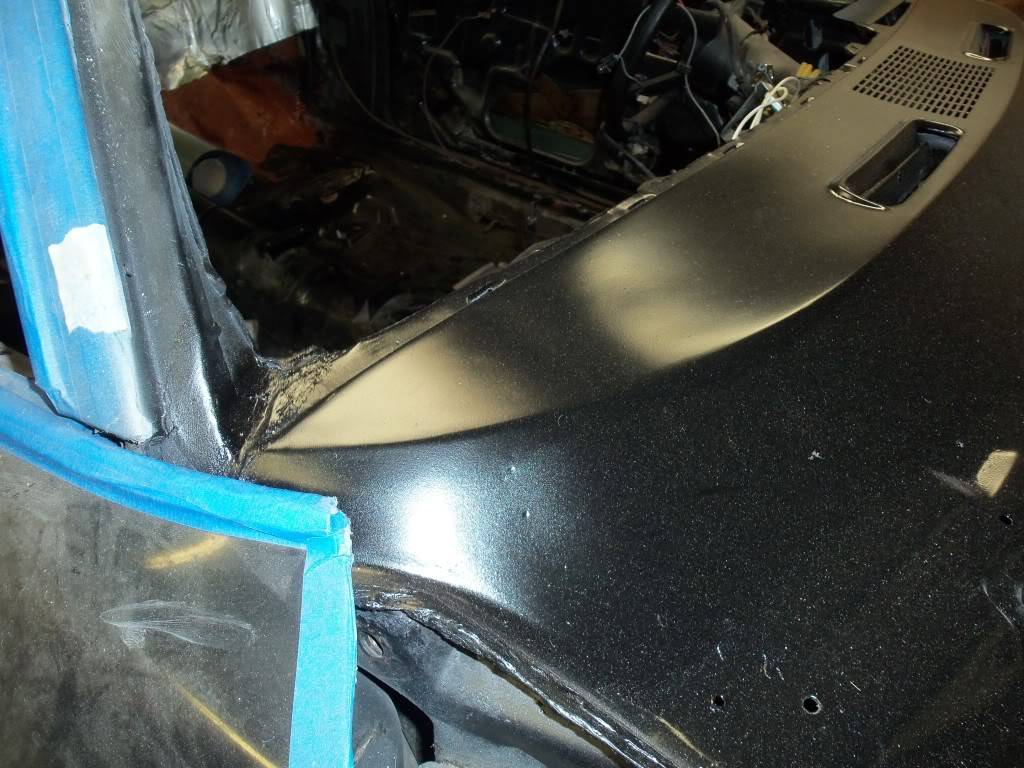
Finally had some time to work on the Camaro a little bit this weekend. I finished up the cowl repair and started putting the sound deadner on the floor. The speckles on the cowl/dash is dust, not metallic or anything.
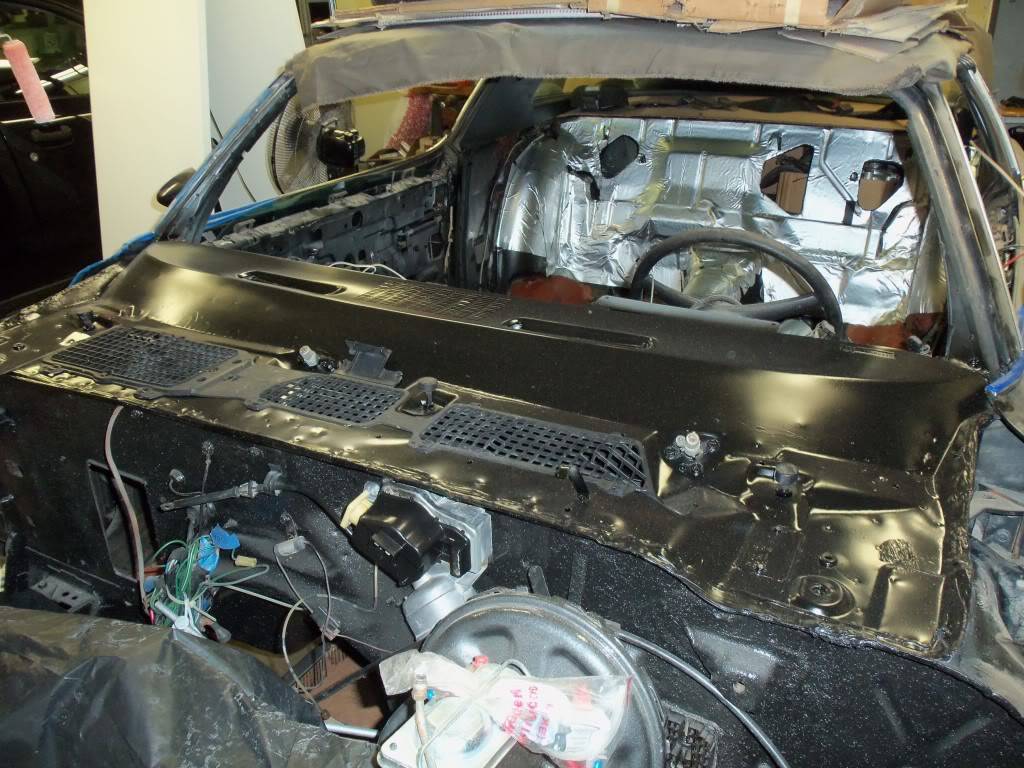
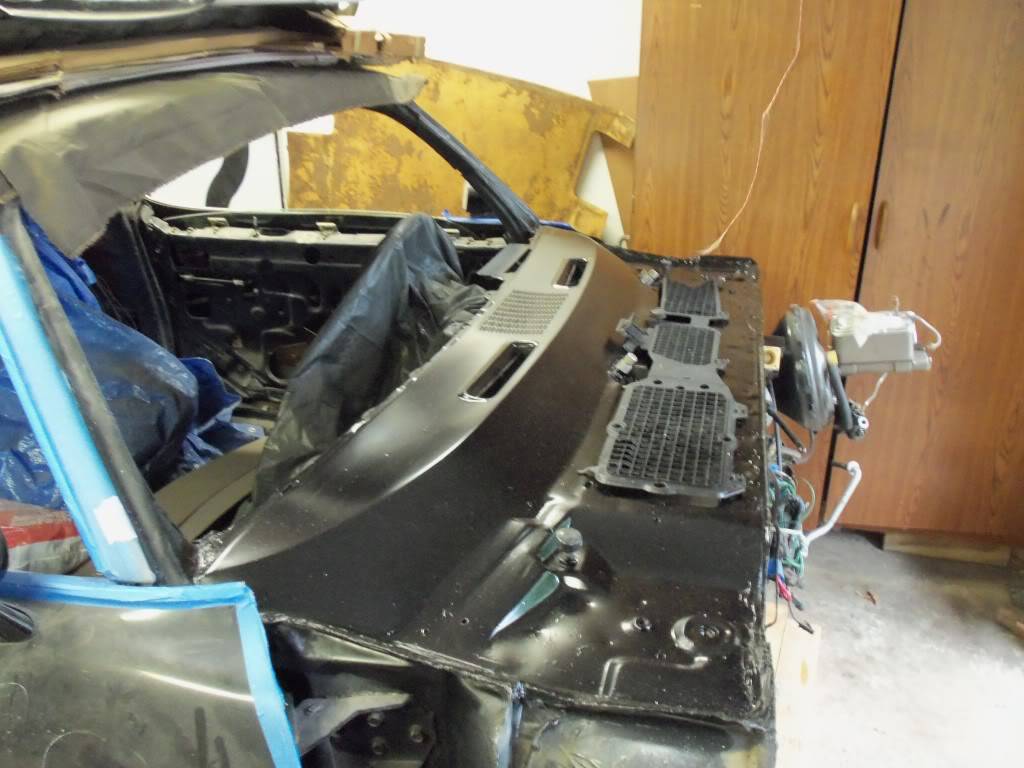
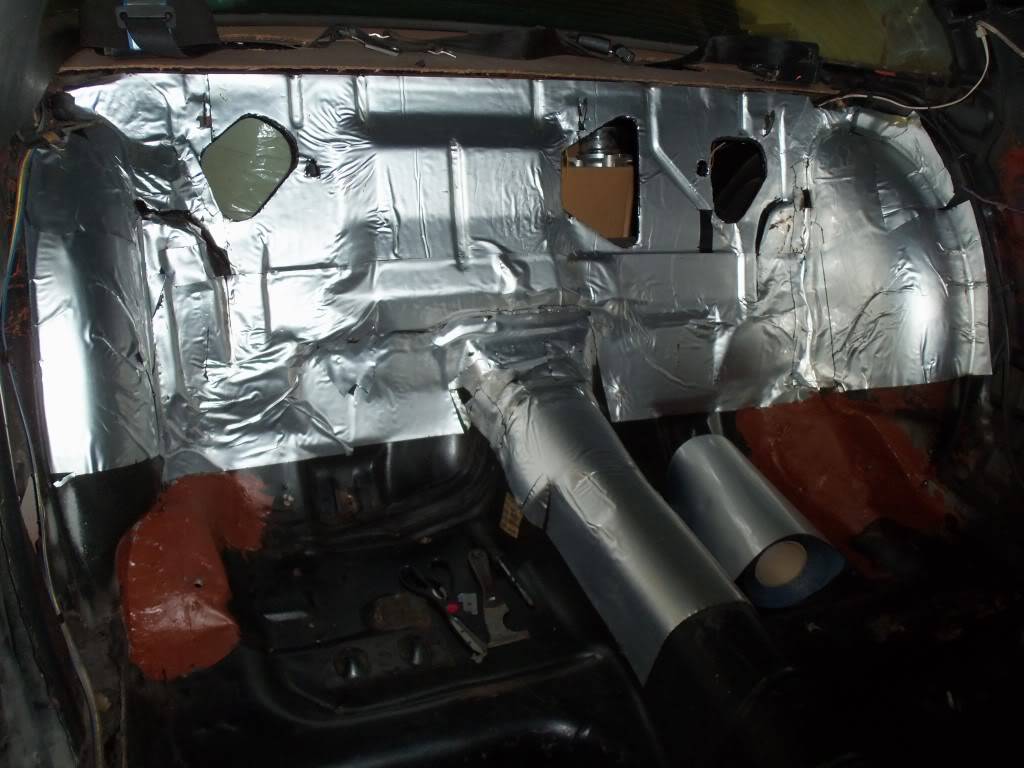
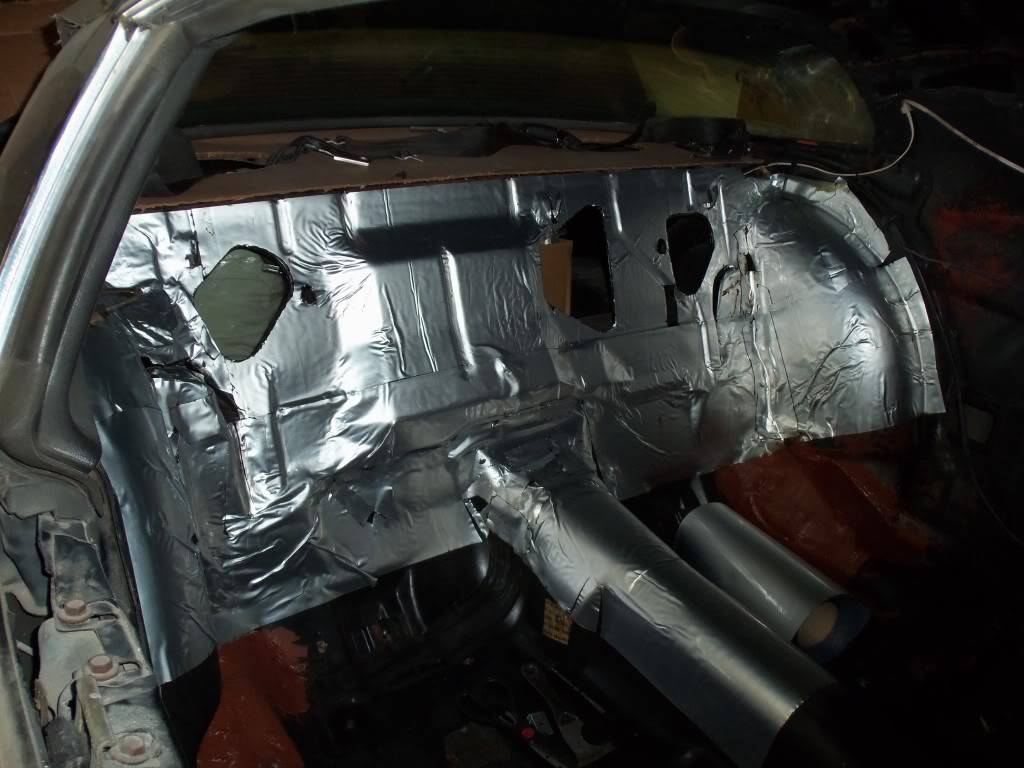
Got the A/C box all cleaned up and some brackets painted. Still need to get some black rope caulk to seal it all up.
BEFORE:
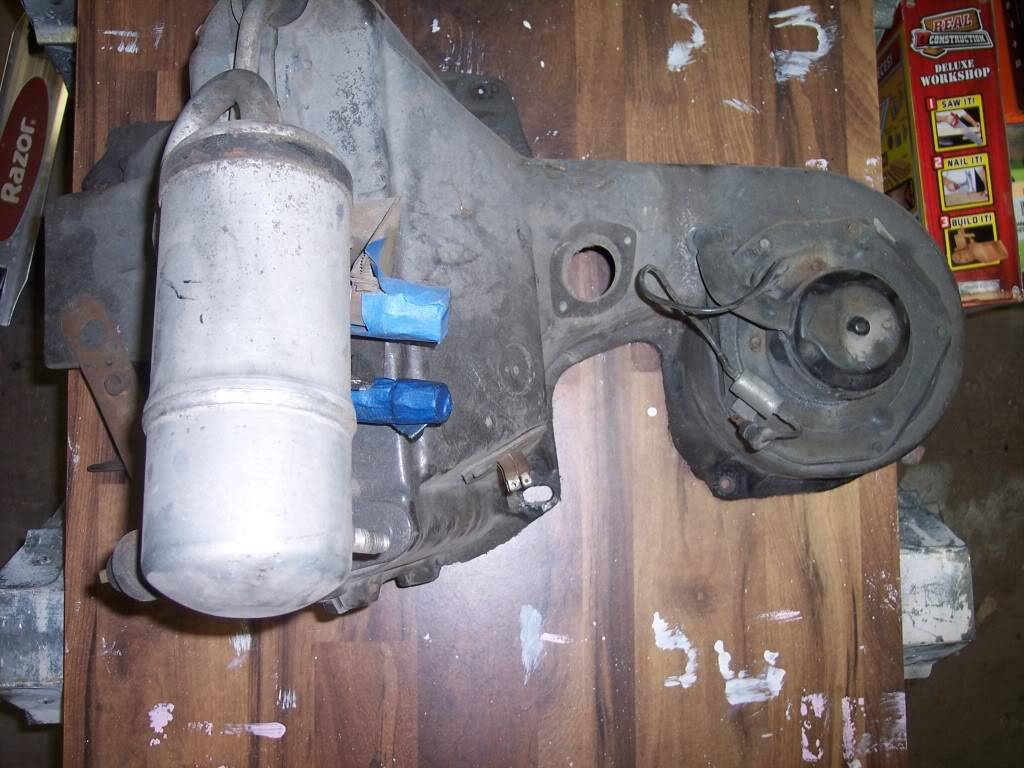
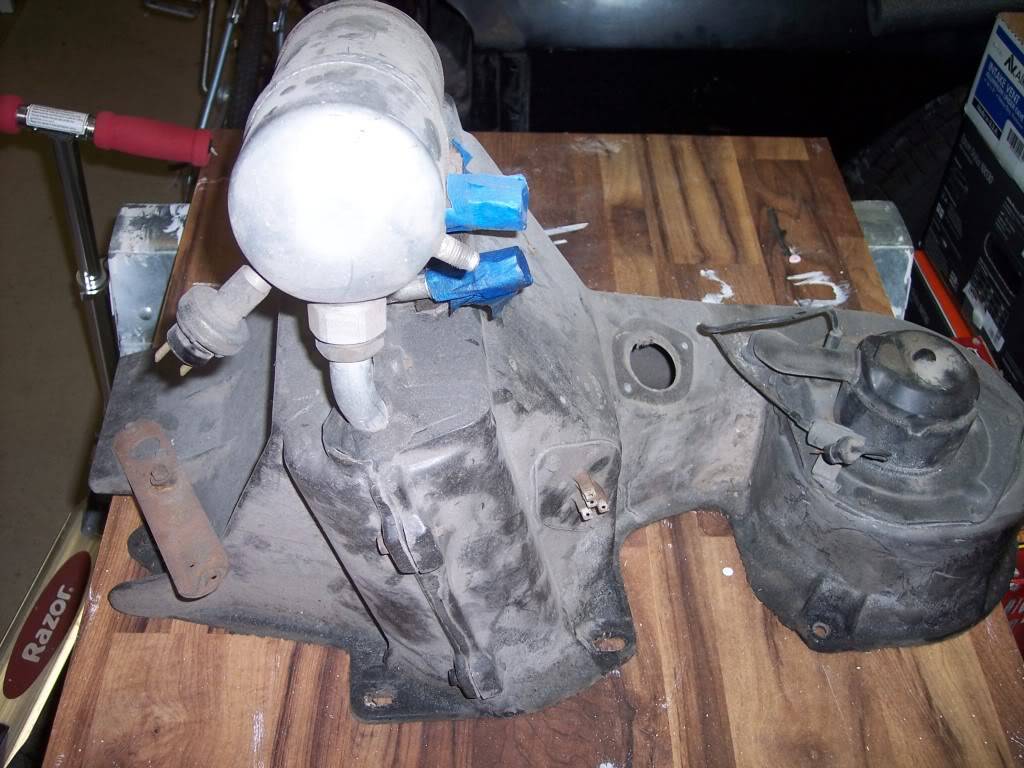
AFTER:
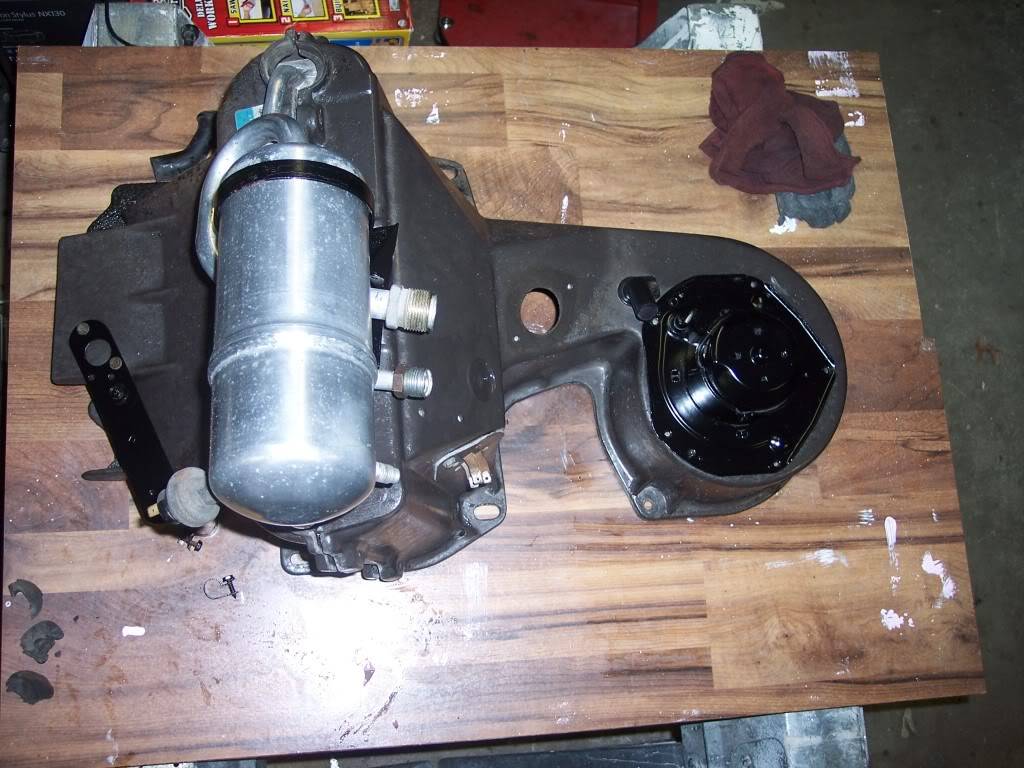
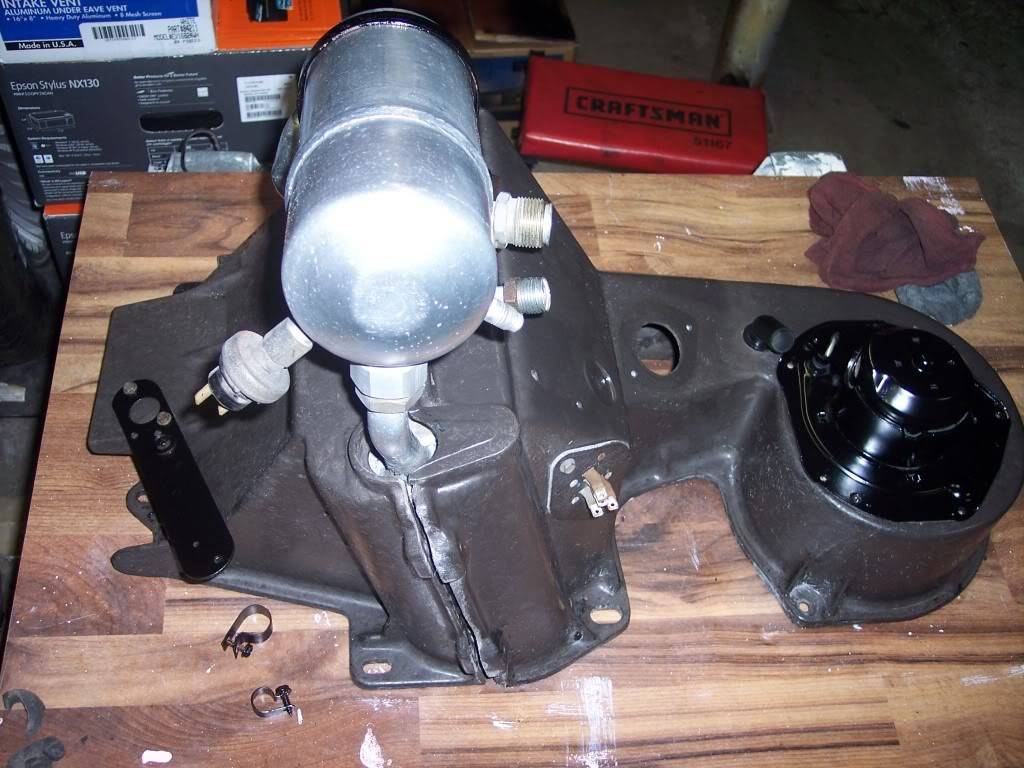
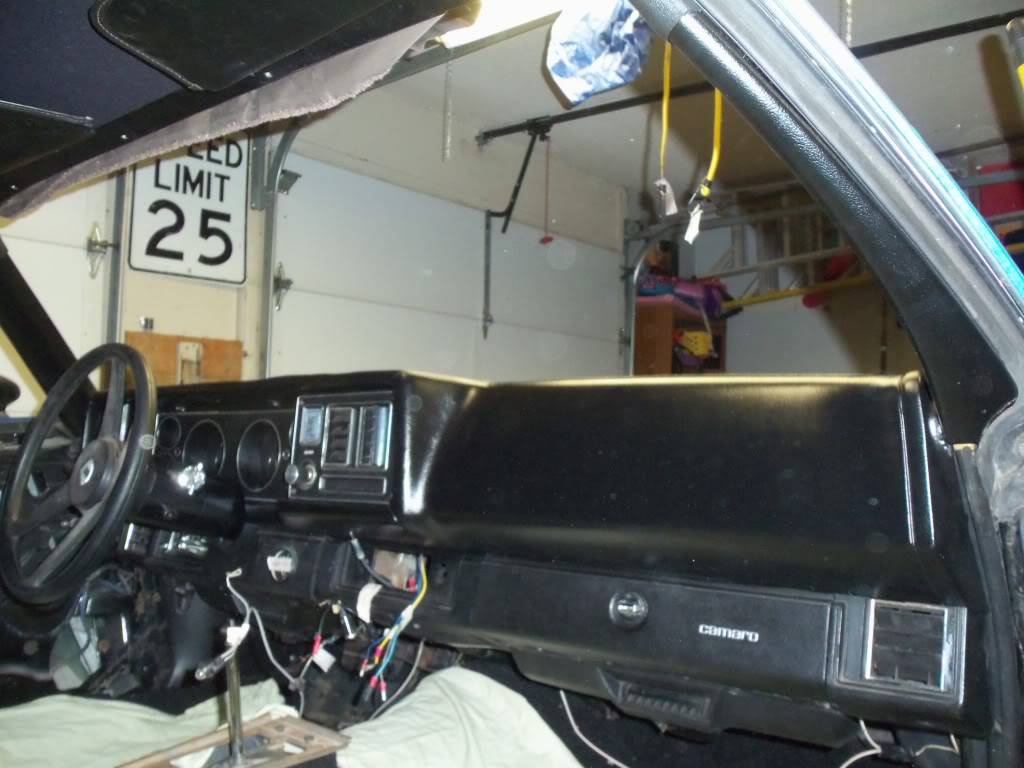
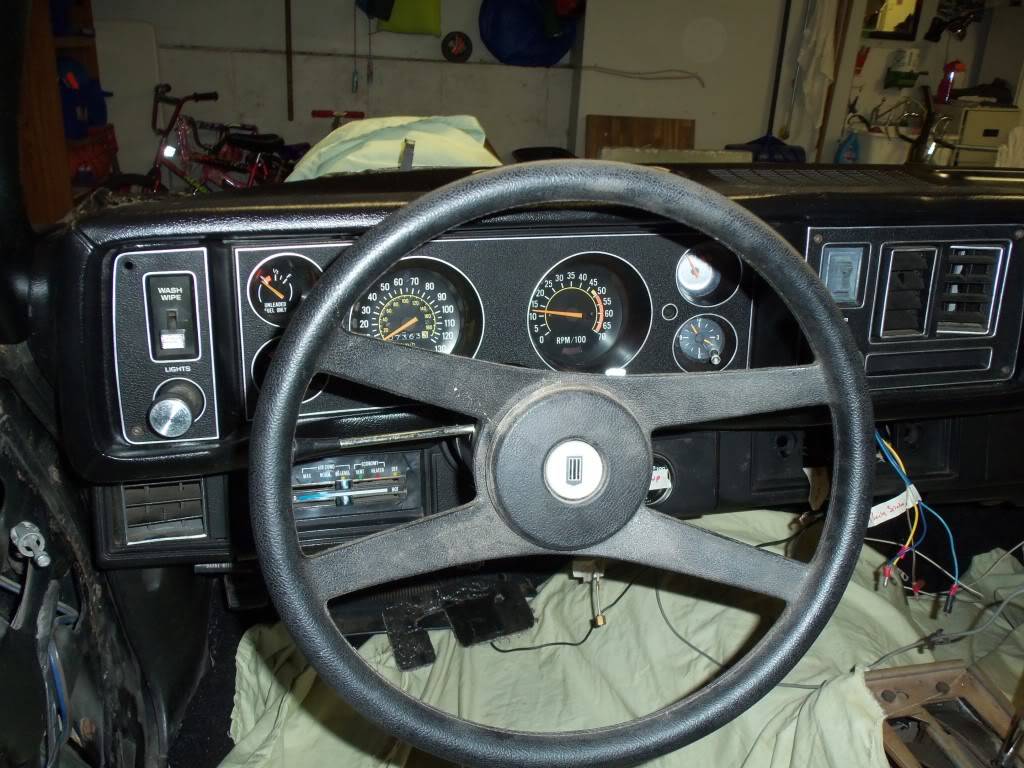
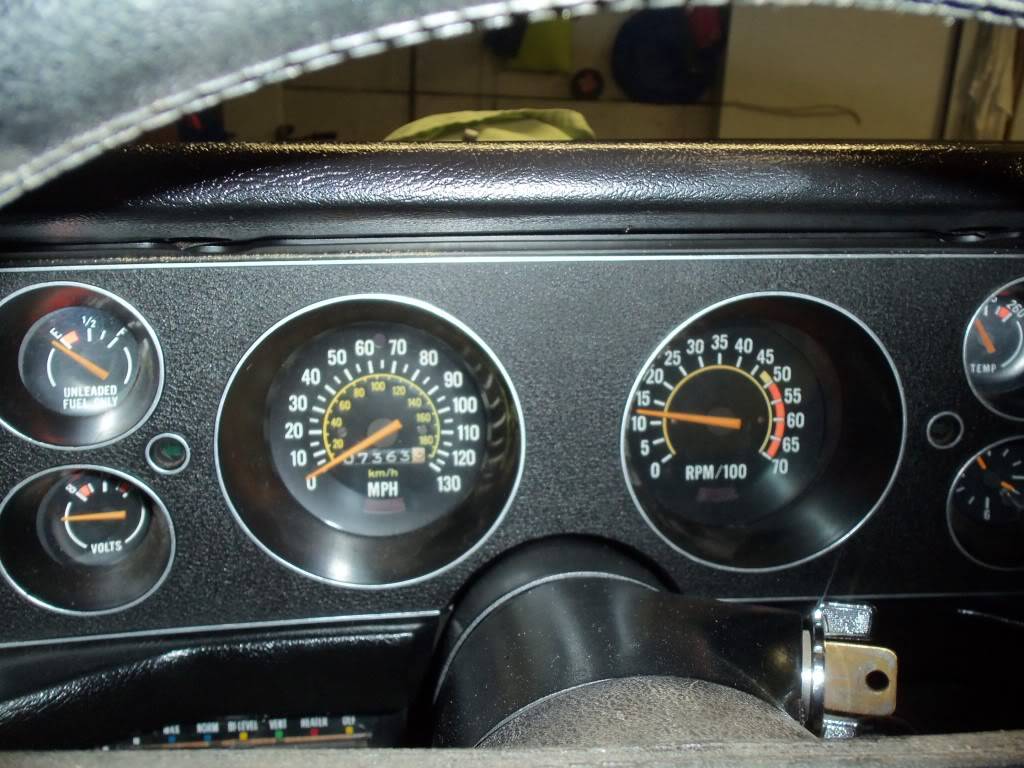
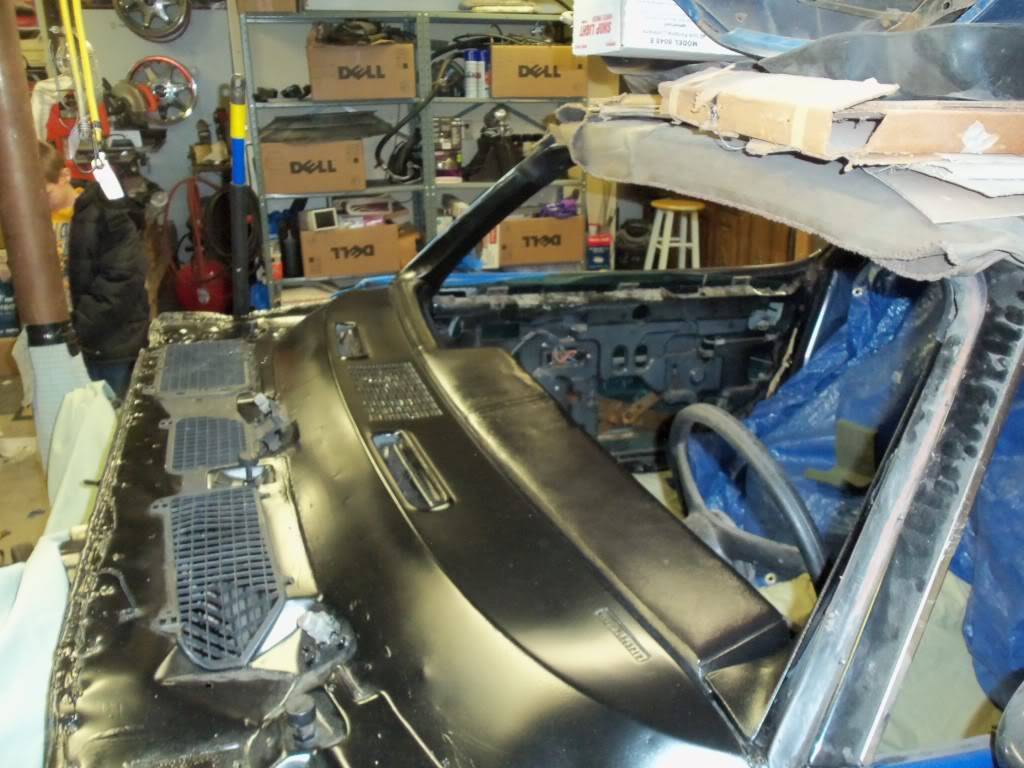
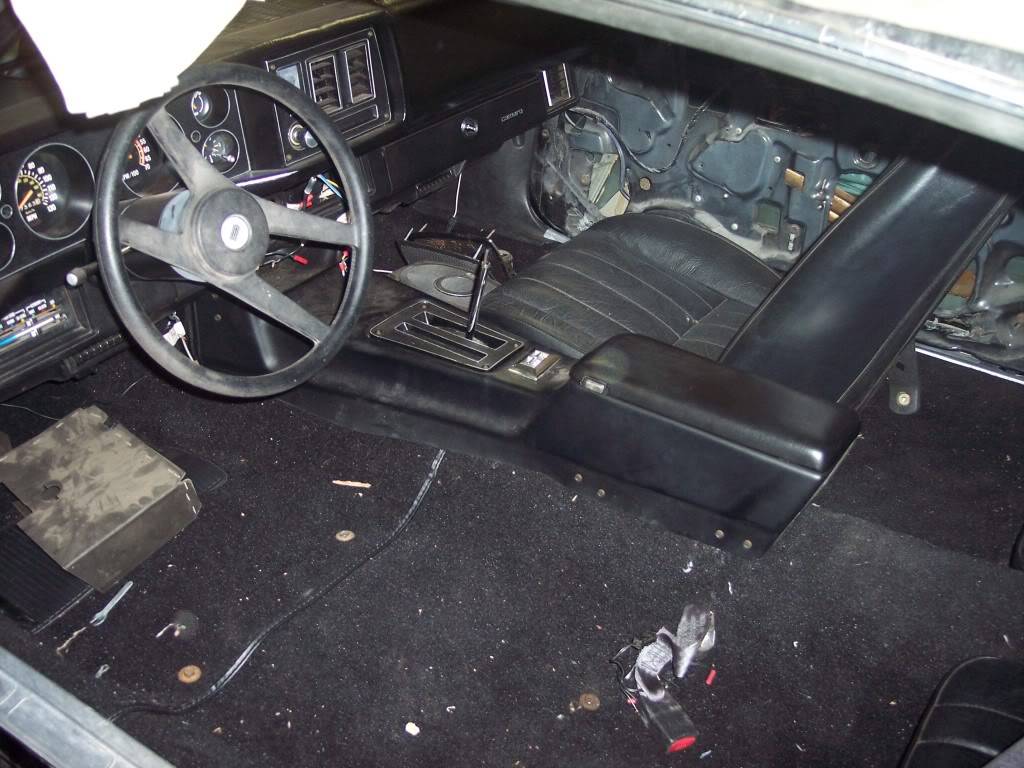
Folks...we have PROGRESS!! I got the dash all back together, the carpet laid down(no holes cut for seats yet or trimmed) and headliner fabric glued and installed. I was dreading the dash install but it went real good. I tagged and bagged everything and was not short one screw!! Steering wheel is dirty. The CD changer fit perfect where the glove box was. I was even able to just use the strap to hold it in place.
 -Kevin
Project Thread: https://www.pro-touring.com/threads/113334-Project-JUNK-the-ultimate-budget-project!!-1979-Camaro
02-12-2015 #16
Registered User
- Join Date
- Jan 2015
- Posts
- 149
Here is my winter project.....
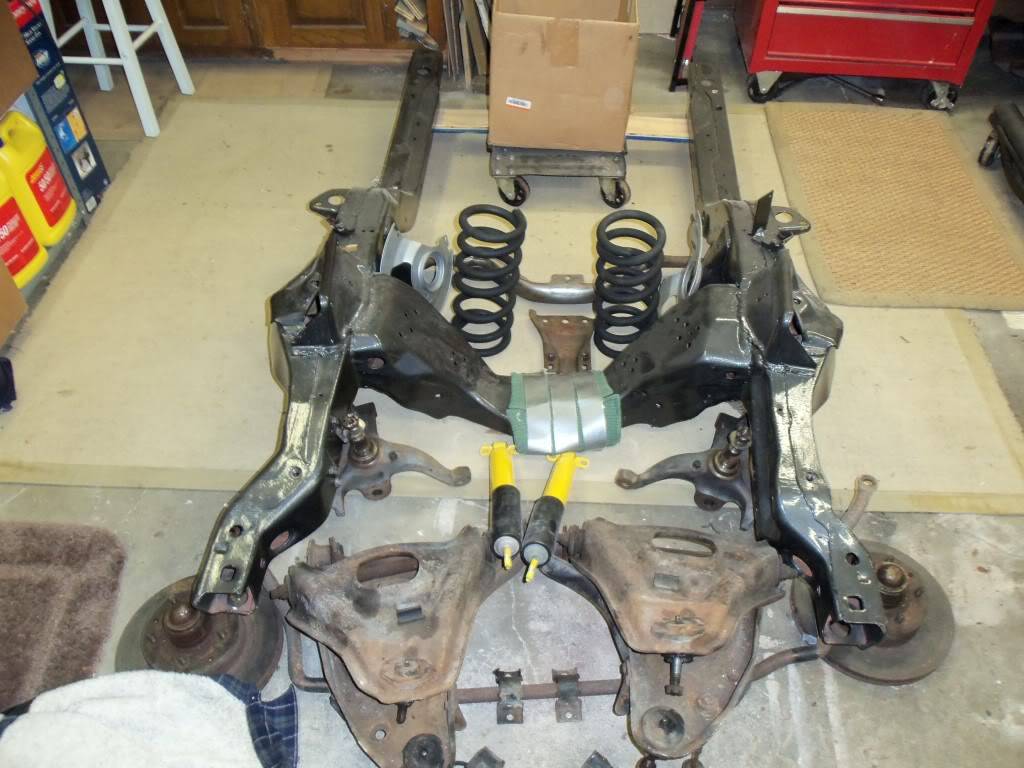
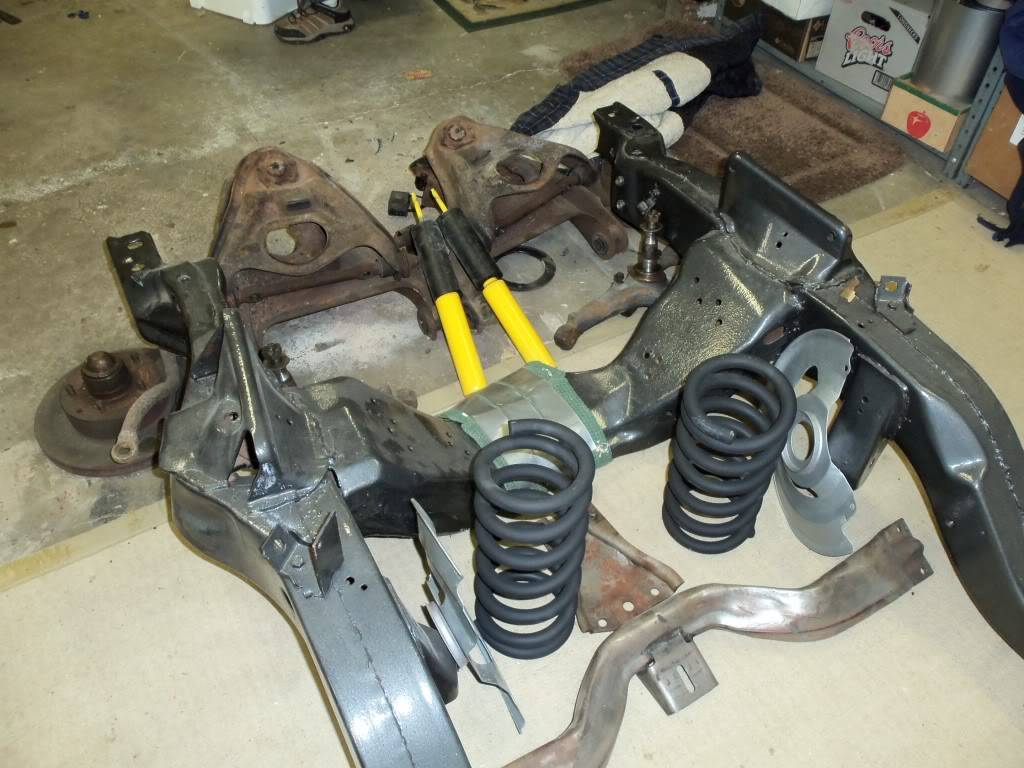
My winter project is done EARLY!! Got the subframe all put back together. New control arm bushings, tie rods, adjusting sleeves, shocks, springs and ball joints Up next is fix the rust on the inner fenders and core support.
BEFORE:
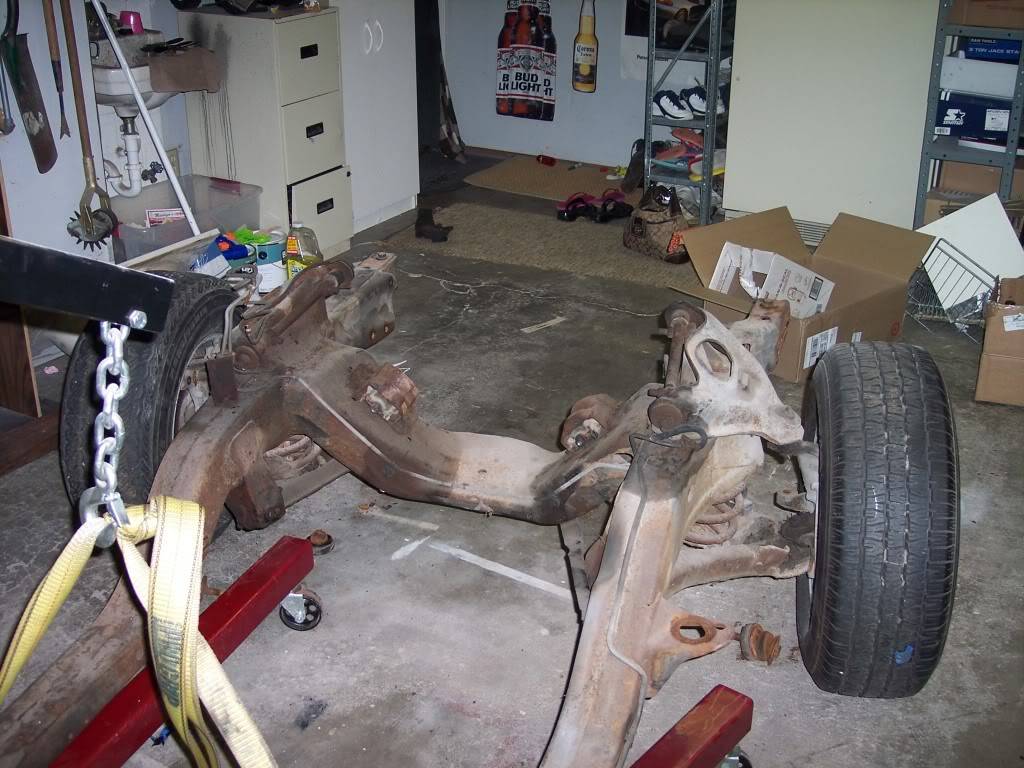
AFTER:

Well I got the rear shoulder belts all done except for covering the retractor covers. Here is the write up on how I did the shoulder belts
http://www.nastyz28.com/forum/showthread.php?t=126809
Also got the seats put back in except for the drivers. Windshield and console are back in also. So pretty much done w/the interior. Next step install the subframe to the car.
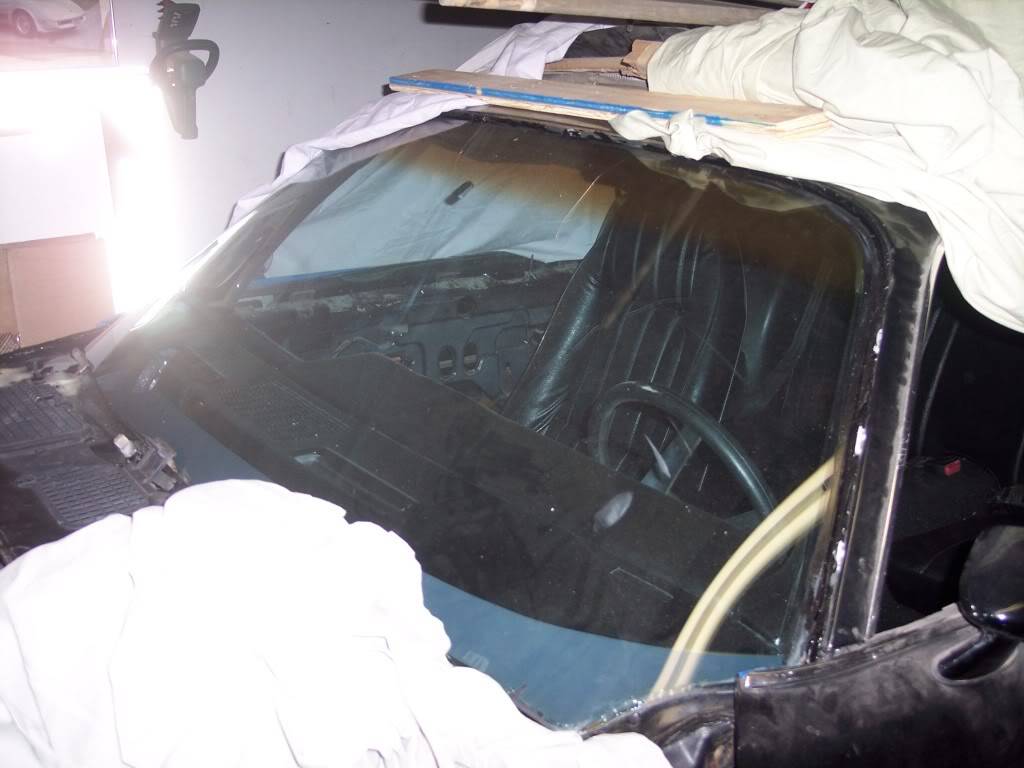
Here is my repair I did on the metal portion of the dash
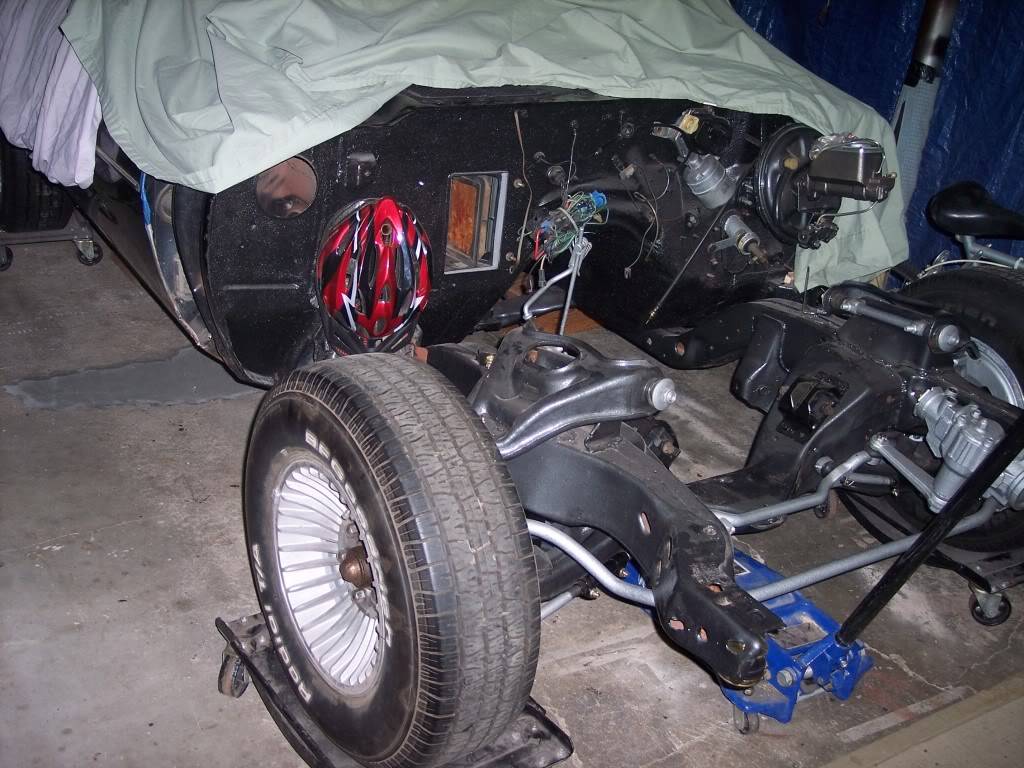
Got the subframe attached back to the body. Should be able to get the brake lines and fuel lines installed this weekend and get the steering shaft installed. Almost to the point where I can roll it in and out of the garage again!!
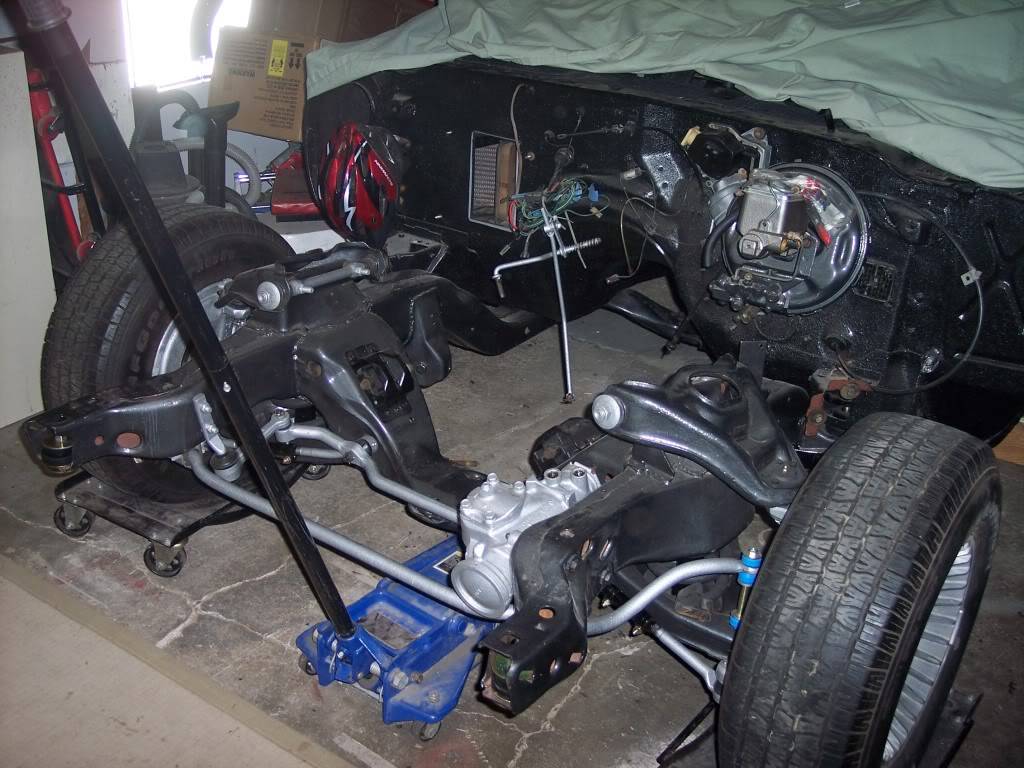
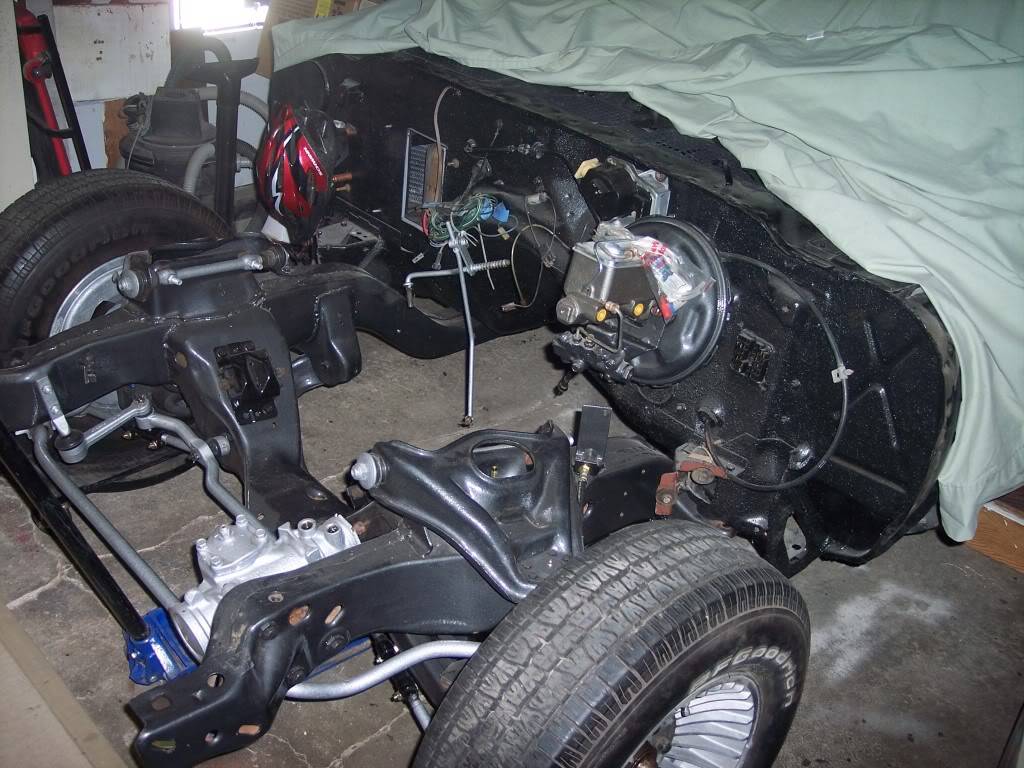 -Kevin
Project Thread: https://www.pro-touring.com/threads/113334-Project-JUNK-the-ultimate-budget-project!!-1979-Camaro
02-12-2015 #17
Registered User
- Join Date
- Jan 2015
- Posts
- 149
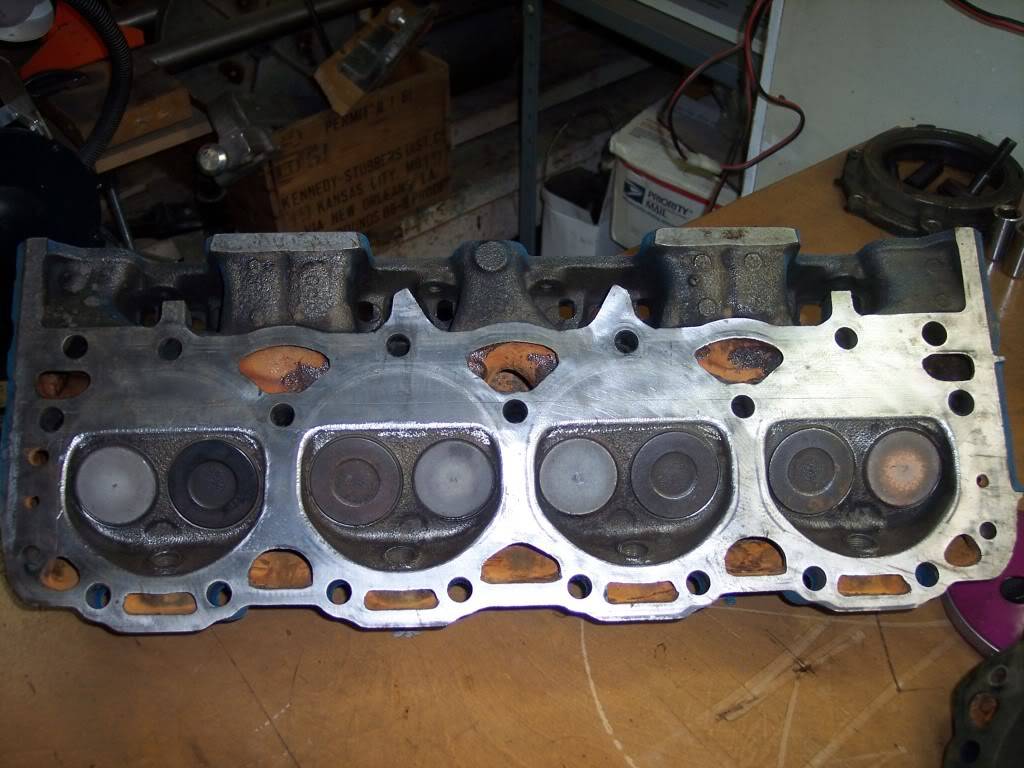
Well I got the engine almost torn down. Figured out what that ticking noise was and why it ran bad.....I wiped atleast one cam lobe. It is almost round and the lifter is very concave. I haven't pulled the other lifters yet, will wait until I get the crank out so I can push the rest through. They will not come out the top. Hopefully get that done tonight. I already took the heads apart and cleaned them up and lapped the valves and put new valve stem seals. The plan is to just re-ring/bearing it and paint and get it running again.
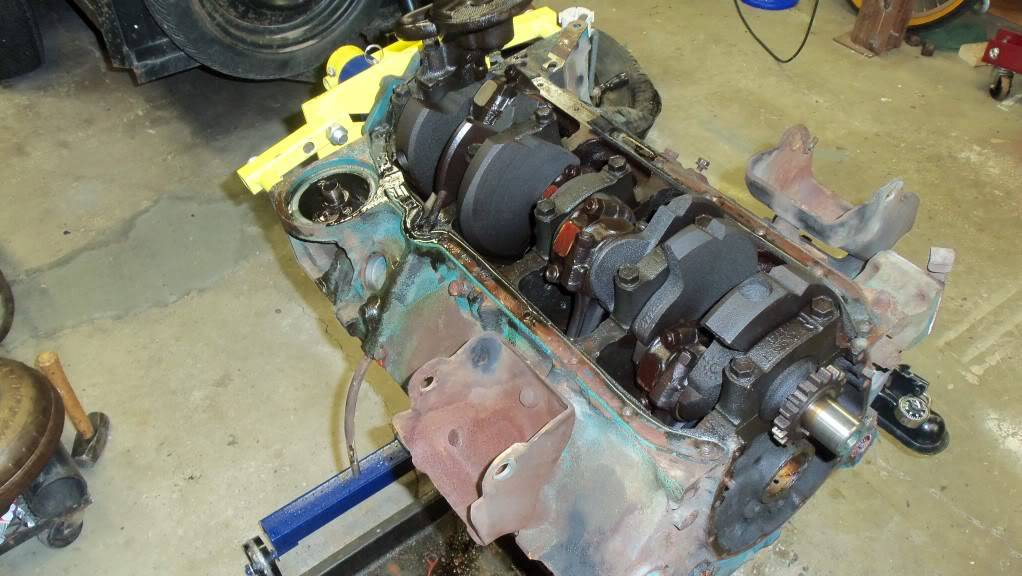
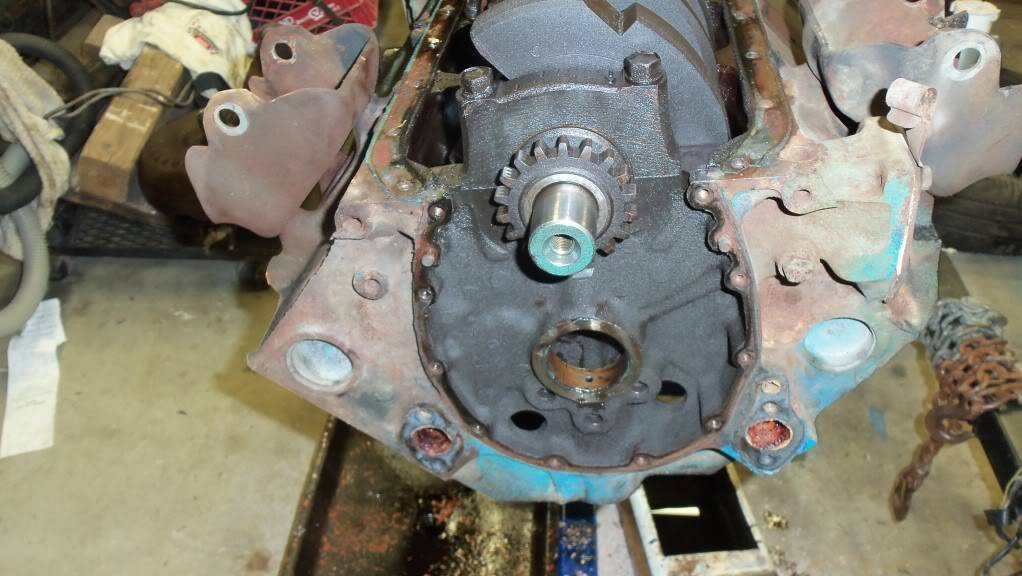
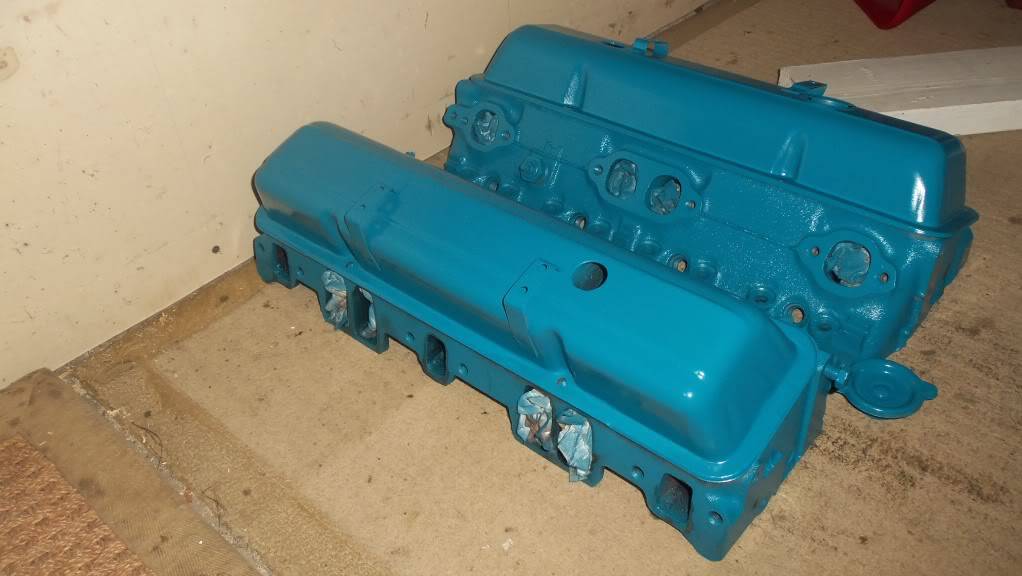
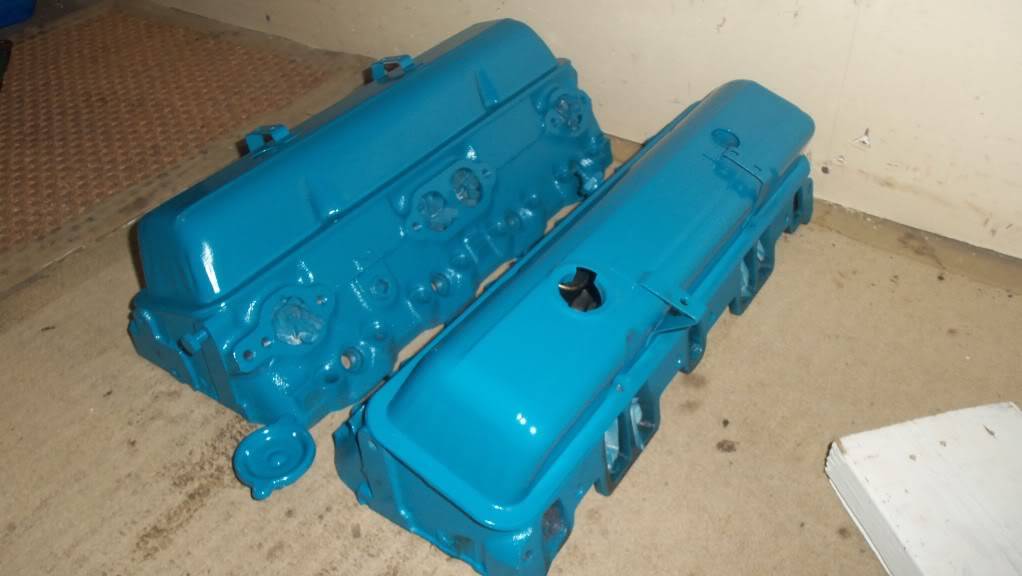
I haven't posted much progress lately. I got the engine all apart and everything looked good except the crankshaft. The #1 main journal was grooved pretty bad. It was out of a wrecked Suburban and I think it went in a ditch and starved it of oil or something. Anyway I got a reman crank and bearings, honed it and will be re-ringing it this weekend. Also will be installing new cam/lifters, timing chain and oil pump. I didn't go crazy on the cam just your basic one step above stock RV type cam.
I got all the sharp edges ground off the chambers in the heads to prevent some detonation. Hopefully will be back together in a week or so.
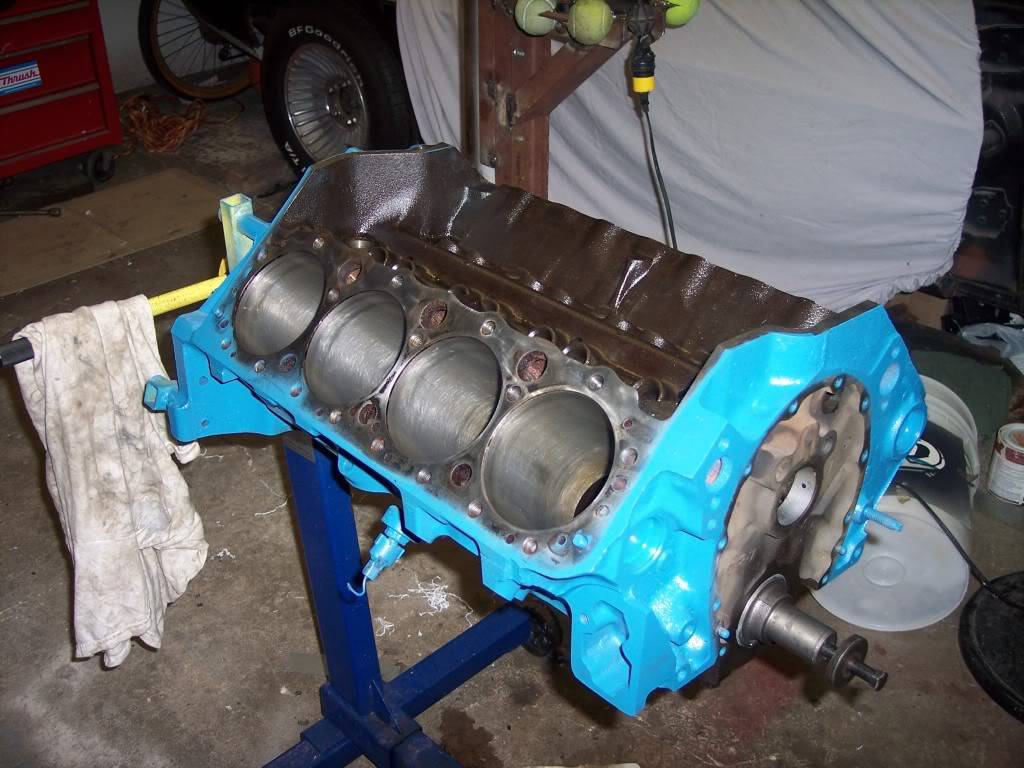
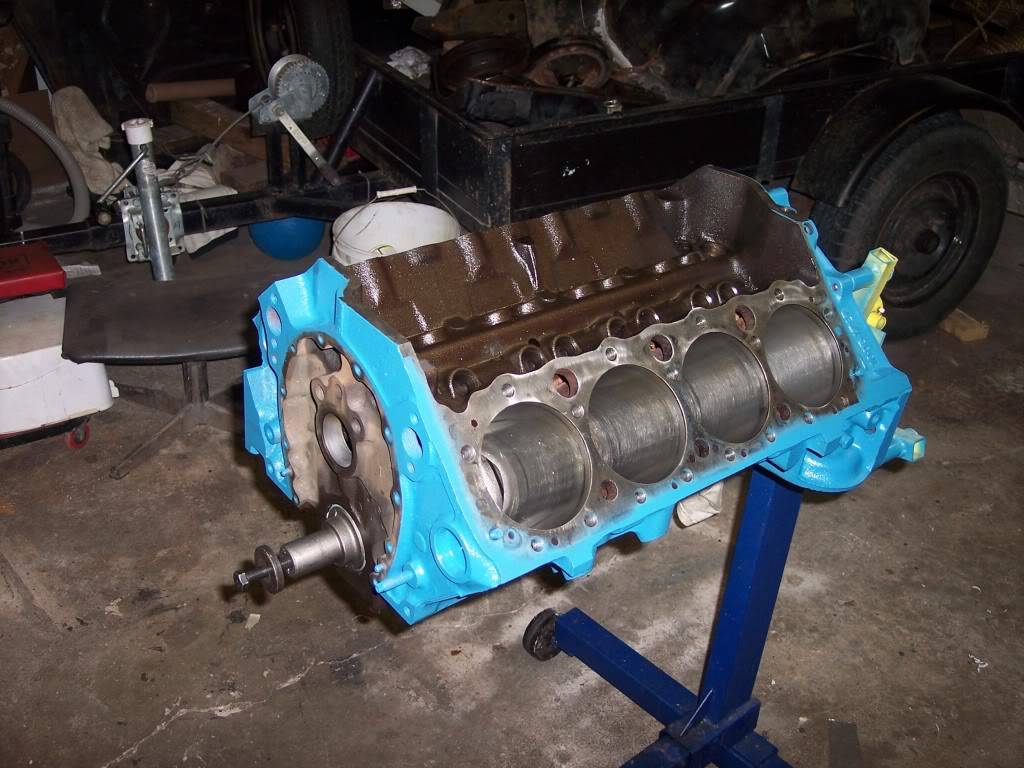
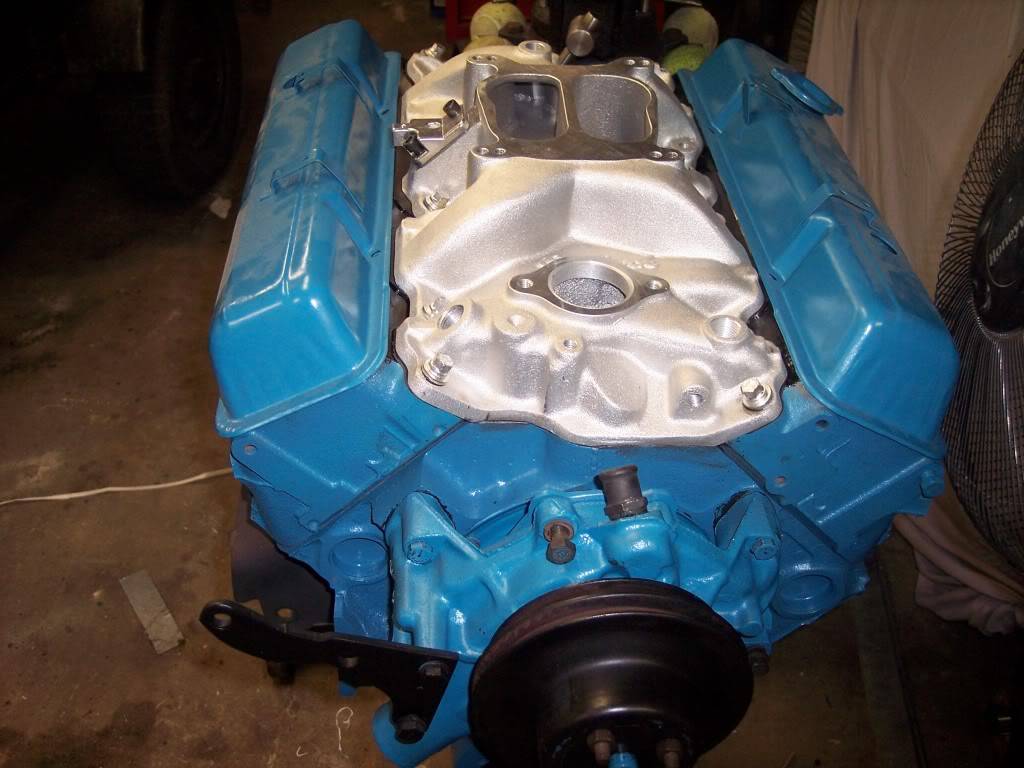
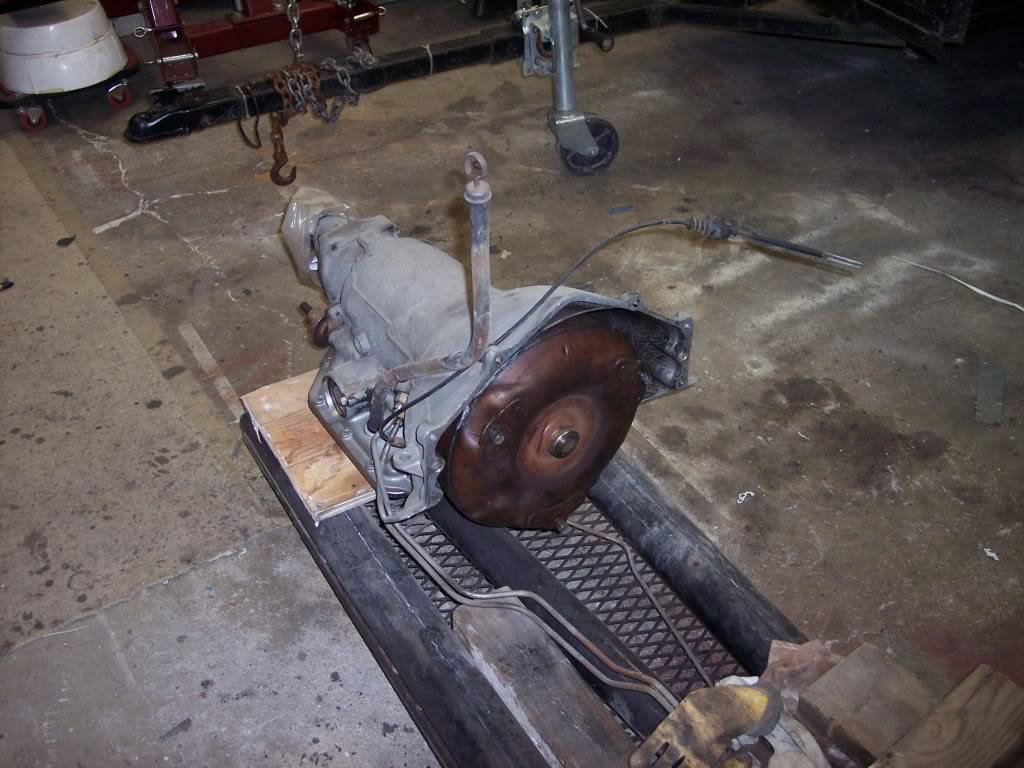
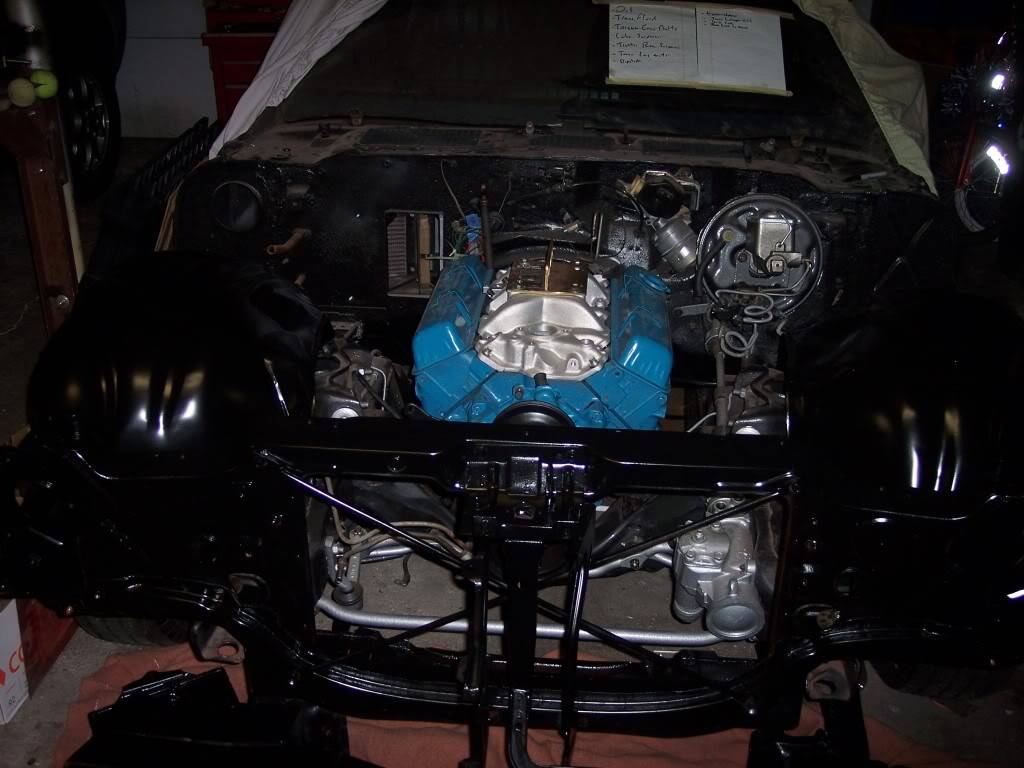
Well, I got the engine all wrapped up. Next step is the get trans mated to the engine and get in put in. I need to replace an oring on the selector lever that was leaking.
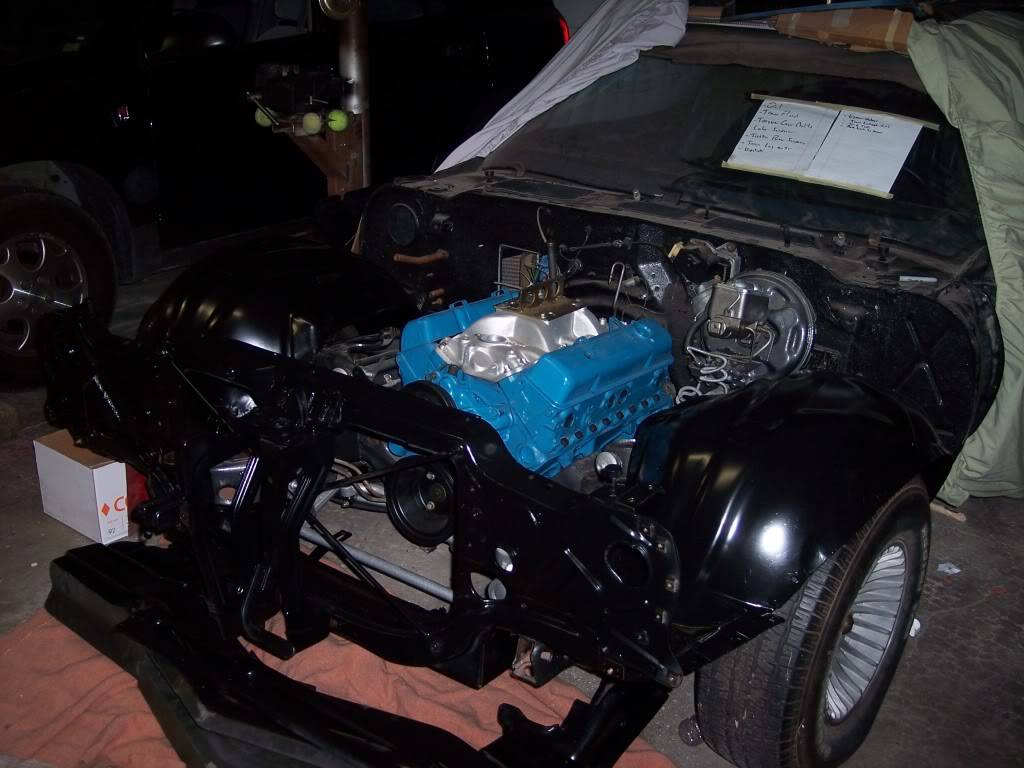
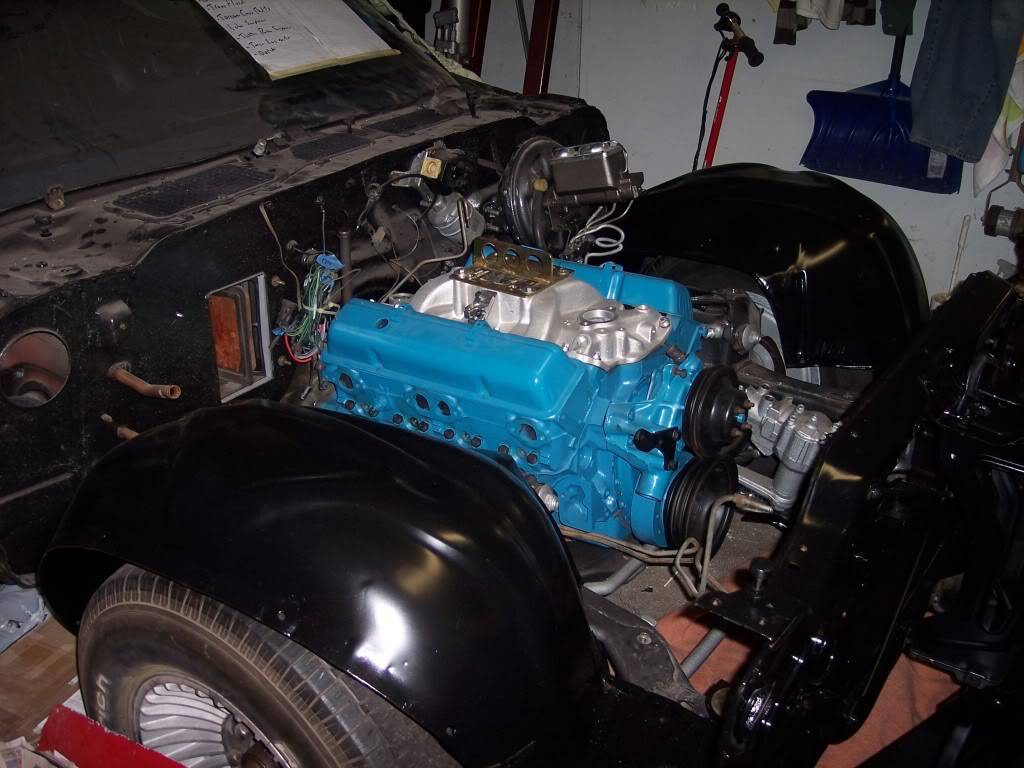
Well I used my cheapo Harbor Freight spray gun for the first time. It worked pretty good. I used Rustoleum Satin Black thinned 50/50 w/acetone and some hardner. Painted the inner fenders and core support and inner bumpers. Turned out real good for my first time painting w/a gun. What a difference!!
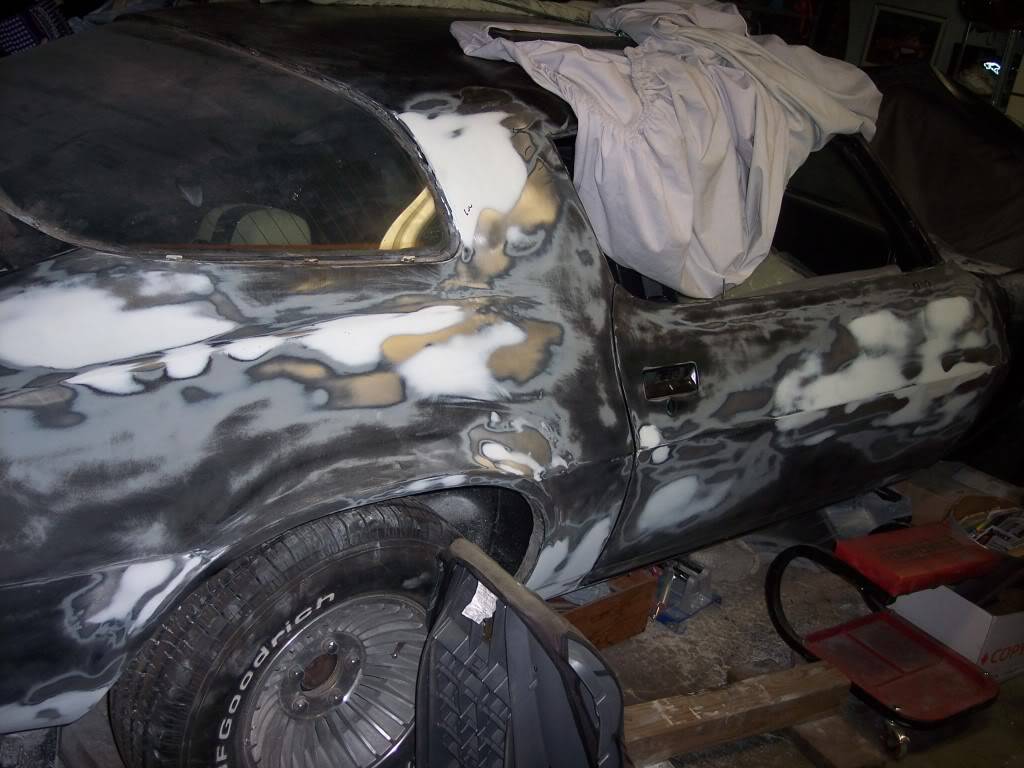
An now to start on the body work. I am filling all the small dent and dings and areas that I welded in patch panels. Then will spot epoxy primer and then apply the Slick Sand and stard blocking and blocking and blocking!! The plan is to tackle body work until it gets cold and I will get the motor all hooked up and fired over the winter...hopefully be ready for paint by Summer........hopefully!!
 -Kevin
Project Thread: https://www.pro-touring.com/threads/113334-Project-JUNK-the-ultimate-budget-project!!-1979-Camaro
02-12-2015 #18
Registered User
- Join Date
- Jan 2015
- Posts
- 149
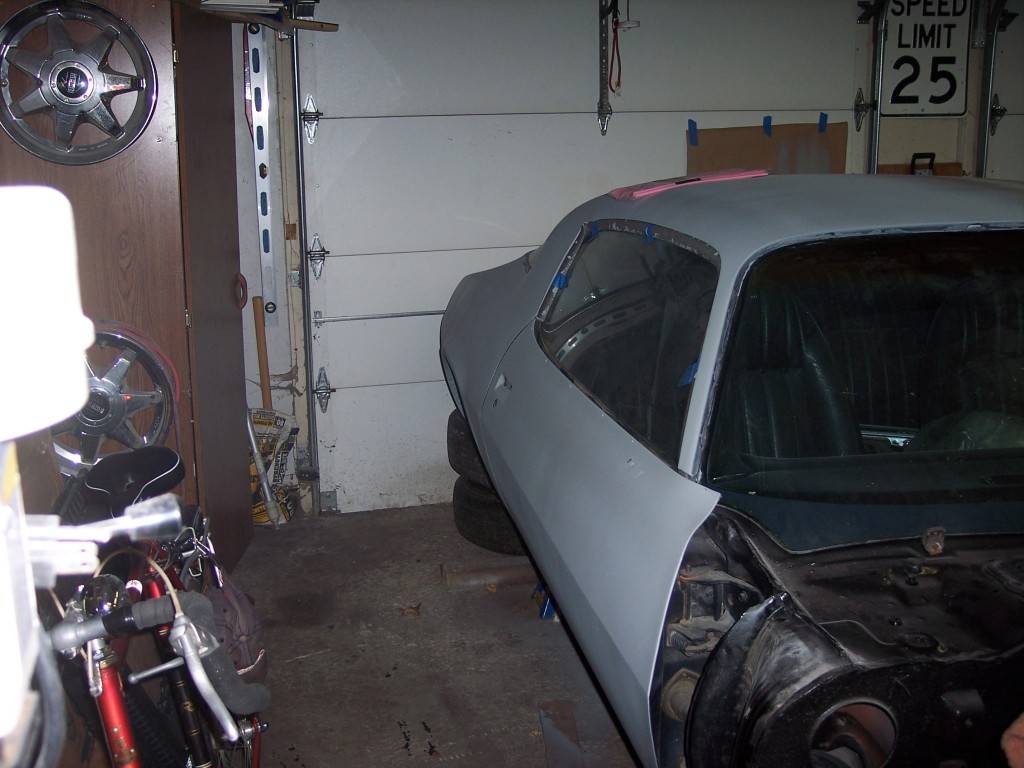
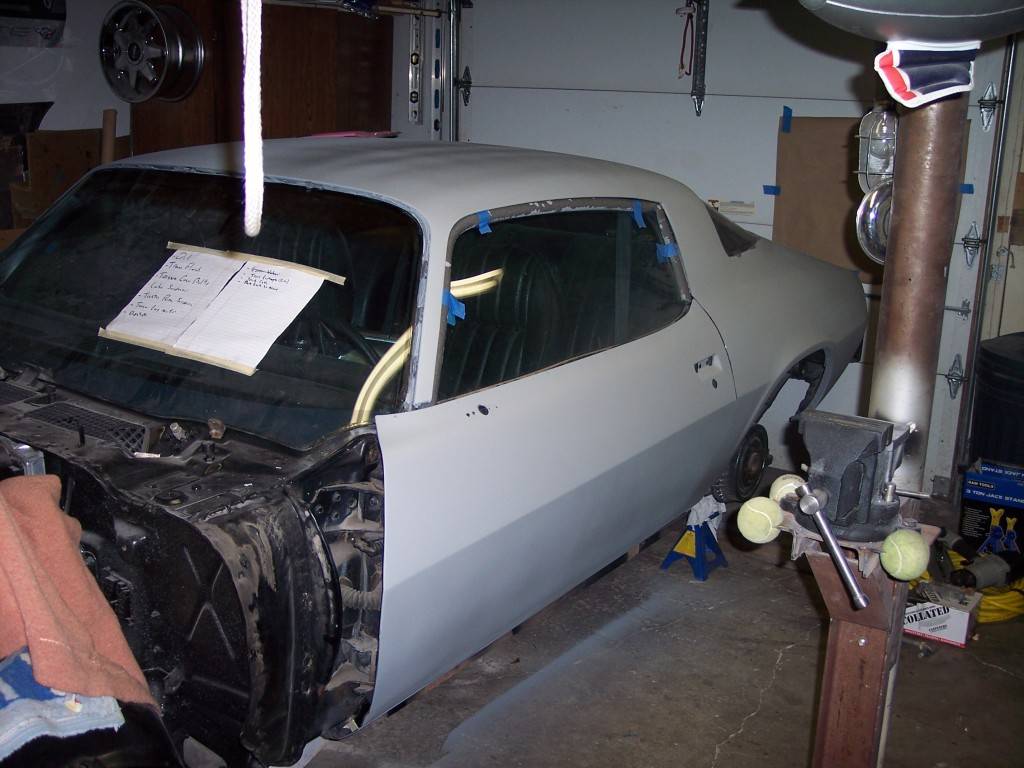
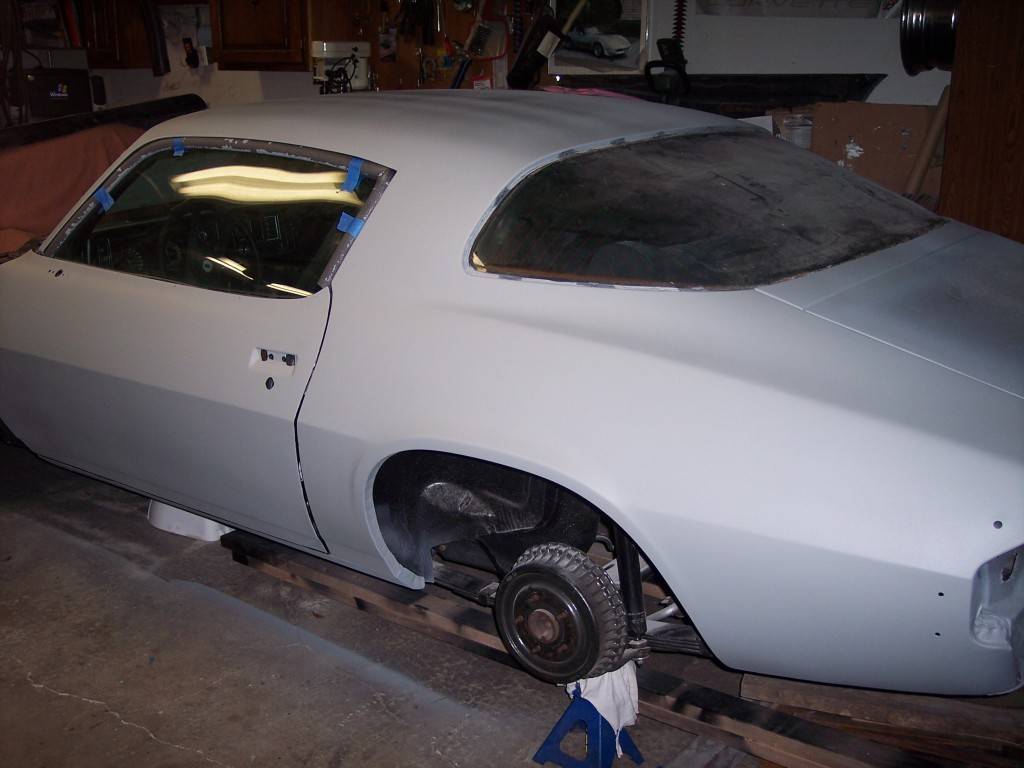
Woo Hoo....shot some Epoxy primer today!! The plan was to just cover the bare metal spots since I didn't have a lot of primer. I mixed a little too much, so pretty much covered the whole body. The plan is to scuff the Epoxy and shoot Slick Sand next weekend while I have everything masked off.
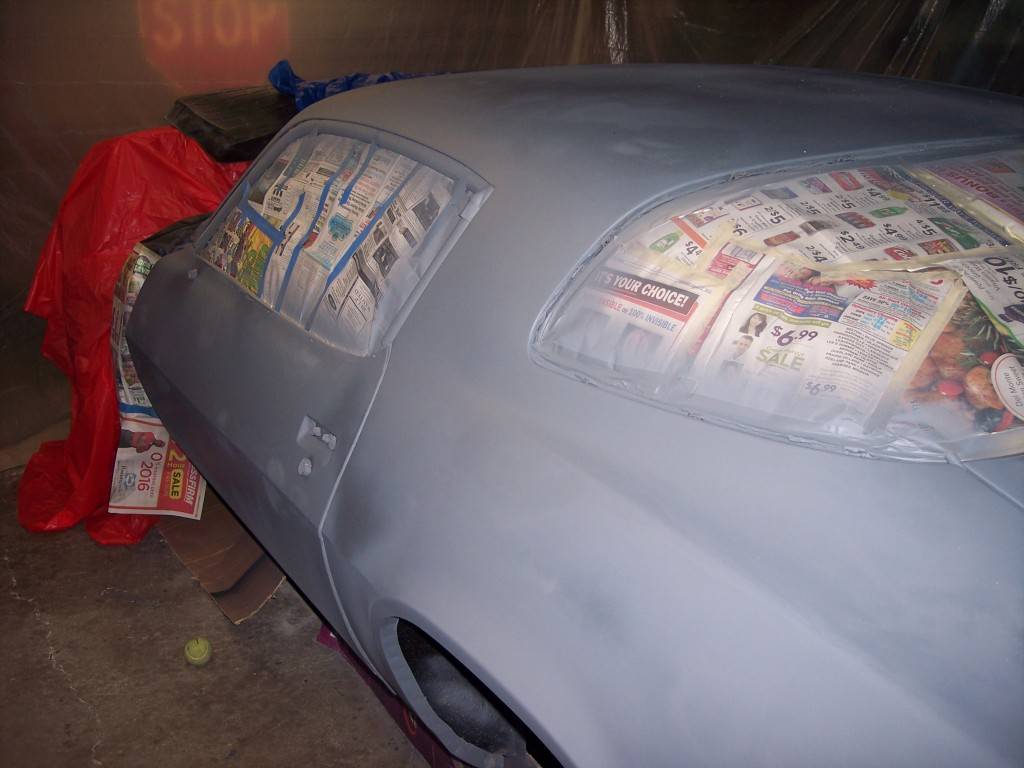
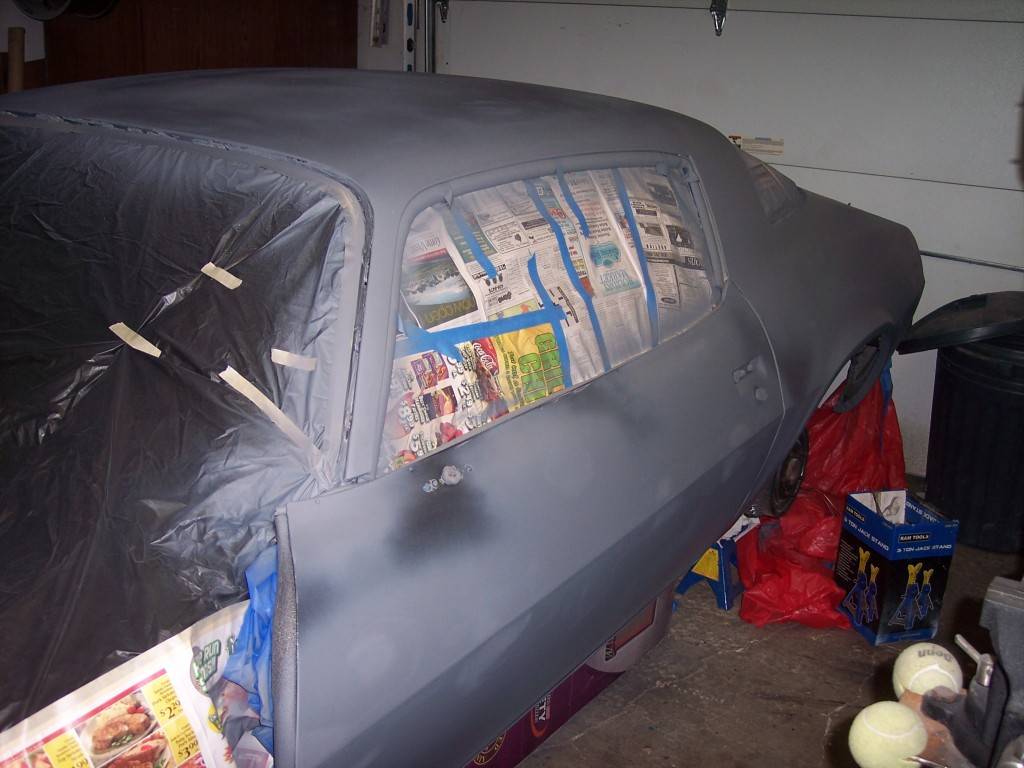
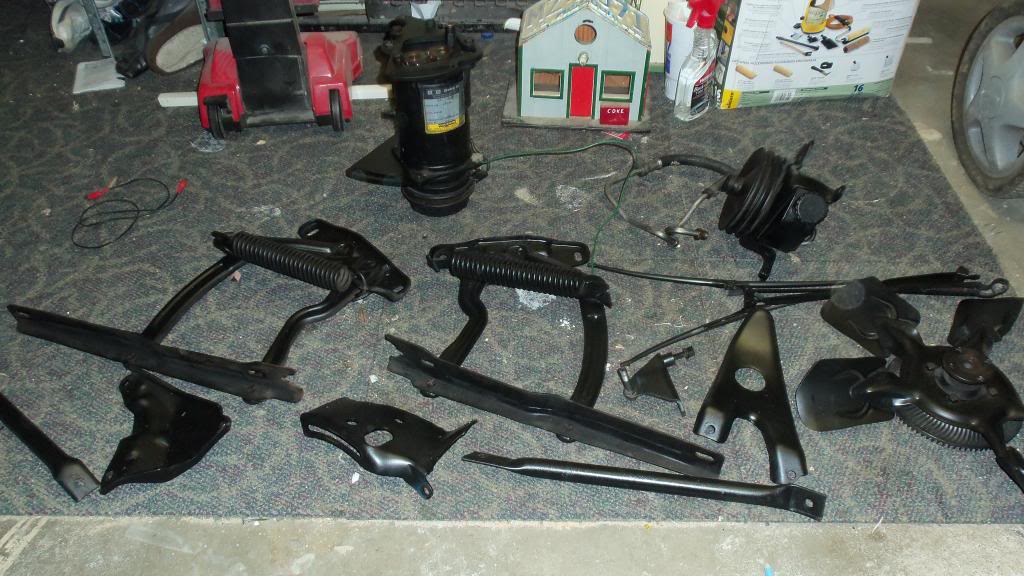
Had a 80 degree day on Friday so I got some misc brackets, ac compressor, ps pump and hood hinges painted. Still trying to get all the little stuff done before that first start. It is amazing how time consuming that is and nickle and dimes you to death!!
Well, exciting day!! Got the engine started, cam broken in and was actually able to back it out of the garage under it's own power!!
Here are some pretty cool pictures my brother in law found from 1985
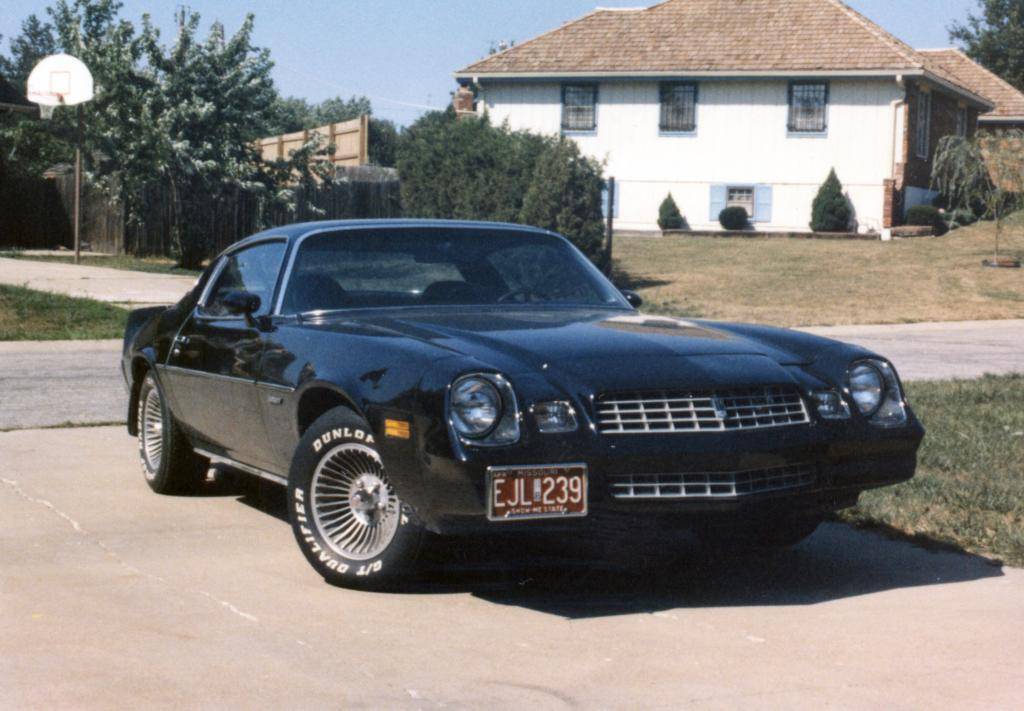
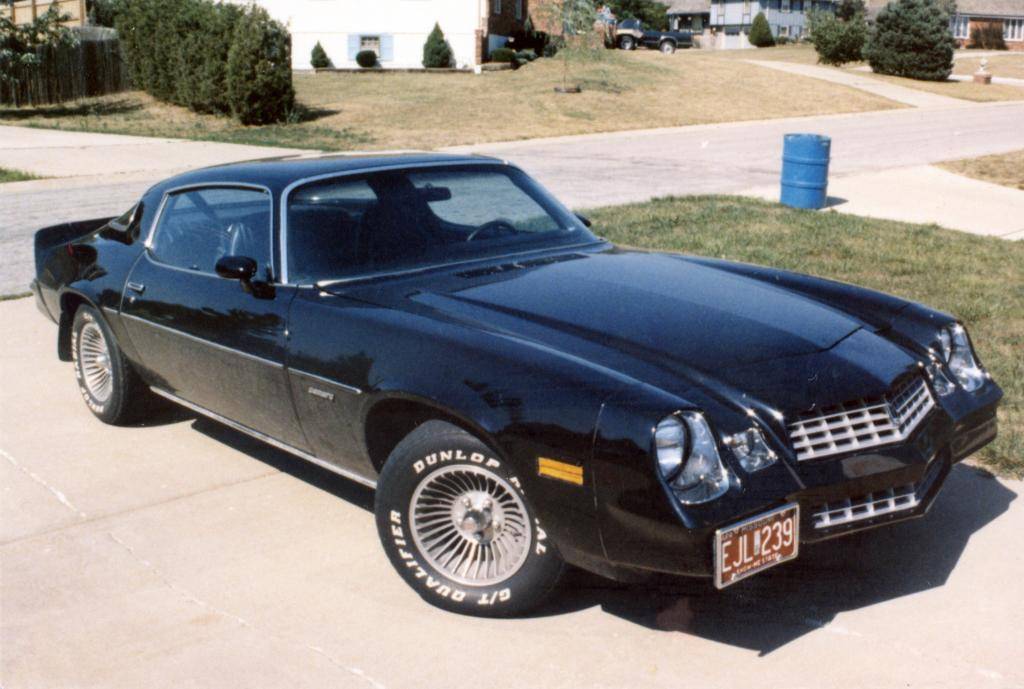
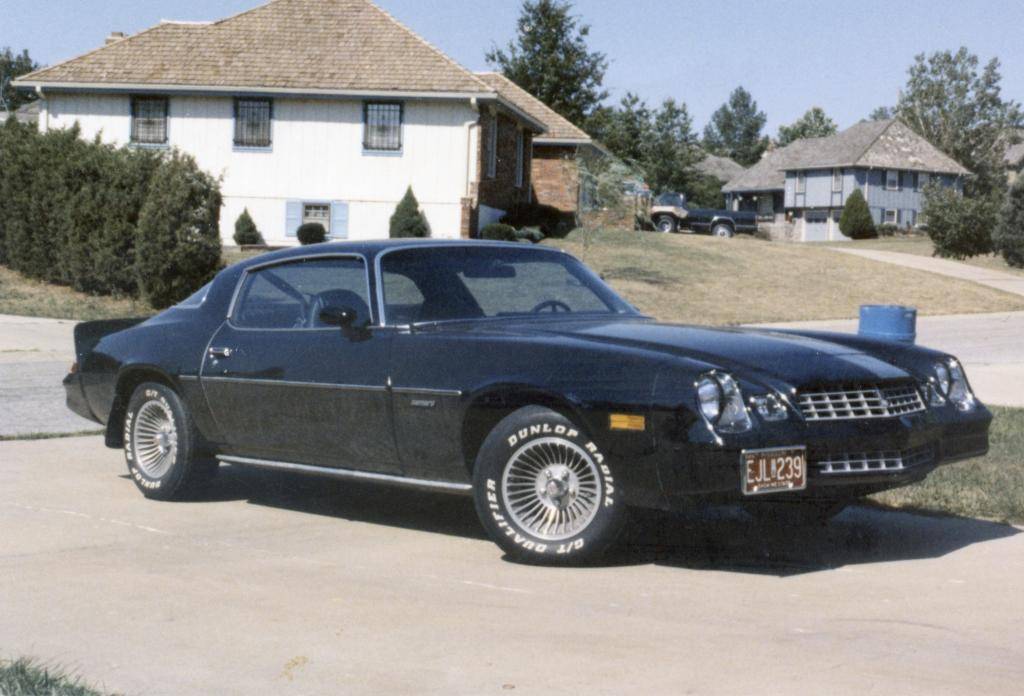
 -Kevin
Project Thread: https://www.pro-touring.com/threads/113334-Project-JUNK-the-ultimate-budget-project!!-1979-Camaro
02-12-2015 #19
Registered User
- Join Date
- Jan 2015
- Posts
- 149
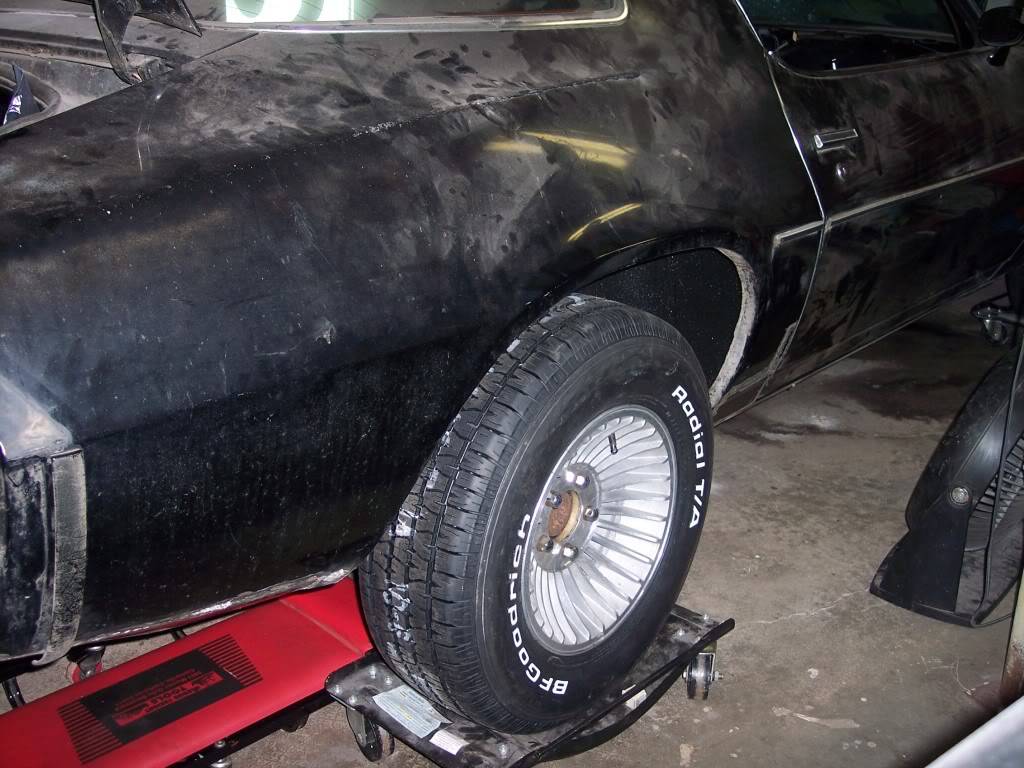
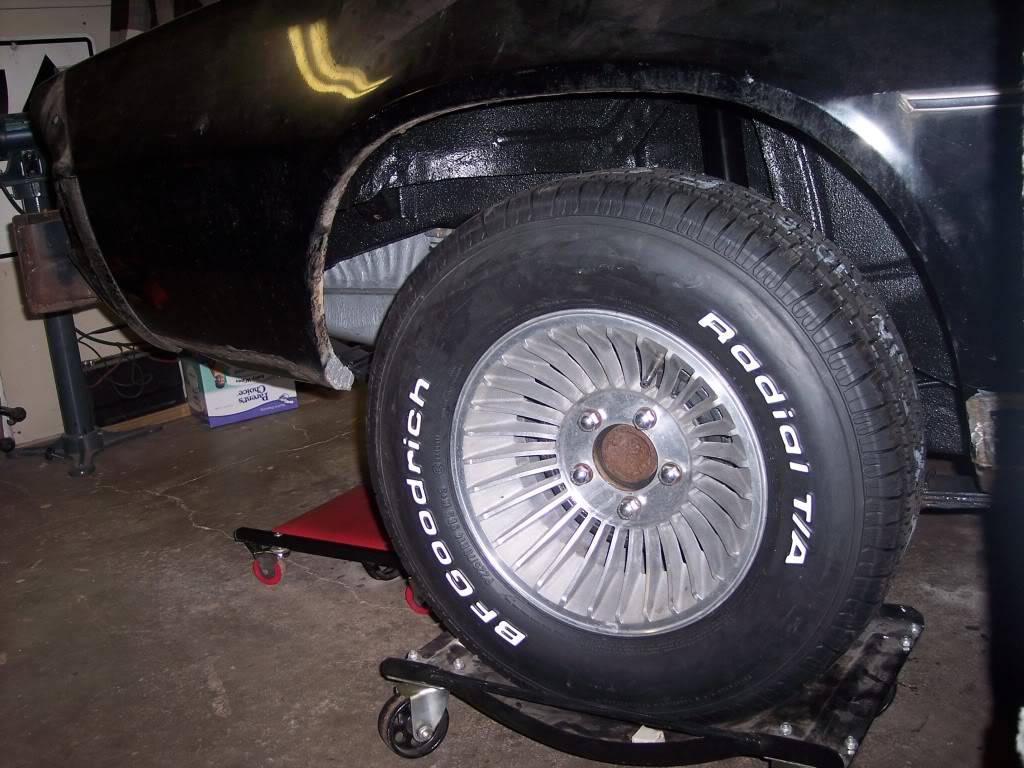
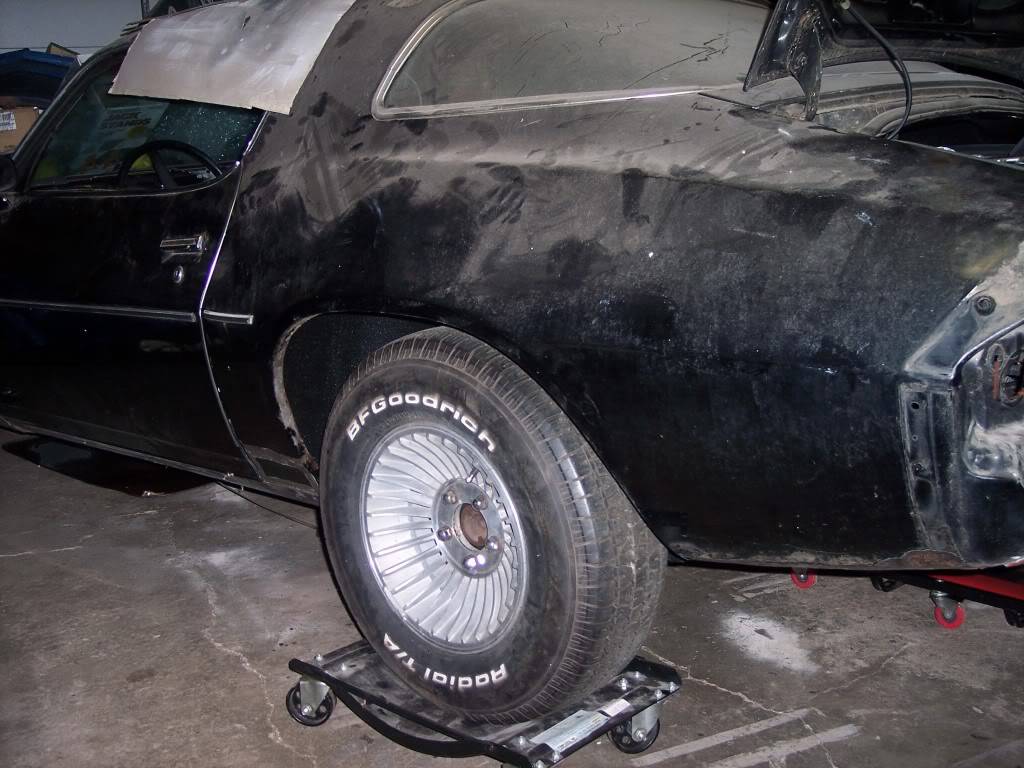
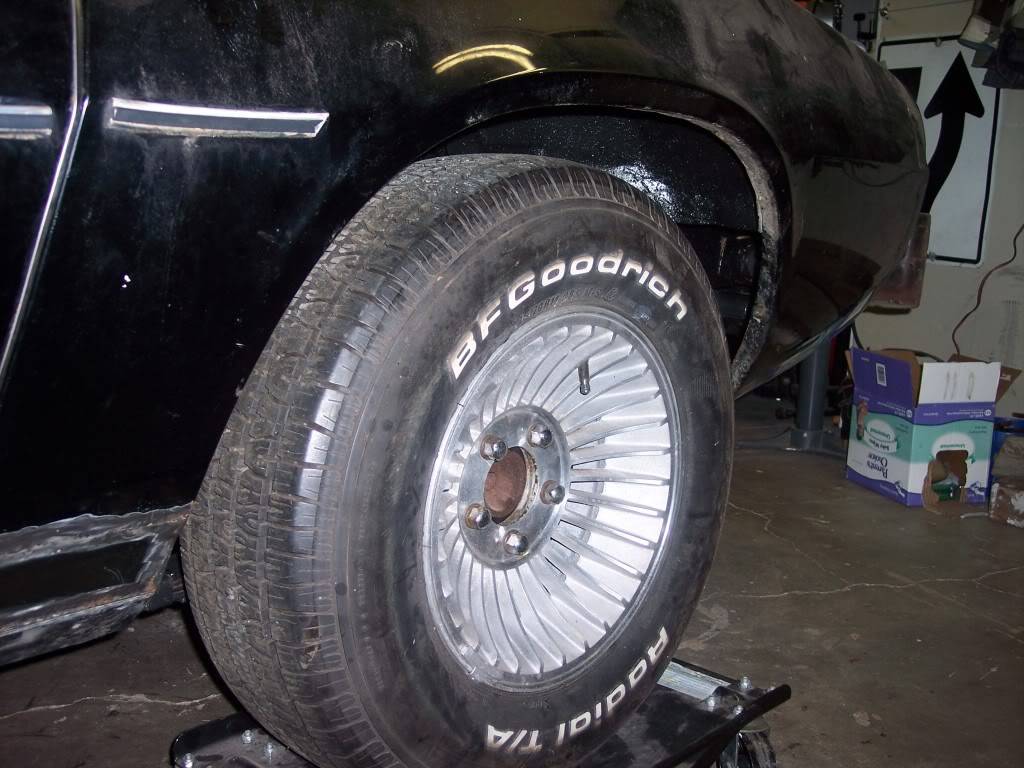
Got the new tires on the back and lowered the rear about 2 inches. I still need to lower the front about 1/2-3/4 inch to get a decent rake
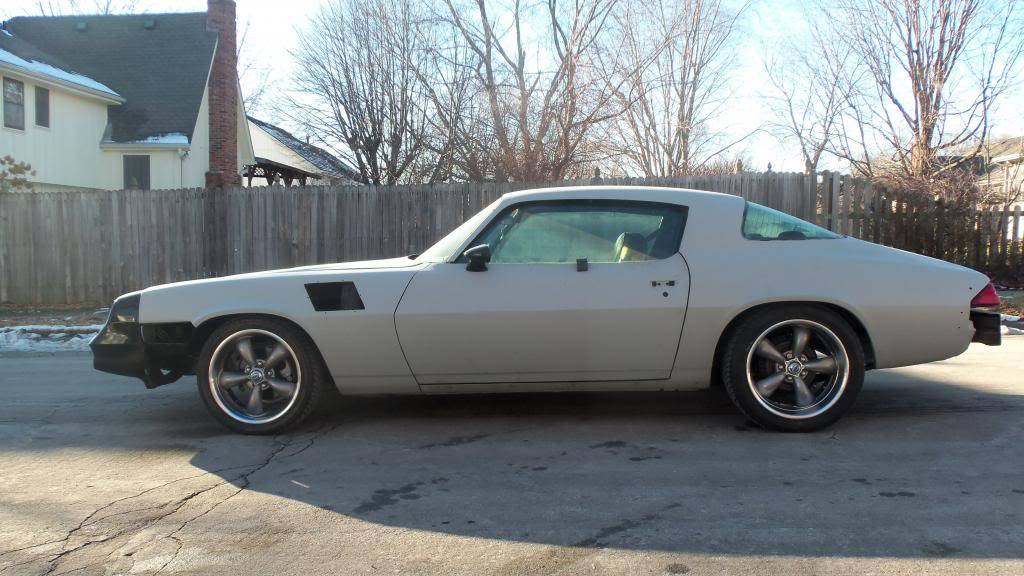
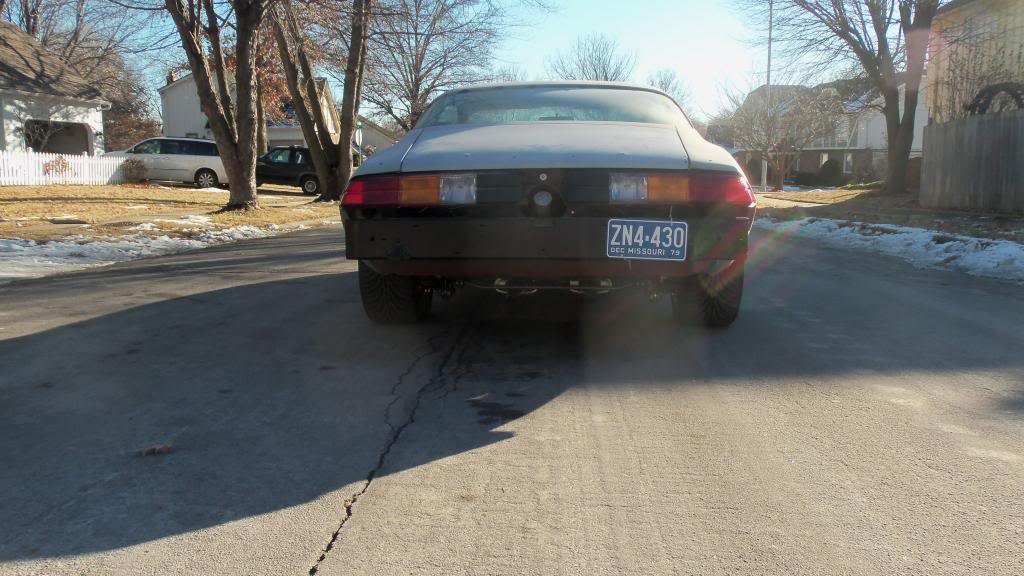
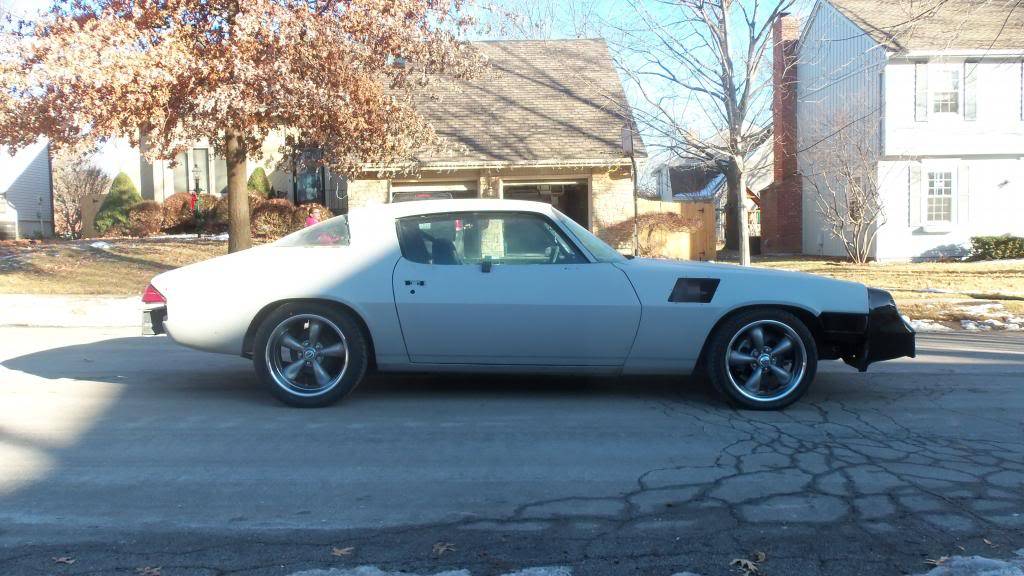
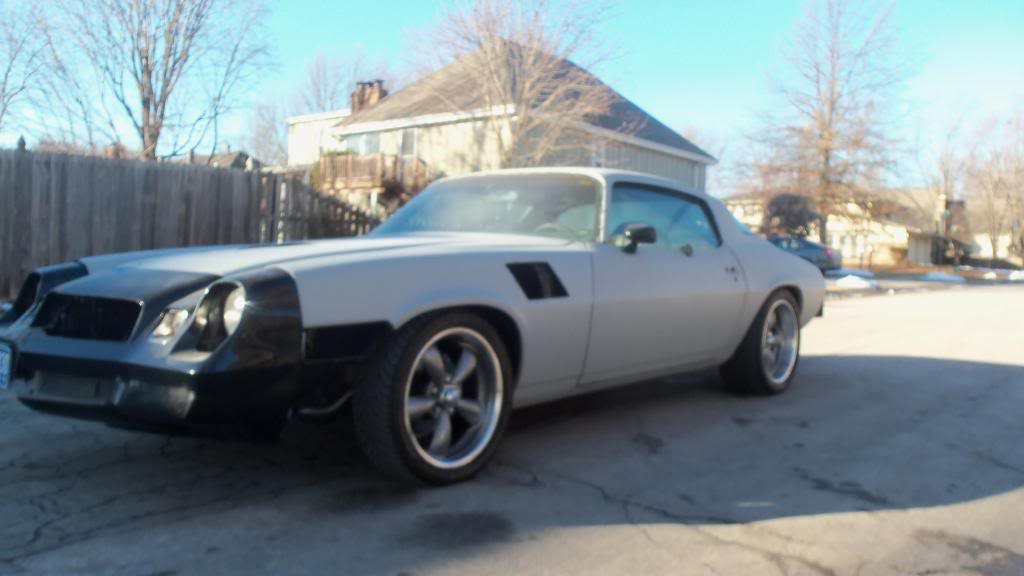
Well I cut 3/4 coil off the moog 5664 springs and I think I cut too much. I like the way it looks, but am afraid I am going to run into problems w/the bump stops. I was laying on the stop so I removed it for now. I have about 1 inch between the frame and the a-arm. I might get some smaller stops or cut mine down for now and see how it rides this spring. Here are the pics. I havent cut the drivers side yet, so it might raise the pass side a little when I do that...not sure though
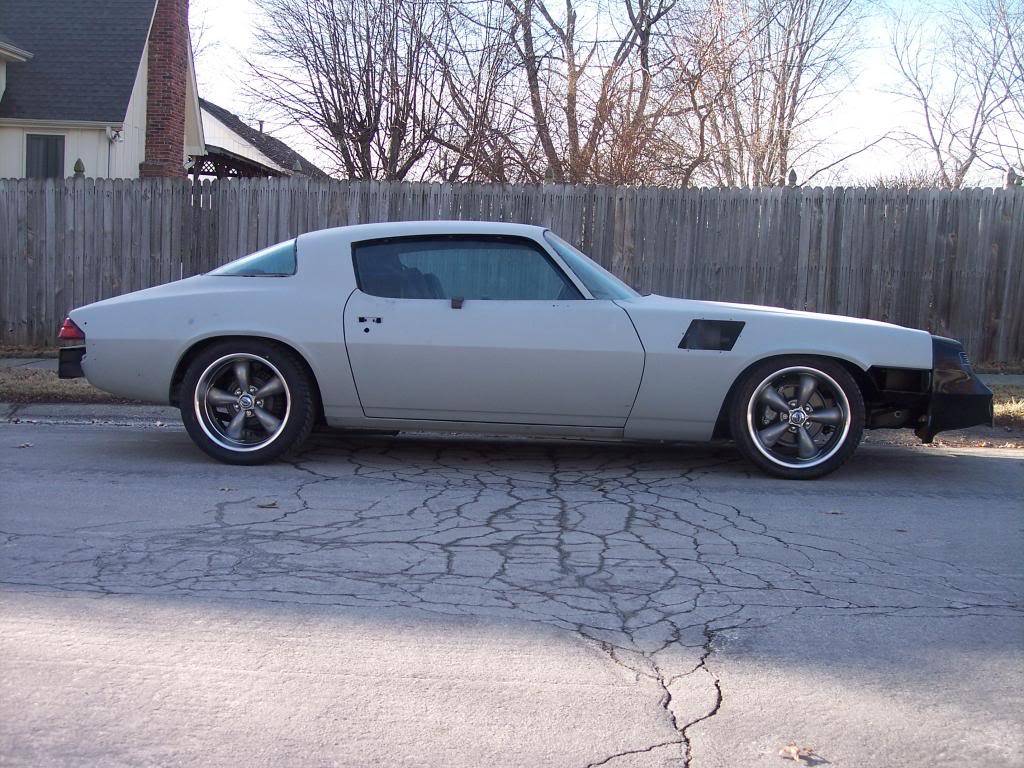
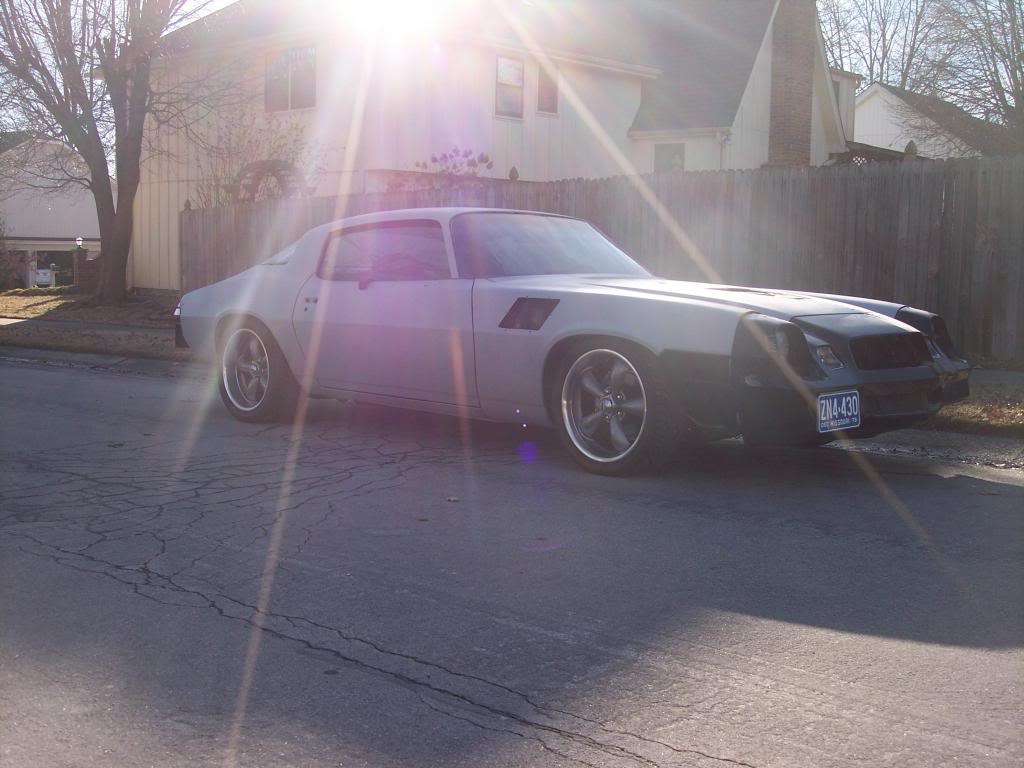
Here is the front tire tucked in the fender(I don't have the inner fender attached yet)
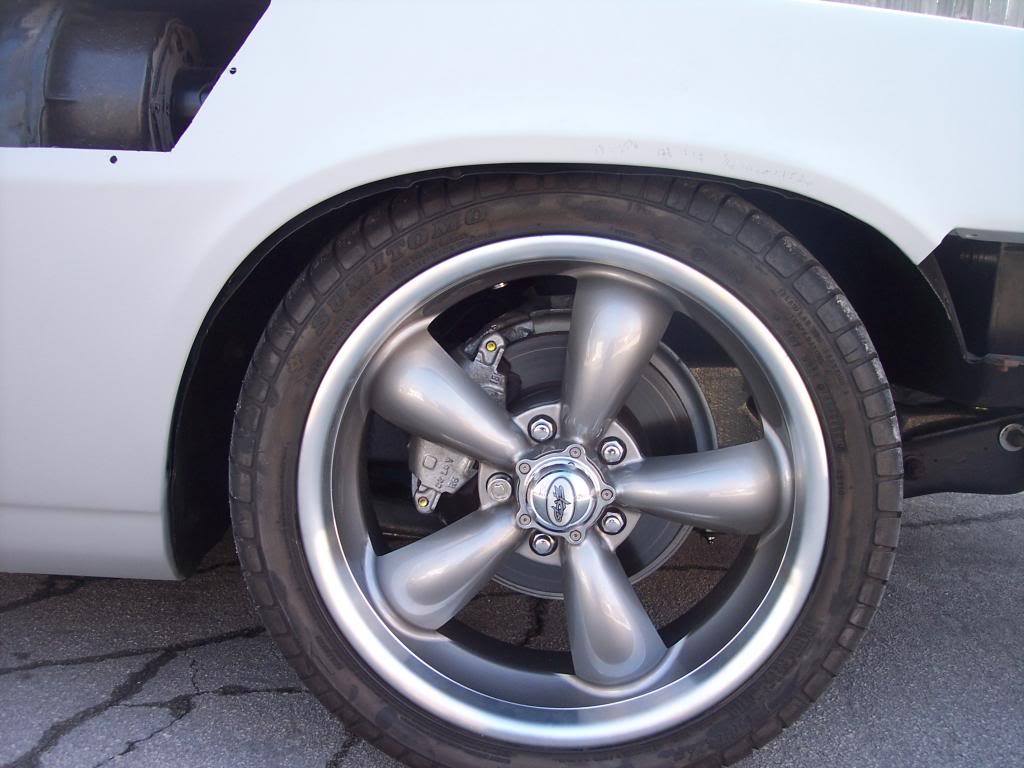
And the rear tire in the quarter
 -Kevin
Project Thread: https://www.pro-touring.com/threads/113334-Project-JUNK-the-ultimate-budget-project!!-1979-Camaro
02-12-2015 #20
Registered User
- Join Date
- Jan 2015
- Posts
- 149
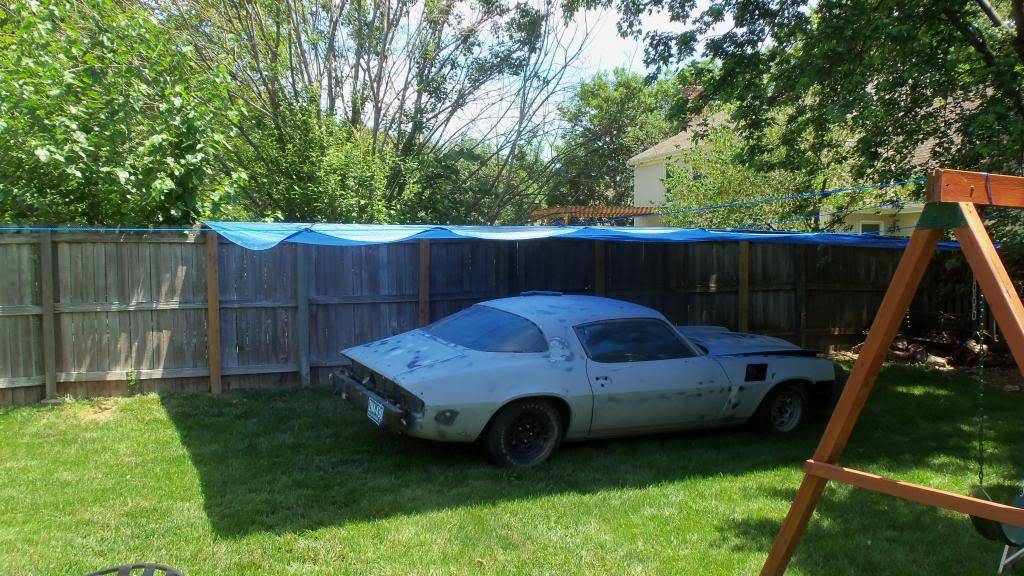
Haven't updated this in a while. Got the Slick Sand all blocked out to 180 and ready for a coat of the Primer Surfacer. Made a backyard "paint booth" and a portable light. Going to give it a test run with the primer this weekend. Probably going to shoot the paint in the back yard instead of the garage if it all works out.
20x15 tarp from harbor freight, some string and some 2x4's to go along the top of the fence. About 30.00 worth of stuff and I can reuse most of it for other things.
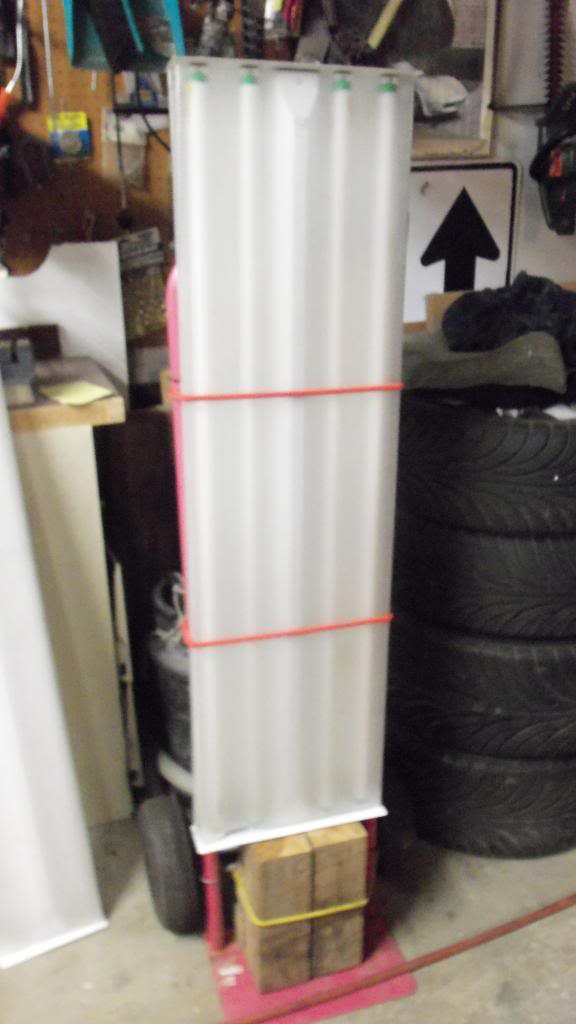
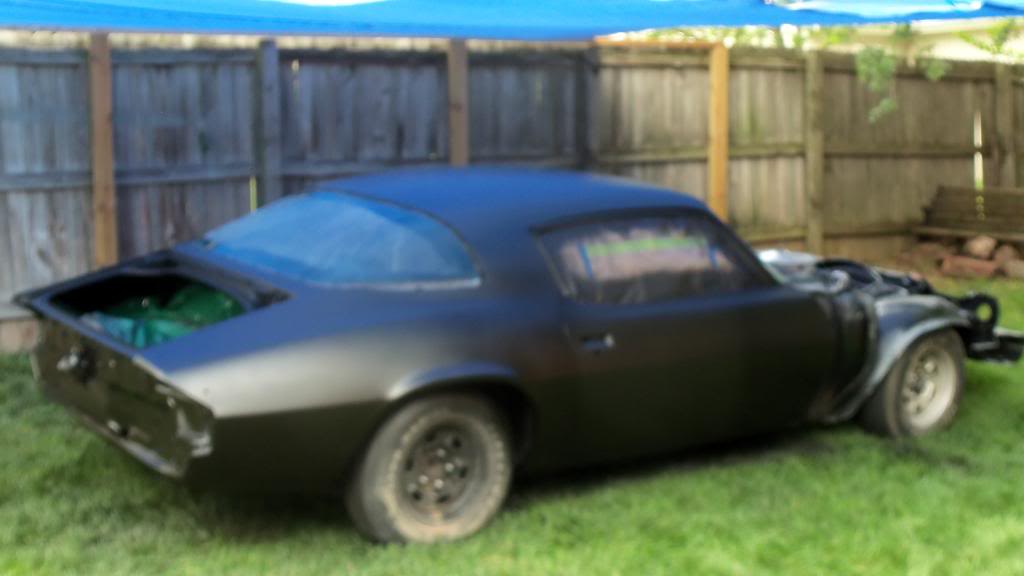
It is finally black again!! This is the last primer/sealer coat. I have some more sanding to do and them comes the shiny black!!
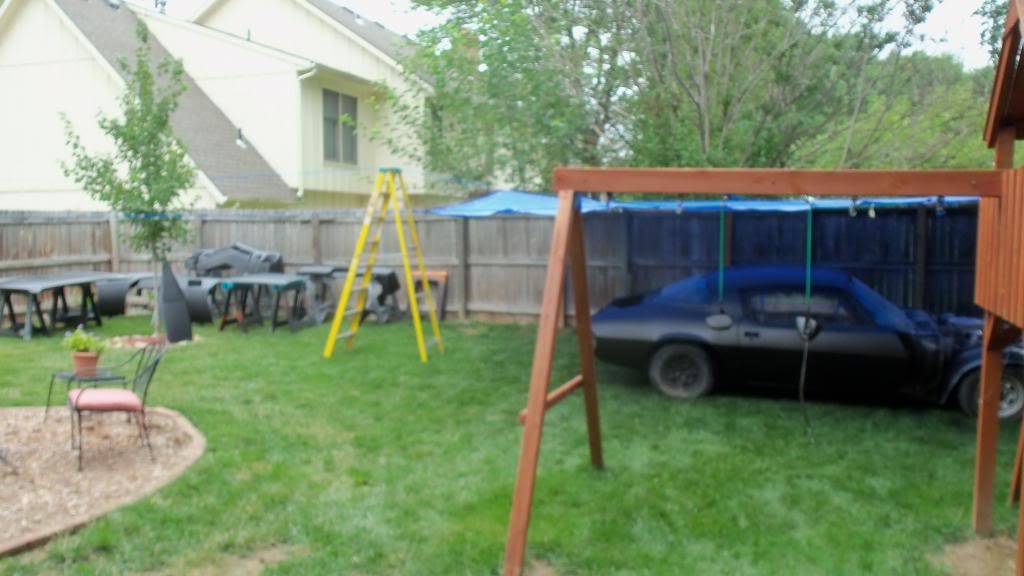
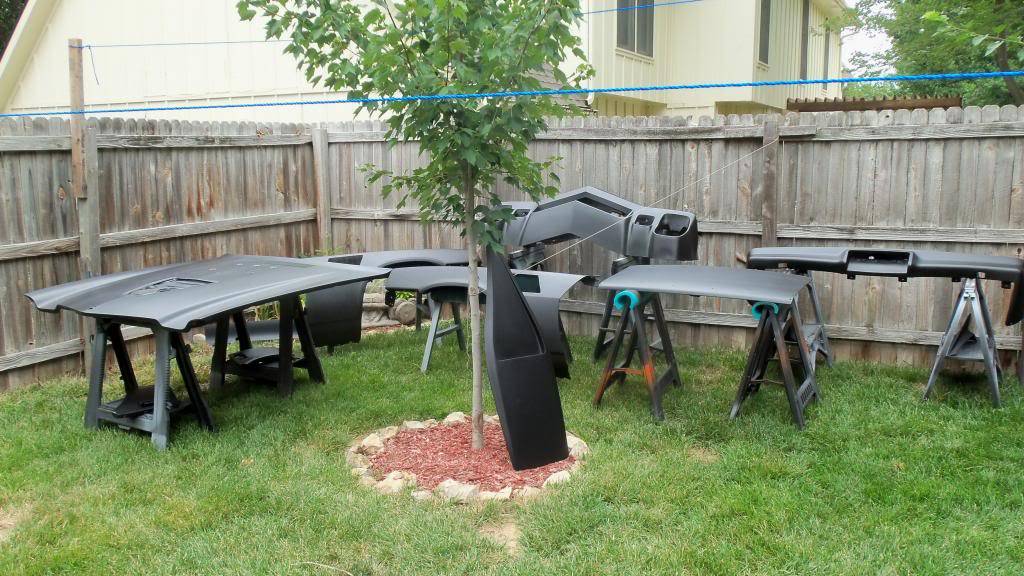
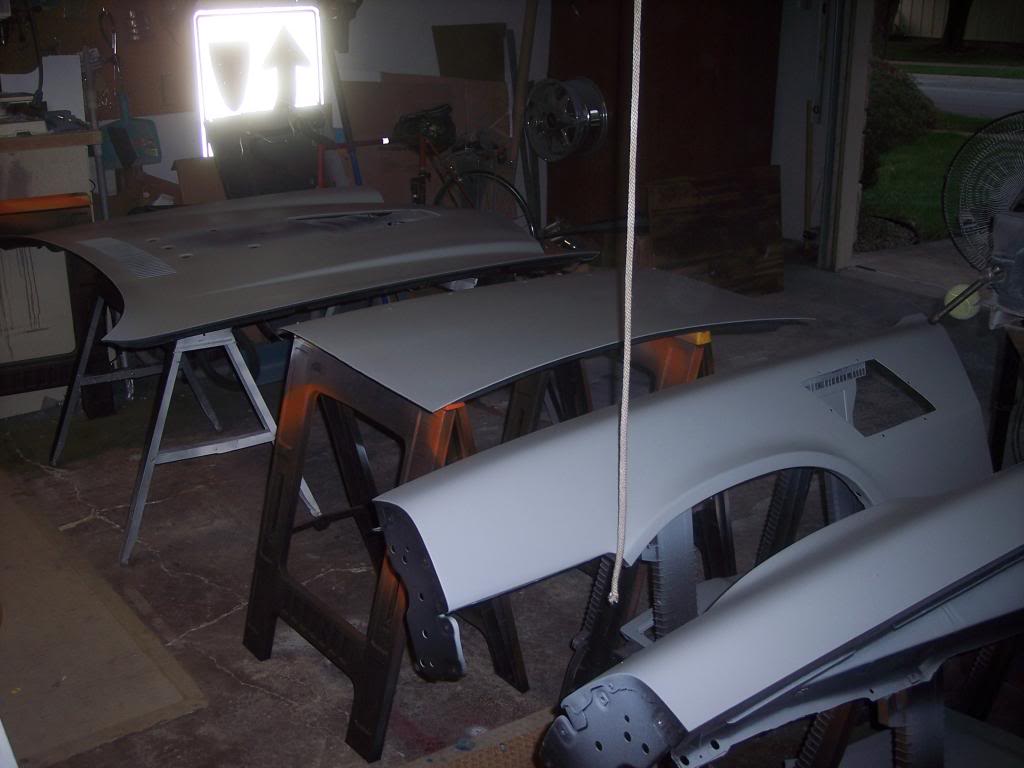
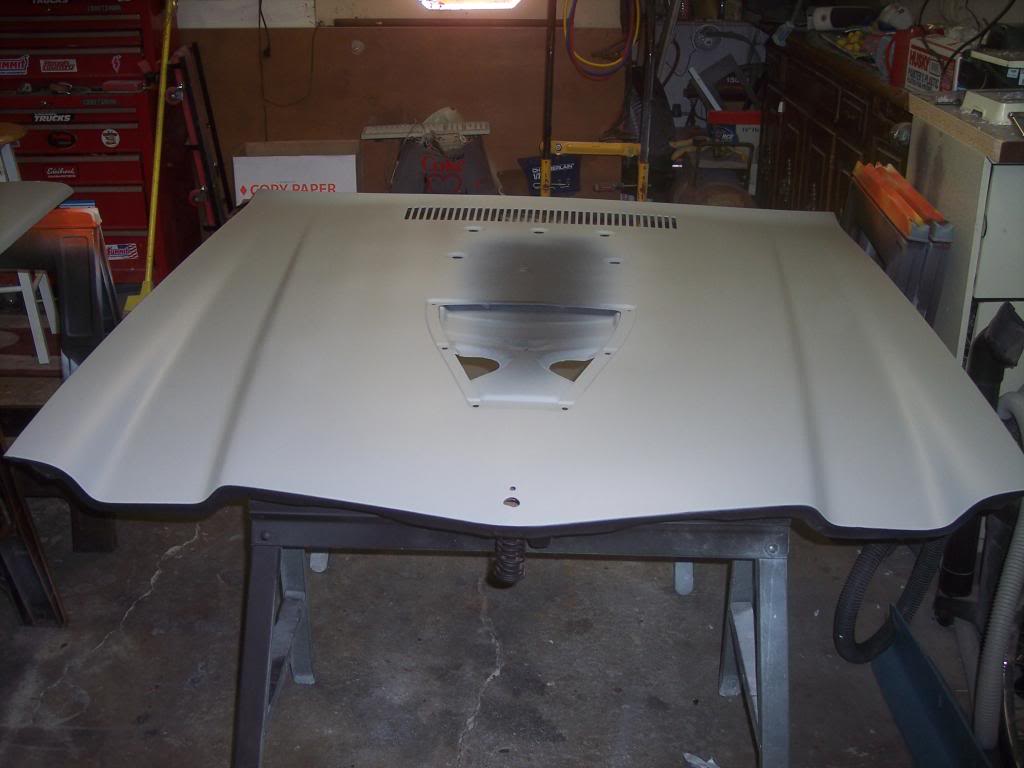
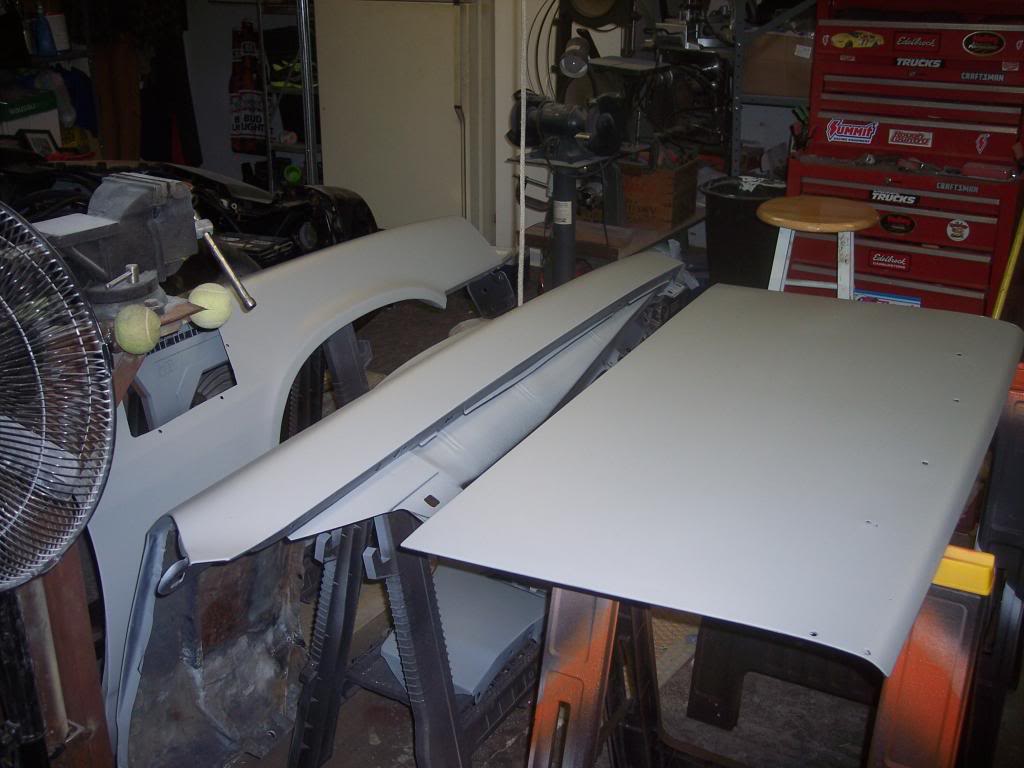
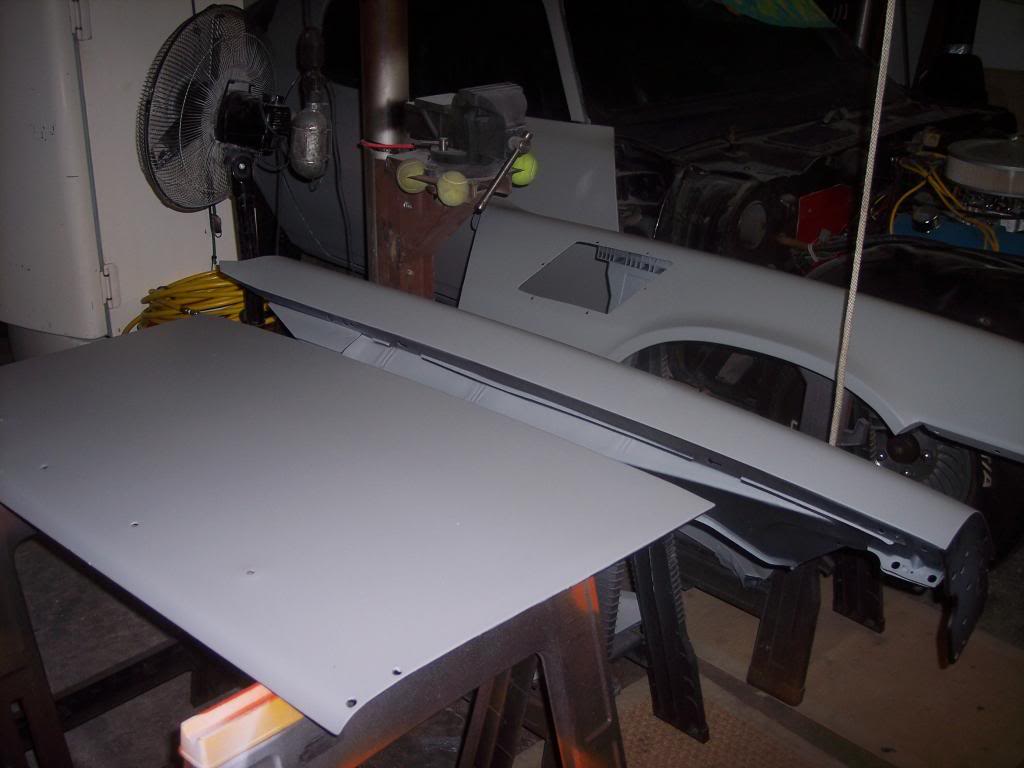
Guess what this means.......hopefully these pieces will be painted in the morning!!
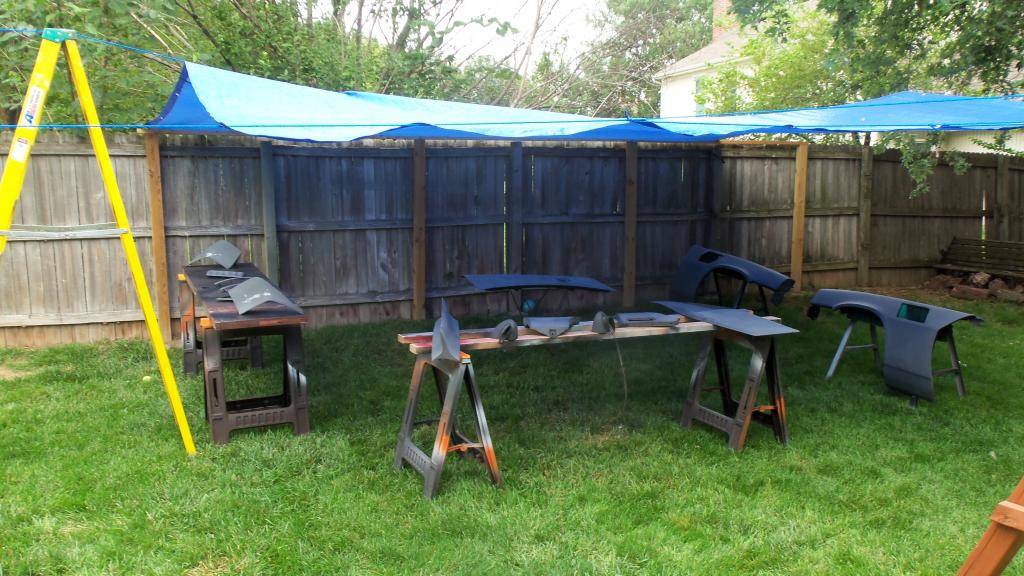
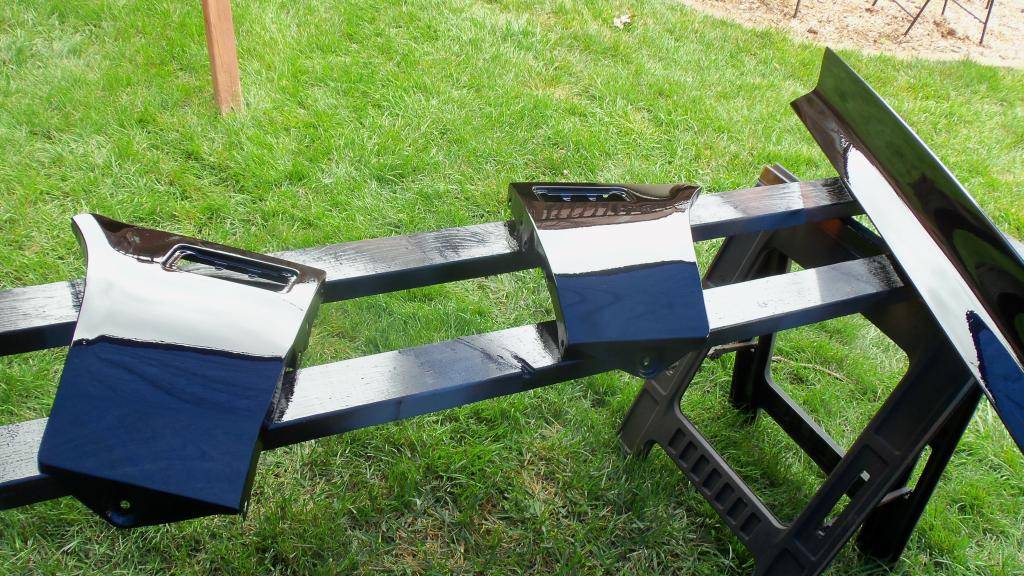
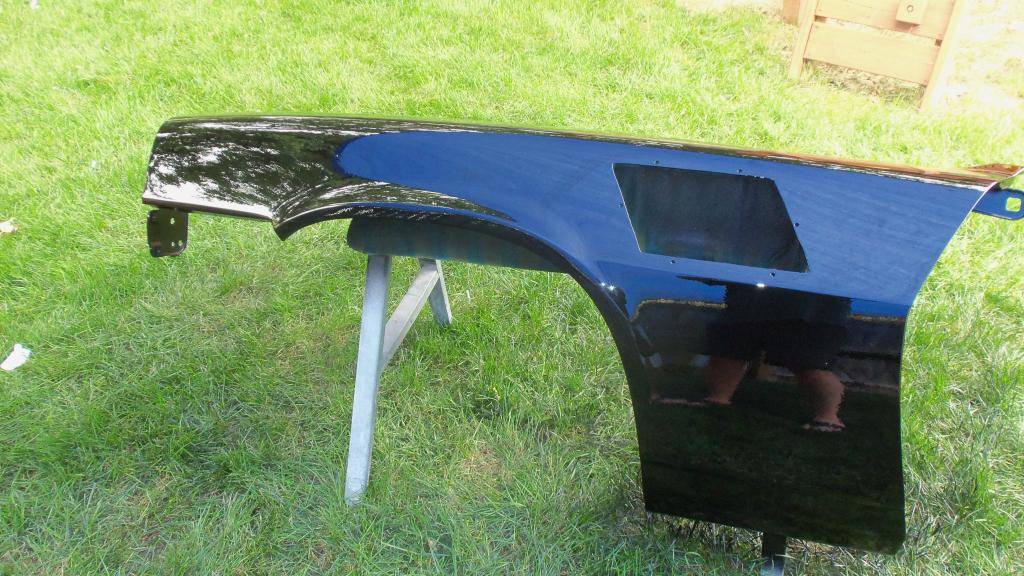
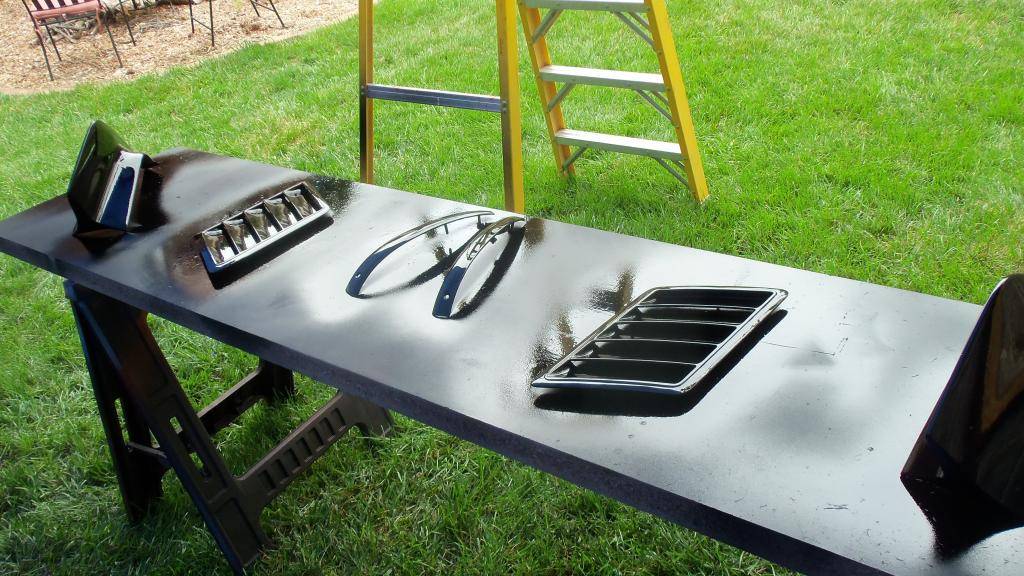
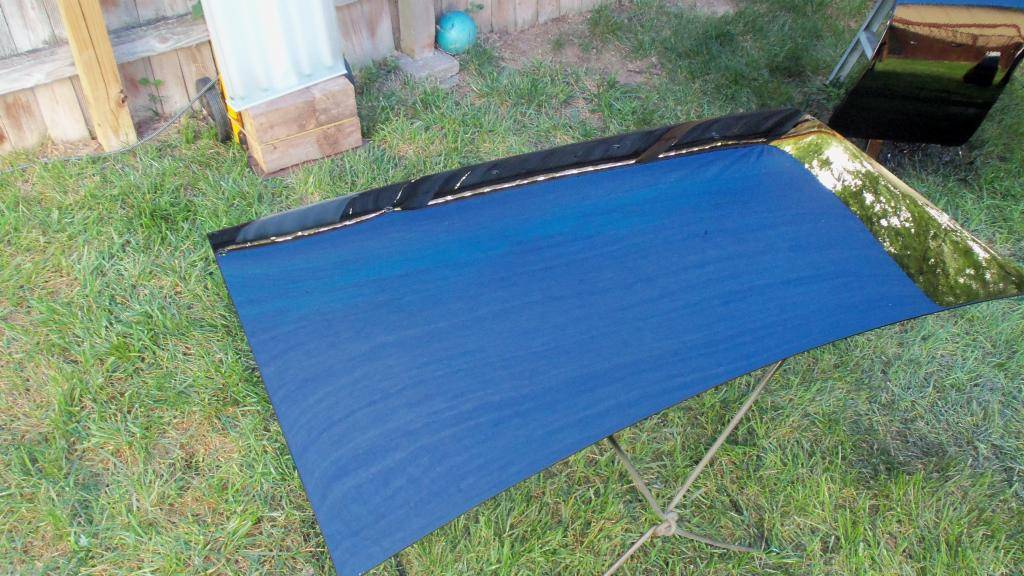
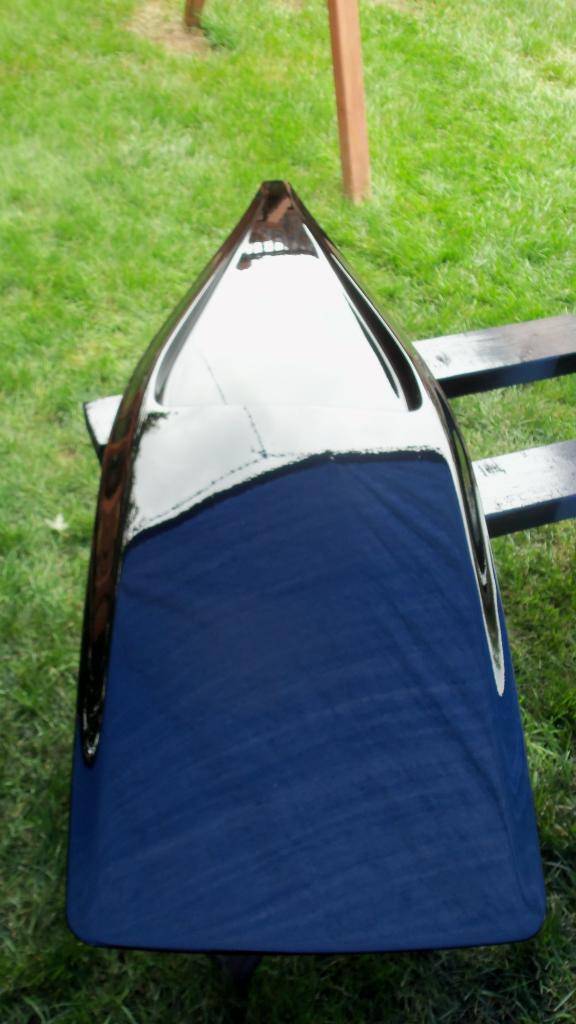
We have black paint!! Turned out pretty good for my first time painting, it being out side and black! I have some wet sanding to do to rid get some of the dust/bugs and orange peel texture, but very happy with the results!!
 -Kevin
Project Thread: https://www.pro-touring.com/threads/113334-Project-JUNK-the-ultimate-budget-project!!-1979-Camaro

 Reply With Quote





