


Results 1 to 20 of 268
Thread: 1976 Trans Am Resto-Mod
Threaded View


-
12-23-2012 #11

 Registered User
- Join Date
- Sep 2009
- Posts
- 2,965

Got a chance to get into the garage today. I was focusing on getting the firewall done so that I can get my engine in for a final fitment. I got all of the spot welds ground down and some filler put on to fill the imperfections. Not a whole lot to show for it, but was a lot of work. I still need to do a lot more finish sanding and then I can paint it. I am also going to finish the top of the cowl and fill in any dents and smooth everything out. I need to get my air compressor fixed so I can borrow some power sanding tools.
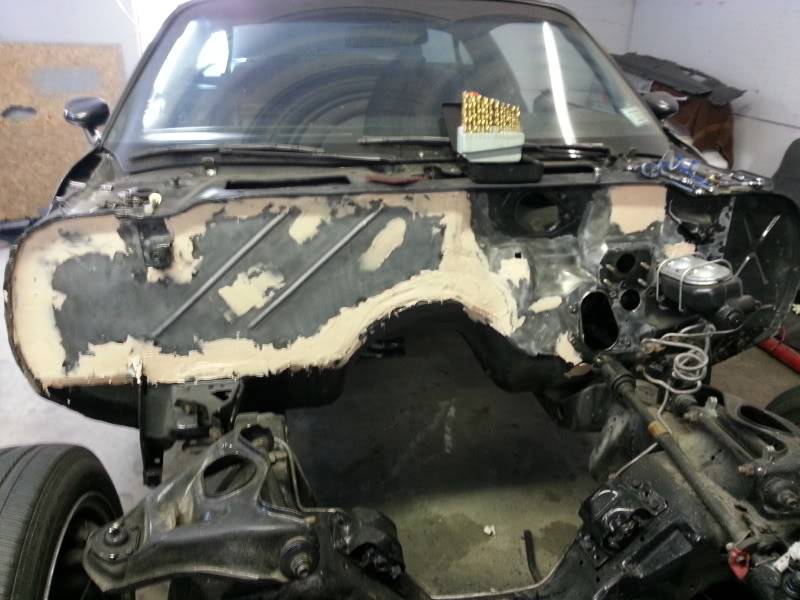
I feel like I am going backwards on this project sometimes...
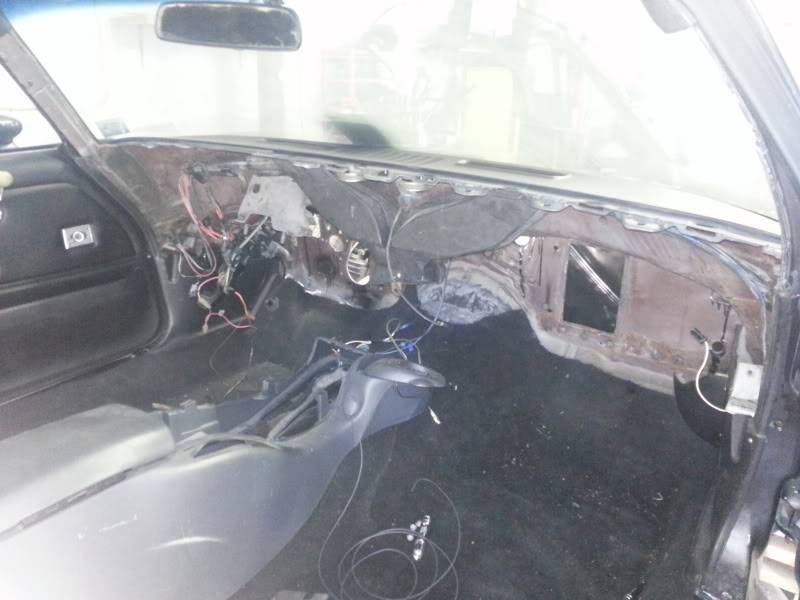
I needed to get the stock ducting out from behind the dash, so I could better fit my components such as the LS1's computer. So, out goes the dash. Again. While it was out I took the liberty of modifying it for my other new 'mini' project... Delay wipers. Here is the motor I will be using.
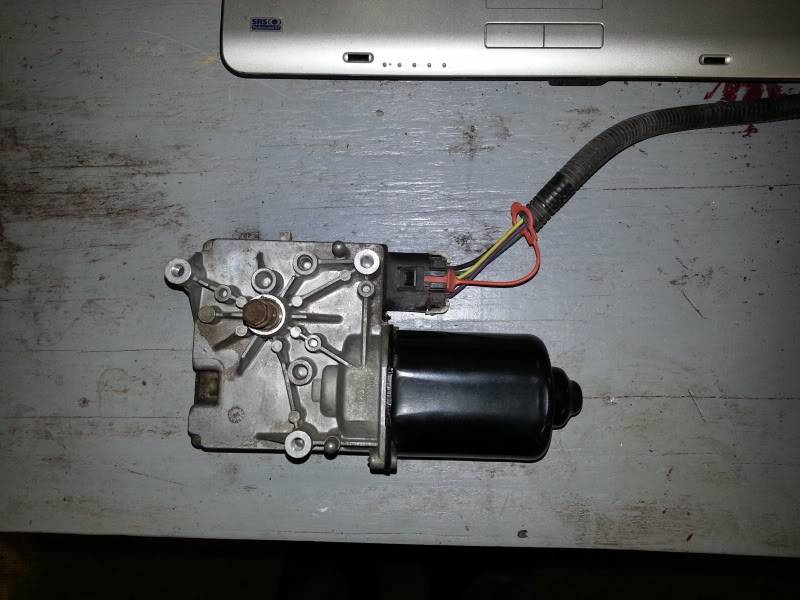
One think that I never liked about the stock firewall was that huge wiper motor. So, I decided to do something about it. First I needed to decide how to I was going to control the wipers. I took the switch out of the stock 1999 Camaro column, and I am pretty sure that it is a common switch that is in many different models.
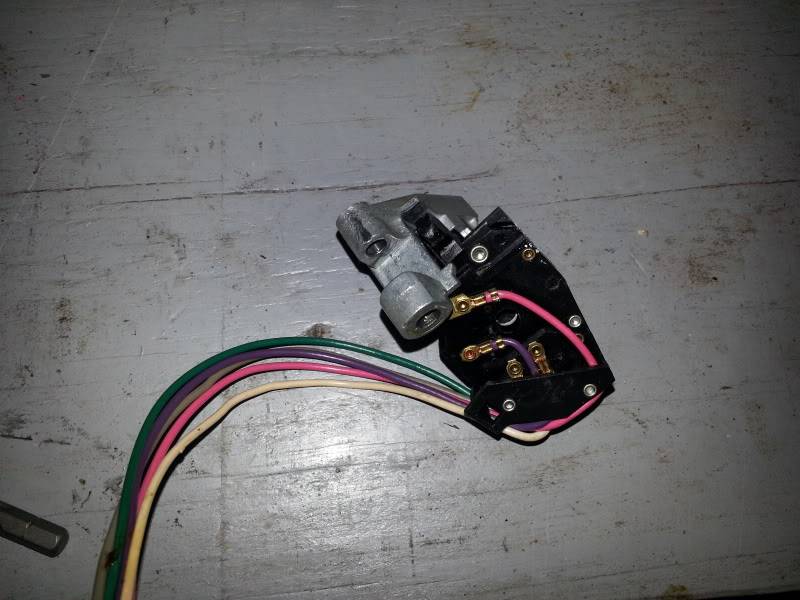
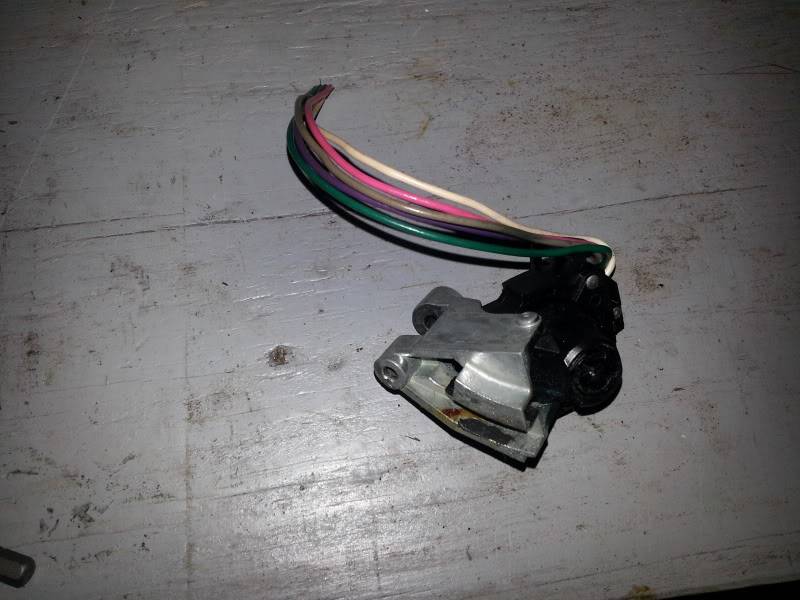
Once it was out I cut off the aluminum bracket that was attached as I will no longer use it.
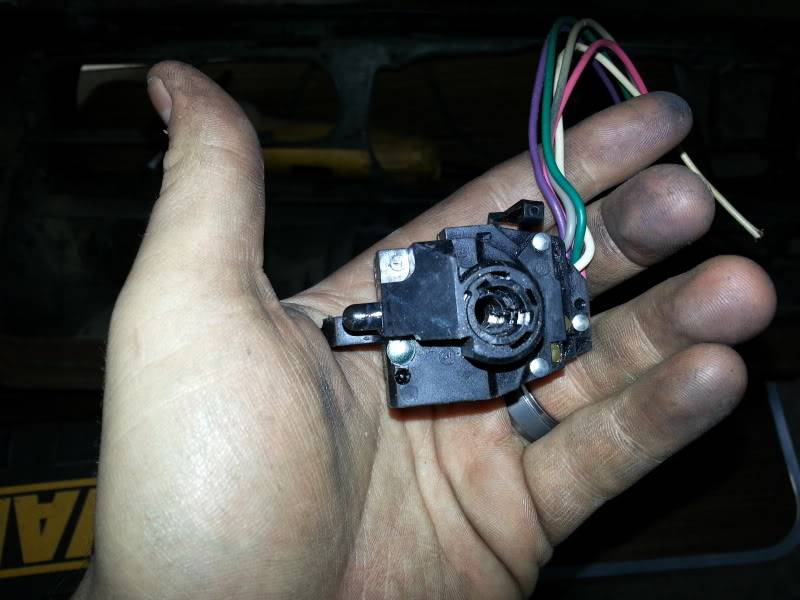
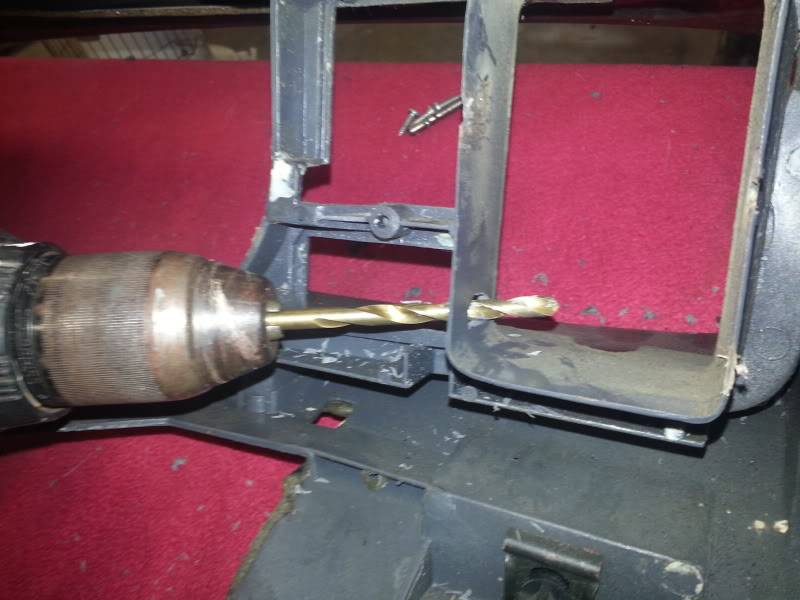
Now, I needed to figure out how I was going to attach it near the stock position for the wiper switch. Not sure how it came to me, but this fits in there almost like it was made for it. Using the tab on the one end as a main anchor point, drill a small hole into the duct on the side near the stock location for the switch.
Once the hole is drilled, I also had to cut down the lower screw hole, and notch the one side of the opening for the switch to mount in there.
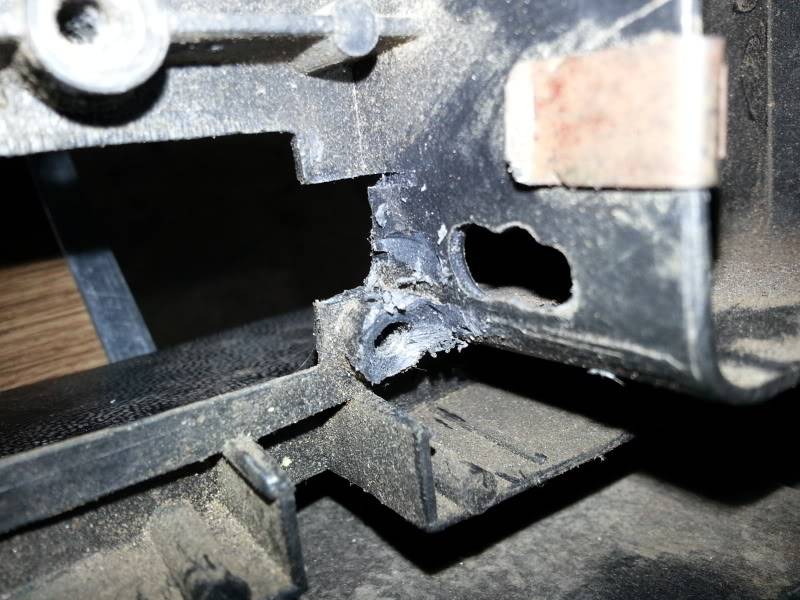
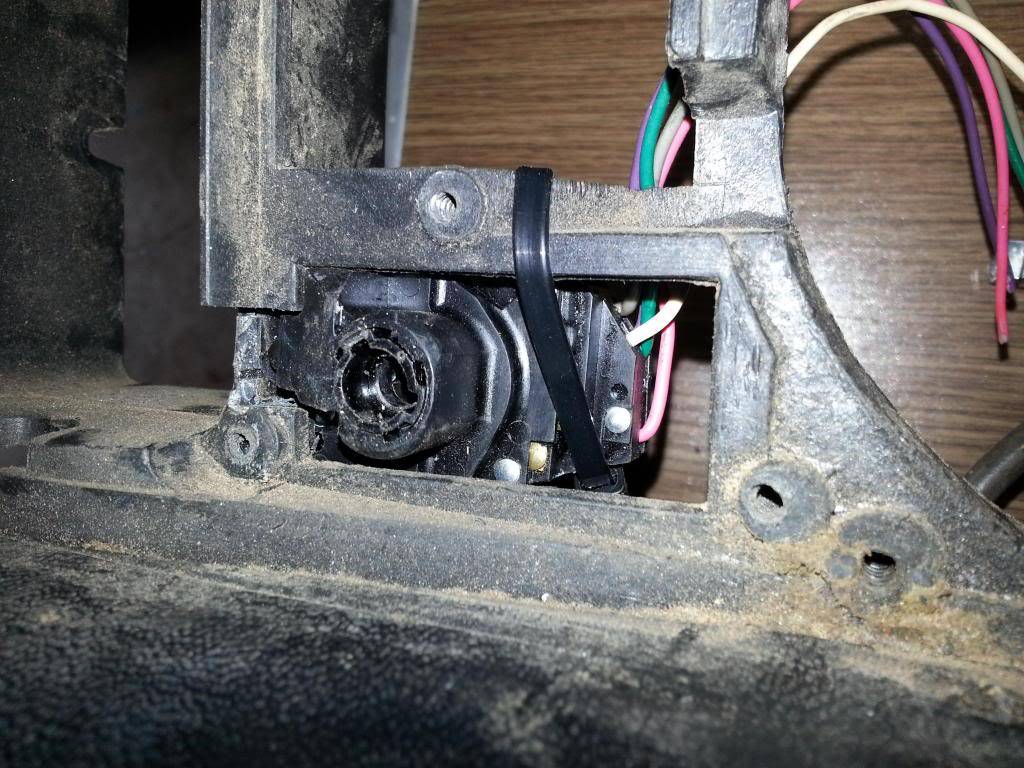
Once you have those small modifications done to your dash, the switch will fit in there very nicely.
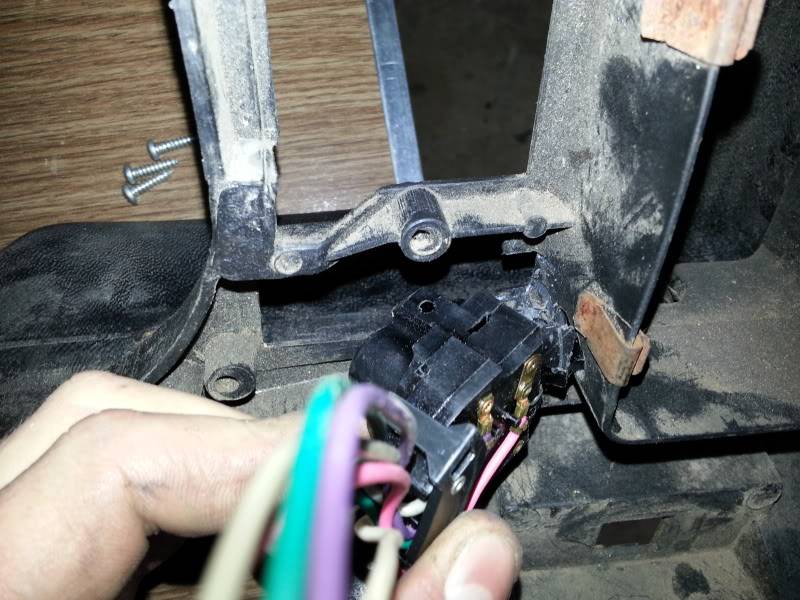
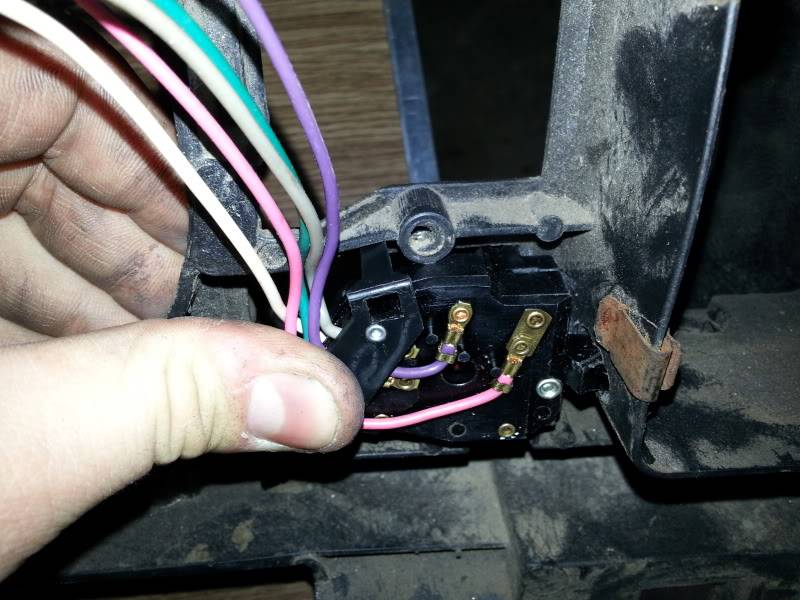
This won't be my final mounting, but for temporary I used a zip tie, which actually works quite nicely.
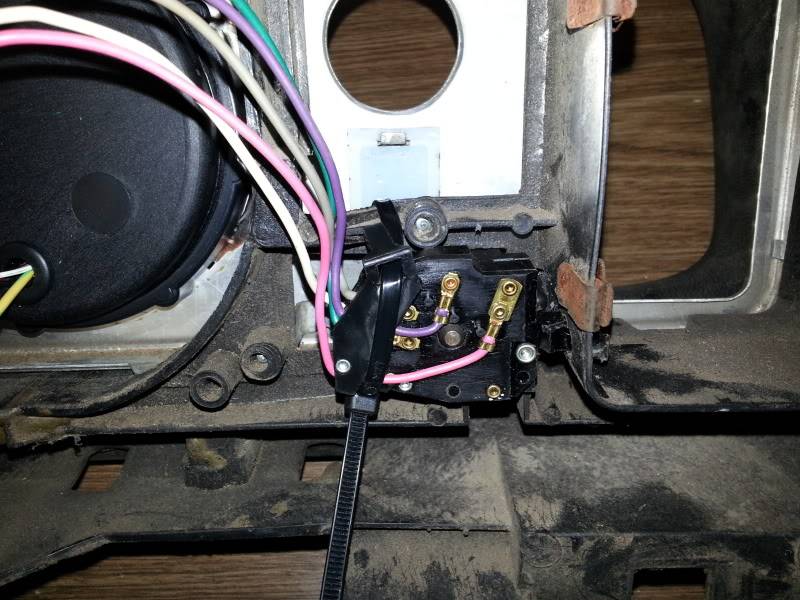
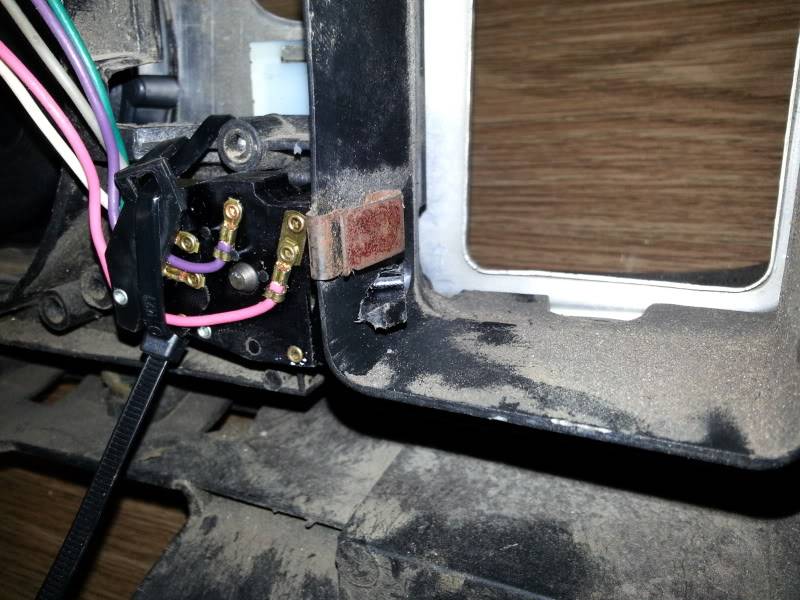
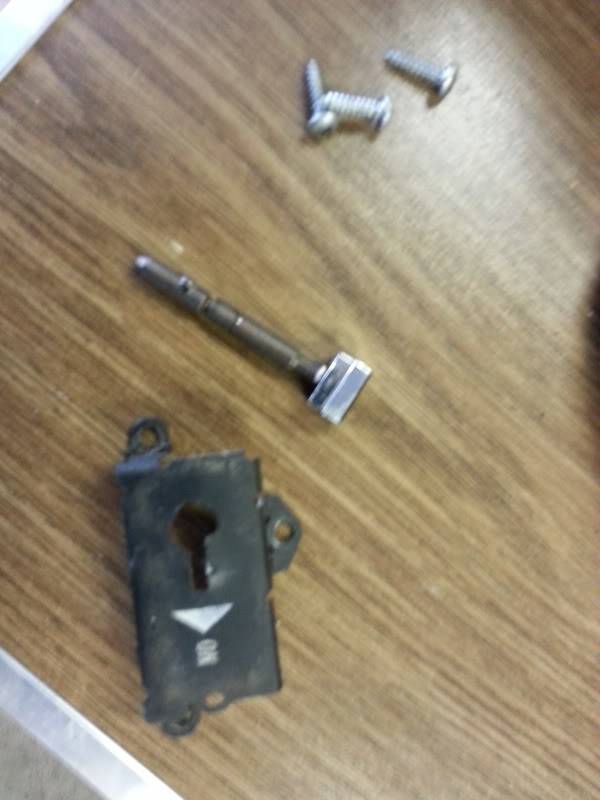
Since I had a few extra wiper switches, I gutted one and used the steel shell as a template for a bracket that I will make in the future. I will also make a decal for the actual functions of the car.
I used the stock turning signal switch from the 99 Camaro and cut off the end to use as my new switch. I will attach the stock knob onto the switch when everything is all done.
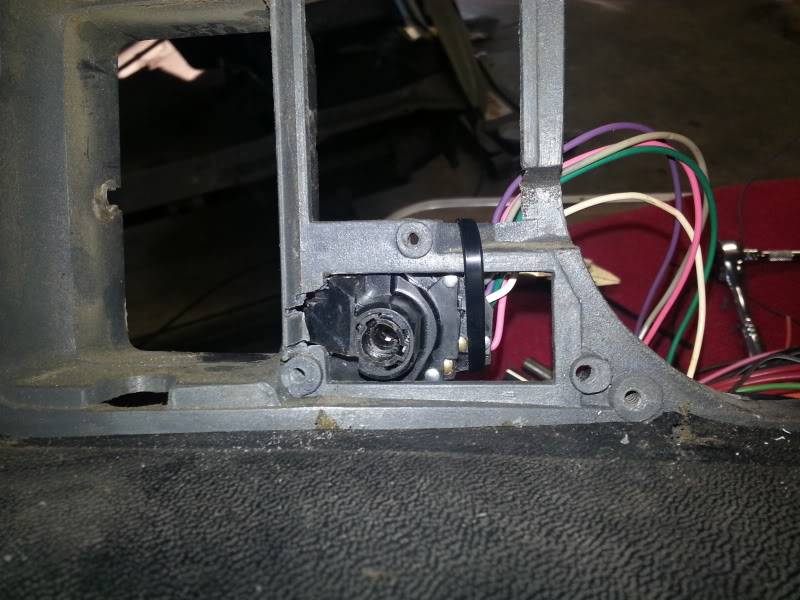
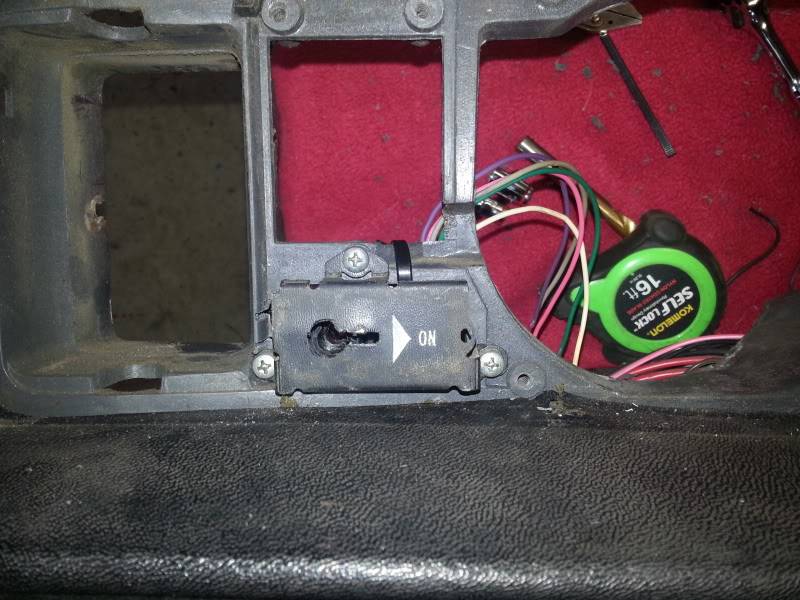
Here is the switch at rest.
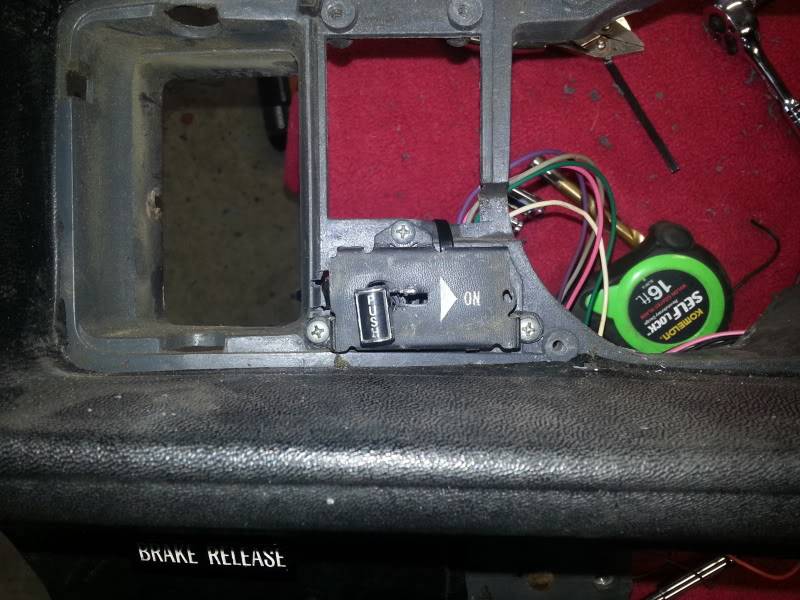
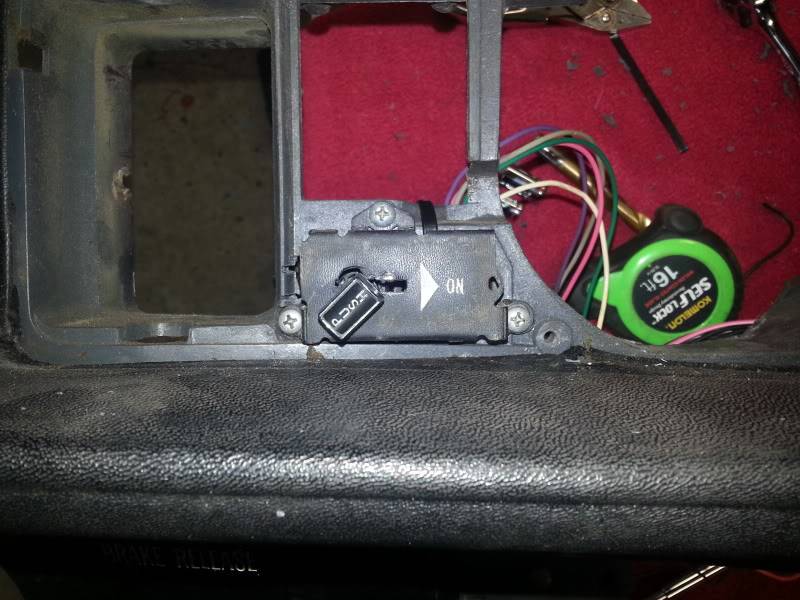
And here is the switch at high speed function. As you can see the knob spins and will function just the same as the stock switch on the 99 Z28. It is very similar to the switch that DSE has for their delay wiper upgrade.
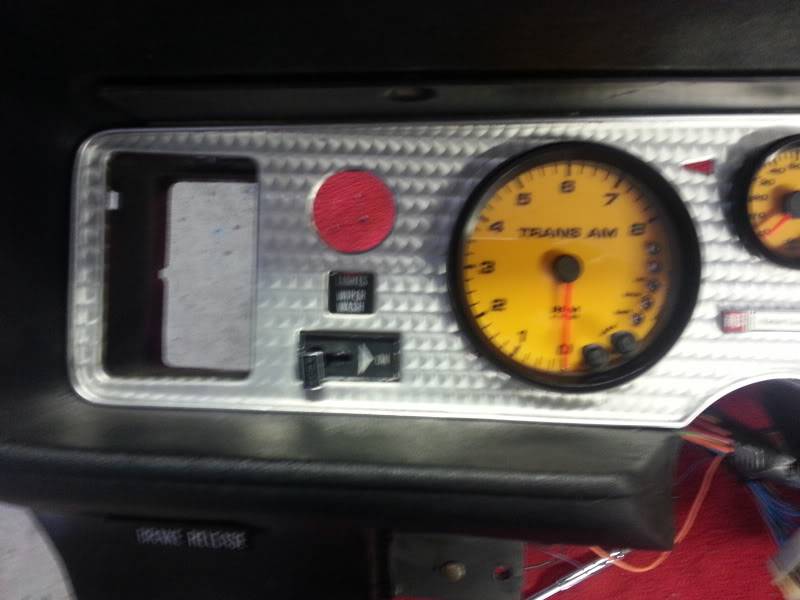
Now, this isn't the final product. But as a first test fit with the bezel on it clearly needs to be raised up in order to look normal in the off position. But here it is with the bezel in and in the stock position.
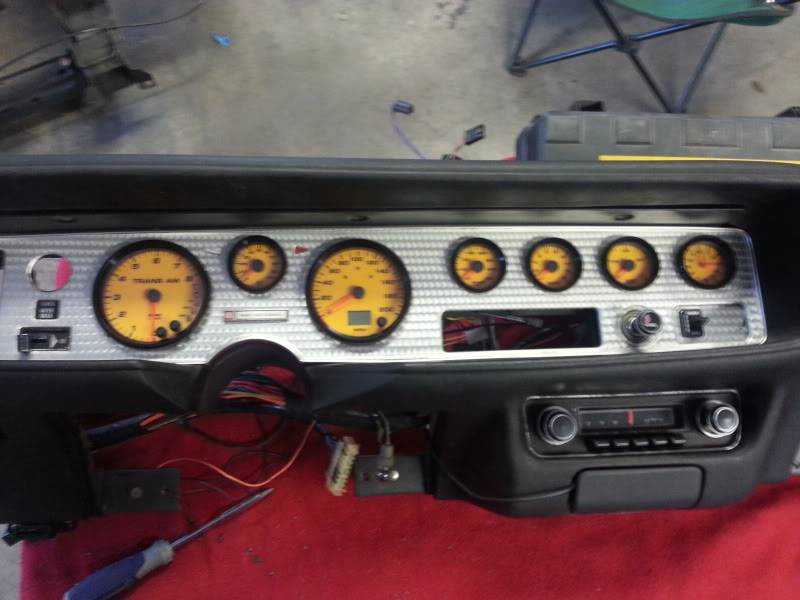
The best part of this is that even if you wanted to do this swap and return your car to stock in the future you would be able to. Nothing that was modified will be able to be seen while the car is fully assembled. Everything that I have done on my car has been done with this thinking. Although my firewall was shaved, if the spot welds were drilled out the whole panel would come off and someone could put the stock heater box back on.
All for this weekend. Hope everyone has a Merry Christmas.
Ryan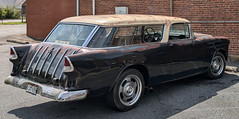
1955 Nomad project LC9, 4L80e, C5 brakes, Vision wheels
1968 Camaro 6.2 w/ LSA, TR6060-Magnum hybrid and etc SOLD
1976 T/A LS1 6 Speed, and etc. SOLD
Follow me on Instagram: ryeguy2006a
-

 Reply With Quote


