

Results 221 to 240 of 268
Thread: 1976 Trans Am Resto-Mod
-
03-04-2013 #221
 Registered User
- Join Date
- Nov 2012
- Location
- Frozen, MN
- Posts
- 91
 I'm loving the gauges, are the LED lit or do they use bulbs?
 Originally Posted by ryeguy2006a

-
03-04-2013 #222 Registered User
- Join Date
- Sep 2009
- Posts
- 2,951
To be honest, I am not sure. They must be led since they have such a compact design. Everything is internal, so it is inside the case.
1955 Nomad project LC9, 4L80e, C5 brakes, Vision wheels
1968 Camaro 6.2 w/ LSA, TR6060-Magnum hybrid and etc SOLD
1976 T/A LS1 6 Speed, and etc. SOLD
Follow me on Instagram: ryeguy2006a
03-04-2013 #223
Registered User
- Join Date
- Nov 2012
- Location
- Frozen, MN
- Posts
- 91
Probably, if they were bulbs they would have a separate pig-tail coming out of the backs and access to the bulb. Originally Posted by ryeguy2006a
03-04-2013 #224
Registered User
- Join Date
- Sep 2009
- Posts
- 2,951
Well there is a pigtail, but the kit came with a daisy chain style connectors to hook them all together. They are a great company to work with, I am happy with them so far. Once I get the car running I will be able to tell how accurate the gauges are and how I like them. I did test our the voltmeter and that works.
1955 Nomad project LC9, 4L80e, C5 brakes, Vision wheels
1968 Camaro 6.2 w/ LSA, TR6060-Magnum hybrid and etc SOLD
1976 T/A LS1 6 Speed, and etc. SOLD
Follow me on Instagram: ryeguy2006a
03-06-2013 #225
Registered User
- Join Date
- Sep 2009
- Posts
- 2,951
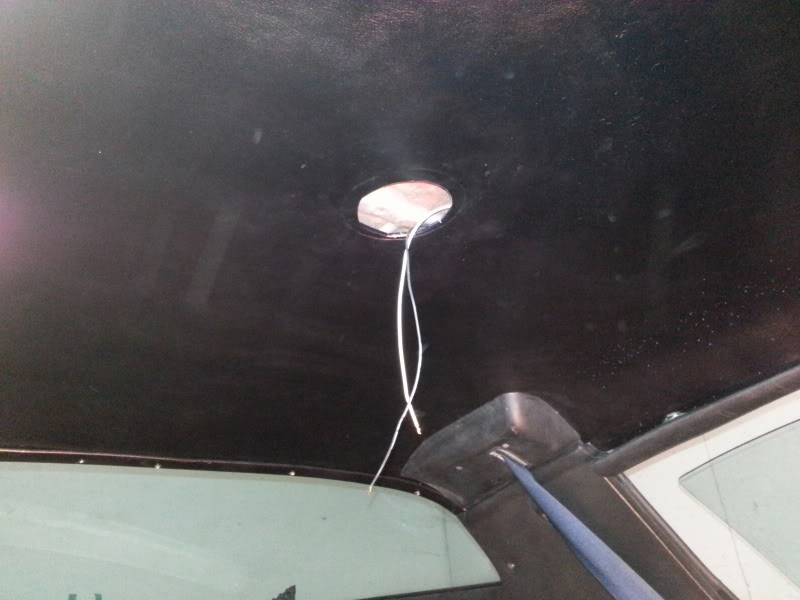
Small update from last night. My wife had to work late, and for a change I didn't so I got a few hours of garage time. I decided to get the dome lights wired up, so I could put the interior panels and rear seats back together. It wasn't too bad other than trying to fish the dome lights through the headliner without taking it off. I managed to get a wire through the dome light hole, just need to solder the connections to the dome light and install.
Went from this
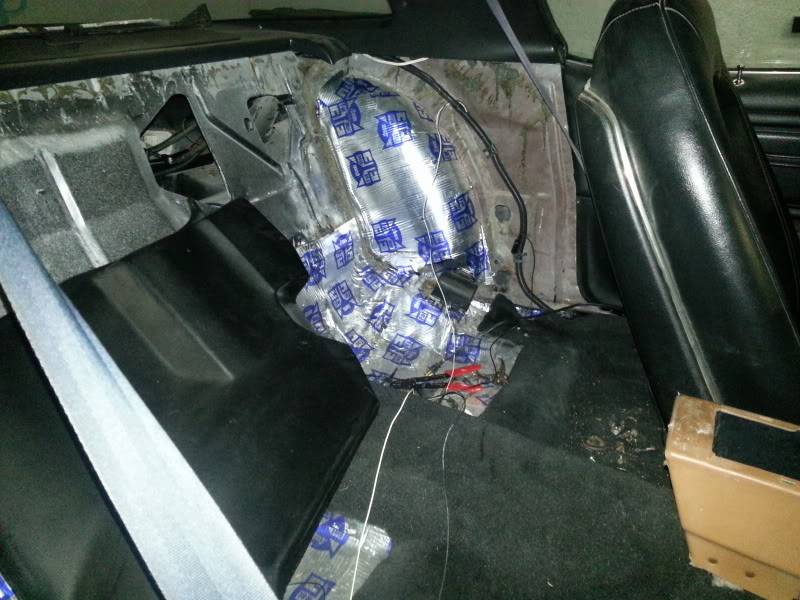
Back to this

Here are the dome light wires ready to be soldered.
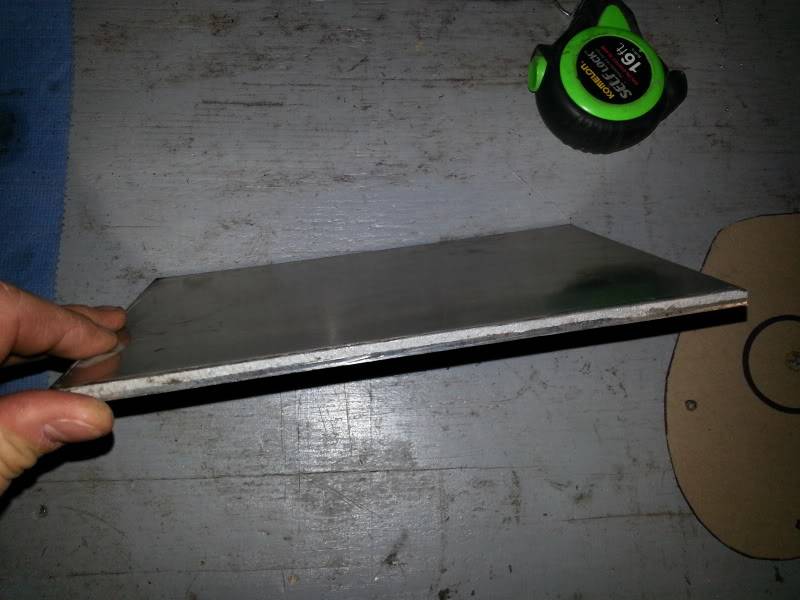
I also for got to show this over the weekend. I bought a piece of 1/4" sheet aluminum to make a bracket to hold my new wiper motor that I will be converting to. I still need to wire up the switch and make the bracket, but I will be swapping on my 99 Camaro wiper motor.
All for now. I am hoping to get some time out in the garage this Friday too. I gotta get this thing running soon, the warm weather is on the way!!
1955 Nomad project LC9, 4L80e, C5 brakes, Vision wheels
1968 Camaro 6.2 w/ LSA, TR6060-Magnum hybrid and etc SOLD
1976 T/A LS1 6 Speed, and etc. SOLD
Follow me on Instagram: ryeguy2006a
03-06-2013 #226
Registered User
- Join Date
- Sep 2011
- Location
- Lawler, IA
- Posts
- 569
Looking great. This is where all the little and tedious task take FOREVER.

03-14-2013 #227
Registered User
- Join Date
- Sep 2009
- Posts
- 2,951
You are telling me. Wiring is taking much longer than I thought...
1955 Nomad project LC9, 4L80e, C5 brakes, Vision wheels
1968 Camaro 6.2 w/ LSA, TR6060-Magnum hybrid and etc SOLD
1976 T/A LS1 6 Speed, and etc. SOLD
Follow me on Instagram: ryeguy2006a
03-14-2013 #228
Registered User
- Join Date
- Sep 2009
- Posts
- 2,951
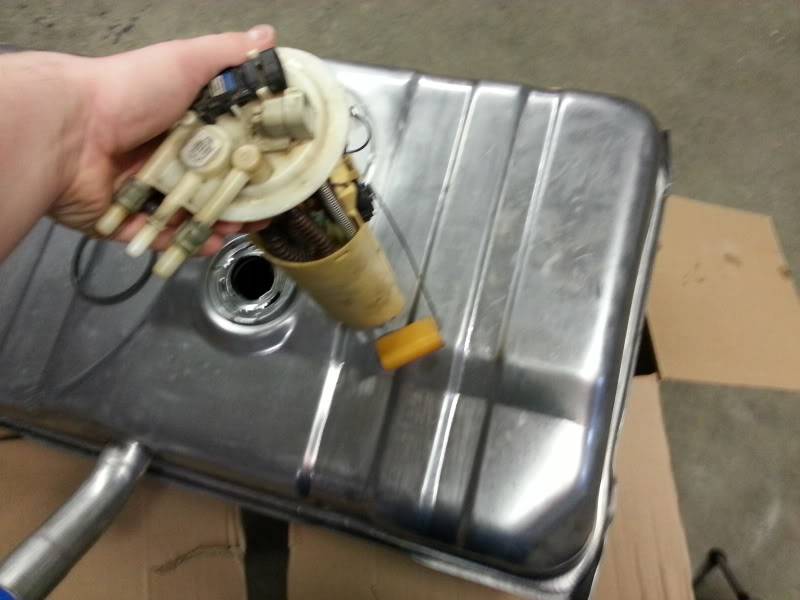
Sorry, I forgot to update this from last weekend. I was doing a lot of trial and testing of wires and sensors, although I did take a lot of pictures. The one large thing that I did complete was that I got my fuel tank modified to accept the LS1 Fbody fuel pump assembly. The full write-up can be seen in the LSx swap section of the site here > http://transamcountry.com/community/...?topic=56613.0
Here are some pictures of the before and after.
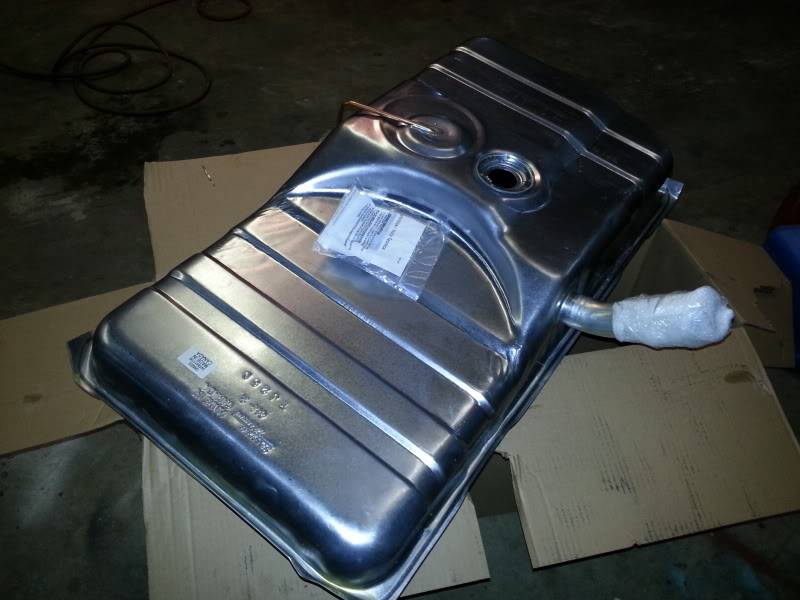
It is important to think of how the fuel pump assembly needs to be clocked in order to get the fuel level sender to read properly, I will get to that in a min. With my Speedhut gauge, I needed to flip the fuel float from one side to the other so it will read correctly. The stock sender reads 40-240 ohms, and my gauge reads 240-33 ohms. So, it would be opposite if I left it stock. But I just took out the float assembly and flipped it to the other side by bending it 180* and it reads properly.
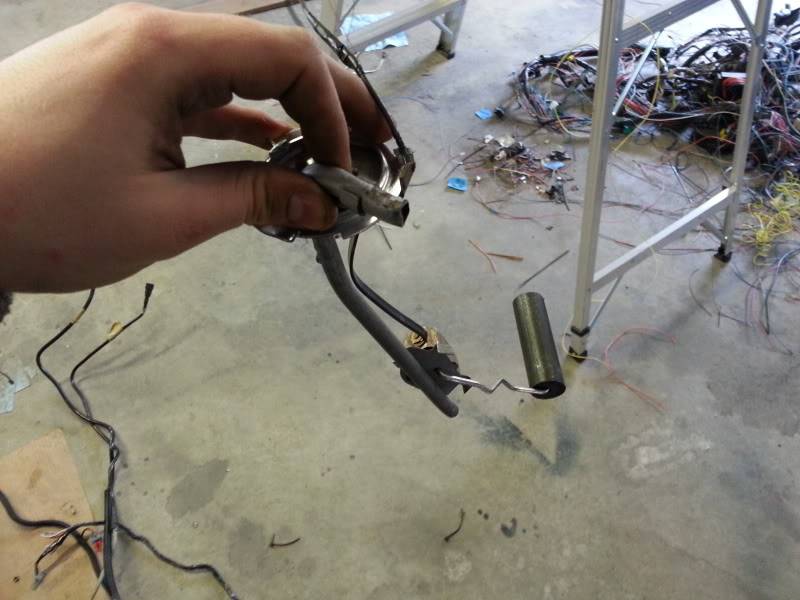
The arm simply unclips from the sensor, and just needs to be bent. I took some before pictures of the arm at full and empty positions so I could get it the same.
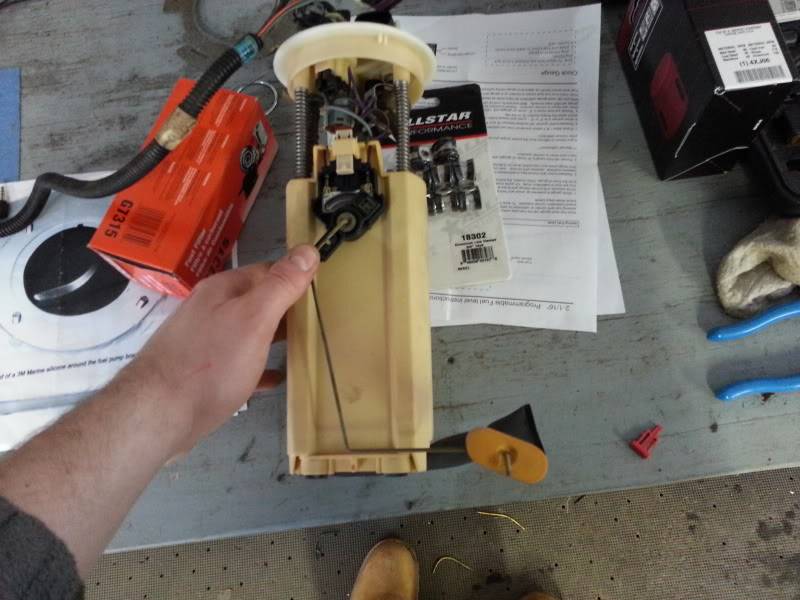
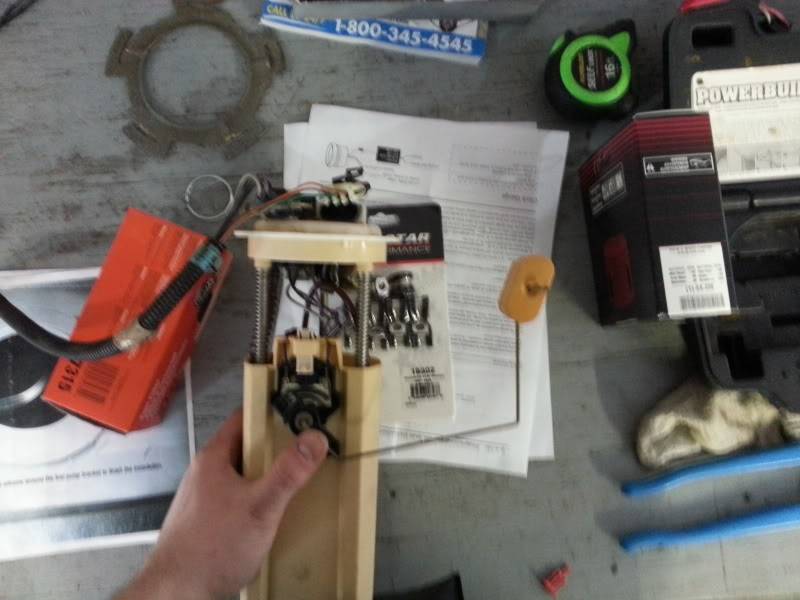
And after it was modified, how it looks. I hooked up my gauge to the sensor and it reads properly full/empty/middle/etc.
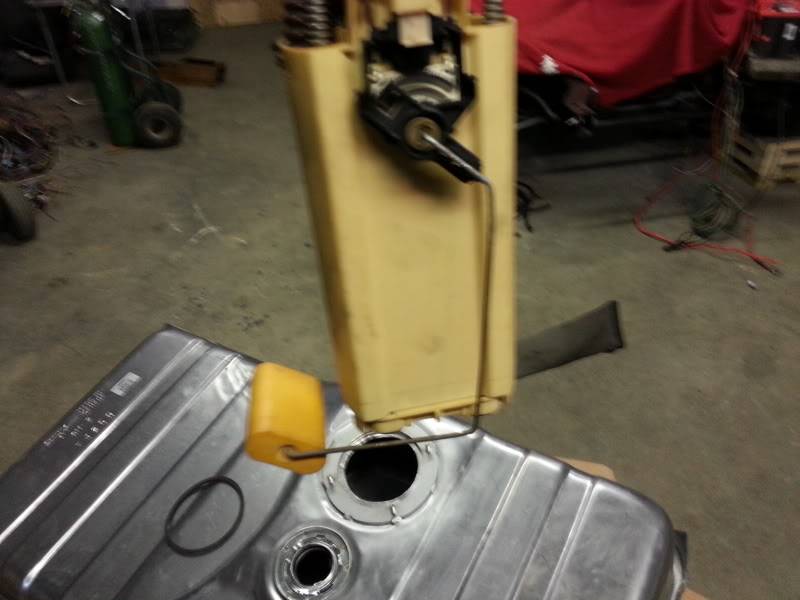
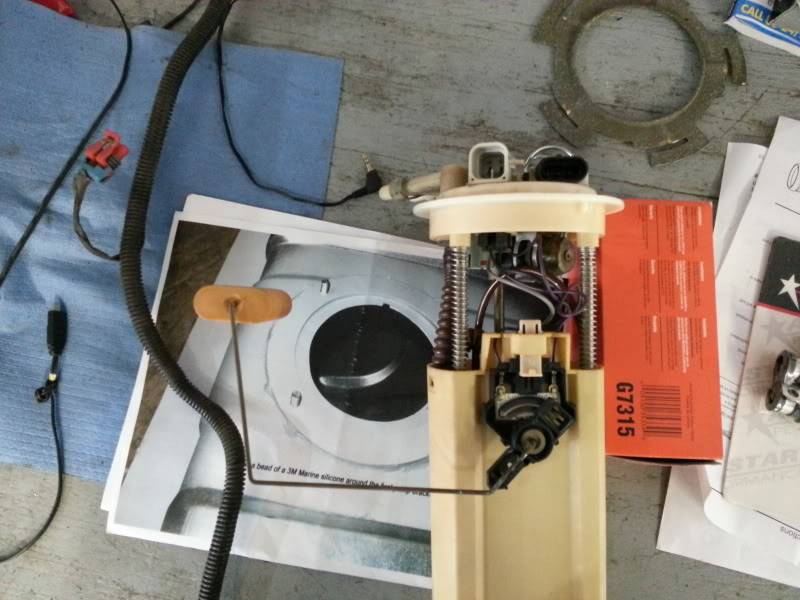
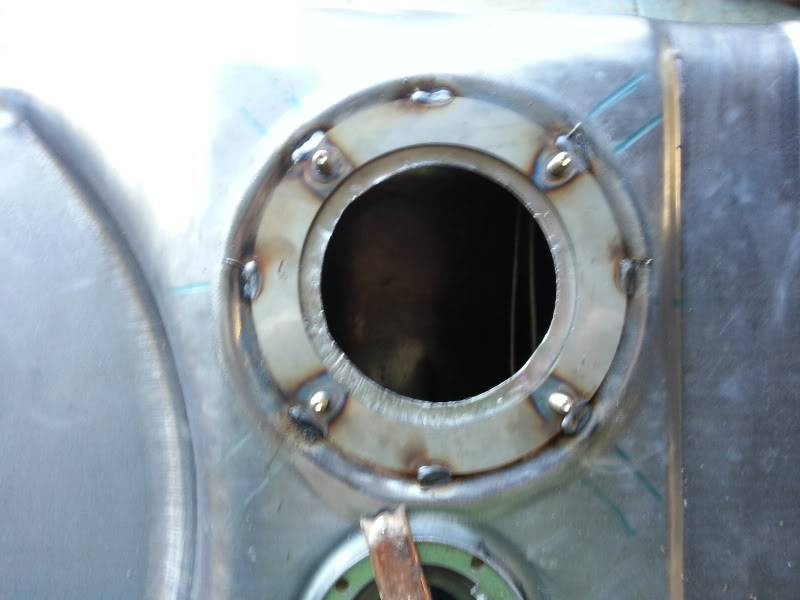
Now, to show the importance of having the fuel lines clocked properly. It is hard to tell from the picture, but with the fuel assembly clocked pointing directly towards the fuel neck, the sender will have plenty of room for a full range of motion. There may have been other ways to attempt this, but I decided to go with this direction.
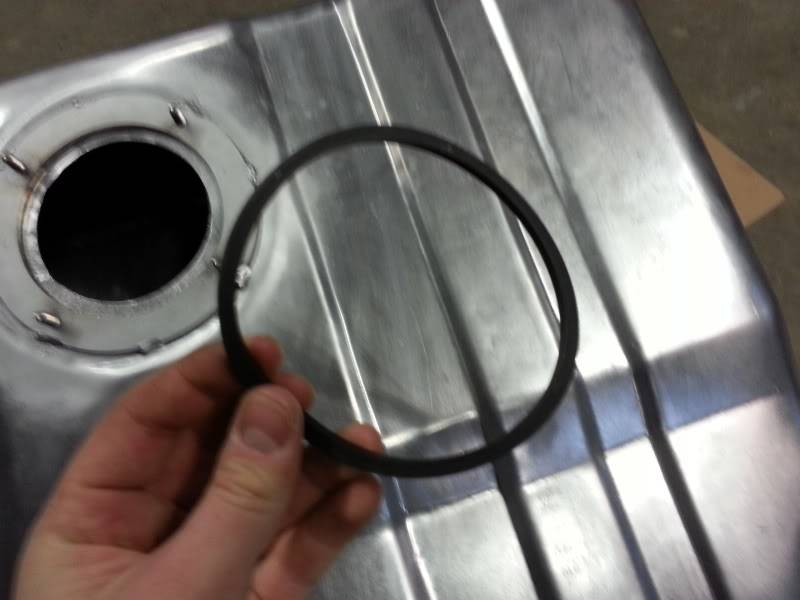
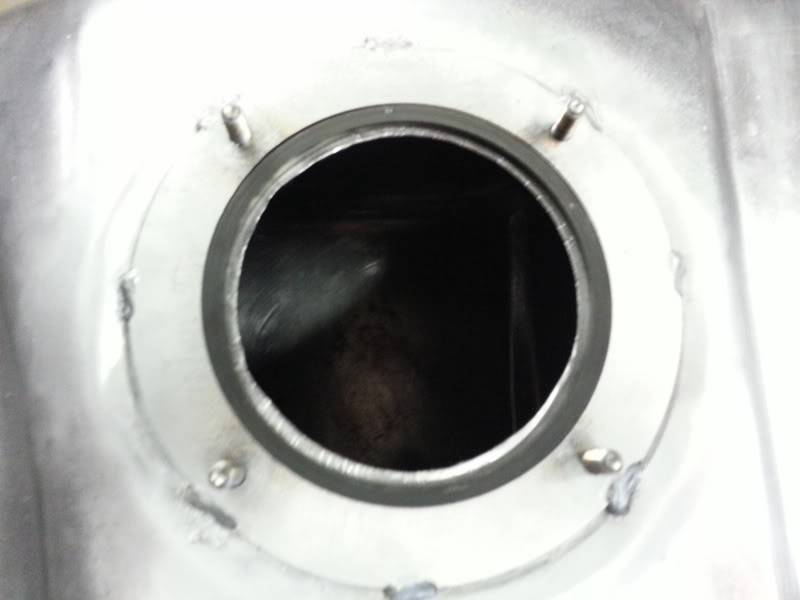
I haven't fully completed the final assembly of the fuel pump assembly, but will be doing so in the near future. It is also important to note that the kit also requires a tank seal.
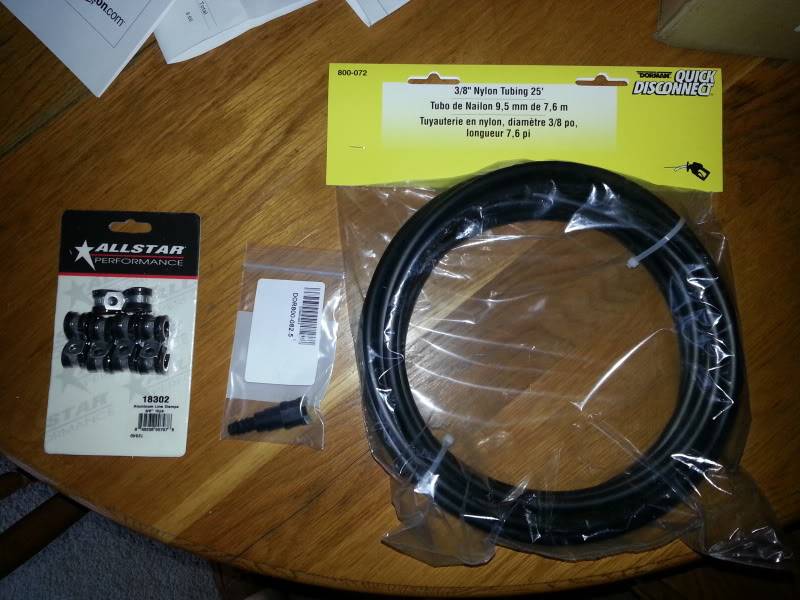
Onto my other project. I went back and forth between fuel lines with three different options. Stainless hardline vs. NiCopp hardlines vs. Nylon lines. After much research I concluded the following. Of the three I found that it was a tie between Stainless, NiCopp(European Nickle Copper Iron mix), and Nylon lines for longevity. When it came to Function NiCopp lines and Nylon won over stainless due to the difficulty of getting the stainless to seal properly as well as difficulty of bending. And when it came to the price, Nylon won as it only costs about 40 bucks for fittings and lines. As opposed to Stainless and NiCopp which cost around 200 all in. And with Nylon you can make your own tool to press in the fittings. So, I went with Nylon lines and will report back on how they work. I have a buddy that used Nylon on his LS1 swap and he hasn't had any troubles with it.
I bought a roll of 25 Ft. of 3/8 Nylon tubing from Dorman, 2 Straight quick connect fittings, and 10 pack of 3/8 All-Star insulated clamps. Cost: 40 bucks on Amazon.
Now, rather than spending $60 plus on the actual installation kit, I found that you can actually do the same thing with a flaring tool kit, calking gun, large nut, and some patience. I didn't get any pictures, but there are many write-ups to this online to choose from.
Here is the tubing before and after. Important to note, that you need to cut the line to get the end very straight. I used a fresh razor blade. Then press on the fitting with a little dab of oil.
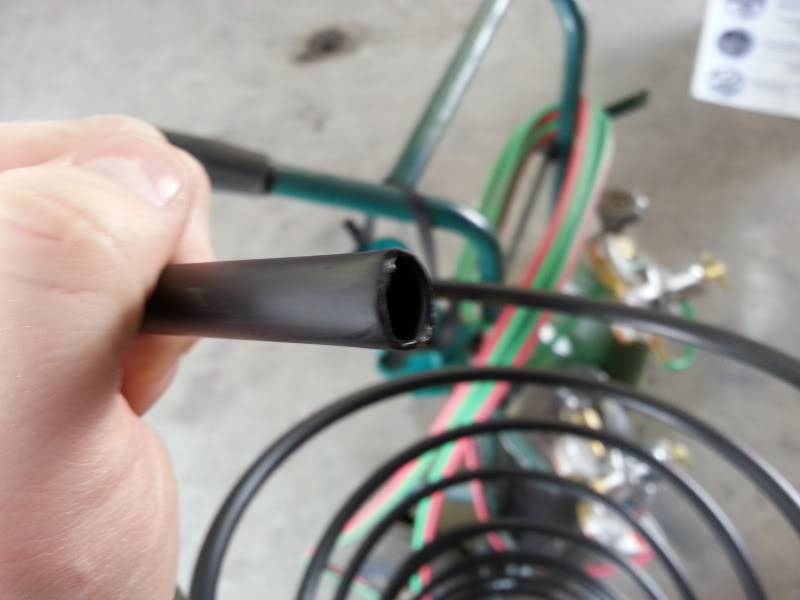
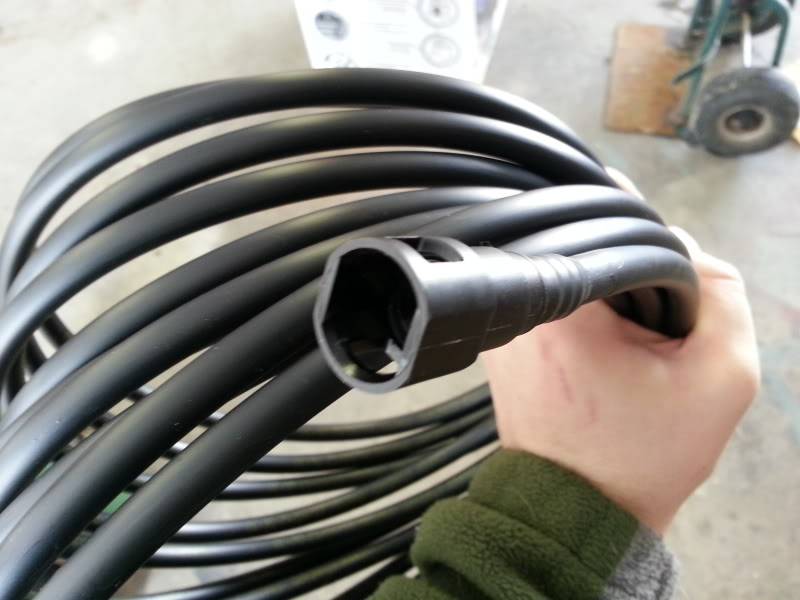
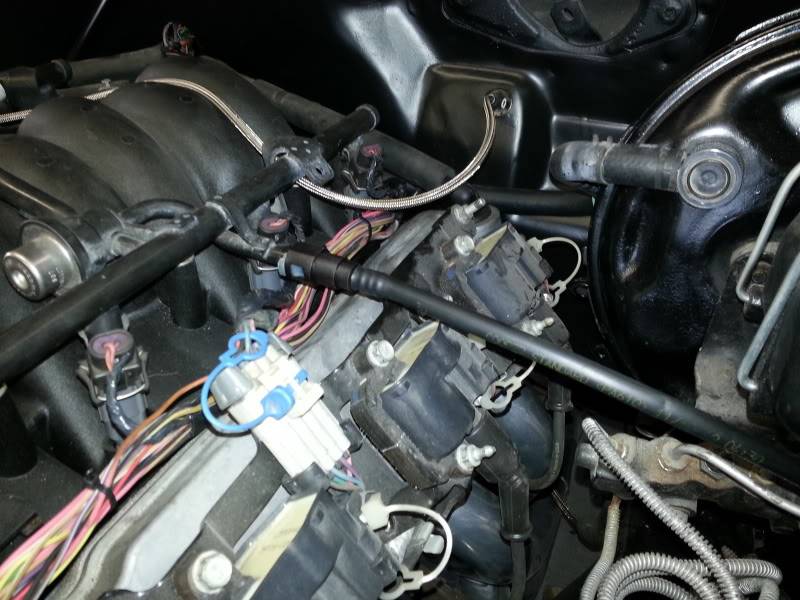
Here is what it looks like on the engine. Very clean stock look. I like it a lot.
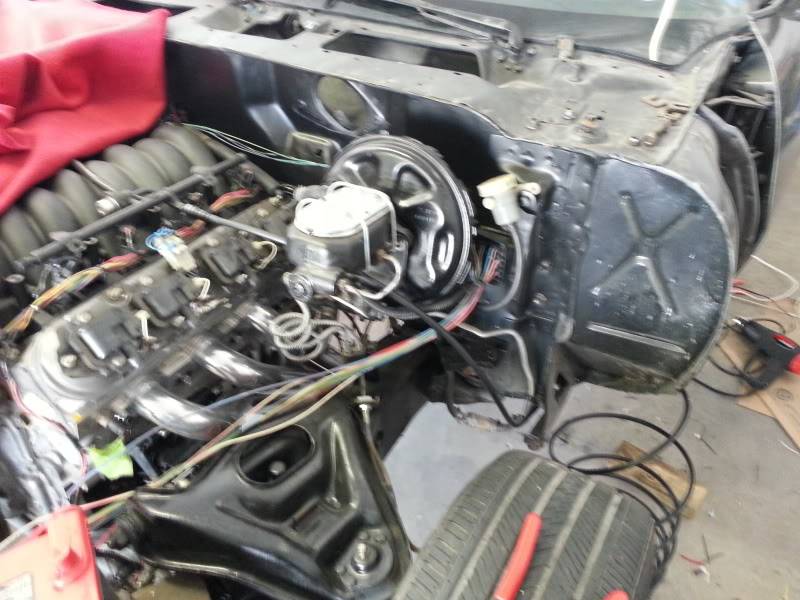
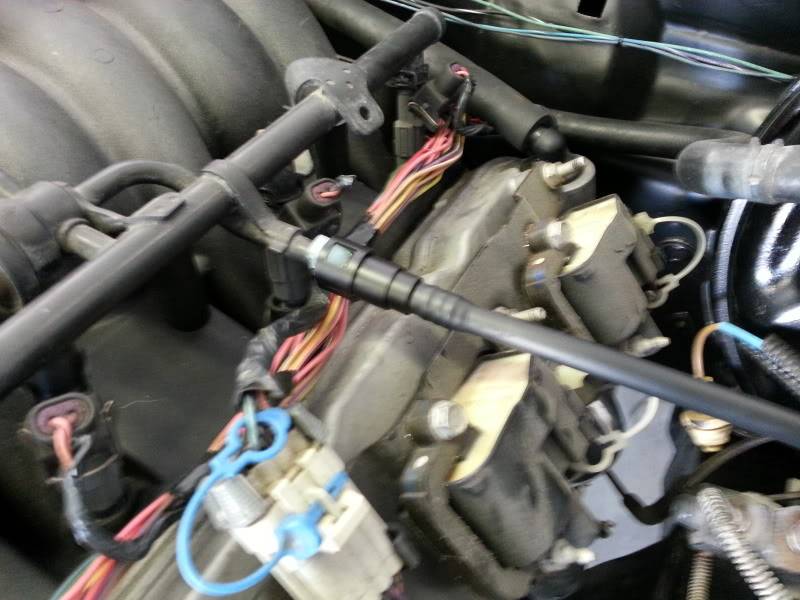
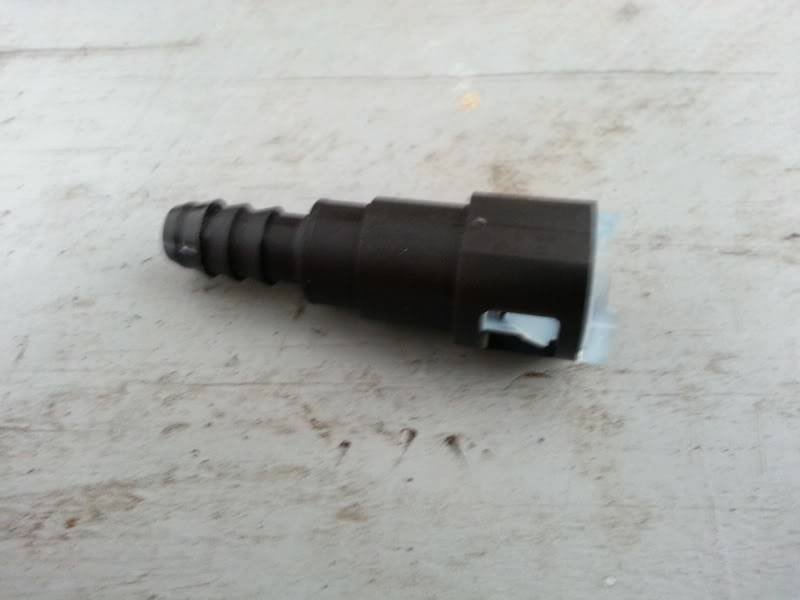
I need to figure out my next step. I need a fitting that will go from this fitting pictured below, to the quick connect fitting Pictured above.
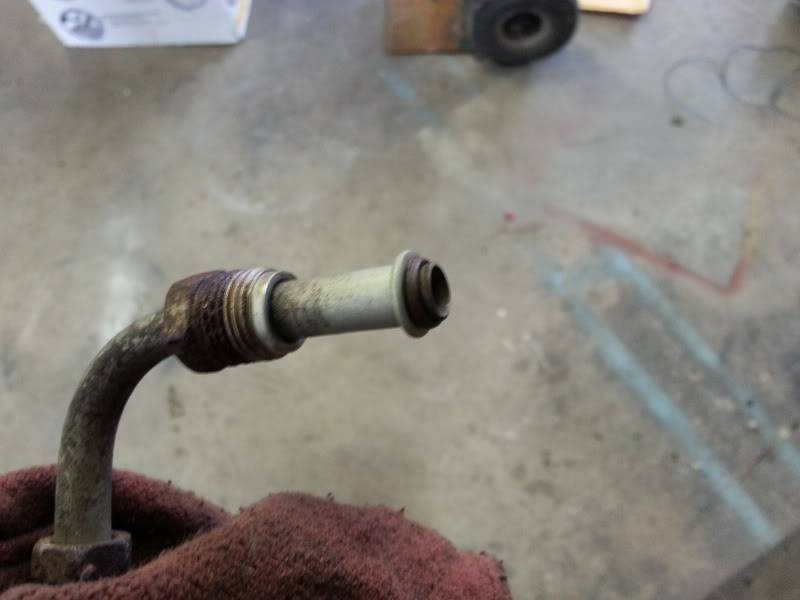
I am not sure if I can just use a NPT fitting with some thread tape and that will seal enough for 60+psi or not. Professional Products makes a NPT to quick connect adapter that will work perfectly, just need to do more research.
Thanks,
Ryan
1955 Nomad project LC9, 4L80e, C5 brakes, Vision wheels
1968 Camaro 6.2 w/ LSA, TR6060-Magnum hybrid and etc SOLD
1976 T/A LS1 6 Speed, and etc. SOLD
Follow me on Instagram: ryeguy2006a
03-14-2013 #229
Registered User
- Join Date
- Sep 2009
- Posts
- 2,951
Well, the part was $18 Dollars, so I guess I will give it a shot. This is the part that I bought. I used to play paintball, and I would use the NPT with tape and it would hold up to 800-1000 psi, and the CO2 was liquid. I am going to give it a shot and see what happens. I couldn't find a line that has a quick connect and the oring based end on the other side. I have a good feeling that this will work just fine.

1955 Nomad project LC9, 4L80e, C5 brakes, Vision wheels
1968 Camaro 6.2 w/ LSA, TR6060-Magnum hybrid and etc SOLD
1976 T/A LS1 6 Speed, and etc. SOLD
Follow me on Instagram: ryeguy2006a
03-14-2013 #230
New to Pro-Touring
- Join Date
- Mar 2013
- Posts
- 2
To bad you did not see this before you started wireing.
great build watching over on TAC
http://blogs.hotrod.com/wire-less-ls...#axzz2NYMd94JD
03-14-2013 #231
New to Pro-Touring
- Join Date
- Mar 2013
- Posts
- 2
did you see this product?
good build watching on TAC also
http://blogs.hotrod.com/wire-less-ls...#axzz2NYMd94JD
03-15-2013 #232
Registered User
- Join Date
- Nov 2012
- Location
- Frozen, MN
- Posts
- 91
Great job, again! I'll be using nylon fuel/return lines on my Firebird as well. The only thing I would add to what you've done is form some bends in it with hot water and I'd use Gates thermoplastic clamps on the ends where the push-lock fittings are.
Again, this build is looking great!!!
03-15-2013 #233
Registered User
- Join Date
- Sep 2009
- Posts
- 2,951
Thanks Russ, I hope to get it started here soon. I need to finish the wiring and move on to finish the gas tank and fuel lines. I am not done with the lines and I will do like what you were saying and put some bends in it with some hot water. I want to route it behind the power booster so it is more hidden. I only installed the fitting on one side of the nylon fuel line.
1955 Nomad project LC9, 4L80e, C5 brakes, Vision wheels
1968 Camaro 6.2 w/ LSA, TR6060-Magnum hybrid and etc SOLD
1976 T/A LS1 6 Speed, and etc. SOLD
Follow me on Instagram: ryeguy2006a
03-18-2013 #234
Registered User
- Join Date
- Sep 2009
- Posts
- 2,951
Very small update. I did a lot of work in the garage, but it is all just wiring. I must admit, I am a little burnt out on wiring, but it is definitely nearing the end. All I have left is to wire up the neutral safety switch, Back up lights, add in a few grounds, fuel pump and fuel level wire and give some power to the remote trunk switch and we are good to go inside the car. The other obstacle is going to be my delay wiper wiring, which shouldn't be too bad. I have all the wiring diagrams and have tested everything and it works great. I look forward to getting all the wiring done, then it is on to plumbing.

Here is the one picture I took yesterday. This is my delay wiper motor and switch wired up crudely to test everything for functionality. Click the picture for the video of the functions.

Oh, and I cranked the car for one second to see if the starter was wired up correctly. Oh, it was such a tease as I am getting very close to firing it off. Very soon.
Ryan
1955 Nomad project LC9, 4L80e, C5 brakes, Vision wheels
1968 Camaro 6.2 w/ LSA, TR6060-Magnum hybrid and etc SOLD
1976 T/A LS1 6 Speed, and etc. SOLD
Follow me on Instagram: ryeguy2006a
03-21-2013 #235
Registered User
- Join Date
- Sep 2009
- Posts
- 2,951
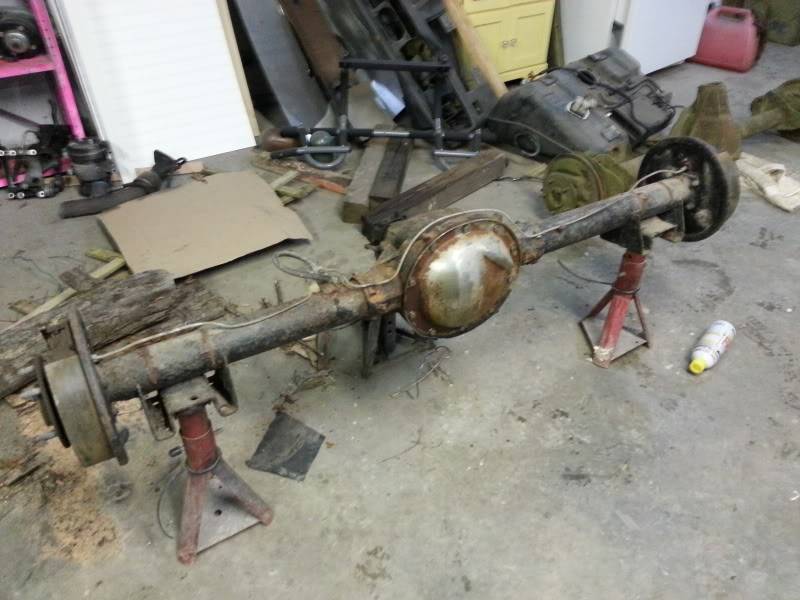
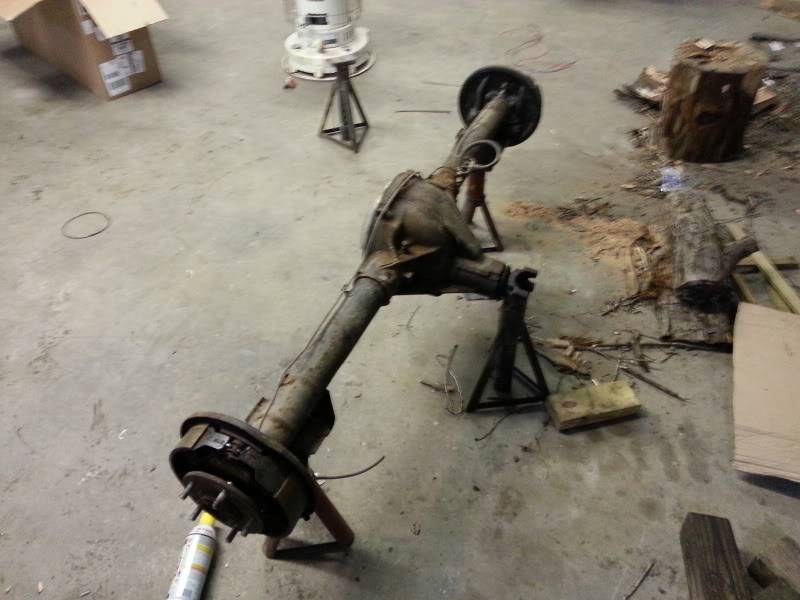
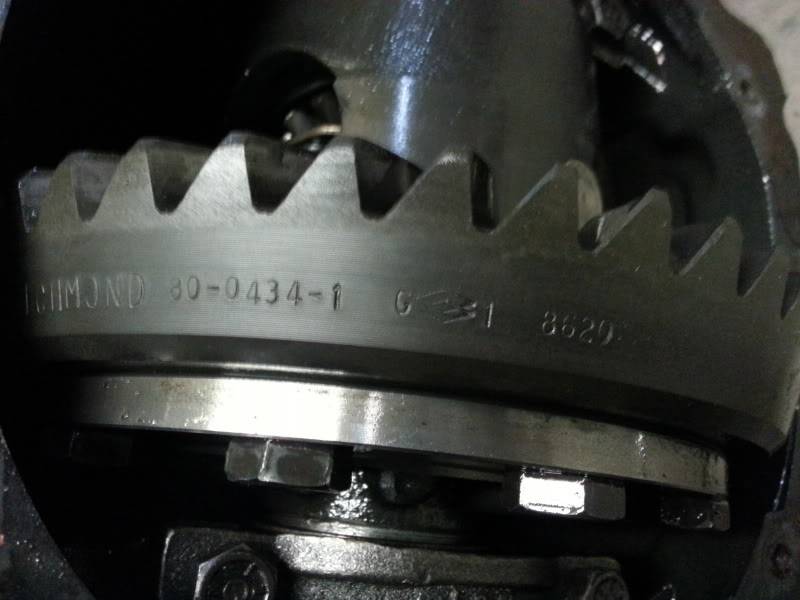
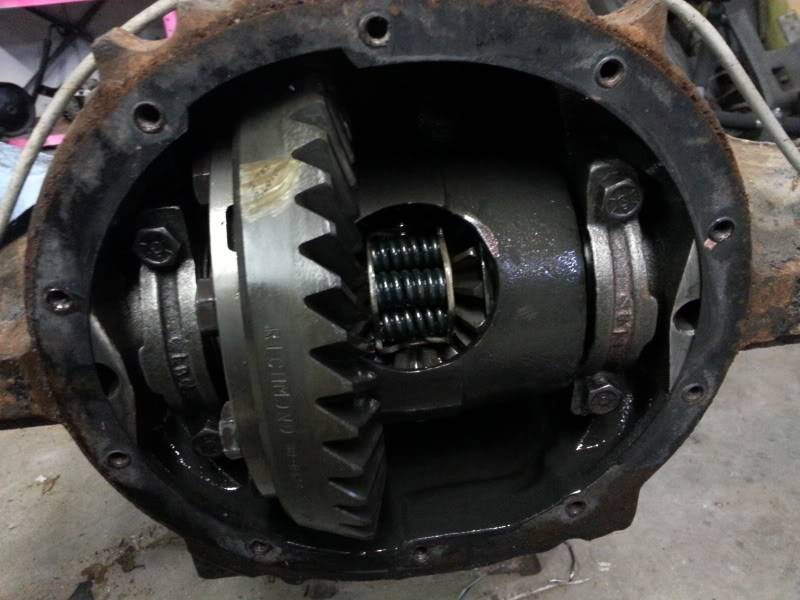
I thought this may be worth a quick update. I have been keeping my eyes out for a rear end for my car with 3.73 gears for a while since finding a rear with the gears in it is much cheaper than buying the gears and doing it yourself. So, I was checking craigslist and found an ad "10 bolt Chevy rear", so I checked it out just out of curiosity. Turns out that the rear is out of a 79 Camaro, and had 3.73 Richmond gears, an Auburn Posi Diff. and the best part is it didn't have any miles on it! The guy that I bought it from bought the 79 to part out. The 79 was someone's project that was never finished. Engine, trans, and rear were all new and the car was just never finished. His loss, my gain. Oh, best part. I got the rear for some old traction bars and $225 bucks!!

Just to be safe, I am having the guy I bought it from contact the original owner to see who installed the rear diff and gears. If he did it himself, I will pay someone to set the gears correctly, but if a reputable shop installed them I will just take my chances. I also want so pull the axles and check the bearings and etc. for wear.
I picked up the rear in my parts hauler Mustang GT... I guess that's what happens when you find a good deal, you have to improvise.
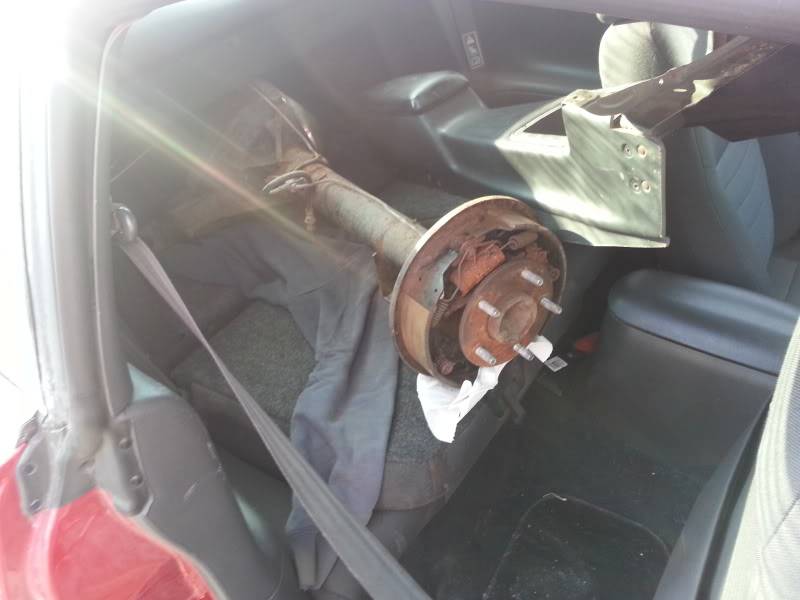
EDIT: more pictures.
1955 Nomad project LC9, 4L80e, C5 brakes, Vision wheels
1968 Camaro 6.2 w/ LSA, TR6060-Magnum hybrid and etc SOLD
1976 T/A LS1 6 Speed, and etc. SOLD
Follow me on Instagram: ryeguy2006a
04-02-2013 #236
Registered User
- Join Date
- Sep 2009
- Posts
- 2,951
It has been a few weeks since I made any really good update, and unfortunately still no big update. I am inching closer and closer to getting the car to fire up, but have hit many snags along the way. My first big obstacle was finding a fitting that would allow me to use the stock fuel lines from the 99 Z28 and allow me to run the nylon fuel lines from the block to the fuel rail. So, after many parts that didn't work, I decided that having the part made would solve many of my problems. I needed an o-ring based fitting on one end and a GM/Chrysler Quick Connect on the other. To my knowledge, no one makes such a fitting. I took it to a local shop in Binghamton, NY and they made it for me for 10 bucks. That allowed me to connect the the nylon lines to the Tee fitting on the stock lines. Solved that issue.
Next, issue had to deal with my fuel tank, not so much the lines. I was still going back and forth between how I wanted to solve my fuel level sender issue. Originally I planned on using the stock 4th gen sender, but due to some functionality issues I changed my mind. Then I thought about my original sender. It worked fine, but I had heard that it may contact the fuel pump assembly. So, I decided to check on my own, and to my surprise it had about an inch of clearance! I cut off the pick-up off the bottom, removed the vent tube, welded the hole for the vent tube, and welded the pickup tube. I needed to keep the pick-up tube in order to keep the sender in the stock location. It also solved my issue of what to do with the sender hole on the tank.
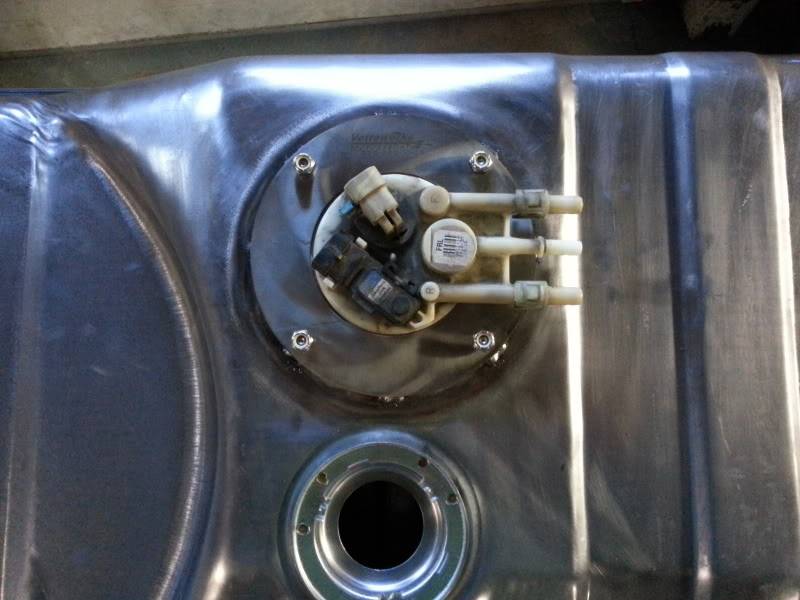
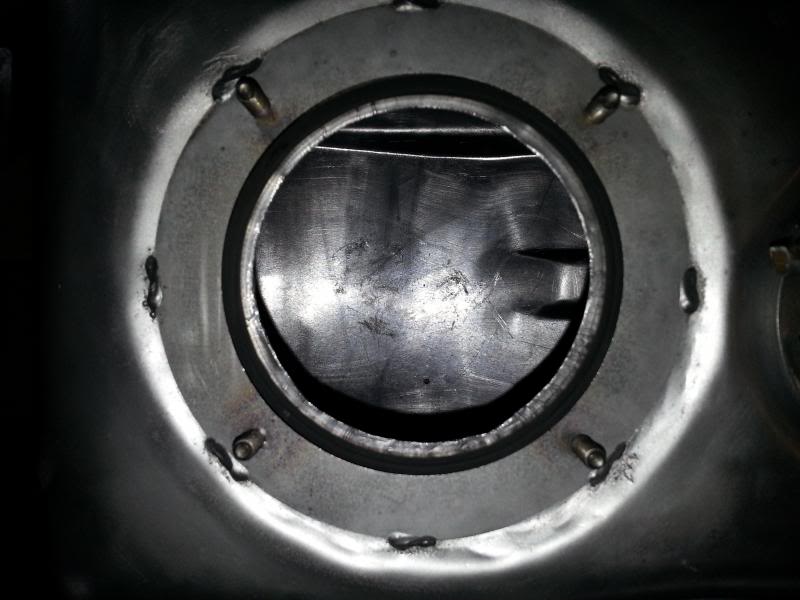
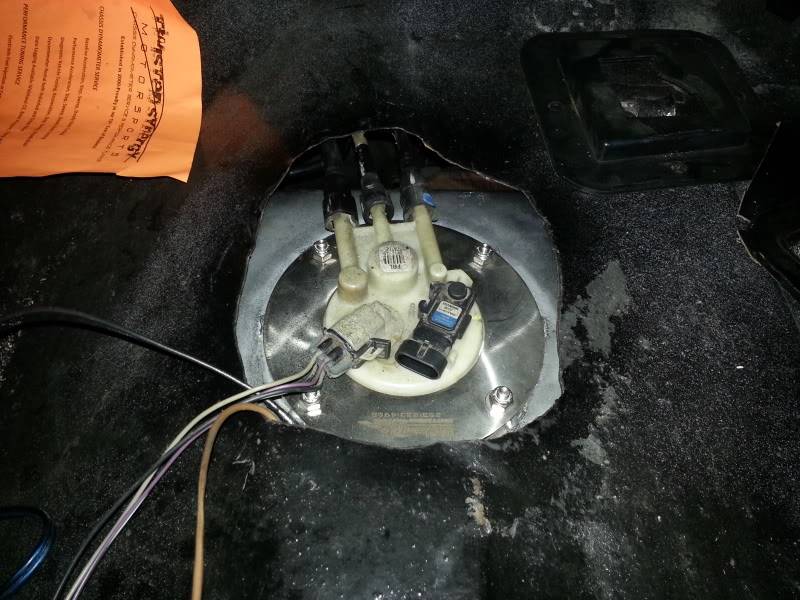
Here are some pictures of the modified sender and the clearance with the Vetteworks kit.
Now, you see it. (Picture is taken at an angle)
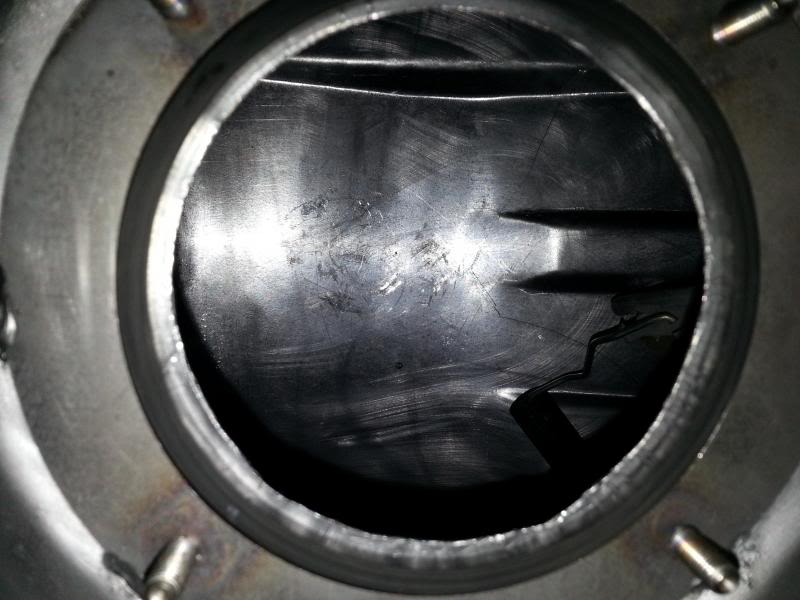
Now you don't. (Picture was taken straight up and down.
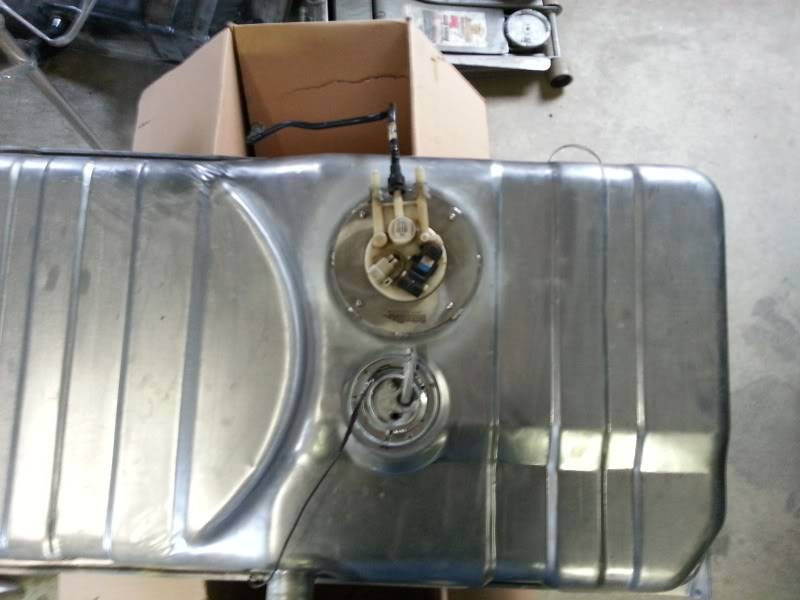
Here is the tank all together waiting to go back into the car for a test fit. I still need to somehow lower the tank roughly 1" to clear the fuel pump assembly out of the top. Looking back I should have just recessed the top of the tank slightly.
What I didn't take a picture of was how I have the tank setup currently. I wired the pump up and plumbed the car to check for leaks with the tank sitting next to the car on the ground. I wanted to check for leaks without having to be under the car. It worked very well, just unusual I guess. Good news was there were no leaks in the fuel system. That means I can move forward with getting the tank in place and finalize the fuel lines. I need to heat and bend the nylon lines in order to fit around components and look good.
When I went to start it this weekend, to my disappointment I have a wiring issue with the car. I need to trace back the wiring that I did and find out what I did wrong. Luckily, I was able to narrow it down to my relay box that I made for the car. I had a lot of late night wiring, so I will blame it on that. I am getting home early tomorrow night and hope to possibly solve the issue. On a good note, I was able to use HP Tuners to unlock my ECU and delete my VATS, rear O2 sensors and disable my AIR. Then I uploaded that tune to my ECU. Really cool program and I really look forward to using it to the full potential.
Hoping to have the car started very soon.
1955 Nomad project LC9, 4L80e, C5 brakes, Vision wheels
1968 Camaro 6.2 w/ LSA, TR6060-Magnum hybrid and etc SOLD
1976 T/A LS1 6 Speed, and etc. SOLD
Follow me on Instagram: ryeguy2006a
04-05-2013 #237
Registered User
- Join Date
- Sep 2009
- Posts
- 2,951
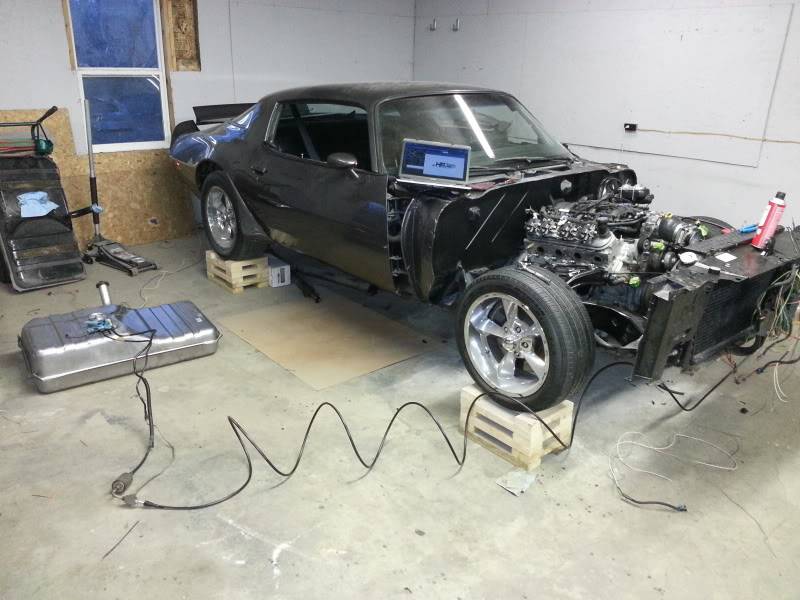
It finally runs!! I had some issues with the tune, as I needed to delete some of the stock systems on the car. Such as the VATS, EGR, A.I.R. Pump, and rear O2 sensors. I thought I had a large wiring issue, but it ended up being a poor ground to the engine. After I flashed the new tune on the car and got the ground figured out the car started up and idled. I was alone, so I couldn't get a video, but once the radiator is hooked up and I can let it idle for more than a few seconds I will get a video posted up.
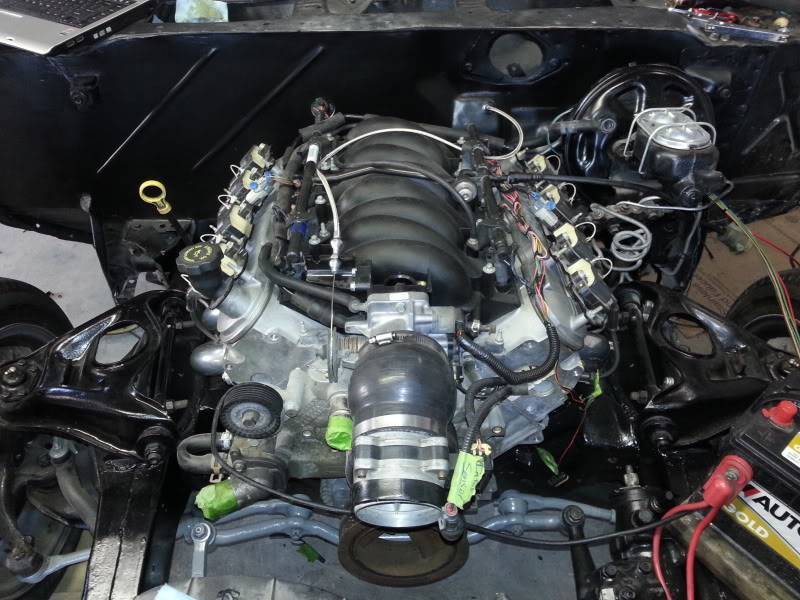
Here is a picture of how the car was set up to test the fuel lines and fuel pump. It is a very temporary setup, but works to get the car running and allowed me to check for leaks without being on my back under the car.
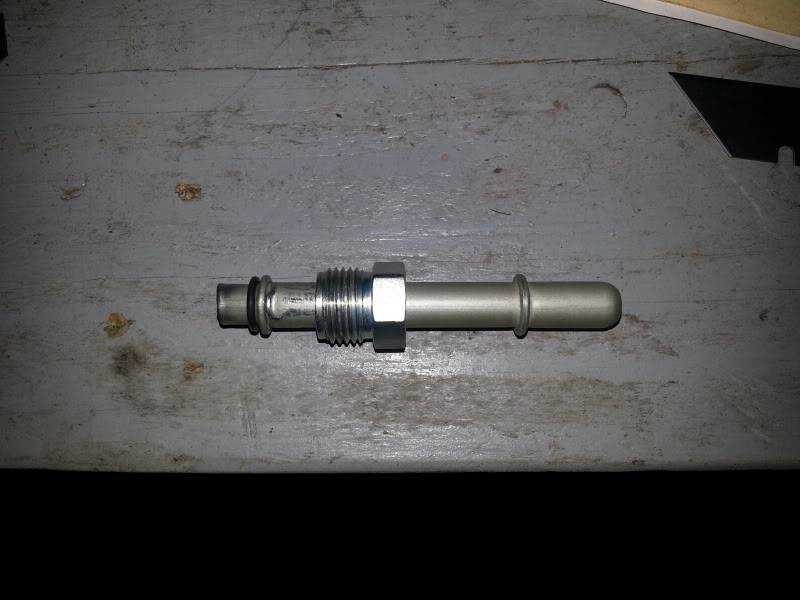
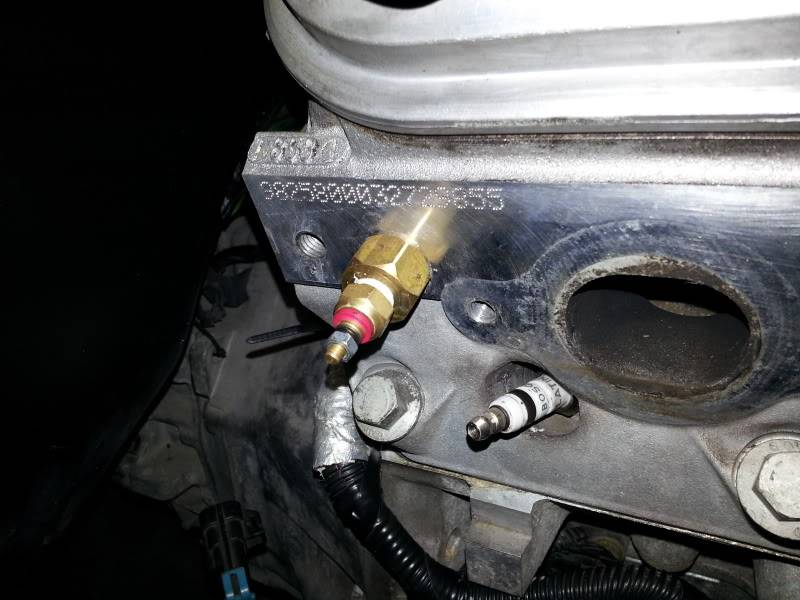
Also, here is the the fitting that I got to adapt the temp sensor to the block. Some people tap the block, but I didn't want to do anything irreversible.
I didn't work on the car very long, but I feel like I got a huge step forward. I am really happy to have the car running!! I hope to get a little work done tomorrow as well. I hope to get the tank in the car tomorrow and the fuel lines fully routed. Time will tell.
1955 Nomad project LC9, 4L80e, C5 brakes, Vision wheels
1968 Camaro 6.2 w/ LSA, TR6060-Magnum hybrid and etc SOLD
1976 T/A LS1 6 Speed, and etc. SOLD
Follow me on Instagram: ryeguy2006a
04-08-2013 #238
Registered User
- Join Date
- Sep 2009
- Posts
- 2,951
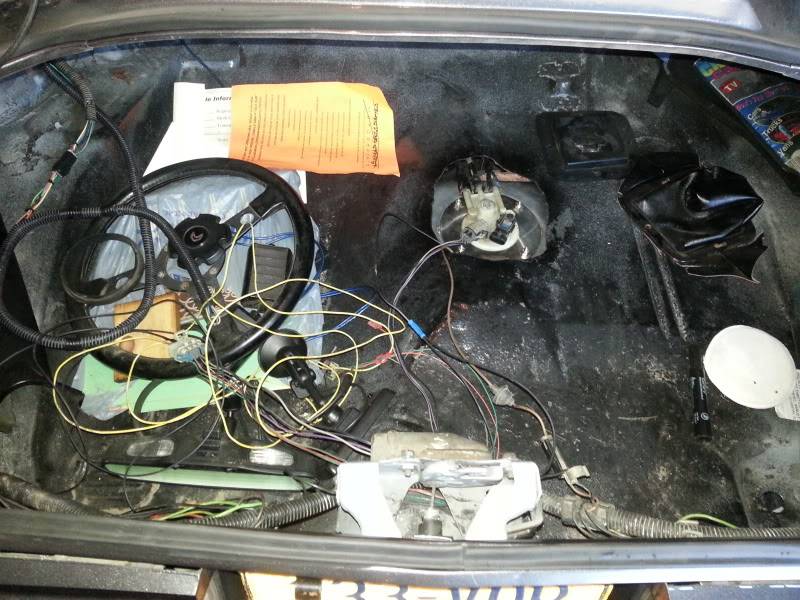
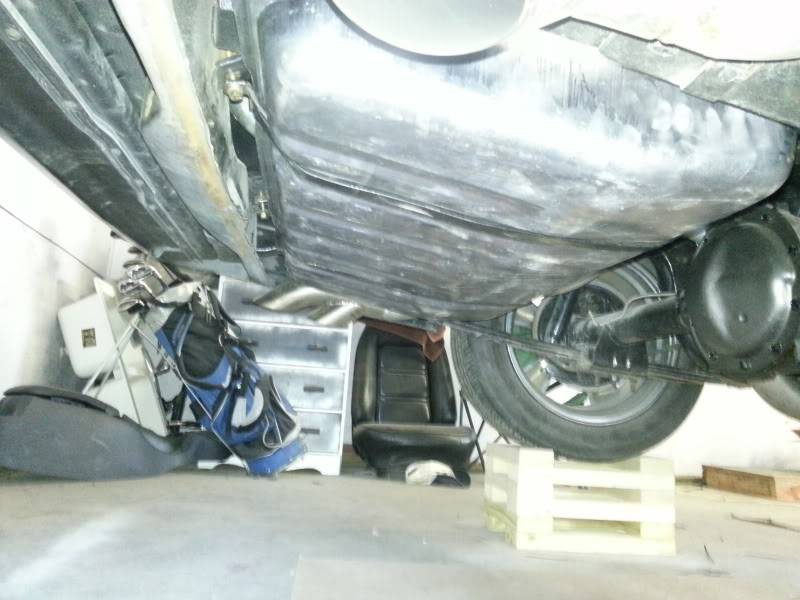
I got a little more done on Saturday, so I thought I would post it up. I finally was able to get that gas tank installed. After fighting with it on my back for an hour trying to make the spacers work, I had enough. I went with my original plan and cut an access panel in the trunk. Since I have already pissed off the purists with the LS1, how much more angry can they get, right? Anyway, it worked great and I will be able to change fuel pumps very easily in the future.
Please excuse the mess in the trunk. I am still figuring out wiring for my fuel pump and fuel sender and the trunk has become a nice hiding spot for parts waiting to go back on the car.
After I got the tank fitted in it's final position I got the fuel lines ran. If you guys don't remember I will refresh your memories. I went with Nylon fuel lines due to the cost and their compatibility with today's fuels. Now, I want to first say that it is very easy and difficult to work with. I will explain. The fittings require the use of the GM/Chrysler Quick Disconnect lines that I have shown before. They are supposed to be pressed into the lines by using a repair tool (or the calk gun method) or by dipping the line in boiling water and forcing it in. I used the calk gun method and it was easy to work with. The fittings very easily were pressed into the line by using a flairing tool to hold the line and a dab of oil to help the fitting slide in a little easier. The hard part of working with the lines is they can very easily kink. I found the best method for working with it was working slowly and applying a little heat from a heat gun to carefully work the lines. I routed the lines in the factory location, with the acception of the fuel filter which I put where the tranverse muffler used to live.
I didn't want to get under the car as I was under their enough on Saturday. Maybe if I get ambitious someday I will take some photos, but you get the idea. Here are some pictures.
Overall, I was very pleased with the nylon and would do it all over again if I had to. Once everything was installed, I tested the system again with no leaks. Overall very successful day. My main issue today is figuring out my tune. I need to go through and delete all the systems that I took off of the stock motor such as VATS, A.I.R., CAGS, EVAP, and rear O2 sensors. Once that is finalized, I am going to reflash that tune to my ecu and see how she runs.
I also picked this up the other day. It is a mirror with a compass and outside temperature built into it.
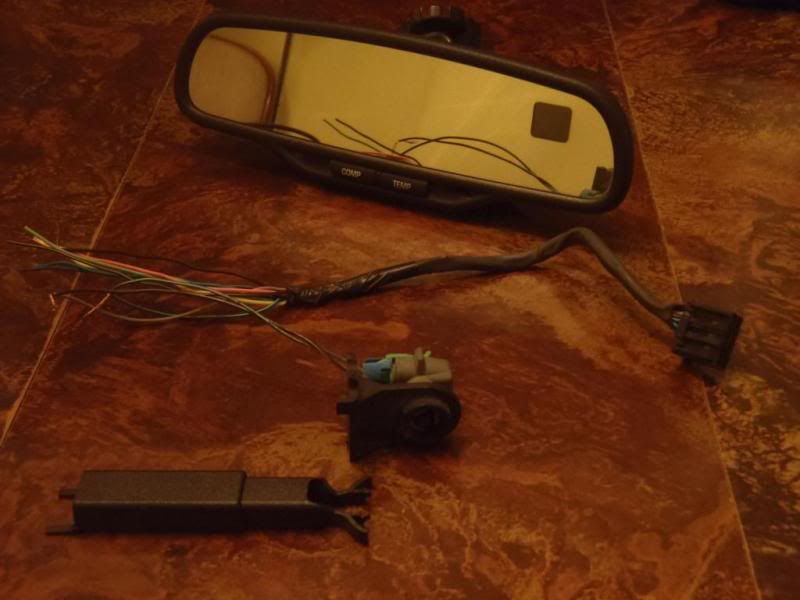
All for now, Cheers.
1955 Nomad project LC9, 4L80e, C5 brakes, Vision wheels
1968 Camaro 6.2 w/ LSA, TR6060-Magnum hybrid and etc SOLD
1976 T/A LS1 6 Speed, and etc. SOLD
Follow me on Instagram: ryeguy2006a
04-08-2013 #239 Registered User
- Join Date
- Dec 2005
- Location
- Birmingham, AL
- Posts
- 3,355
I am jealous, you are getting close. My motor is going to the machine shop next week. I won't have much excuse after it gets finished up to really tear into the car. I think I am going to use a 70-73 tank and that way I will have room for all of the lines since that tank is flatter and my 74 trunk has the same offset bulge as yours does.
Stephen
04-08-2013 #240
Registered User
- Join Date
- Sep 2009
- Posts
- 2,951
Thanks, I can't wait to get it running really well. I modified my tune, and need to upload it to make sure that it works properly. As for the tank, If I was to do it again, I would have notched my stock tank and lowered the adapter to sit flush with the top of the tank. If you plan on using a 70-73 tank you can use the Spectra EFI Tank that already has an EFI pump in it. You will also need to fiture out a spacer for the hump.
1955 Nomad project LC9, 4L80e, C5 brakes, Vision wheels
1968 Camaro 6.2 w/ LSA, TR6060-Magnum hybrid and etc SOLD
1976 T/A LS1 6 Speed, and etc. SOLD
Follow me on Instagram: ryeguy2006a

 Reply With Quote


