


Results 501 to 520 of 573
Threaded View


-
02-09-2017 #11

 Registered User
- Join Date
- Jan 2011
- Location
- Boston, MA
- Posts
- 1,180

Made some progress. This will be picture heavy...
I decided to do the Guldstrand Mod while I was at it. The old school of thought was that you either did the Guldstrand Mod, or taller spindles, or taller upper ball joints. The new school suggest that you can do both the Guldstrand mod and taller spindles at the same time. Don turned me onto this, there are a few threads on pro-touring.com that discuss this. I had to remove all my accessories and brackets to gain easier access to the studs.
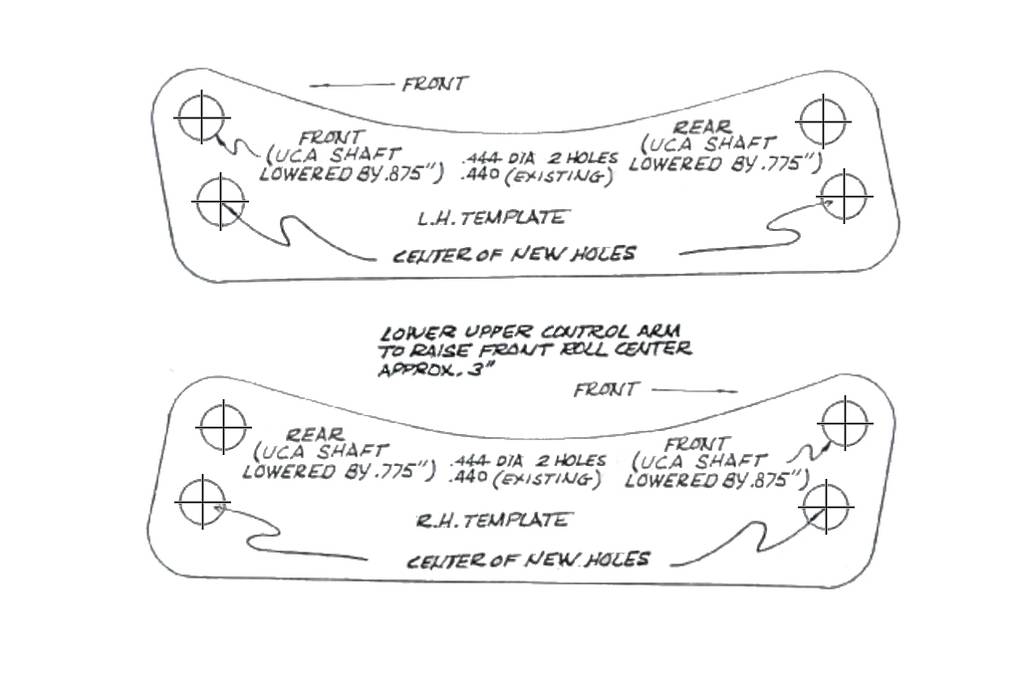
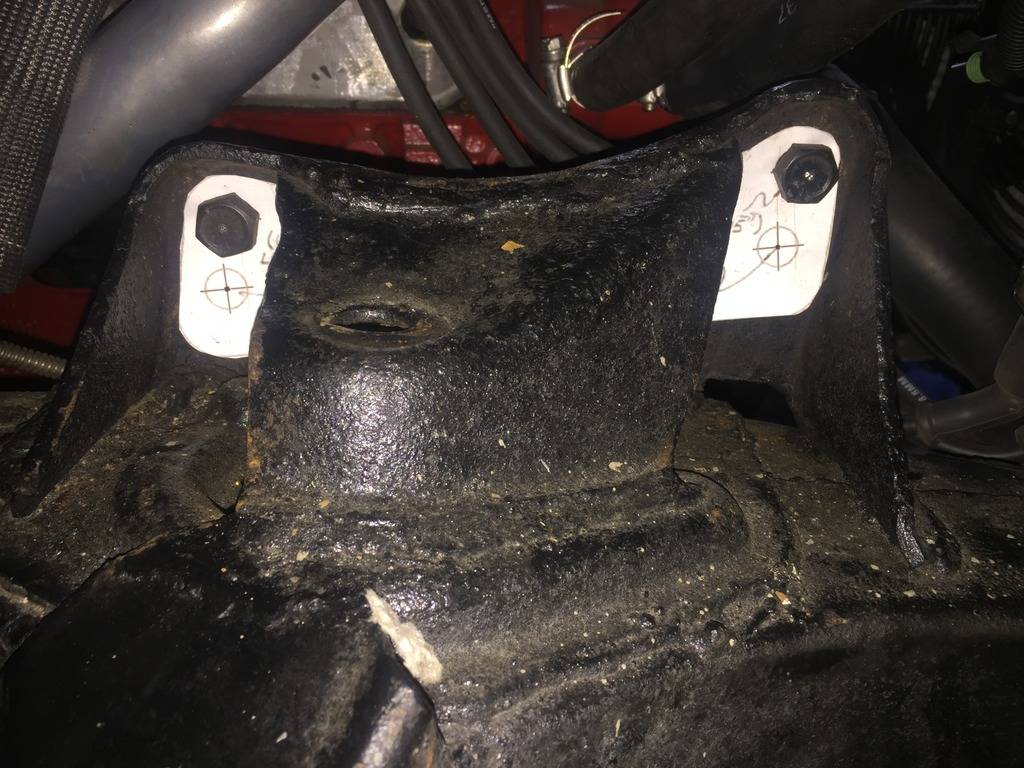
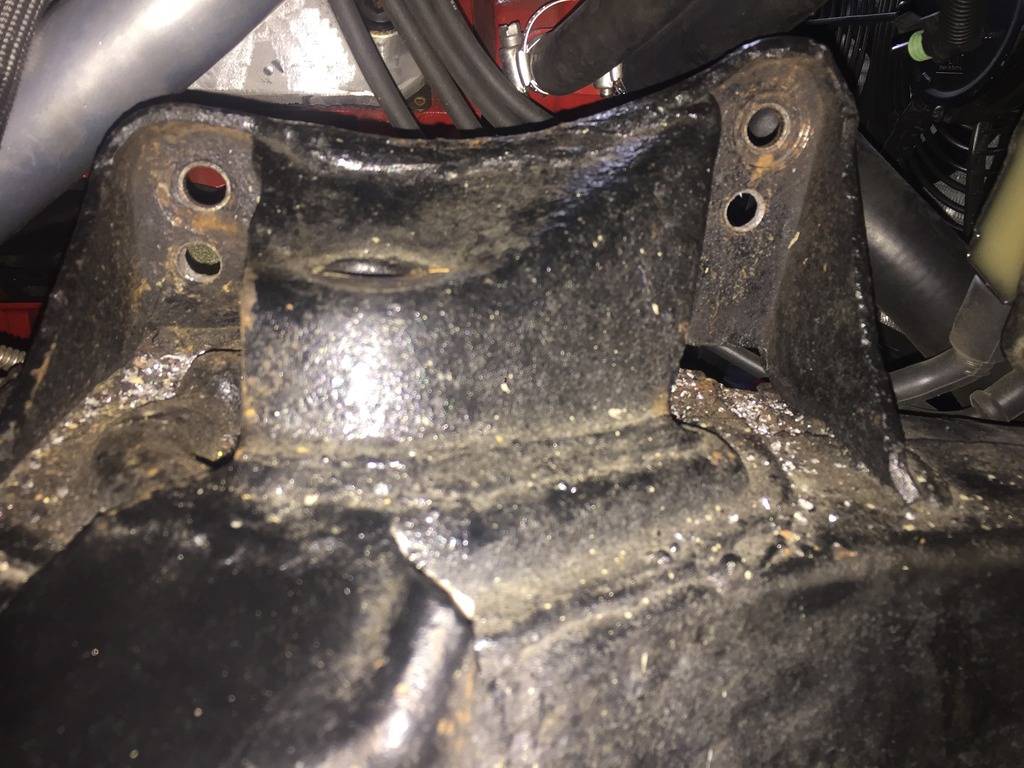
I printed out a few existing templates and either the hole spacing was a bit off, or the cross-hairs were fuzzy, so I recreated the current template to be more accurate. When printed, the existing holes and the new holes need to be exactly 6.5" apart. This template lowers the front hole by .875", the rear hole by .775" and moves both holes back .25"
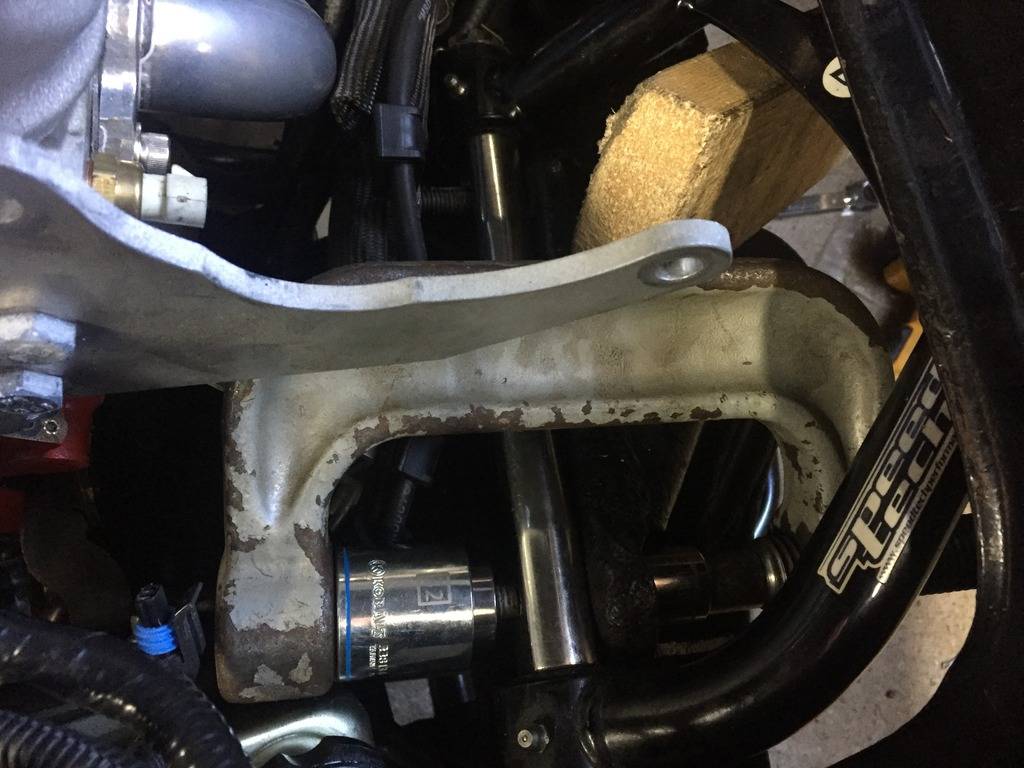
I used a ball joint press (rented free at Auto Zone) and a couple sockets to press out the existing studs:
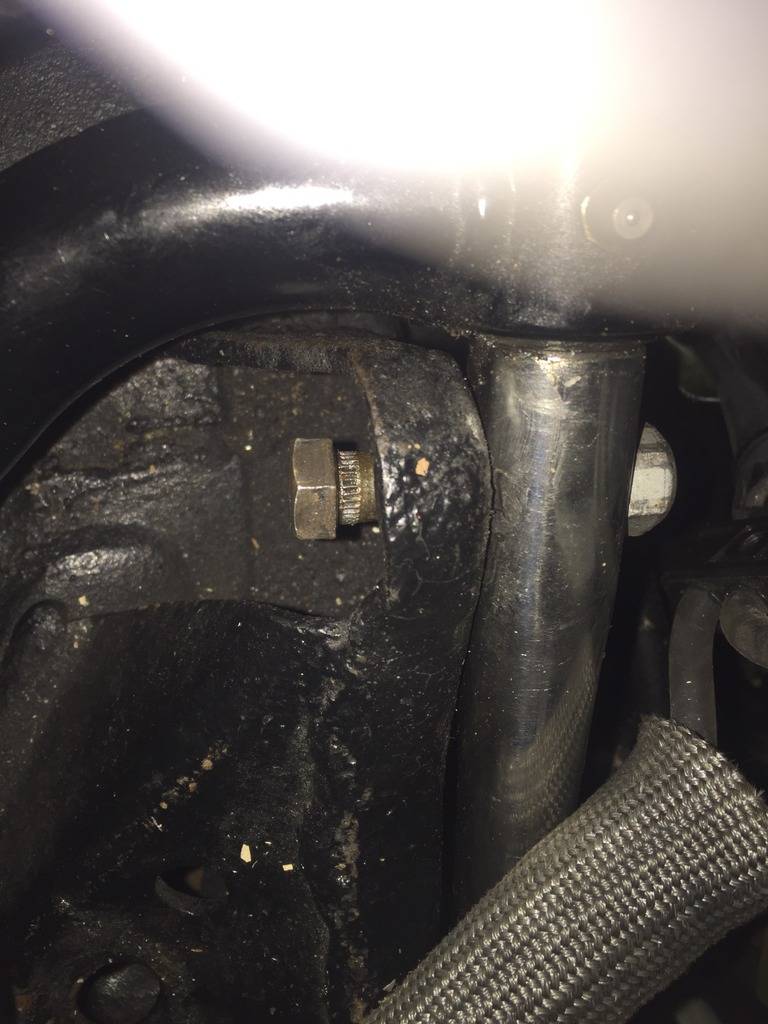
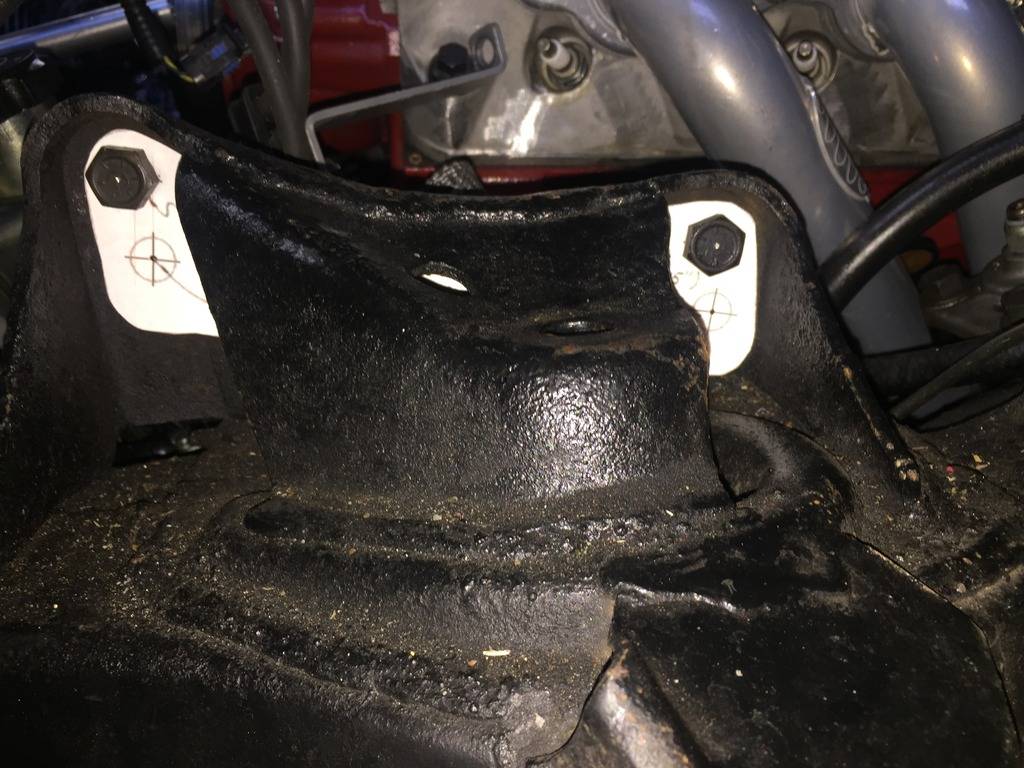
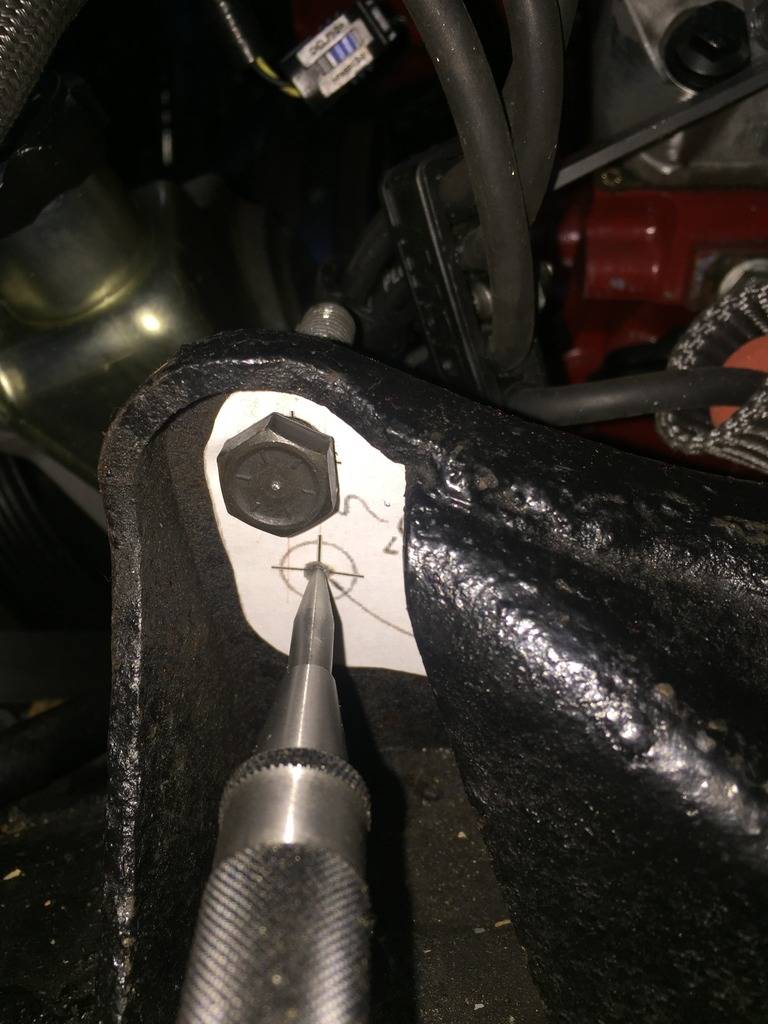
I cut the template out, cut the holes out of the template for the top studs and used the existing bolts to position the template exactly back in place(drivers side):
An auto center punch tool to mark the new centers:
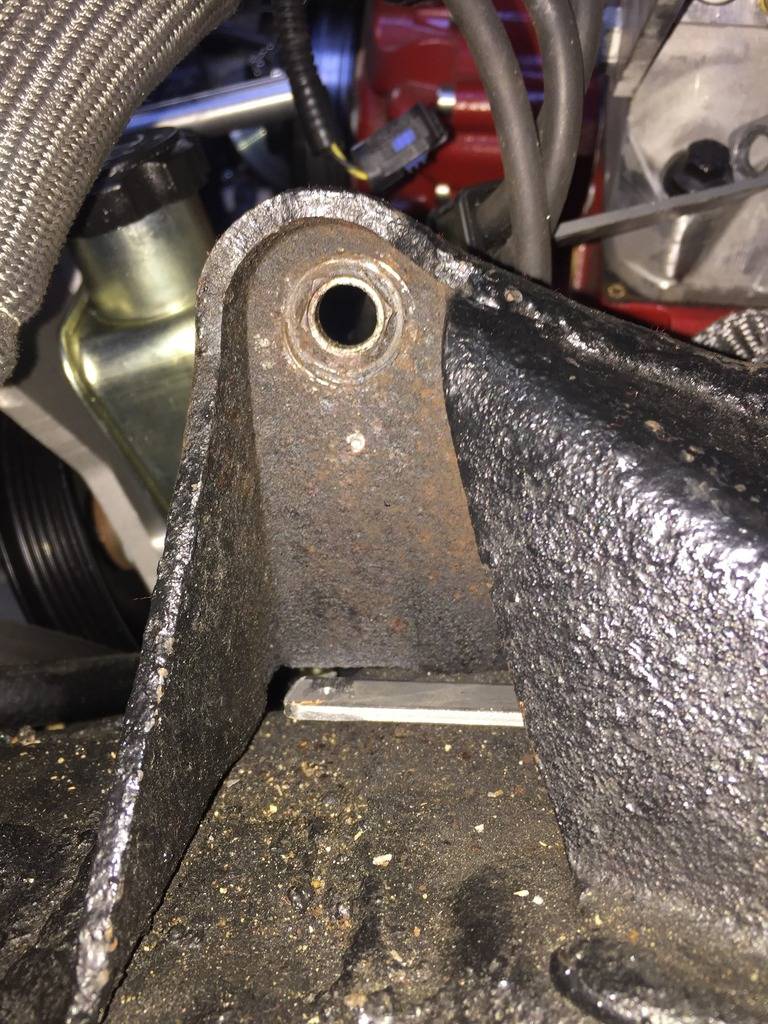
I drilled the new holes with a step drill bit (no pics). I forgot to take pics of the drivers side, here is the passenger side template and the new holes:
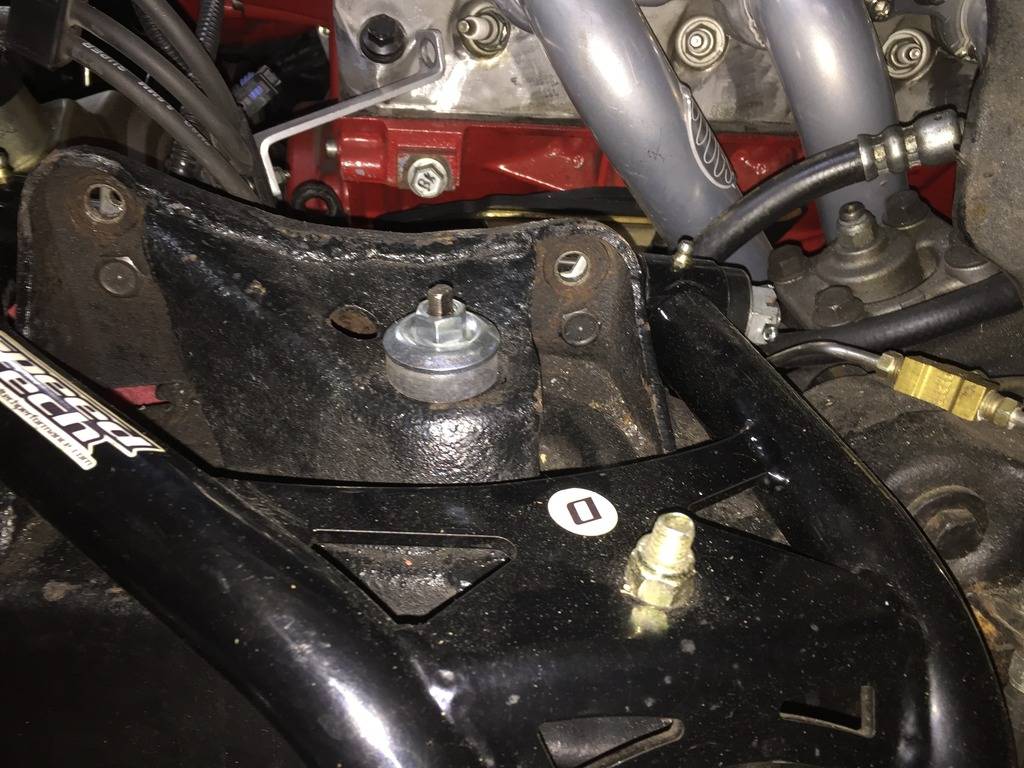
Driver side with control arm in new location:
-


 Reply With Quote


