


Results 1 to 20 of 174
Hybrid View


-
04-01-2012 #1

 Registered User
- Join Date
- Aug 2011
- Location
- Burleson, TX
- Posts
- 130

Rear Seats Install Continues
Well I finaly think I have figured out and made all but two modification to get the rear seats installed.
In this process I had to remember that the modifications and final installation must incorporate a way to de-install the seats at a later time if need be. This took me lots of time as I am a very simple thinker and this was a more complex challenge than I originally thought it would be. I hope it all works as planned and the seats stay in place like they are suppost too!!!!
I have only been working on the passanger side so far so here are some pics of the modified seat frames for the passanger side as compared with the OEM drivers side:
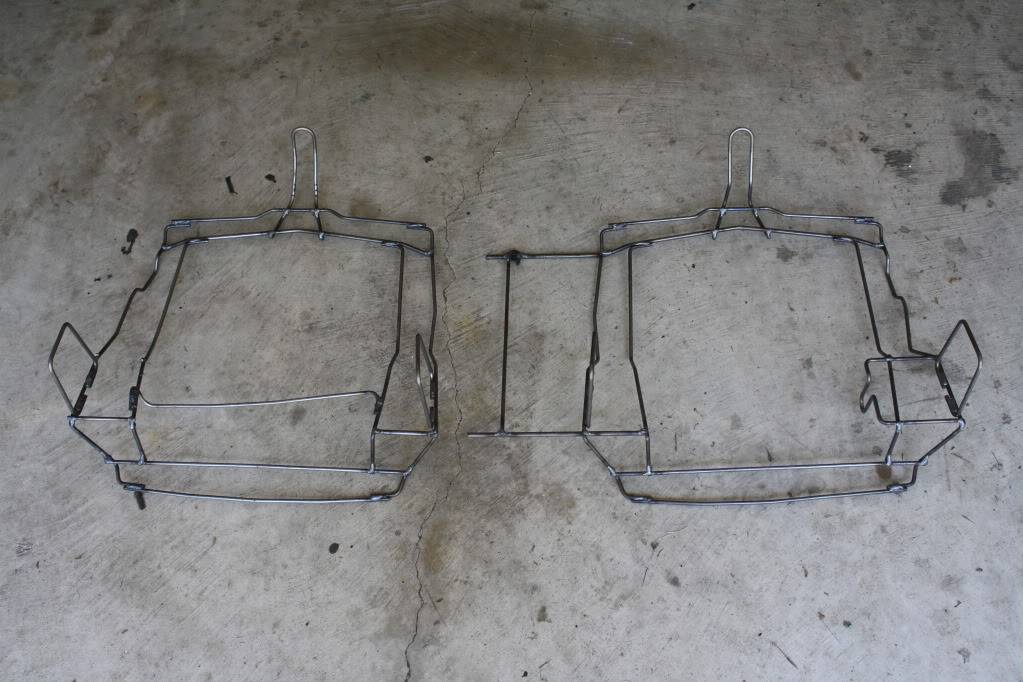
Upper rear seat frames. The only modification was to cut off the extra rod between the two seats after seperation.
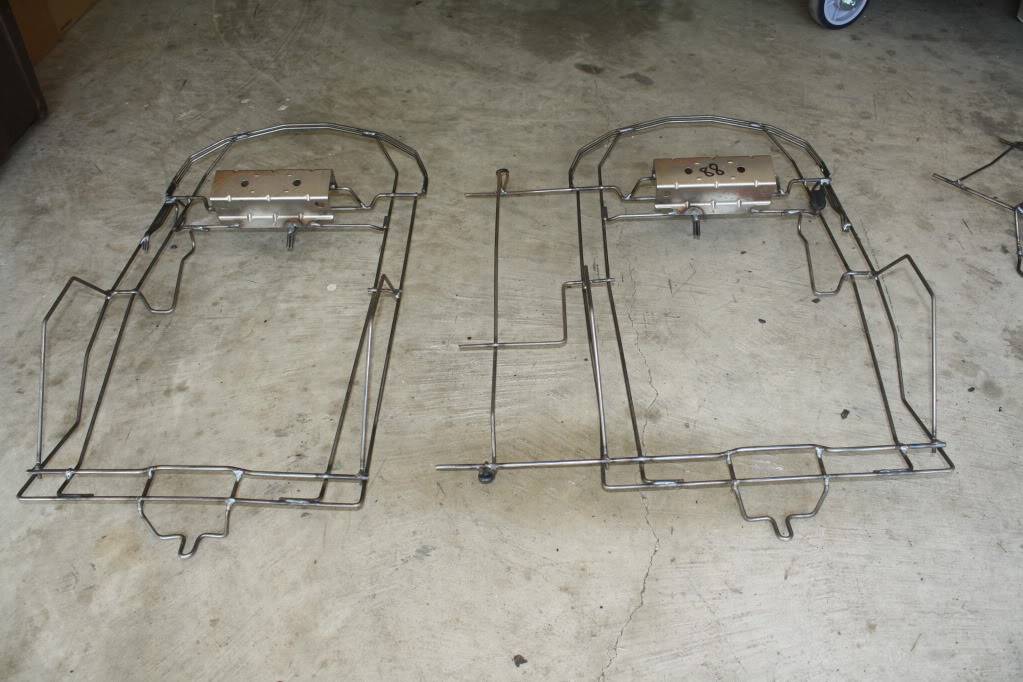
Lower seat frames. There are several modifications on the passanger side as compared to the OEM driver side.
Here you can see the rod that I welded in to take advantage of the existing forward seat bracket.
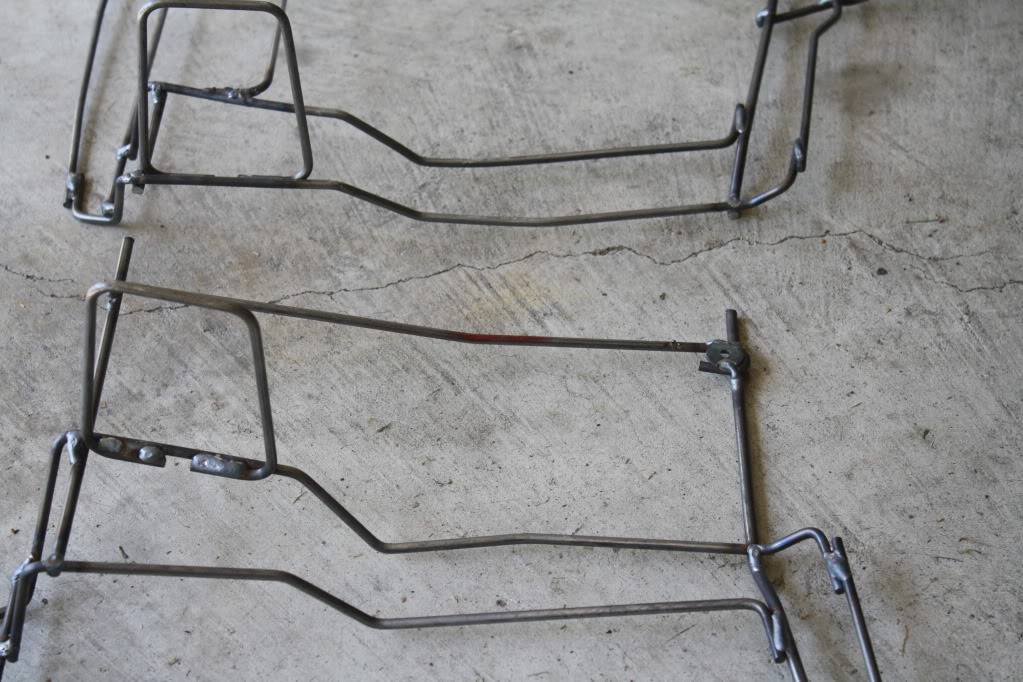
Here I turned one frame around to show the difference where I had to flatten out the side rods so the frame would sit in it's new location better.
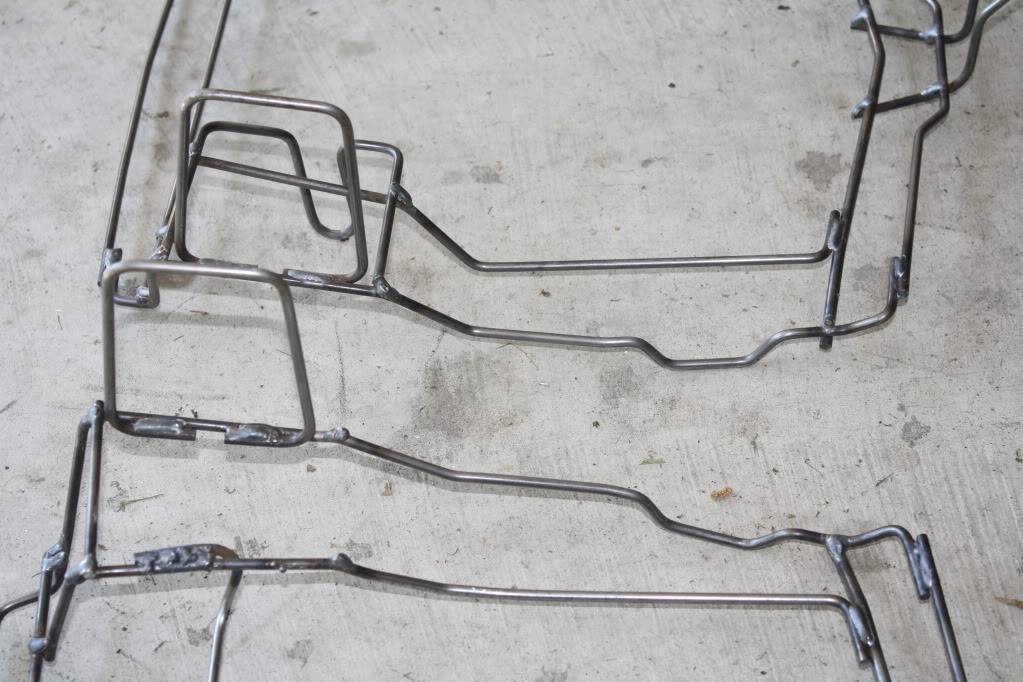
Here you can see were I did the same thing to the side rods on the other side as well as remove the loop of rod that was used to locate and fasten the seats in the 04-06 GTOs.
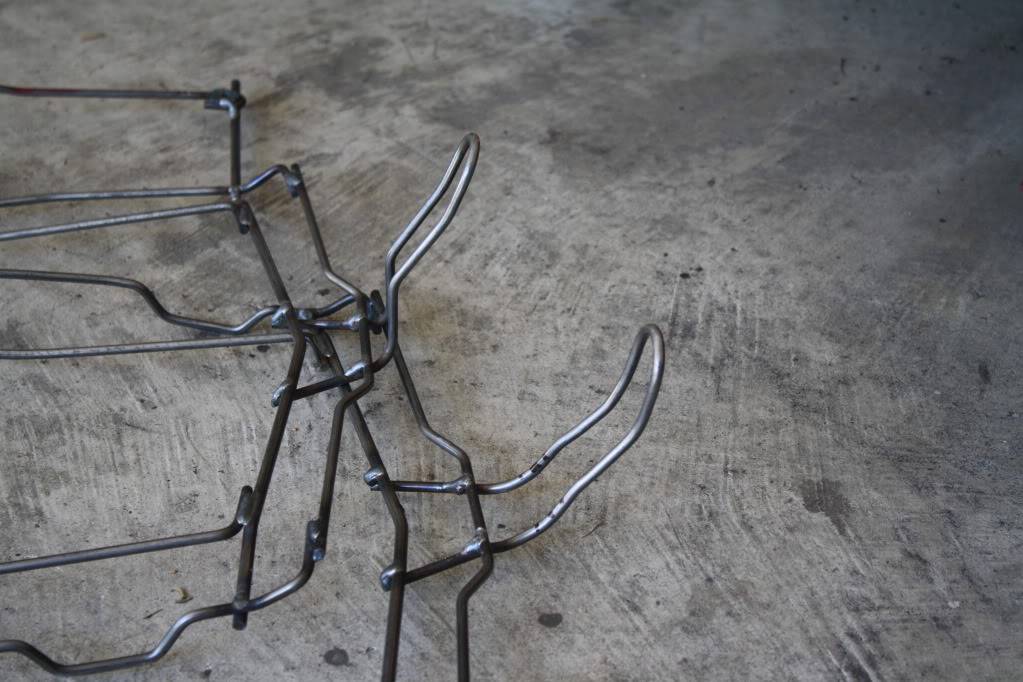
Here you can see the shape modifications I made to make the rear loop reach the rear connecting point and put some tension on the new rod that goes through the existing seat bracket in the Le Mans.
The idea, and so far what has worked up to now in many mock ups, is to put the bottom part of the seat in first. I know what you are thinking, this is totally opposite of the norm, and you are right it is! You can also see that I cut out the original upper seat attachment screw bracket. I will weld it back in its new position where you see it below behind the upper and lower seat frame loops.
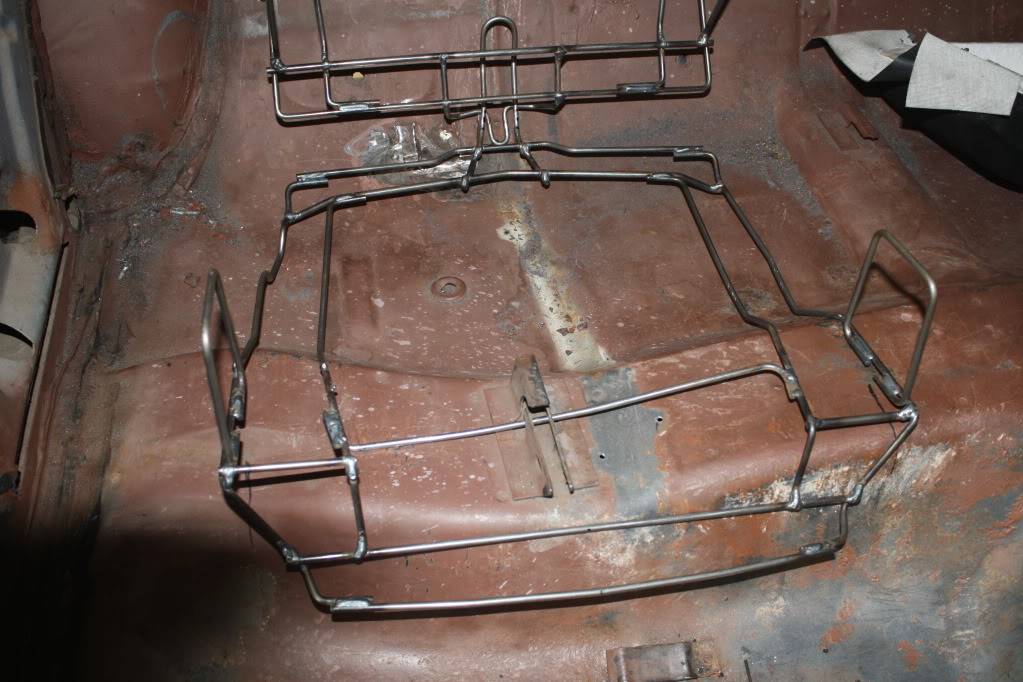
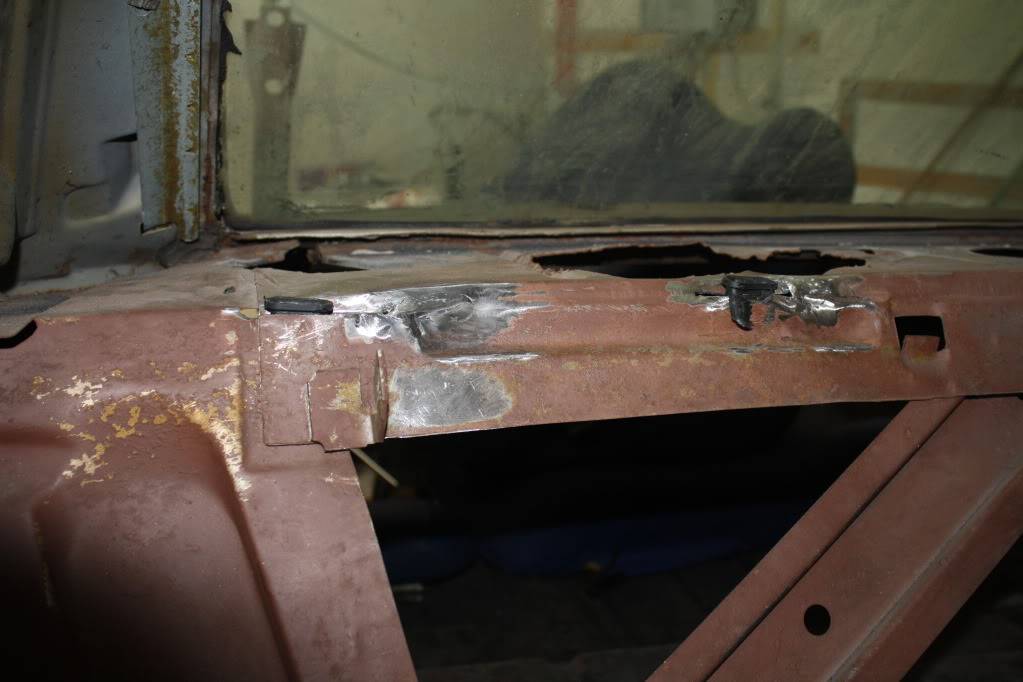
Install the upper seat into position comes next by locating the frame "hangers" in the slots I made just below the break in the package tray. You will also notice the rear glass set back into place so I could test this procedure and make sure there was enough room for both installation and de-installation without hitting the glass. It will be tight and it will take a little finesse but it can be done.
I will cut a piece of flat stock and weld it to the lower frame hoop and use it as a washer and locater to make sure the seat bottom sits all the way down. The screw will run though this washer and the upper frame loop to secure the seat in place as a unit.
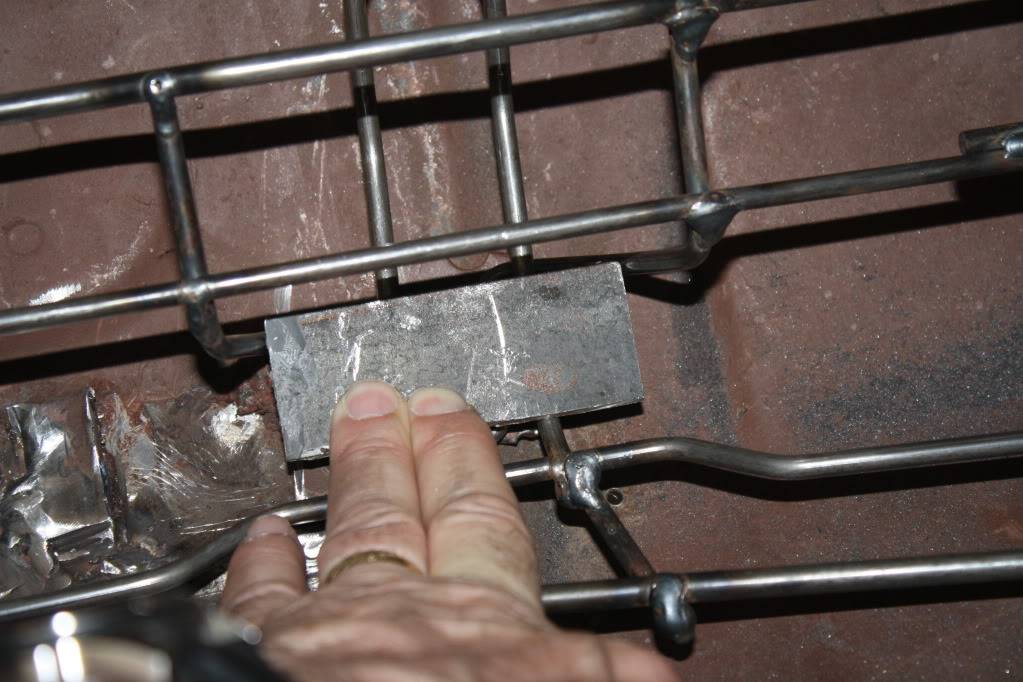
Here is the whole seat frame installed. I still have to cut and weld in the flat stock to the lower frame and relocate the original hold down bracket and weld it in.
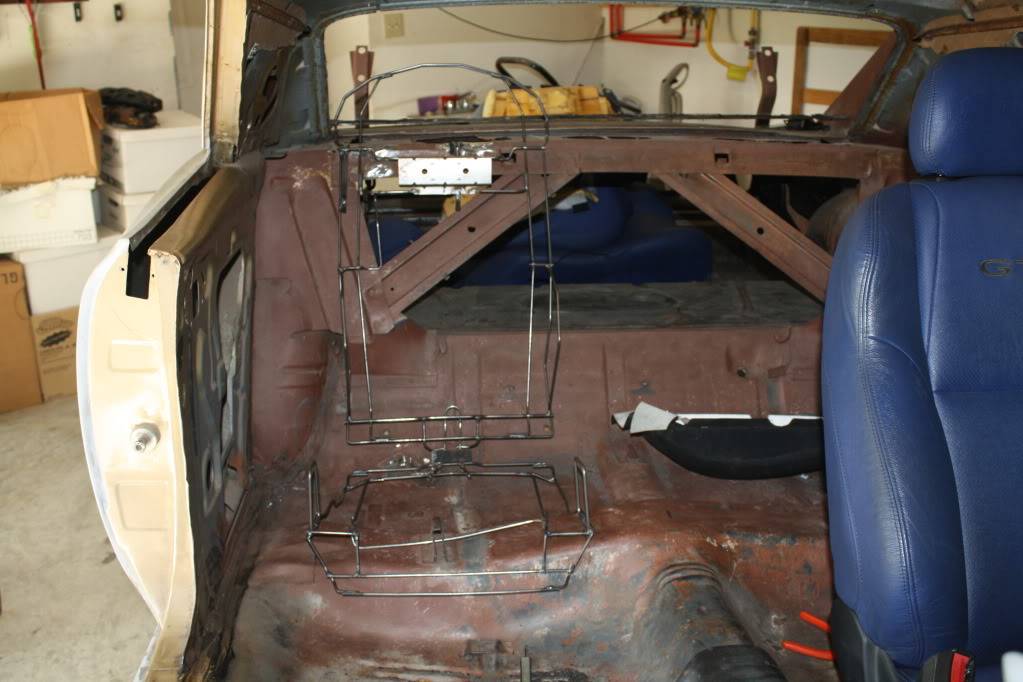
I am also going to trim some of the foam from the upper seat as there is too much there and it pushes hard against the body frame rail the runs between the floor and the package tray. After a couple of test cuts it looks like a kitchen electric carving knife will work great for this.
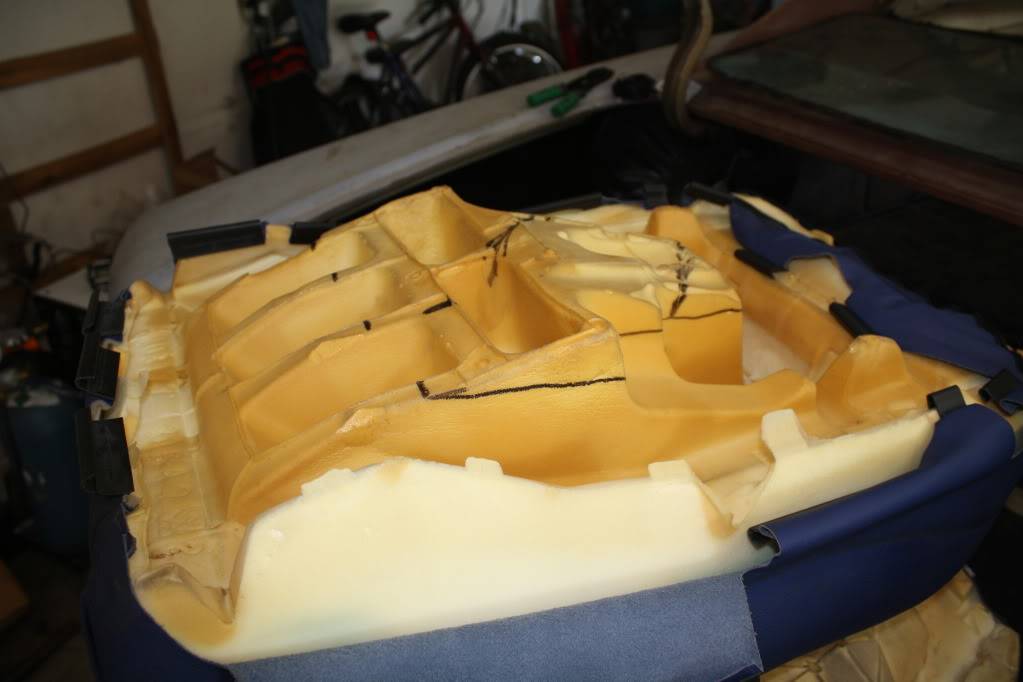
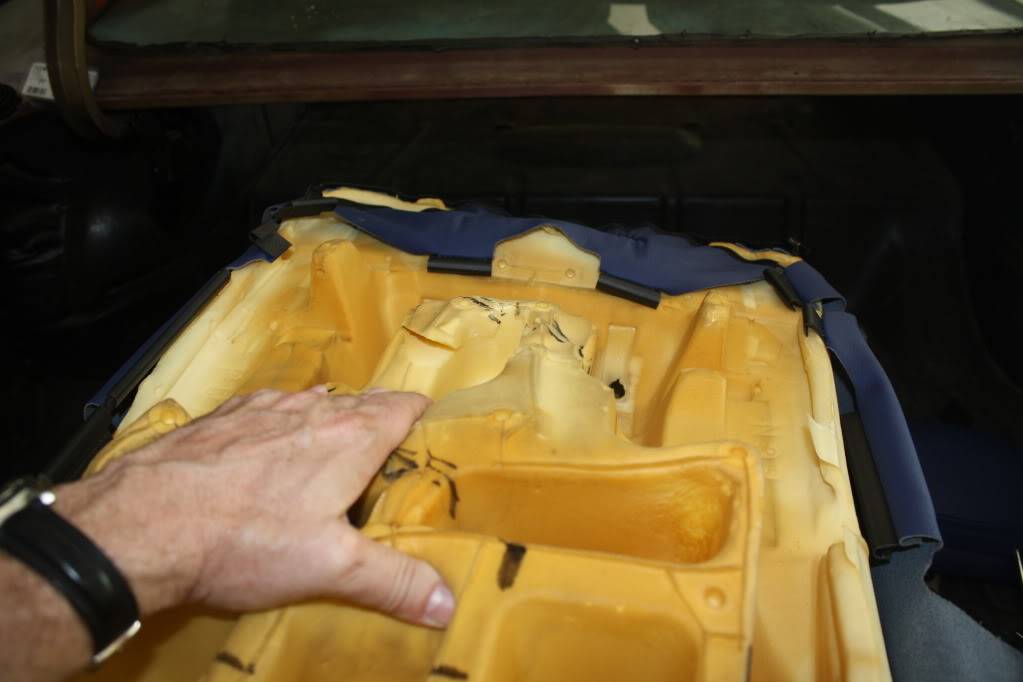
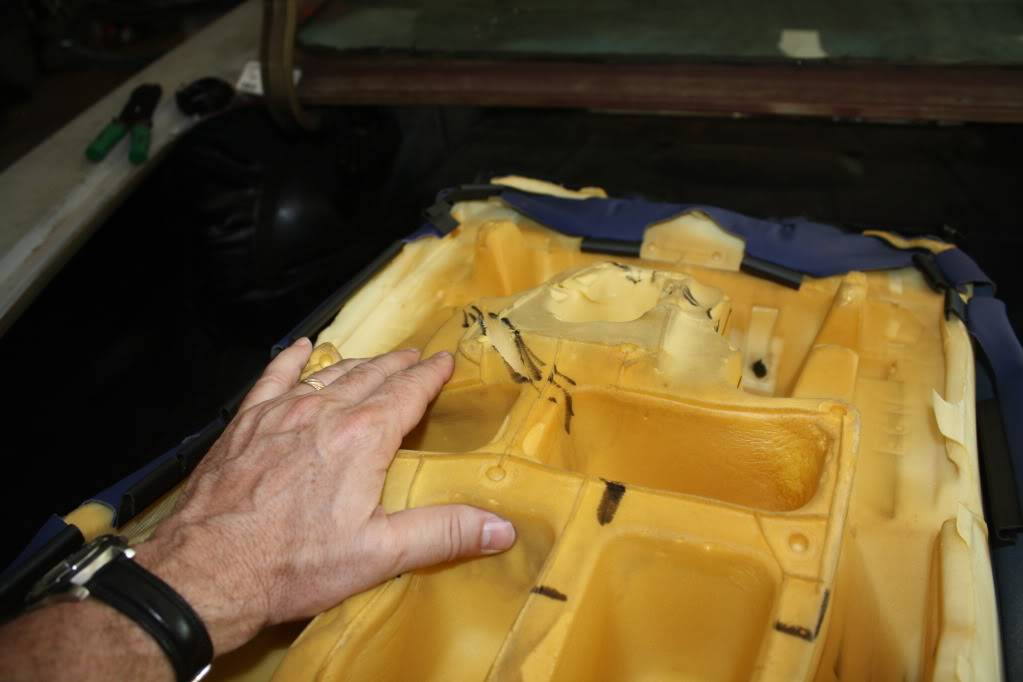
I will update again when I have a finished product. Ken
-

 Reply With Quote



