


Results 21 to 40 of 215
Thread: Project "BLUE PEARL"
Hybrid View


-
06-17-2011 #1

 Registered User
- Join Date
- Aug 2004
- Location
- Rustburg, Virginia
- Posts
- 3,436

coming along nicely....+1 on wishing my project was as rust-free as that one.
1970 RS/SS350 139K on the clock:
89 TPI motor w/ 1pc rear seal coupled to a Viper T56 via Mcleod's modular bellhousing w/ hydraulic T/O bearing from the Viper, 12 bolt rear w/ 3.73 gearing, SC&C upper control arms, factory lowers with Delalums, C5 brakes at all four corners, Front Wheels 17x8's with Sumi 255/40/17 and Rear Wheels 17x9's with Sumi 275/40/17.
Brief description of the work done so far can be found here: http://www.nastyz28.com/forum/showthread.php?t=112454
-
06-17-2011 #2 Registered User
- Join Date
- Feb 2005
- Location
- Sydney, Australia
- Posts
- 1,797

I agree....truly a great solid car....metal looks so cherry!
Regards,
Leigh
Sydney, Australia
1971 Firebird 455
https://www.pro-touring.com/showthre...Project/page27
06-17-2011 #3 Registered User
- Join Date
- Nov 2010
- Location
- Ma.
- Posts
- 583
Nice car, are you gonna chop the top, or leave it tall?
06-17-2011 #4 Registered User
- Join Date
- Aug 2007
- Location
- Tennessee
- Posts
- 499
Thanks guys. We are going to leave it tall, but we are going to put a one piece windshield in. All the body trim will stay but the old GRAVEL SHIELDS on the side of the fenders will be deleted. Under the Hood may do some engine covers and clean everything up but will see how that goes. Ive talked to the customer about it and so far it looks like he's ok with it. O and there will be bigger wheels too. Maybe In the 17's or 18's. I'll know more when the body goes back on the frame.
06-17-2011 #5 Registered User
- Join Date
- Feb 2011
- Location
- Maple Ridge, BC Canada
- Posts
- 209

Has anyone googled Raw Rods......it ain't pretty!!!
No offence....
06-18-2011 #6
Registered User
- Join Date
- Aug 2007
- Location
- Tennessee
- Posts
- 499
LOL.....Don't worry Im not, me and my friends joke about it all the time..lol. My full name is Richard Aaron Watkins. At the time I needed a name fast so I used my name R.A.W. RODS at the time I didnt even think about the Enternet. O well at least know one forgets it..lol, but I am about to change it too R.A.W. RODS RESTORATIONS & CUSTOMS so if you type that in now you can find diffrent things about me on the net. Originally Posted by FirebirdSteve

06-19-2011 #7
Registered User
- Join Date
- Dec 2010
- Posts
- 709
It's become reasonable self-defense these days for one to Google one's self, just to see what others might--the good thing is that you can of course change search results by posting new material...
I would have been happy with the Chevy as it was, for a couple weeks anyway... It's a perfect starter!
06-22-2011 #8
Registered User
- Join Date
- Aug 2007
- Location
- Tennessee
- Posts
- 499
We got the door's all cleaned up and In DP90 today. I also decide to weld the hood up and make it a one piece hood. Im also getting ride of the front and back emblem's. Here are some pictures from today.
It takes more time but we like to sand the back of the door and prime them all over that way rust will not come back. I never did like when just the out side parts were painted and not the middle.
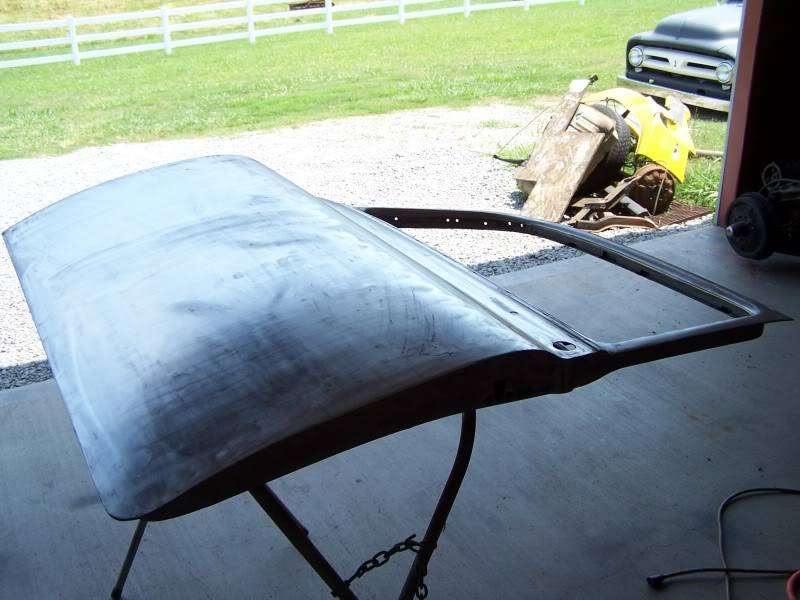
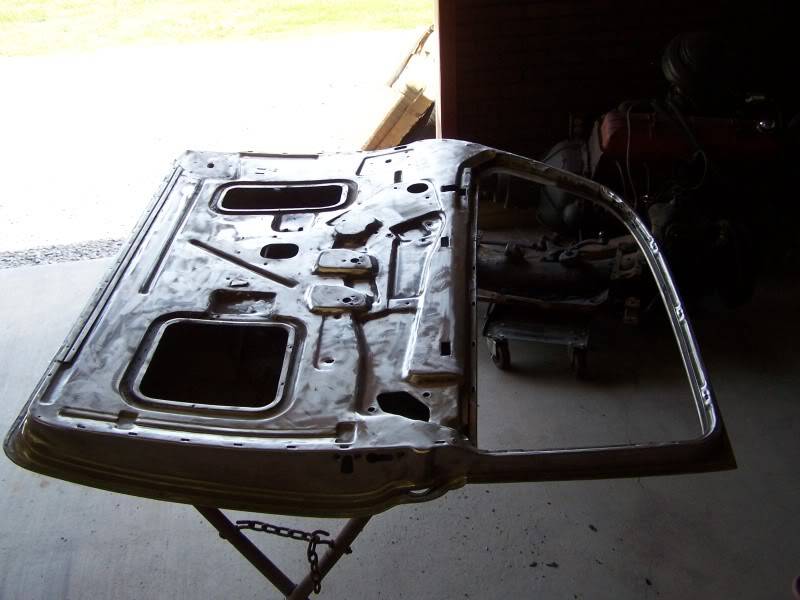
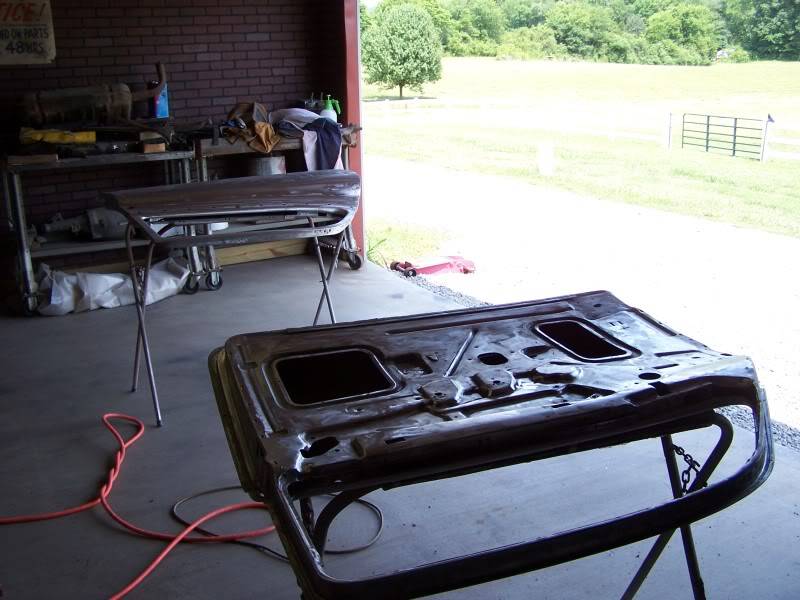
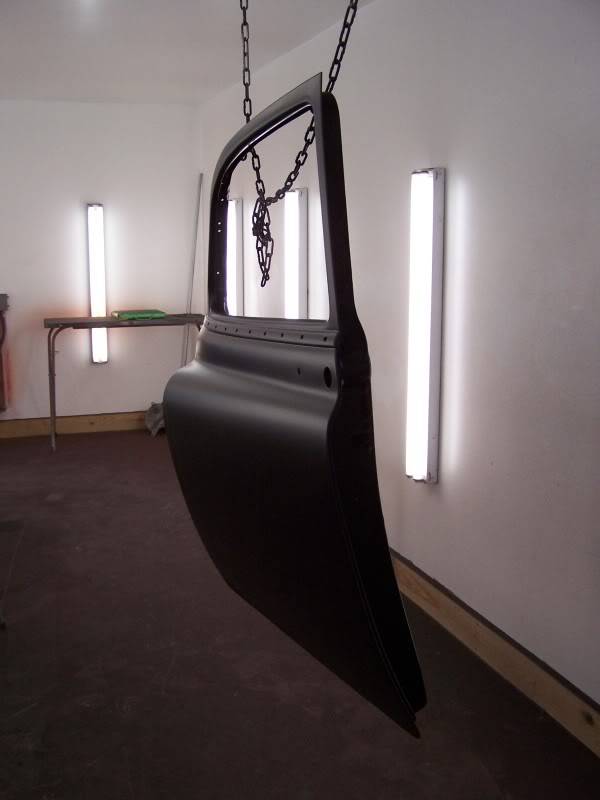
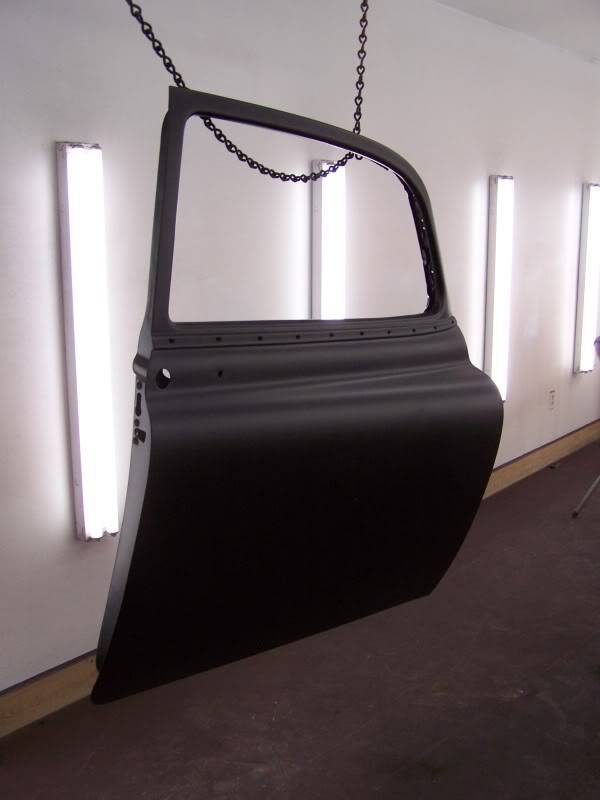
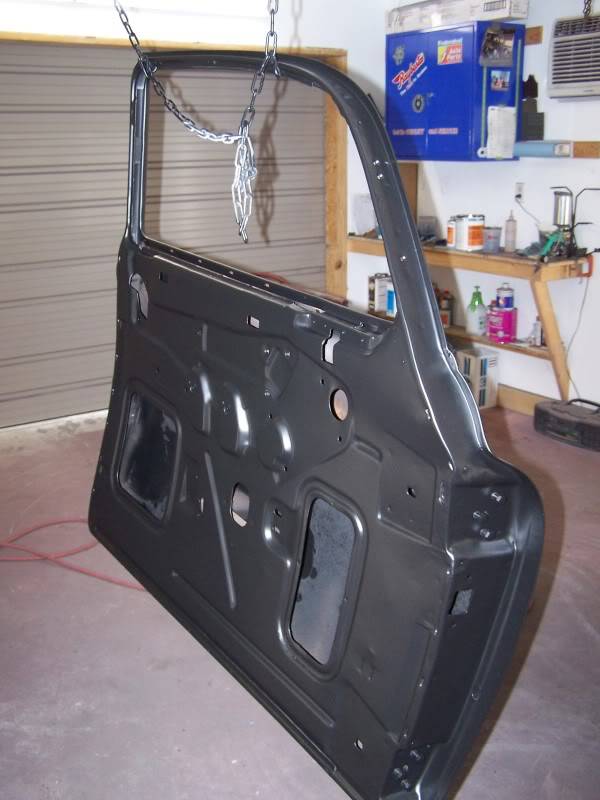
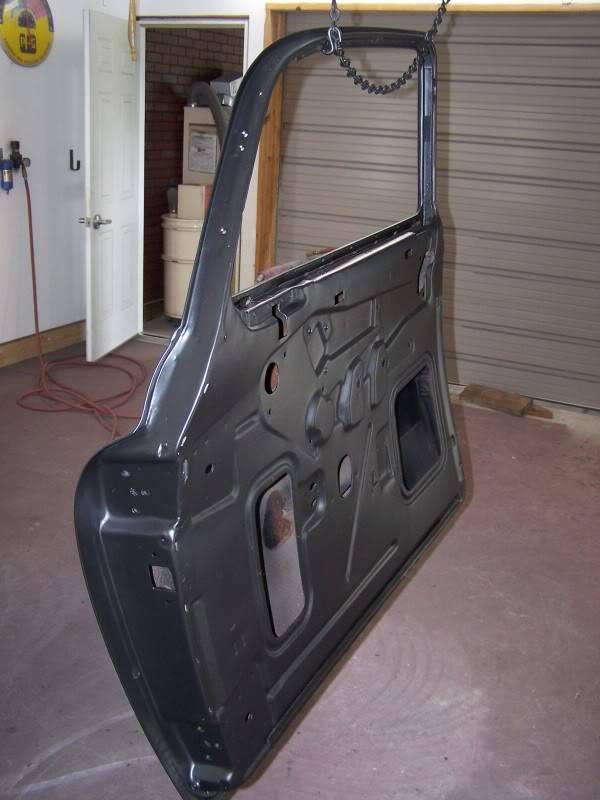
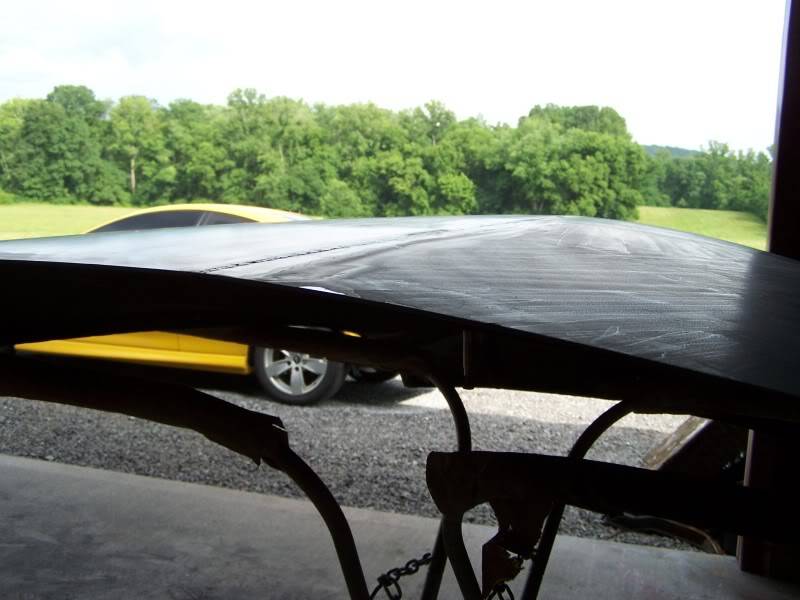
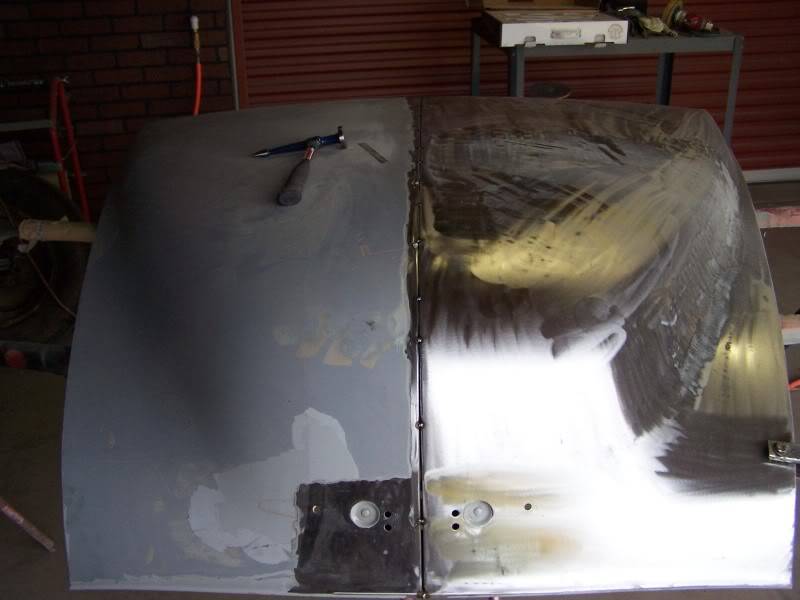
Here is the hood. I made sure the hood was lined up in the middle first then tack welded ever so offten trying not to warp the hood. I also drilled the emblem holes our just a little bigger to put a small steel washer in so I could weld the hole up. I did this because its hard to get behind the hood to hold it in place. I dont do it this way offten but it works.
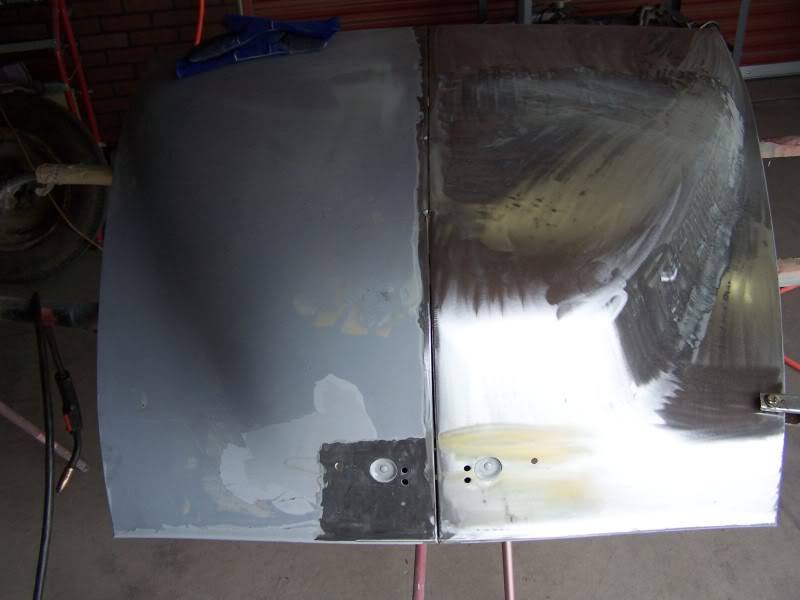
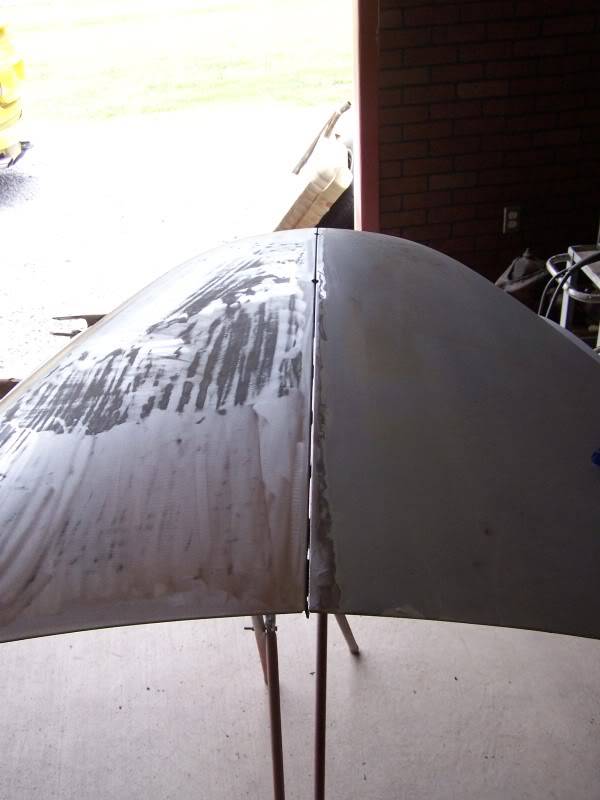
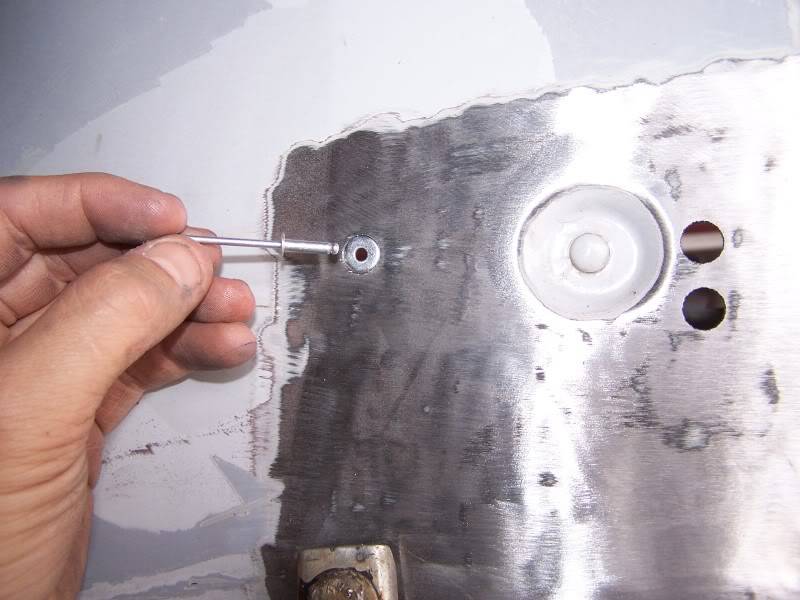
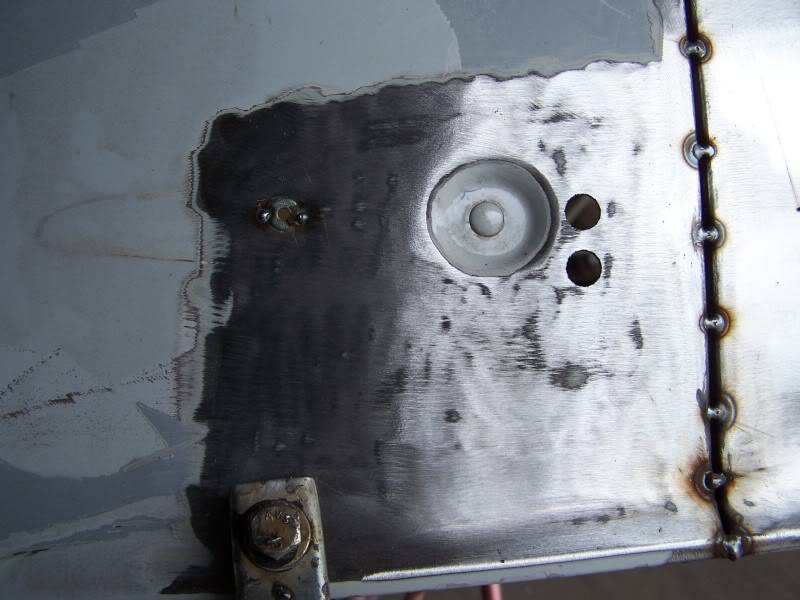
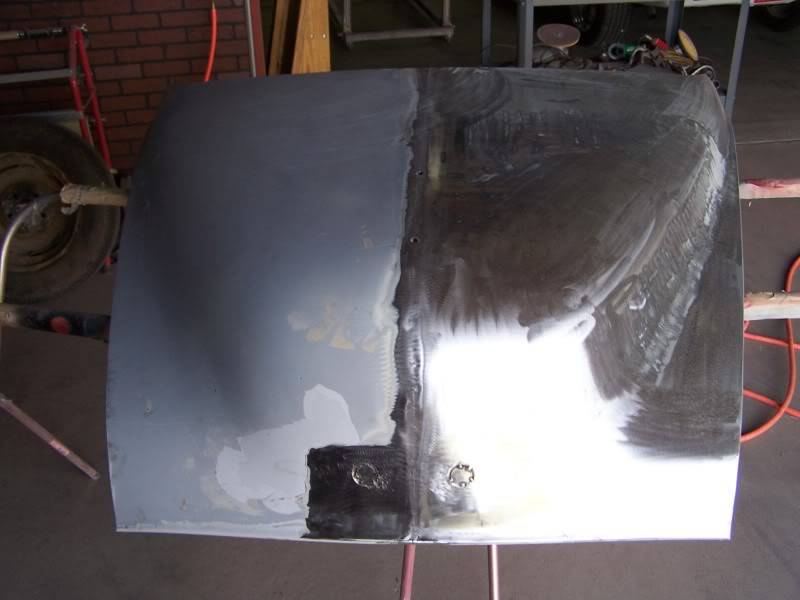
I was able to keep to keep it lined up without it warping so Im happy. O and if you look in the back ground you can see the new donor car.....
06-23-2011 #9 Registered User
- Join Date
- Mar 2009
- Location
- overseas
- Posts
- 3,434
wow good work!!!
 Kevin S. (overseas in Germany)
1963 Chevrolet Impala 2d ht Coupe
www.CruznArt.com
CRUZN - Automotive Artworks
06-23-2011 #10
Registered User
- Join Date
- Aug 2007
- Location
- Tennessee
- Posts
- 499
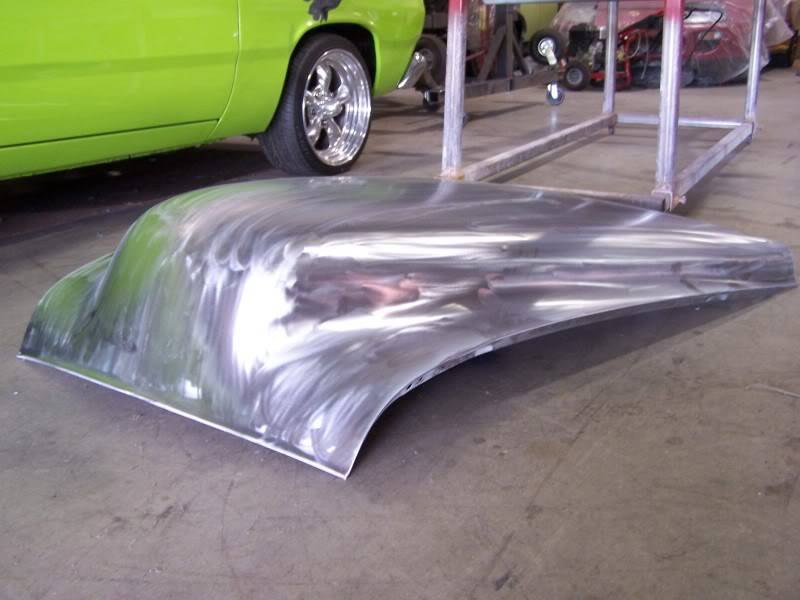
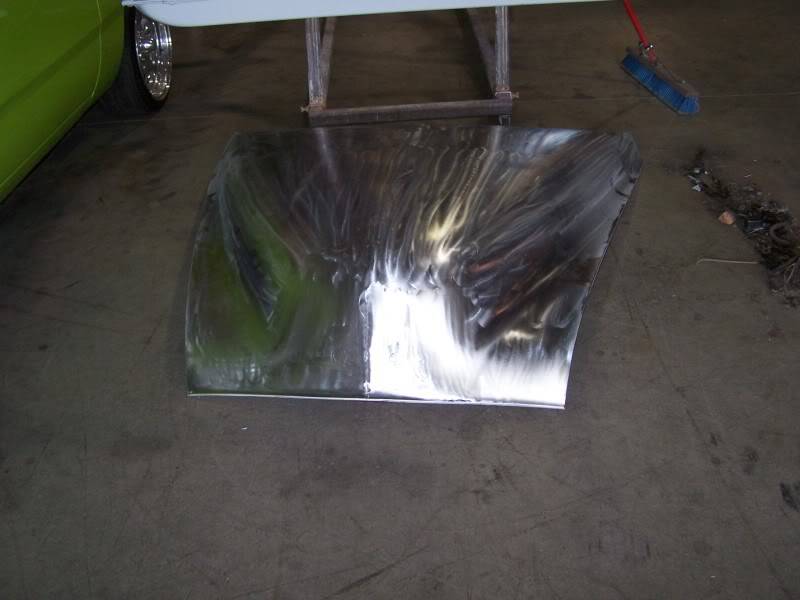
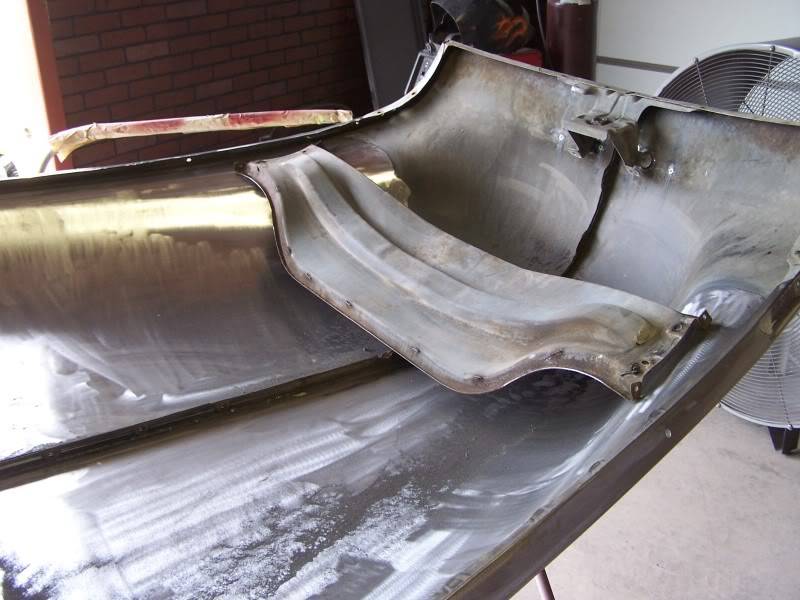
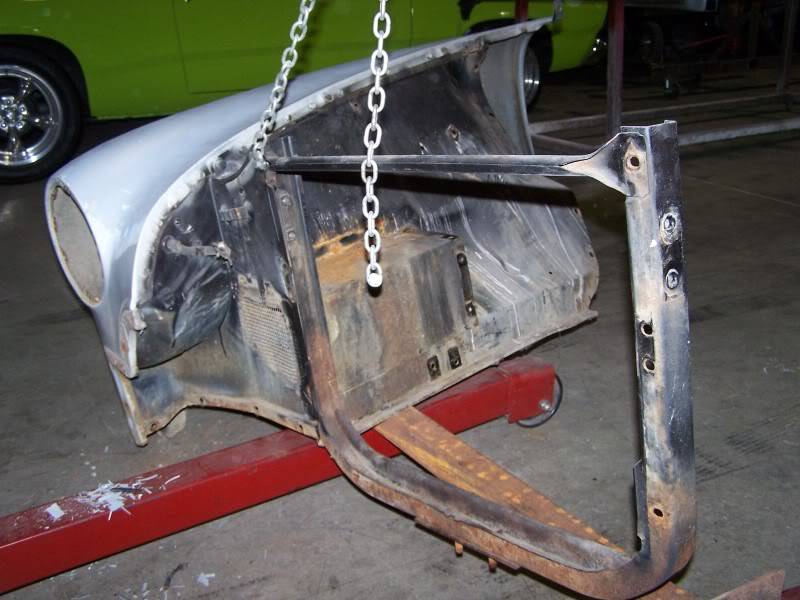
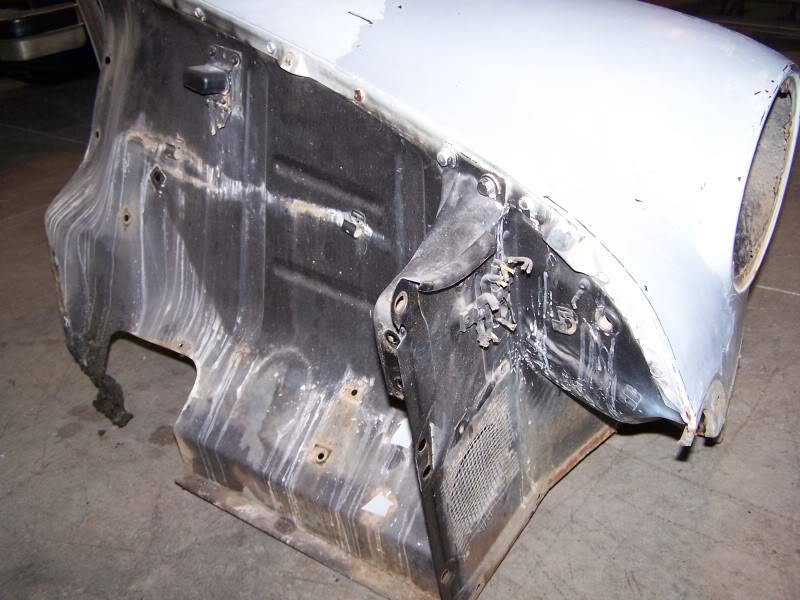
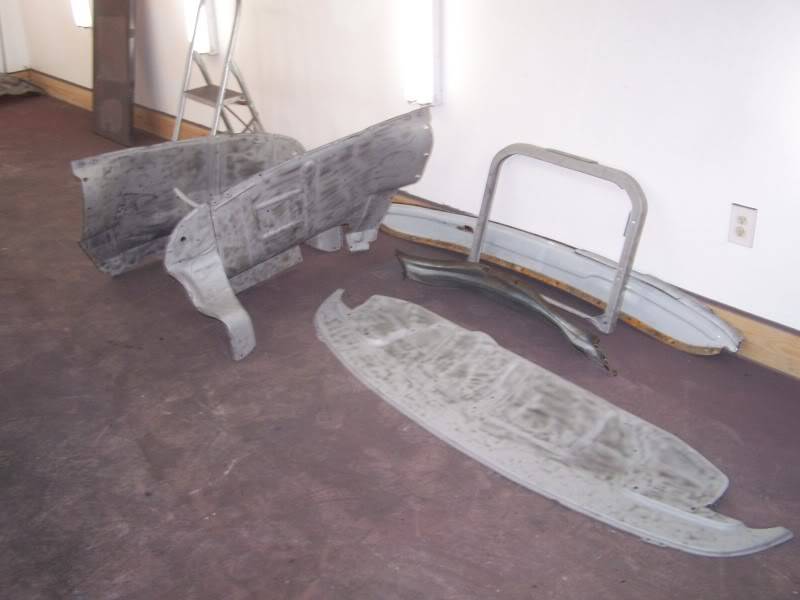
All the welding is done on the hood so I started working on the back side. Im going to take the brace out so I can sand and paint under it. I'll put S.S. bolts In later to take place of the old rivets. Before the rain set In we were able to get the front sheet metal apart and blast most of it. Looks like one side of the Inner fender is going to need some rust repair.
06-23-2011 #11 Registered User
- Join Date
- Nov 2008
- Location
- Lawrenceville, Ga.
- Posts
- 128
WOW ... talk about jumping into a project with both feet!!! Nice job so far.
Ratty 46
06-27-2011 #12
Registered User
- Join Date
- Aug 2007
- Location
- Tennessee
- Posts
- 499
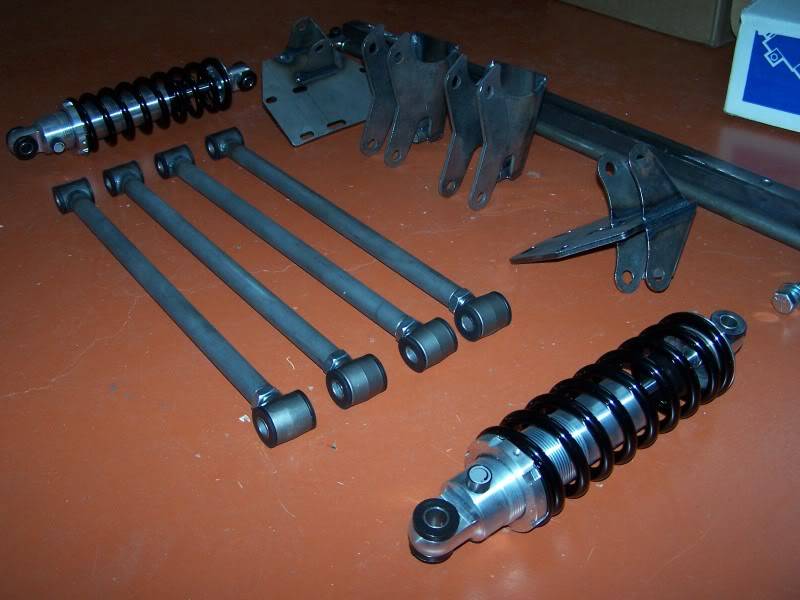
I like when new stuff comes in.
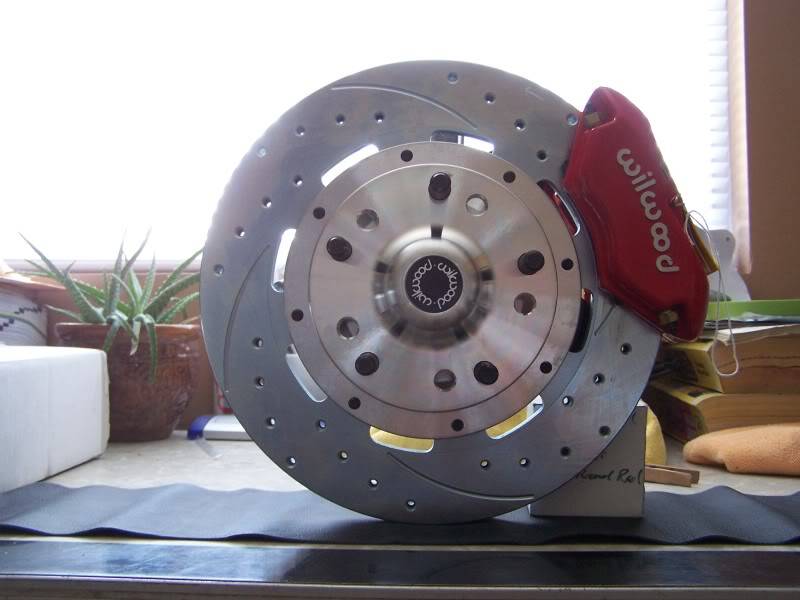
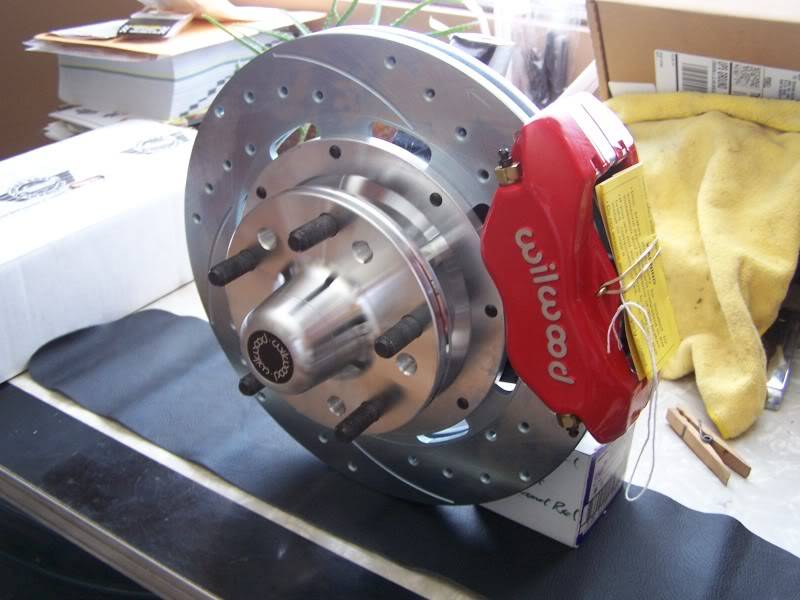
The new Wilwood's came in for the front of the chevy today. They are the 12" drilled and slotted roter with 4 piston calipers powder coated red.
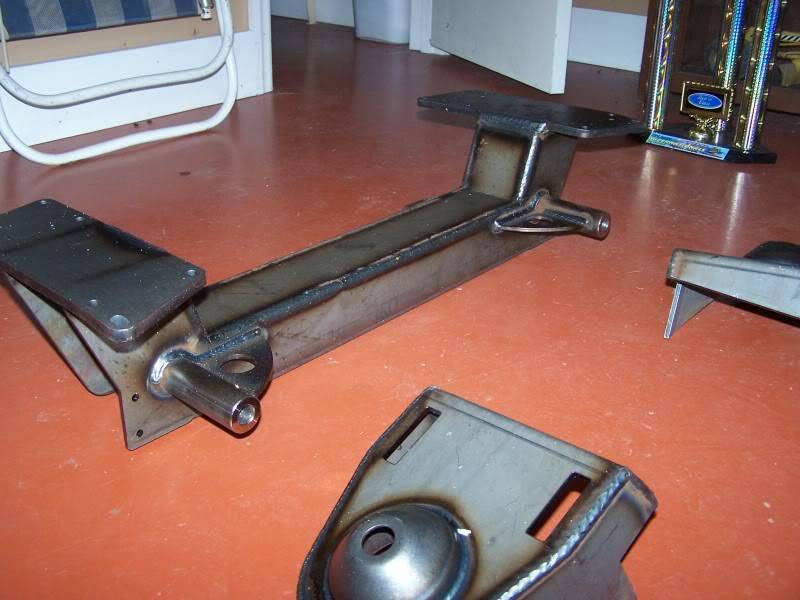
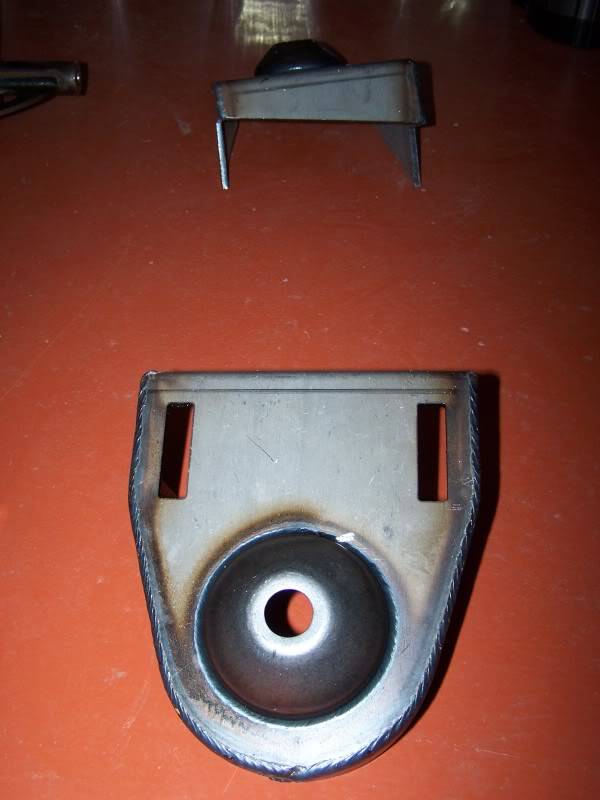
Next was the new TCI crossmember and top hat's. Every thing looks to be made really well.
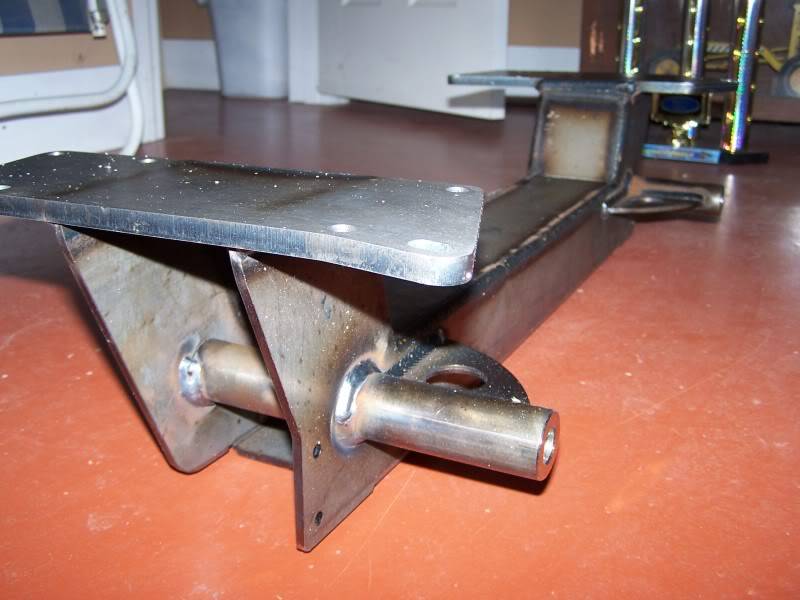
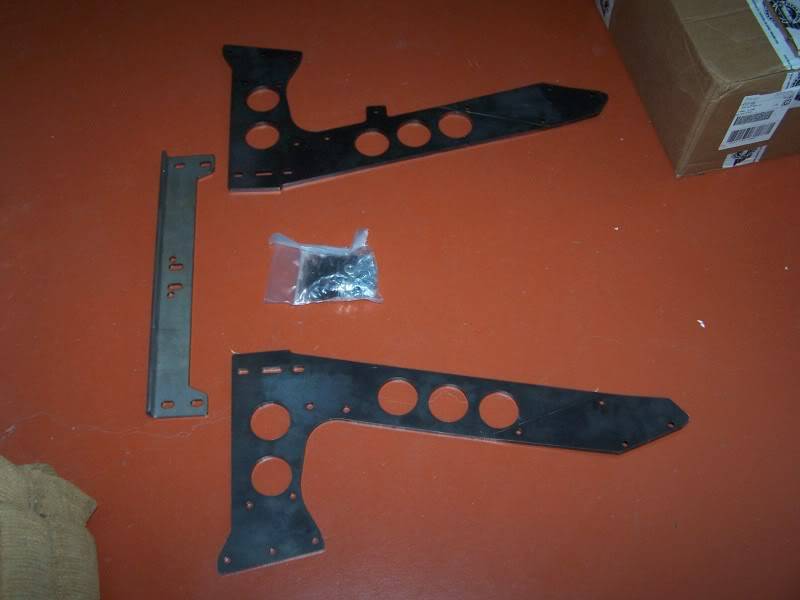
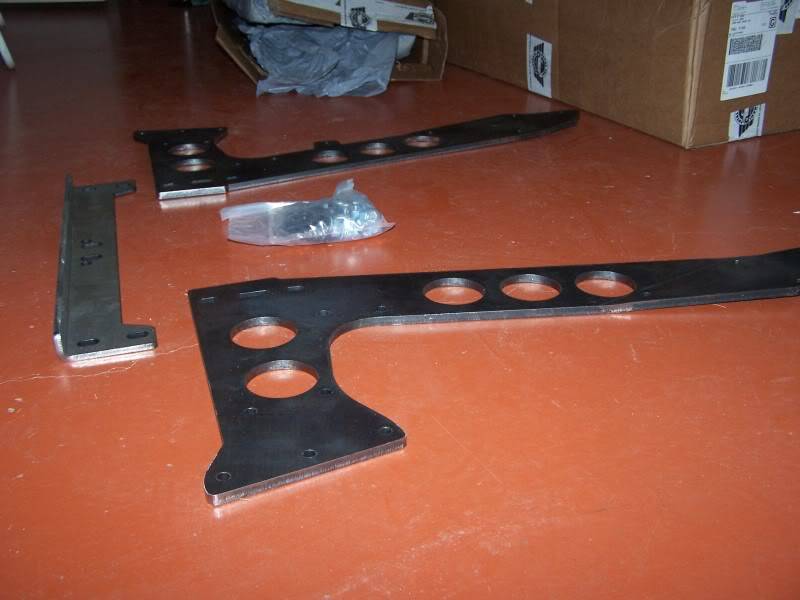
Next was the new X-member. This thing is really nice. I think this thing will really clean up the look of the bottom.
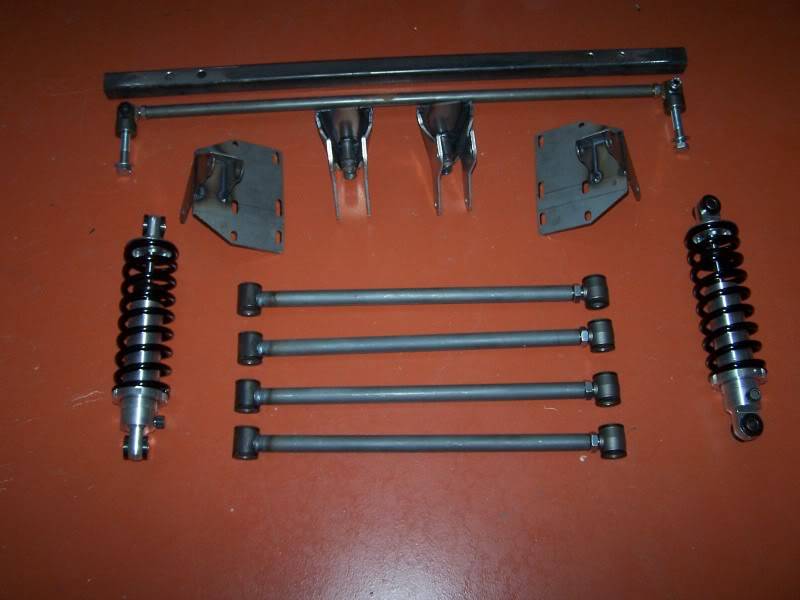
And the last thing to open was the new 4-Link kit for the rear. Just like every thing else very nice.
06-27-2011 #13 Registered User
- Join Date
- Nov 2006
- Location
- Ma.
- Posts
- 5,569
The hood came out great, If you didn't know the hood started in two pieces you wouldn't believe it. Those are some stout looking parts. Very Nice.
Wayne
Car FINALLY home !!!!!! lol
Project FNQUIK https://www.pro-touring.com/showthre...ghlight=FNQUIK
06-27-2011 #14
Registered User
- Join Date
- Aug 2007
- Location
- Tennessee
- Posts
- 499
Thanks Motown 454, I want to make sure I can put all that power on the ground....then stop..lol Originally Posted by Motown 454
06-27-2011 #15
Registered User
- Join Date
- Nov 2006
- Location
- Ma.
- Posts
- 5,569
Yes most people take that stopping part for granted. Until they need it.
Wayne
Car FINALLY home !!!!!! lol
Project FNQUIK https://www.pro-touring.com/showthre...ghlight=FNQUIK
06-27-2011 #16 Registered User
- Join Date
- Jan 2009
- Location
- Chattanooga, TN
- Posts
- 291
Man it looks great already! I loved following the 63 and am excited to watch this one too! I'll have to drive the Stang up to your neck of the woods some time! I'm down in Chattanooga.
Quick question; I was recently doing some small patch panels (slowly tacking with a mig, taking my time, and this time I tried wiping with a cool damp rag every few tacks to keep the heat down). I can weld it up with out warping the panel but when I grind it down, then metal finish, the bead always seems to sink just a touch to where I can't sand it flush and smooth. Now obviously looking at that hood ( and all your other work!!) you've got this down pat. Do you have any suggestions or advice? Would putting too much heat in while grinding do that you think?
Thanks so much Richard! Can't wait to see this one go together!Stephen S.
1967 Ford Mustang 4.7L, T5
06-27-2011 #17
Registered User
- Join Date
- Aug 2007
- Location
- Tennessee
- Posts
- 499
Well I'll try to tell you how I do it and what I have learned. It may not be what others see or do (I’m no expert). Ok when I weld it tack one spot and move on a few Inch's, the longer the panel the more I space it out, the shorter the panel then do a few then stop until you can touch it by hand or just wait until its cold then come back. I don’t use water or a air gun because some times if it cool's to fast it can pull it down but not always. I use air or water for oil caning on larger panels. One other thing when welding panels together I don’t like to butt them tight together, if you don’t have a small space (gap) the metal when it gets hot will expanded and push together and it either goes up or down. This will make it harder to take your hammer and dolly and tap it flat. Originally Posted by MSTSFabbed
Ok now on the grinding. I may be that after you get your weld ground down you need to take your hammer and dolly and tap the metal back in place. If you do this take your time and don’t try to tap it all out the first hit. When you move metal one way it has to go some where else, that were some oil caning can take place. Only other thing I can think of is you may be grind too much out and your leaving a valley in the metal, you don’t want to grind all your weld out. When I grind I also make long passes, I don’t stay on one spot until its smooth. I move the grinder In long strokes and just let the grinder do the work. If you look in my picture you can see my Hammer and Dolly on the hood. Don’t forget that pictures also make things look better then they are. I still have a few small places that need to be taped up and a small skim coat of kitty hair. I like ever coat kitty hair because it seals the weld up. then if it needs some fill I'll put some down and sand it until its a thin as I can get it but still be straight. I hope this helps, alot of it just take time to get the hang of it. I know I keep learning new things every day.
See my hammer on the hood. I spot then check then hammer.
06-27-2011 #18 Registered User
- Join Date
- Mar 2009
- Location
- San Antonio, TX
- Posts
- 1,635
What a great start for a project, that 50 is sweet!
I can't wait to see what you do to this one. Dave
Dave
84 Monte SS - just a few bolt-ons
06-29-2011 #19
Registered User
- Join Date
- Aug 2007
- Location
- Tennessee
- Posts
- 499
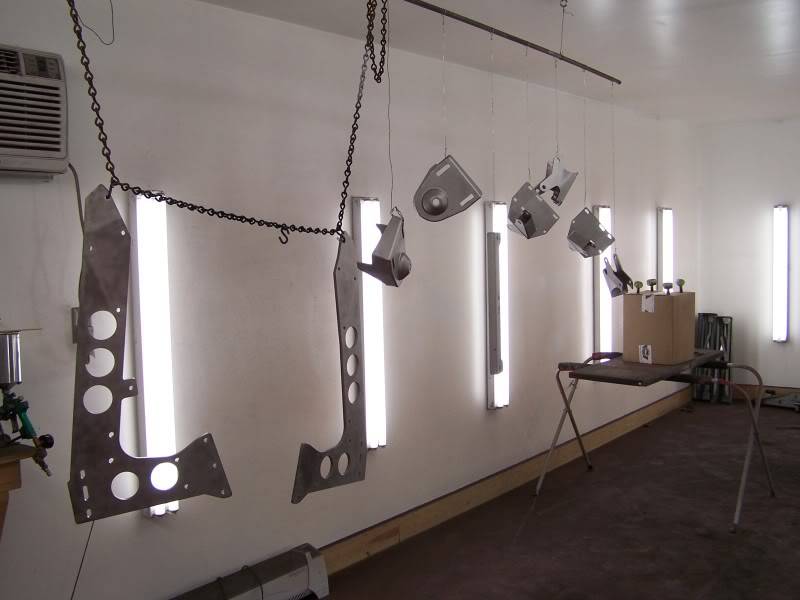
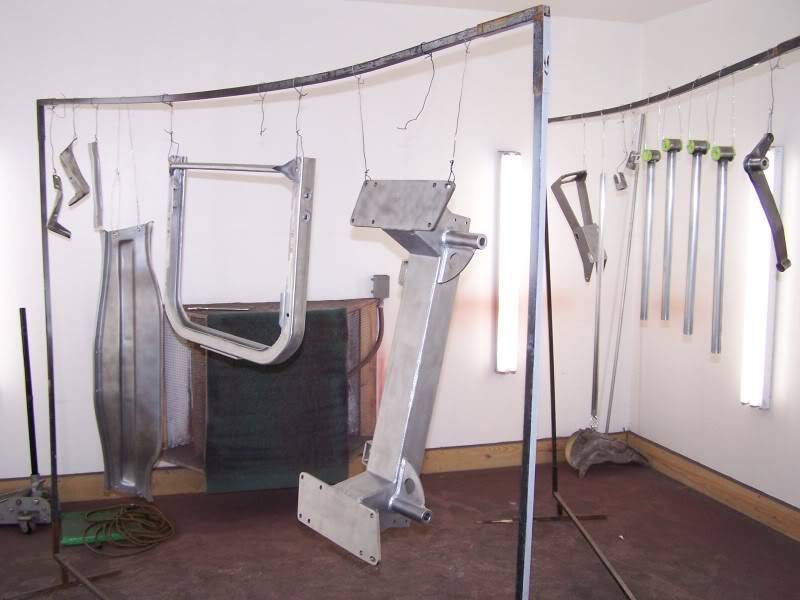
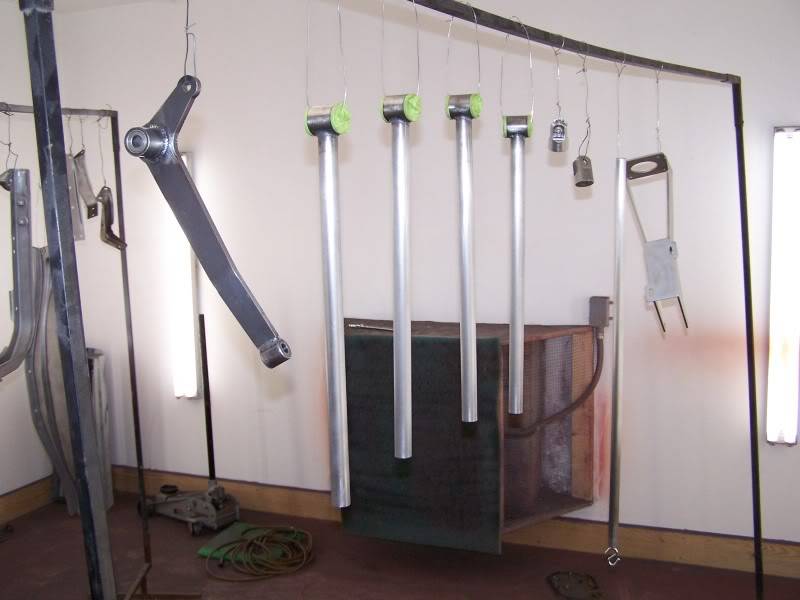
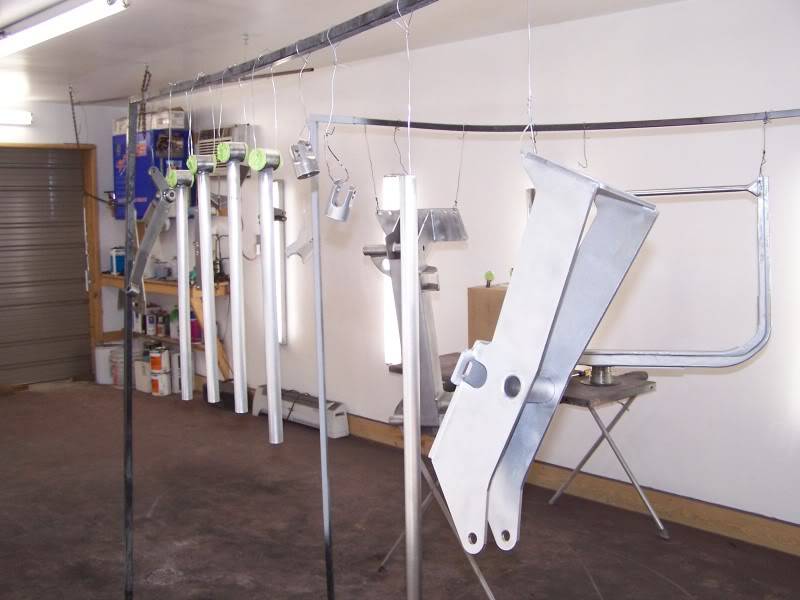
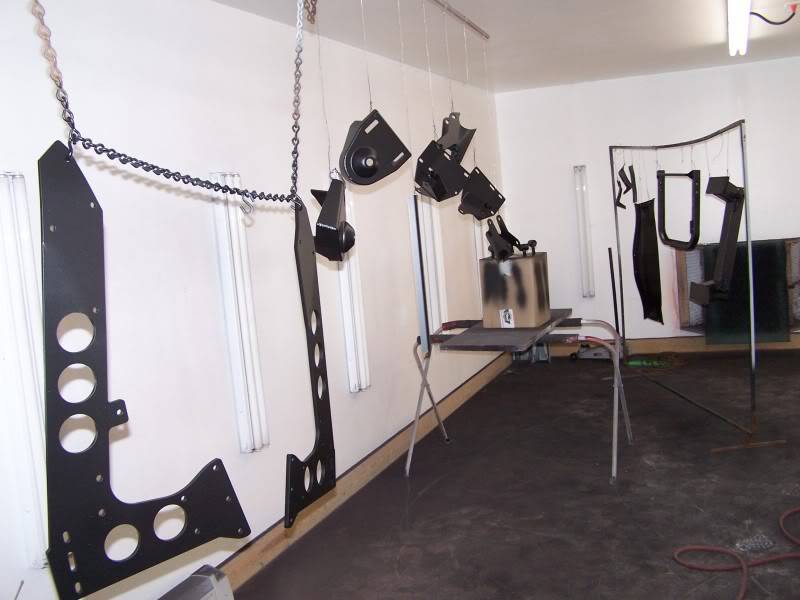
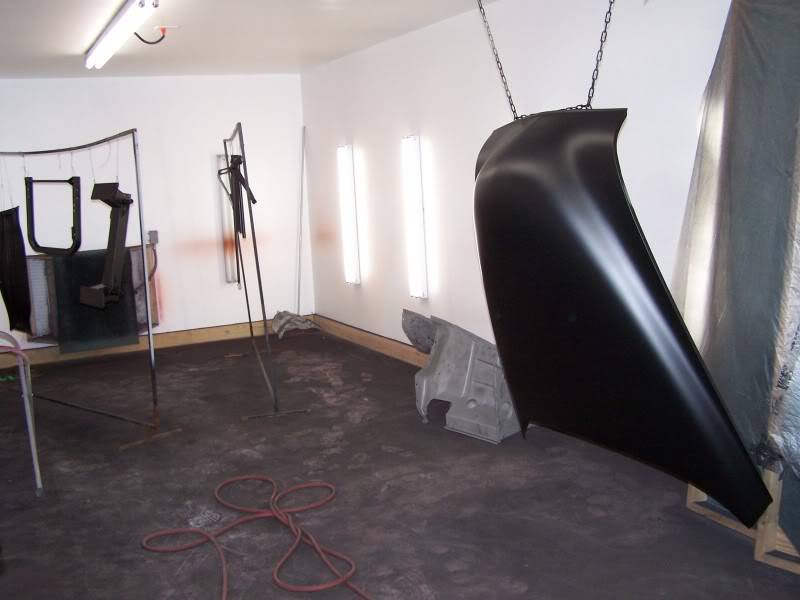
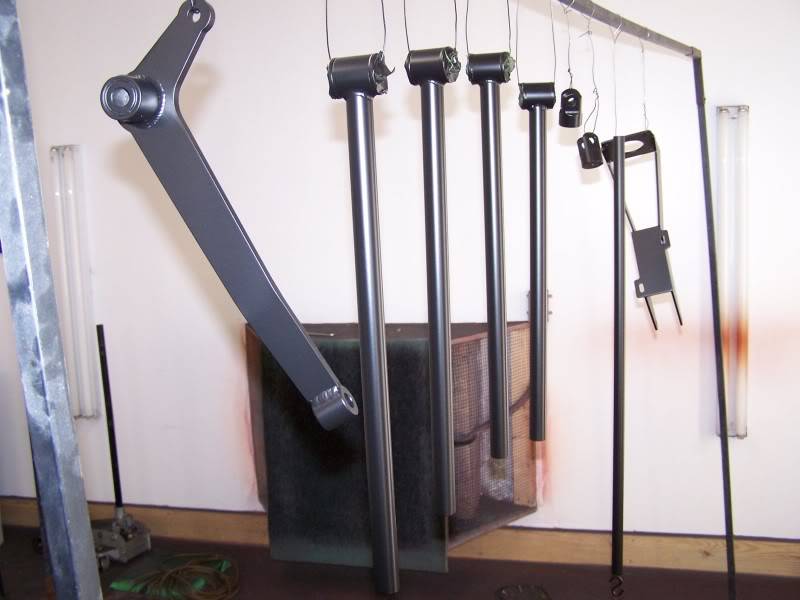
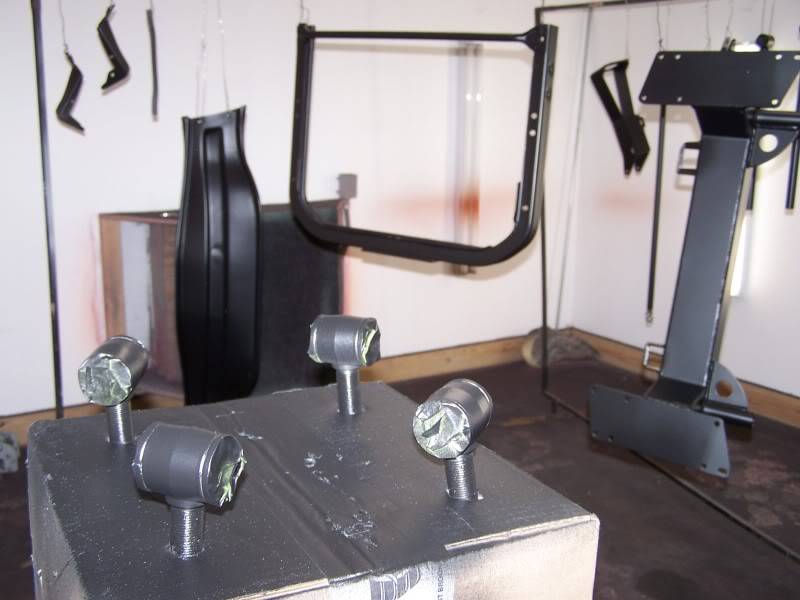
Nothing major today, just some beadblasting and priming. Had 29 things to prime and seemed like it took all day. I hate slow days.
06-29-2011 #20
Registered User
- Join Date
- Nov 2006
- Location
- Ma.
- Posts
- 5,569
Its still progress!
Wayne
Car FINALLY home !!!!!! lol
Project FNQUIK https://www.pro-touring.com/showthre...ghlight=FNQUIK

 Reply With Quote


