


Results 1 to 9 of 9
-
02-20-2011 #1

 Registered User
- Join Date
- Oct 2006
- Location
- McKinney, TX
- Posts
- 899

69 Camaro with a flush rear spoiler
Can anyone help me locate a picture?
I know I've seen it and I have searched and searched but came up with nothing. It is a primer-grey 69 Camaro where the rear spoiler has been shaved to flush fit with the decklid. There is a picture out there somewhere of a rear straight-on shot of it.
Any help would be awesome.
Thanks!
Confucius says, "Choose a job you love, and you will never have to work a day in your life"
My build Beast
-
02-20-2011 #2
Registered User
- Join Date
- Aug 2004
- Location
- Dunwoody, GA
- Posts
- 4,983
Orion?
Trey
"The early bird may get the worm, but the second mouse gets the cheese."
~ Jon Hammond
1979 WS6 Trans Am stock LT1/T56 drive train out of my Formula. BMW M-parallel rims. C5/C6 brakes
build thread https://www.pro-touring.com/showthre...ghlight=begins
02-20-2011 #3
Registered User
- Join Date
- Oct 2006
- Location
- McKinney, TX
- Posts
- 899
Yup, that would be the one! Originally Posted by WS6

Thank you
 Confucius says, "Choose a job you love, and you will never have to work a day in your life"
My build Beast
02-20-2011 #4 Registered User
- Join Date
- Mar 2008
- Location
- Ramona, Ca. San Diego area
- Posts
- 1,307
seems like the paint on the top of the quarters would rub against the bottom of the spoiler???
67 Camaro convertible (Jinx)
02-20-2011 #5 Registered User
- Join Date
- May 2002
- Location
- Northern California
- Posts
- 10,716
no rubbing, just a real tight gap.
MrQuick ΜΟΛ'ΩΝ ΛΑΒ'Ε
02-20-2011 #6
Registered User
- Join Date
- Oct 2006
- Location
- McKinney, TX
- Posts
- 899
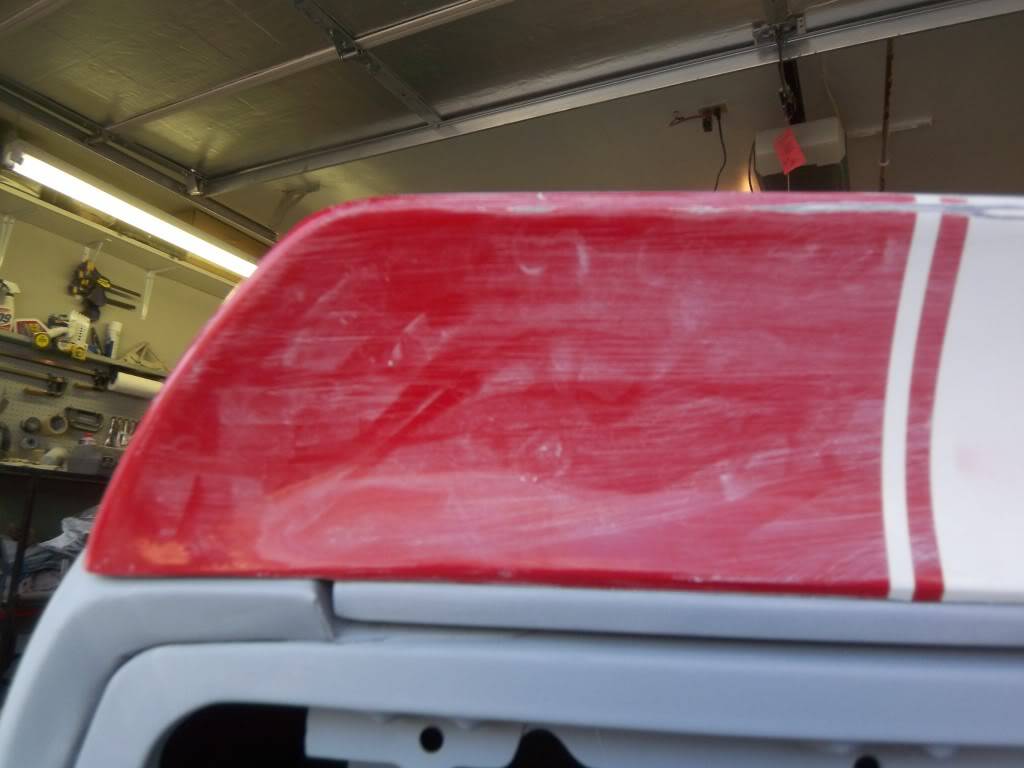
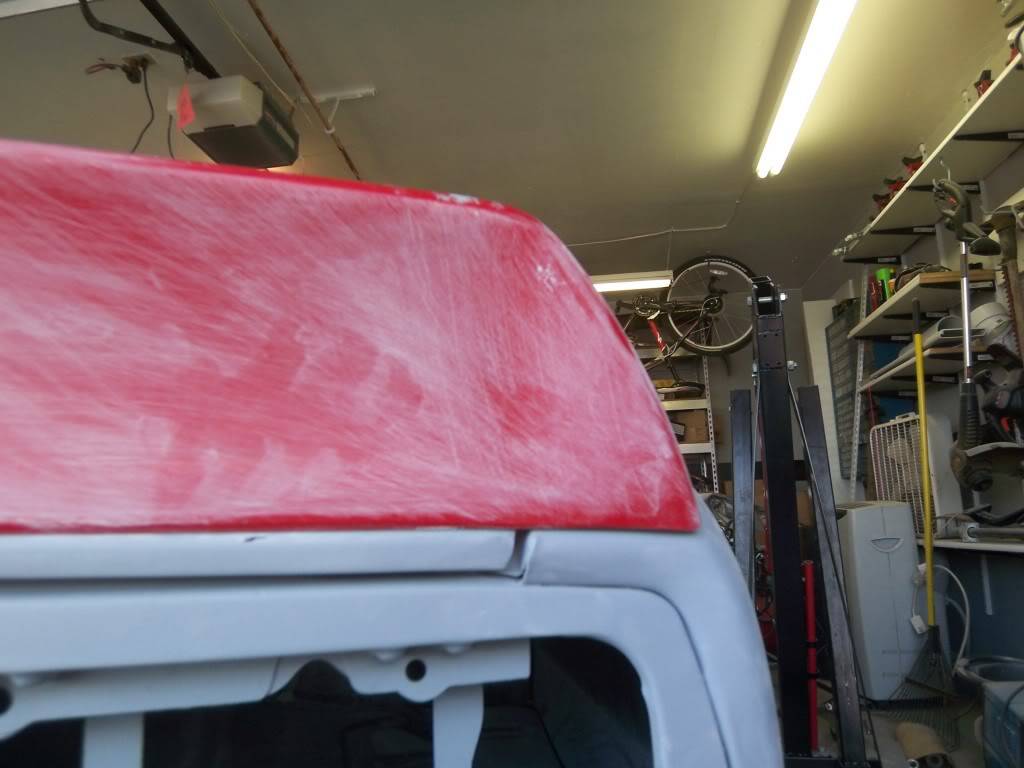
I am doing this as well, and the gap I have is VERY close, and if the trunk is slammed, or even closed quickly it does make contact.
I am going to the junk yard next week to get a "Power trunk latch" from something--most likely a Caddy. I remember when I was a kid my neighbor had one that you just lowered the trunk and it would catch and sort of screw down into place.
If I set the decklid in place and just put pressure down until it clicks, it works and doesn't appear to make any contact, but once I get paint and clear on it, I'm not too sure that I'll be able to do that without contact. I would hate to find out the hard way that my thoughts are correct, so a motorized latch is the way to go I think.
Mind you, these are very rough. I just cut off the stock pedistal and have it in place...nowhere near being right.
 Confucius says, "Choose a job you love, and you will never have to work a day in your life"
My build Beast
02-20-2011 #7
Registered User
- Join Date
- Aug 2004
- Location
- San Antonio, Tx
- Posts
- 1,193
some 3rd gen f-bodys had the power closing trunk too. there was a few other GM's that also did but i can't remember what ones.
Instagram: CamaroAJ
02-20-2011 #8
Registered User
- Join Date
- Mar 2008
- Location
- Ramona, Ca. San Diego area
- Posts
- 1,307
thats what I was going to say too, the iroc body style (3rd gen) camaros always worked good.
What did you use to cut off the pads with? Grinder or DA?67 Camaro convertible (Jinx)
02-20-2011 #9
Registered User
- Join Date
- Oct 2006
- Location
- McKinney, TX
- Posts
- 899
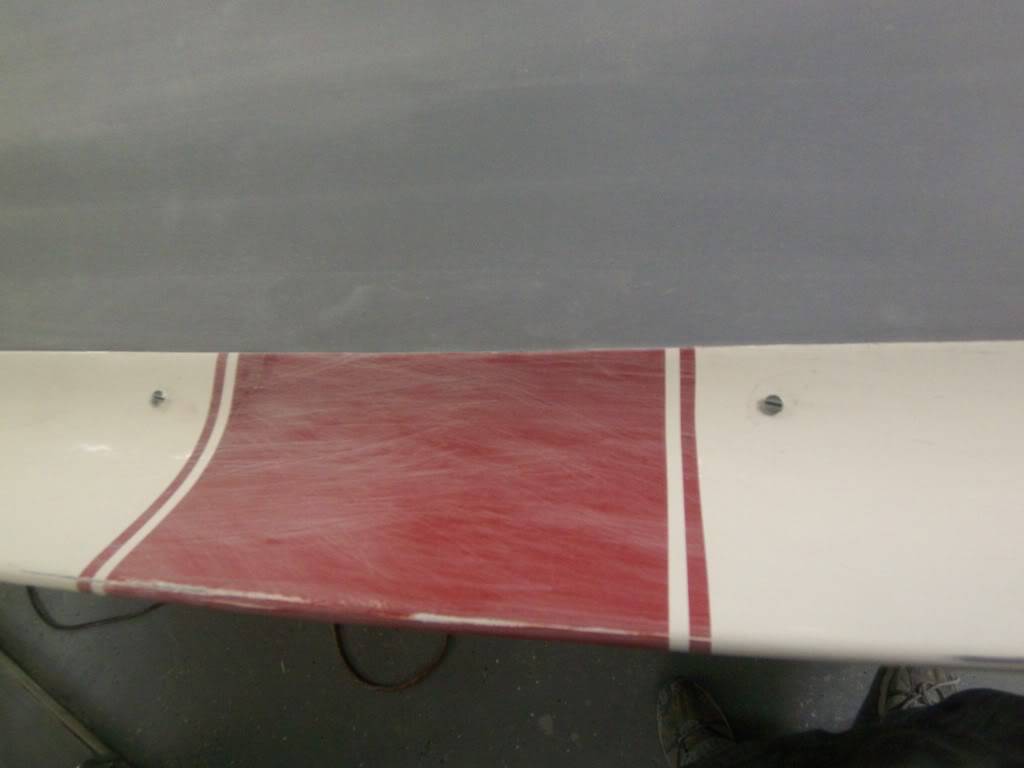
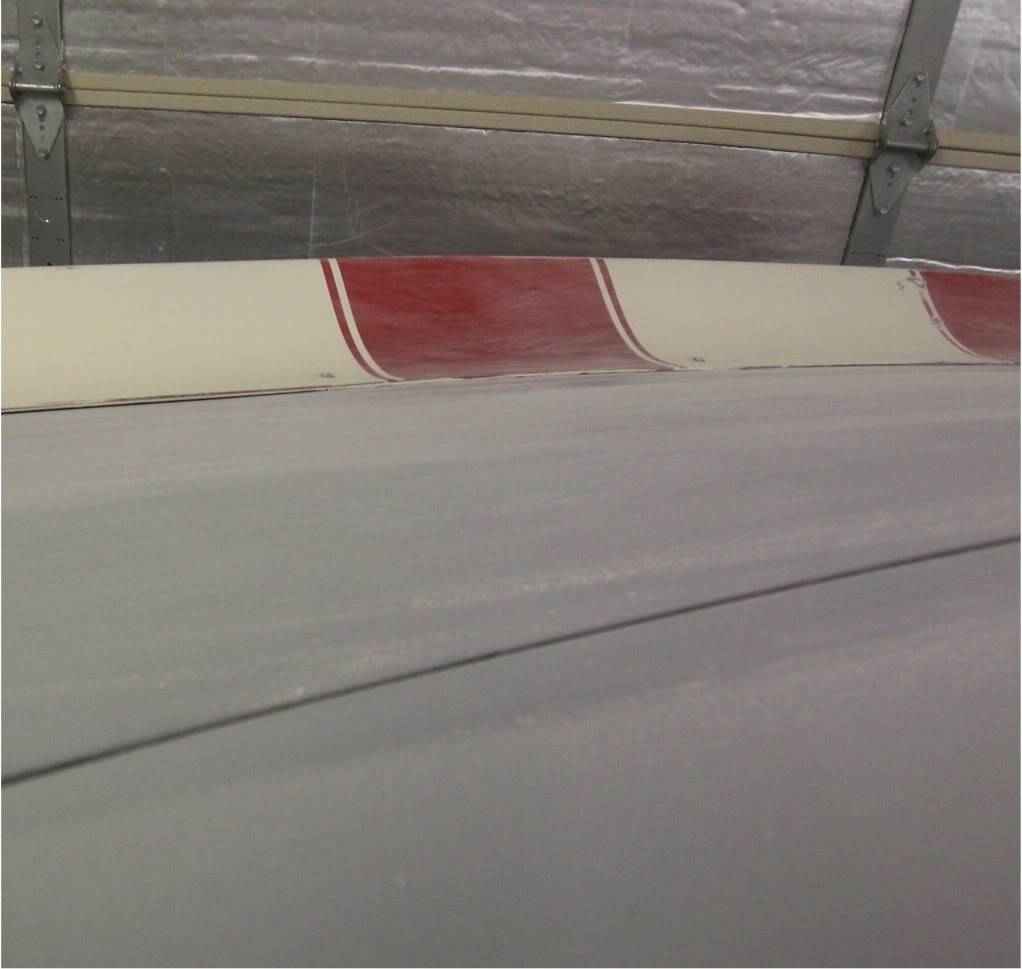
I started by using my 4 1/2" angle grinder with a flap sander (better control than a cut-off wheel) but the dust it kicked off was HORRIBLE. I ended up using my dremel with a speed-lock cut off wheel and went real slow. After getting the bulk of it off I block sanded it flush with a 60 grit block to get it smooth. Originally Posted by 67 ls1 vert
The only real problem is that by doing this, you minimize the attachment points at the top. It only leaves about 3/16" of spoiler, so I am going to have to form up elevated points where the thing mounts:
These are just temporary place holders...not the final screws that I'll use
I was looking at the Anvil spoiler and liked what they did:
 Confucius says, "Choose a job you love, and you will never have to work a day in your life"
My build Beast

 Reply With Quote