


Results 1 to 20 of 949
Hybrid View


-
08-09-2012 #1

 Registered User
- Join Date
- Apr 2005
- Location
- Chicago
- Posts
- 2,788

2nd Chance Camaro - Tiger Cage Install Part 2
2012 08-09 Update - 2nd Chance Camaro - Tiger Cage Install Part 2
www.2ndchancecamaro.com
Good Evening all,
Installing the Tiger cage is fairly easy. I was able to install the complete cage in about 4 hours. However, I did
need a helper to finish tightening some of the supplied hardware
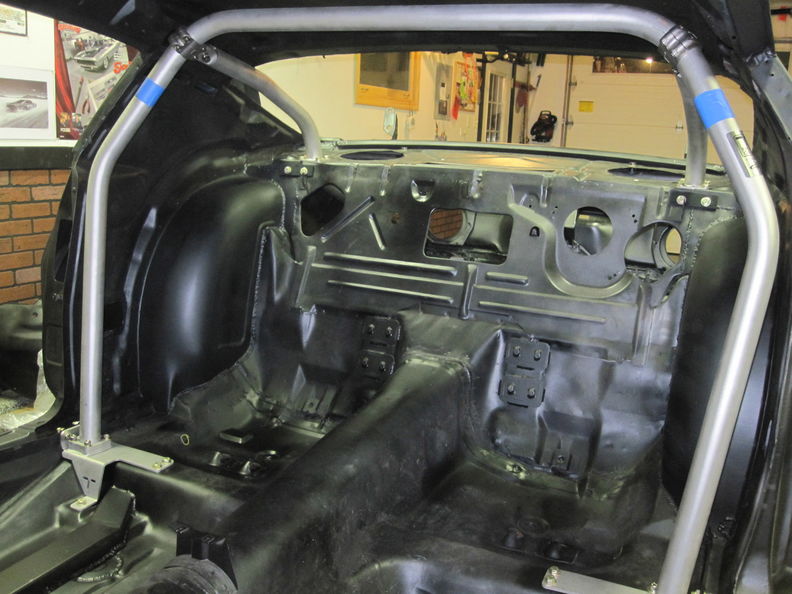
The hoop mounts into the floor brackets which self align for easy drilling.
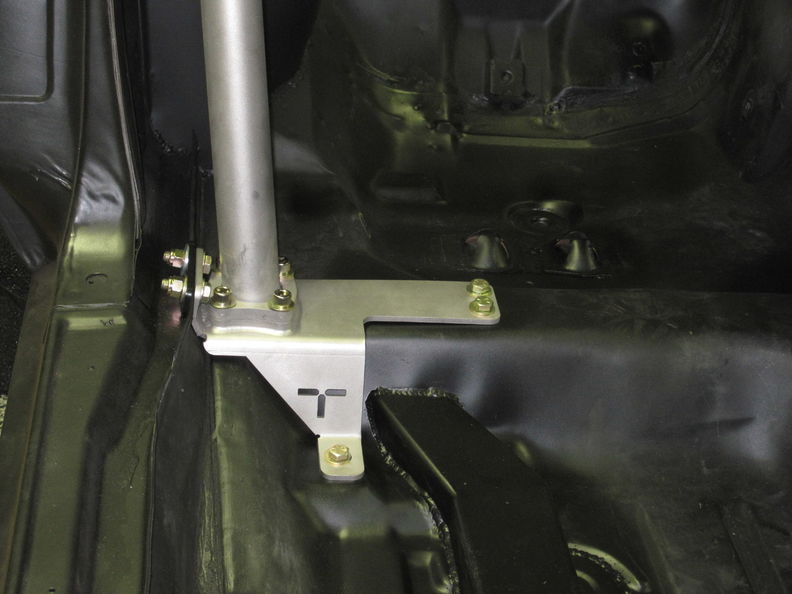
The down bars attach through the package tray.
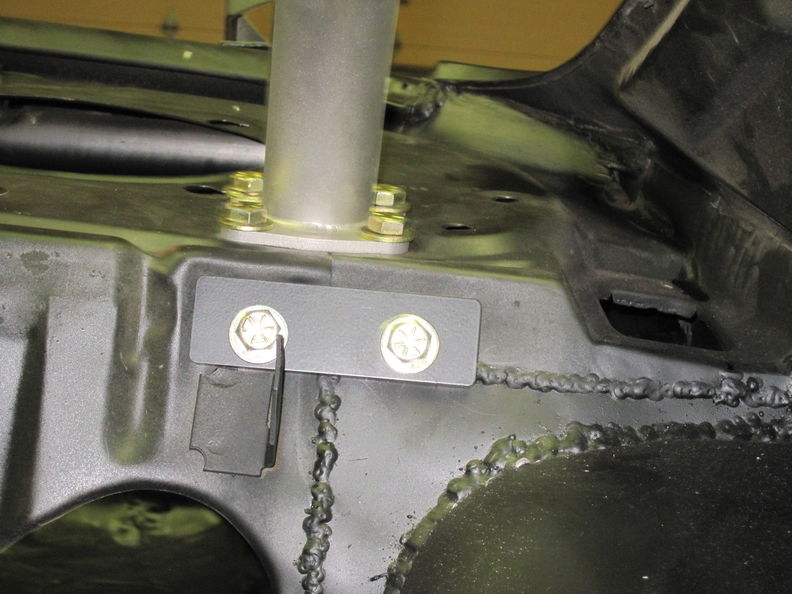
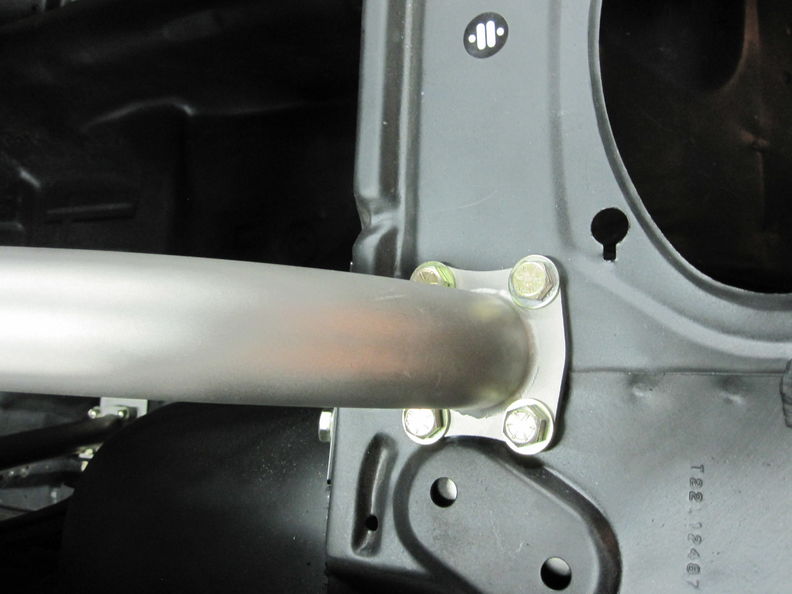
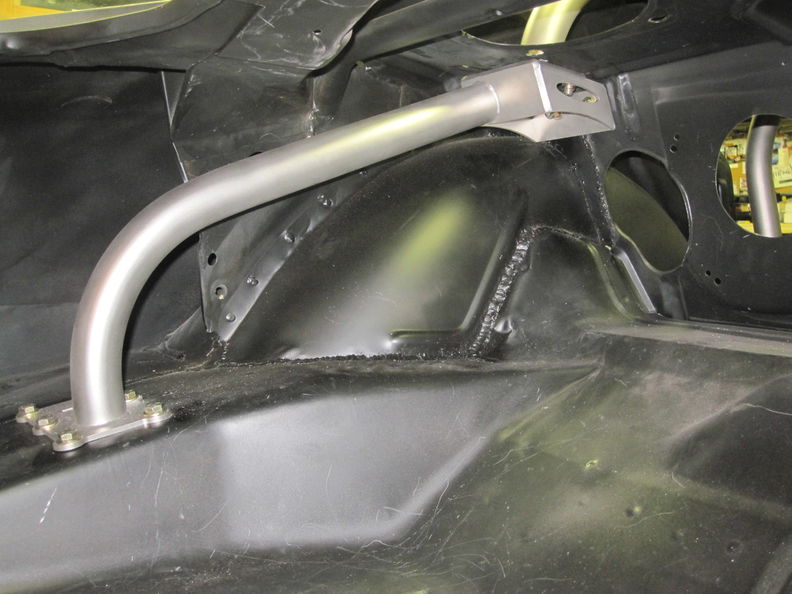
Quick look at the finish of the down bar.
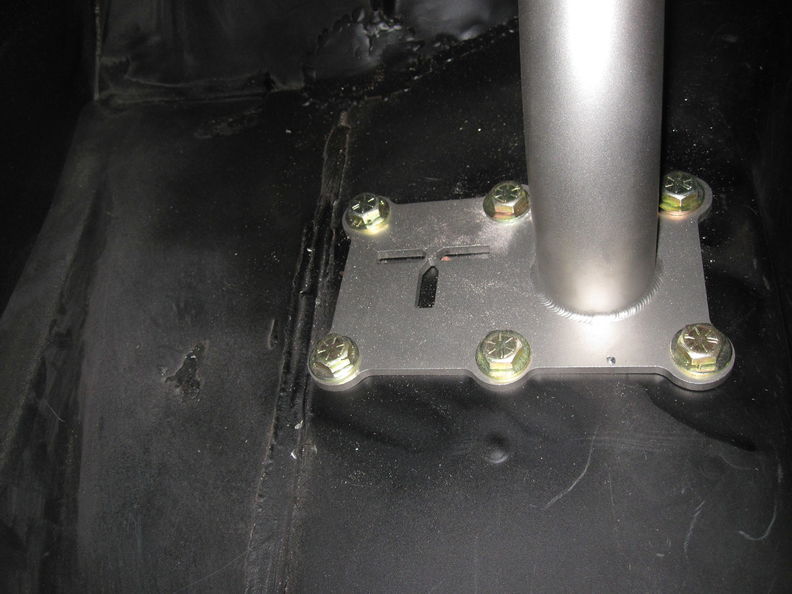
The down bars attach to the trunk floor. I used the frame rail spot welds as a guide to line up the bolt holes.
Make sure you line this up perfectly so it hits the flat part of the frame rails. I used a right angle drill with a
1/8 drill to make sure I hit the frame rail perfectly.
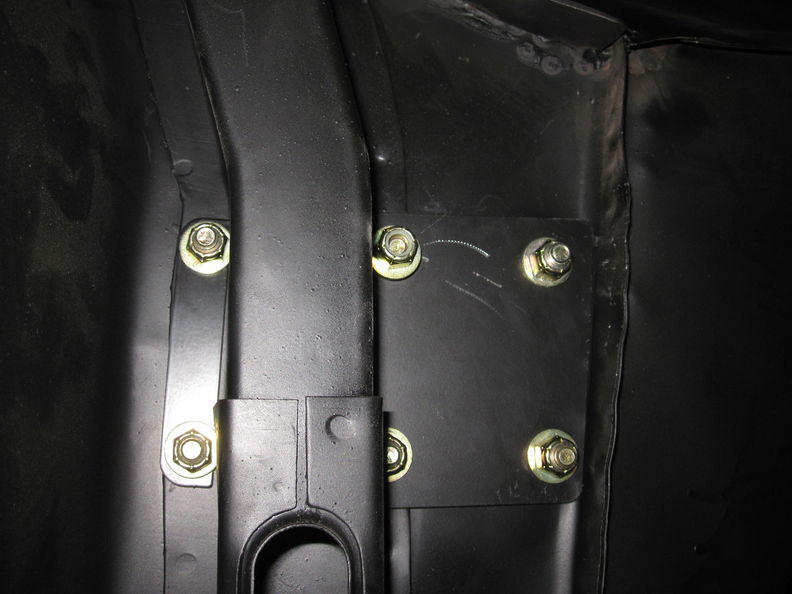
You can see that the bolts hit there mark perfectly. I also had to get tweak the floor just a little bit.
Finishing off the cage I once again enlisted the help of one of my daughters. I also found the perfect use for an
old cotton shower curtain. It makes a perfect blanket for my daughter to lay on.
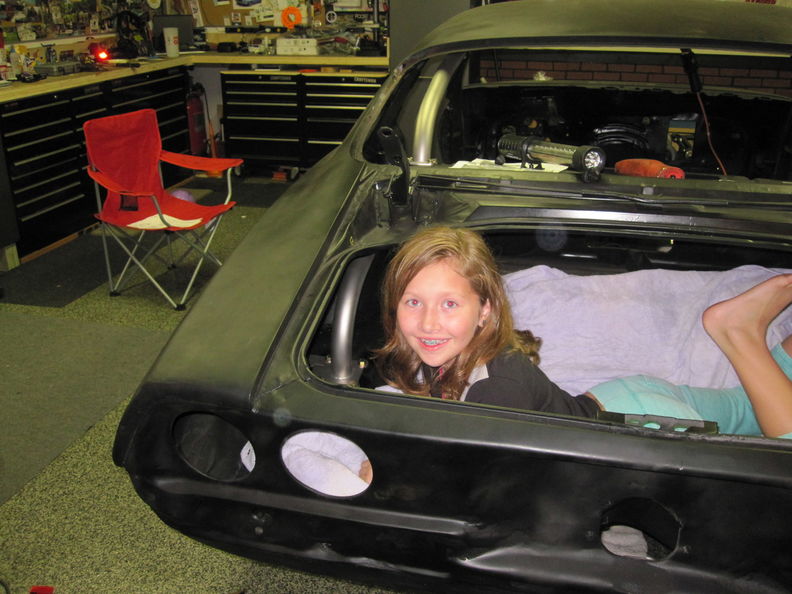
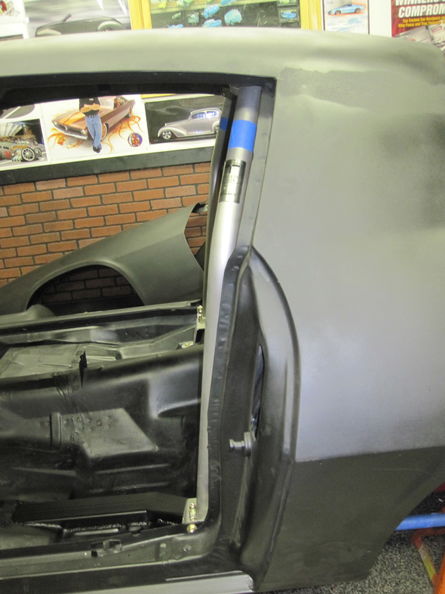
You can see Ride-Tech did a perfect job when designing the Tiger cage. The main hoop is in perfect alignment
with the "B" pillar.
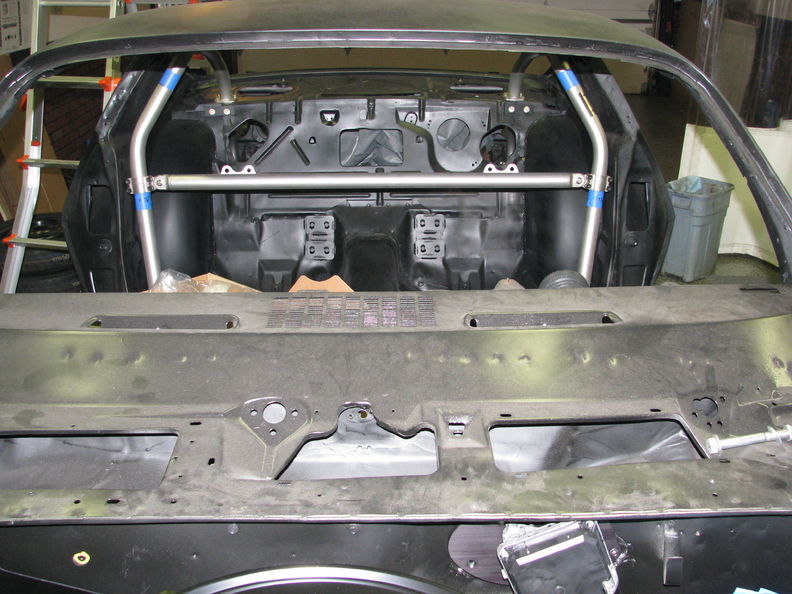
Harness bar installed.
Pictures hosted by www.garagescene.netmarty-mj
GarageScene.net High Speed Welding KDHotrods RecoveryRoomInteriors WegnerAutomotive Autometer Ride-Tech
-

 Reply With Quote


