

Results 21 to 36 of 36
Thread: Flip - '69 Firebird Build
-
10-05-2010 #21
 Registered User
- Join Date
- Jan 2005
- Location
- Dallas TX
- Posts
- 1,633
I commend you but you are crazy doing that kind of work in an appartment. Someone is going to to compain and you may even get kicked out. I have a 24 x 36 garage and I find it even small when I was doing a frame off.
If I was you I would go in with a buddy and rent a house with a 2 car garage. Probably cost less than the appartment and will give you more space. When I was in my mid 20's I rented a house in Garland and had a non carguy roommate. I paid 100 more than him but got all of the garage.
Good luck. Looks like you got a coverup special there.
-
10-06-2010 #22 Registered User
- Join Date
- Jan 2008
- Location
- Charlotte
- Posts
- 1,295
Put the rear axle on your porch of your apt if you have one...
2005 LeMans Blue Corvette w/ T56 & Z51 & C6Z06 Brakes, Build Thread: https://www.pro-touring.com/showthread.php?64496
2005 GMC Sierra 2500HD LLY / Allison
2014 Chevy SS LS3 / 4 Door
10-10-2010 #23
Registered User
- Join Date
- Jul 2010
- Location
- Detroit, MI
- Posts
- 62

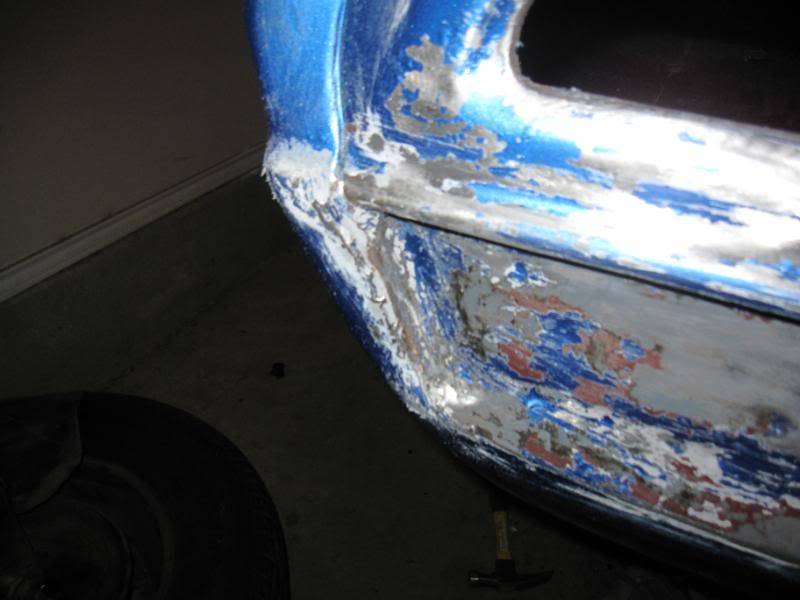
Welllll, here is another update. Got a little carried away and decided to see what was really underneath this fresh $400 paint job. I decided to strip the tail panel. If the tail panel was bad I was going to do a complete floor pan and while I had the rear end apart. Since I found solid steel under a what seemed like a 1/2 inch of bondo (don't ask) I decided to do the center trunk pan along with the rest of the issues at hand. That will be in a later update as well as the mini tub kit.
Here is the interesting tack job on the rear quarter after stripping.
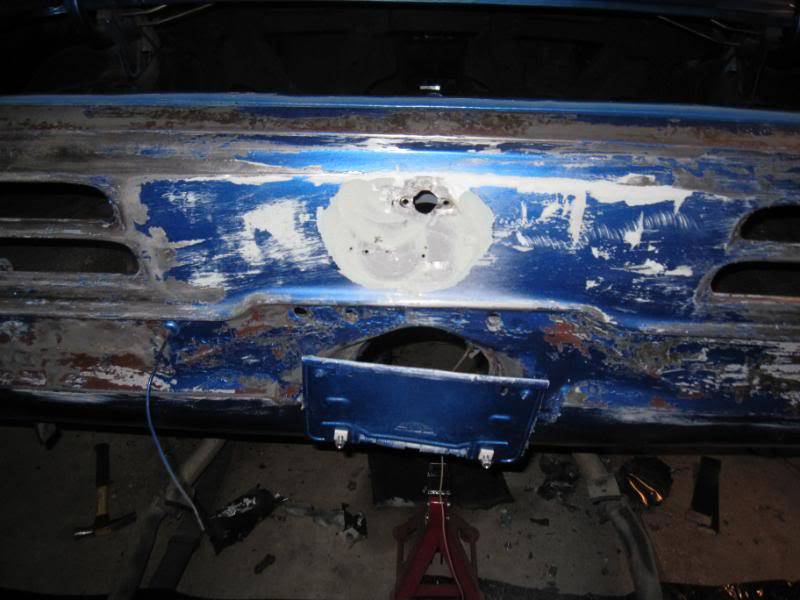
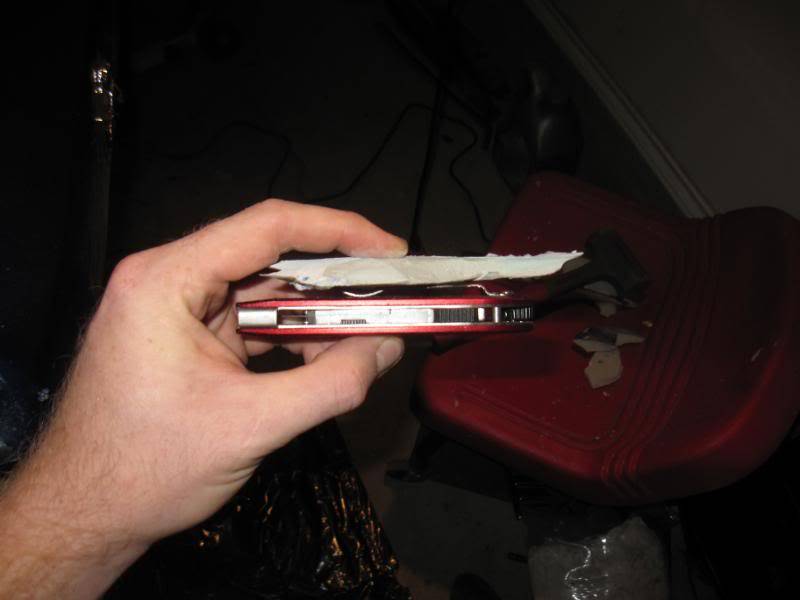
Center of the tail panel with 1/2 inch of bondo. I threw in a photo of the chunk with my razor knife next to it as a reference.

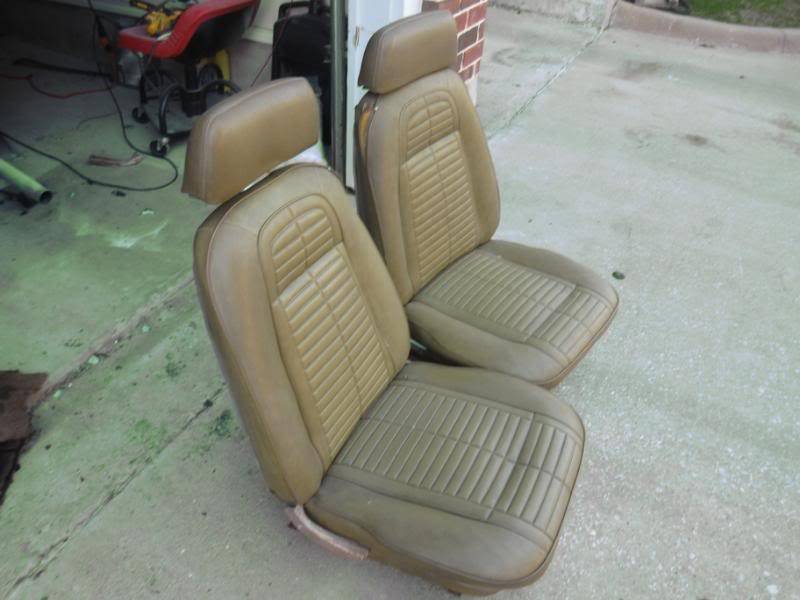
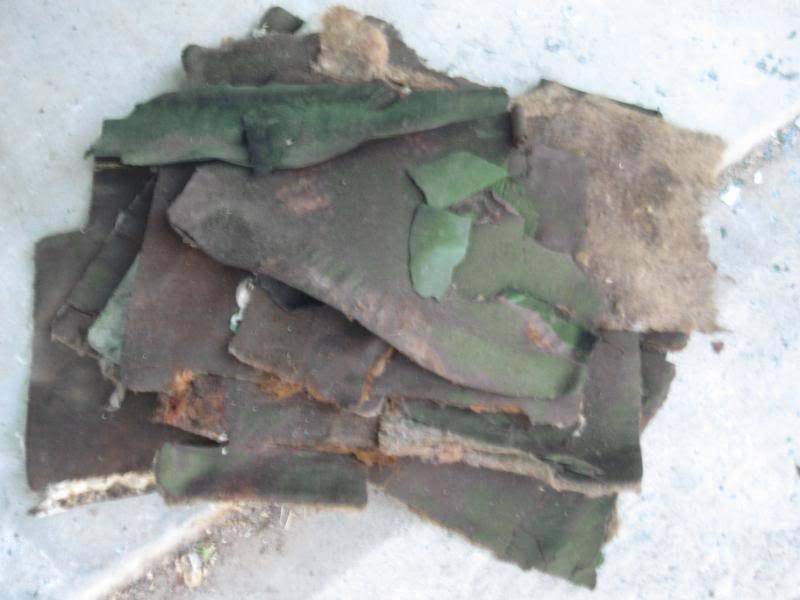
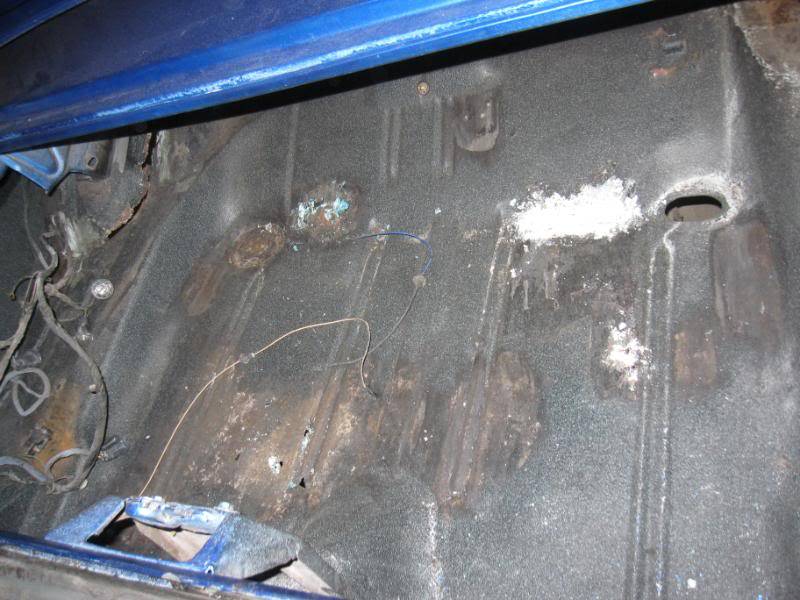
The seats were pulled and the carpet was thrown out. Then I stripped out the insulation straight from 1969 and pitched that as well.
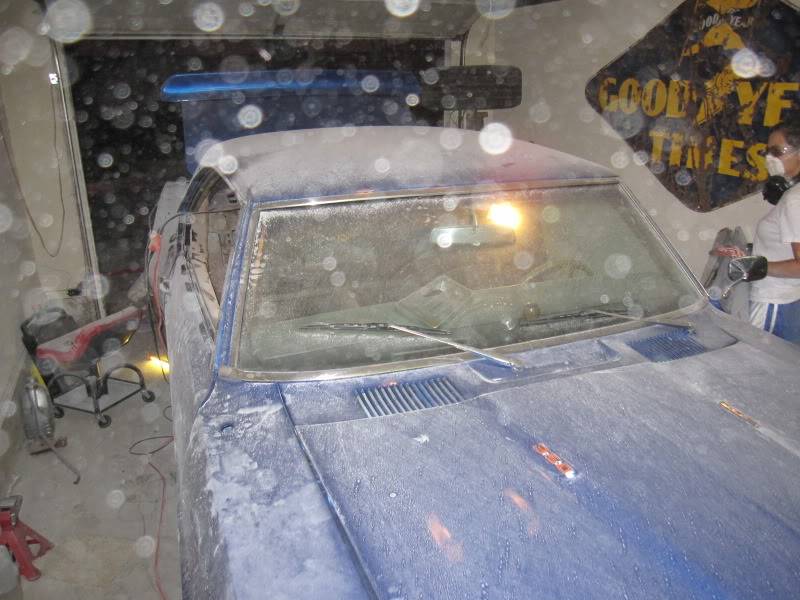
Threw another coat of aircraft stripper on the tail panel and a bit of wire wheeling. Still have a way to go.

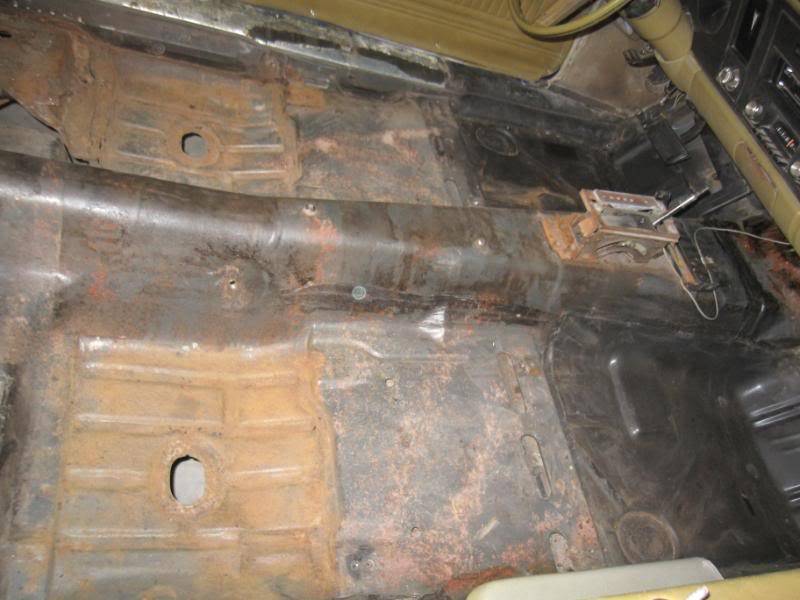
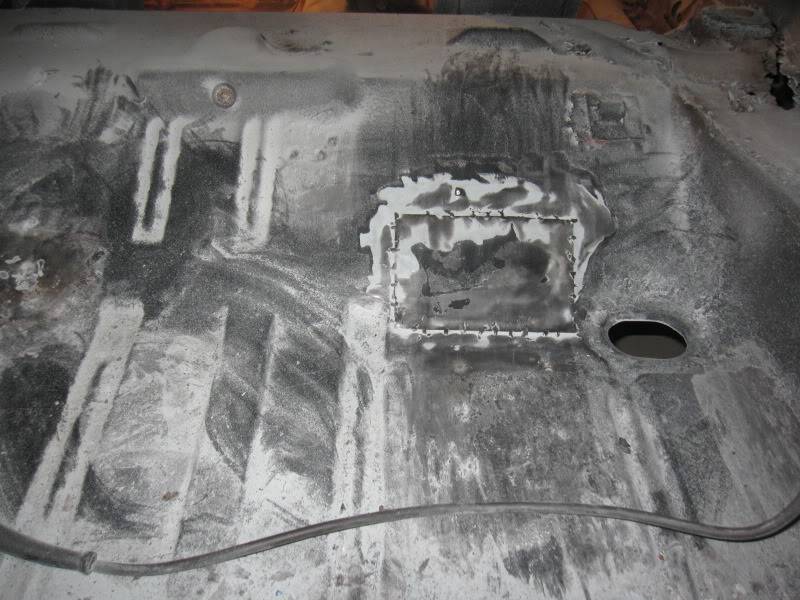
The floors were scrubbed and scraped and cleaned out. I also got a chance to pull one of the last patch panels just in front of the left rear shock mount.
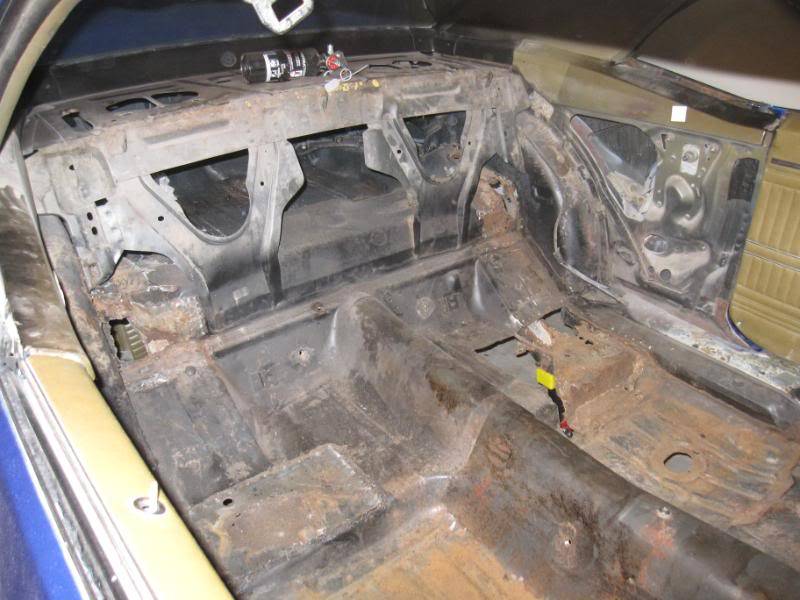

I ended up stripping a few spots in the trunk where it looked as if there was some rippling from bondo. Of course I found more.

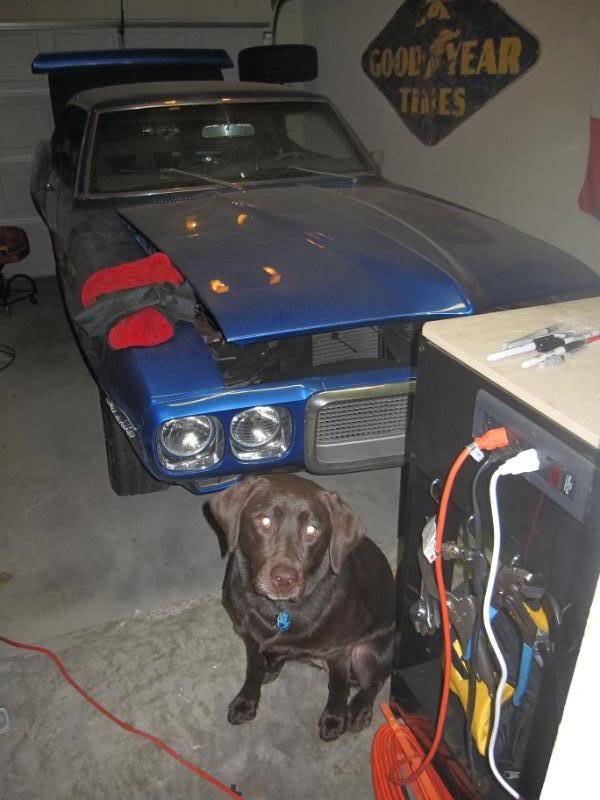
My helper.
The new welding setup. Which will soon be put to the ultimate test.
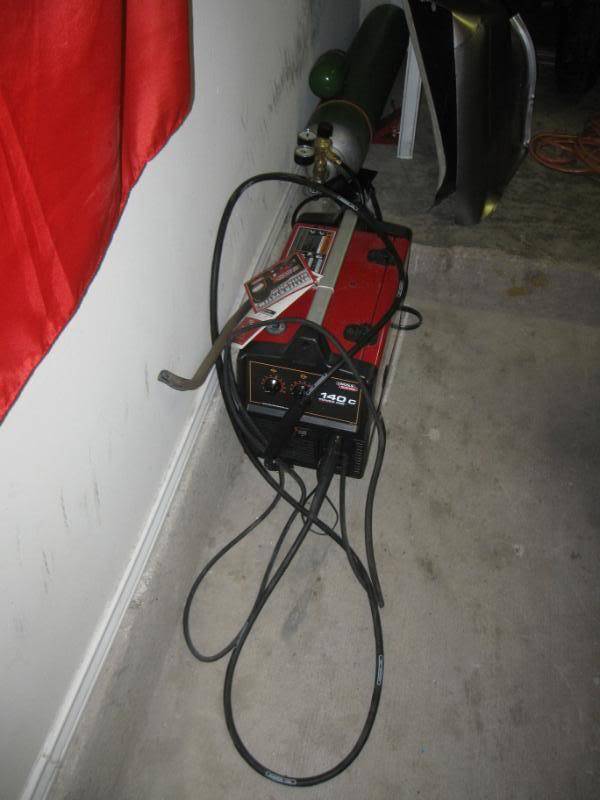
I am banking on the fact that the oversize center trunk pan, under seat pans, under rear seat reinforcements, rear frame rails, and mini tubs will cover all of the bad spots.
Comments, questions, concerns?1969 Firebird
Champagne taste and a Kool-aid budget...
10-11-2010 #24
Registered User
- Join Date
- Aug 2010
- Posts
- 451
Check this out: http://forums.performanceyears.com/f...=644027&page=2
I've been stripping off the epoxy primer that came on my 69 project (applied by previous owner) and have found a few suprises, but nothing that can't be dealt with. http://forums.performanceyears.com/f...d.php?t=645651
I've been using a 4.5" grinder and paint stripping discs from Harbor Freight that cost about $5/each. Still have the doors, hood, and front fenders to do. I'm on my 4th disc.
10-11-2010 #25
Registered User
- Join Date
- Nov 2005
- Posts
- 22
Sorry to hear that you are finding all kinds of problems. Also Harbor freight carries those butt joint clamps that are MUCH cheaper that the Eastwood. It is basically the same clamp. What did you scrub your floors with to get it so clean? Good luck with the build!
72 Nova
10-11-2010 #26
Registered User
- Join Date
- Jul 2010
- Location
- Detroit, MI
- Posts
- 62
Thanks! I'll definitely get some of those butt weld clamps. They were scrubbed with a scraper, then a wire brush and then cleaned off. Simple. Once all the welding and grinding is done I will coat them with something. Originally Posted by OnEdge
 1969 Firebird
Champagne taste and a Kool-aid budget...
10-12-2010 #27
Registered User
- Join Date
- Jul 2010
- Location
- Detroit, MI
- Posts
- 62
Took the wire wheel to the bondo spots last night. Wound up with a few wires implanted in my leg, a whole lot of dust, and found a really terrible lap joint job on the quarter skins. Pictures tell the tale. I may look into doing skins the right way. I would like to do the whole quarter but I'm not sure that is in the budget or if I have enough room in my garage to do so.
Anyone have tips on building a jig?

 1969 Firebird
Champagne taste and a Kool-aid budget...
10-12-2010 #28 Registered User
- Join Date
- Nov 2006
- Location
- Mountain Springs, Texas
- Posts
- 4,826
You are pretty brave to tackle something like that in a 1 car garage without air tools or a compressor. I admire your enthusiasm and determination to make it right.
FWIW I hate those butt weld clamps, I think the gap is too wide. I get the best results making the gap between the two panels as tight as I can when doing butt welds. If you are determined to use them you can find them cheap on ebay.1969 Camaro - LSA 6L90E AME sub/IRS
1957 Buick Estate Wagon
1959 El Camino - Ironworks frame
1956 Cameo - full C5 suspension/drivetrain
1959 Apache Fleetside
10-12-2010 #29
Registered User
- Join Date
- Jul 2010
- Location
- Detroit, MI
- Posts
- 62
I think the butt weld gap is .040 correct? How do you recommend holding the panel in place? Magnets? Any suggestions welcome.
1969 Firebird
Champagne taste and a Kool-aid budget...
10-12-2010 #30
Registered User
- Join Date
- Nov 2006
- Location
- Mountain Springs, Texas
- Posts
- 4,826
I shoot for the narrowest gap I can get and that usually holds it in place if I cannot use vice grip clamps to hold it. I know this goes against the gap being the same width as the thickness of the material but I found that did not work too well for me. Originally Posted by CarQz17
1969 Camaro - LSA 6L90E AME sub/IRS
1957 Buick Estate Wagon
1959 El Camino - Ironworks frame
1956 Cameo - full C5 suspension/drivetrain
1959 Apache Fleetside
10-12-2010 #31
Registered User
- Join Date
- Jul 2010
- Location
- Detroit, MI
- Posts
- 62
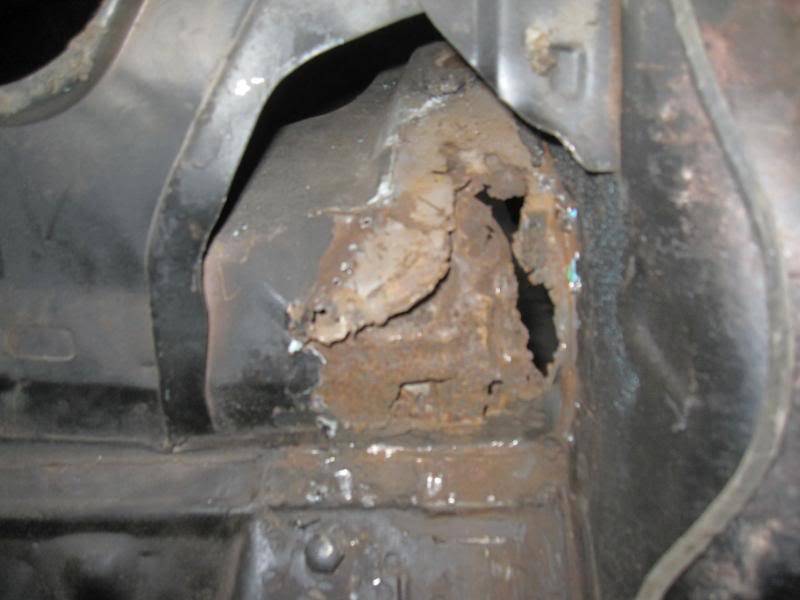
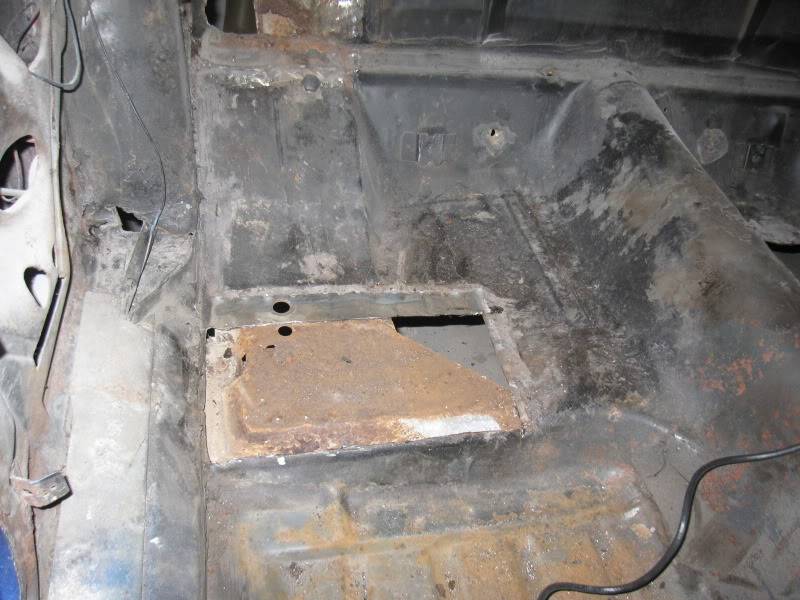
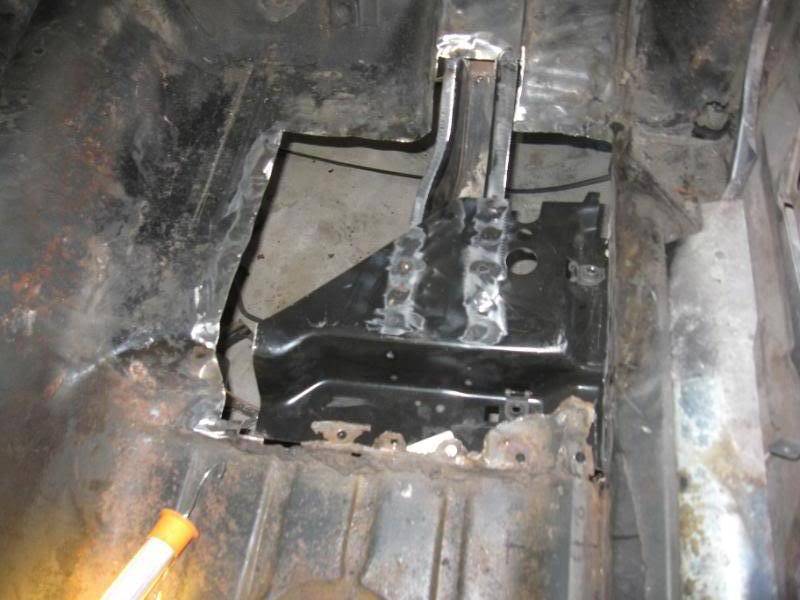
Cut out the floor on the passenger side. I'm going to have to replace the under seat reinforcements before I can do the floor pans. Not sure if jigging the car is necessary for this part of the process since it may move the front mounting point of the leaf spring.
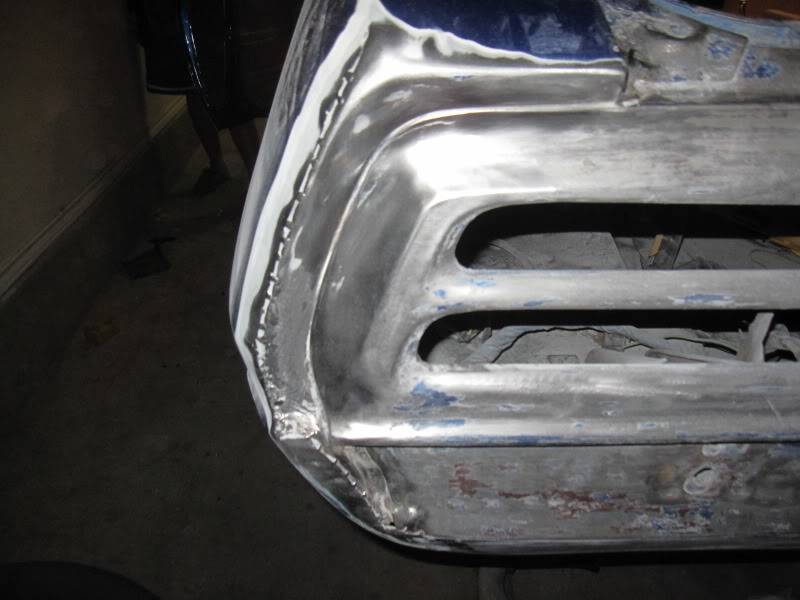
I've gotten all of the filler and paint off of the center of the tail panel. Looks like someone backed into something just off the passenger side of the license plate. I may be able to save it but since the edges are iffy, I may just go ahead and replace the whole thing.
I am also thinking about either 80% quarters or just skins since I am in such a small space, don't want to take the glass out, and do not have the option of getting the car blasted so I could cut on the sail panel. Opinions?1969 Firebird
Champagne taste and a Kool-aid budget...
10-12-2010 #32 Registered User
- Join Date
- Oct 2009
- Location
- Amherst, OH
- Posts
- 524
If that's the only option, then that's the only option...not much you can do there. At least they will be a little easier to line up, since the door jamb will be in tact, and the top only goes up to the body line.
10-13-2010 #33
Registered User
- Join Date
- Jan 2005
- Location
- Dallas TX
- Posts
- 1,633
Little strips of sheet metal with clecos work great. Drill a small hole on each end of the metal. Drill a hole in the panel you are welding to and hold the stip of metal with the cleco. Now line up the perfectly fitted panel butted right up against the car. You then drill another hole in the new panel lined up with the hole in the metal strip and hold in place with another cleco. once its all welded together you can weld up the few small holes you made for the clecos. Originally Posted by CarQz17
Before you weld on the car practice a lot with scrap. But welding is by far the best way to go but will take practice. Also when you start welding on the outside get a dolly basicly the same shape as the inside of the panel you are working on. When you start tacking right after each tack put the dolly on the back of the weld and use your body hammer to hammer right on top of the weld. As the metal cools it will shrink. By hammering on the weld you are helping to stretch it back out and keeping the panel more true.
10-16-2010 #34
Registered User
- Join Date
- Jul 2010
- Location
- Detroit, MI
- Posts
- 62
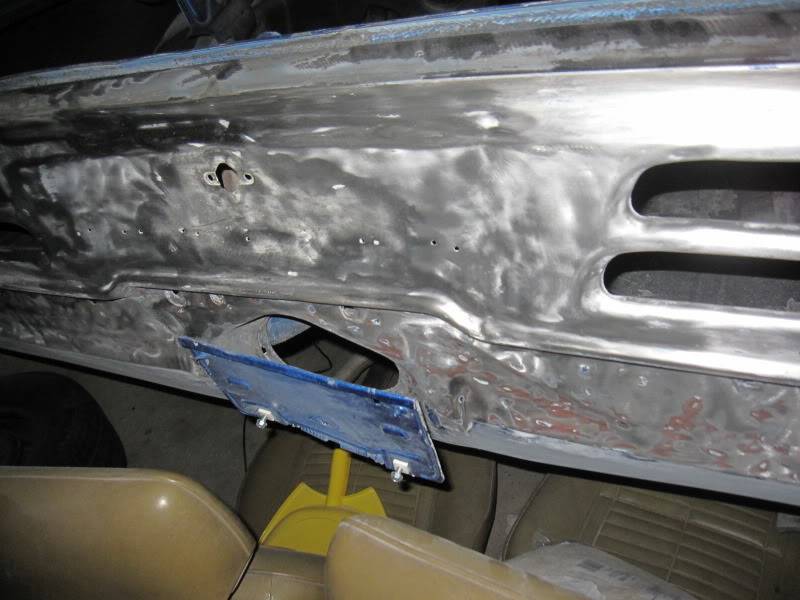
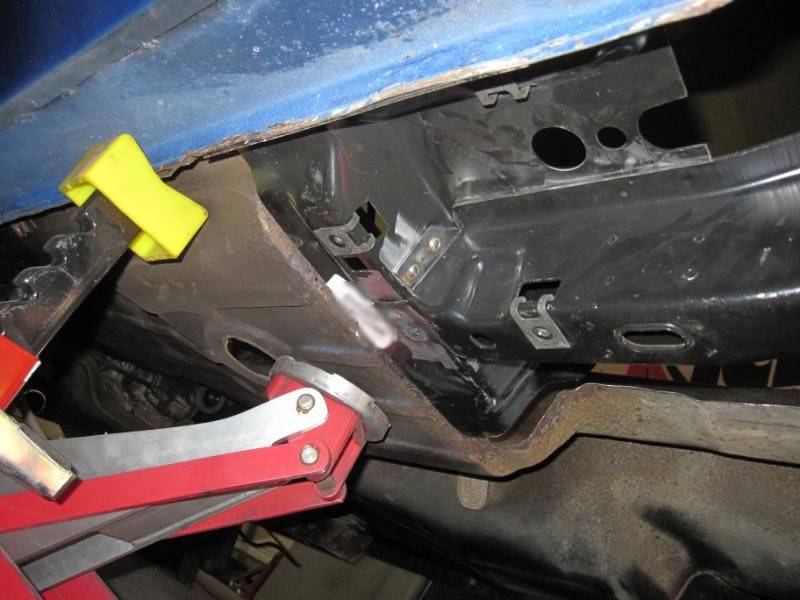
I spent the weekend with the old man stripping out the old and patching in the new. The frame rails were spliced, and the under seat reinforcements were replaced. The photos only show one side. I also ended up in the hospital after my grinder caught my hand. I've got mini tubs and trunk parts to be put in next. Feels good to actually add to the car instead of tearing it apart. Success!


 1969 Firebird
Champagne taste and a Kool-aid budget...
11-03-2010 #35
New to Pro-Touring
- Join Date
- Oct 2010
- Location
- N/A
- Posts
- 42
good job man, you really seem to be doing things well and right for a first time low buck build, hopefully I'll find a place and can start down the same journey soon.
I like the pics of the bondo thickness, I found the same unfortunate surprise covering a hack-job on my rocker and quarter panels.
12-01-2010 #36
Registered User
- Join Date
- May 2009
- Location
- Minnesota
- Posts
- 615
Did the PO replace the rockers and just spot weld them in on the bottom?

 Reply With Quote


