


Results 161 to 180 of 586
Thread: 1968 Camaro (projekt 1sickT8)
-
01-20-2012 #161
 Registered User
- Join Date
- Mar 2009
- Location
- Houston, TX
- Posts
- 1,197

Sorry to hear about your motor, Rod. I'd vote for the LS6 (more power). I told myself, if I have to pull the Pontiac 400 engine for whatever reason, the engine going back in will be an LS based engine
Tu Ho
Firebird V2-LS swap
-
01-20-2012 #162
Starting The Transformation
- Join Date
- May 2008
- Location
- Toronto
- Posts
- 213

I'm starting work on a 69 in the spring. It has an LT1 and T56 now but I hope to swap it out for an LS based motor over next winter.
I've been doing a lot of looking and I've narrowed it down to two engines also.
#1 is the GM performance parts LS3/480. This is a great engine and US you can get it for about $6500.00
#2 is an LS3 block based stroker 427 with CNC ported LS3 heads, I can get this done for about $500 more.
Both are more power than I need but it's always nice to have a little more.
Not sure what the price range is like on the engines you're looking at. Do you have a line on a deal for these two engines or you just like them.
I found that the 427 was only a little more expensive than a good stock rebuild.
Whatever you choose it'll be a great addition to your car, love what you have done so far.
How do you like your front suspension setup? I like the idea of keeping the stock subframe for the cost.
Keith.
01-20-2012 #163 Registered User
- Join Date
- Jun 2007
- Location
- Auburn, CA
- Posts
- 613
Without question the LS6.
Tim Tracy
68 Camaro 496 / T56 - Never Finished
68 Camaro Real Z/28 - Under Restoration
67 Camaro Project - Never going to have time
01-20-2012 #164 Registered User
- Join Date
- Aug 2004
- Location
- Suisun City, Ca.
- Posts
- 792
Sorry to hear about your motor.
Good luck with the change over, no matter which one you decide.
My vote is the LS6 also.Mike
01-20-2012 #165 Registered User
- Join Date
- Sep 2005
- Location
- Nor Cal
- Posts
- 2,196
Def go with LS6... plus those motors hold up so better on track than the LS3's.... check it out on Corvette Forum.
1968 Camaro widebody project
2004 Mustang LS2
1964 Continental
2014 Keezer
01-20-2012 #166 Registered User
- Join Date
- Nov 2008
- Location
- Lawrenceburg, TN
- Posts
- 4,098
Thanks guys keep the advice coming!!! I need the extra brian power from all you, I will fully decide some time next week last night all the final parts arrived and I will give all a price list and go step by step I think you guys will dig it!!!
Keith! I have both engines sitting on the shop floor waiting for projects, Plain Jane wasn't on my radar for a heart transplant till next year the LS6 was for the shop truck for hauling the cars to events, and the LS327 was for a 63 Nova thats still a year away from needing a motor
 Originally Posted by keithq69

01-31-2012 #167
Registered User
- Join Date
- Nov 2008
- Location
- Lawrenceburg, TN
- Posts
- 4,098
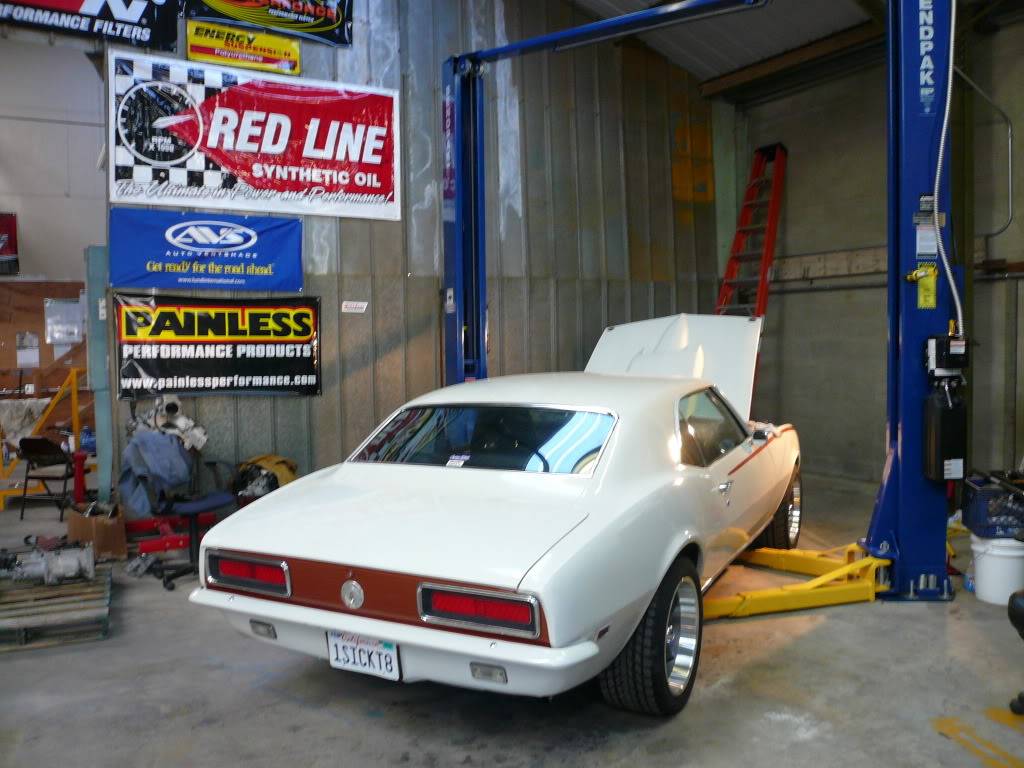
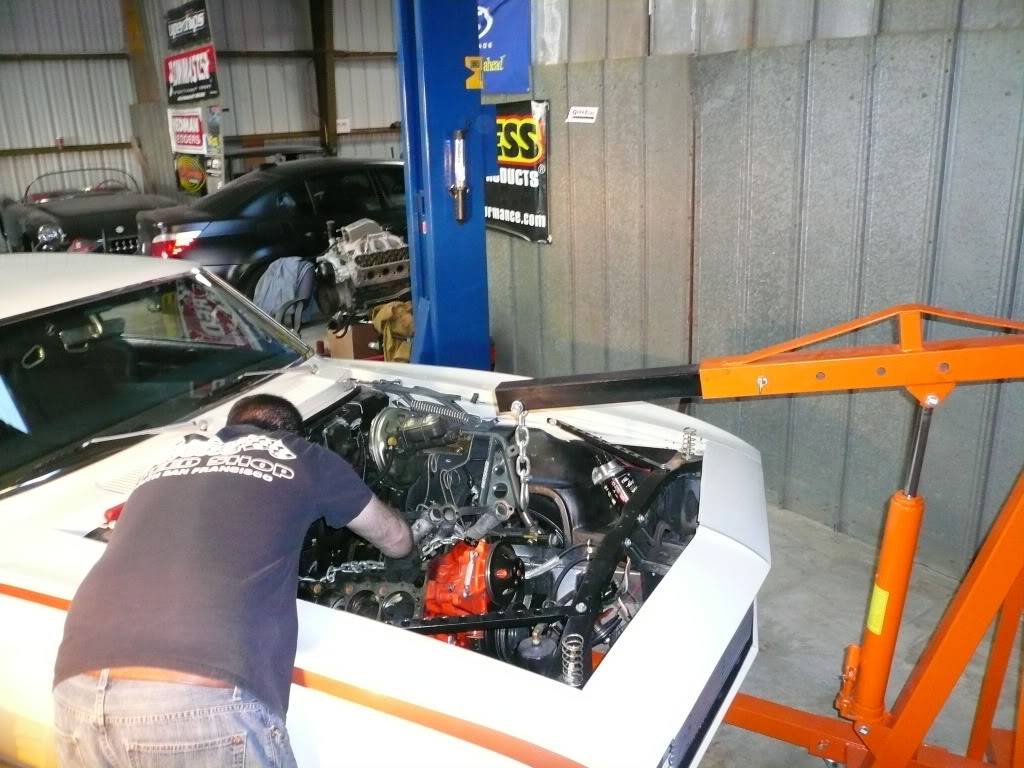
my Car Plain Jane is in our shop now and Saturday we started looking at the motor swap needs
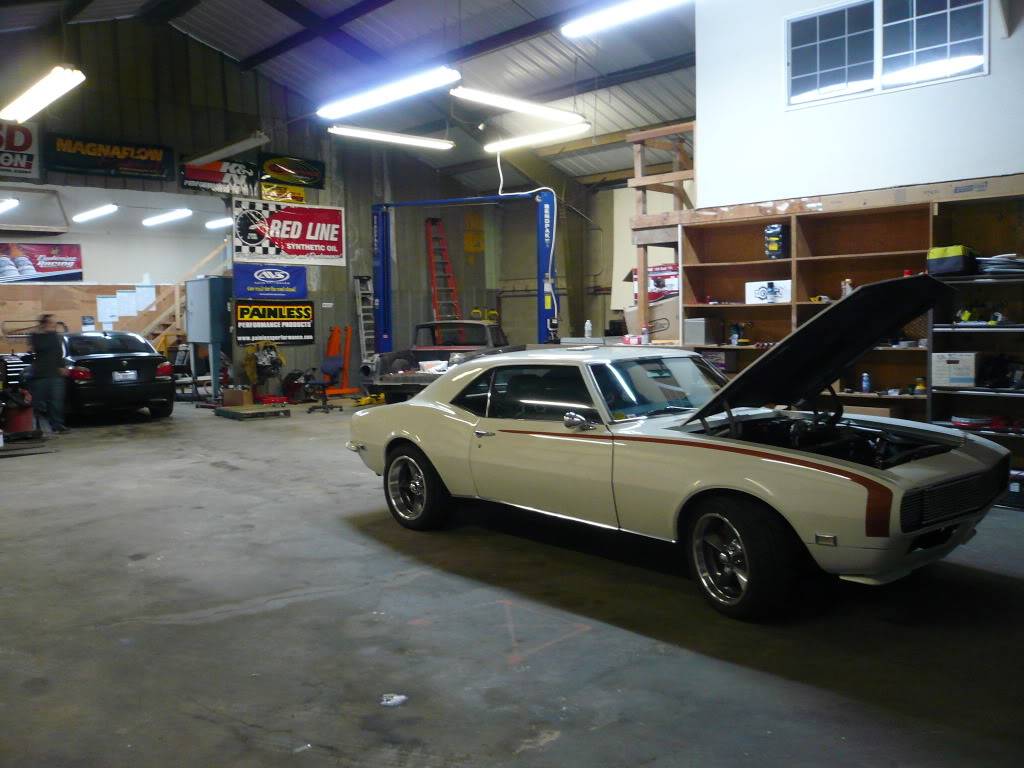
This is very cool we got a lift a few weeks ago from a shop that was closing down and Joe set it up last week and tested it on Chads Ranchero
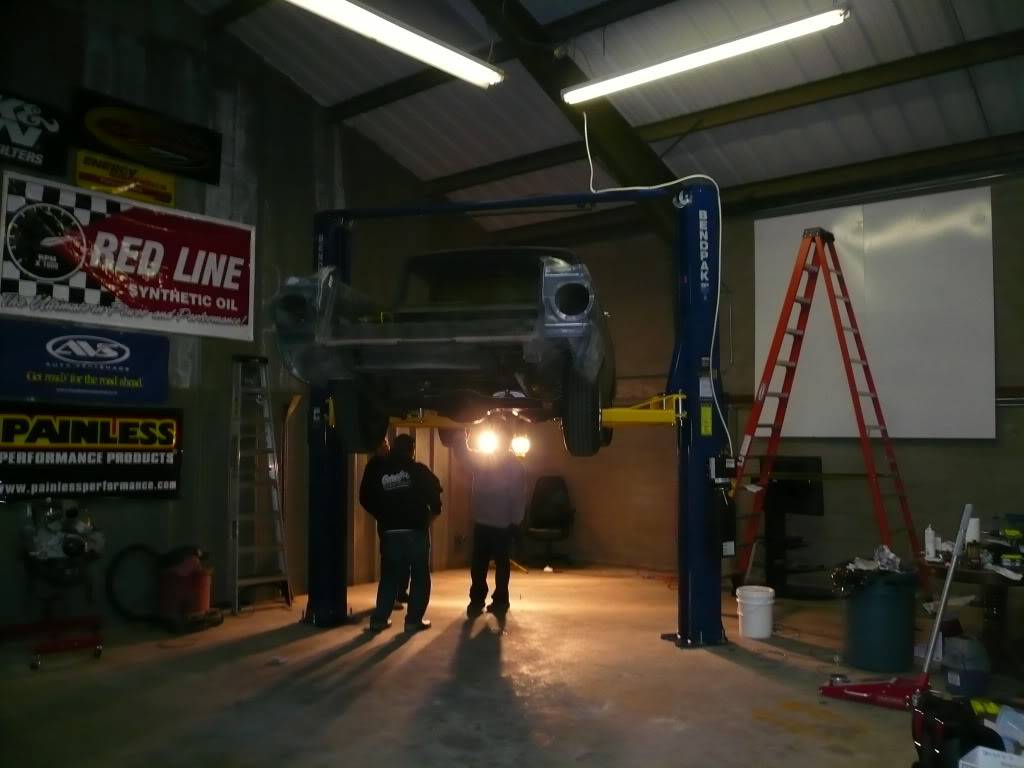
Plain Jane is up next
out with the old!
01-31-2012 #168
Registered User
- Join Date
- Nov 2008
- Location
- Lawrenceburg, TN
- Posts
- 4,098
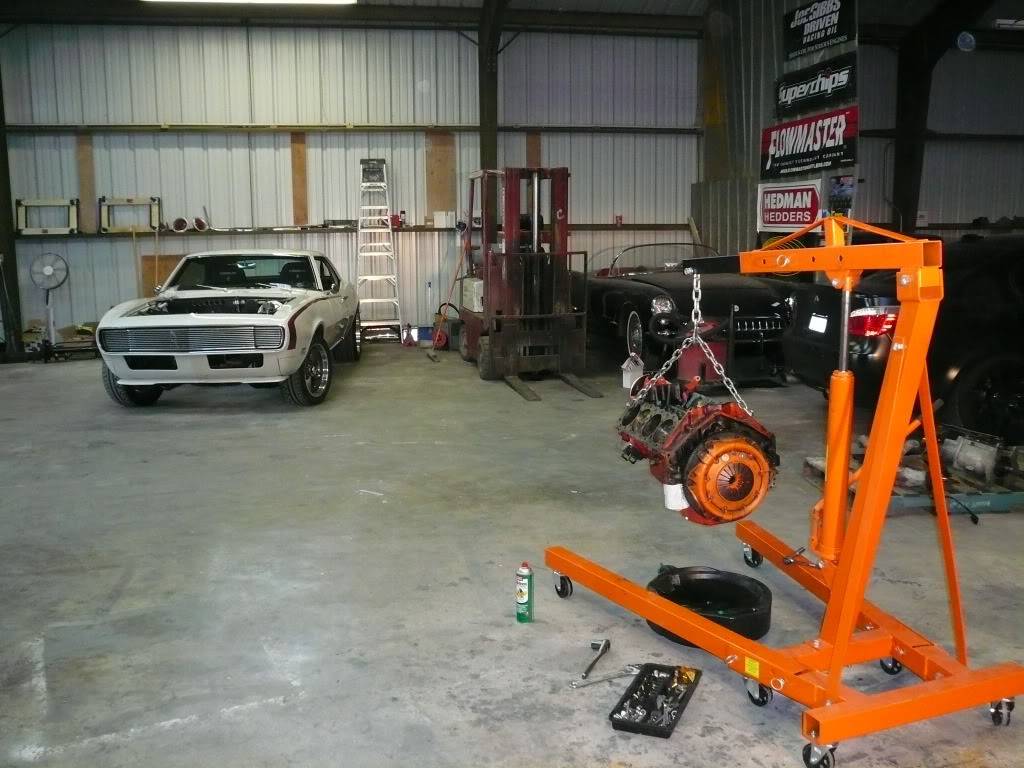
LS swap on Plain Jane
the old 350 was out saturday night
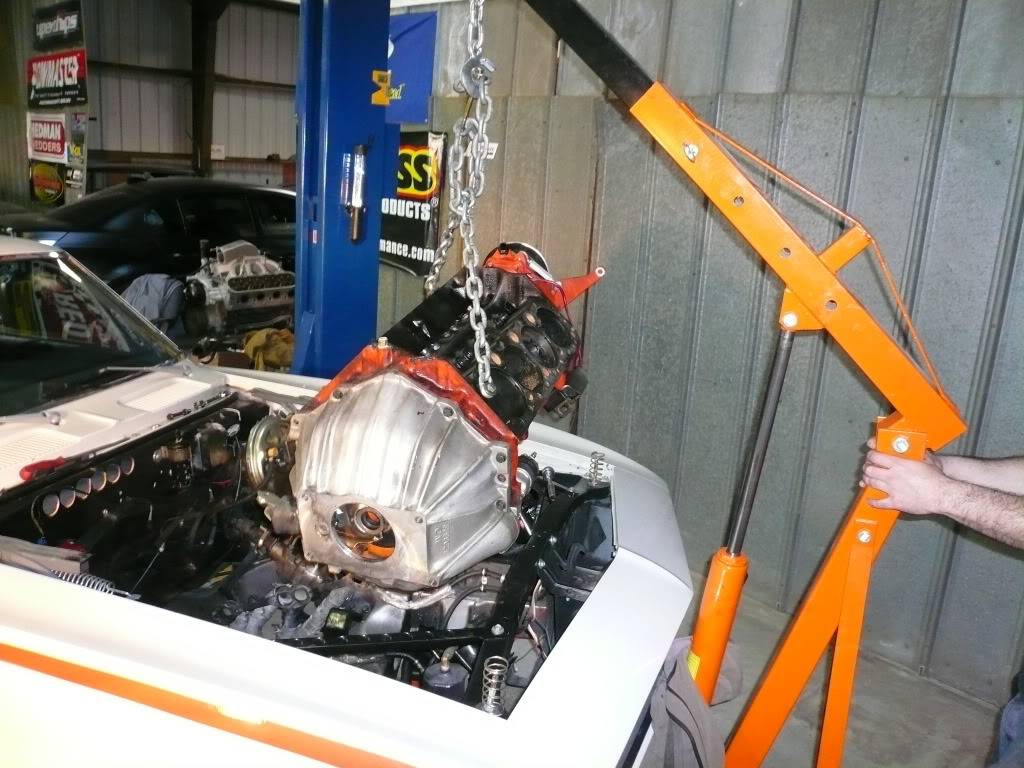
and she waited for her new parts
02-01-2012 #169 Registered User
- Join Date
- Dec 2009
- Location
- El Dorado Hills
- Posts
- 1,645
Hey Rod, wheres the new shop at? Going to have to pay you a visit next time I'm in your area.

Gaetano Cosentino
Dont Drive Faster Than Your Angels Can Fly
02-01-2012 #170
Registered User
- Join Date
- Nov 2008
- Location
- Lawrenceburg, TN
- Posts
- 4,098
a couple of us got together and rented a warehouse SSF on maple street, (since we all have lots of projects) put in a lift, a stand up parts washer and a big 12ft long 5ft wide sand blaster, and an awesome big screen projector to play movies in the back ground when were at the shop late at night after work
02-01-2012 #171
Registered User
- Join Date
- Nov 2008
- Location
- Lawrenceburg, TN
- Posts
- 4,098
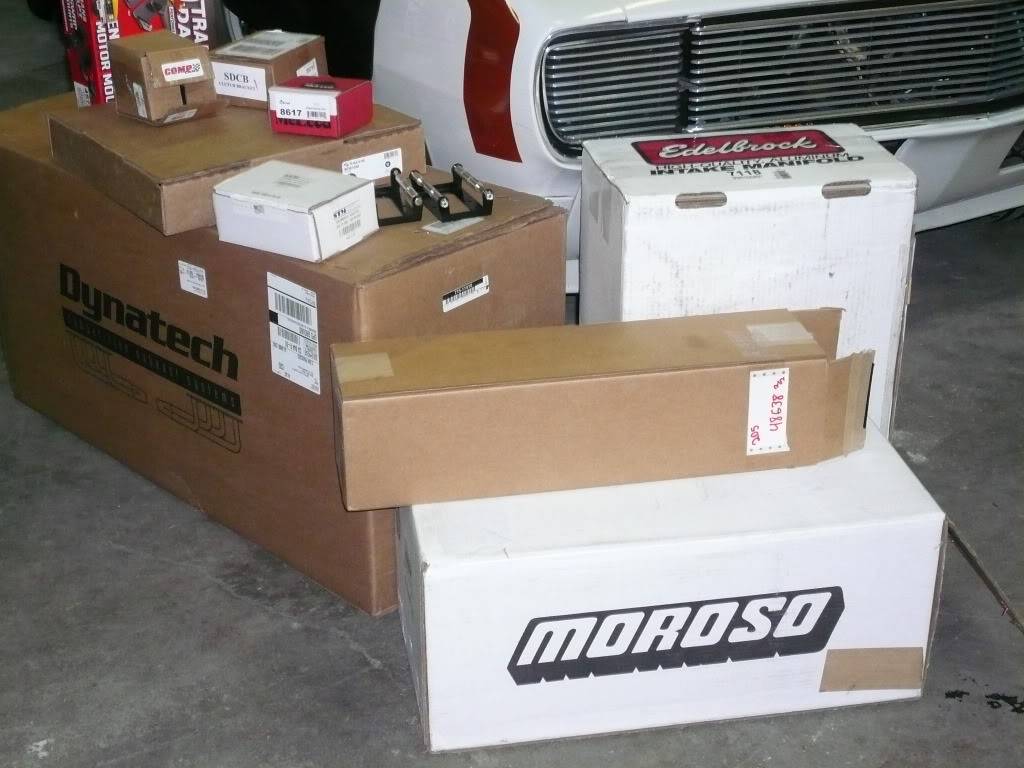
LS swap into Plain Jane (1968 Camaro RS)
teaser guess what motor I went with?
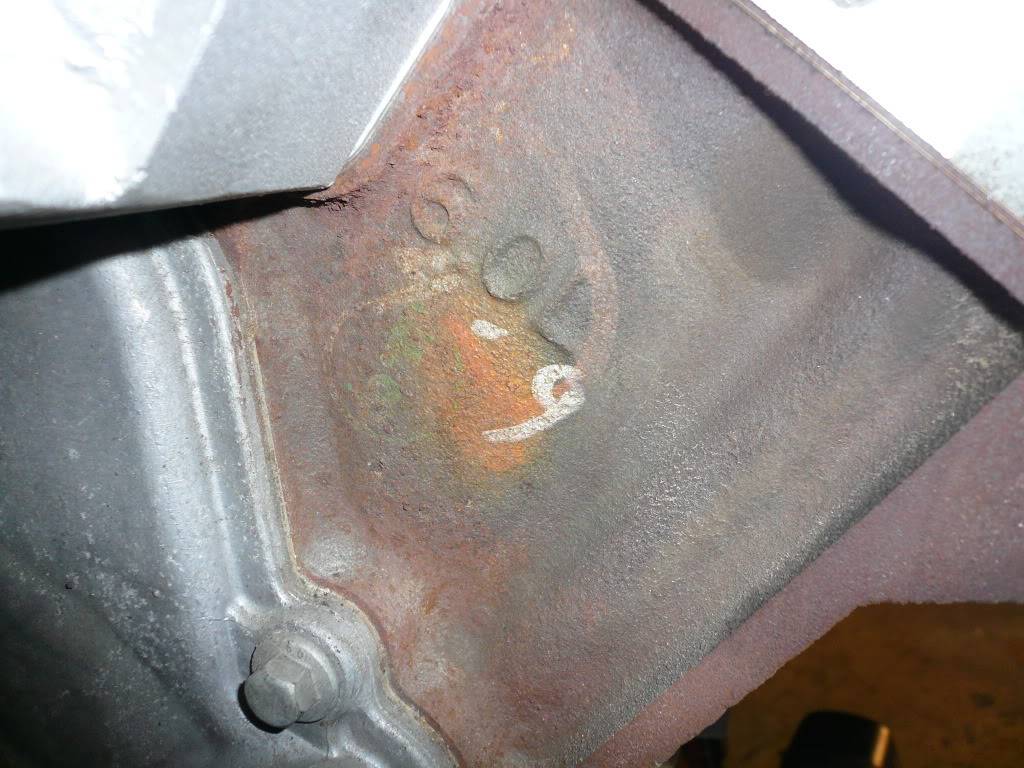
and heres a small parts pile from this morning!!
now what fuel system to go with??
number 1
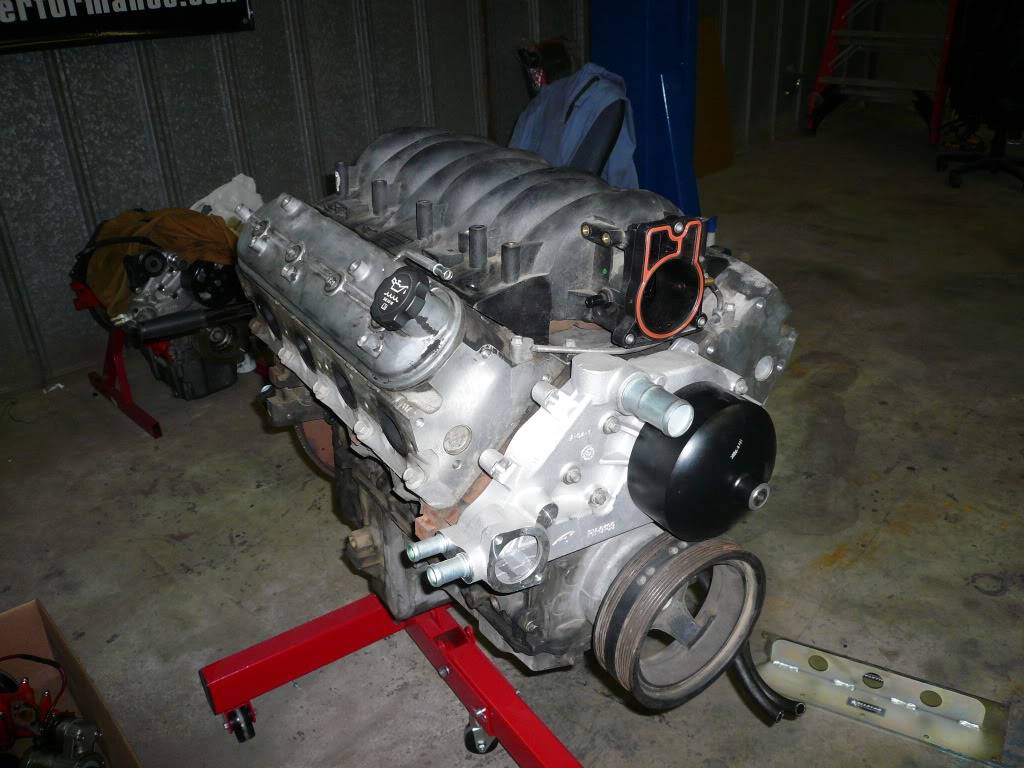
number 2
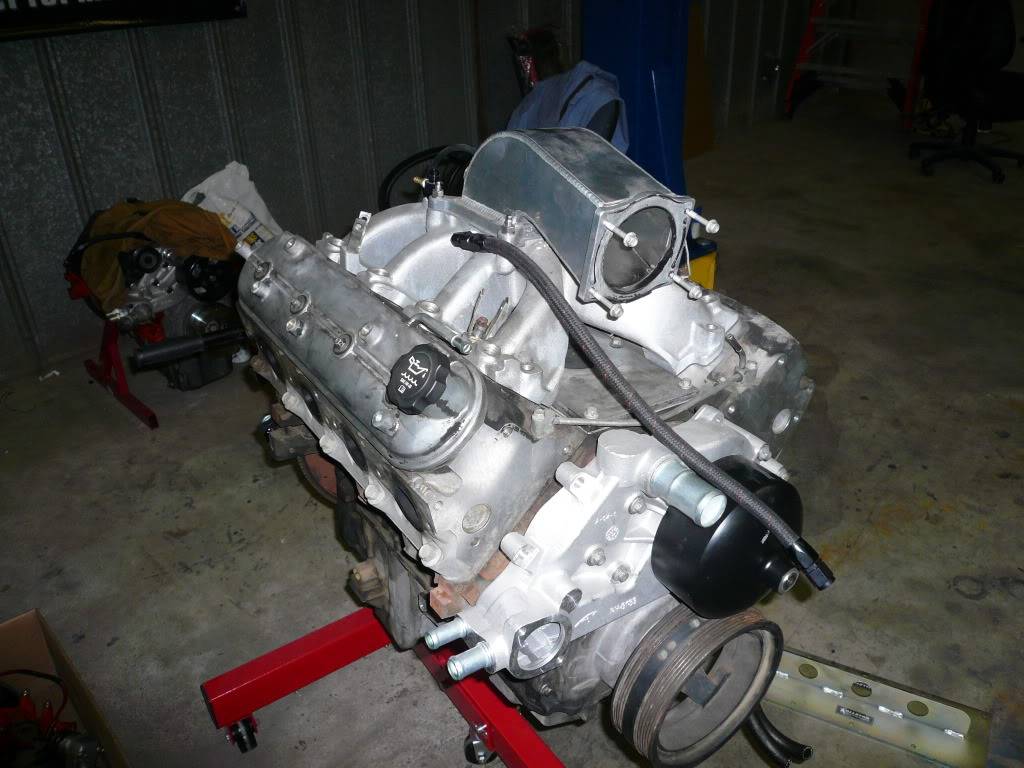
number 3
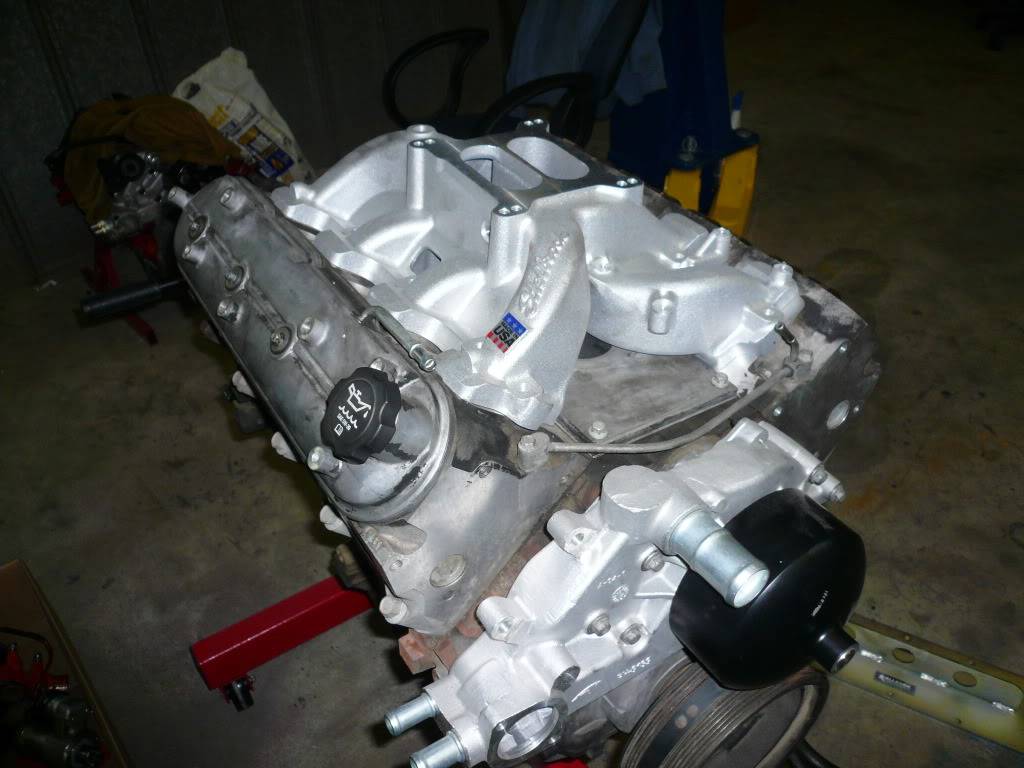
02-02-2012 #172
Registered User
- Join Date
- Nov 2008
- Location
- Lawrenceburg, TN
- Posts
- 4,098
Test fitting LS swap components
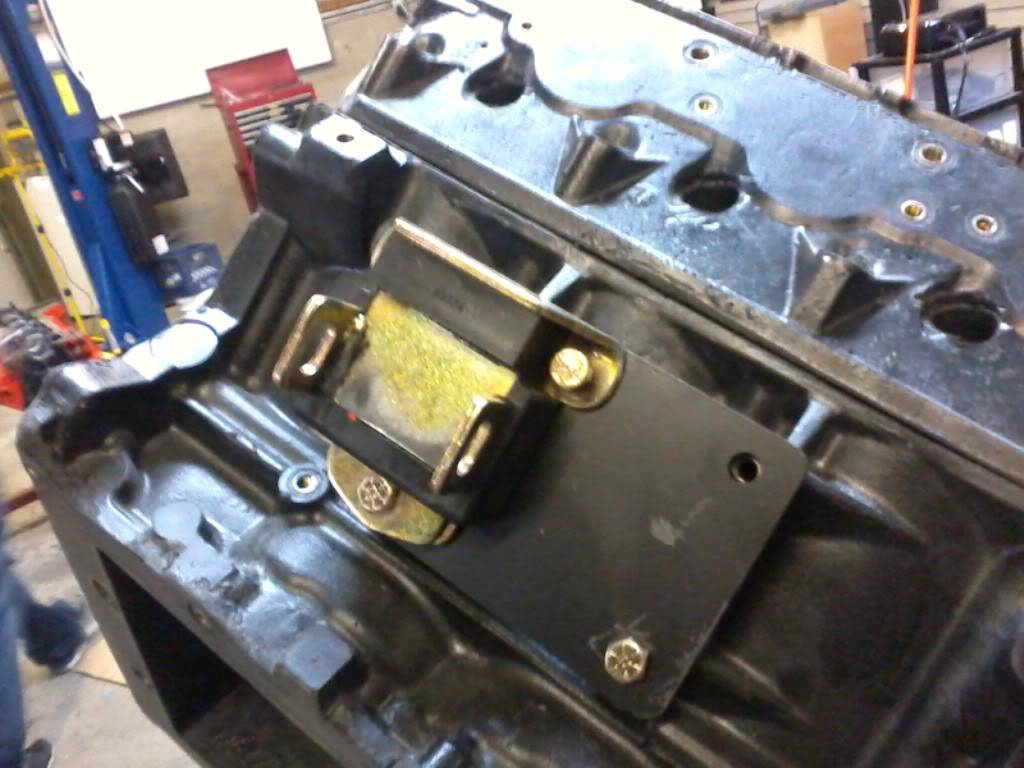
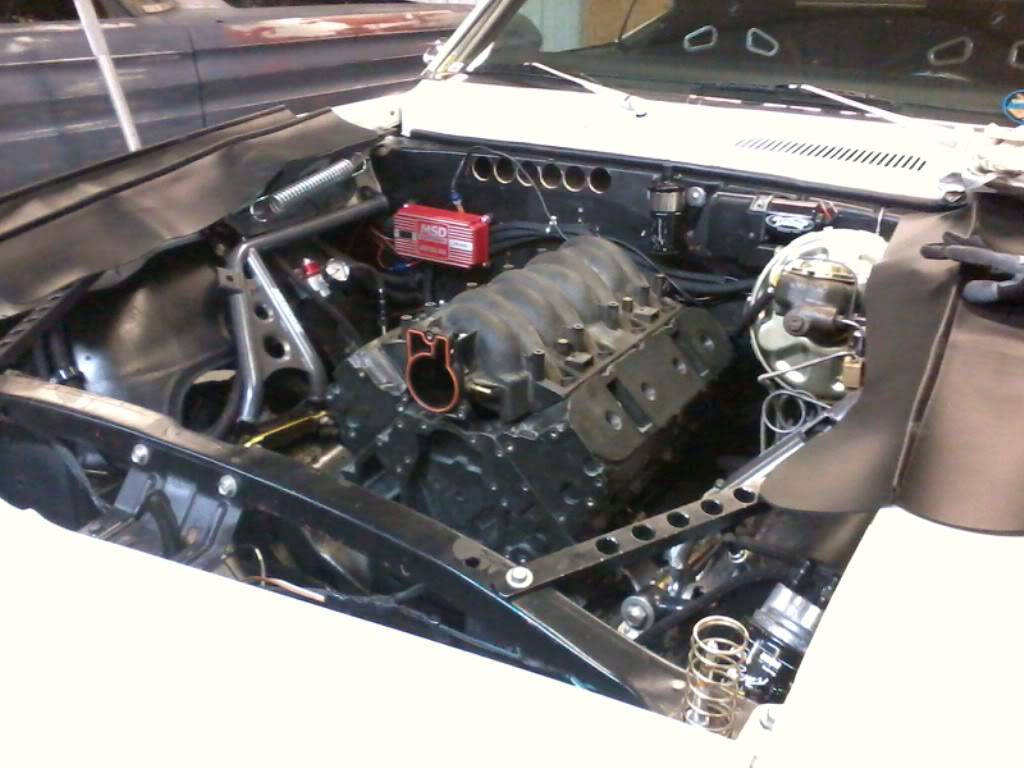
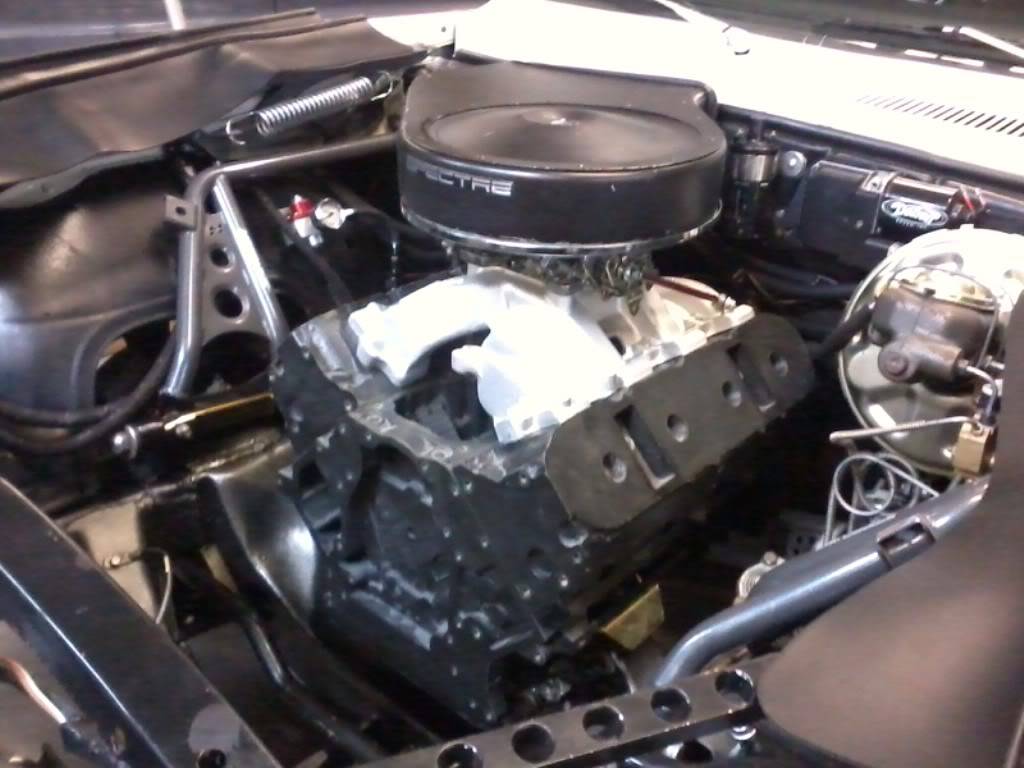
tonight I took an hour to test the motor mounts on a polystyrene LS block and make sure the engine block placement will be good
TransDapt stock location motor plates
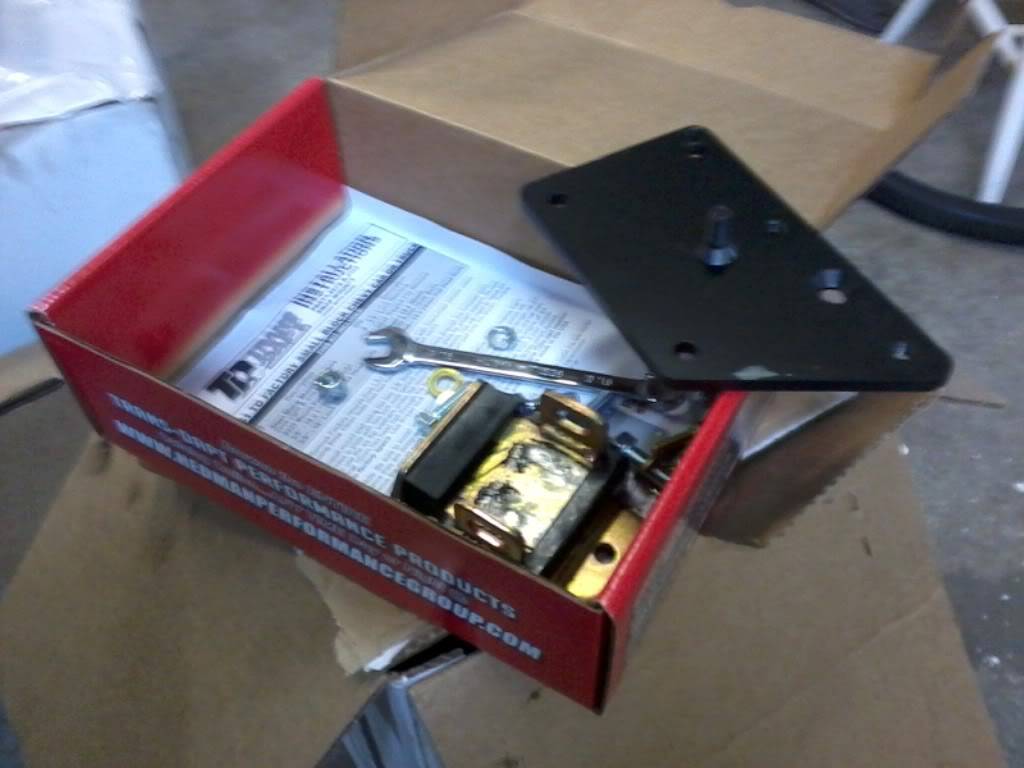
location Plates on the Block with Prothane motor mounts
standard manifold setup
Edelbrock carbed setup
02-02-2012 #173
Registered User
- Join Date
- Sep 2005
- Location
- Nor Cal
- Posts
- 2,196
Lookin good Rod!!!
1968 Camaro widebody project
2004 Mustang LS2
1964 Continental
2014 Keezer
02-02-2012 #174
Registered User
- Join Date
- Dec 2009
- Location
- El Dorado Hills
- Posts
- 1,645
Lookin' good Rod. Having a shop to play in with most the necessities must be nice.
Hope the engine build runs smooth for you
Gaetano Cosentino
Dont Drive Faster Than Your Angels Can Fly
02-03-2012 #175
Registered User
- Join Date
- Nov 2008
- Location
- Lawrenceburg, TN
- Posts
- 4,098
Thanks Gitter and Flash
02-03-2012 #176
Registered User
- Join Date
- Feb 2010
- Location
- Plainfield, IN
- Posts
- 99
Amazing build! That gives guys like me a lot of inspiration.
1969 1/2 Maverick
4.6 DOHC, Mustang II front, T56, & Cobra IRS
Custom Interior in the works.
http://www.cardomain.com/ride/2200206
02-04-2012 #177
Registered User
- Join Date
- Nov 2008
- Location
- Lawrenceburg, TN
- Posts
- 4,098
sorry the post are a day behind
Joe is Test fitting the Moroso Pan and pickup
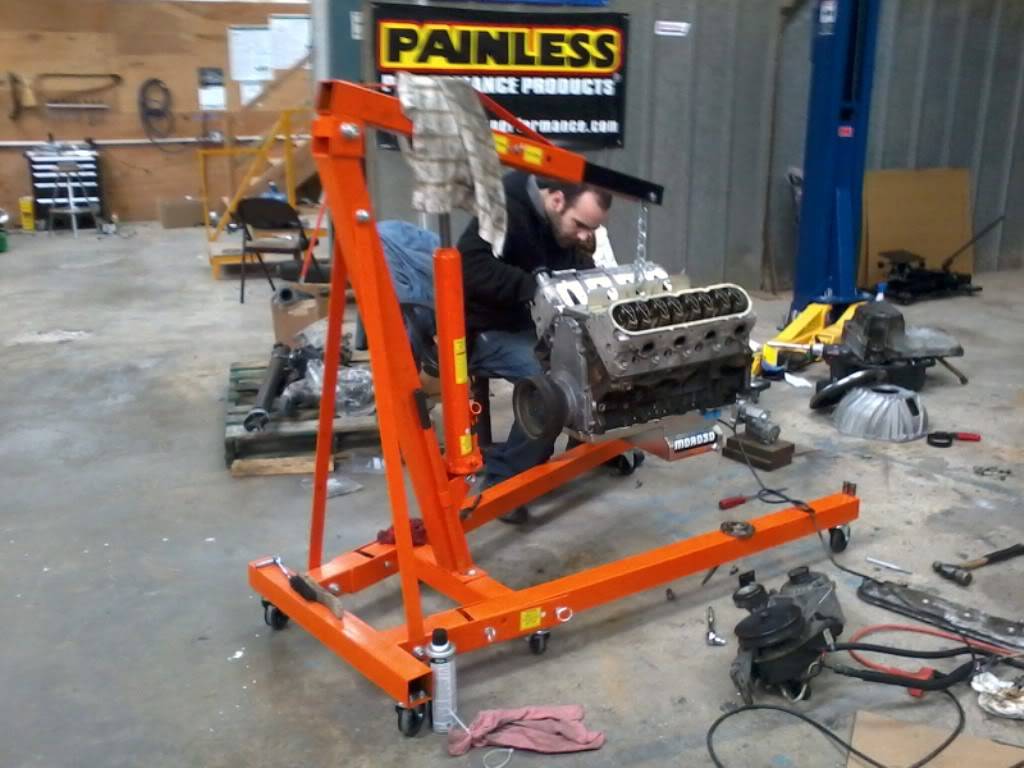
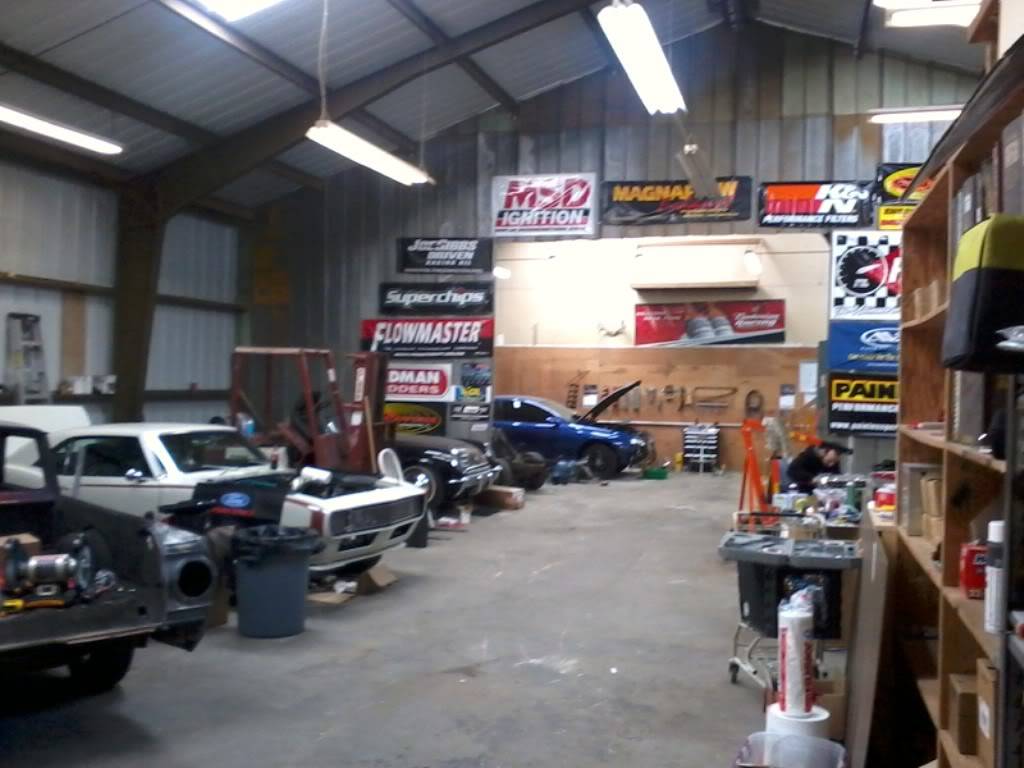
hers the shop already filled with our junk, its a cool line up
1) Chads Ranchero (302/5 speed)
2) My car Plain Jane (1968 camaro)
3) puddles the forklift
4) Keiths Corvette
behind the wall
5) 65 Chevelle from LMS
6) Marios 10 second GTO
02-09-2012 #178
Registered User
- Join Date
- Nov 2008
- Location
- Lawrenceburg, TN
- Posts
- 4,098
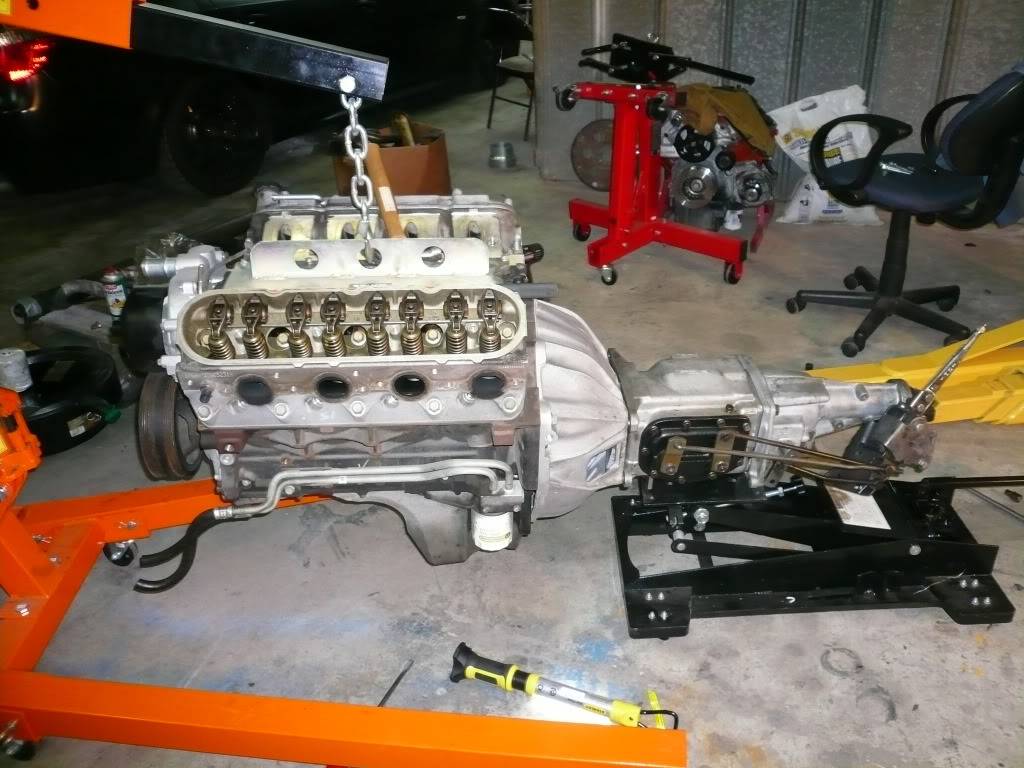
test fitting The t-10 to the 6.0 ls
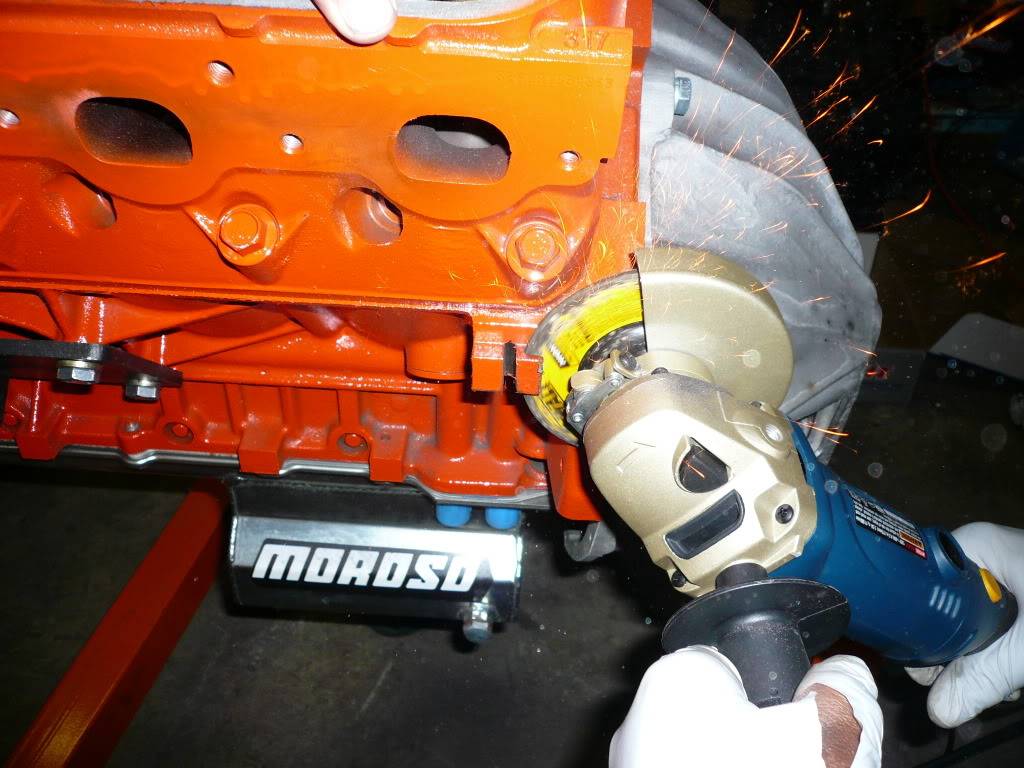
trial fit of the Borg Warner super T-10 to an LS engine we use a Sachs #NFW1050, McLeod #8617 extended pilot bushing, GM 602 Bell Housing
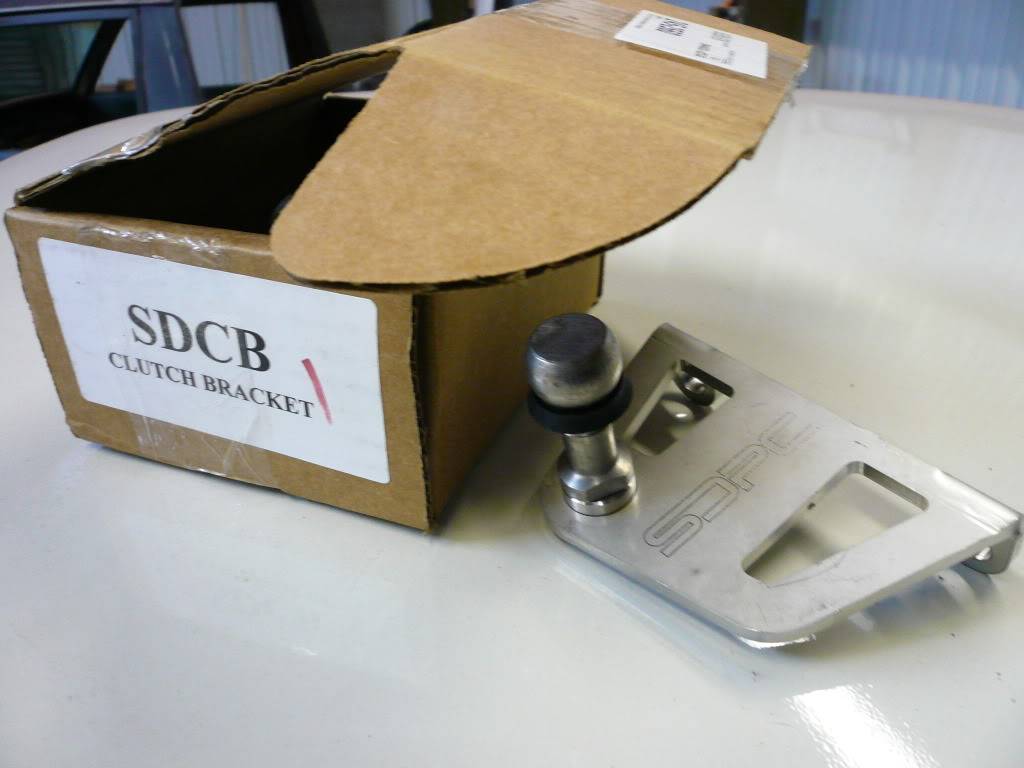
before the LS is installed I was adding a manual clutch linkage bracket (#SDCB from Scoggin Dickey)
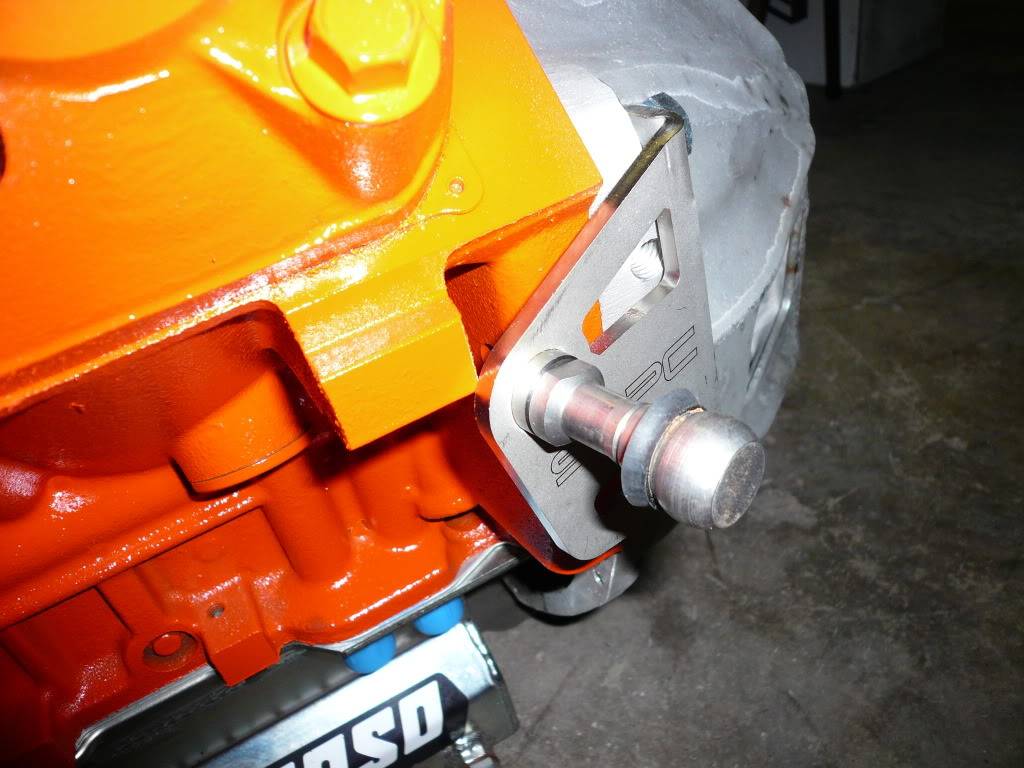
and this boss had to be cut off!
Hers My, I mean Plain Jane's engine in today!!
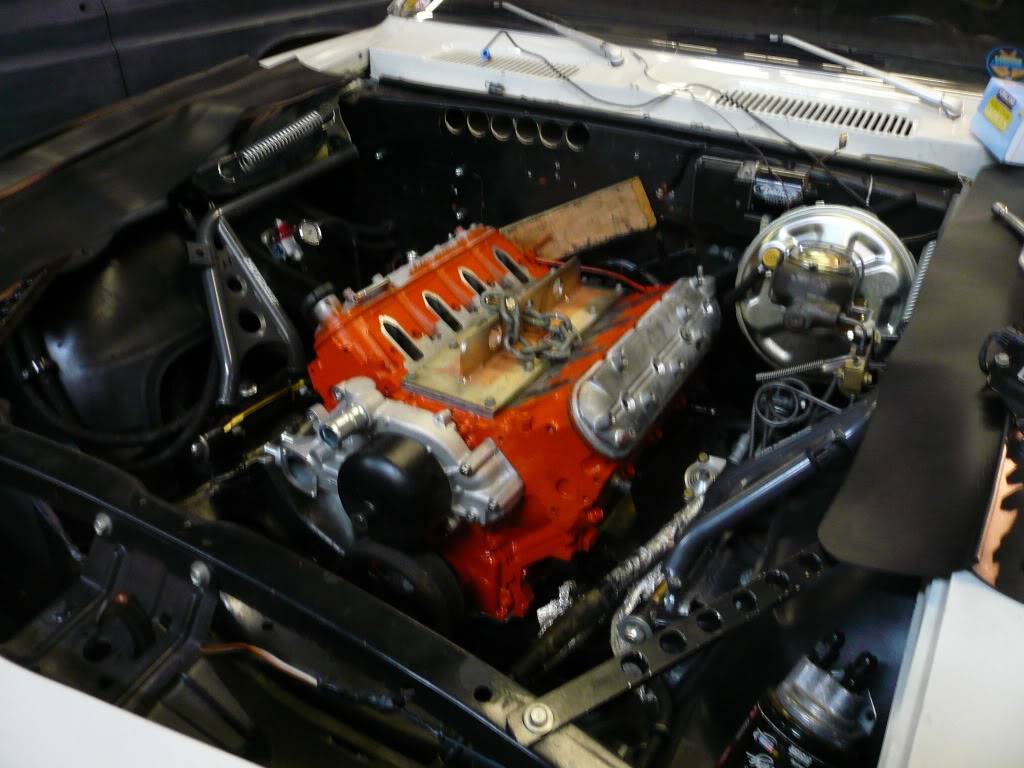
Gasket going on the new intake

intake on, CARB on, headers on, and air cleaner on!!
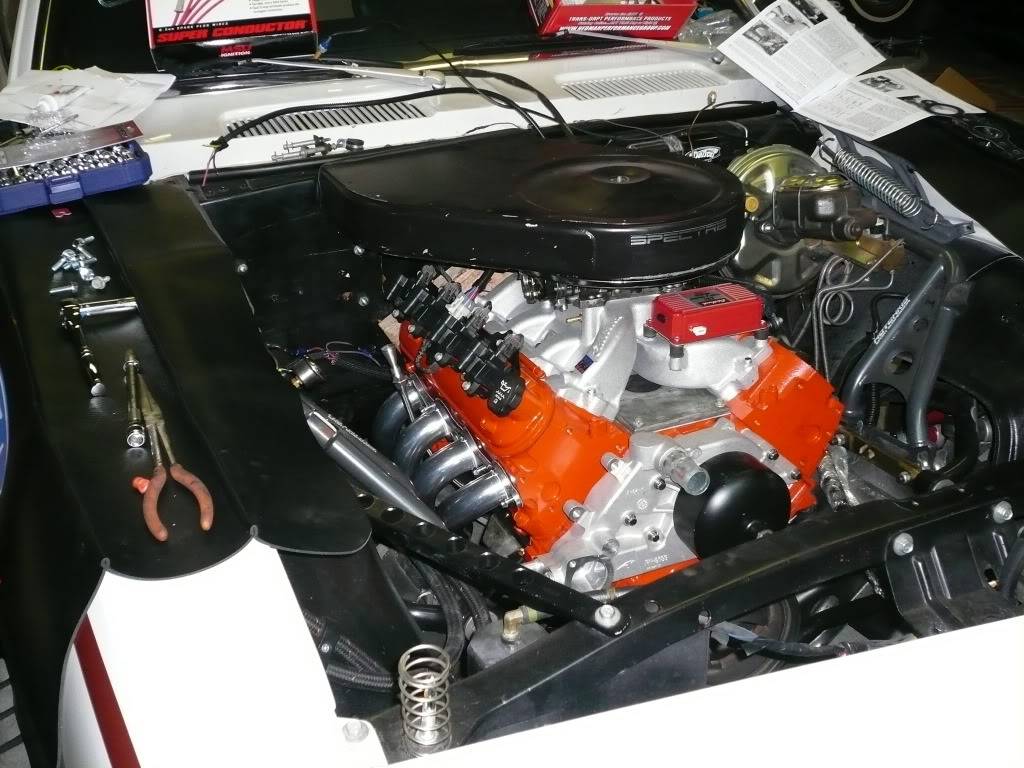
the night is done, more Saturday!!
02-10-2012 #179
Registered User
- Join Date
- Aug 2007
- Location
- NJ/PA
- Posts
- 396
Nice work man...must be nice to have all the parts needed to throw it right in. Ive been able to buy one piece here and there. You just did 6 months of work in my eyes in less than a week. Haha..looks great man. hope to see it back on the road soon.
02-10-2012 #180
Registered User
- Join Date
- Nov 2008
- Location
- Lawrenceburg, TN
- Posts
- 4,098
Thanks Boostin!!
I had a few pennys put aside for my girlfriends 1963 Rambler autocross car, but when mine died I used that money to order all the parts, quickly, while the motor man thats building the rambler engine (legendary NHRA Hall of fame Bruno Gianoli) of the famed Champion Speed Shop, Reggie Jacksons High Performance, Roy Brizio Street Rods, agreed to hold off building for an extra month, very cool of the old grump *******.. Originally Posted by boostin05blacksti

 Reply With Quote


