


Results 41 to 60 of 66
-
04-20-2010 #41

 Registered User
- Join Date
- Apr 2007
- Location
- Minneapolis, MN
- Posts
- 154

Its a roller!
The rims for the front are 15x7 rallys that we refinshed. Its officially a roller!
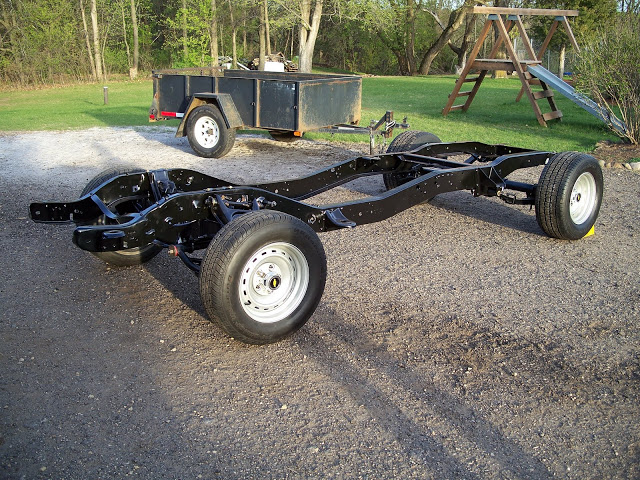
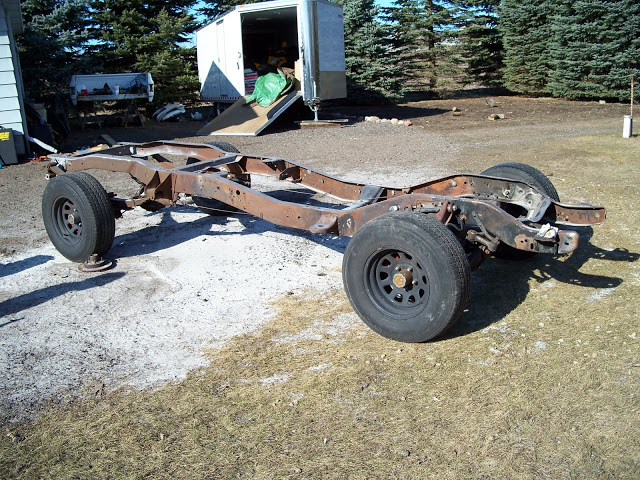
Its come a long way from this...
-
04-20-2010 #42 Rat Pack Member

- Join Date
- Nov 2004
- Location
- LYNCHBURG,OHIO
- Posts
- 512
Nice work! Its always a good idea to strip one down to the bare frame and work up. Makes it much nicer in the end! Looks like you(dad/brother) are moving on pretty quickly.
GregGreg Tholen
GT Motorsports
Dealer for Wilwood,Baer,Viking,Moser,BMR,Earl's
(937)763-7272


04-20-2010 #43
Registered User
- Join Date
- Apr 2007
- Location
- Minneapolis, MN
- Posts
- 154
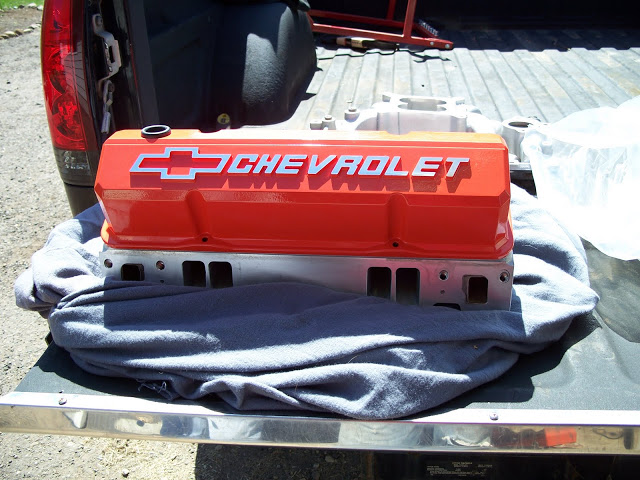
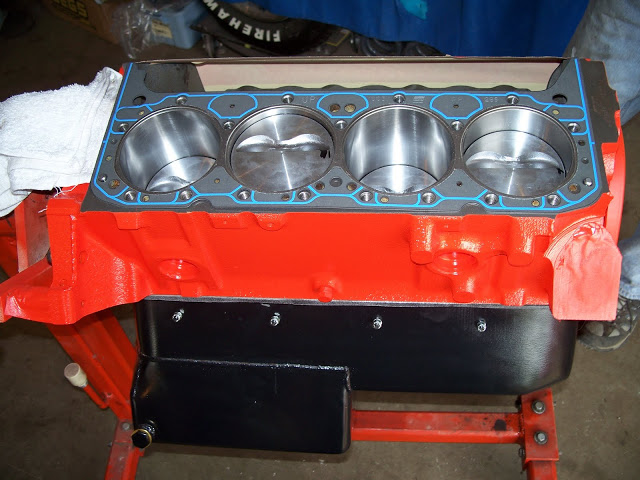
The engine
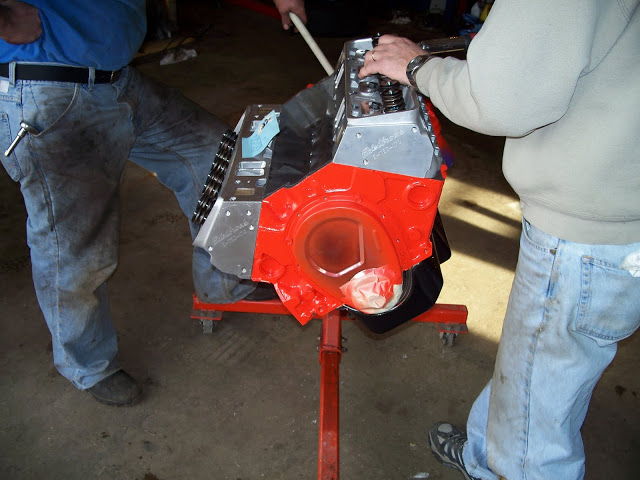
We picked up the rotating assembly w/ other parts on sunday. Here are the stats:
-74 Chevy 350 w/ 4 bolt mains bored .030 over
-Eagle 383 crankshaft
-Eagle SIR 5.700 rods
-Silvolite Claimer 383 Flat Top pistons
-Edelbrock E-TEC 170 Aluminum heads
-Edelbrock Peformer RPM Air Gap intake
-Comp Cams Thumpr cam

04-20-2010 #44
Registered User
- Join Date
- Apr 2007
- Location
- Minneapolis, MN
- Posts
- 154
Thanks Greg. I work on it too! I promise. We work on it at our parents house in their shop. My brothers house is about 3 miles from there and mine is about 50. I try to put in as much work as I can, but they are way ahead of me as far as hours right now. Thanks again.
Last edited by 68byrd; 05-13-2010 at 04:09 PM. Reason: i can't spell
05-13-2010 #45
Registered User
- Join Date
- Apr 2007
- Location
- Minneapolis, MN
- Posts
- 154
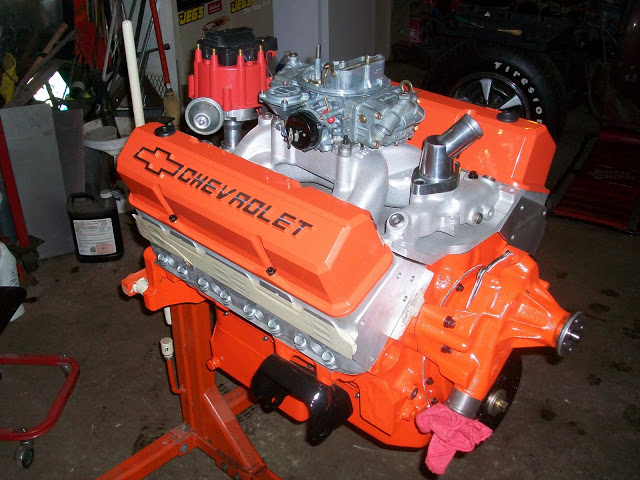
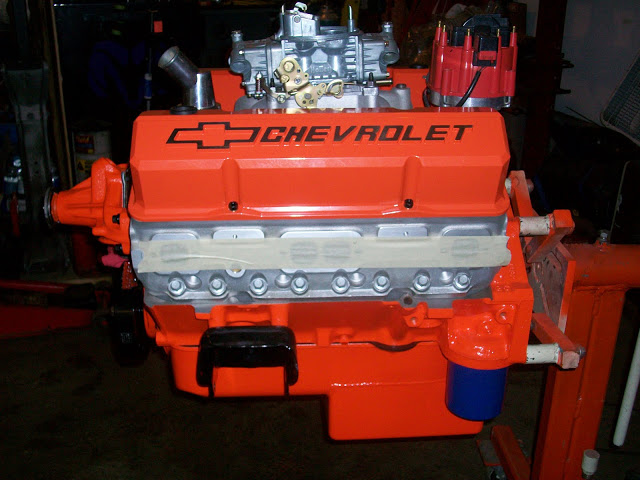
We have the engine almost all buttoned up. The dyno day is set for May 28th. I hope to get some good pics and mabe some video. I know if you've seen one engine dyno'd you seen them all, but its still cool. I hope the Thumpr cam makes some decent power/torque, we shall see! Here are some more engine pics. I wish MSD had a black cap available for the distributor.
05-13-2010 #46 Registered User
- Join Date
- Nov 2008
- Location
- NC
- Posts
- 583
Wow, looks great. Nice work.
What size rear wheels are you using? 15x?
Thanks
05-13-2010 #47
Registered User
- Join Date
- Apr 2007
- Location
- Minneapolis, MN
- Posts
- 154
The fronts are 15"x7" and rears are 15"x8". Thanks.
05-14-2010 #48 Registered User
- Join Date
- May 2008
- Posts
- 42
Sounds like a job for Krylon 1613. Originally Posted by 68byrd

05-31-2010 #49
Registered User
- Join Date
- Apr 2007
- Location
- Minneapolis, MN
- Posts
- 154
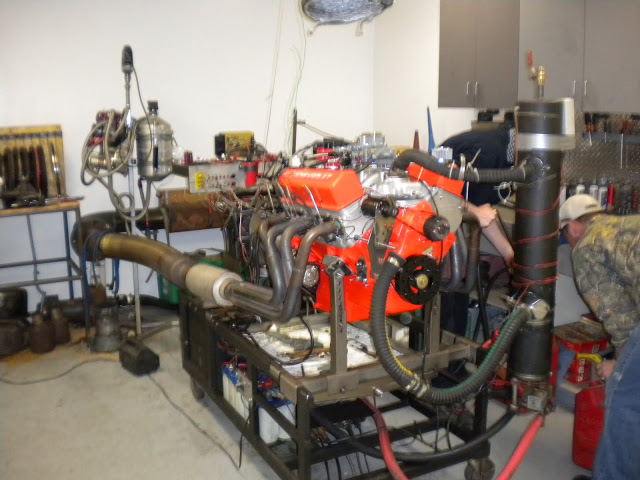
Dyno numbers w/ vid
The engine was dyno tuned on friday. I have to say I am very impressed with Scott @ S1 Dyno. He was very knowlegable. The engine started right away and ran pretty well from the word go. The cam was broken in, then the fun began. We started @ 32 deg timing. The vacuum advance was disconnected. With 32 we were getting some detonation on the high end. The timing was backed off to 25. More runs were completed and we found the best safe numbers were @ 27 deg. Then the carb was tuned. The carb didn't need much work. Its a holley 750 double pumper w/ vacuum secondaries and an electric choke. Its a 4160 base instead of a 4150. When eveything was said and done, the numbers were 472 hp and 510 lb ft of torque. Overall were are really happy, especially with all the bad " reviews " I've read about the THUMPER cam.

08-12-2010 #50
Registered User
- Join Date
- May 2008
- Posts
- 42
Any updates?
08-13-2010 #51
Registered User
- Join Date
- Apr 2007
- Location
- Minneapolis, MN
- Posts
- 154
updates
Sorry its been so long for an update. We have been working on the Byrd to get it ready for Car Craft Summer nationals and just buttoning up some little things. I will post pics and more updates soon. Thanks for the interest.
08-13-2010 #52
Registered User
- Join Date
- Apr 2007
- Location
- Minneapolis, MN
- Posts
- 154
update
The engine is done, so that is checked off the list. The transmission should be done here soon. We are using a 700R4 with the Monster Transmissions "monster-in-a-box" SS Mega monster kit. The trans is being built by a local guy we have used before. With the numbers that the engine put up on the dyno we need something that will hold together. After doing some research it sounds like the TV cable adjustment and temperature and the things that are critical with a 700R4. We are going to run an aluminum radiator with a built in trans cooler and also an external cooler to keep the fluid temps down. We haven't picked a TV set-up yet, that is still under investigation.
08-13-2010 #53
Registered User
- Join Date
- Apr 2007
- Location
- Minneapolis, MN
- Posts
- 154
more
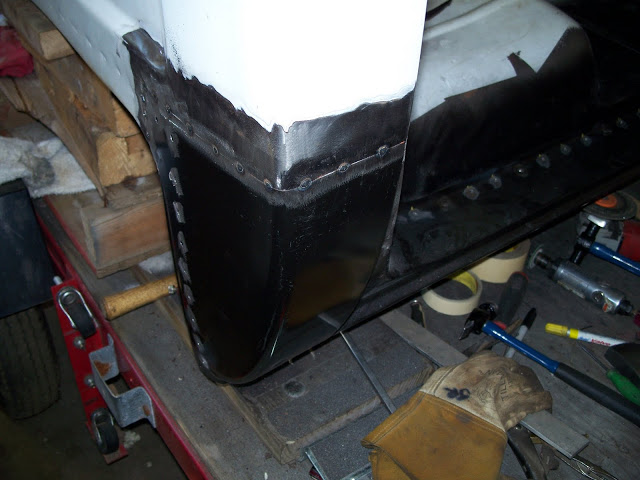
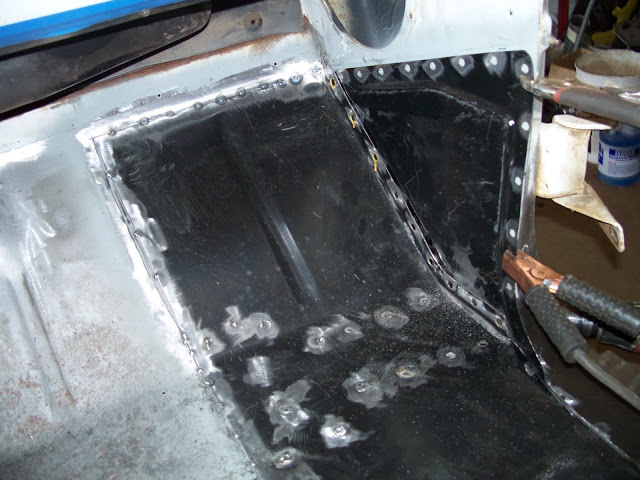
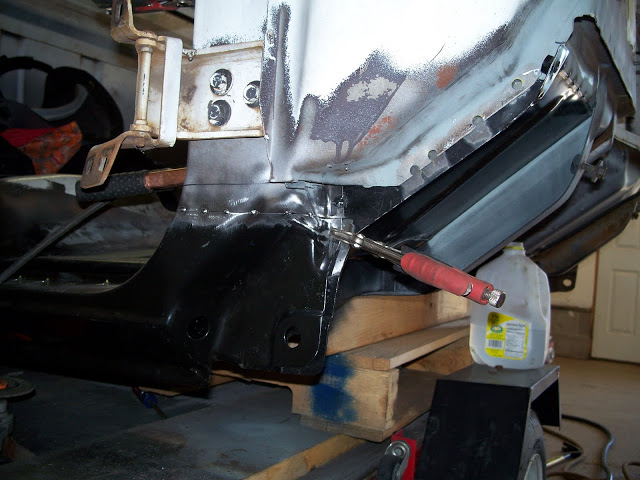
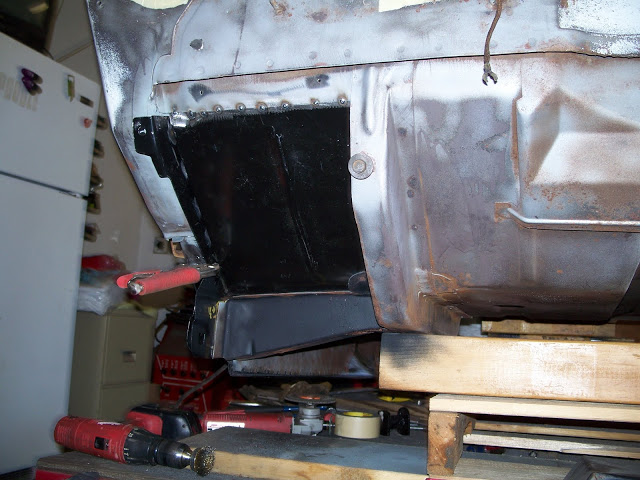
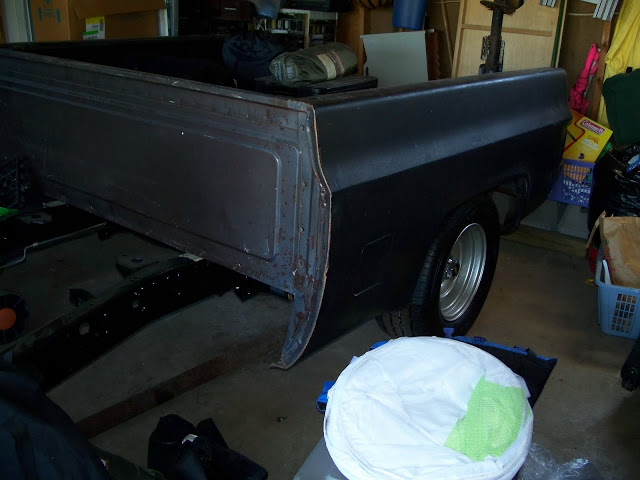
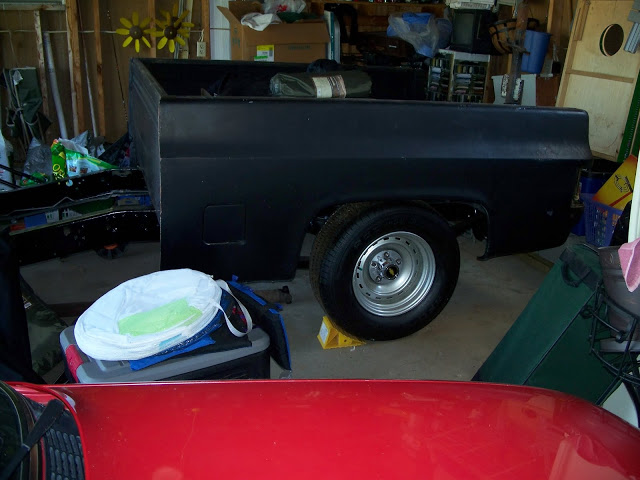
The original box sides were in tough shape so we set out to find a new box. After many hours of looking online and calling around, we thought we had one in Duluth, MN. We drove up there (3hr one way) to find the box was not what we thought it was. So we left it there and came home empty handed. A week later we found a really nice box with an Access roll-up cover and a cab with full black interior about 20min from home. The box needs little to no work. The truck was in an accident so the cab itself was junk, but all the interior parts we needed were there and in good condition. Our truck is originally a work truck with no interior trim, the trim that was there is blue. So we gutted the cab and scrapped it. The original cab from our truck is pretty clean, there are some minor rust spots on the floors, rockers and cab corners, but no damage. The floor pans, rockers and cab corners are cheap and you need to learn to body work sometime, so we started cutting. My dad did body work back in the day and he is a perfectionist so we had a good teacher.
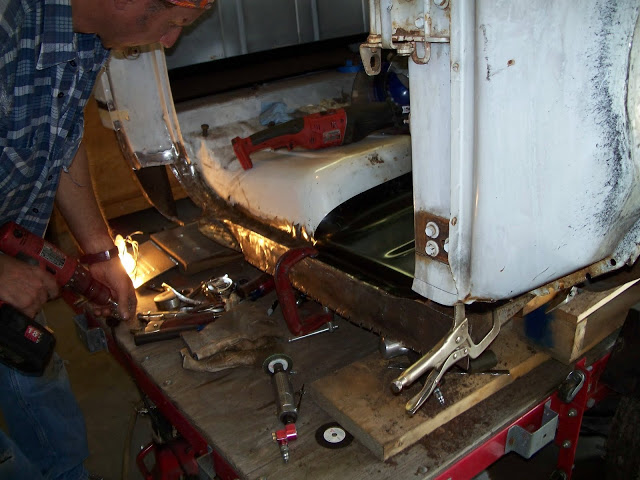
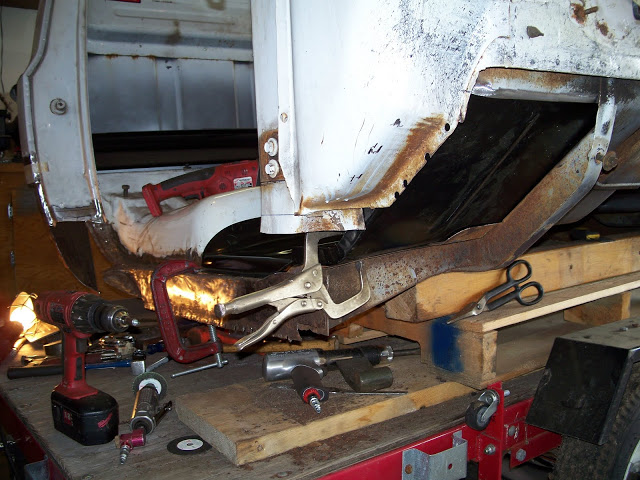
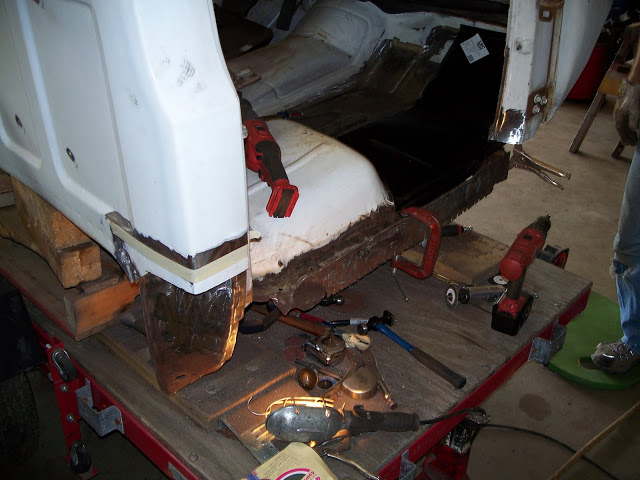
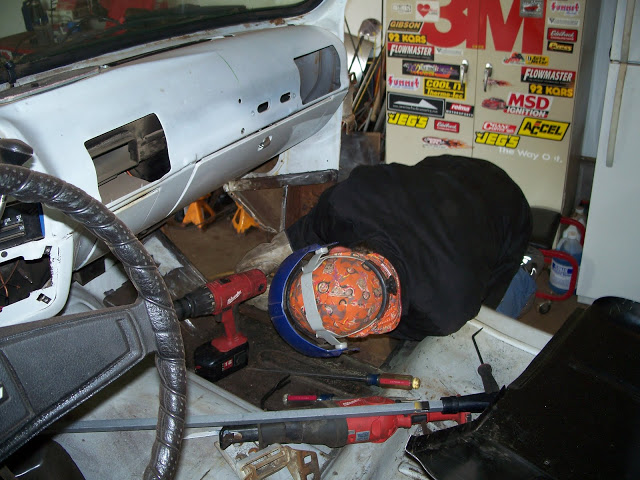
After the rotted panels were removed, the interior was masked off and the surrounding metal was sand blasted.
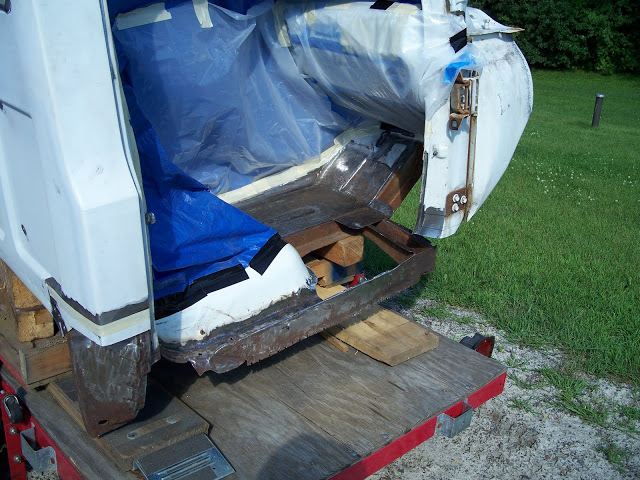
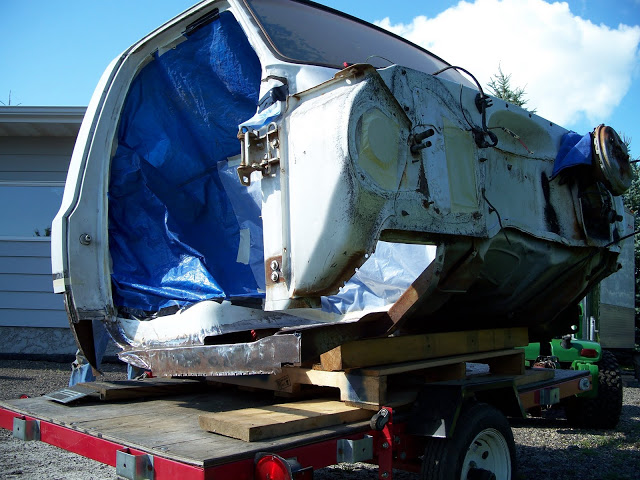
The new panels were then trimmed to fit and messaged to fit nice and tight.
08-14-2010 #54
Registered User
- Join Date
- May 2008
- Posts
- 42
Thanks for sharing. Lots of great projects on this site, but not too many truck build to enjoy. Keep us updated when you can.
08-20-2010 #55
Registered User
- Join Date
- Apr 2007
- Location
- Minneapolis, MN
- Posts
- 154
Front suspension
I opted to cut the stock springs to lower the front down a little more. This has created a problem because the spring will not stay
centered in the lower control arm and is binding on upper spring pocket. Instead of going the lowering spring path, we have decided to go with air bags up front. This will let us adjust where the truck will ride without removing the spring and cutting or replacing it. I am currently researching what set-up to use. I am leaning towards the suicidedoors.com front bag/ plate kit. Right now it will just have schrader valves to inflate and deflate bags since i am not planning on changing the ride height after we get is where we want it.
08-20-2010 #56
Registered User
- Join Date
- Apr 2007
- Location
- Minneapolis, MN
- Posts
- 154
Pass side metalwork almost done
The new pass side sheet metal is fitted and tacked into place. The door needs to be hung to check how the panels line up before its finish welded and seam sealed.
Here are some pics of the chassis with the new box sitting on it.
08-20-2010 #57
Registered User
- Join Date
- Apr 2007
- Location
- Minneapolis, MN
- Posts
- 154
Gauges
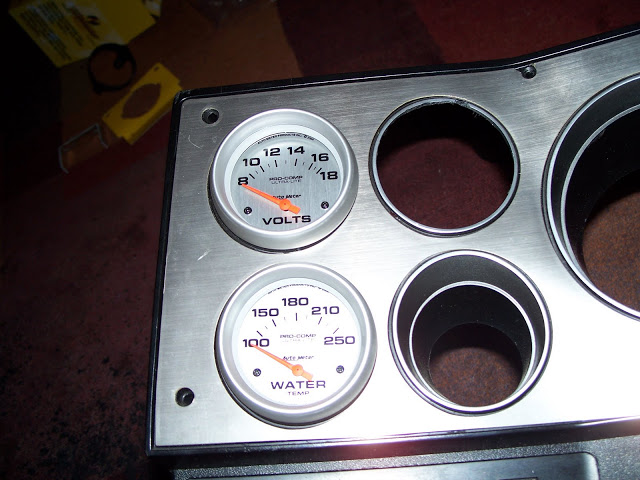
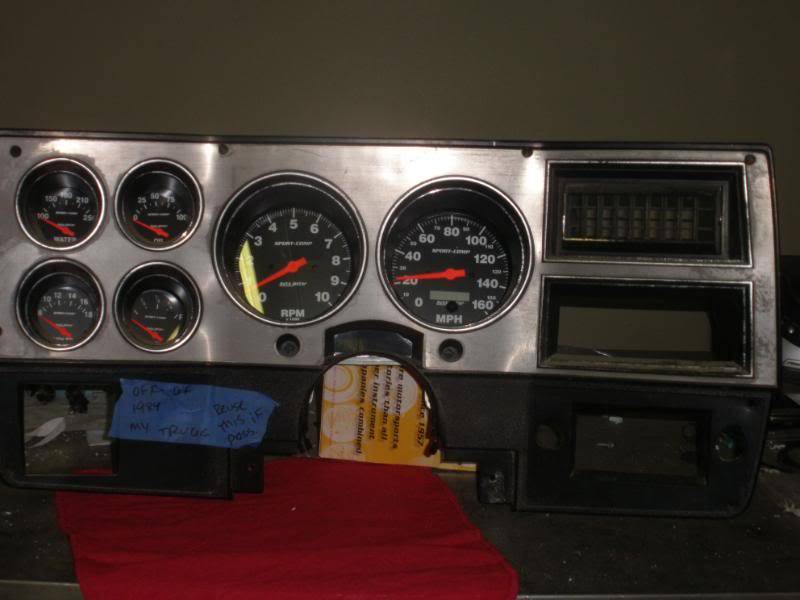
The gauges were are going to use are Autometer Sport Comp Ultra Lites. I have modified a stock gauge trim panel so the new ones will fit. I used a gauge panel that was already cut around the radio as a test panel. The gauge panel that will be used is black. I have seen a couple of these trucks with Autometer gauges and they just don't look right because the gauge panel tilts away from the driver on the bottom side making the gauges hard to read. I mocked up the gauges with some angle mounts from Autometer to tip the gauges so you can see the entire face. I think i could make my own angle mounts that don't stick out so far. I need to make some angle mounts for the 5" tach and speedo as Autometer does not make them for that size. What do you guys think?
Gauges w/ angle mounts
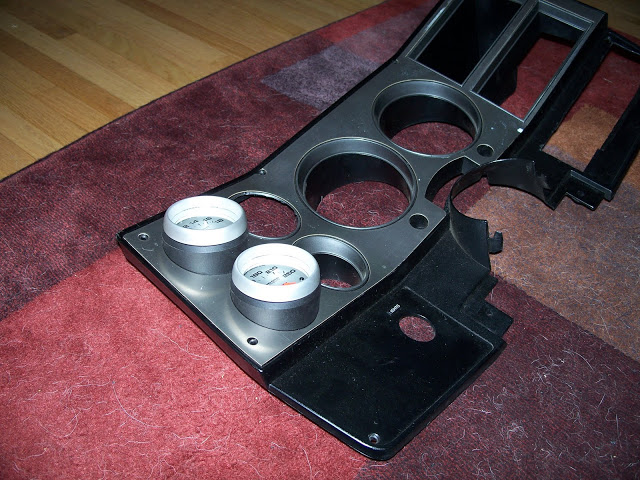
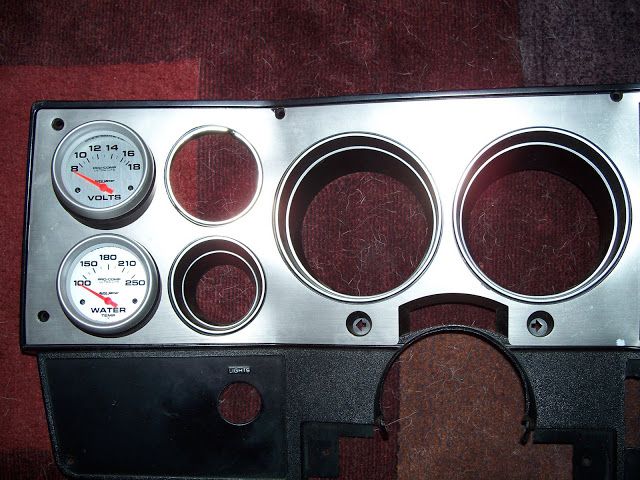
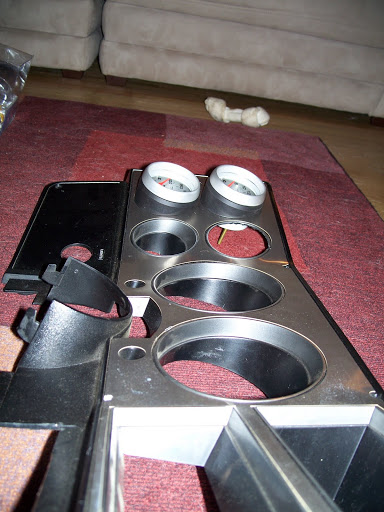
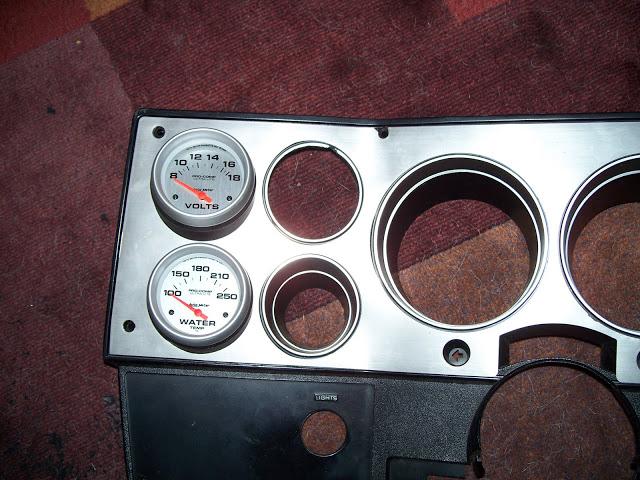
Gauges w/o angle mounts
08-21-2010 #58
Registered User
- Join Date
- May 2008
- Posts
- 42
If your not sure which way to go, here's an options-
LINK
08-21-2010 #59
Registered User
- Join Date
- Aug 2007
- Posts
- 151
That's a great looking engine

08-23-2010 #60
Registered User
- Join Date
- Apr 2007
- Location
- Minneapolis, MN
- Posts
- 154
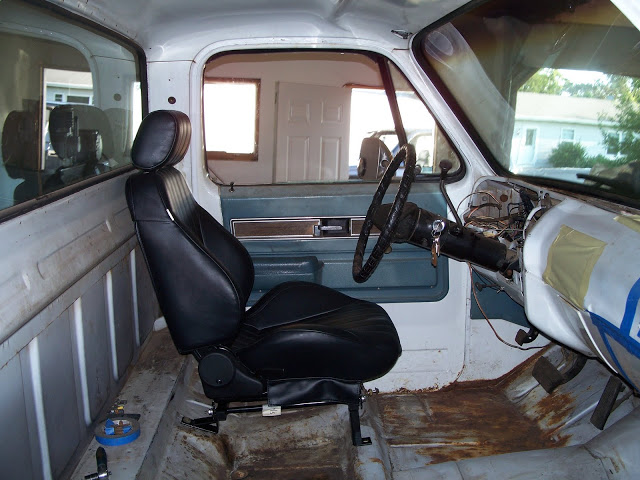
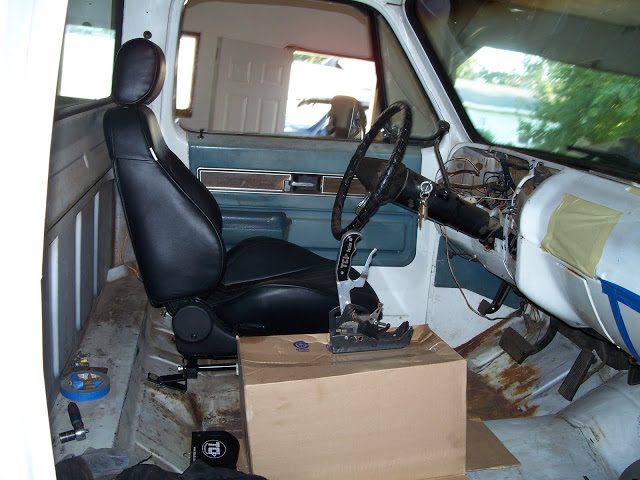
Seats
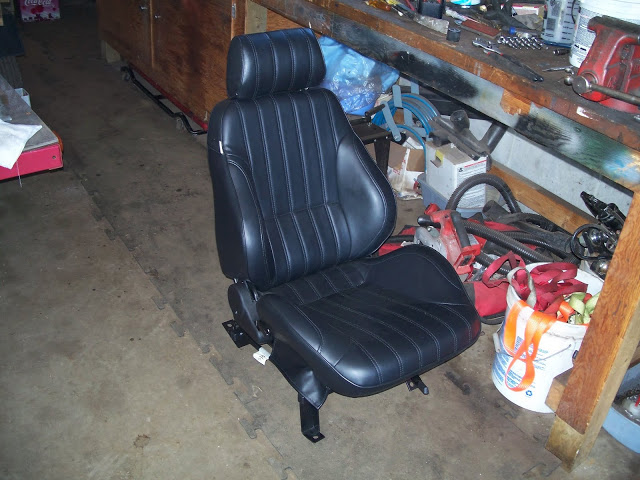
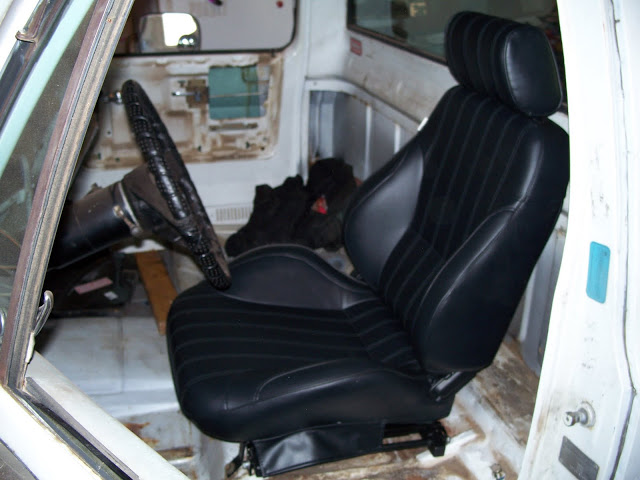
We had some time on sunday so we grabbed one of the Pro Car Rally seats and installed it to see how it looked, and also just to sit in it. Gotta stay motivated! We are going to use a TCI Outlaw pistol grip shifter so we set that in there to just to get a feel for it. I like the card board box, but we are going to be making some kind of console between the seats. The seats are great, they are very comfortable and look like something that could be OEM.

 Reply With Quote


