Results 1 to 20 of 66
-
02-05-2009 #1

 Registered User
- Join Date
- May 2008
- Location
- Des Moines IA
- Posts
- 109
Project "Red-Stripe". A '69 Camaro Convertible
It is getting time to post photos of my before-during-and after shots of my latest project. I'm not real good at step-by-step photos, but I'll do the best I can.
Any advice, critiques, critisisms are very welcomed. If it helps me to build a better car, I will definately listen, so please speak up.
Here's the before pics.
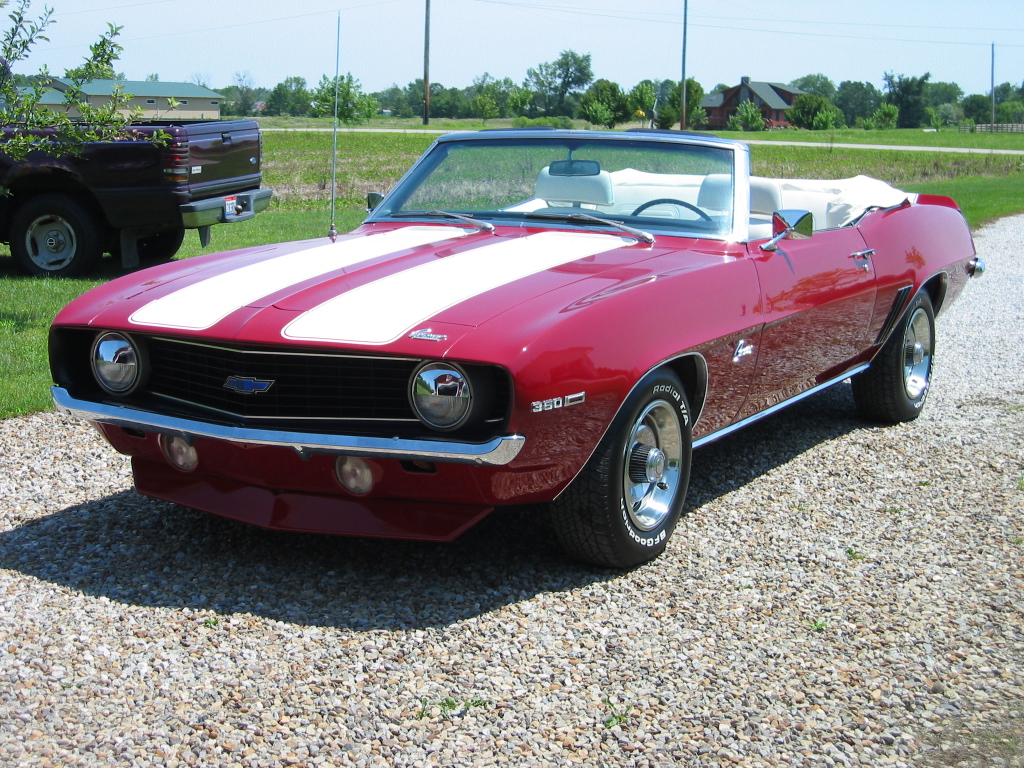
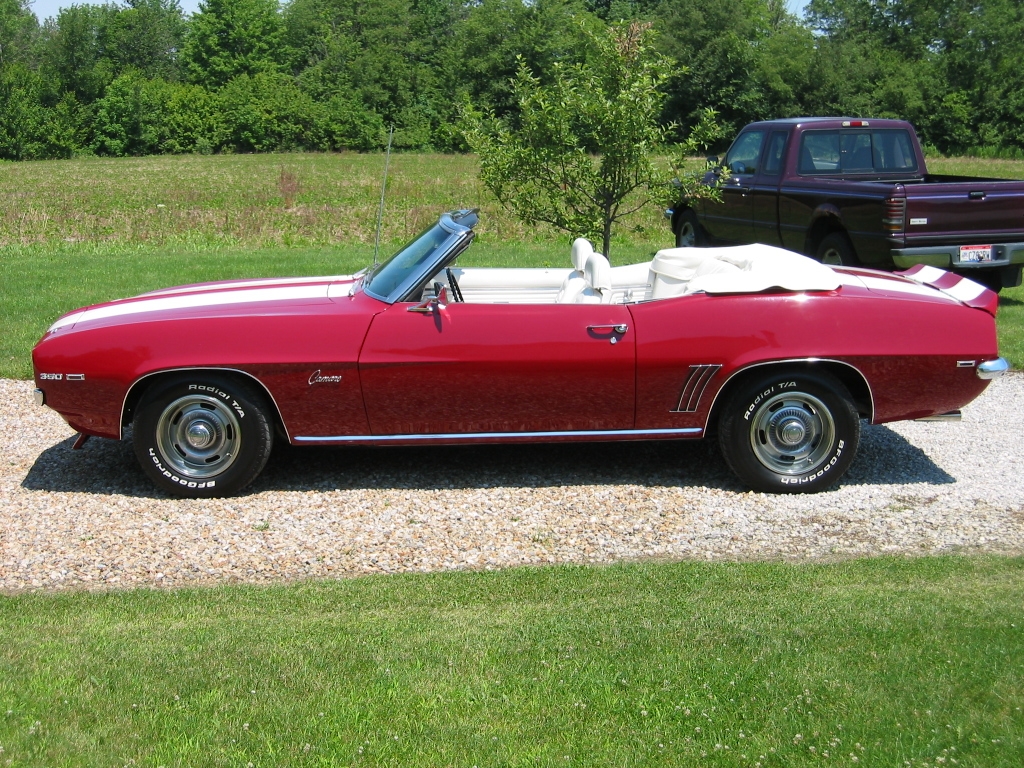
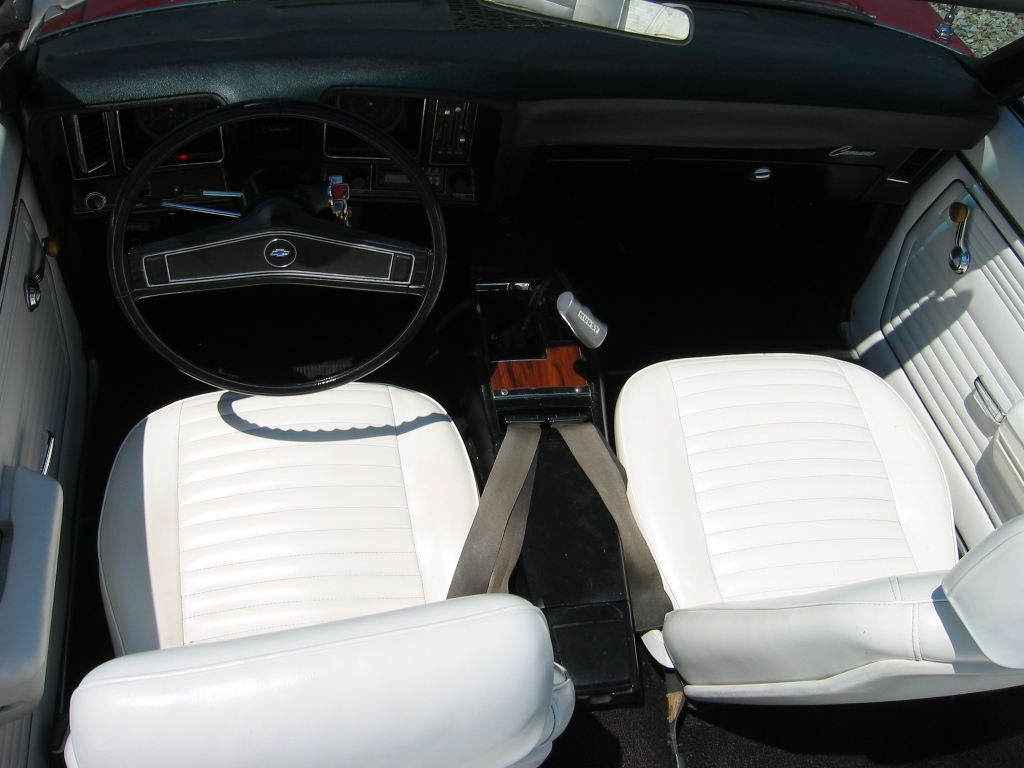
-
02-05-2009 #2
Registered User
- Join Date
- May 2008
- Location
- Des Moines IA
- Posts
- 109
Here it is with the first add-on. these were soon taken off and replaced.

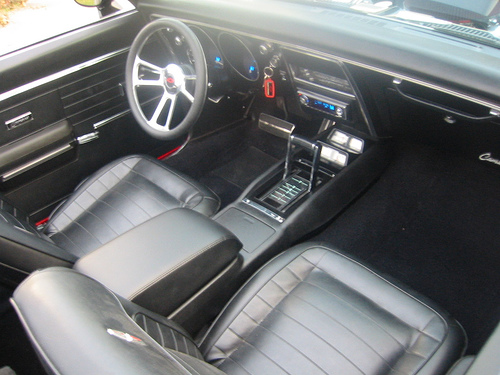
Then, something needed to be done with the center console. You gotta have cup holders!
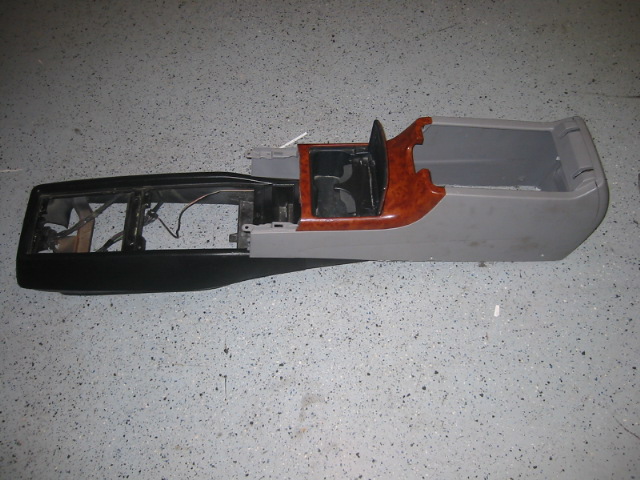
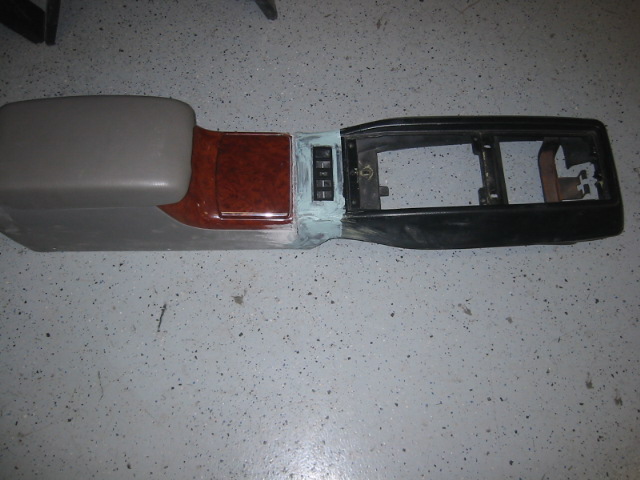
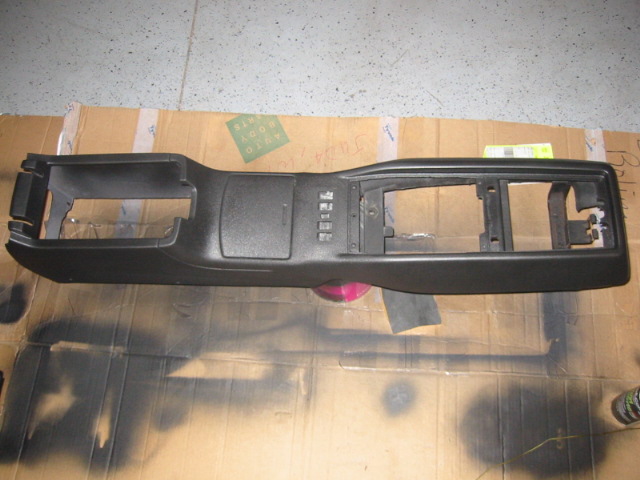
It will have power windows too. You can see the switches in the center console.
It is the same car. I just dyed the door panels and replaced the seats.... So far.
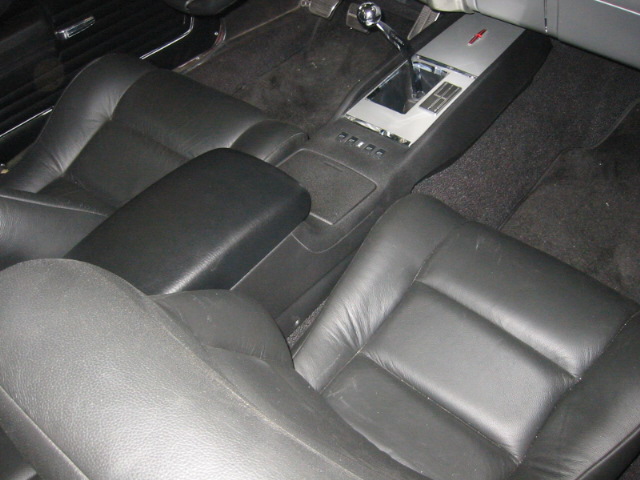
This is the center console I built for my '68 Camaro that was sold about this time last year.
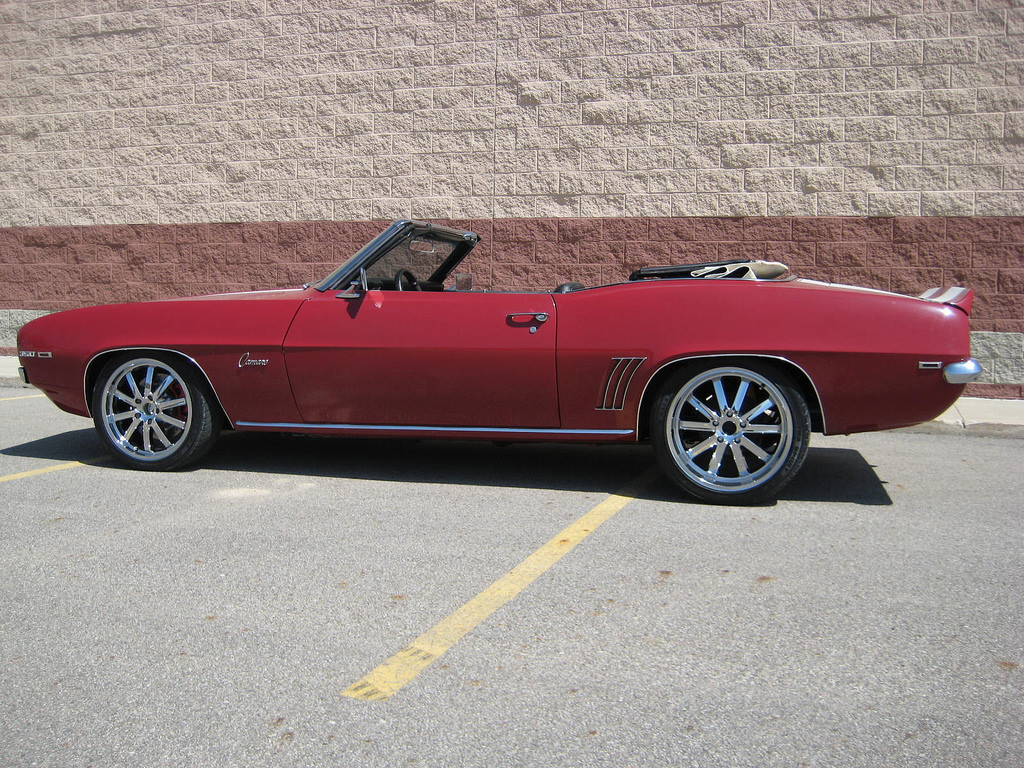
Here is a shot with the new wheels. I'm a bit happier with these wheels, but will probably change again when it comes out of the paint booth.
02-05-2009 #3
Registered User
- Join Date
- Nov 2007
- Location
- near Orlando
- Posts
- 231
Damn, the car already looked good. Nice job on the console. Old meets new. Those factory consoles looked good in the cars but they were useless compared to today. I might have to "borrow" that idea one day.
RagRat
Chris Costa
02-05-2009 #4
Registered User
- Join Date
- May 2008
- Location
- Des Moines IA
- Posts
- 109
Rag-rat-- Borrow away. That's why I post on here!
Thx for the props.
02-05-2009 #5
Registered User
- Join Date
- Dec 2006
- Location
- Cypress, TX
- Posts
- 330

Both have good taste..
02-05-2009 #6 Registered User
- Join Date
- Oct 2004
- Location
- St.Anne Il
- Posts
- 3,924
haha that name reminds me of beer ...jut like above..car looks awesome ..love the console..wheels are cool ..looked nice already cant believe it needed a repaint..keep up the great pics..
Darrin Stalnecker
1969 Camaro Convert full pt pr
2007 Corvette Supercharged
1968 Camaro LS1 T56
http://www.fquick.com/dropit69
02-05-2009 #7
Registered User
- Join Date
- May 2008
- Location
- Des Moines IA
- Posts
- 109
The beer, and the red-stripe that will be on the car, is how I came up with the name. And..... with any luck, it may see paint while I am in Jamaica at the end of this month, although I really would like to see it getting color.
Here are a couple more update photos of the car.
This was the fitting of the front seats.
The dash received the update as well.
02-05-2009 #8 Registered User
- Join Date
- Sep 2007
- Location
- Dearborn,MI
- Posts
- 61
I like what you did with the shifter console. Lookin sharp!!

02-05-2009 #9 Registered User
- Join Date
- Jun 2007
- Location
- Various Barns in Northern Illinois.
- Posts
- 875
Gotta love it when someones not afraid to cut up parts of musclecars! Love it, any hints on the new color?
Life is Better Spent in the Garage
Laine O
72 Camaro, 468, TH400, 3:42 = FUN!
92 Camaro RS, Restored Autocross wannabe
LIVE LOVE DRIVE!
02-05-2009 #10 New to Pro-Touring
- Join Date
- Nov 2008
- Location
- Wyoming, Michigan
- Posts
- 34
Hey Resto, your '69 looks very nice. Like everyone else, I'm a bit surprised you're getting a repaint too.
Please don't take this personal, but you asked for opinions:
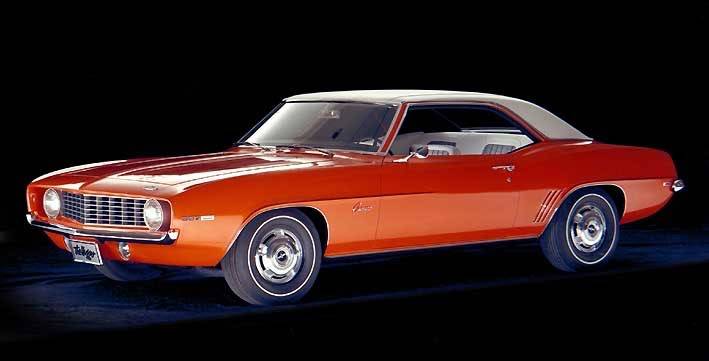
When you get it repainted, make sure your painter paints the area around your grille body color. I'm talking about that area between the bumper and the chrome edge around the grille, including the area outboard of the headlights. That was body color from the factory, and every time I see a '69 Camaro with that area left black, it makes the car look unfinished to me. The replacement grilles come all black (or silver, on a silver grille) and when they don't paint the outside area, it looks like someone just stuck the replacement grille in and called it good enough. You see that more and more these days and it looks as bad as if someone left a door or hood in primer. See the attached pic to see what I'm talking about.
And, if you're gonna put the Z28 stripes back on, do yourself a favor and buy a stencil kit so your painter can get them like the factory ones. Or you could put the Hockey Stick stripes on instead. Not as many people do those and they look awesome. Again, buy a stencil kit for those as well.
Again, nothing personal, just trying to suggest ways to take the car up another notch.
Here's the way the grille area came from the factory:
Please keep us posted as the project progresses.
02-06-2009 #11 Registered User
- Join Date
- Sep 2004
- Posts
- 129
Great minds and Doug's, think alike... ;)
 Originally Posted by WMCC Doug

02-06-2009 #12
Registered User
- Join Date
- May 2008
- Location
- Des Moines IA
- Posts
- 109
Thank you for the comments! This is the input I'm looking for and always proves to be helpful.
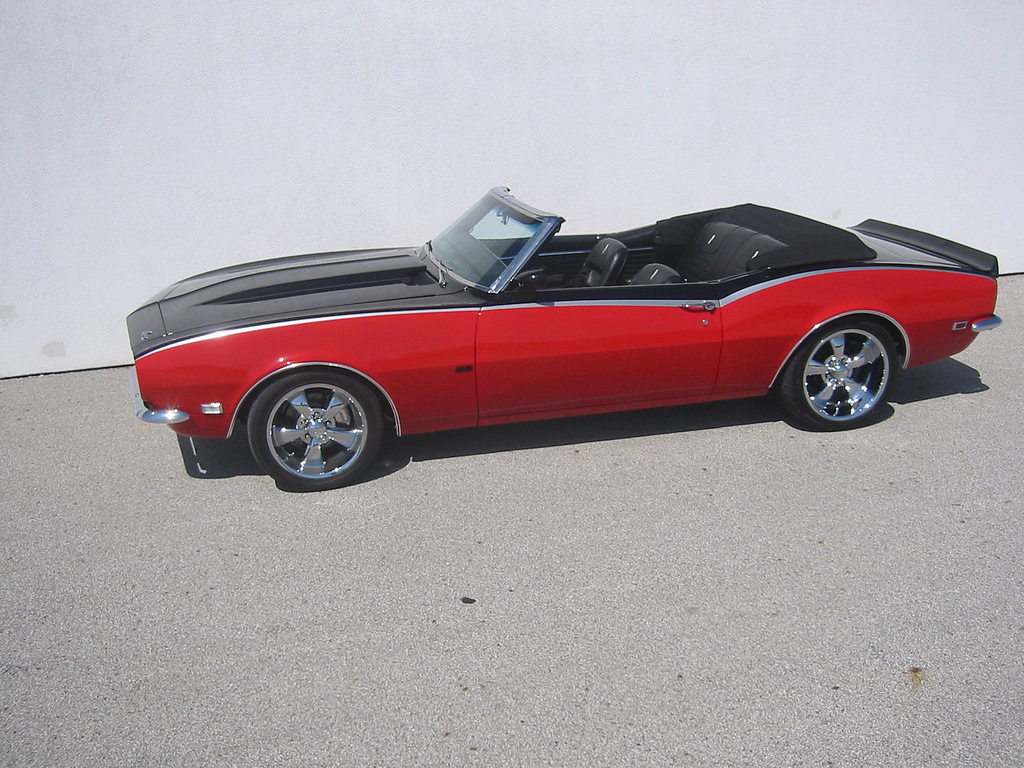
The paint around the grill will be Silver w/ a Black grille, and a new style "SS" badge in the center of the grille done with Red letters. The headlight buckets will be done in black as well. As for the color scheme... I'm going with what I had done with my '68, only swithcing the Red and Silver colors. If anyone knows of a Silver that REALLY POPS, please let me know. Here's a shot of my '68 to get an idea of the paint scheme. Again, opinions and ideas are very welcomed.
02-06-2009 #13 Registered User
- Join Date
- Mar 2006
- Location
- NYC
- Posts
- 201
what steering wheel is that Originally Posted by resto-mod
02-07-2009 #14
Registered User
- Join Date
- May 2008
- Location
- Des Moines IA
- Posts
- 109
Mike,
The steering wheel is made by Isotta. Seems to be the right size and decent quality.
Went to the body shop today and began the tear-down process. A few cuts and bruises later, most of the outer trim is off. I forgot my camera today, but will have some shots posted Monday night.
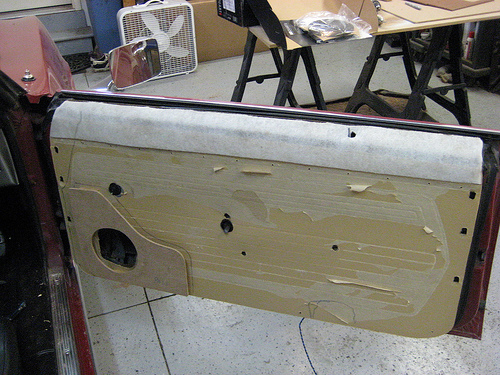
I did some work on the door panels last night. I got the passenger side finished, but still working on the the drivers side.
Here's a few photos. Let me know your thoughts.
Making sure it fits correctly.
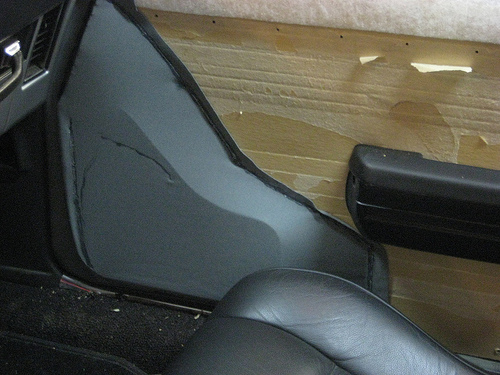
Sizing up the design layout.
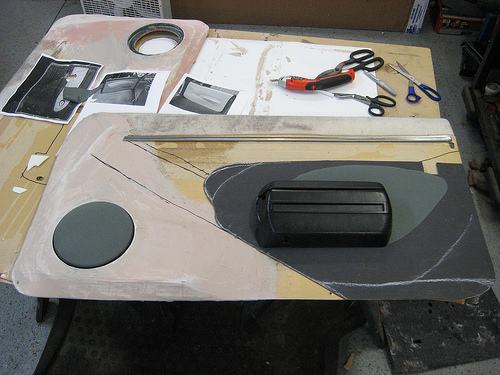
Same thing for the rears.
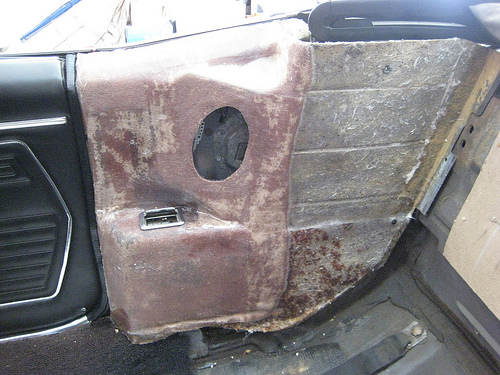
Making the grilles fit flush.
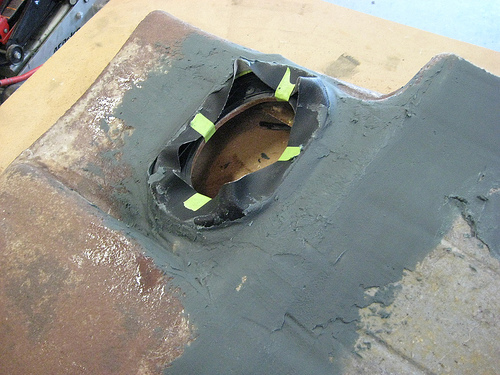
I thought I had photos of the passenger side finished, but they will be found and added shortly.
02-07-2009 #15
Registered User
- Join Date
- Mar 2006
- Location
- NYC
- Posts
- 201
thanks bro good luck with the car very nice modifications
do they have a kit to mount it to a chevy or did you modifi it couse i see you a chevy horn button
02-07-2009 #16 New to Pro-Touring
- Join Date
- Sep 2007
- Location
- Livermore, Ca
- Posts
- 78
nice job. I'm curious to see how the door panels turn out.
02-08-2009 #17
Registered User
- Join Date
- May 2008
- Location
- Des Moines IA
- Posts
- 109
Mike--The grant kit is all that's needed for fitment. I did modify to make the horn button fit.
Marc-- Thanks! I will have more photos of the doors posted shortly.
02-08-2009 #18 Registered User
- Join Date
- Nov 2008
- Location
- Iceland
- Posts
- 896

Nice project Keep us update
02-08-2009 #19
Registered User
- Join Date
- Jan 2007
- Posts
- 17
REAL nice project, I love what you did with the console. Mind telling me what car the rear section of the console is from?
02-08-2009 #20
Registered User
- Join Date
- May 2008
- Location
- Des Moines IA
- Posts
- 109
SSV- There are two console photos. The one in the '68 is out of an 03-06 Infiniti G35, and the '69 is from a 03-05 Camry XLE. Another one that I think would look nice is from an 06-08 Charger. The key is to find something close in width, then just play with it from there.
I am planning on keeping the door handles, but getting rid of the lock holes. I think I'm going to go the "Foose" route and use the Jaguar door handles. I really don't want to shave the doors, but I am looking for ideas (and photos) of nice looking door handles that could be color-keyed. Any input on this would be appreciated. Thanks.
Tags for this Thread

 Reply With Quote