Results 1 to 20 of 94
Thread: Project Throttle: 1972 Camaro
-
03-10-2009 #1

 Registered User
- Join Date
- Mar 2008
- Location
- Dripping Springs, TEXAS
- Posts
- 356
Project Throttle: 1972 Camaro
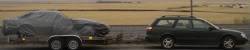
On January 28 1997(2 days after my birthday) I was going around looking for a 1970-73 Firebird Formula or T/A.. On my way back to the house from looking at a 1973 Formula that was so rigged and full of bondo that even I didnt want to mess with it. I came acrossed a 1971 Camaro RS that had its nose sticking out in the street with a FORE SALE sign in the window, he really had it spelled like that..:D Anyways, I had to stop to look at it since it was only $1600 dollars. I got to looking at this car and noticed that the back window was getting ready to fall in, he says that it would be a easy fix.. I tell him this car is going to need both quarters,both trunk extensions and fenders, as I am walking around the car to see how bad it is I see a car under a tarp.. I ask him what that is and he says that is a 1972 Camaro with a 327/TH350 and it is all there and has a title.. It has been drug down a poll on the driverside. He wanted $500 for it, I ask if it runs. He says it will run but only for 10 second or as long as he can poor gas down the carb, I tell him I will give him $300.He says $500 and I can go through his stash of parts.. I say OK..I went to his storage and grabbed just about everything I could put in my truck..
So that starts my journey, back then I was just a High School kid trying to build a cool car.. I got the car to my garage and started to see what the deal was with the fuel. I checked the fuel lines, and everything and couldnt find anything wrong with it.. So I kick the key on and nuthing comes out of the fuel line at the motor. He had the electric fuel pump in backwards.. Easy Fix, turned it around and look at that it fires right up and runs fine.. This is what it looked like when I took it off his lot and got it to my place..

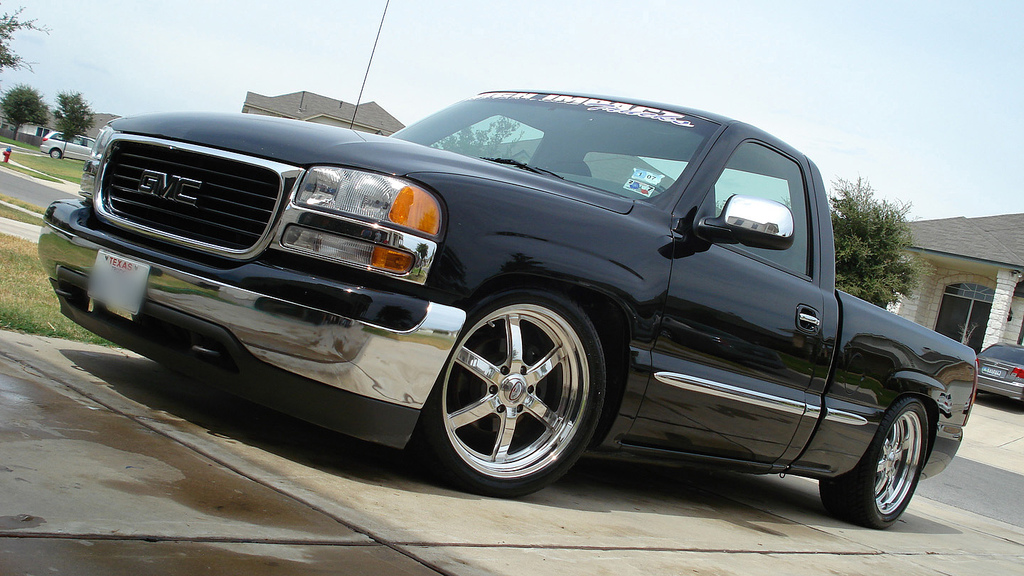
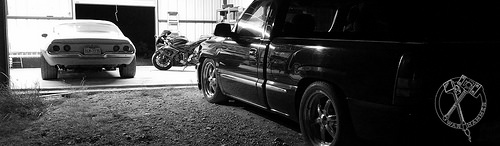
The Car lasted a couple of weeks and then the cam went flat from him trying to start it and only run for 10 seconds while break in.. So I pulled the motor and decided I was going to rebuild the motor, the bottom end was good. So I bought a Cam, lifters and pushrods and started there.. I also Ported and Polished the heads. Well my luck sucked and the motor in my daily went south and I had to use everything for the Camaro in the 62' C10 and when I got that motor installed in the Truck it turned out to be just to much motor for a daily driver(283 bored .030 with 480 lift cam and 11.2 to 1 compression), it makes 430hp at the crank @ 7200 rpm.. So the Camaro when on the back burner while I paid off my new daily driver. I bought a 2000 GMC Sierra 4.8L V8 hoping I wouldnt get the bug to mod it.. Well, I did and this is what it looks like today..
So that took me five years and then I started working on the Camaro again..I started with repairing the windshield and back window area. Then new quarter and trunk extensions on along with some patches for the passenger quarter..
Back Window.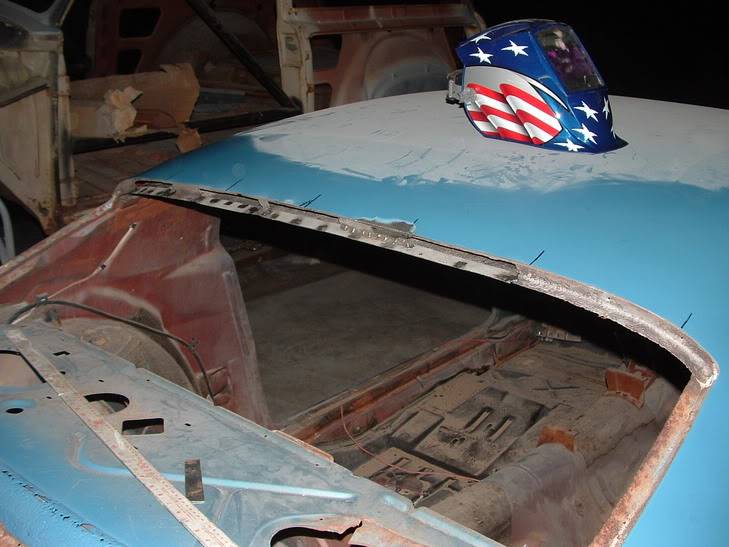
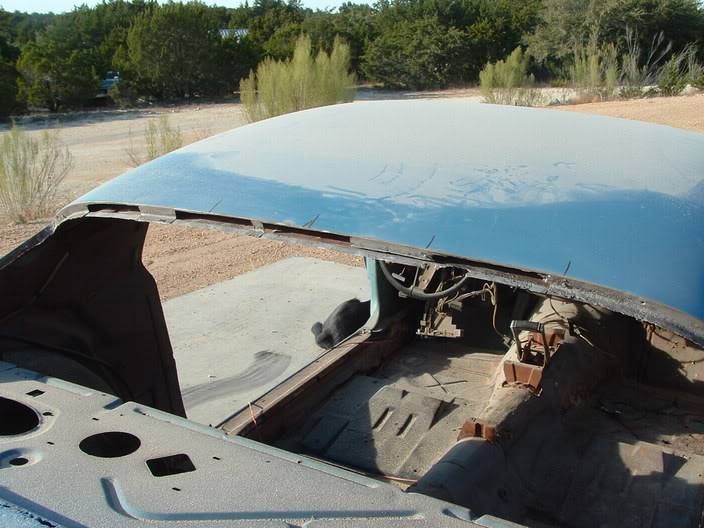

Windshield
-
03-10-2009 #2
Registered User
- Join Date
- Mar 2008
- Location
- Dripping Springs, TEXAS
- Posts
- 356
Her are some pics of the qaurter panel work.
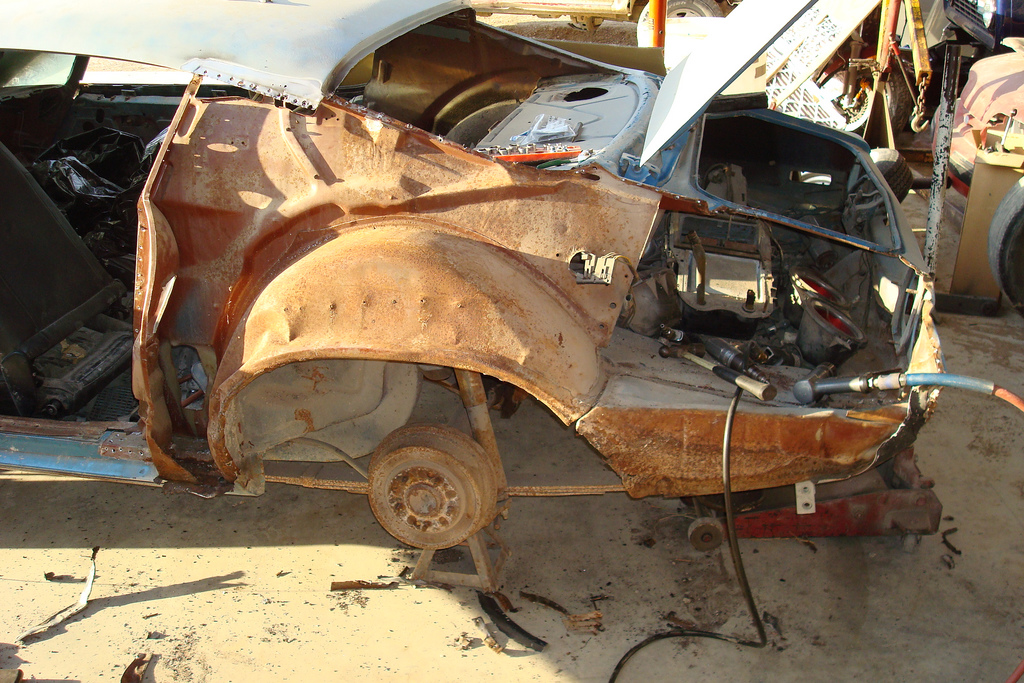
POR15 on the stuff that is going under the quarter.
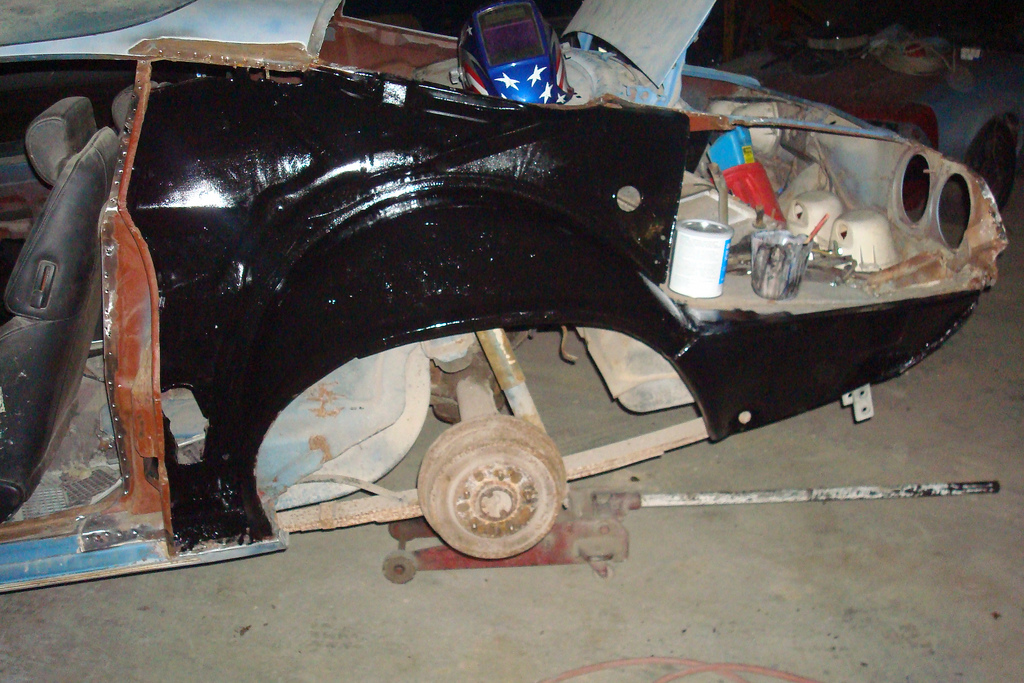
New Quarter on.

Then the Car went on the backburner again when I got the urge for a motorcycle again..
That is where this fast little ******* came into my life.
2007 GSXR 750
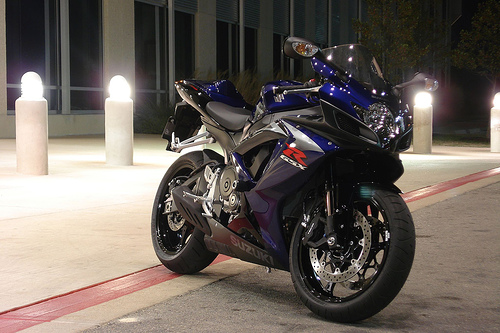
Instead of Working on my car on the weekends I was riding this thing and loving it.. On October 18 2007(almost one year after buying it) I went down hard on it, I highsided off of it in a diesel soaked road and landed on my shoulder instantly blowing my collar bone in many many peices.. I found out that day that the guy had shoved a rag in a hole in his fuel tank and when he went through the turn the fuel pushed it out and poured all over the road. Needless to say I sued him and the company for it and was able to get back on my bike along with getting much needed parts for the Camaro... :D
Here is the rest of the project in pics because I am sick of typing..
http://www.flickr.com/photos/2641401...7603998601359/
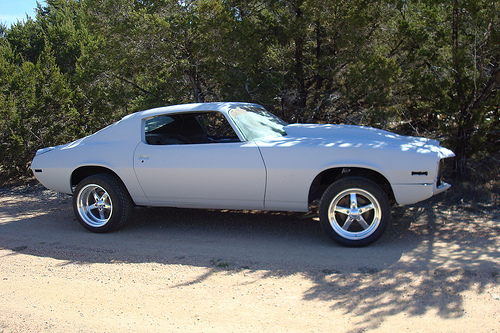
This is what is looks like right now. So it took me alot of breaks and 12 years to get here, but it is worth it..
Here is the rundown of what is done to it..
Factory Options:
This car was a base 307ci Camaro from the factory...
Exterior Modifications:
Boyd Coddington Rebels 17x8 w/ 245/40/17 front and 17x11 w/ 315/35/17 rear
Harwood 4" Cowl Hood
Factory one peice spolier
Grand Sport Blue with White w/ silver pearl stripes
Interior Modifications:
Interior is pretty much all factory style other then the 1990 300ZX Seats and Auto Meter Gauge Cluster..
Performance:
Started life as a 1990 SS454 Truck block(4 bolt main).
Eagle 496ci Stroker Kit-Forged Crank
ARP Main Studs and Heads Studs
6.385 H-Beam Rods
10.2:1 JE Pistons
Comp Cams Hydraulic roller tappet
-Basic Operating RPM Range: 2,500-6,200
-Intake Duration at 050 inch Lift: 232
-Exhaust Duration at 050 inch Lift: 232
-Advertised Intake Duration: 290
-Advertised Exhaust Duration: 290
-Intake Valve Lift with Factory Rocker Arm Ratio: 0.578 in.
-Exhaust Valve Lift with Factory Rocker Arm Ratio: 0.578 in.
-Lobe Separation (degrees): 110
Roller Lifters
1.7 Comp Cam Roller Rockers
Brodix Heads
Combustion Chamber Volume (cc): 119
Intake Runner Volume (cc): 270cc
Intake Port Shape: Oval
Exhaust Port Shape: Round
Intake Valve Diameter (in): 2.250 in.
Exhaust Valve Diameter (in): 1.880 in.
Retainer Material: Steel
Locks Included: Yes
Lock Style: 10 degree
Rocker Arm Nut Thread Size: 7/16-20 in.
Guideplates Included: Yes
Guideplate Pushrod Size: 3/8 in.
Accessory Bolt Holes Drilled: Yes
Intake Valve Angle: 26
Exhaust Valve Angle: 26
Valve Seat Machine Style: 3-angle
Dart intake
Single Plane
850cfm Holley dp
March Pulley Kit
MSD Ingnition and Distibutor
Be Cool Radiator and Fans
Suspension/Chassis:
Global West Upper and Lower Control Arms
Hotchkis TVS Kit
Blistein Shocks
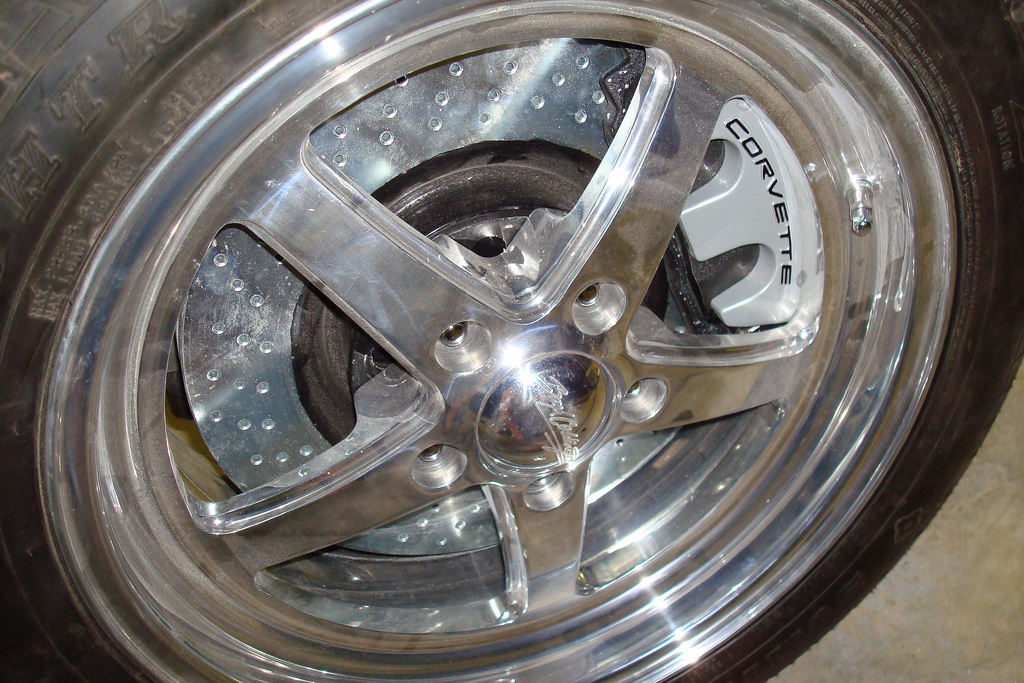
2008 Z51 Front Brakes(13.4in rotors)
SSBC Rear Disc Brake setup
Master cylinder off of a later model Corvette with Disc/Disc Prop Valve
8" Dual Diaphram Booster
All New MOOG Steering Components
Drivetrain:
Moser 12Bolt
33 spline axle and a detroit Locker with 3.73s
Built TH400 with a 2600 TCI Street Fighter Stall Converter
Electronics:
MSD 6AL
03-11-2009 #3 Registered User
- Join Date
- Nov 2008
- Location
- iceland
- Posts
- 1,859

Sounds like you got great car there
 keep posting pics
Bjarni B
My Chevelle project The Awakening
http://www.1971chevelle.net/

http://www.kvartmila.is/smf/index.php?topic=27028.0
CHEVY POWER RULES!
03-11-2009 #4 Registered User
- Join Date
- Nov 2008
- Location
- Iceland
- Posts
- 896
nice project keep us posted
03-11-2009 #5
Registered User
- Join Date
- Mar 2008
- Location
- Dripping Springs, TEXAS
- Posts
- 356
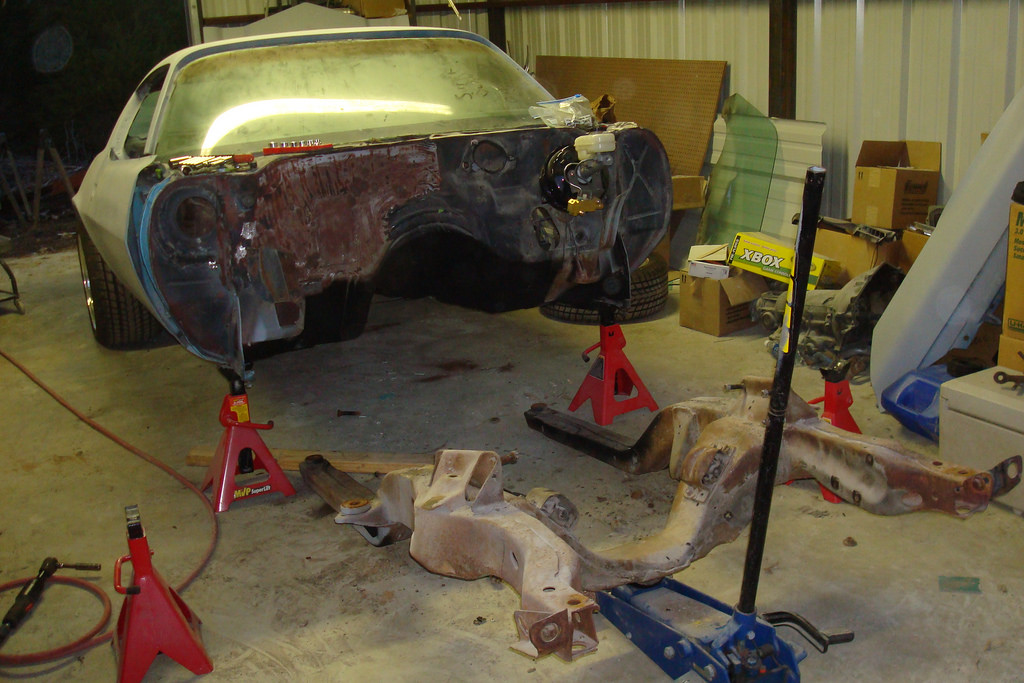
I took it back over to my personal garage and getting ready to pull the front end off some I can get the Subframe out to blast and put back in.. Then the fun begins with the engine and suspension..
03-11-2009 #6 Registered User
- Join Date
- May 2005
- Location
- Miami
- Posts
- 2,218

 Originally Posted by Throttle

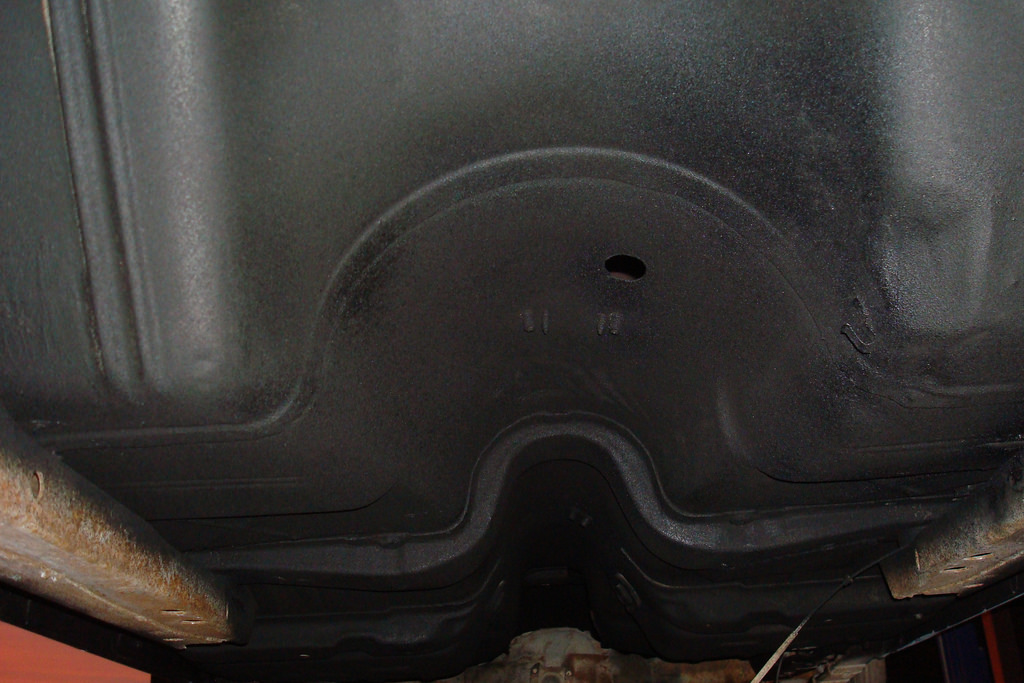
don't forget to clean the bottom of the shell
1955 Chevy 150
http://imageshack.com/a/img911/7169/QLWsvk.jpg
1968 Camaro
http://imageshack.com/a/img901/7223/twfpl9.jpg
1956 Chevy 210
http://imageshack.com/a/img834/6076/8azy5.jpg
___________
Jeff
03-11-2009 #7
Registered User
- Join Date
- Mar 2008
- Location
- Dripping Springs, TEXAS
- Posts
- 356
Already done and undercoated..
03-11-2009 #8
Registered User
- Join Date
- May 2005
- Location
- Miami
- Posts
- 2,218
good job! Your holding out on pictures I see...LOL
1955 Chevy 150
http://imageshack.com/a/img911/7169/QLWsvk.jpg
1968 Camaro
http://imageshack.com/a/img901/7223/twfpl9.jpg
1956 Chevy 210
http://imageshack.com/a/img834/6076/8azy5.jpg
___________
Jeff
03-11-2009 #9
Registered User
- Join Date
- Mar 2008
- Location
- Dripping Springs, TEXAS
- Posts
- 356
03-12-2009 #10
Registered User
- Join Date
- Aug 2004
- Location
- Dunwoody, GA
- Posts
- 4,984
very nice.
Trey
"The early bird may get the worm, but the second mouse gets the cheese."
~ Jon Hammond
1979 WS6 Trans Am stock LT1/T56 drive train out of my Formula. BMW M-parallel rims. C5/C6 brakes
build thread https://www.pro-touring.com/showthre...ghlight=begins
03-12-2009 #11 Registered User
- Join Date
- Aug 2007
- Location
- Snohomish,Wa.
- Posts
- 364
Nice Truck! perfect stance and choice of rolling stock. Originally Posted by Throttle
Roger
03-12-2009 #12
Registered User
- Join Date
- Mar 2008
- Location
- Dripping Springs, TEXAS
- Posts
- 356
Thanks, this truck was the first thing I have ever modded to handle..
03-15-2009 #13
Registered User
- Join Date
- Mar 2008
- Location
- Dripping Springs, TEXAS
- Posts
- 356
I pulled all the sheetmetal off today and pulled the subframe and suspension.. Now I just have to sandblast it and paint it Egg Shell Black.. Should have the front suspension back on it before the end of March.. While it is all off I will do the bodywork on the firewall and paint it Egg Shell Black while im at it..
03-16-2009 #14 Registered User
- Join Date
- Sep 2008
- Location
- Southaven, MS
- Posts
- 38
The car is looking great. Keep up the great work.
69sleeper
03-31-2009 #15
Registered User
- Join Date
- Mar 2008
- Location
- Dripping Springs, TEXAS
- Posts
- 356
I finally got around to sandblasting the core support and to no suprise it is trashed, thank god I know how to fix this crap. I would hate to have to buy a new reproduction and have to make it fit..
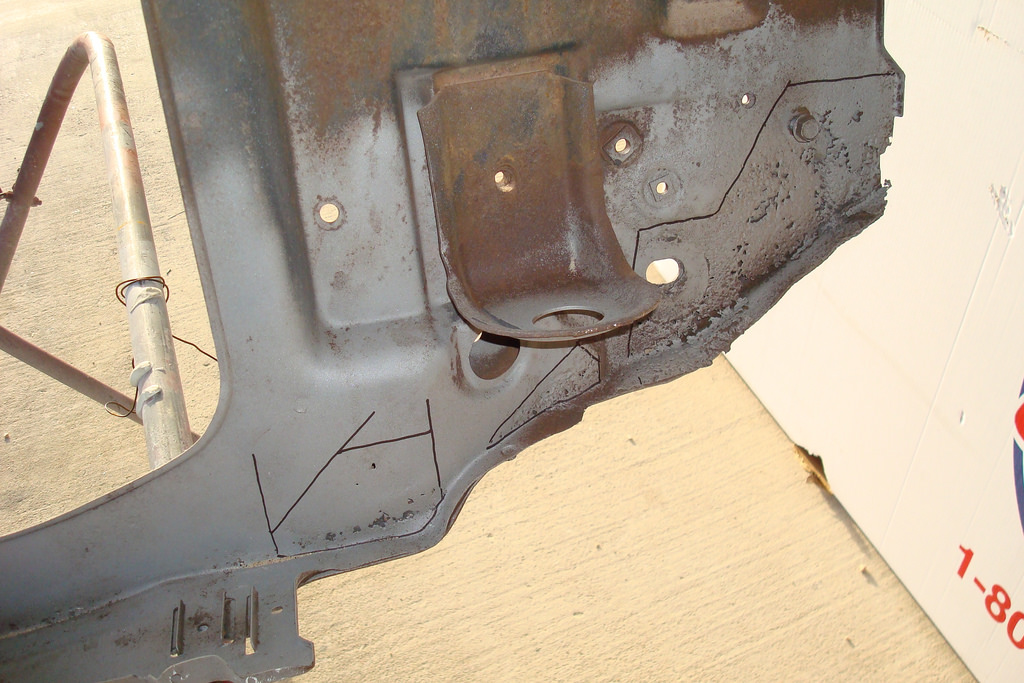

Making the patches out of cardboard first..
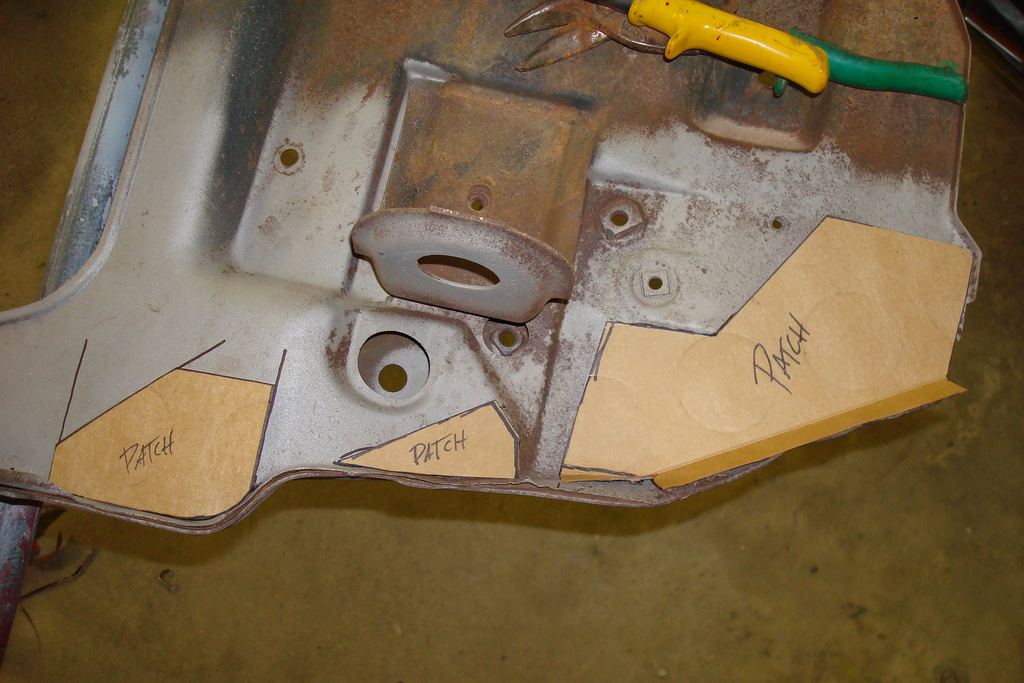

Then using the cardboard patches to make the metal ones..
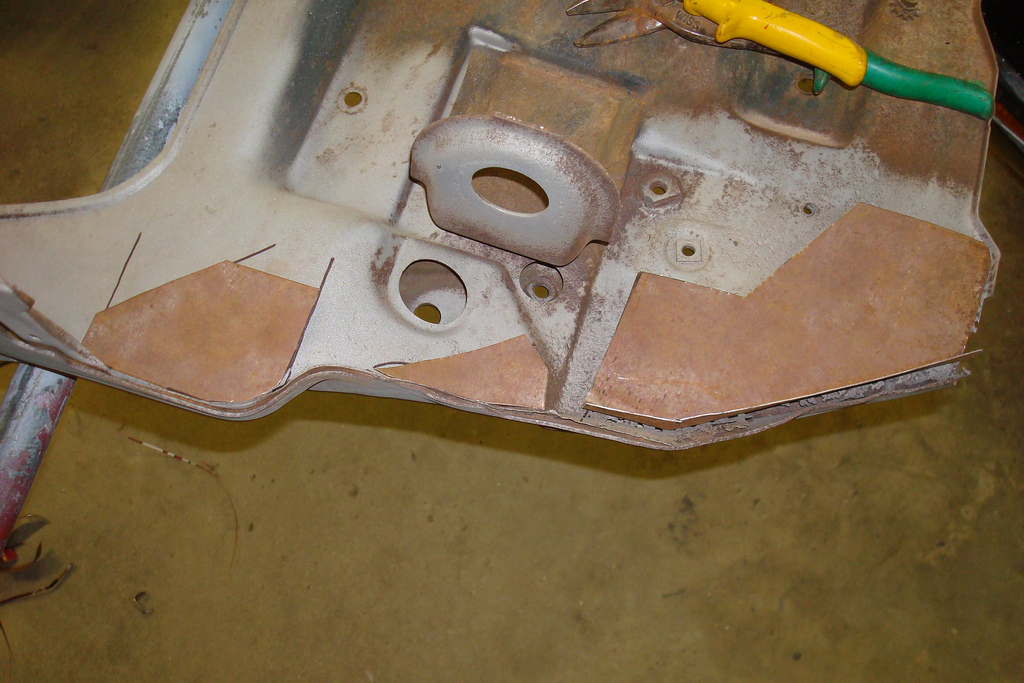

Now I have to sandblast them and cut the old stuff out and POR15 behind all the patches and start welding them in..
03-31-2009 #16
Registered User
- Join Date
- Mar 2008
- Location
- Dripping Springs, TEXAS
- Posts
- 356
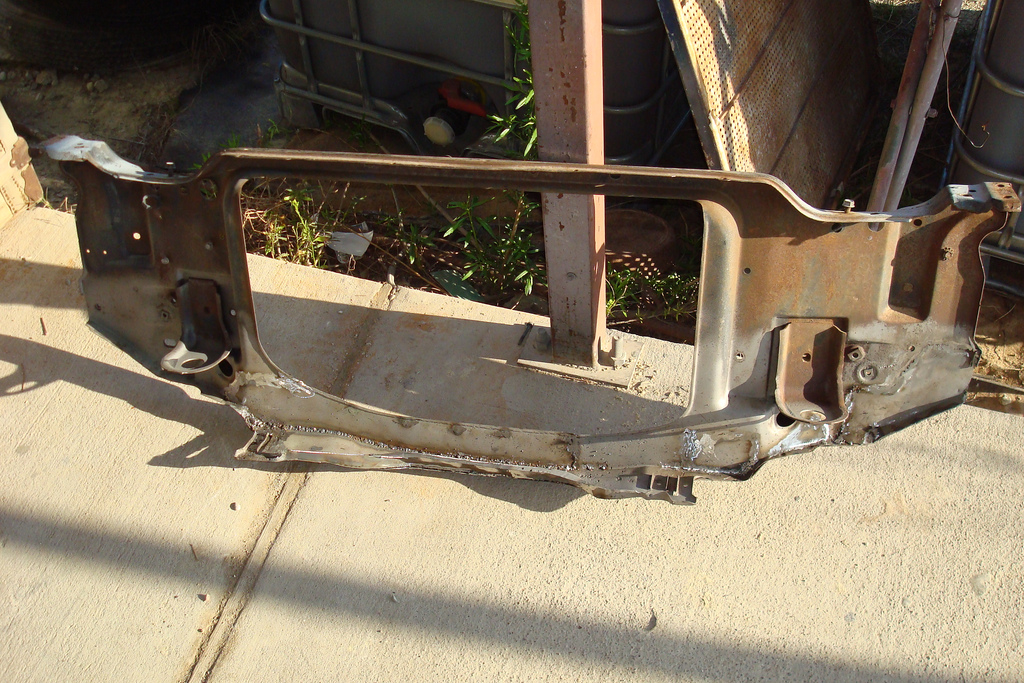
This is a quick grind of the new patches after being welded in..
Here is the Subframe and Core Support blasted, I am now hanging them up to spray them plus a couple of other parts..
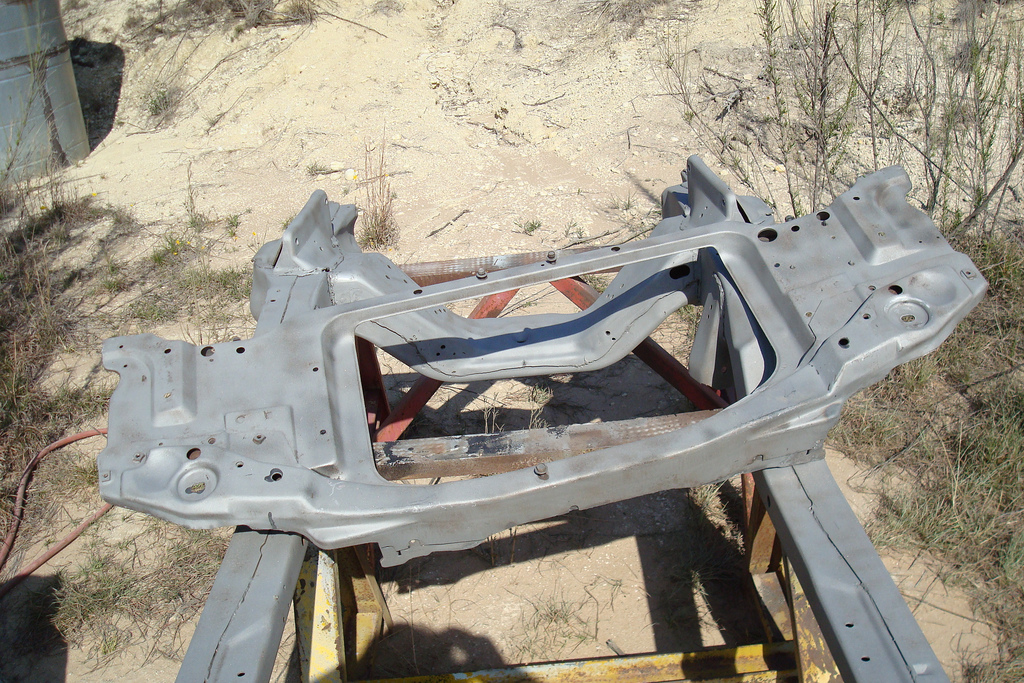
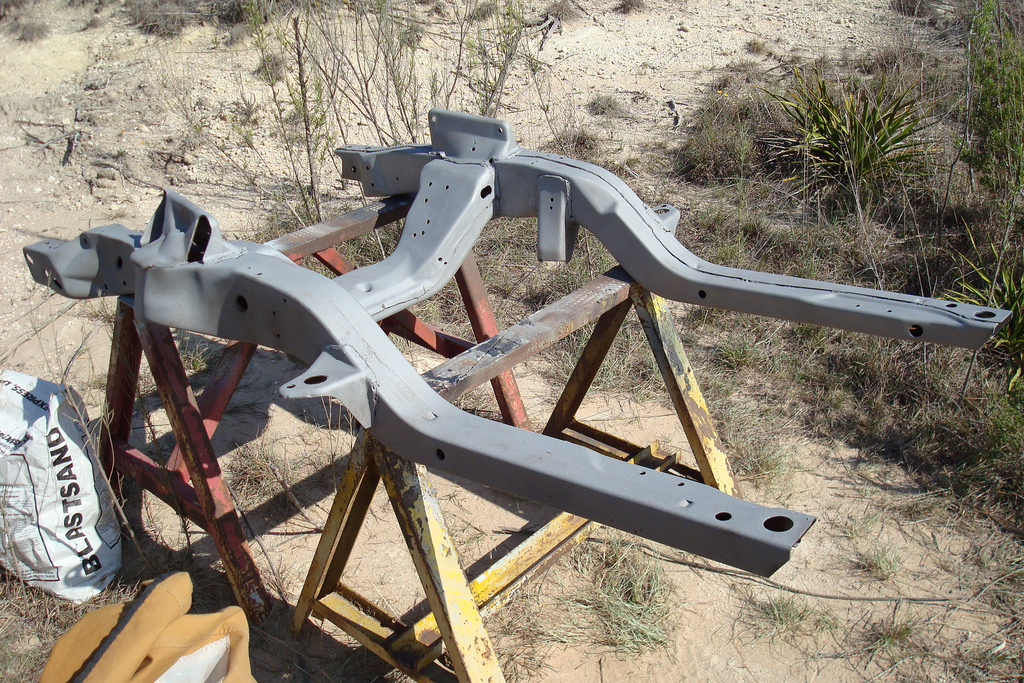
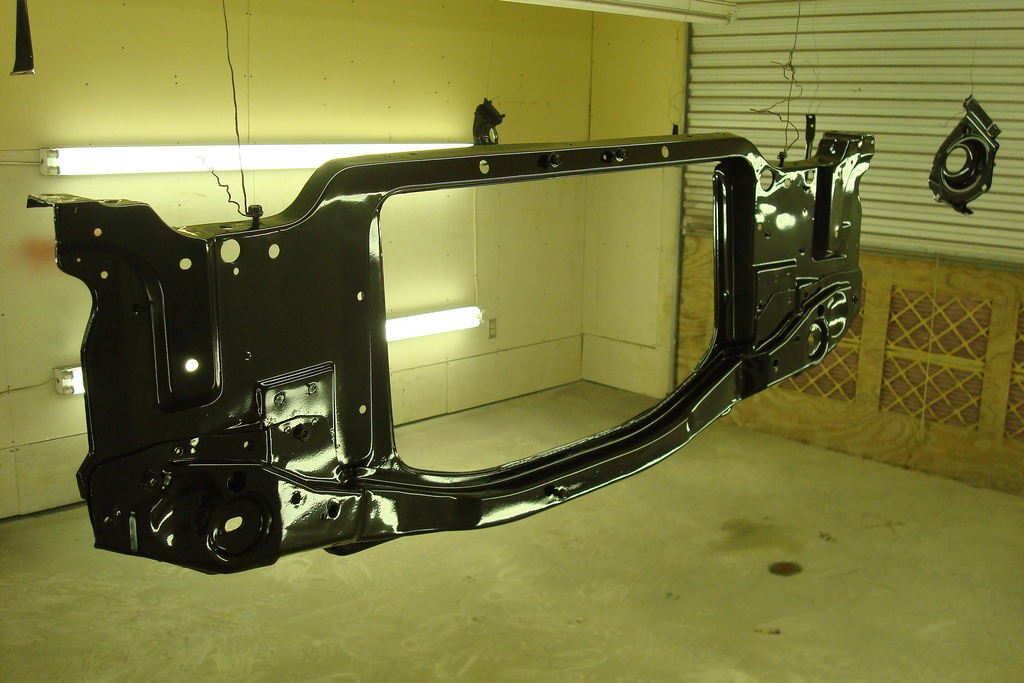

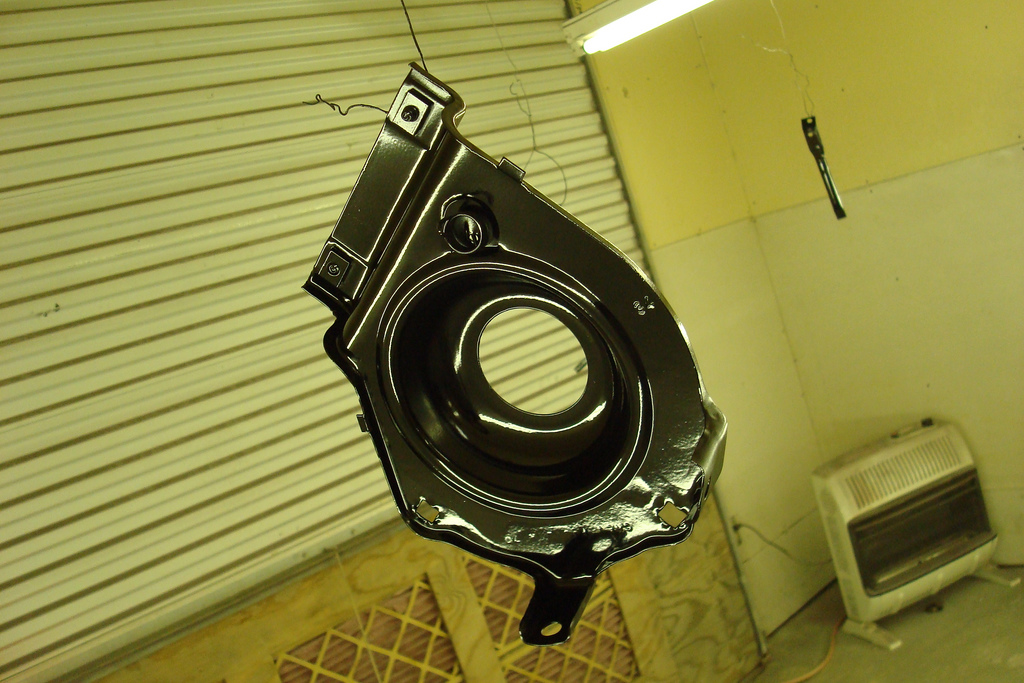
Coresupport and brackets, headlight buckets, and subframe..
:D
03-31-2009 #17
Registered User
- Join Date
- Mar 2008
- Location
- Dripping Springs, TEXAS
- Posts
- 356
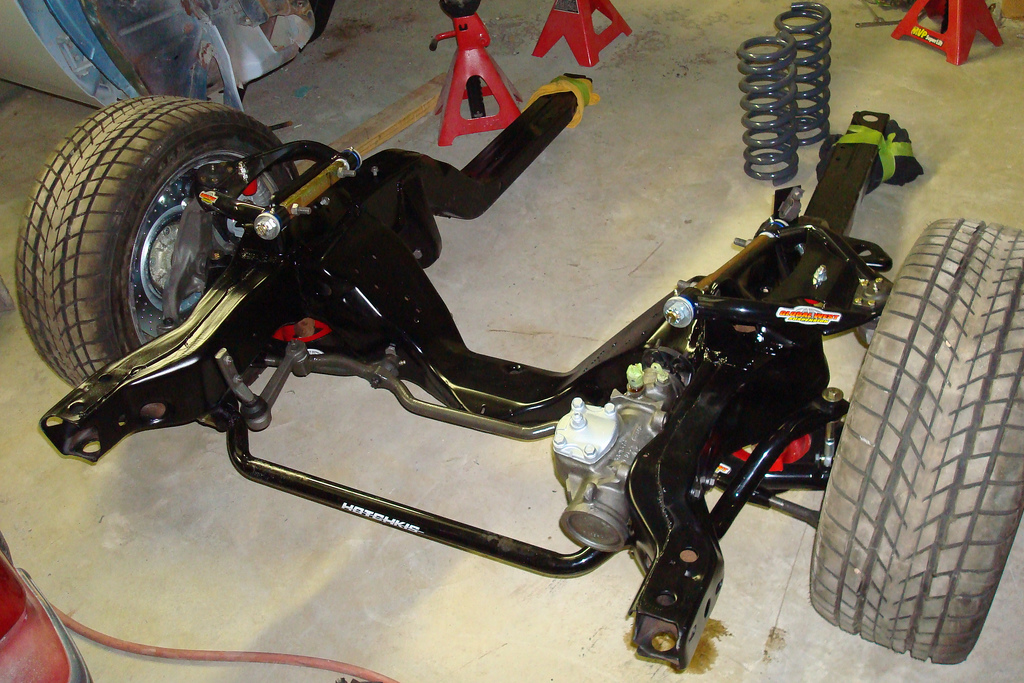
I painted the steering components the other day and set the front suspension on the subframe so I can roll it around to get it away from where I am doing bodywork.. I know Ed Miller is going to kill me, but I had to shave the fins down on the calipers to make them fit.. :( You cant see it until you take the wheel off, so no big deal..
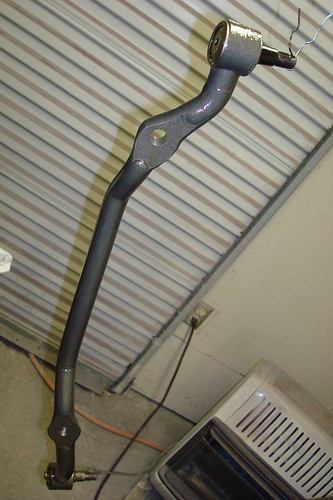
I just wiped down the new steering parts and cleared them..
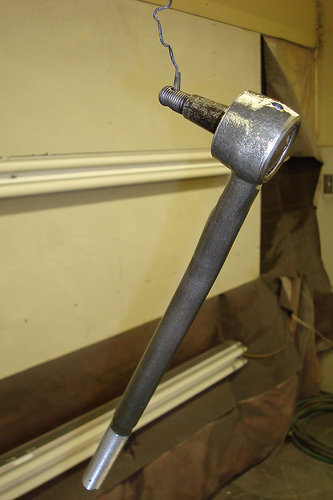
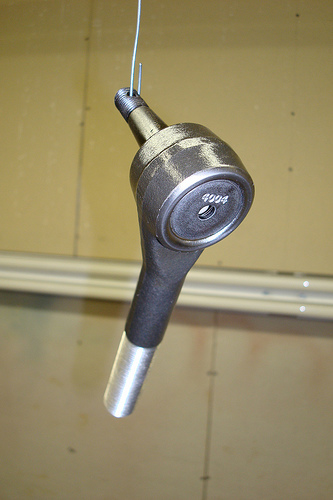
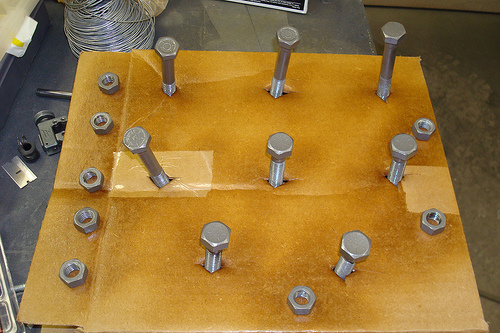
Sandblasted the bolts and cleared them also..
For some reason I lost the pics of the steering box and idler arm all cleaned up and painted with Detail Gray.. I have the finished pic though..
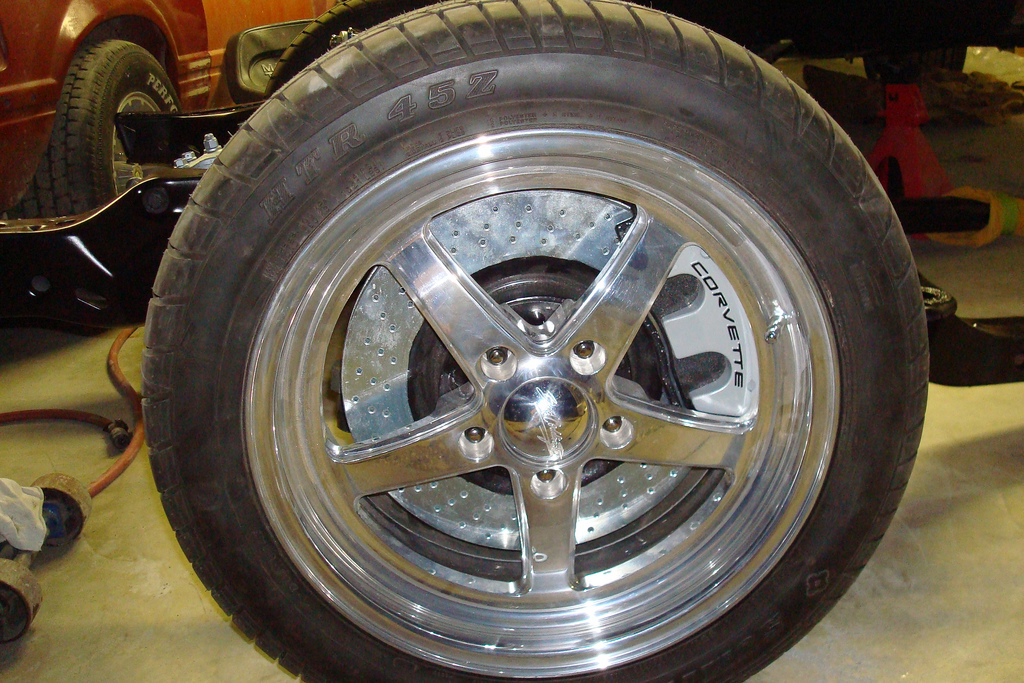
Brakes are mighty close..
04-01-2009 #18 Registered User
- Join Date
- Nov 2006
- Location
- Ma.
- Posts
- 5,569
Nice work it looks great.
Wayne
Car FINALLY home !!!!!! lol
Project FNQUIK https://www.pro-touring.com/showthre...ghlight=FNQUIK
04-01-2009 #19
Registered User
- Join Date
- Nov 2008
- Location
- Iceland
- Posts
- 896
indeed Originally Posted by Motown 454
I love it
04-01-2009 #20
Registered User
- Join Date
- Nov 2008
- Location
- iceland
- Posts
- 1,859
Awesome
 looking very good
Bjarni B
looking very good
Bjarni B
My Chevelle project The Awakening
http://www.1971chevelle.net/
http://www.kvartmila.is/smf/index.php?topic=27028.0
CHEVY POWER RULES!

 Reply With Quote