


Results 1 to 20 of 366
Thread: Introducing - Project 1/2-TRAK
Threaded View


-
07-12-2009 #11

 -Moderator-
- Join Date
- Jul 2005
- Location
- Mountain View, CA
- Posts
- 9,583

Que suspenseful music..........
The 3-link install begins.
Step one, the front x-member.
Take a minute to perve out on Matt's welding.....it's a shame it'll be covered up....not to mention it'll have to spend the rest of it's days next to my slipshod hack welds.
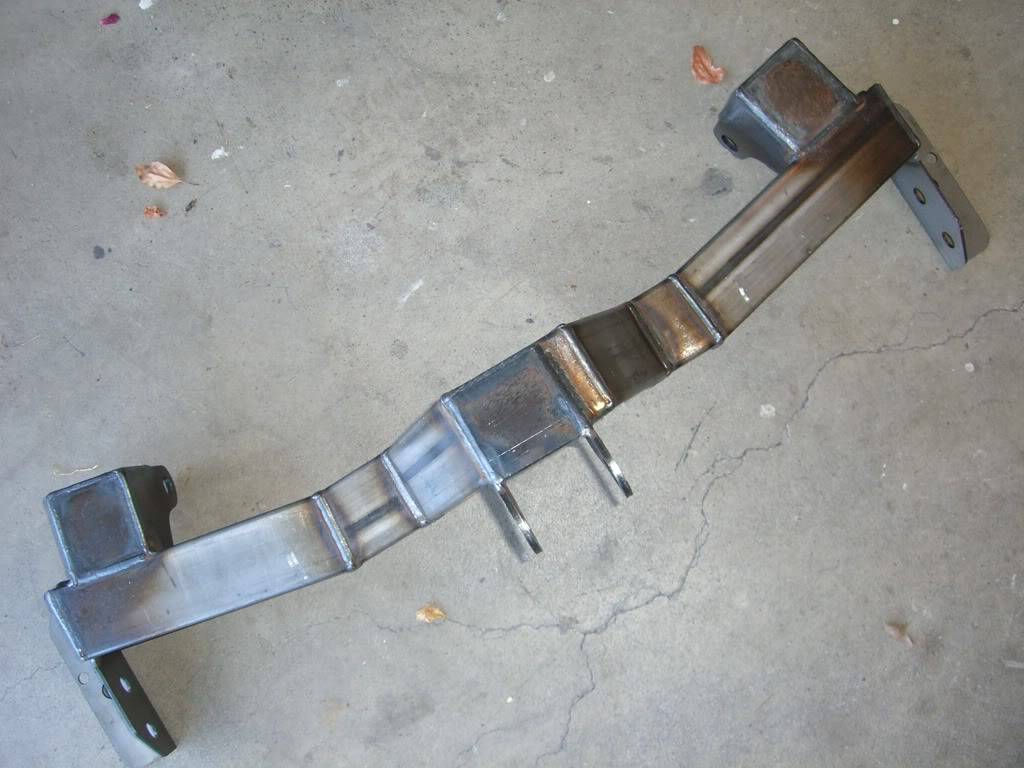
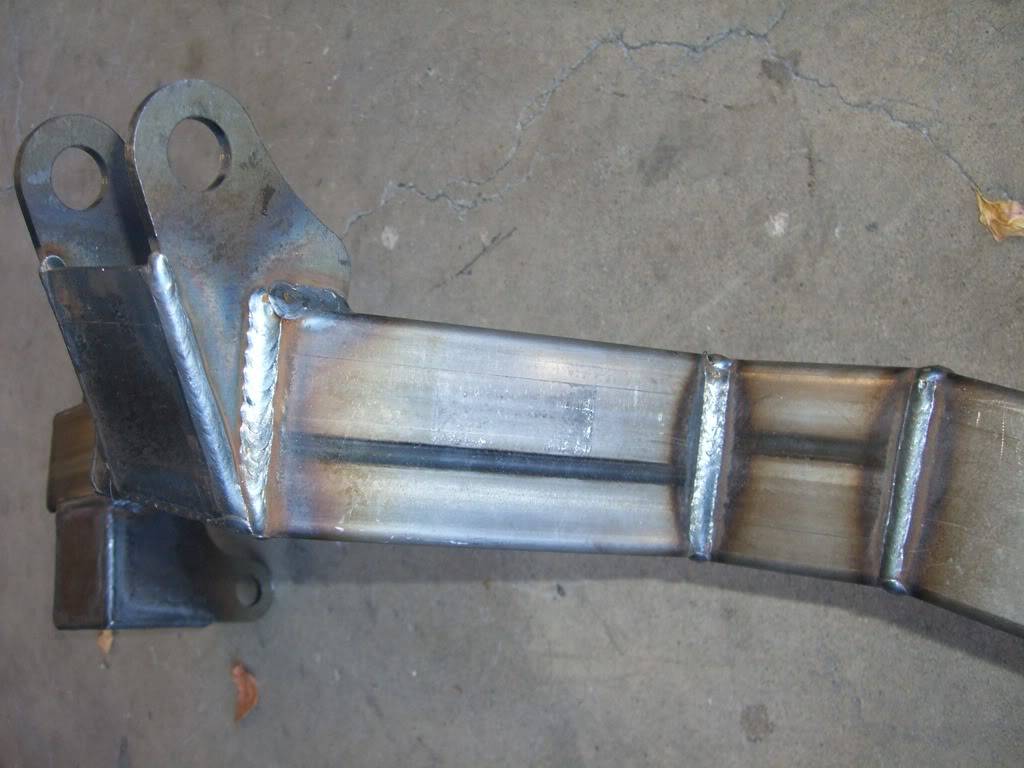
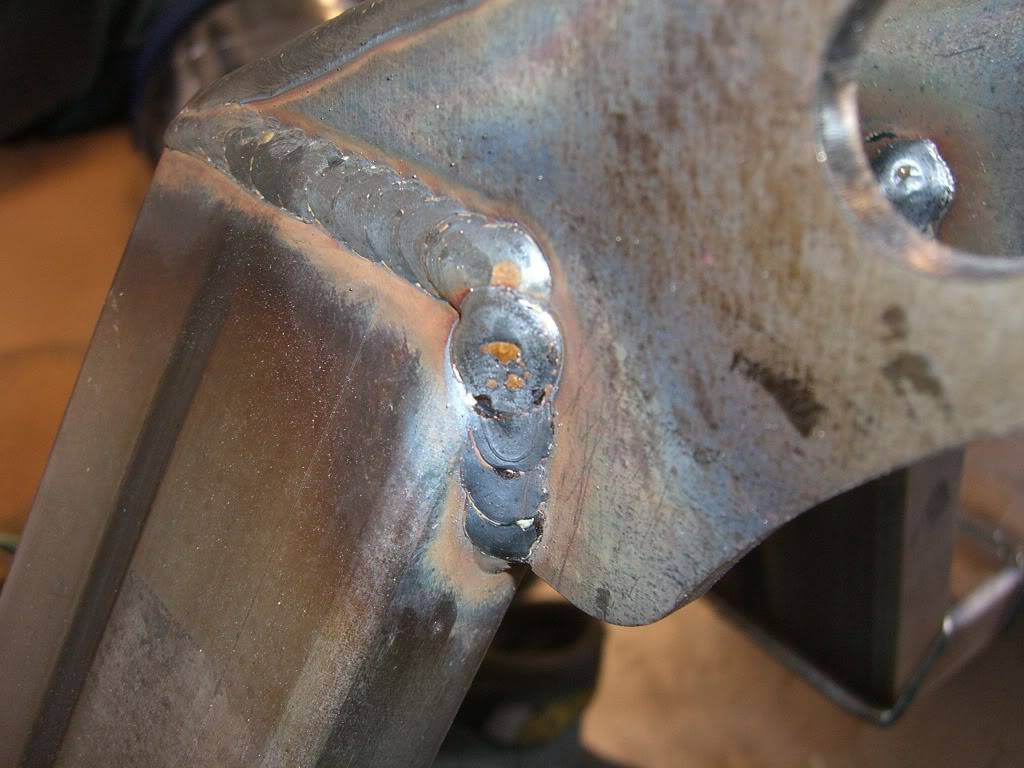
Start by using the all-thread to lift the x-member into position. Ensuring it is level f/r and l/r with the angle finder.
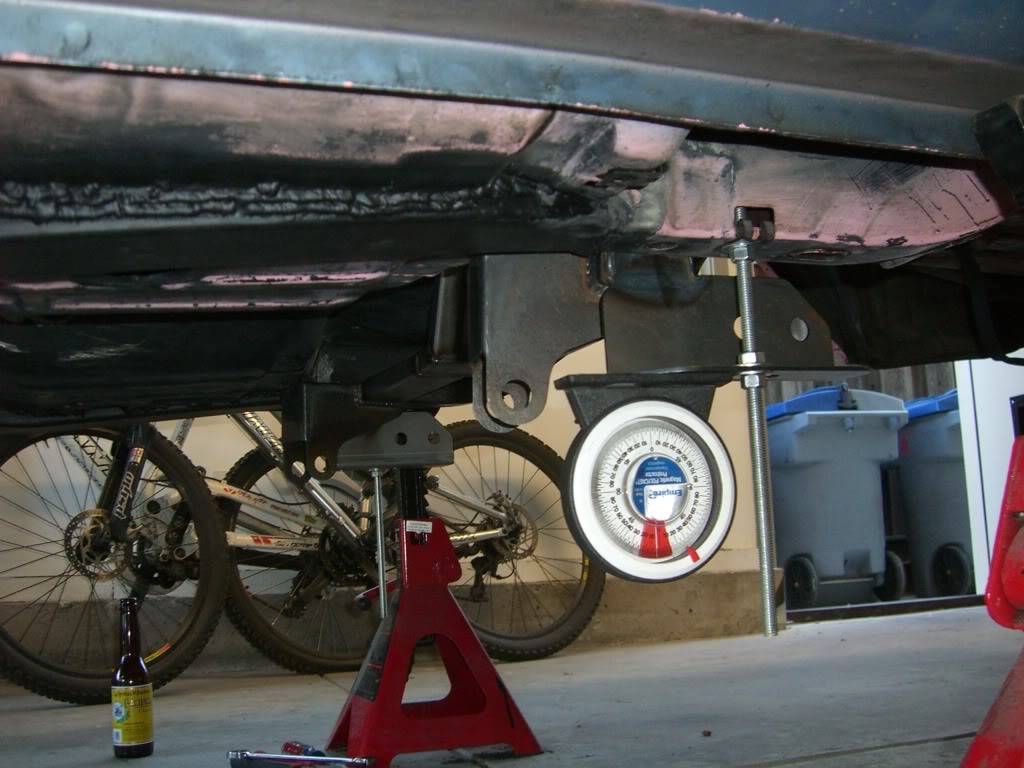
The first place to make contact is the center of the trans tunnel.
MORE HOLES!!!
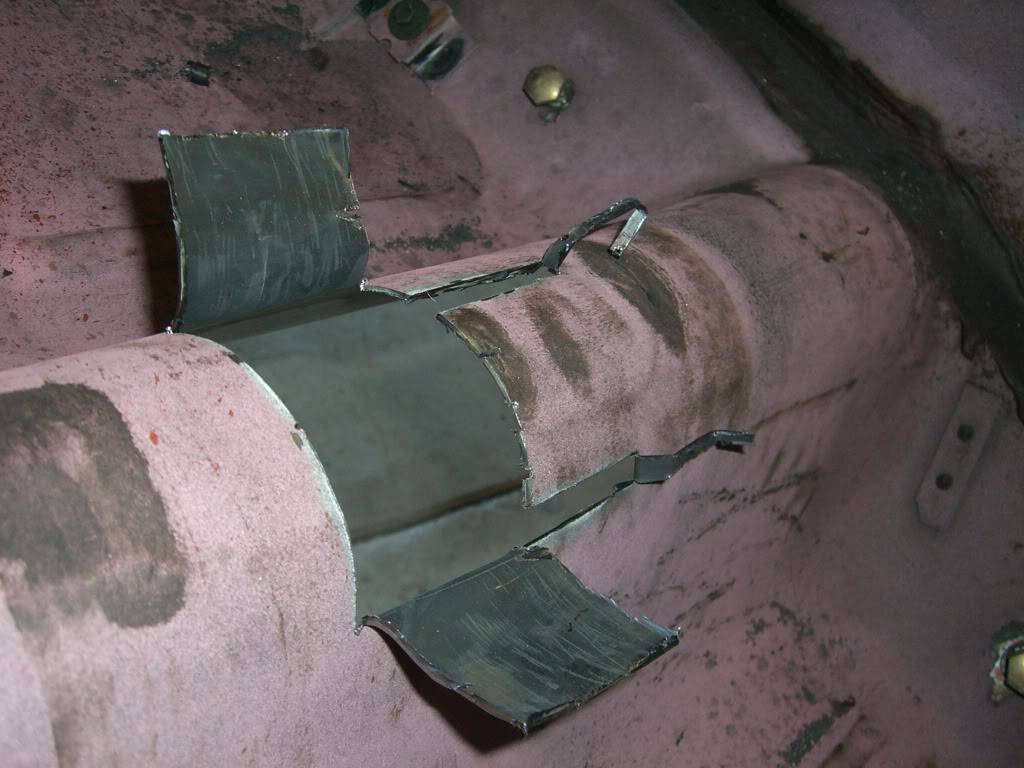
Lift a bit more and the front trailing arm mount boss makes contact with the torque boxes.
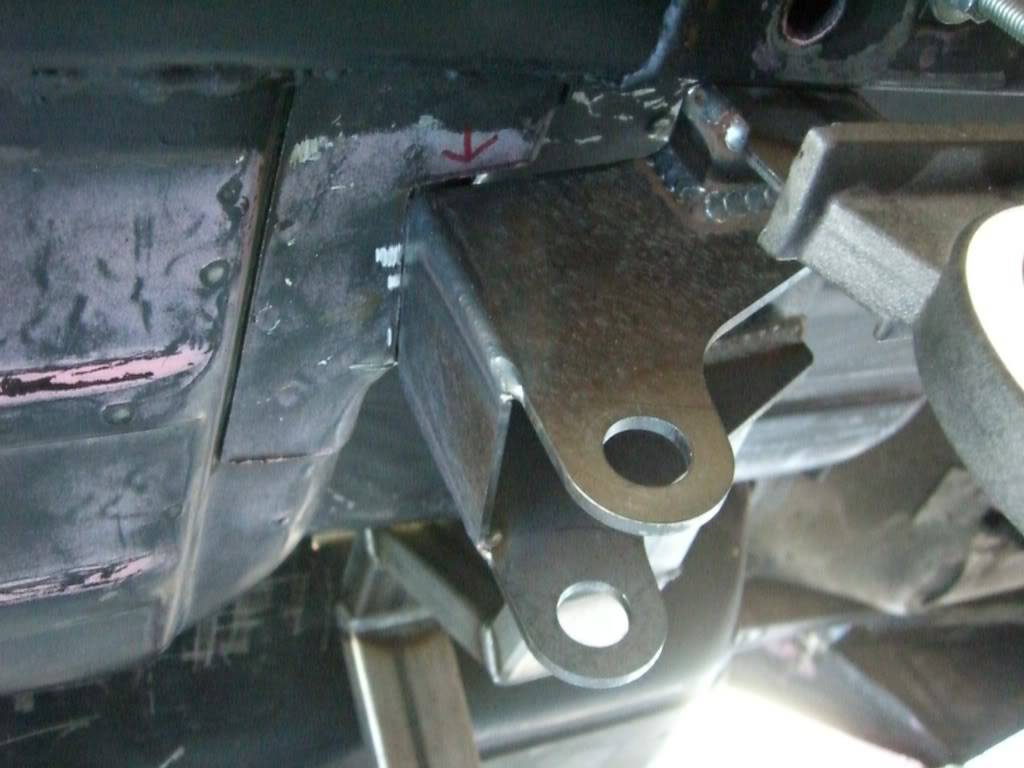
The floor is two layers of steel here. This was tough to cut exactly vertical because all the goofy curves and angles in the sheet metal made it tough to keep track of the correct axis.
Sneaking up on it little by little....
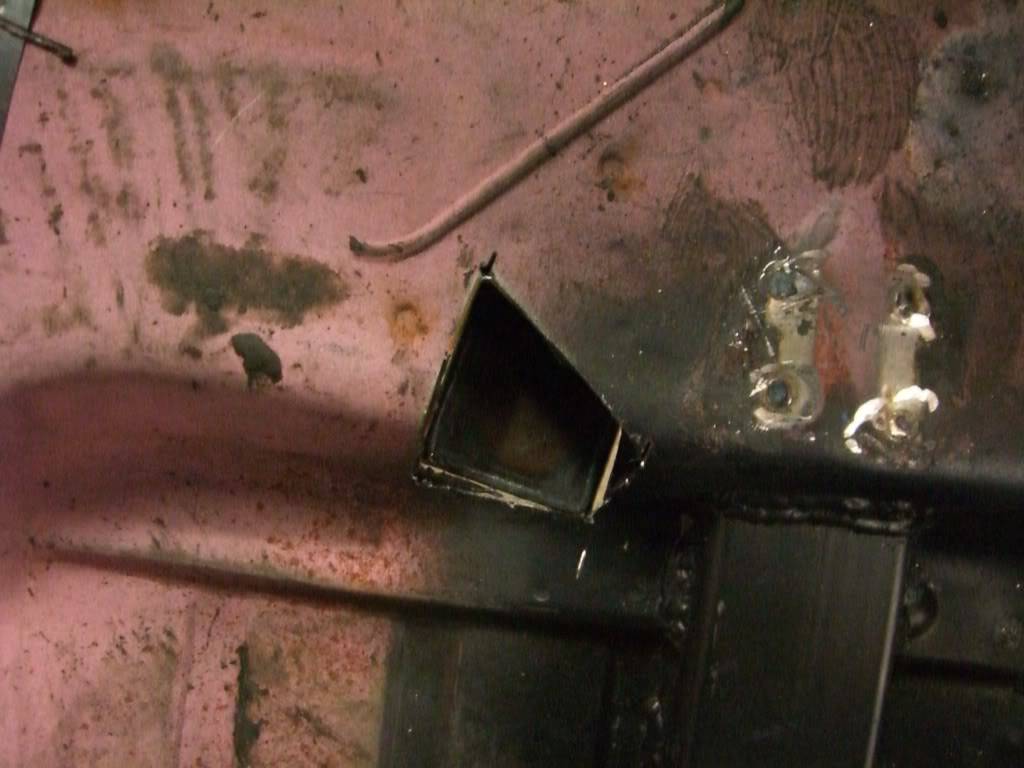
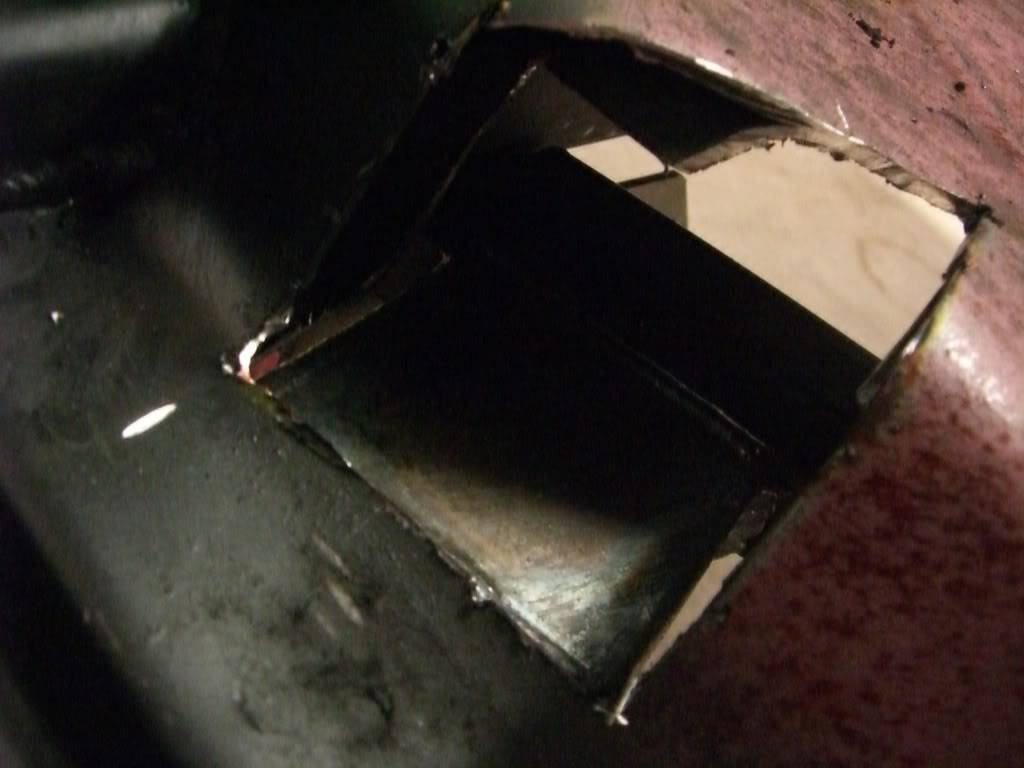

In that last one there you can see I've started to work my way down the sides of the tunnel as well.
Something of a gap in my photo taking.....skip ahead, skip ahead, skip ahead....
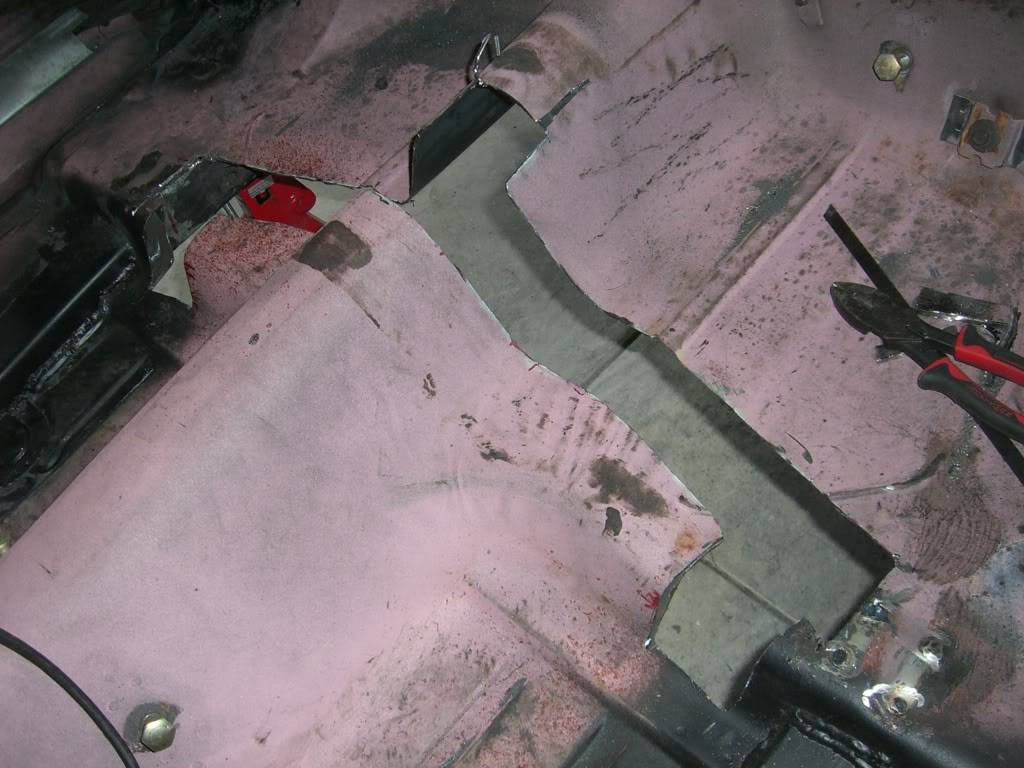
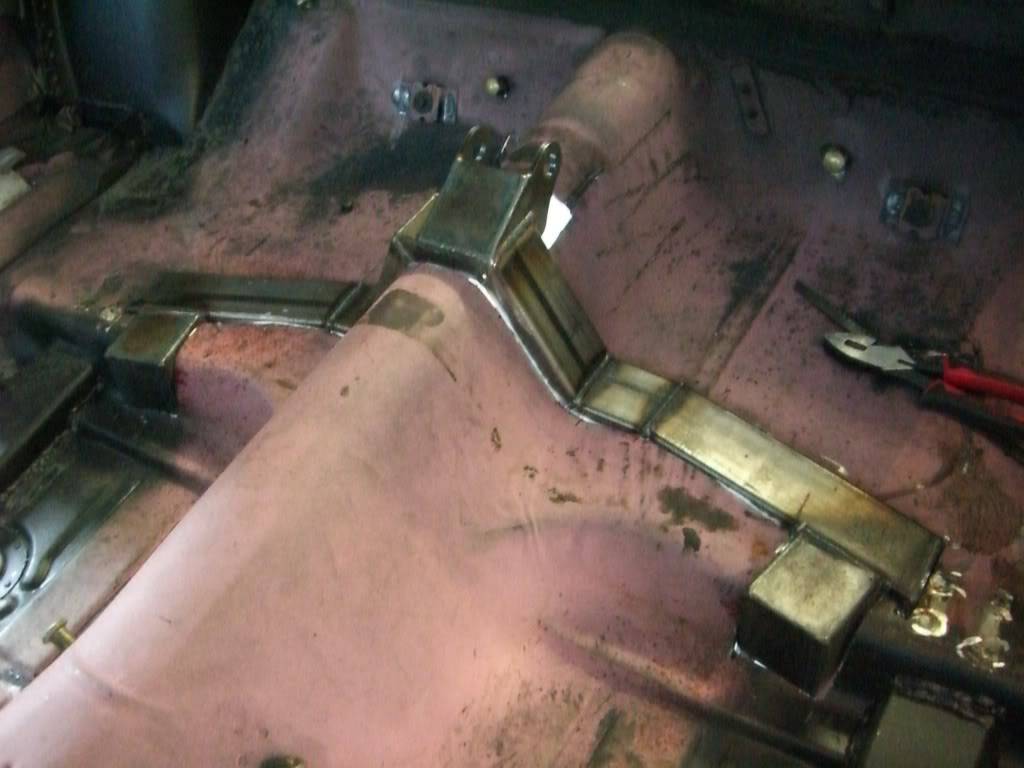
Just clamped in at this point. I still need to clean up the edges and weld.True T.
Whats new with Project 1/2-Trak?
Follow my wisecracks on Sports, Food, Politics and other BS on Twitter.
My blog
When they kick out your front door, How you gonna come?
With your hands on your head, Or on the trigger of your gun?
-

 Reply With Quote


