Results 1 to 20 of 473
Hybrid View


-
04-02-2008 #1

 Registered User
- Join Date
- Dec 2007
- Location
- British Columbia, Canada
- Posts
- 723

Project 'Overtime': Pro-Touring 68 Acadian (Nova) with L92 swap
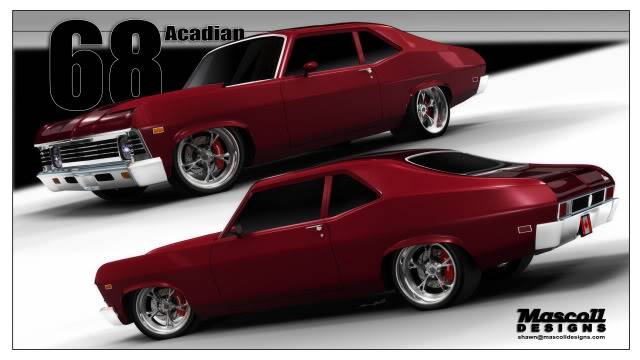
So I thought I would finally do a build thread on my car. It's a 68 Acadian that I orginally bought for $700. When I got it, it was white with black racing stripes. I fixed the car up on a pizza shop manager's wage. I had it painted cherry red, rebuild the 350 and th350 and put on 15" cragar rims with BFGoodrich tires. Now that I'm a cop and make way more money than I did back then, I'm doing the car again...but the way I want to. My plans are as follows:
Pro Touring theme
Suspension, brakes and tires:
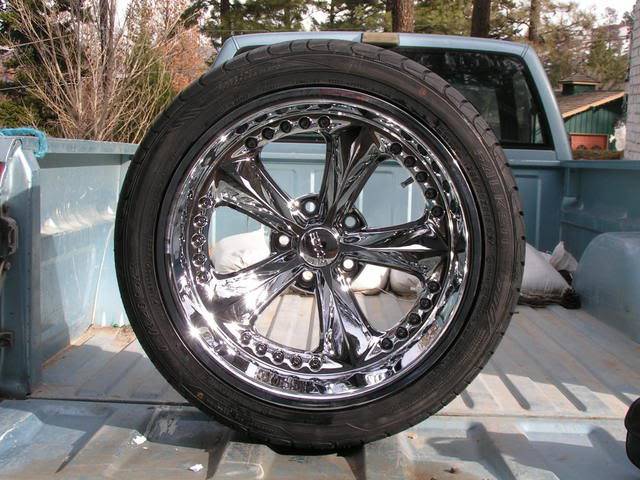
18" New Gen Splitters, polished lip and brushed centers. 305-30-18 in the rear and 245-35-18 in the front.
Speed Tech Performance subframe with Speed Tech high clearance tubular control arms.
Speed Tech 1.25" solid sway bar.
Unisteer rack and pinion kit
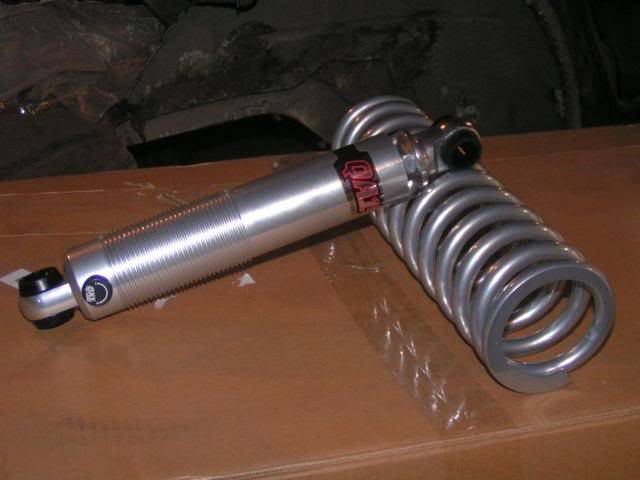
ridetech single adjustable coil overs
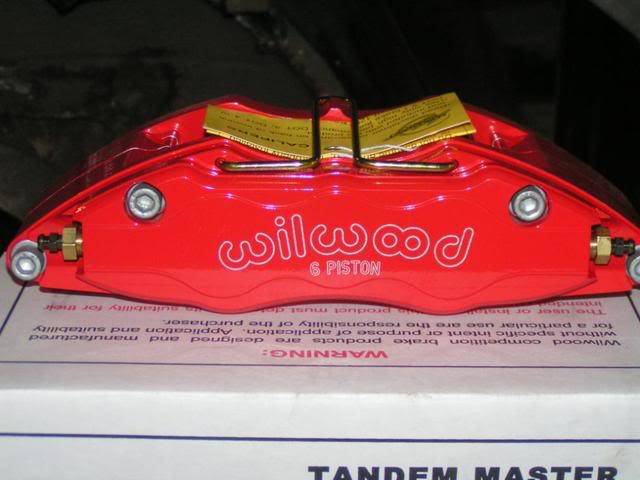
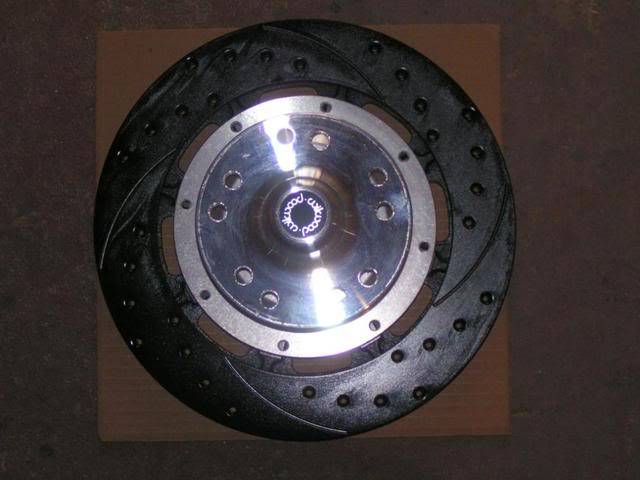
Wilwood 6 piston calipers with 12.2" rotors
Prodigy bar rear suspension (airbar with adjustable arms) with ridetech single adjustable coil overs
Moser M9 housing
Moser 31 spline axles
Strange Pro Nodular centre section with 3.70 gears and half billet posi
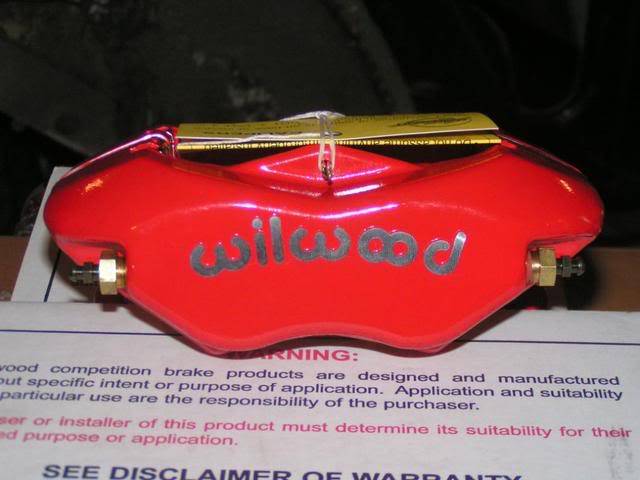
Wilwood 4 piston calipers with 12.2" rotors
Drivetrain:
LS3 6.2L crate motor. Hope to be around 550 hp.
Speartech ECU with DBW
Comp Cams camshaft: 226/234 .598”/.612” 114LSA custom cam using EPS on intake and LXL lobes on the exhaust.
LS3 intake with LS3 ported and polished throttle body
Speed Tech Performance / Stainless Works long tube polished headers.
Wegner Motorsports polished diamond cut serpentine kit
Tremec TKO600 with MGW shifter
Monster stage 3 clutch
Interior:
Flaming River polished tilt steering column
Flaming River Waterfall leather steering wheel
2005 GTO leather power bucket seats in front and GTO rear seats
Custom console with 7" LCD screen
Thunder Road gauge cluster
Speedhut gauges
Vintage Air Gen IV air conditions
Billet Specialties air conditions louvers
Body:
New sheet metal includes:
Goodmark: quarter panels, inner rear wheel wells, deck filler panel
Auto Metal Direct: 2" cowl hood, inner fender wells, rear cross rail, rear tail light panel, quarter panel end caps, door skins
DSE deep tubs
Firewall has been completely smoothed
Paint will be House of Kolor's apple red with black base coat
Stereo:
JL Audio stereo (haven't decided what but will be big)
More to come, but in the meantime here's some pics:
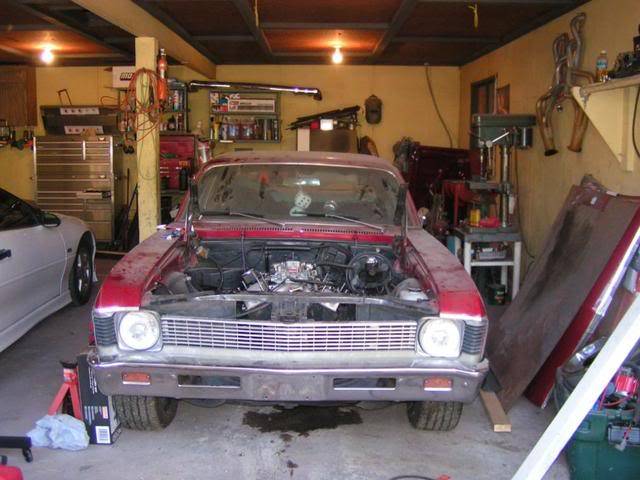
Here's what the car looked like before I started tearing into it again.
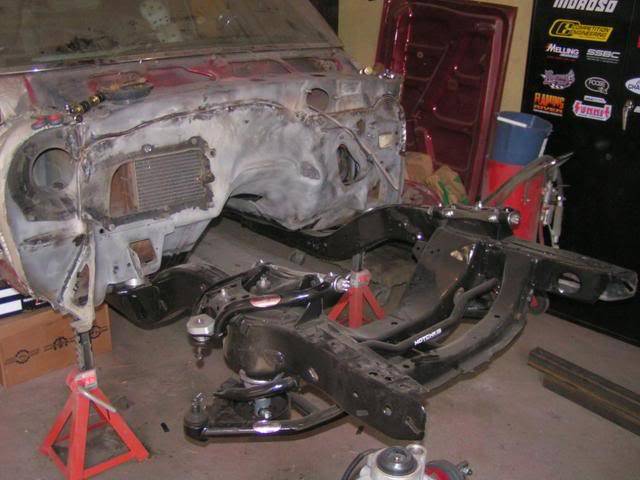
Here's the car as it sits today
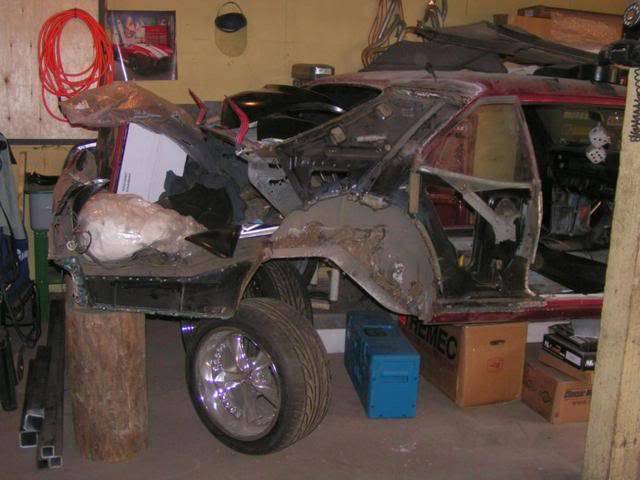
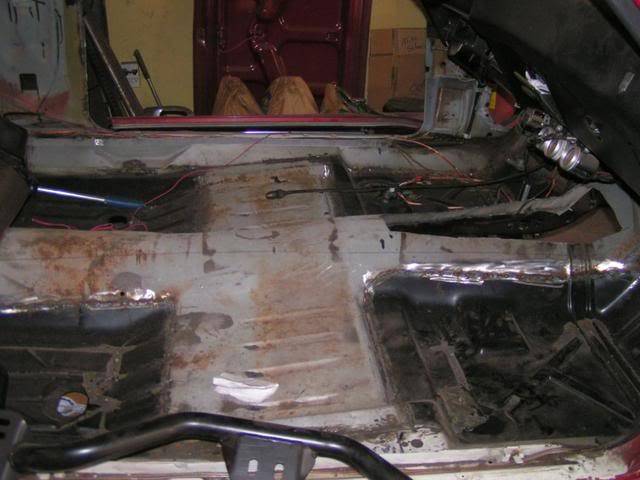
Last edited by scherp69; 03-13-2012 at 07:44 PM. Reason: updated parts list
-
04-02-2008 #2
Registered User
- Join Date
- Dec 2007
- Location
- British Columbia, Canada
- Posts
- 723
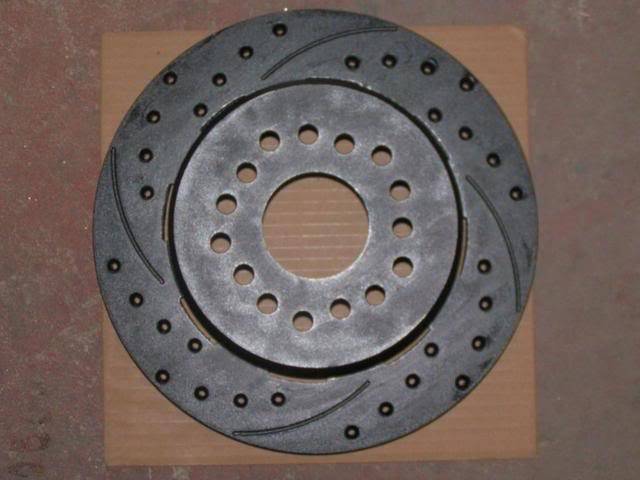
Here's some of the goodies I got today :yes:

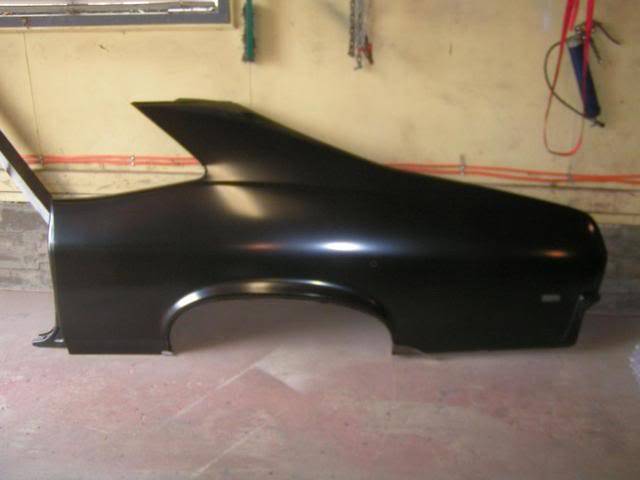
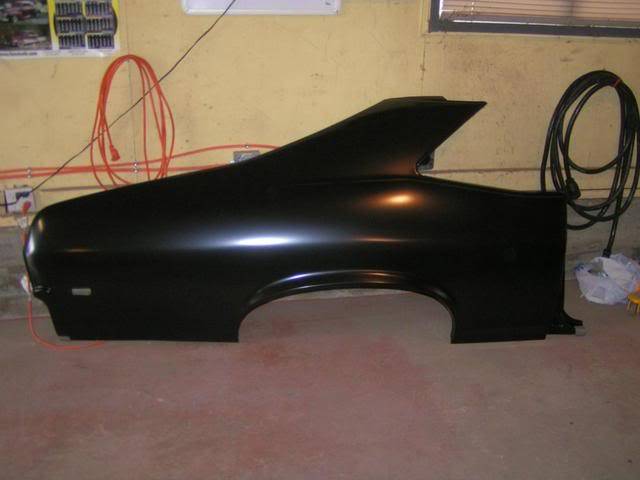
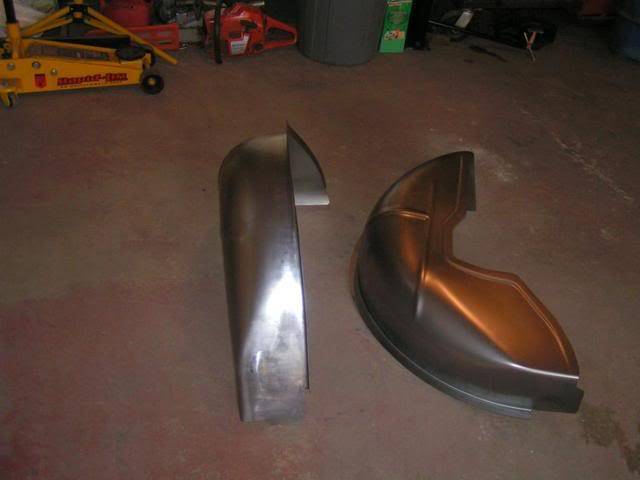
DSE Deep tubs
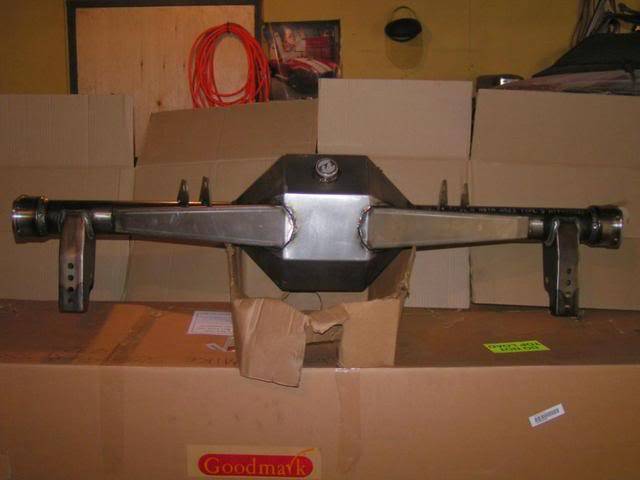
Moser M9 with back brace and G-Bar ready
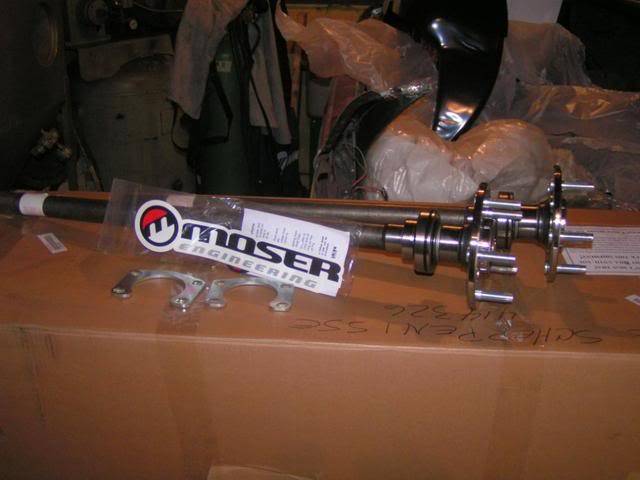
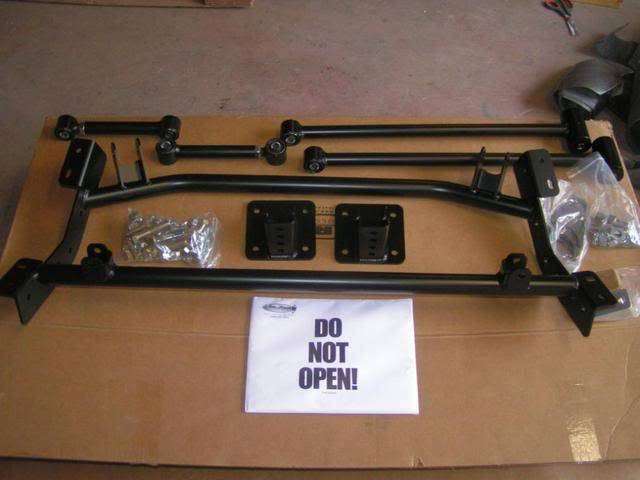
AirRide suspension (same as a G-bar)
Wilwood brakes
04-02-2008 #3
Registered User
- Join Date
- Dec 2007
- Location
- British Columbia, Canada
- Posts
- 723
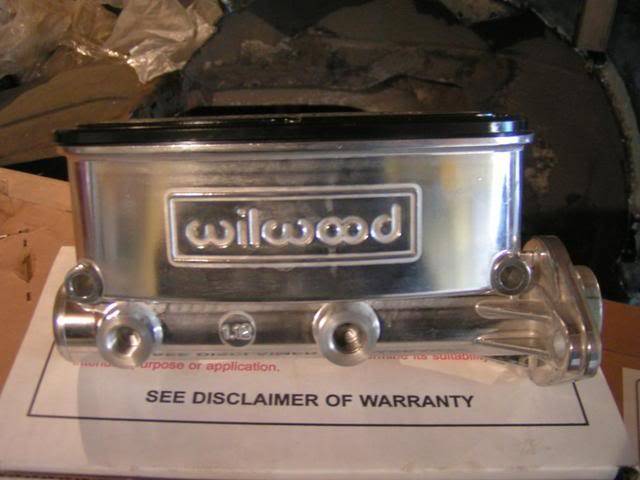
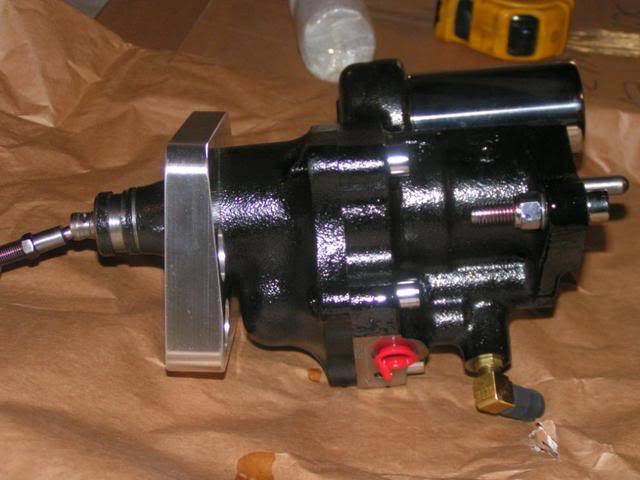
Hydraboost system
I've had these for a while already, but these are the rims I have
I hope to get working on the car next week as the wife and daughter will be gone for 4 days. I will be living in the shop. Will update as I go. I really need to say thanks to Frank and Lisa at Prodigy Customs and www.gpsuperstore.com for the great deals. Frank also went out of his way to get all the brackets welded to the M9 so I didn't have to screw it up trying to set the pinion angle. Thanks again Frank.
04-02-2008 #4
New to Pro-Touring
- Join Date
- Nov 2007
- Location
- Alabama
- Posts
- 28
Nioce!
04-02-2008 #5
Registered User
- Join Date
- Aug 2004
- Location
- Dunwoody, GA
- Posts
- 4,983

cool. I liked the Canadian exports from GM.
Trey
"The early bird may get the worm, but the second mouse gets the cheese."
~ Jon Hammond
1979 WS6 Trans Am stock LT1/T56 drive train out of my Formula. BMW M-parallel rims. C5/C6 brakes
build thread https://www.pro-touring.com/showthre...ghlight=begins
04-02-2008 #6 Registered User
- Join Date
- Feb 2006
- Location
- Southern California
- Posts
- 660
Great project. I love looking at all the new goodies! keep the posts coming!
Ron
"If at first you don't succeed Skydiving is not for you"1970 Z28
Scott Mock C6 Subframe, Ridetech RJoint 4 link
LSX454
Anvil Auto - through the build
04-05-2008 #7
Registered User
- Join Date
- Dec 2007
- Location
- British Columbia, Canada
- Posts
- 723
Thanks for the comments guys. Hopefully this week when the wife and kid are gone...I will be living in the shop and will get some of the goodies put on. Will post pics.
04-05-2008 #8 Moderator / Pro-Touring.com Sponsor
- Join Date
- Apr 2001
- Location
- San Jose, CA
- Posts
- 4,210
Looks like a cool project.
I've seen that Acadian Beaumonts are like US Chevelles. What model is your Acadian?
If you haven't put the quarter panel on the car...my friend put his quarter back on his car with the car jacked up like you have in your photo and once he put the car back on the ground the car twisted enough to but a strange bulge/buckle in the quarter. Aparently you're supposed to evenly-support the main shell in a couple of spots and the rear frame (bumper area) to evenly distribute the load. Just an observation...
Keep us updated.
Tony Huntimer
RaceHome.com@Camaro.Family Camaros
1967 #QuickChangeCamaro - SpeedTech Suspension LS1/T56
1967 #CFBee - SpeedTech Suspension SuperCharged LS3/T56
1969 #TaxReturnCamaro Art Morrison Suspension 496/T56
1986 #IROCdaily - Stock IROC
04-05-2008 #9
Registered User
- Join Date
- Dec 2007
- Location
- British Columbia, Canada
- Posts
- 723
 Originally Posted by TonyHuntimerRaceHome
Hmmm...not really sure what model mine is. It was originally a 6 cyl with a power glide. It's definately not an SS or anything. The Beaumonts are basically the US Chevelles. Mine is basically a 68 Nova. Every part I've ever ordered has been for a Nova.
I have the shell of the car supported the same way at the back and the front. Does that sound right???
Here's how I have the front supported. I just put the frame back on as I have to weld in a new transmission tunnel patch and was going to mock up the block and tranny.
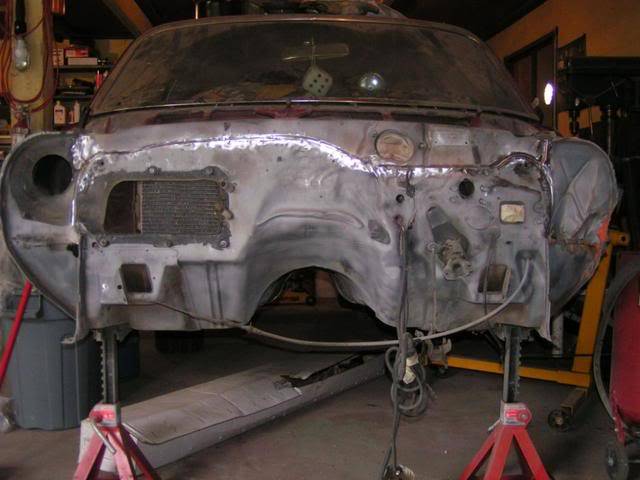
Any advice would be great. Thanks.
Mike
04-05-2008 #10
Moderator / Pro-Touring.com Sponsor
- Join Date
- Apr 2001
- Location
- San Jose, CA
- Posts
- 4,210
Hey Mike,
I put some white blocks under this Nova to display the support I was referring to. From what I've been told, the car should rest "neutrally" on all 6 points to keep panels lined up properly (as well as square) before removing the quarter. Since you already have the panel off, you're going to need to carefully position the car and make lots to measurements to ensure the car is "square" before welding the quarter back on the car. Maybe some body guys could chime in if I've been taught wrong.
Tony Huntimer
RaceHome.com@Camaro.Family Camaros
1967 #QuickChangeCamaro - SpeedTech Suspension LS1/T56
1967 #CFBee - SpeedTech Suspension SuperCharged LS3/T56
1969 #TaxReturnCamaro Art Morrison Suspension 496/T56
1986 #IROCdaily - Stock IROC
04-11-2008 #11 Registered User
- Join Date
- Mar 2007
- Location
- Sacramento, CA
- Posts
- 653
rear diff loks wicked dude. I"ll be watching this build. Nice car.
Dave Smith
29 Ford Roadster Pickup blown 327 and stupid
67 Chevelle 396/5 speed PT
65 El Camino L79
04-11-2008 #12
Registered User
- Join Date
- Oct 2007
- Posts
- 81
Nice rear setup!Are you from Canada?
1971 GTO convert currently getting the pro touring treatment
1974 nova streetcar 9.65@143
1987 s-10 on air,18s tpi 305
04-11-2008 #13
Registered User
- Join Date
- Dec 2007
- Location
- British Columbia, Canada
- Posts
- 723
Thanks for the comments guys. Yes I'm in British Columbia, Canada.
04-11-2008 #14
Registered User
- Join Date
- Oct 2007
- Posts
- 81
Cool,i'm in winnipeg.
1971 GTO convert currently getting the pro touring treatment
1974 nova streetcar 9.65@143
1987 s-10 on air,18s tpi 305
04-12-2008 #15
Registered User
- Join Date
- Dec 2007
- Location
- British Columbia, Canada
- Posts
- 723
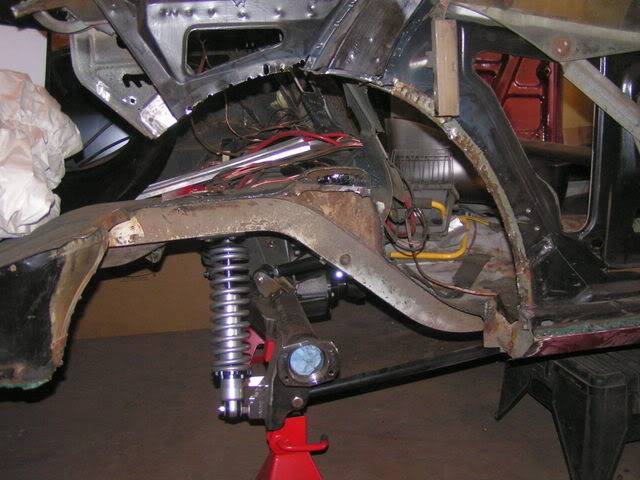
I used to live in Winnipeg also. Still have relatives there. We used to live near the mint and a number of other places. Winnipeg is a great place to be from!!!!
Well today I did some more chopping and cutting. Guess there's no turning back now.
06-13-2008 #16
Registered User
- Join Date
- Mar 2007
- Location
- Sacramento, CA
- Posts
- 653
man that subframe is nice. Wish I had done that long ago. Car's coming along nicely!
Dave Smith
29 Ford Roadster Pickup blown 327 and stupid
67 Chevelle 396/5 speed PT
65 El Camino L79
06-17-2008 #17 Registered User
- Join Date
- Nov 2006
- Location
- Ma.
- Posts
- 5,560
Progress looks good. Nice subframe it looks like you have a plan. Keep the pictures coming.
WayneWayne
Car FINALLY home !!!!!! lol
Project FNQUIK https://www.pro-touring.com/showthre...ghlight=FNQUIK
06-28-2008 #18
Registered User
- Join Date
- Dec 2007
- Location
- British Columbia, Canada
- Posts
- 723
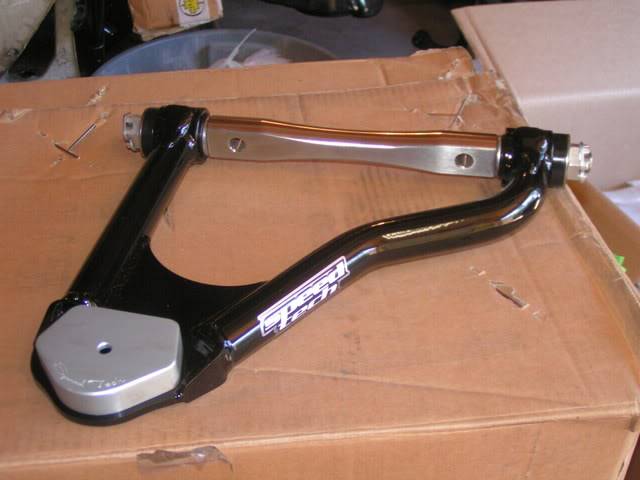
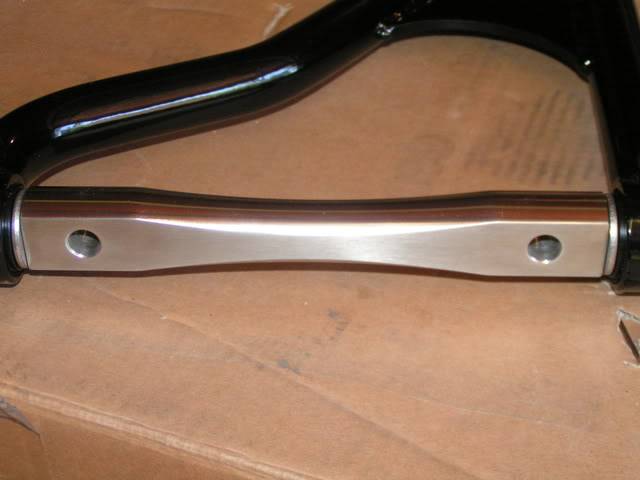
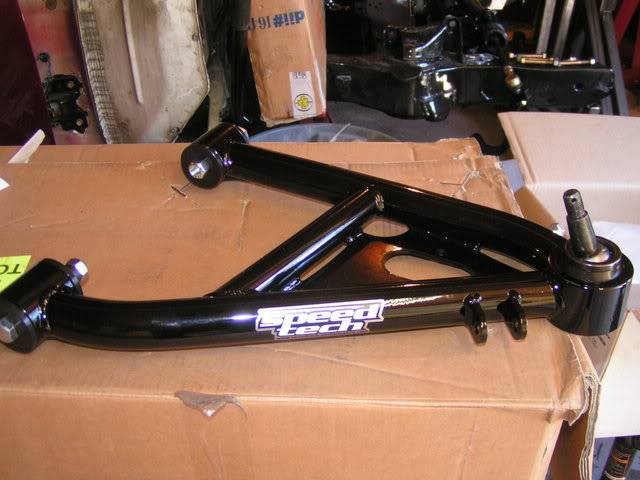
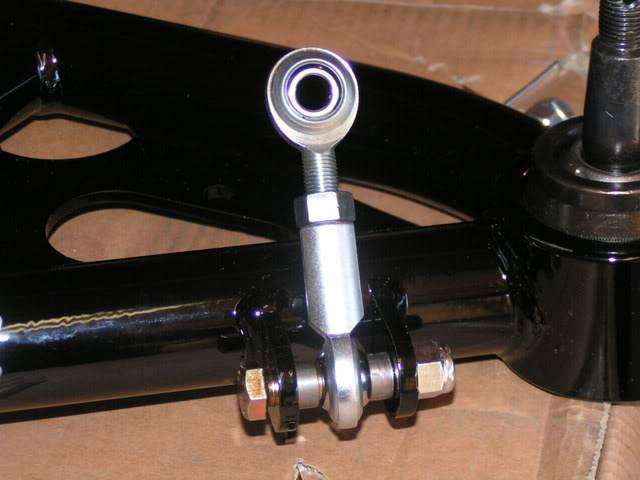
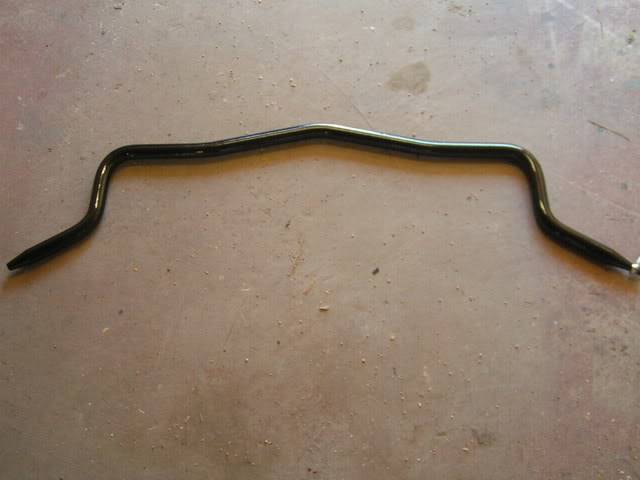
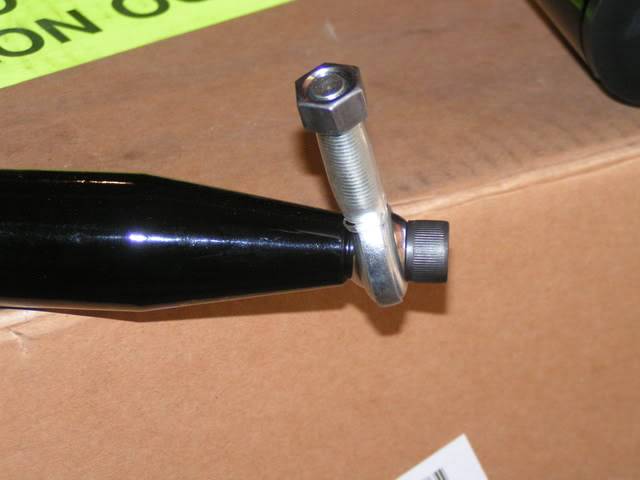
So I got the Speed Tech high clearance control arms and sway bar that go with the Speed Tech subframe. Now I have the entire Speed Tech subframe package, I just bought it in stages that's all. My plan now is to try and get the driver's side deep tub done and get the quarters on. Then I have to put the driver's side cowel panel on, finish welding up the new floor pans and I'll get to try out the rotisserie that I built.
Here's some pics of the Speed Tech high clearance control arms. These things are sick!!!
Upper Control arm with billet aluminum ball joint cover
Stainless Steel cross shafts
Lower control arm
Sway bar end links
1.25" solid sway bar
07-17-2008 #19
Registered User
- Join Date
- Dec 2007
- Location
- British Columbia, Canada
- Posts
- 723
Well I've been able to make some pretty good progress of the past few days until the power switch on my air compressor blew. Wouldn't turn off at all. Thankfully I have a separate breaker in the shop for the compressor. Oh well..this way I'll be able to get a new on that regulates better for the plasma cutter.
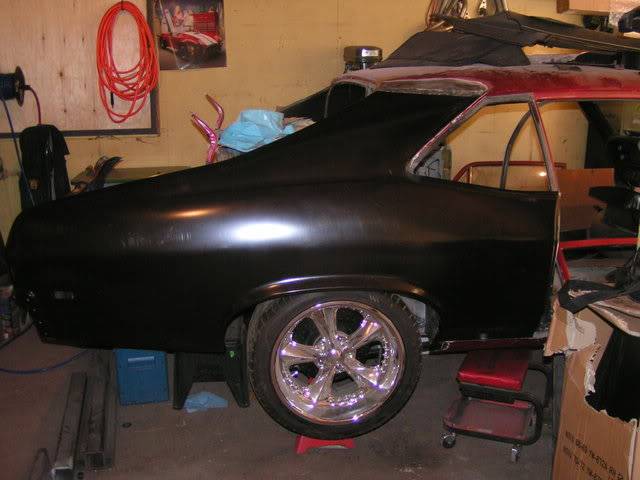
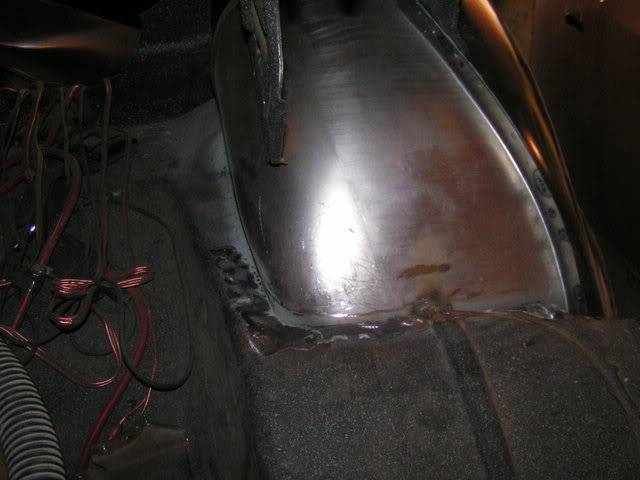
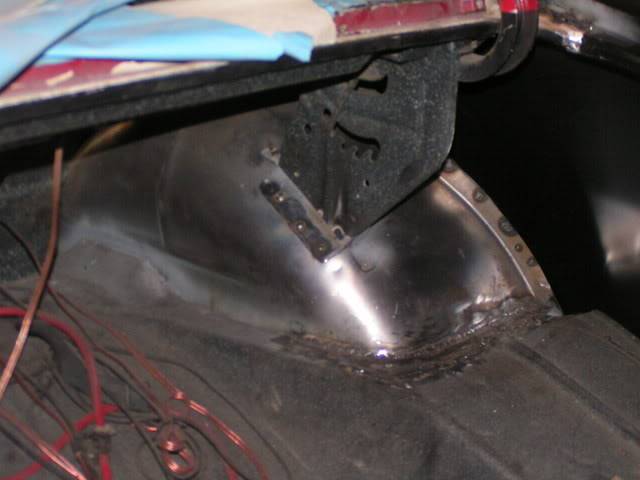
Here's some pics of the passenger side that is mostly done. Still have some welding to finish up, but it's strong enough right now to be secure.
new quarter installed
Deep tub in
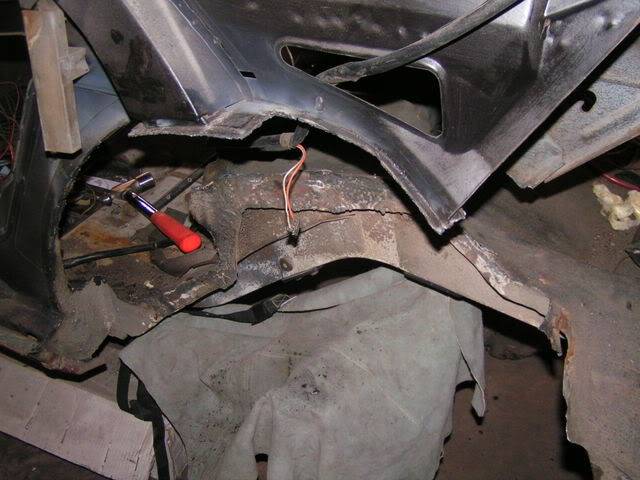
Today I started on the driver's side. Going to replace the outer wheelhouse, put in deep tubs, replace the trunk drop off and obviously the quarter panel. Here's some before pics:
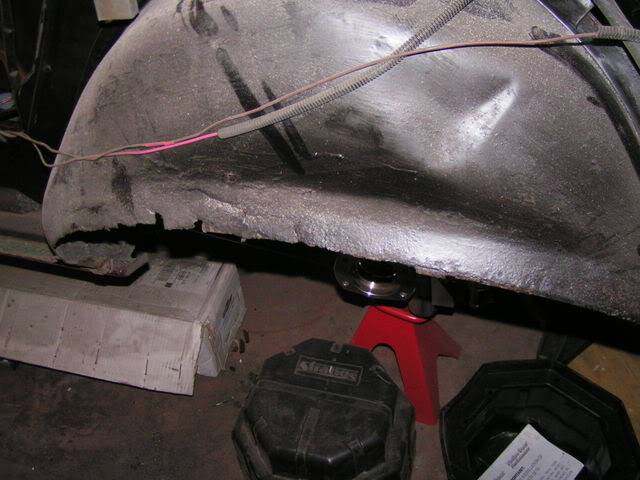
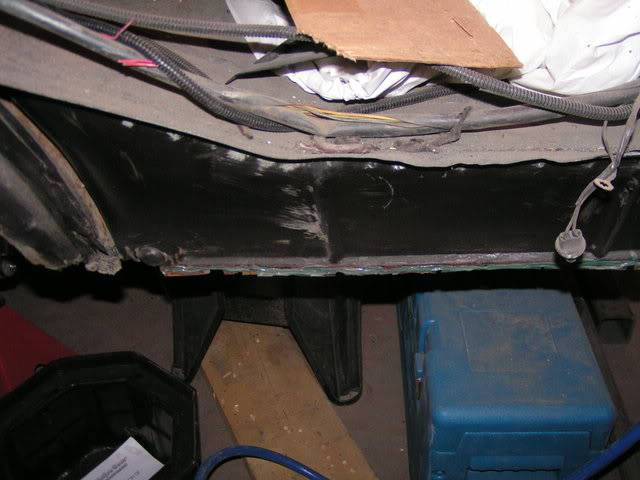
The glue that didn't work :mad:
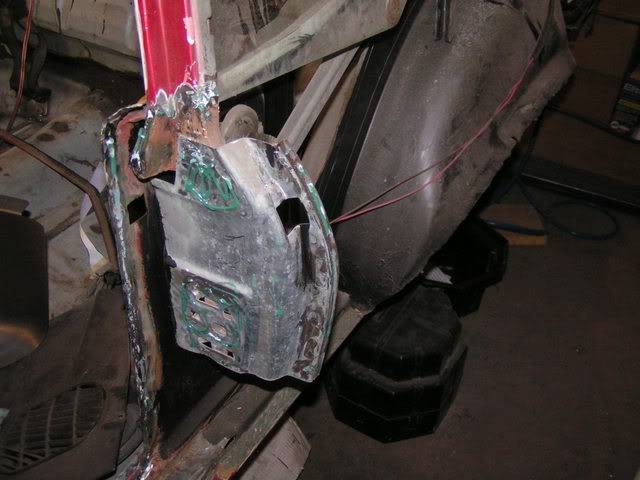
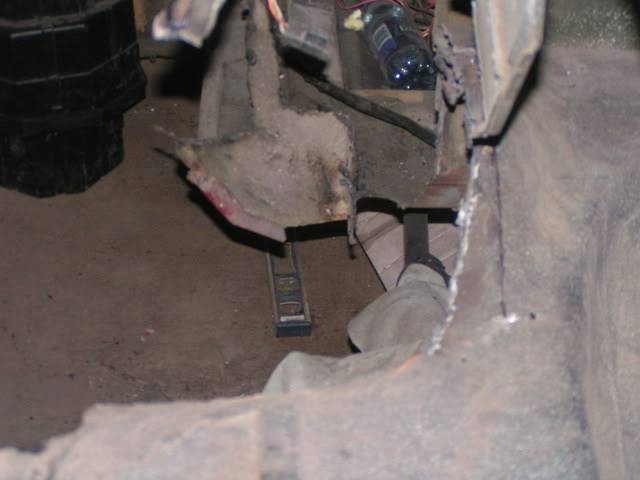
And here's what I got done before the compressor kicked out on me:
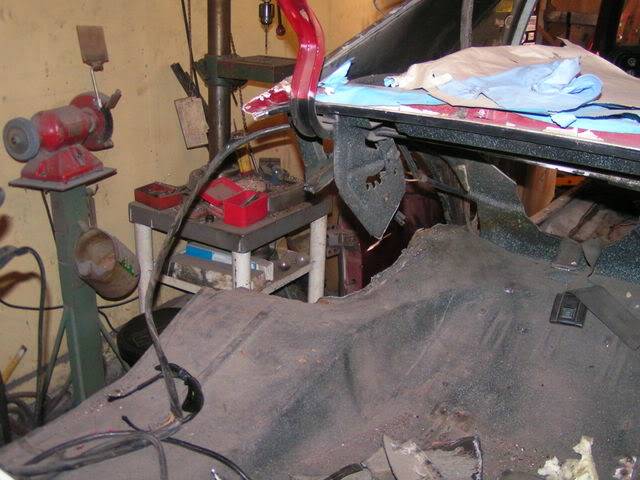
07-17-2008 #20
Registered User
- Join Date
- Dec 2007
- Location
- British Columbia, Canada
- Posts
- 723
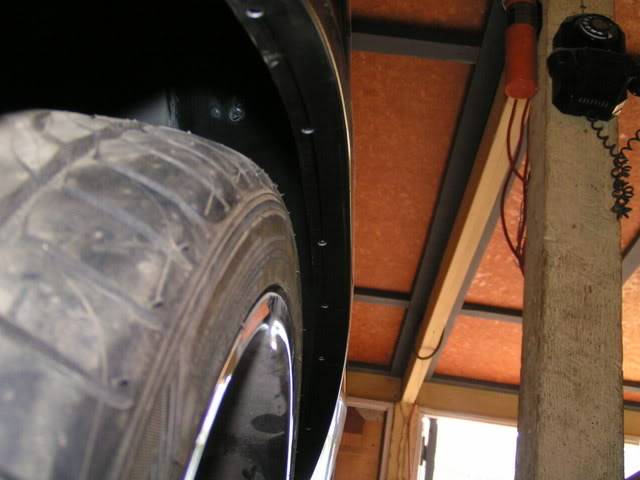
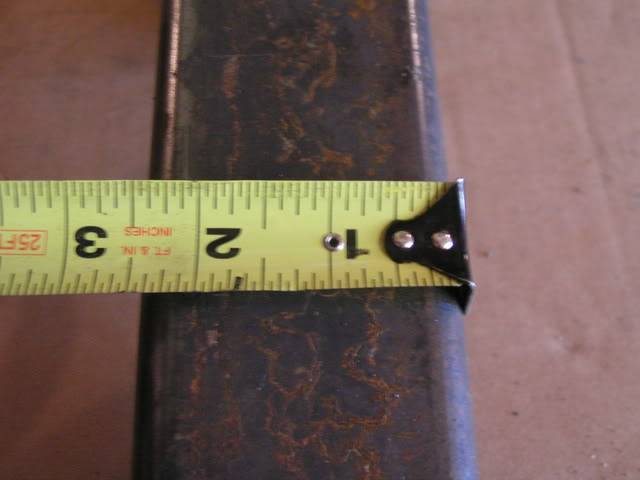
Since I had some spare time after the compressor died, I thought I would look and see how much room I actually have to play with now that I have the deep tubs. The tires that I have in these pics are a 285-35-18. I'll have to trim the quarter/outer wheelhouse lip as it's pretty tight, but wow what a difference. If anyone ever wondered if it was worth it...here's proof.
Gap between tire and wheelhouse/quarter lip
Distance between wheel and inner wheelhouse now
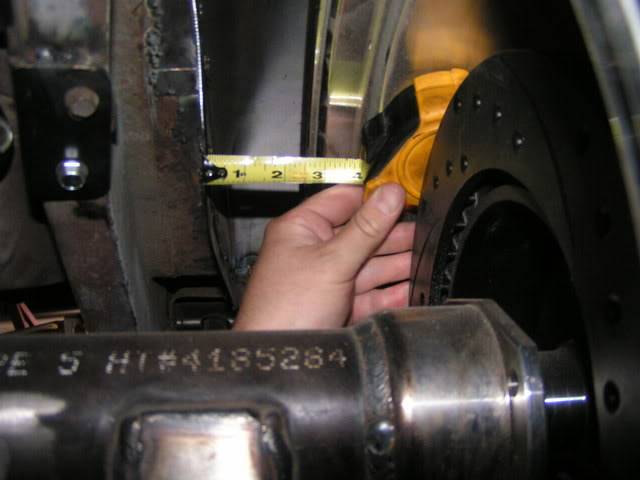
This is a 2 1/2" piece of square tubing that fit between the tire and inner wheelhouse
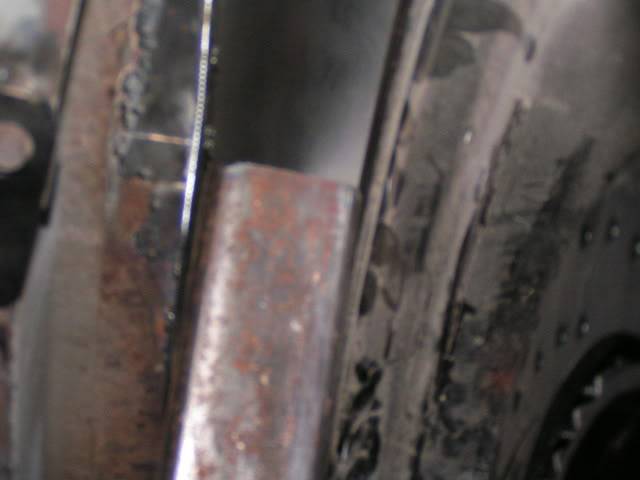
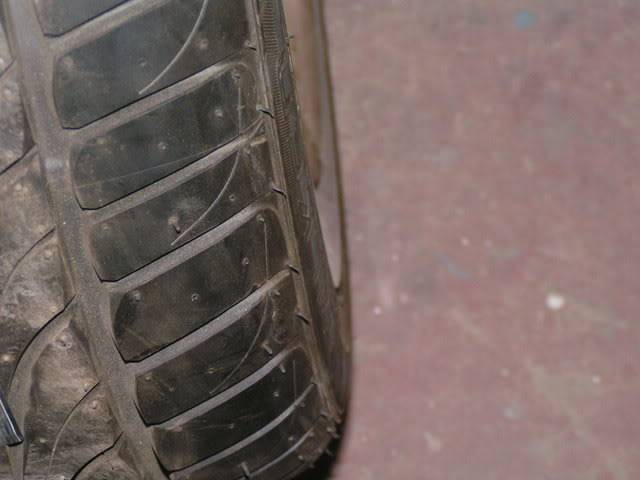
So now I am definately going to send my rims away and get them widened to 12". I need to find a tire though that will fit flush with the rim. Here's what I mean:
Anyone have any ideas? Well I've locked the shop up and will be off to New York on Sunday for a much needed holiday. In the mean time...off to KMS Tools so I can get my compressor fixed :(

 Reply With Quote