


Results 21 to 40 of 63
-
07-31-2023 #21

 Registered User
- Join Date
- Jul 2021
- Posts
- 70
I started working on mocking up the Vintage Air system. I can say that I definitely do not like the chincey plastic firewall cover that is supplied with the kit. I would like to replace that with metal and used bulkhead fittings. We shall see what I can come up with. Anyone have any ideas in the meantime?
As you all can see, the many years in Kindergarten almost paid off. I stayed on the lines pretty much.
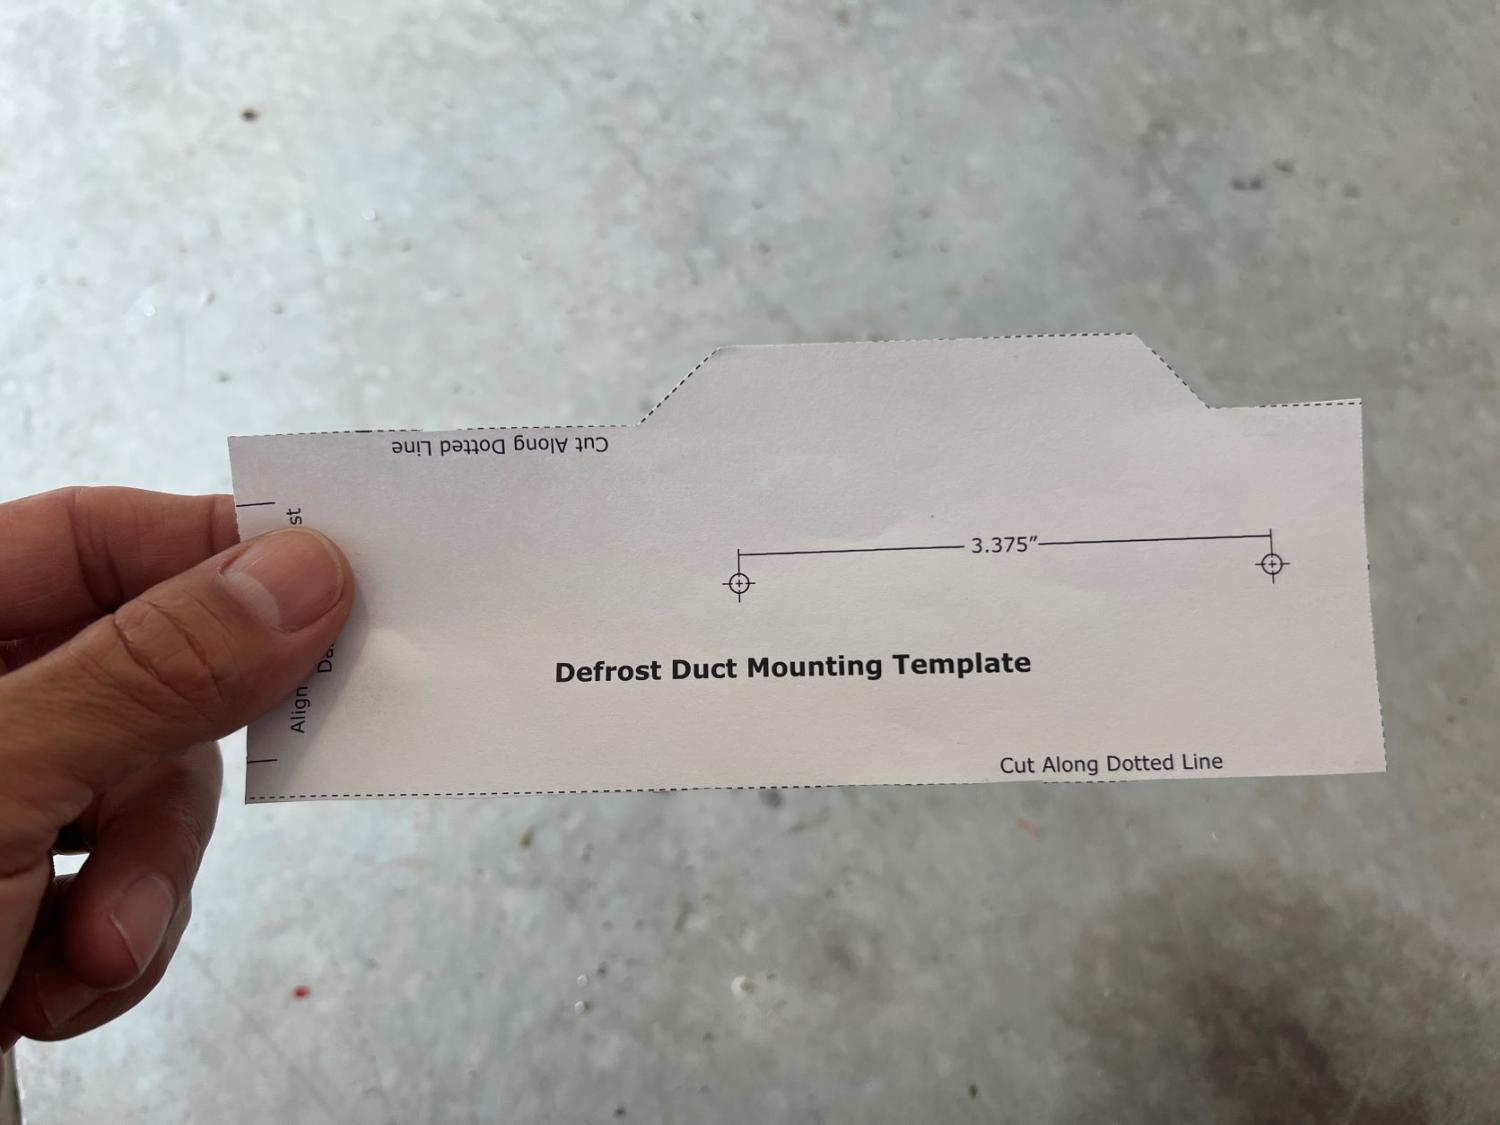
The template goes somewhere in this area. This looked like a good spot.
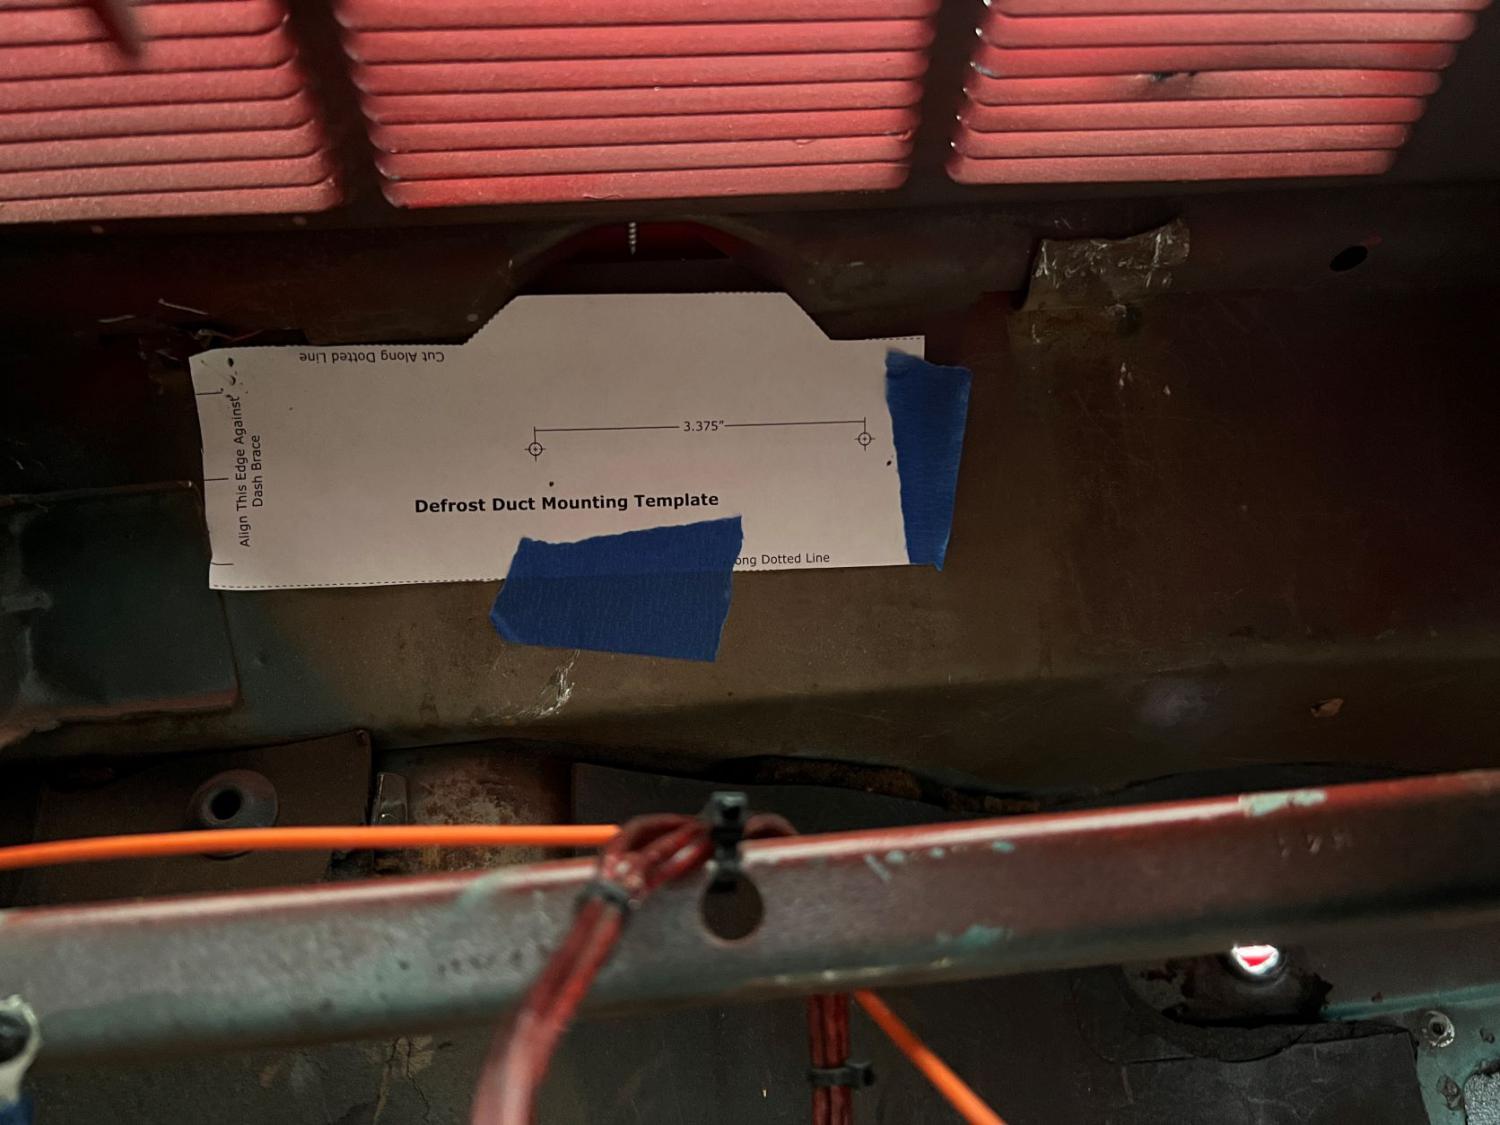
The template was pretty much useless if you ask me. I ended up just holding the duct in place and using a center punch to mark the holes. Worked perfect!
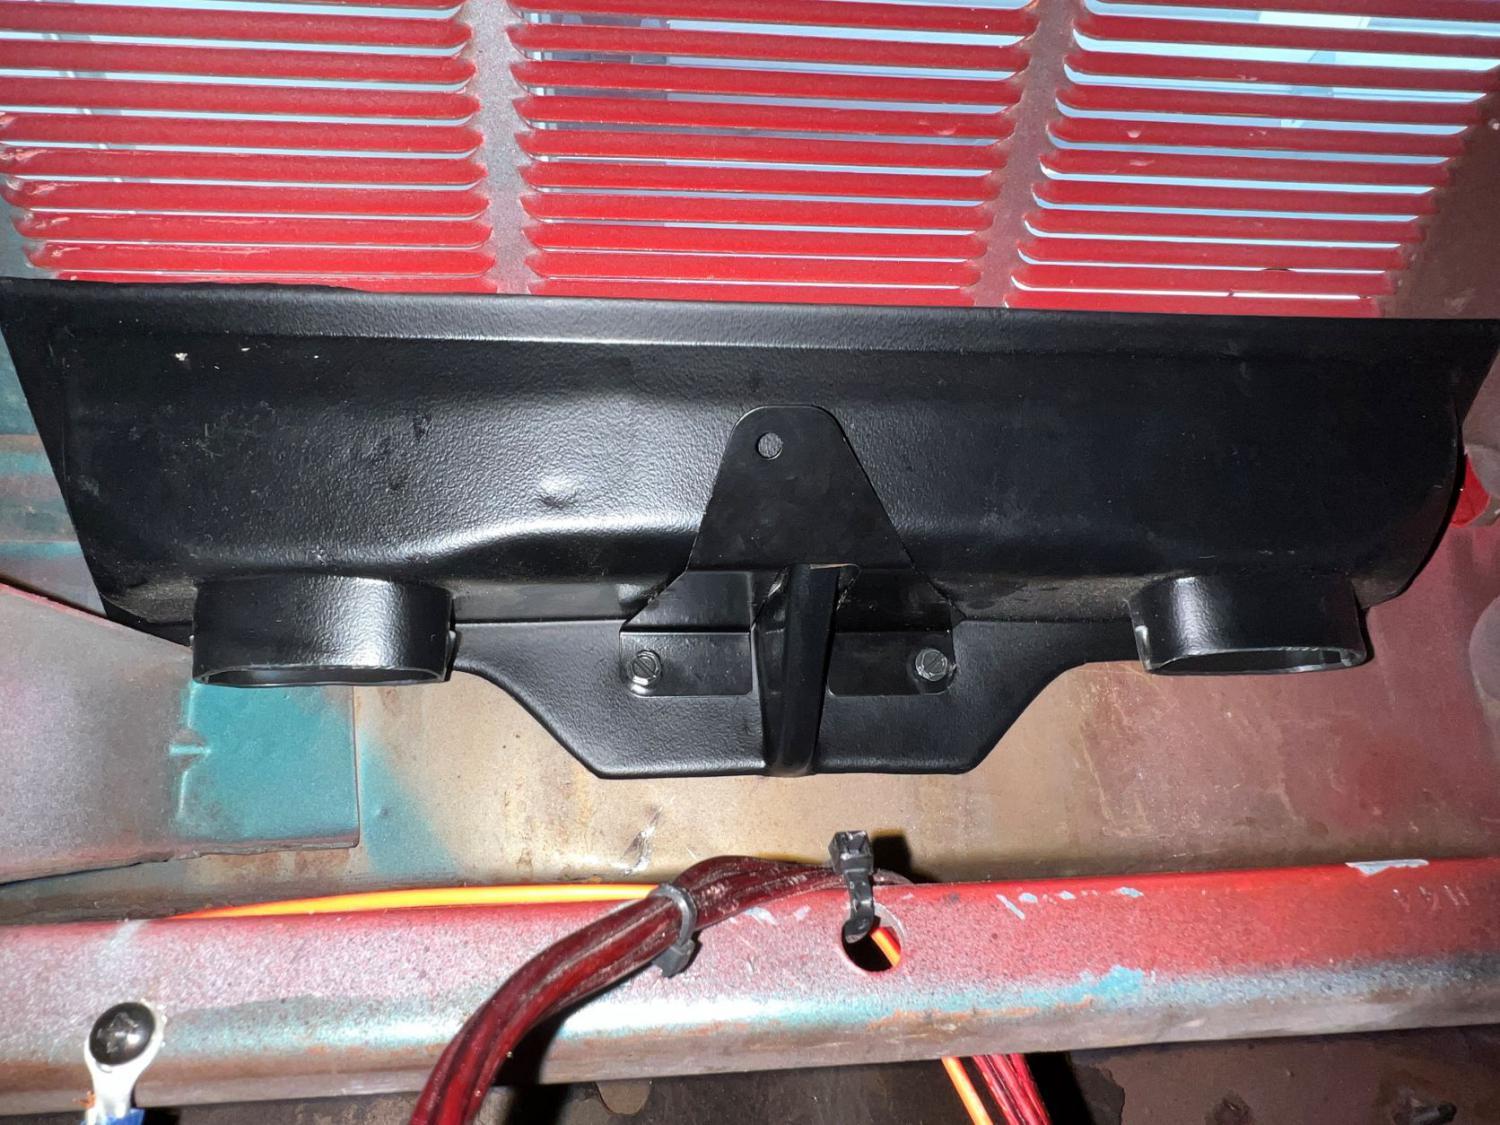
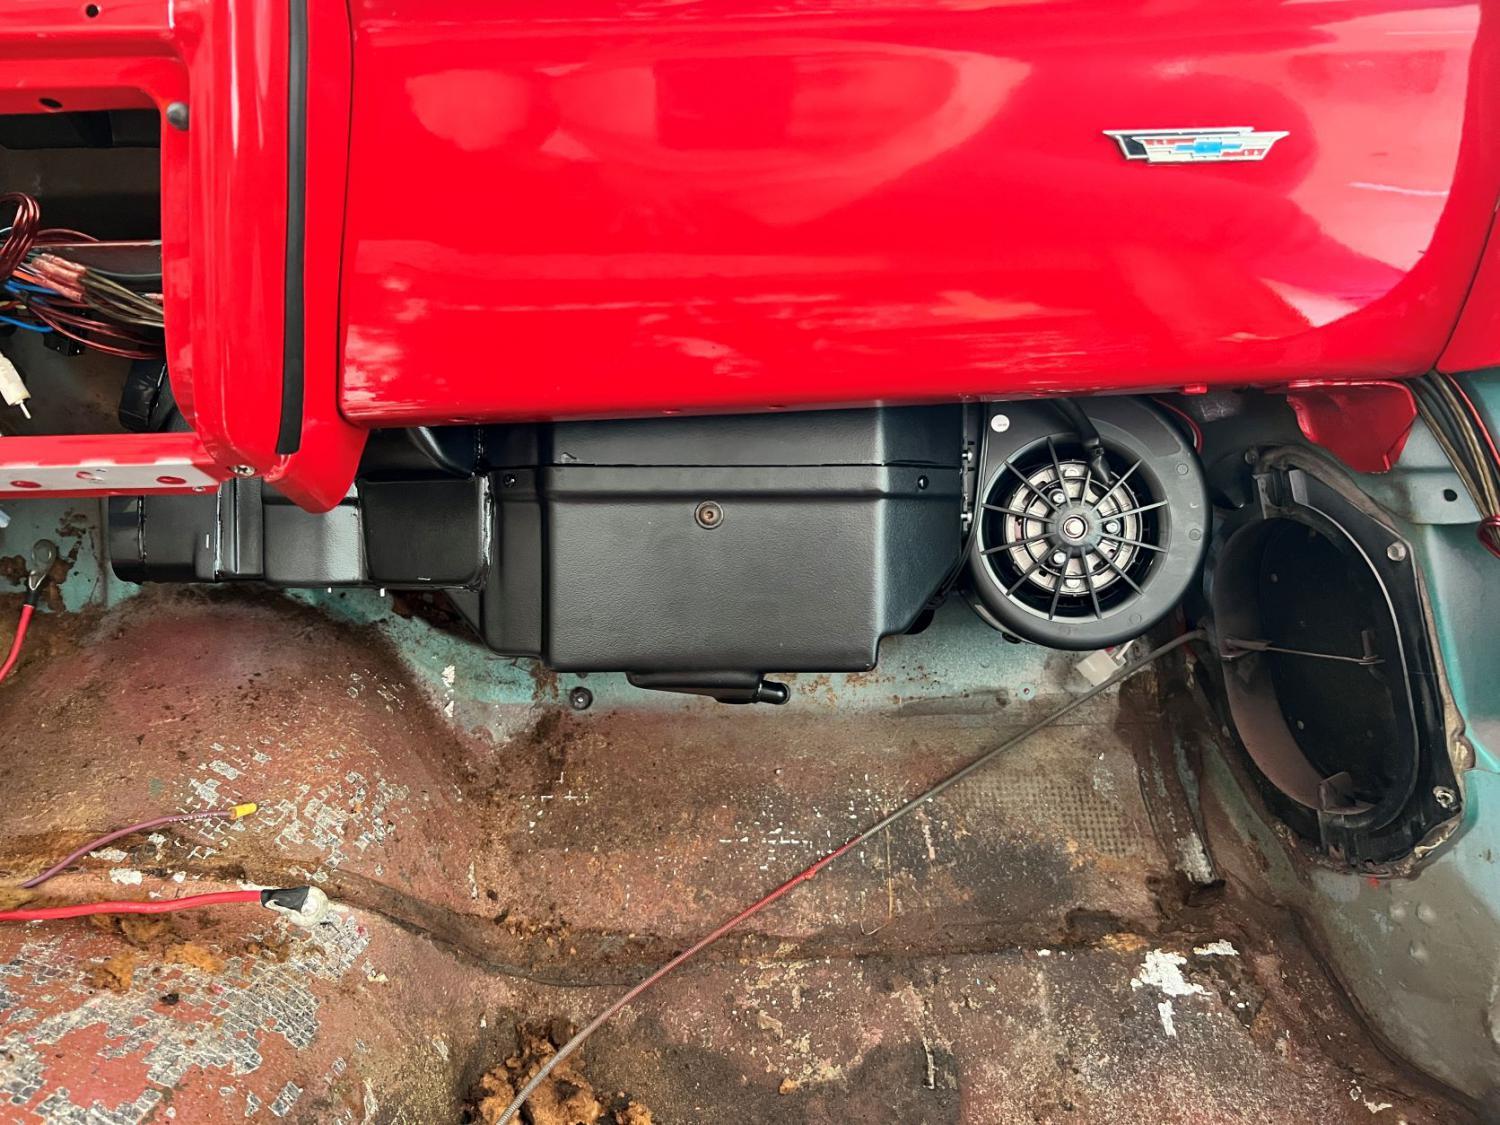
The airbox is mounted temporarily. I will layout everything for the Terminator X Max next and also determine how I want to run the AC and heater lines. And Yes, the wiring under the dash will be addressed too. I'm leaving it in place now for your viewing pleasure.
-
07-31-2023 #22
Registered User
- Join Date
- Jul 2021
- Posts
- 70
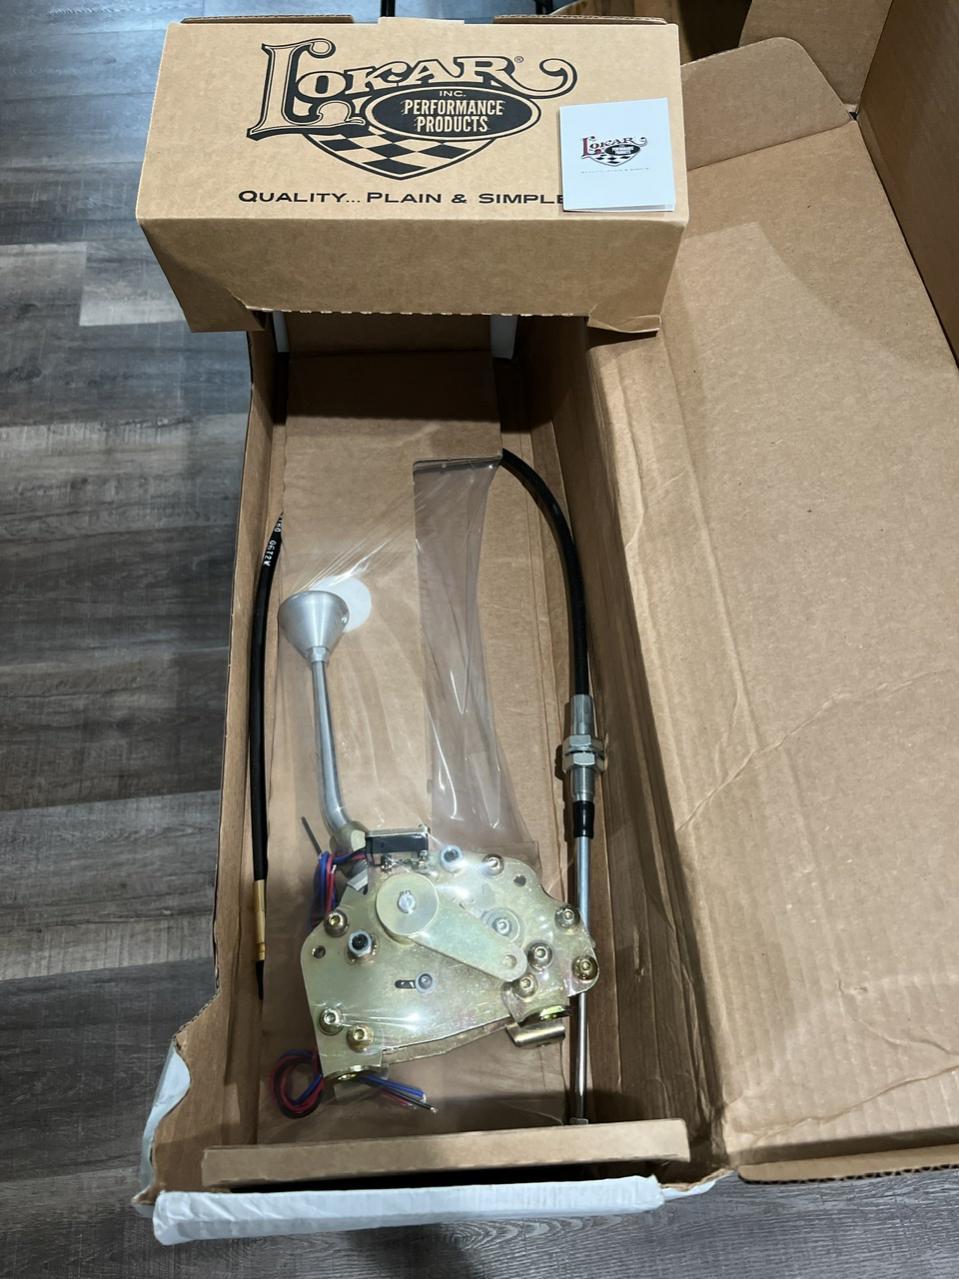
I finally received my Lokar shifter from Jeg's. It was not the original one I wanted, but it kept being pushed further and further away on backorder. I ended up contacting Jeg's and working out a deal for Lokar's "Smart Shifter." A bit more expensive than the one I ordered, but Jeg's worked with me on the price and got it to within $45 of what I paid originally.
07-31-2023 #23
Registered User
- Join Date
- Jul 2021
- Posts
- 70
I managed to modify a 4-speed hump to mount my shifter on as I did not want it centered on the transmission tunnel. Still in the mockup phase in the pic.
07-31-2023 #24
Registered User
- Join Date
- Jul 2021
- Posts
- 70
I managed to get the LOKAR shifter mounted and access hole drilled for the shift cable. Unfortunately since the cable runs out the back of the shifter in this model, I have to raise the bench seat about an inch to clear the bracket and cable. Not a big deal, but still something else that is getting added to the ever expanding To-do list. I’ll get pics of that fiasco soon.
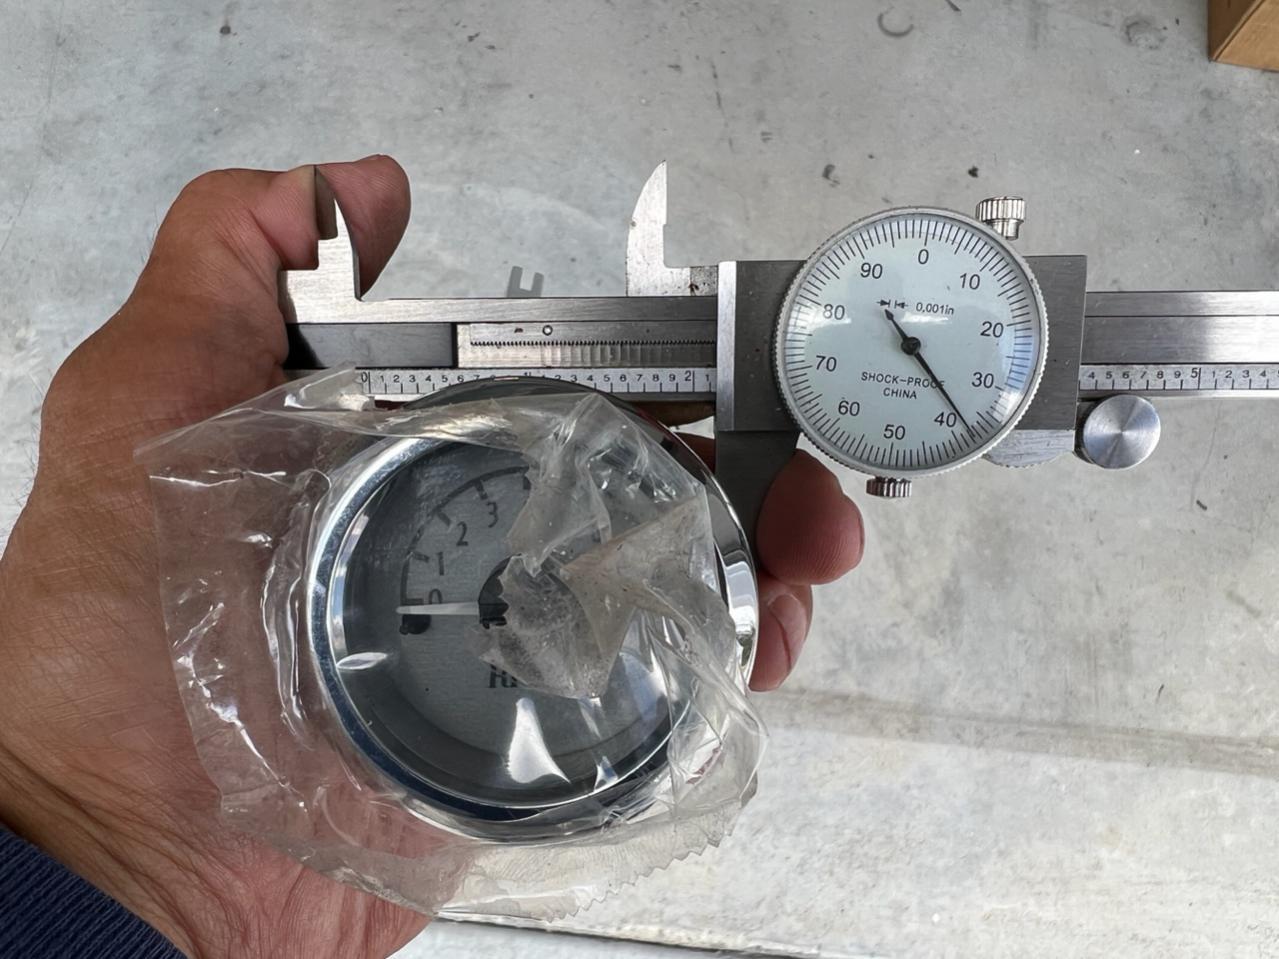
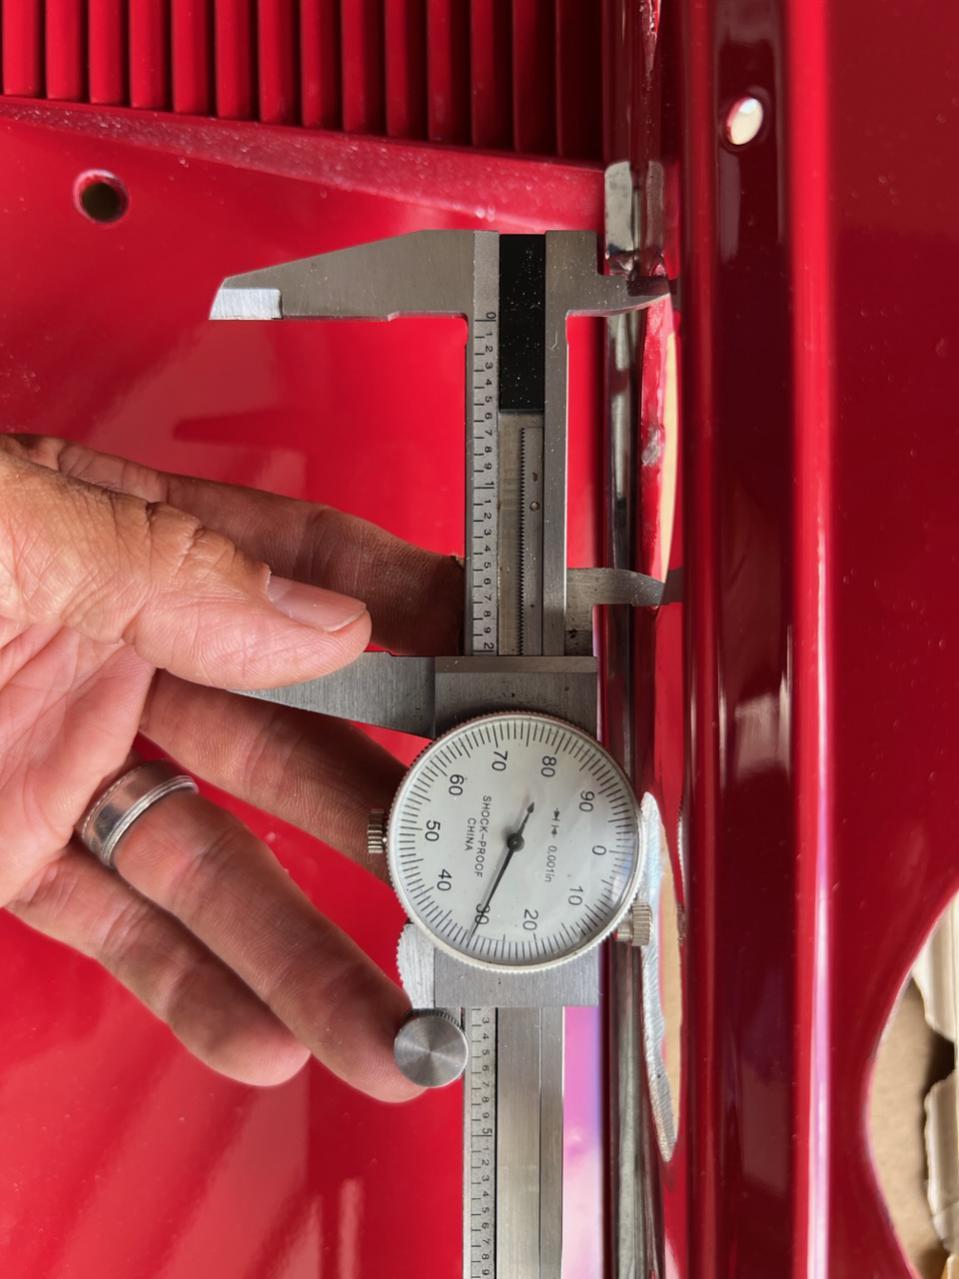
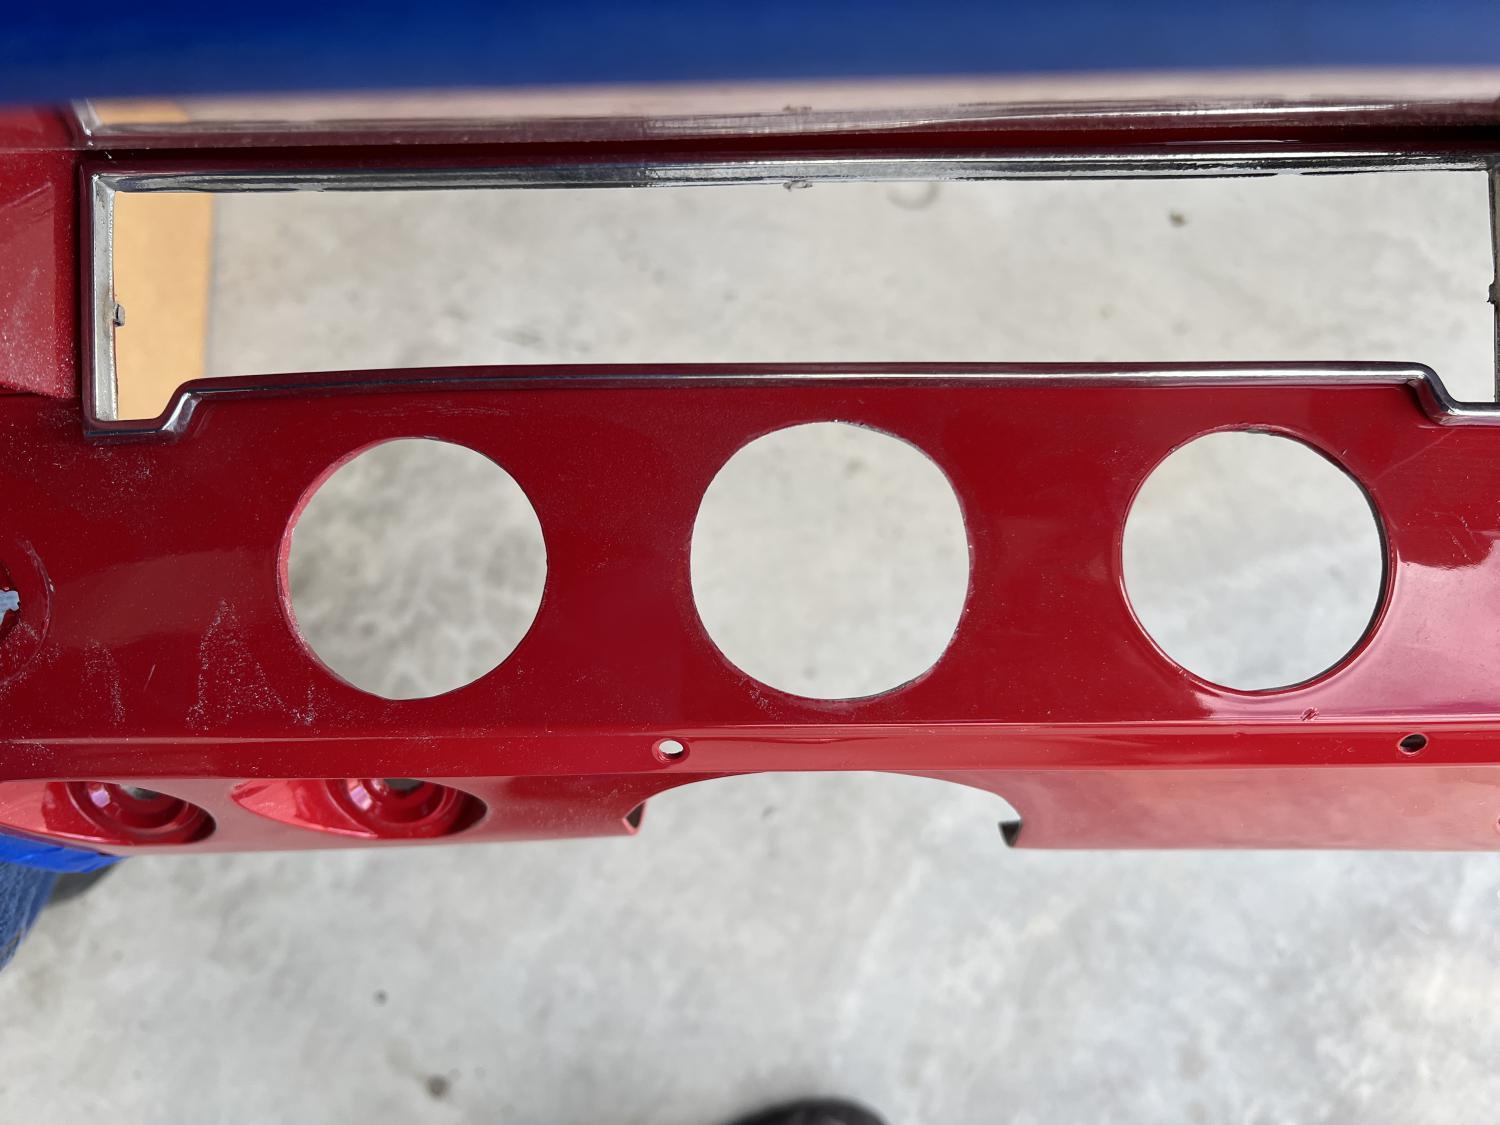
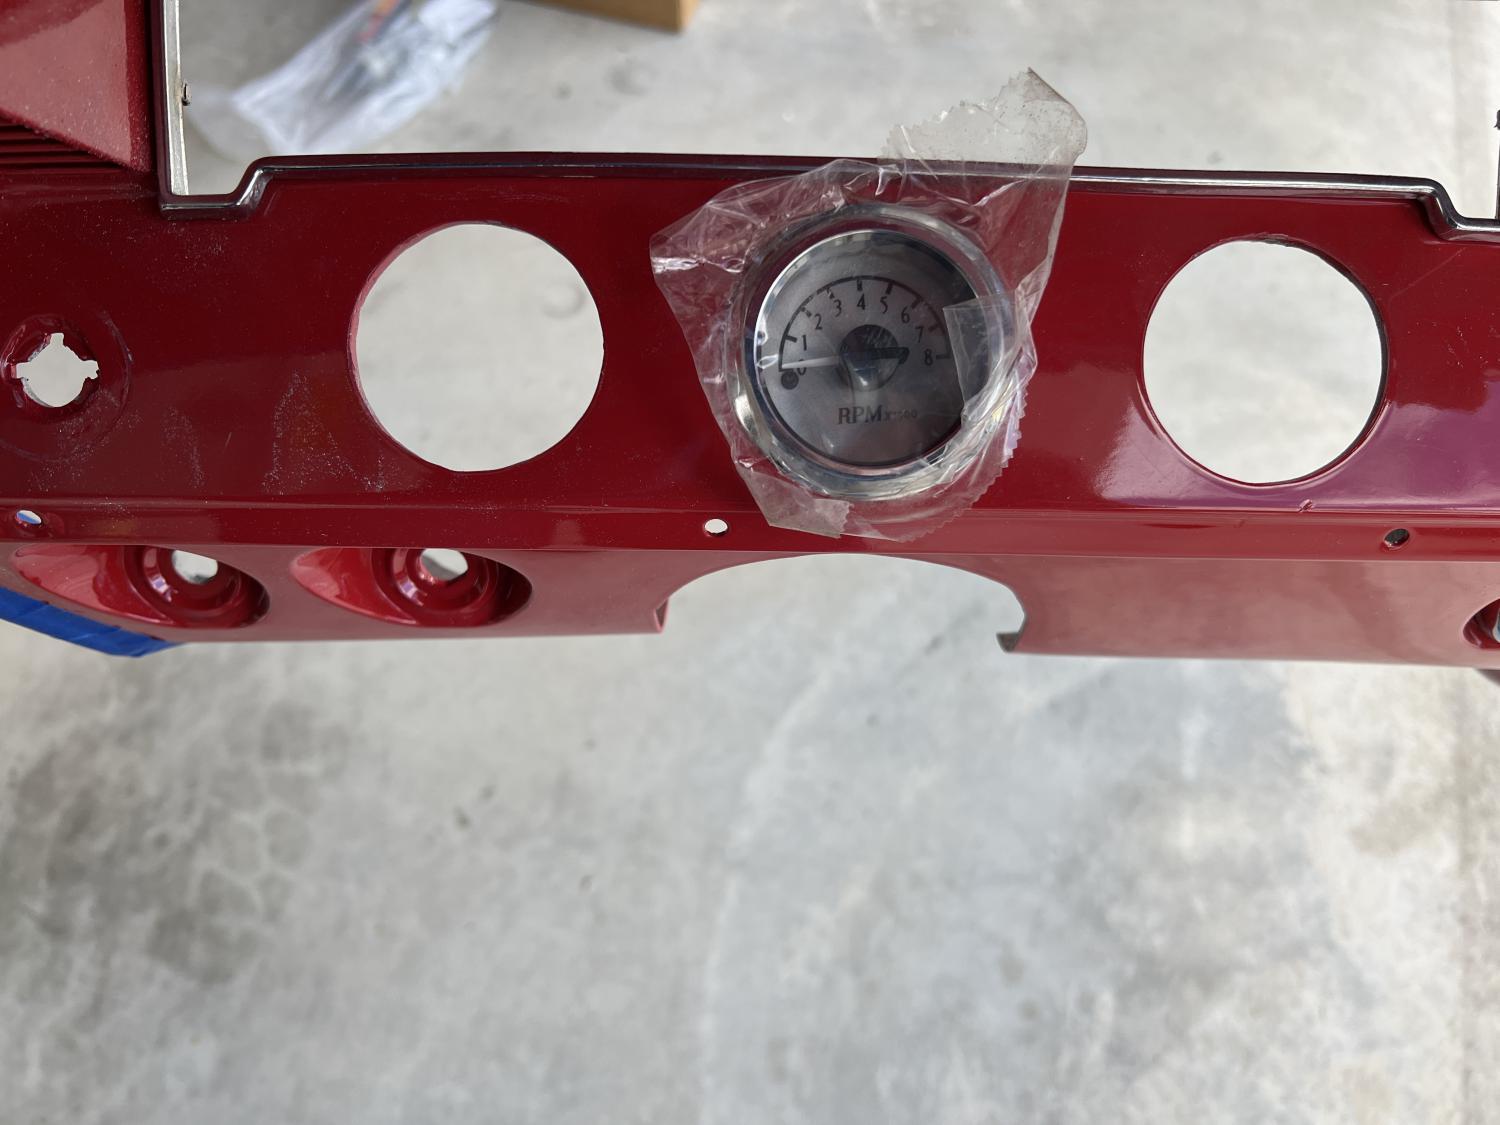
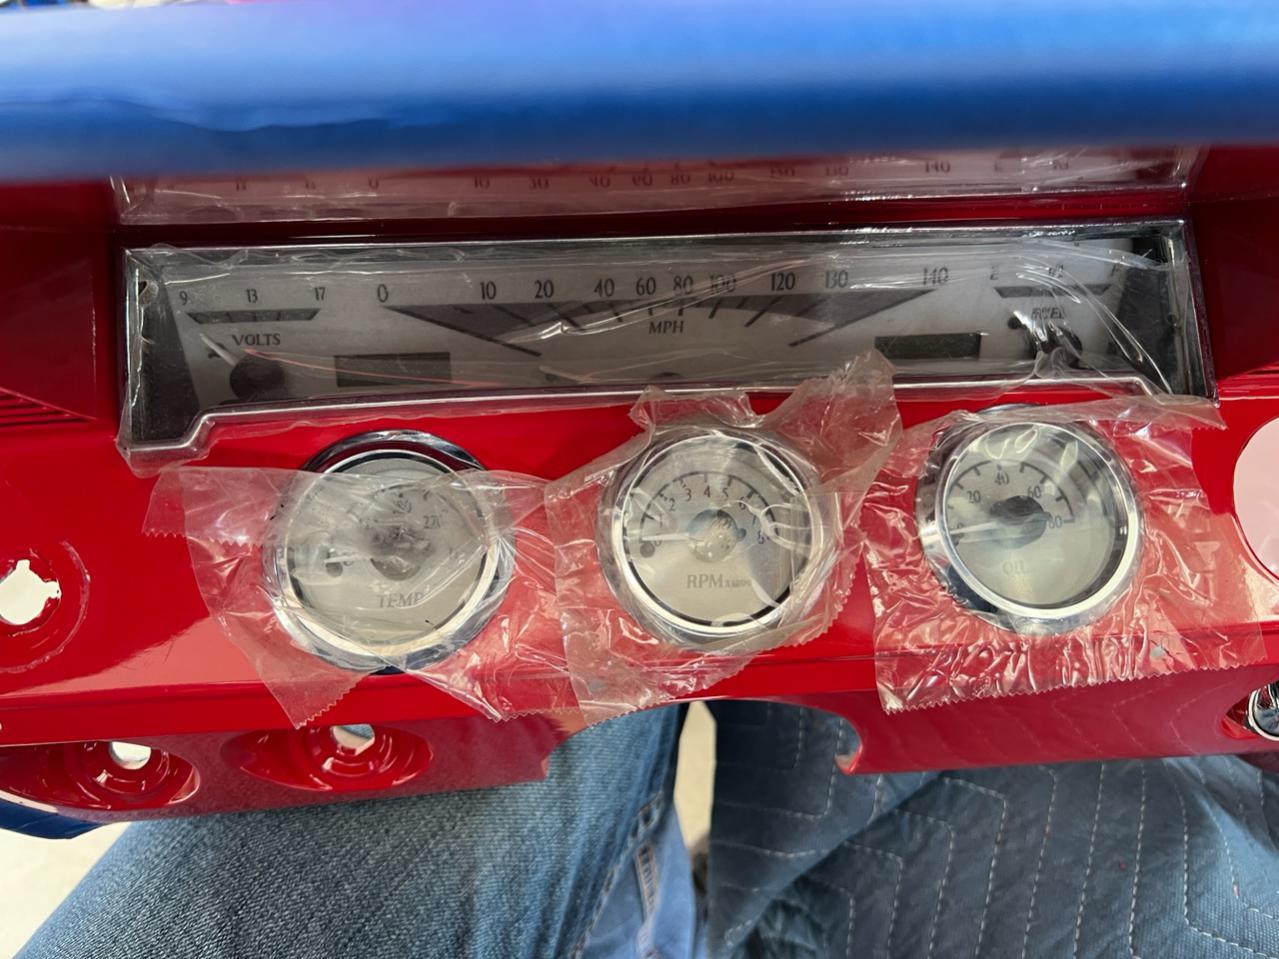
I started working on getting the Dakota Digital gauges installed that I purchased from FB Marketplace. The dash had been worked over before to fit the smaller AutoMeter gauges, so I had to take my trusty half round file to the openings to enlarge them for the round Dakota gauges. That was super fun. It took a little bit, but I got it done.
07-31-2023 #25
Registered User
- Join Date
- Jul 2021
- Posts
- 70
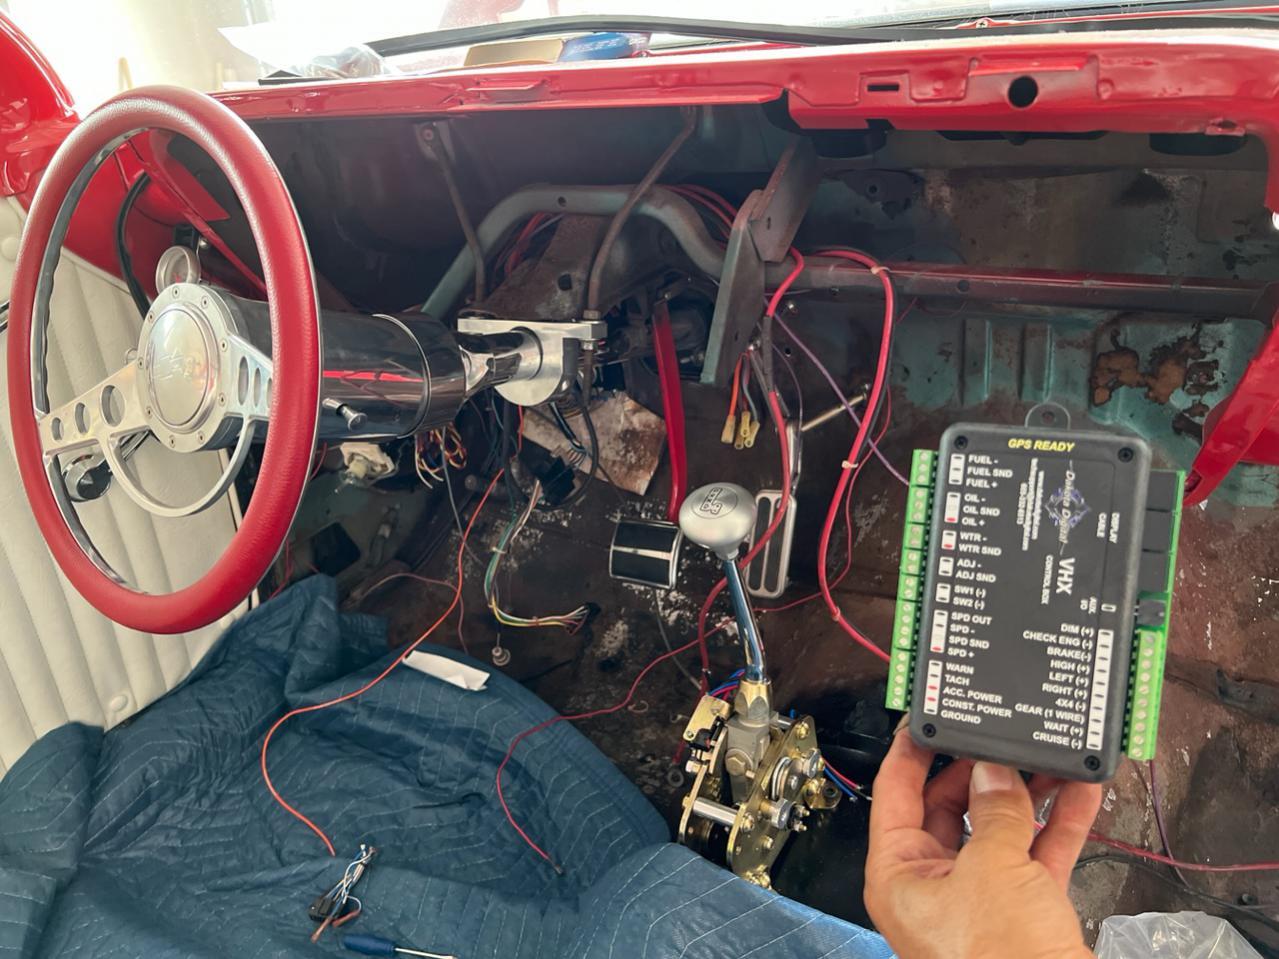
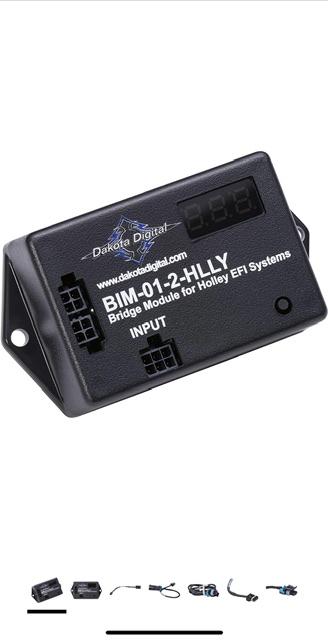
I started to try and make heads or tails of the wiring debacle while planning on placement of the Dakota Dash module and the Holley Terminator X Max ECU. While doing some research on Google University to figure how to wire up the Dakota gauges, I learned I need to get a bridge module from Dakota for the gauges to get signal from the Holley ECU. 🤦🏻
That was ordered promptly.
07-31-2023 #26
Registered User
- Join Date
- Jul 2021
- Posts
- 70
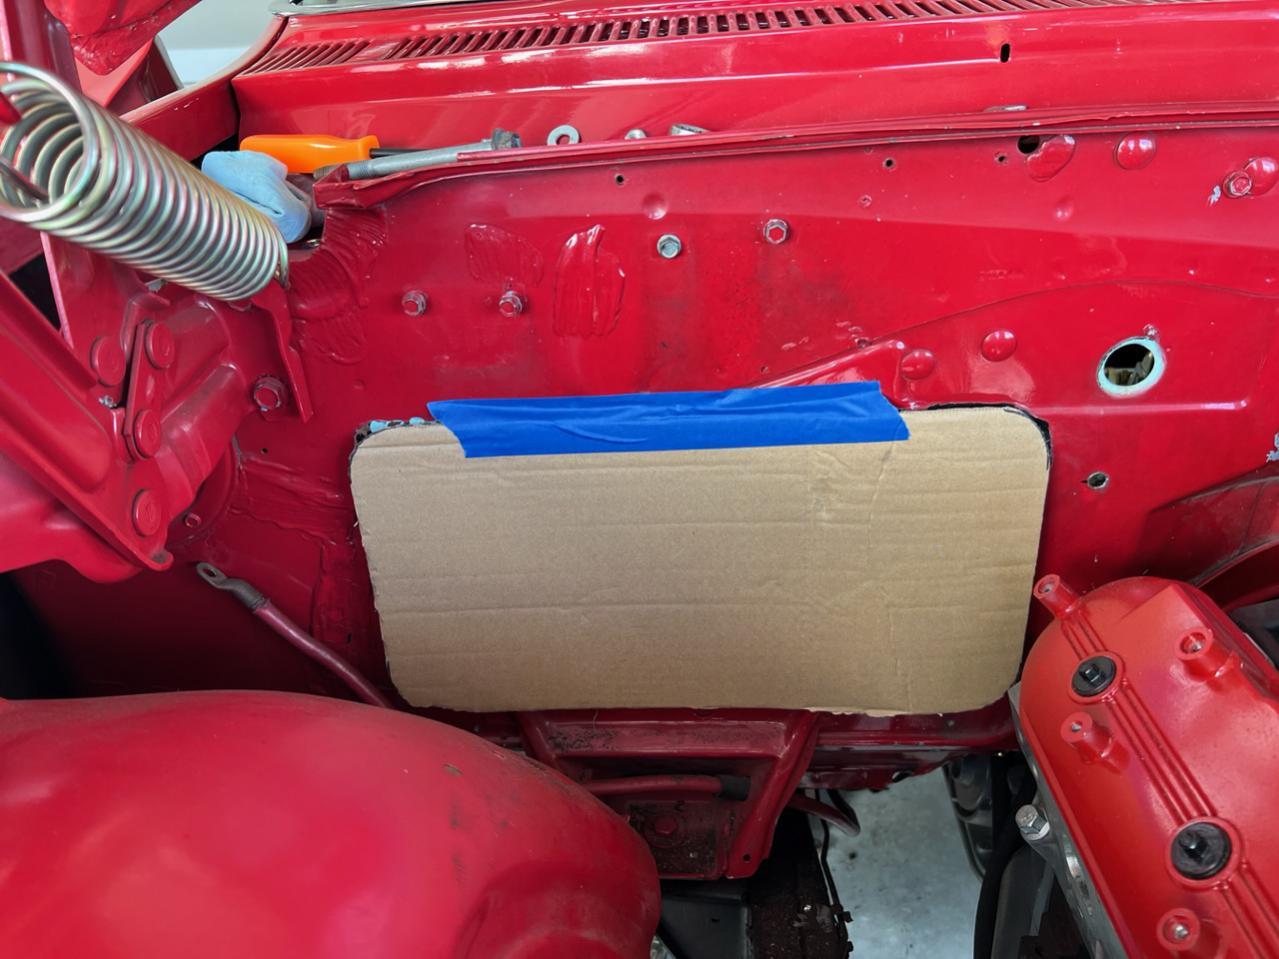
While I was under the dash looking at the wiring with all the daylight coming in from the gaping hole in the firewall, I decided to tackle that project. My kindergarten skills paid off once again as I was able to use a Sharpie, measuring tape, and some scissors to make a high tech template out of a cardboard insert which was in a box for something my wife bought…. Not car parts of course.
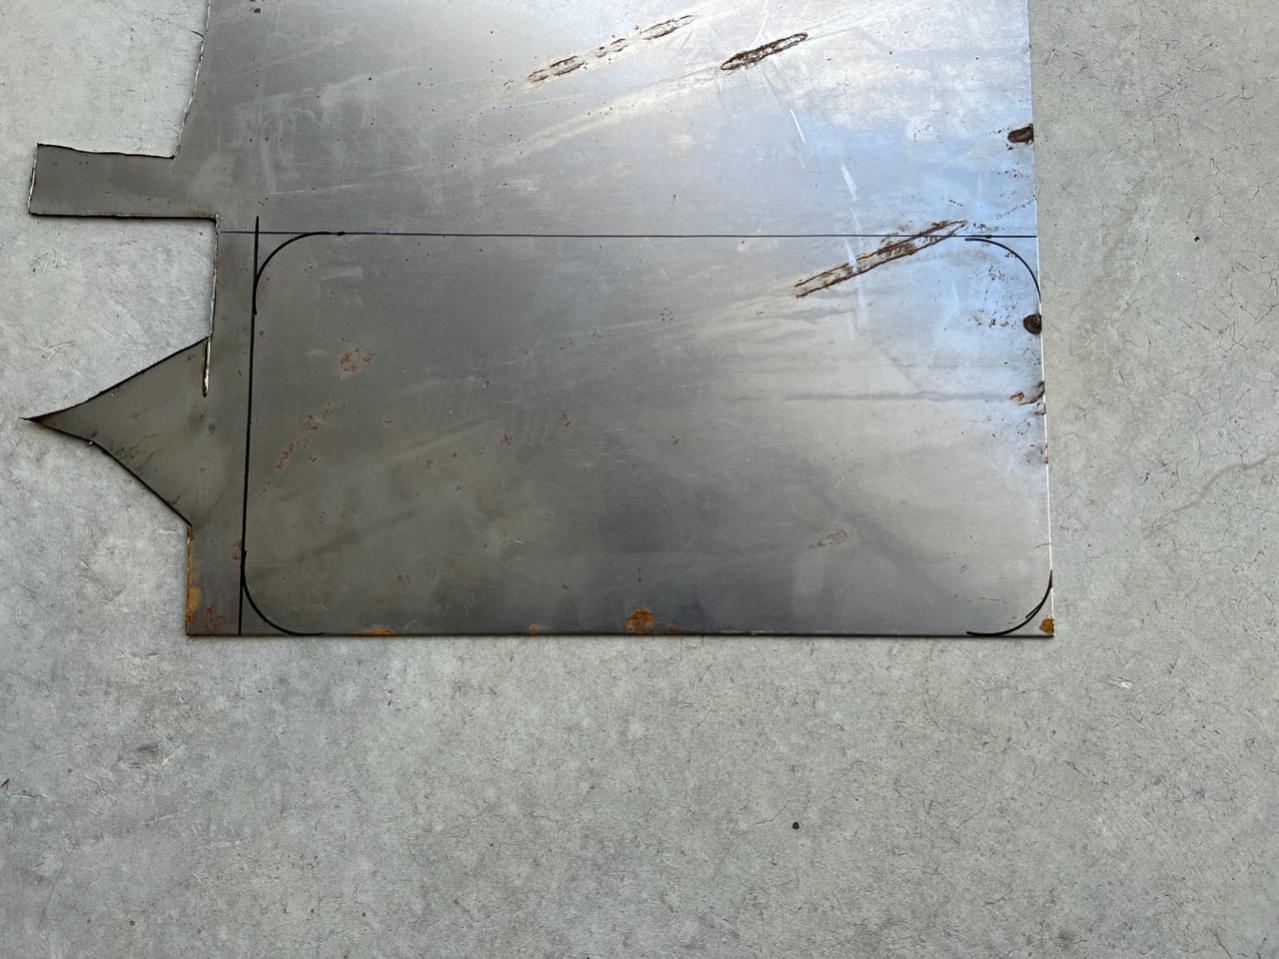
I made up my template and transferred it to some sheet metal I sourced from eBay. I used a paint can to draw radius the corners. I was able to get it cut out pretty straight with my angle grinder. I don’t have a good work area or a lot of proper equipment yet, so a piece of 4X4 post and a size 11 held the metal in place while I cut it. It did the job.
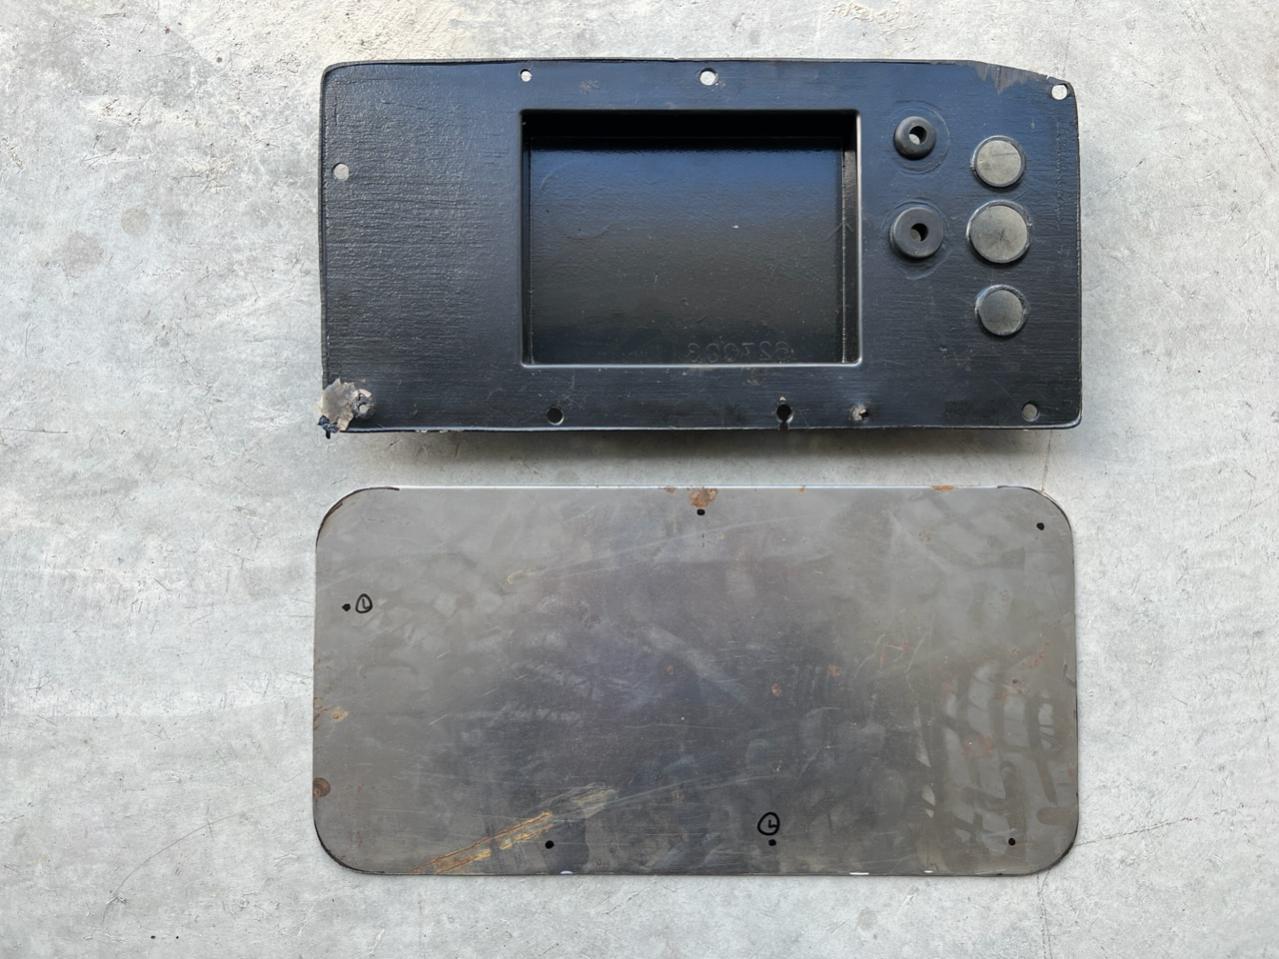
I cut the heads of some 5/16 bolts and tacked them onto the plate. That way I can install it and provide mounting points for the Vintage Air setup. It will definitely look better than the chincy plastic piece that was provided with the kit.
07-31-2023 #27
Registered User
- Join Date
- Jul 2021
- Posts
- 70
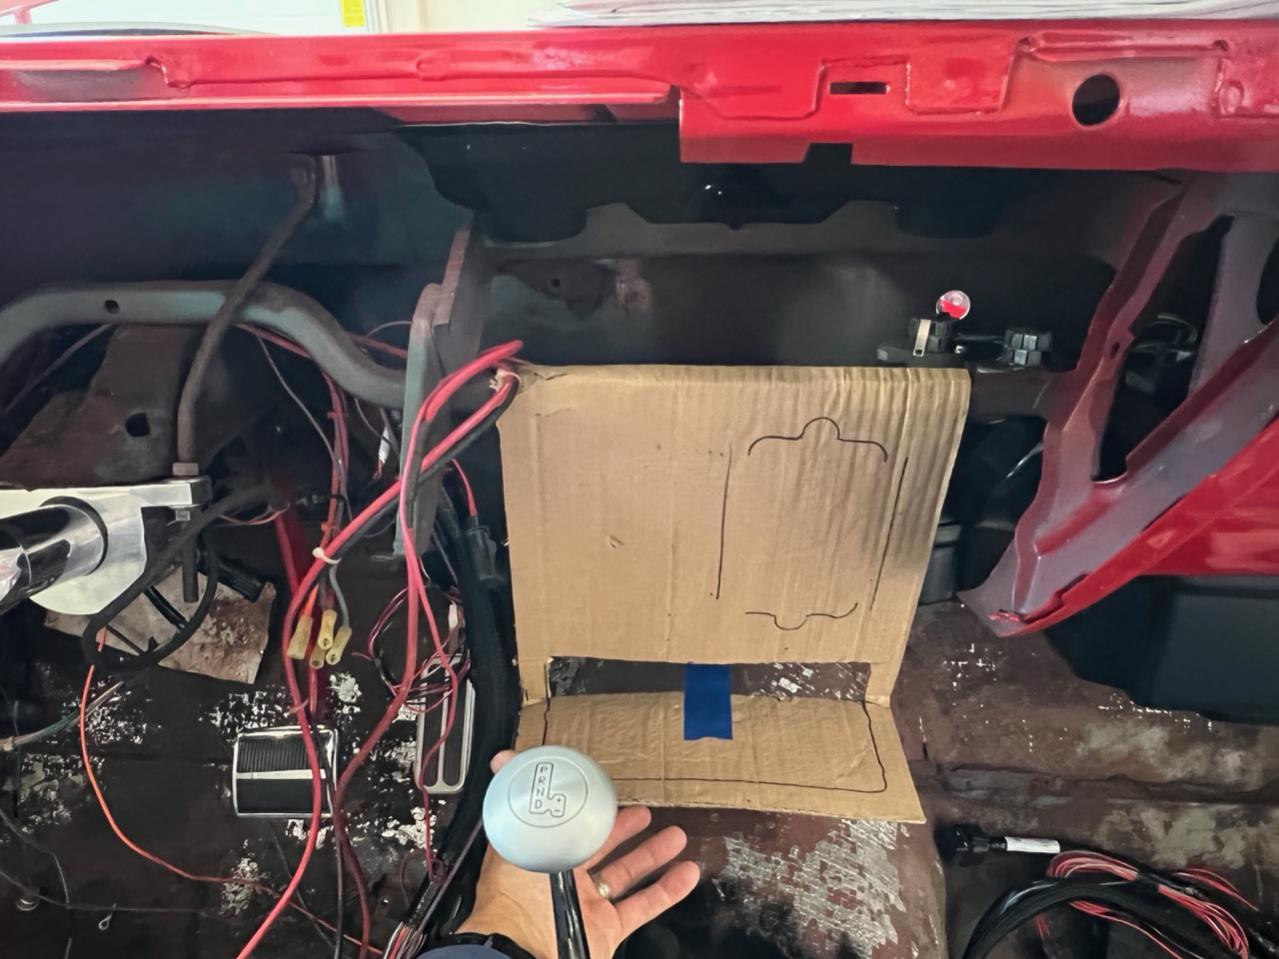
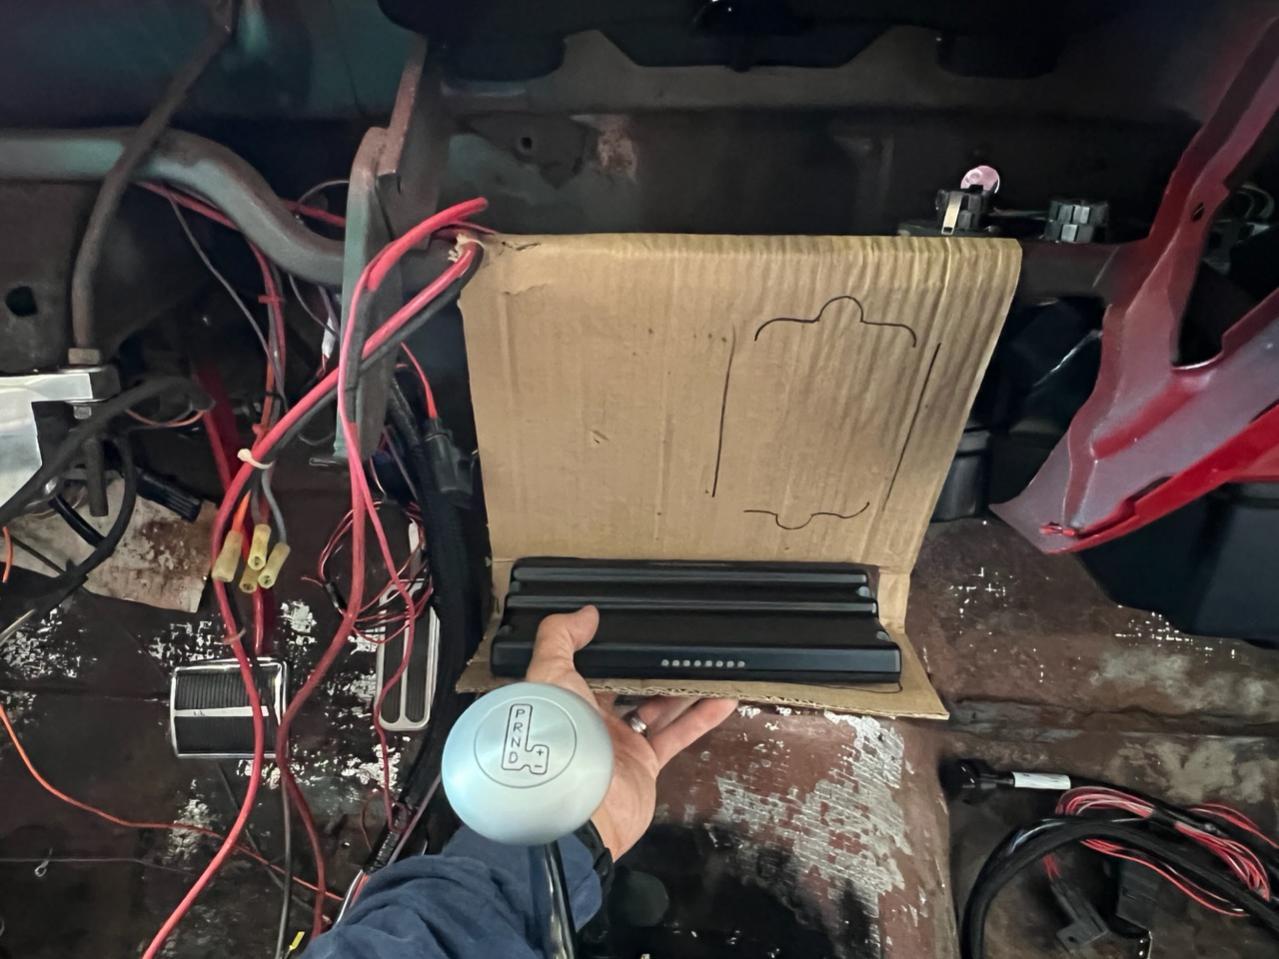
I thought I did pretty good with the AC panel, so I thought I'd try my skills at making a mount for all the electronics involved. I had to break out the Sharpie, safety scissors and butchered another box that was left over from something my wife ordered again. This one was from Target, I believe....
07-31-2023 #28
Registered User
- Join Date
- Jul 2021
- Posts
- 70
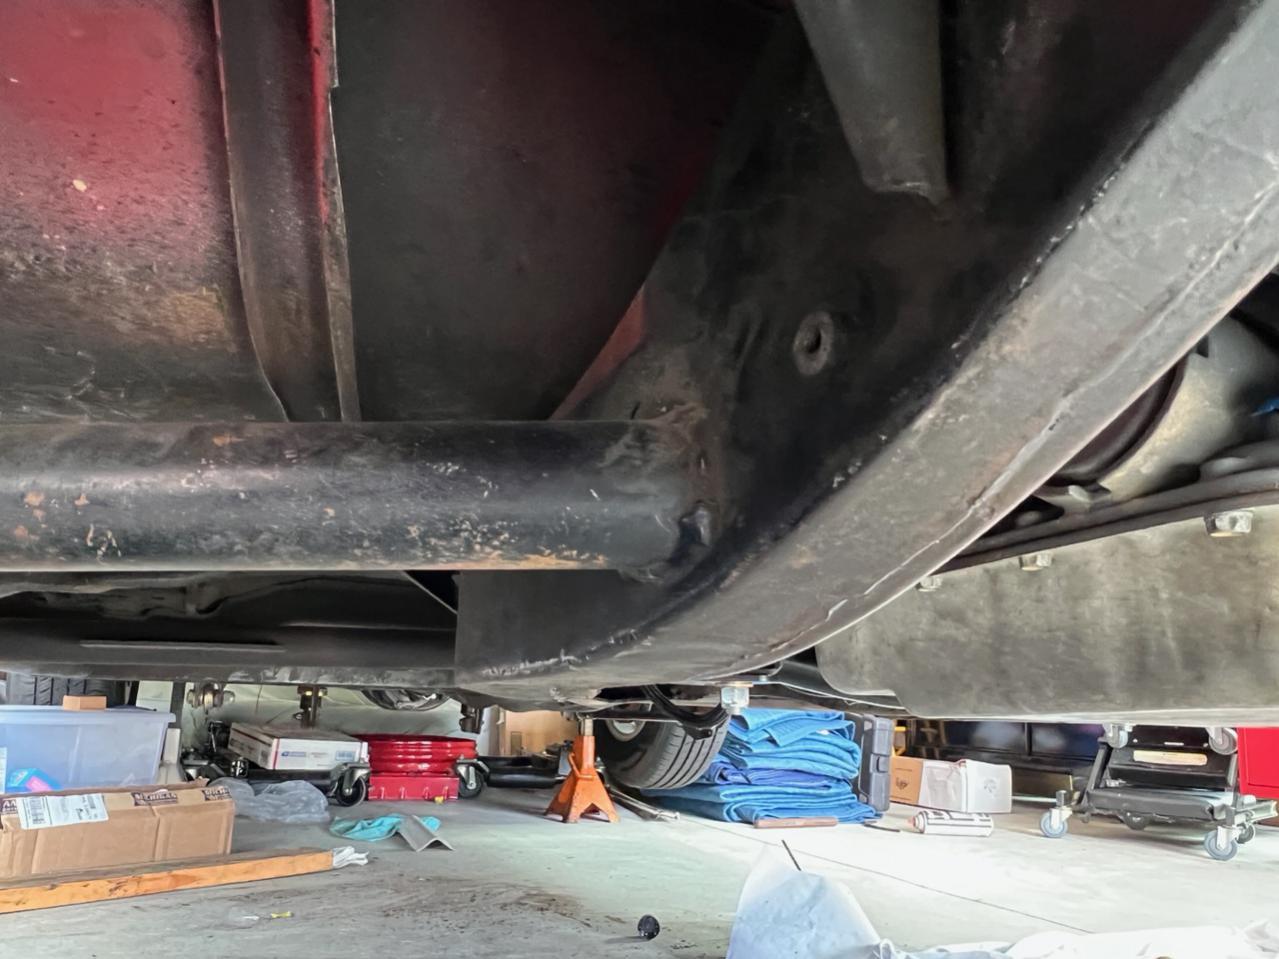
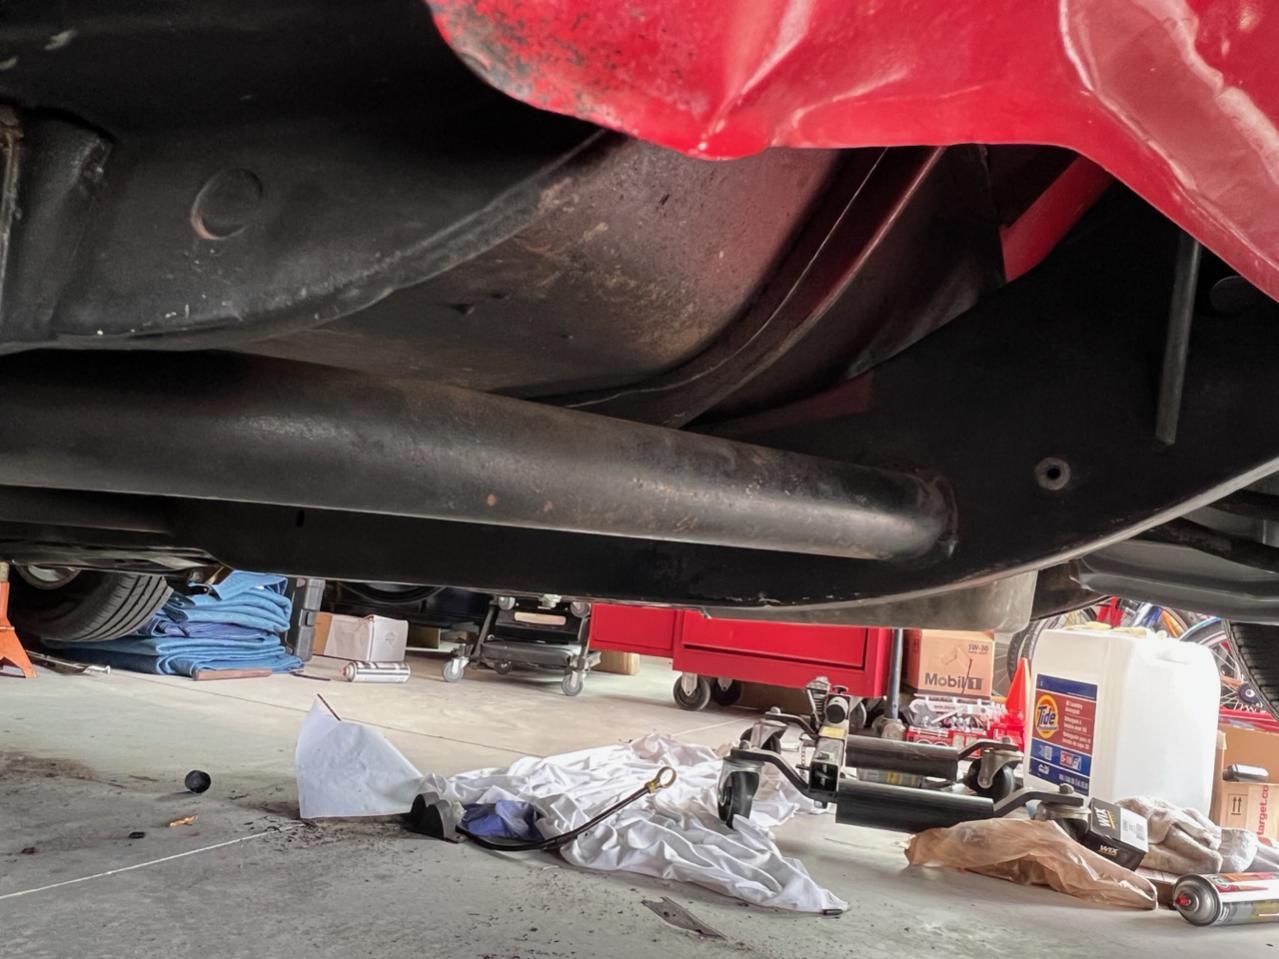
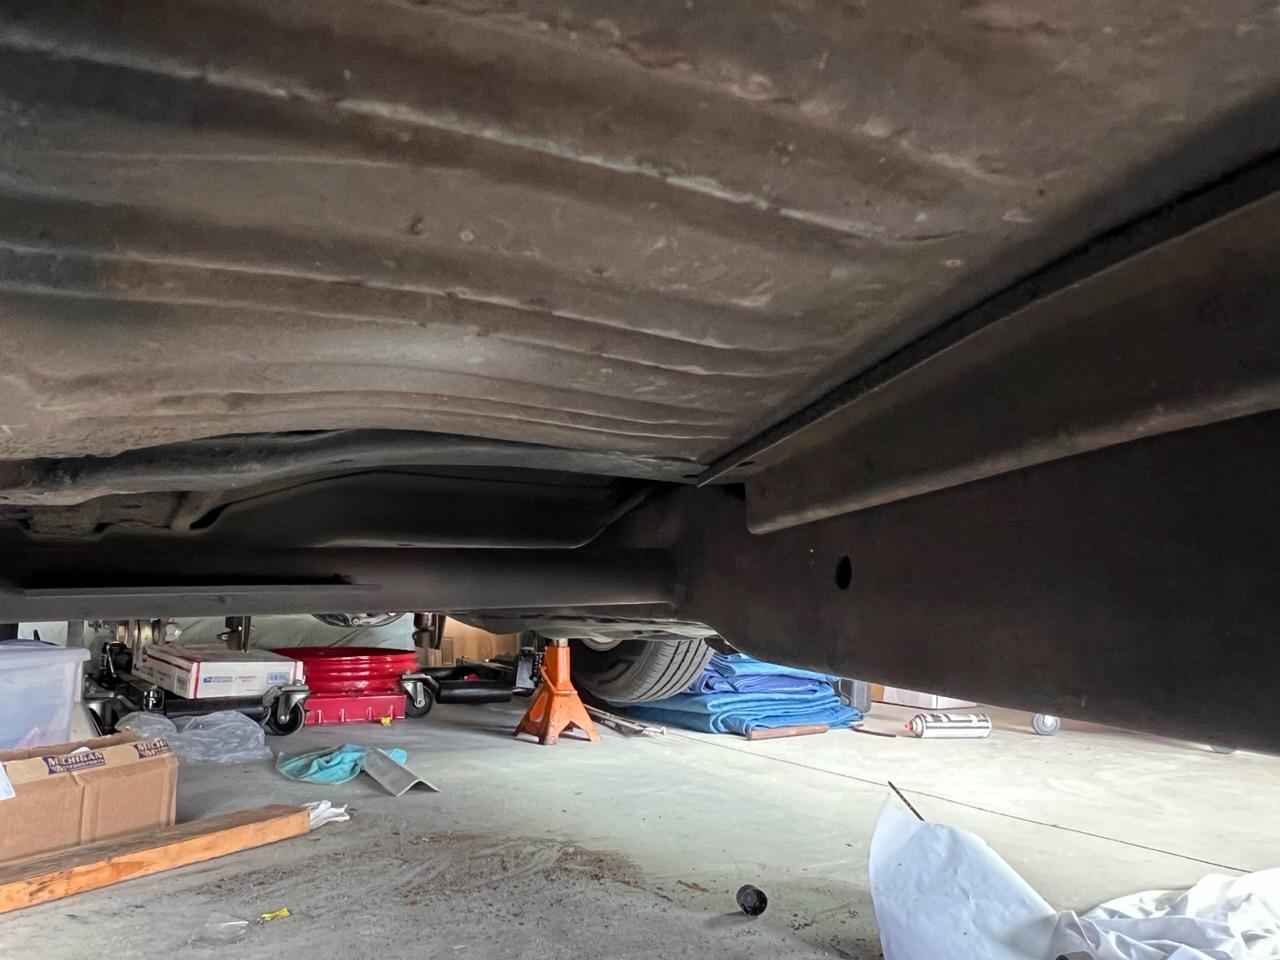
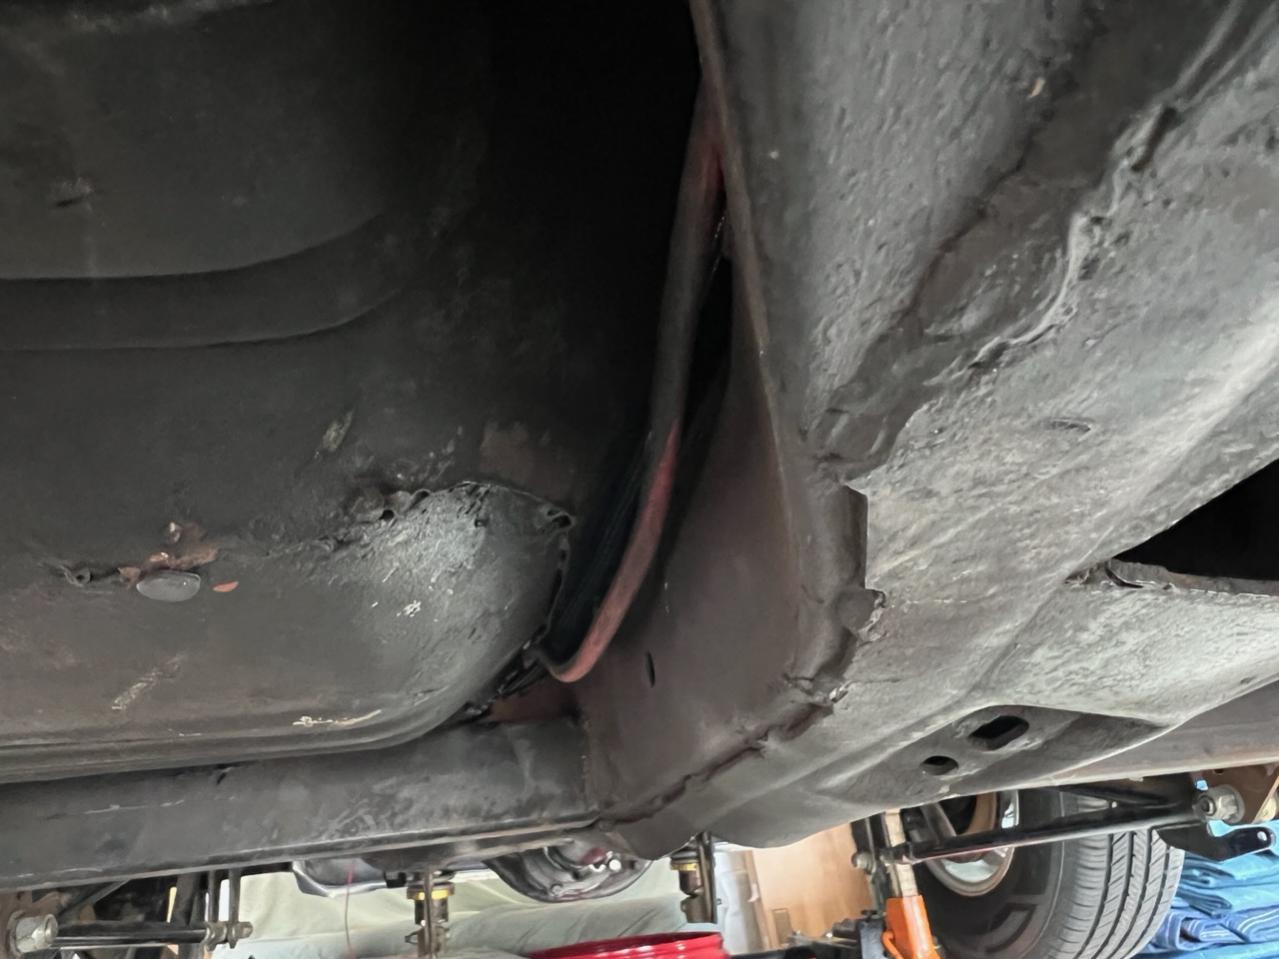
Hello Everyone. I have a “need your opinion” post. I’m trying to figure out how I am going to run the exhaust. The car has been underbraced when it had the cage installed. I do like the fact that the X-frame is beefed up a little. The issue is that the tubing interferes with where the exhaust should run. I do not want to run it under the bracing as that would kill the ground clearance. I had thought of getting some 3.5” square tubing and welding it between the bracing and the frame to make a channel for the exhaust.
Don’t mind the battery cable in the pics. I haven’t started the electrical fiasco yet.
Is there anyone that has any experience in this area or could just give me some insight? I do appreciate any and all info and advice.
08-01-2023 #29
Registered User
- Join Date
- Sep 2004
- Location
- Chicago - western burbs
- Posts
- 681
On your A/C closeout panel...dont the heater tubes and plastic case on the Vintage Air unit stick out past the fire wall (they do on mine, about 1/2")? Thats what the square recess on that ugly plastic panel is for. I am just gonna use the original heater box cover cause I don't really care for the flat panels either. It does however mean I'll need to do more work on custom lines as the VA provided ones will not work.
wow...that last picture of the bottom of the frame...how the heck did that get bent that bad?? Thats the center bearing mount, right? Being a former race car I assume a busted driveshaft? Are you using a one piece driveshaft now? Maybe just an optical illusion? but my two frames are perfectly flat on the bottom.
08-01-2023 #30
Registered User
- Join Date
- Jul 2021
- Posts
- 70
The unit used to stick out of the firewall. I modified the brackets on the unit to move it inward enough to clear the firewall. Mine only had the VA piece in place when I purchased the car. I ended up purchasing some reduced barrier A/C lines and fittings so that I can manipulate them easier under the dash. Originally Posted by Rubes

It may just be the angle that I took the pic. The carrier bearing mount is not twisted like it appears in the pic. It does have a one piece driveshaft now though.
08-02-2023 #31
Registered User
- Join Date
- Jul 2021
- Posts
- 70
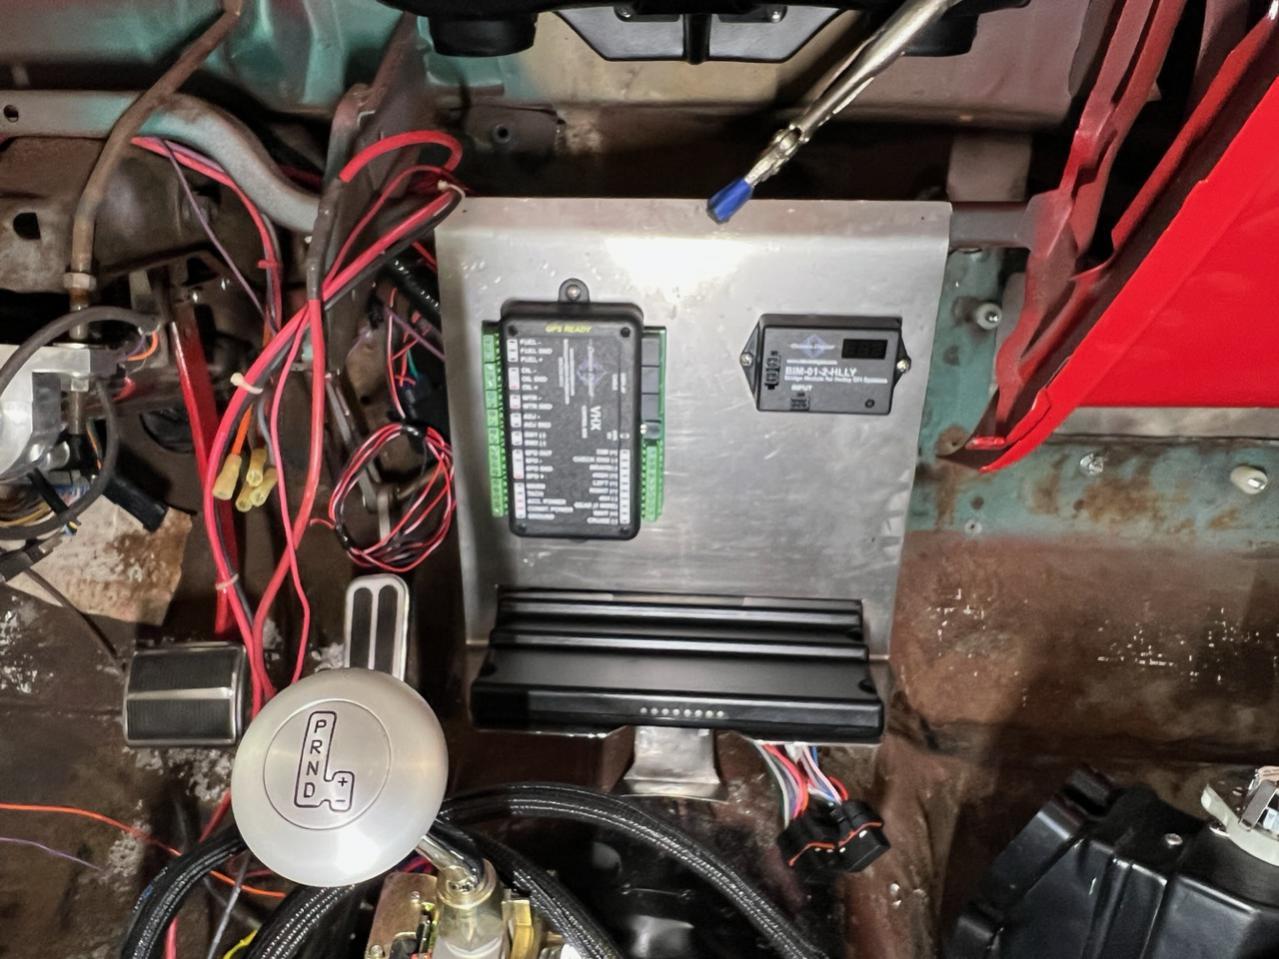
This is where I plan on mounting the modules for the Dakota Digital dash and the Holley Terminator X Max. I will clear the dash once it is back in place and still have room for the glovebox.
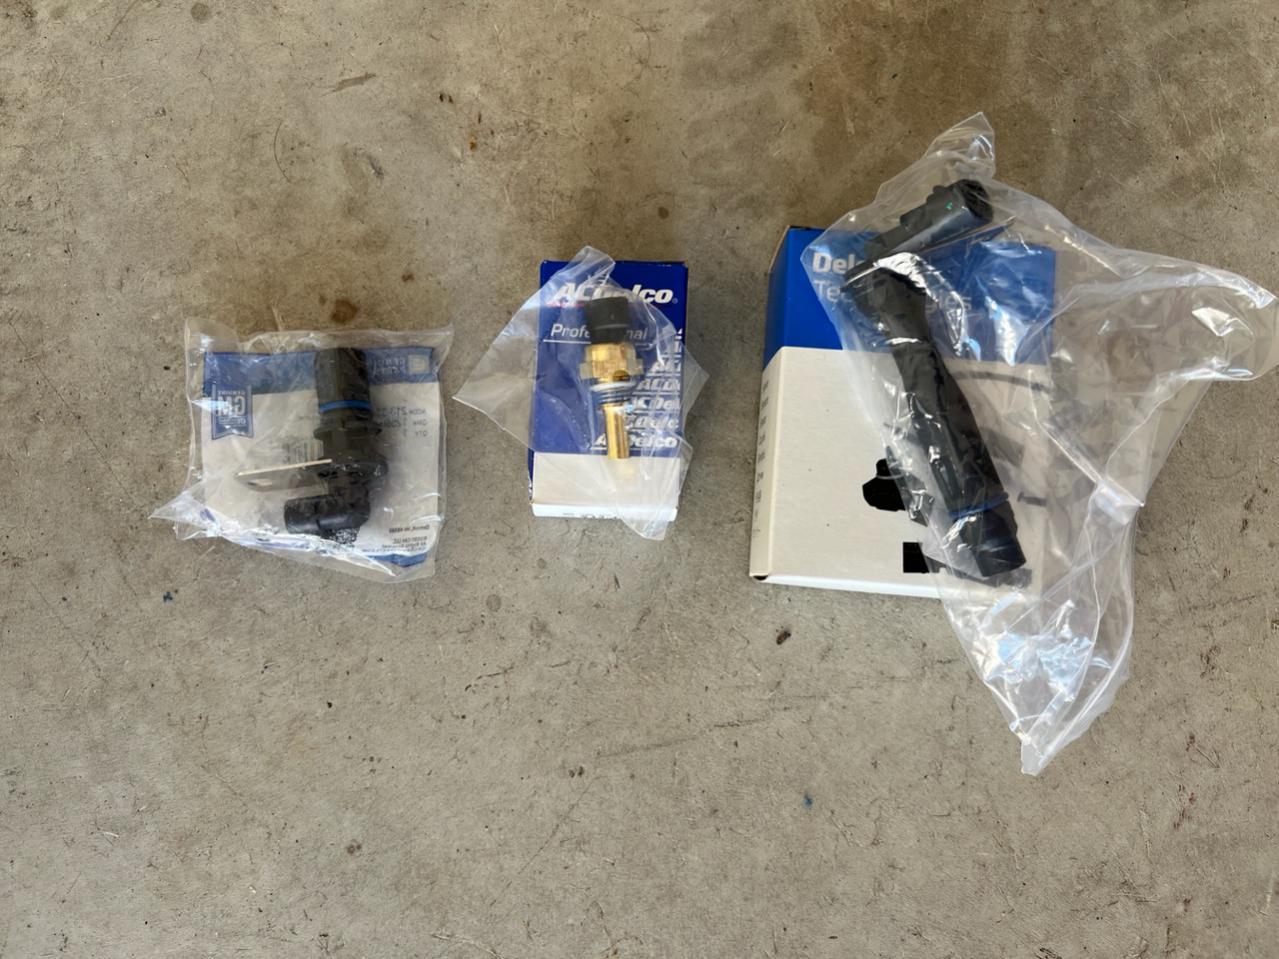
I also ordered new sensors to replace the old ones.
- - - Updated - - -
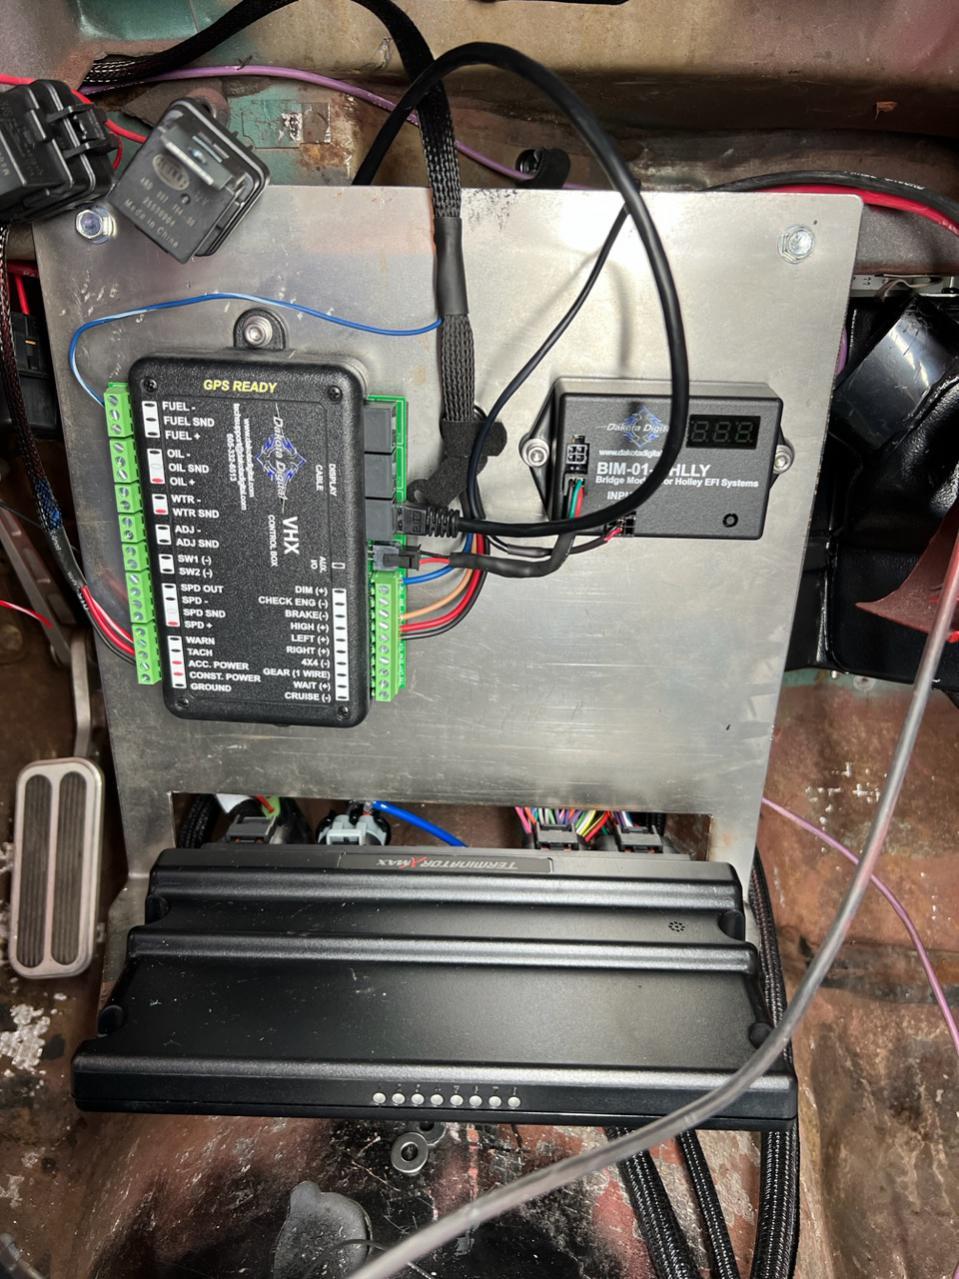
Really rough mock-up of the wiring... It will be dressed and secured nicely once completed.
08-02-2023 #32
Registered User
- Join Date
- Jul 2021
- Posts
- 70
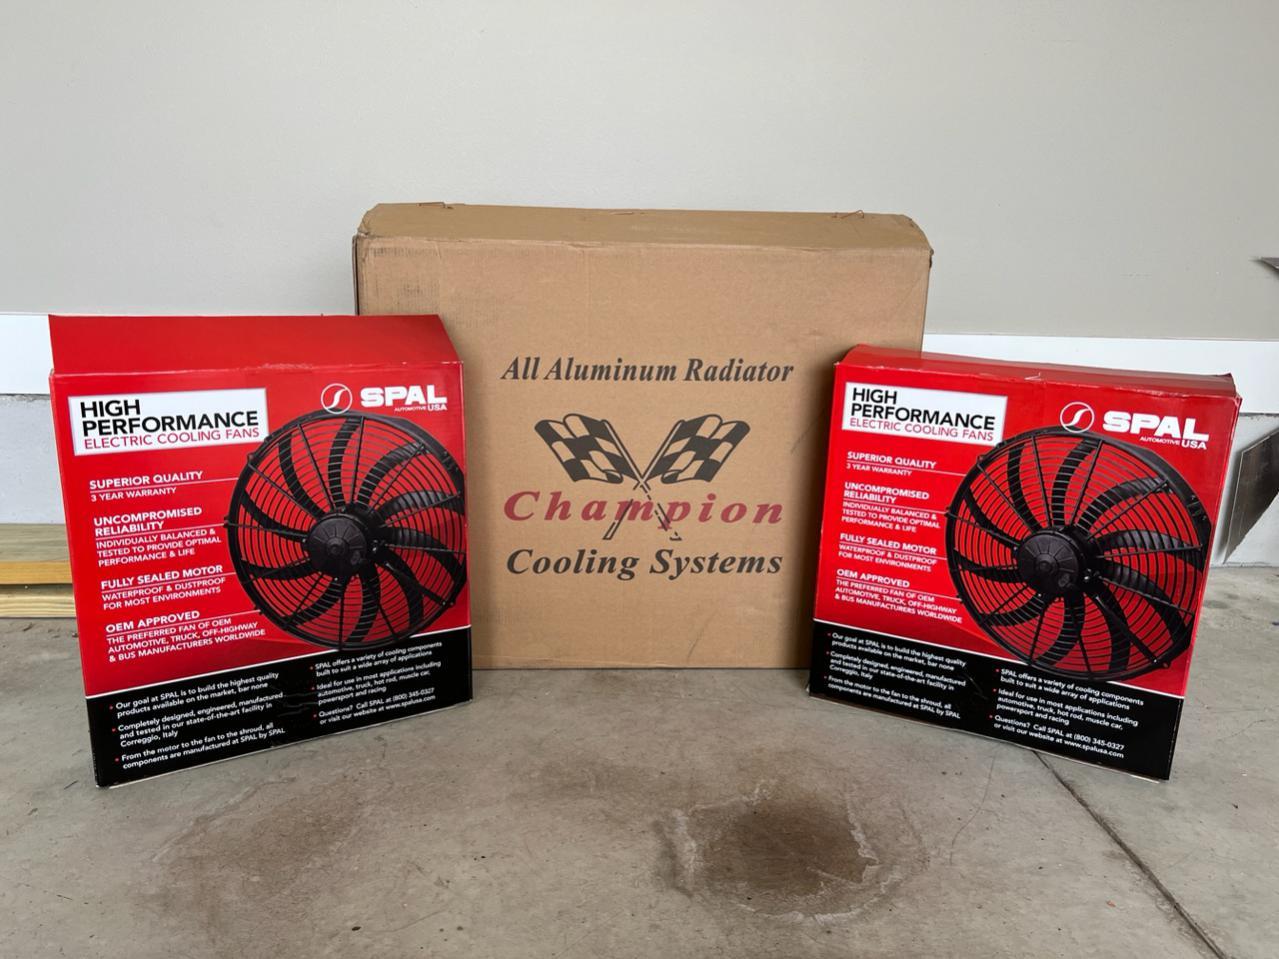
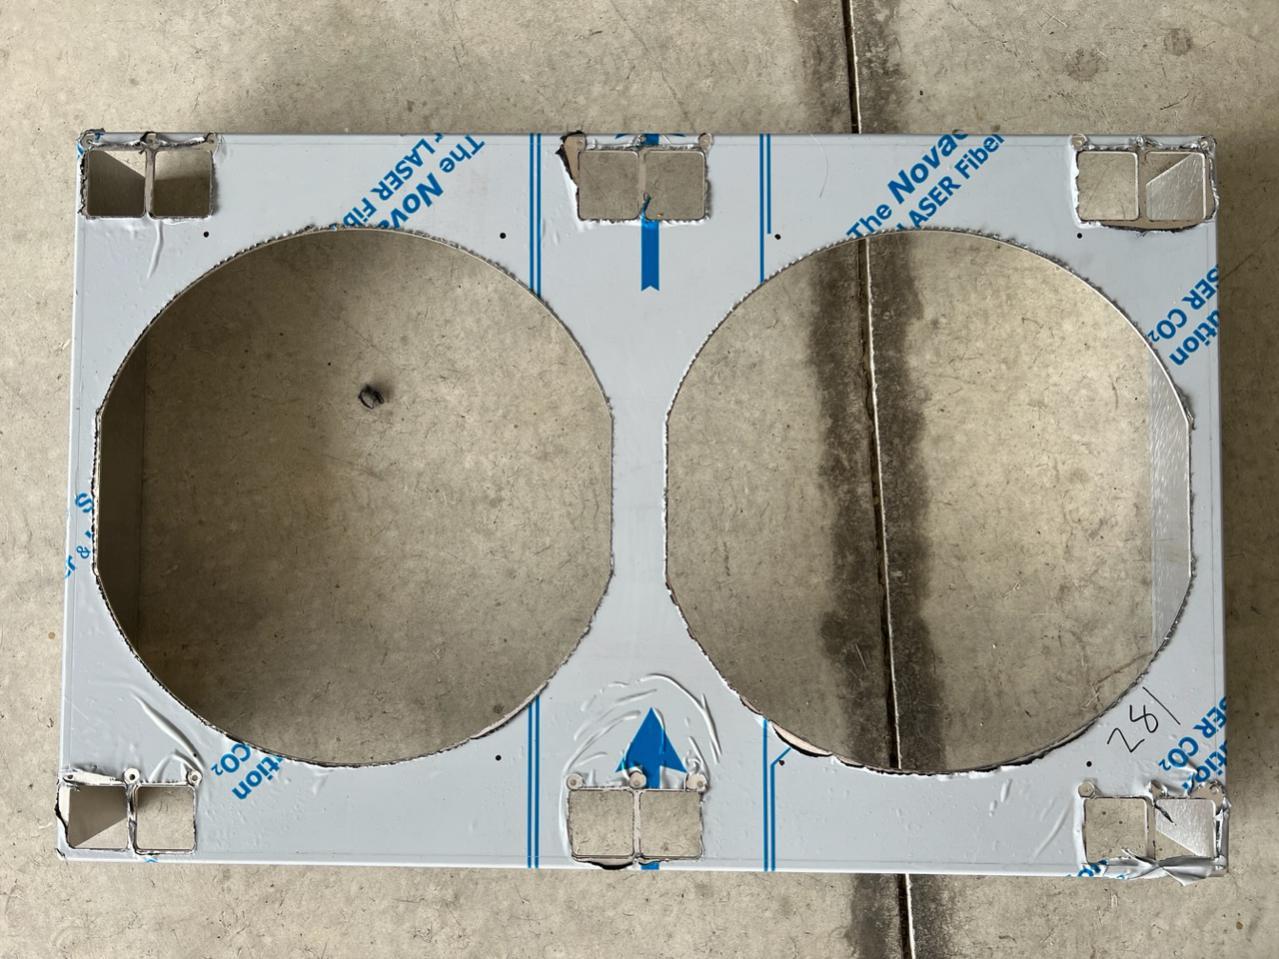
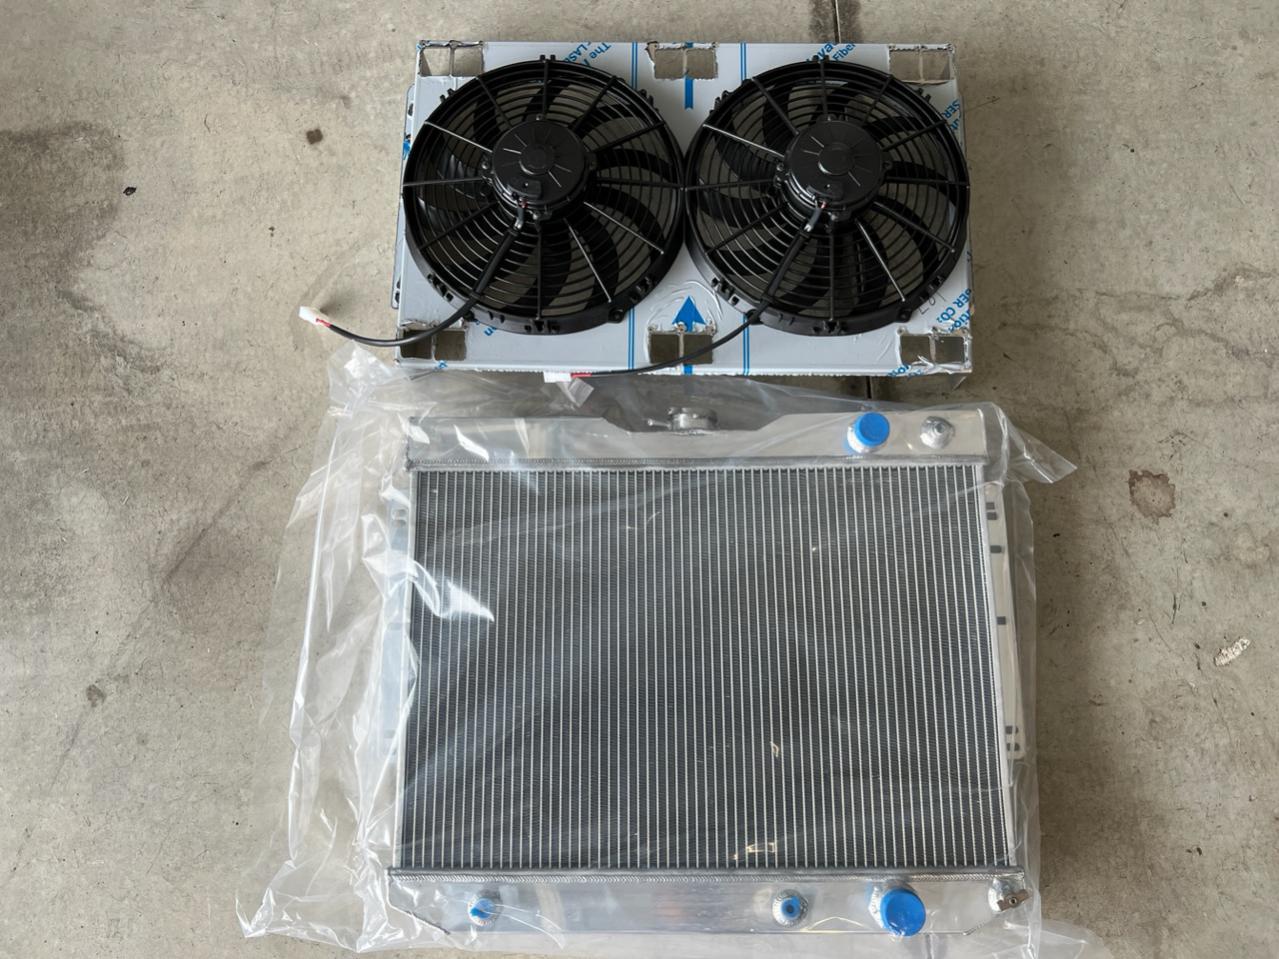
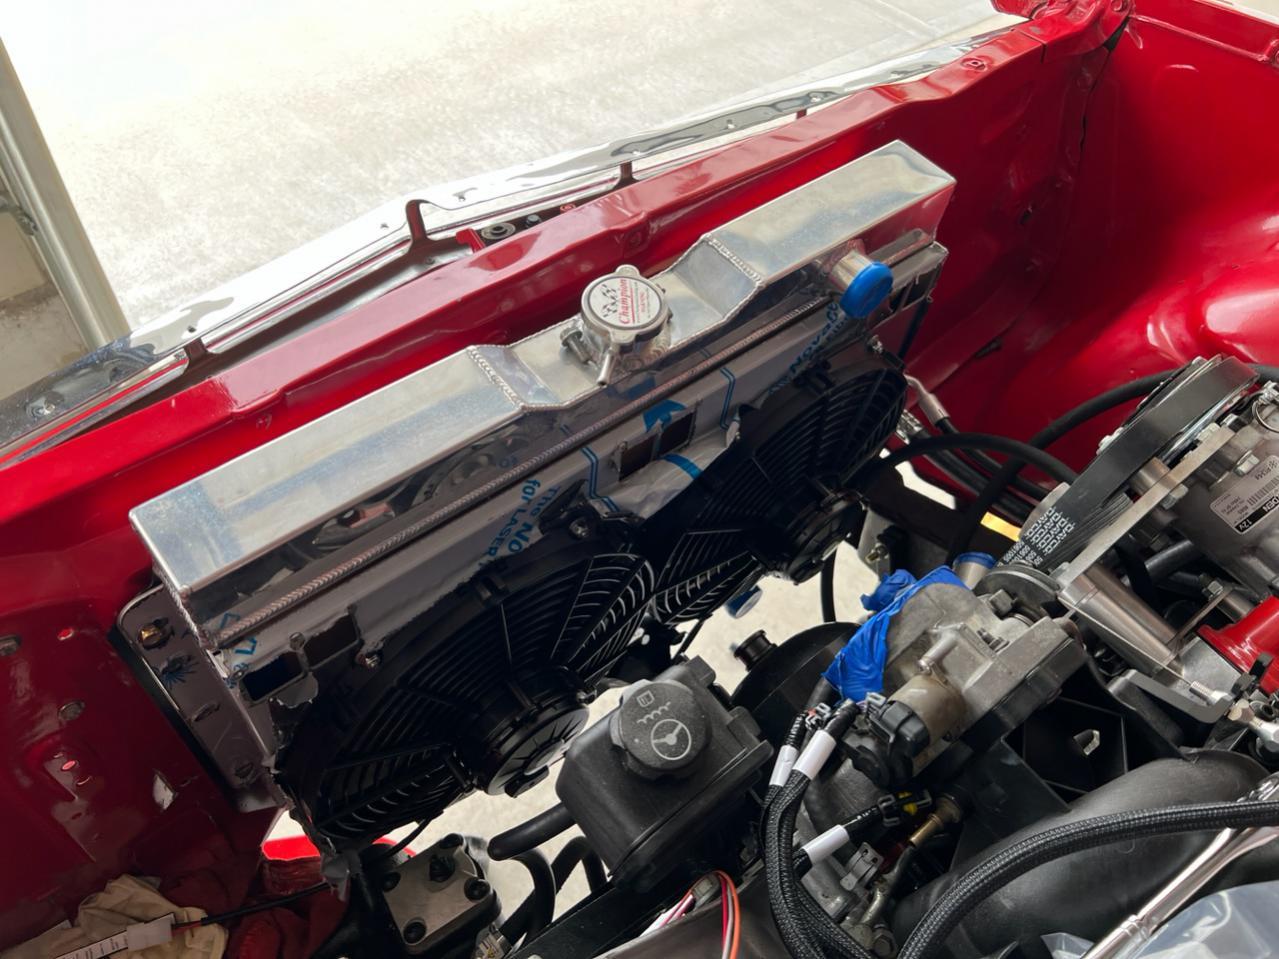
I managed to pick up an Impala/Biscayne LS Swap specific radiator/fan setup. It is a three row with a steam vent inlet and dual Spal fans. I'll pair these up with an MSD Sold State Relay. I was thinking of running them as pwm, but these are not brushless fans. Has anyone had success running brushed fans on a PWM? Please let me know!
08-02-2023 #33
Registered User
- Join Date
- Jul 2021
- Posts
- 70
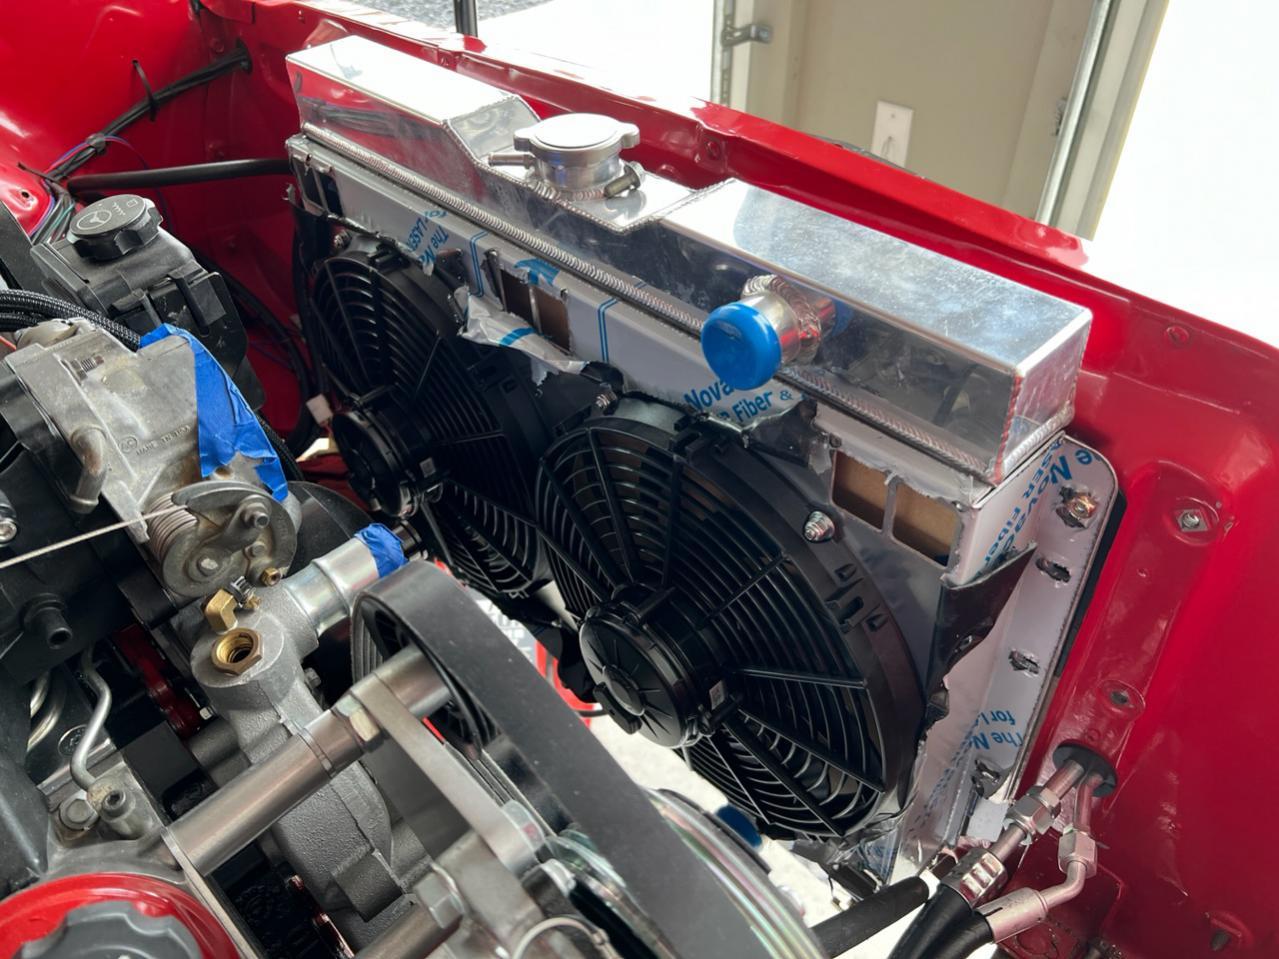
I did manage to get the fans mounted and the setup temporarily in place. I wanted to make sure there was plenty of clearance with the steering box and the accessory drive. All looks good so far! I just have to massage a couple holes on the fan shroud to get them to line up properly. I used the same style radiator that was with the car when I purchased it. It was only a two row core and I did not feel it was adequate enough. I will also be adding some rubber spacers between the radiator and core support to dampen it a little.
- - - Updated - - -
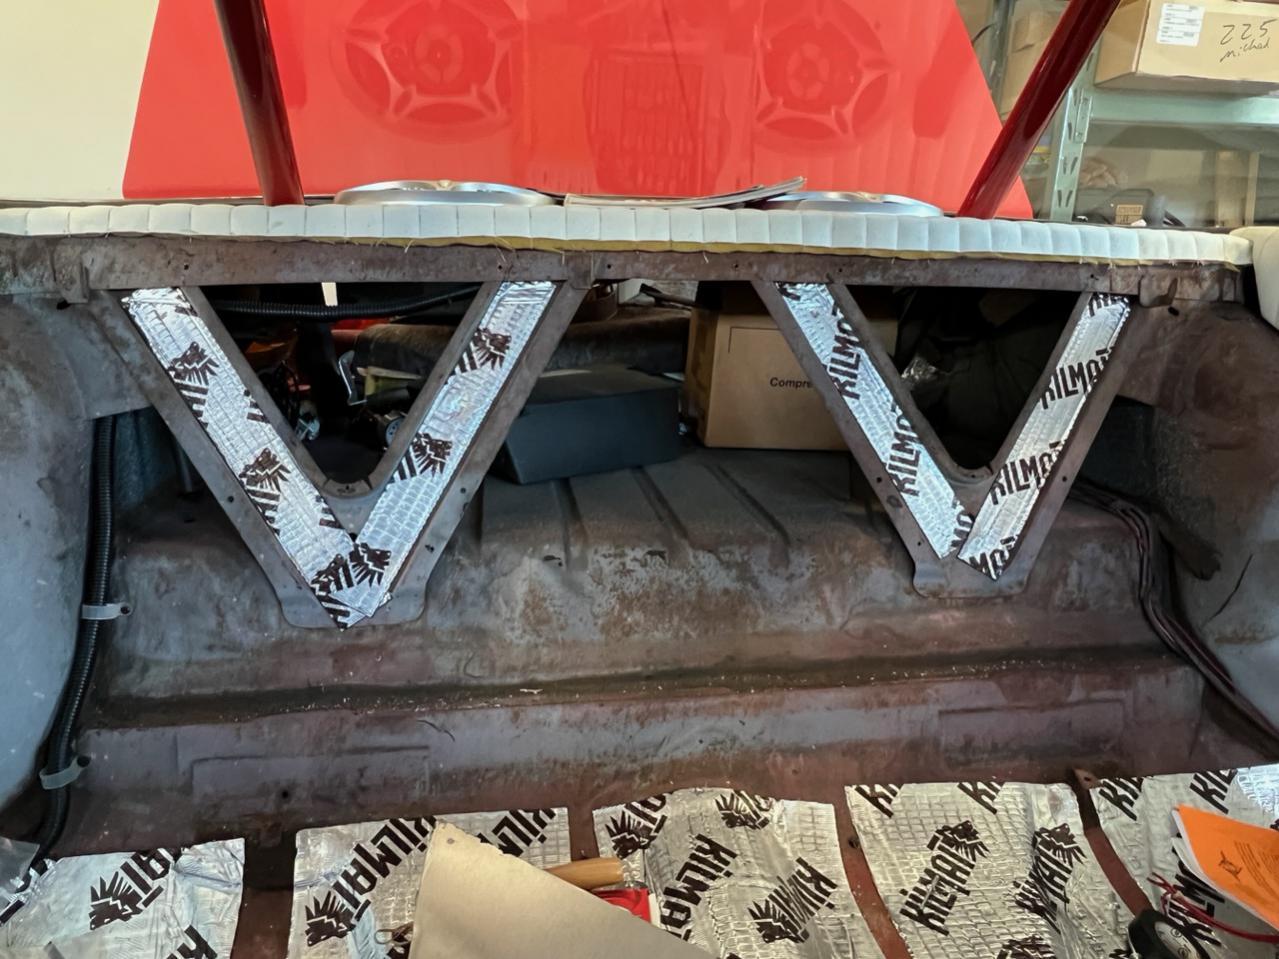
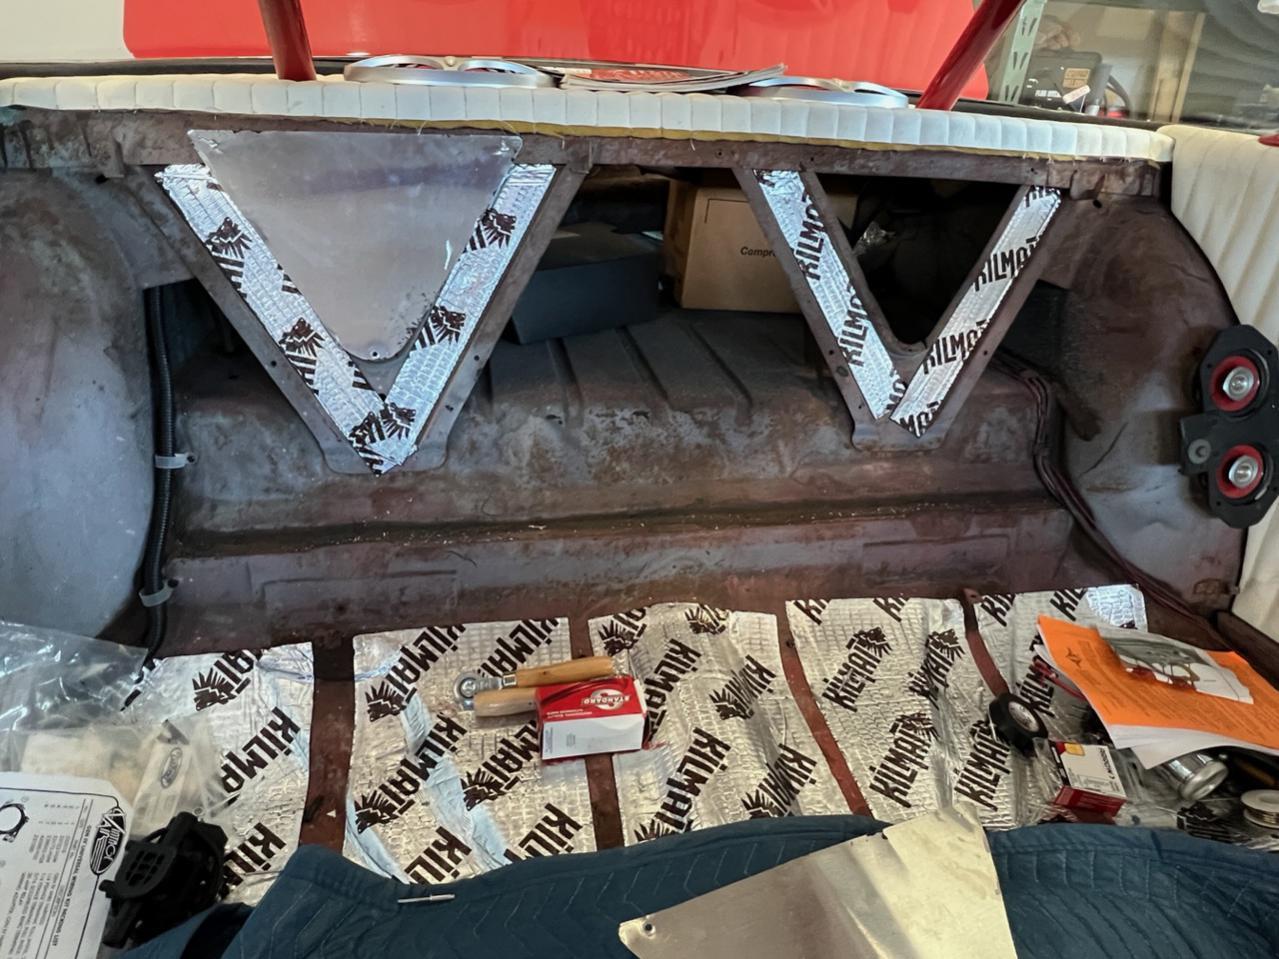
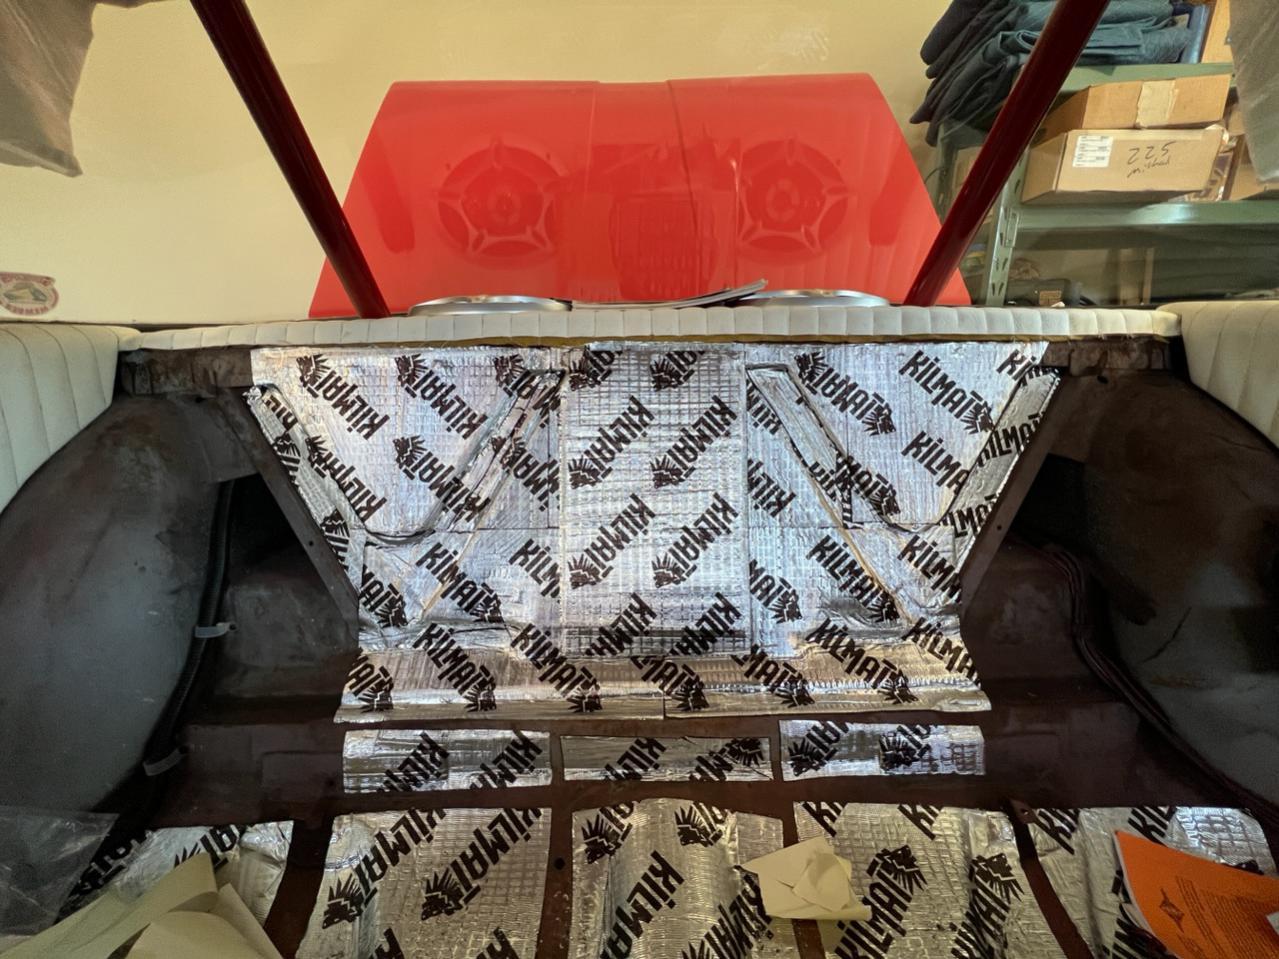
I was also able to make some progress on making panels to fill in the holes between the back seat and the trunk. I did not seal it off completely, but it is a vast improvement over what it was. The wheel wells have a healthy layer of undercoating in them, so I did not add any material to the interior.
- - - Updated - - -
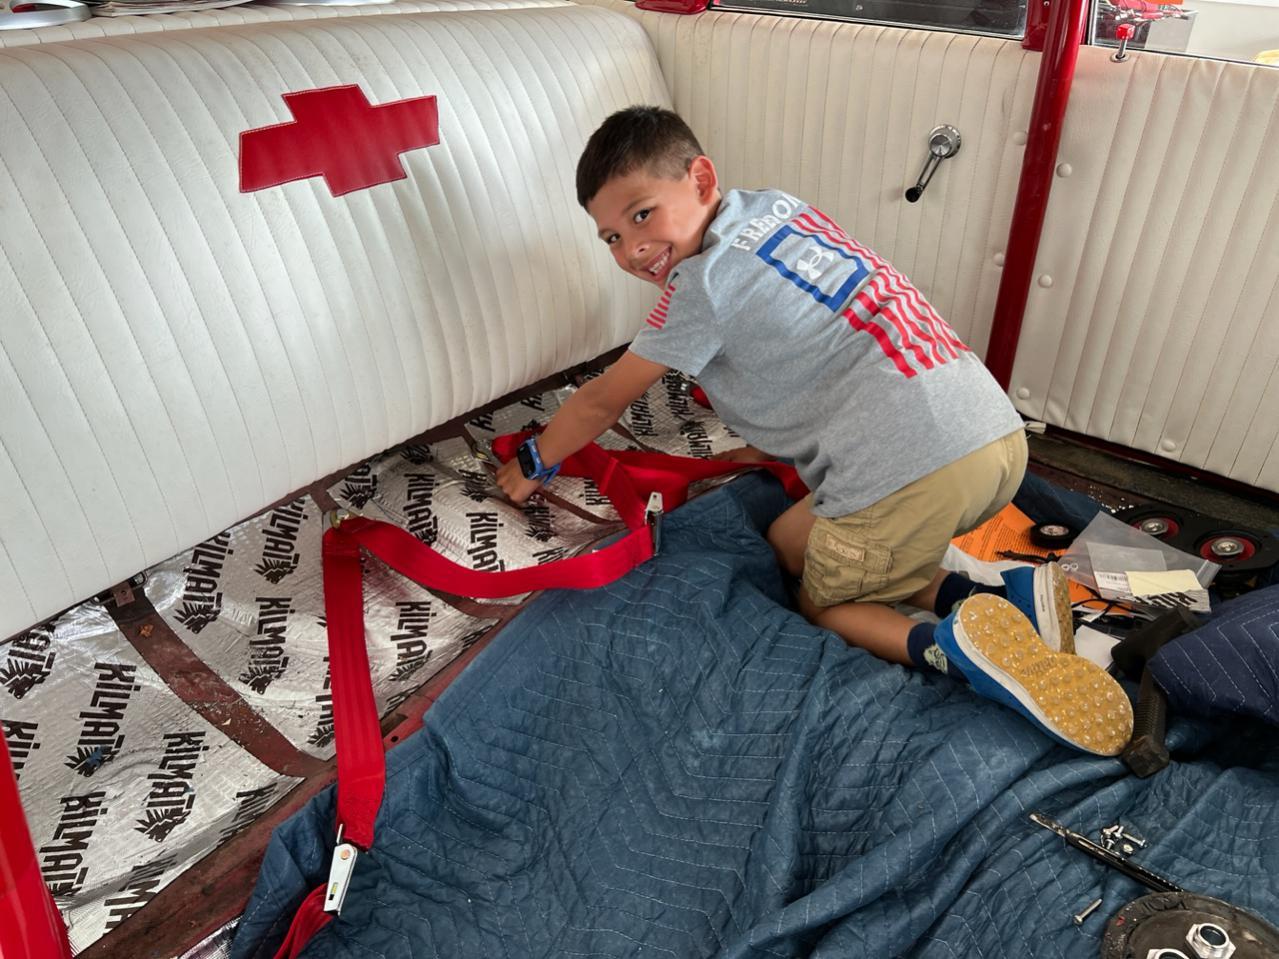
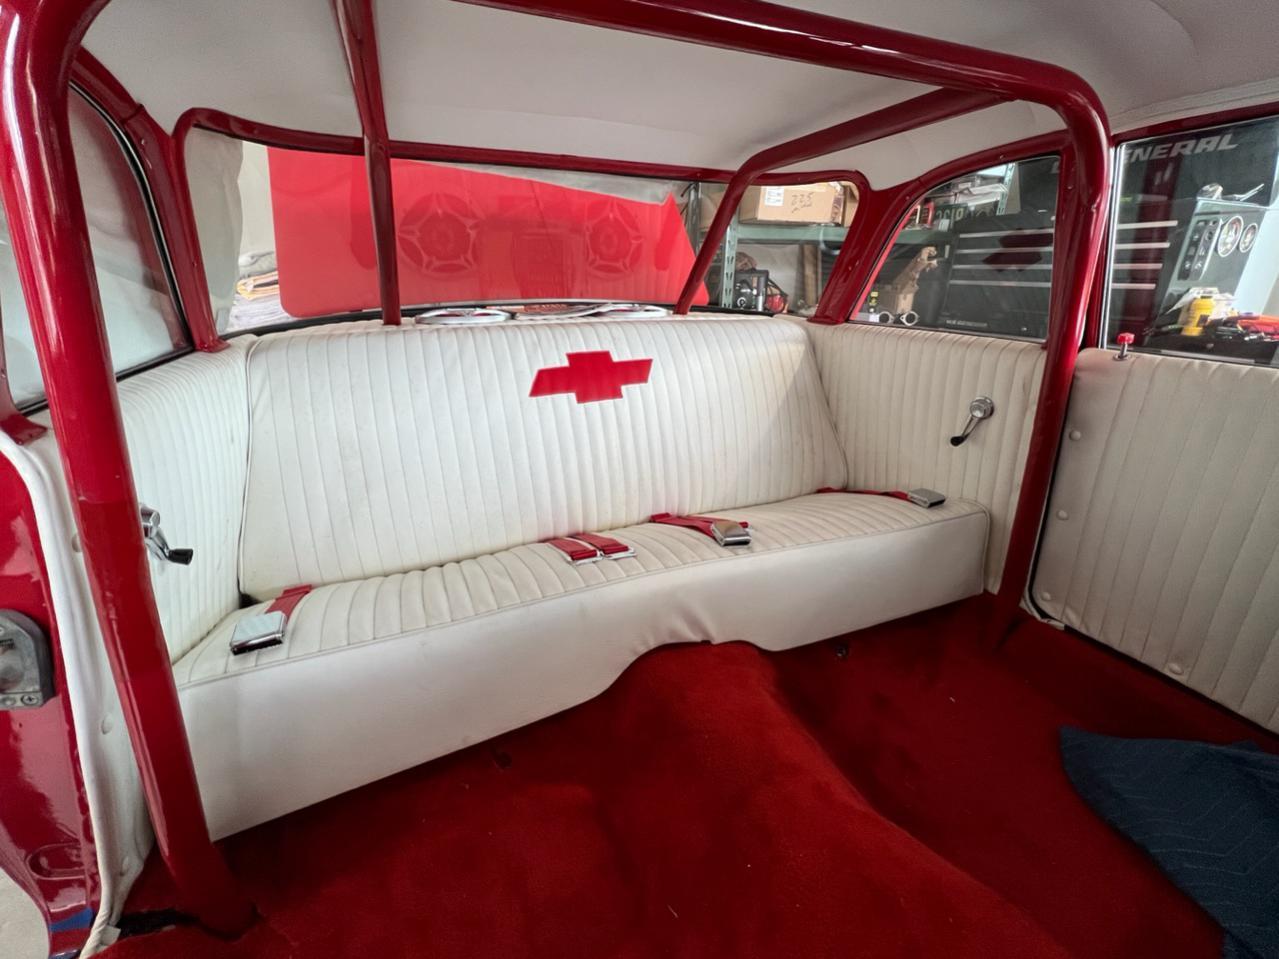
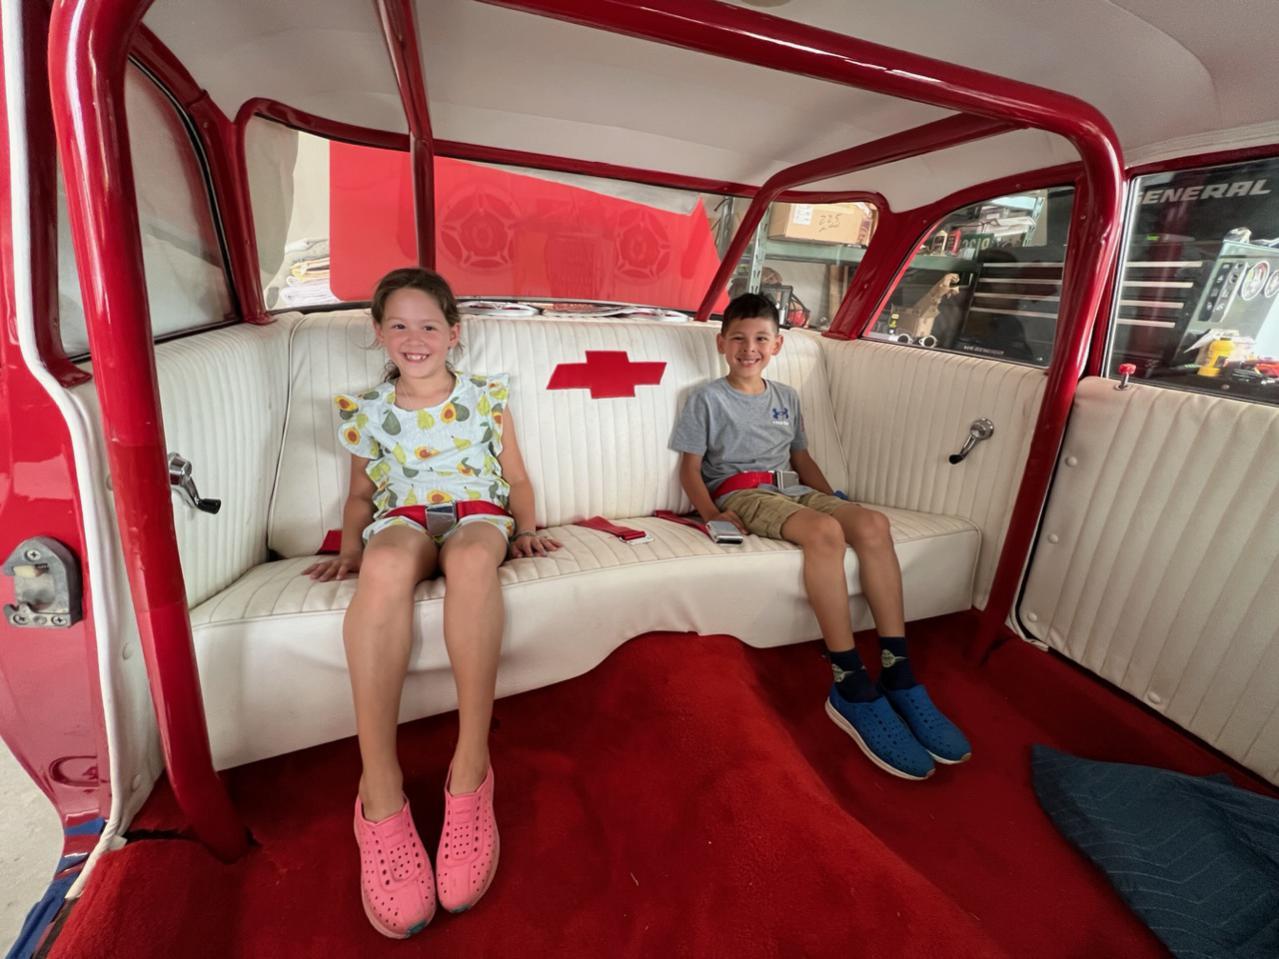
Once I completed that task, I employed the help of my Mini-Me and installed the seatbelts in the back. Once we got those bolted in, the backseat was put back in place. It’s a little dirty and will be cleaned, but it’s starting to look like a car inside again!!!!!
They're excited for me to get BISKWIK running so I can take them to school.
08-04-2023 #34
Registered User
- Join Date
- Jul 2021
- Posts
- 70
Here are a couple pics of the firewall plate I made to replace the VA piece.
08-05-2023 #35 Registered User
- Join Date
- Jun 2018
- Location
- SW Florida
- Posts
- 47
I have two spal non-brushless fans running on a pwm controller. It works great. Just make sure to have adequate wire gauge to minimize voltage drop to the fans and use high capacity connectors.
08-05-2023 #36
Registered User
- Join Date
- Jul 2021
- Posts
- 70
That is good to know! Thank you! Originally Posted by BobinFL
Would you mind sending me pics an/or info on your setup, please?
I have 6ga cable that is going to be ran to the MSD Relay and possibly 10ga to the PWM and fans. Good enough?
08-06-2023 #37
Registered User
- Join Date
- Jun 2018
- Location
- SW Florida
- Posts
- 47
Unfortunately my system is buried to try to maintain as much of a stealth look as possible so no pictures. I have dual 60 amp breakers off the battery hidden behind the battery. A 4 ga wire is hidden in the radiator support and goes to the driver site where the pwm controller is hidden behind the windshield washer bottle. Twin 6 ga leads go to the spal fans which i believe are rated for 45 amps each at full load. The pwm controller has a sensor that gets installed in the radiator core right around the bottom outlet. Another wire runs from the AC clutch to the controller to kick the fans on when the AC clutch engages. With the AC on the controller brings on the fans at 50% and then ramps from there based on rad temps. Without the AC it ramps from zero speed based on water temp. Each 12" fan is rated for, (i think) around 2,300 cfm, and are installed in s shroud with rubber flap bypass cutouts. Fans are in a puller configuration. The AC condenser is installed right in front of the radiator, and i used foam gasket material to seal the condenser to the radiator, so the condenser works really well now. Used to have a 12" pusher fan right in front of the condenser, but this setup works much better.
08-06-2023 #38
Registered User
- Join Date
- Jul 2021
- Posts
- 70
Thank you for your reply and description! I do appreciate it. What pwm controller are you using? I had found this one, but I didn’t know how it is.
https://gccooling.com/product/cwi-pwm-controller/
08-12-2023 #39
Registered User
- Join Date
- Jul 2021
- Posts
- 70
Hey Rubes. You are correct. It is tweaked quite a bit. I looked at it today and it is nowhere near flat. I’m sure it popped a few carrier bearing back in the day. I know I replaced at least two that went out when my buddy had it back in the 90’s early 2000’s. Originally Posted by Rubes
I’ll look into reinforcing the “X” somehow in the near future. I would like to get it running now.
08-13-2023 #40
Registered User
- Join Date
- Sep 2004
- Location
- Chicago - western burbs
- Posts
- 681
Im sure you are not going to be putting it thru the same kind of abuse as it got in its racecar days...so I dont think there is any need for reinforcements. As you said, at least until your done with everything else.
I have a spare convertible frame and it has all kinds of reinforcement plates all over that tunnel section and top and bottom of the rails (all factory).
Thats a nice radiator/shroud. I should have went with that. I went with the stock 2001 camaro rad since that is where my motor was from. It also has a nifty shroud/dual fans that clip directly on the rad. I had to modify the core support to make it work, which meant cutting off the original mounting bosses off the core support. and then one of the fans hit the steering box, so I had to make a new shroud. So much for my "use as much OEM stuff as possible" game plan.
here is a shot of the bottom of my '61 frame...perfectly flat all the way back (well except for the recess for the carrier bearing bolts).
Tags for this Thread

 Reply With Quote



