


Results 141 to 160 of 167
Hybrid View


-
03-03-2025 #1

 Registered User
- Join Date
- Feb 2017
- Posts
- 68
Thanks!!! Originally Posted by ryeguy2006a

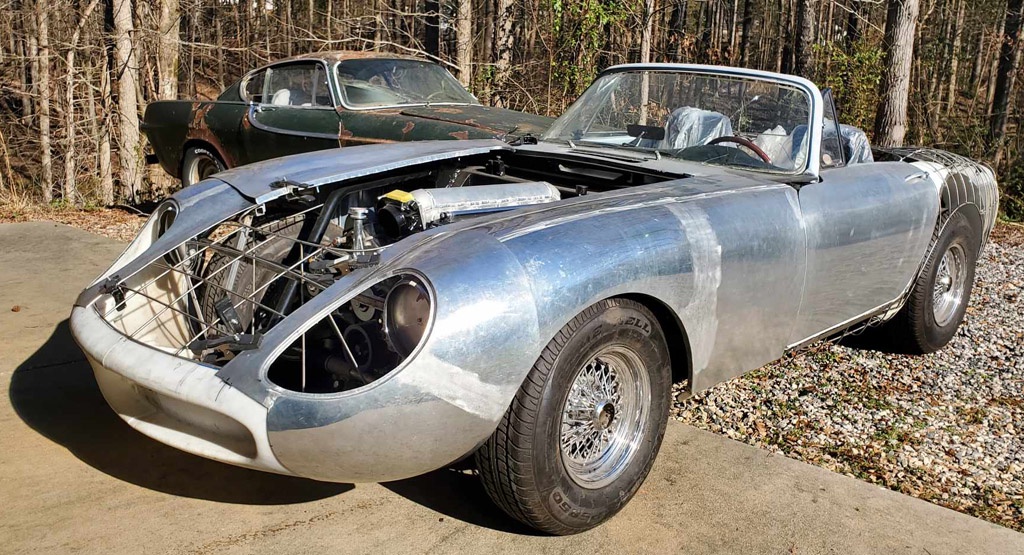
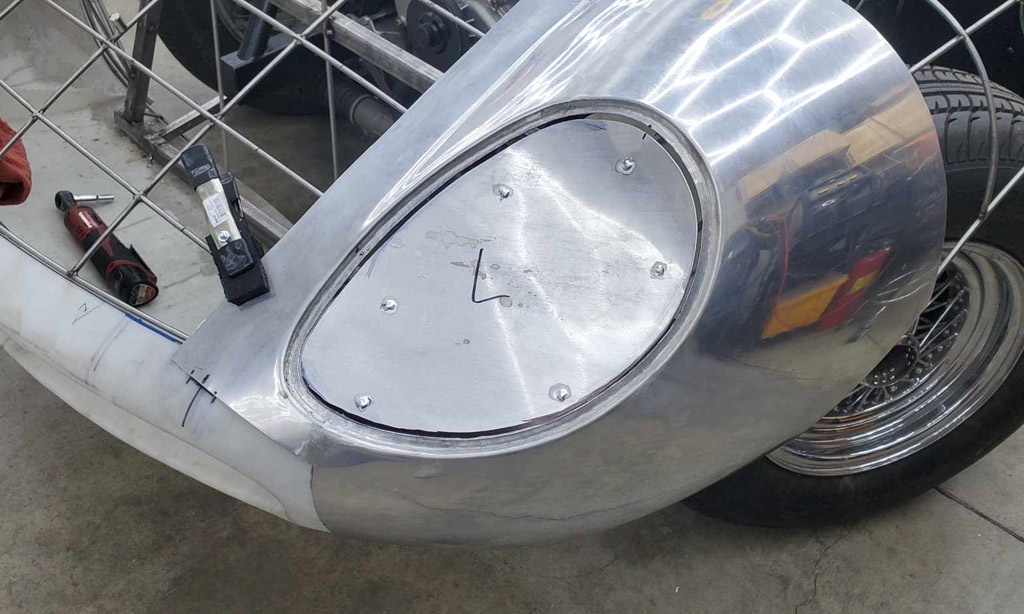
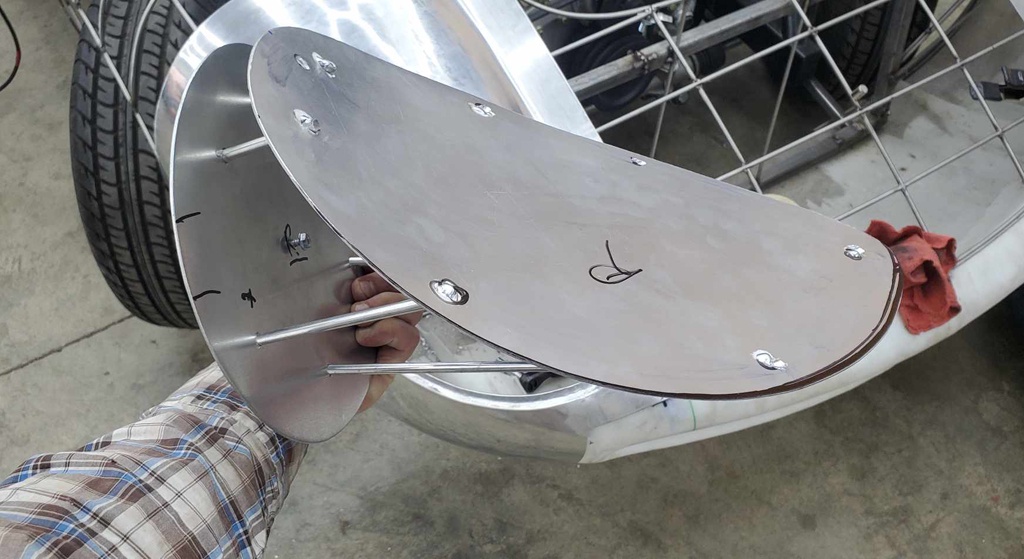
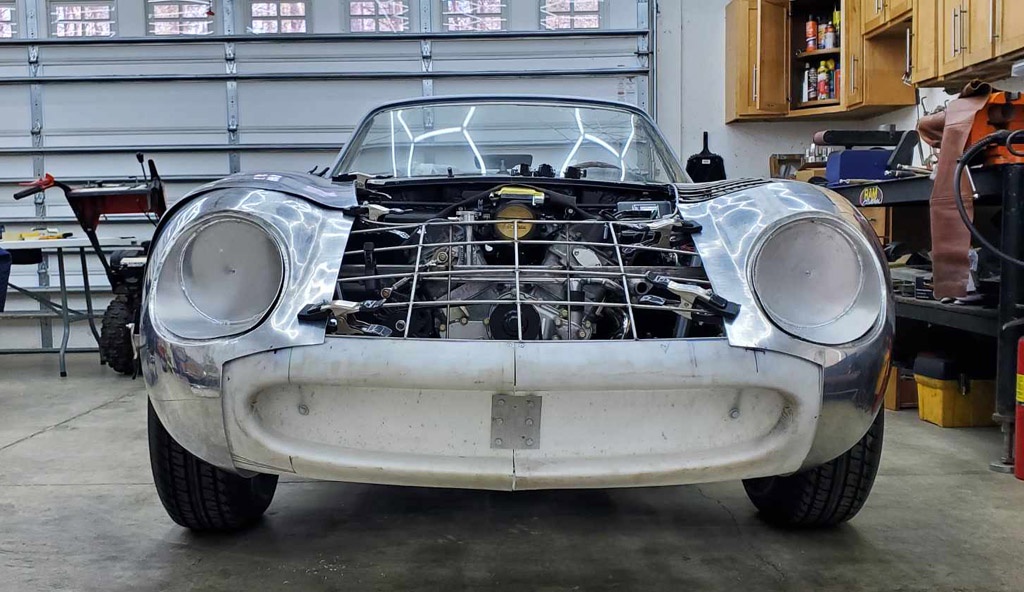
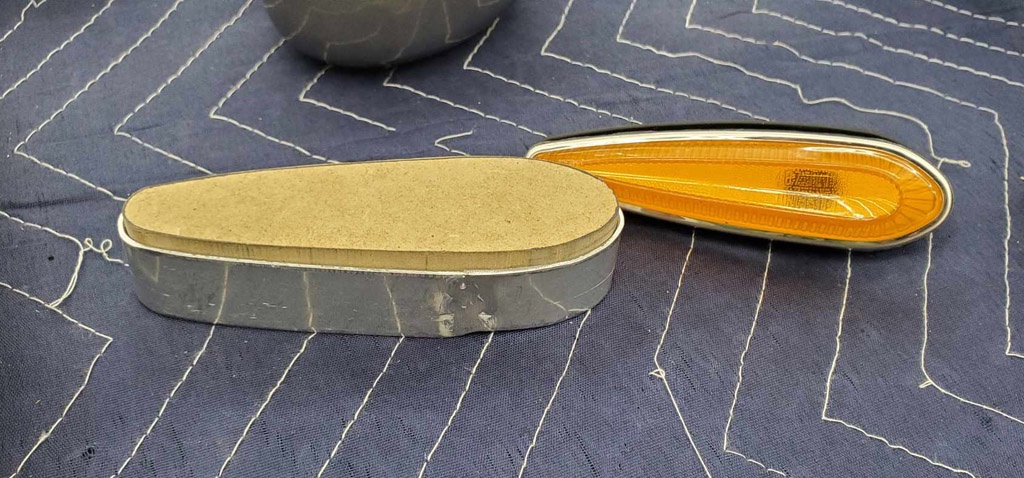
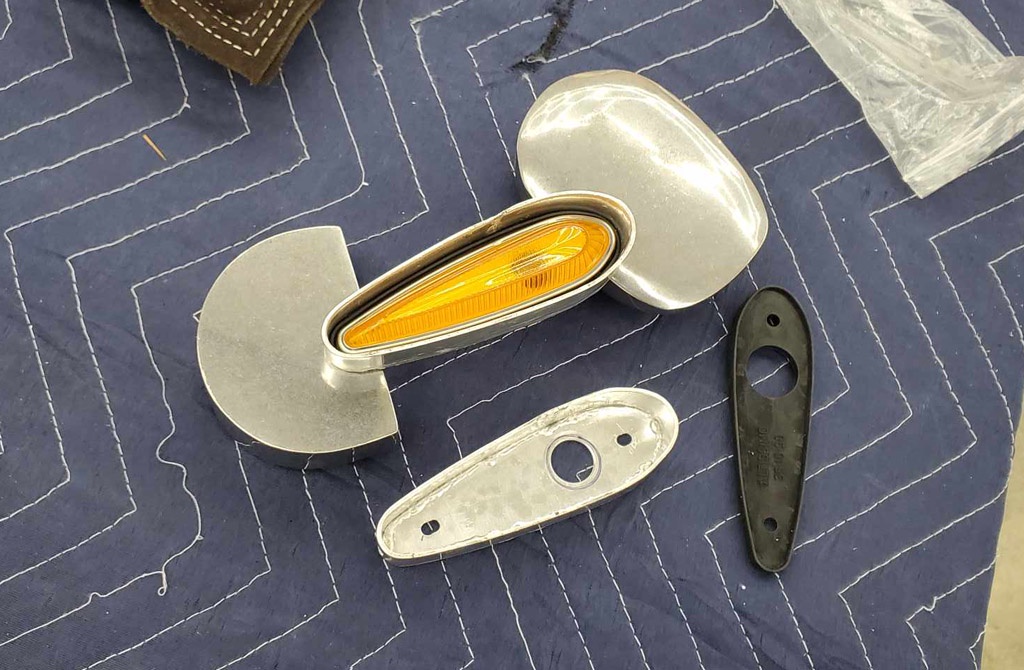
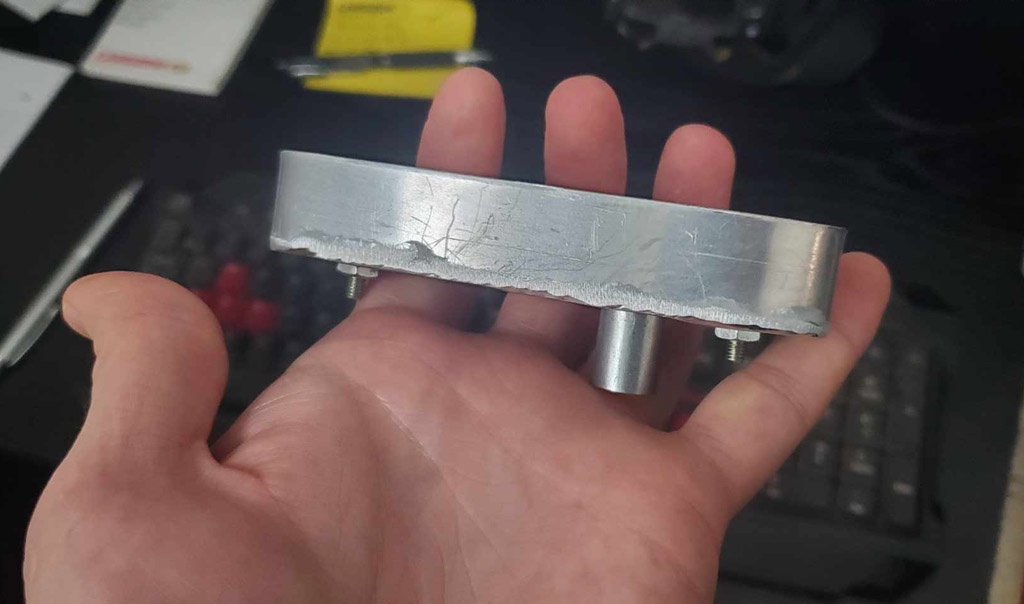
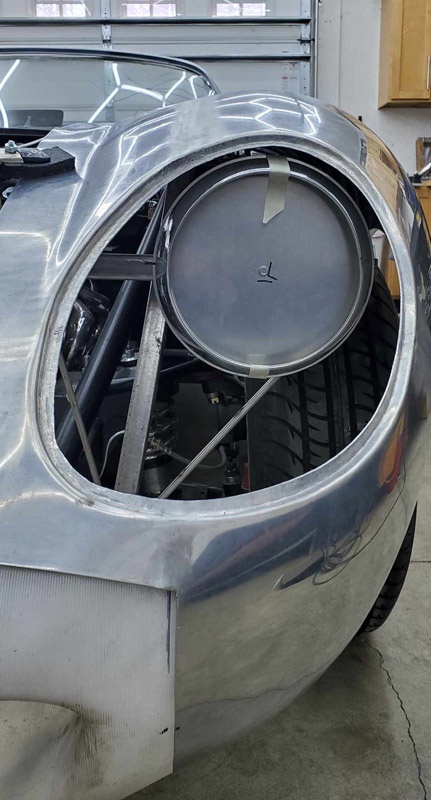
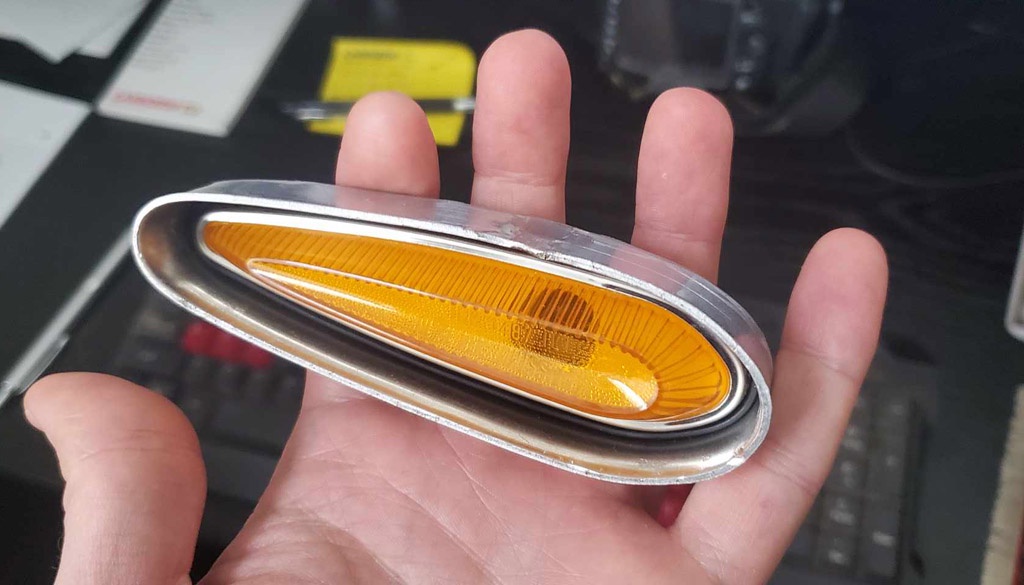
I am waiting for my new E wheel to arrive to further work on the fenders and nose but I have been busy building the headlight buckets and side marker buckets to be welded on to the nose later on. Here are some photos.









-
03-03-2025 #2 Registered User
- Join Date
- Sep 2009
- Posts
- 2,996

Fantastic work! All about the details.
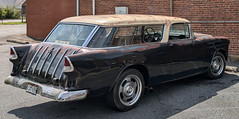
1955 Nomad project LC9, 4L80e, C5 brakes, Vision wheels
1968 Camaro 6.2 w/ LSA, TR6060-Magnum hybrid and etc SOLD
1976 T/A LS1 6 Speed, and etc. SOLD
Follow me on Instagram: ryeguy2006a
03-03-2025 #3
Banned
- Join Date
- Feb 2025
- Location
- Dallas,Texas
- Posts
- 41
Bending the wire is is quite a tedious process,, But this is an amazing work. I am eagerly following along to see how the body comes together.
03-04-2025 #4
Registered User
- Join Date
- Sep 2013
- Location
- sw Kansas
- Posts
- 1,661
What brand of E wheel did you purchase?
03-31-2025 #5
Registered User
- Join Date
- Feb 2017
- Posts
- 68
I will post when I have it all! It's a big boy with 5" wide anvils. Unfortunately the anvils were damaged in shipping and I'm having them cleaned up. Originally Posted by wfo guy
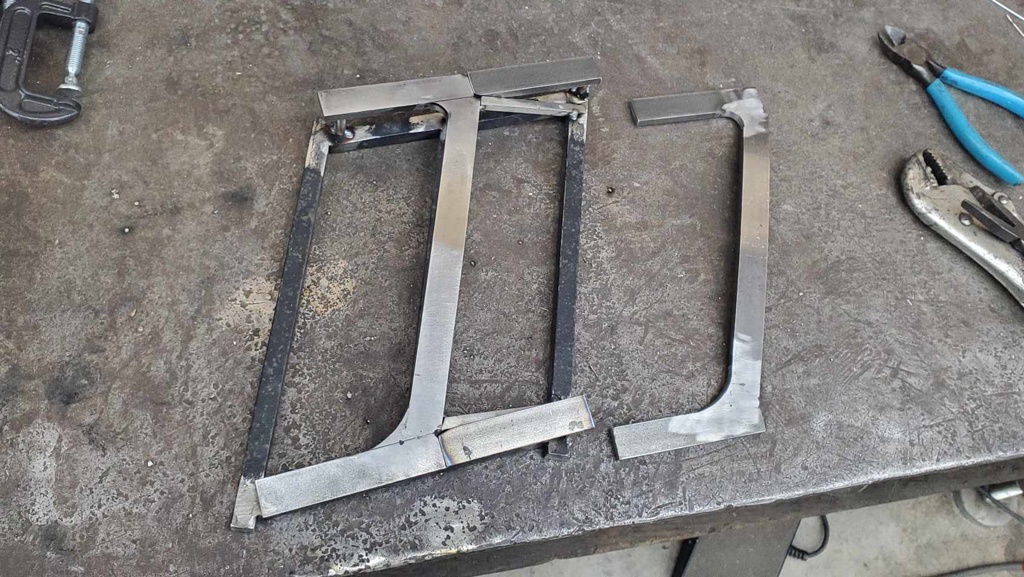
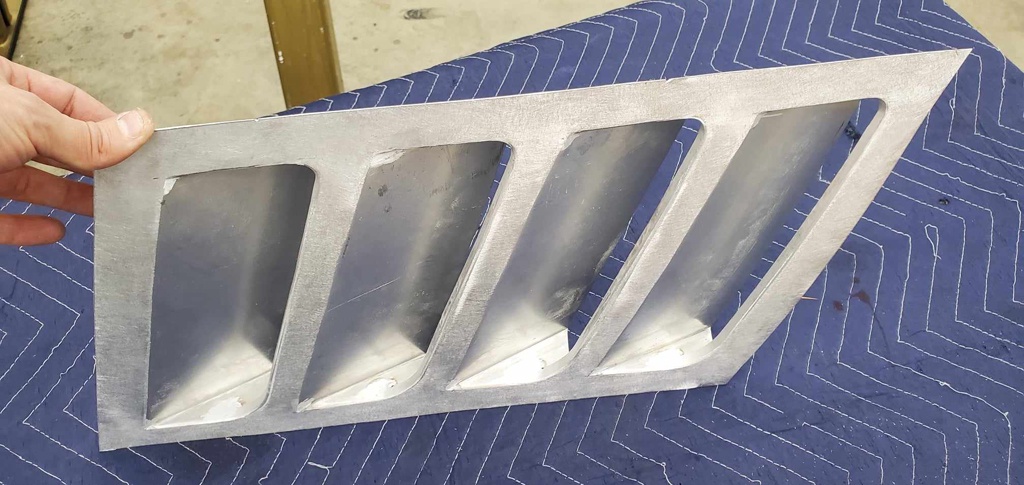
Rt side fender vent is constructed. Had to make this little crude hammer with some bar and a piece of coil spring to get in that very tight corner. Now to do the other side!




03-31-2025 #6
Registered User
- Join Date
- Sep 2009
- Posts
- 2,996
Great work as usual! Love seeing this come together. Can't wait to hear that engine fire up.
1955 Nomad project LC9, 4L80e, C5 brakes, Vision wheels
1968 Camaro 6.2 w/ LSA, TR6060-Magnum hybrid and etc SOLD
1976 T/A LS1 6 Speed, and etc. SOLD
Follow me on Instagram: ryeguy2006a
03-31-2025 #7
Registered User
- Join Date
- Feb 2017
- Posts
- 68
Thanks! You and me both. I want to finish the nose and all the framework to hold it all up off of the chassis (that frame will also support the radiator, oil cooler, etc. and further facilitate getting it running)
04-01-2025 #8 Registered User
- Join Date
- Jan 2003
- Location
- Arizona
- Posts
- 5,394
This is remarkable. Thank you for sharing your build with us.
Steve________________
Steve Chryssos
04-01-2025 #9 Registered User
- Join Date
- Aug 2019
- Location
- Sweden, Above the Arctic circle
- Posts
- 4

Wow! What a build! Incredible craftmanship and skills!
04-02-2025 #10
Registered User
- Join Date
- Feb 2017
- Posts
- 68
Thanks fellas!
04-02-2025 #11 Administrator
- Join Date
- Jan 2000
- Location
- Thousand Oaks California
- Posts
- 10,219
We love the build so much that we just featured it on our Facebook page.
Check out our latest Facebook post!
I can't wait to see you drive it.Larry Callahan
Founder/Administrator of Pro-Touring.com, G-Machines.com and HostMyJunk.com
To advertise on Pro-Touring.com click here
04-05-2025 #12
Registered User
- Join Date
- Feb 2017
- Posts
- 68
Wow thank you Larry, what a nice surprise! Originally Posted by Larry Callahan
The new proshaper wheel is here and the anvils have been restored (they were damaged heavily in shipping!). What's different than almost all the others you can buy is the the upper adjuster (instead of on the bottom to use your foot) and 5" wide upper wheel and lower anvils vs 2 or 3". It moves the metal a lot faster and you don't need to use a rubber band on the top wheel when you want to "arrange" the metal, just extra light pressure on the top wheel and bending the metal down as you roll it through.


04-14-2025 #13
Registered User
- Join Date
- Sep 2009
- Posts
- 2,996
That looks like a really nice piece! Looks incredibly heavy just sitting there.
1955 Nomad project LC9, 4L80e, C5 brakes, Vision wheels
1968 Camaro 6.2 w/ LSA, TR6060-Magnum hybrid and etc SOLD
1976 T/A LS1 6 Speed, and etc. SOLD
Follow me on Instagram: ryeguy2006a
07-03-2025 #14
Registered User
- Join Date
- Feb 2017
- Posts
- 68
I am long overdue for an update here! I've been all over the place working on different tasks.
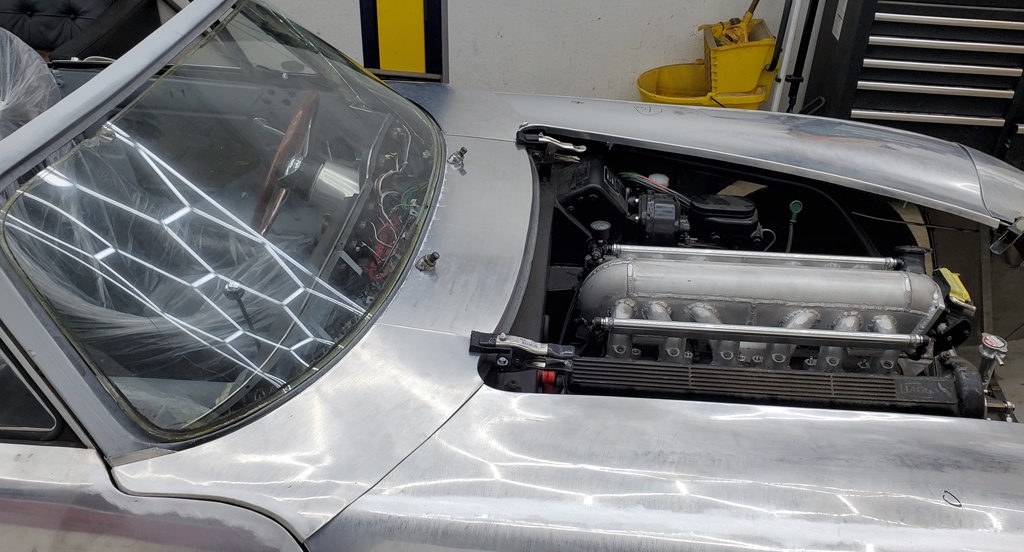
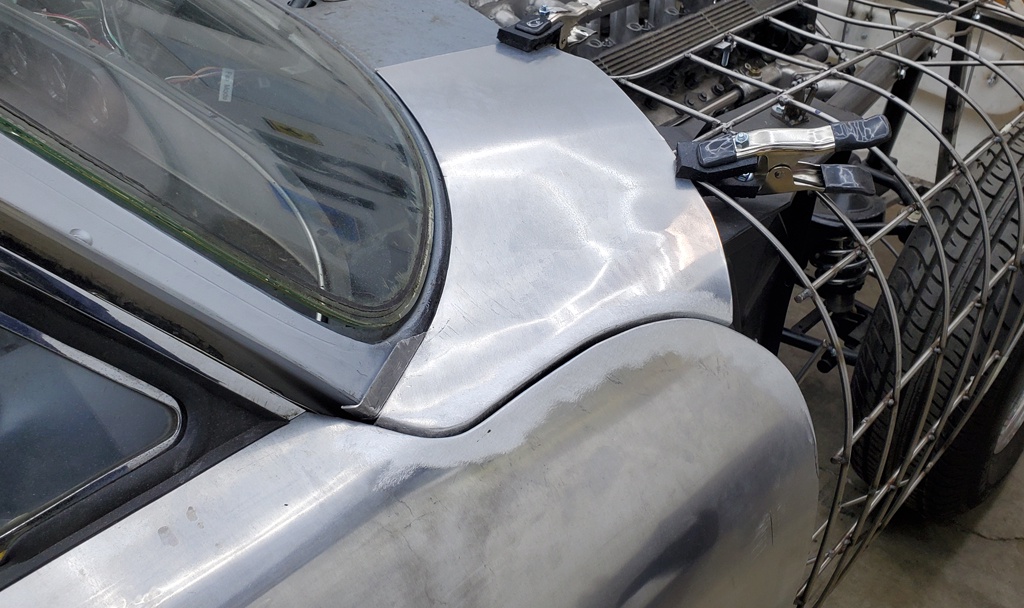
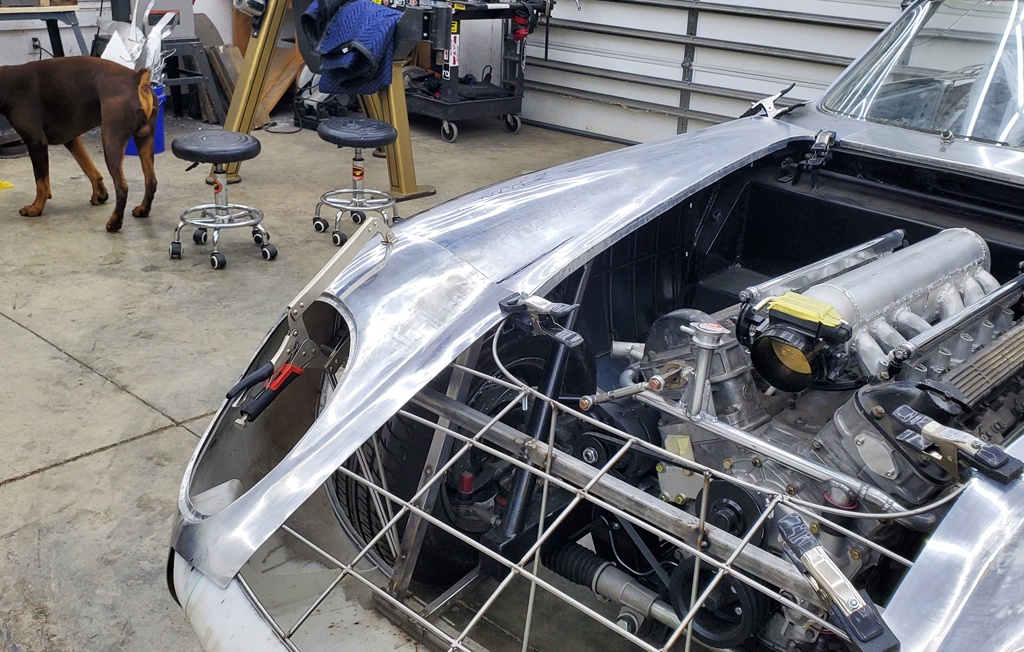
I have been further tuning the front fender and headlight corner panels in the reverse area. I'm sure many of you noticed before it just wasn't flowing well. I took an angle grinder to the buck and some of the wires and tweaked it so the reverse can sit down more. It's about 90% there I think now. As for the fenders I still think I need to wheel a lot more in the top of the peaks of the to pump it up. It's just a little flat still. I'm also planning to add the crease line that runs along the peak of the fender from the a pillar to the headlamp bucket before the whole front is welded together.
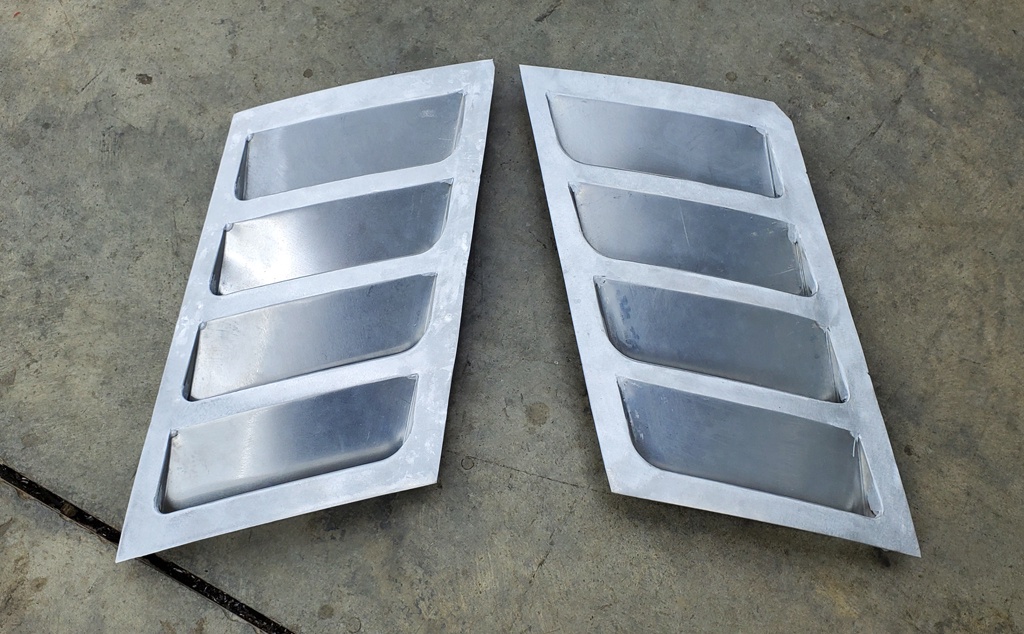
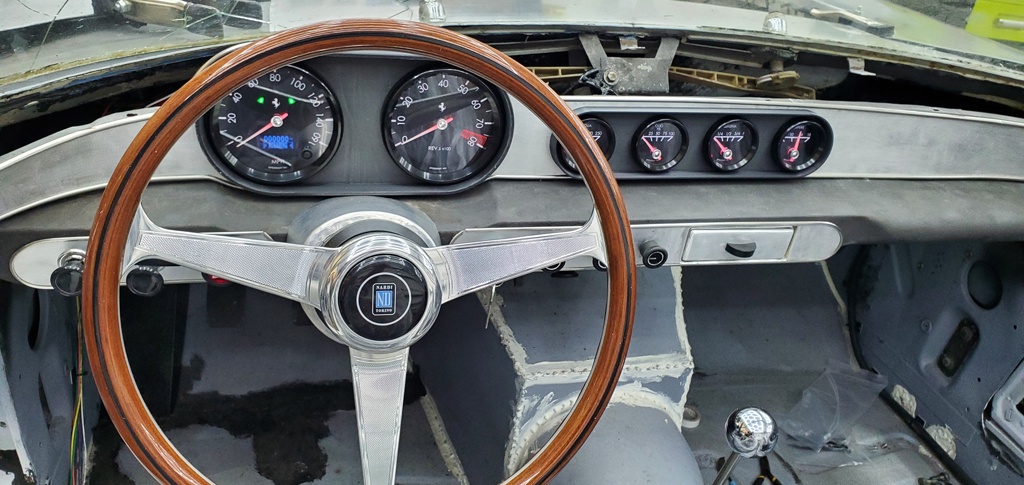
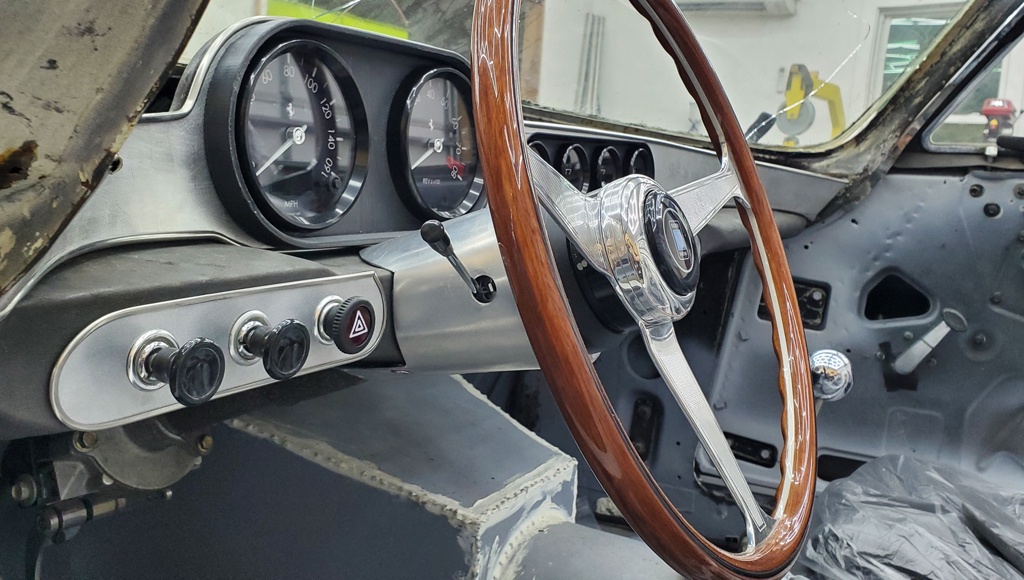
I finally got to making the fender to cowl transition pieces also. I'm really pleased with all of that. I was scratching my head too much over it instead of just buckling down and going for it. Both side fender vents are now made too. The dashboard is pretty much finished off besides powder coating the frame and doing something about the padded top ( of course I can get it running without all of that though)! I made a little shroud to transition the steering wheel hub to the dashboard taking reference from some other vintage ferraris. All the major chassis electrical systems now work as well. Lighting, HVAC, gauges, horn, hazards, turn signals, electric steering, wipers etc. and I really tried to tuck all the wiring as much as possible underneath the dash.
I have realized some major changes will need to be made to the nose grill opening area as it is just not accurate to the real car. I'm thinking using steel tubing to make the perimiter of the grill opening and work off of that and I can also use it as a hammer form to some degree. There's a test panel to show you where the nose really needs to extend out to. If anyone else has more creative ideas on that let me know!







07-03-2025 #15
Registered User
- Join Date
- Sep 2009
- Posts
- 2,996
Love the progress and attention to details! Gauges look great. Part of me hopes you don't paint it so that people can see all of the effort you have put into this car but it really deserves a beautiful paintjob.
1955 Nomad project LC9, 4L80e, C5 brakes, Vision wheels
1968 Camaro 6.2 w/ LSA, TR6060-Magnum hybrid and etc SOLD
1976 T/A LS1 6 Speed, and etc. SOLD
Follow me on Instagram: ryeguy2006a
07-04-2025 #16
Registered User
- Join Date
- Feb 2014
- Posts
- 779
Thanks for the update. I agree with Ryeguy, the "DeLorean look" would be cool on this one.
07-04-2025 #17
Registered User
- Join Date
- Feb 2017
- Posts
- 68
Thanks! That has been the plan actually. Leave it raw with the welds planished out then maybe polish it down the road and add some kind of ceramic coating to keep it fresh
07-06-2025 #18
 Registered User
- Join Date
- Nov 2018
- Posts
- 987
Looks great. A suggestion, the wires up front imply you're aiming for a small hood. If you made the hood longer, it would give you a LOT more room up front for working on the engine. You could bring it all the way down to the front fascia, or halfway down the headlights. As it is, if you ever had to remove the engine you'd be doing a lot of half inch moves to clear it all.
07-07-2025 #19
Registered User
- Join Date
- Feb 2017
- Posts
- 68
Thanks, the trans can come straight off and the engine can come straight up no problem! It's a pretty narrow engine (60*). I get your point but it would bother me to no end if the hood shut line was too different than the original!
12-06-2025 #20
Registered User
- Join Date
- Feb 2017
- Posts
- 68
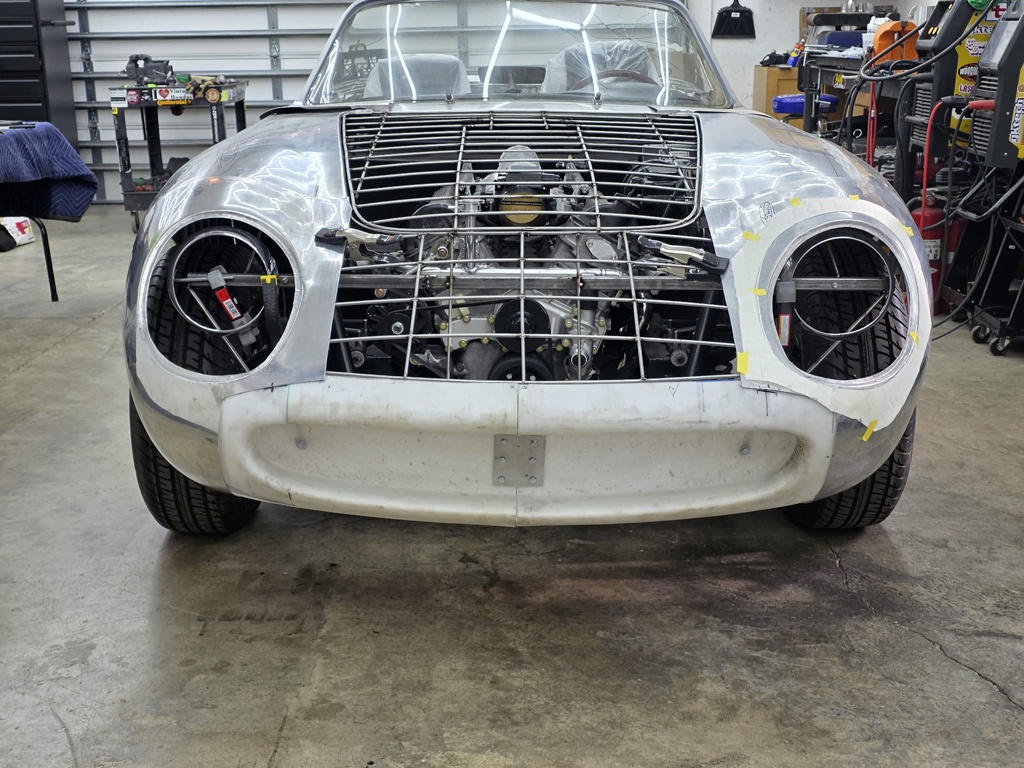
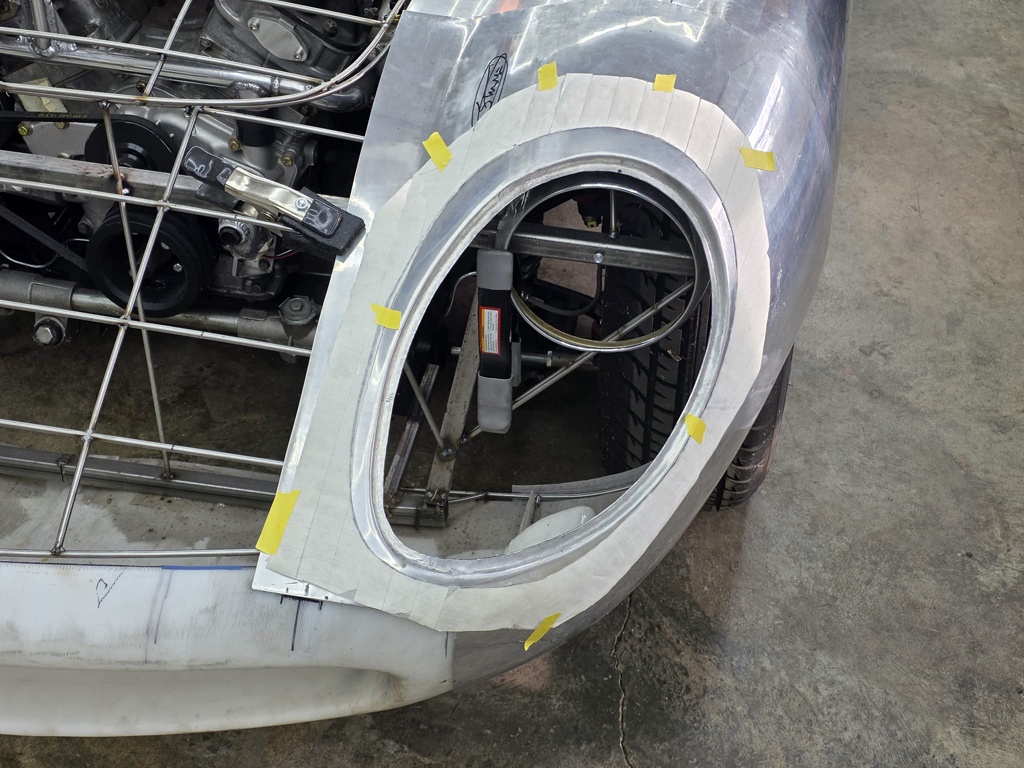
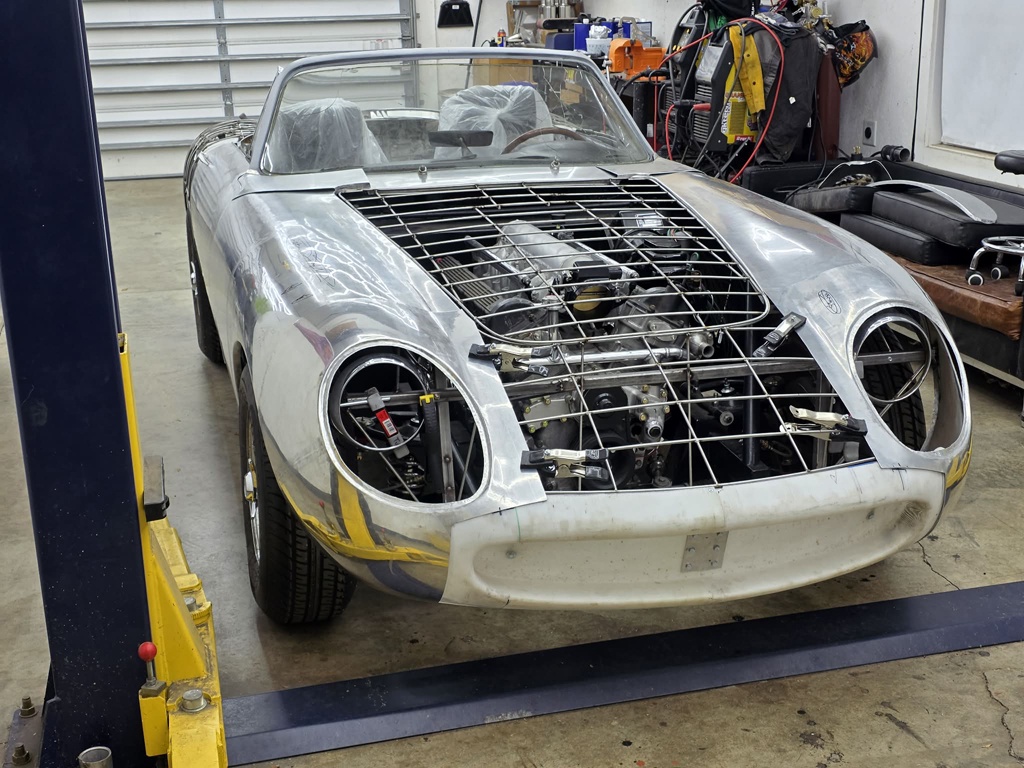
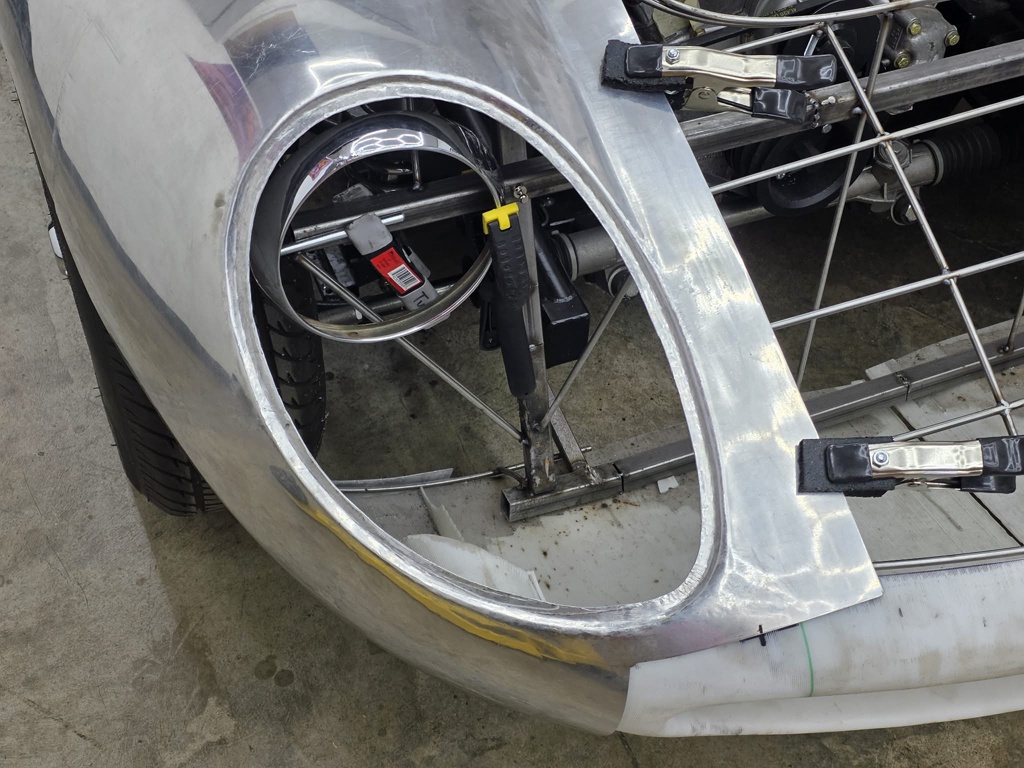
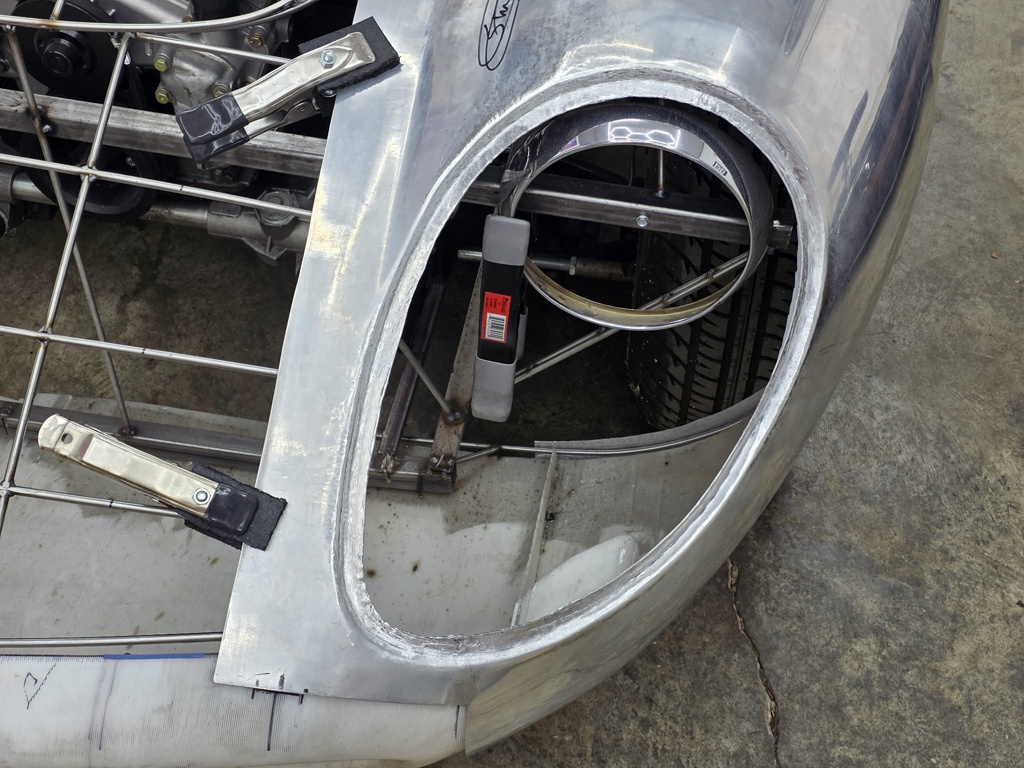
Well I haven't gotten to the grill opening situation yet, I keep getting side tracked going one step forward and several back. I decided after looking at the car and studying photos the headlight opening was just not correct, the shape or the size. These things really look like fish bowls! Luckily I had the material to work with since I needed to go larger! I beat up the metal a little more than I like but I think I should be able to clean it up when it comes time still. Sadly I will have to make new buckets too...
Here's a good comparison- right side is now ammended and a pattern was taken and then flipped to the left side to match.
both fixed
- - - Updated - - -
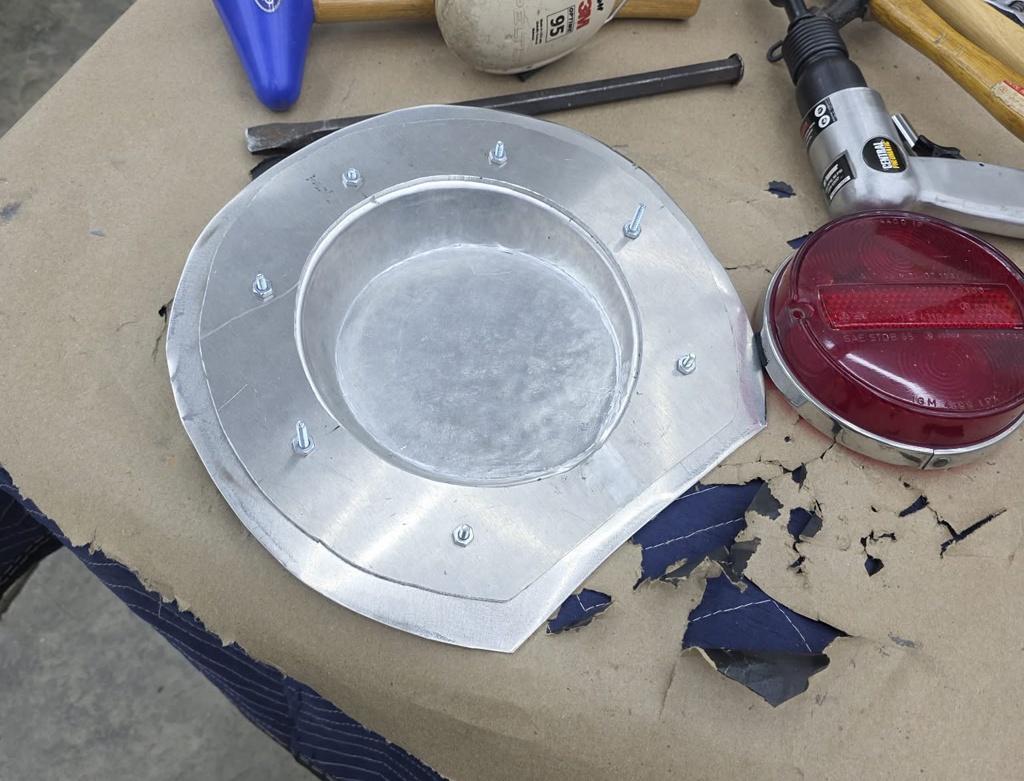
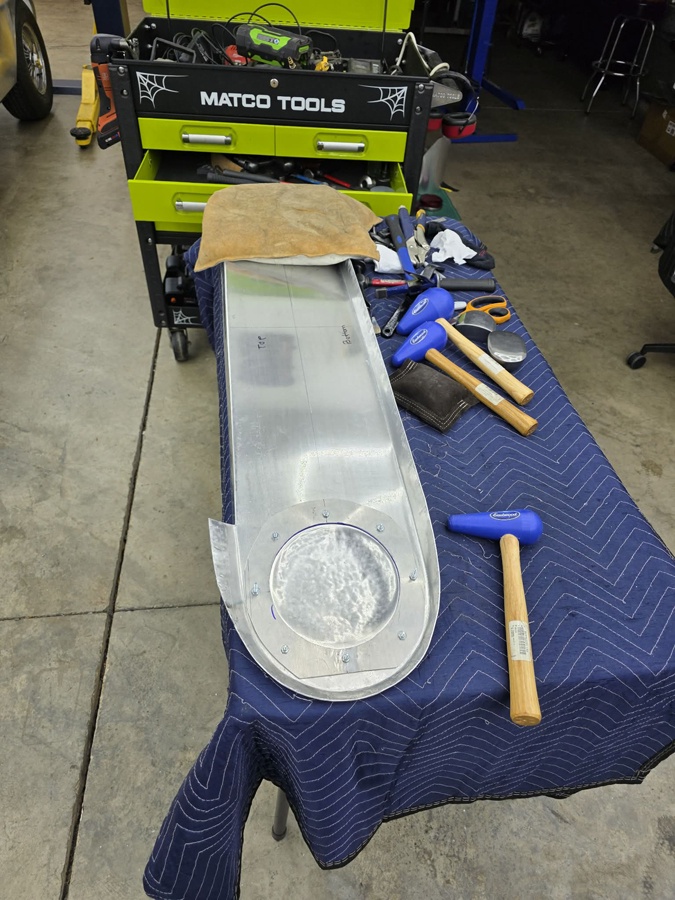
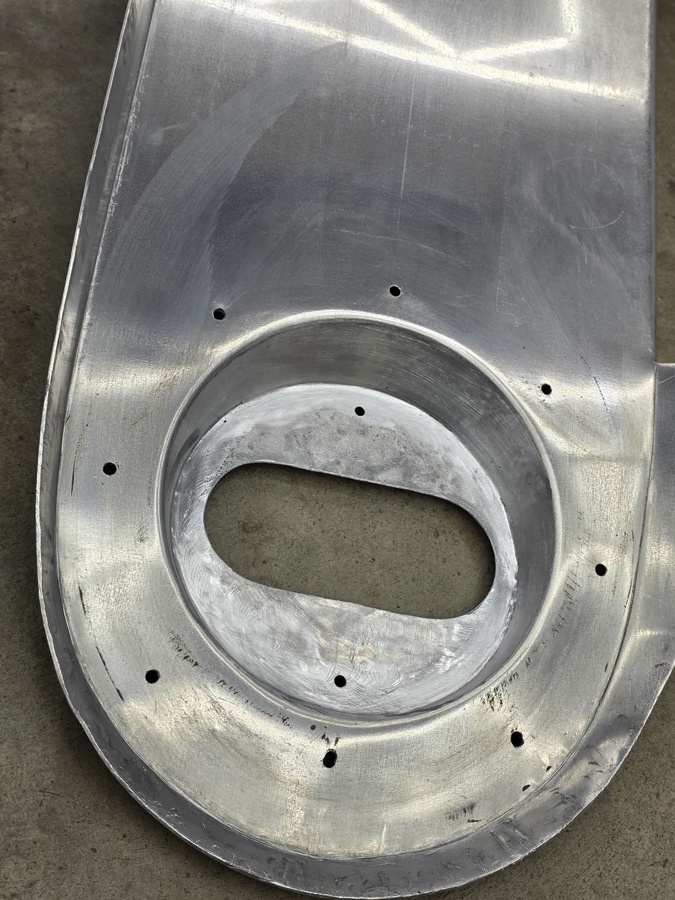
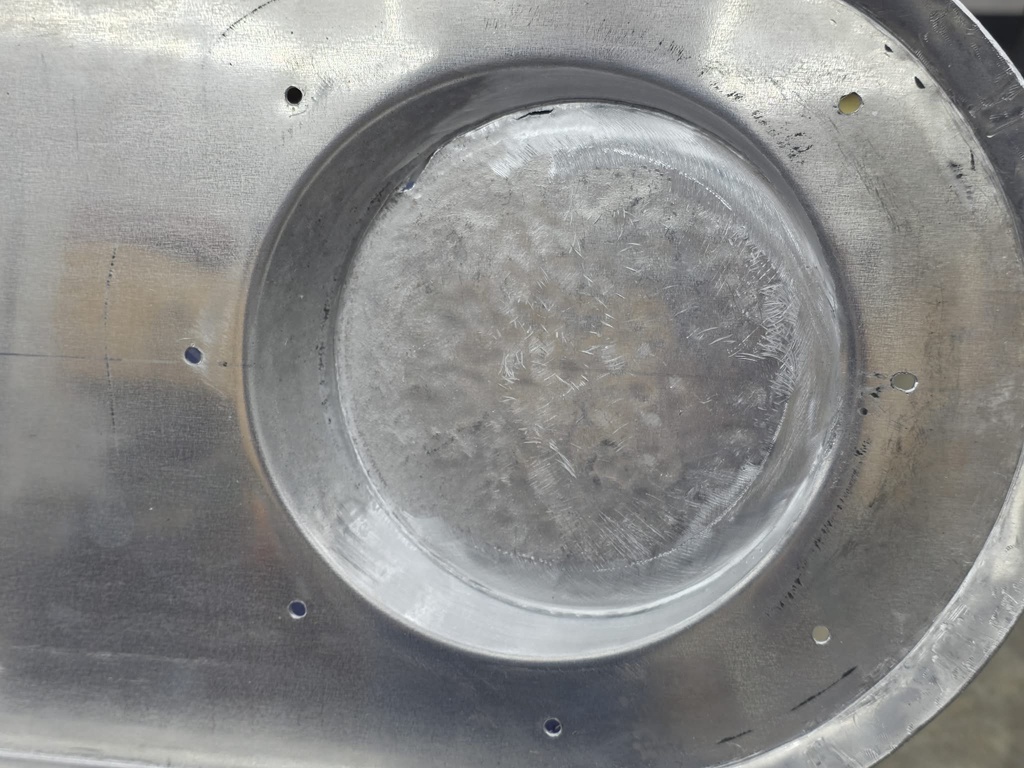
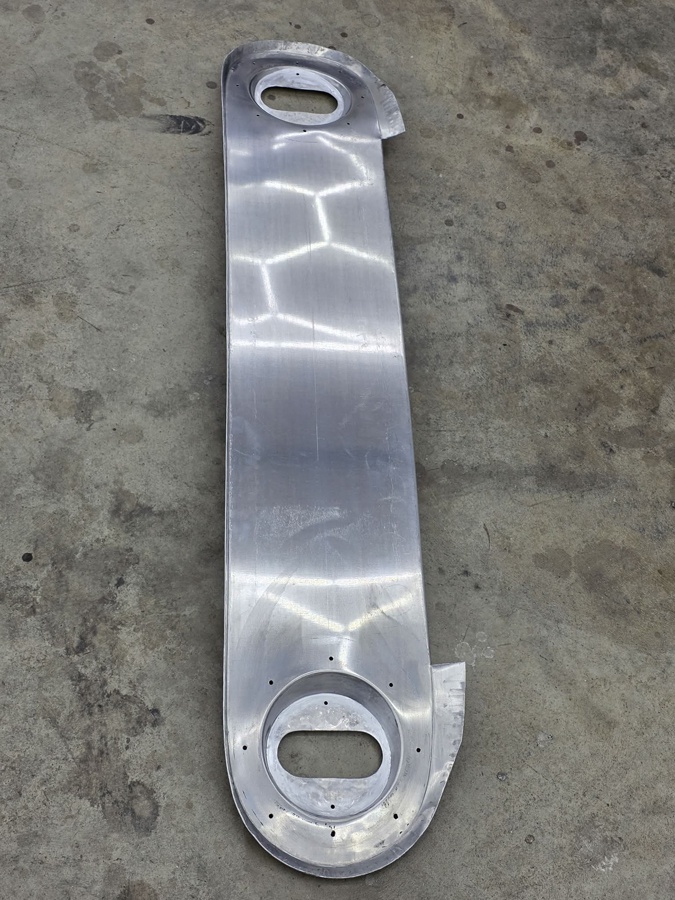
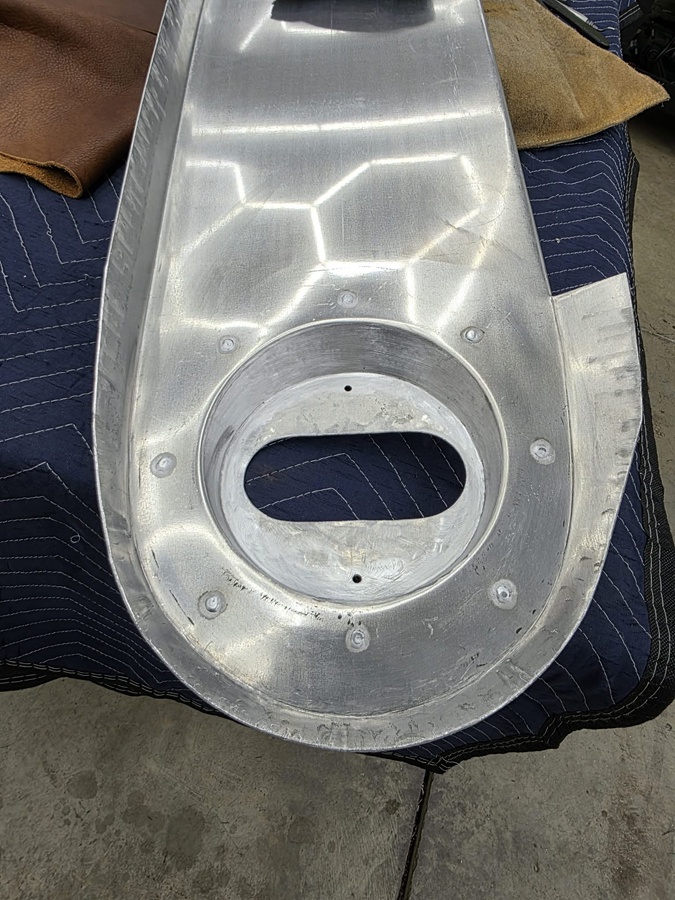
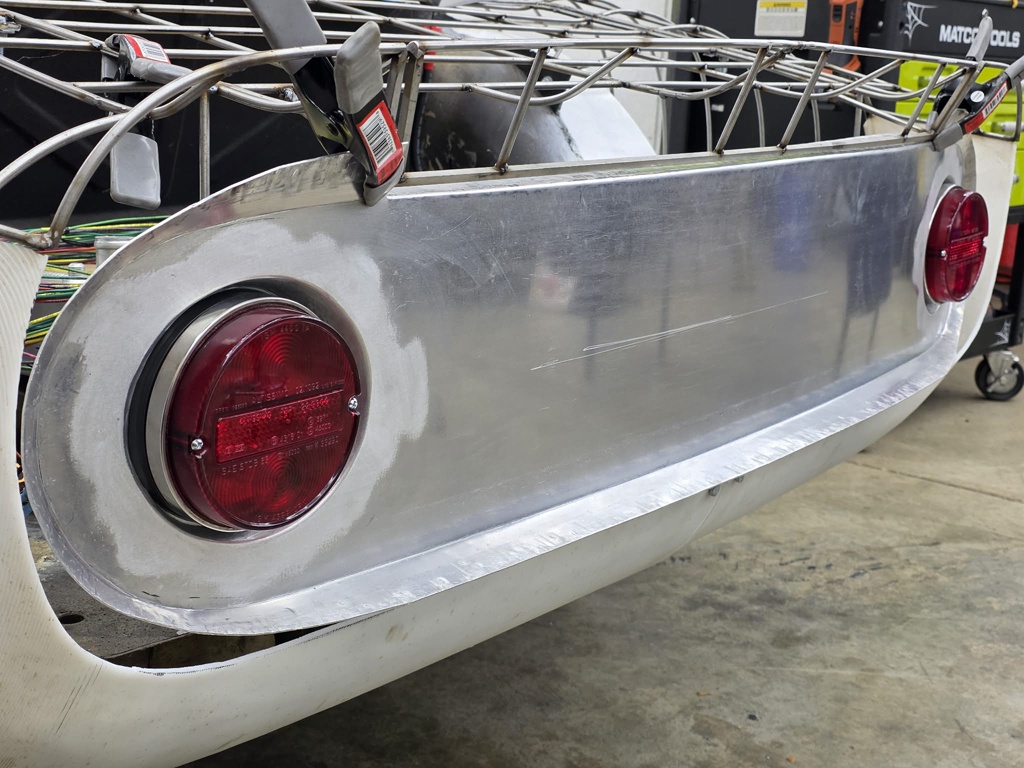
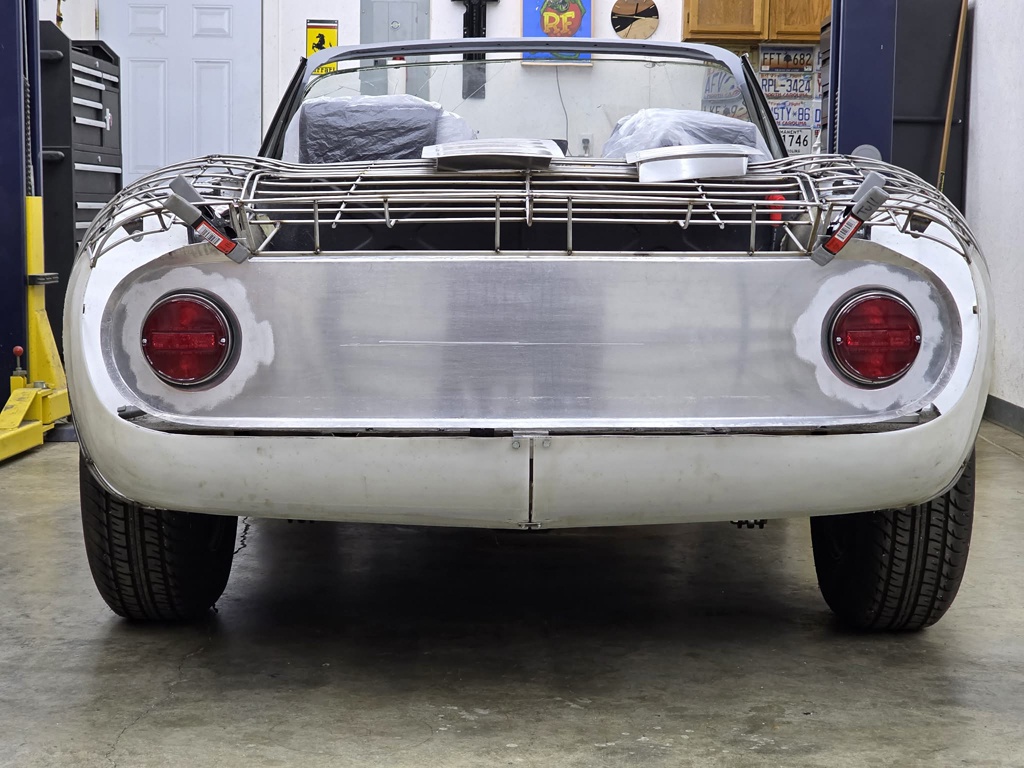
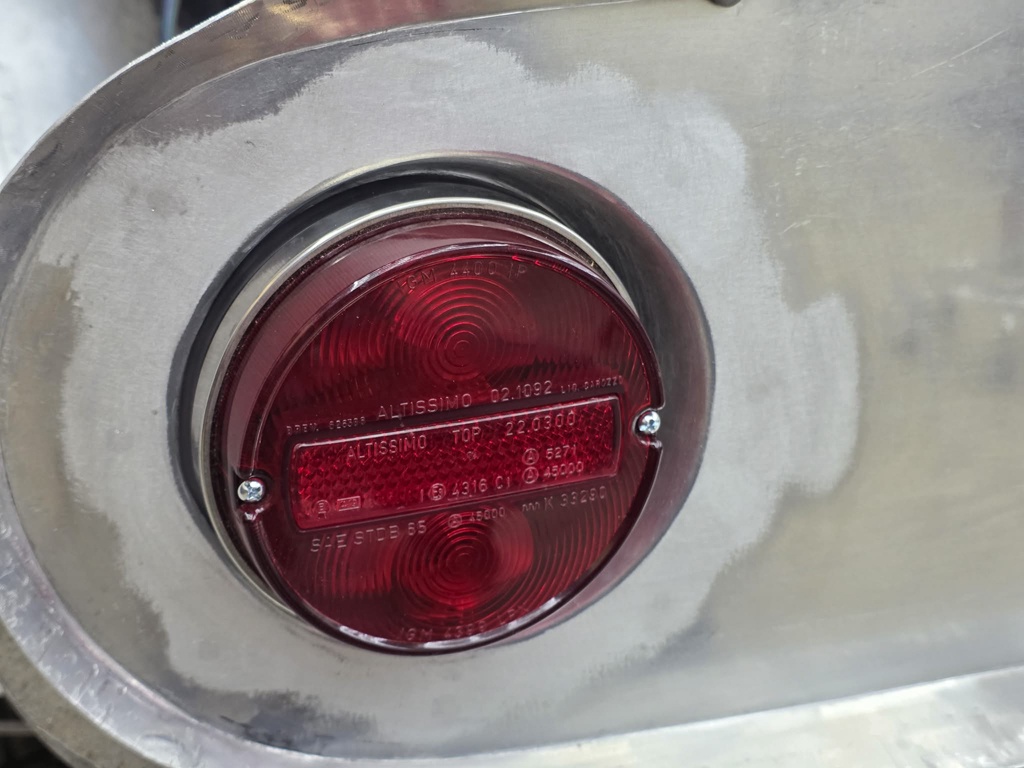
And now for something I was really excited to work my way through. The cam tail/taillight panel with recesses for the lenses. I ended up making a simple little hammer form with 3d printing and flow formed them in. Not perfect, and there were a couple tears in the really stretched areas that were a bear to chase out and weld up, but overall really pleased! Making this panel revealed that I will have to make some changes to the wire form in the rear to match the real car, but not a huge deal.
proof of concept:
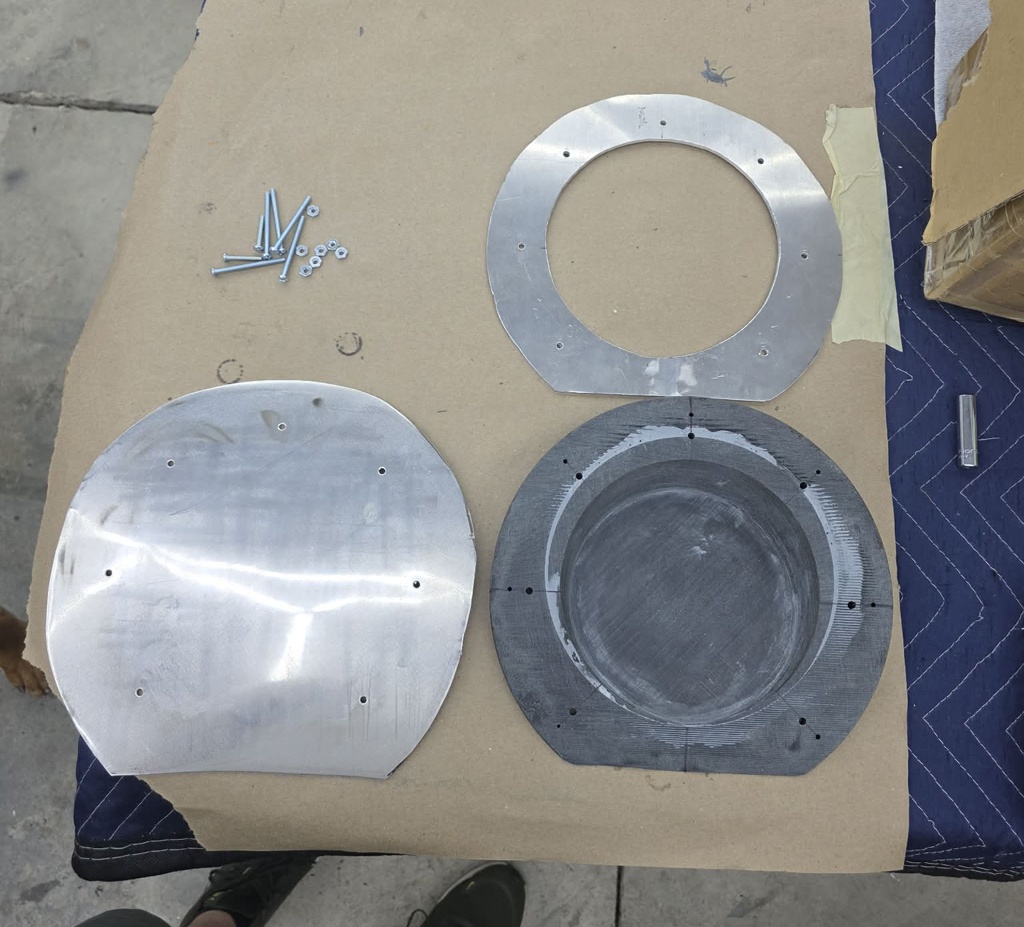
now on the actual panel (I have already wheeled it out and tipped all the edges pretty close). I pre-stretched the area to be hammered a little bit before annealing and then flow forming all the way.

 Reply With Quote


