


Results 1 to 20 of 36
Thread: 1976 Trans Am Pro-Touring Build
Hybrid View


-
02-23-2017 #1
 New to Pro-Touring
- Join Date
- Feb 2017
- Posts
- 99
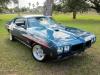
1976 Trans Am Pro-Touring Build
Hello,
Car: 1976 Trans Am 400 / 4-Speed Car / 38,000 original miles
I'm in the process of building up my '76 T/A. Much of the work on the car has already been completed and I'm making this thread midst the second phase of the build. I'll do my best now to run down it's current state, what has been completed already, what's on the chopping block within the next few months and what's to come down the road.
Current State (as of Feb 2017) -
Quadralink Ladder Bar Rear Suspension
Double Adjustable Rear Coil Overs
Adjustable Panhard Bar
Generic Mini Tub Kit
8 point roll cage
Strange 9 inch
Rear draglite disk brakes from Strange
Up next (2017+) -
1) Detroit Speed Engineering Front Sub Frame - Hydroformed and Powder Coated / LS Series:
http://www.detroitspeed.com/1970-1981-F-Body-products/032011-hydroformed-subframe.html
2) Pro-Touring F-Body Solid body mounts:
http://www.pro-touringf-body.com/chassis_components.html
3) Detroit Speed Engineering Weld in Sub Frame Connectors:
http://www.detroitspeed.com/1970-1981-F-Body-products/010103-subframe-connectors.html
4) EFI Tank and In-Tank Pump from Tanks Inc. (650+ HP)
5) Detroit Speed LS7 Engine mounts
6) Detroit Speed Firewall Fill Panel
7) Cut new Transmission Tunnel for Transzilla T56 / Use Holley T56 conversion Hump Panel
8) Media Blasting undercarriage, interior pans, and trunk pans
9) Putting undercarriage, interior pans, and trunk pans in primer
-
02-23-2017 #2 Registered User
- Join Date
- Sep 2005
- Location
- Chit-ca-go
- Posts
- 472
Welcome!
1971 Firebird
2017 Slipstream SS
02-23-2017 #3 Registered User
- Join Date
- Apr 2015
- Location
- SoCal
- Posts
- 165

I'm wrenching on our families 74'. Looking forward to seeing pics of this one.
02-23-2017 #4 Registered User
- Join Date
- Oct 2013
- Location
- H-Town, TX
- Posts
- 356
Yes we need pics!
02-23-2017 #5
New to Pro-Touring
- Join Date
- Feb 2017
- Posts
- 99
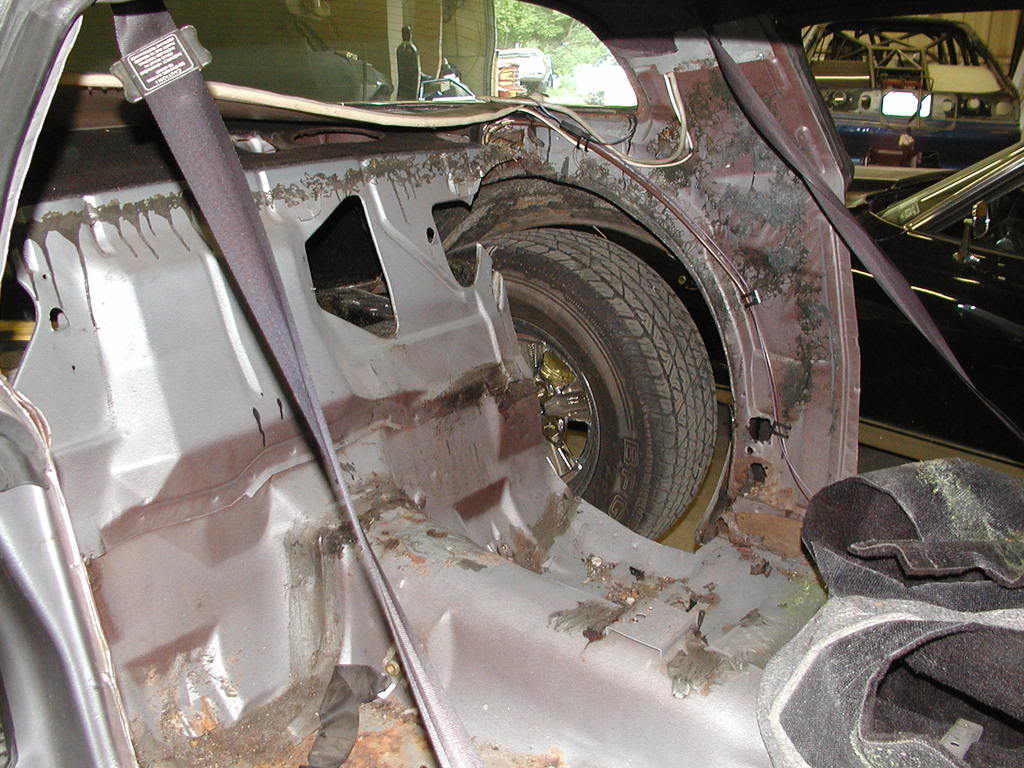
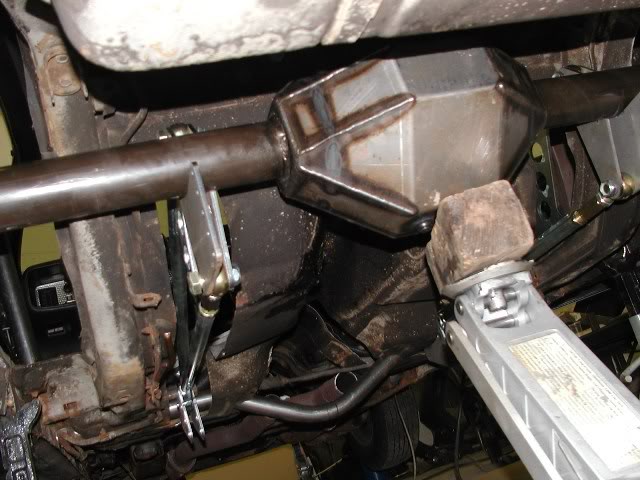
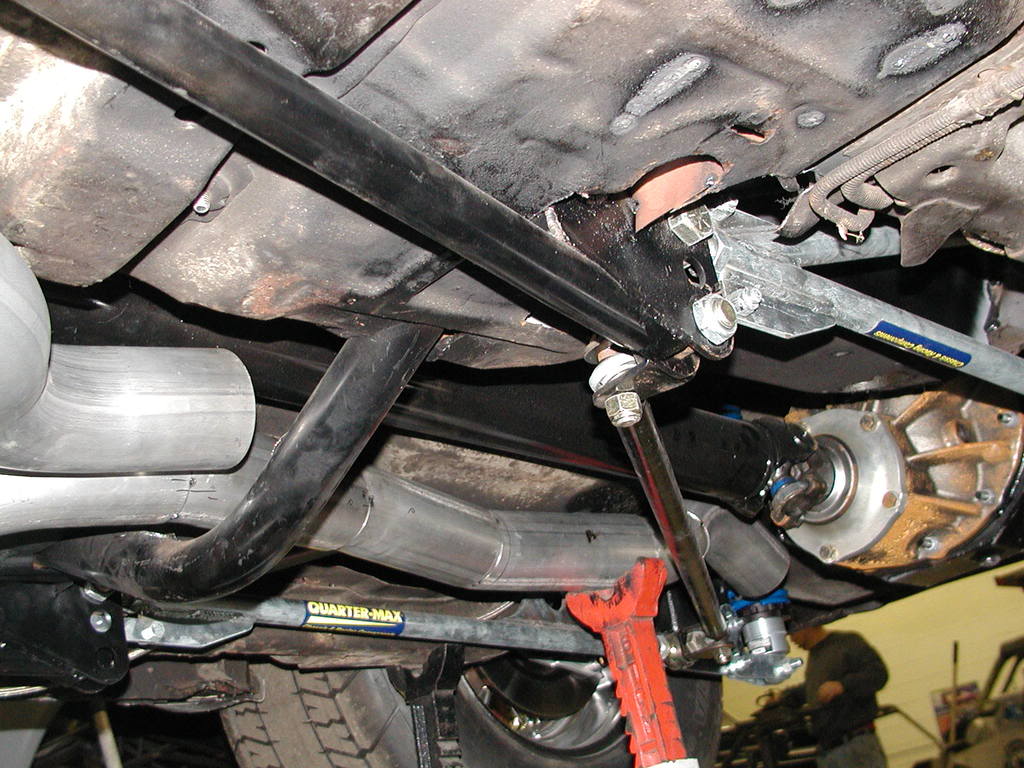
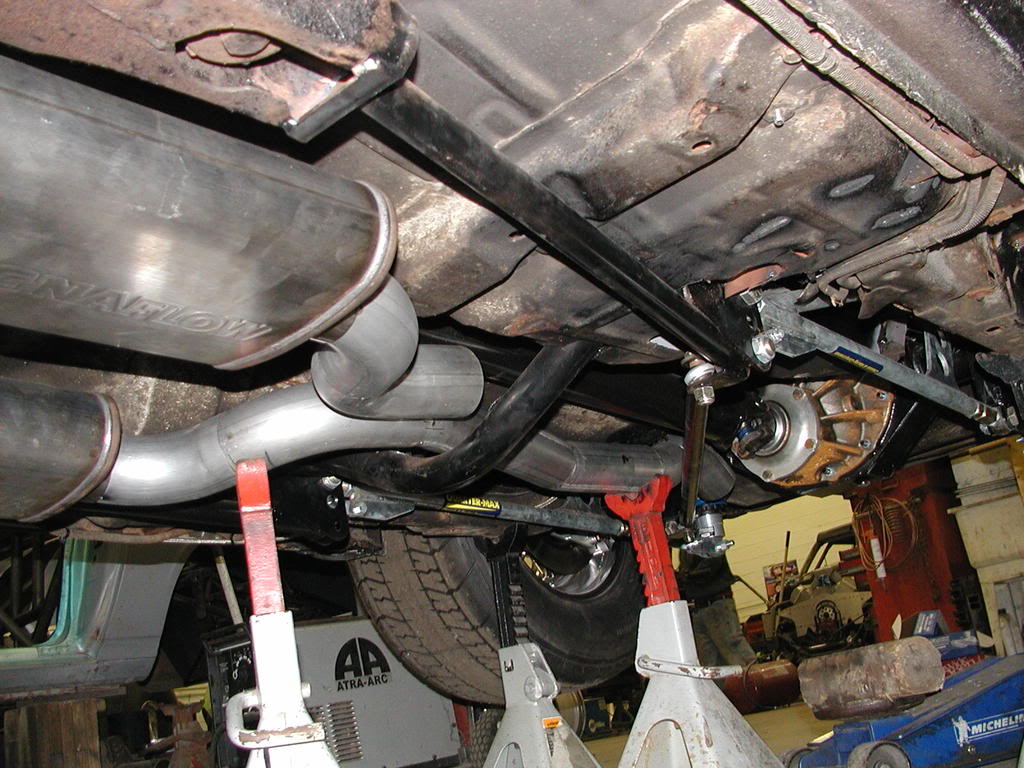
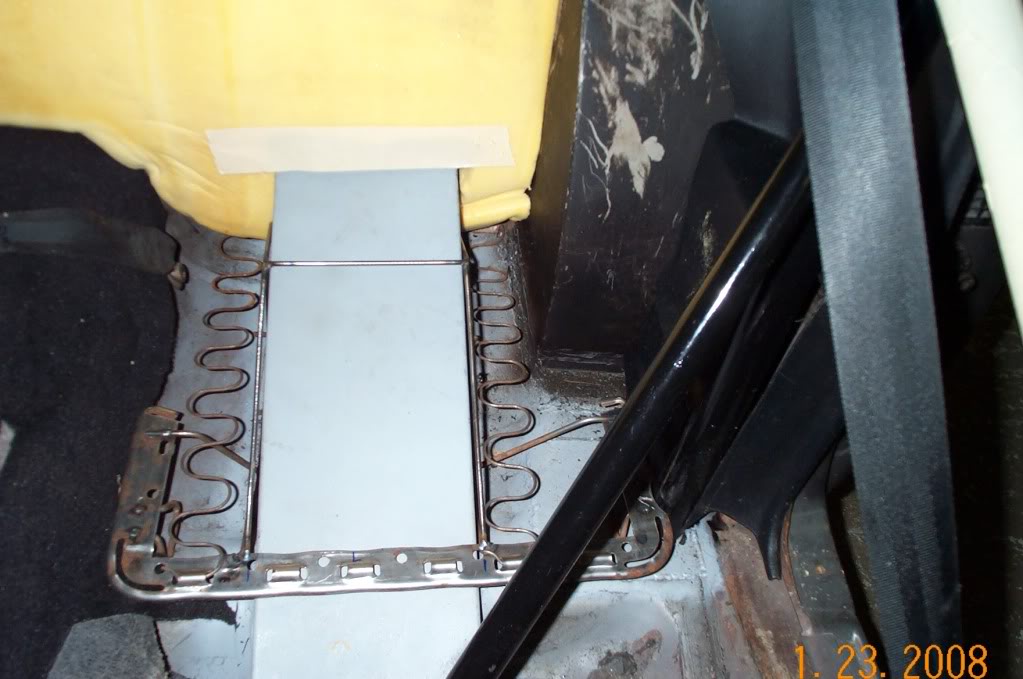
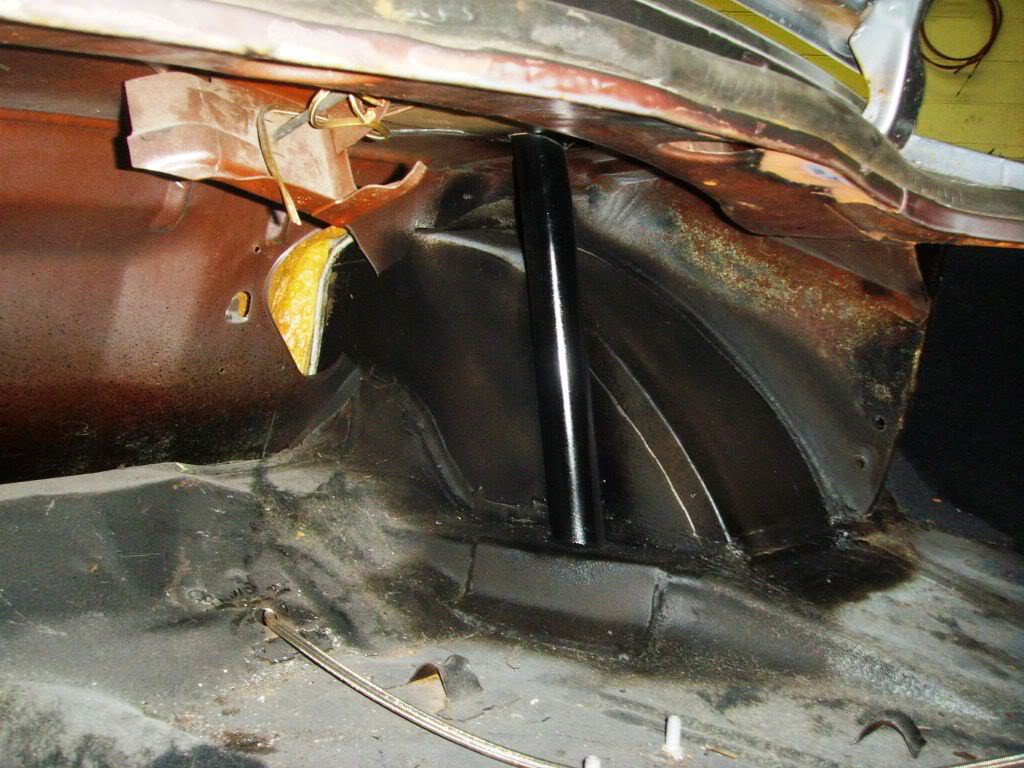
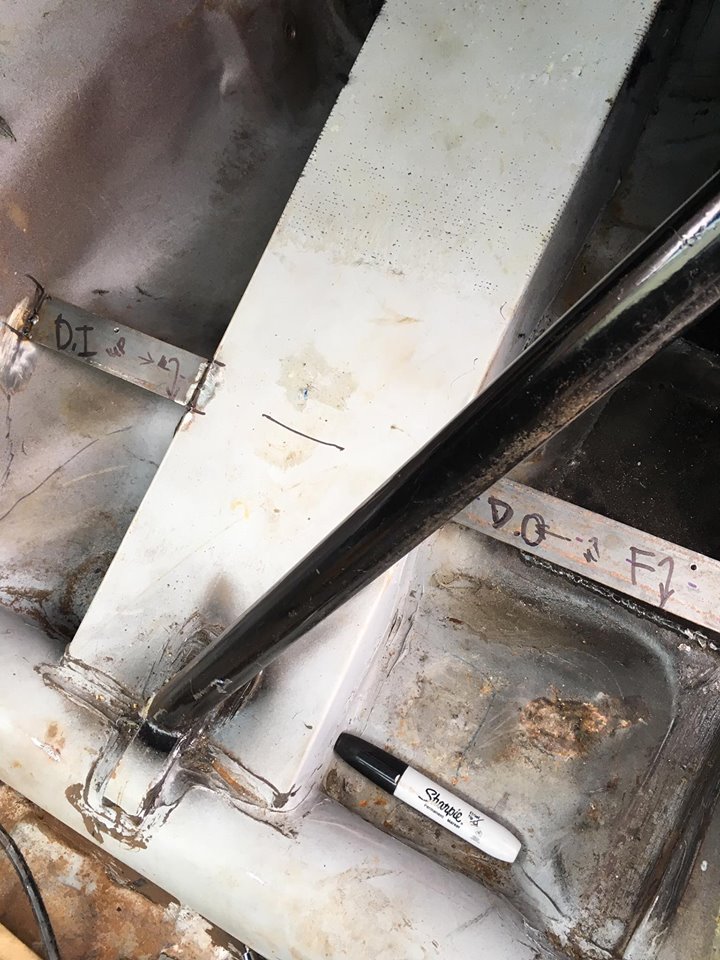
Photos of the floor pans being modified to make room for the ladder bars sometime in 2008

Strange Rear End getting hung:
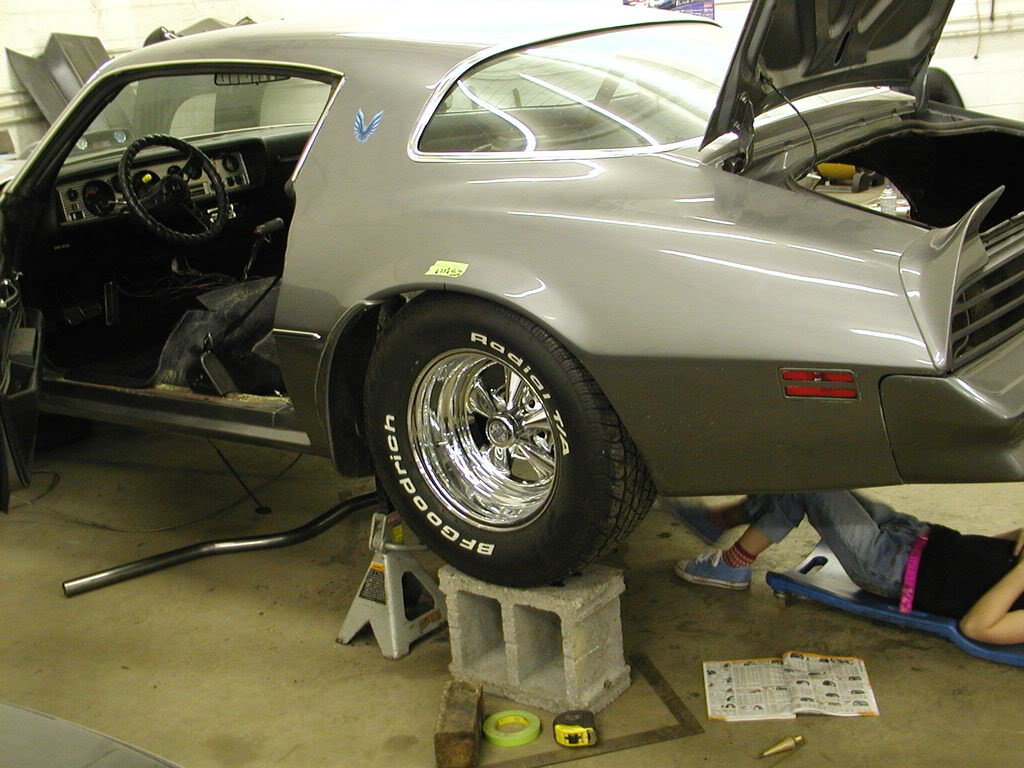
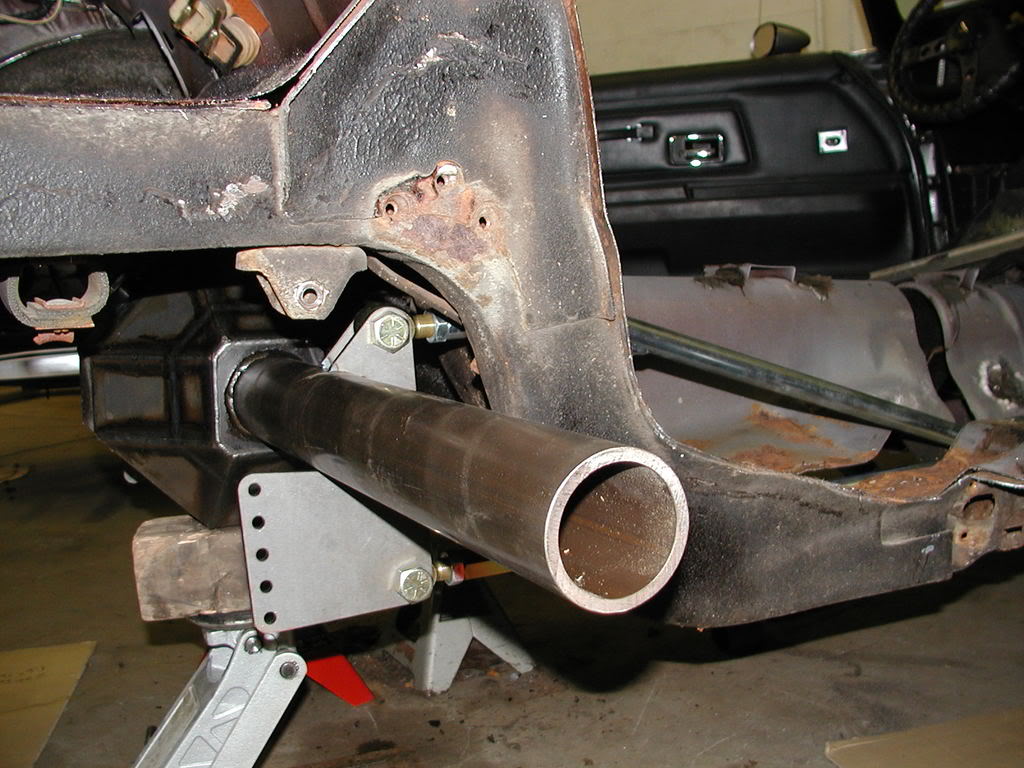
Trac bar/Rear End/Exhaust tucked:
Rear seats and pans being modified:
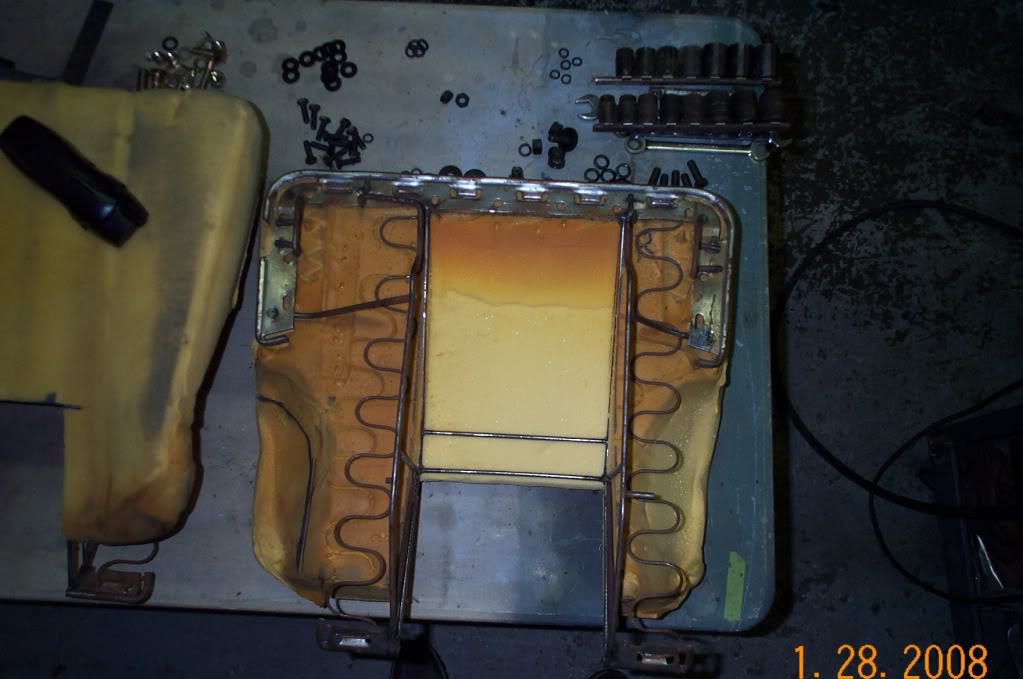
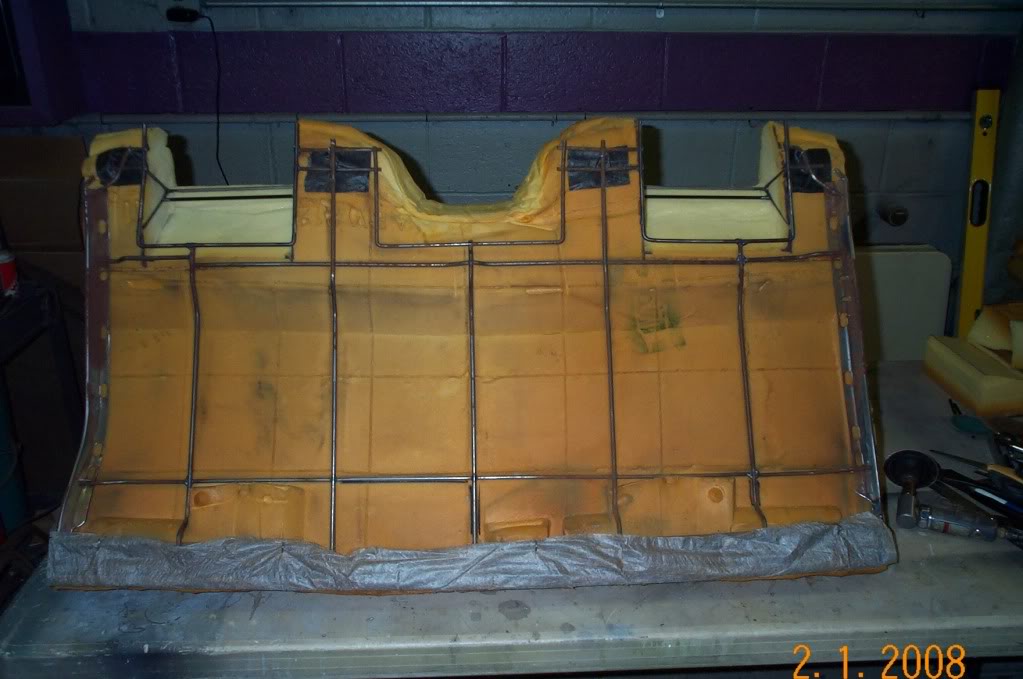
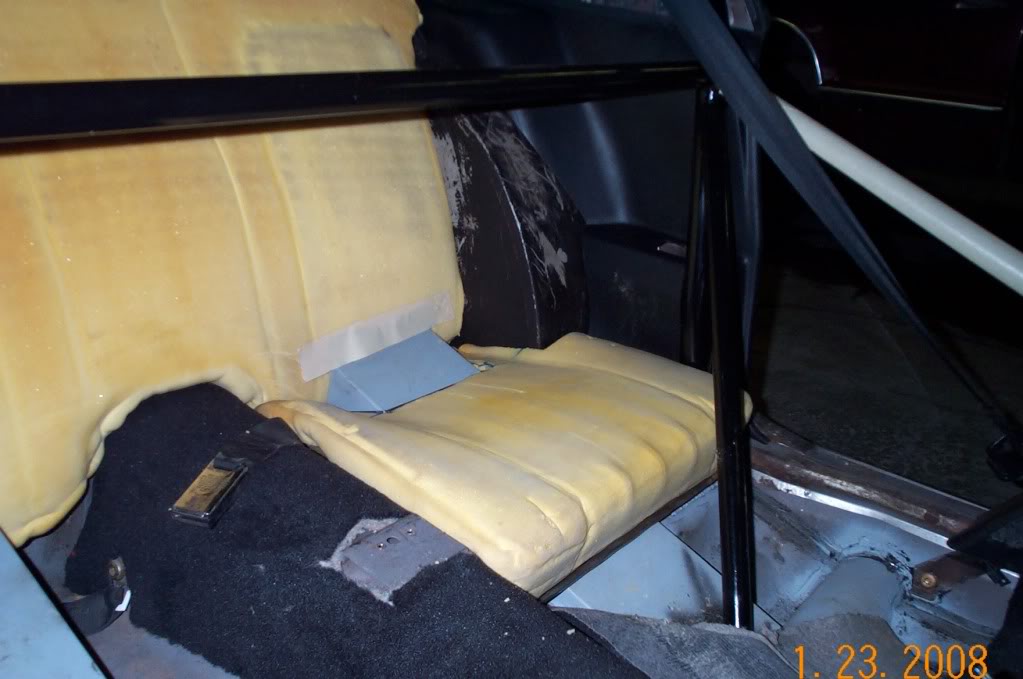
Mini tub install:
02-23-2017 #6
New to Pro-Touring
- Join Date
- Feb 2017
- Posts
- 99
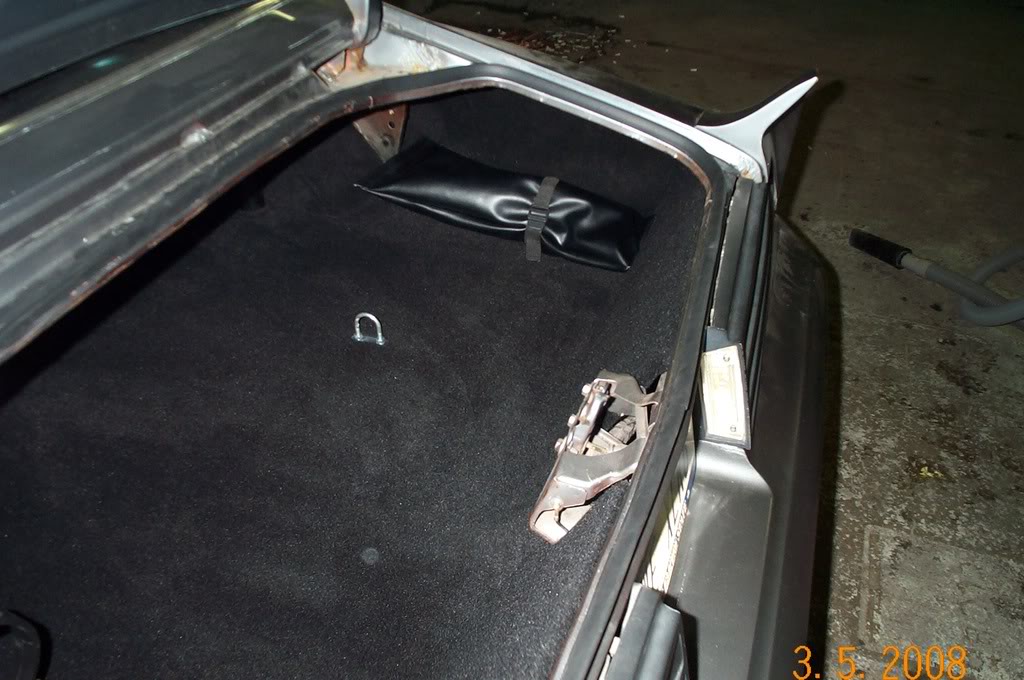
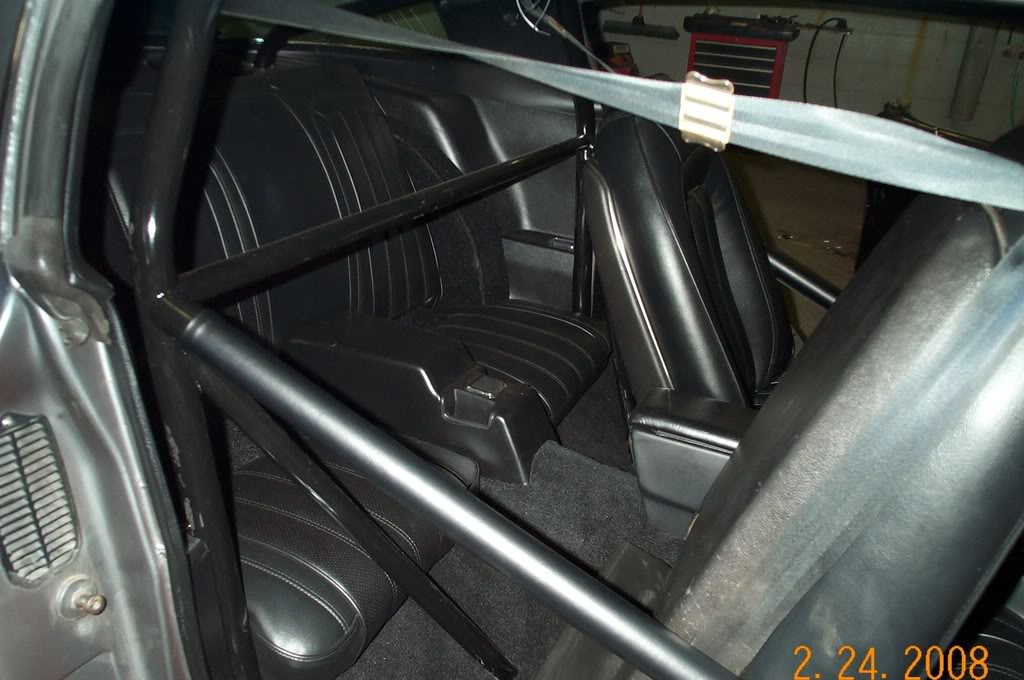
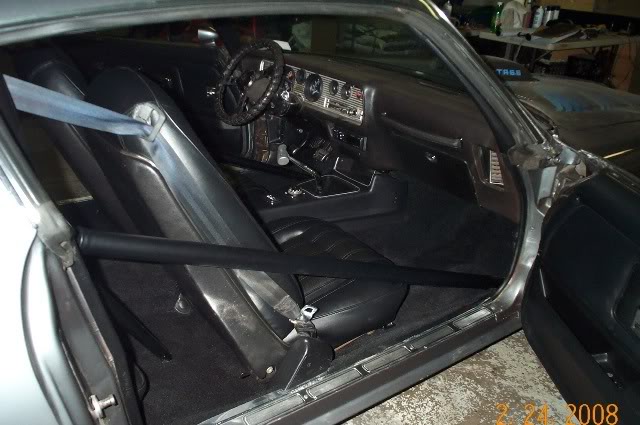
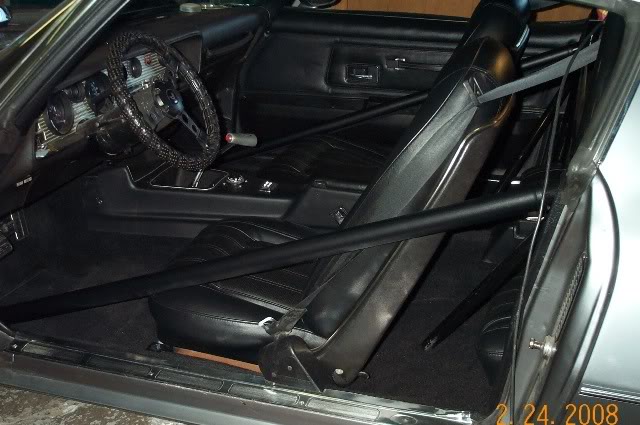
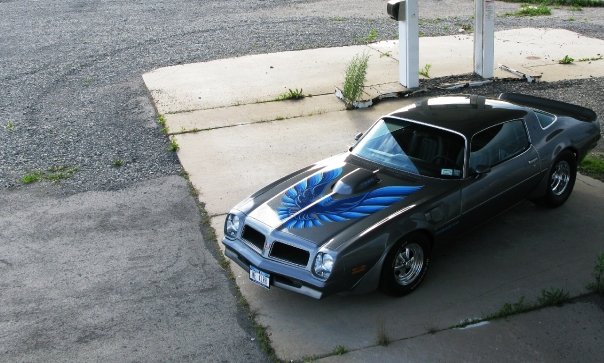
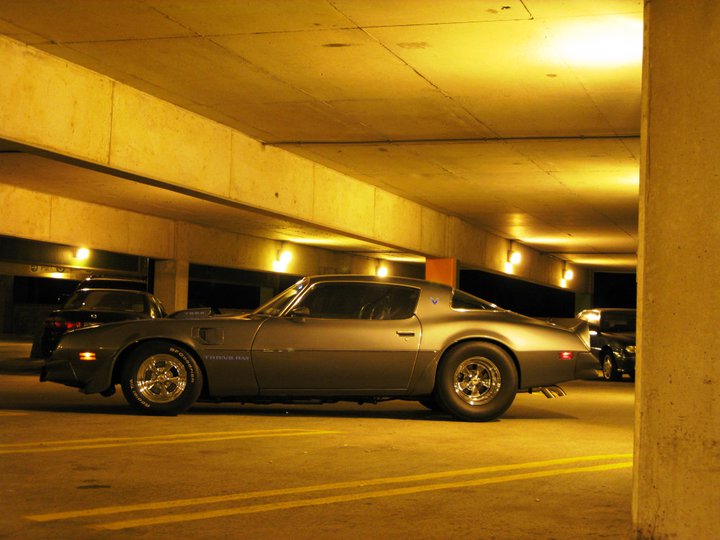
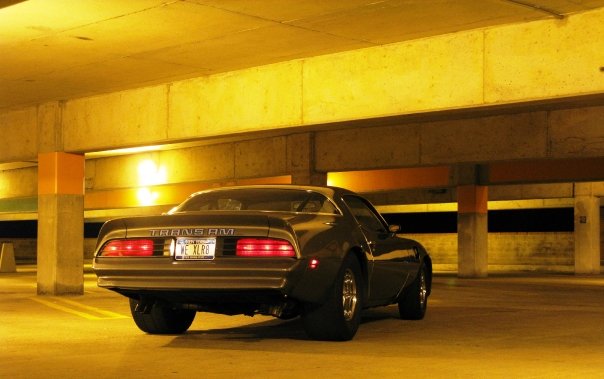
These are the photos after the work of 2008 was finished -
Trunk Finished:
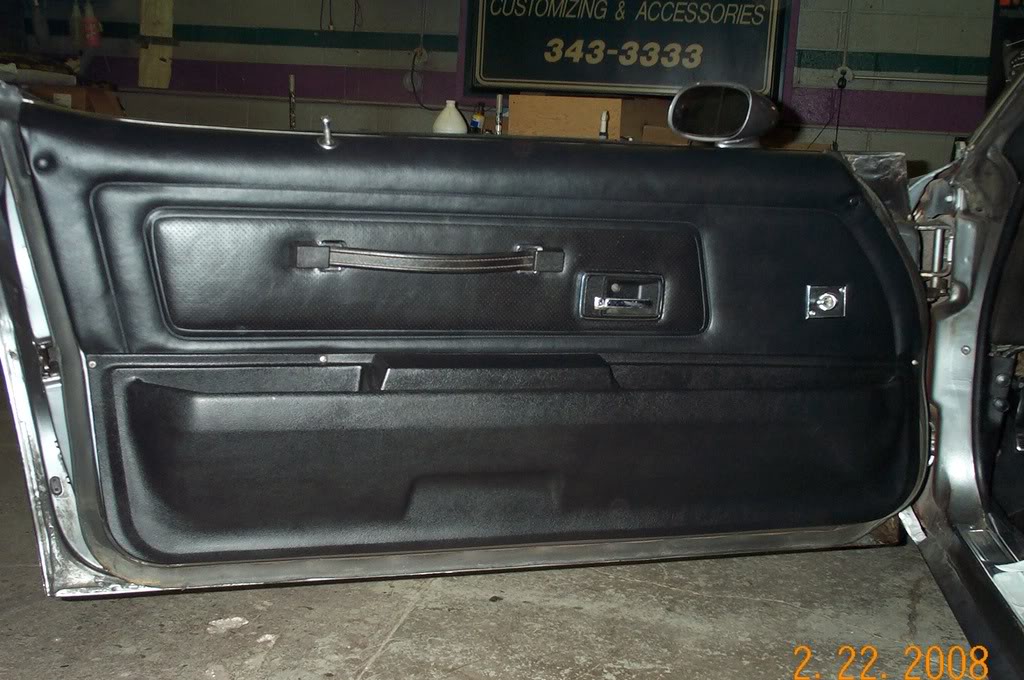
Interior Finished:
Wrapped up:
02-23-2017 #7
New to Pro-Touring
- Join Date
- Feb 2017
- Posts
- 99
Decided to pick up the LS series engine mounts from Detroit Speed now instead of waiting for later. My builder has an LS1 laying around with a t56. While I have the interior ripped apart we're going to mock of a dummy t56 and cut the tunnel now rather than later.
02-23-2017 #8 Registered User
- Join Date
- Nov 2010
- Location
- orlando fl
- Posts
- 419
Looks so mean...love the color combo!
03-21-2017 #9
New to Pro-Touring
- Join Date
- Feb 2017
- Posts
- 99
This car is never going to be a world beater. With that I opted to steer clear from an ugly fuel cell and opted for a Tank Inc. tank. I also picked up there GPA-6 EFI pump (750-1000hp), sending unit, all mounting hardware, straps, strap pads. The pump is sump mounted.
Everything out the door was roughly $650.00 shipped.
The Easter Bunny came early this year:
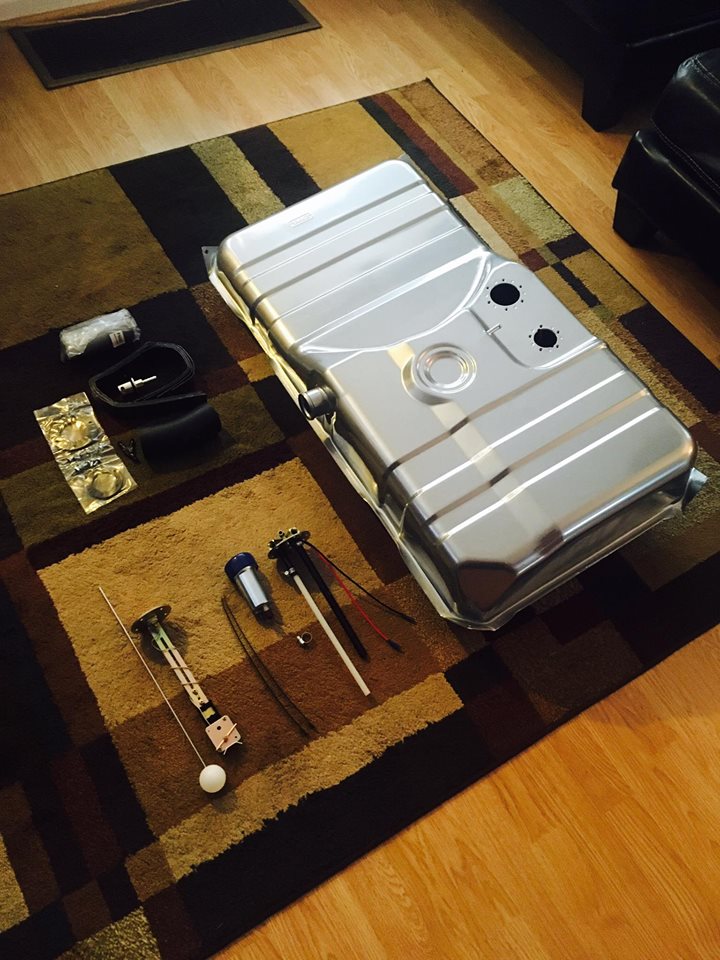
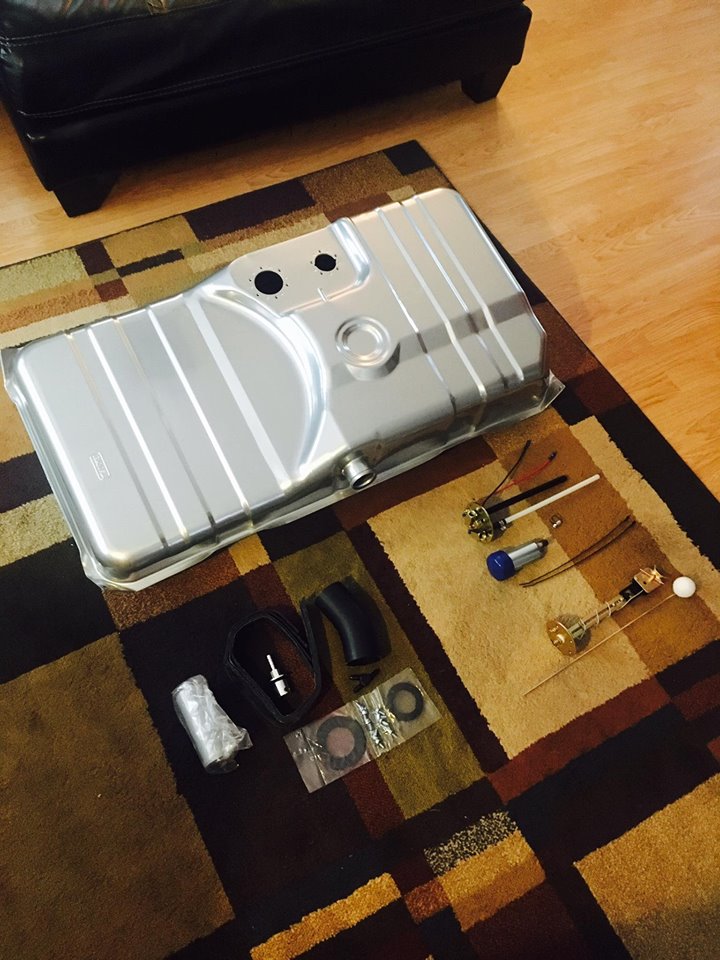
http://www.tanksinc.com/
03-21-2017 #10
New to Pro-Touring
- Join Date
- Feb 2017
- Posts
- 99
Typically solid body mounts are required when installing sub frame connectors. This is because poly or rubber mounts allow too much flex which can result in the welds between that of your sub frame to connector to sub frame weakening/or breaking completely.
I was going to order a set of body mounts from Detroit Speed but they only produce them for 2nd gen Camaros and not Firebirds. This is because the core support mounts are taller on the Firebird versus that of the Camaro (to make space for the shaker scoop on the T/A) so I went with the only other option which are from pro-touring f body (http://www.pro-touringf-body.com/cha...omponents.html).
They're pretty cool. They can be mounted at factory height to maintain stock appearance, adjusted to lower the body by a full inch or flipped to lower the body by a full 2 inches...essentially wedging the body. This will cause clearance issues with the inner fender walls and shaker scoop clearance (but I'm going EFI LS7 eventually so I'll have to rig something up when the time comes anyway) so I will likely go factory height or only lower the body by an inch. I am going to call D.S.E. before I decide. They are made of aluminum but I'll likely paint them black.
They were $99 shipped, with the bolts included:
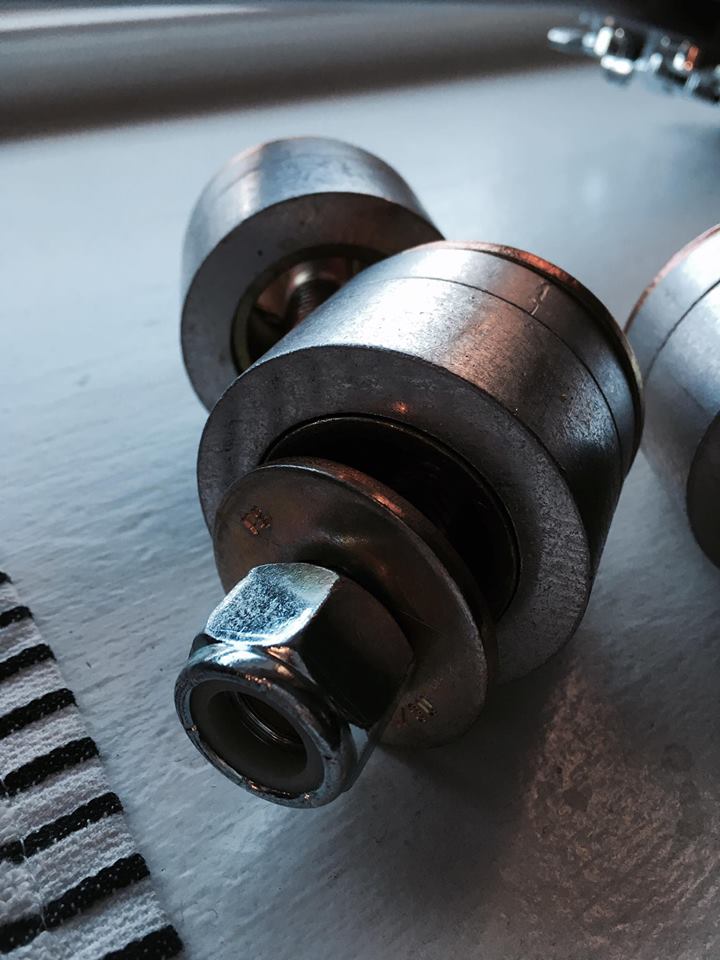
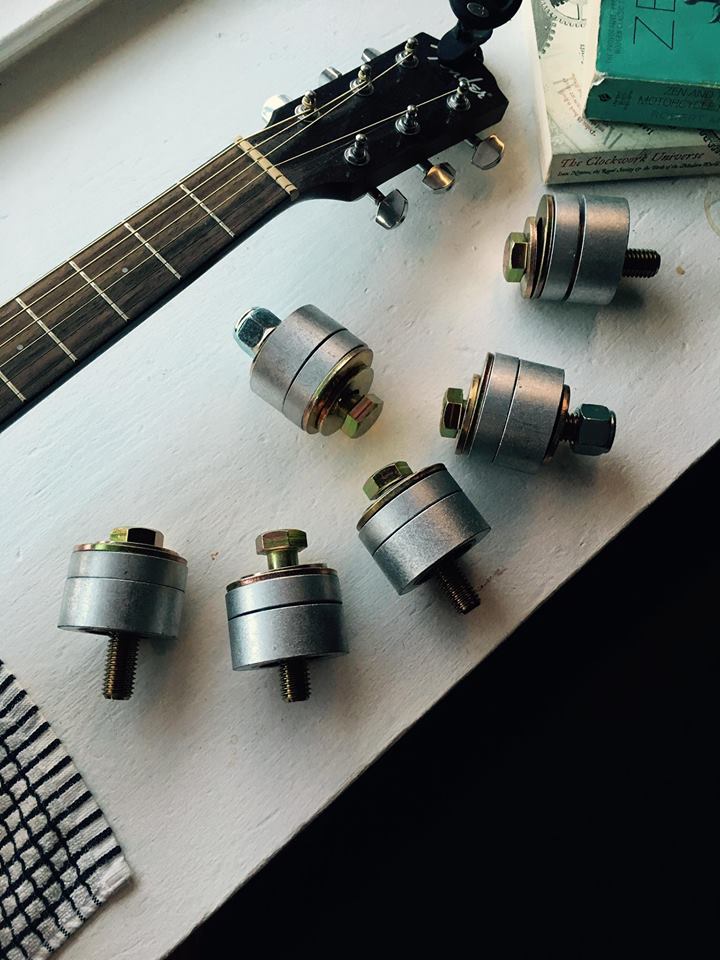
03-21-2017 #11
New to Pro-Touring
- Join Date
- Feb 2017
- Posts
- 99
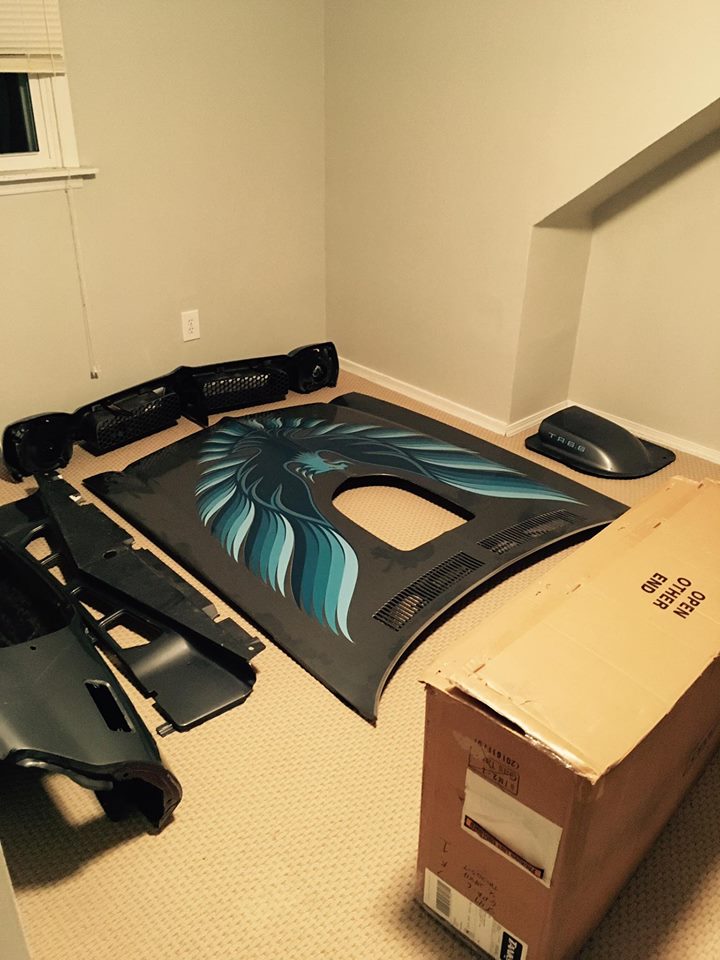
In order to lower my expenses as much as possible I removed the hood, fenders, inner fenders, core support, bumper, bumper braces, upper headlight/grille assembly, wheel spoilers and lower spoiler myself. I've been storing the parts in a spare bedroom for safe keeping.
My girlfriend loves this:
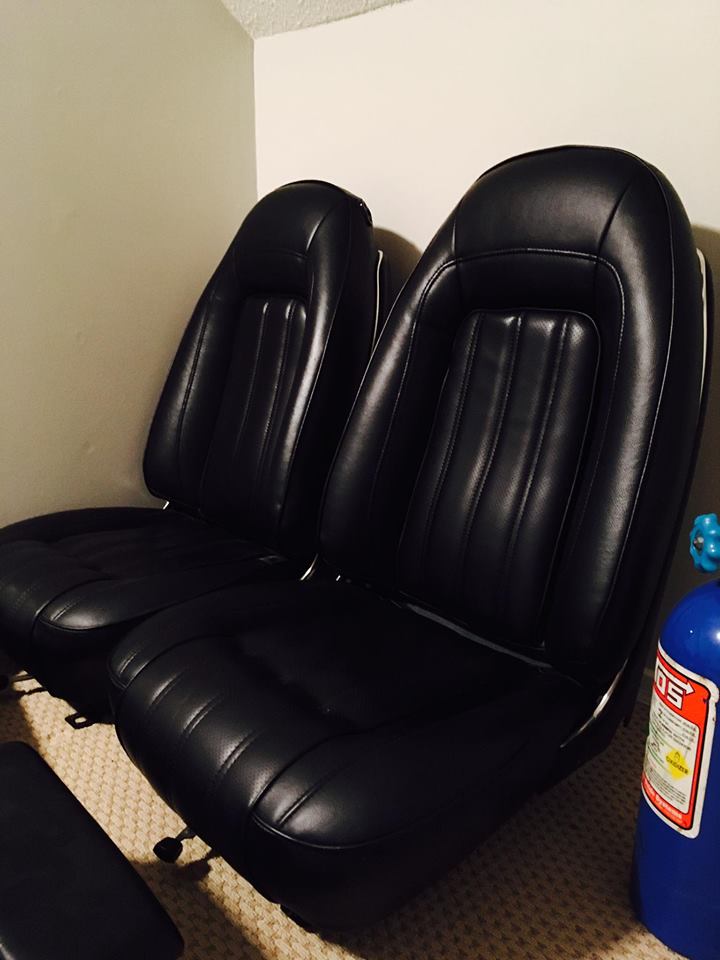
These are the factory seats. They have never been re-upholstered.
03-21-2017 #12
New to Pro-Touring
- Join Date
- Feb 2017
- Posts
- 99
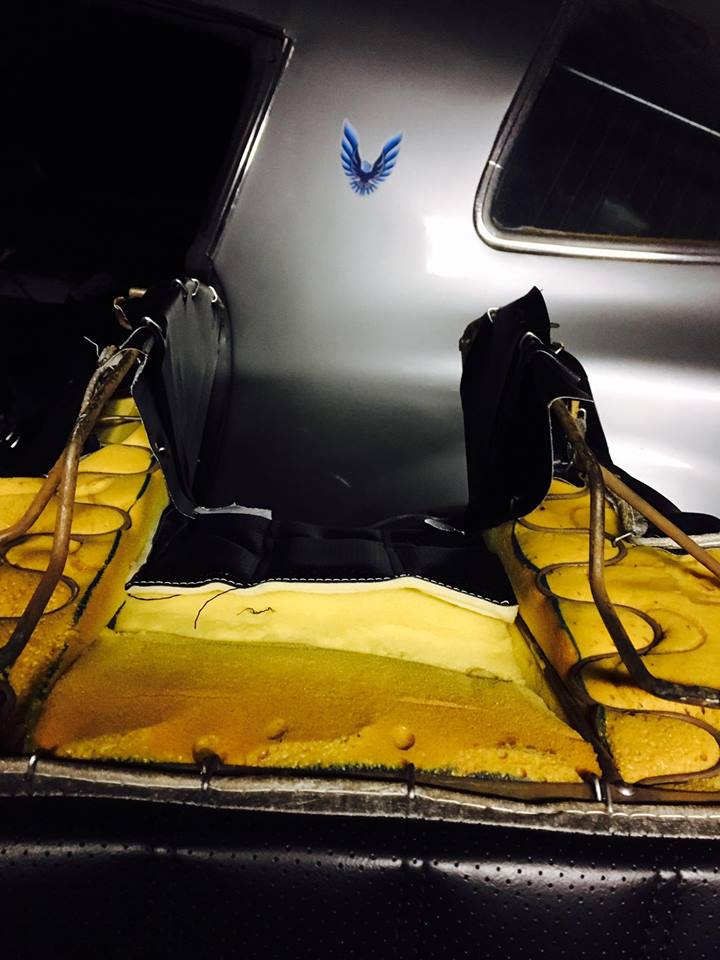
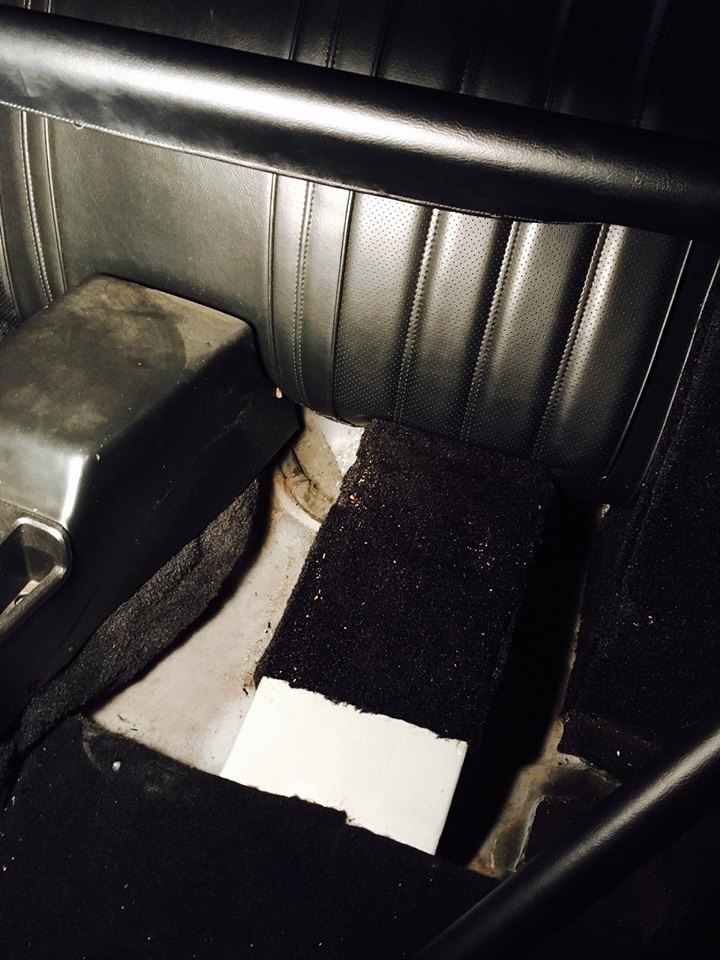
Last night I got around to removing the seats, the center console and lower back seats. I still have to remove the kick panels, carpet, seat belts and rear deck/speakers (I think).
I may be able to keep the upper back seats in place. That would allow me to keep the speakers and rear deck in place too. However I was never happy with the way the rear deck came out. I know it must have been a pain with the roll cage there but I'm just not happy with it. I may look in to getting that replaced/re-done down the road.
To clarify, I'm removing the carpet because the sub frame connectors from Detroit Speed are welded in to the floor pans, from both the bottom and inside of the car; so the carpet needs to come out. I'm also getting a t56 tunnel cut so the carpet has to be removed for that as well.
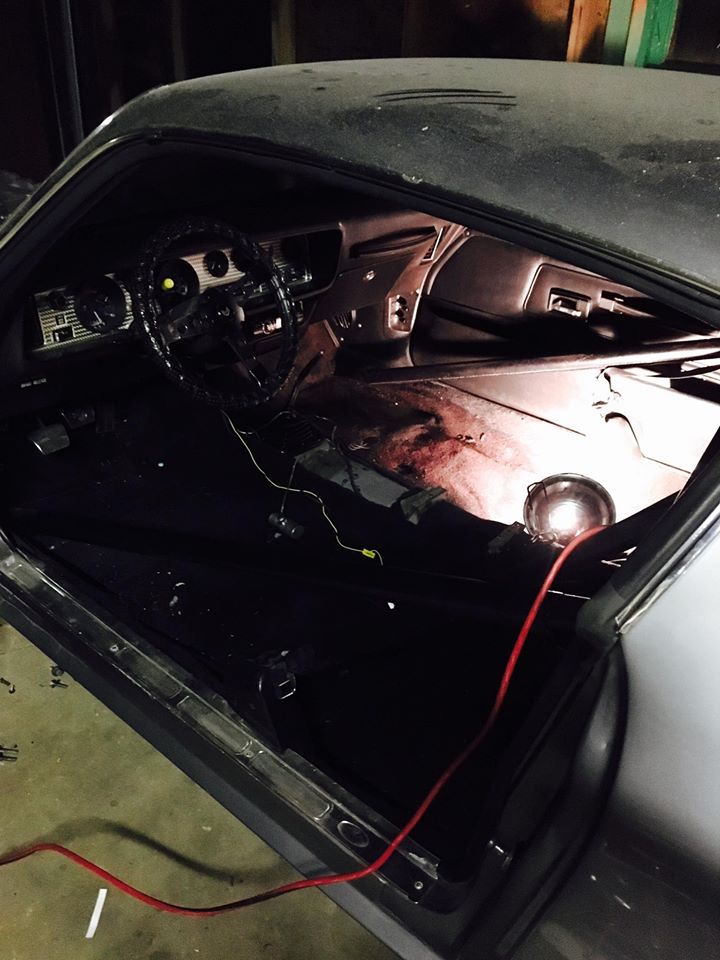
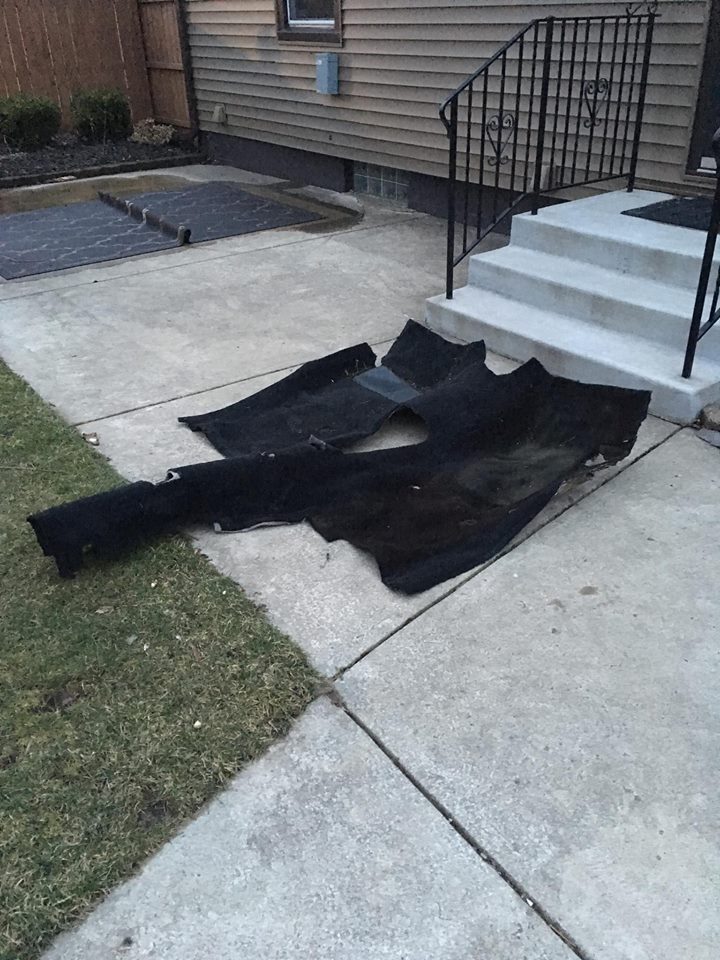
I plan on keeping the interior out for a while even after I get the car back. I'd like to prep and paint the inside of those pans myself before the carpet gets laid back in. I'd also like to find another interior guy to lay the carpet again. As you can see from the photos below; the carpet was a custom job the last time the carpet was done. It was glued down so I'm assuming it's going to get trashed when I get around to removing it this weekend.
So much room for activities now:
03-21-2017 #13 Registered User
- Join Date
- Sep 2009
- Posts
- 2,995
Nice build. Looks like you are going to have a pretty nasty setup there with that parts list. I miss my pro-touring 76...
1955 Nomad project LC9, 4L80e, C5 brakes, Vision wheels
1968 Camaro 6.2 w/ LSA, TR6060-Magnum hybrid and etc SOLD
1976 T/A LS1 6 Speed, and etc. SOLD
Follow me on Instagram: ryeguy2006a
03-21-2017 #14
New to Pro-Touring
- Join Date
- Feb 2017
- Posts
- 99
One thing I'm worried about is that front lower spoiler and front wheel flares. I'm concerned that after hard braking, turning and 120+ mph pulls those wheel flares are going to separate off of the fender. I'm also worried that the front lower spoiler will crack. Originally Posted by ryeguy2006a

I don't know. Just speaking out loud; but did you ever run in to these issues? Maybe I'll try to rig up a Challenger T/A inspired sheet metal lower spoiler to replace the factory one.
The factory one is weak and trashy anyway.
03-21-2017 #15
Registered User
- Join Date
- Sep 2009
- Posts
- 2,995
Hey 76,
Let's just say I was in that MPH range, and I didn't have any issues with my spoilers coming loose. If you are really worried about them, you could always add some metal reinforcements behind the spoilers to tighten them down more securely.
Maybe I missed it, but what are you running for a motor and transmission? Is that the LS1 your builder has? If so, have you thought about how you are going to attach your shaker?
1955 Nomad project LC9, 4L80e, C5 brakes, Vision wheels
1968 Camaro 6.2 w/ LSA, TR6060-Magnum hybrid and etc SOLD
1976 T/A LS1 6 Speed, and etc. SOLD
Follow me on Instagram: ryeguy2006a
03-21-2017 #16
New to Pro-Touring
- Join Date
- Feb 2017
- Posts
- 99
Motor and trans. are way down the line. I just can't afford it right now.
I'm planning on picking up a Mast 427 (Ls7). It's a dry sumped supercharged motor w/ an aluminum Dart block (supposedly 760 crank hp and upwards of 610 ft. lbs.). It'll be matted with a built t56 I have laying around which is good for 900 crank hp.
I'm just using the Ls1 to pull measurements for the t56 tunnel.
03-21-2017 #17
New to Pro-Touring
- Join Date
- Feb 2017
- Posts
- 99
As for the shaker struggle: I have absolutely no idea haha. I'll likely buy some foam and shape up exactly what I need and make a mold in the form of a base and then find a welder to run off of the valve covers? I'll figure it out. But I'm keeping that damn thing shaking. Originally Posted by ryeguy2006a
03-22-2017 #18 Registered User
- Join Date
- Jun 2014
- Location
- Highland Village, TX
- Posts
- 104
Might check with Chichirone on IG...He may be on here as well...Jay Deluca...His klrbrd has an LS and the Shaker is Functional... Originally Posted by 76TA
Ron -
1970 Mach1
440 RWHP, 428 RWTQ
Calypso Coral, 357W, T5Z 5-speed,
Edelbrock 454 17x8 Wheels, 255x40x17 rear, 215x45x17 front, Bridgestone Potenza RE-71, TCP Coilovers Front, Global West Del-A-Lum Bushings,Global West Adj. Strut Rods, Wilwood Discs All around
03-24-2017 #19
New to Pro-Touring
- Join Date
- Feb 2017
- Posts
- 99
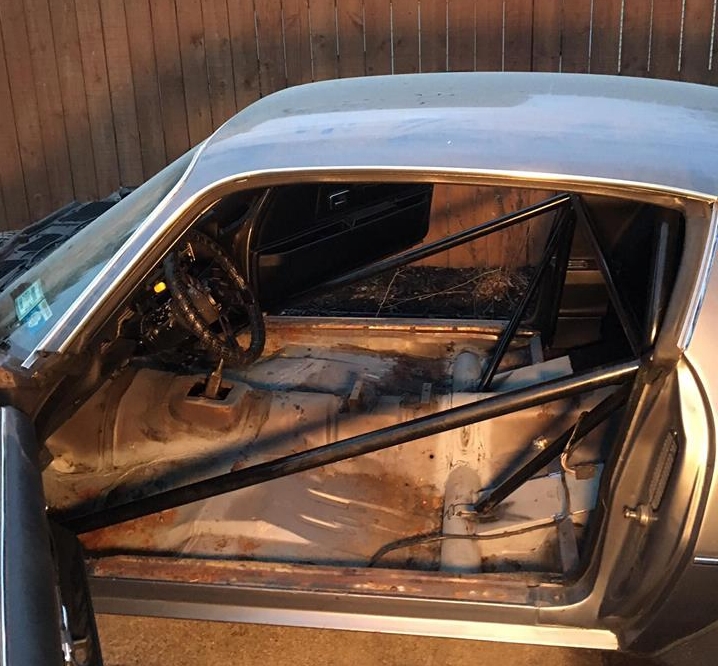
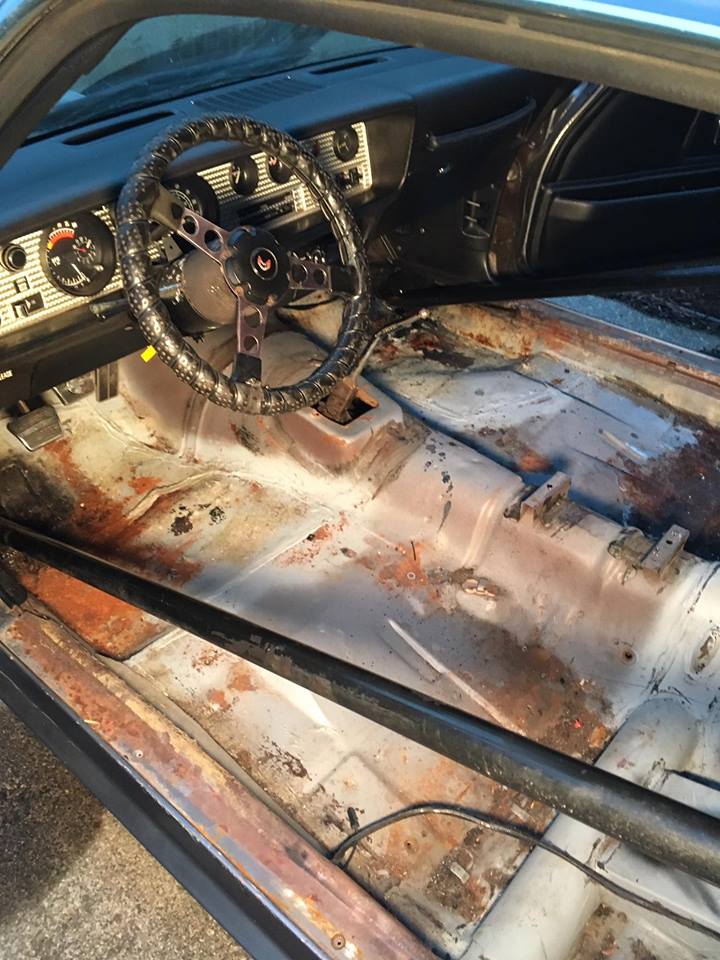
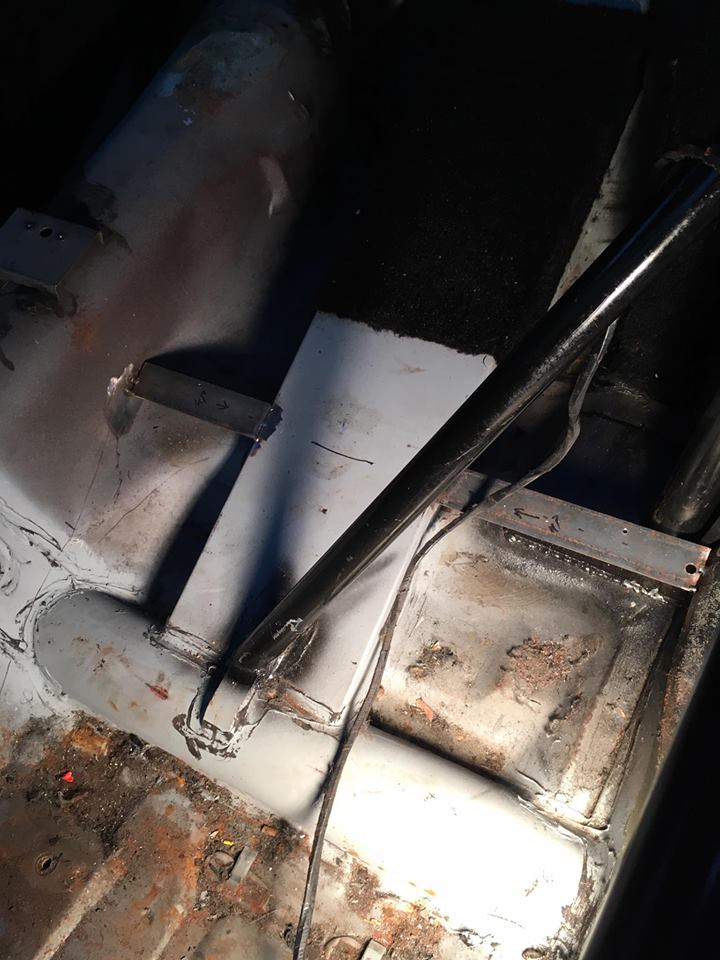
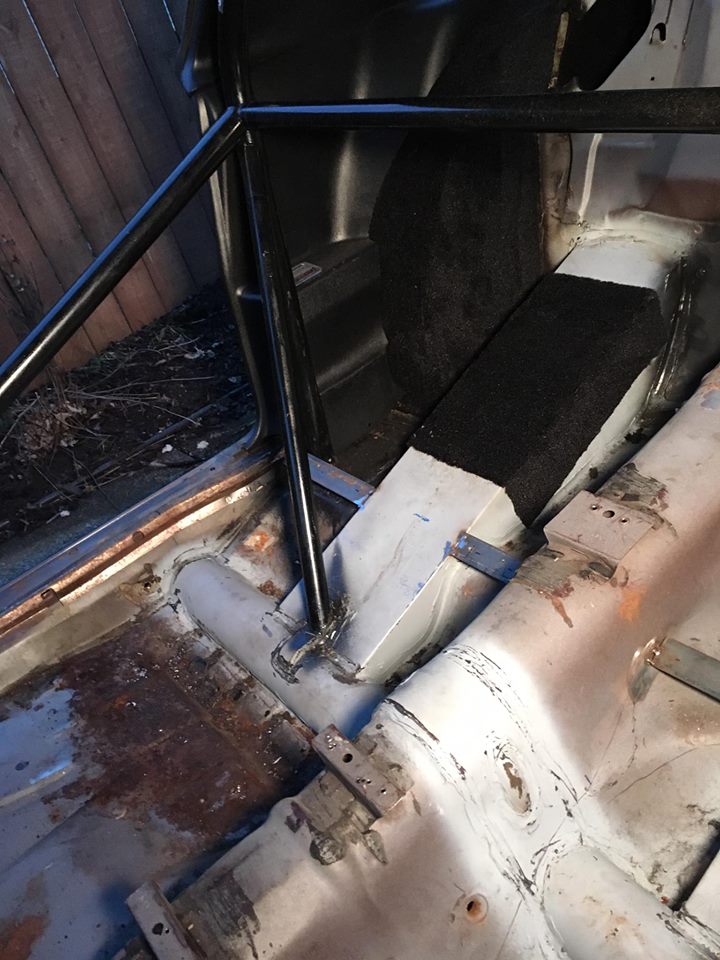
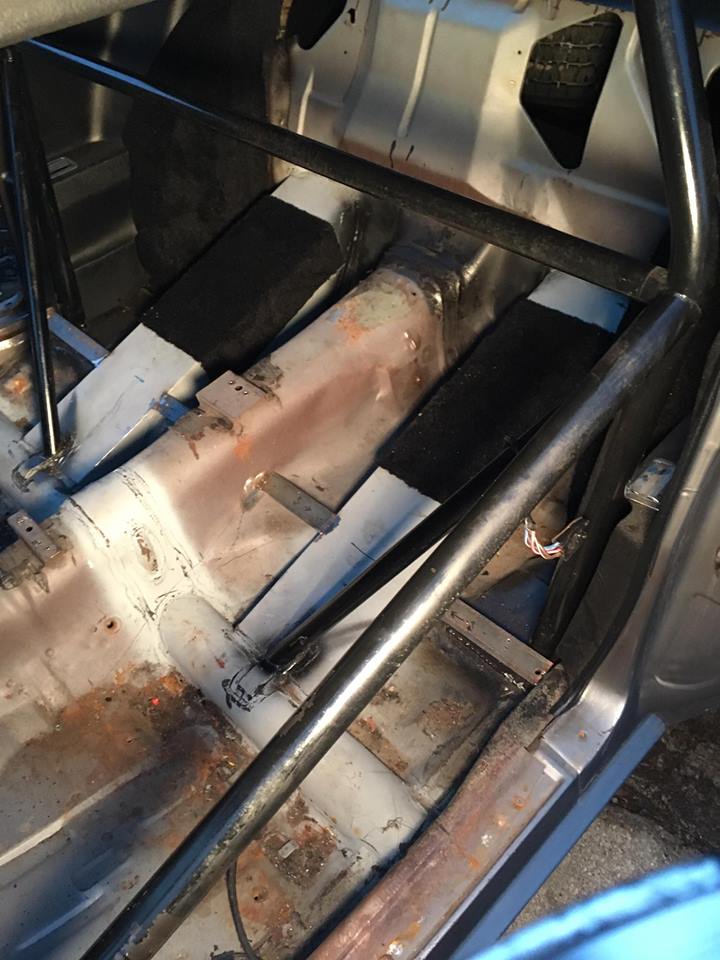
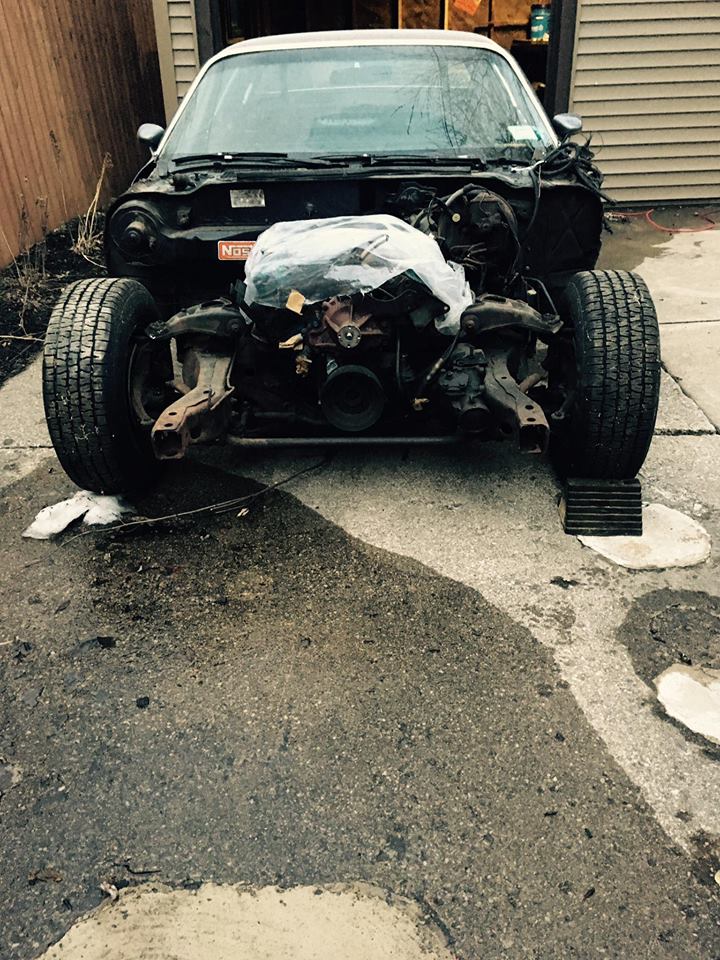
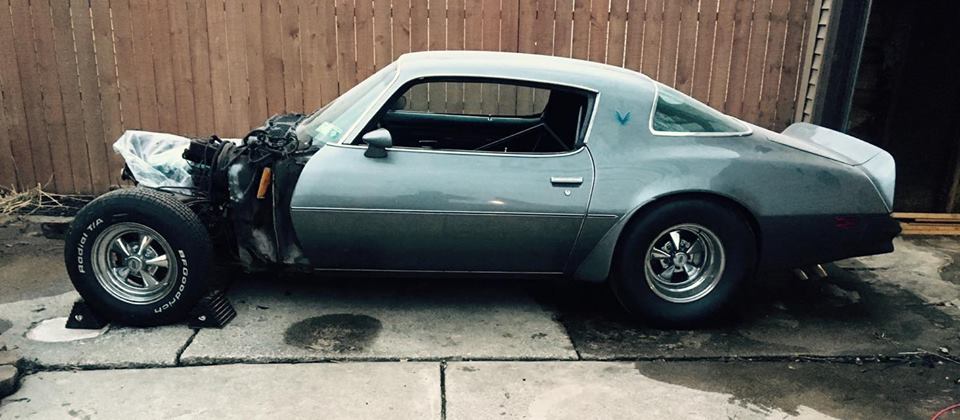
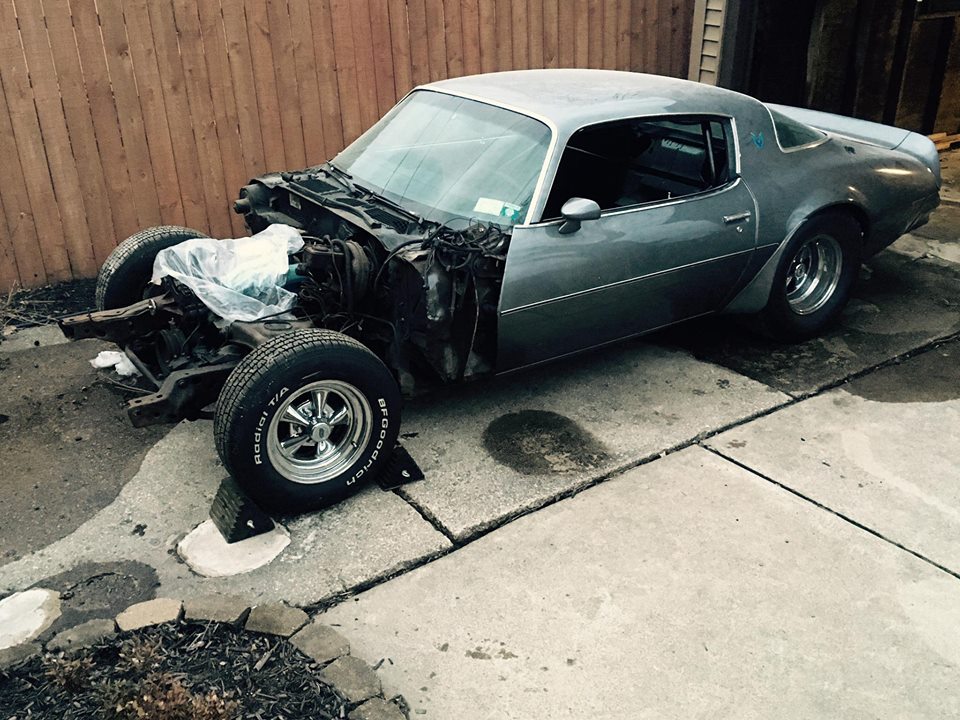
Tonight I got around to removing the rest of the back seat(s), seat belts, center console, the entire carpet and doorsills.
I also ended up ordering Detroit Speed's Ls7 engine mounts today so my builder can mock up a dummy T56 and Ls1 for the new transmission tunnel he'll be cutting when I drop it off in mid April/late April.
Carpet Removed/Some status photos:
- - - Updated - - -
I just ordered the POR15 trunk and floorpan repair kit. It comes with a three stage application process.
Before it gets here I've got to head up to Niagara Falls and pick up seam sealer (for the pans), painters tape, painters paper to protect the door panels and dash, a few masks, paint thinner, some wire brushes and some elbow grease.
Temperature depending, I'm going to go at those pans pretty hard tomorrow and on Sunday with a shop vac and wire brushes. I need to remove all the loose debris, and rough up the surface of the pans. Overall they are in great shape for a 41 year old car.
Only surface rust on the low spots. Most of the factory seam seal is still doing its job but I'm going to replace them all anyway. You can tell this thing really only has 38,xxx original miles.
I'll remove the kick panels, and gas pedal tomorrow in preparation for the POR15.
03-26-2017 #20
New to Pro-Touring
- Join Date
- Feb 2017
- Posts
- 99
3/25:
It might not look like much but that's 6 hours of non stop wire brushing and sanding. I'm happy I'm doing this myself because it's tasks like this that are best done by the owner. It's simply elbow grease and time. Any shop would've taken an equal amount of time or simply gone straight to POR15 without the prep work I'm putting in.
I was hoping I'd be able to avoid taking my grinder out but I think I'm going to buy a few grinder disks and take as much as I can down to bare metal before the Marine Cleaner and metal etching spray go down. Do it right or don't do it at all.
Pics from the afternoon (all driver's side; haven't touched passenger side yet:
Rocker area - Driver's side; still tidy as hell:
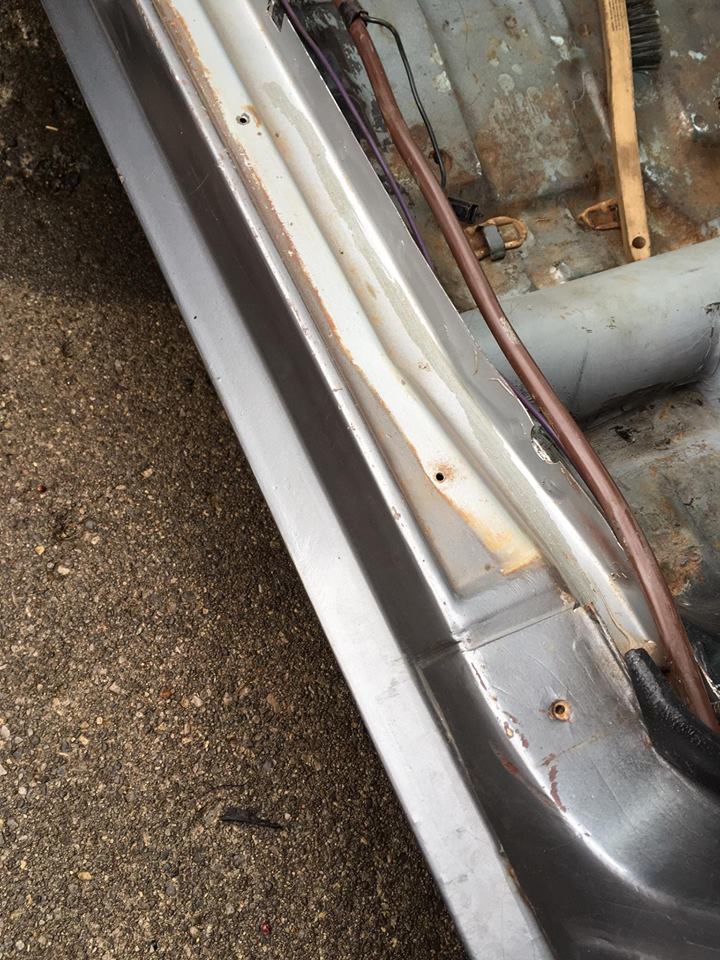
Another of the rocker:
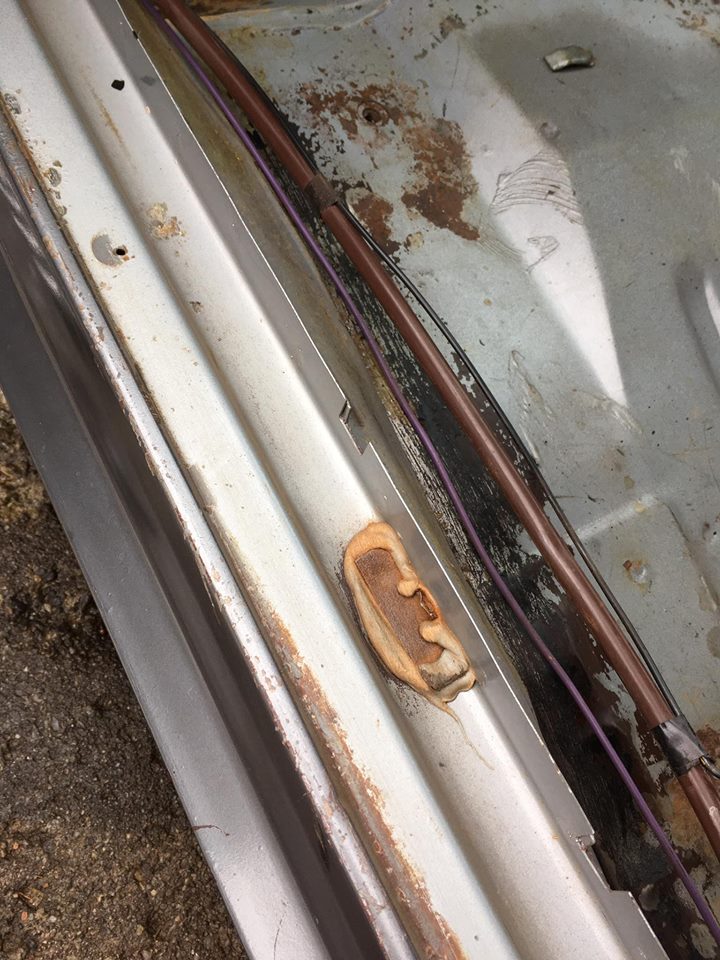
Driver's side pan under seat after sanding/wire brush:
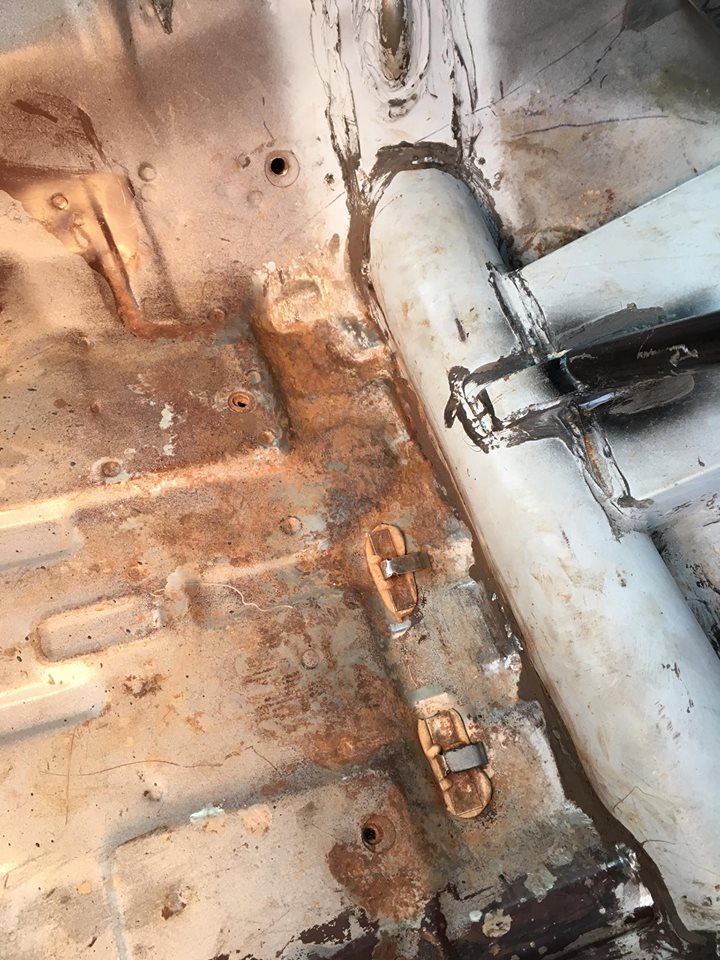
Another of the Driver's side seat pan area (lowest point of the entire pan), only surface rust:
This is the worst area of the entire pan, driver's side foot well area. That's the e-brake cable leading out to the rear. The pic makes it look a lot worse than it is; a wire wheel will tidy this up nicely:
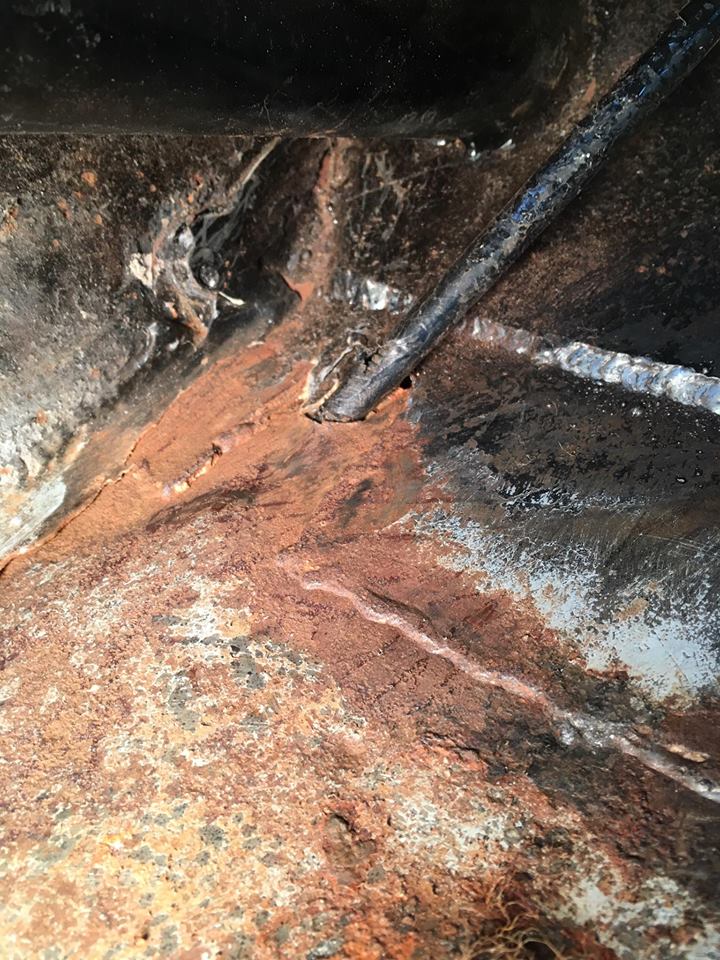
Driver's side rear ladder bar channel (between it and the B-pillar) post sanding/wire brush:
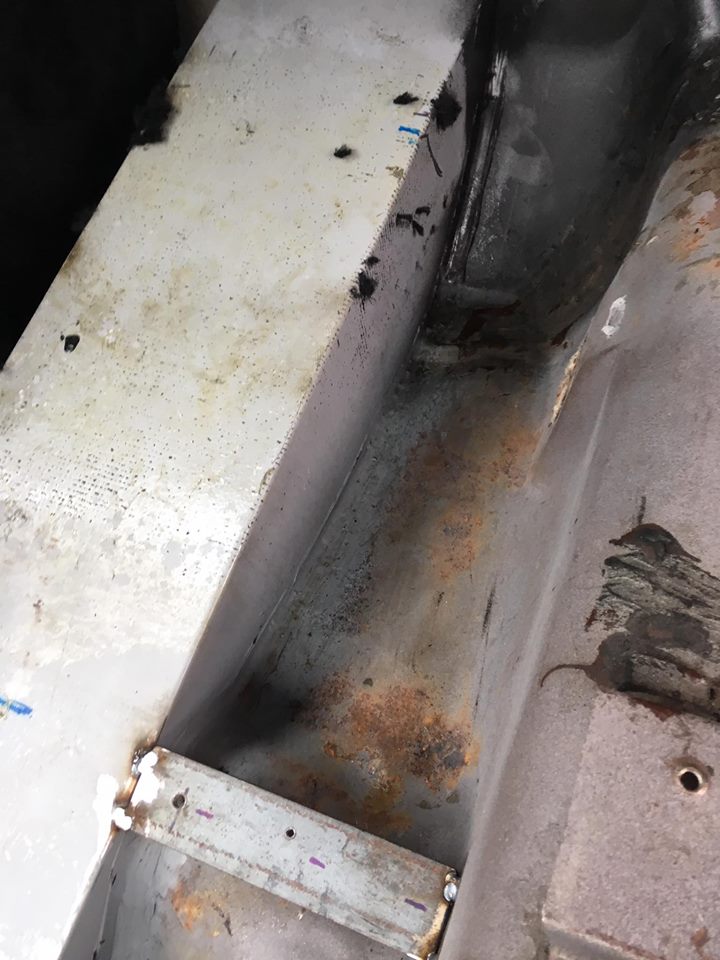
Another of the ladder bar channel post sanding:
The only three pieces of factory seam seal that failed in 41+ years:

 Reply With Quote


