


Results 41 to 60 of 72
-
06-02-2017 #41

 Registered User
- Join Date
- Dec 2004
- Location
- Midwest
- Posts
- 2,263

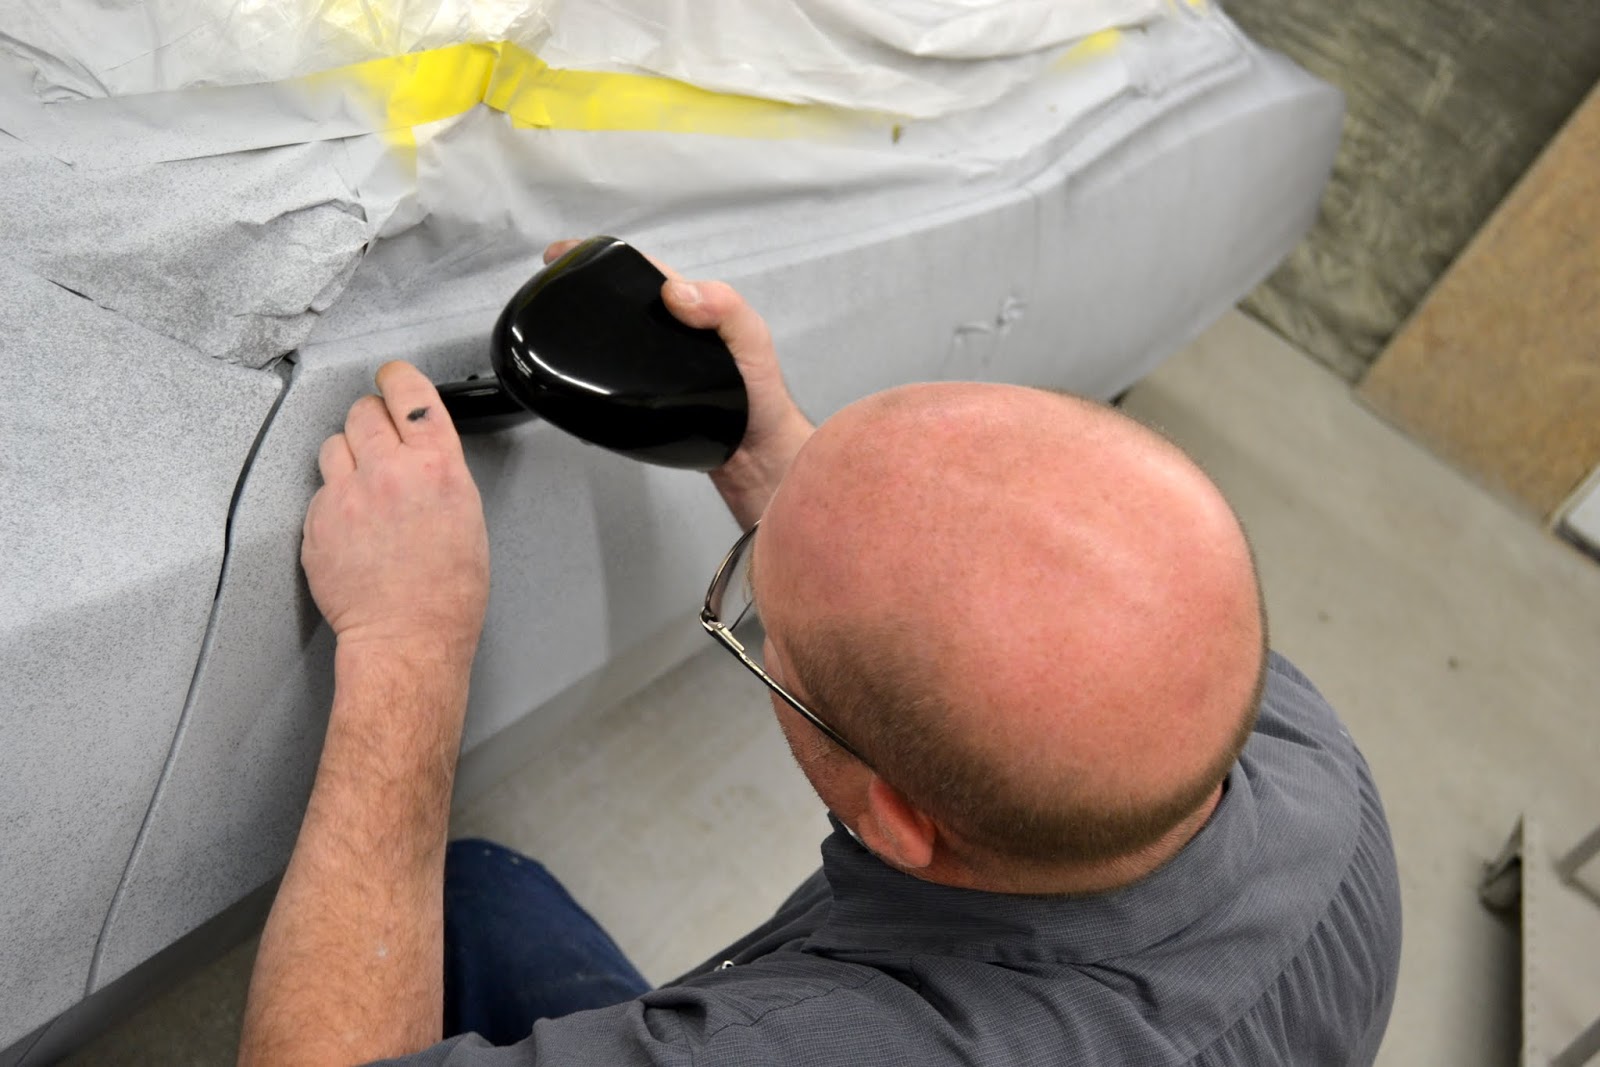
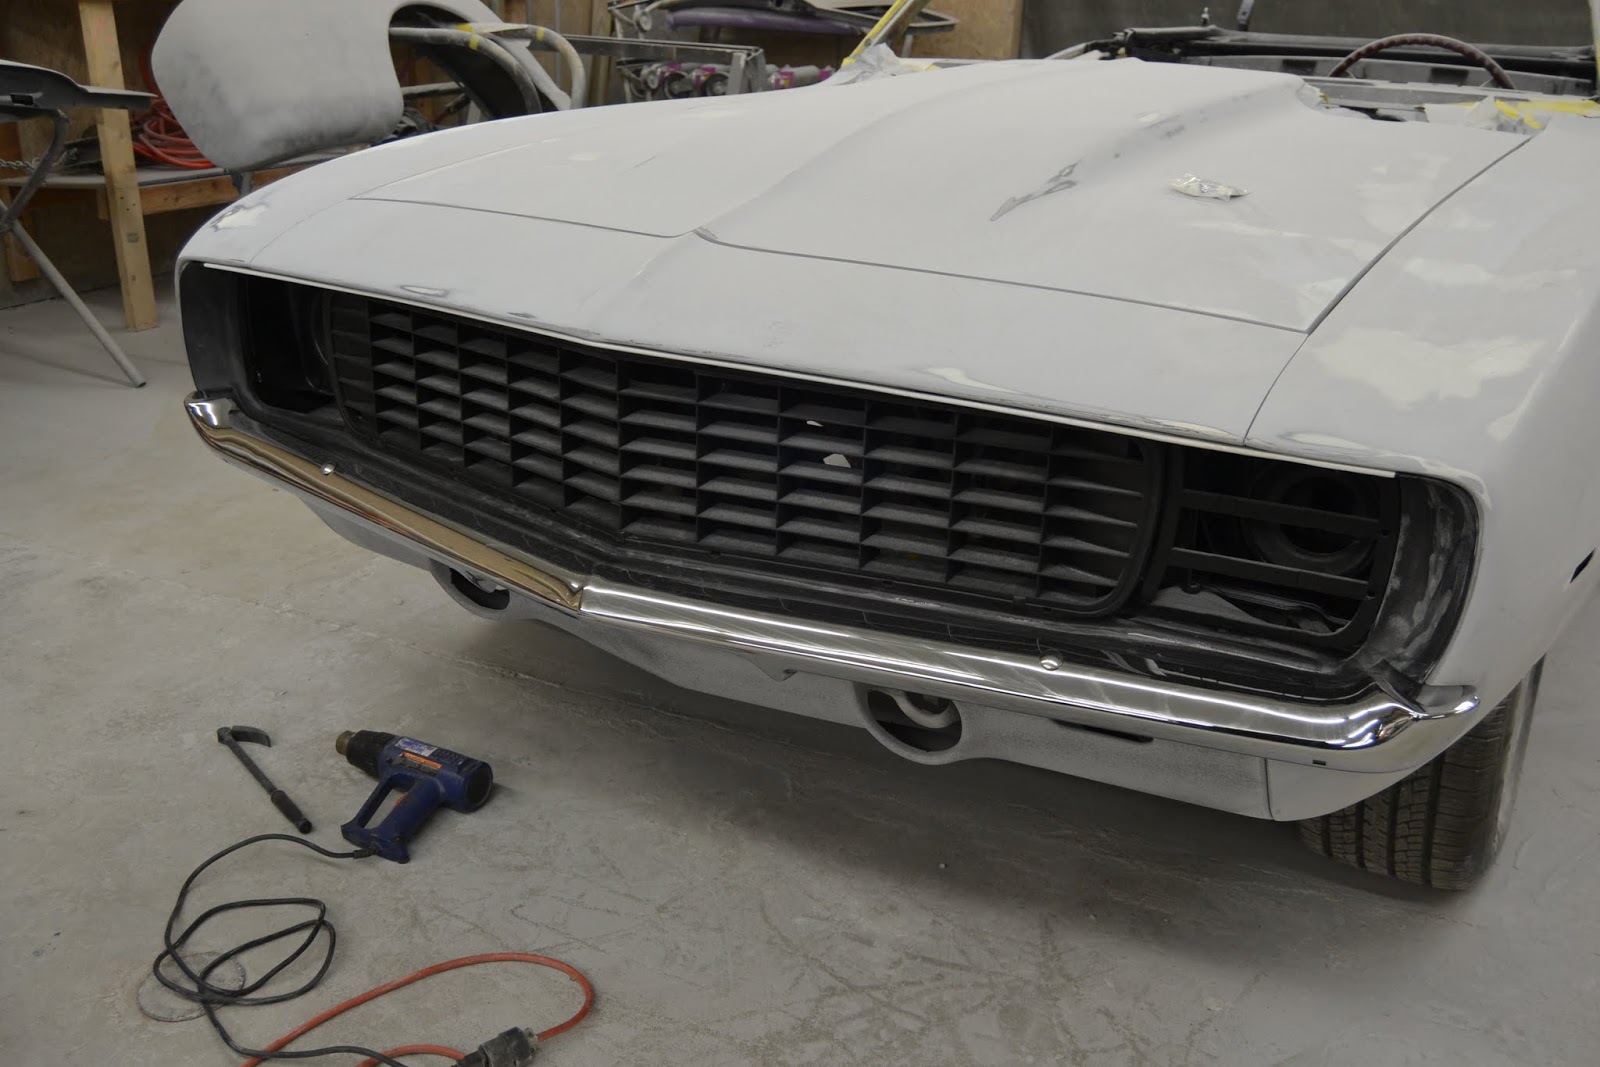
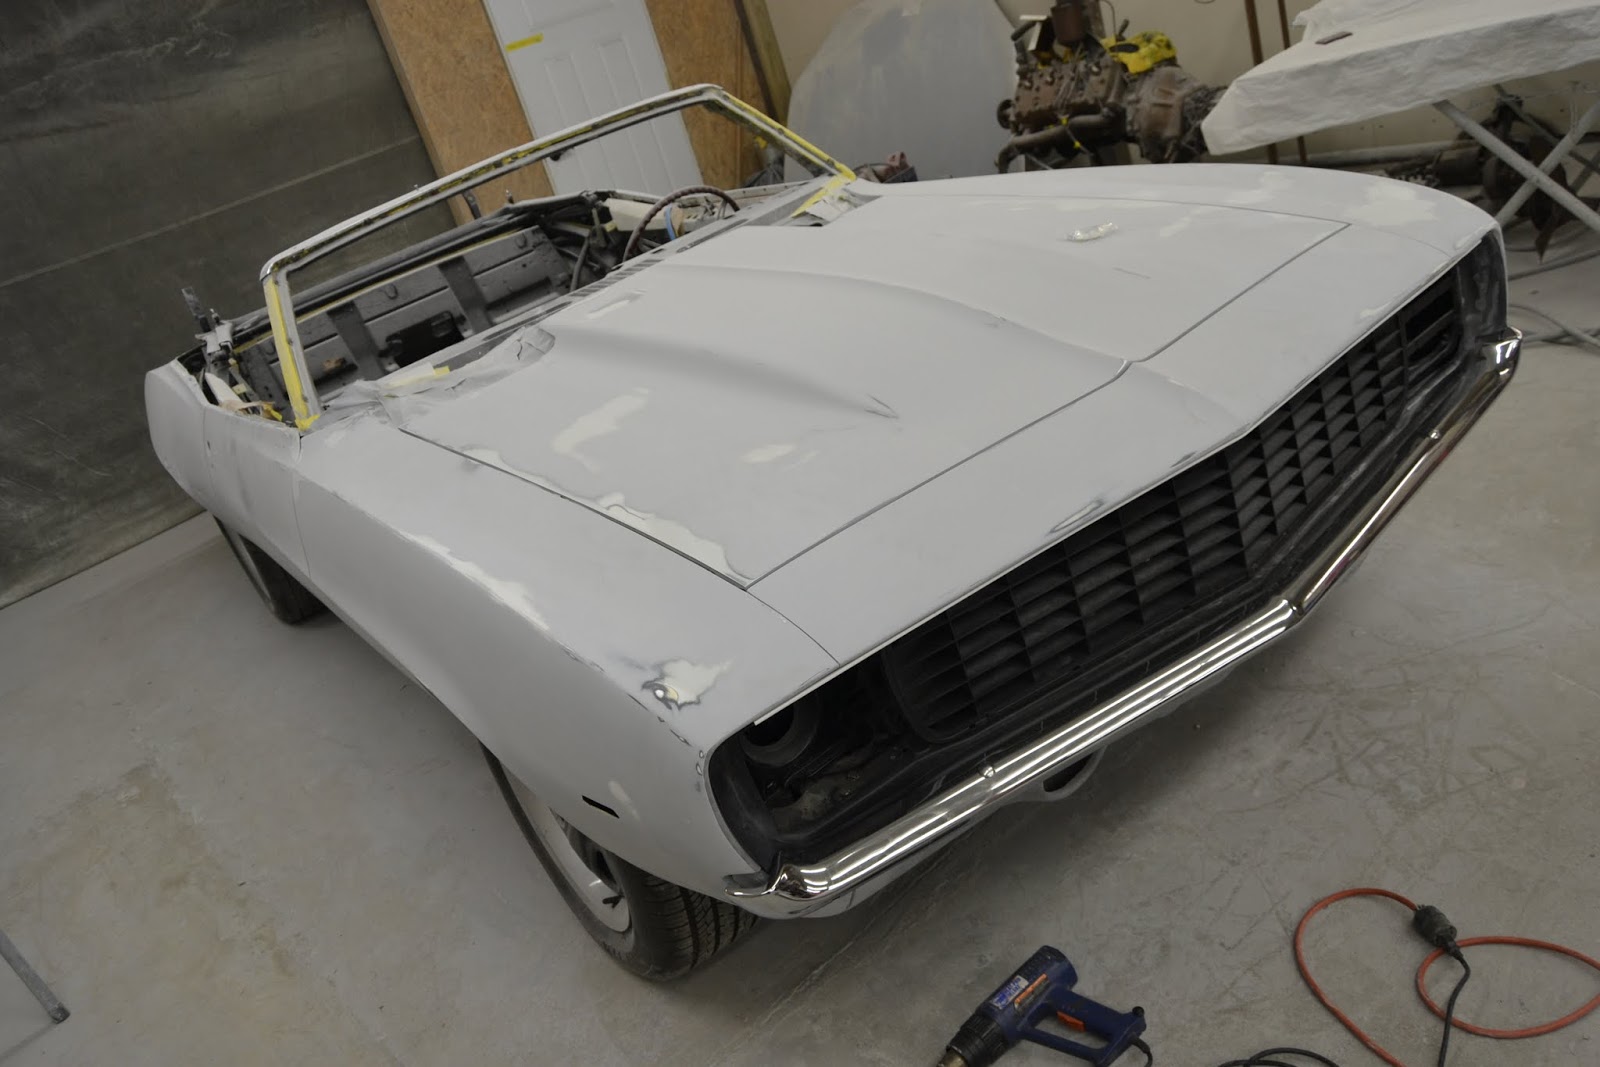
Back in the body shop, we test fit some new YearOne trim parts.

The side mirror mount for proper fit. This car will be wearing a new set of bullet style 2nd generation Camaro side mirrors.
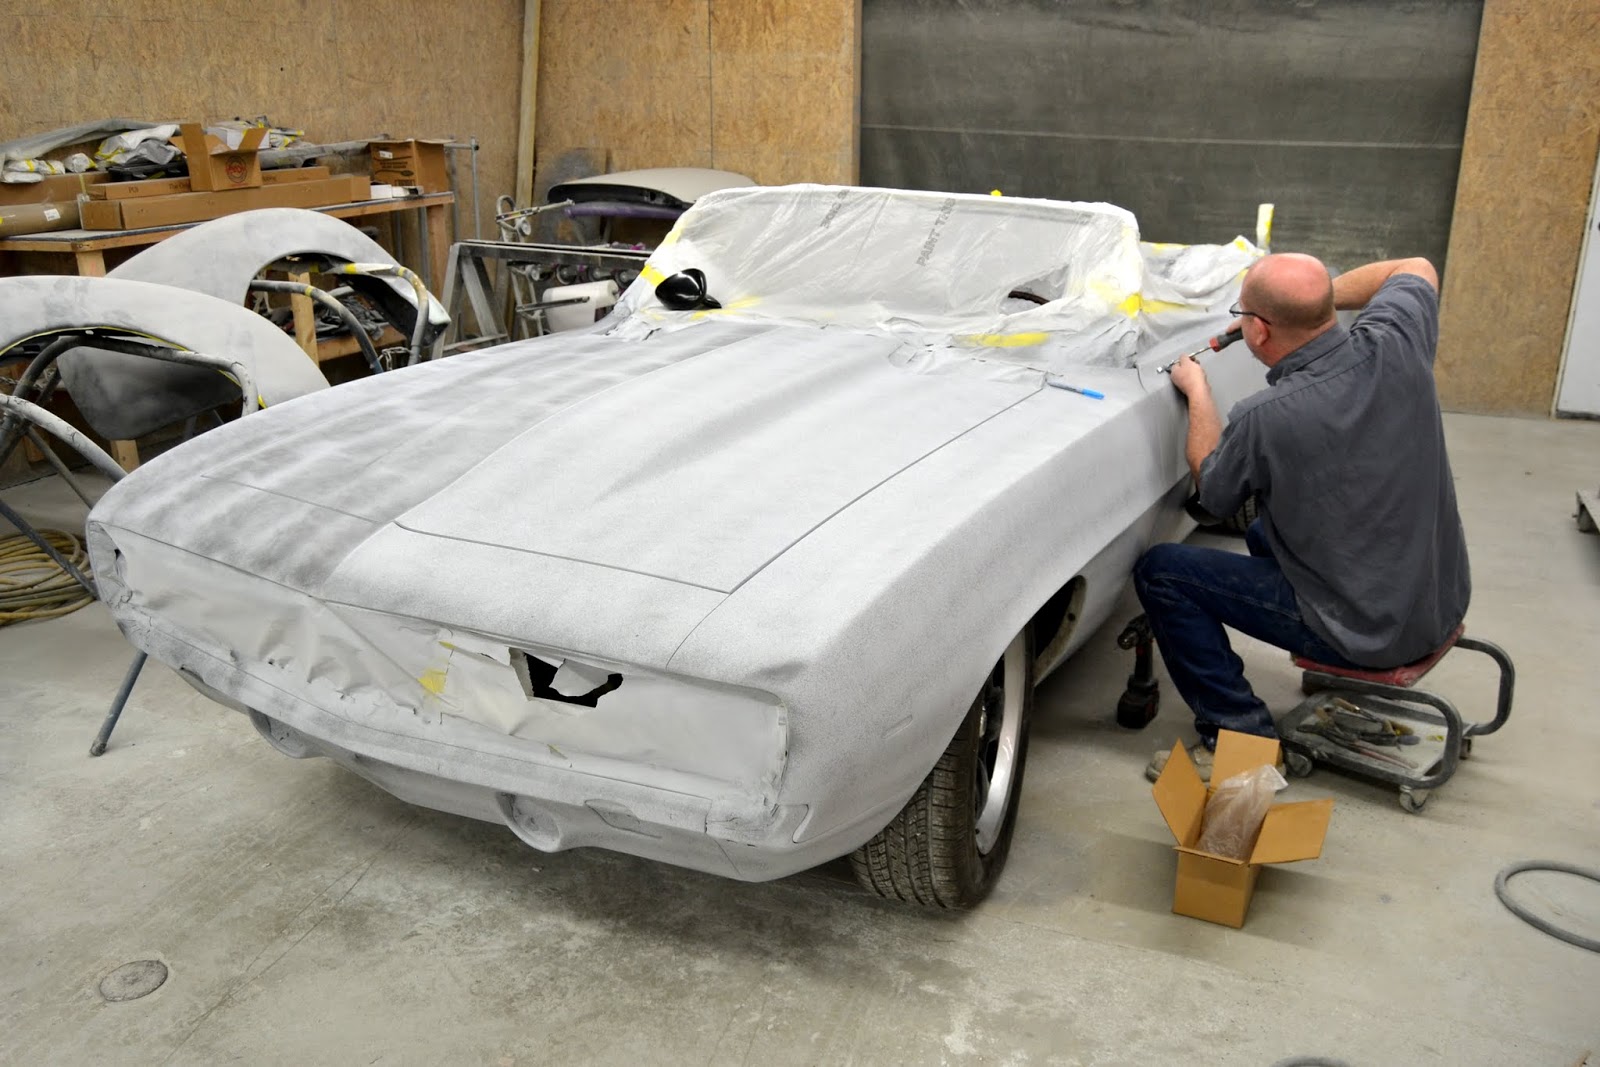
The new trim from YearOne was tested again to make sure the wheel arch mouldings fit correctly, and the new RS grille surround and headlights were also test fitted. This needs to happen in this stage of the game… you don’t want to learn that a piece doesn’t fit after the car has been painted.
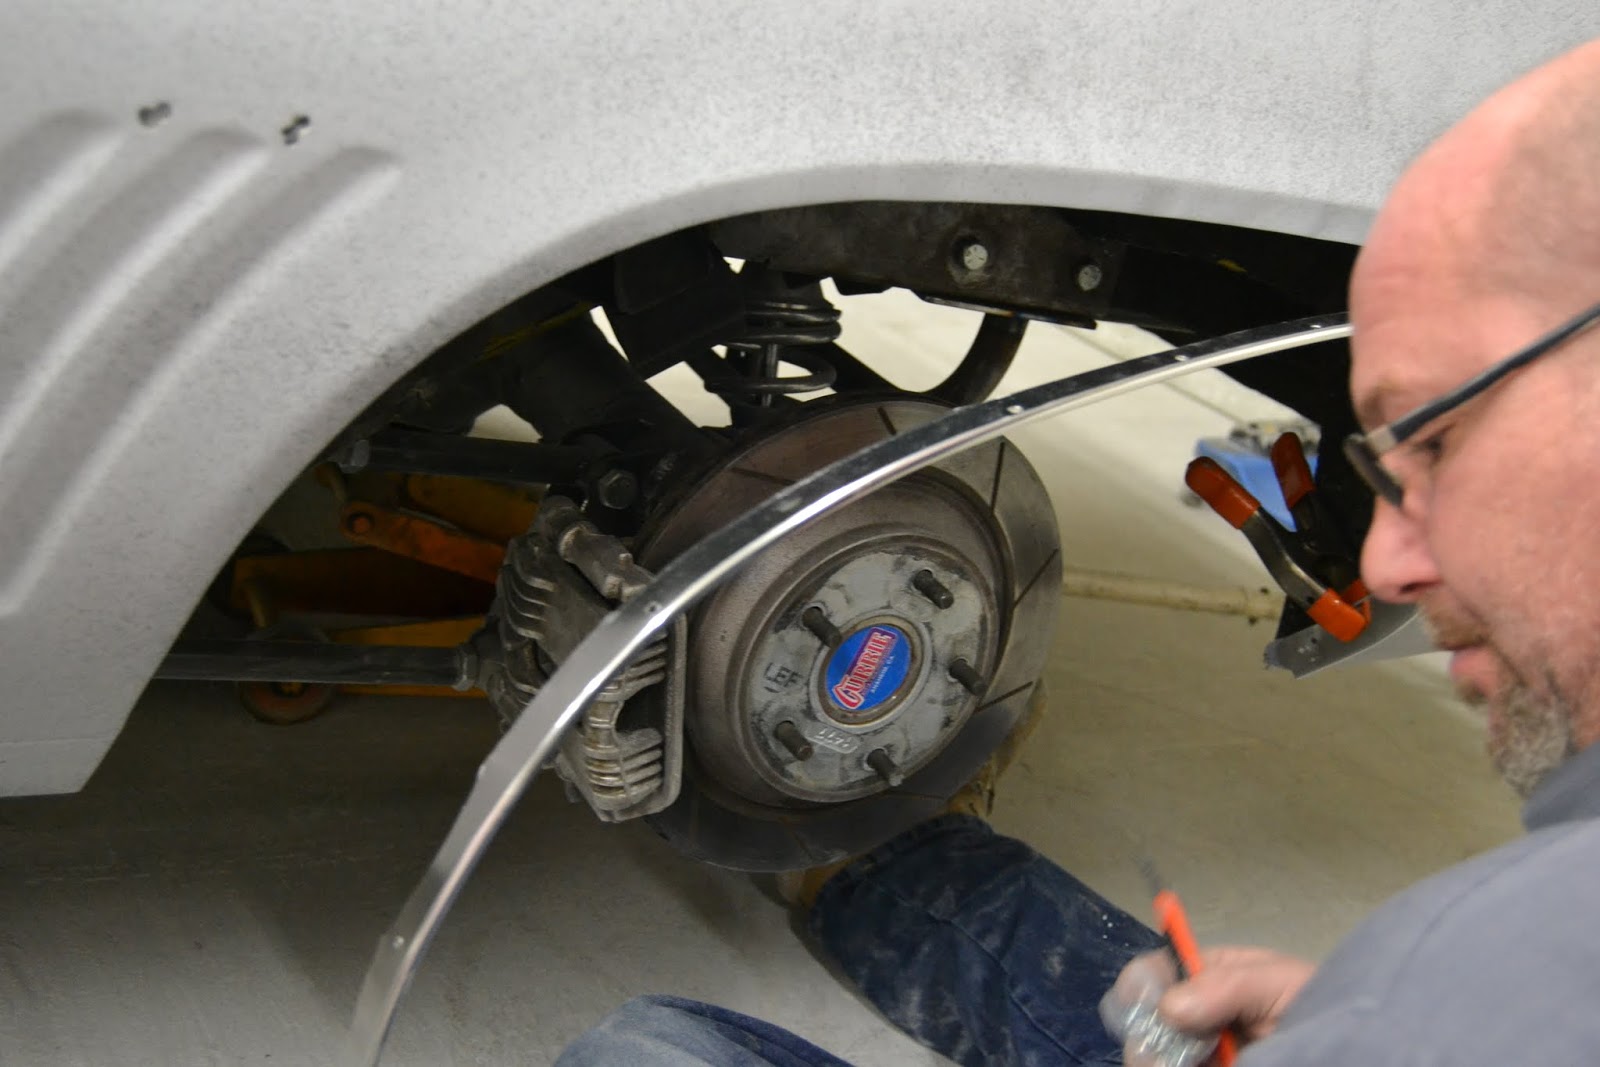
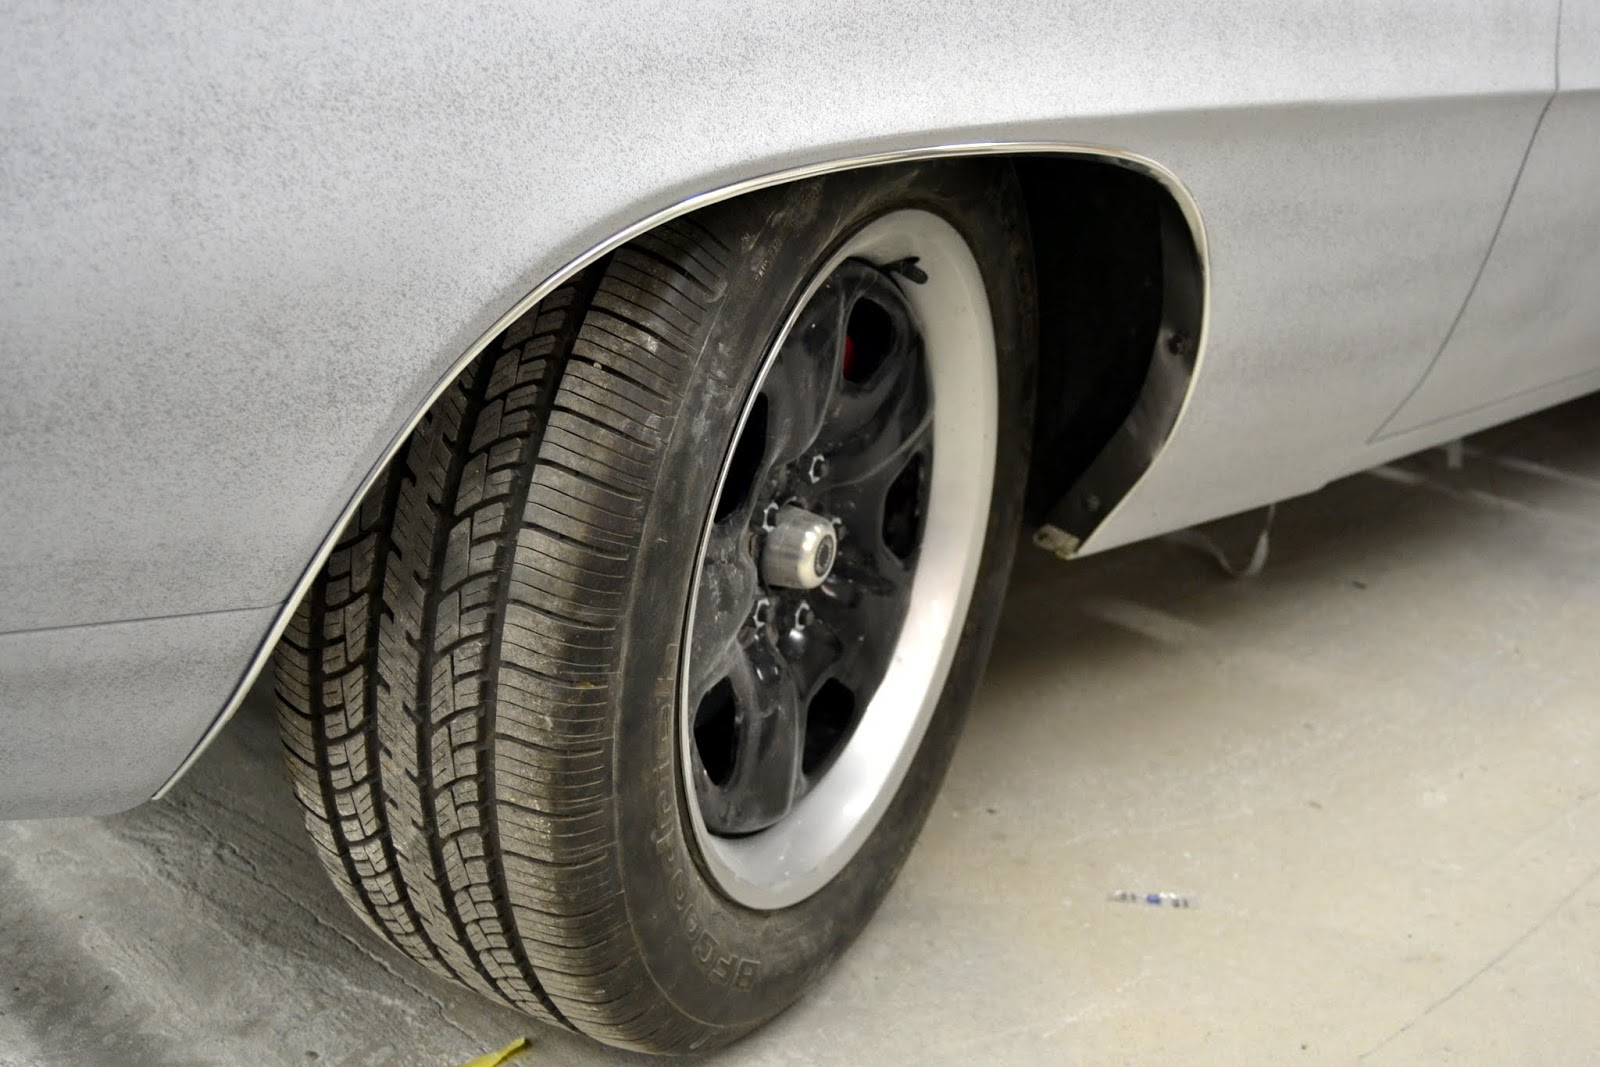
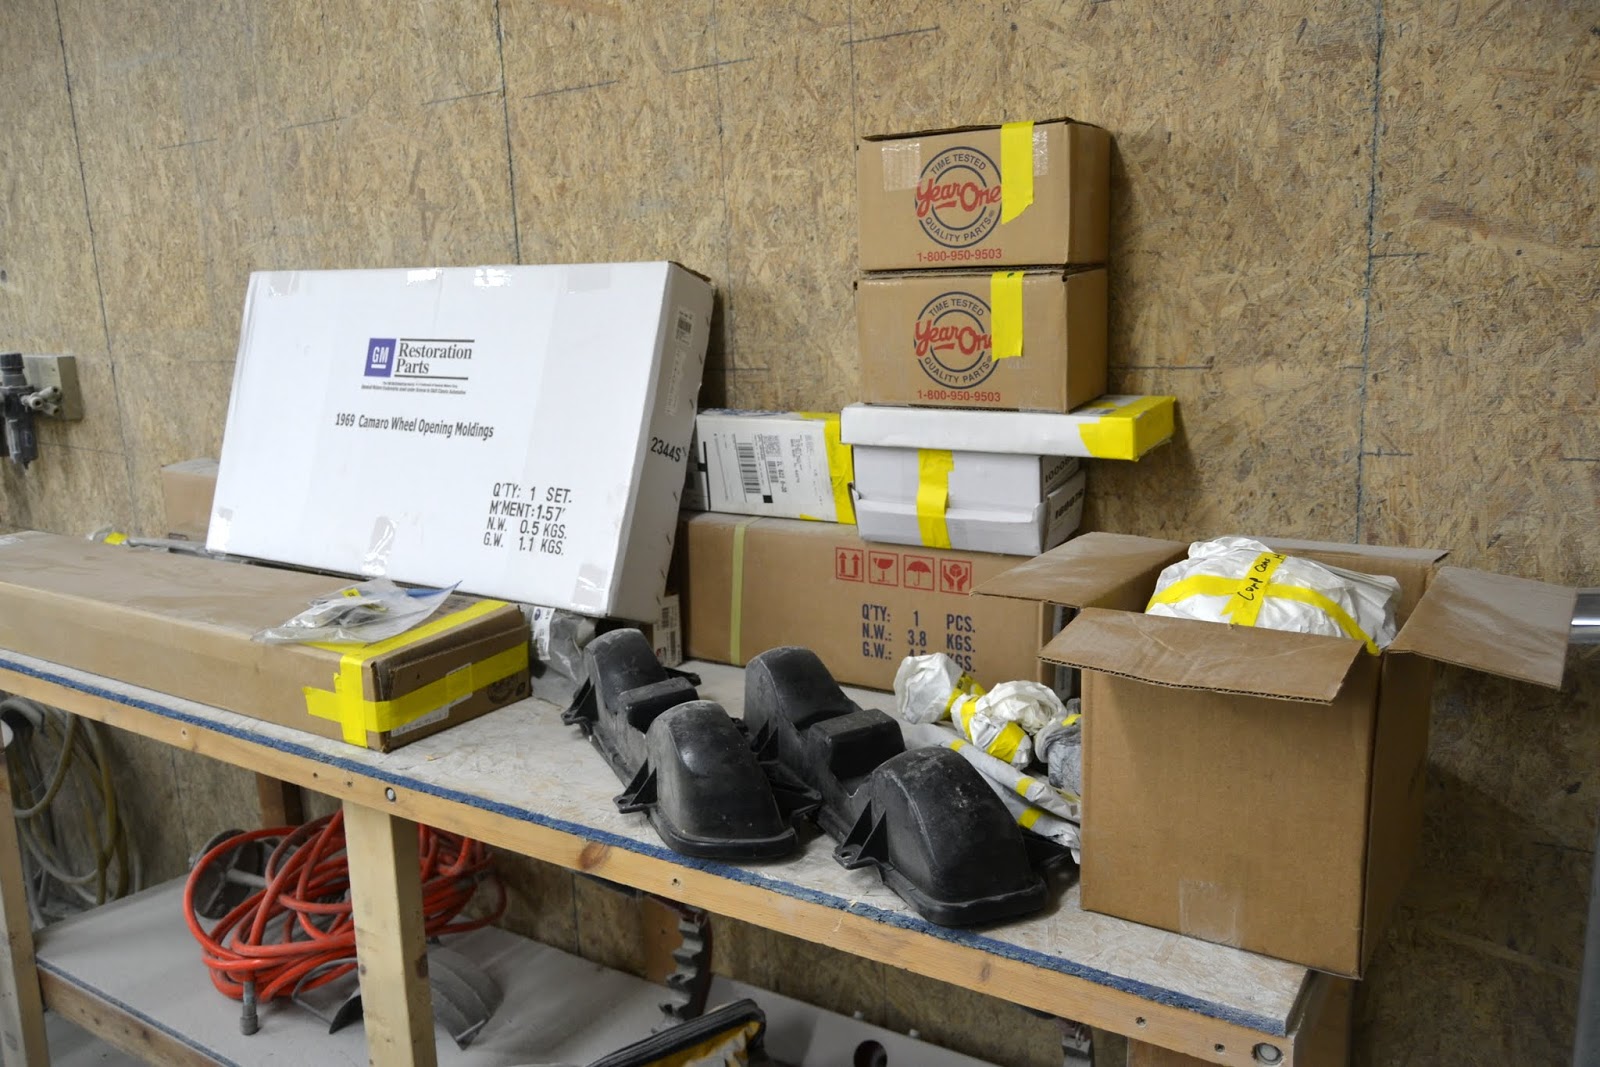
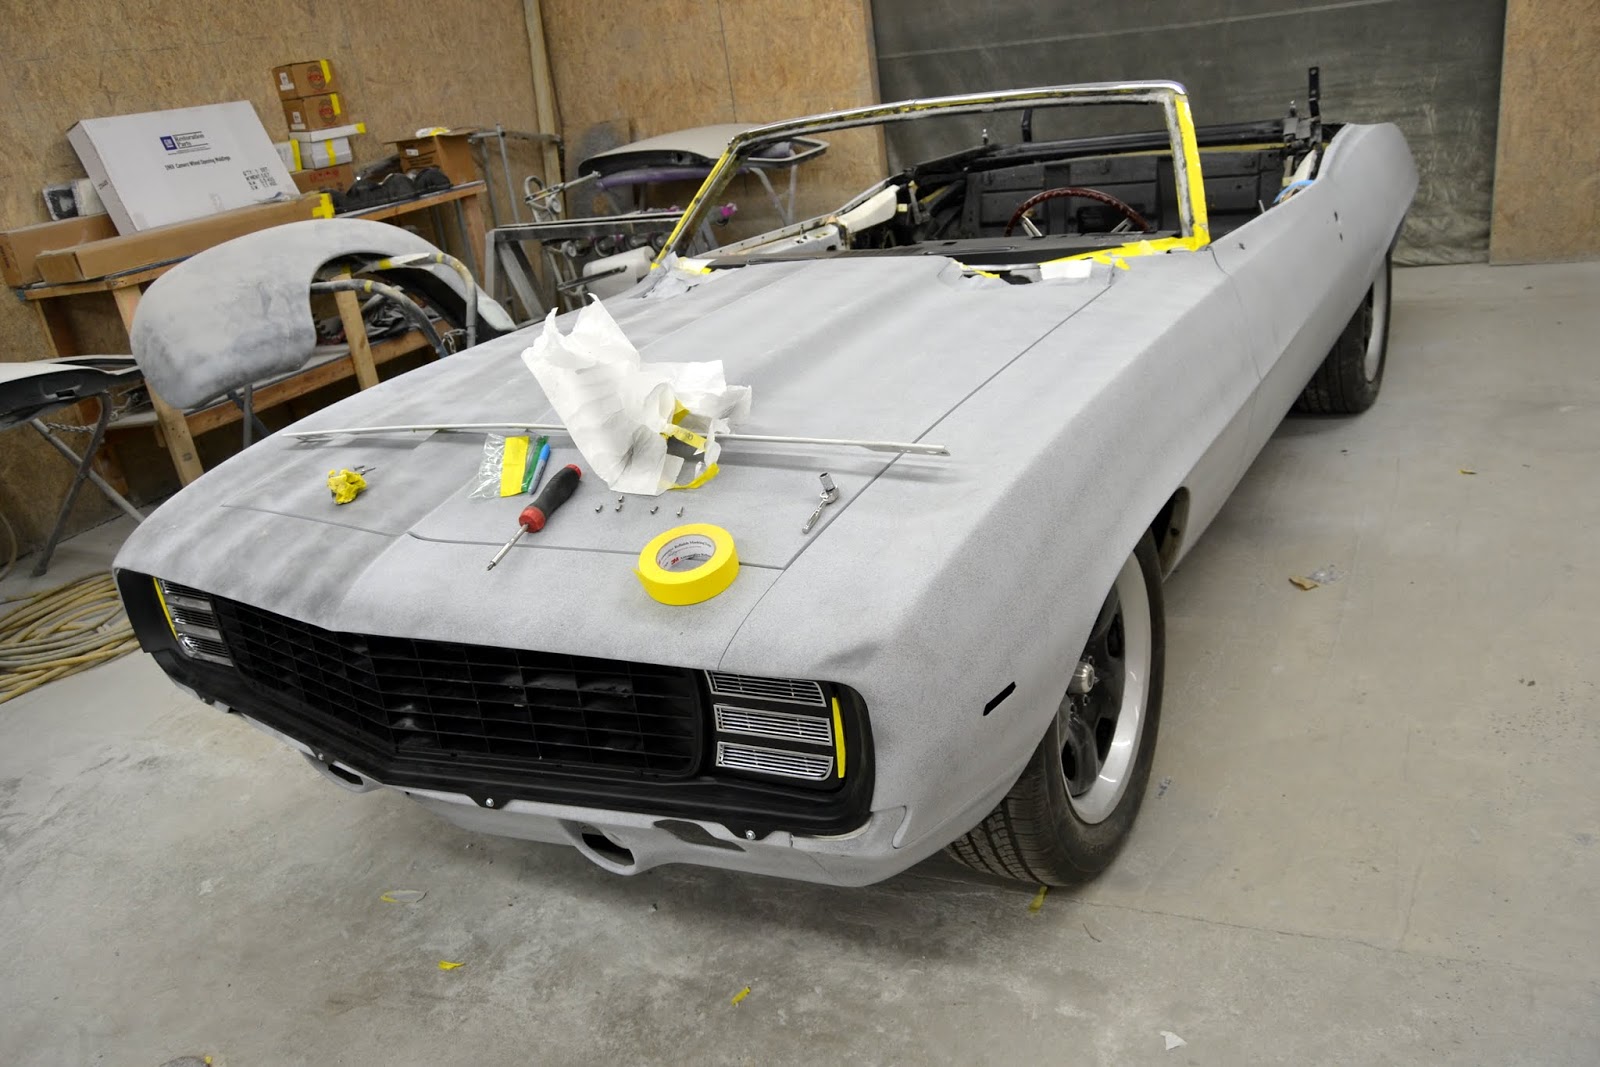
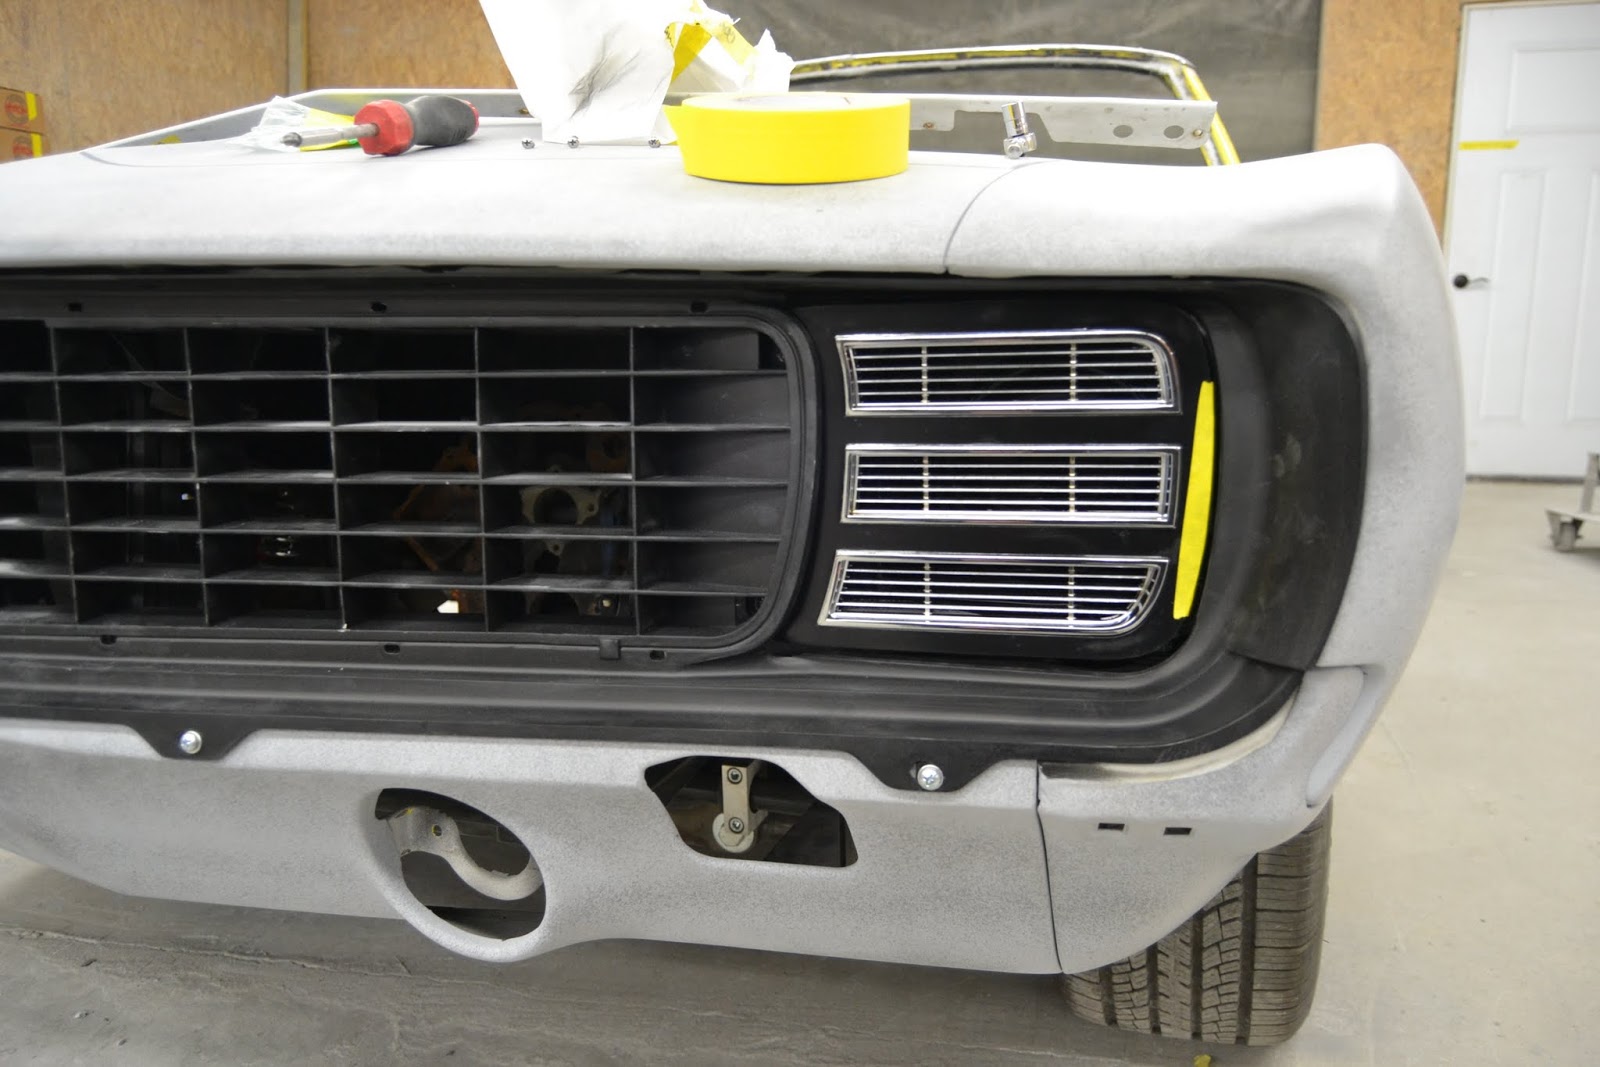
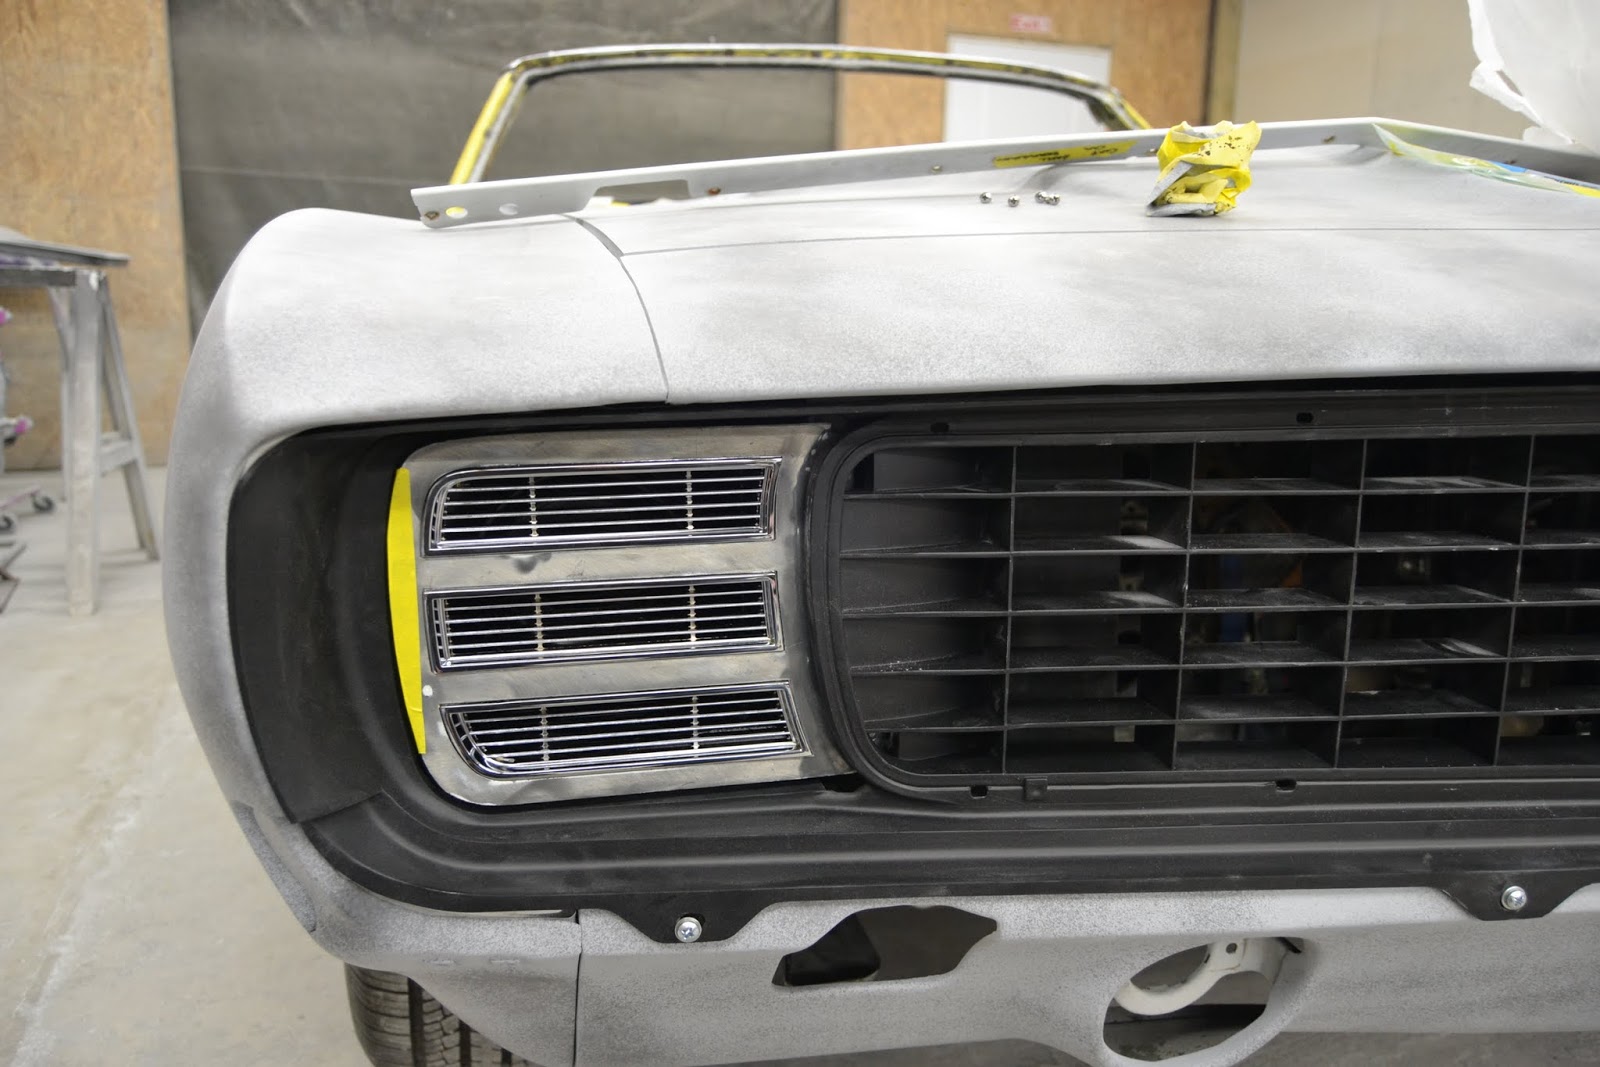
This car was originally an RS nose car, so any parts that could be restored were refurbished, with new YearOne parts installed where needed.
Kevin Oeste
V8 Speed and Resto Shop
V8TV
Muscle Car Of The Week
V8 Radio Podcast
All about us:
https://www.v8speedshop.com

-
06-02-2017 #42
Registered User
- Join Date
- Dec 2004
- Location
- Midwest
- Posts
- 2,263
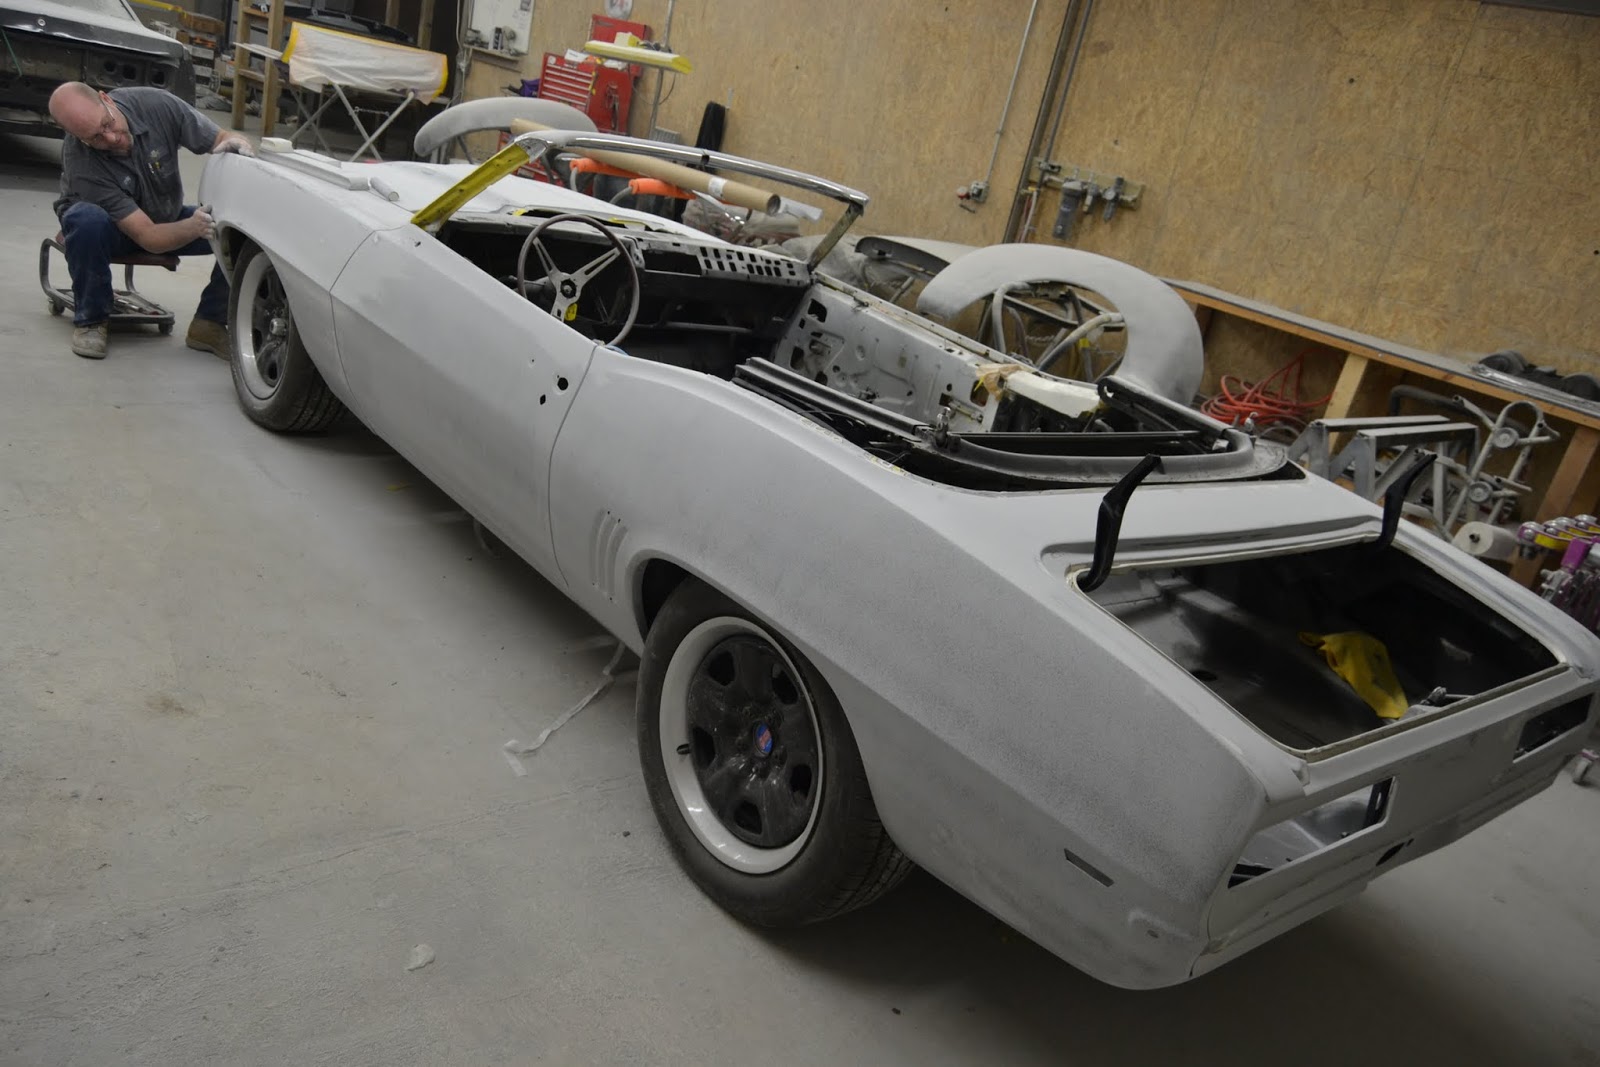
Craig begins to block sand the black guide coat to make sure the Camaro’s panels are nice and flat. The guide coat helps to reveal low and high spots while sanding the Axalta primer, and it also lets him know where he’s already sanded.
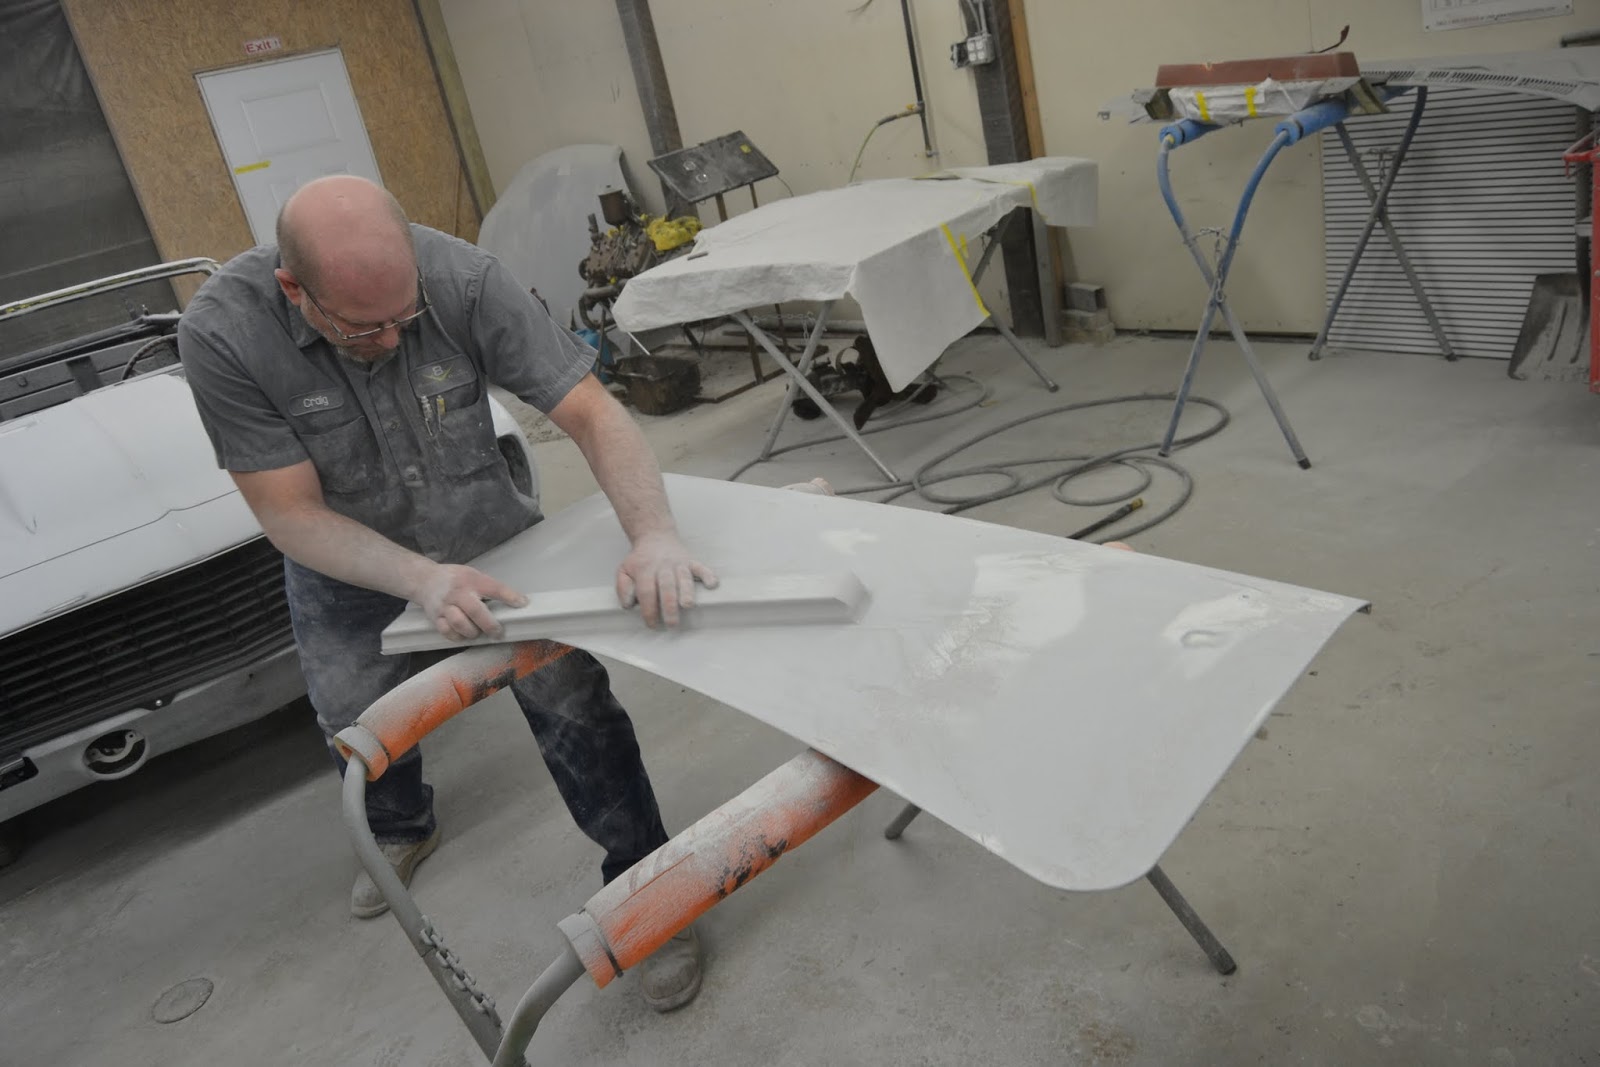
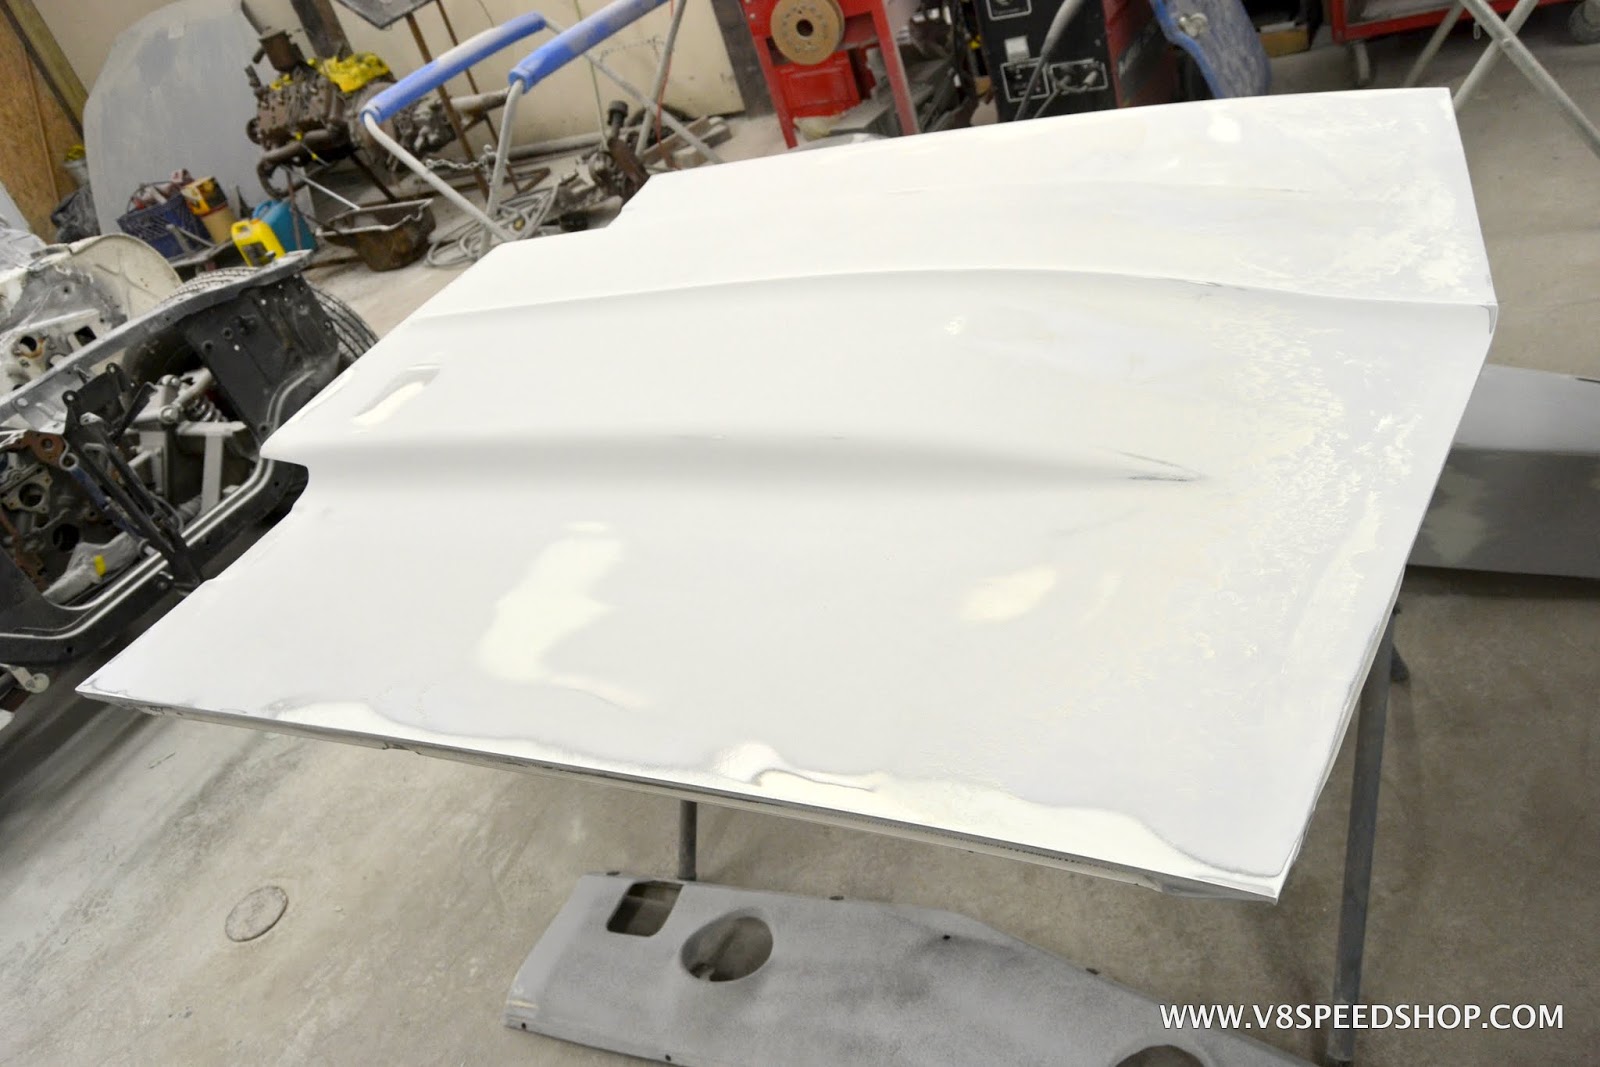
The front sheetmetal was removed to sand the panel edges and the firewall and cowl areas. Note the mock-up engine in place to keep some weight on the chassis to ensure the gaps remained consistent.
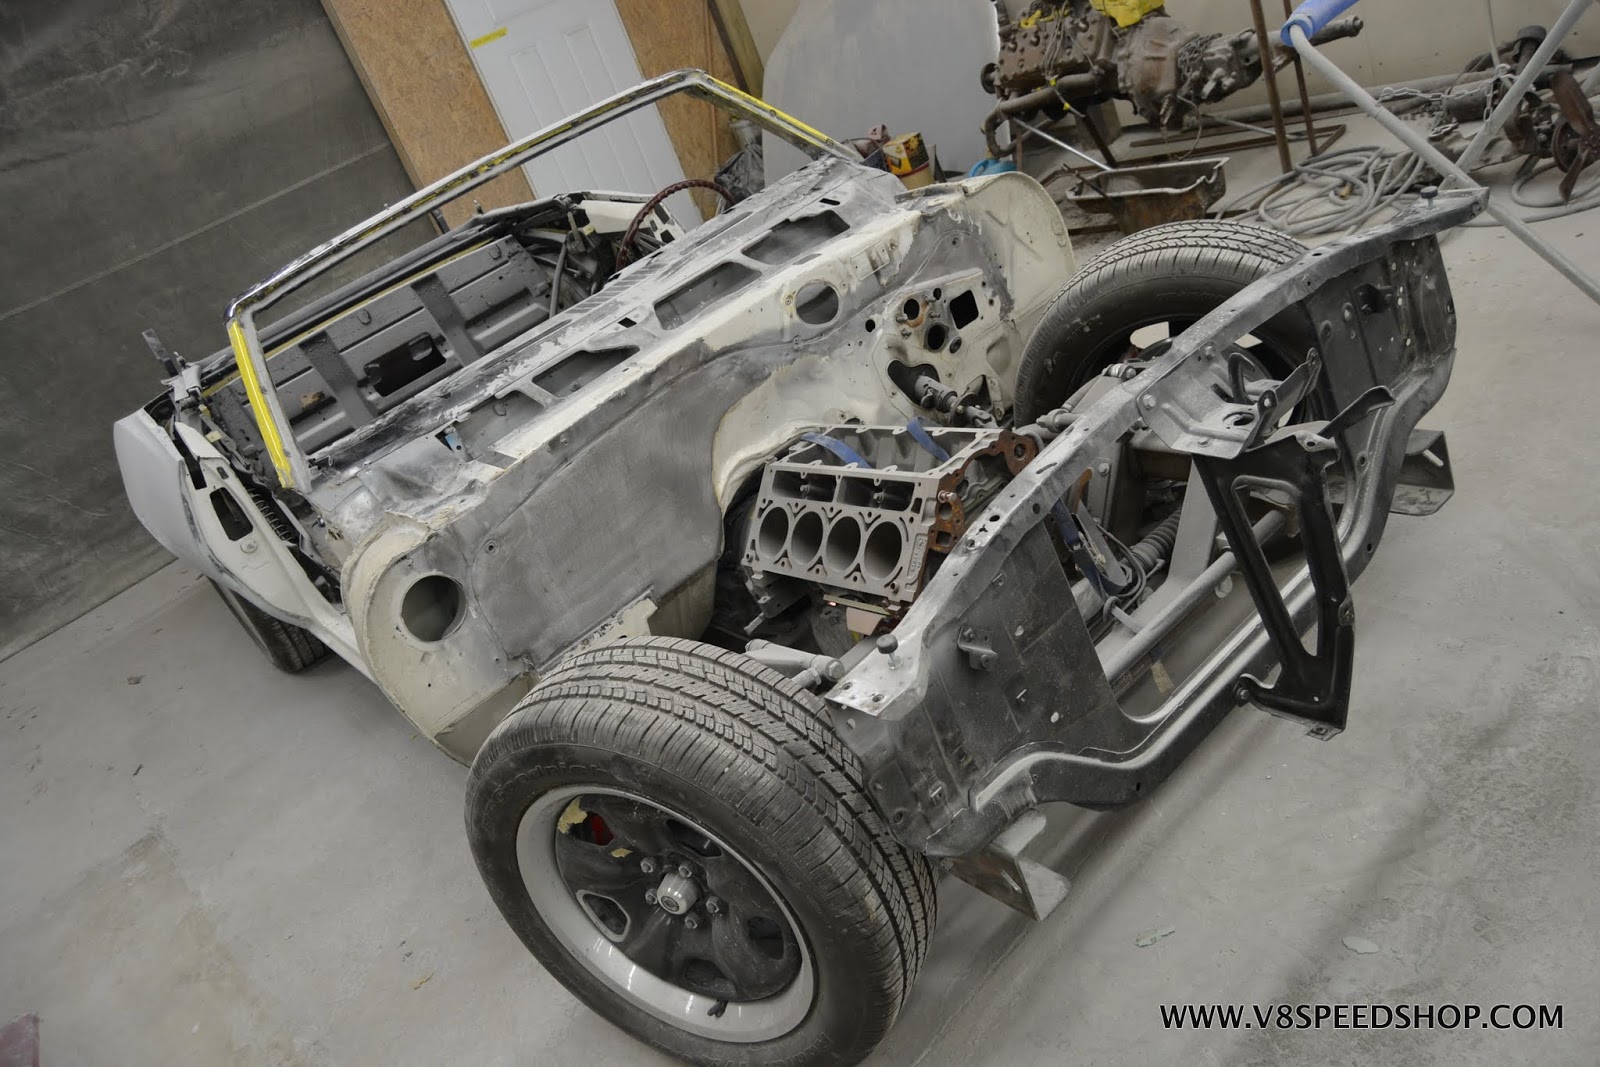
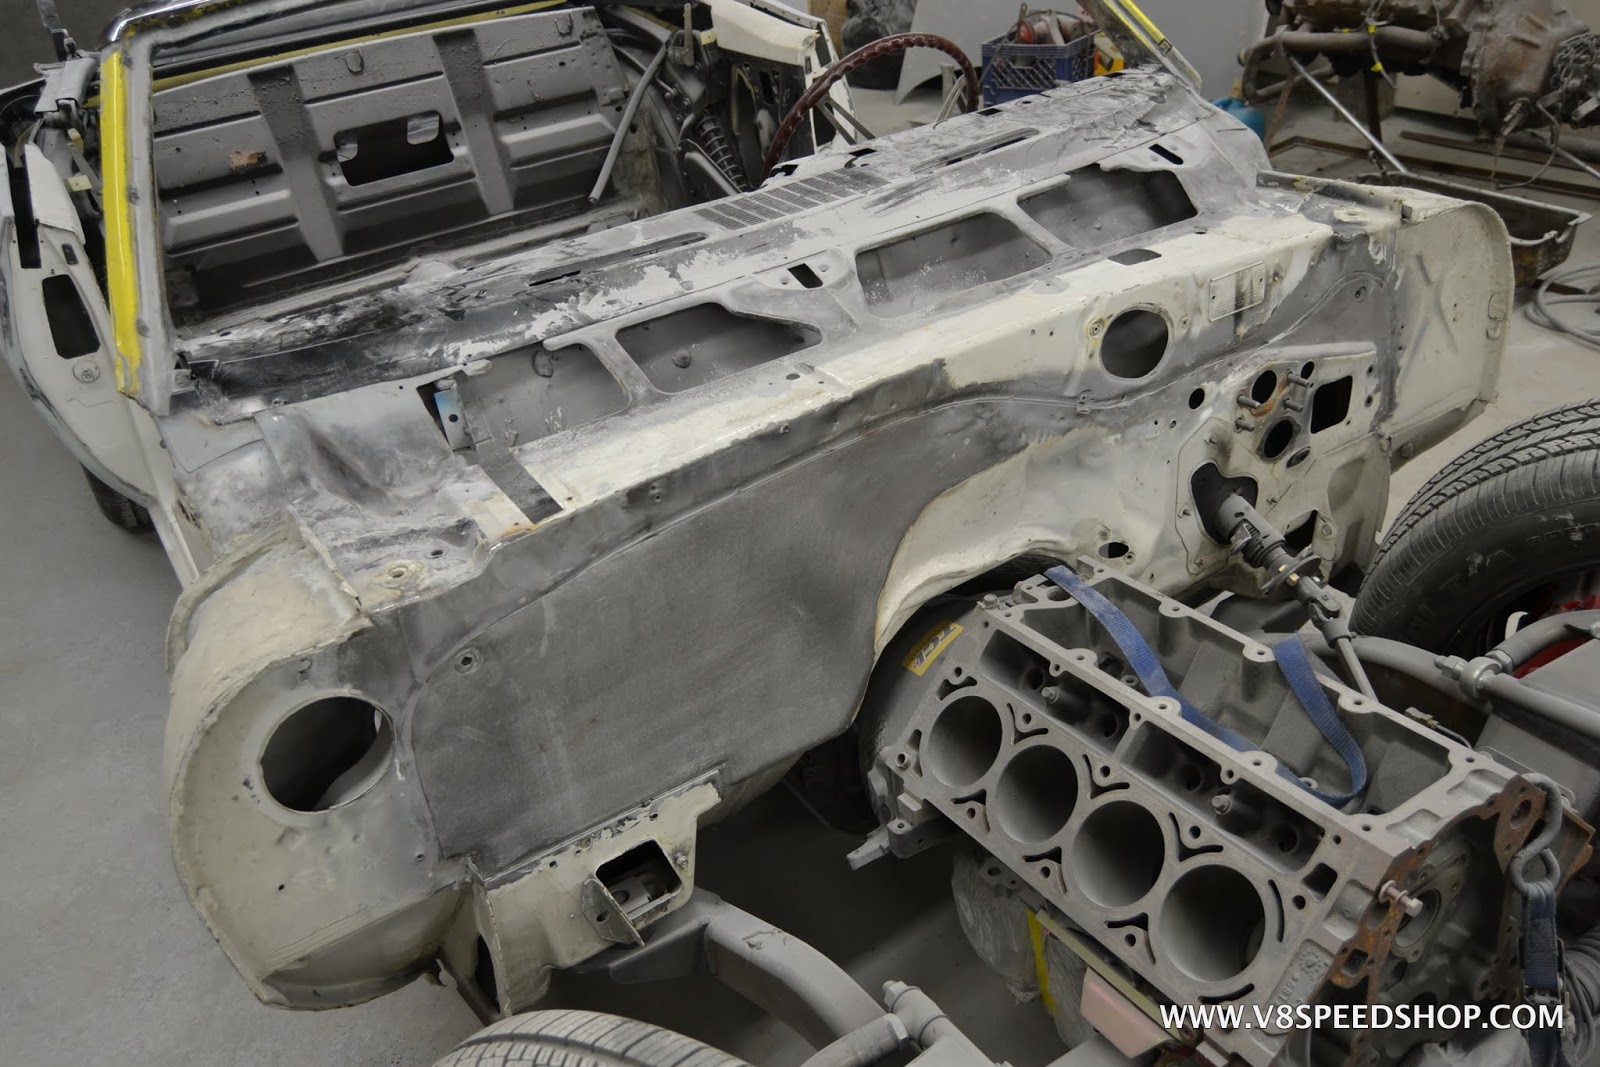
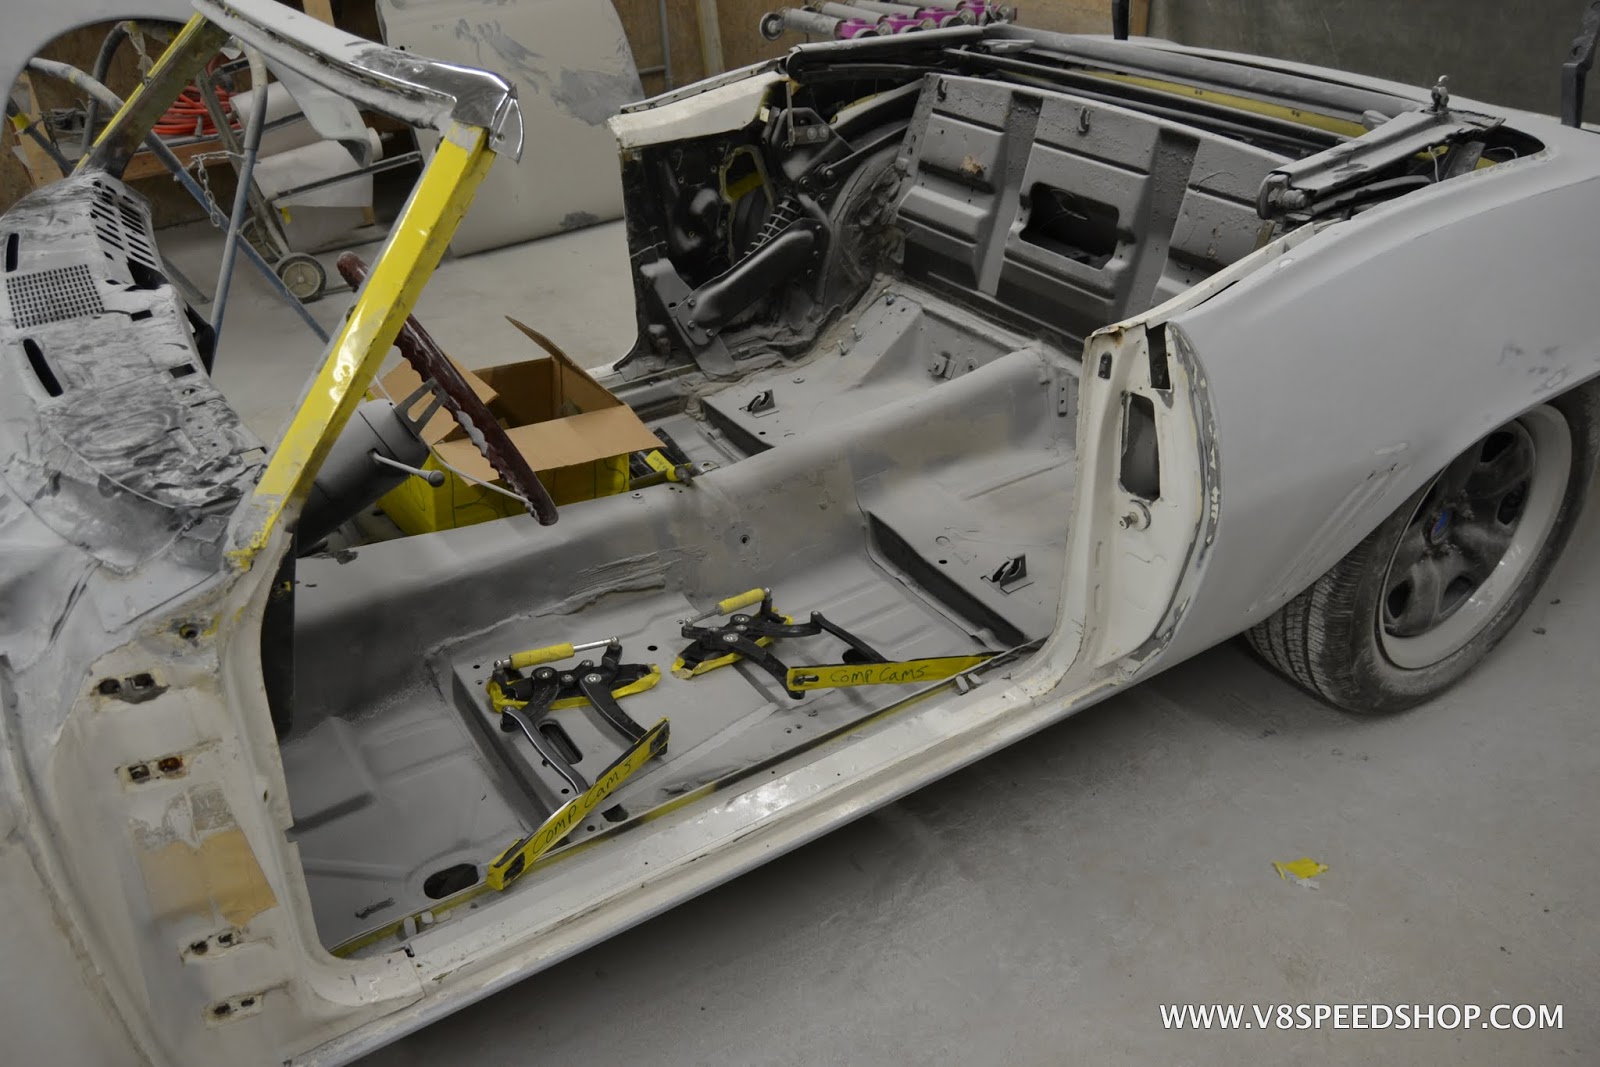
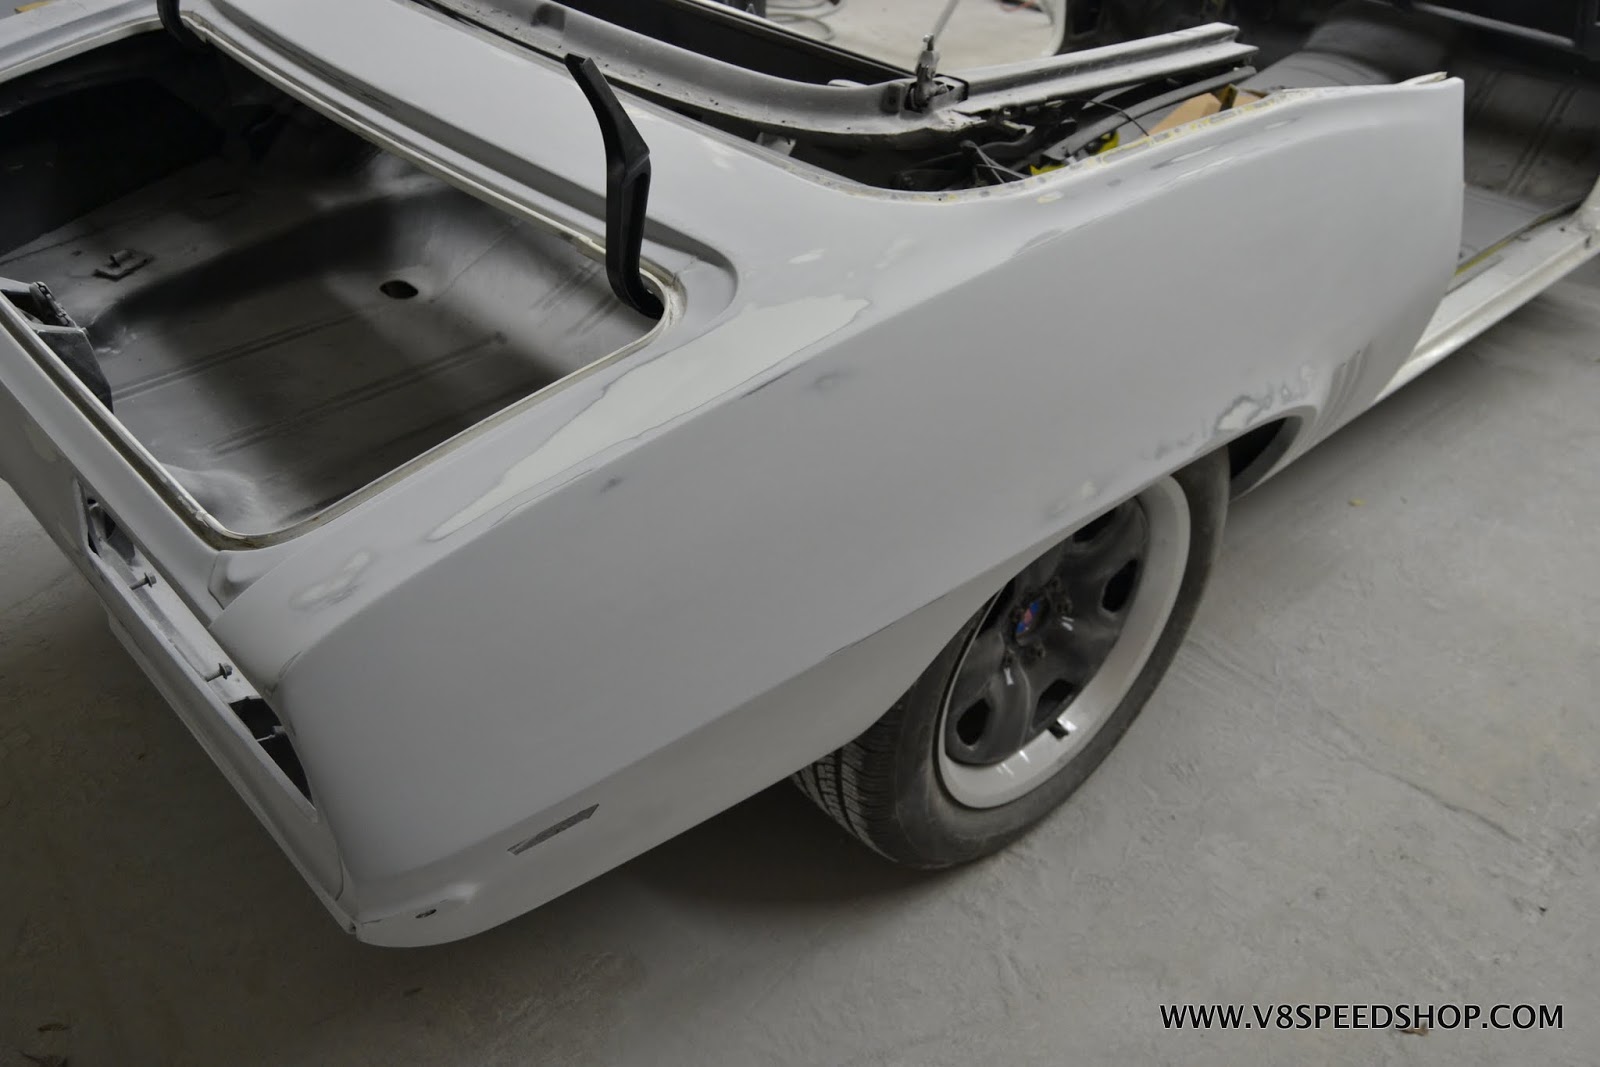
Details…
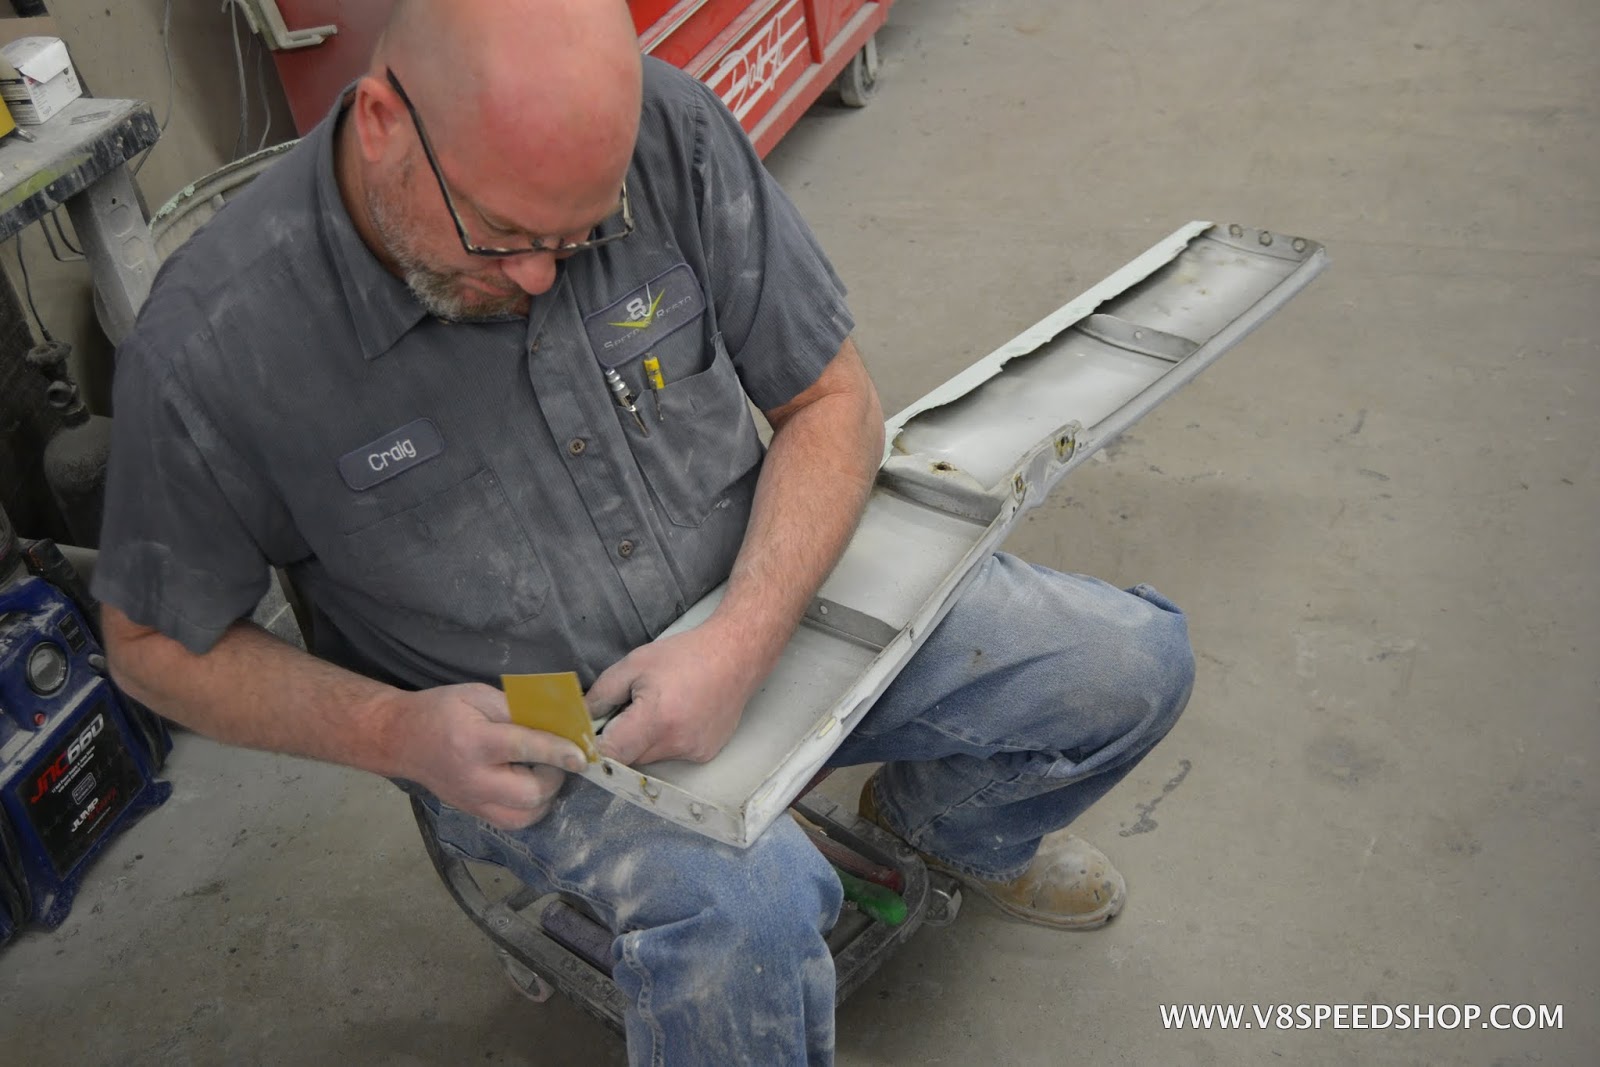
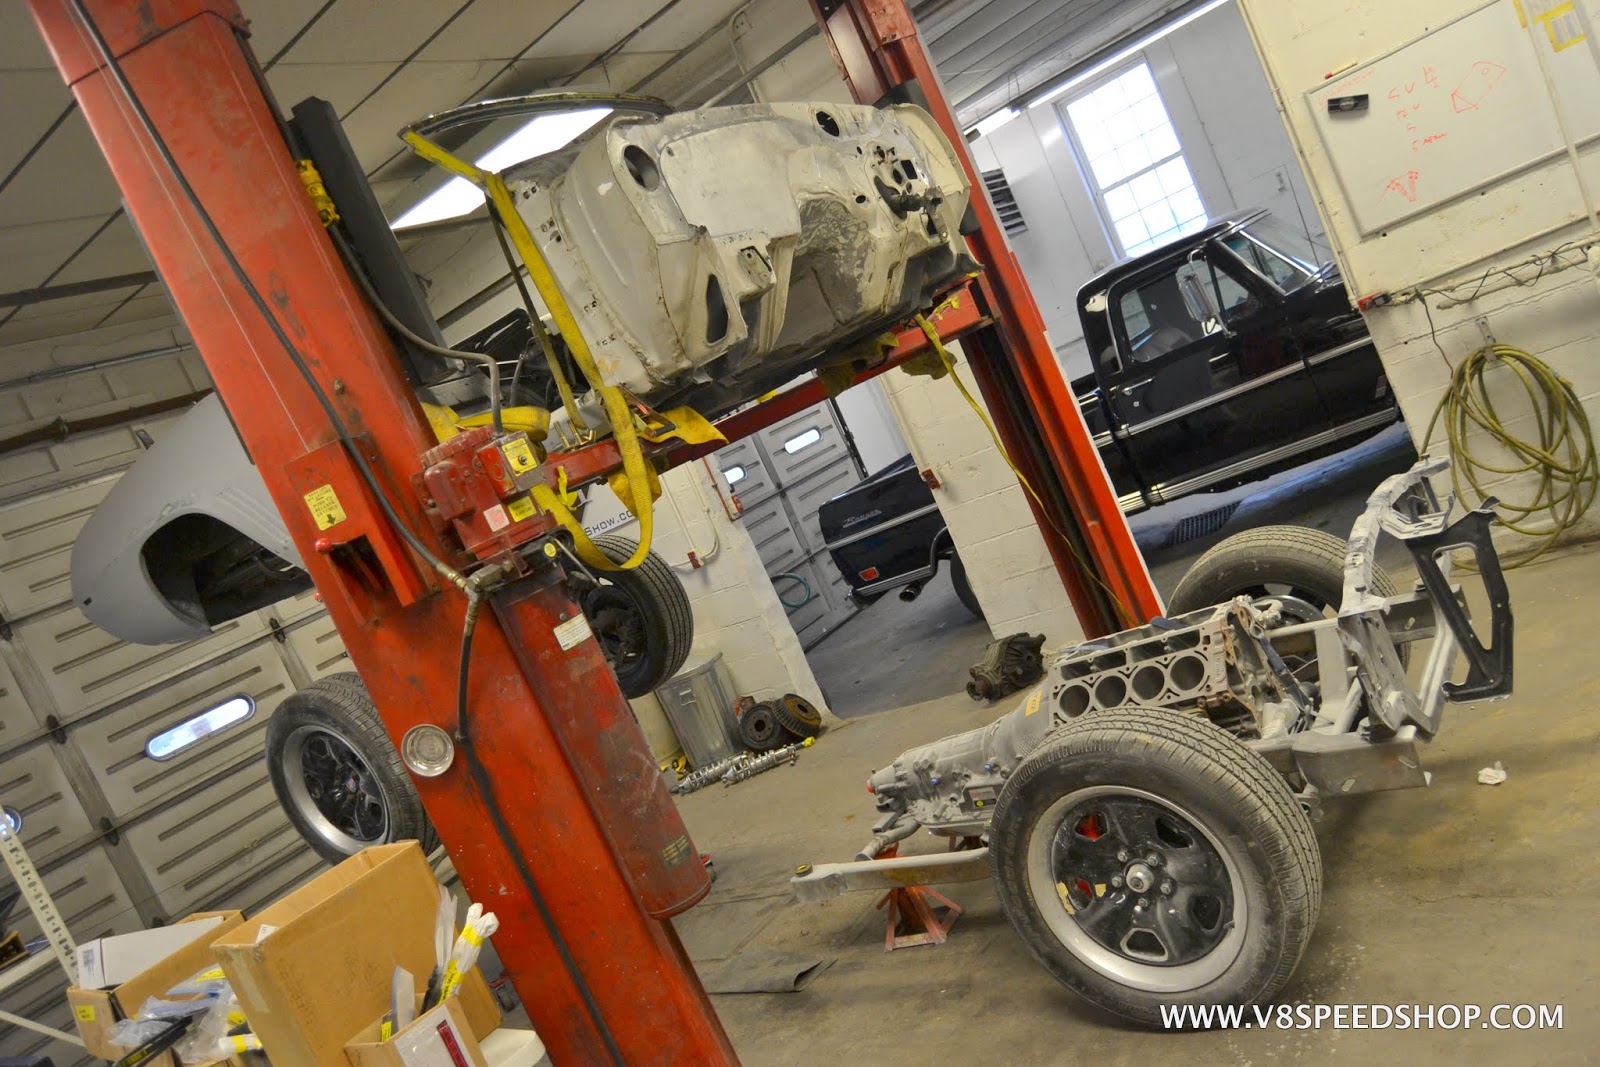
Soon, the Camaro body tub was removed from the subframe for final underside detailing and so that the Heidt’s subframe could be prepped and painted.
 Kevin Oeste
V8 Speed and Resto Shop
V8TV
Muscle Car Of The Week
V8 Radio Podcast
All about us:
https://www.v8speedshop.com
08-21-2017 #43
Registered User
- Join Date
- Dec 2004
- Location
- Midwest
- Posts
- 2,263
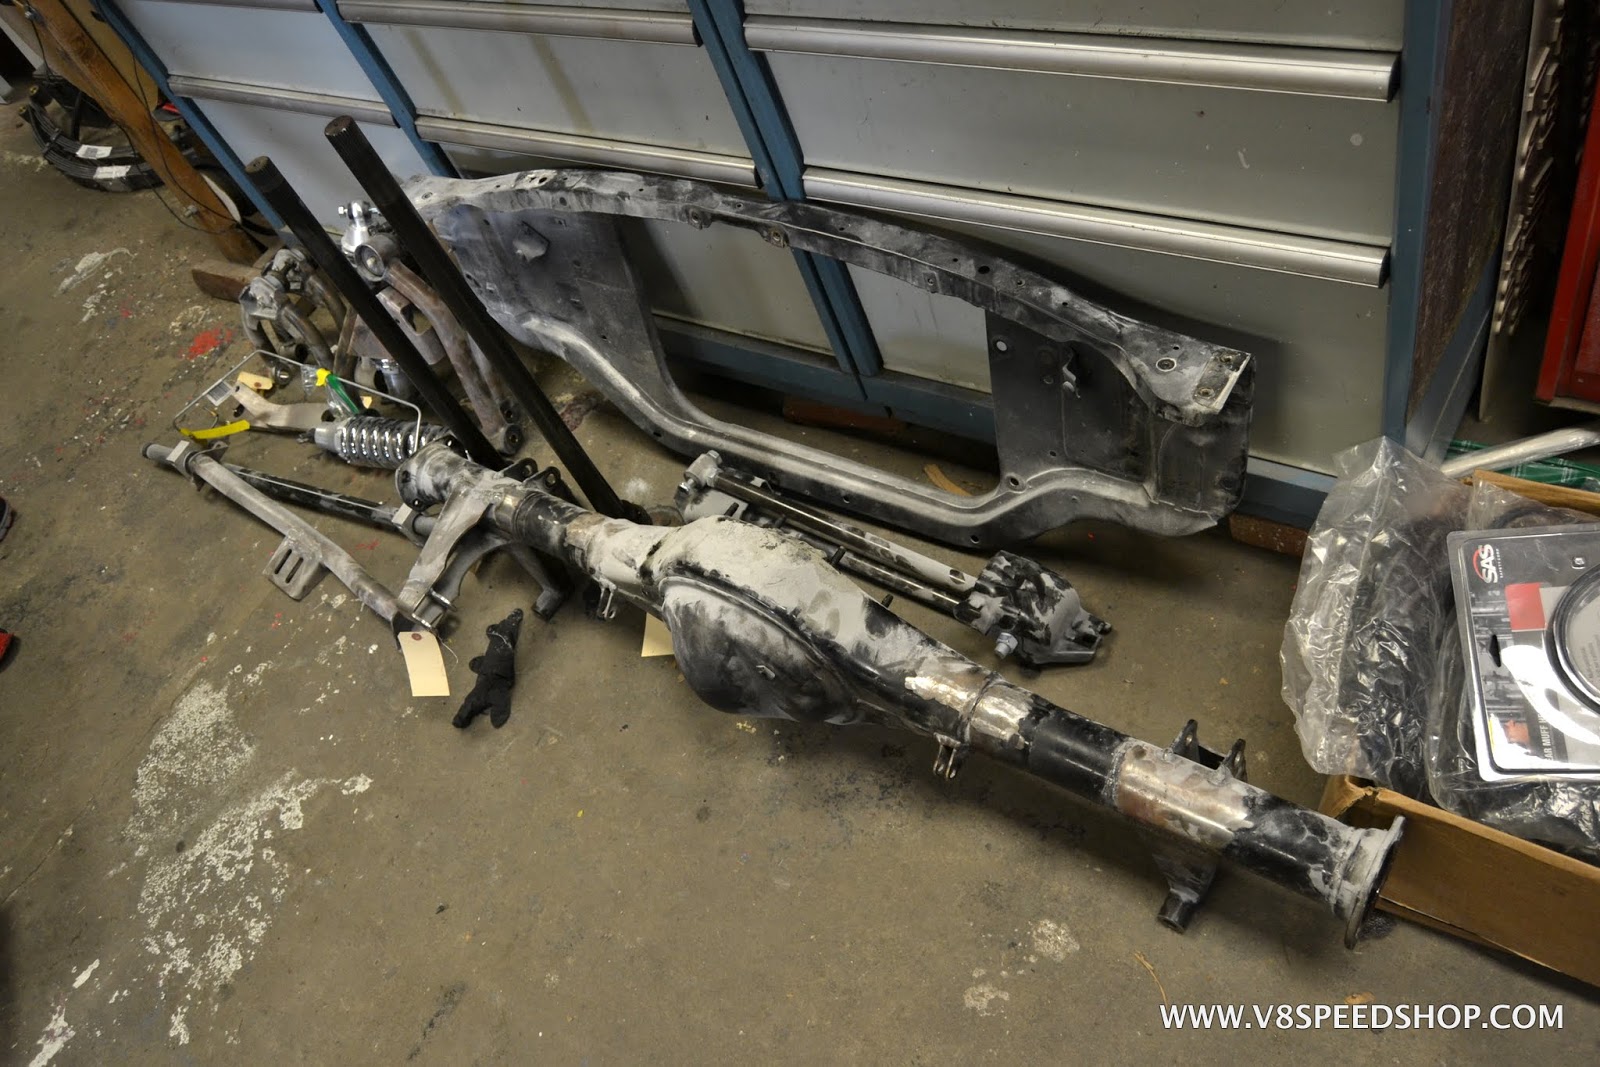
Trevor and Tyler remove the Heidt’s rear suspension members and the Currie rear axle housing in preparation for mounting the body tub on the rotisserie.
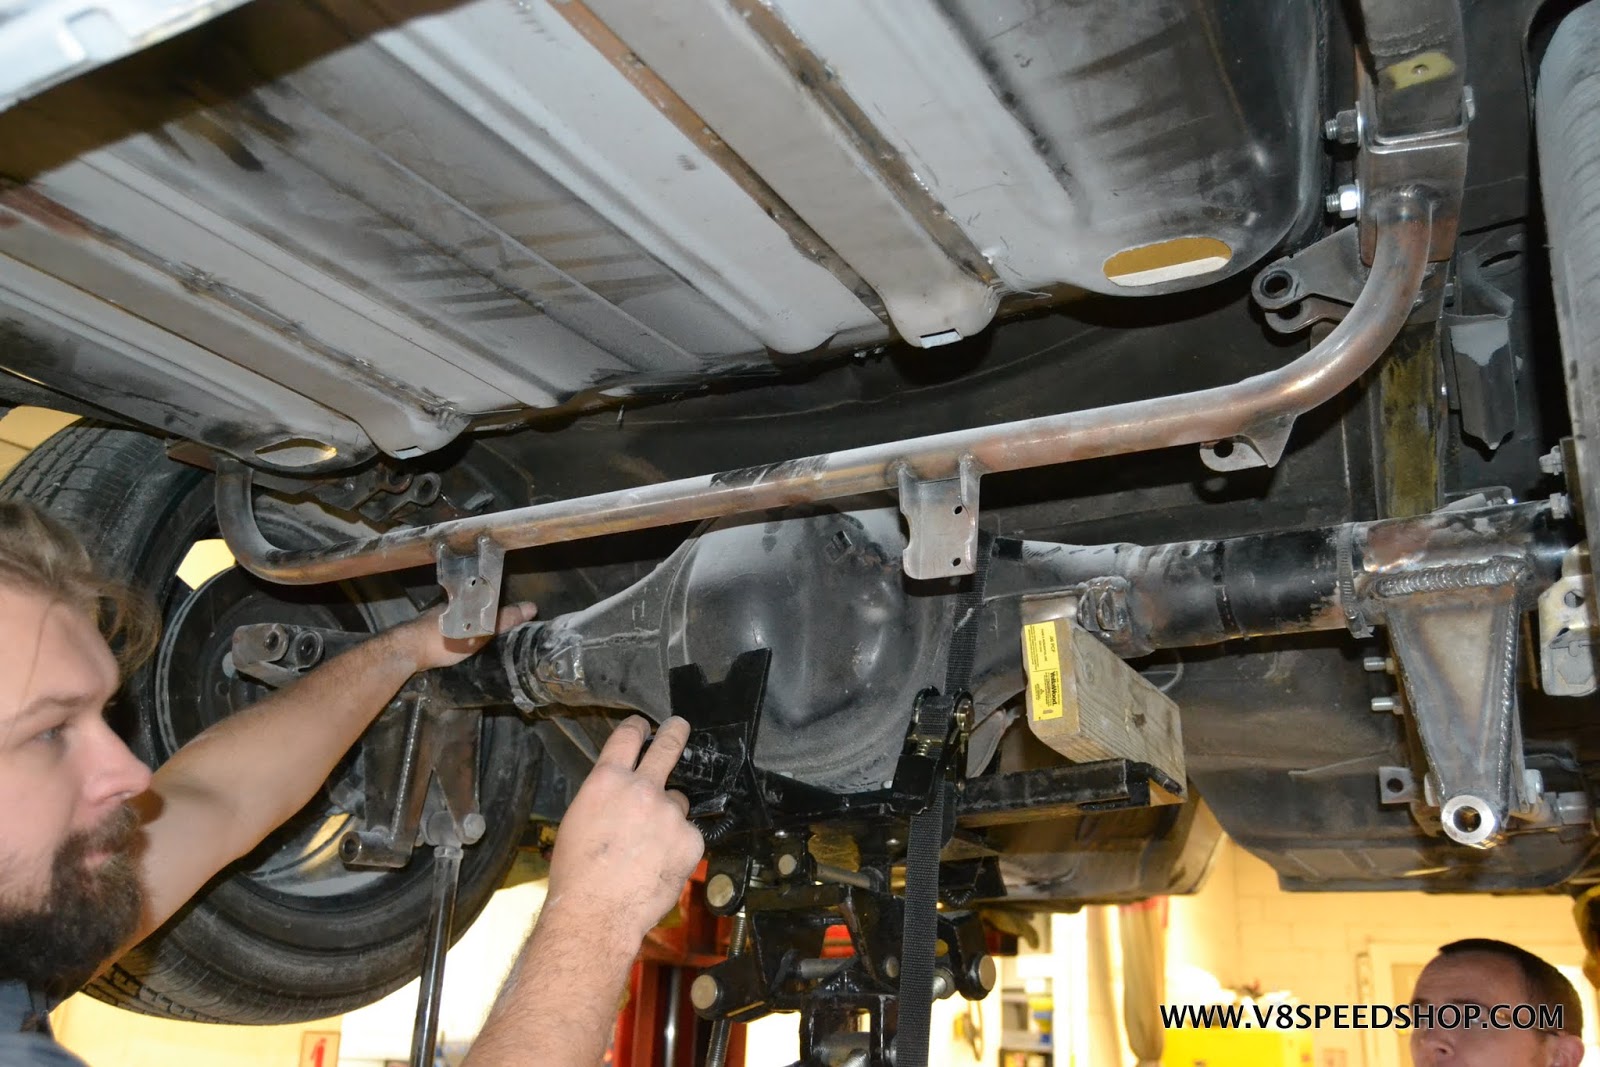
The body bolts were pulled, and one subframe removed.
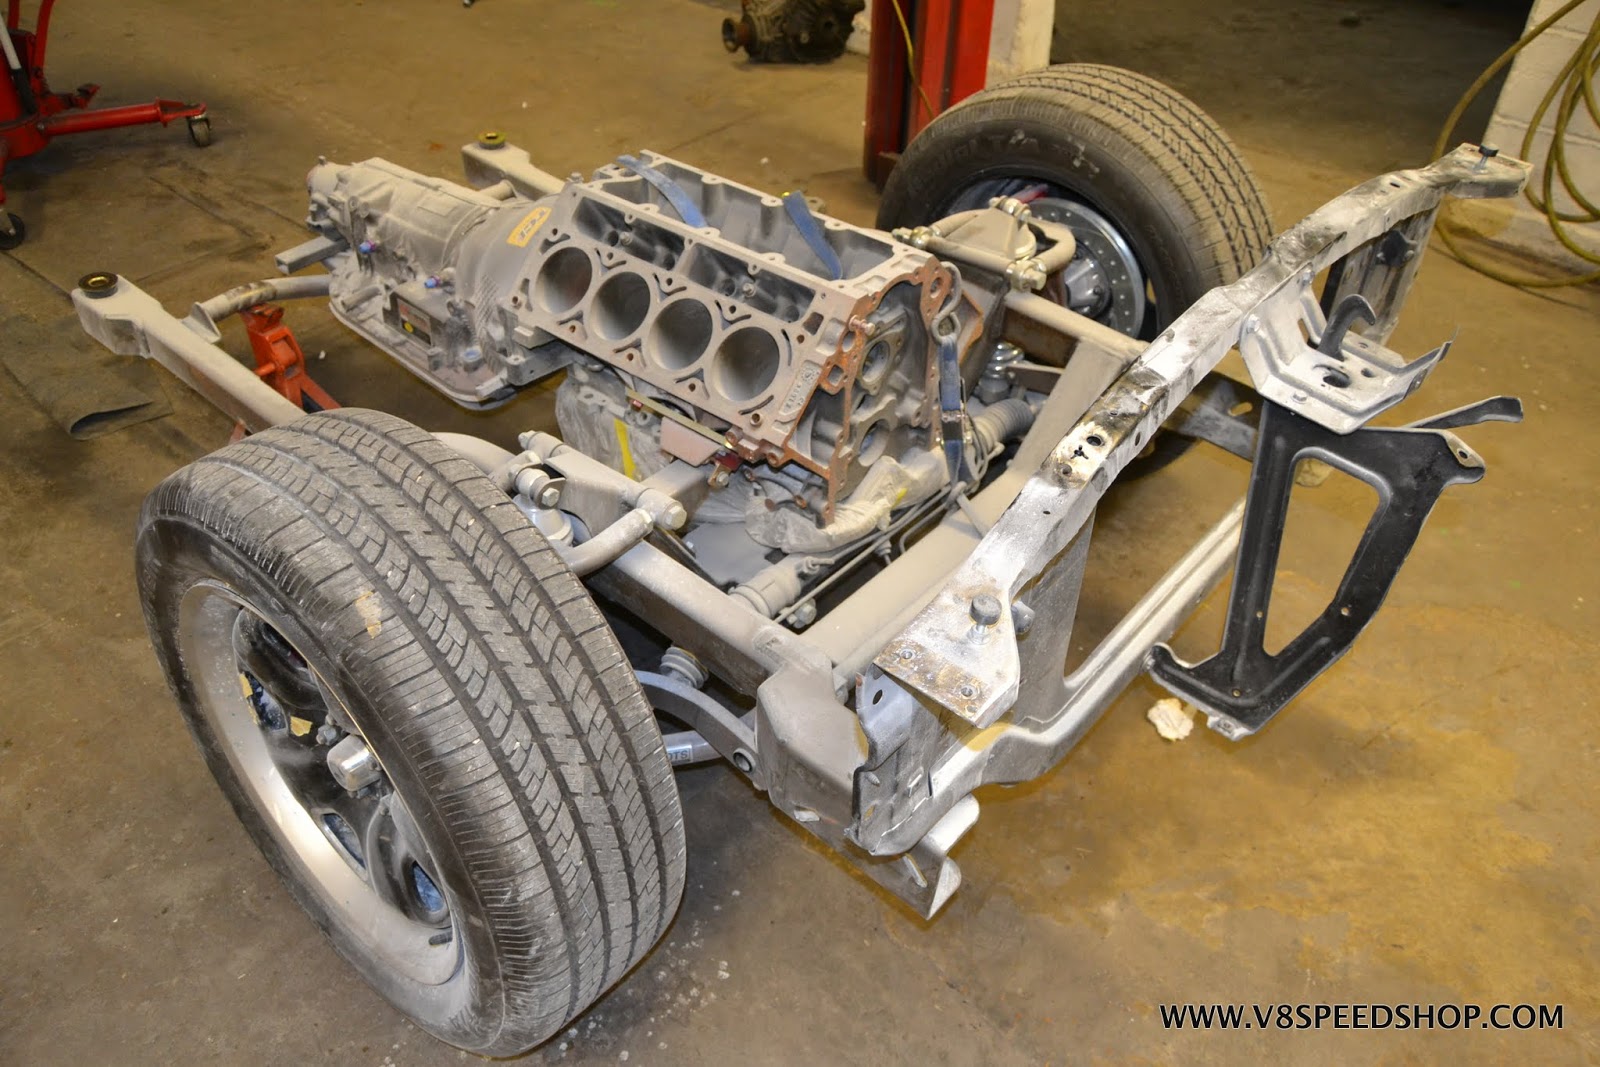
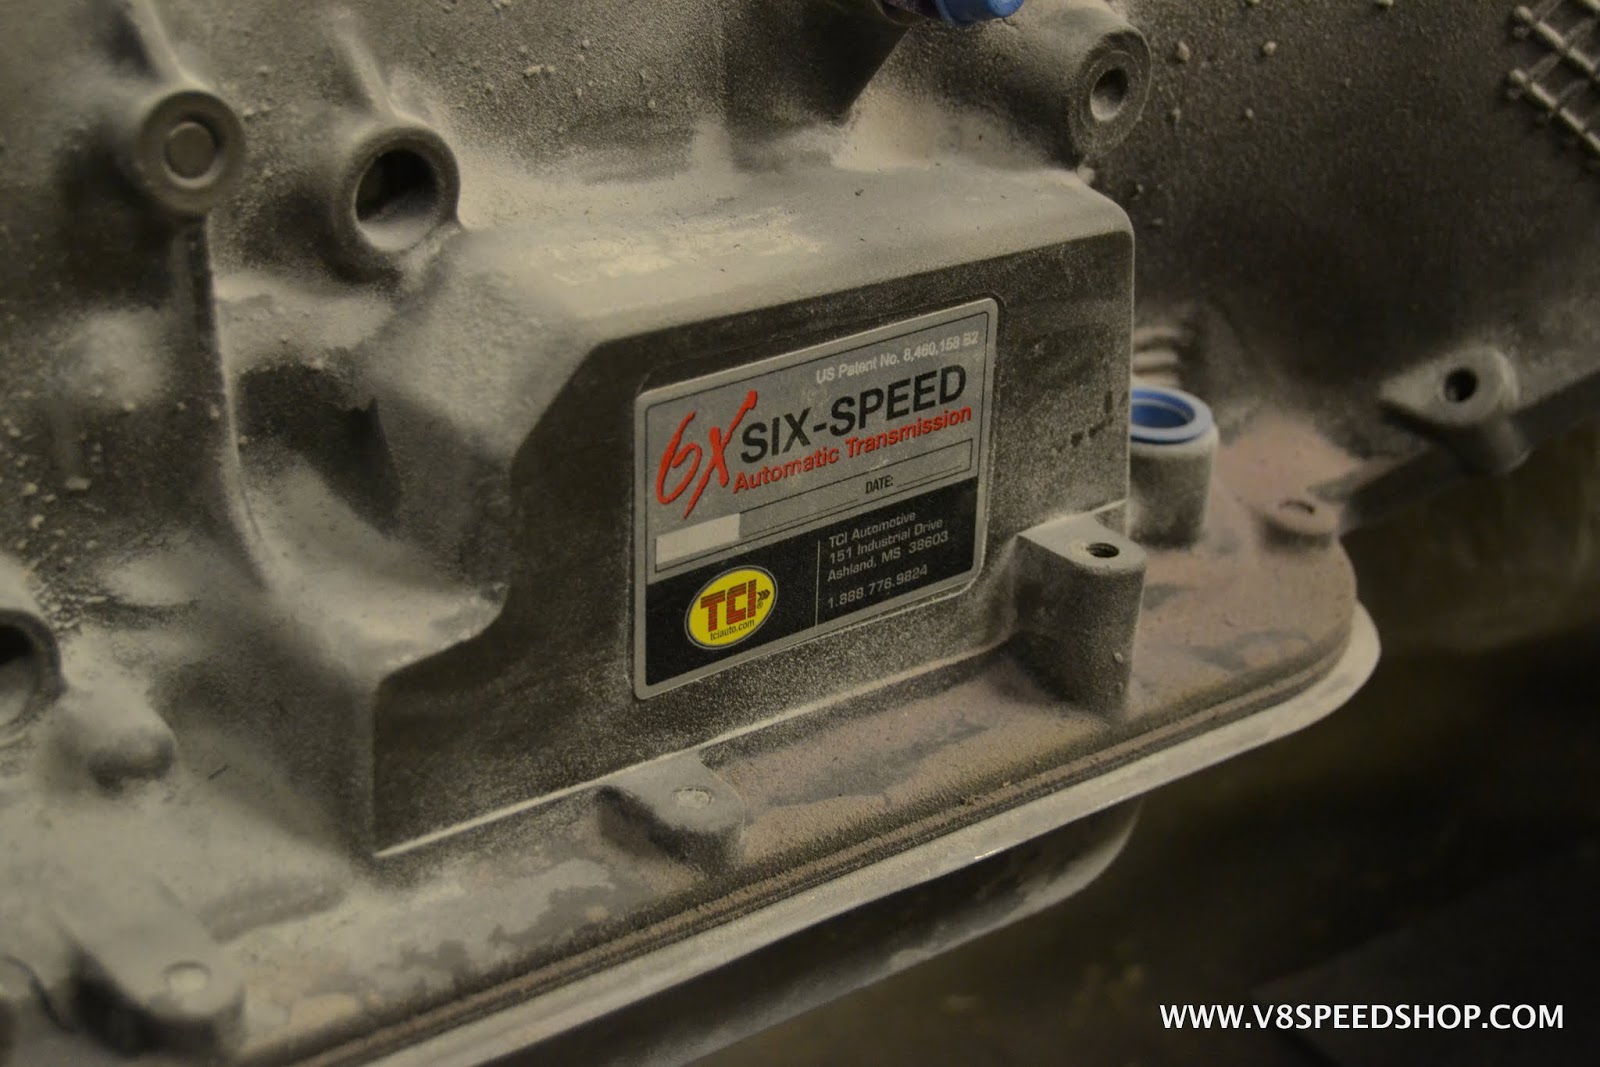
The TCI 6X transmission provides 1-5 forward gears shifted automatically, and will handle the power of the LS-based 600+ engine.
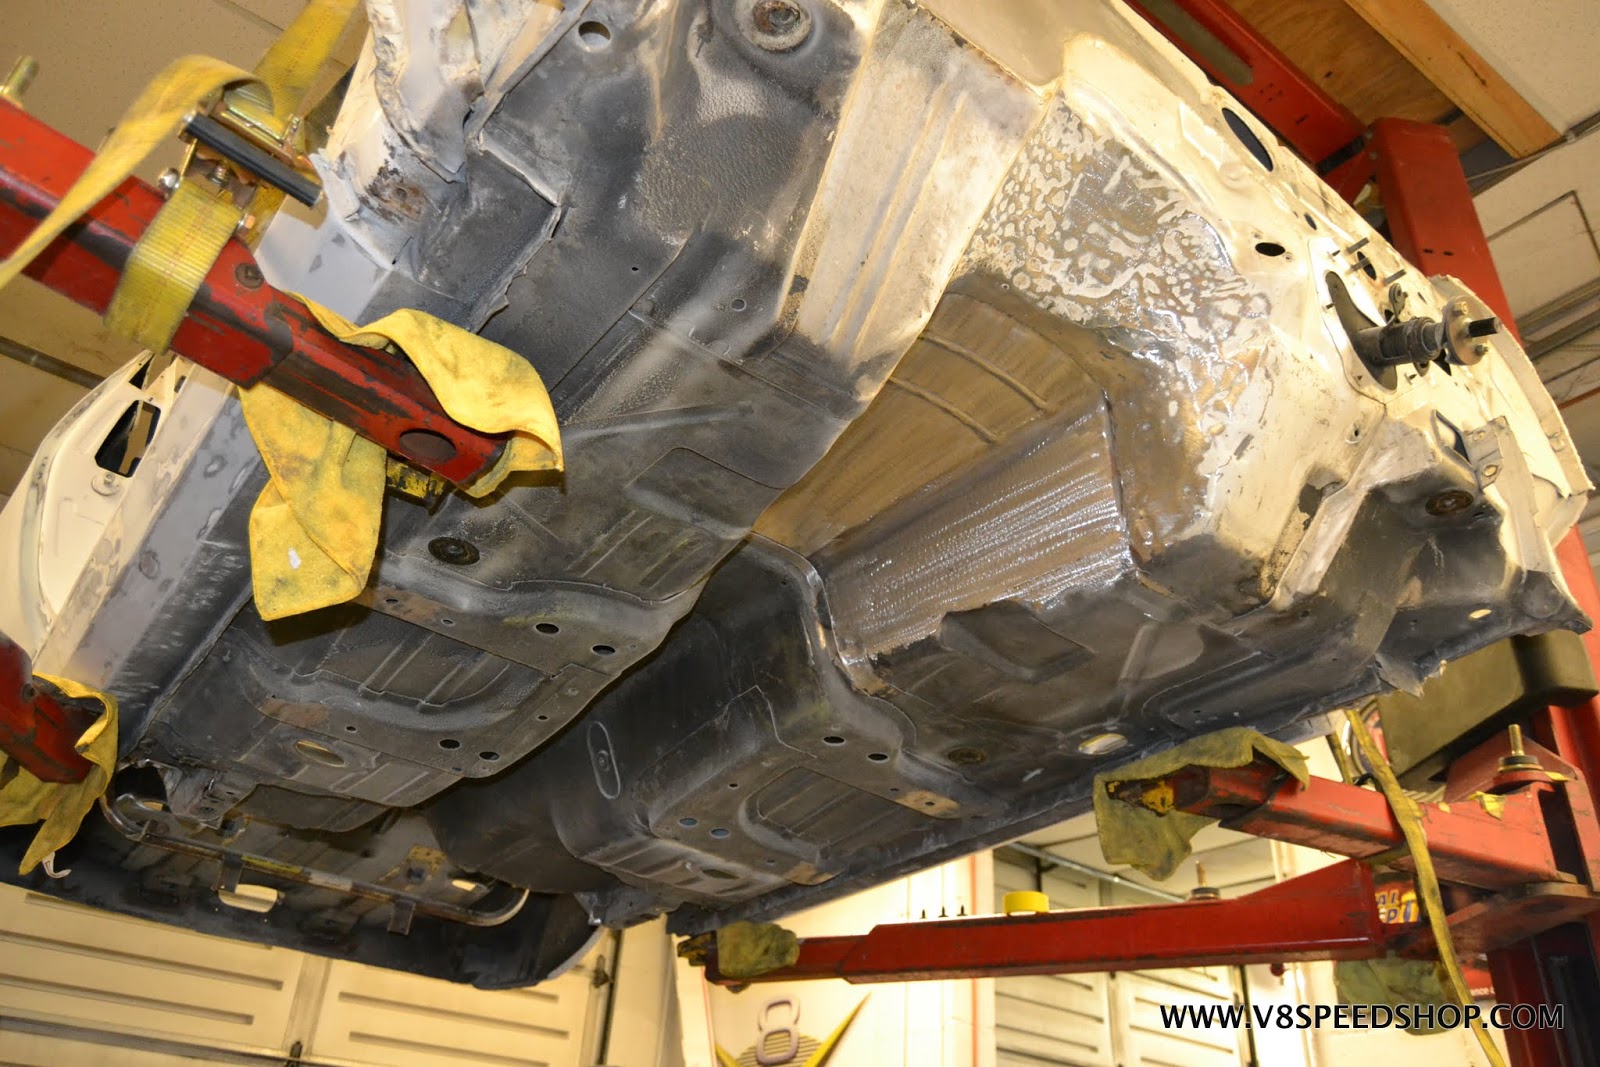
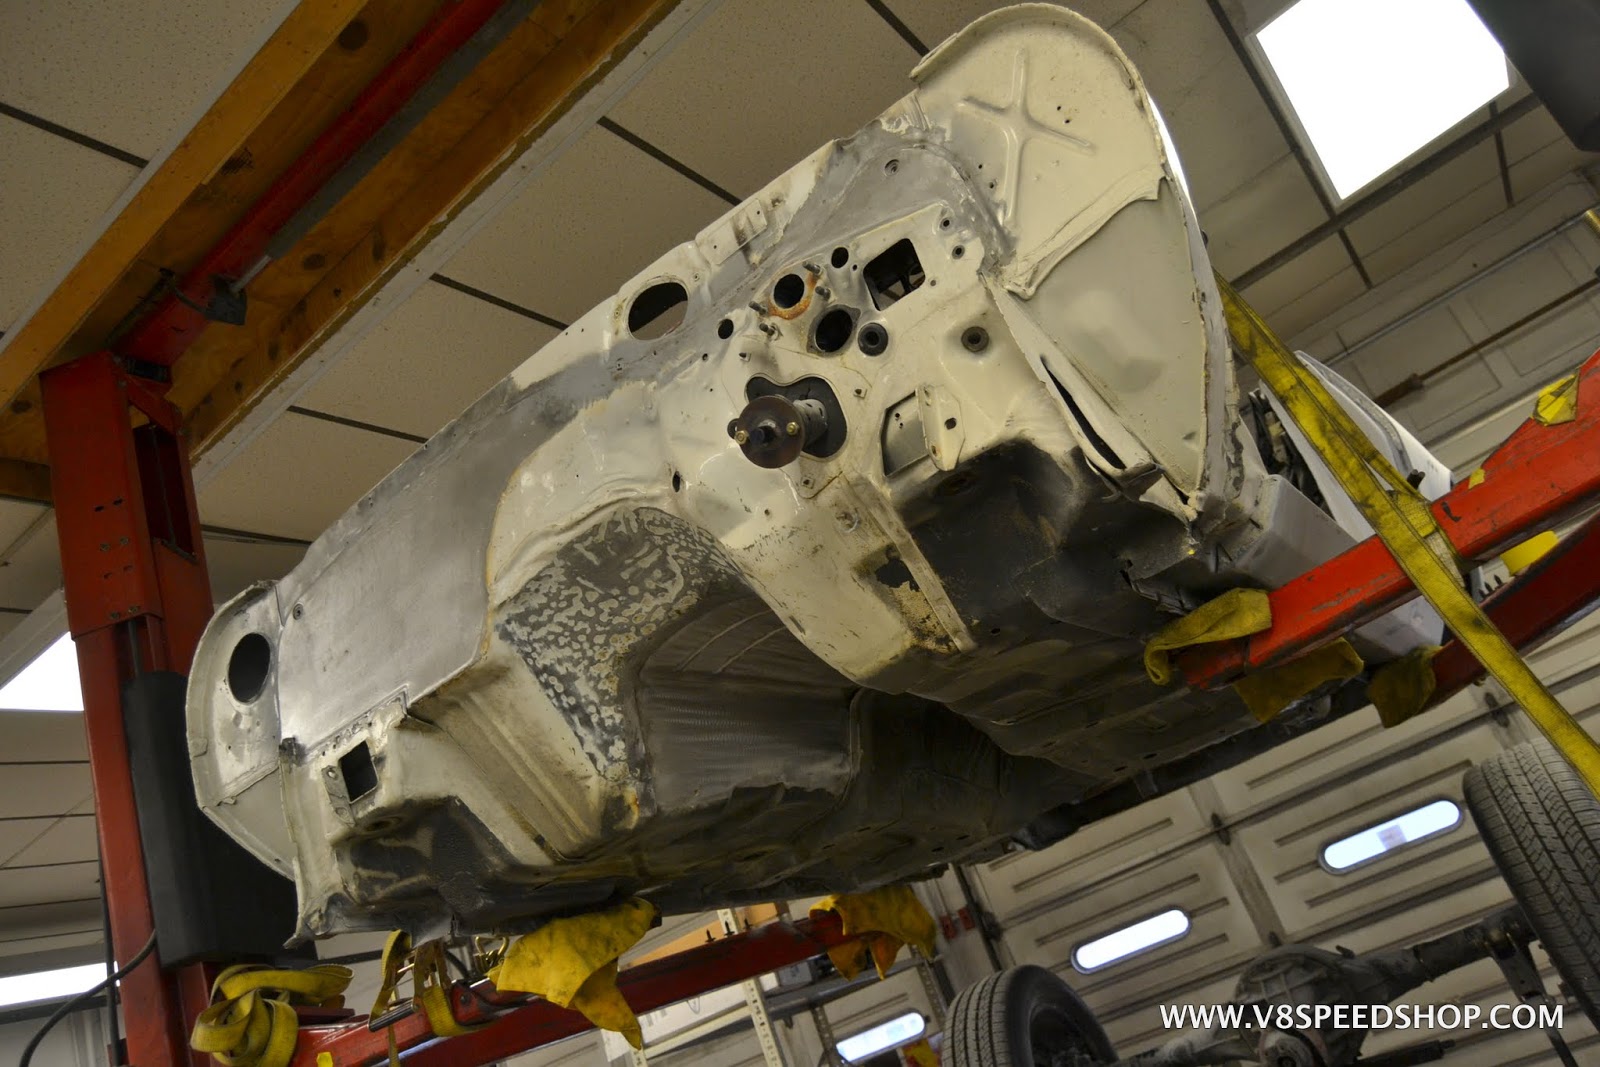
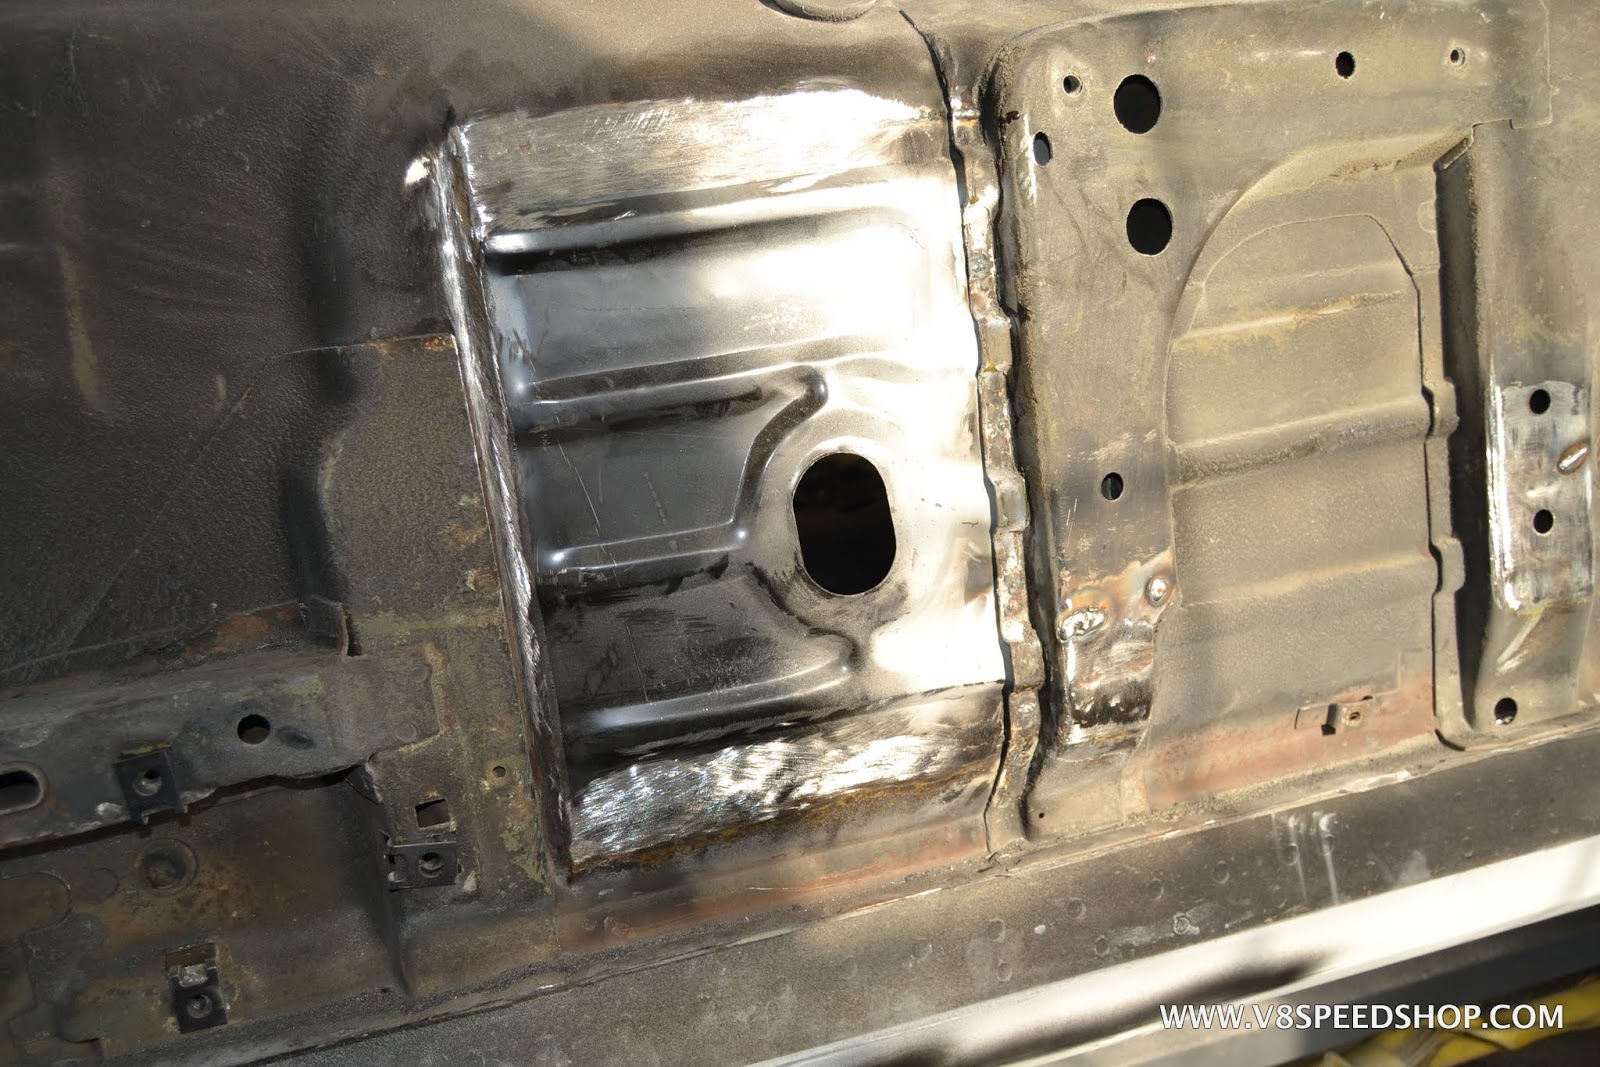
There is some clean-up grinding, epoxy, and undercoating to do to the bottom side of the car. The firewall shows some “resizing” from the first restoration, our new transmission tunnel is the bare steel. The hole will be cut for the shifter later.
 Kevin Oeste
V8 Speed and Resto Shop
V8TV
Muscle Car Of The Week
V8 Radio Podcast
All about us:
https://www.v8speedshop.com
08-21-2017 #44
Registered User
- Join Date
- Dec 2004
- Location
- Midwest
- Posts
- 2,263
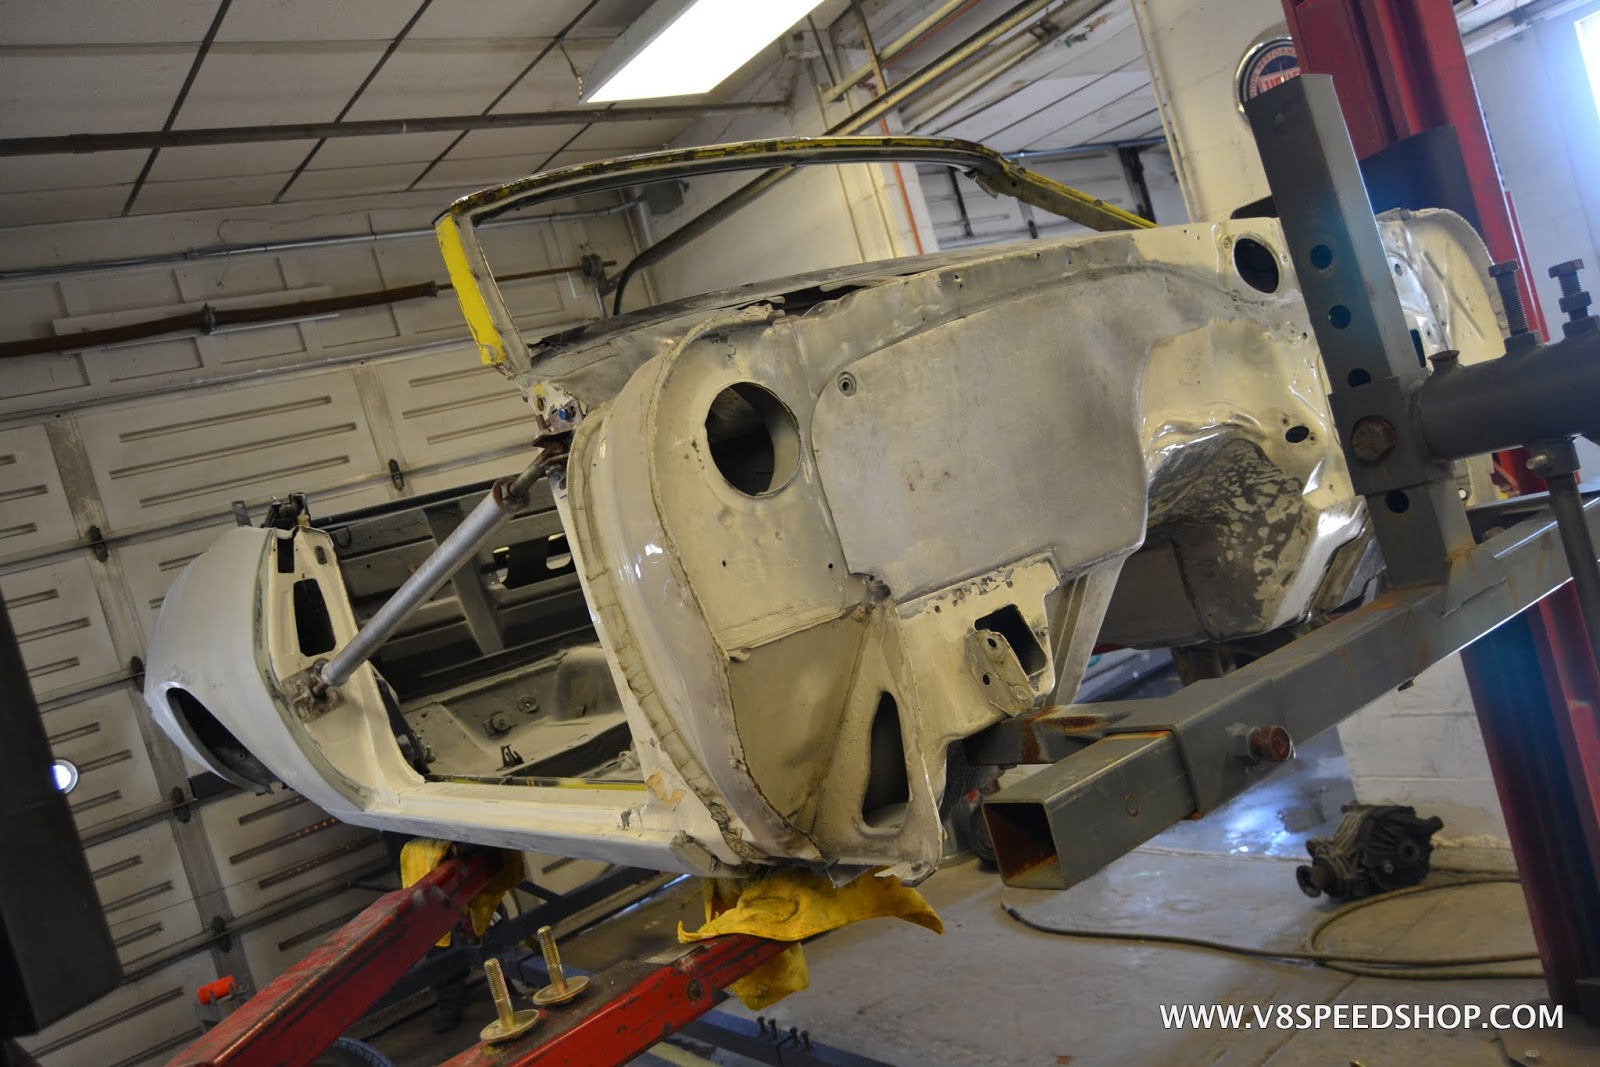
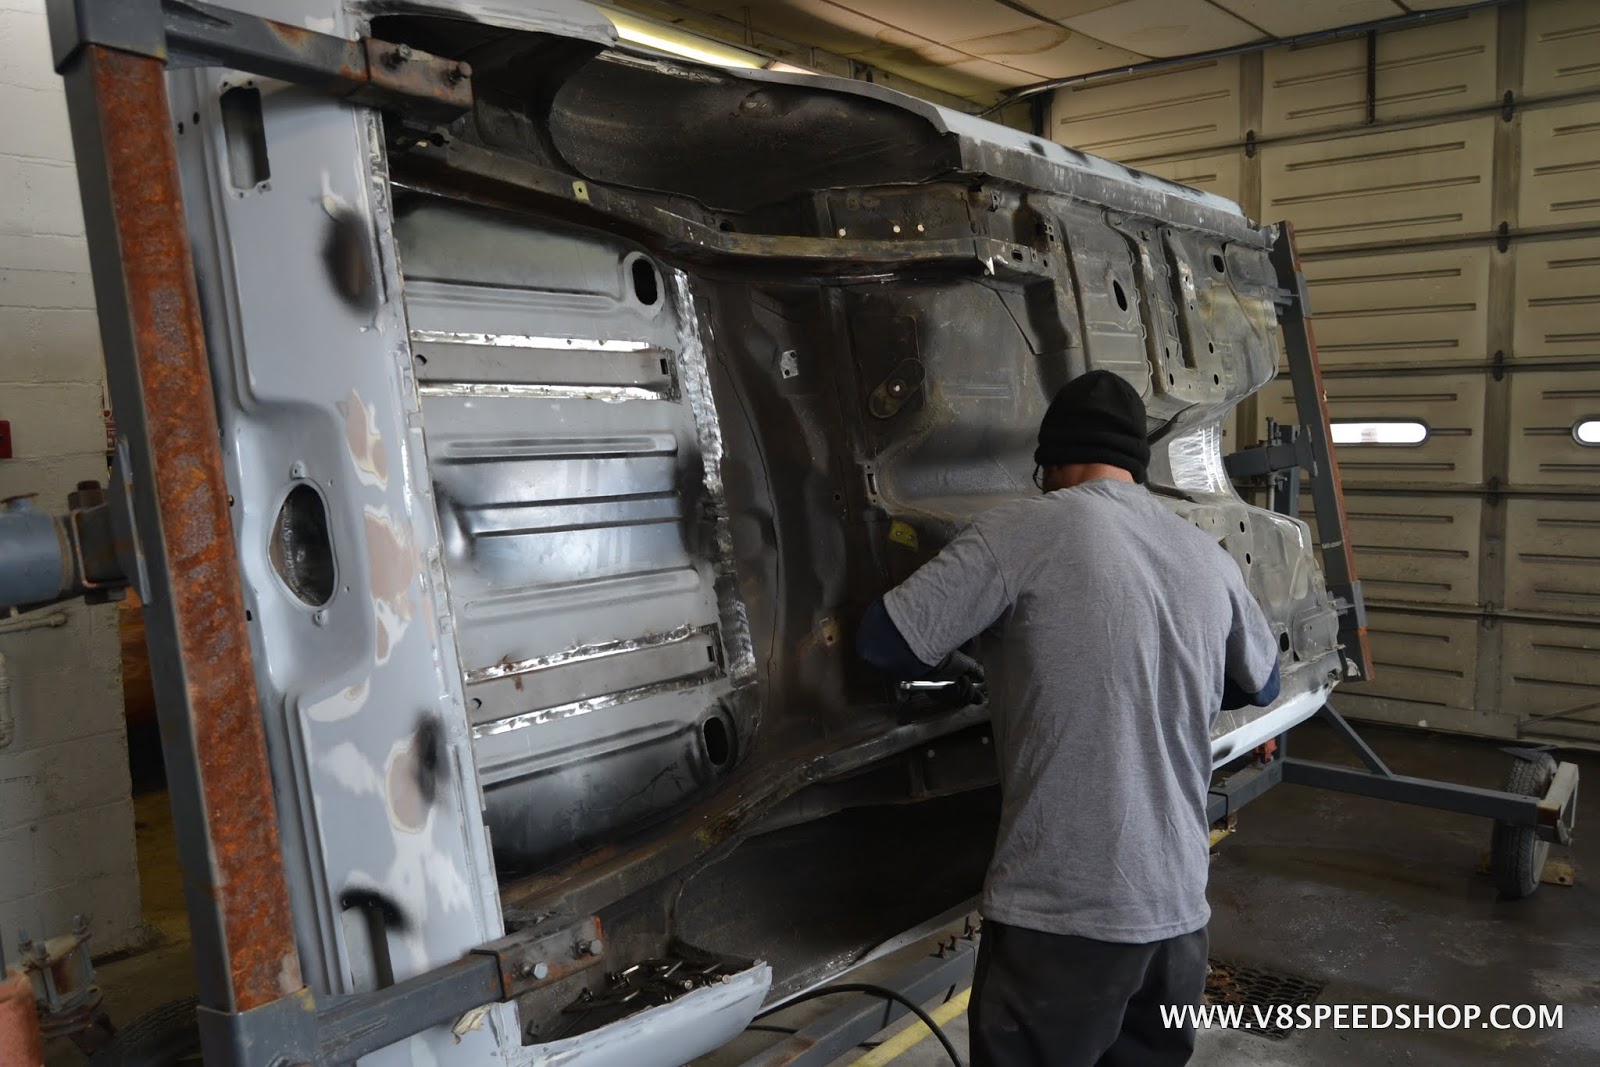
Door reinforcement bars keep the body from twisting on the rotisserie.
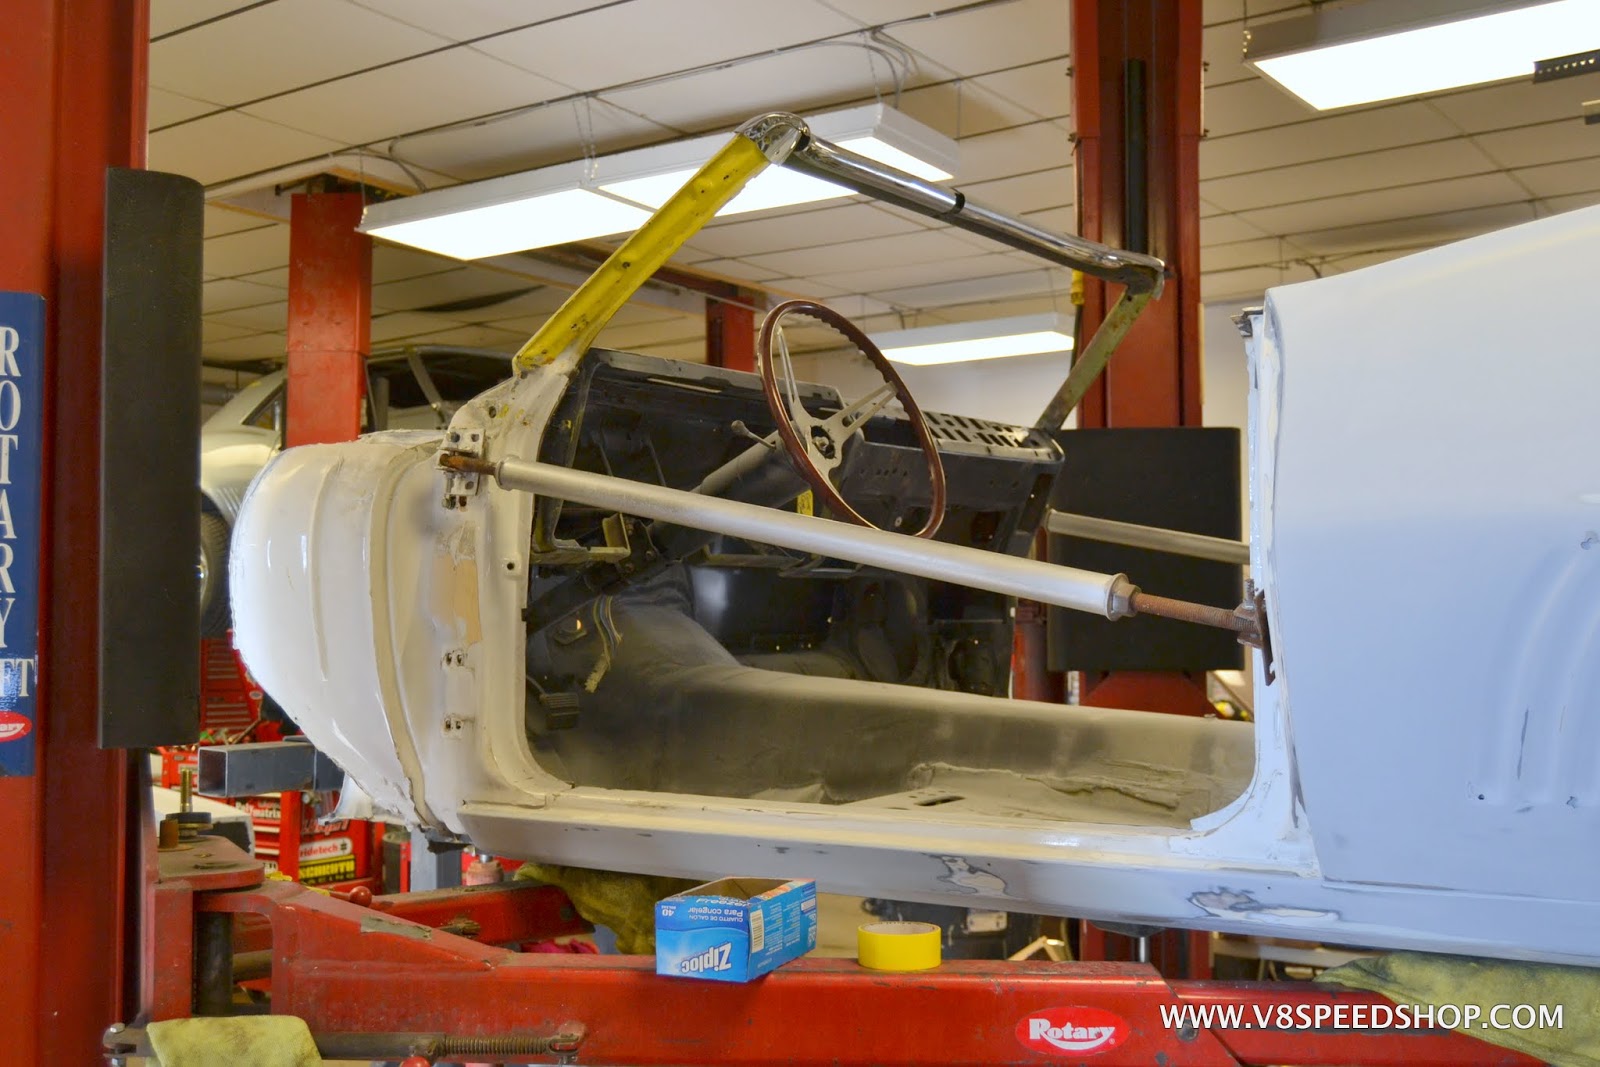
Bolted to the spinner and ready to go!
The suspension parts and core support will be media blasted and painted to look new again.
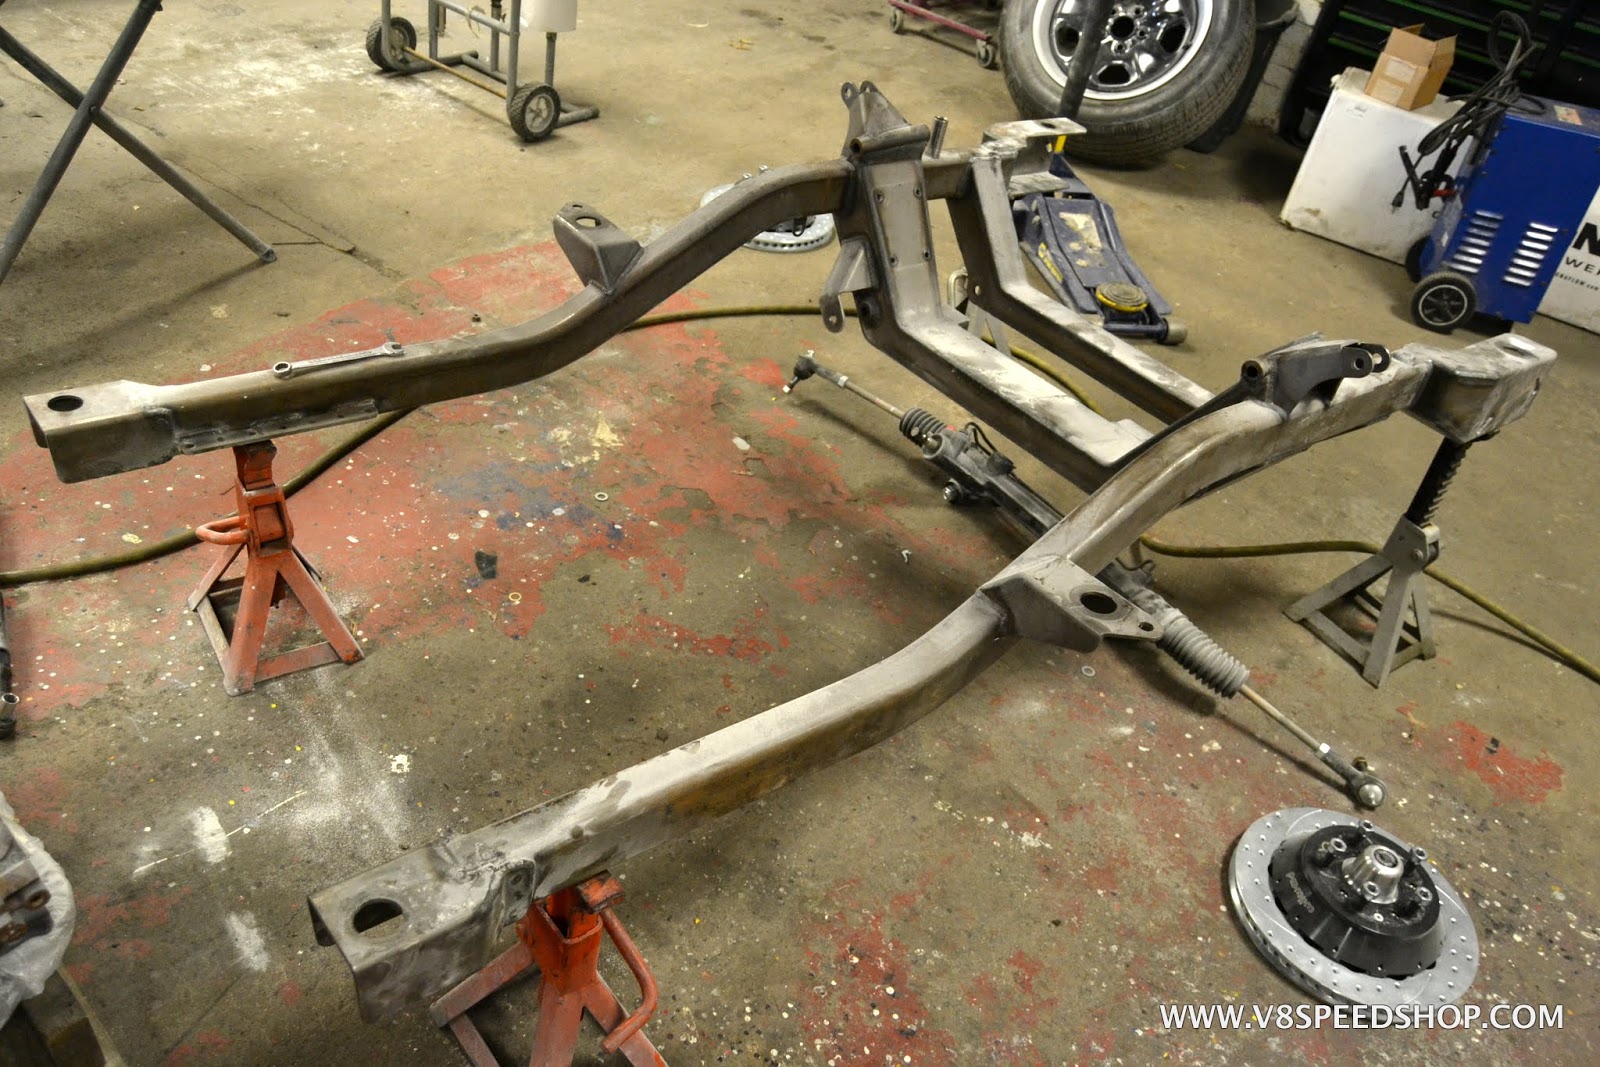
The Heidt’s subframe is essentially new, having never been painted or driven. However, it’s not “calendar” new. We’ll blast and paint it with Axalta epoxy and Imron as well.
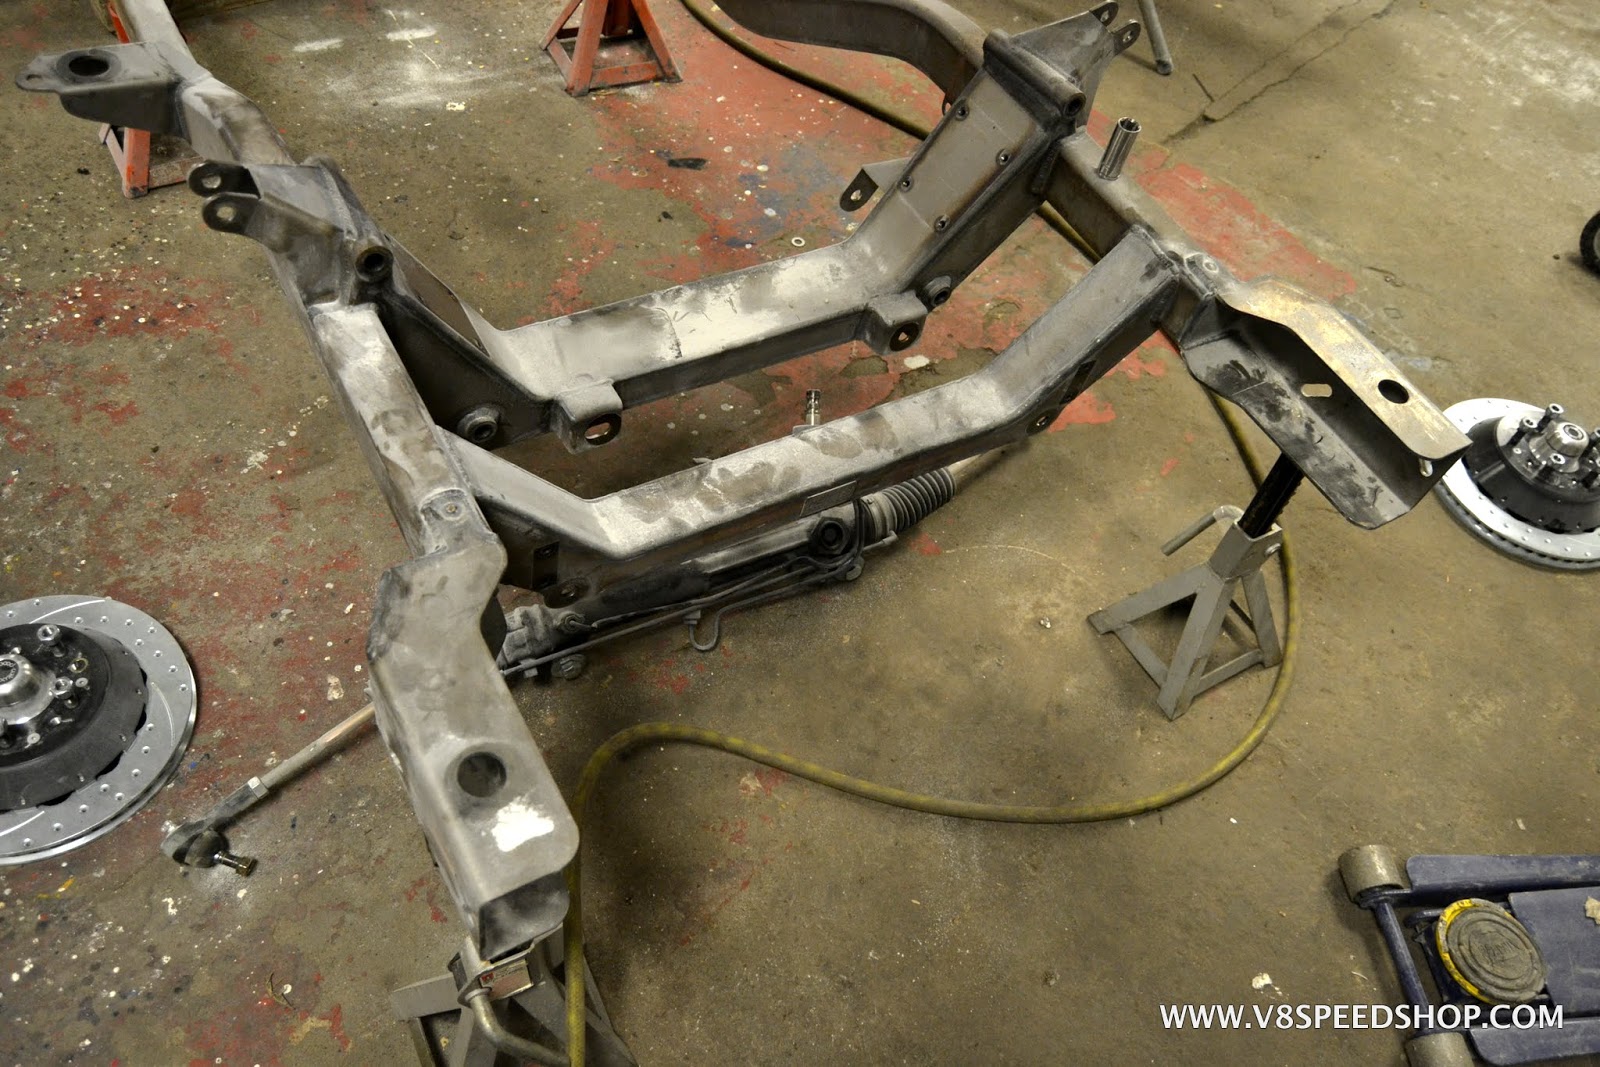 Kevin Oeste
V8 Speed and Resto Shop
V8TV
Muscle Car Of The Week
V8 Radio Podcast
All about us:
https://www.v8speedshop.com
08-22-2017 #45 Registered User
- Join Date
- Sep 2009
- Posts
- 2,996
This car is looking great!
1955 Nomad project LC9, 4L80e, C5 brakes, Vision wheels
1968 Camaro 6.2 w/ LSA, TR6060-Magnum hybrid and etc SOLD
1976 T/A LS1 6 Speed, and etc. SOLD
Follow me on Instagram: ryeguy2006a
08-22-2017 #46
Registered User
- Join Date
- Dec 2004
- Location
- Midwest
- Posts
- 2,263
Thank you sir! Originally Posted by ryeguy2006a
 Kevin Oeste
V8 Speed and Resto Shop
V8TV
Muscle Car Of The Week
V8 Radio Podcast
All about us:
https://www.v8speedshop.com
08-22-2017 #47 Registered User
- Join Date
- Jun 2015
- Location
- San Diego
- Posts
- 165
awesome build, subscribed.
08-31-2017 #48
Registered User
- Join Date
- Dec 2004
- Location
- Midwest
- Posts
- 2,263
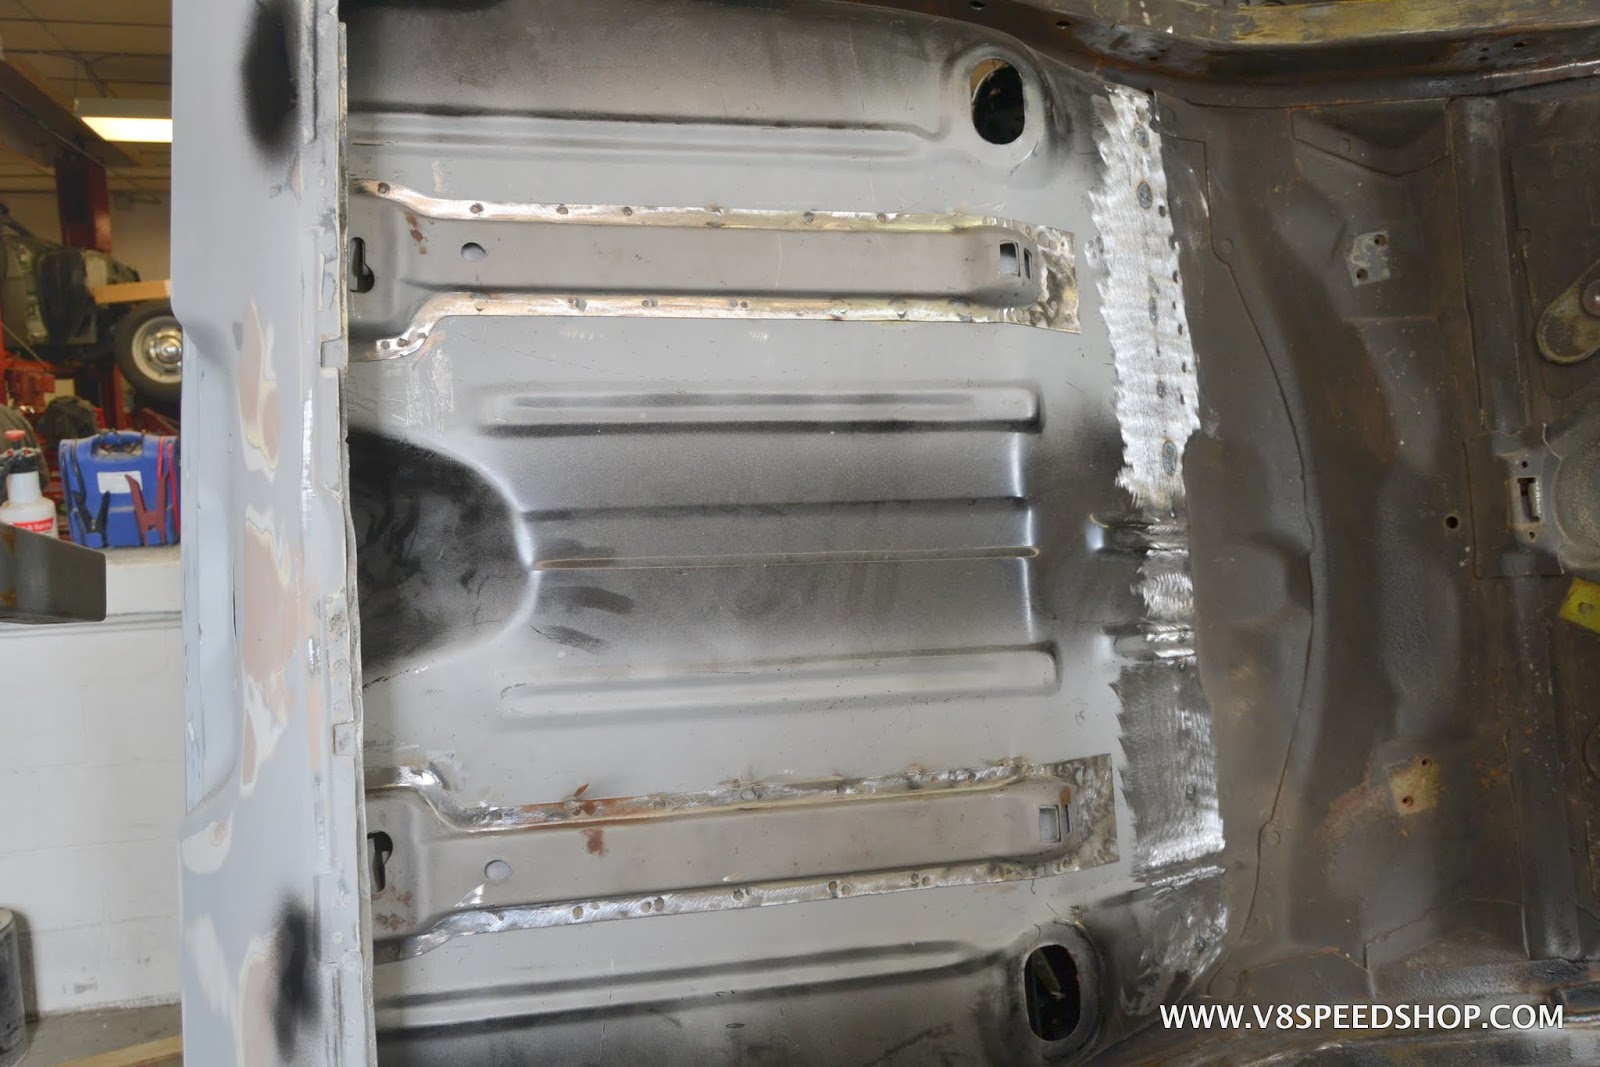
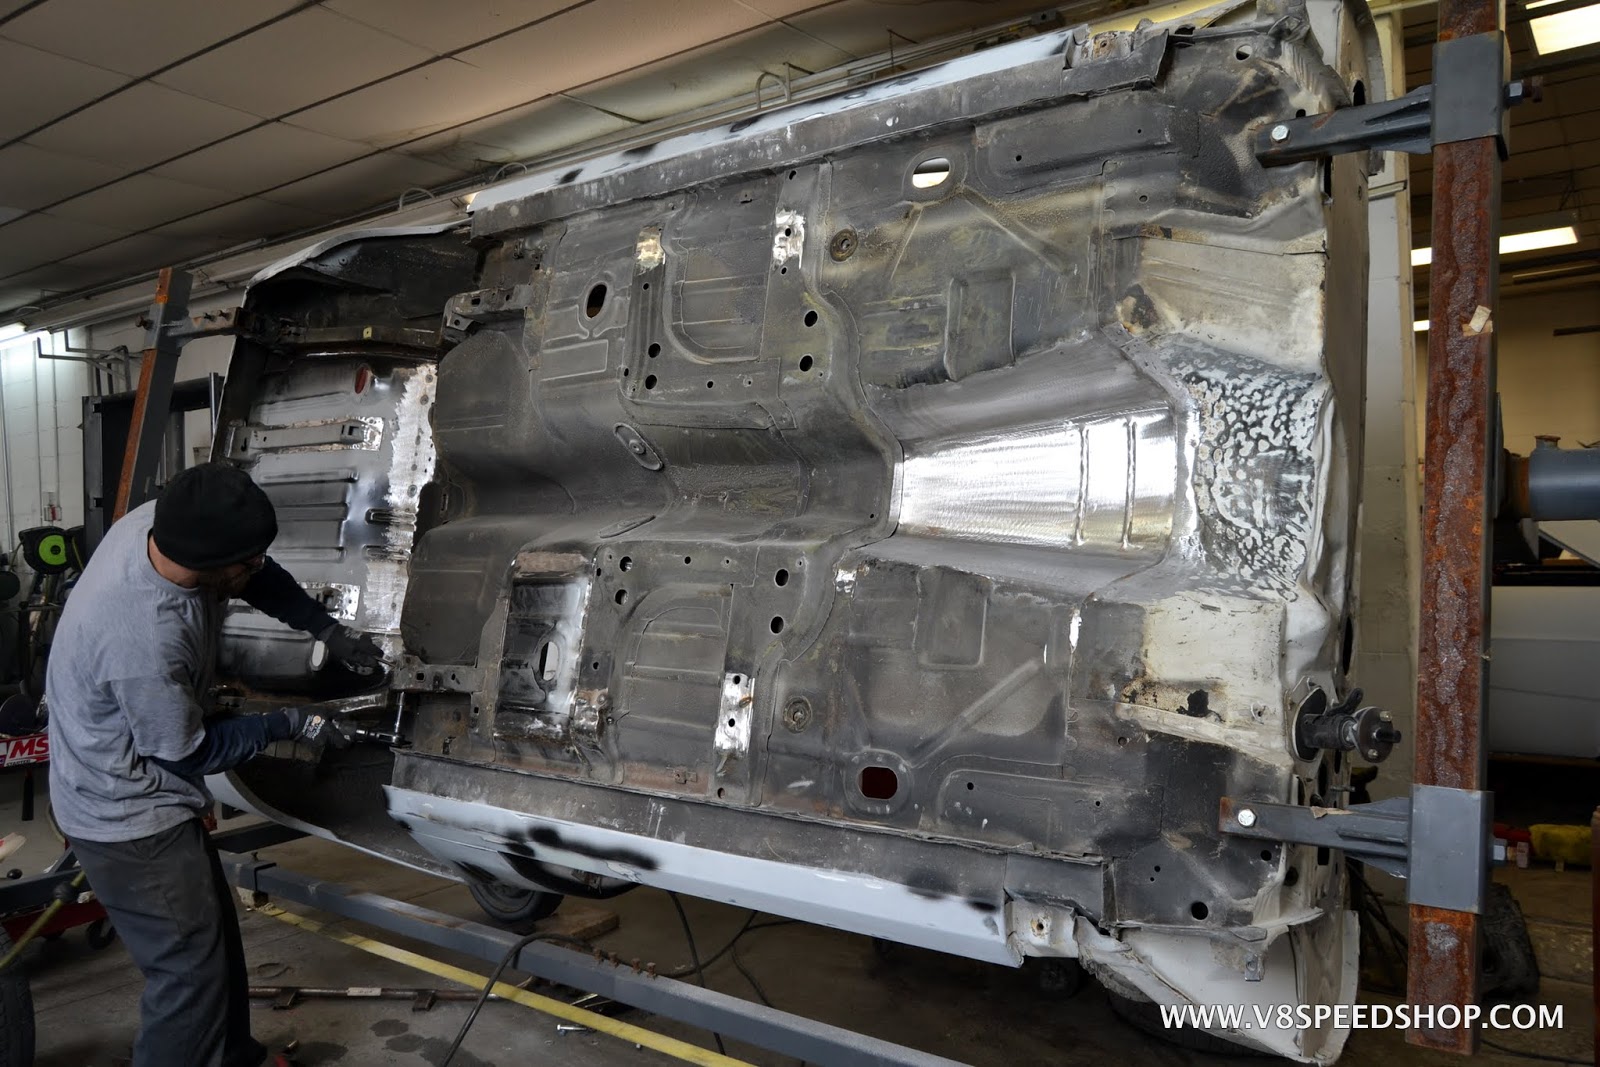
The bottom of the car is easier to access with the body of the Camaro on the rotisserie, so final grinding and detail work was done in this position. The transmission tunnel and floor repairs were dressed from the bottom.
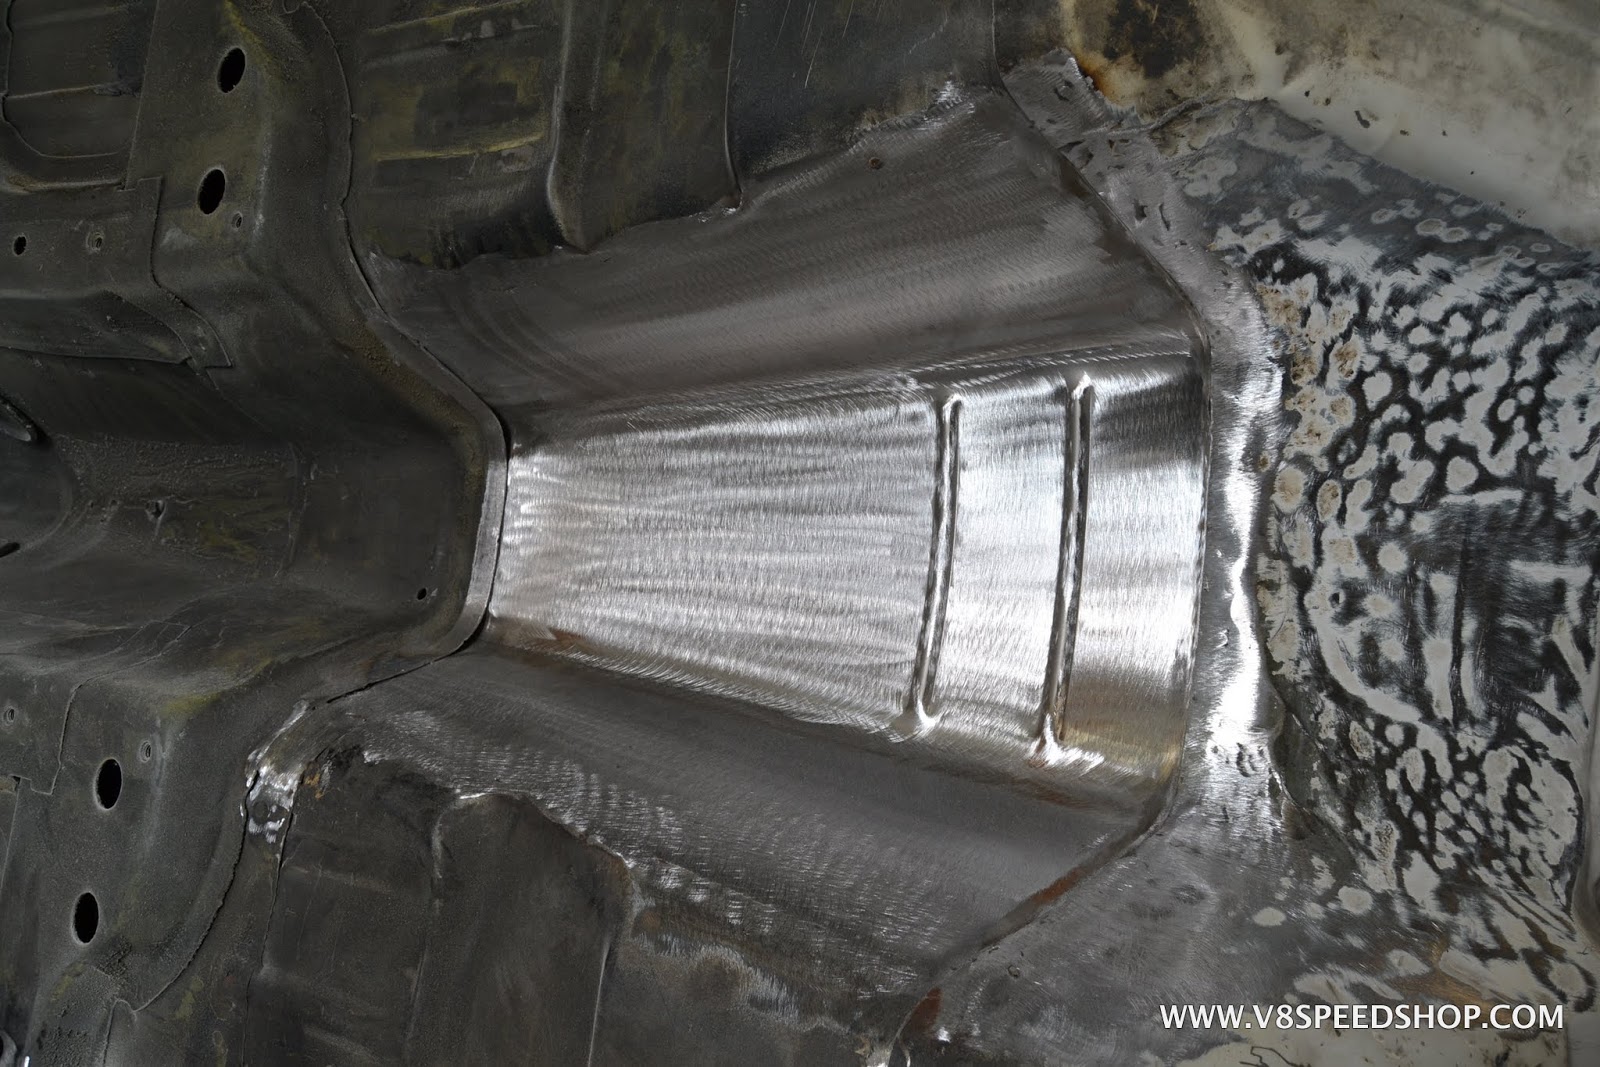
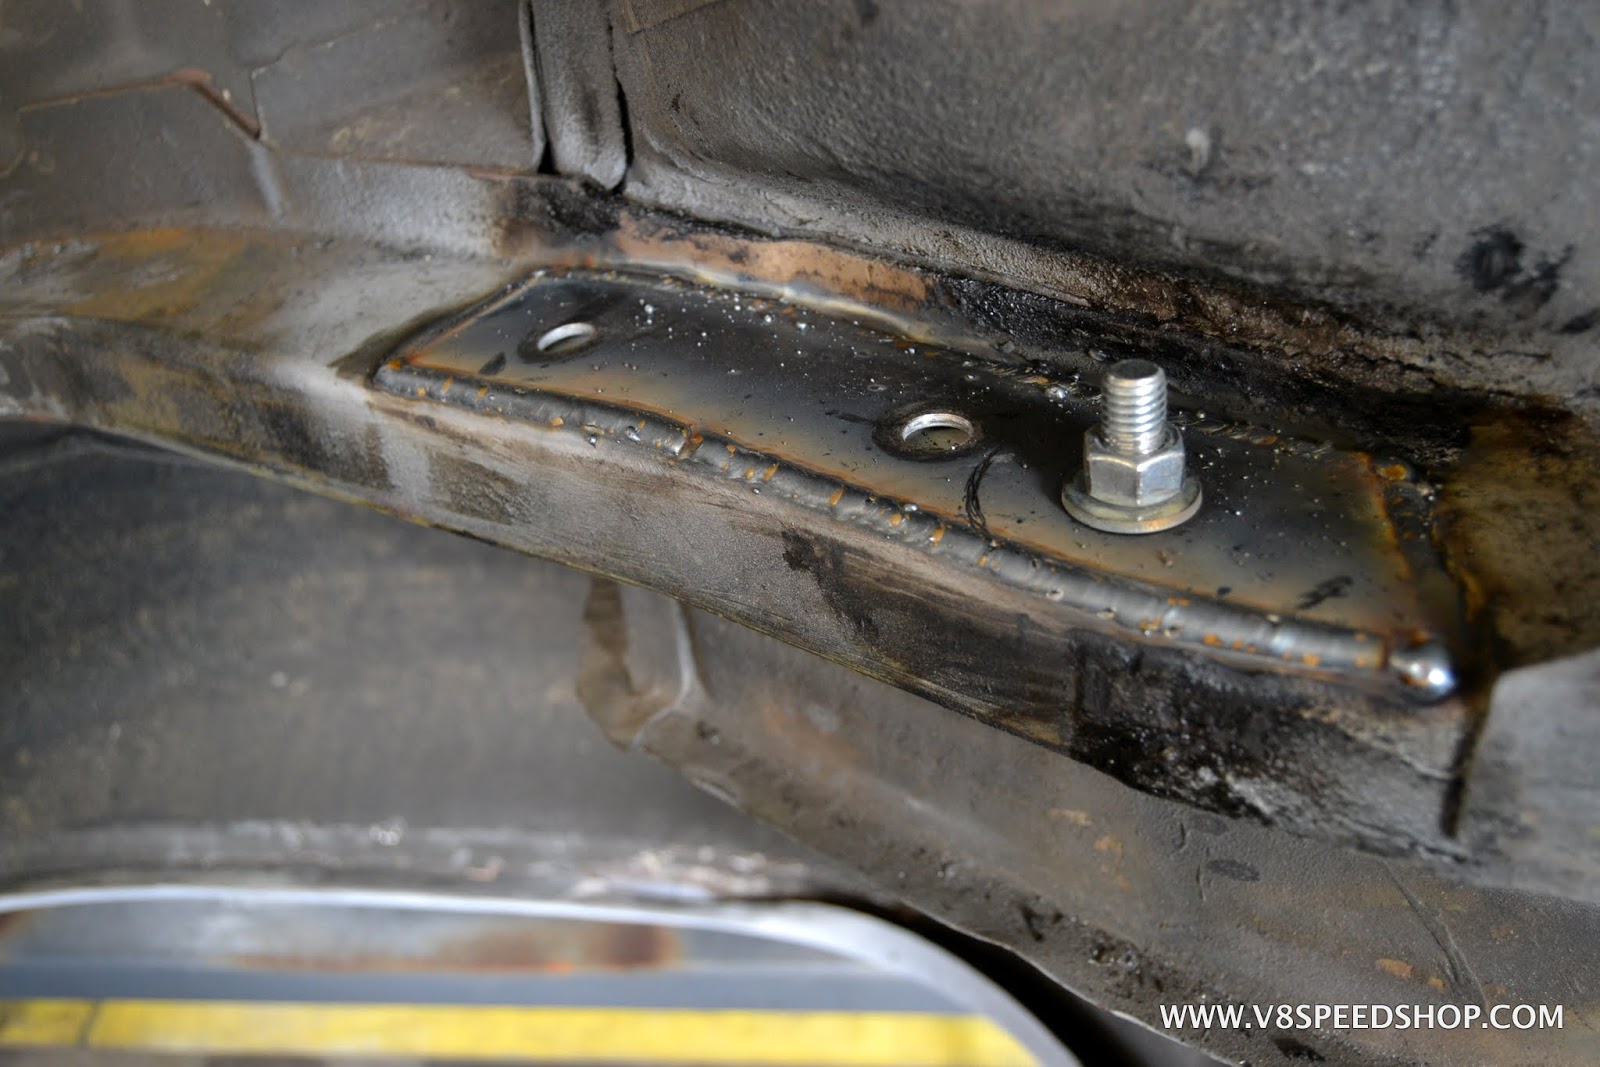
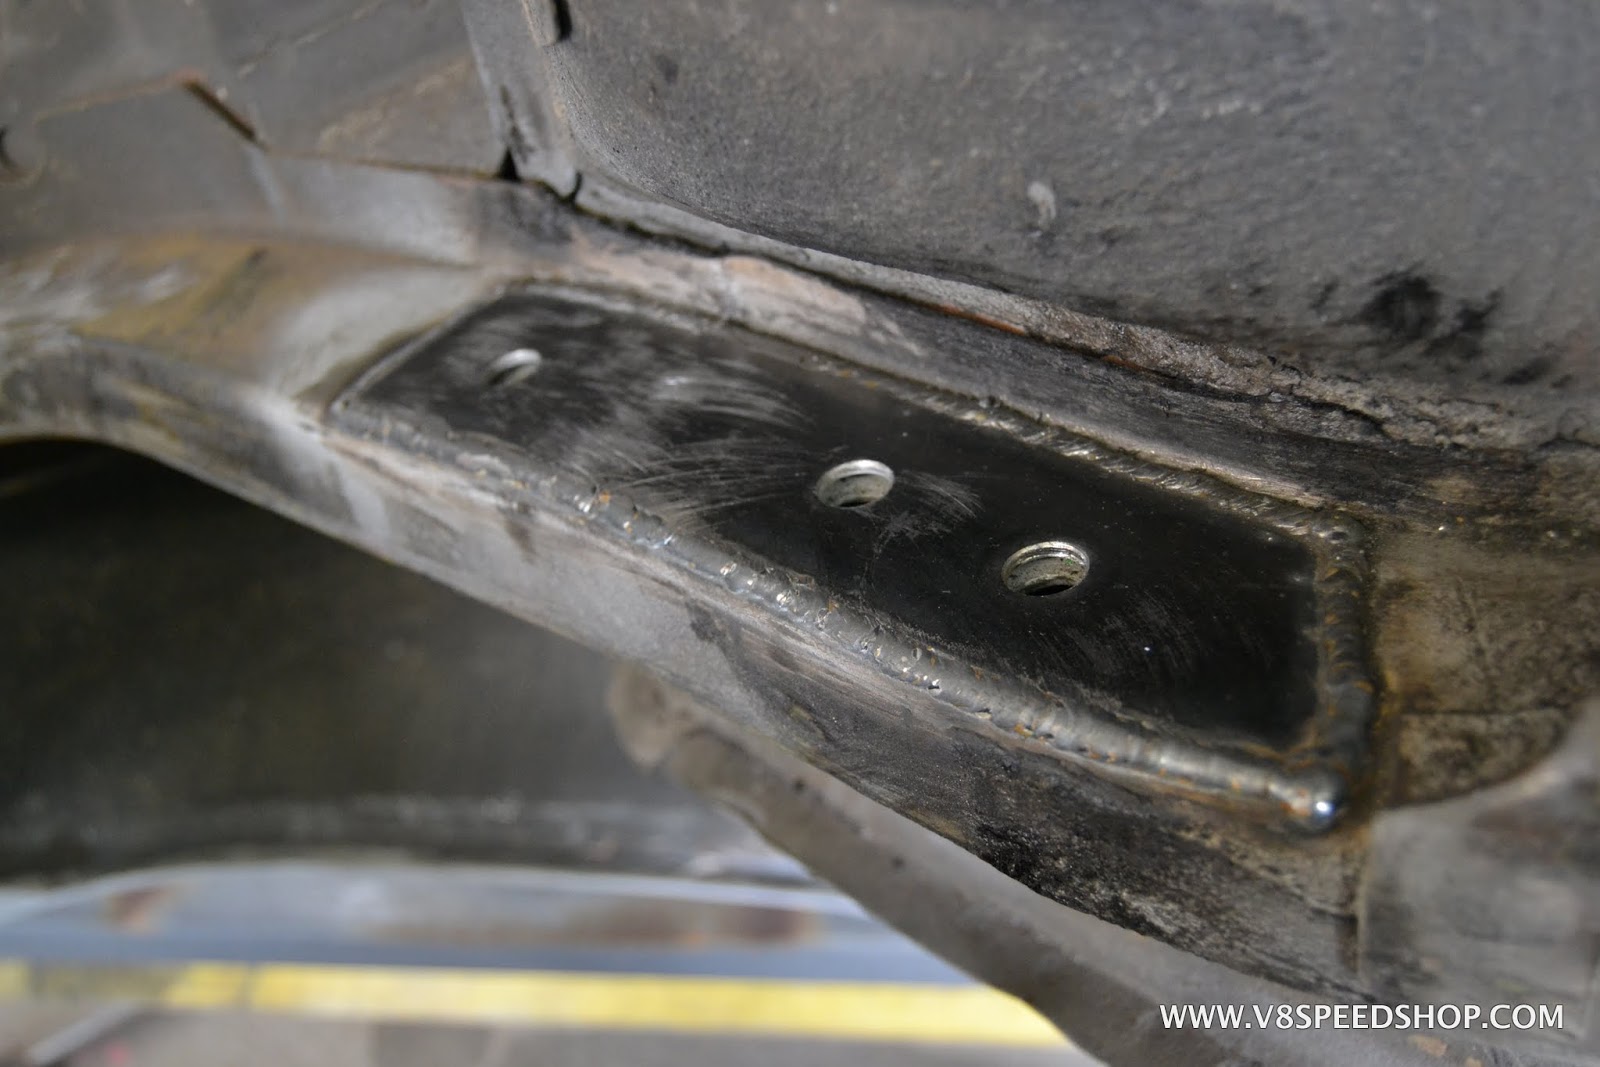
We took the opportunity to strengthen the frame rails where the Heidt’s rear 4-link bars connect to prevent the rails from being crushed by the mounting bolts. This was done by making a set of plates shaped to conform to the rails, then drilling mount holes and welding them in place with the HTP MIG 200 welder.
 Kevin Oeste
V8 Speed and Resto Shop
V8TV
Muscle Car Of The Week
V8 Radio Podcast
All about us:
https://www.v8speedshop.com
08-31-2017 #49
Registered User
- Join Date
- Dec 2004
- Location
- Midwest
- Posts
- 2,263
The bright spots on the floor supports indicate where minor rust repairs were made.
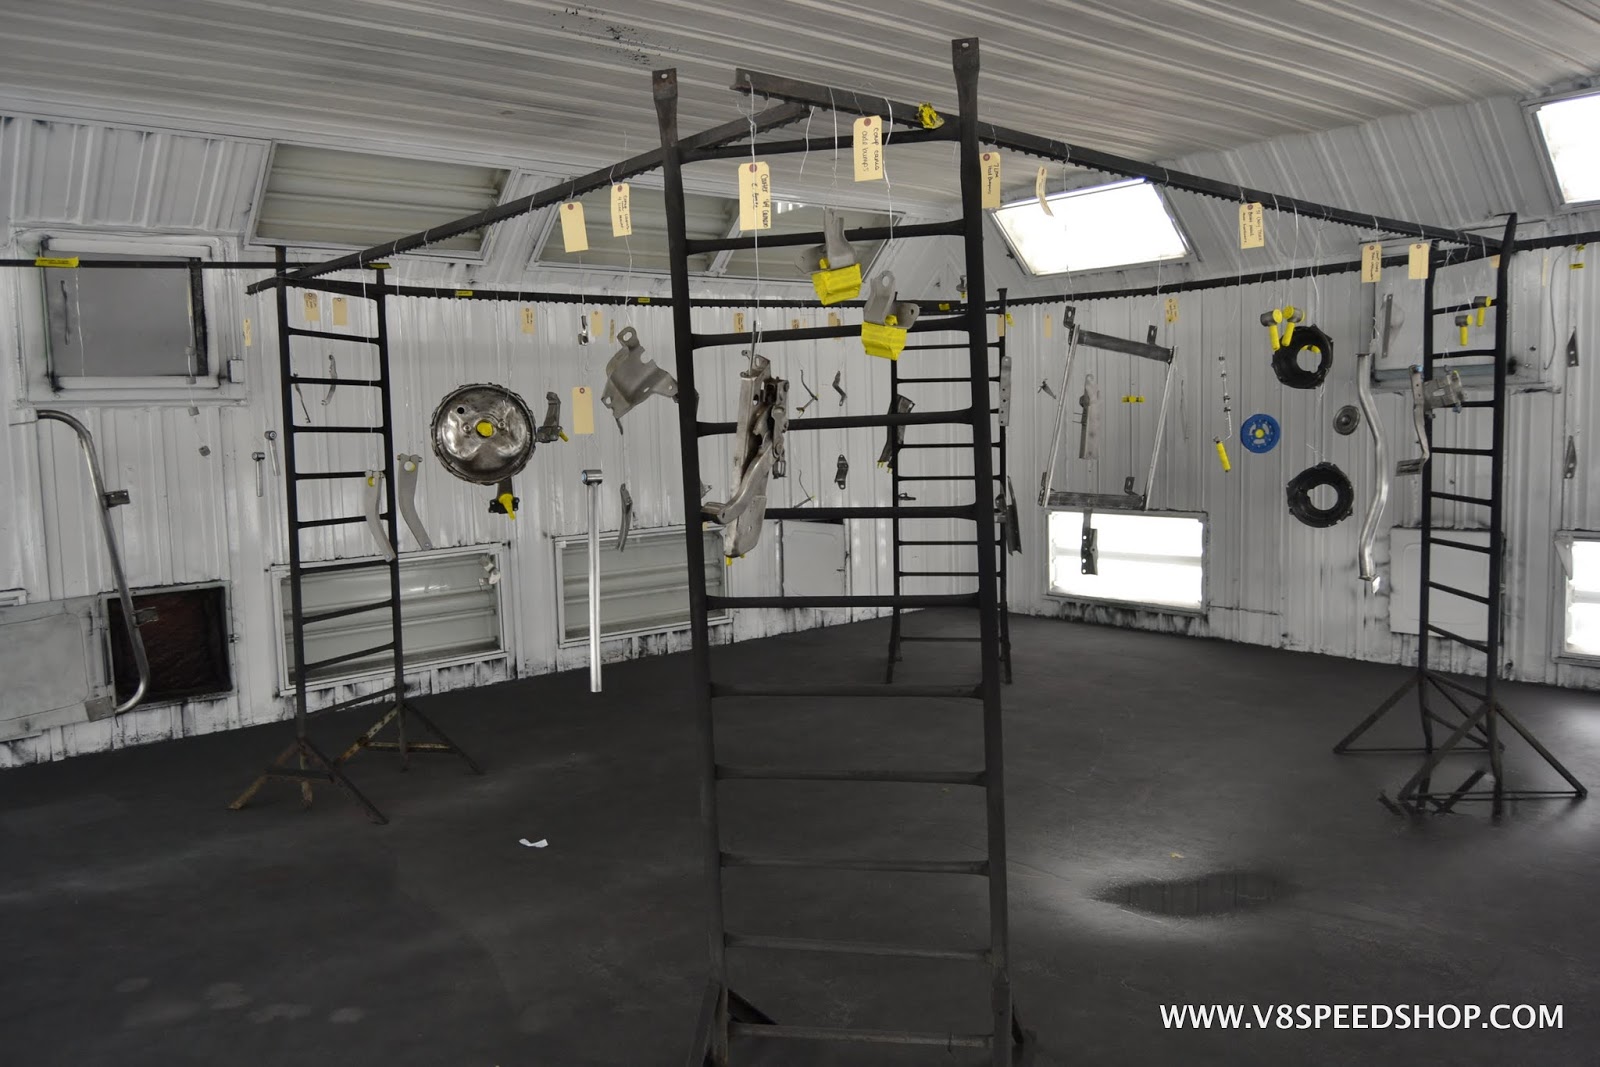
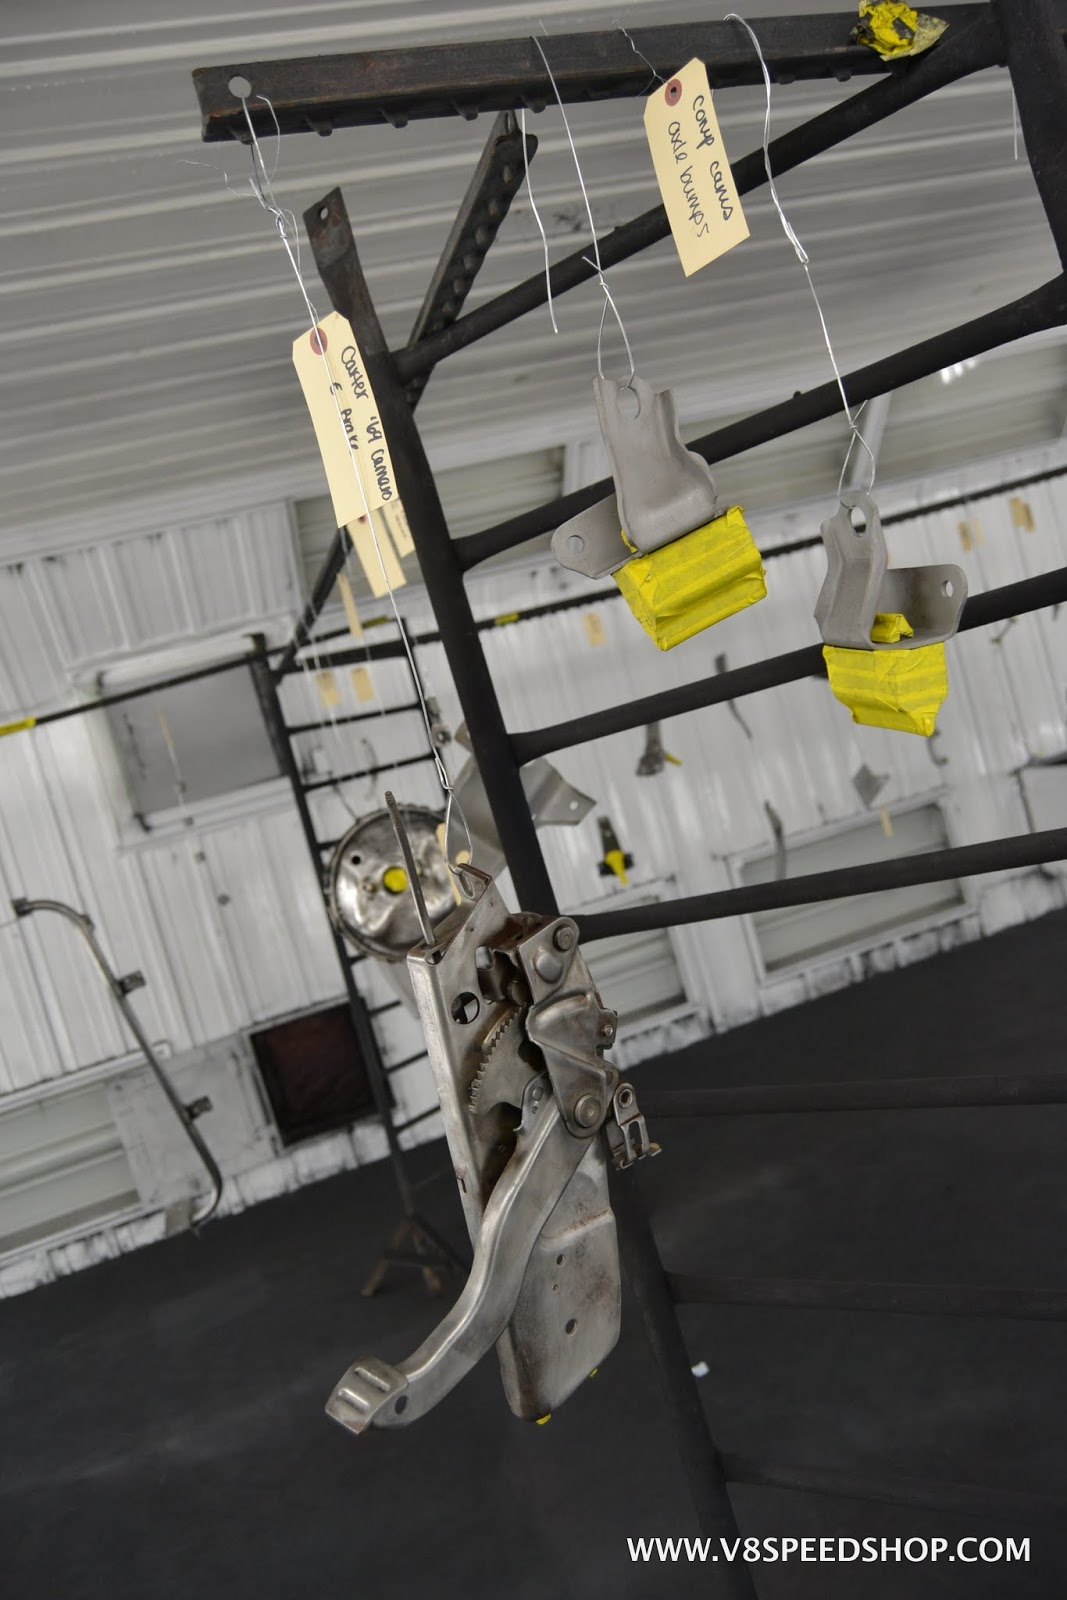
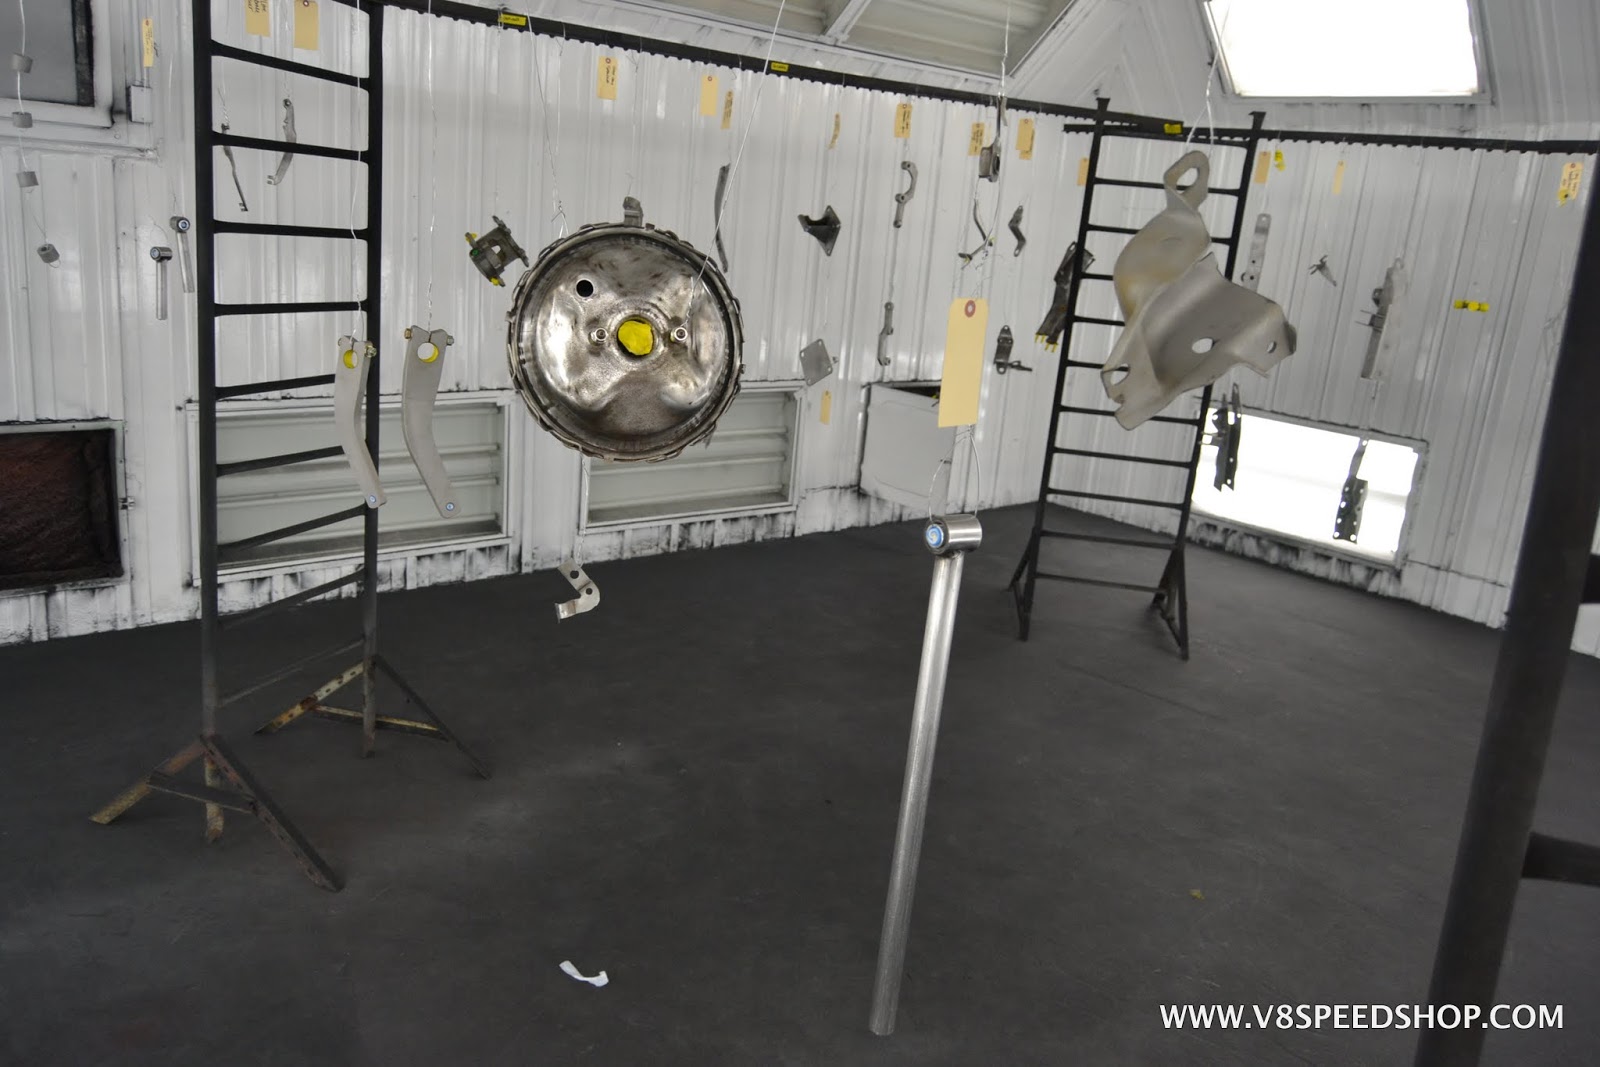
In the paint shop, numerous parts were prepared and painted. The process can include media blasting or chemical cleaning, a hand sanding or Scotchbrite rub, then various wax & grease removers to clean the parts before they are masked and hung in the paint booth. FBS Distributors sprayers are helpful to rinse parts down, and tape labels an tags are often used to ID the parts. It’s a long process, but the results deliver great coverage and adhesion.
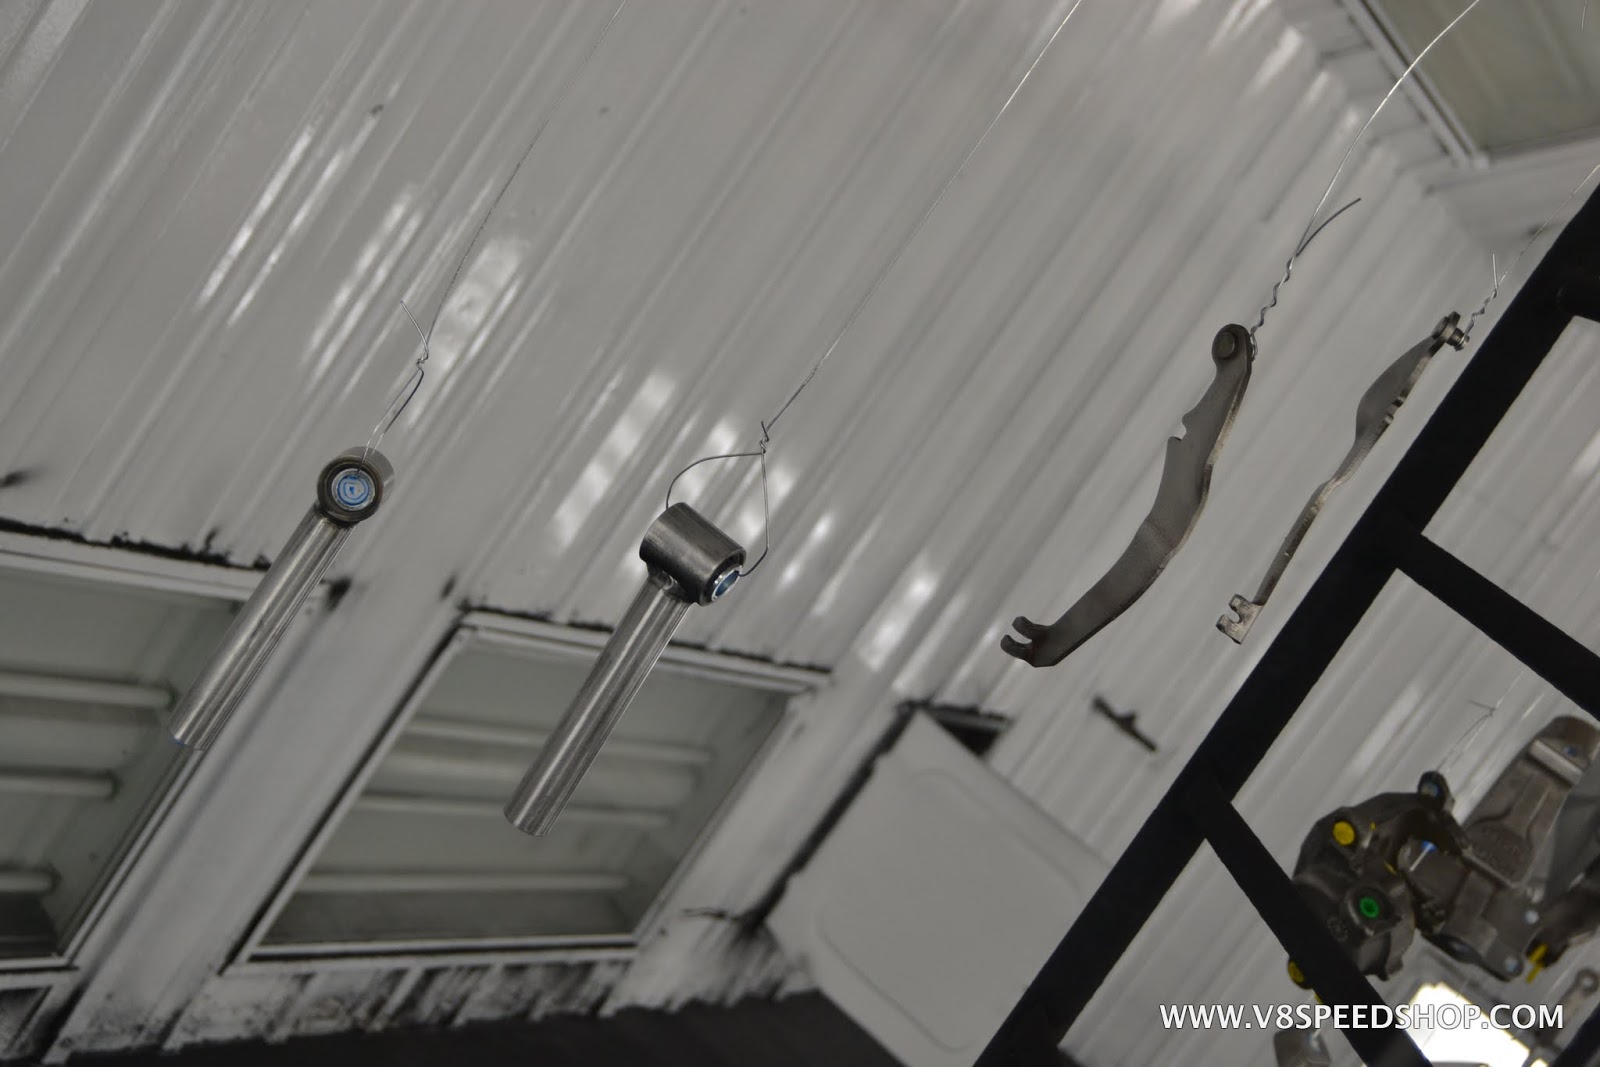
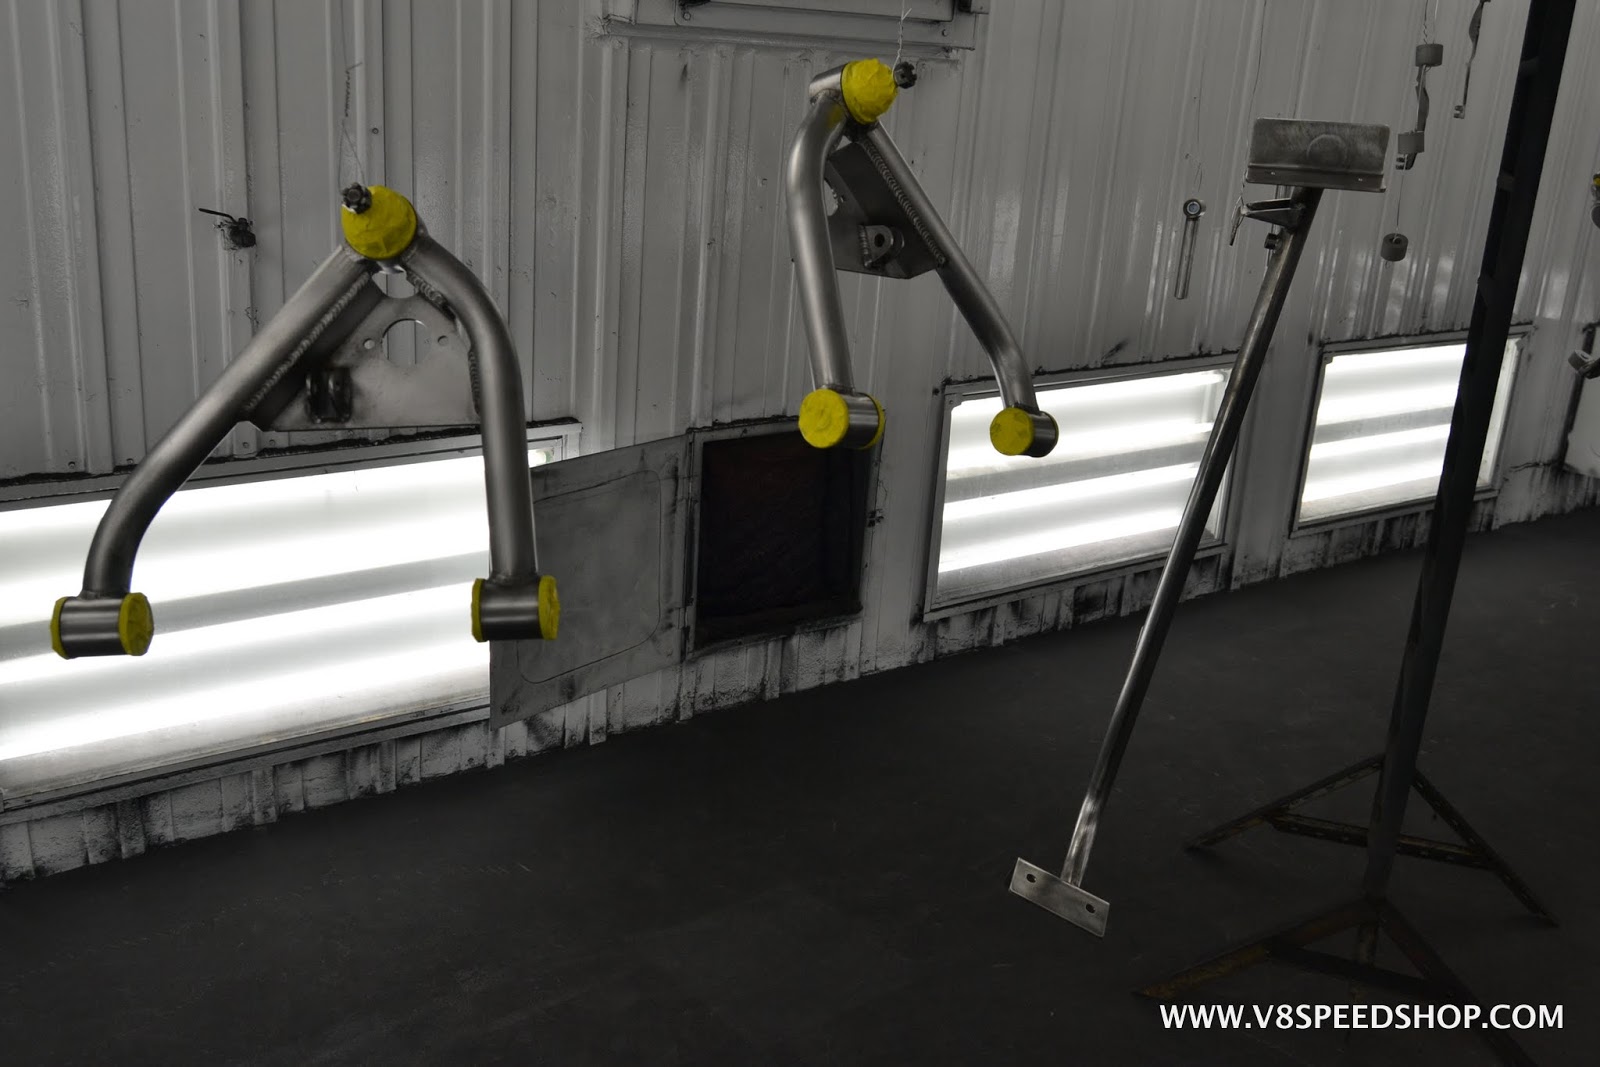
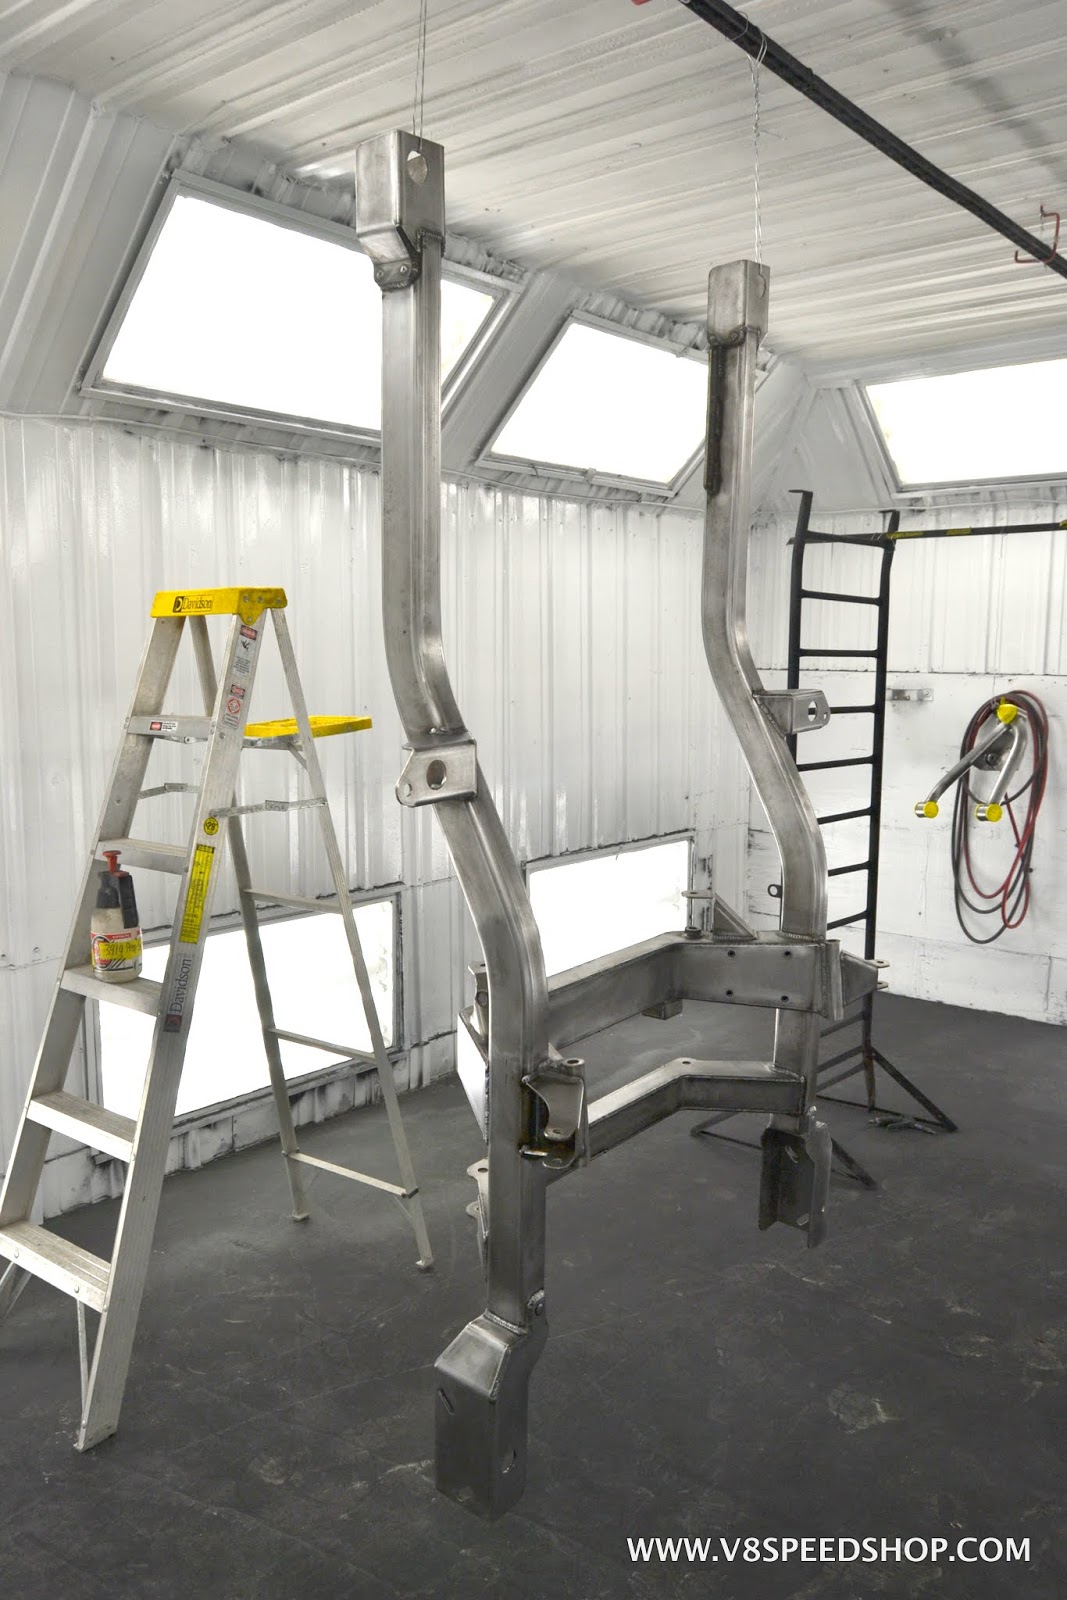
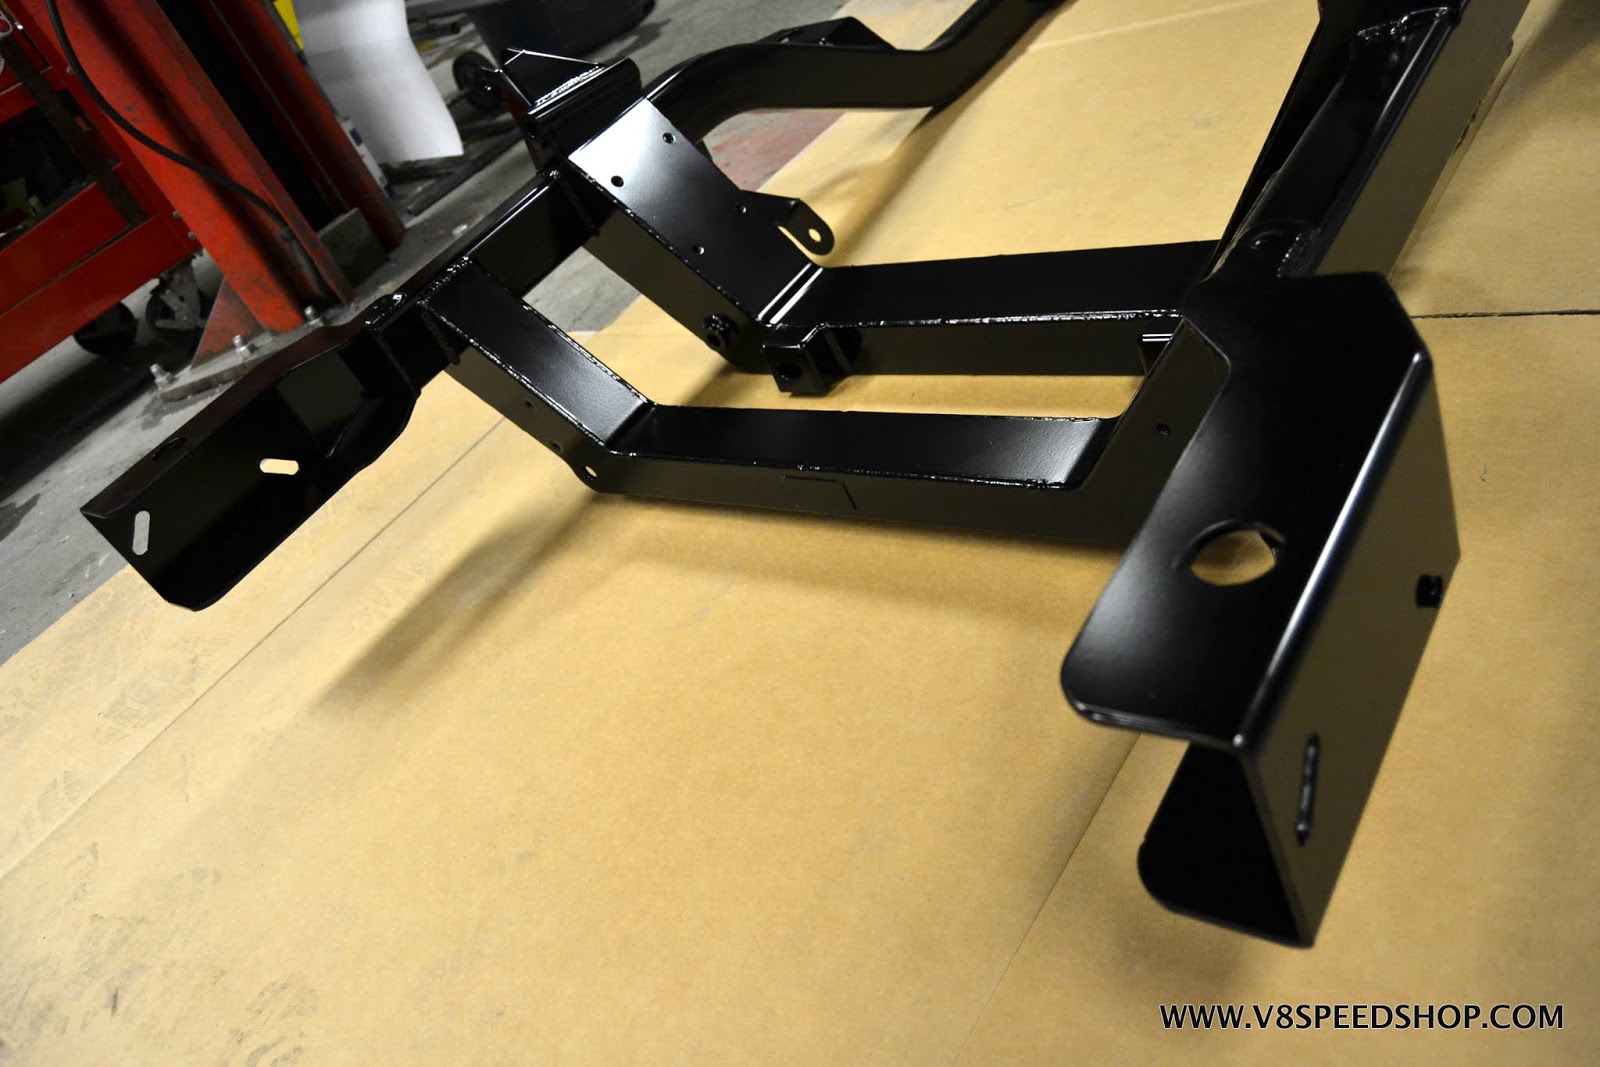
The Heidt’s subframe was meticulously sanded, cleaned, and hung in the booth for Axalta epoxy and satin black Imron paint.
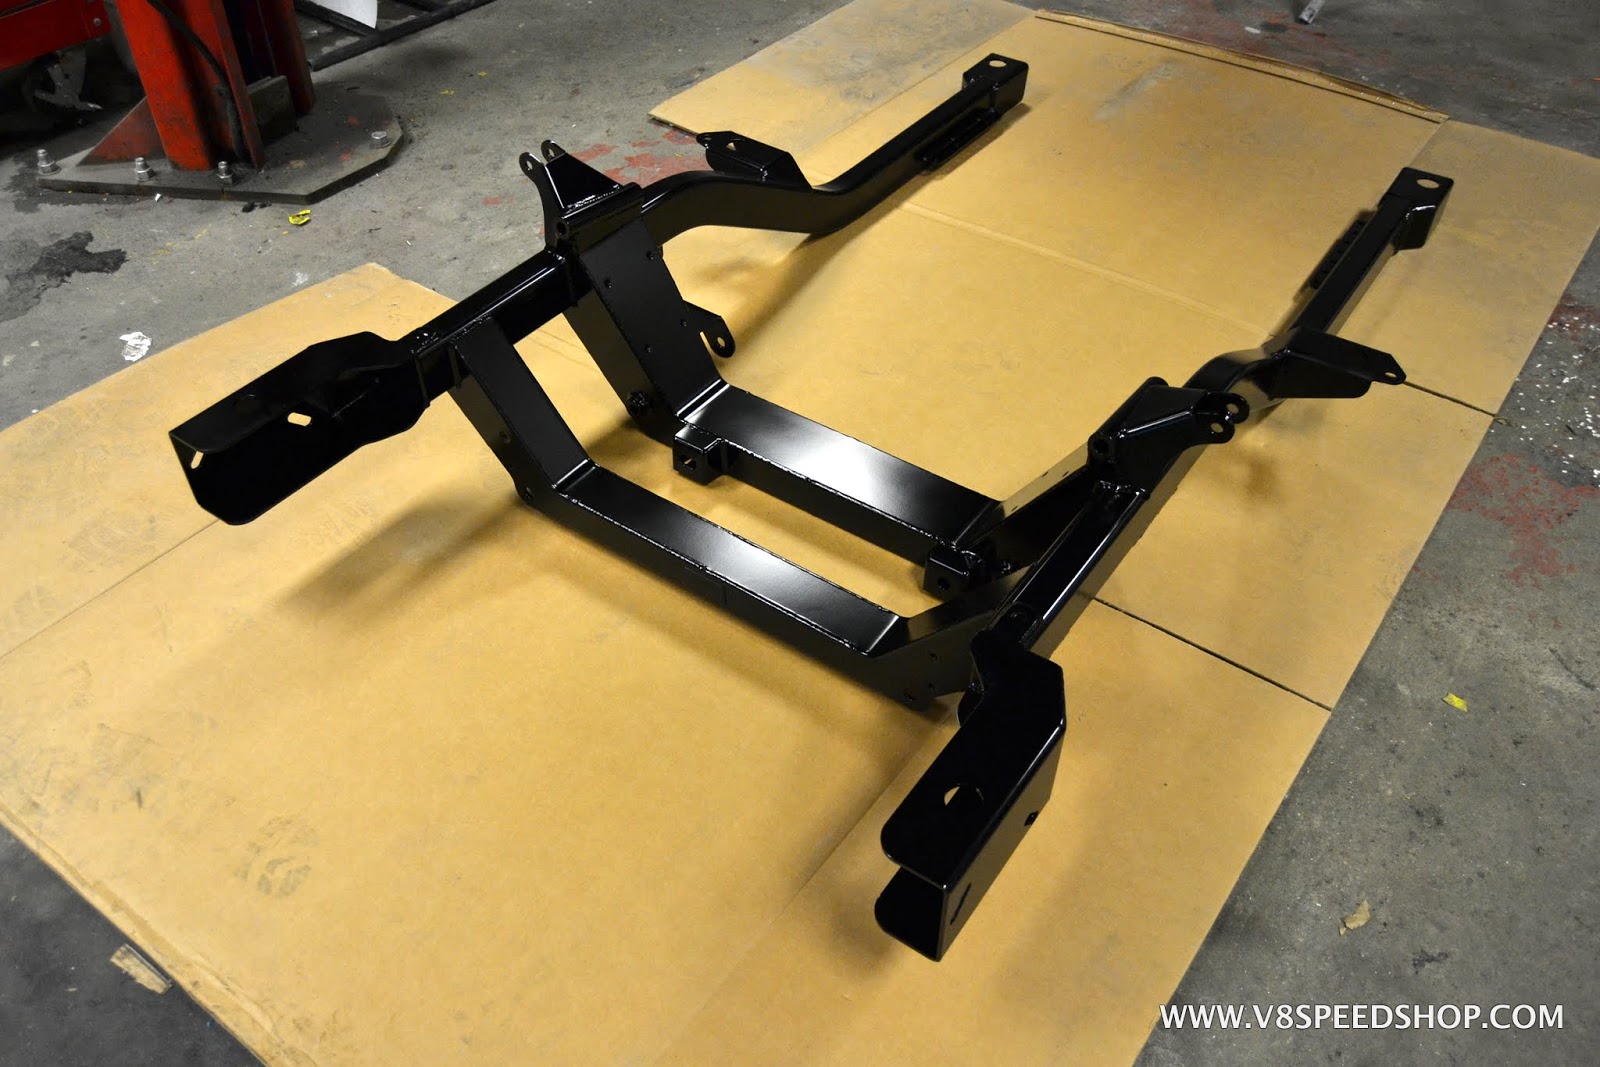
The completed subframe looks pretty sharp!
 Kevin Oeste
V8 Speed and Resto Shop
V8TV
Muscle Car Of The Week
V8 Radio Podcast
All about us:
https://www.v8speedshop.com
08-31-2017 #50
Registered User
- Join Date
- Dec 2004
- Location
- Midwest
- Posts
- 2,263
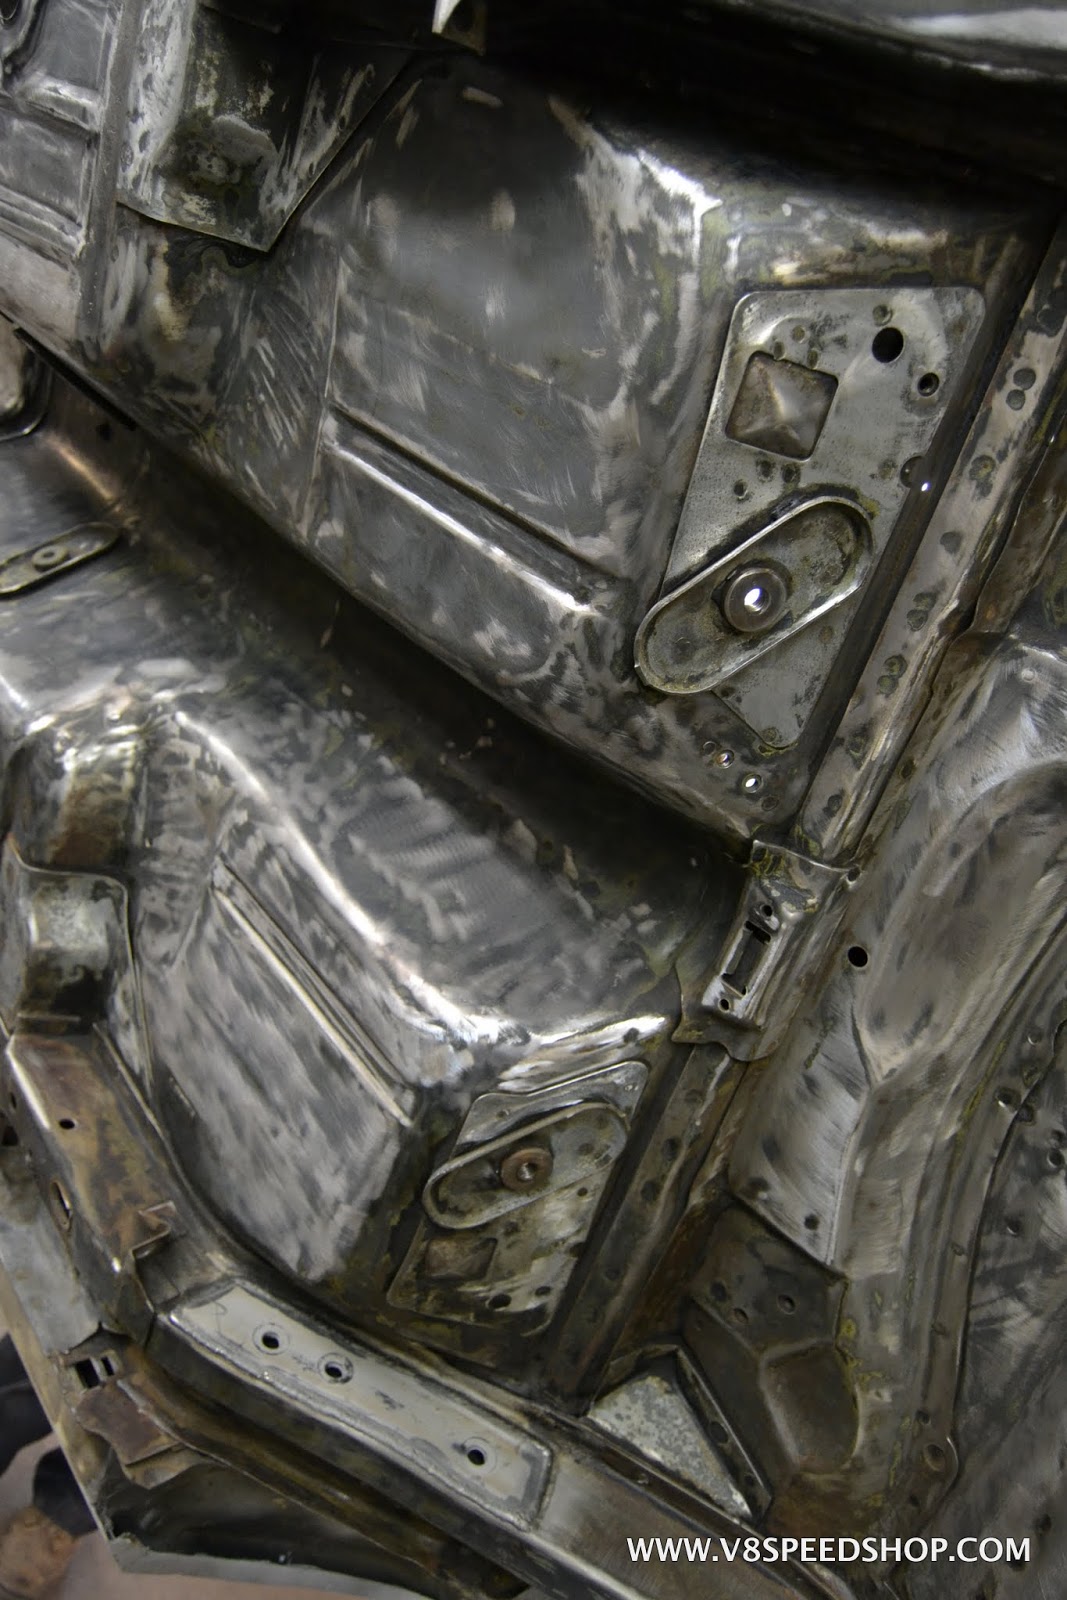
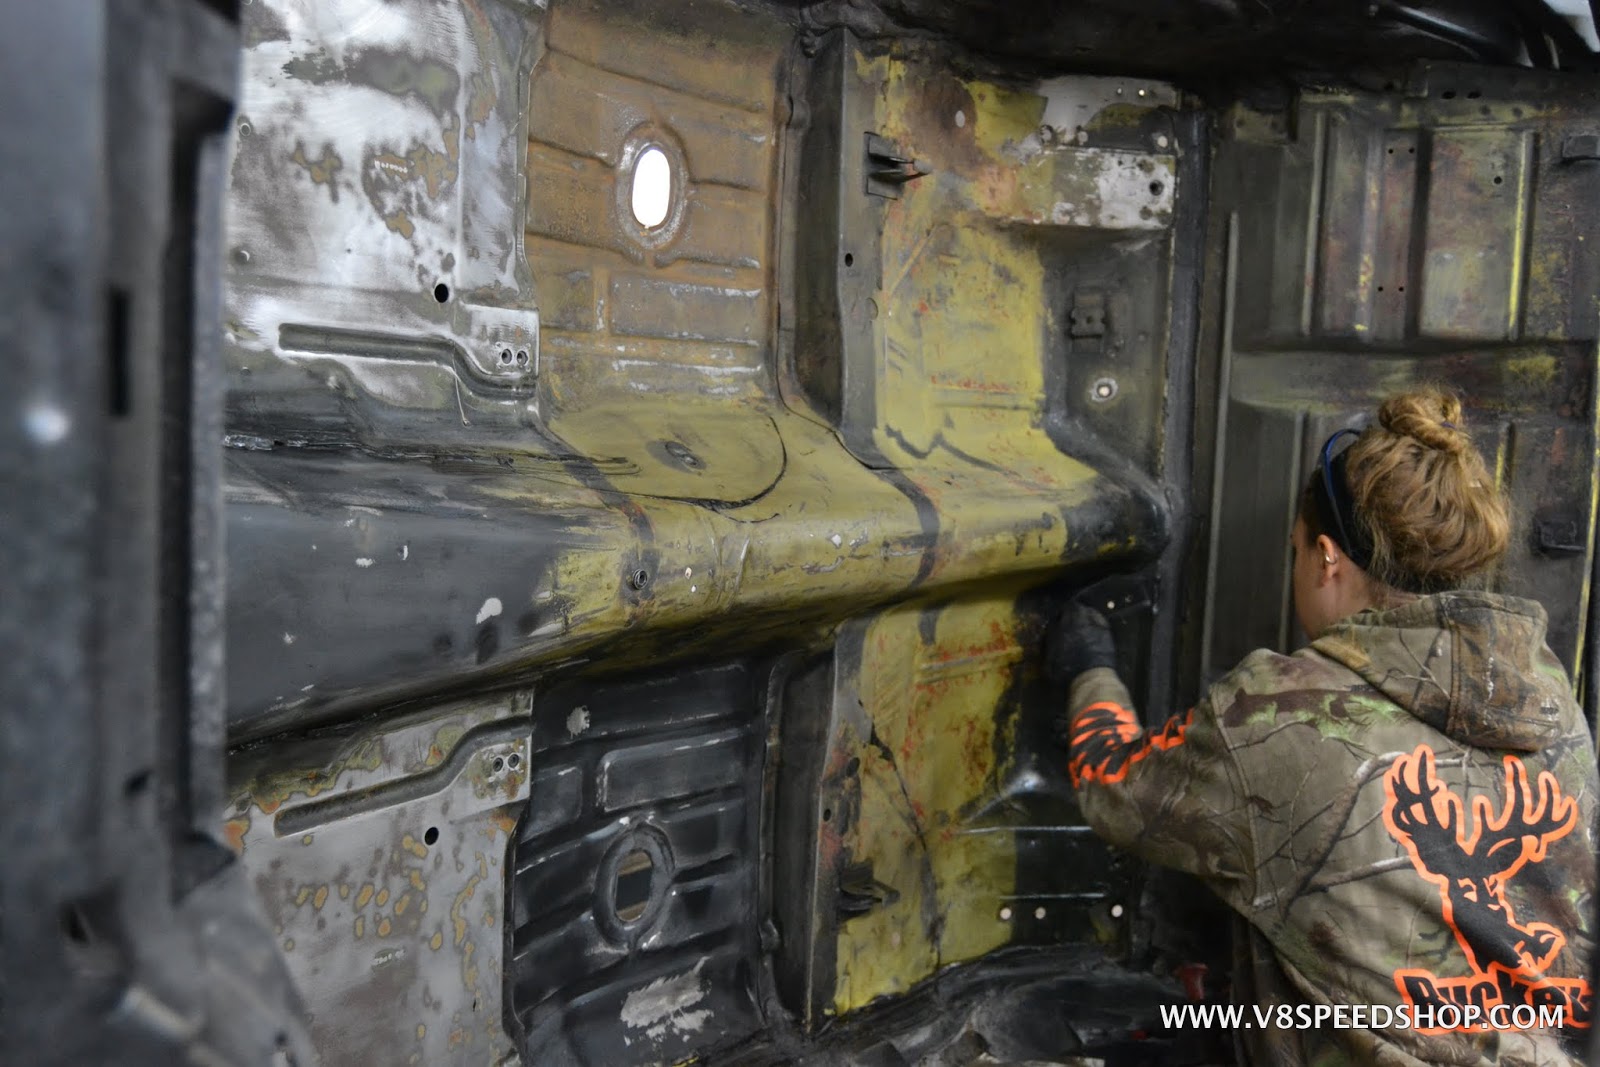
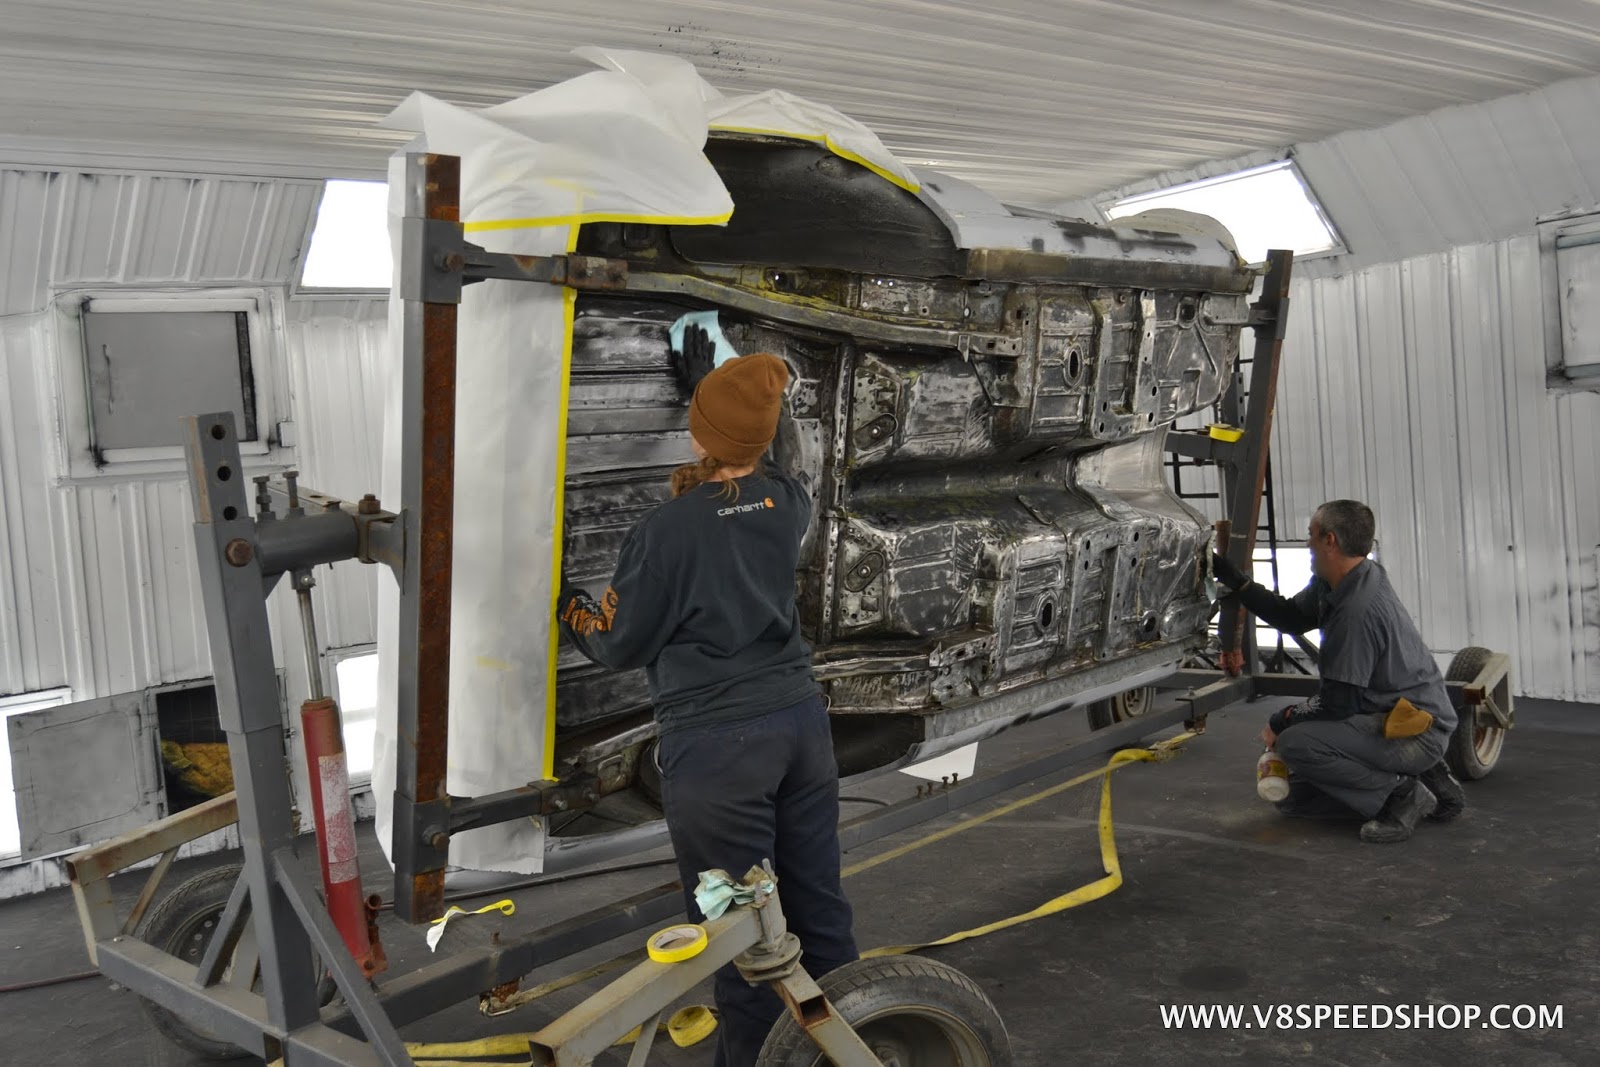
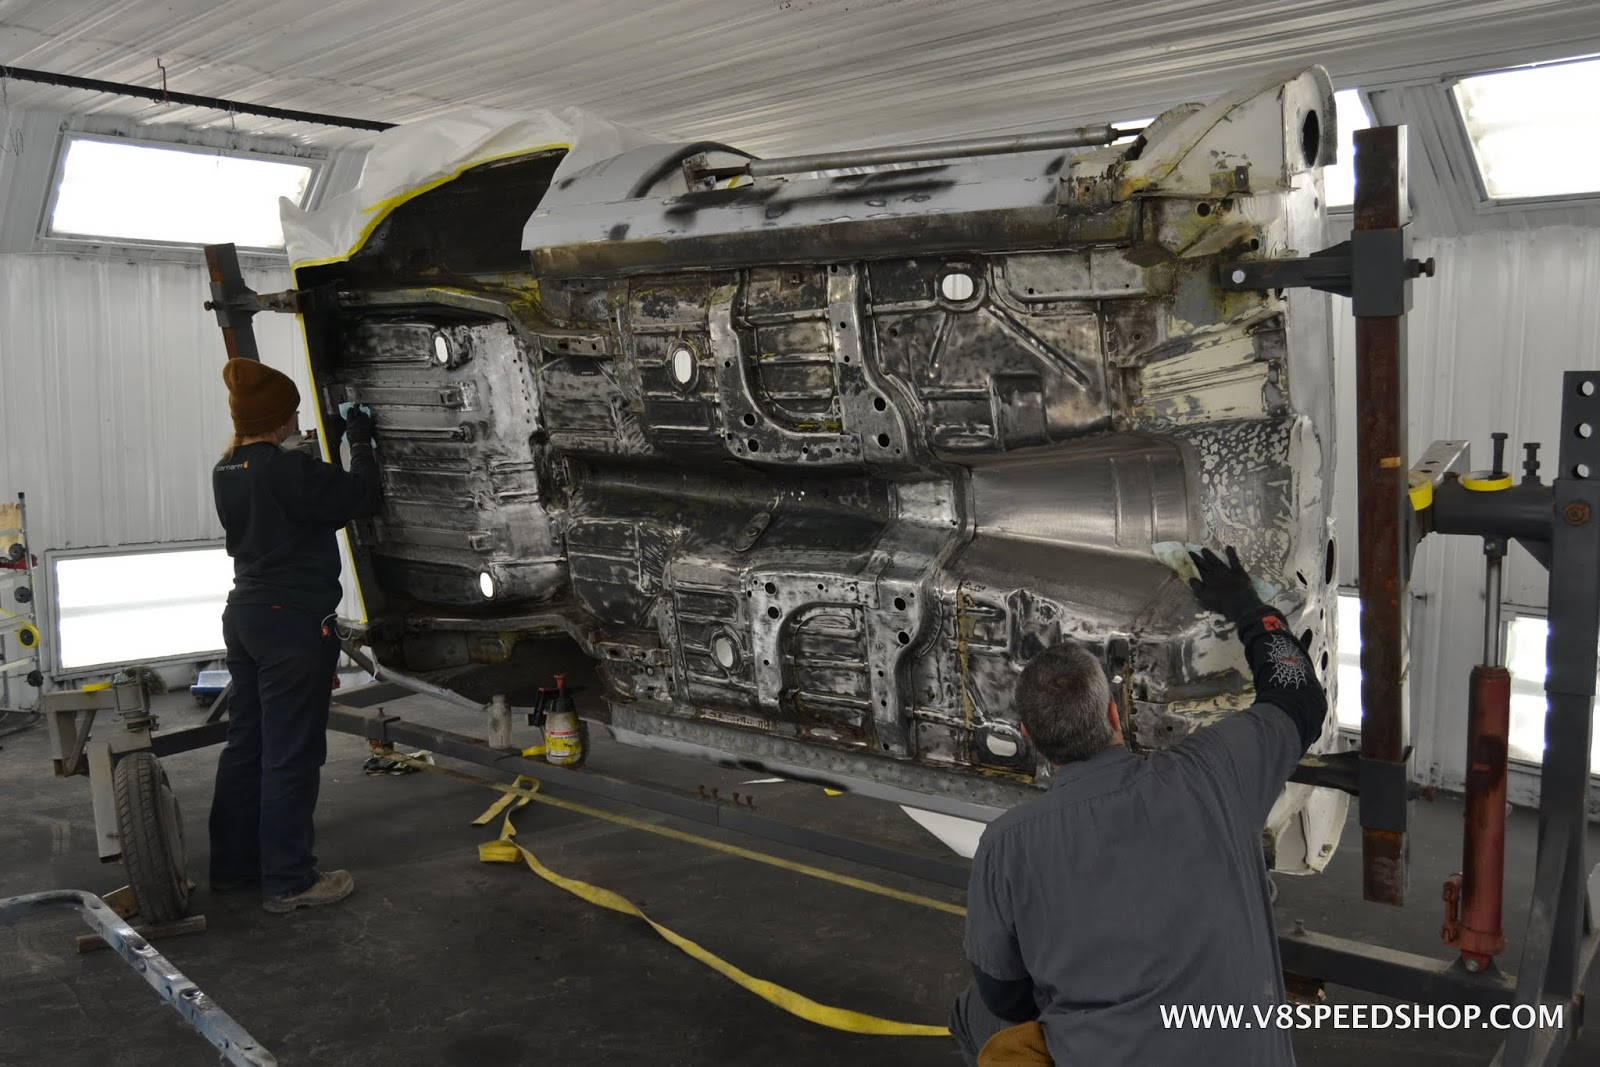
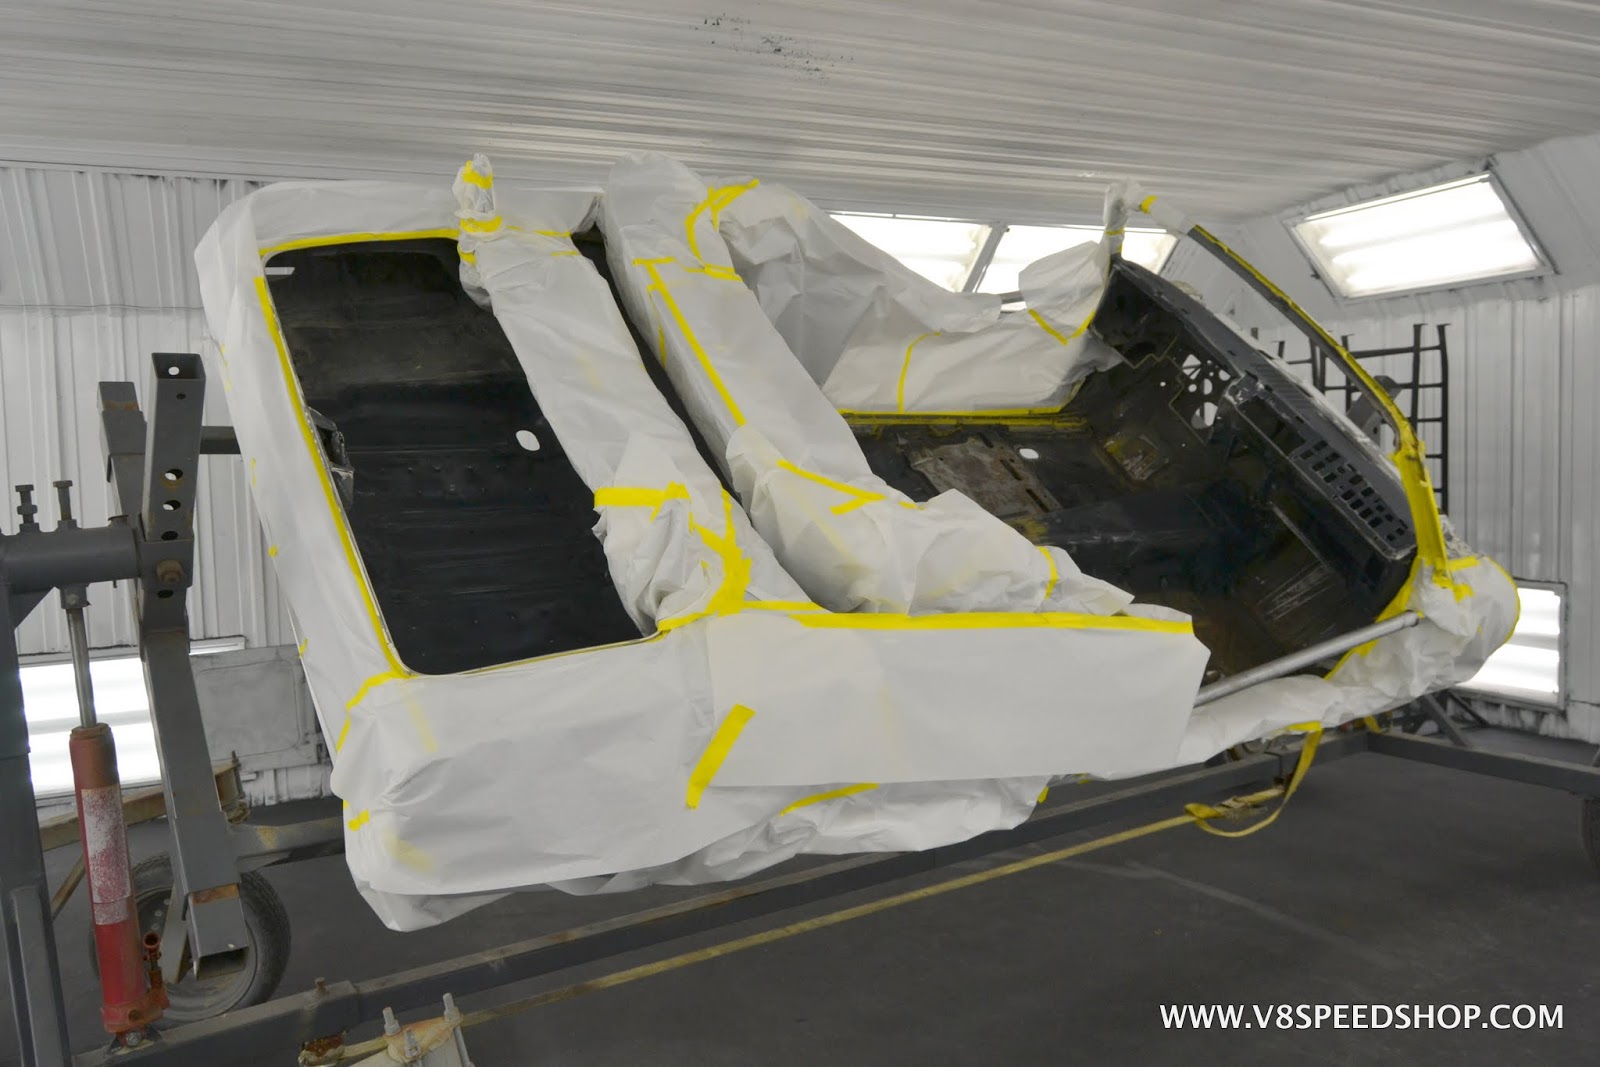
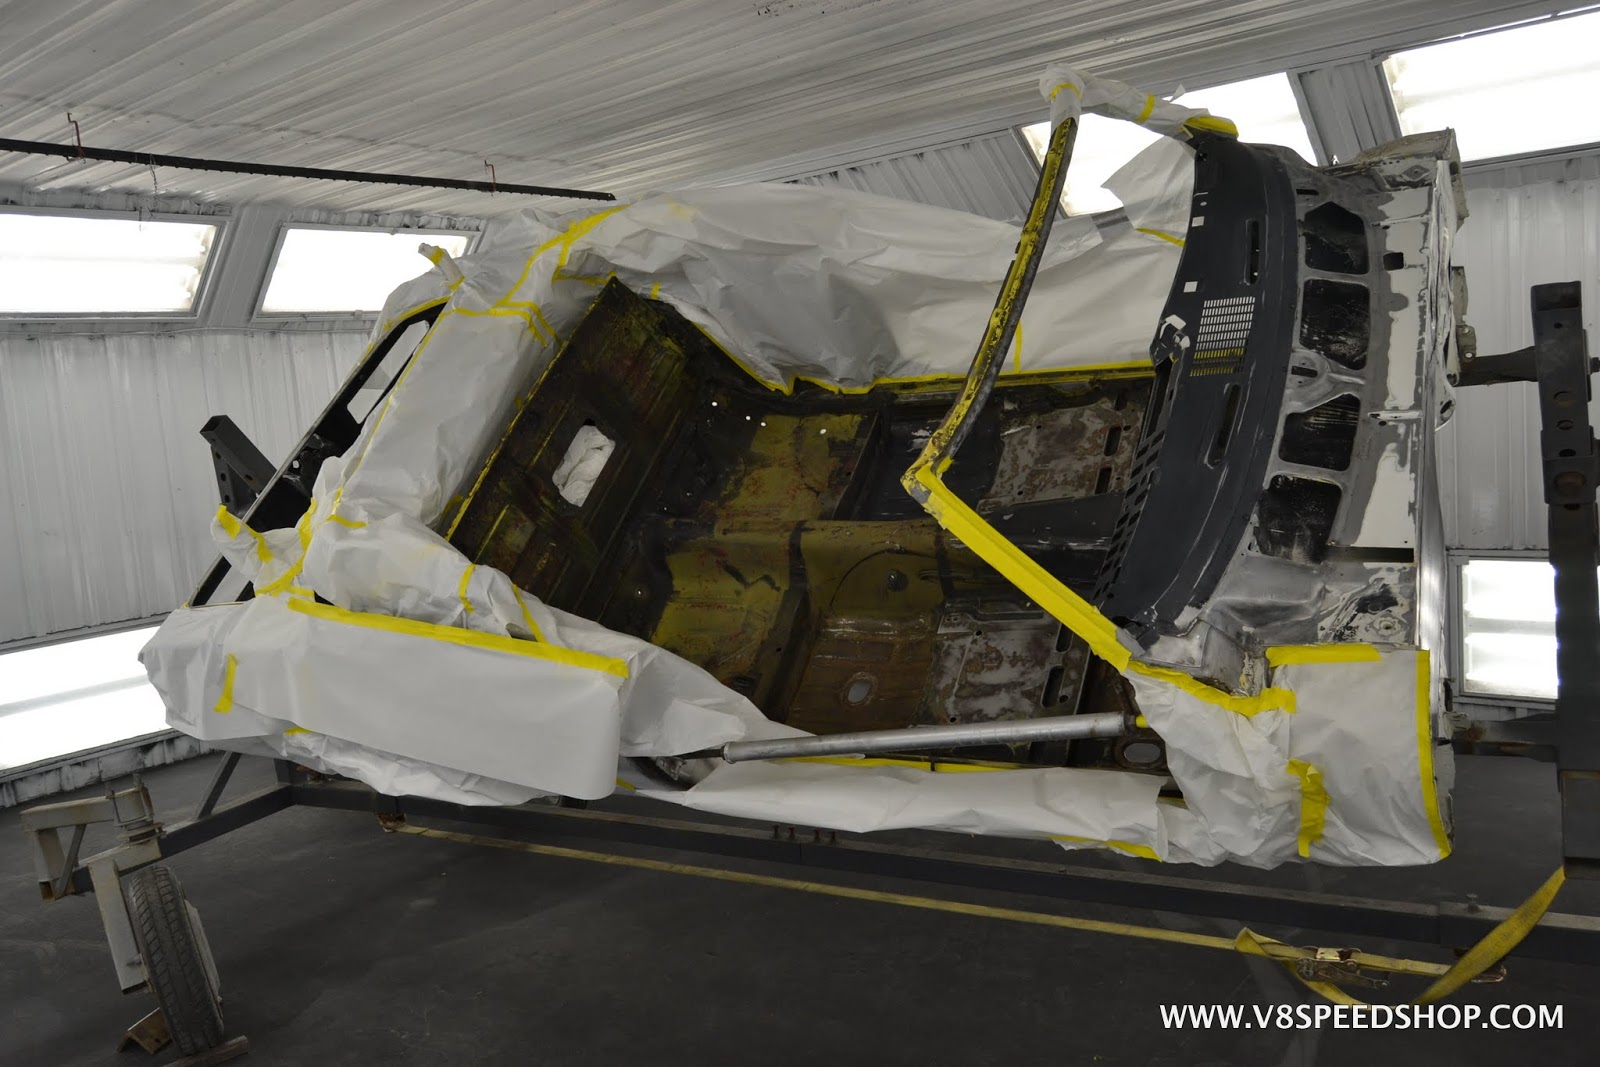
The next phase was to prep the bottom of the body shell for paint. Again, the entire tub was sanded and cleaned, then masked and cleaned with wax & grease remover before receiving Axalta epoxy primer. If this was to be a “show” car, the bottom side would have been media blasted, but COMP wanted a driver and did not put a high priority on underside detail.
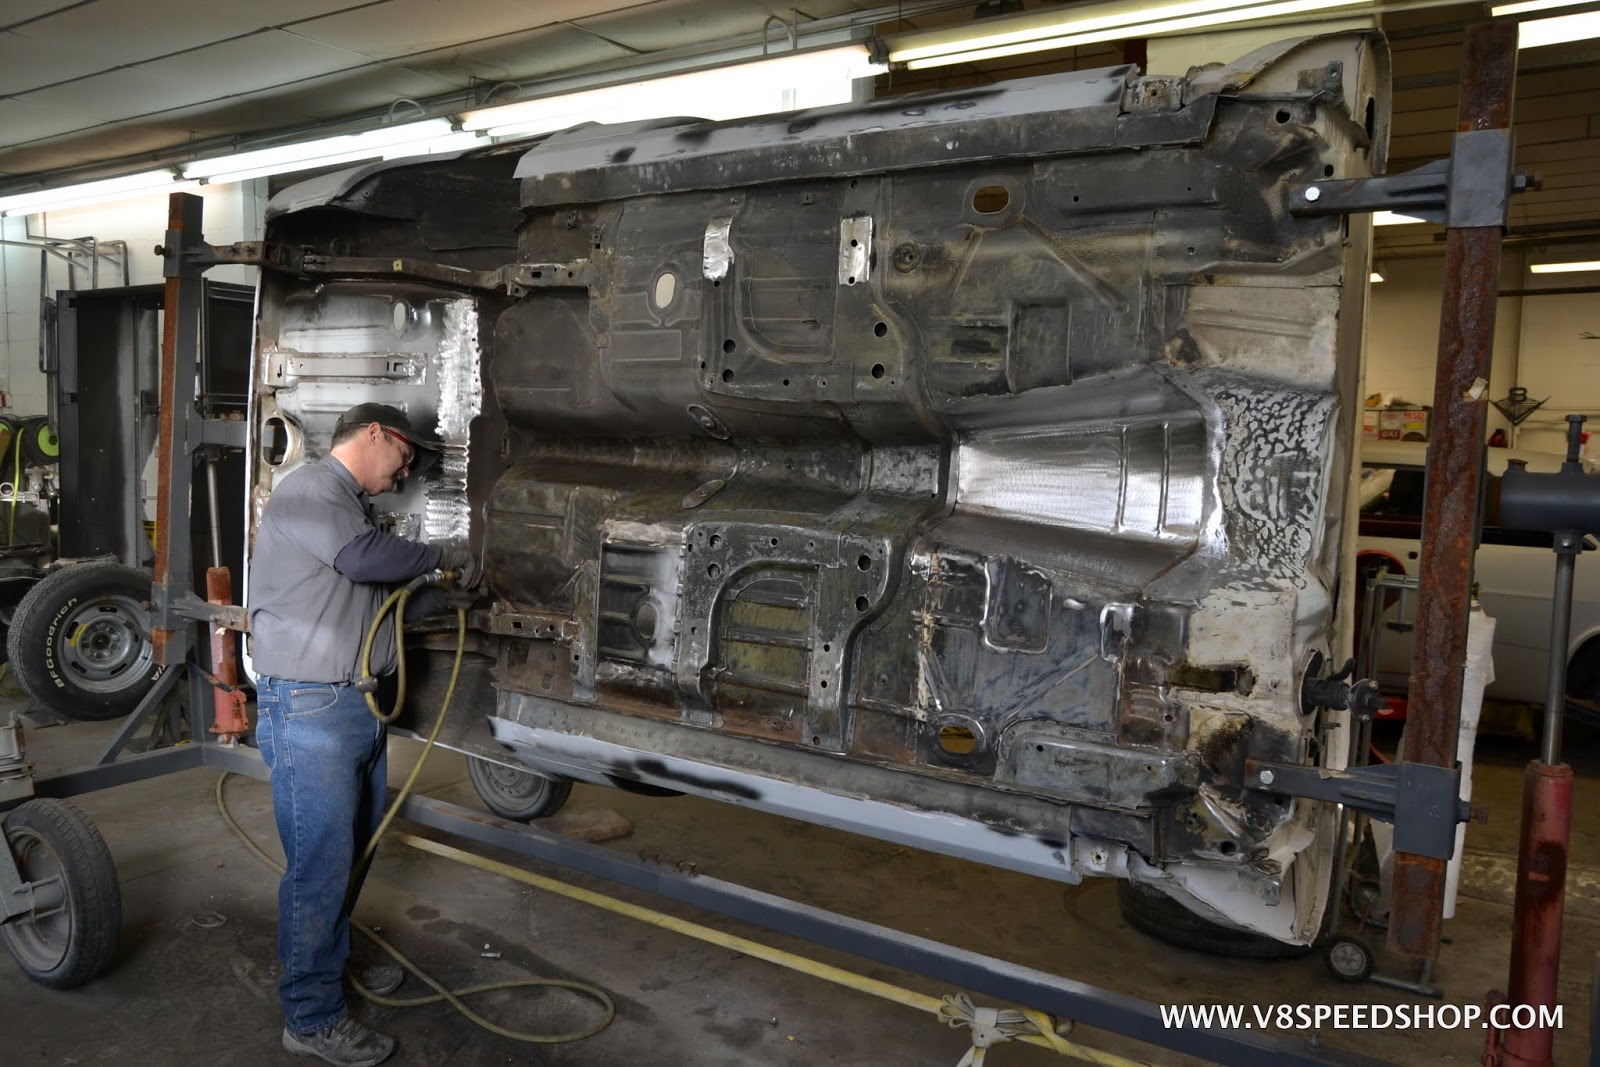
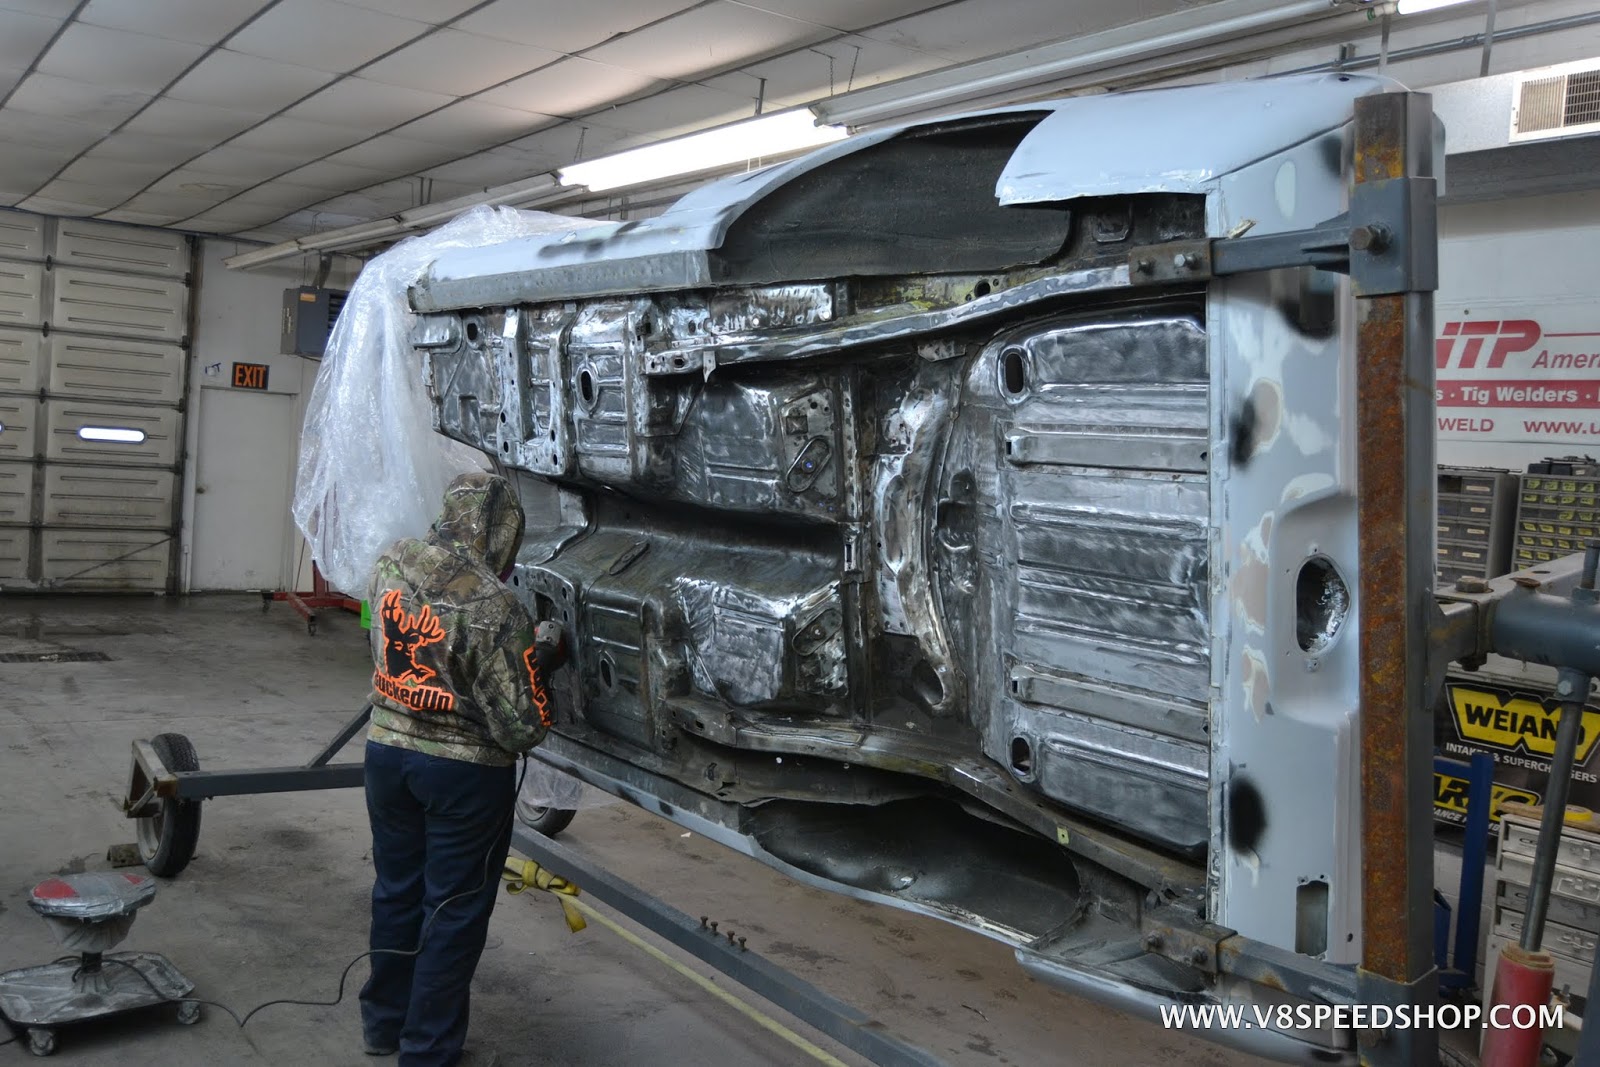
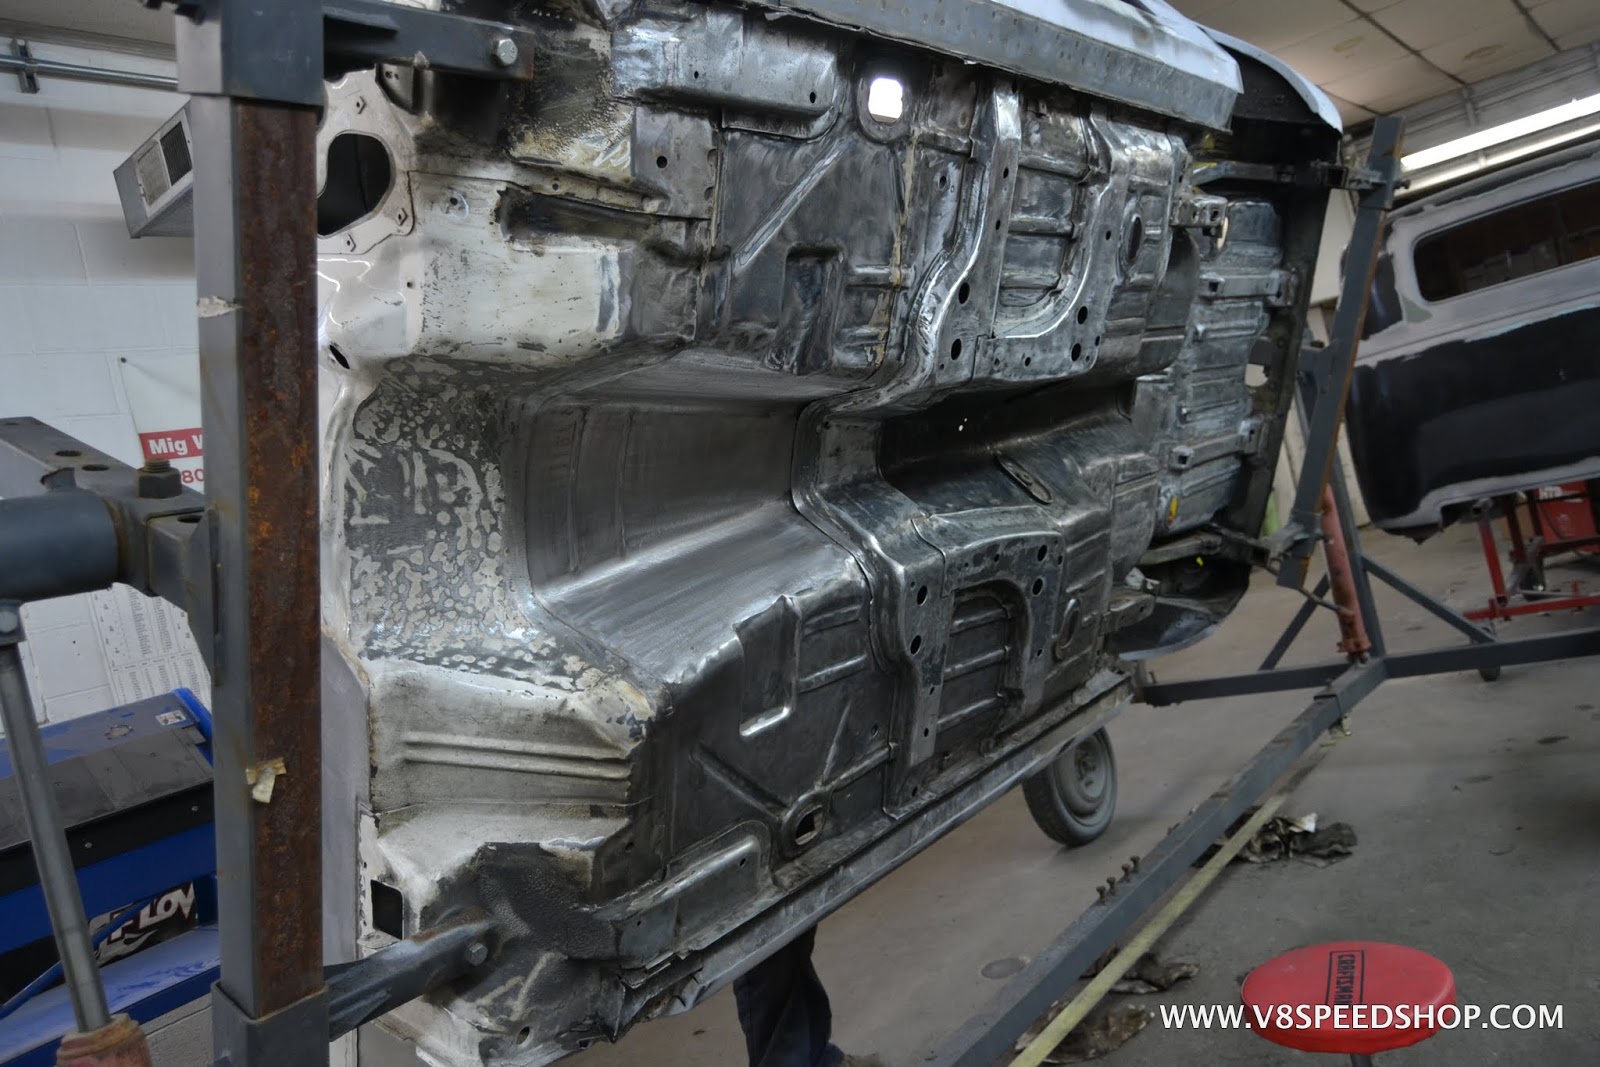
The inside of the tub was cleaned and prepped as well.
 Kevin Oeste
V8 Speed and Resto Shop
V8TV
Muscle Car Of The Week
V8 Radio Podcast
All about us:
https://www.v8speedshop.com
08-31-2017 #51
Registered User
- Join Date
- Dec 2004
- Location
- Midwest
- Posts
- 2,263
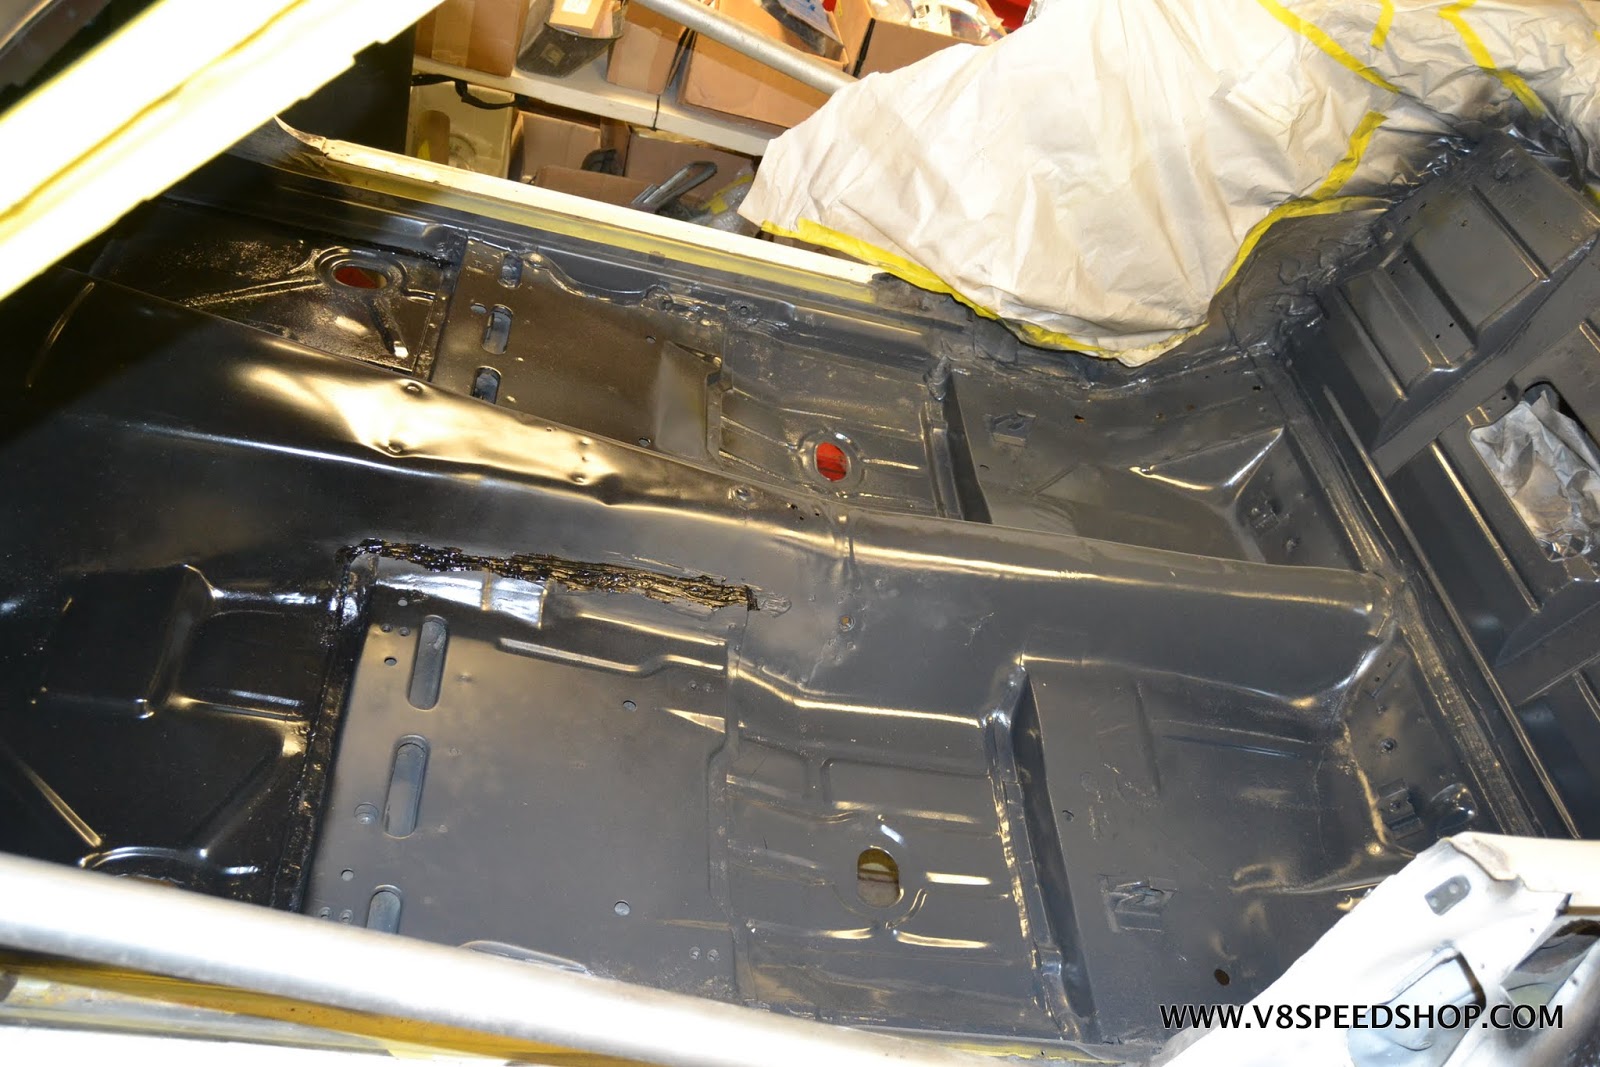
First epoxy prime coat applied:
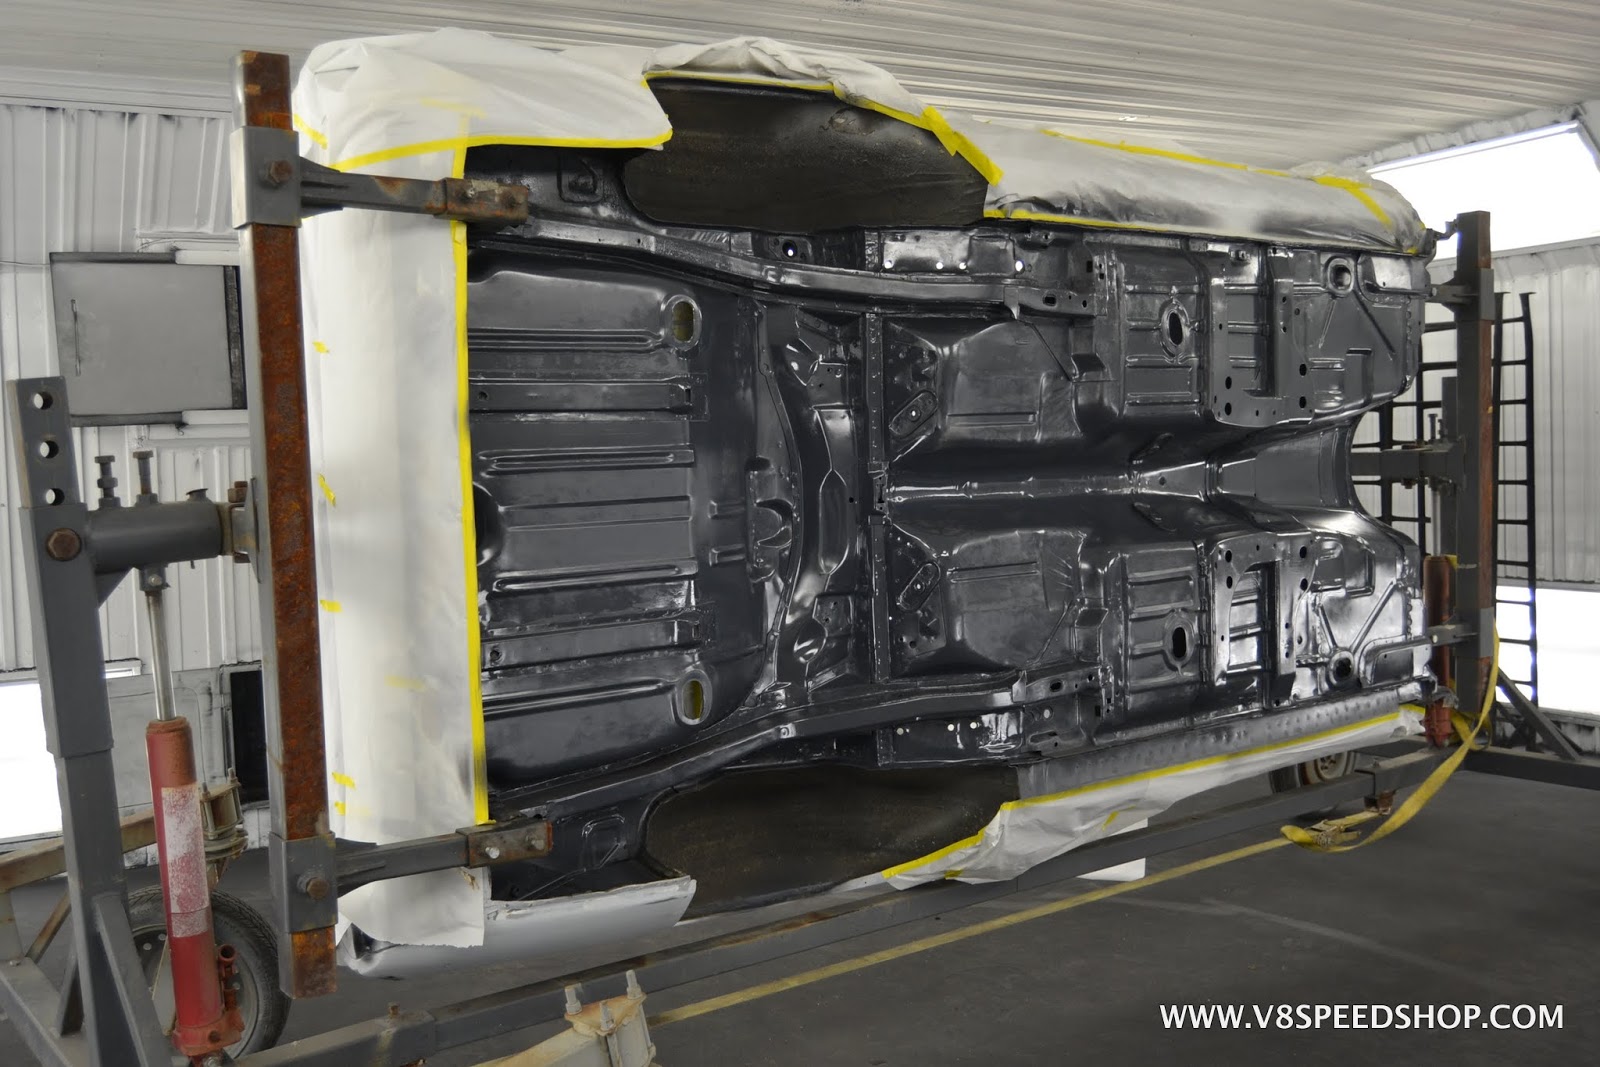
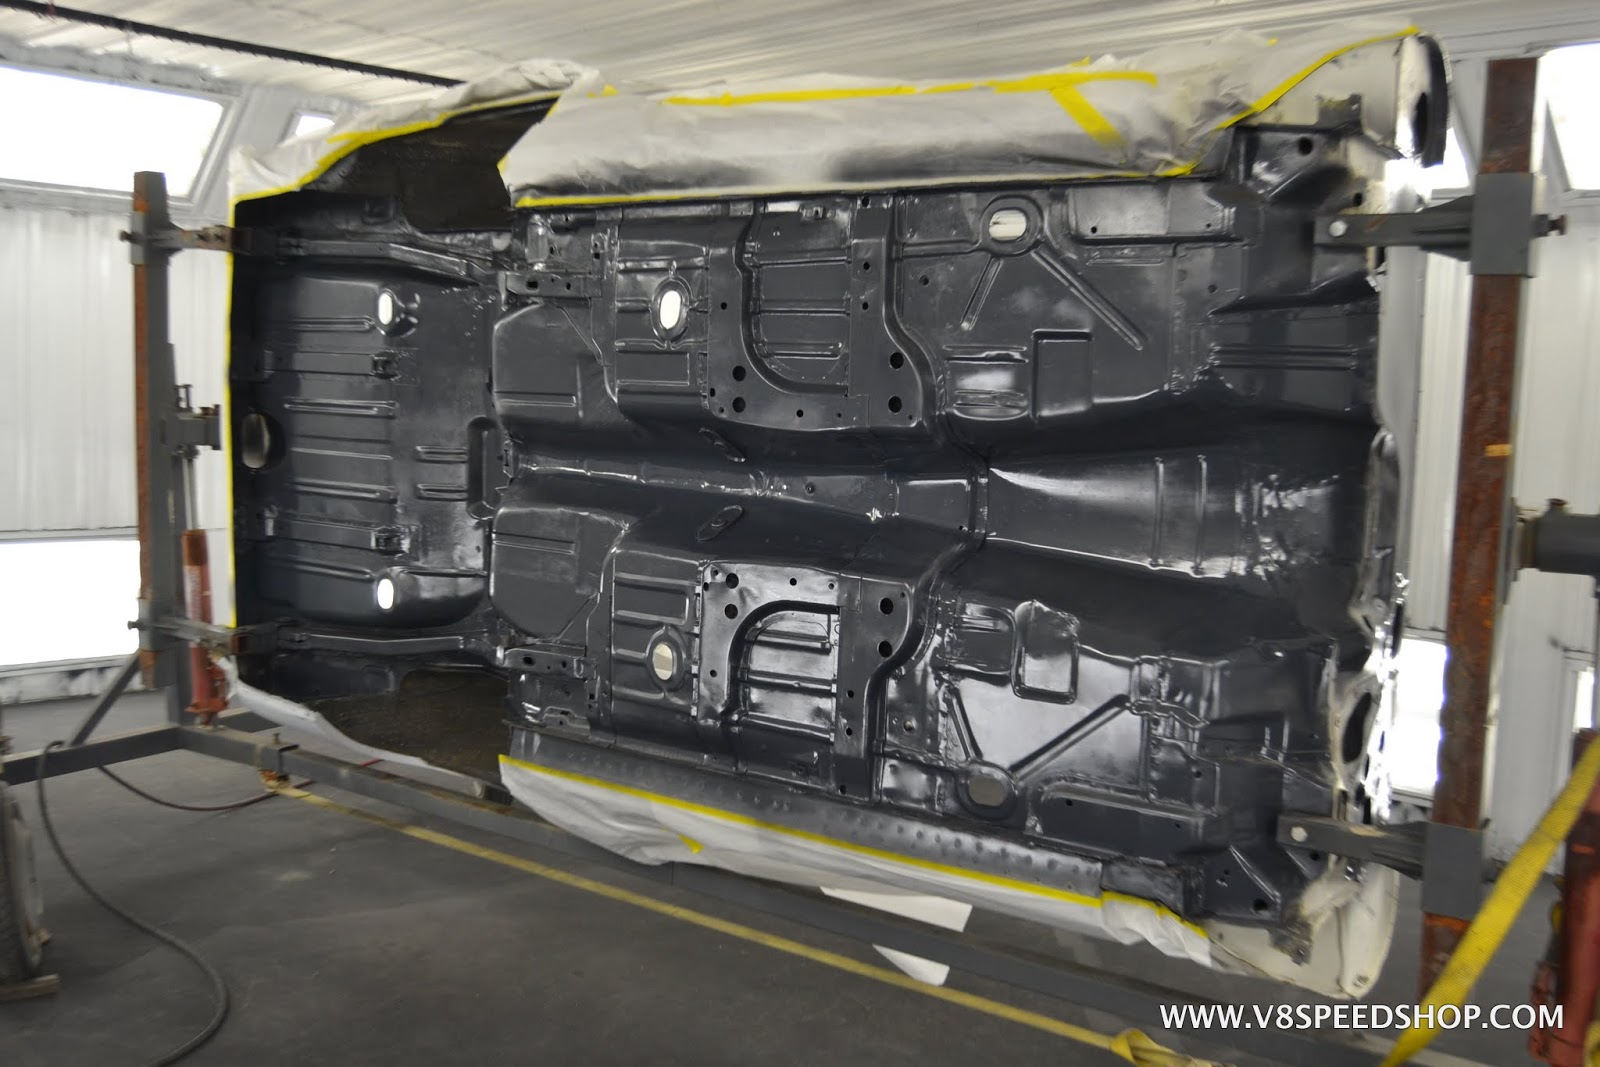
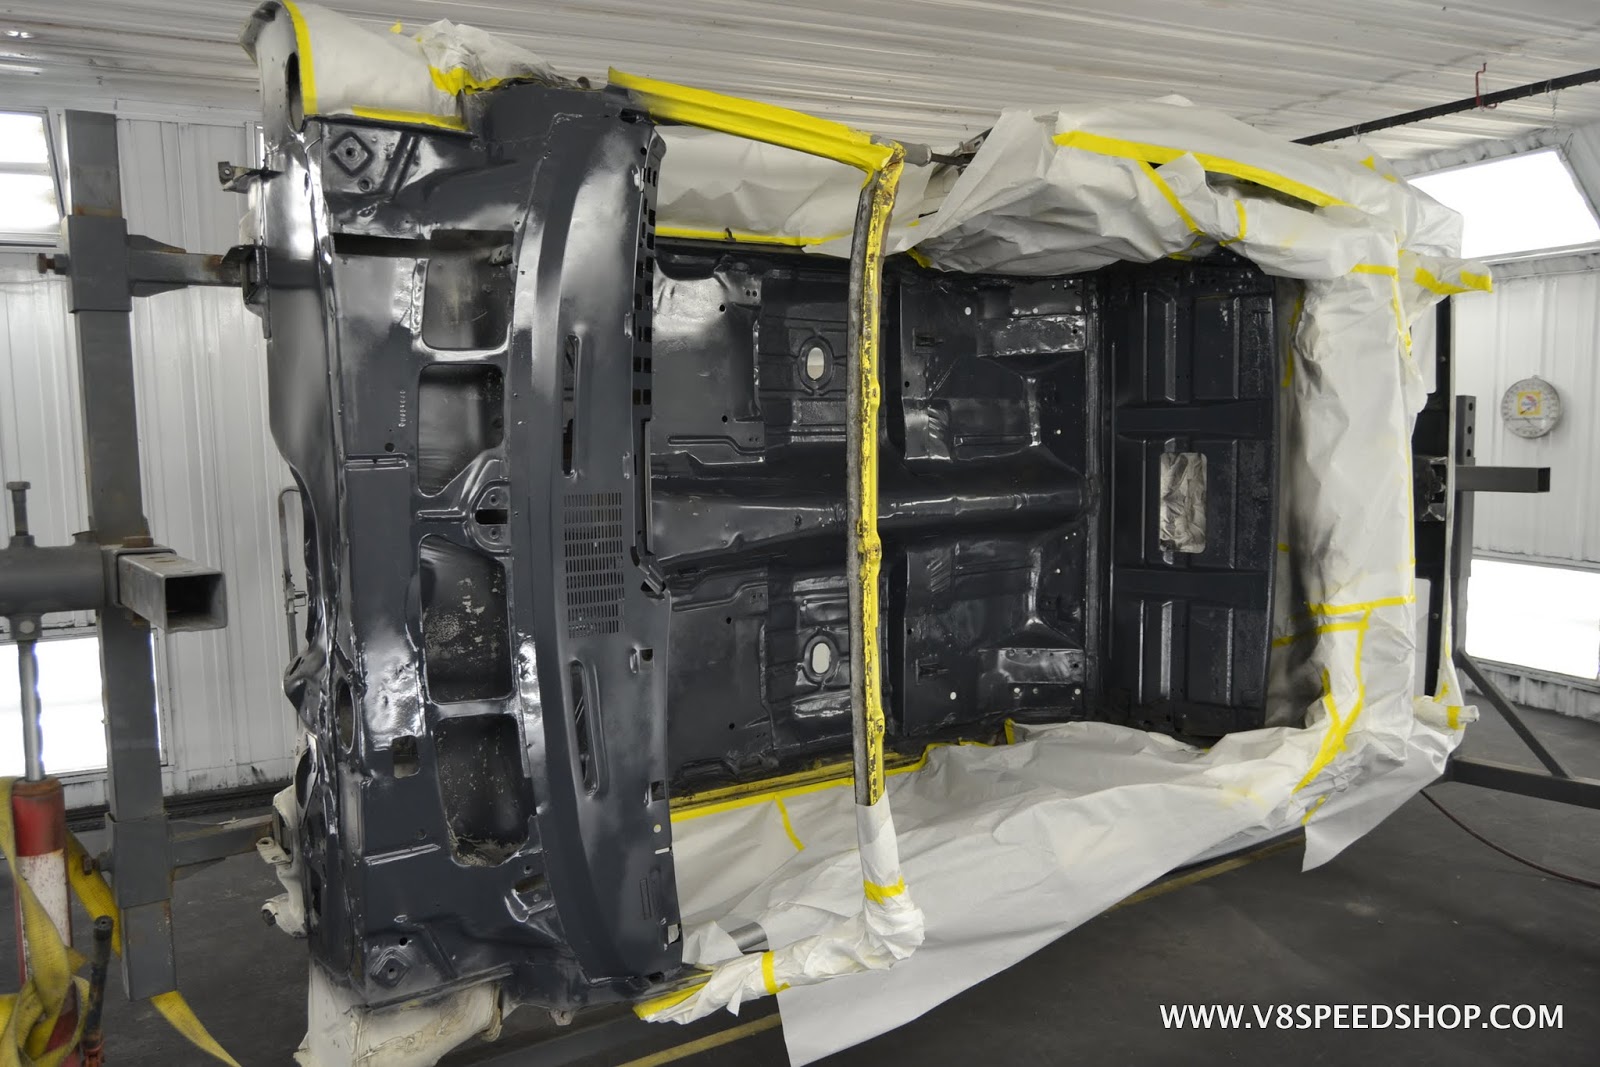
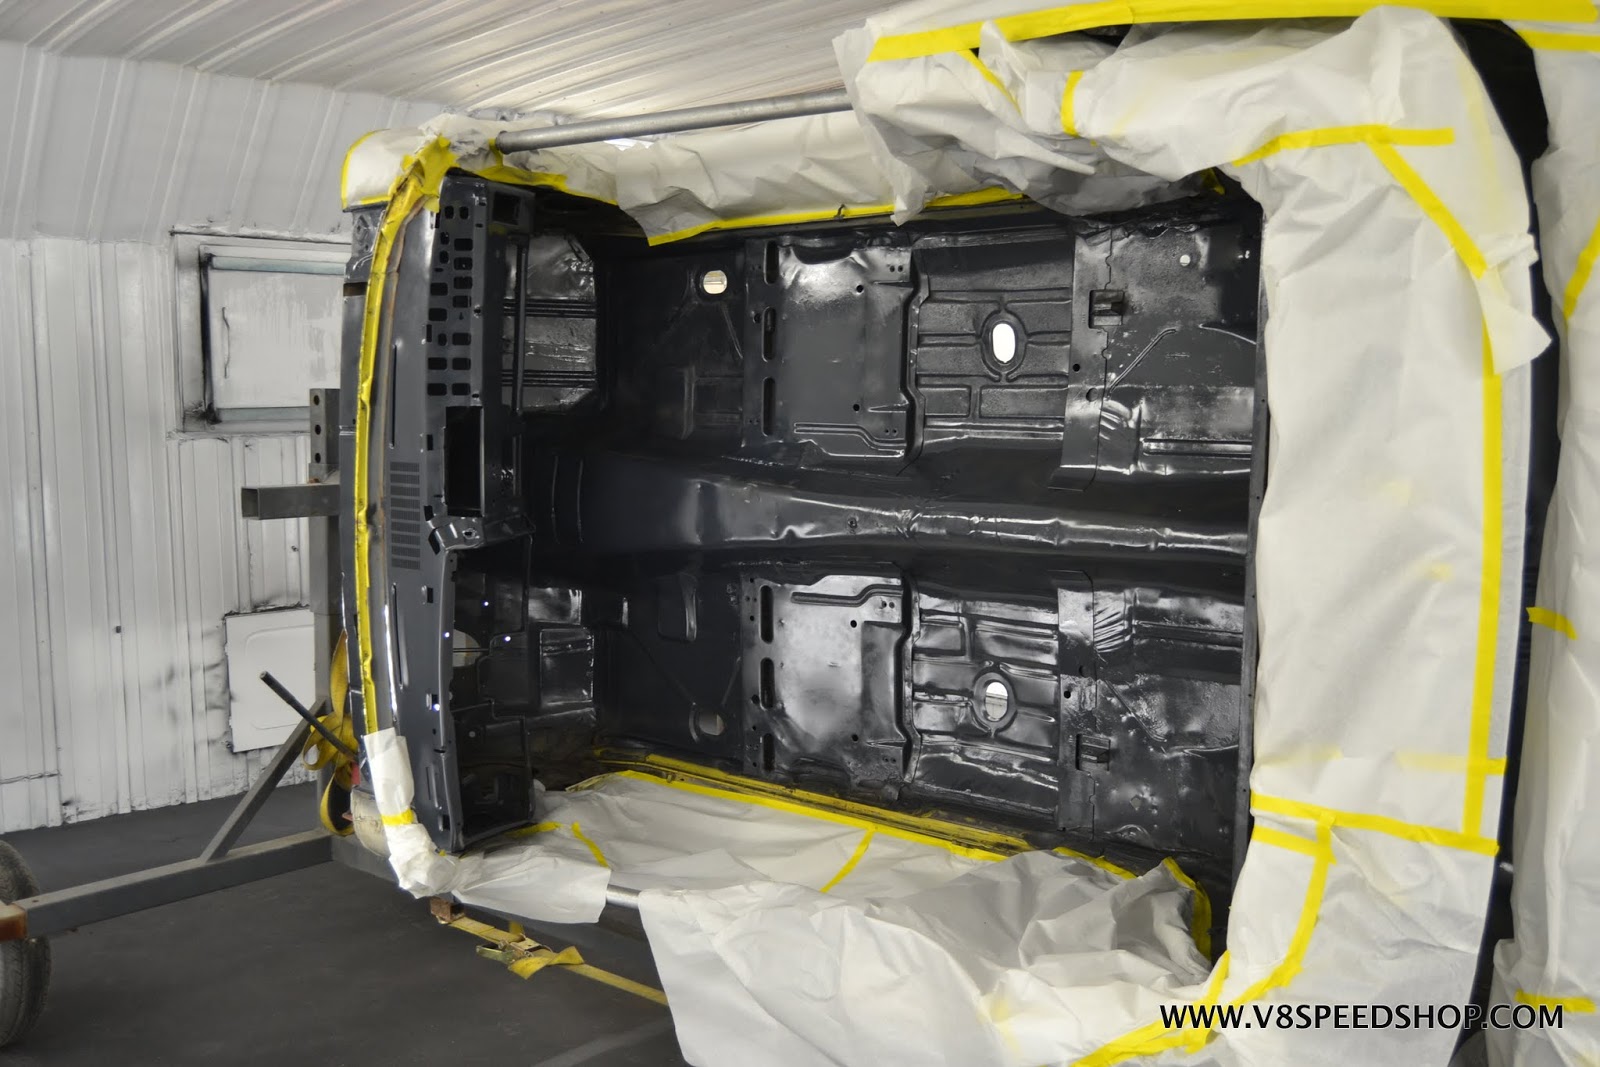
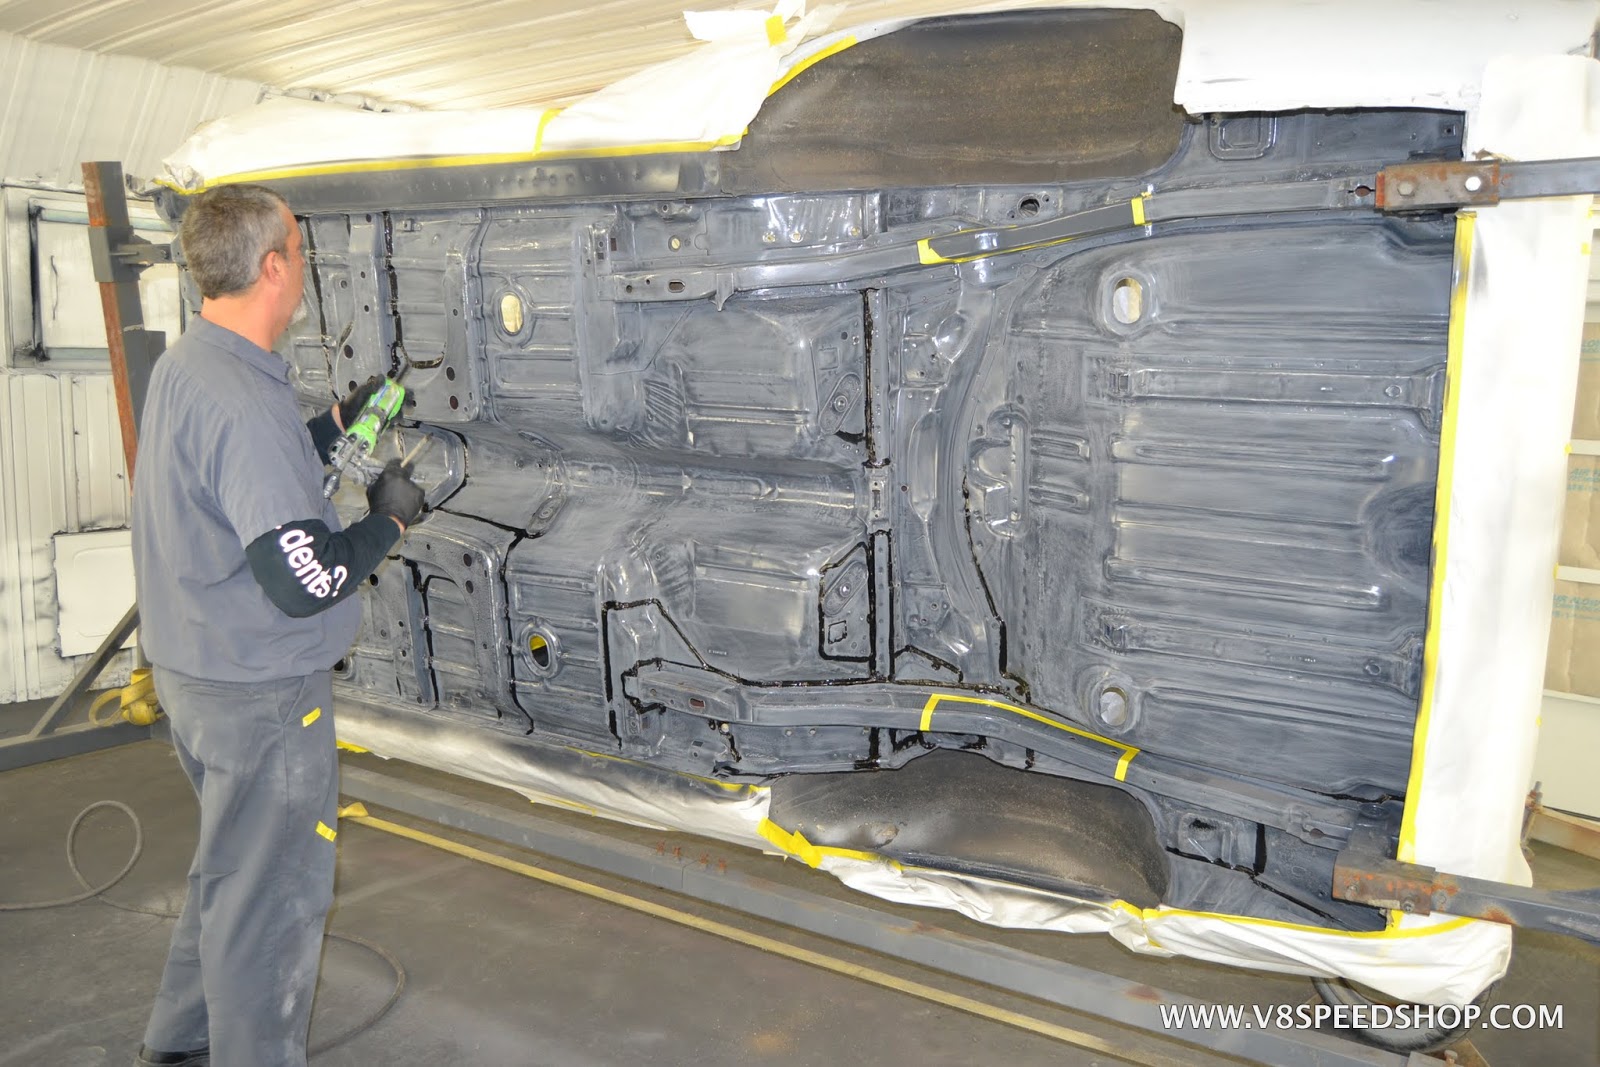
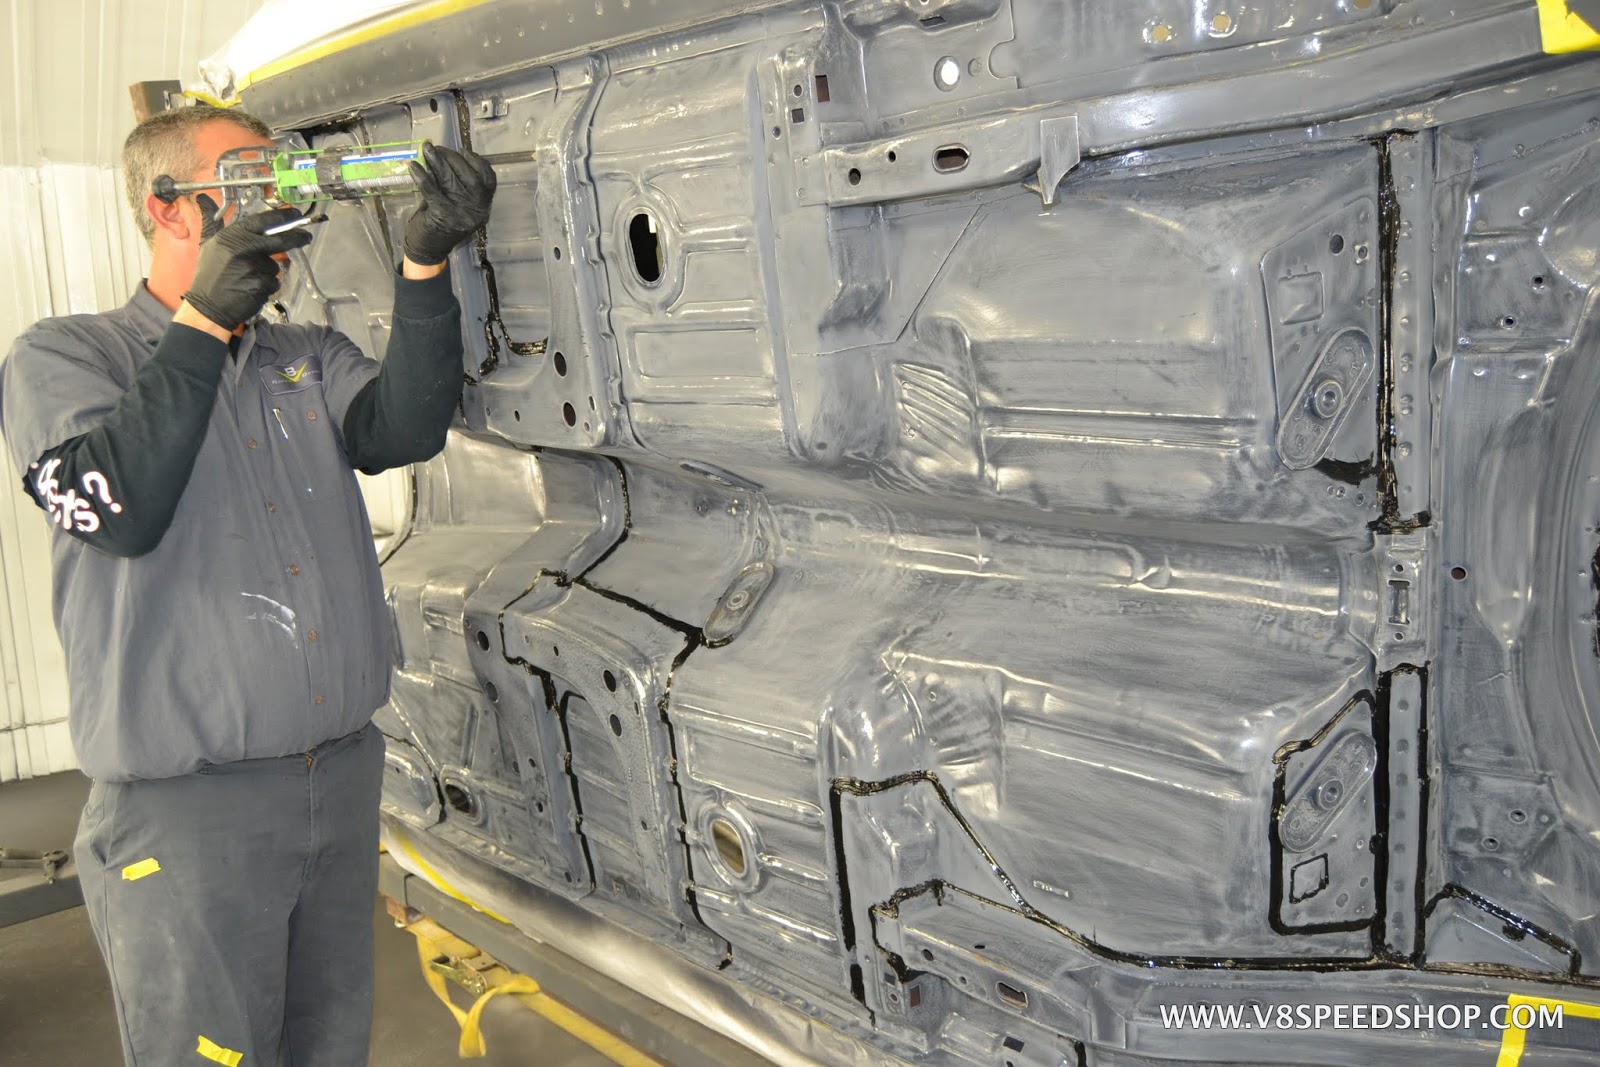
After the prime coat was applied, the underside was scuffed and 3M seam sealer was applied to all the areas where metal seams could hold moisture and potentially rust or corrode.
 Kevin Oeste
V8 Speed and Resto Shop
V8TV
Muscle Car Of The Week
V8 Radio Podcast
All about us:
https://www.v8speedshop.com
08-31-2017 #52
Registered User
- Join Date
- Dec 2004
- Location
- Midwest
- Posts
- 2,263
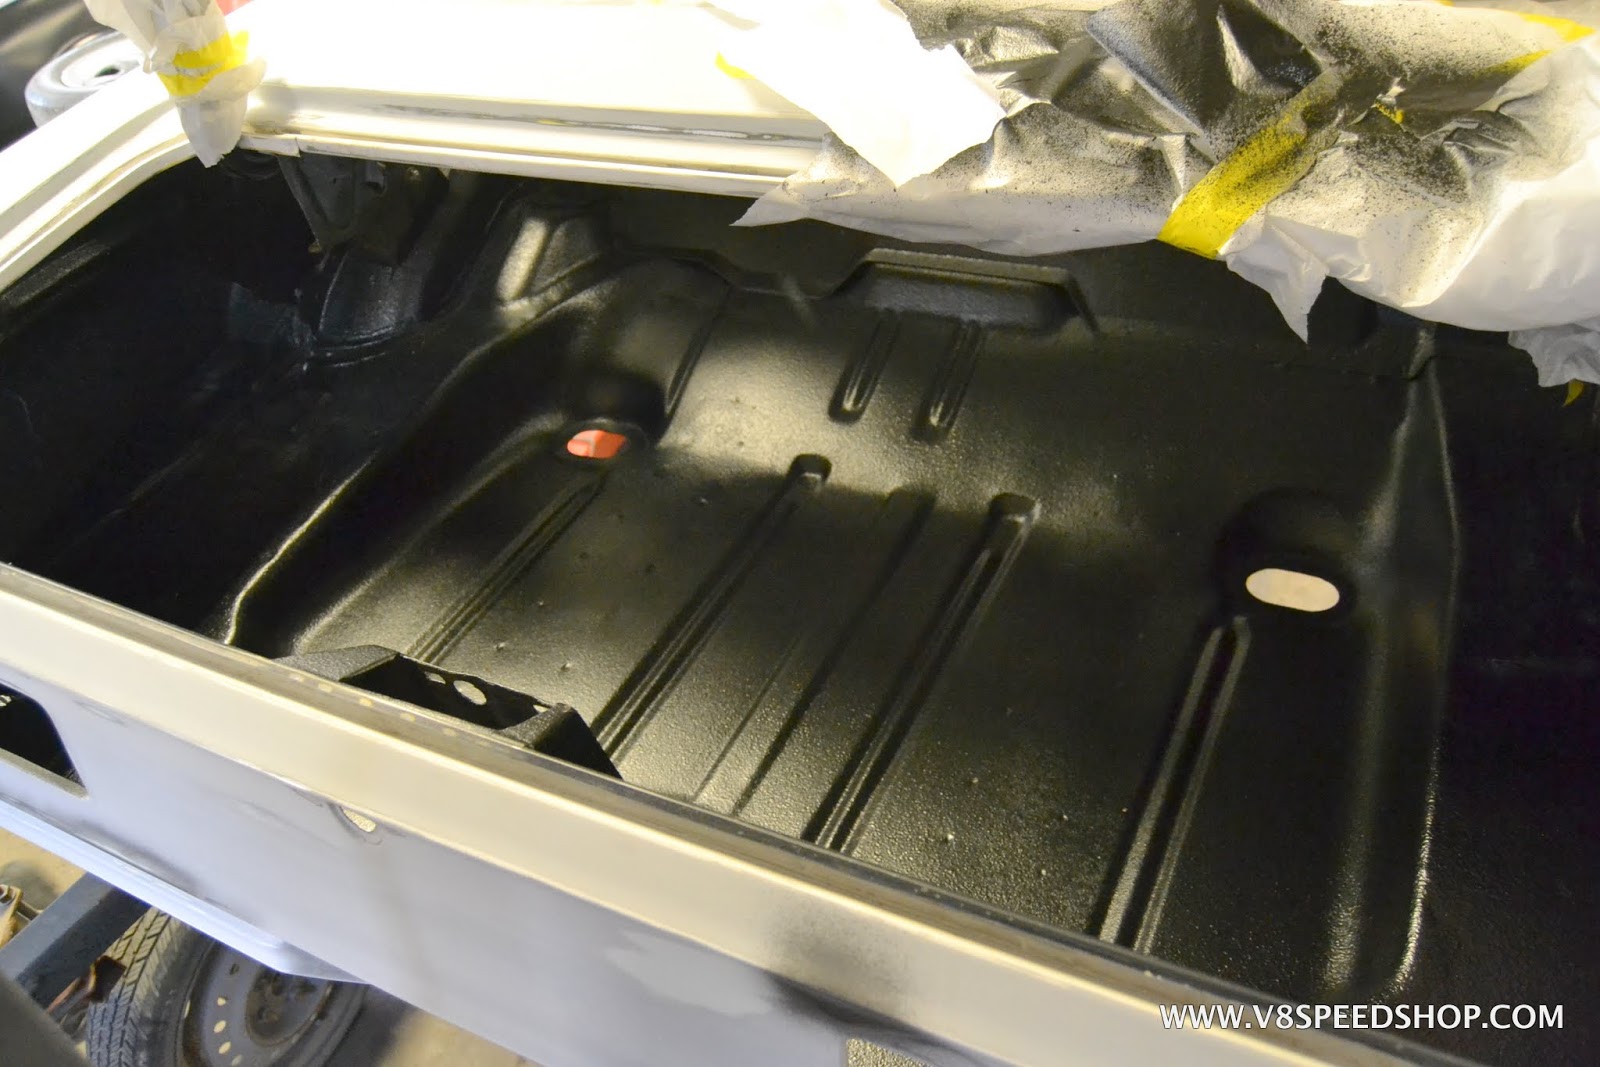
Inside the trunk, where the 3M Body Defender coating has been applied. This coating will allow the trunk to be used without worry of scratching.
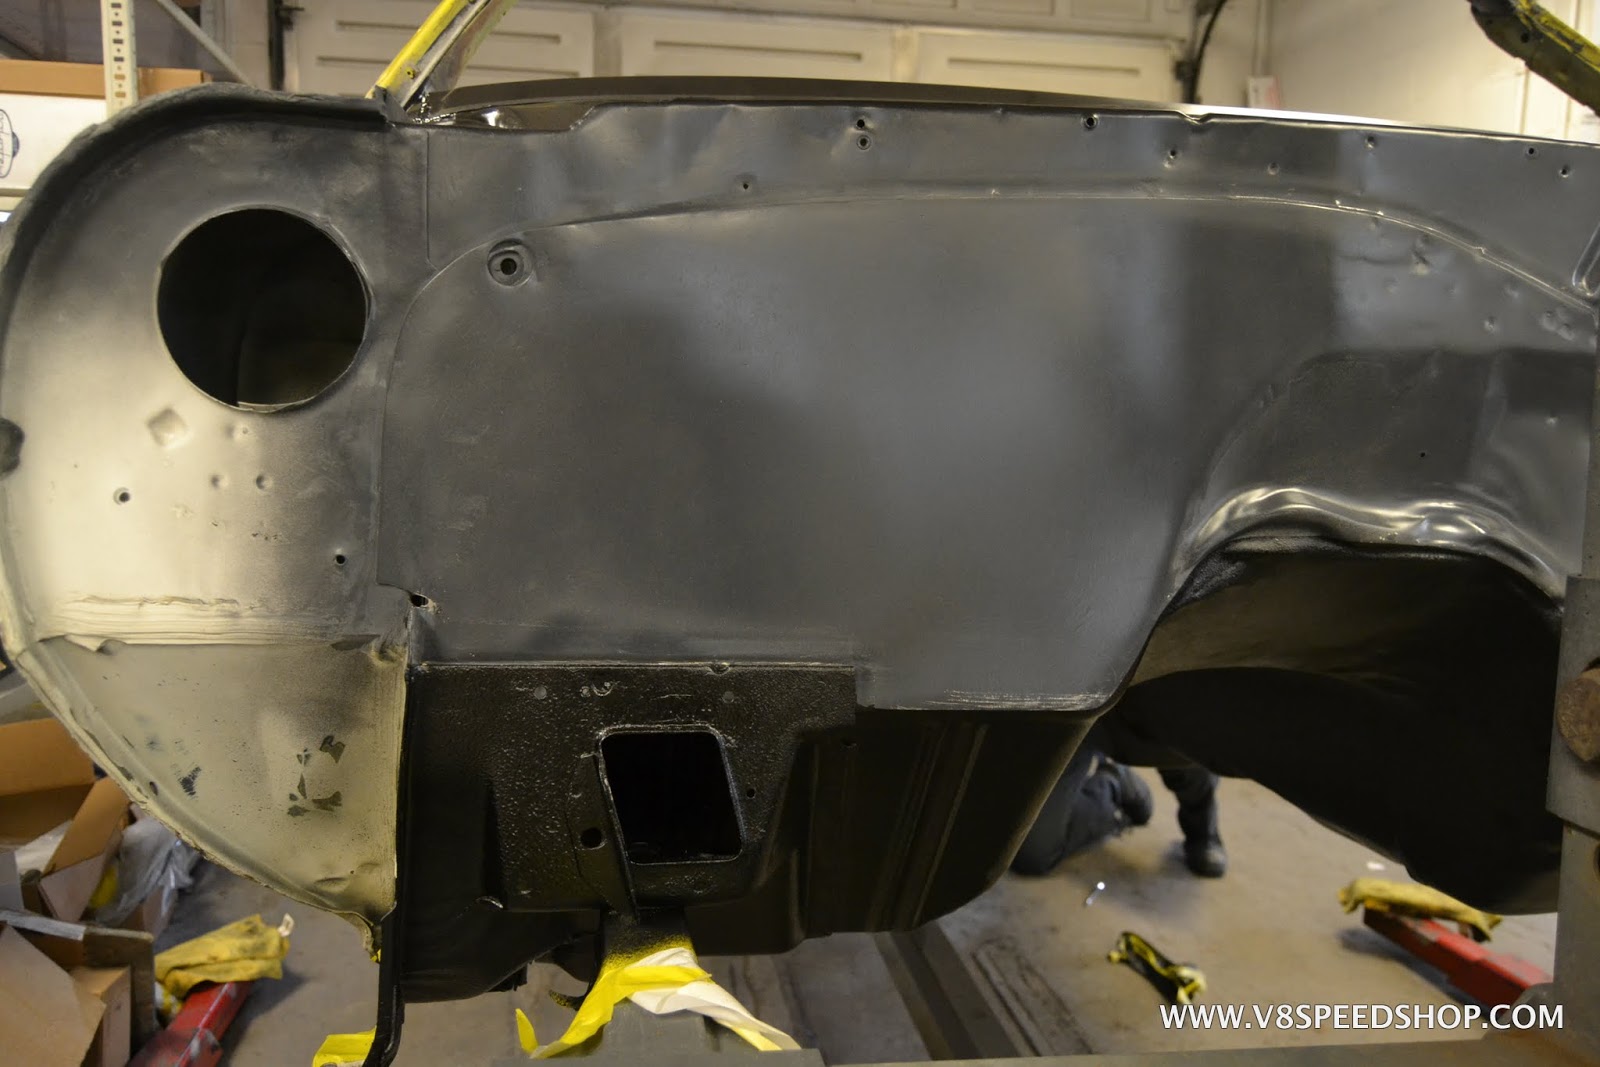
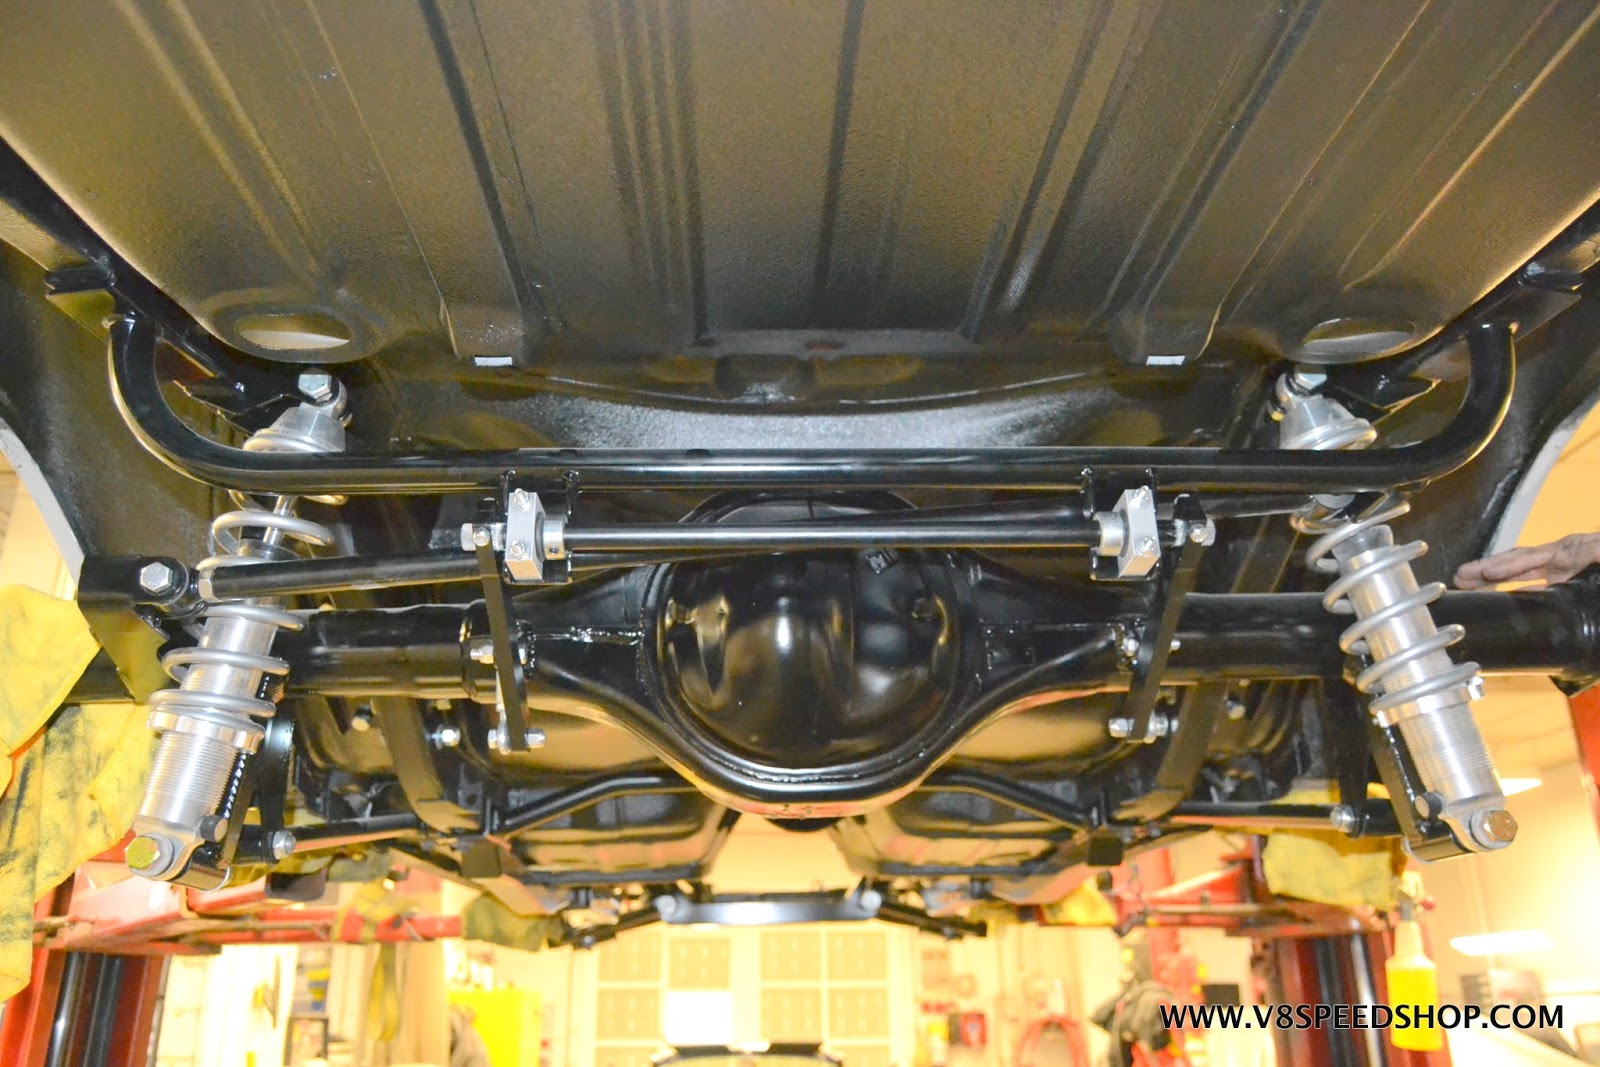
The 3M coating was also applied to the entire bottom side of the body shell to prevent rock chips, reduce noise, and protect the tub.
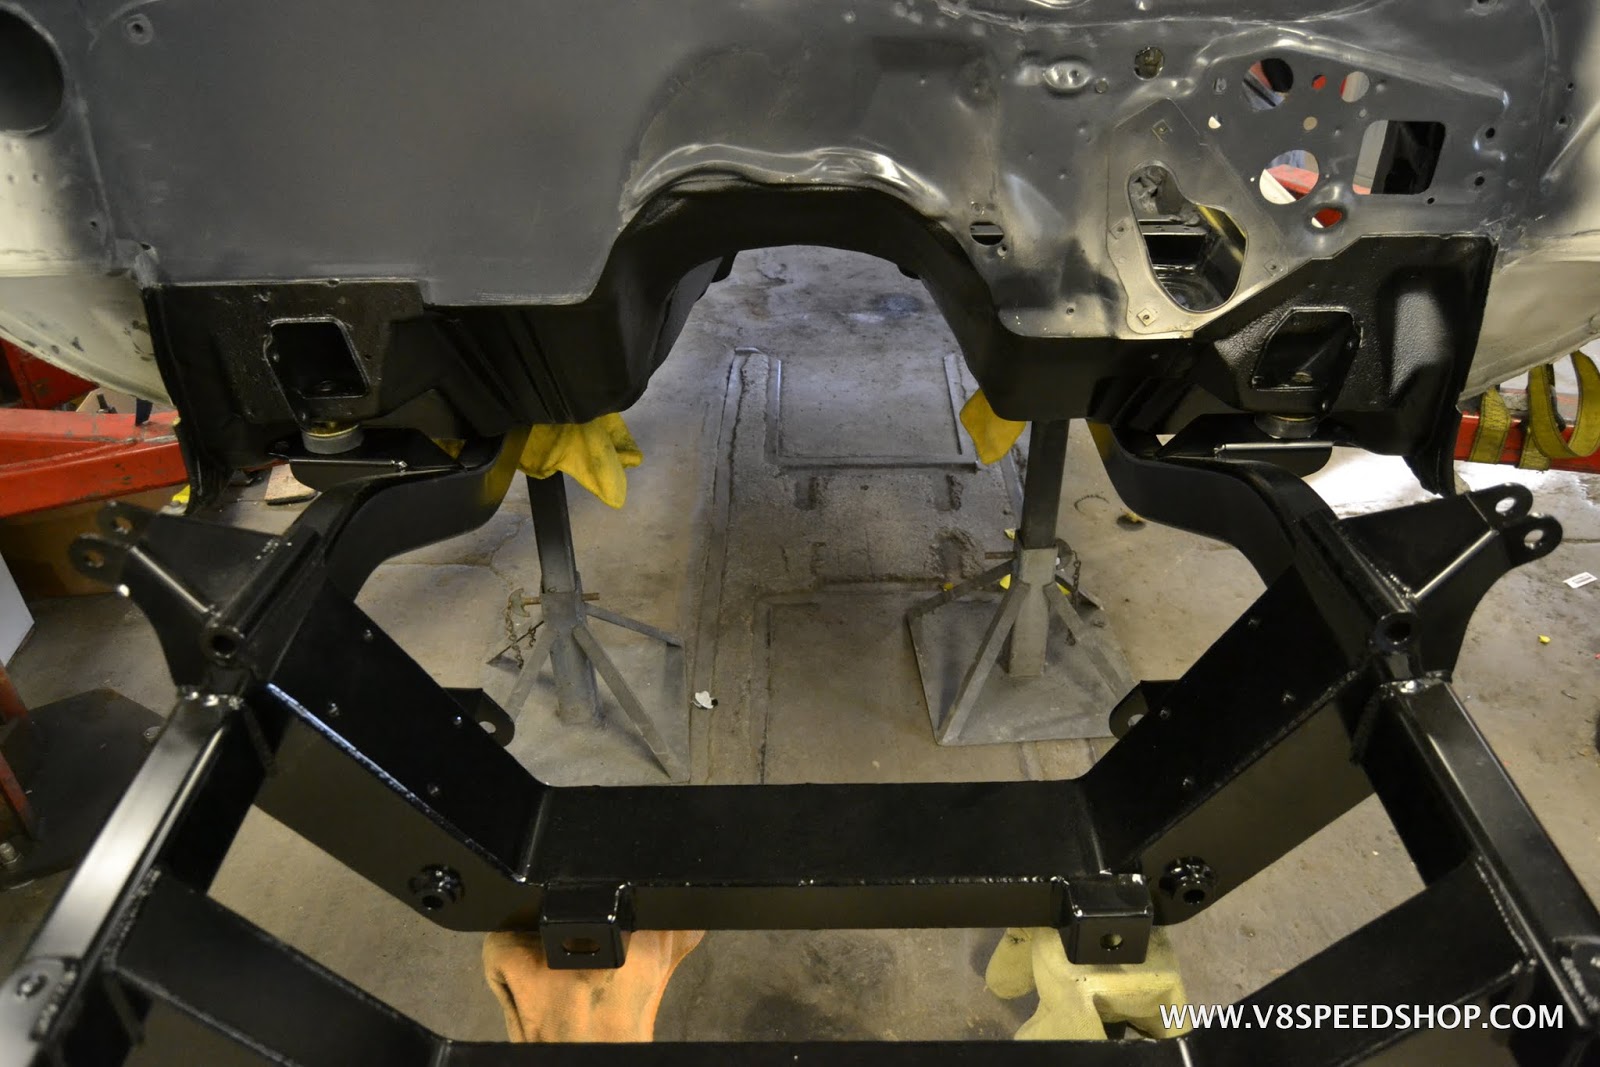
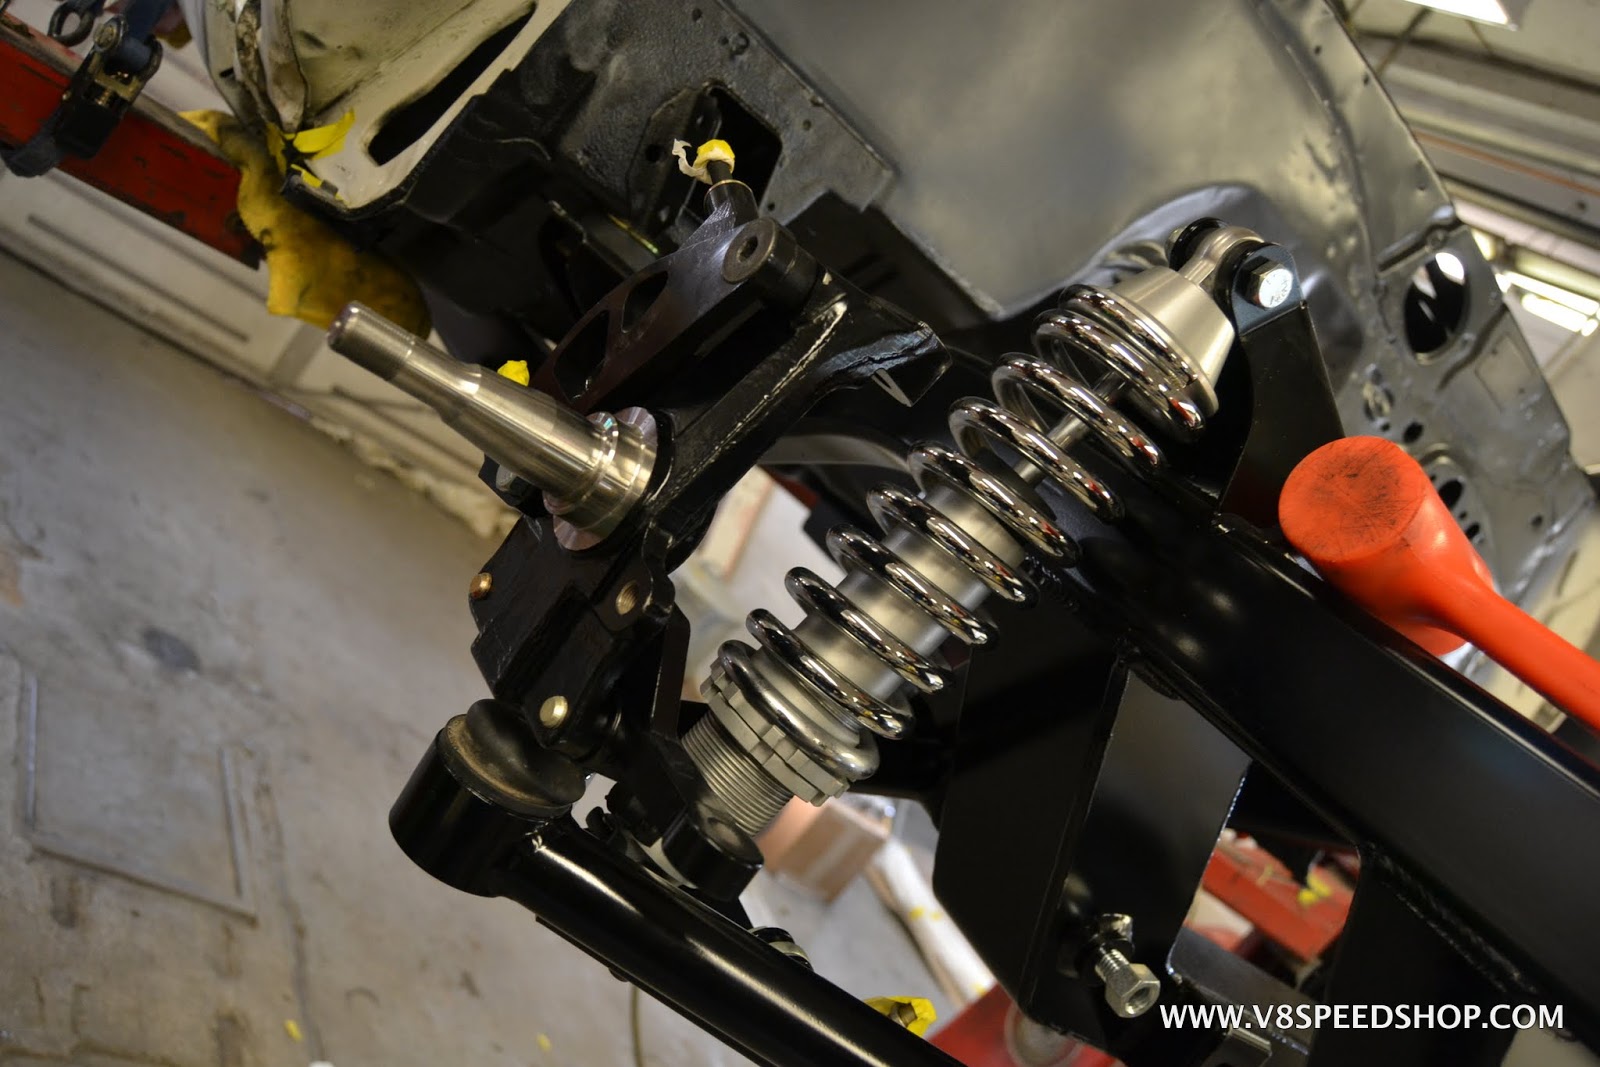
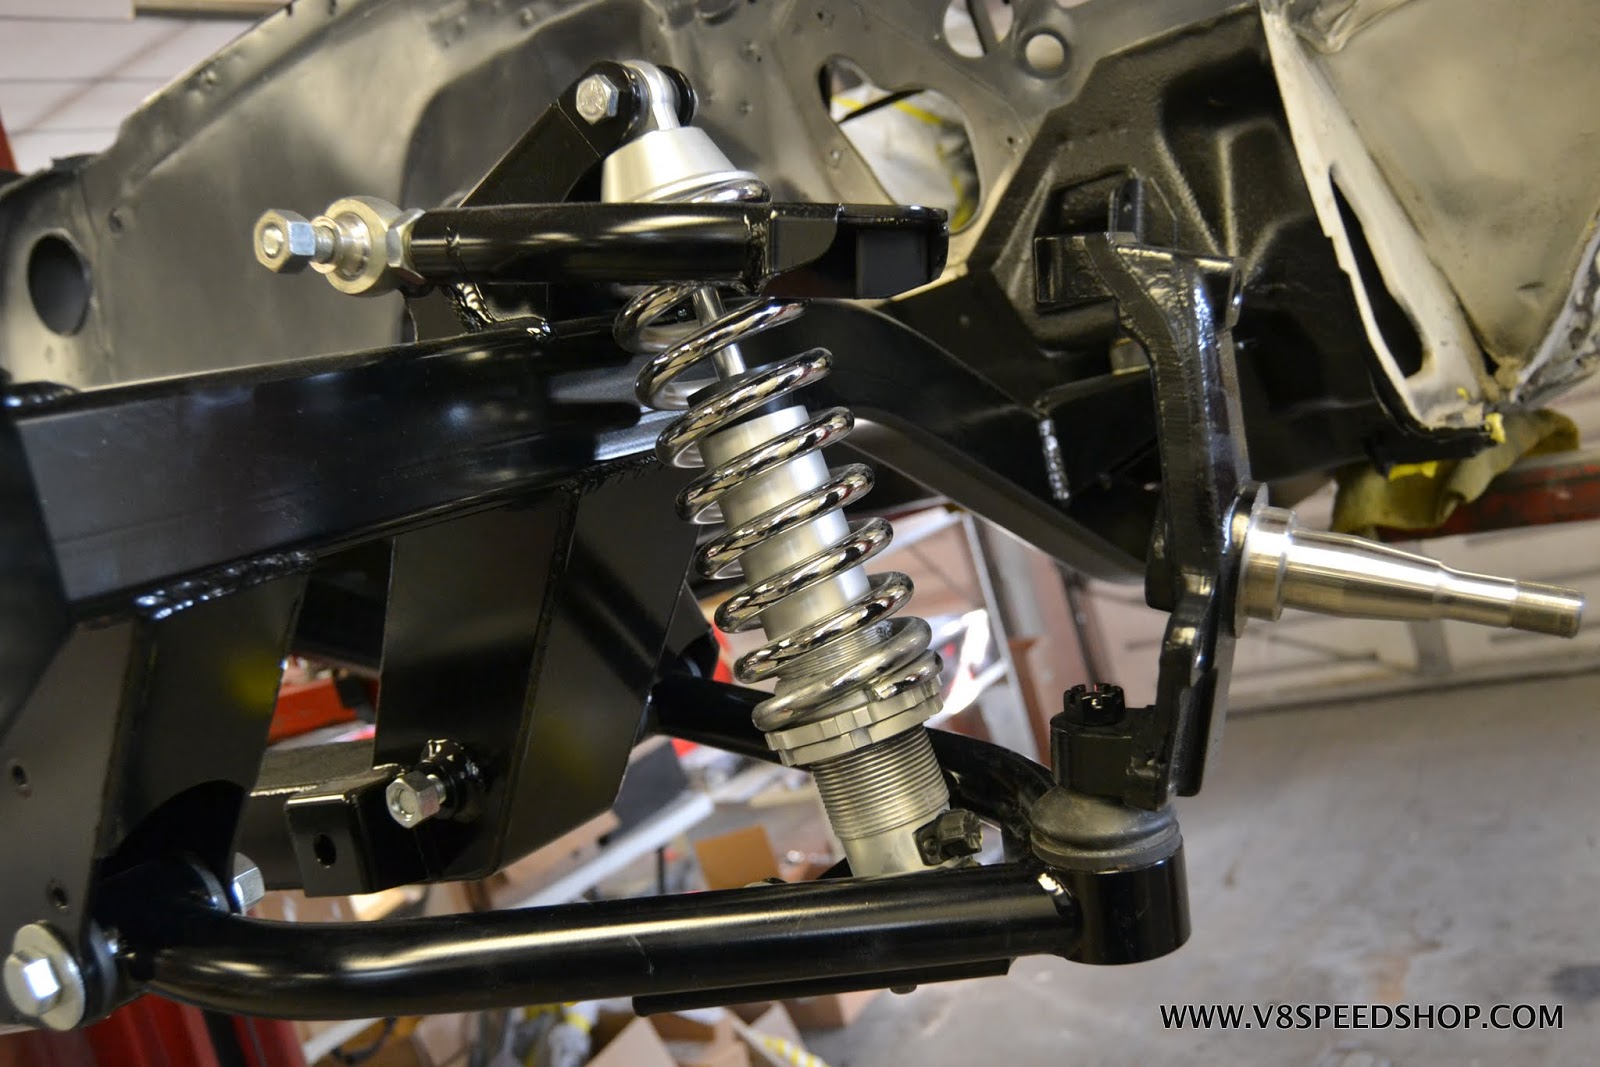
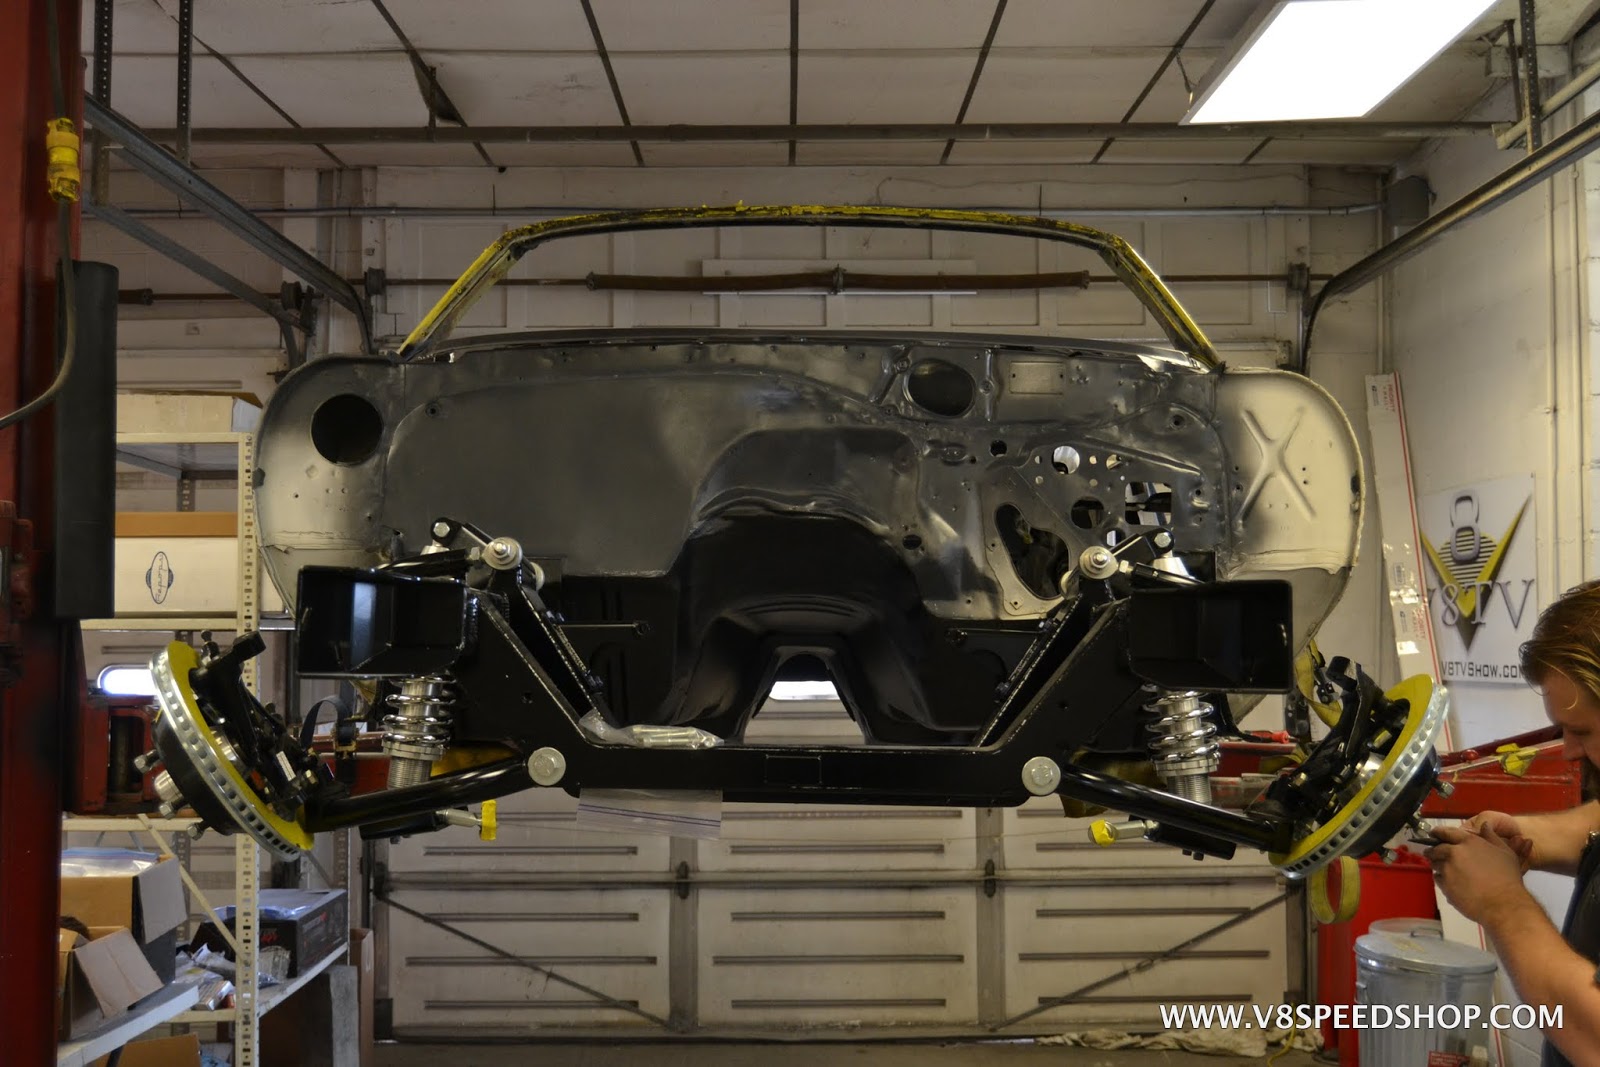
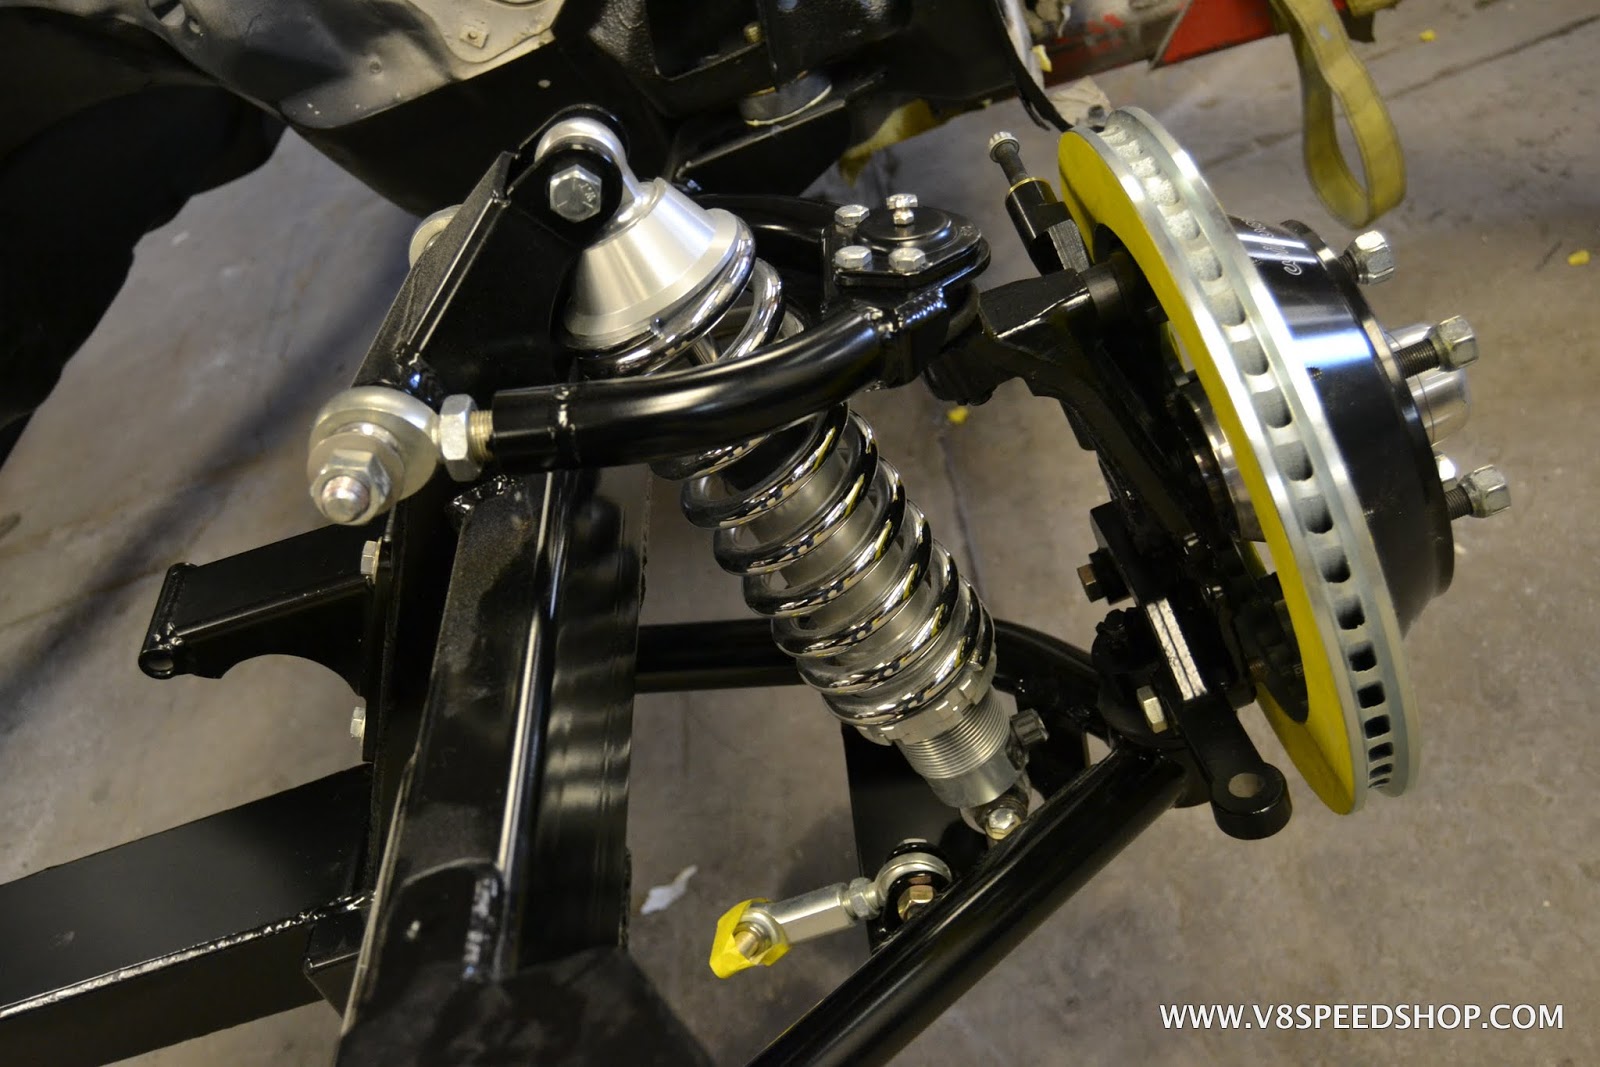
The subframe is carefully rejoined with the body, and the freshly painted suspension parts are reinstalled.
 Kevin Oeste
V8 Speed and Resto Shop
V8TV
Muscle Car Of The Week
V8 Radio Podcast
All about us:
https://www.v8speedshop.com
09-26-2017 #53
Registered User
- Join Date
- Dec 2004
- Location
- Midwest
- Posts
- 2,263
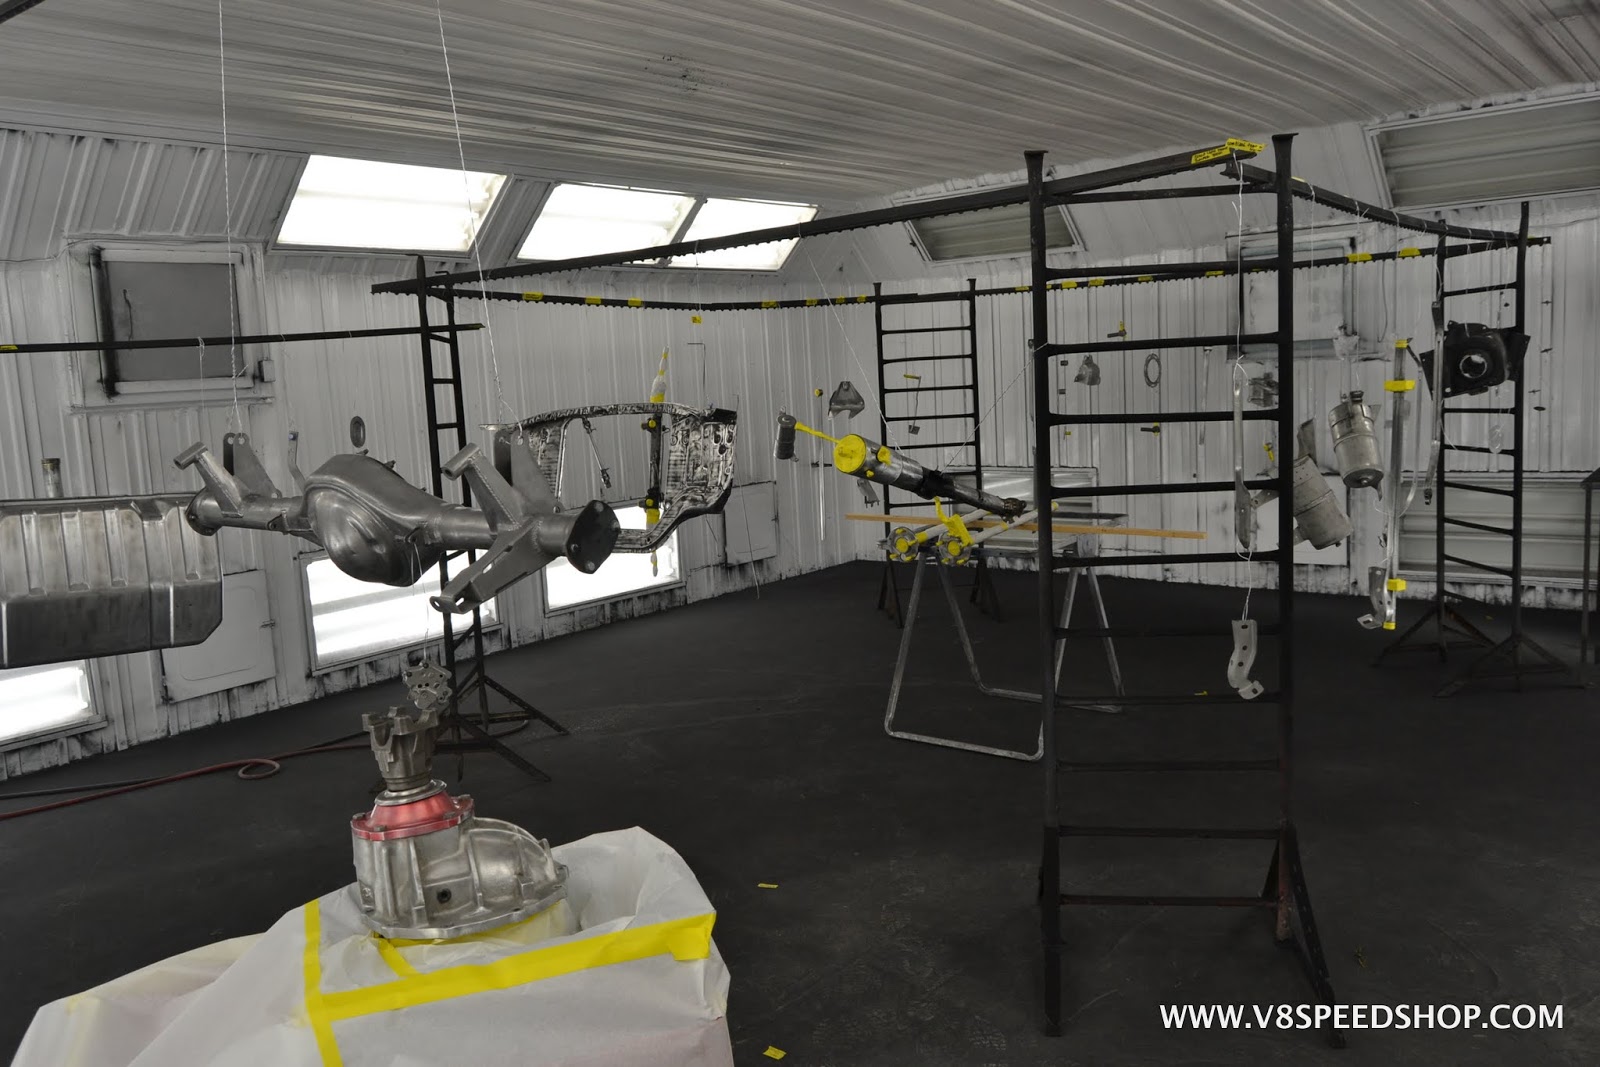
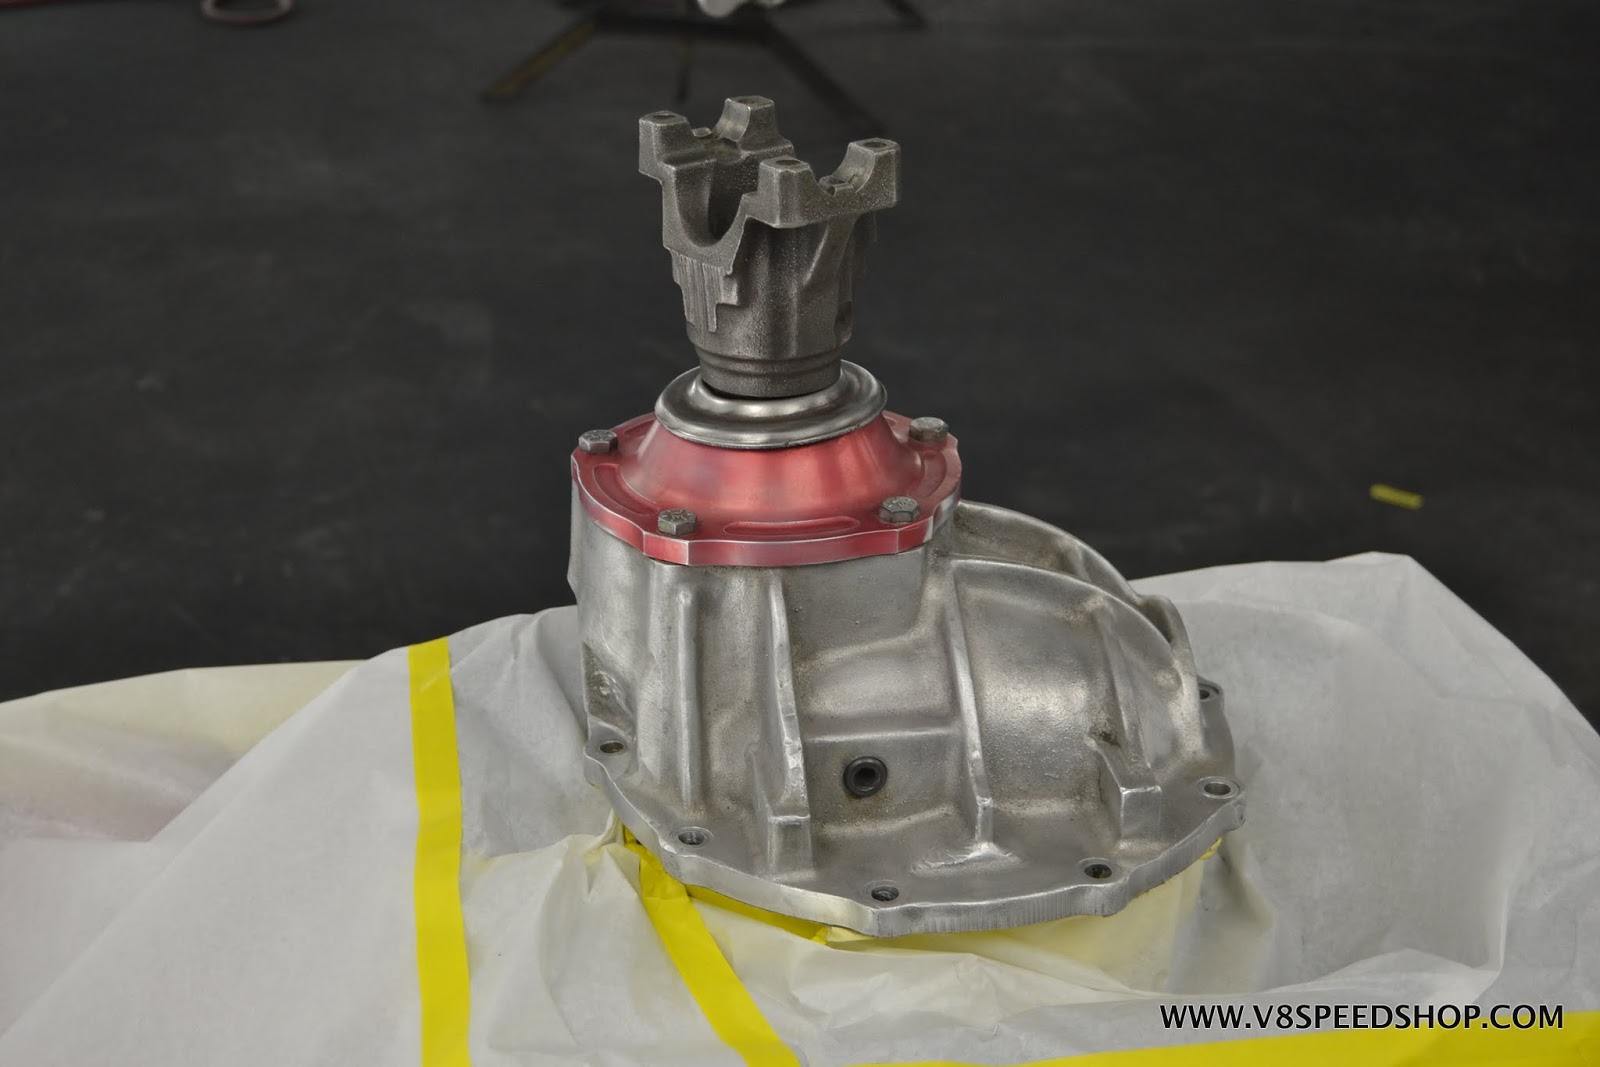
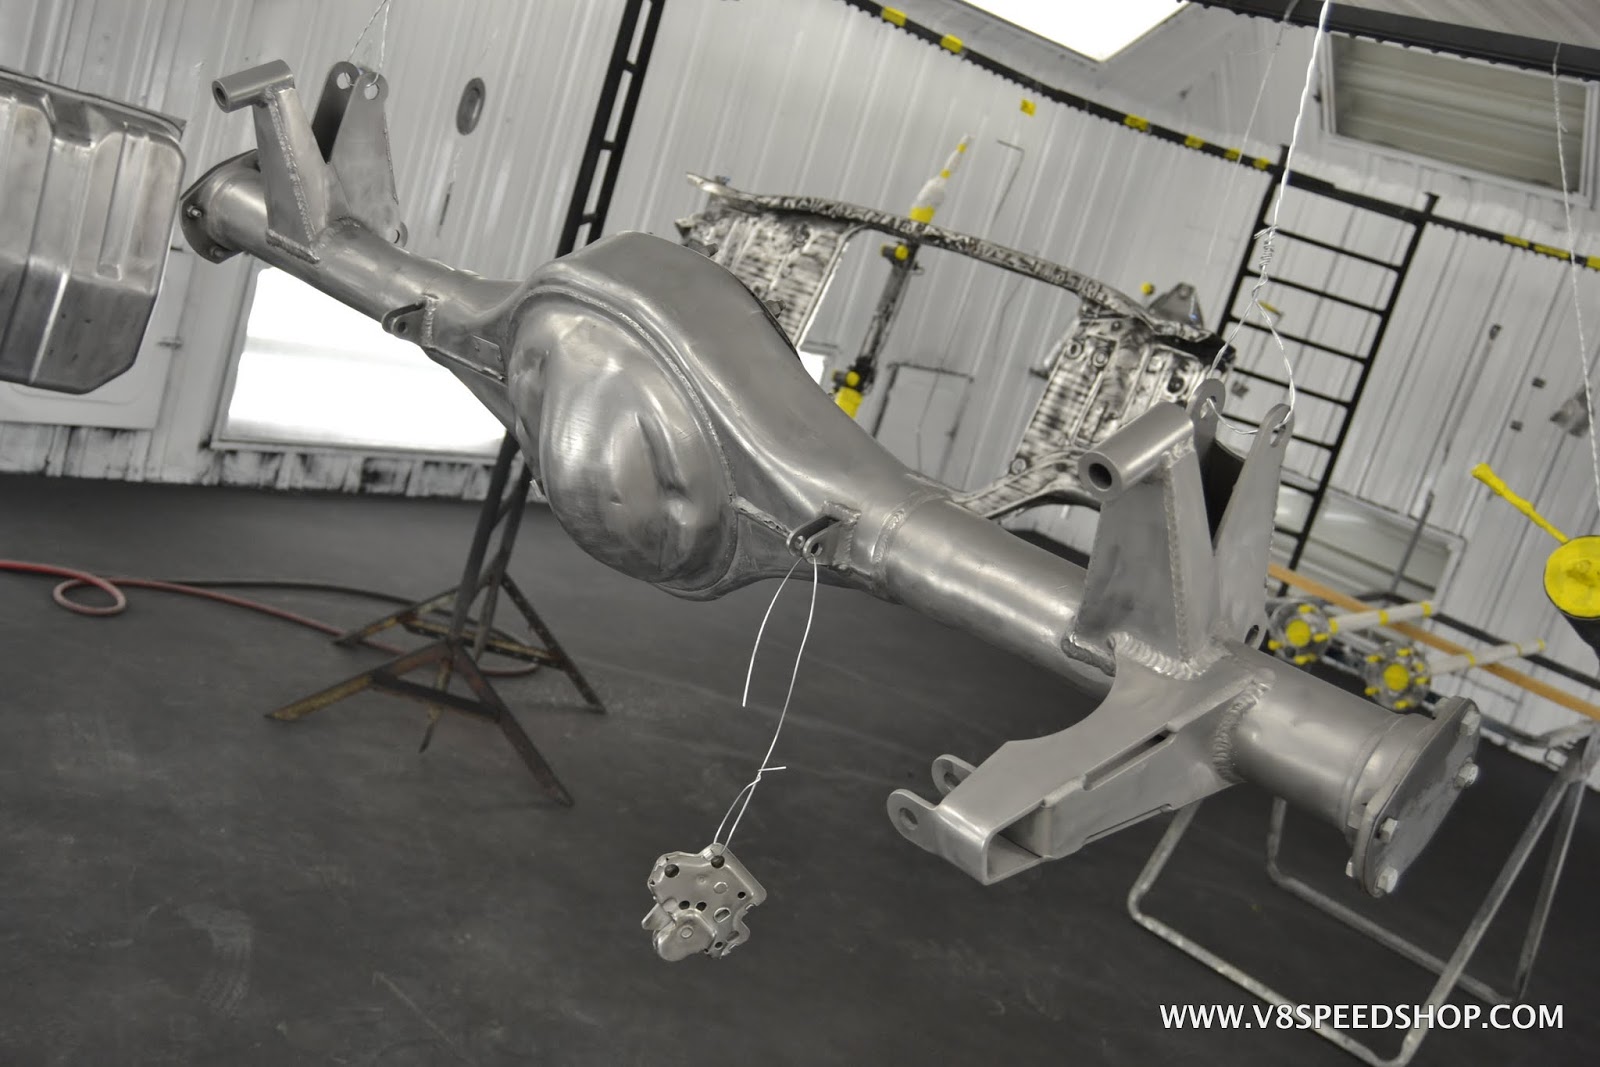
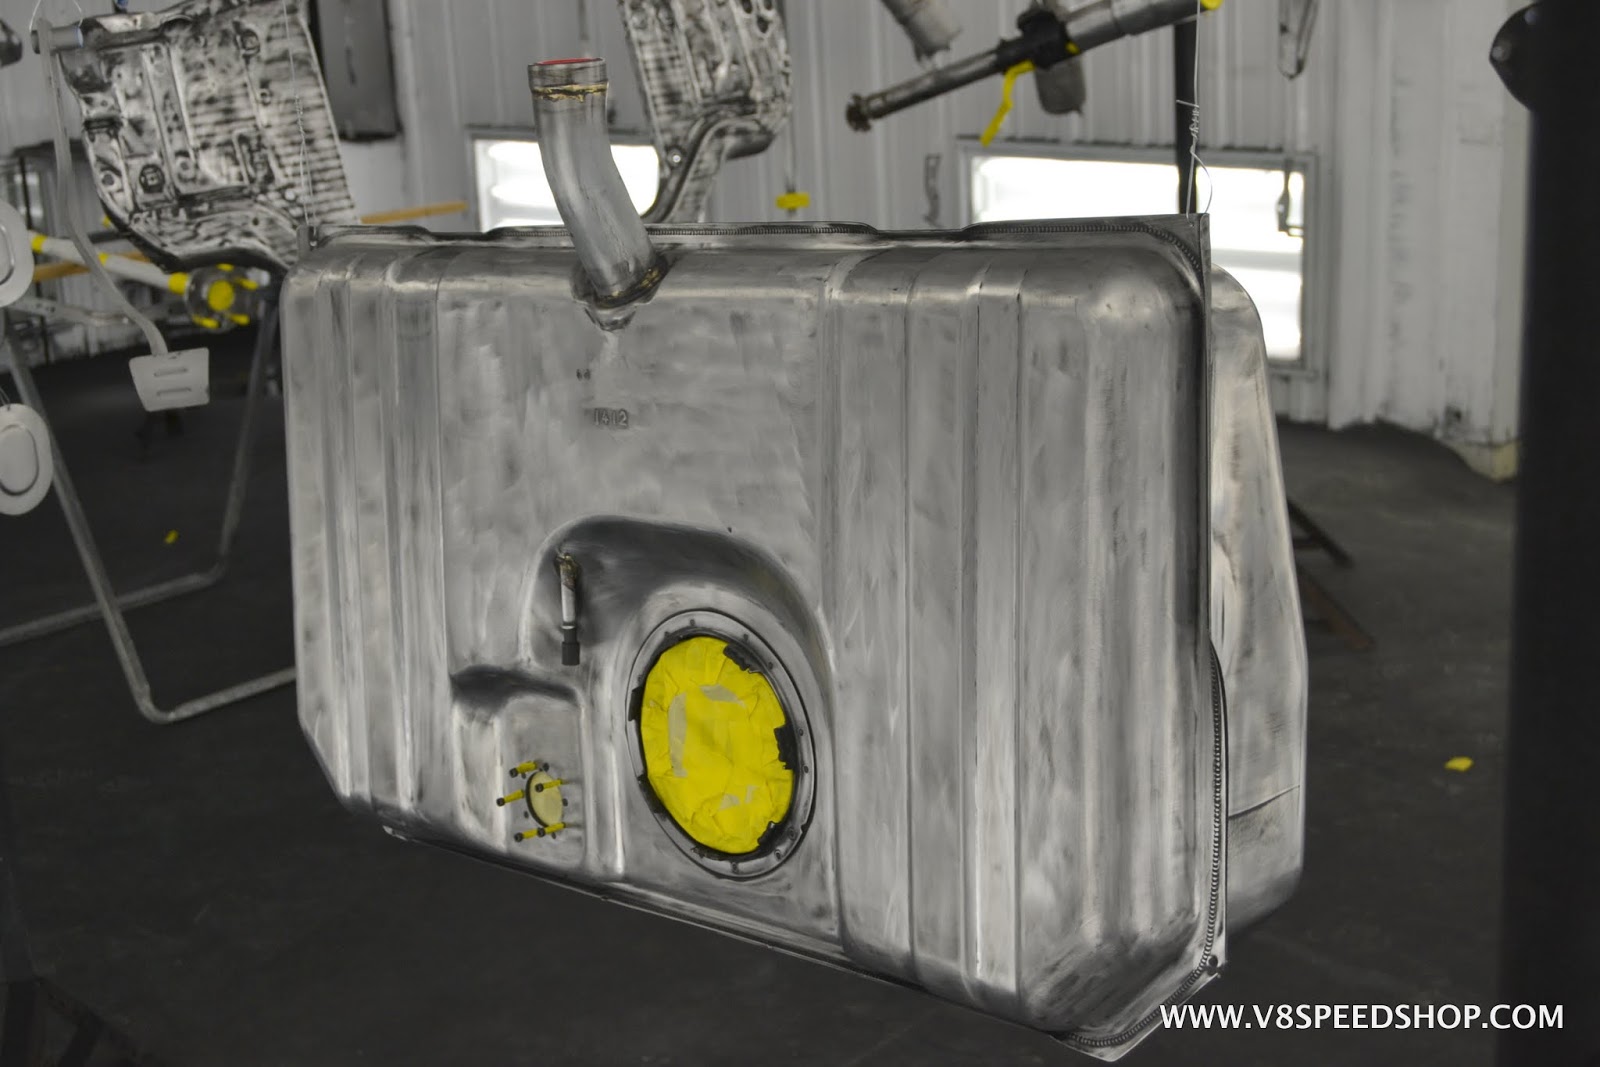
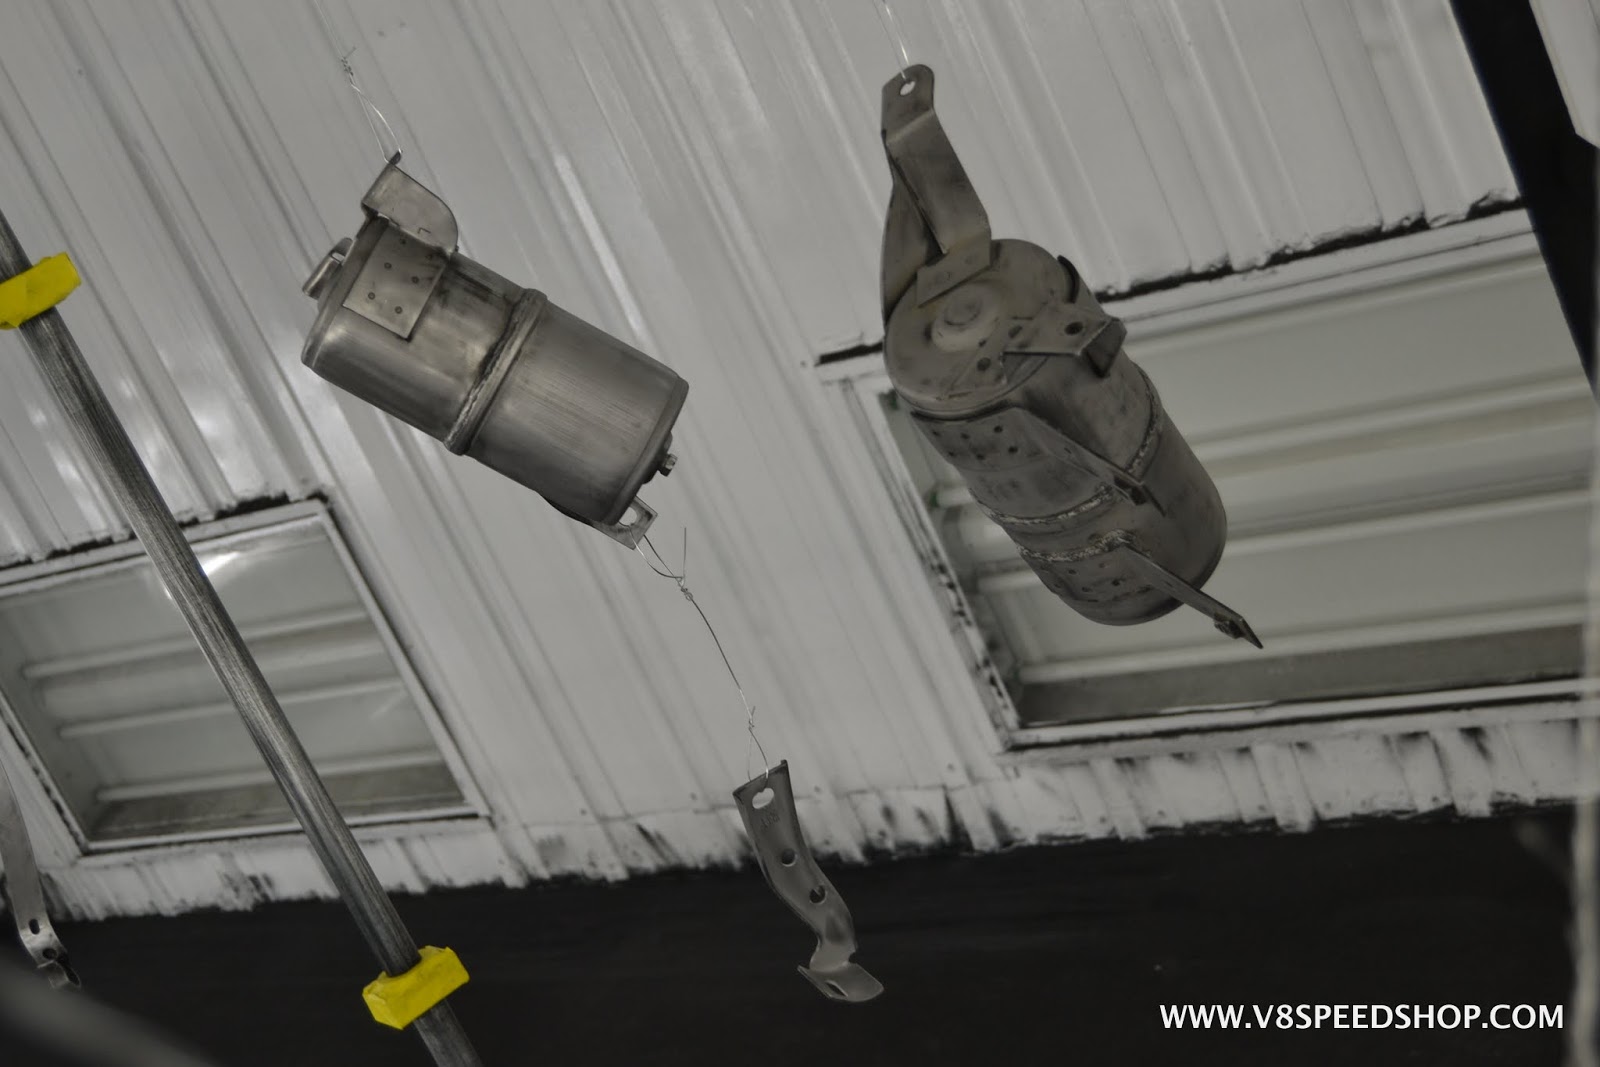
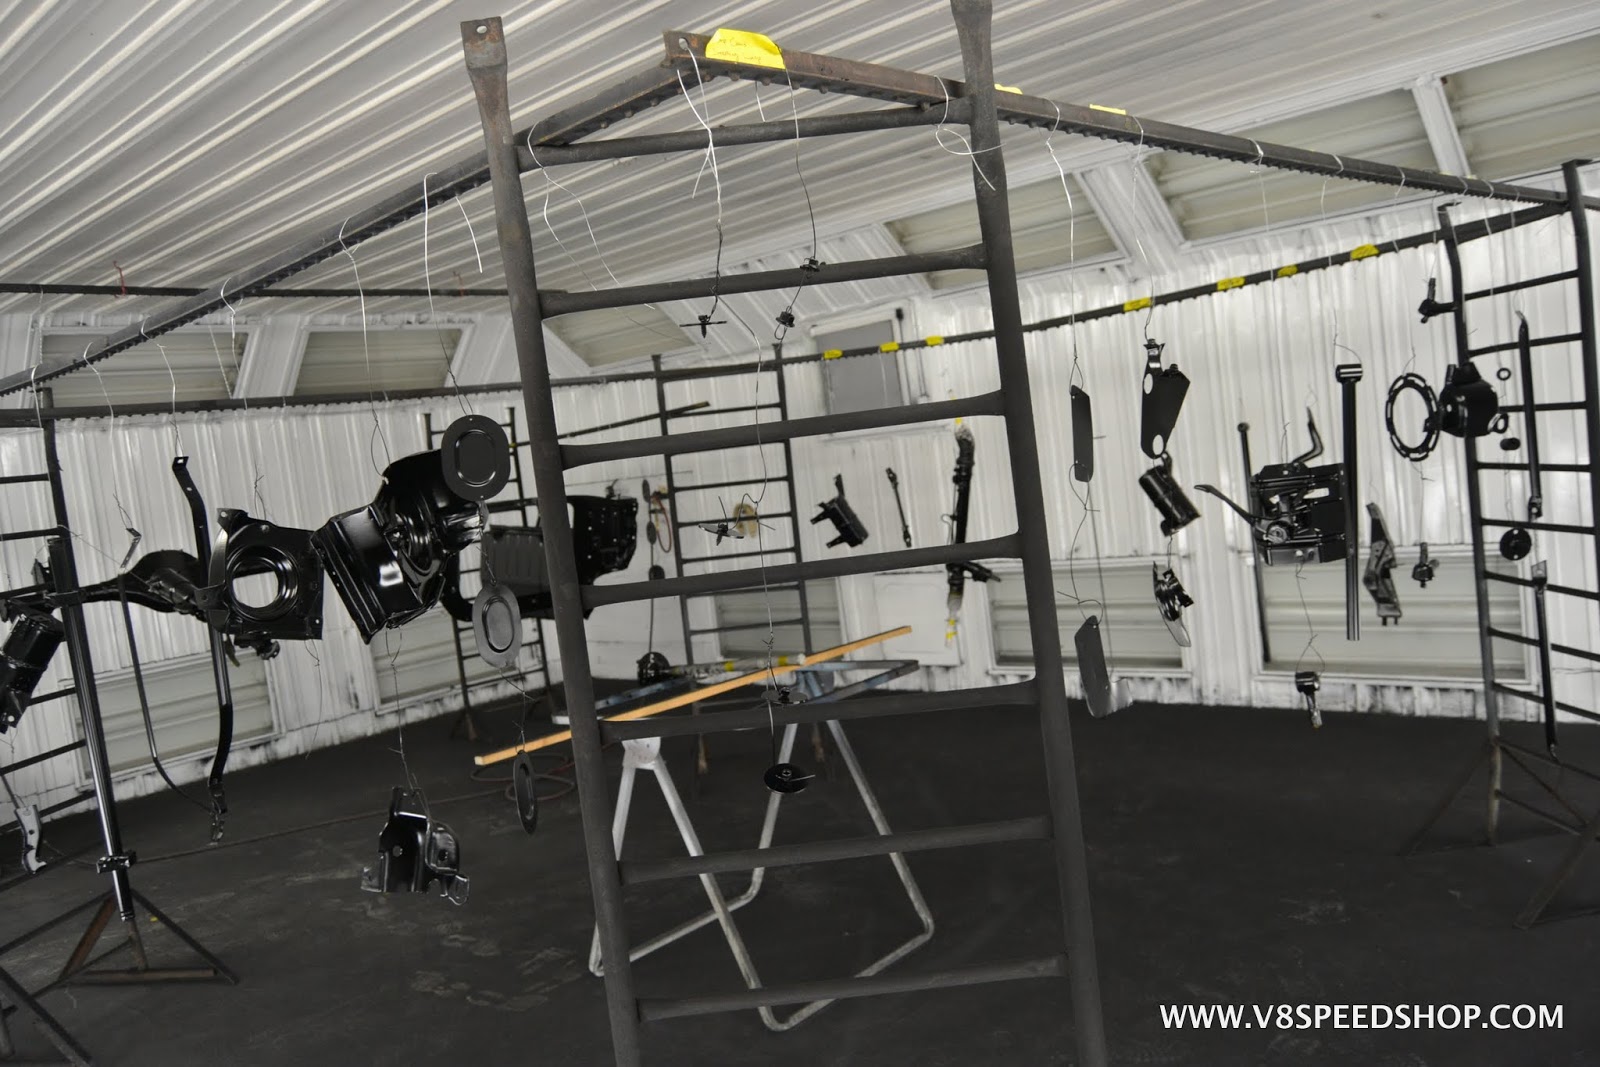
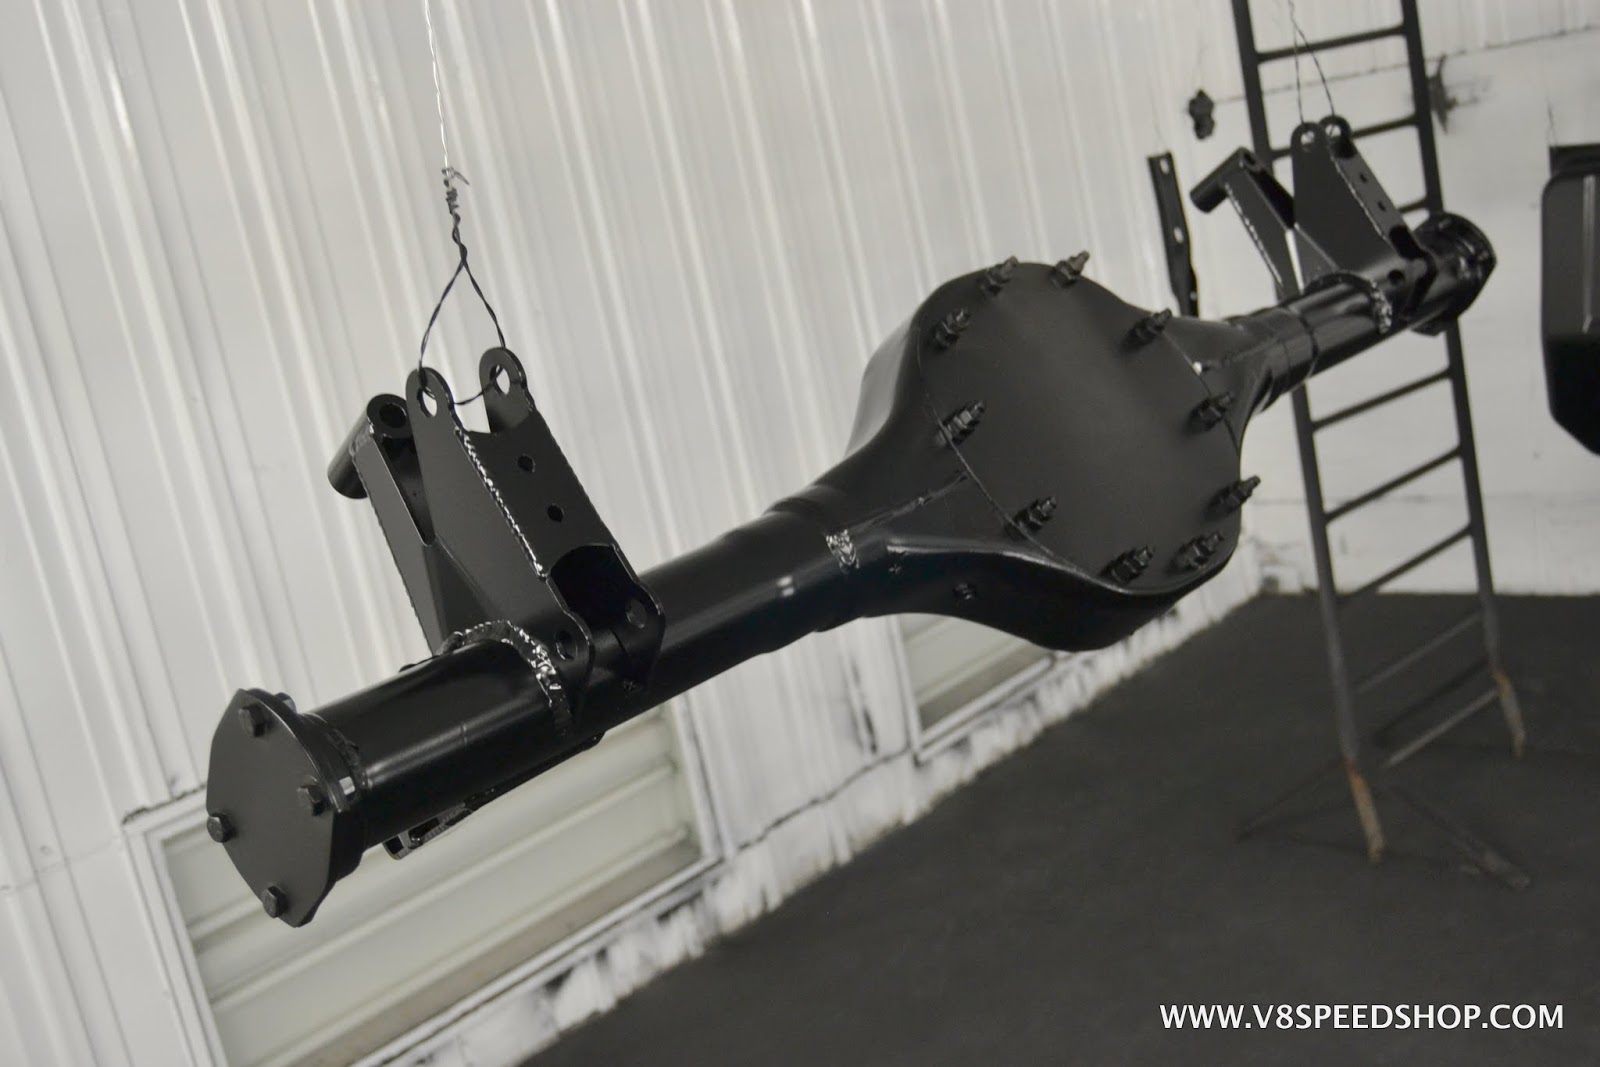
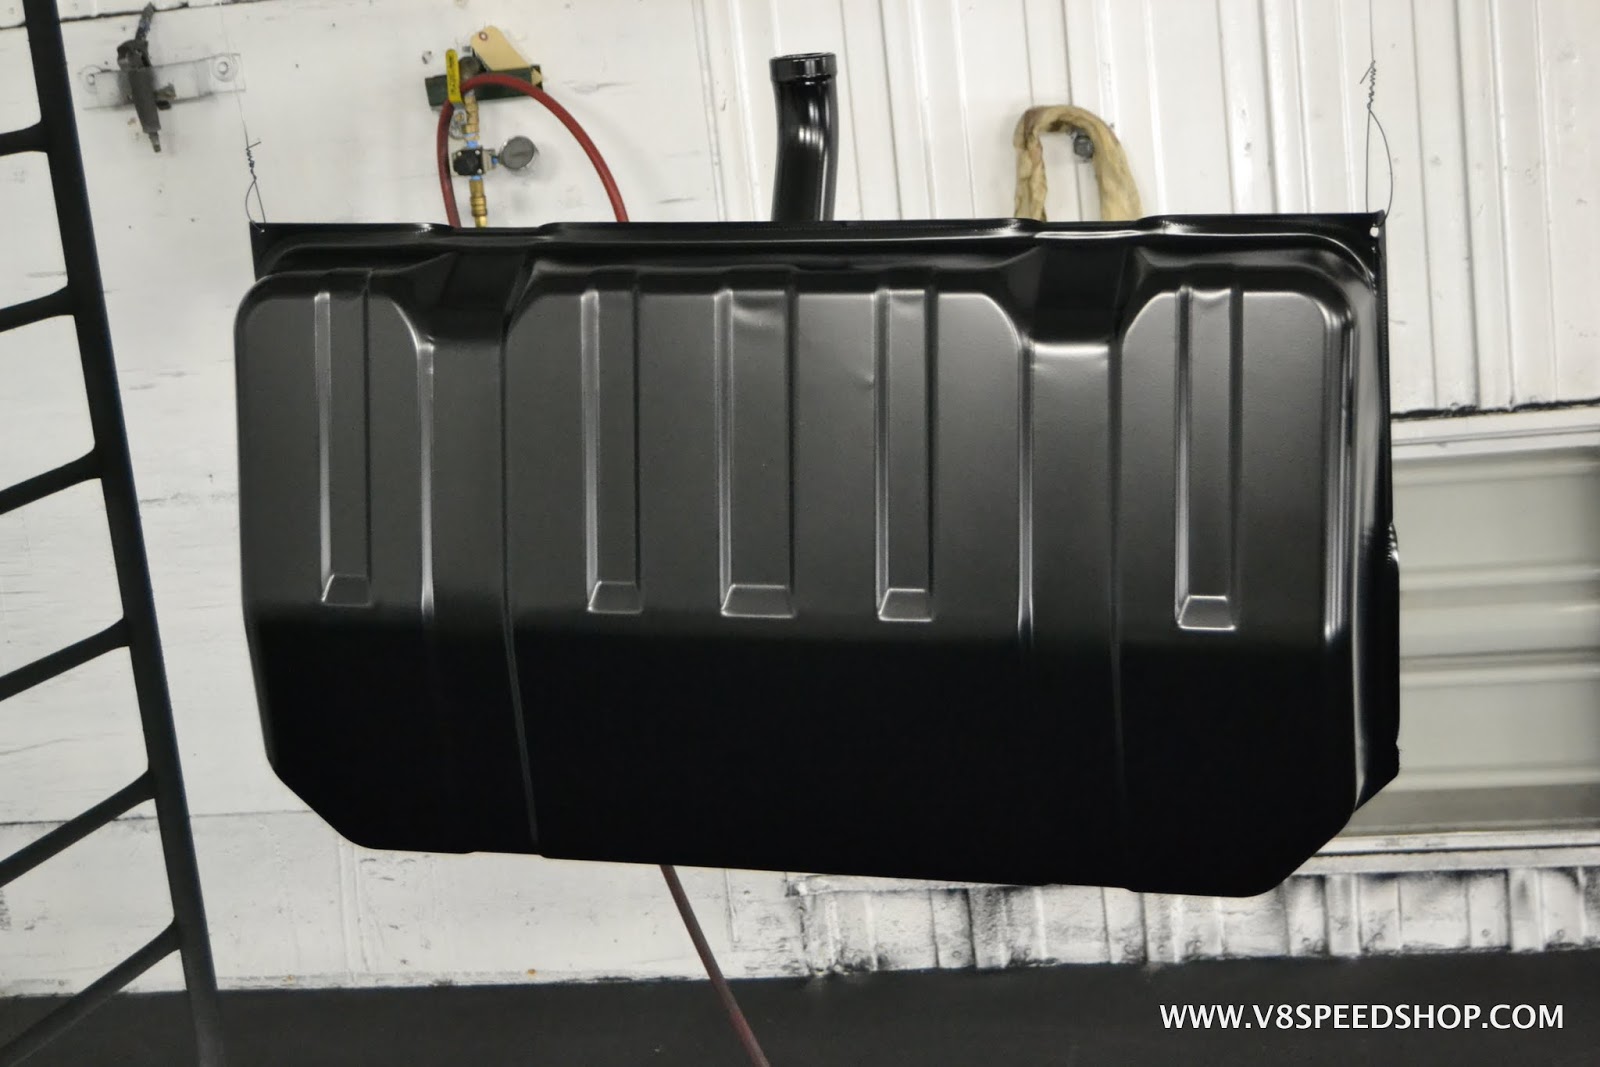
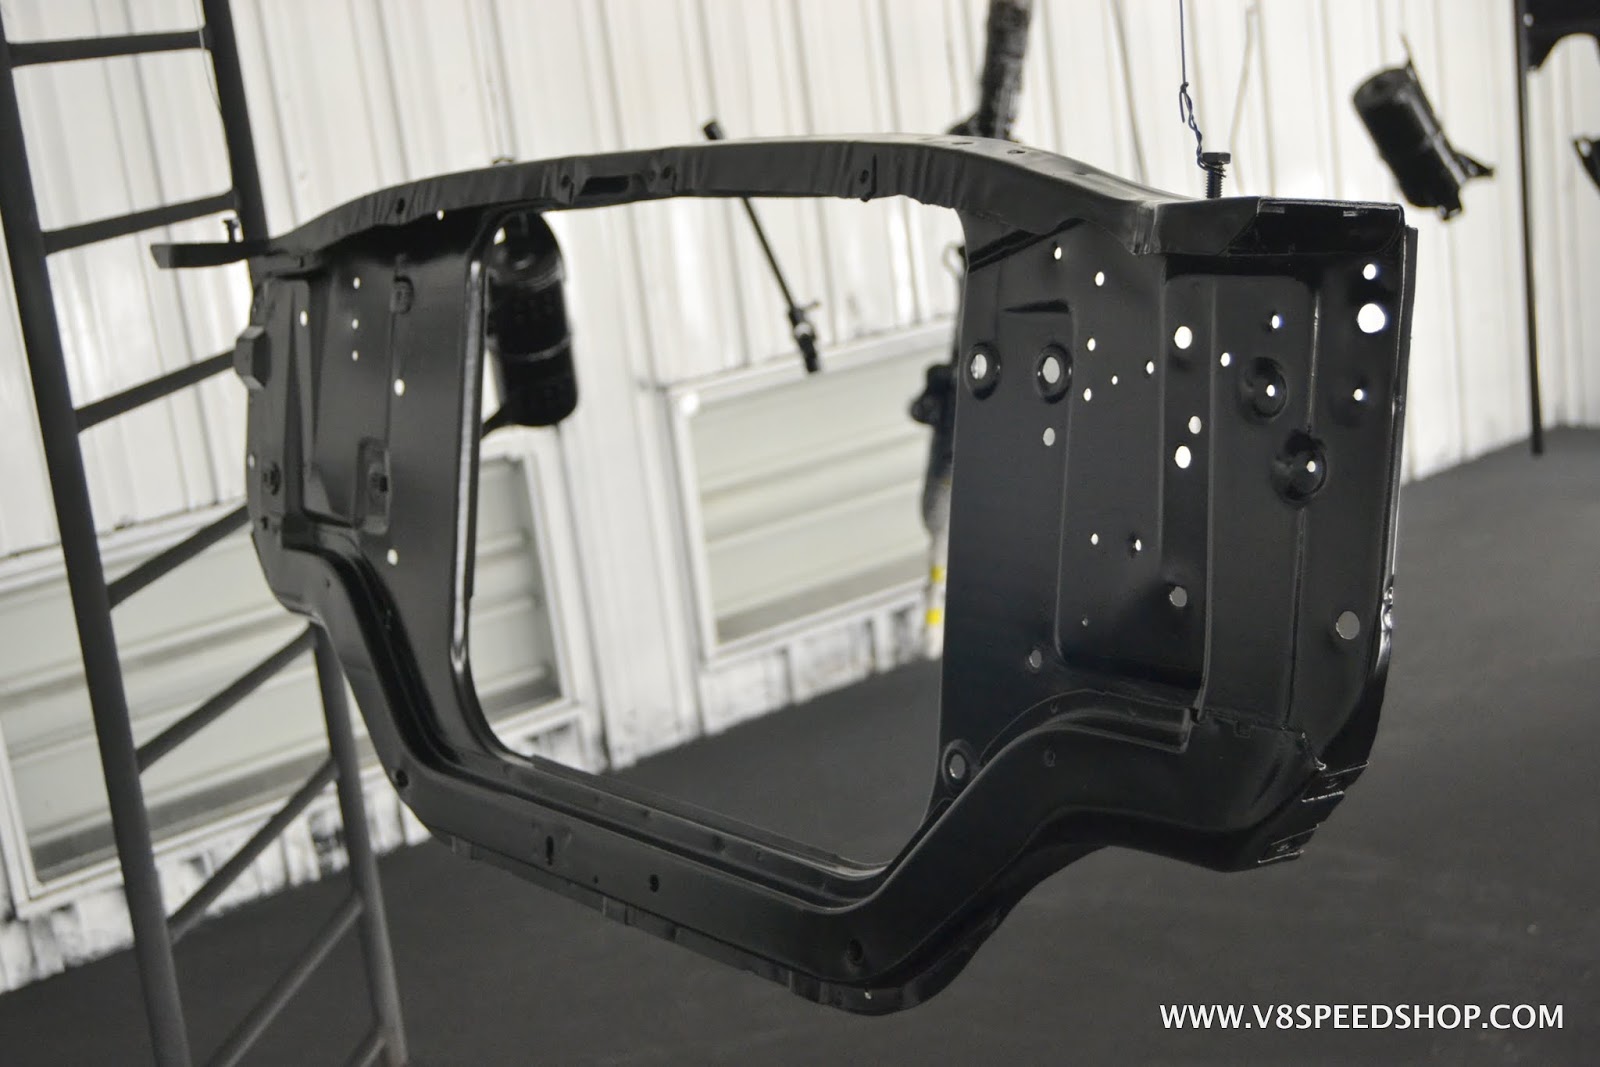
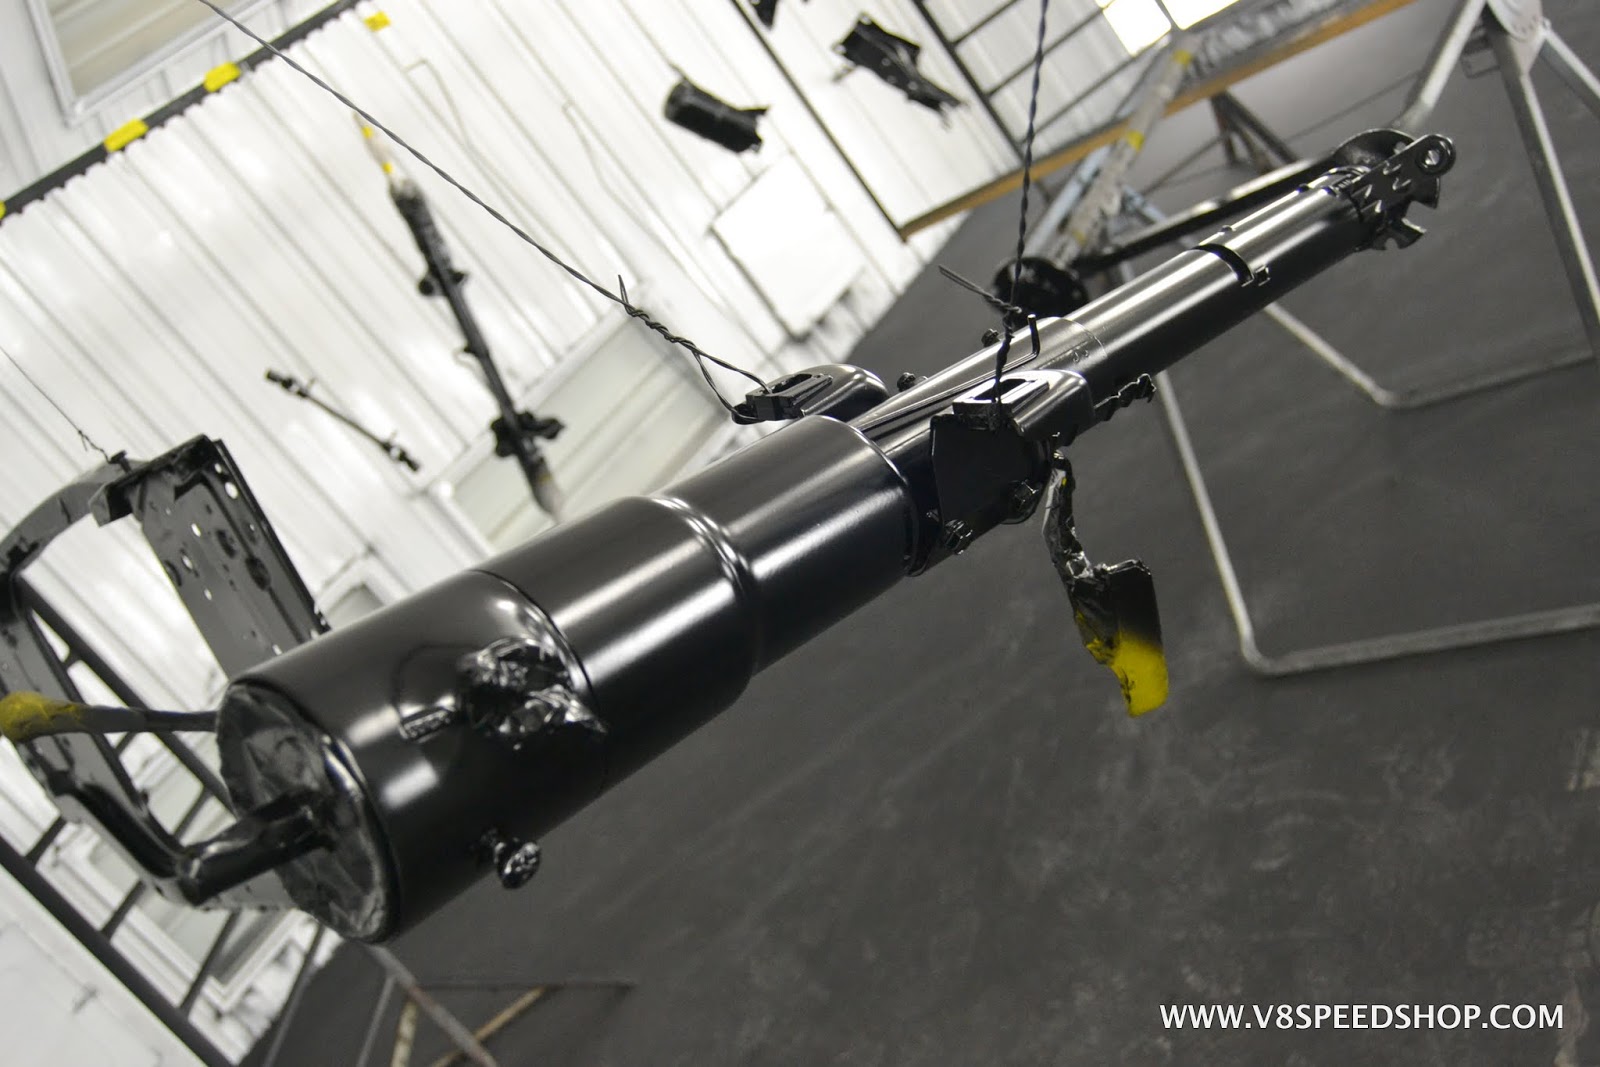
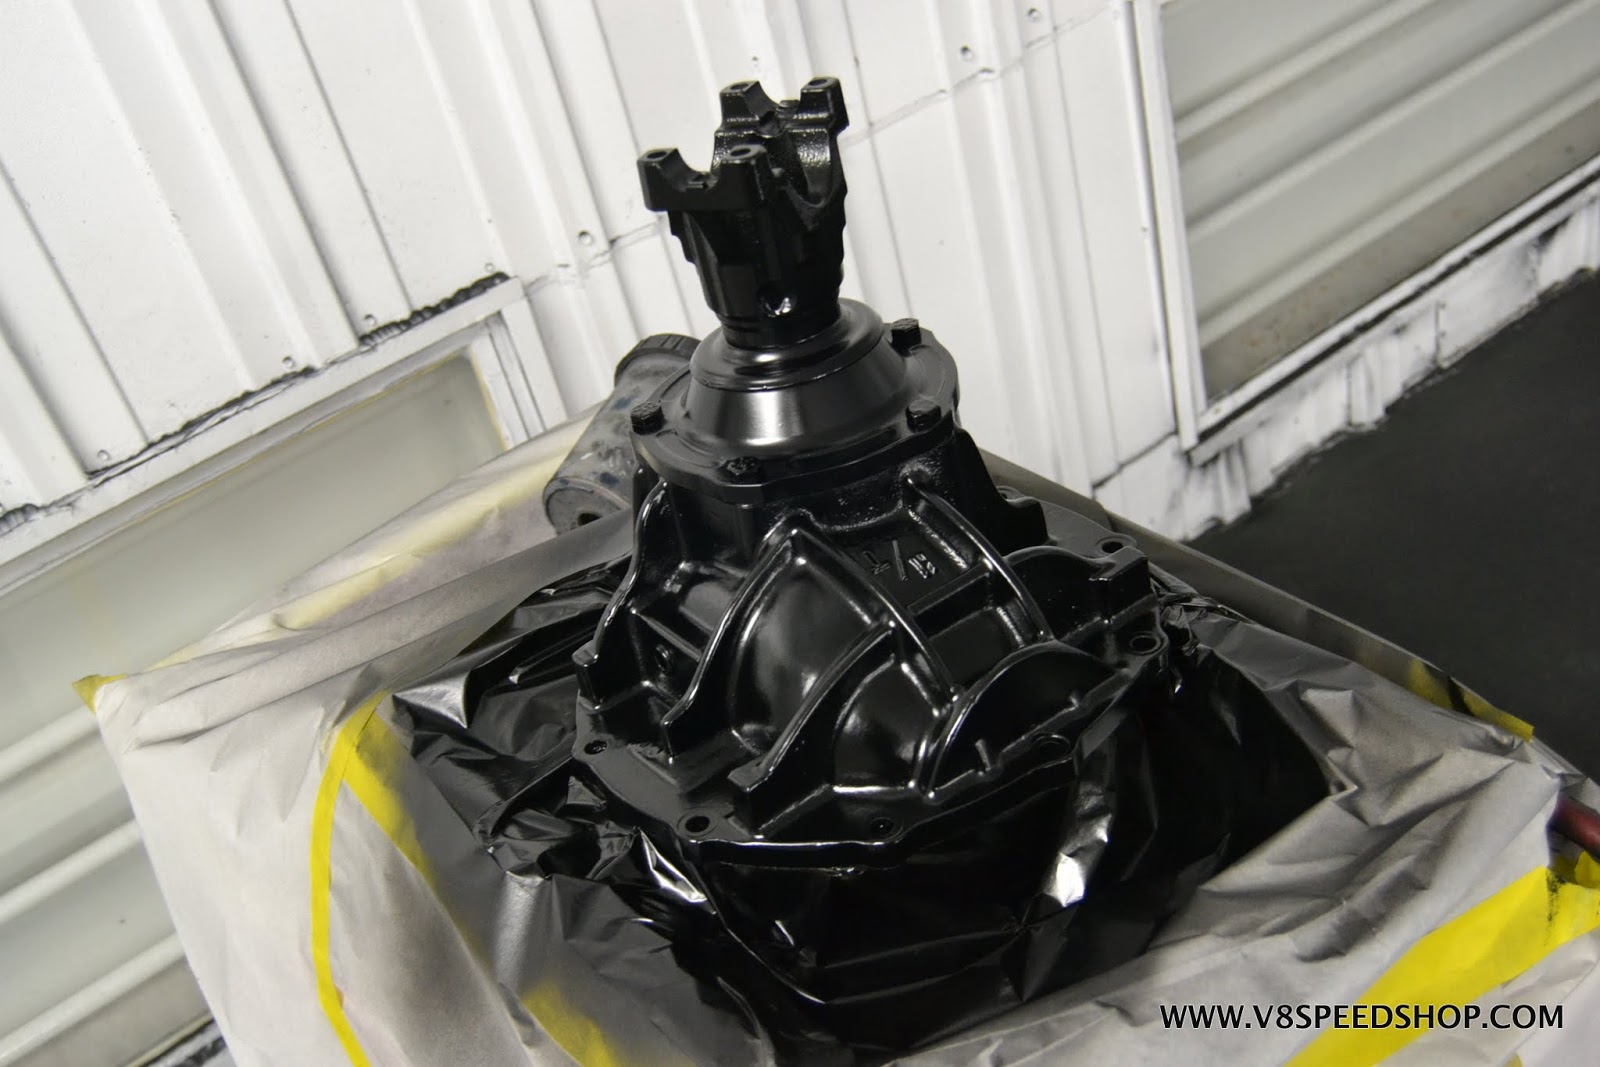
The paint booth was again loaded with parts for “blackening”.
Currie Engineering aluminum 9+ center section
Stripped and cleaned Currie 9+ axle housing with Heidt’s brackets installed
Modified stock appearing EFI fuel tank
“Cocktail Shakers” - factory GM oil-filled chassis vibration dampers found in convertibles
After a long day in the paint booth!
 Kevin Oeste
V8 Speed and Resto Shop
V8TV
Muscle Car Of The Week
V8 Radio Podcast
All about us:
https://www.v8speedshop.com
09-26-2017 #54
Registered User
- Join Date
- Dec 2004
- Location
- Midwest
- Posts
- 2,263
Tilt column
Heidt’s 4-link rear suspension final installation. Note the 3M coating on the bottom of the car.
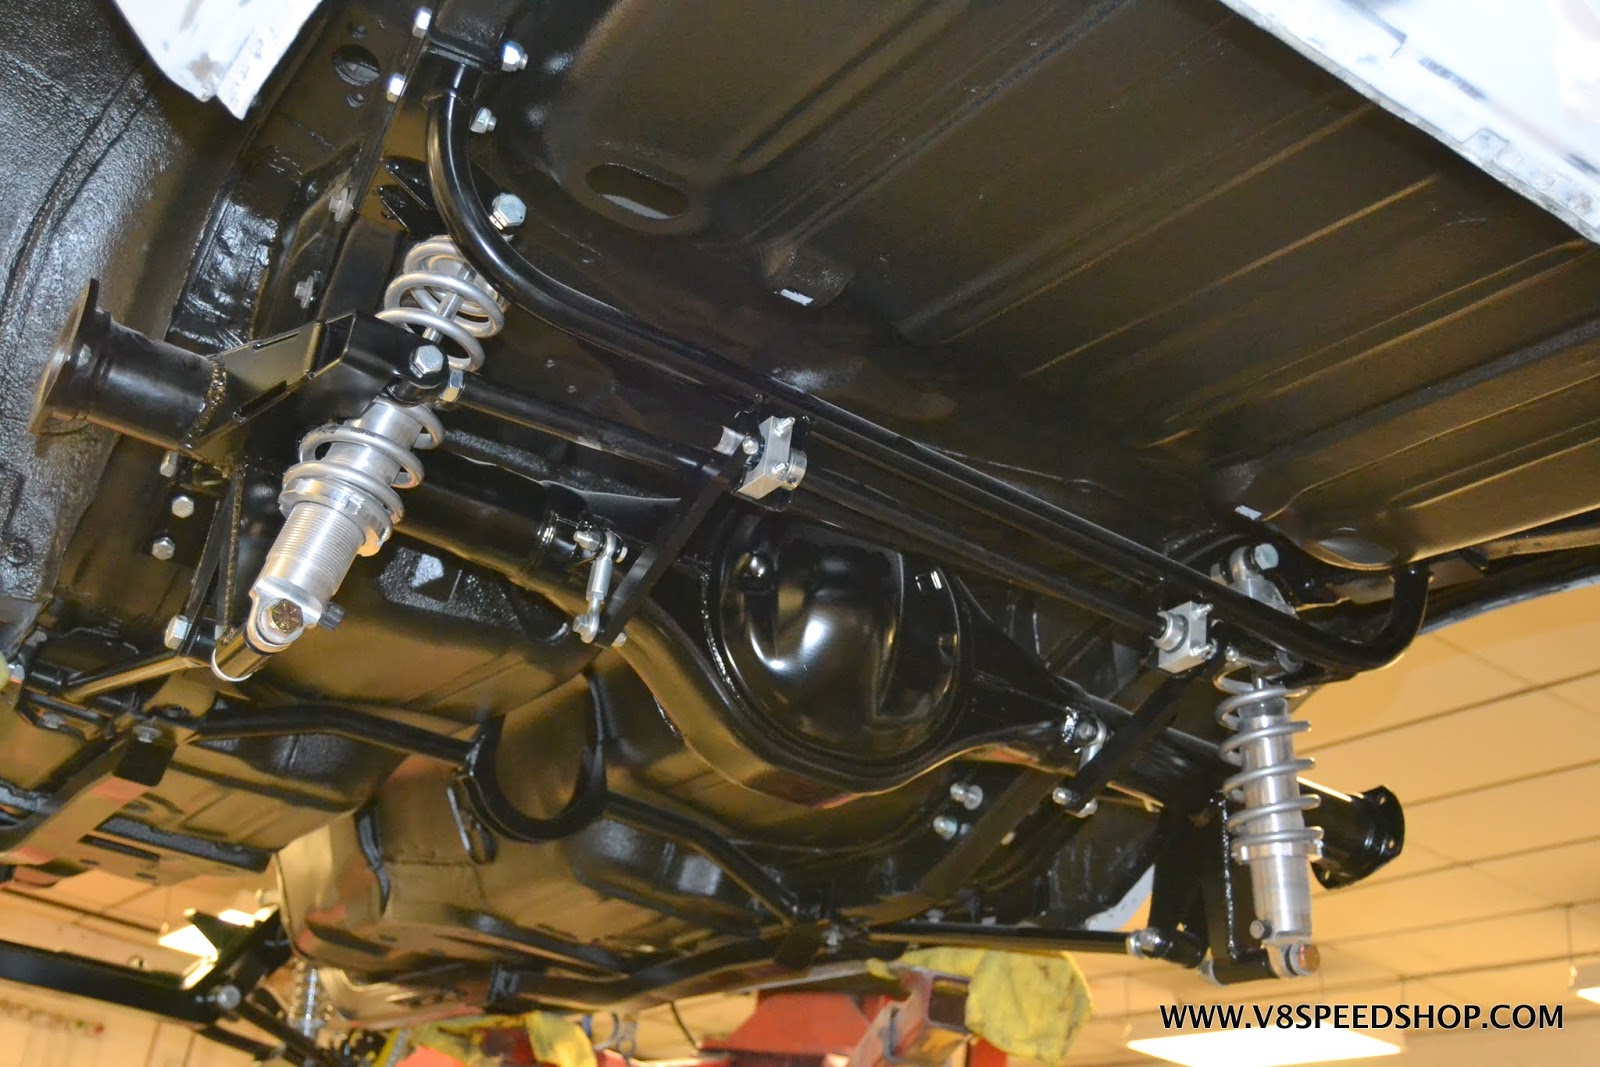
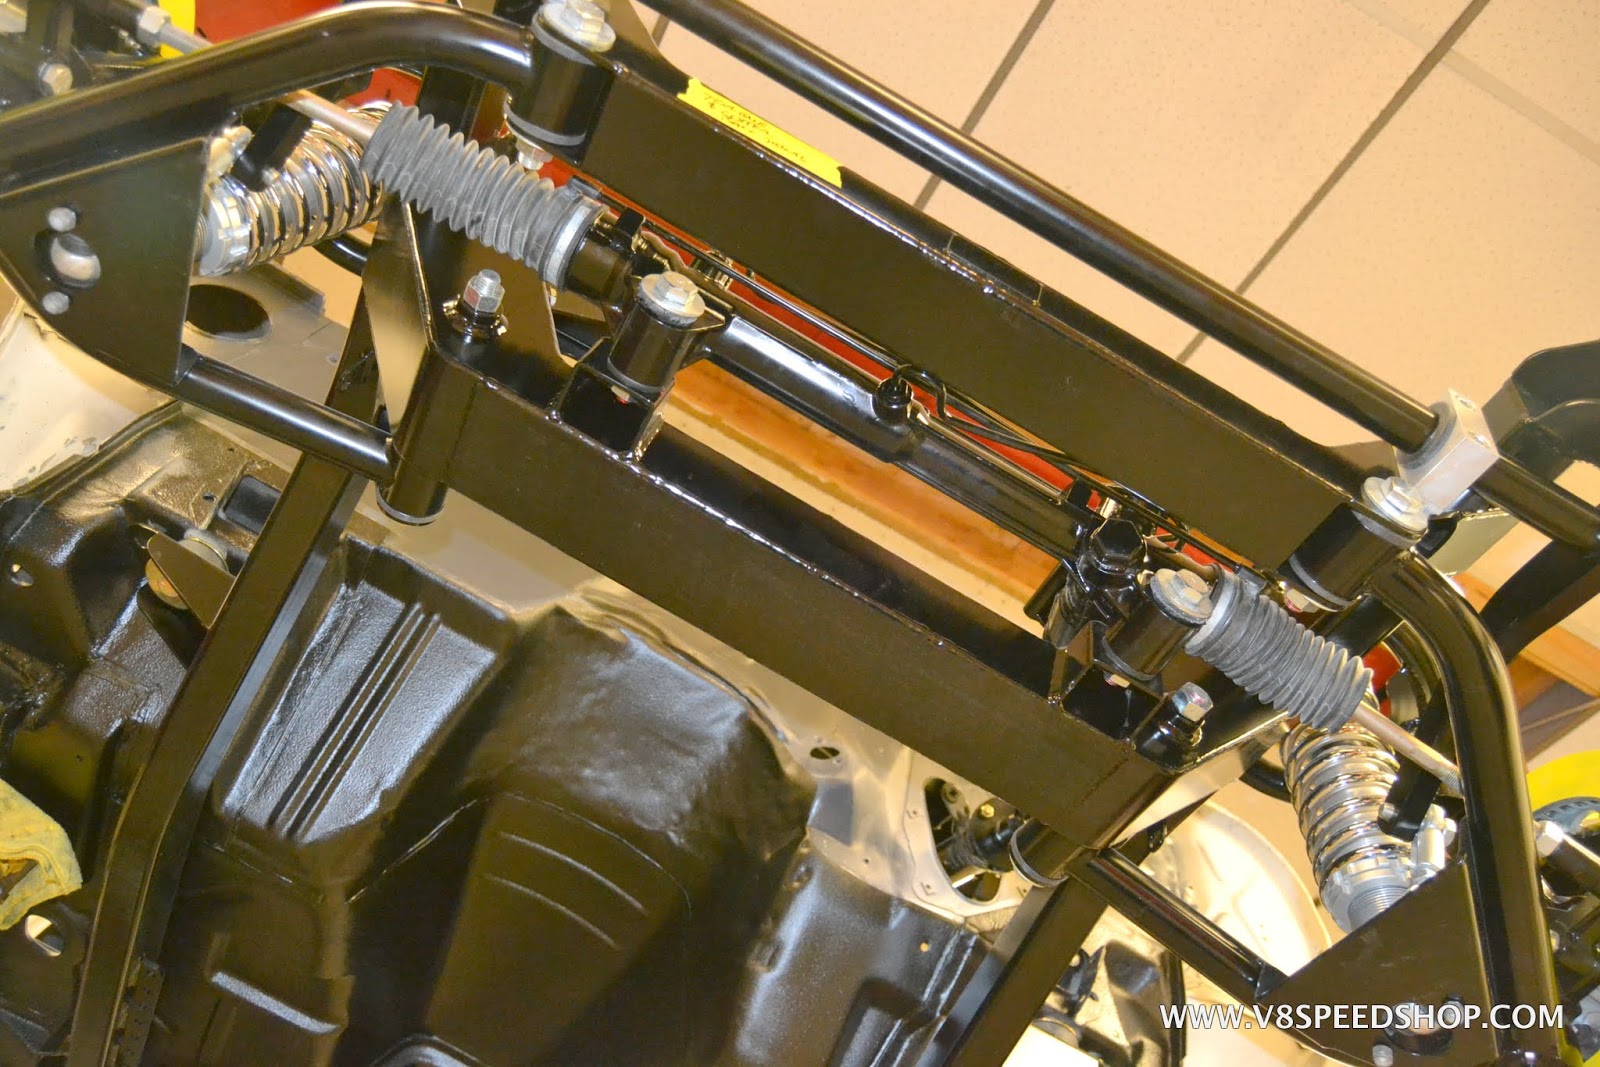
Steering installation
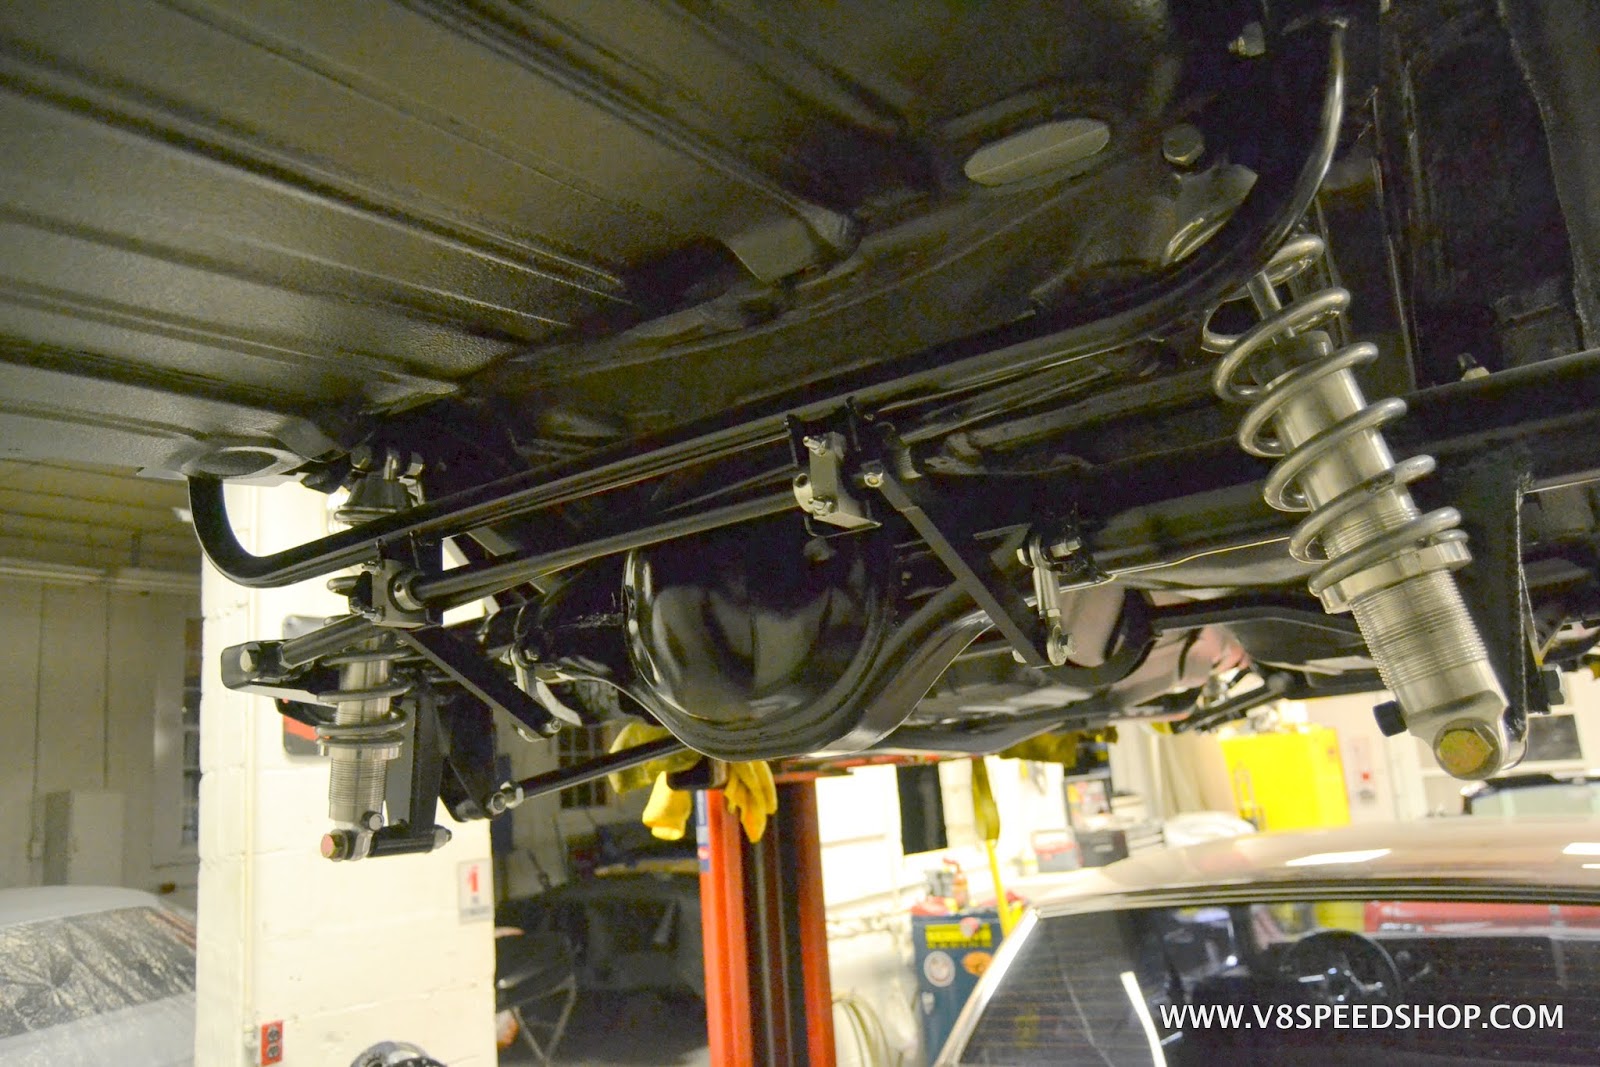
Front sway bar installed
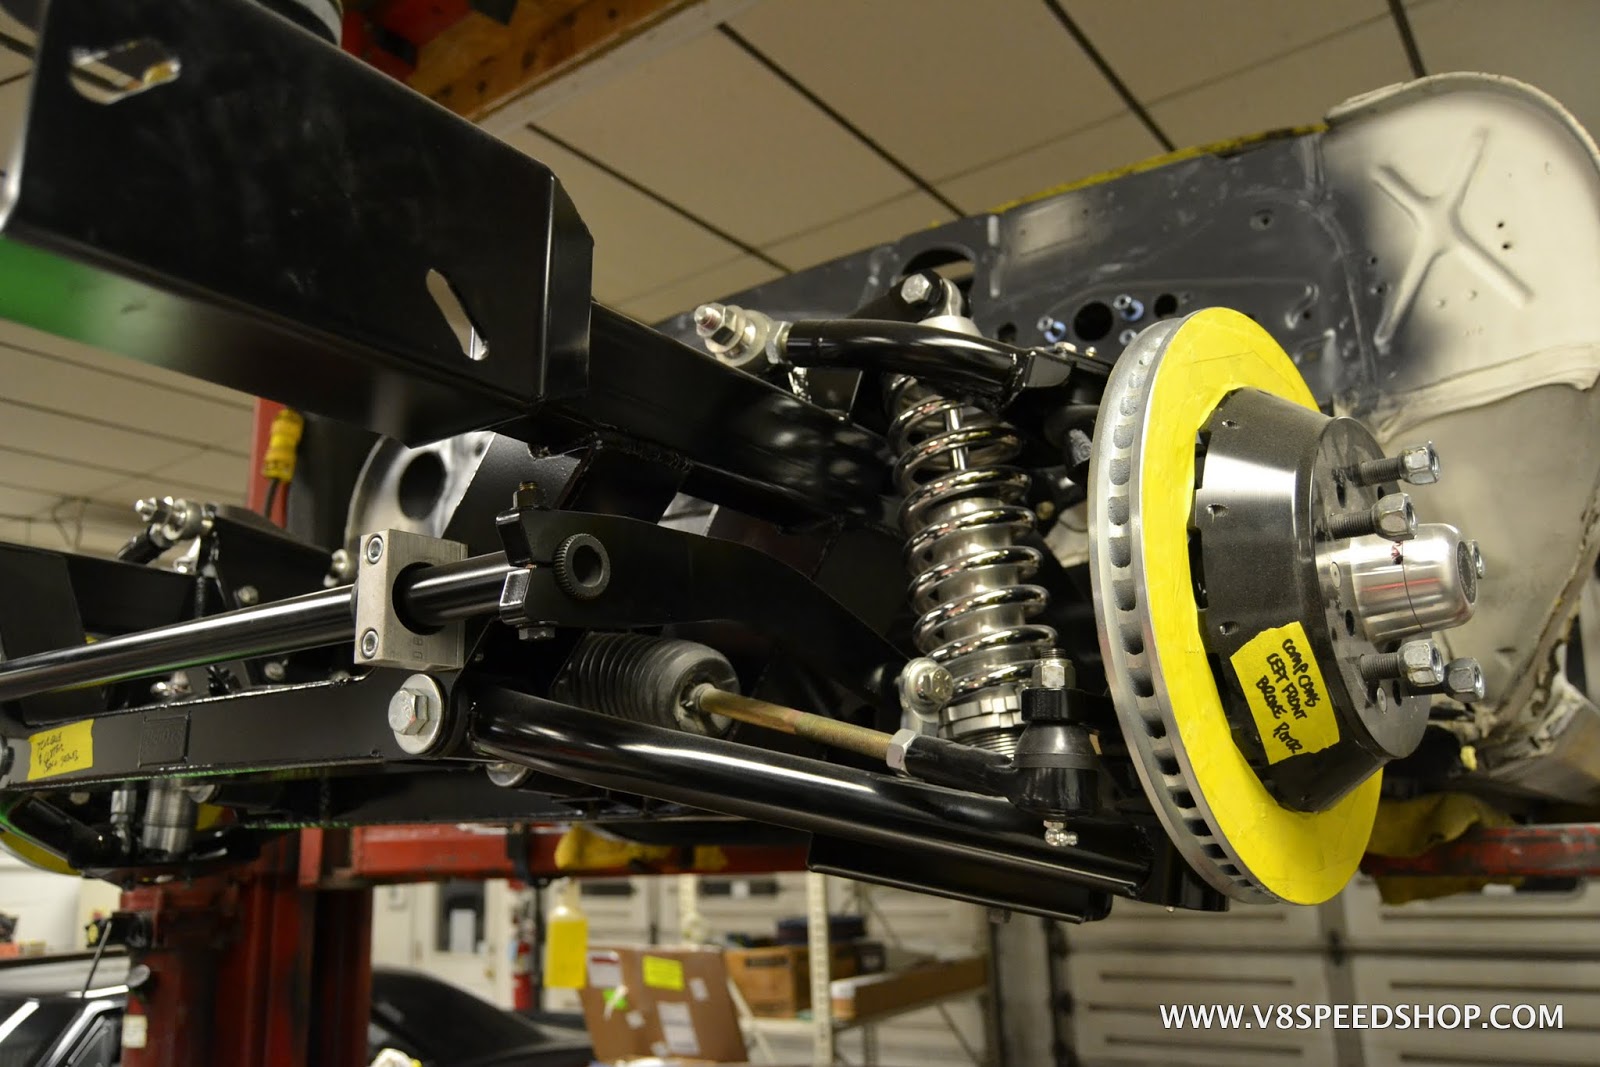
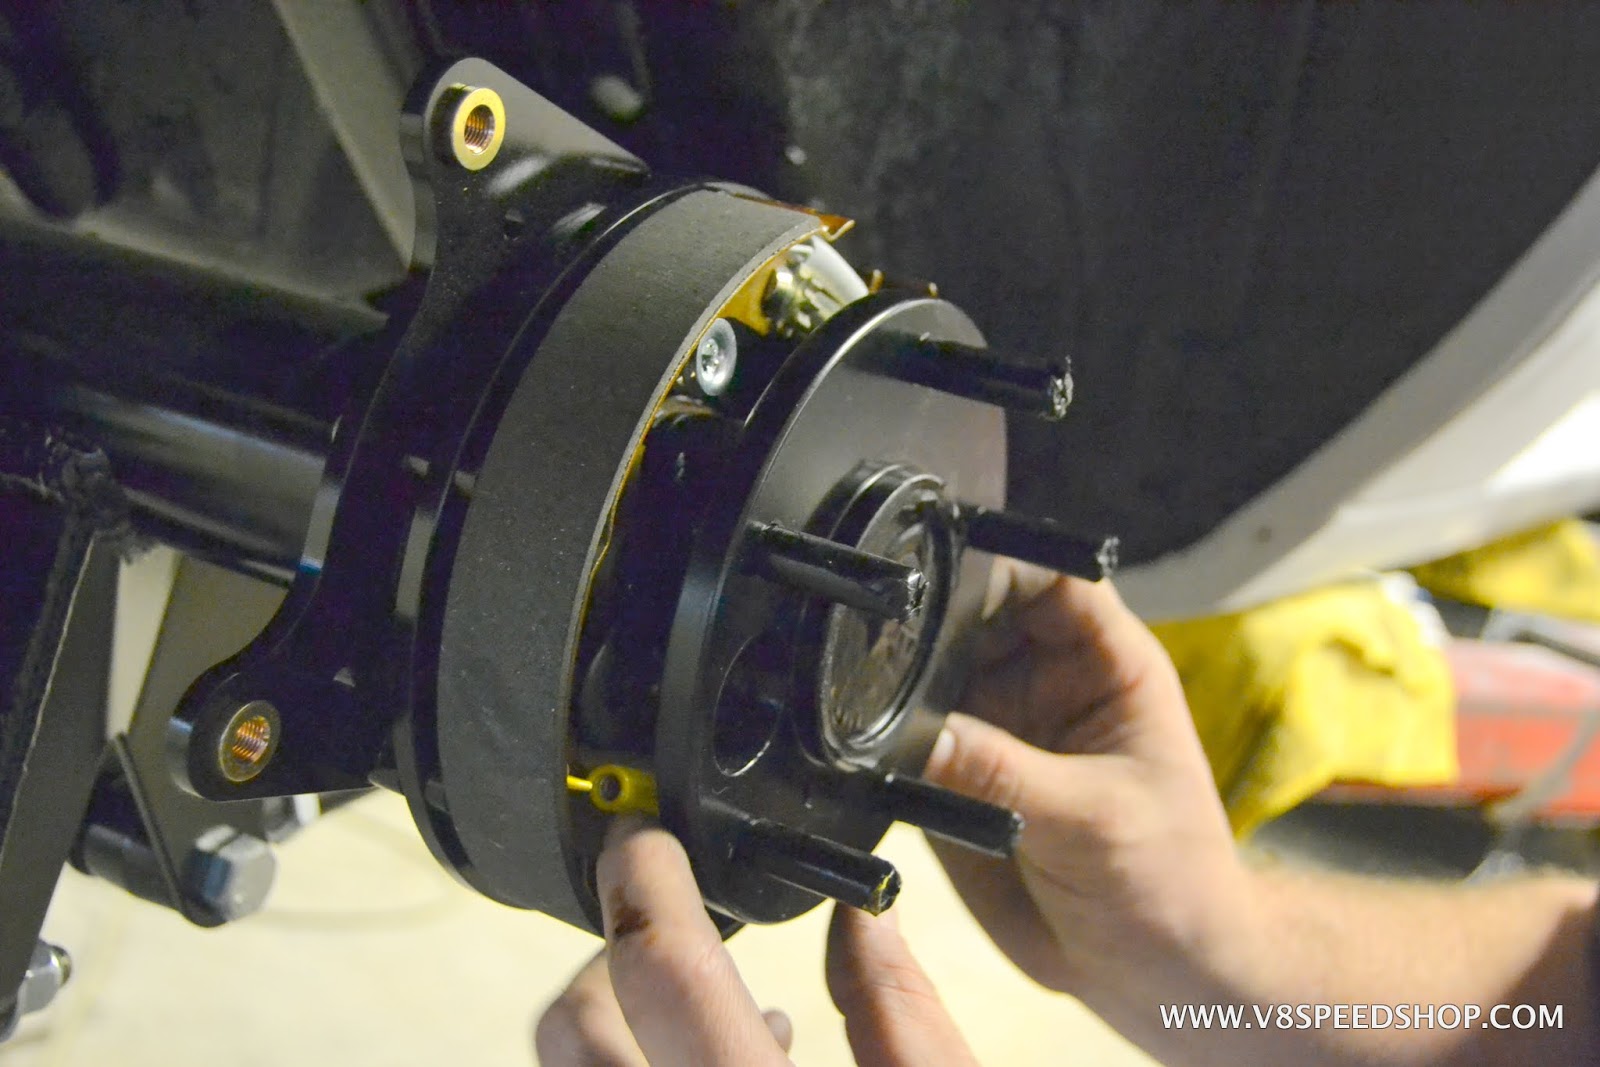
Emergency brake and axles installed
- - - Updated - - -
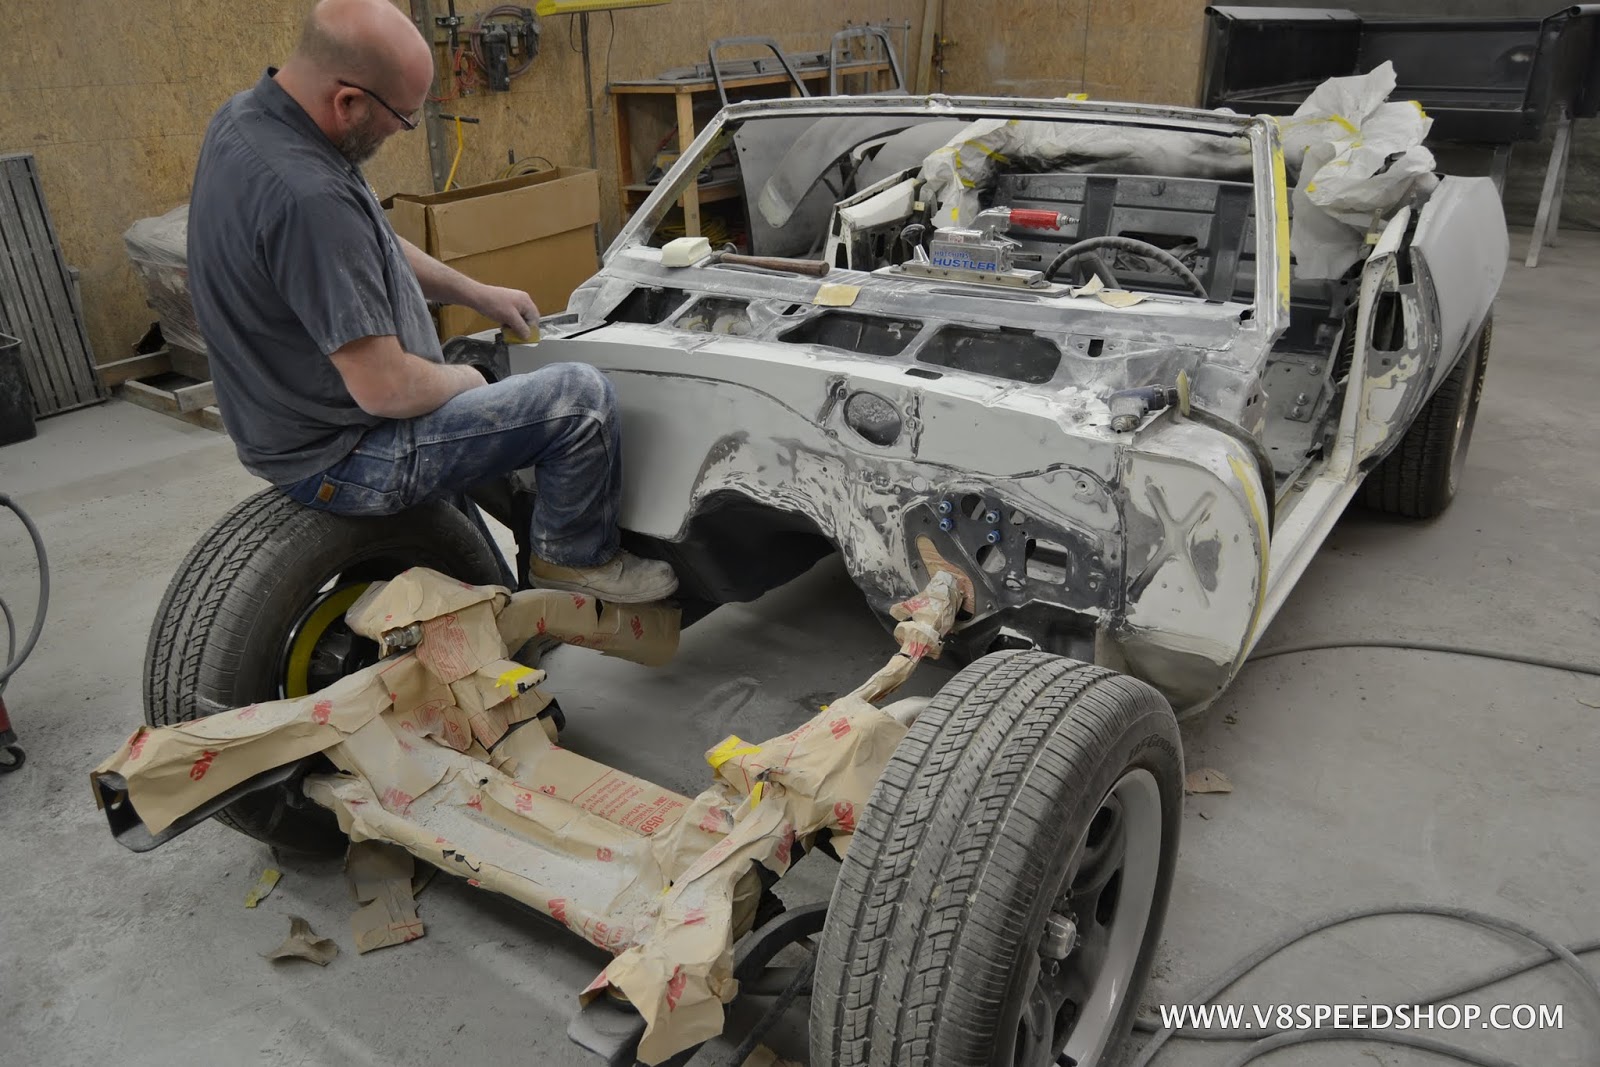
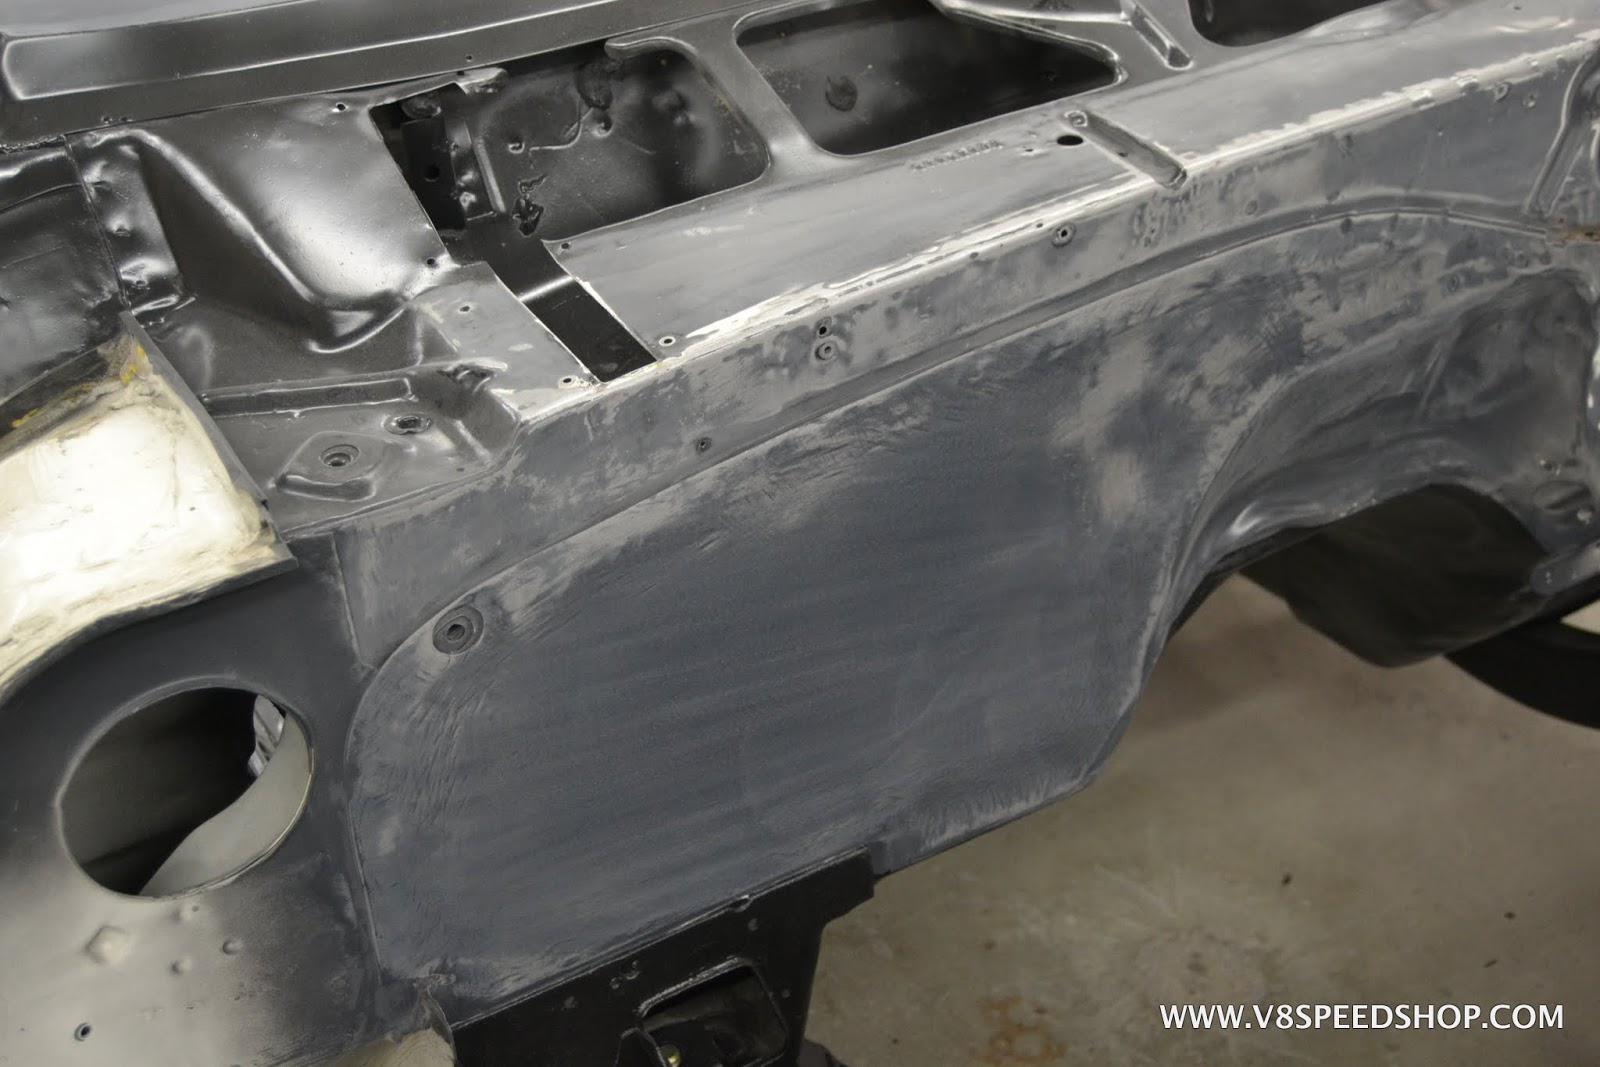
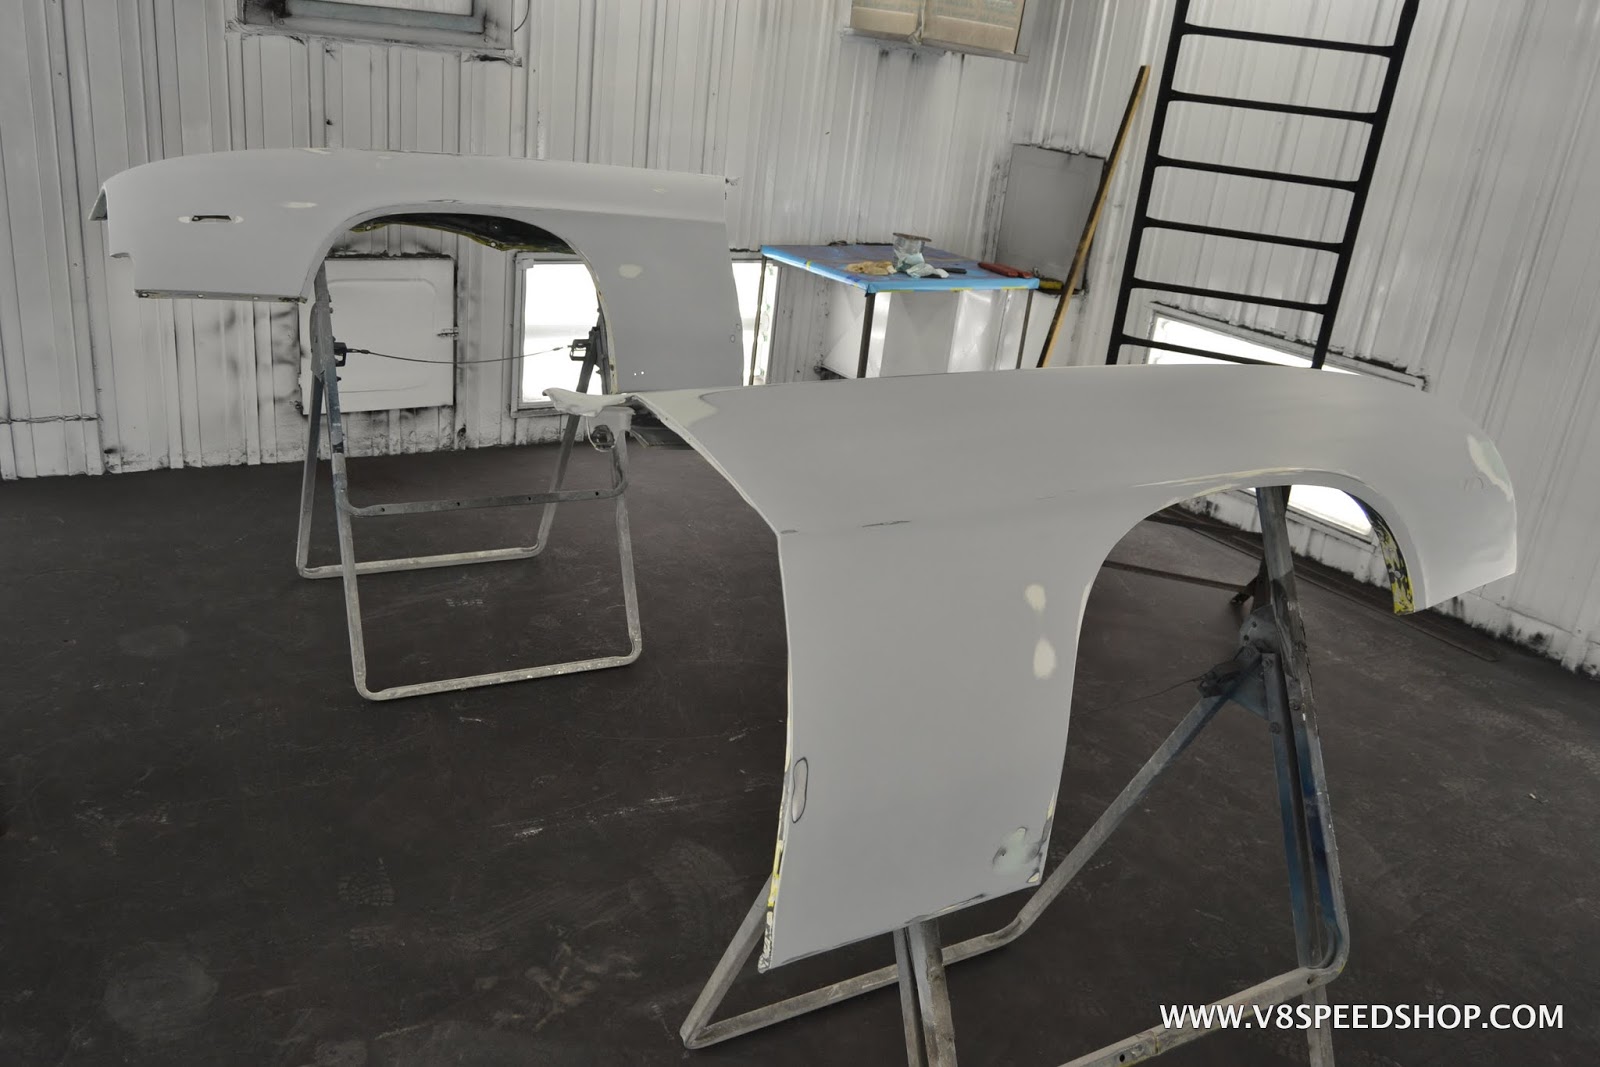
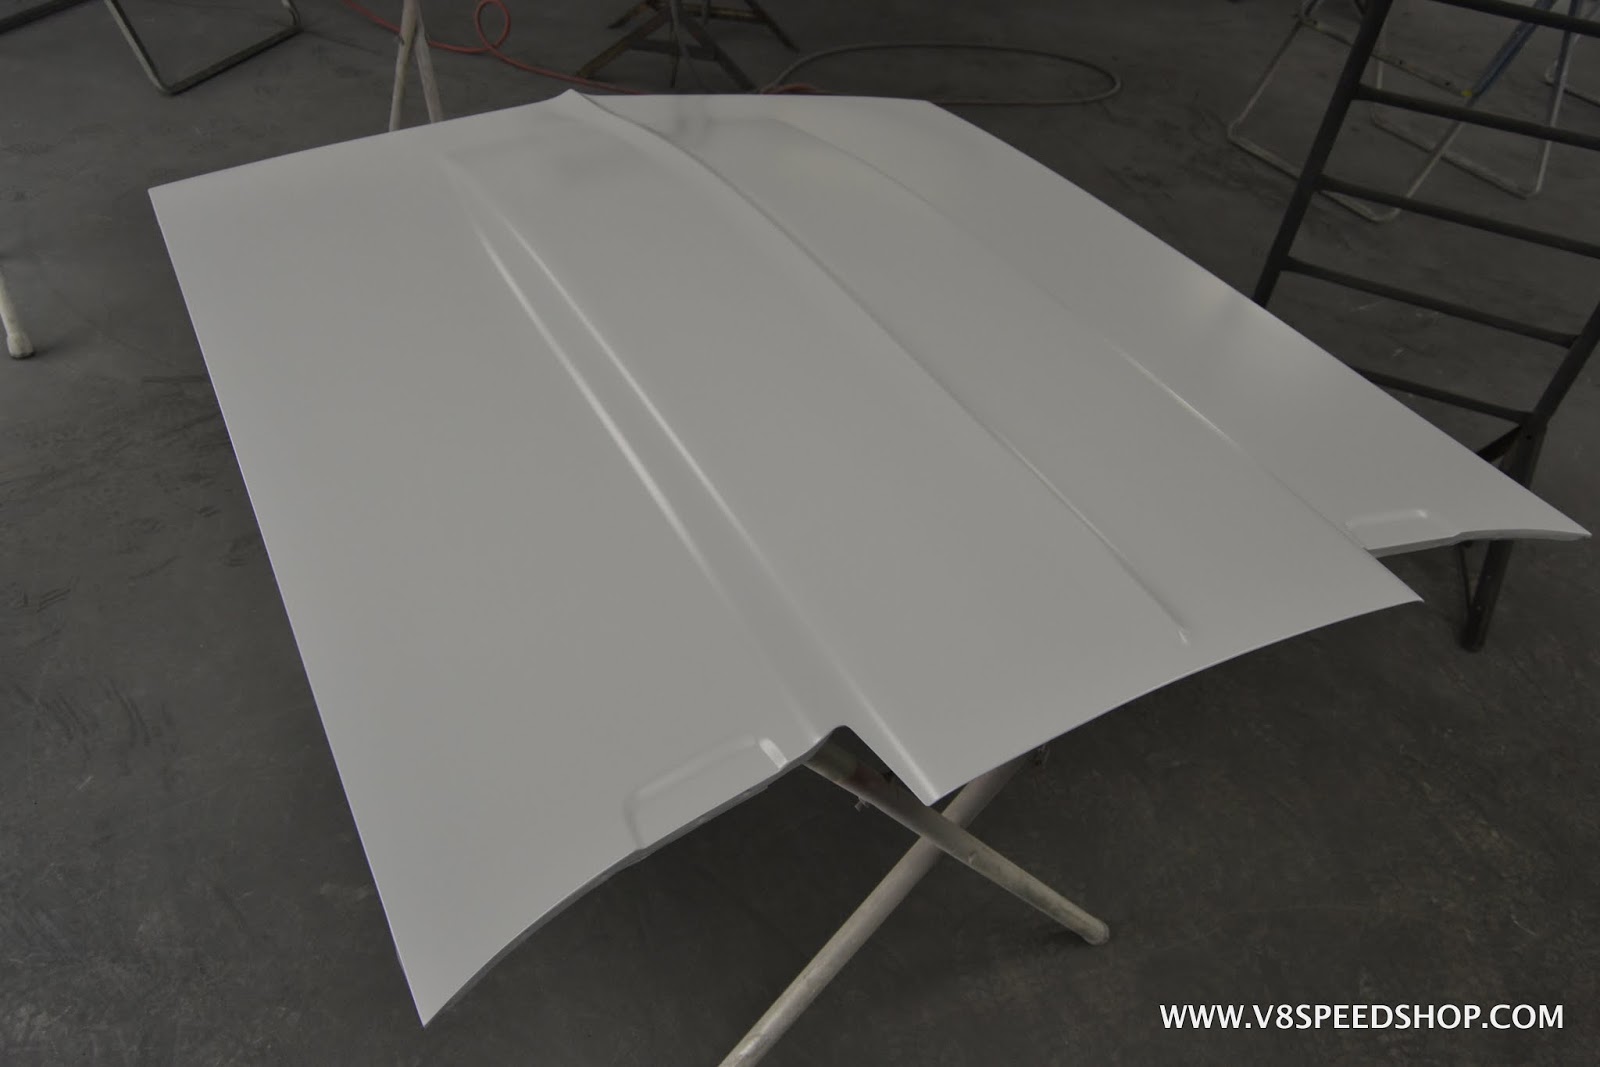
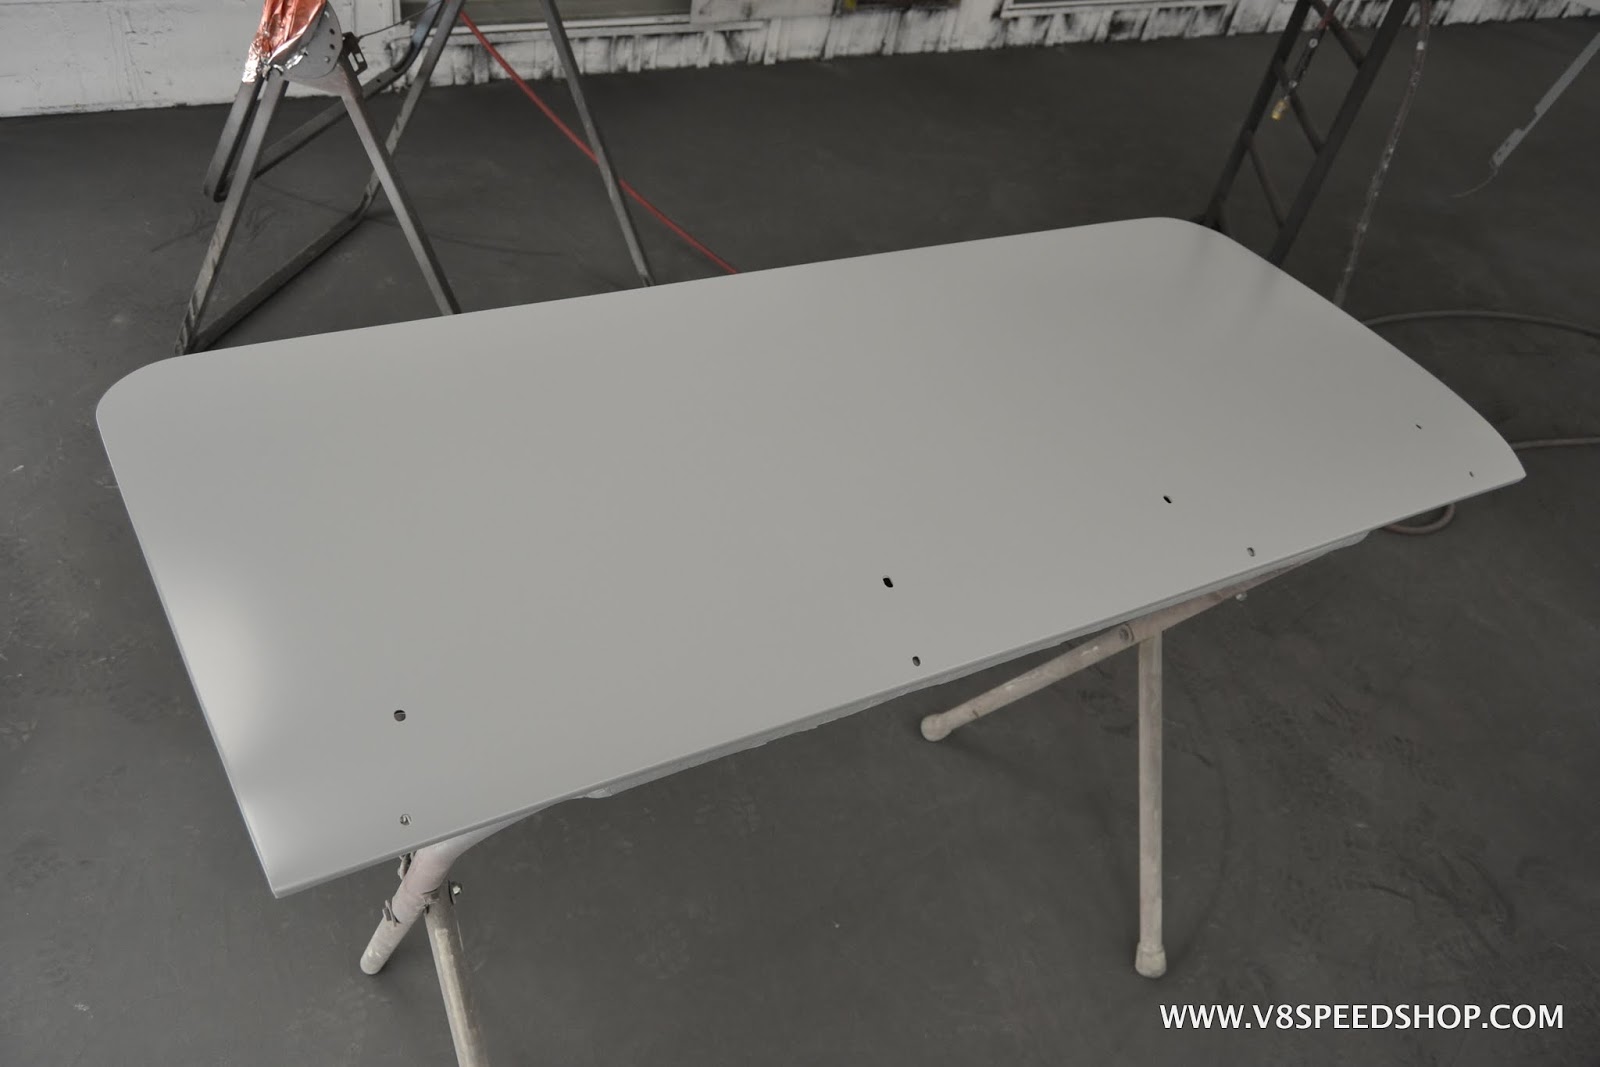
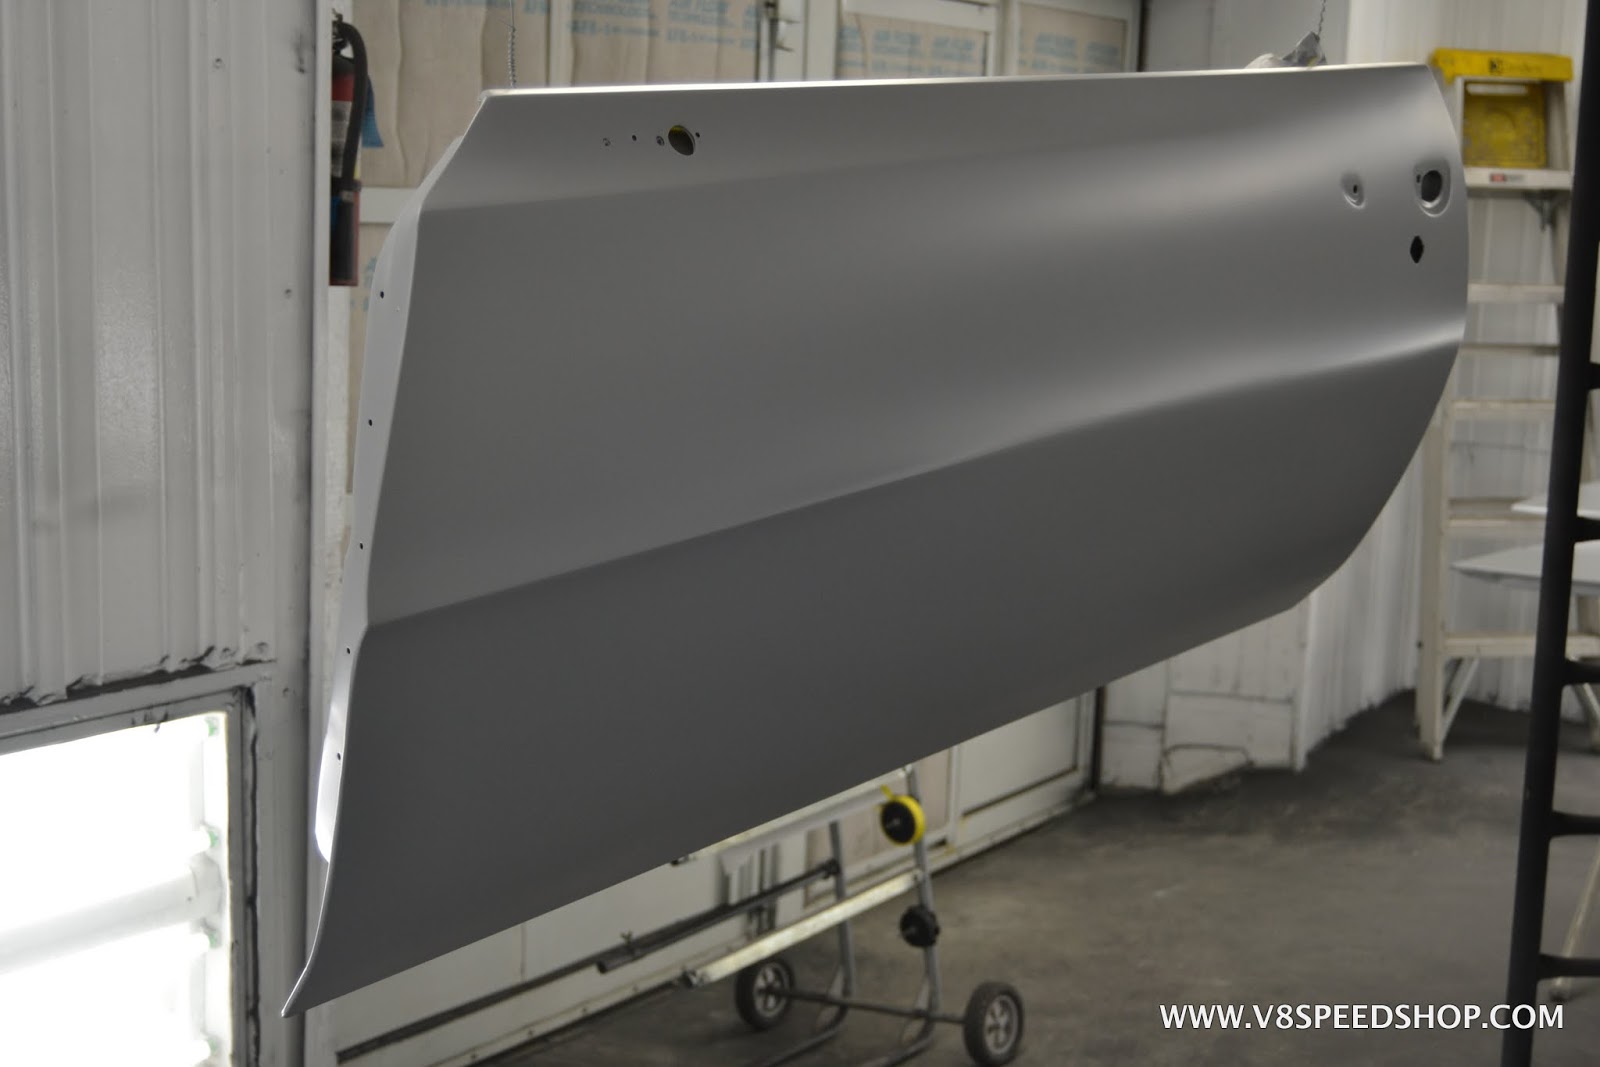
Soon, the car is a roller again and it heads back to the body shop for final bodywork and priming.
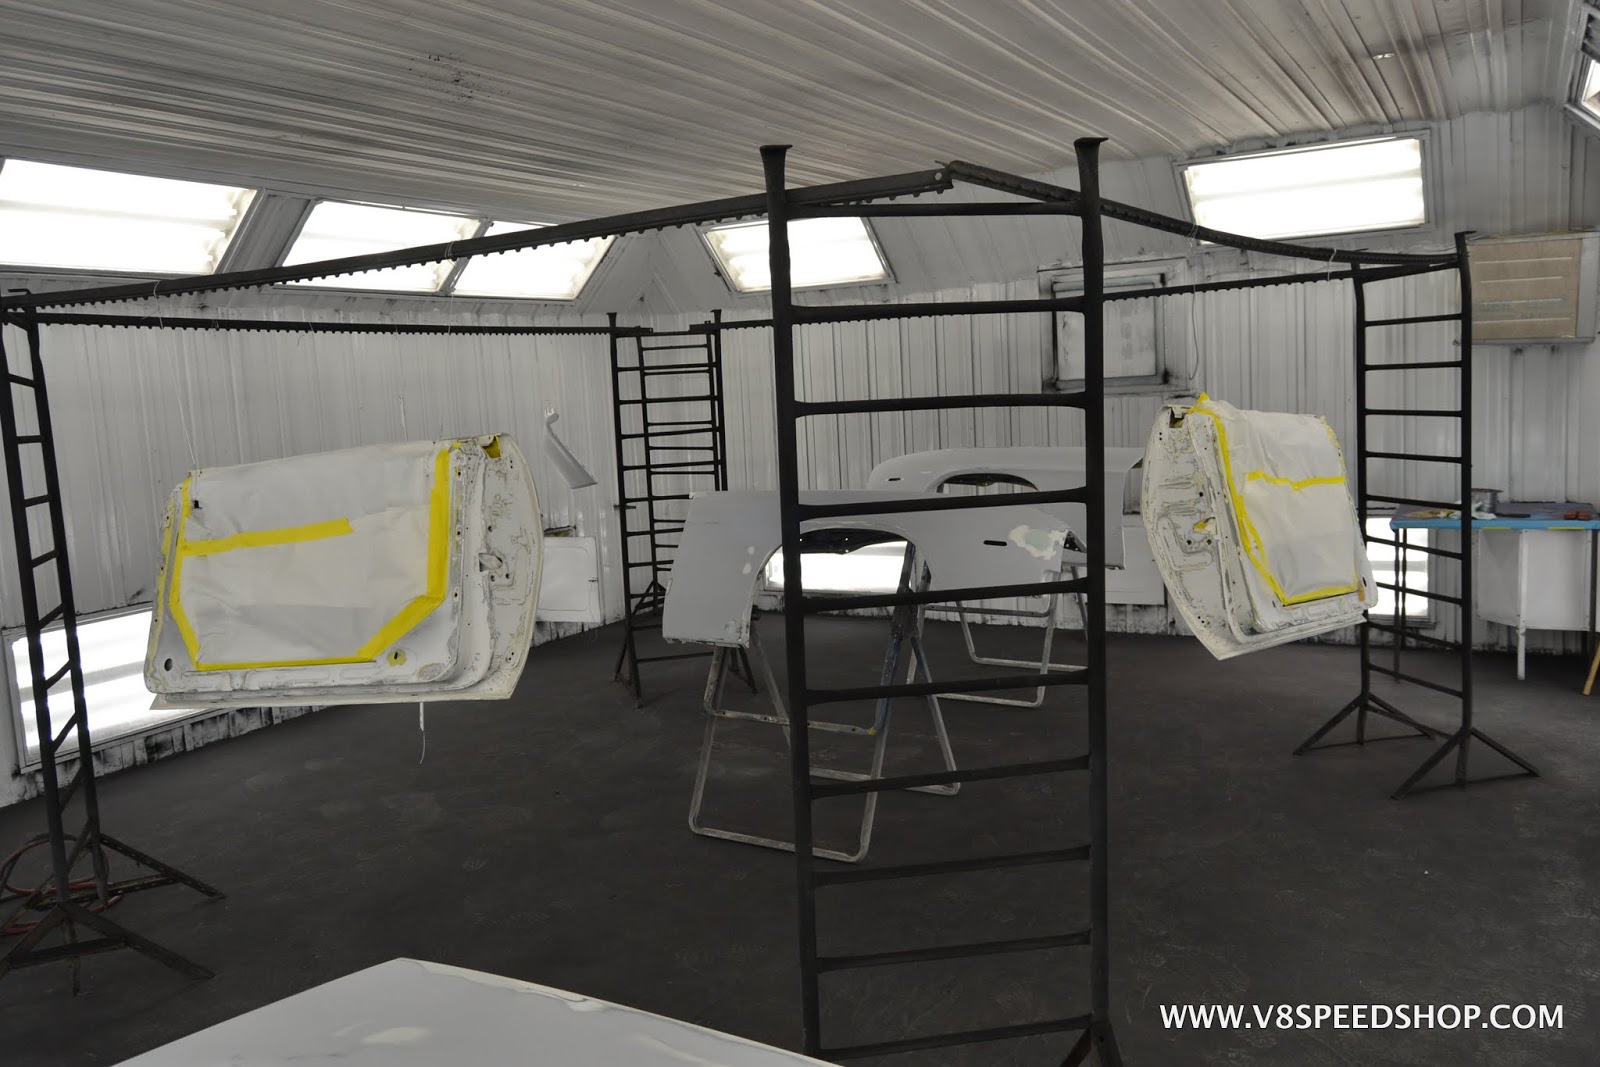
The removable panels, hood, decklid, fenders, doors, valances, etc., are cleaned and hung in the booth for final priming.
 Kevin Oeste
V8 Speed and Resto Shop
V8TV
Muscle Car Of The Week
V8 Radio Podcast
All about us:
https://www.v8speedshop.com
10-02-2017 #55
Registered User
- Join Date
- Dec 2004
- Location
- Midwest
- Posts
- 2,263
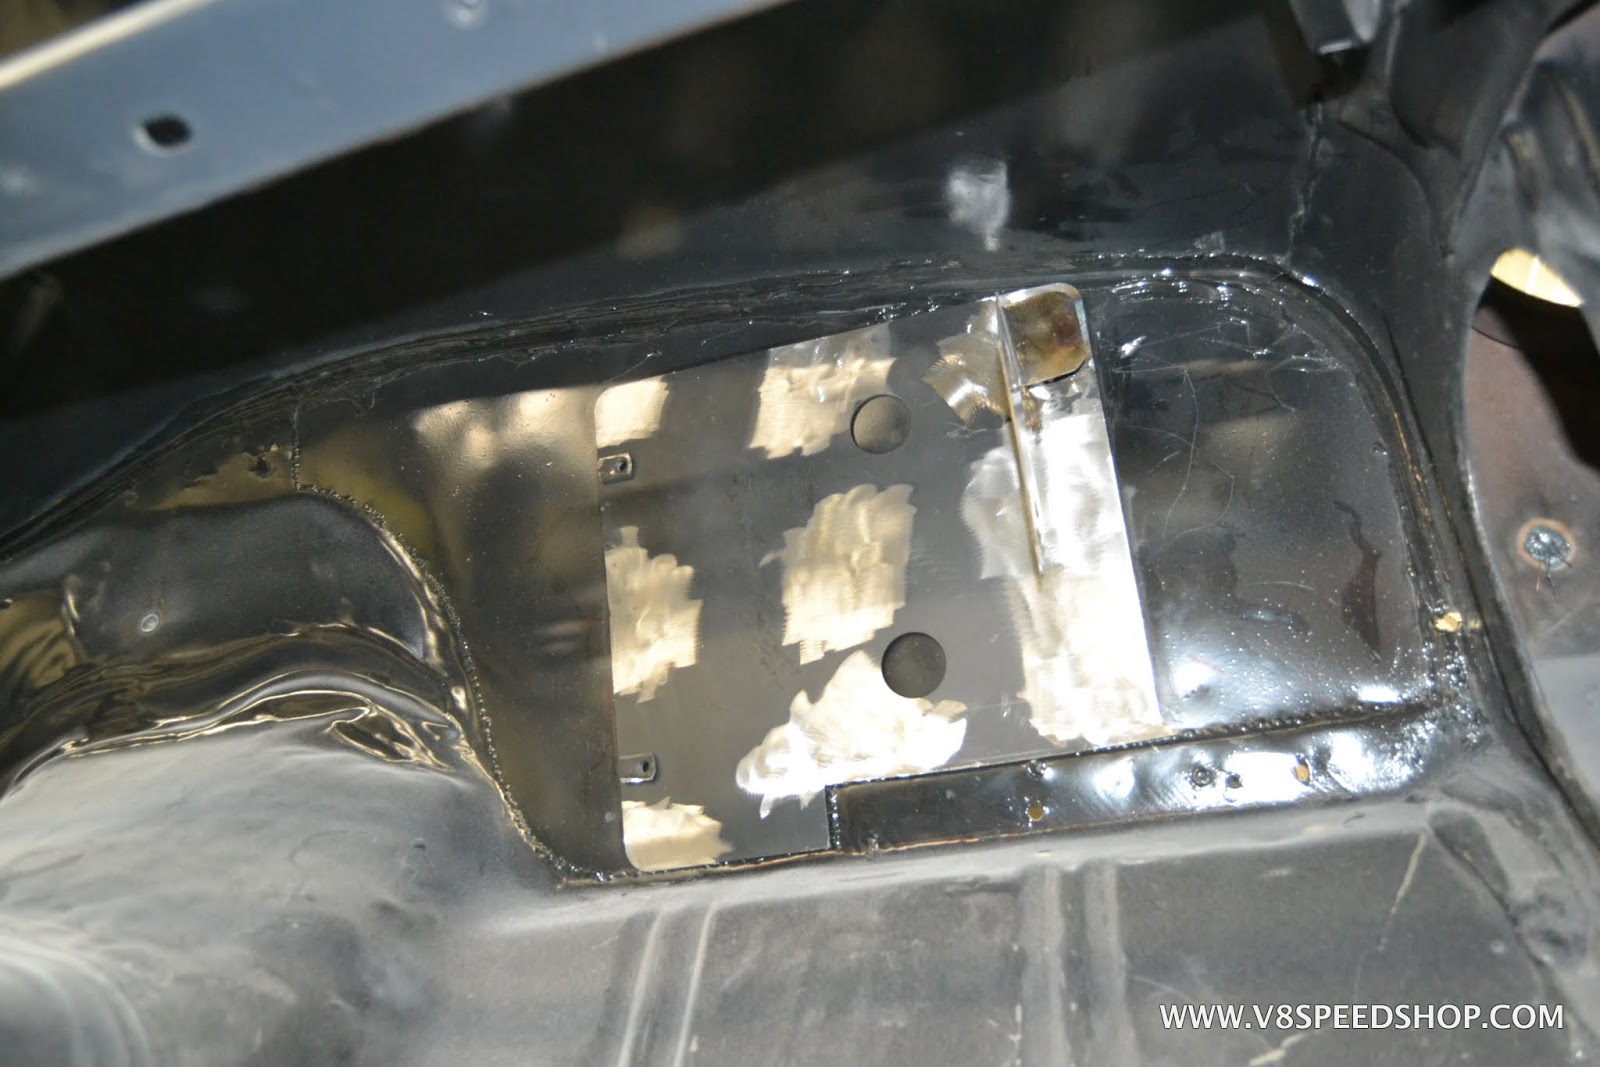
Inside the body shell, the crew installed the mounting bracket for the Vintage Air Gen 4 air conditioning system. Although the Vintage Air kit comes with screw-in hangers, we find that welding the brackets to the inside of the car allows us to tuck it up as high as we can and make for a cleaner installation.
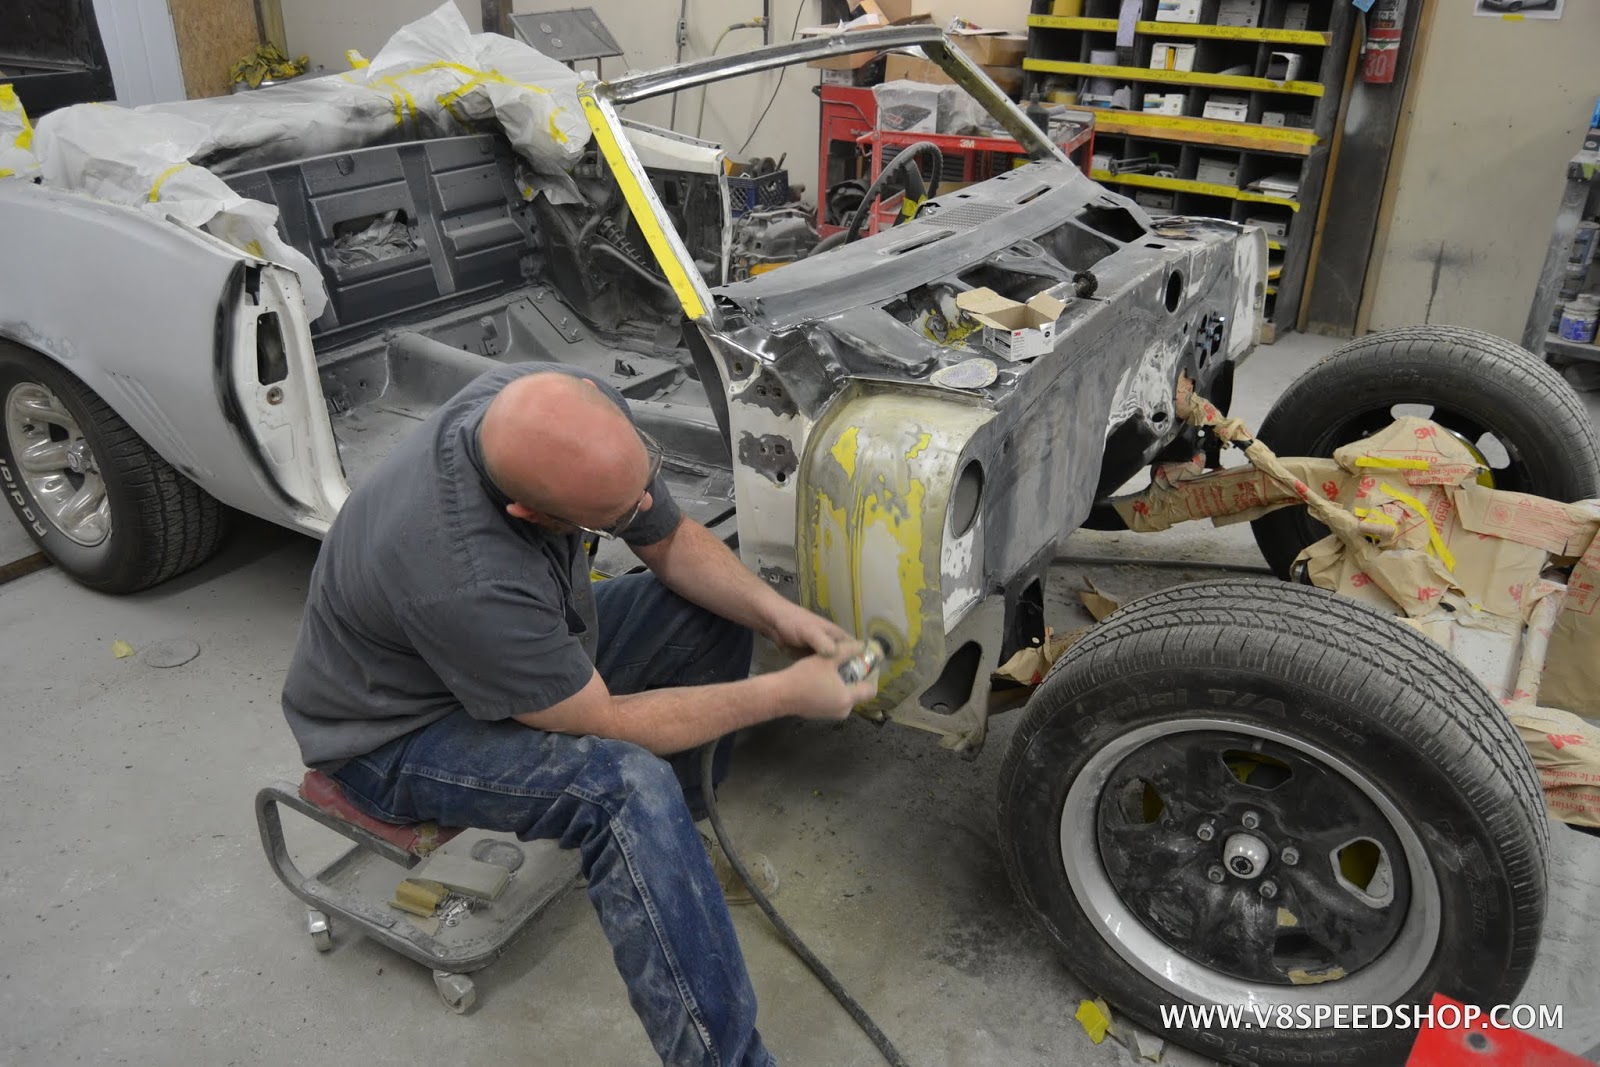
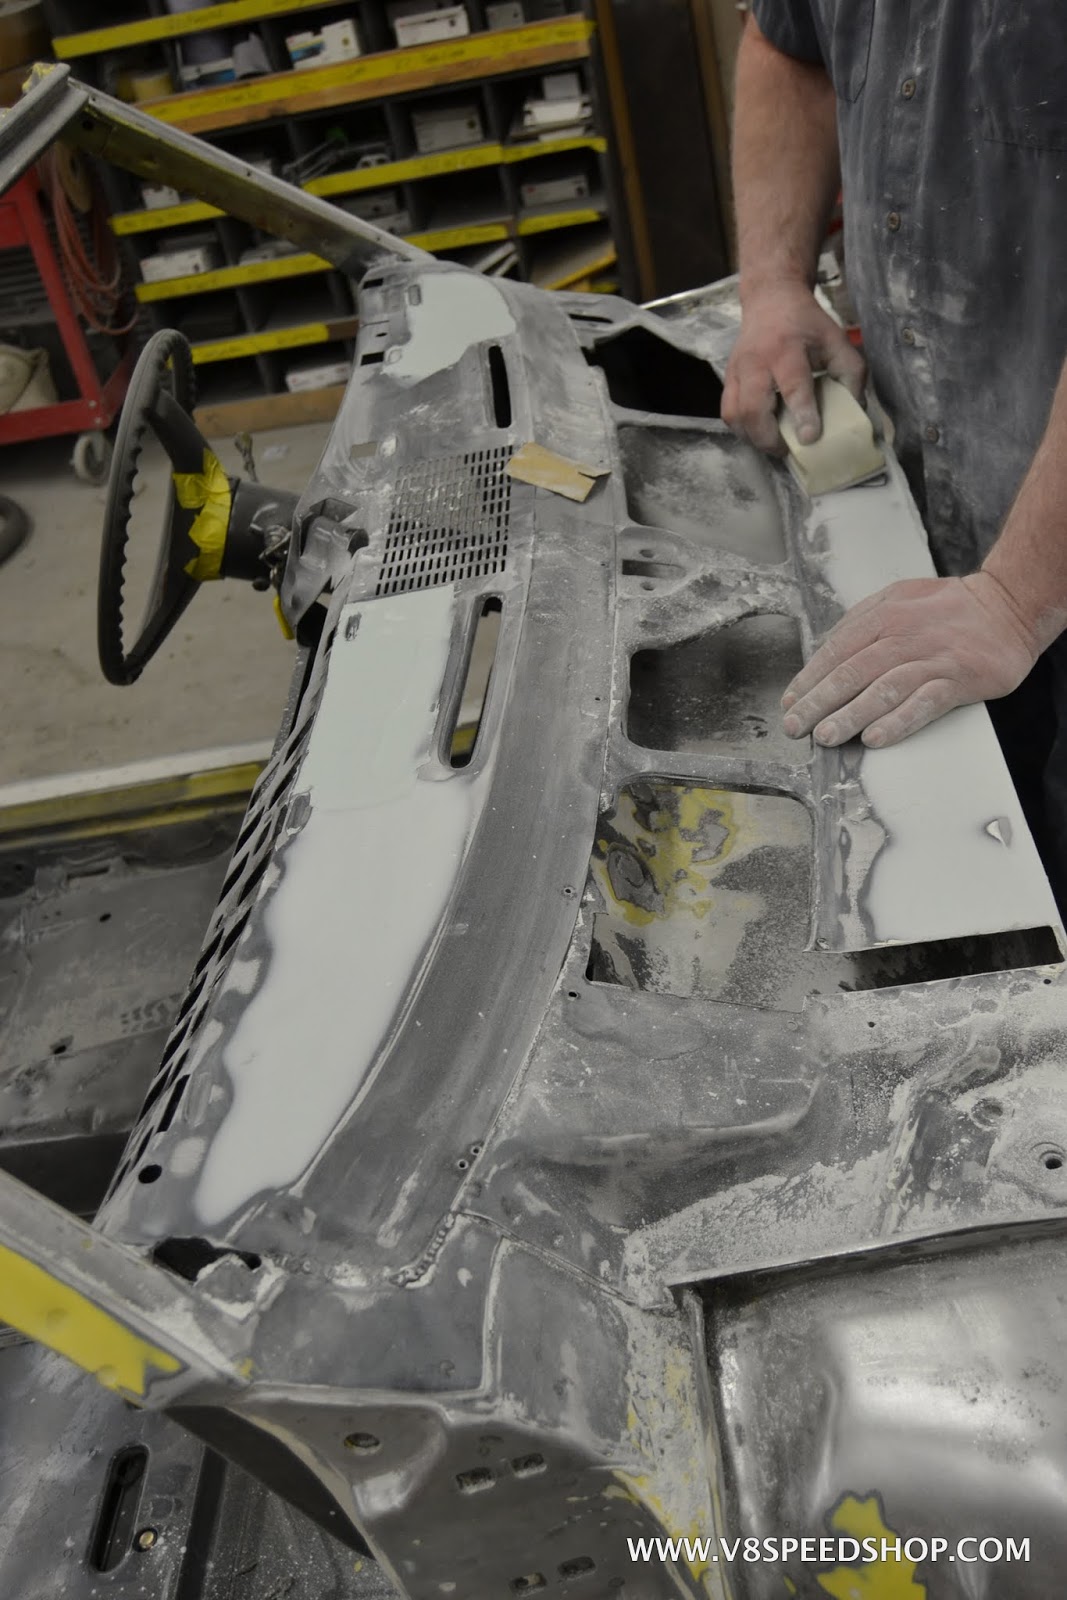
No that the exterior panels have all been bodyworked and are straight, the body shop crew turns to detail items like the dashboard, firewall, door jambs, and cowl areas.
Kevin Oeste
V8 Speed and Resto Shop
V8TV
Muscle Car Of The Week
V8 Radio Podcast
All about us:
https://www.v8speedshop.com
10-02-2017 #56
Registered User
- Join Date
- Dec 2004
- Location
- Midwest
- Posts
- 2,263
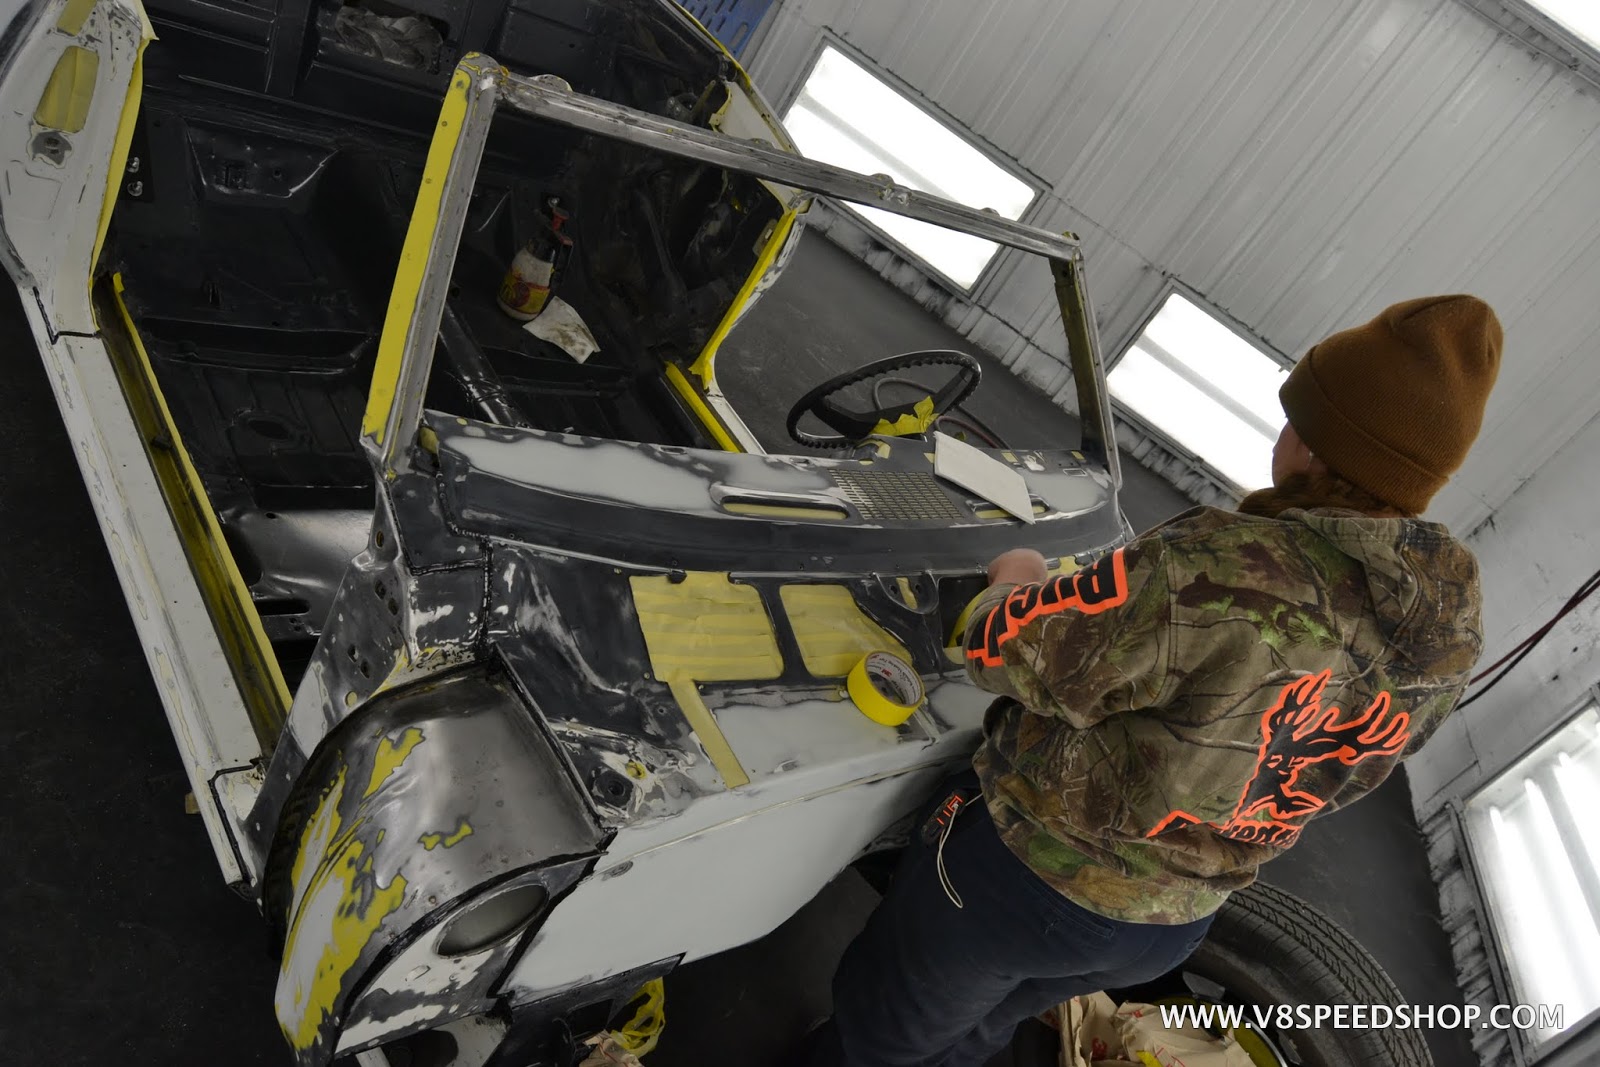
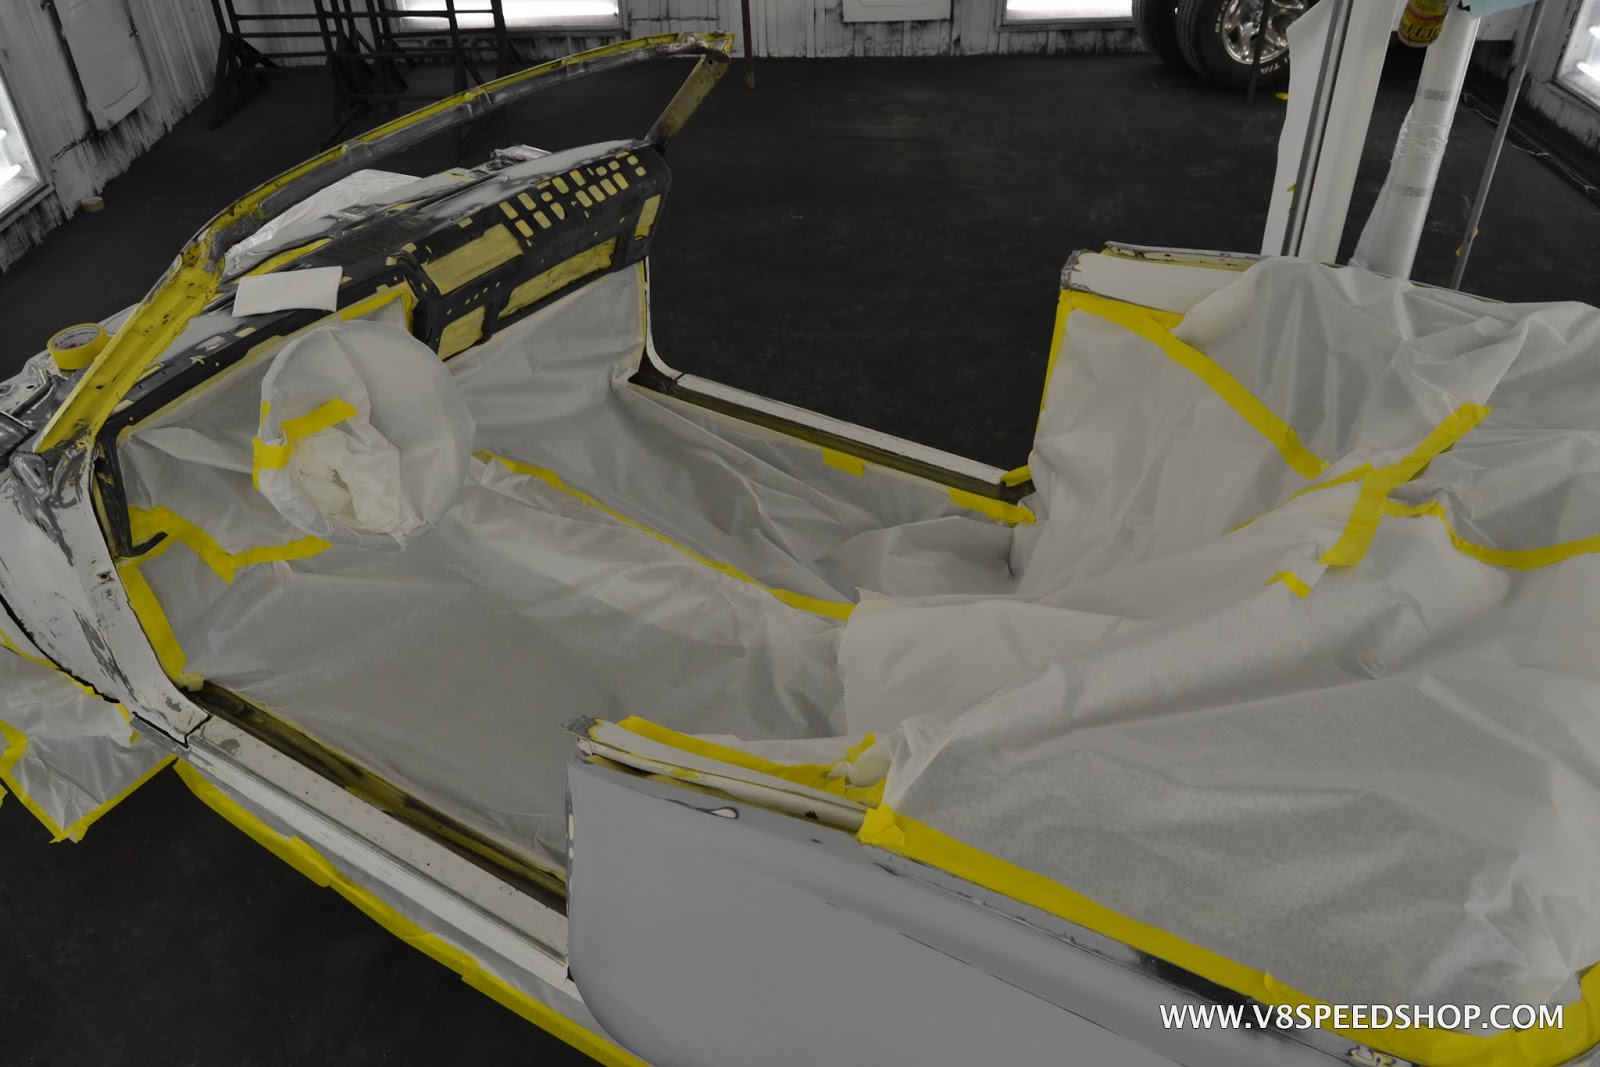
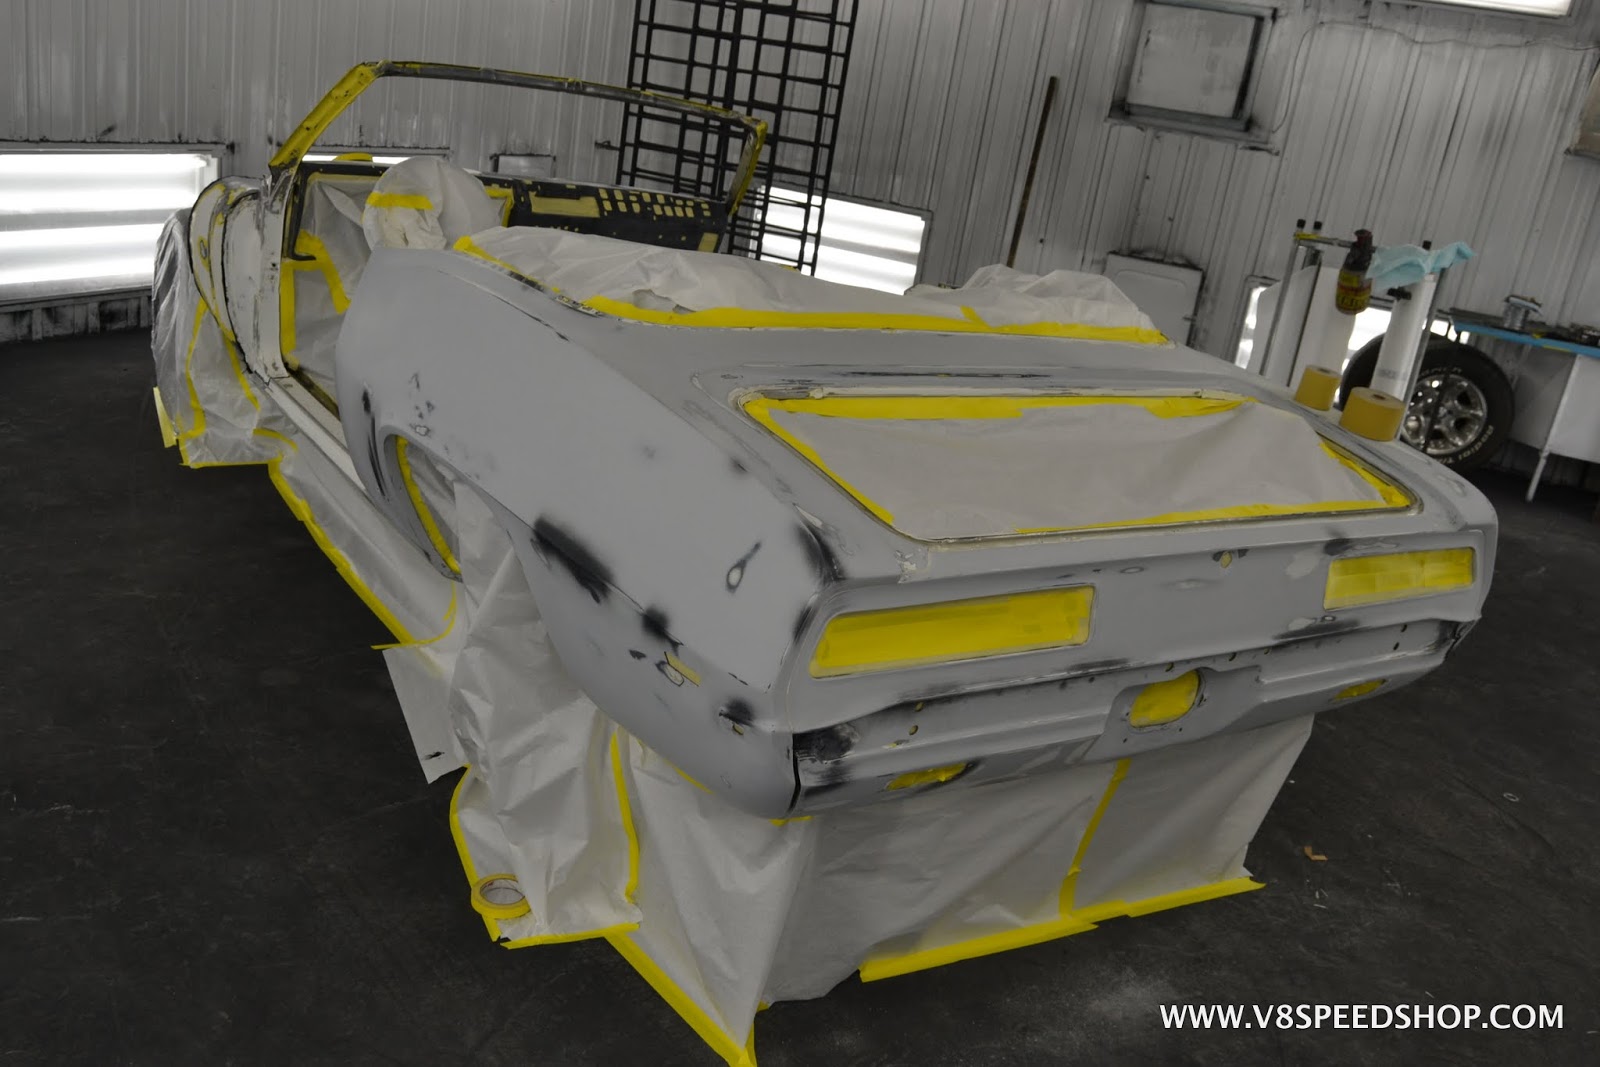
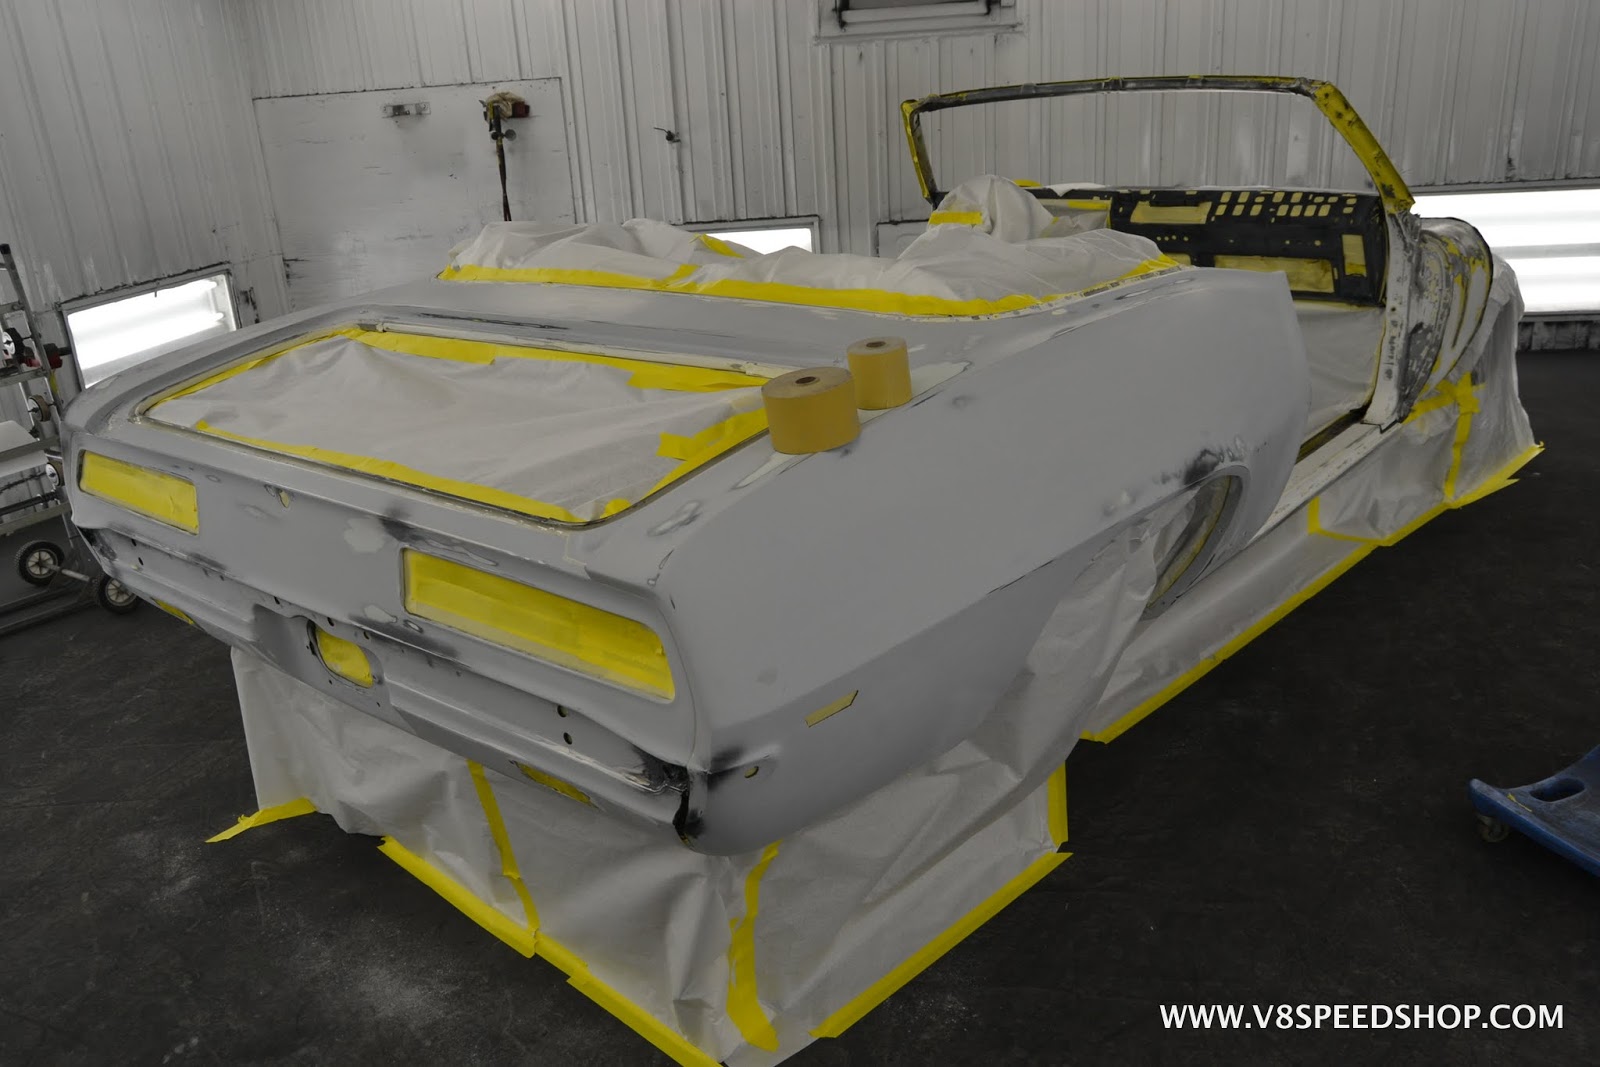
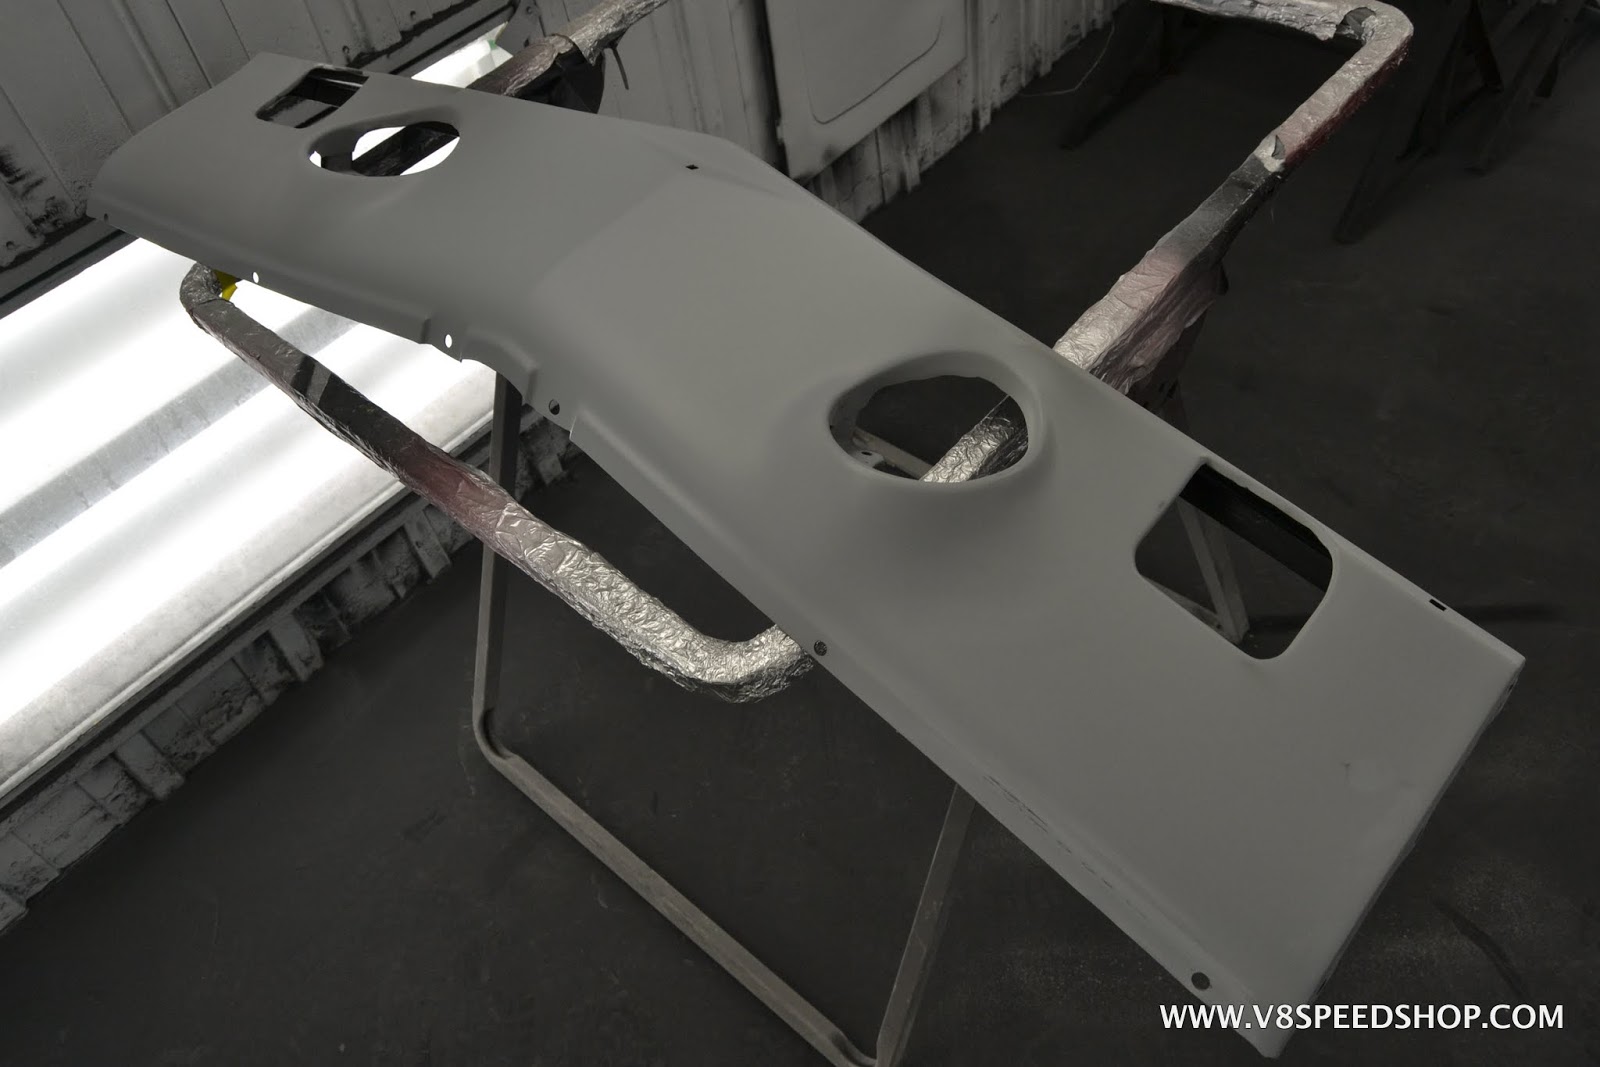
The backsides of panels are stripped and sanded in preparation for a black Axalta epoxy primer and Imron topcoat.
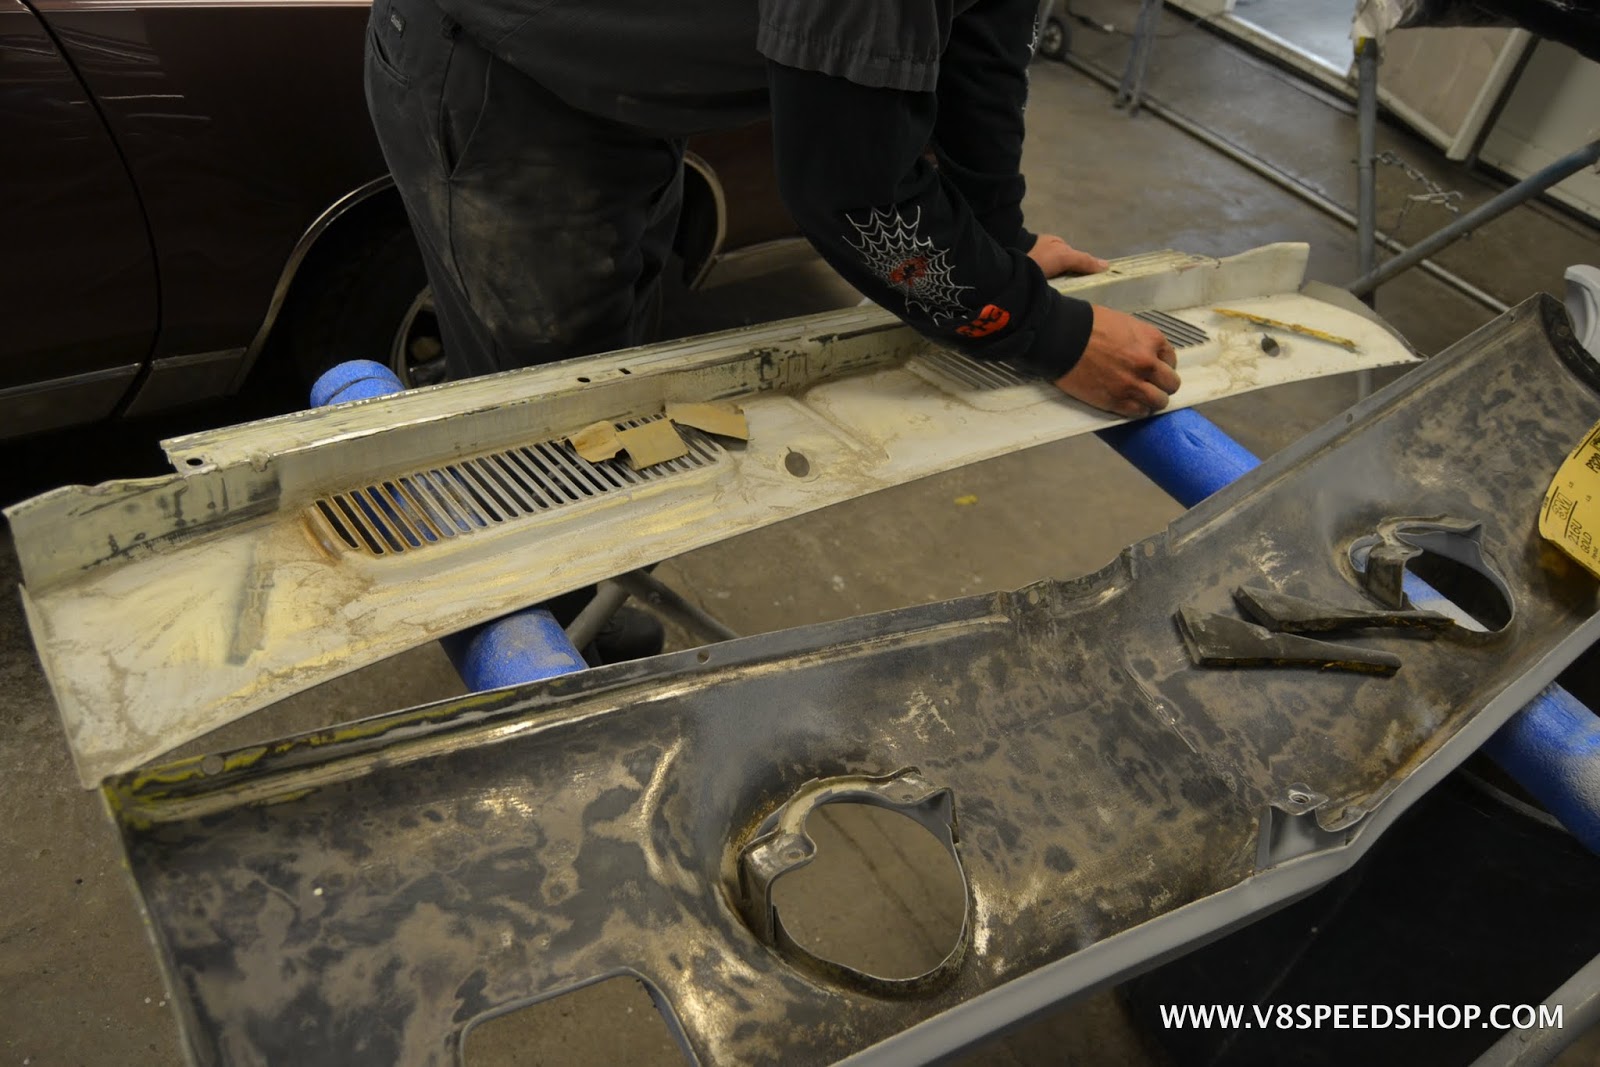
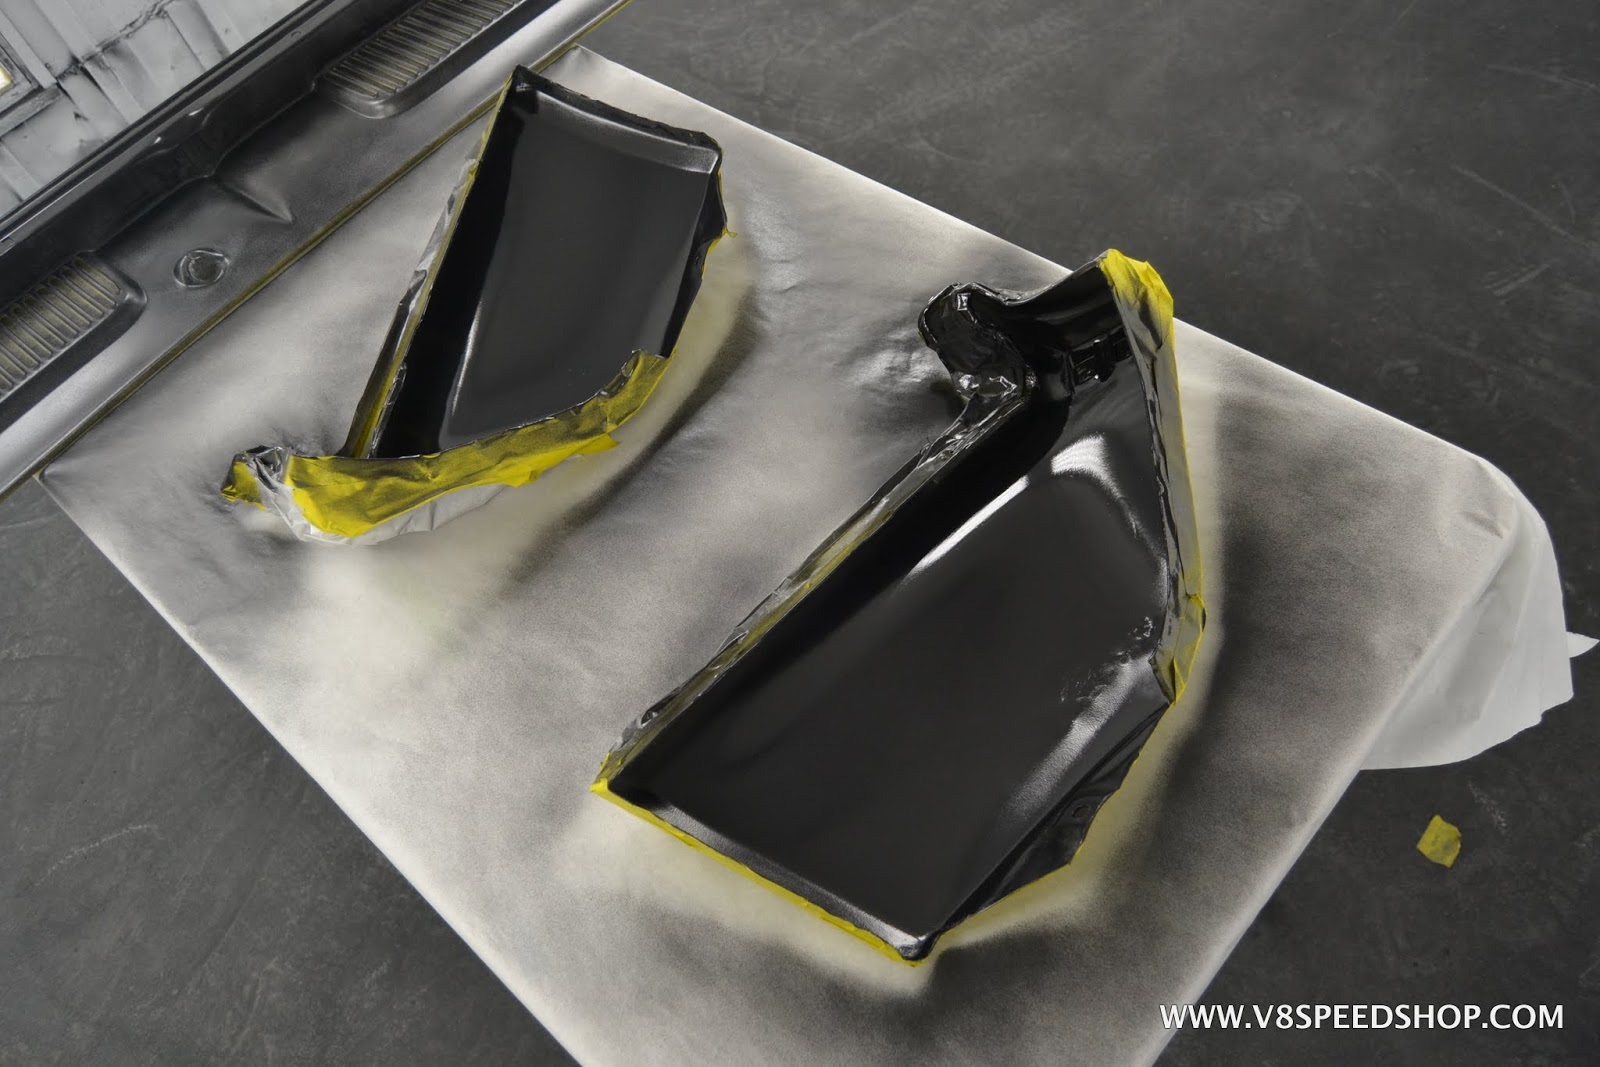
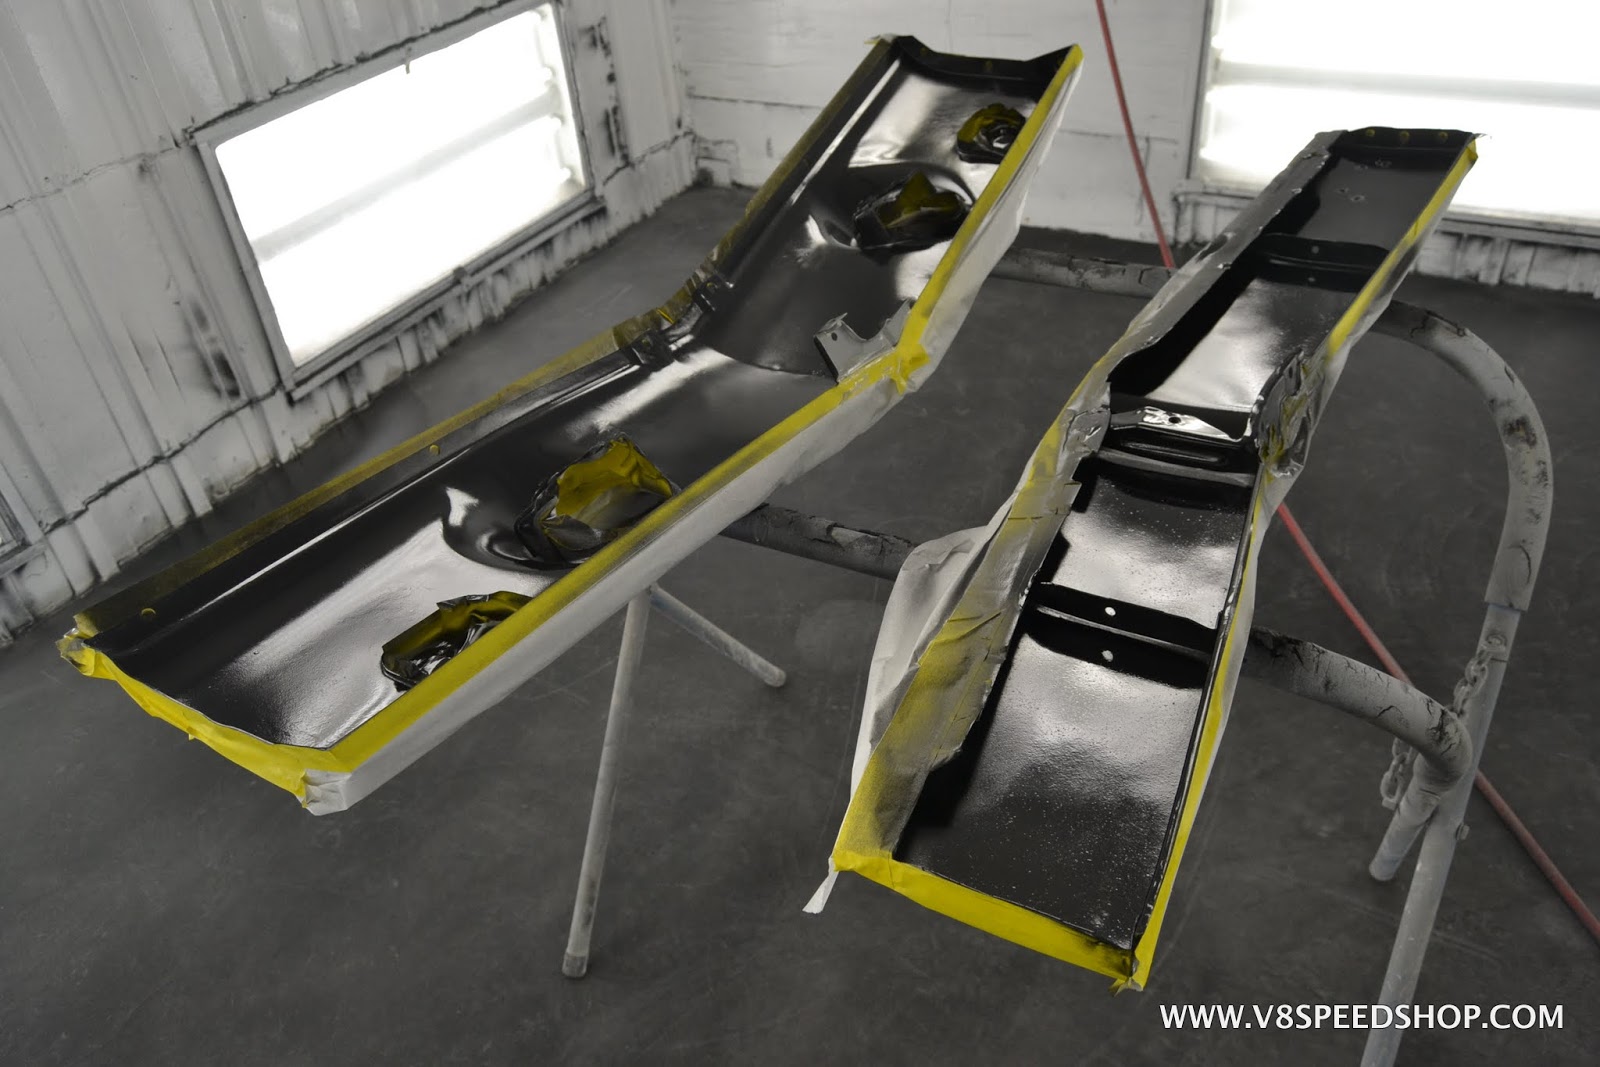
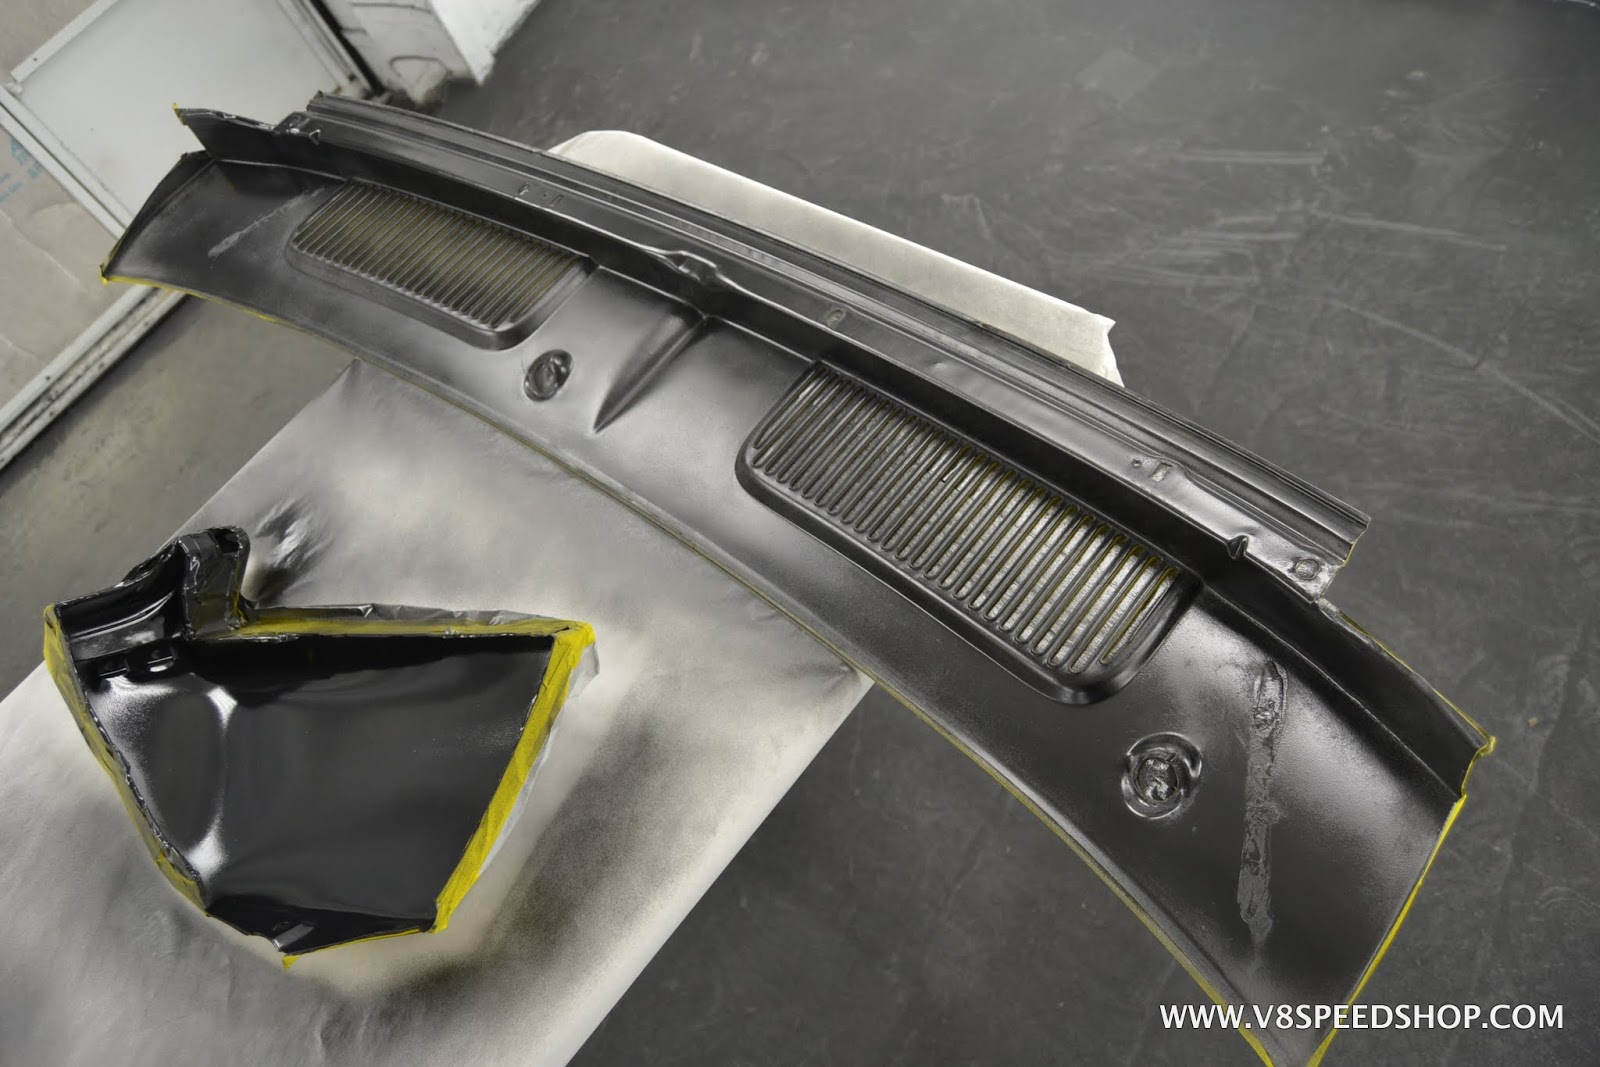
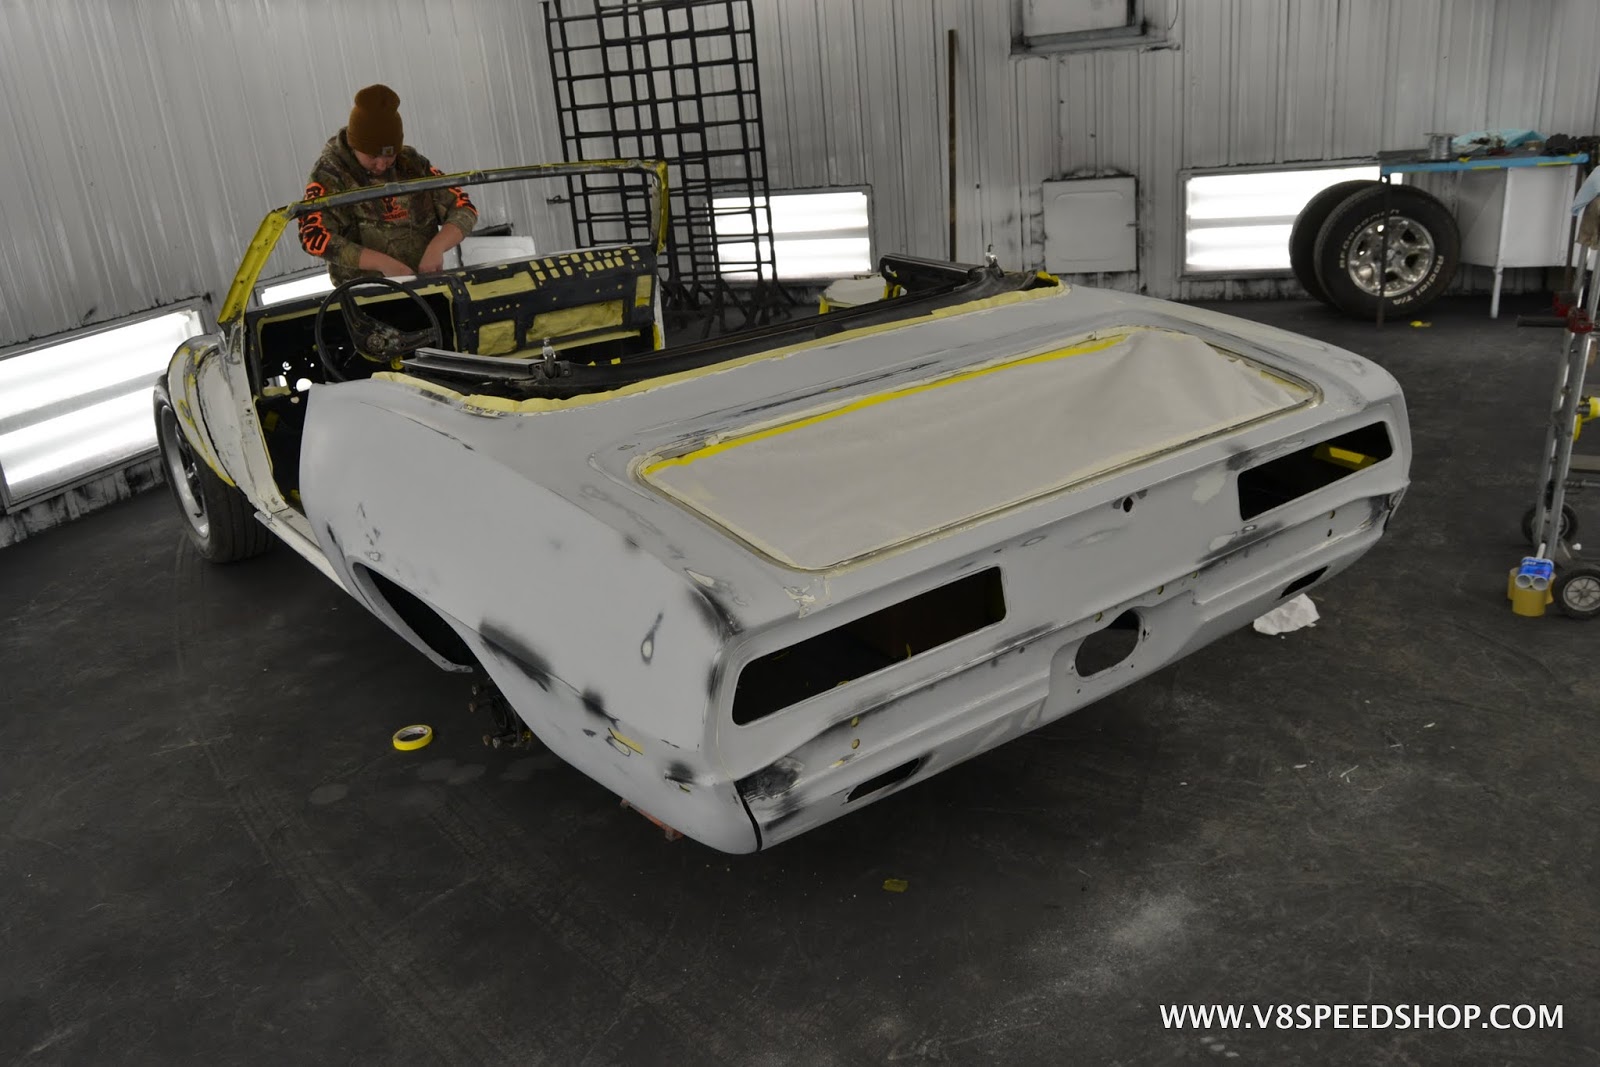
The outside panels were all sanded to a 180 grit surface. The body tub was then rolled back into the paint booth and masked for another coat of high build primer.
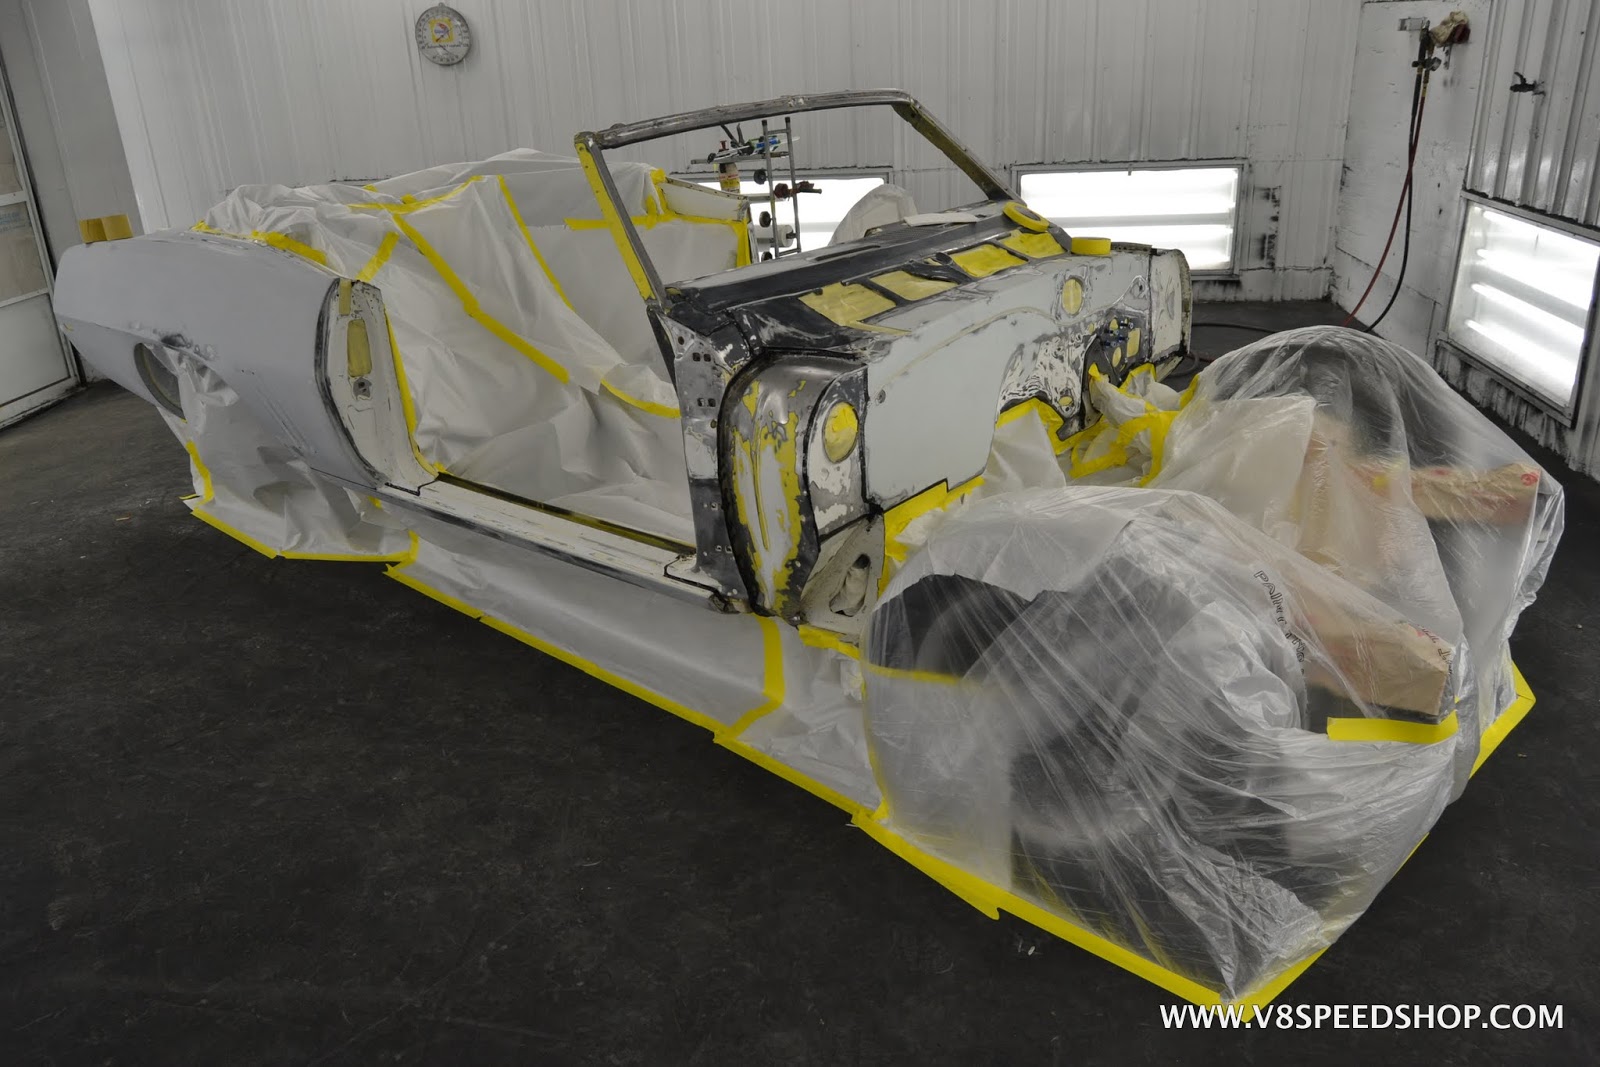
- - - Updated - - -
The crew left the dashboard and firewall exposed to receive primer for sanding, and anywhere the crew sanded through the primer to bare steel, another epoxy coat was applied for corrosion protection.
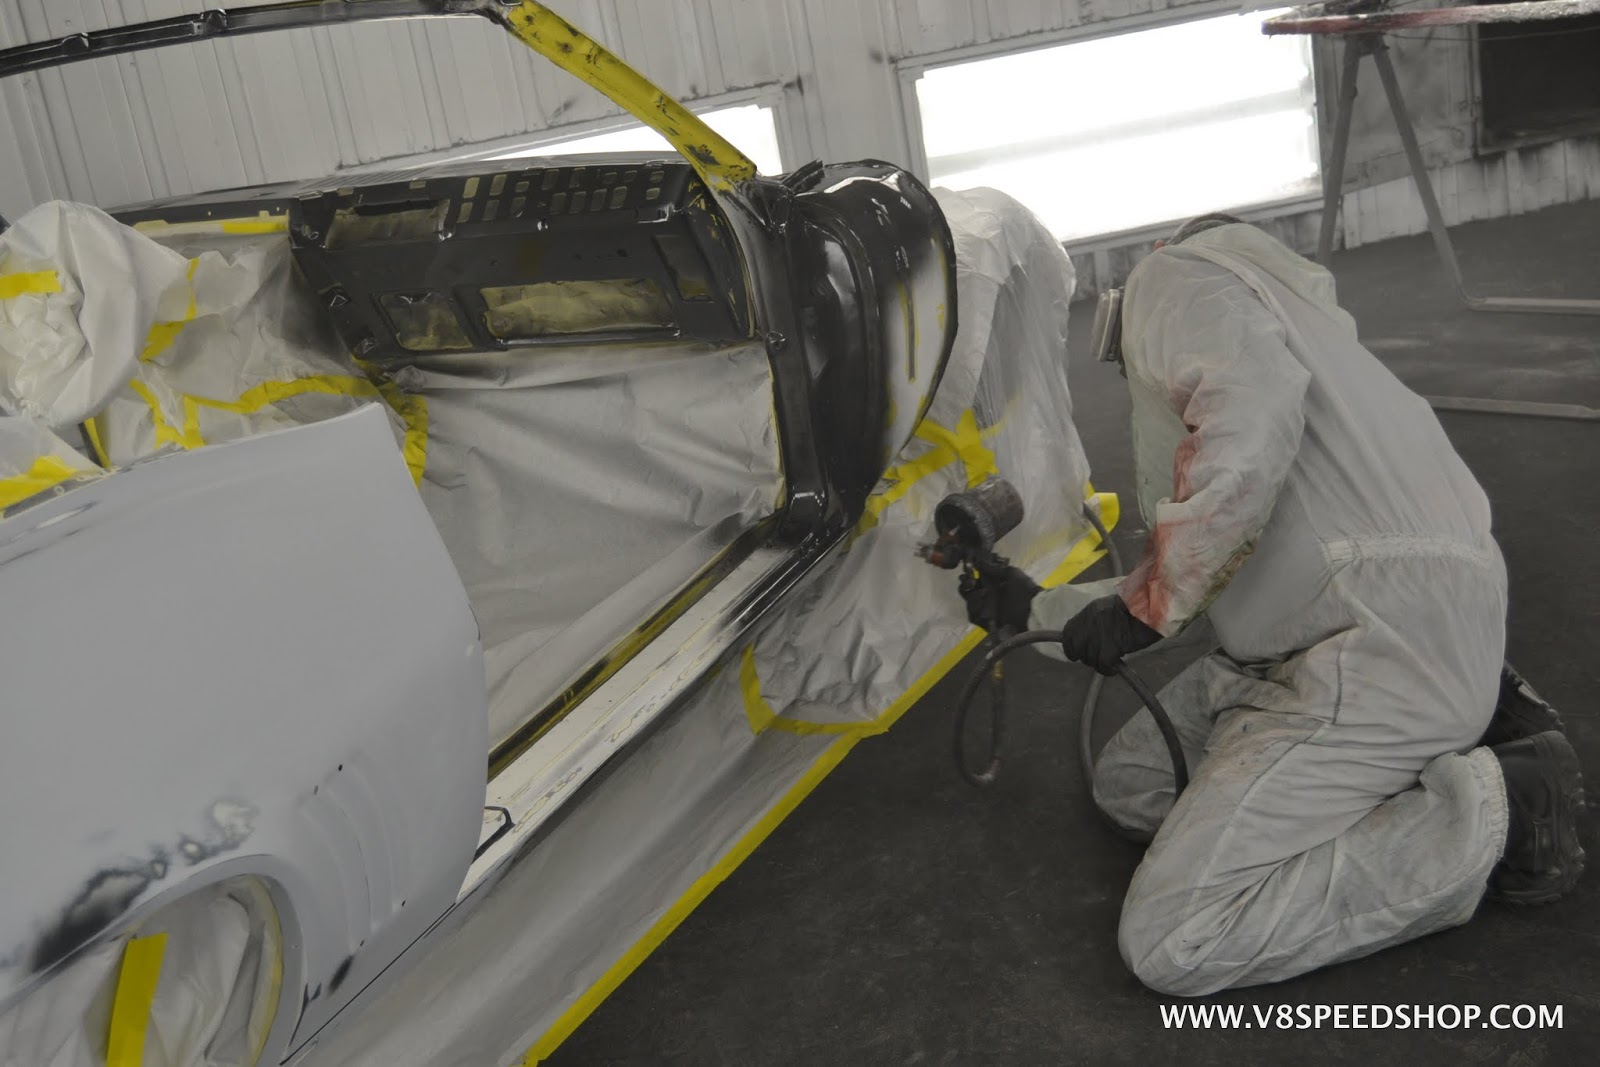
After the epoxy had cured, a fresh coat of Axalta high build primer was applied.
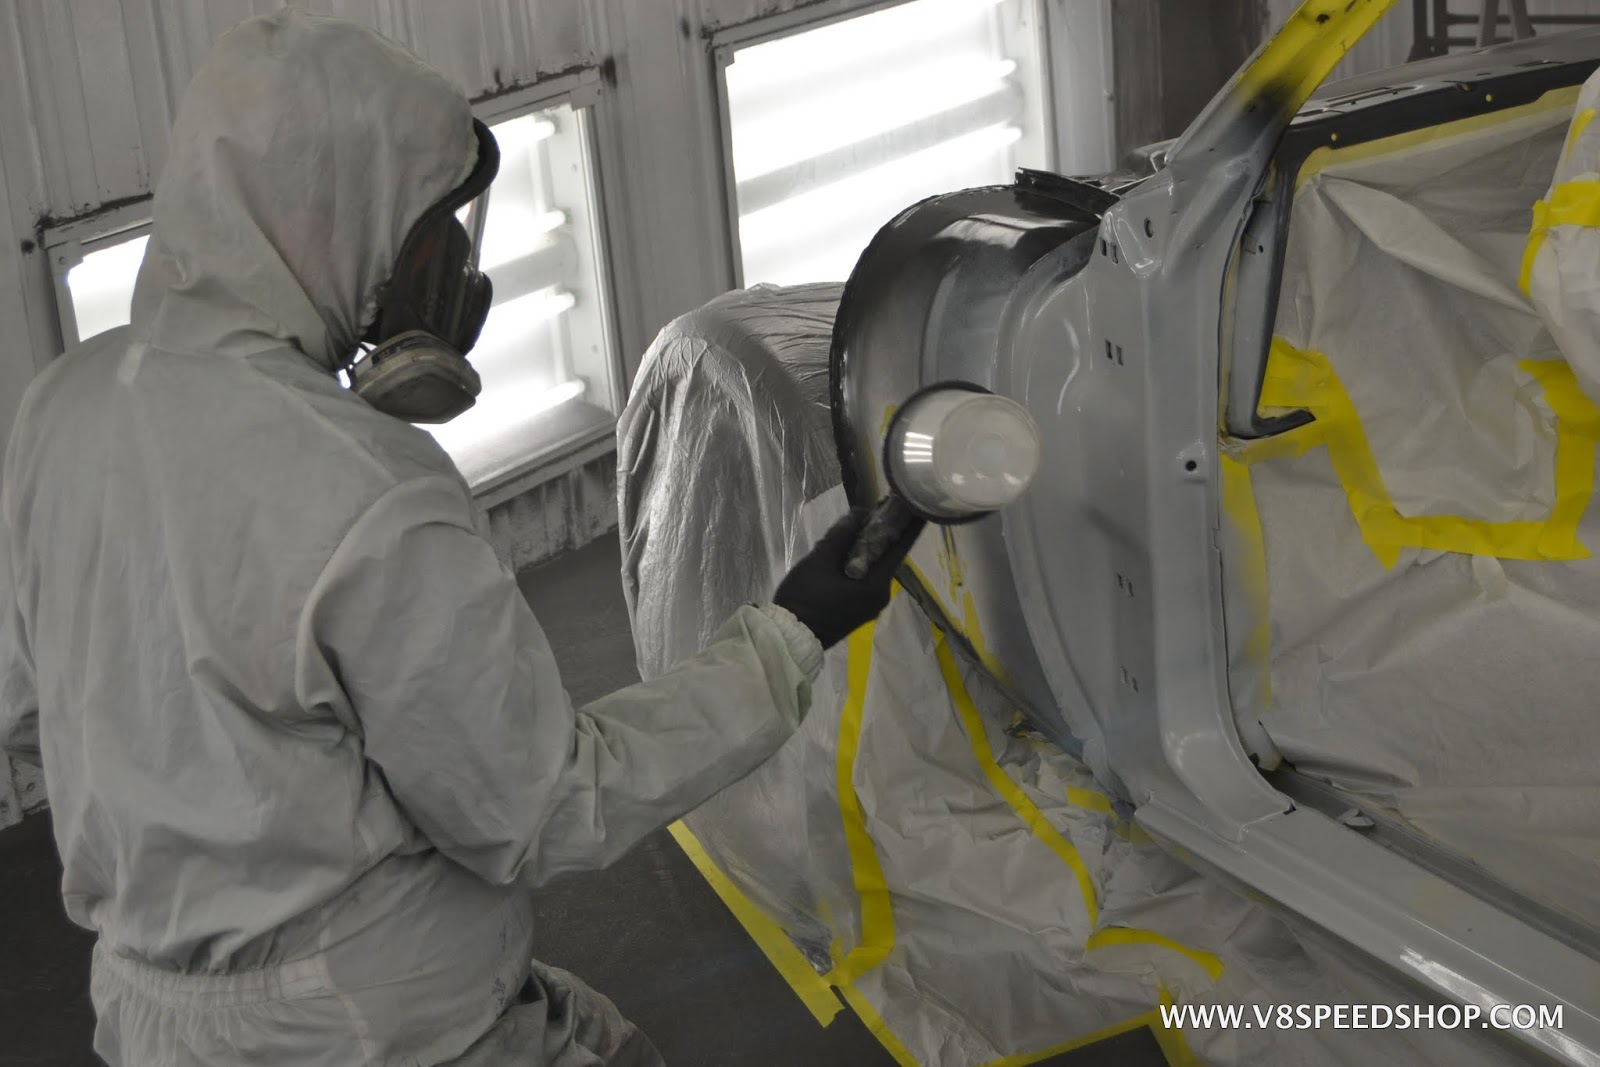
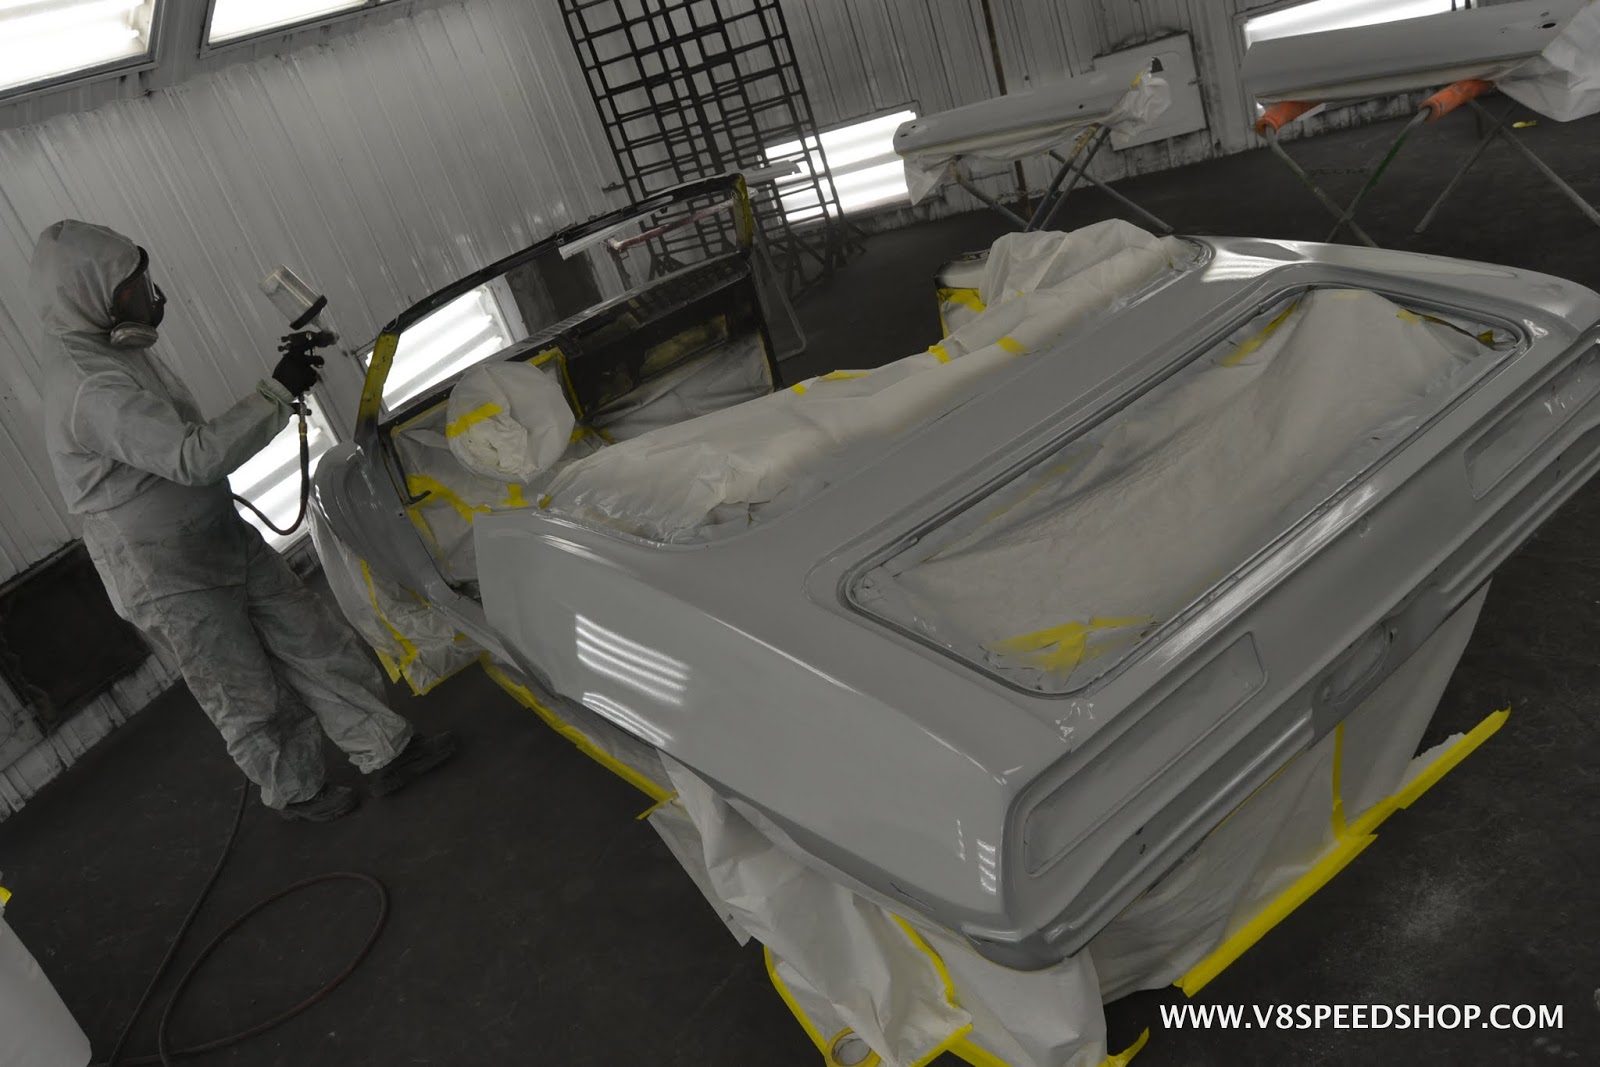
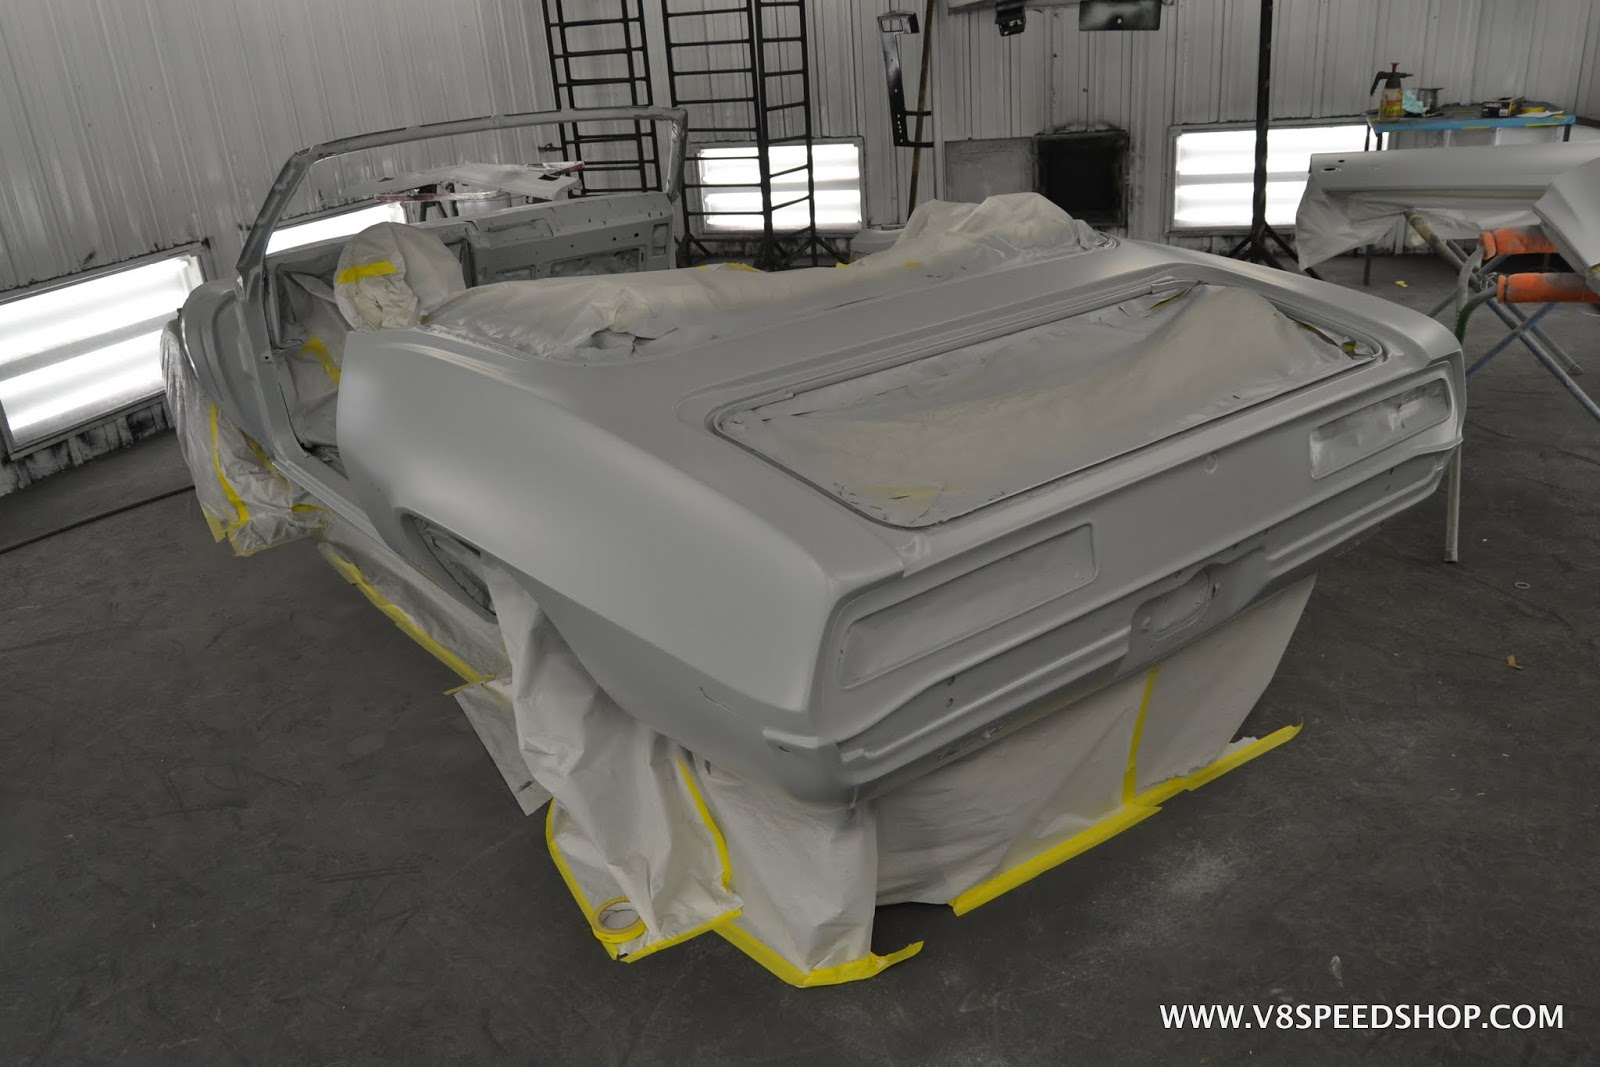
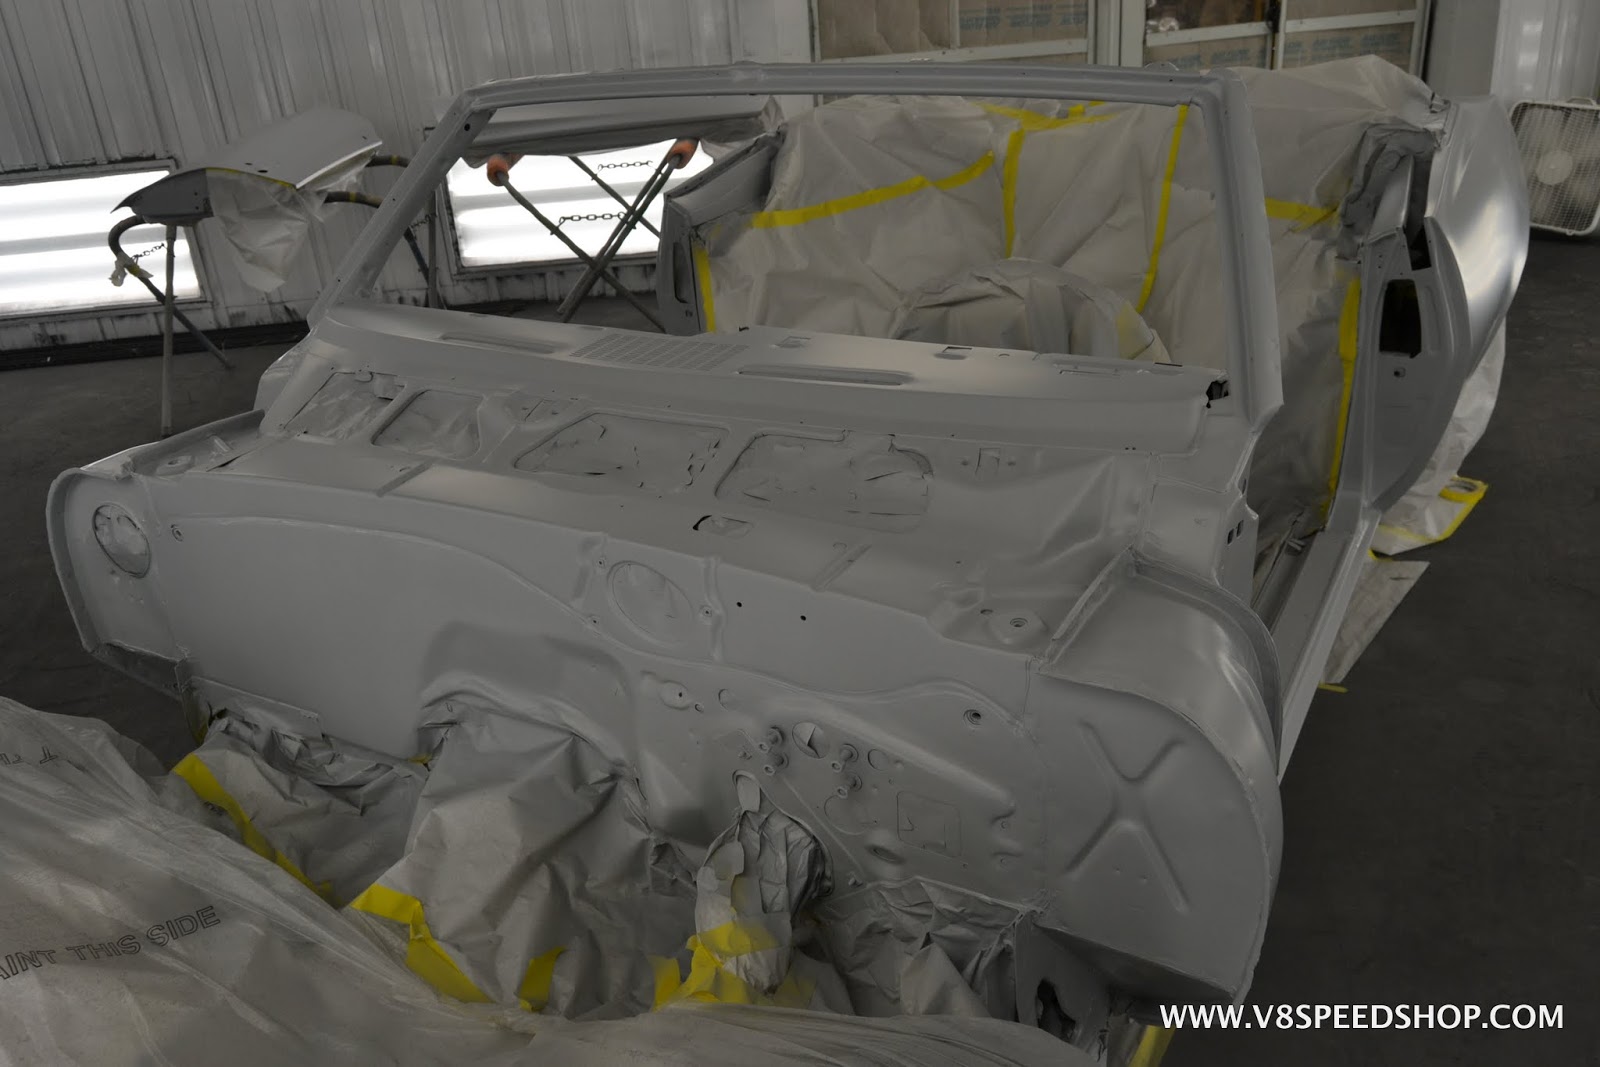
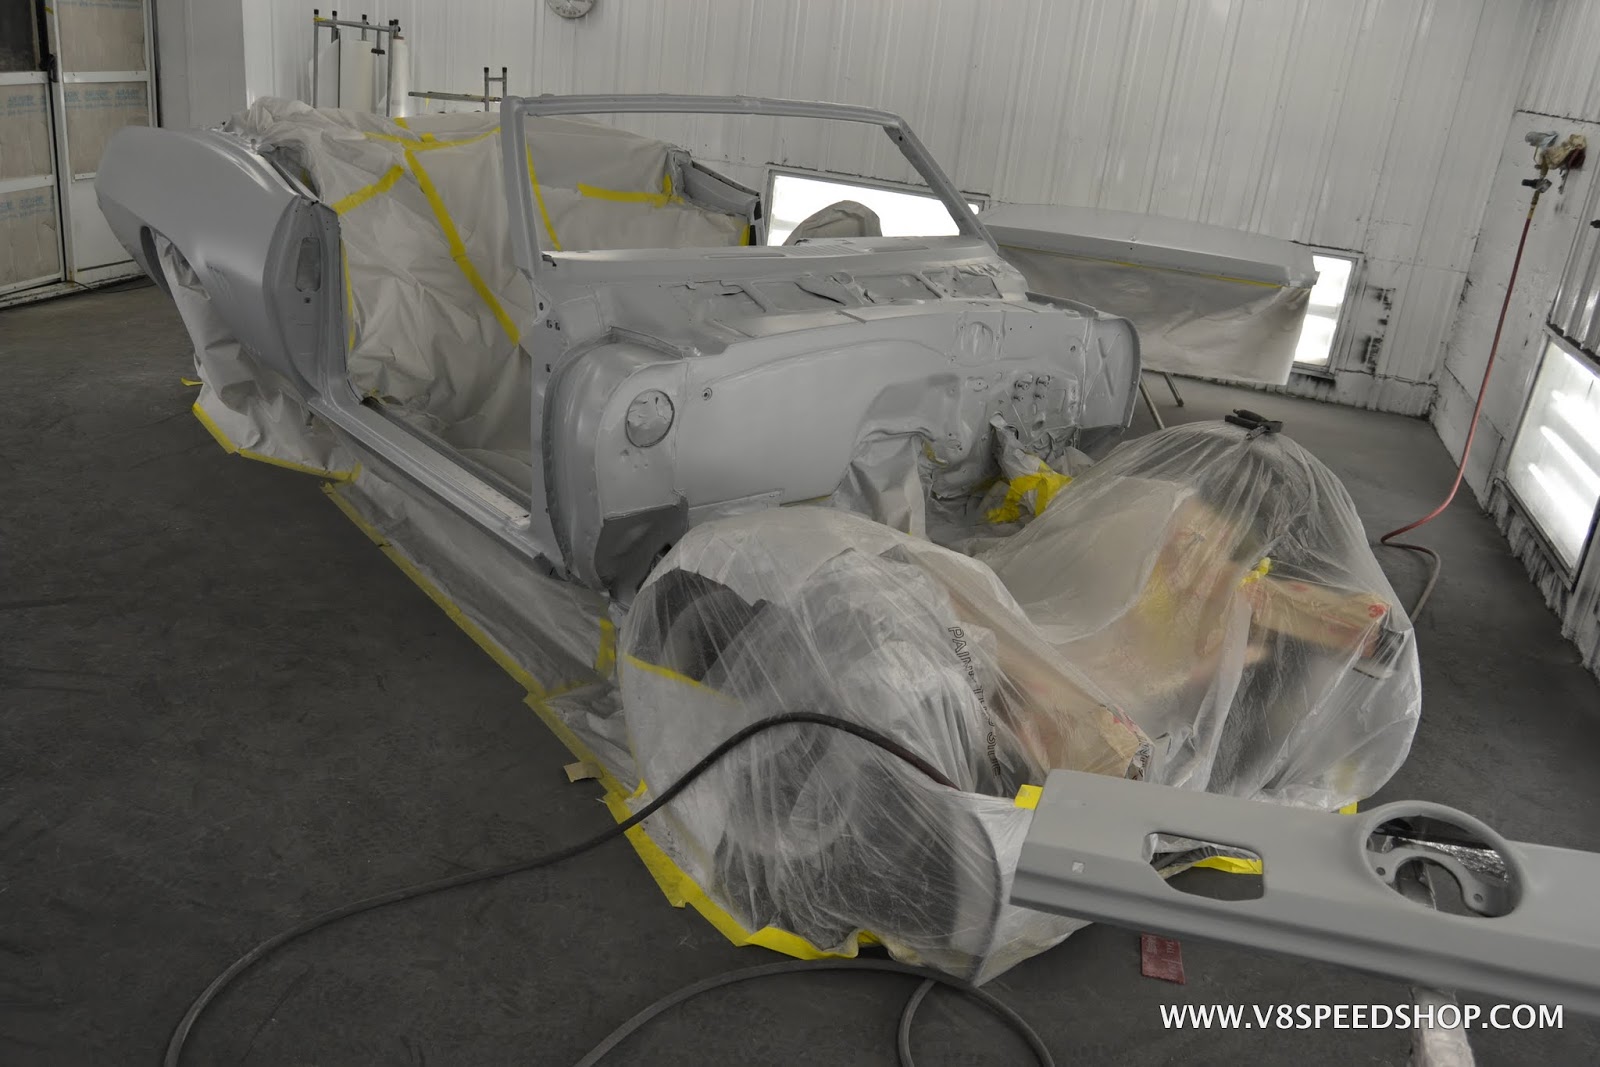
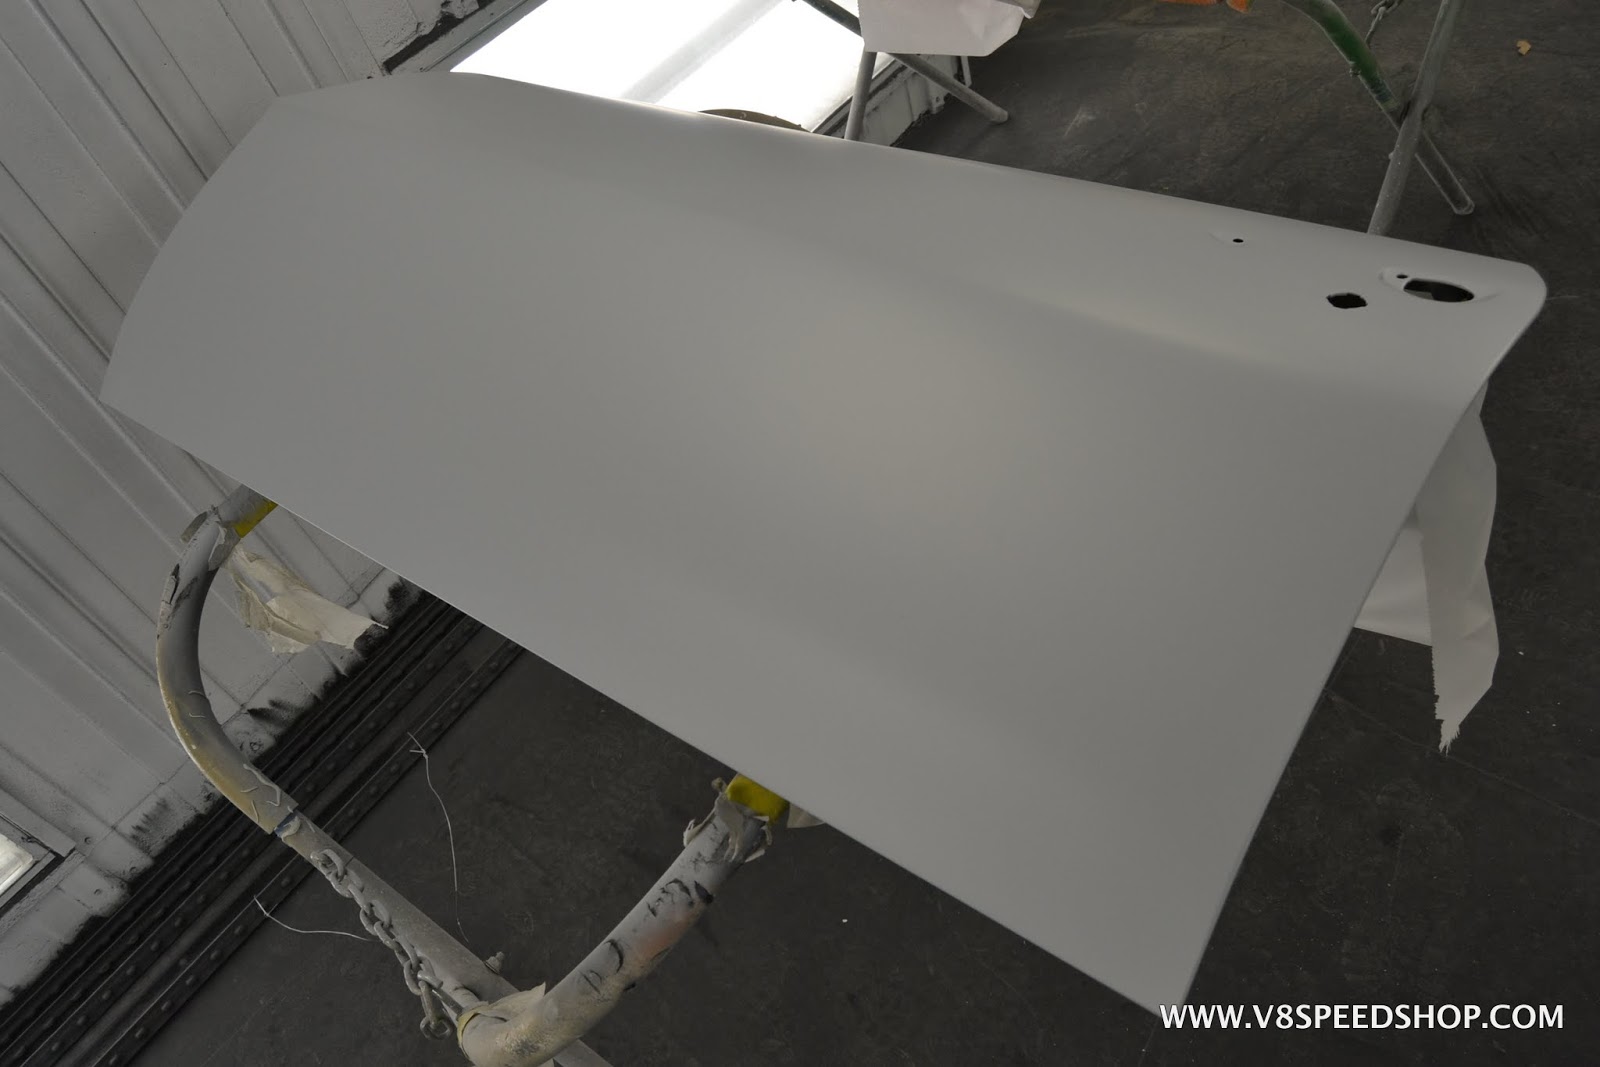
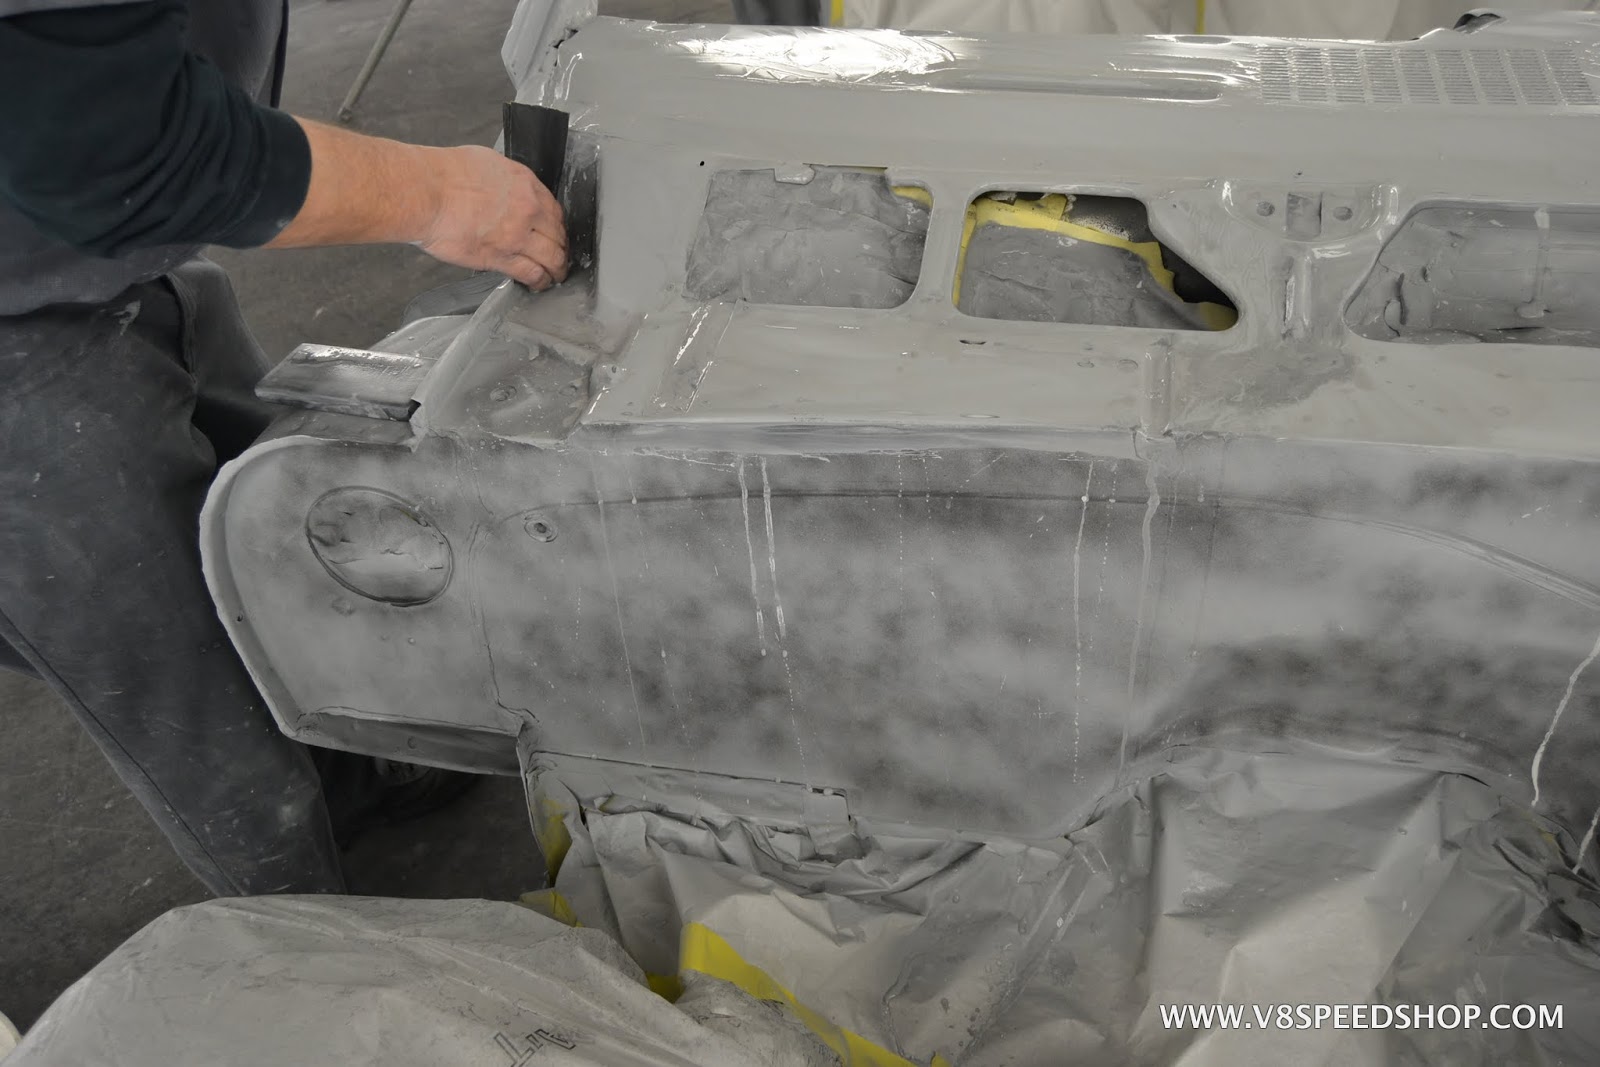
Once the primer dried, a layer of guide coat was applied to all the exterior surfaces to make the next rounds of block sanding easier and more effective.
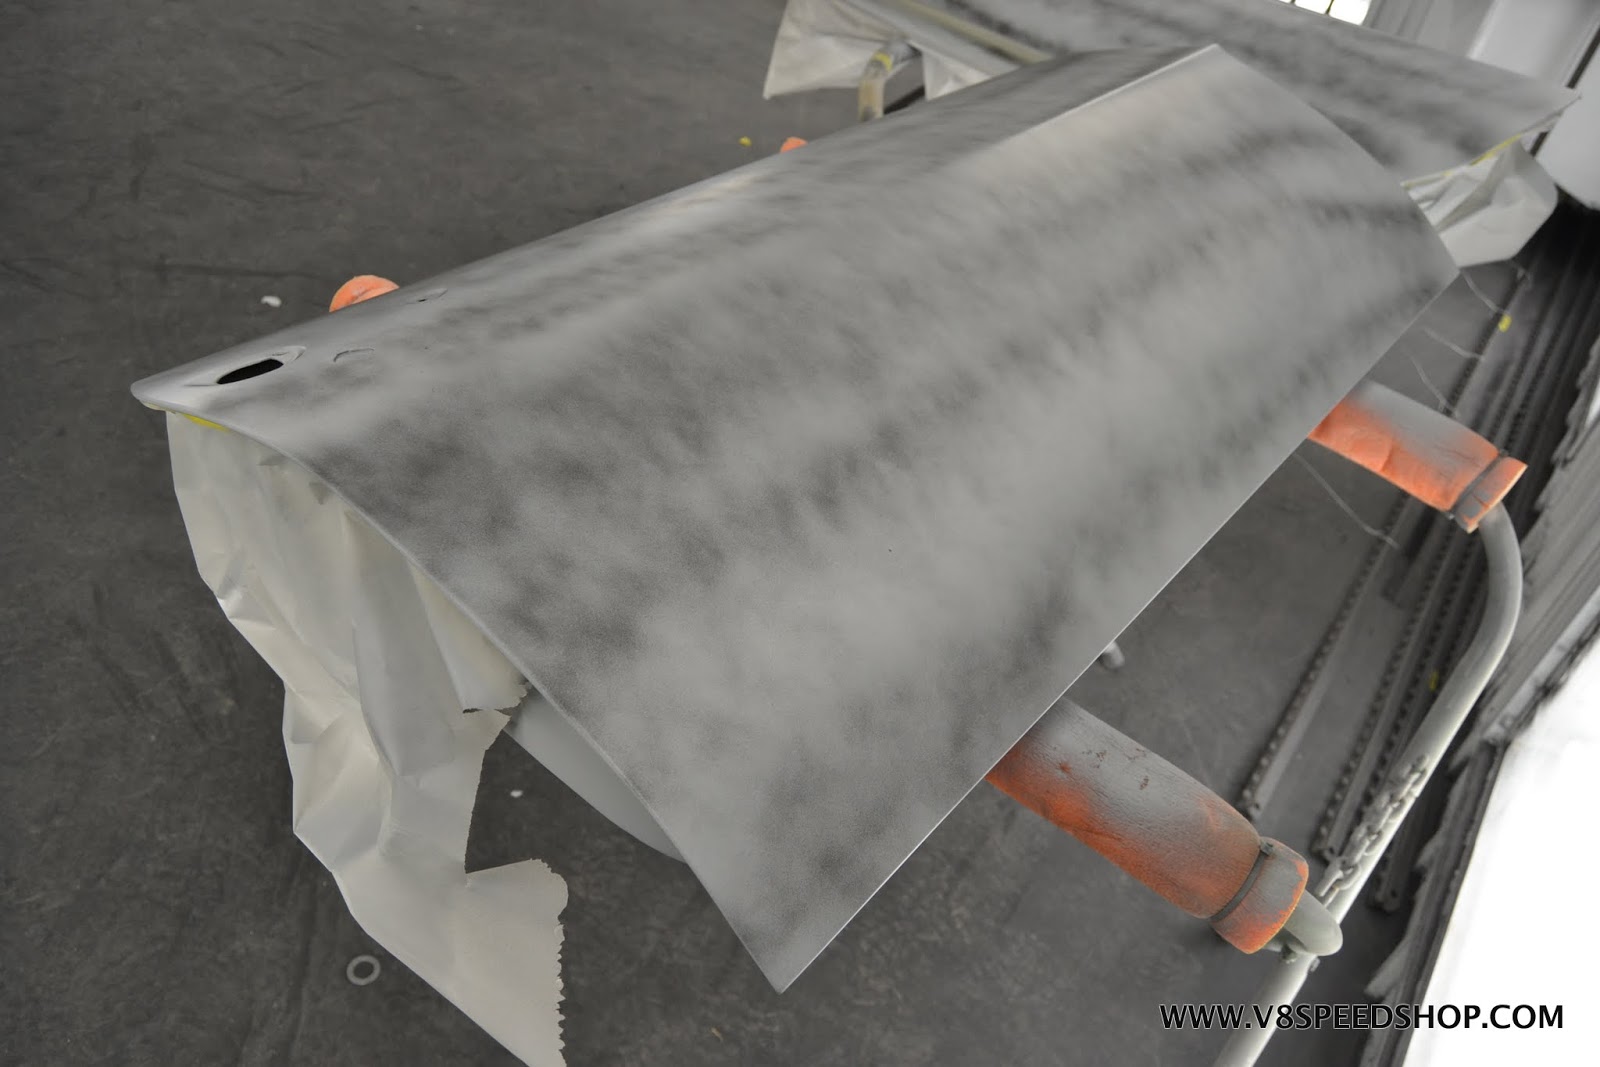
- - - Updated - - -
The door jams, dashboard, and firewall were all treated to the guide coat.
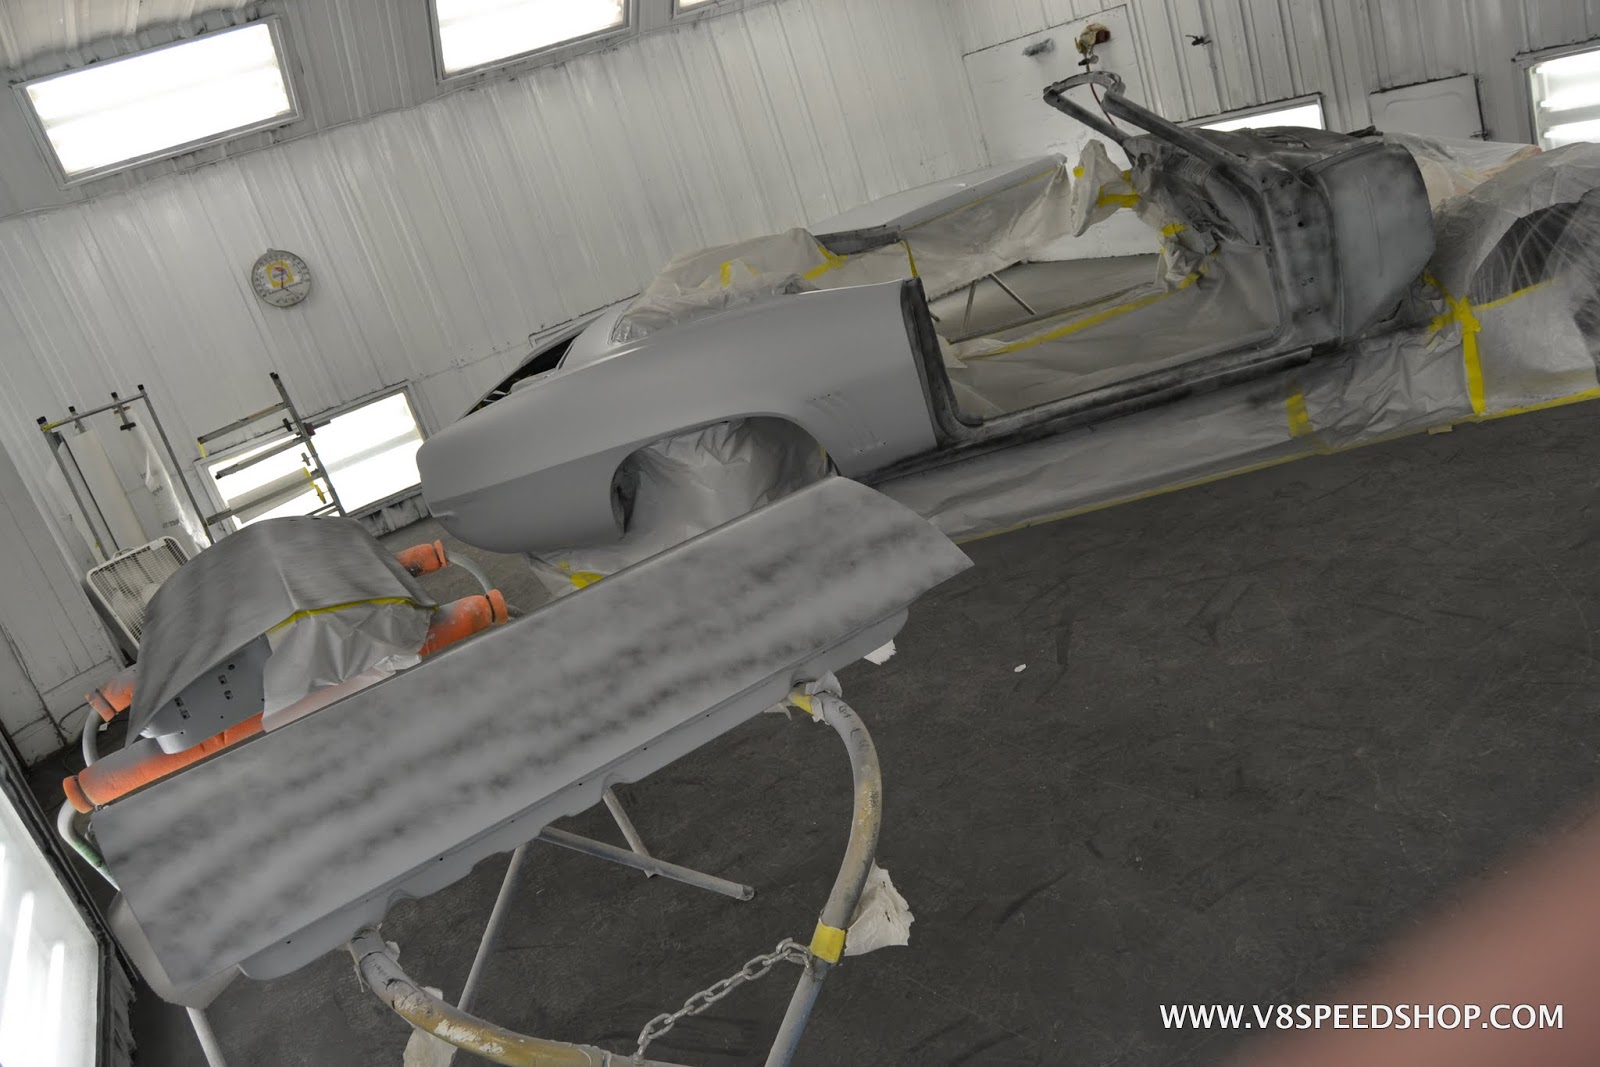
Here, the guide coat is being sanded off in a wetsanding operation. The guide coat makes it easy to reveal high and low spots, and also lets the technician know what areas have been sanded.
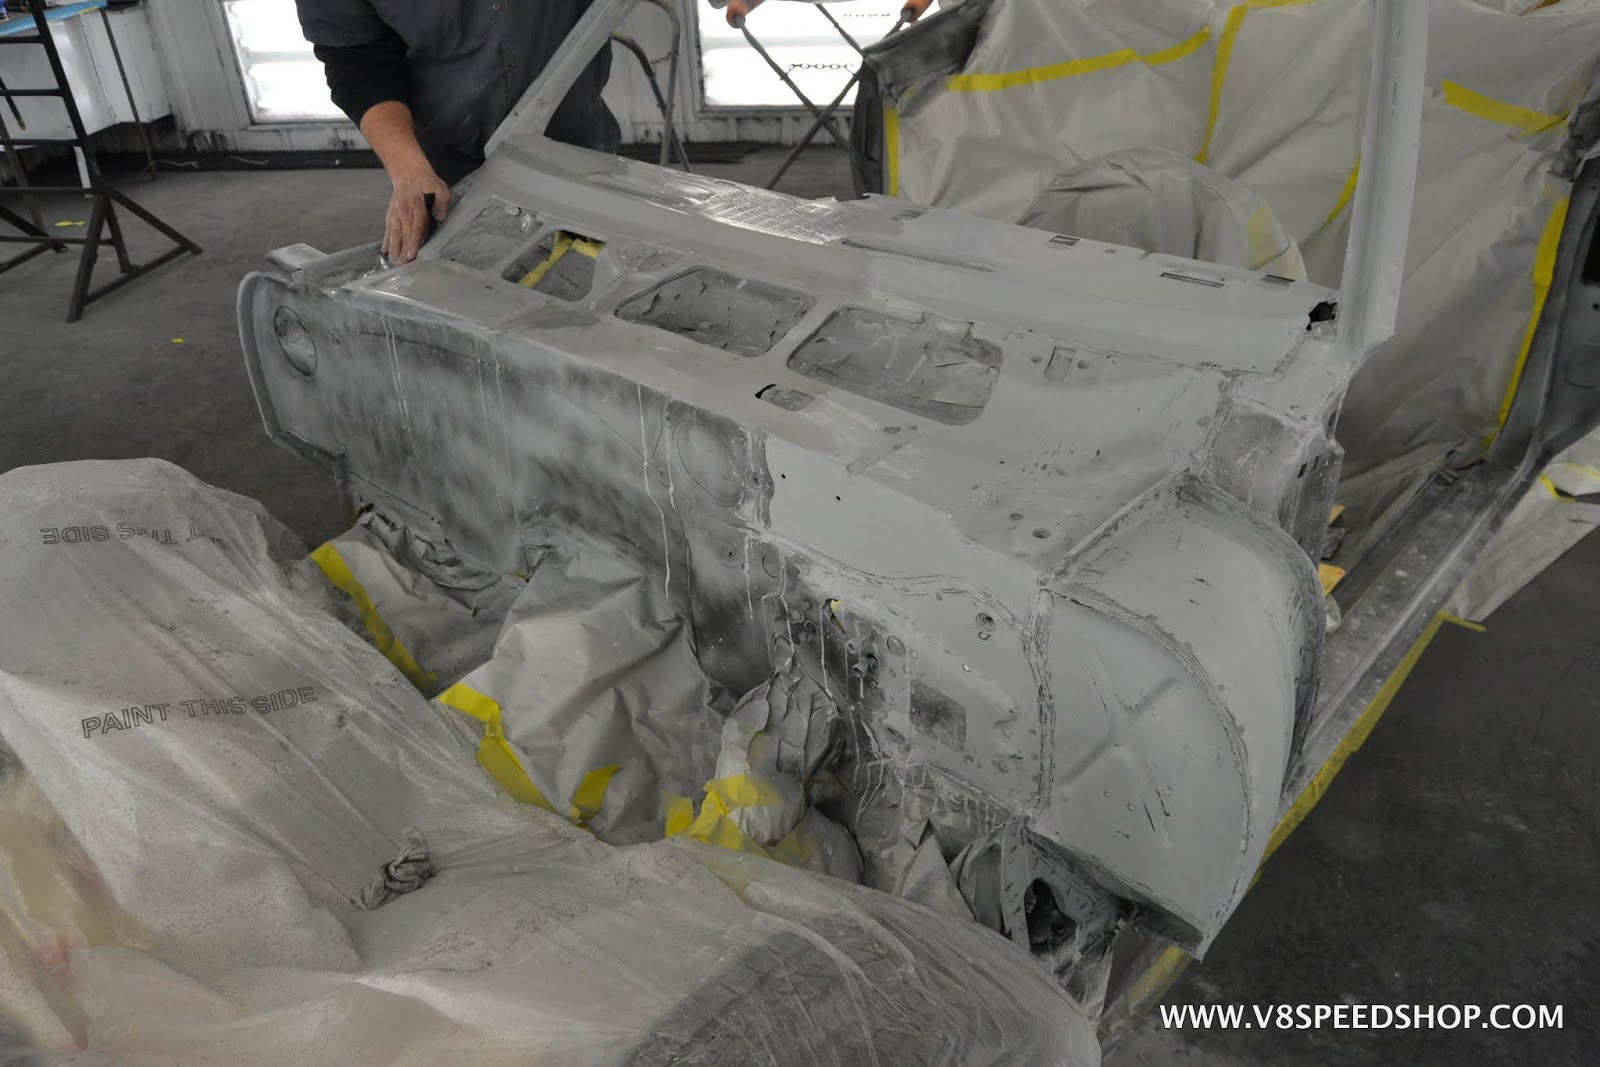
 Kevin Oeste
V8 Speed and Resto Shop
V8TV
Muscle Car Of The Week
V8 Radio Podcast
All about us:
https://www.v8speedshop.com
10-02-2017 #57
Registered User
- Join Date
- Dec 2004
- Location
- Midwest
- Posts
- 2,263
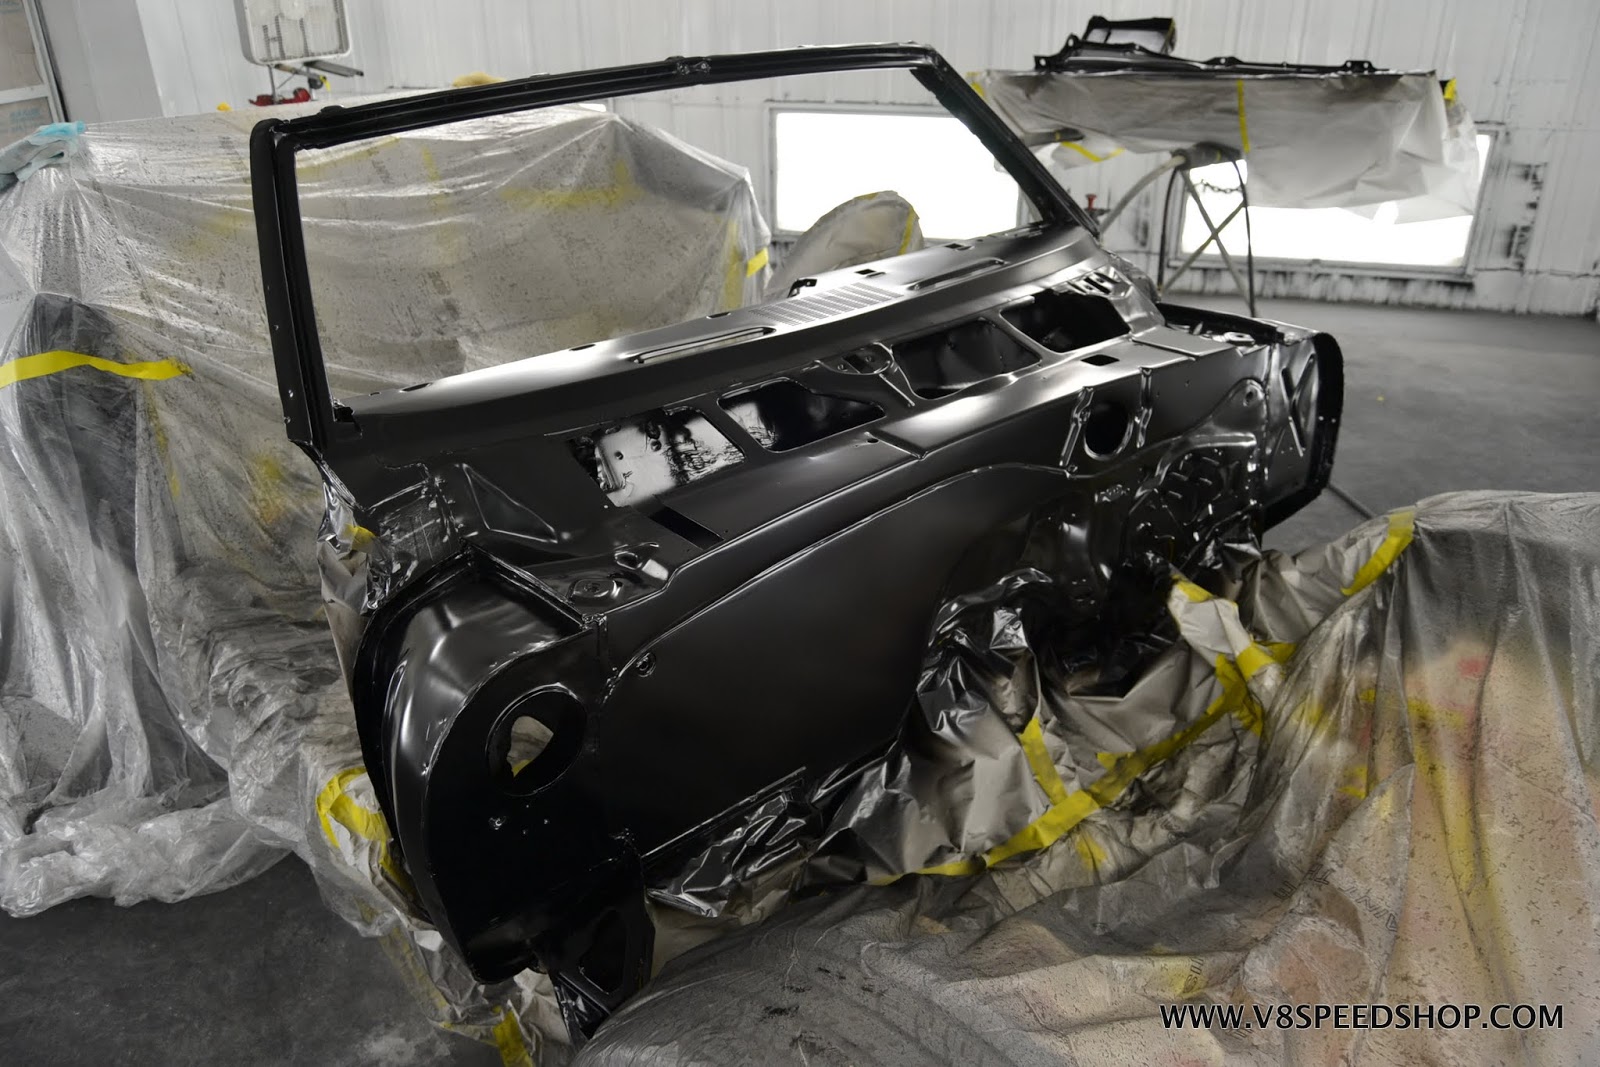
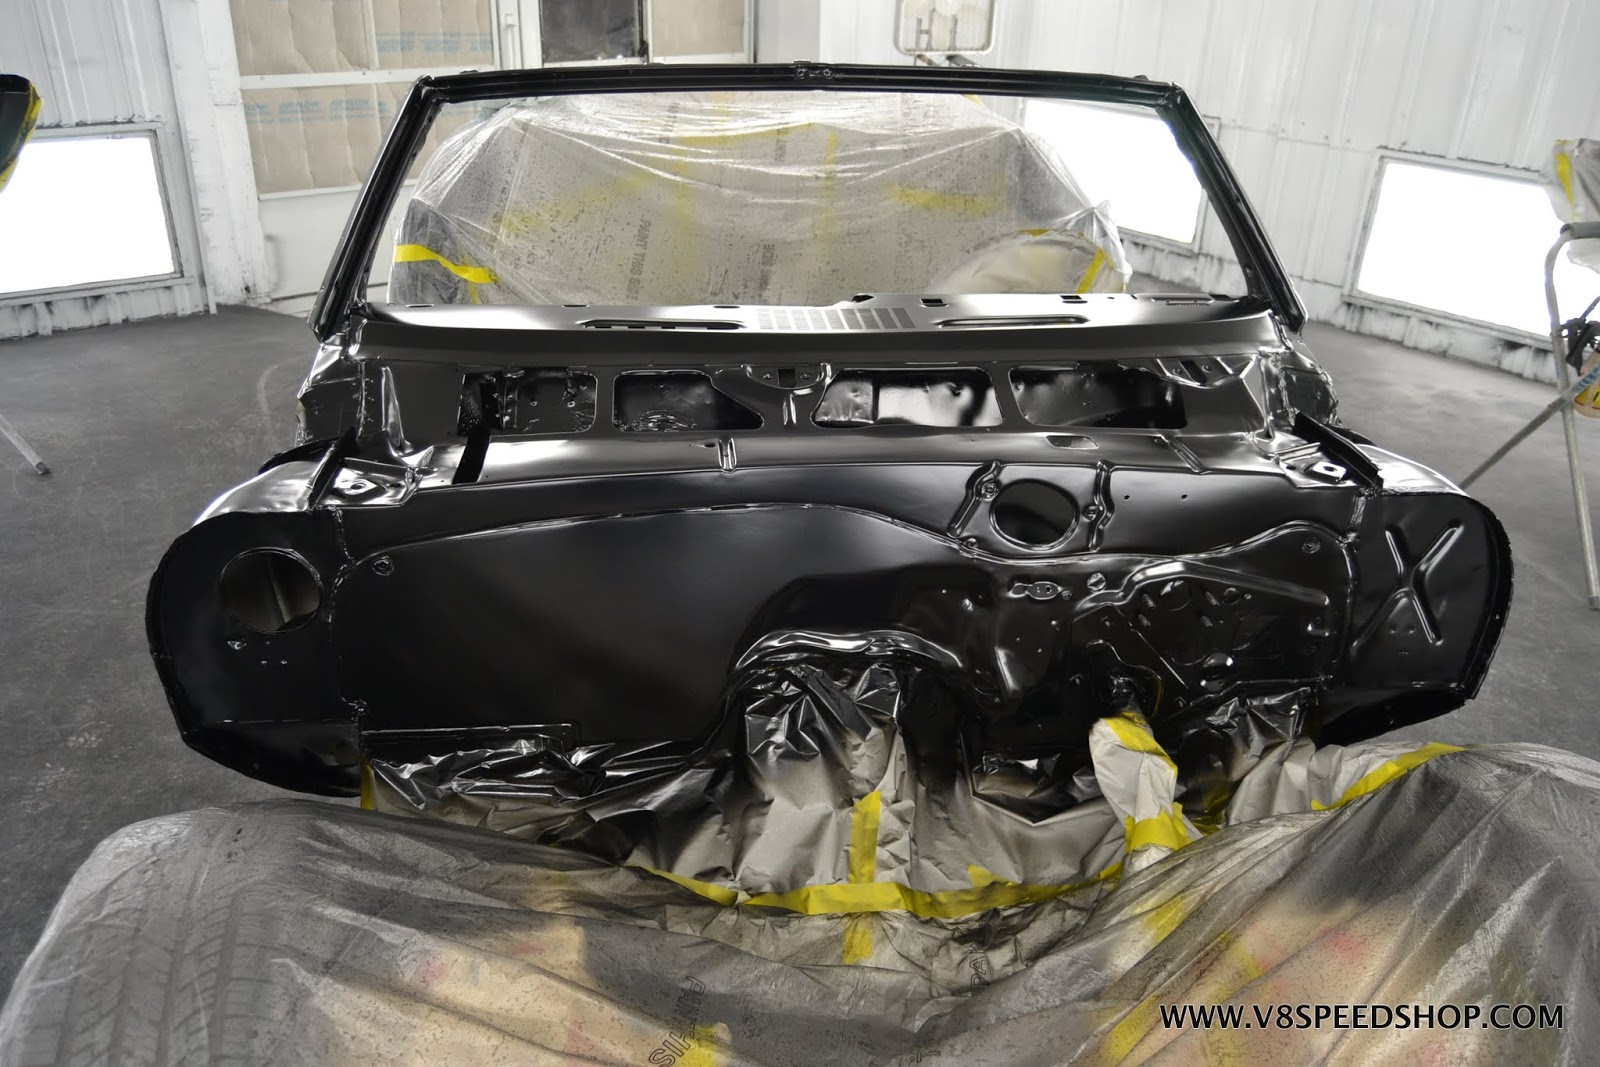
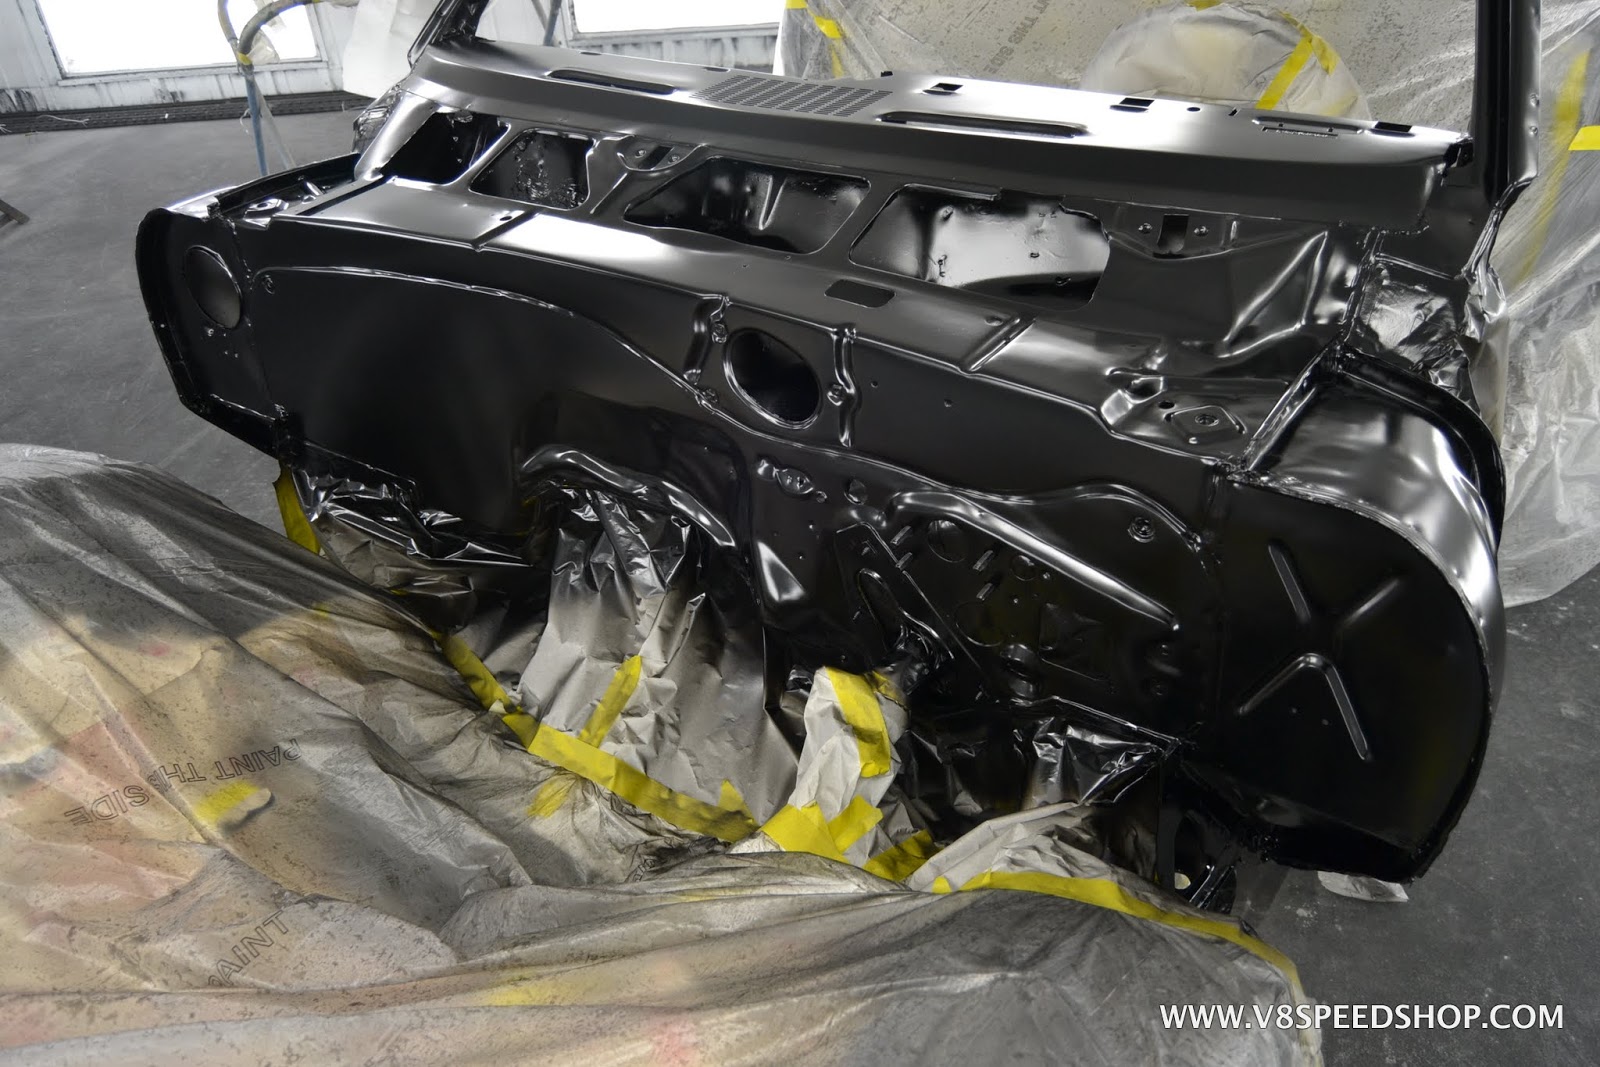
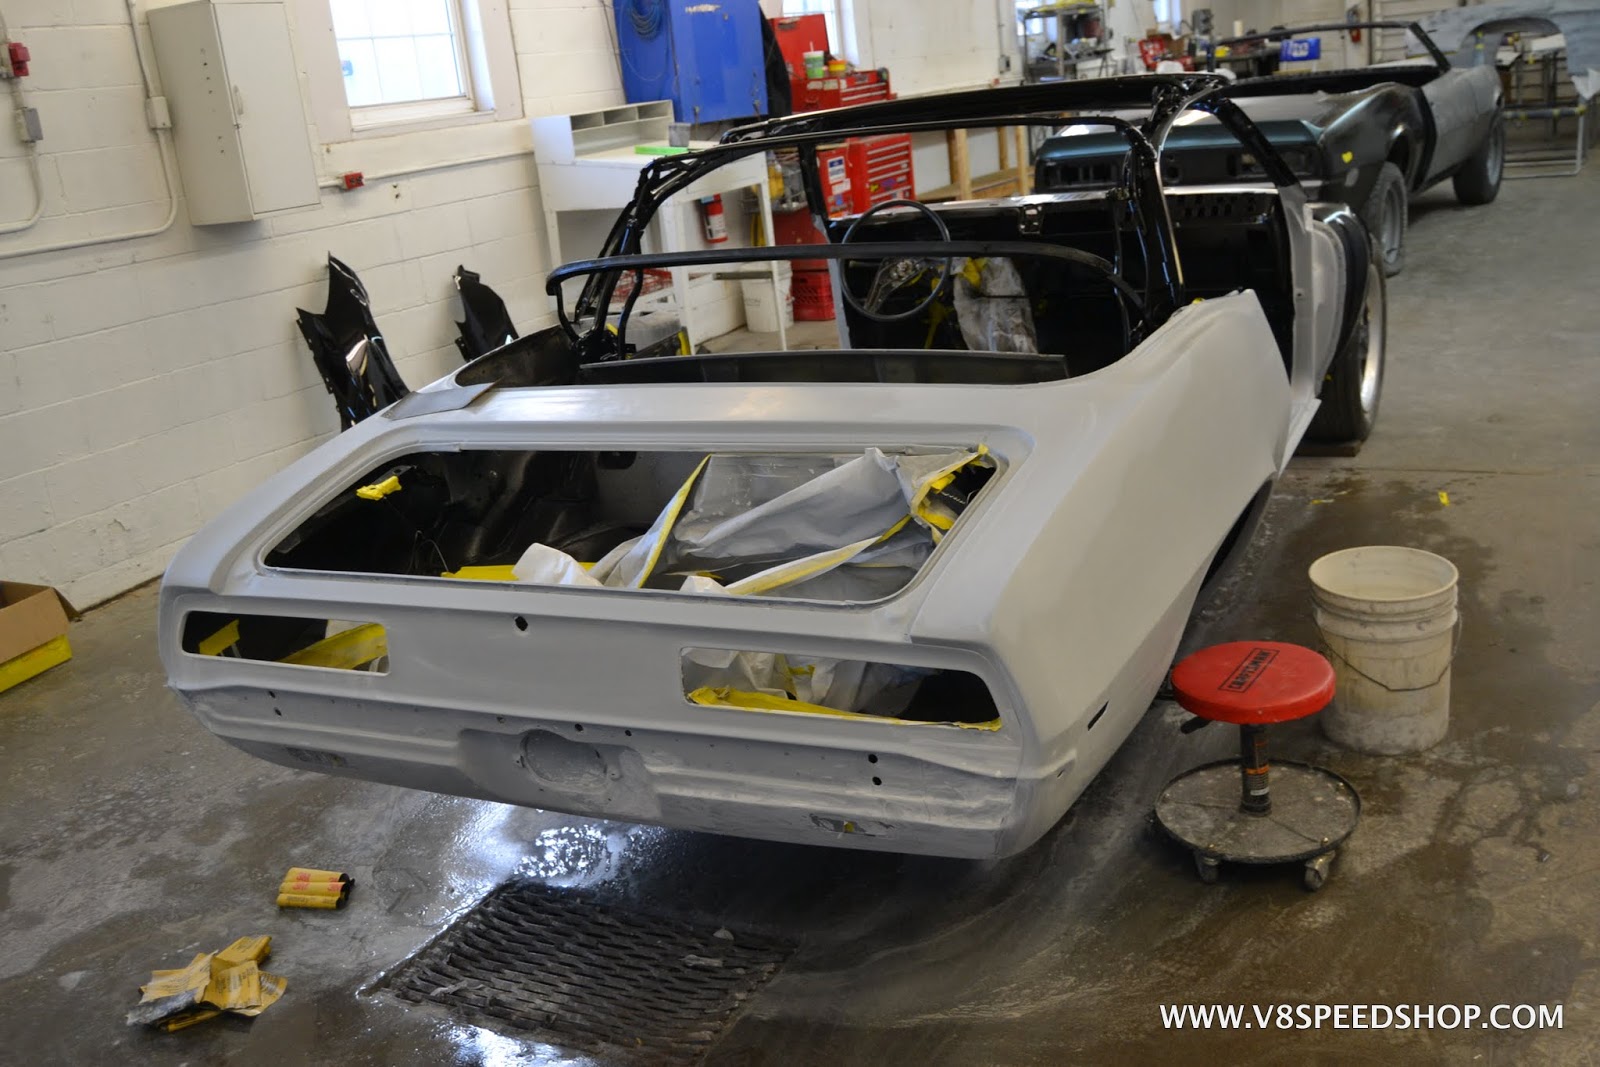
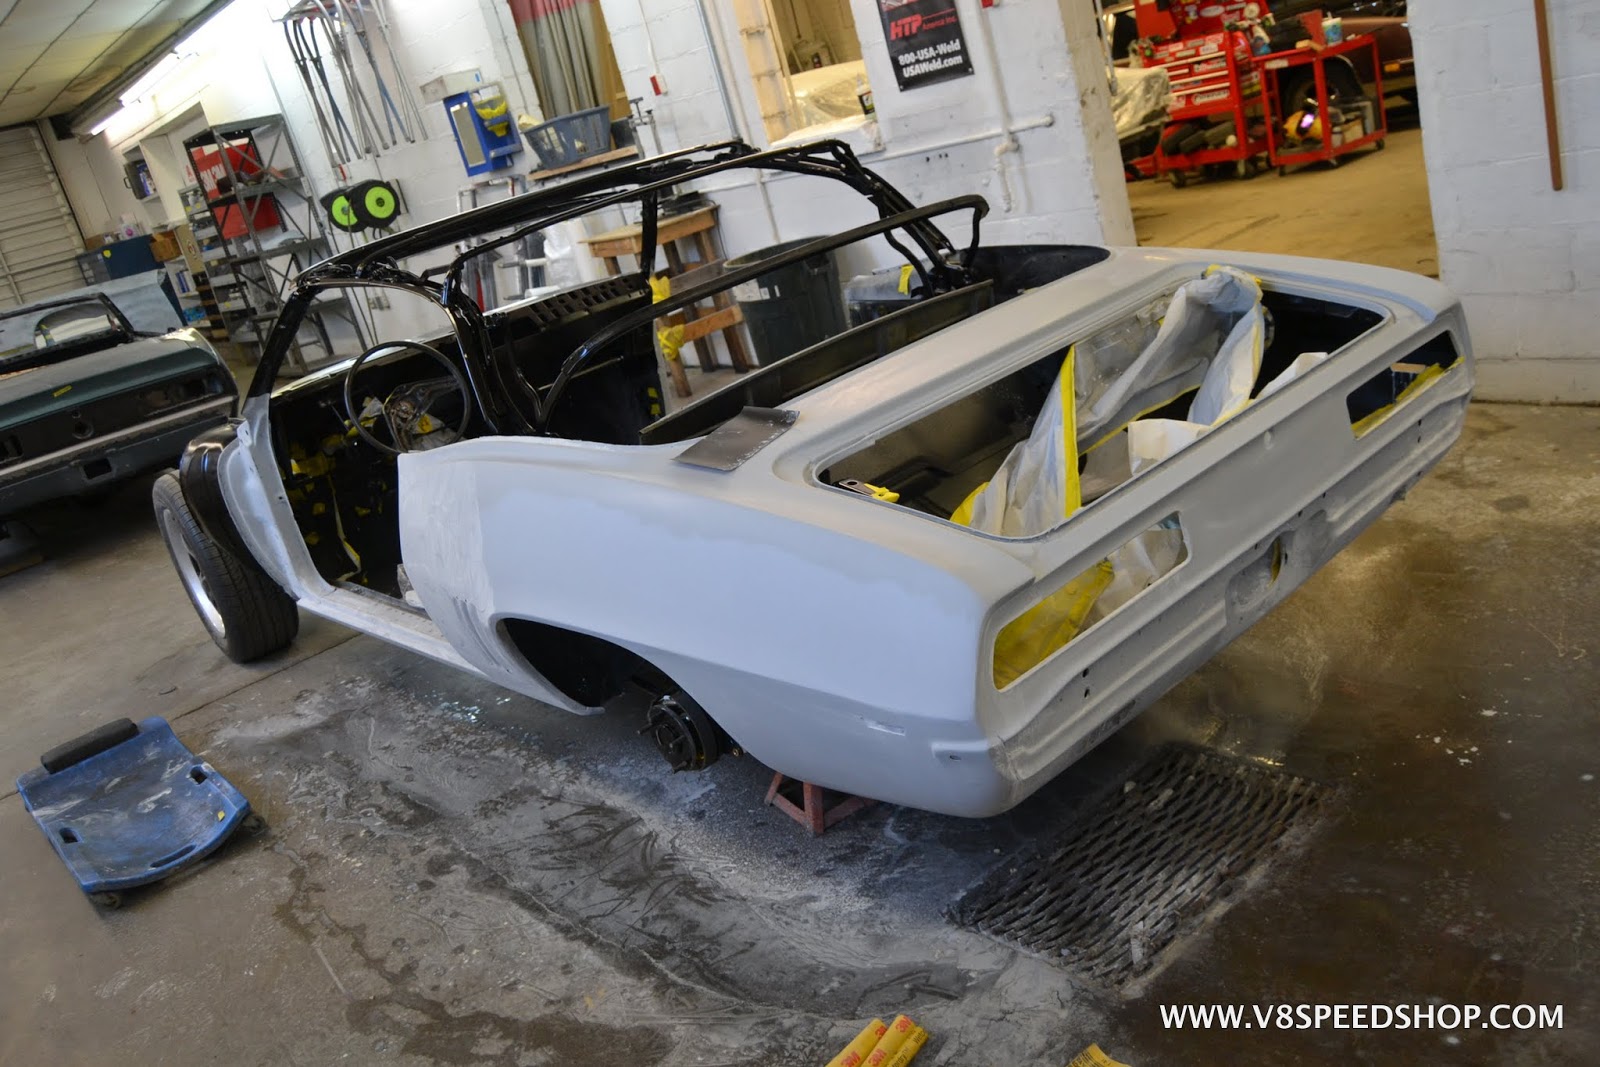
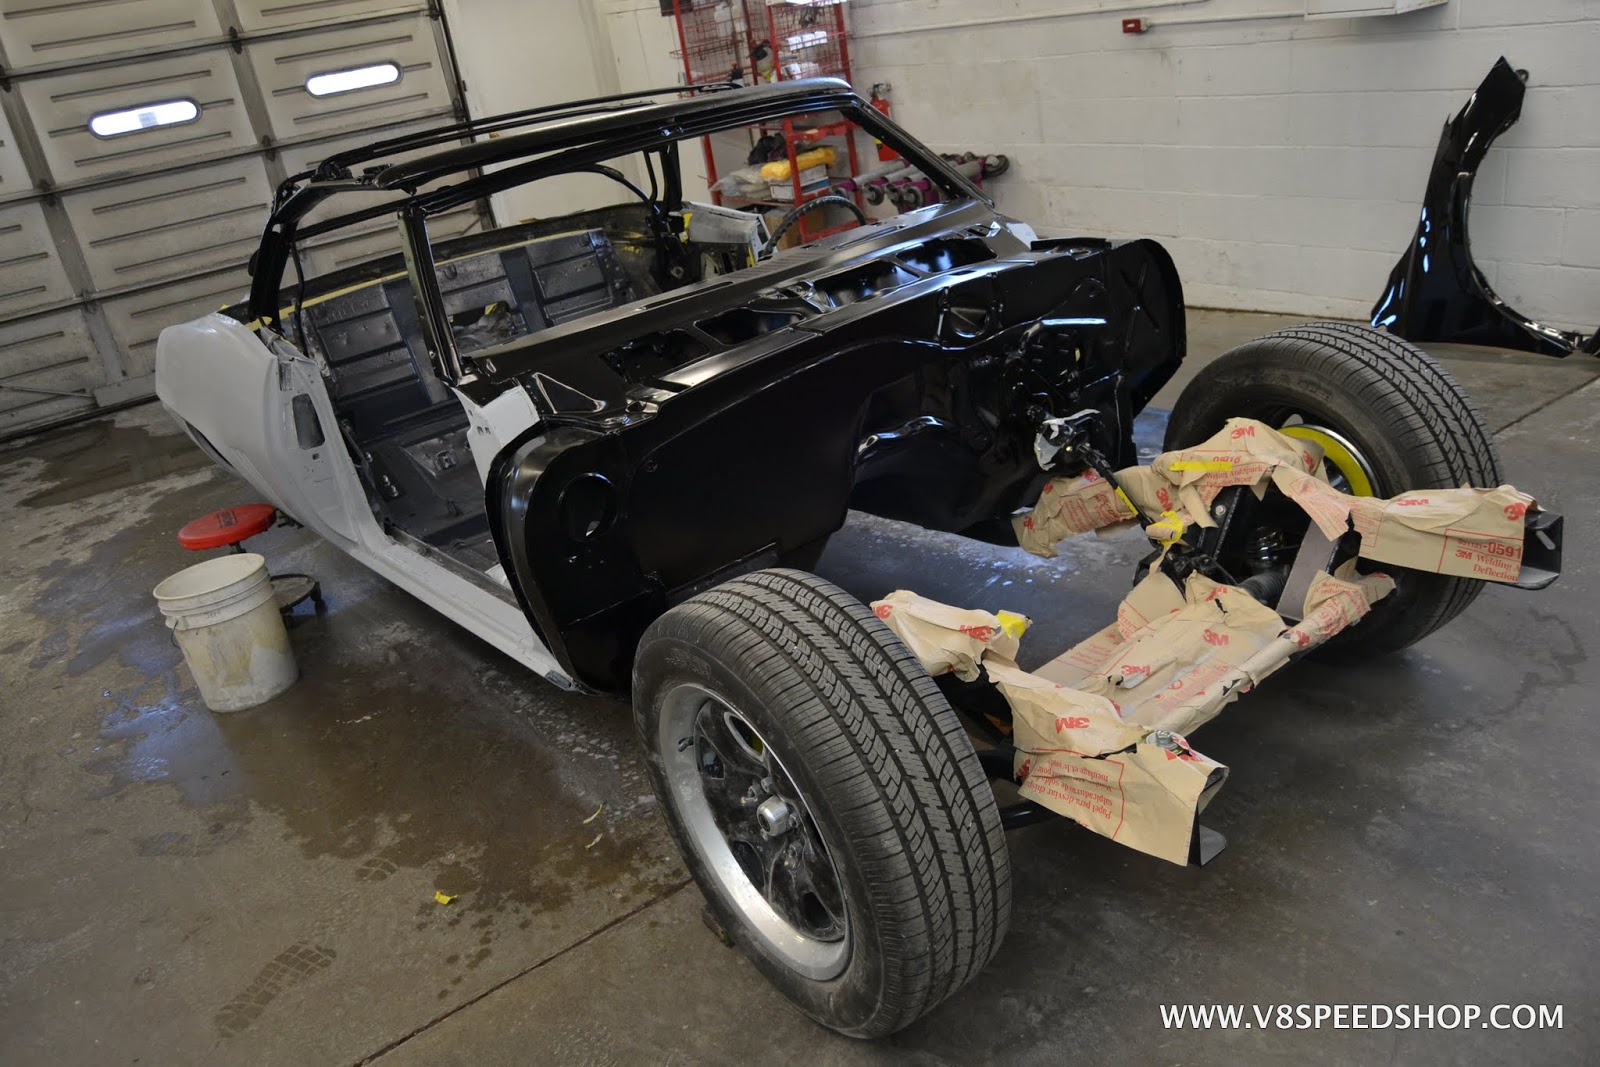
Once the primer is wet sanded to perfection, the firewall, dash, and masked areas are sprayed with satin black Imron. The backsides of the fenders were also sprayed at this point.
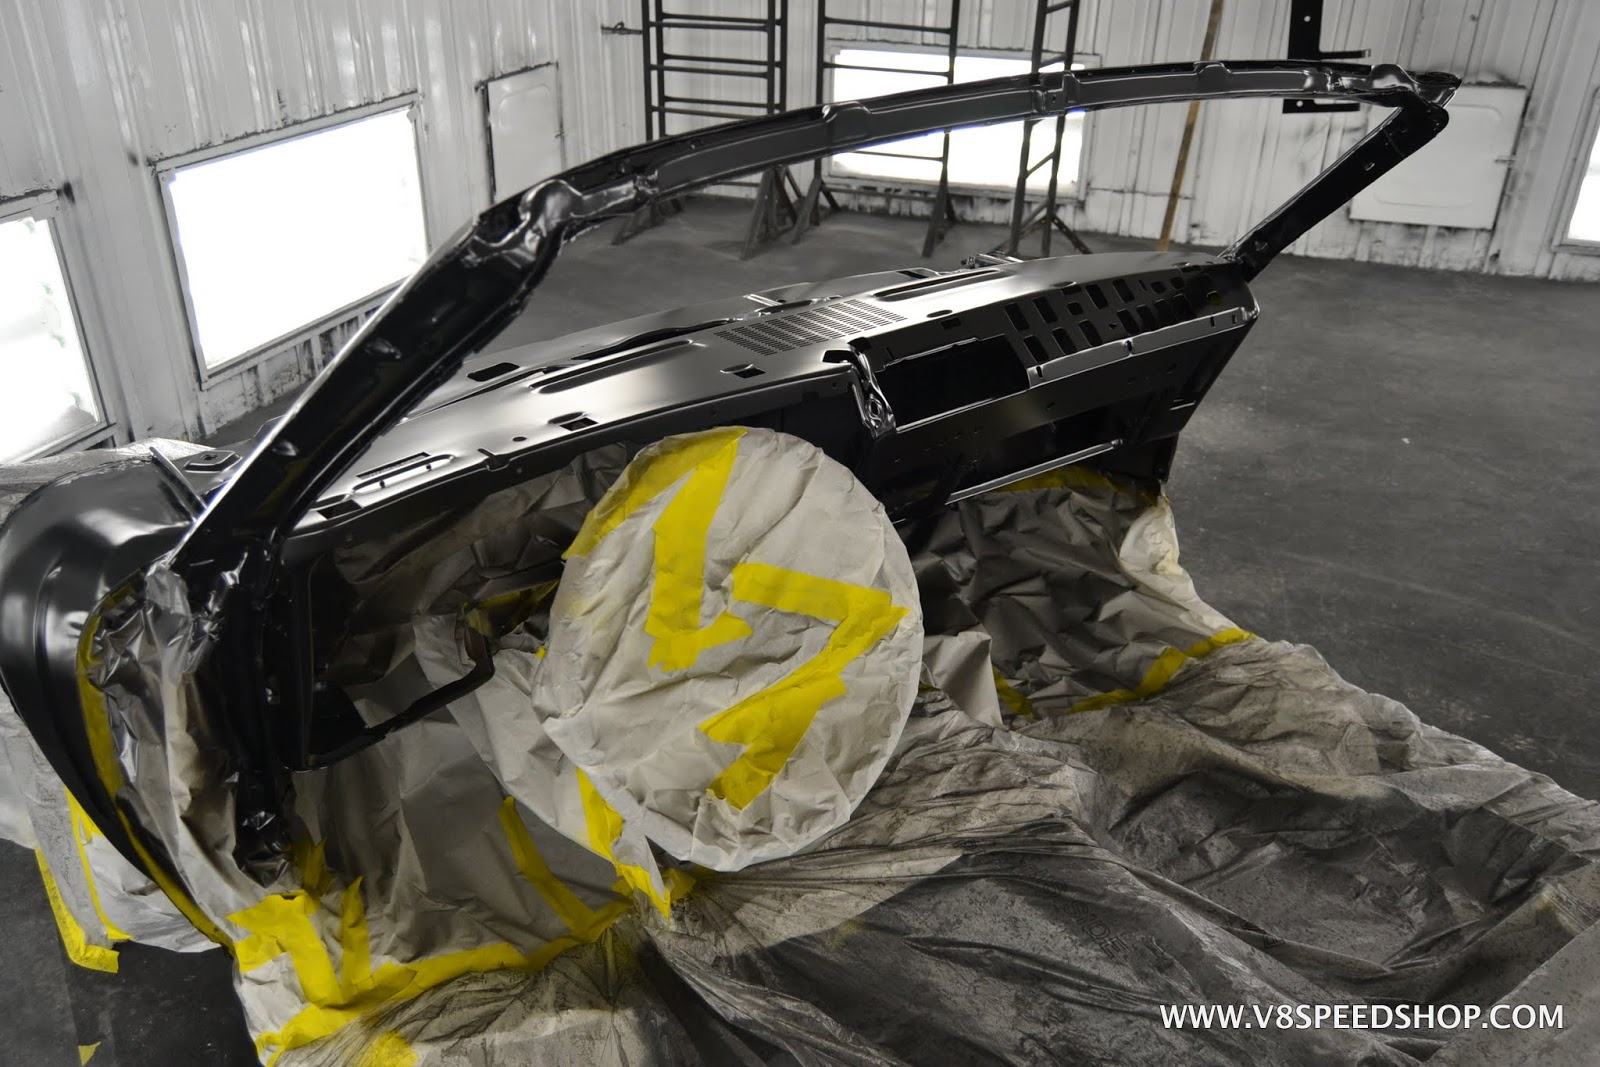
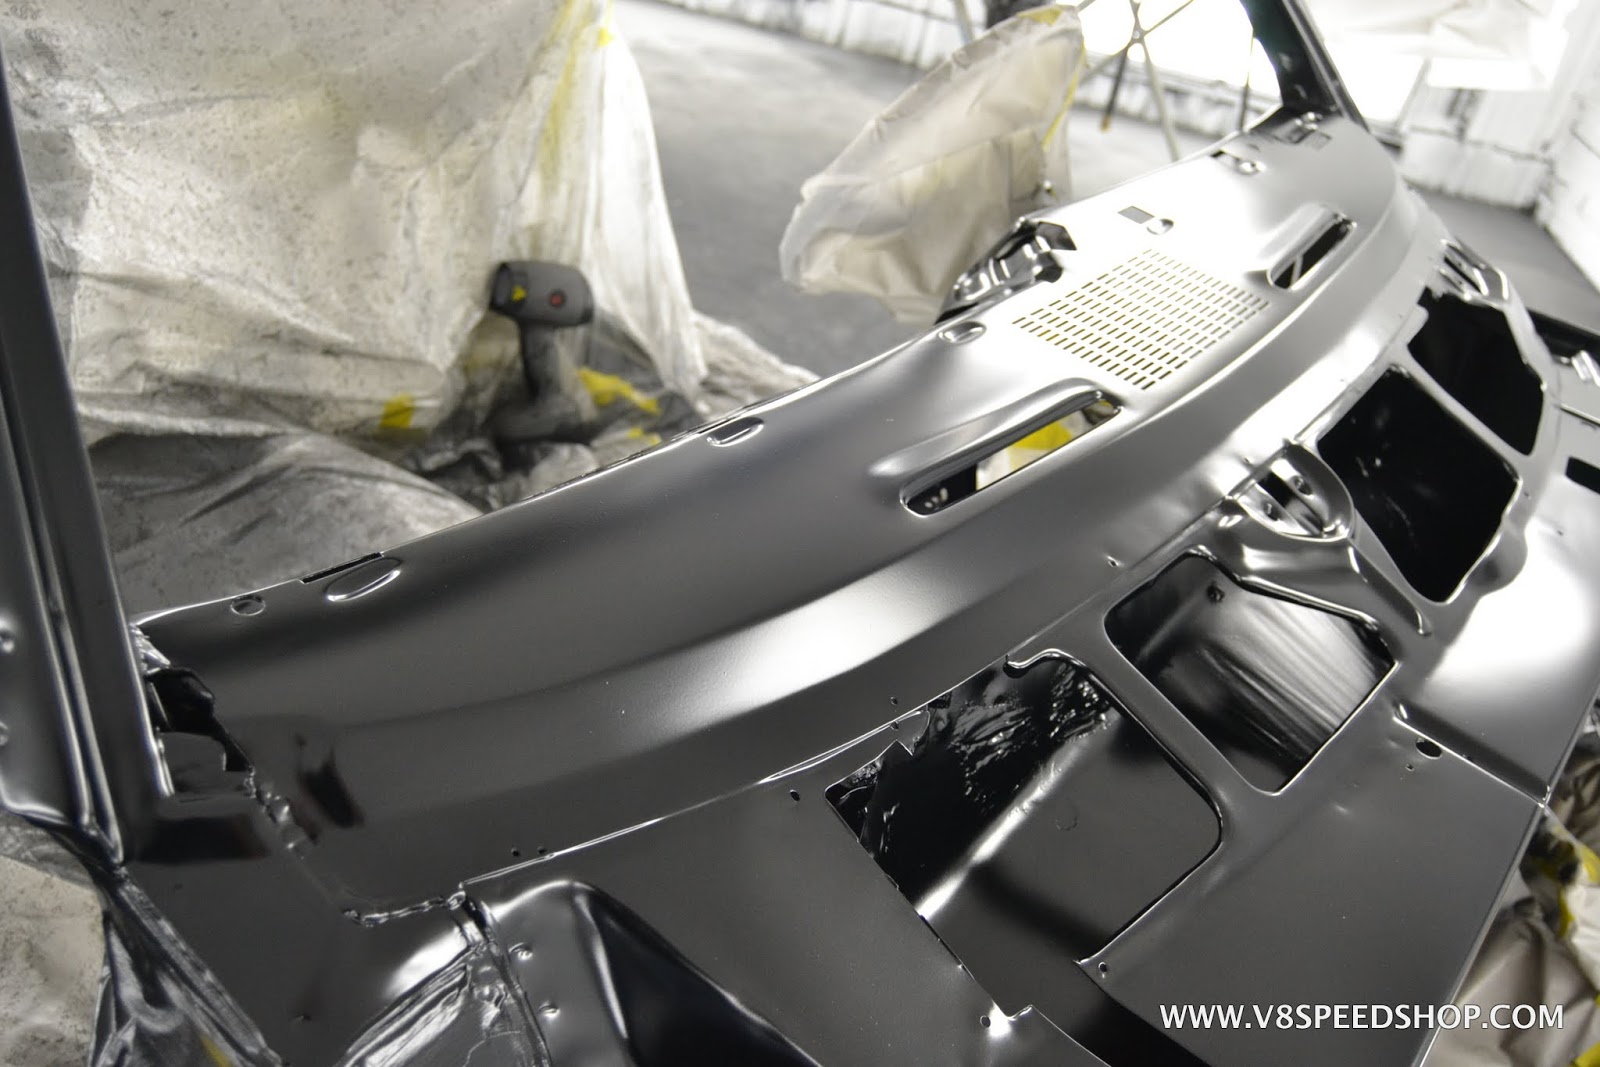
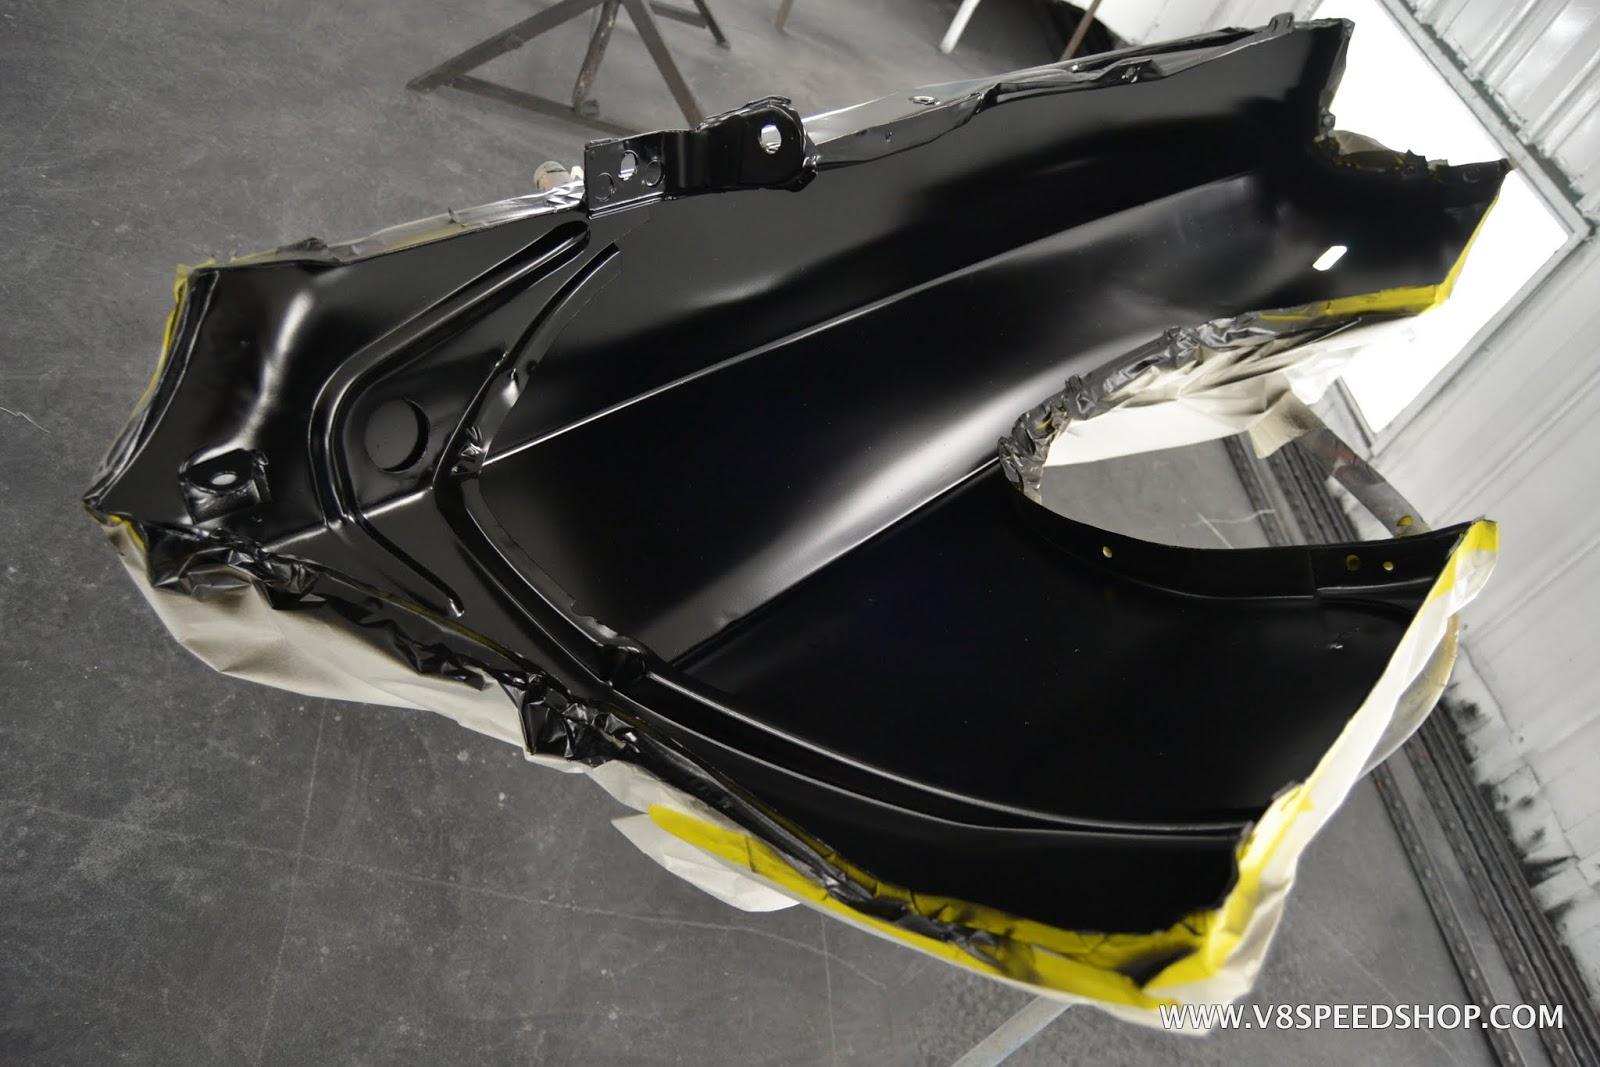
- - - Updated - - -
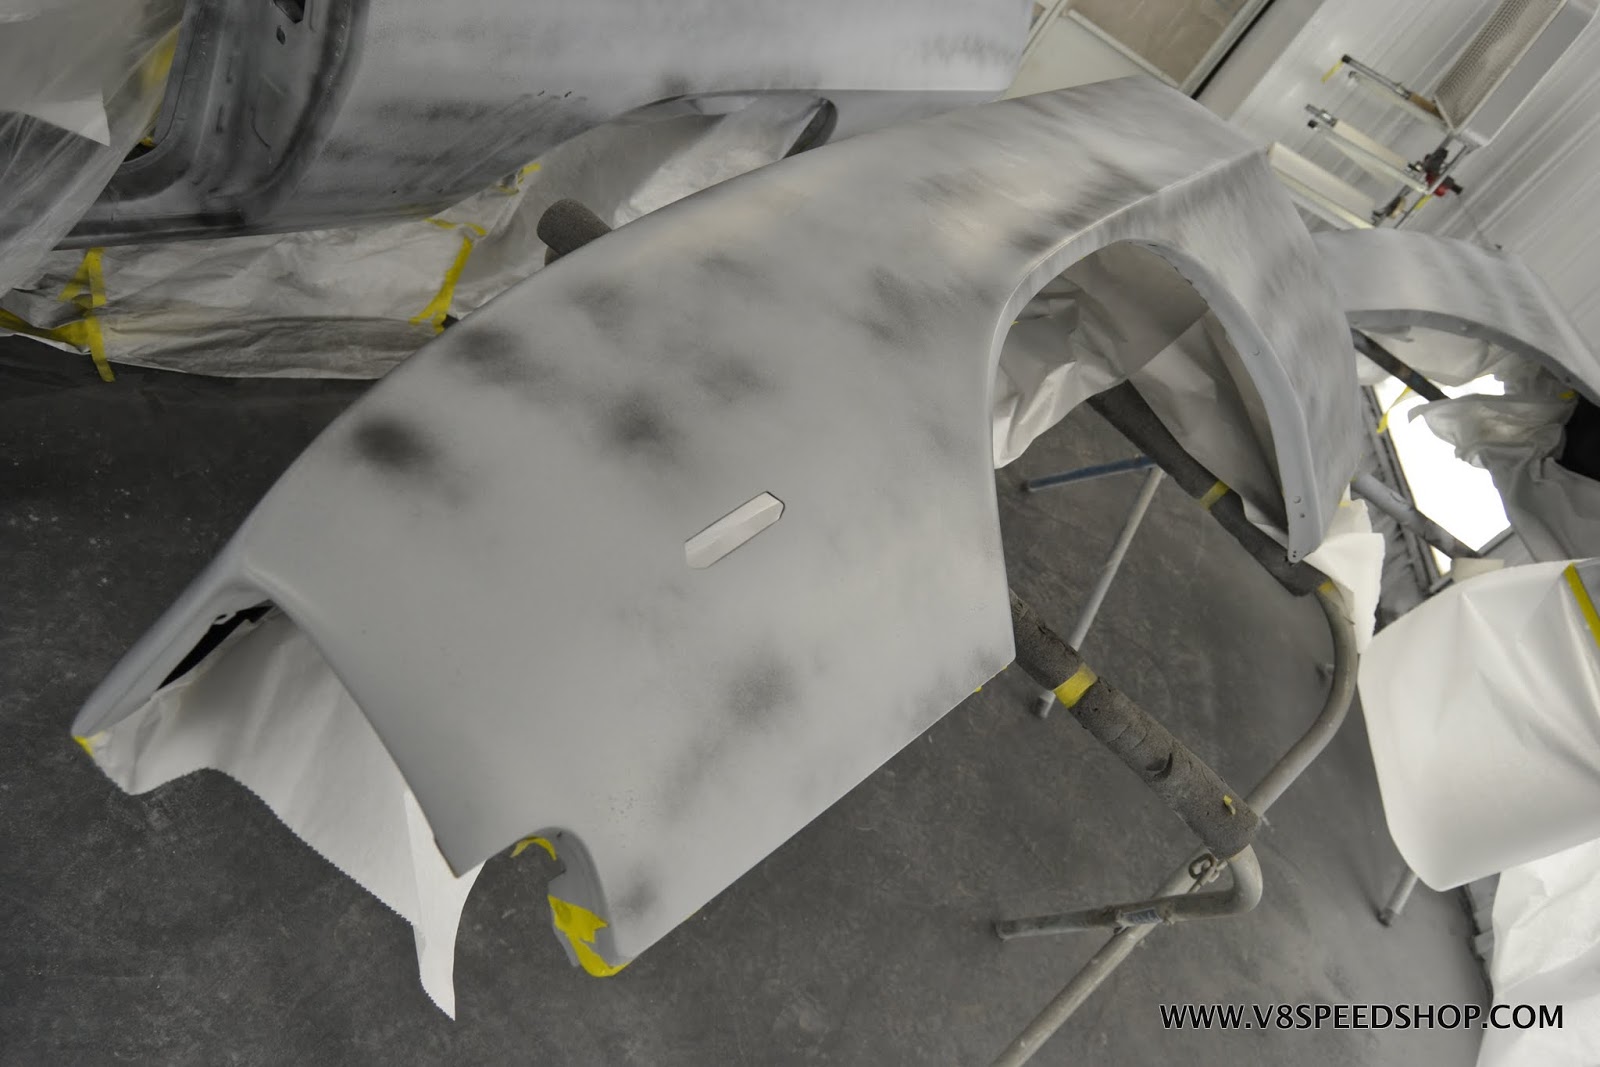
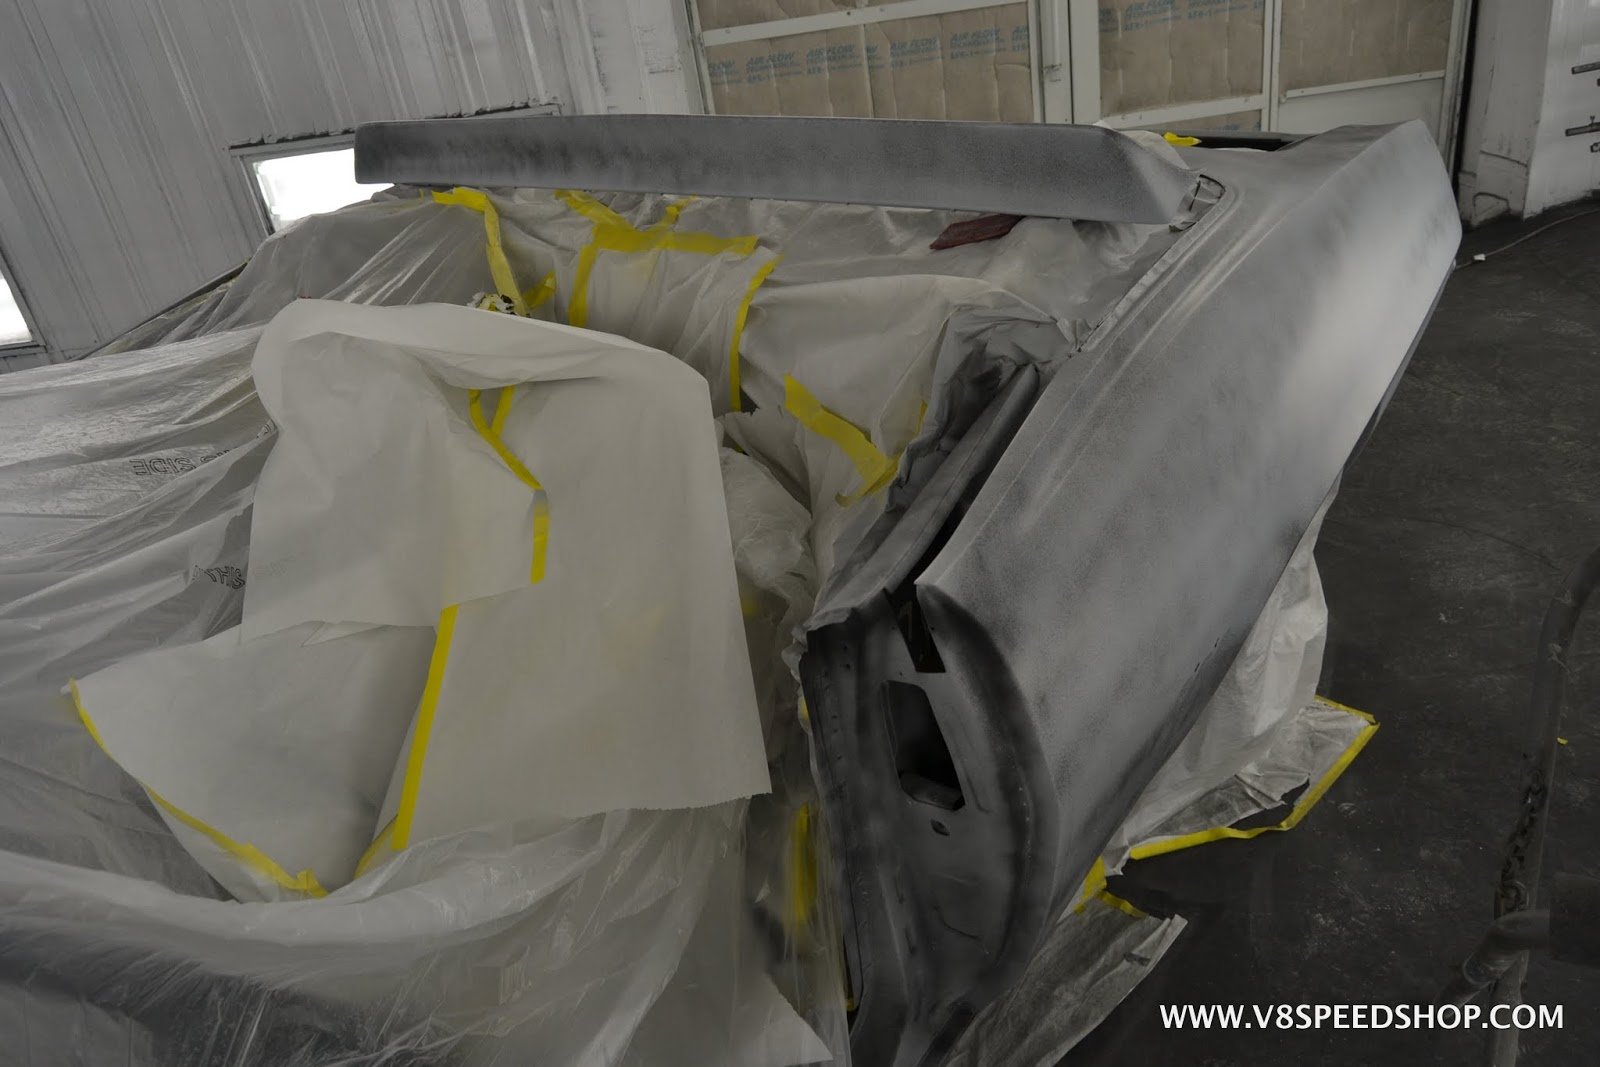
The exterior panels and body shell were sprayed with a guide coat in preparation for more wet sanding.
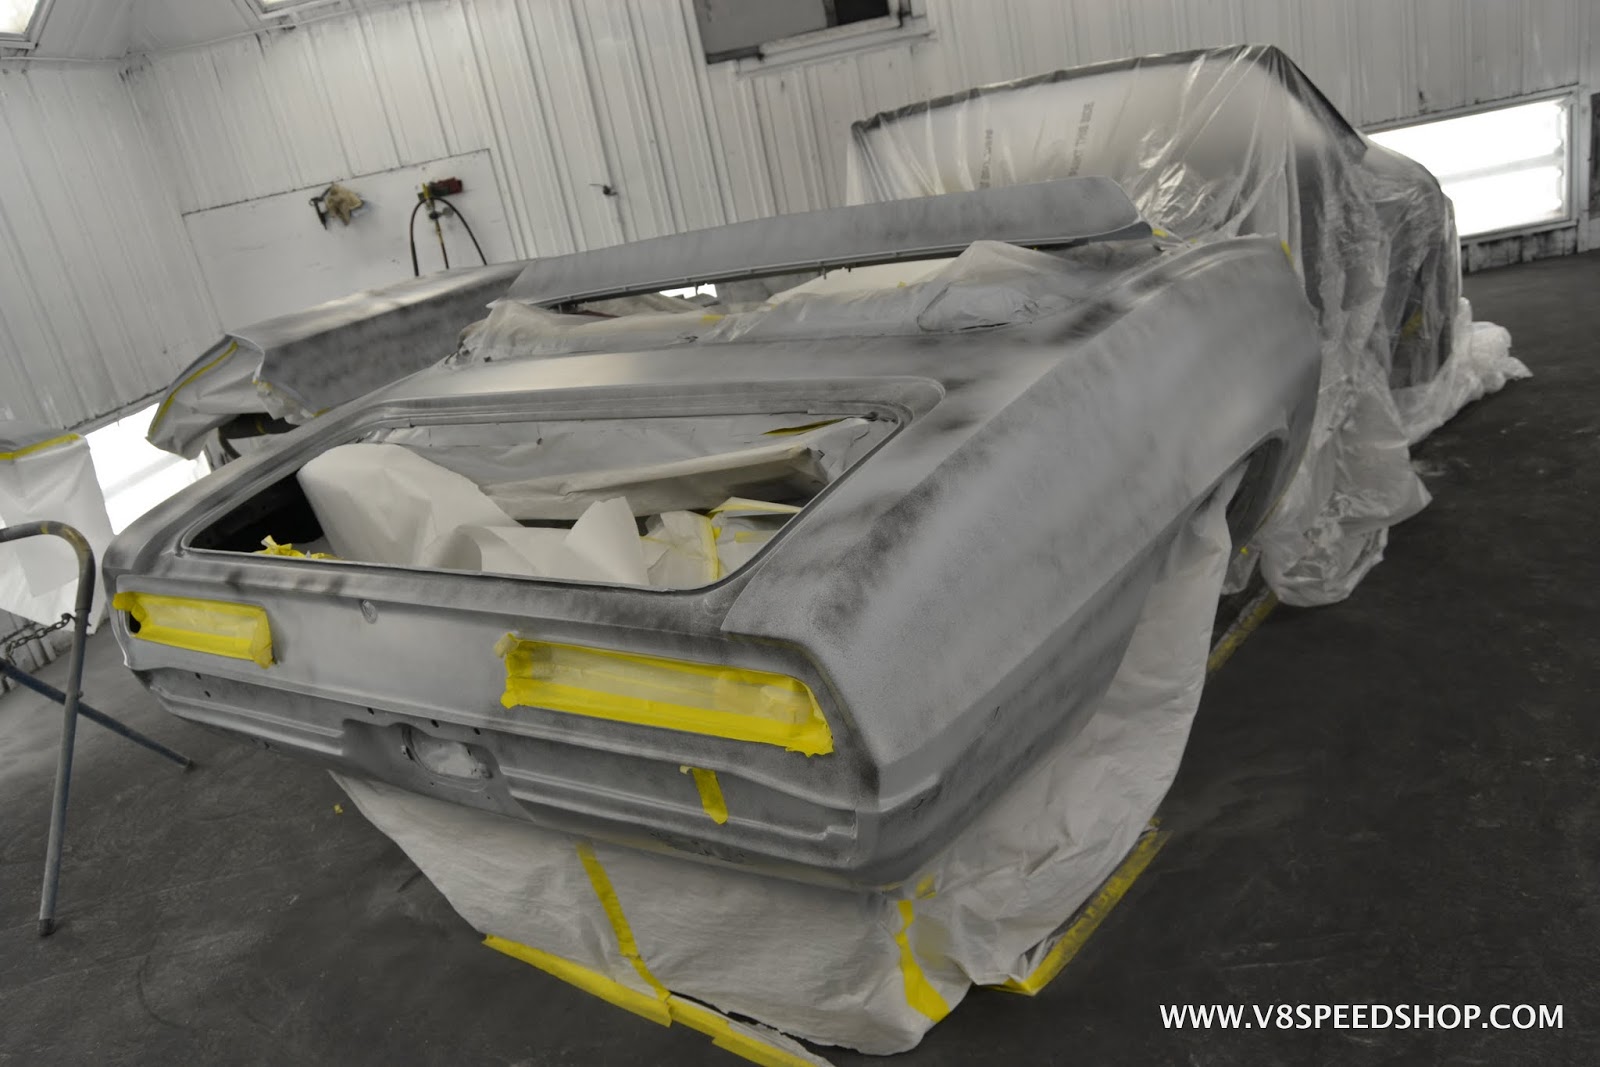
At this point, the convertible top mechanism was cleaned, prepped, and painted with Imron Satin black.
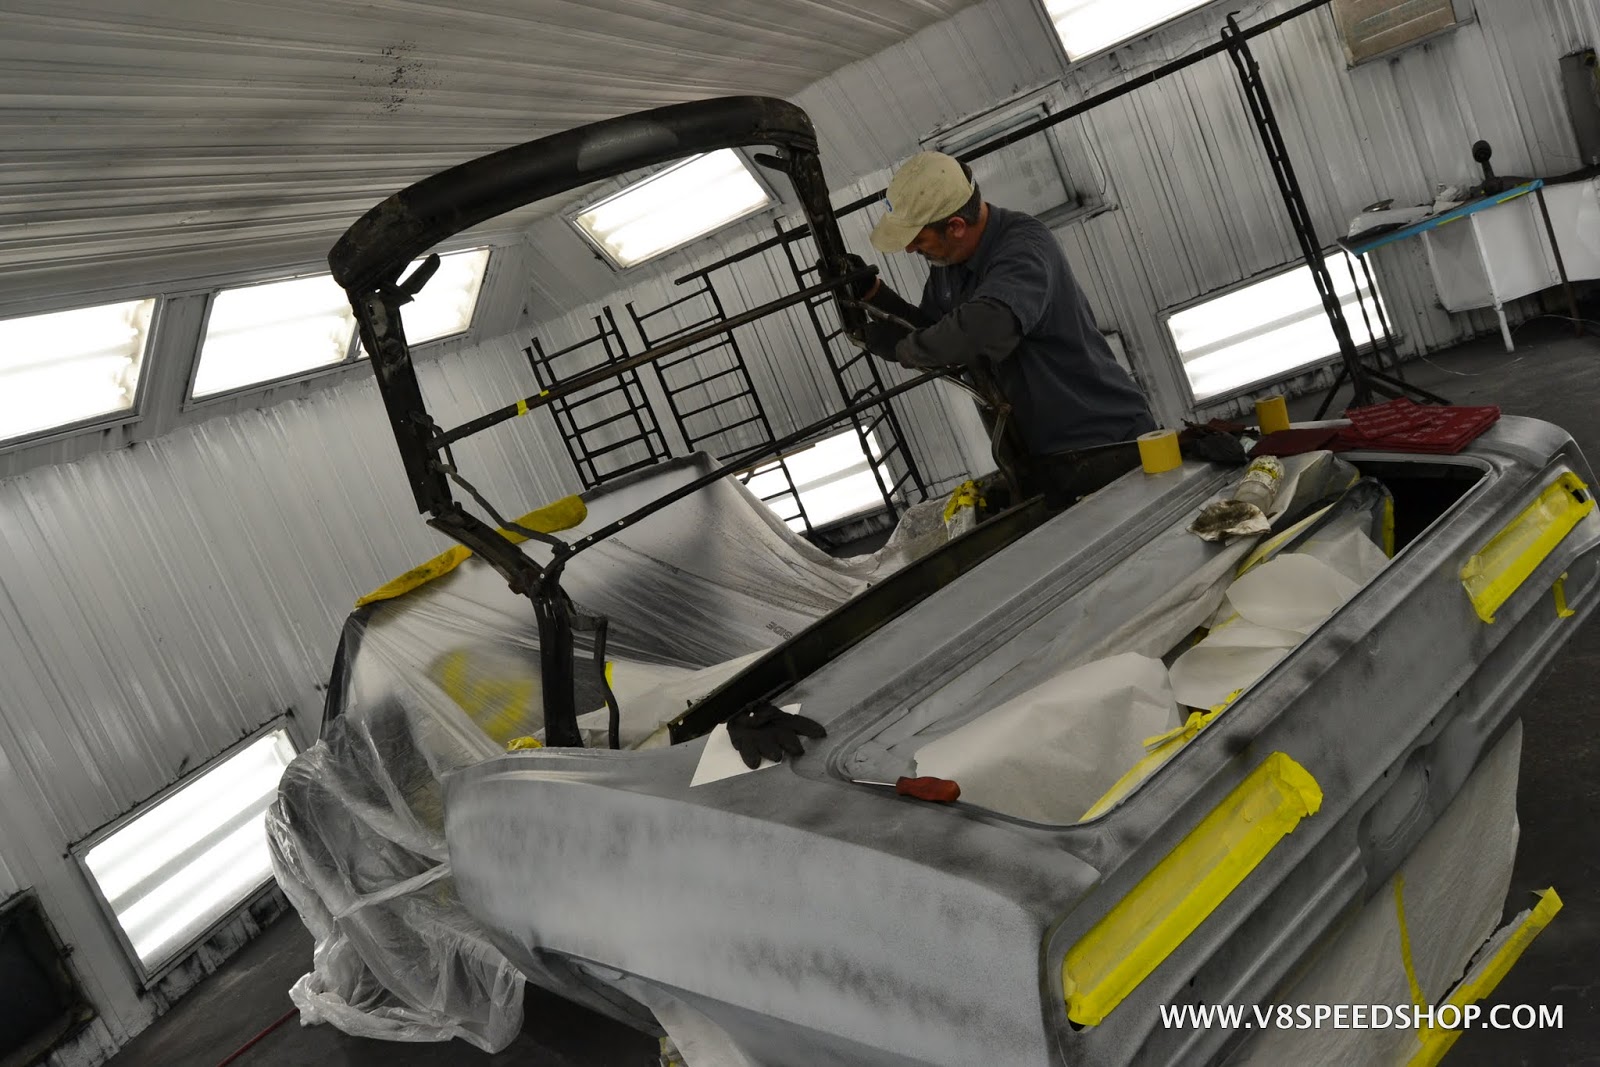
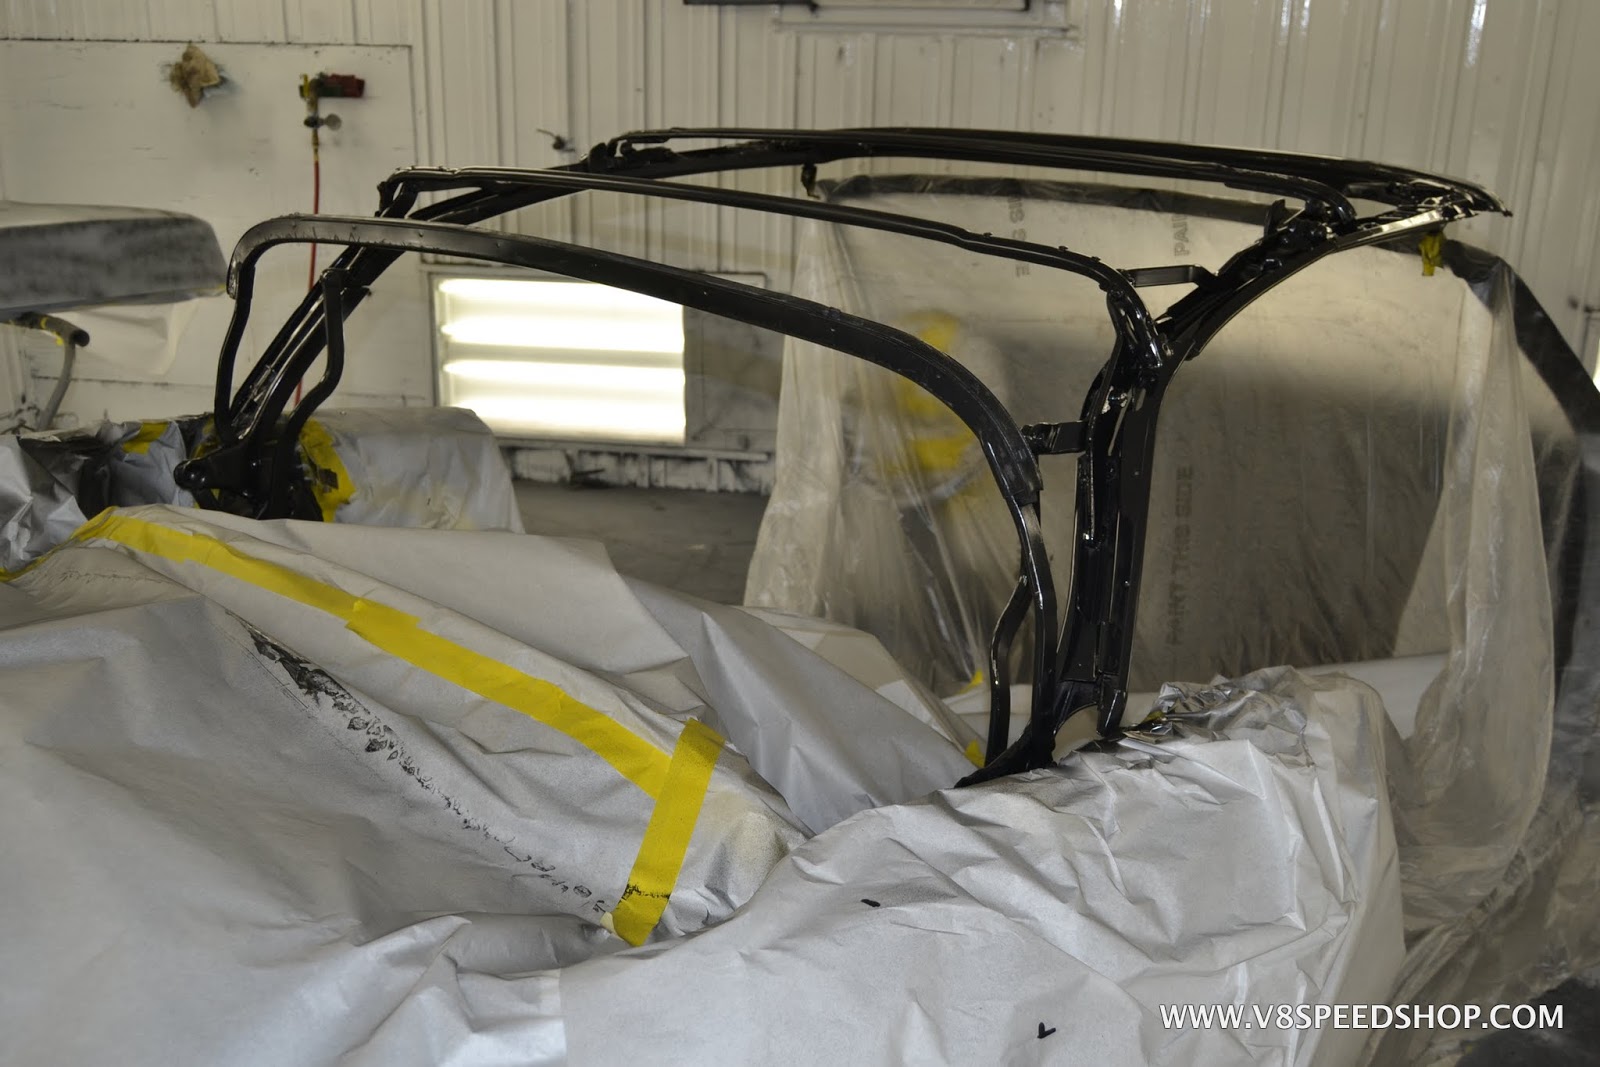
The body shell and all the exterior panels were then wet sanded smooth with 400 grit 3M paper.
- - - Updated - - -
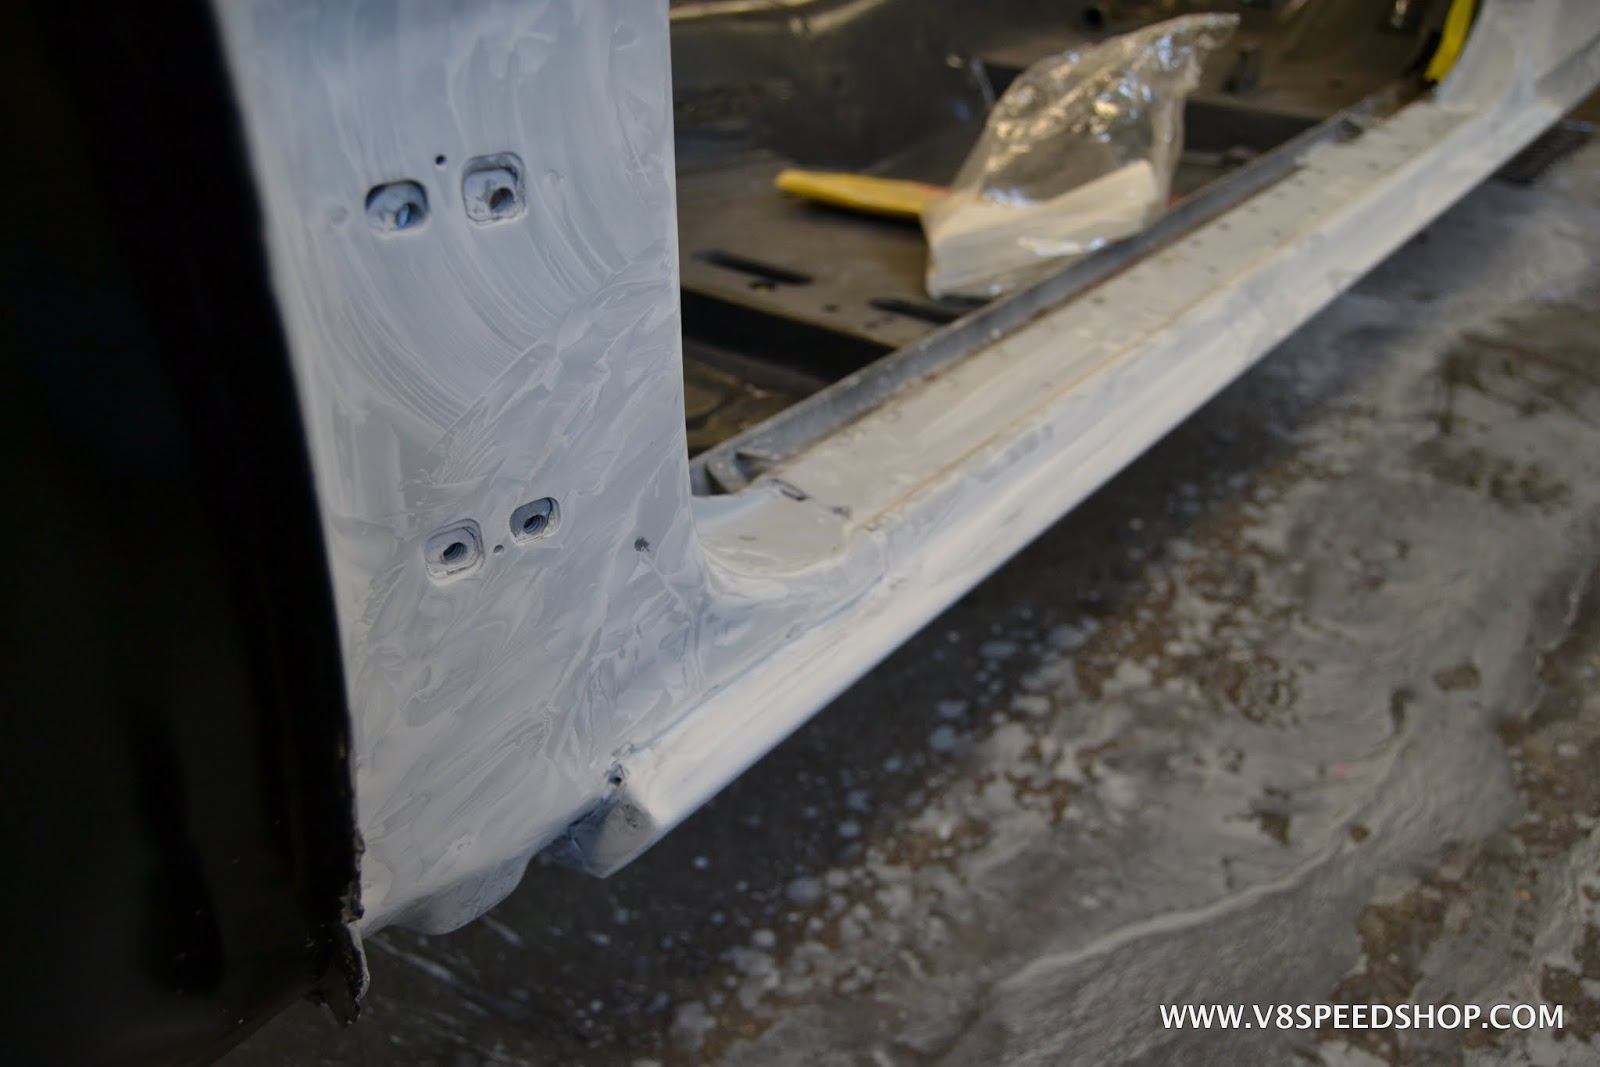
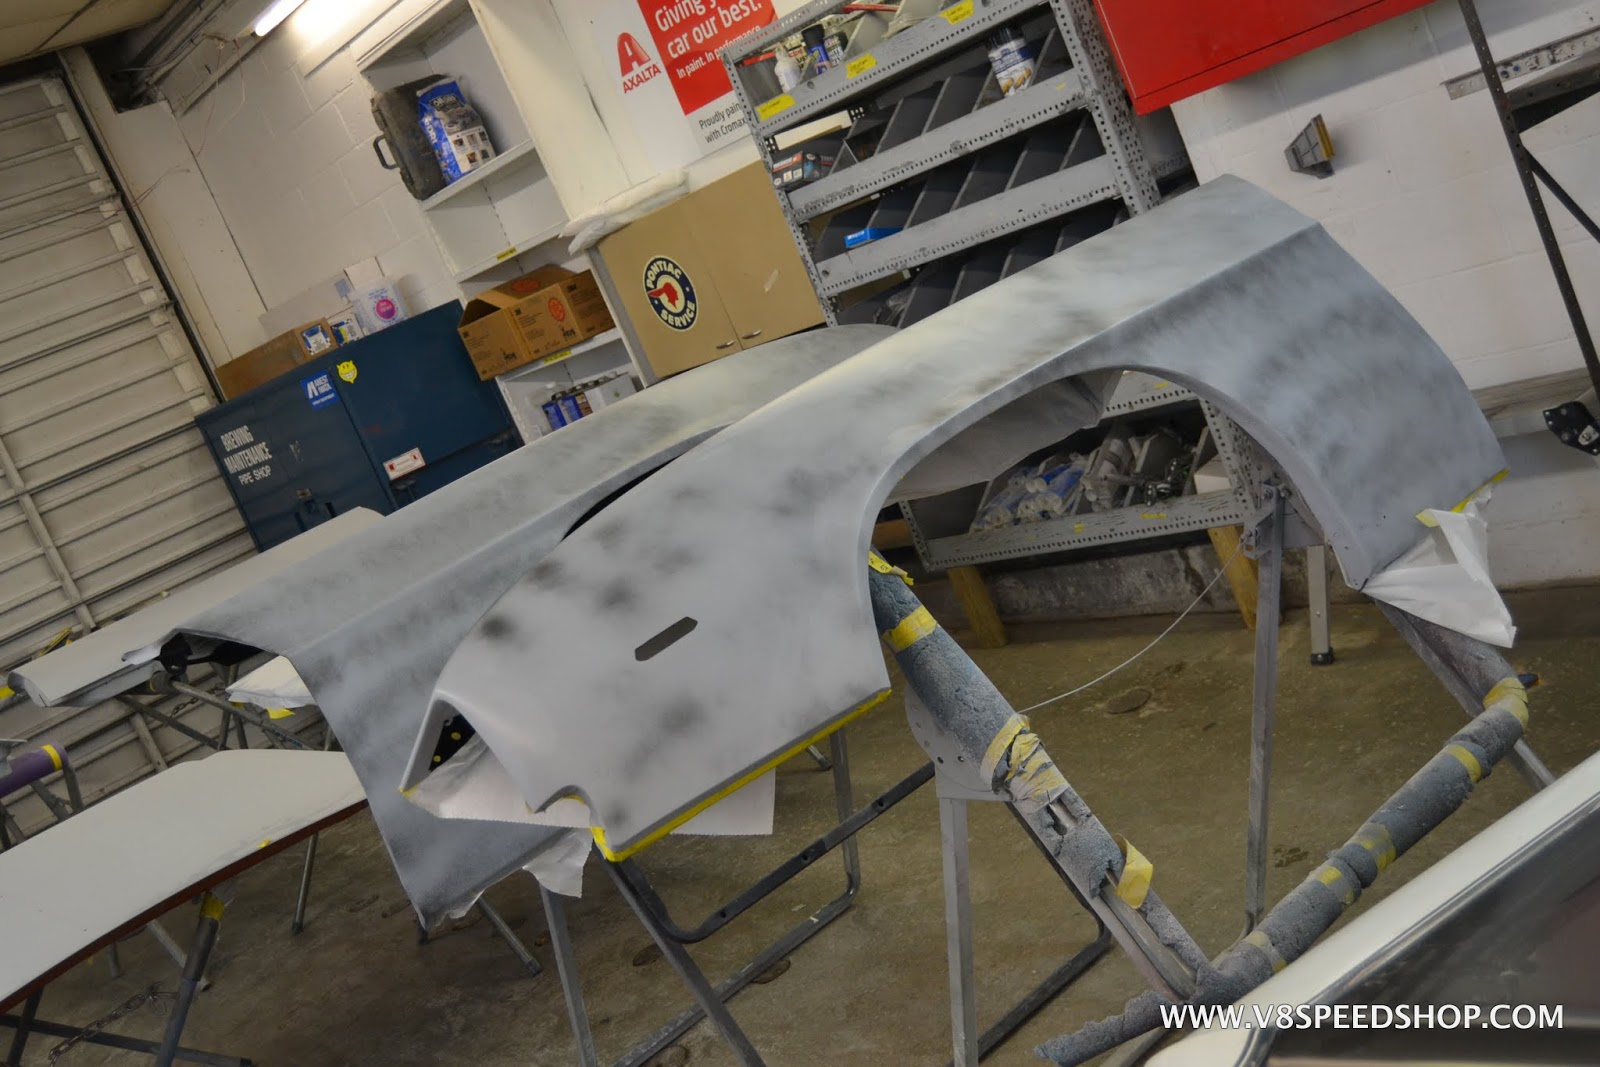
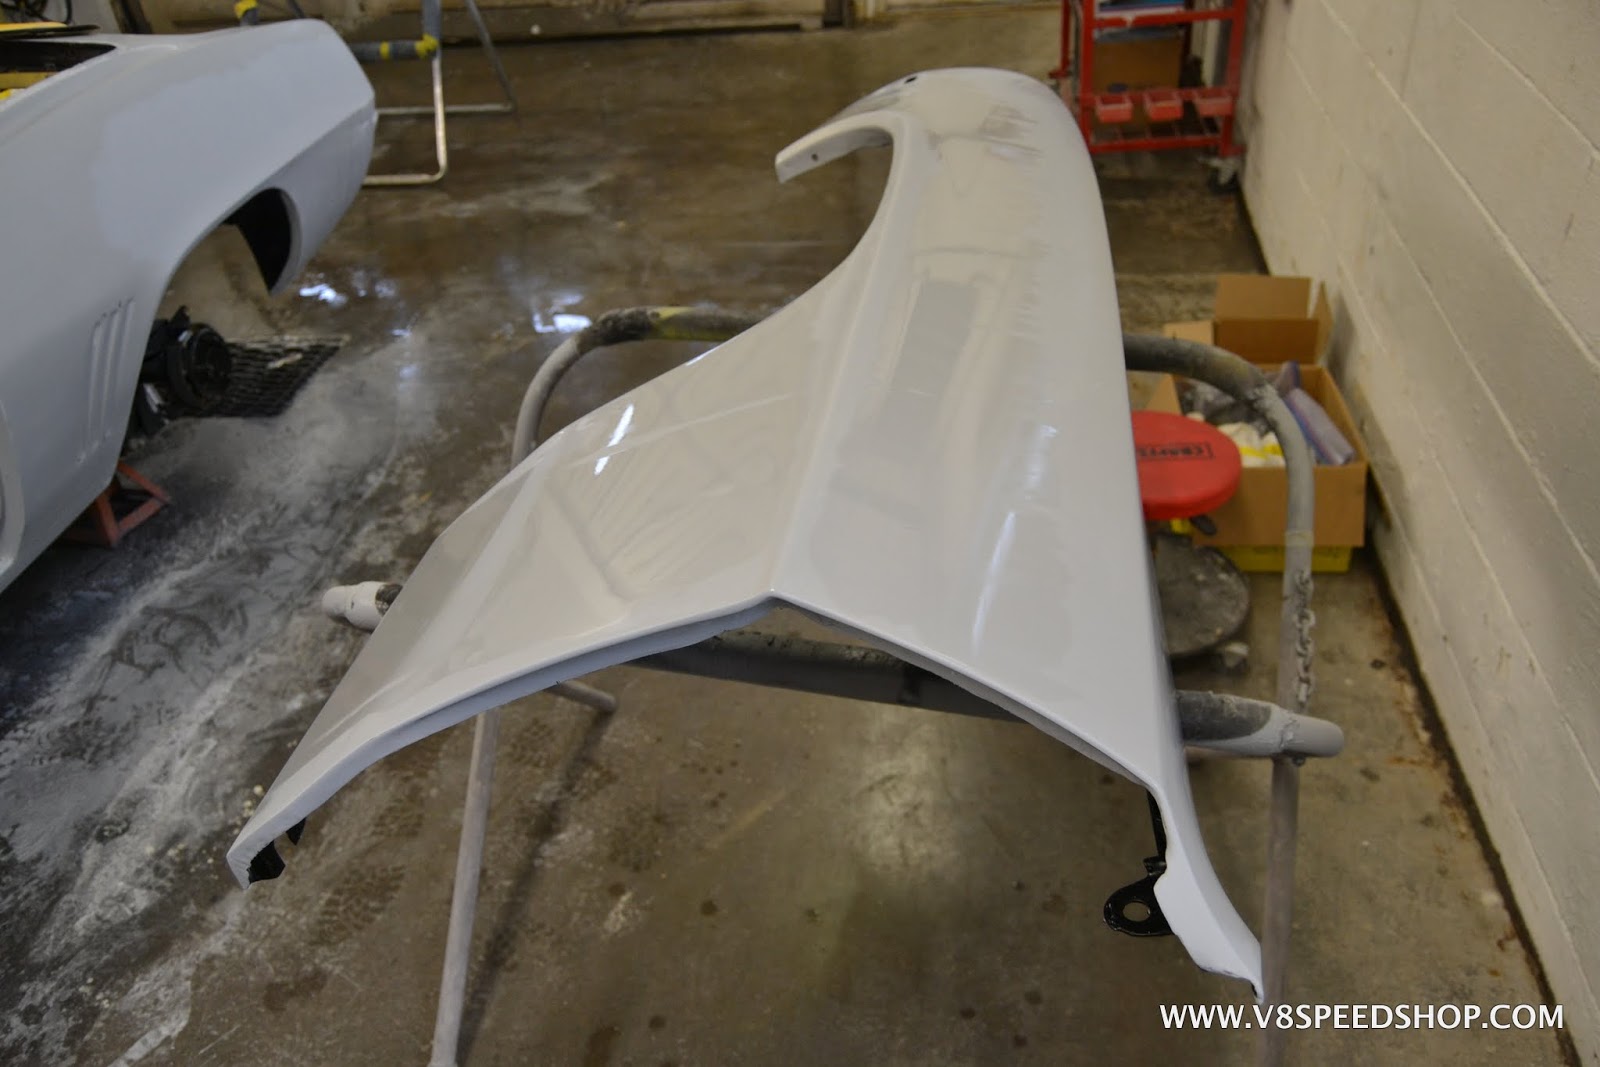
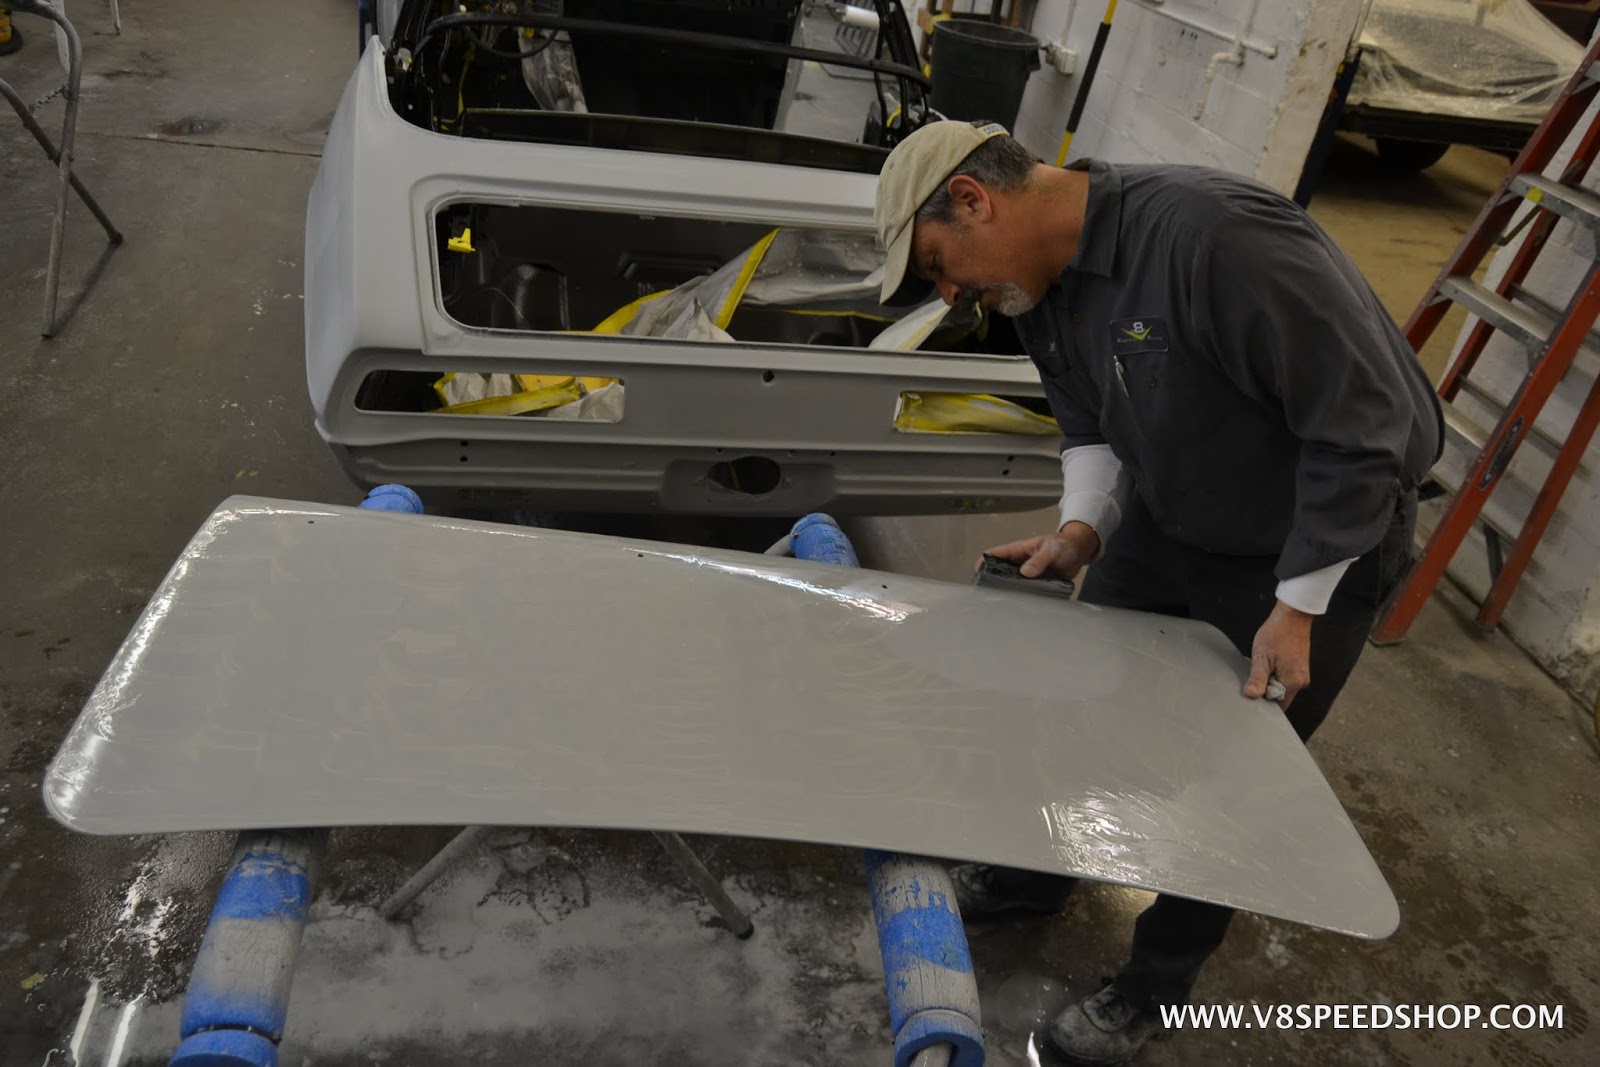
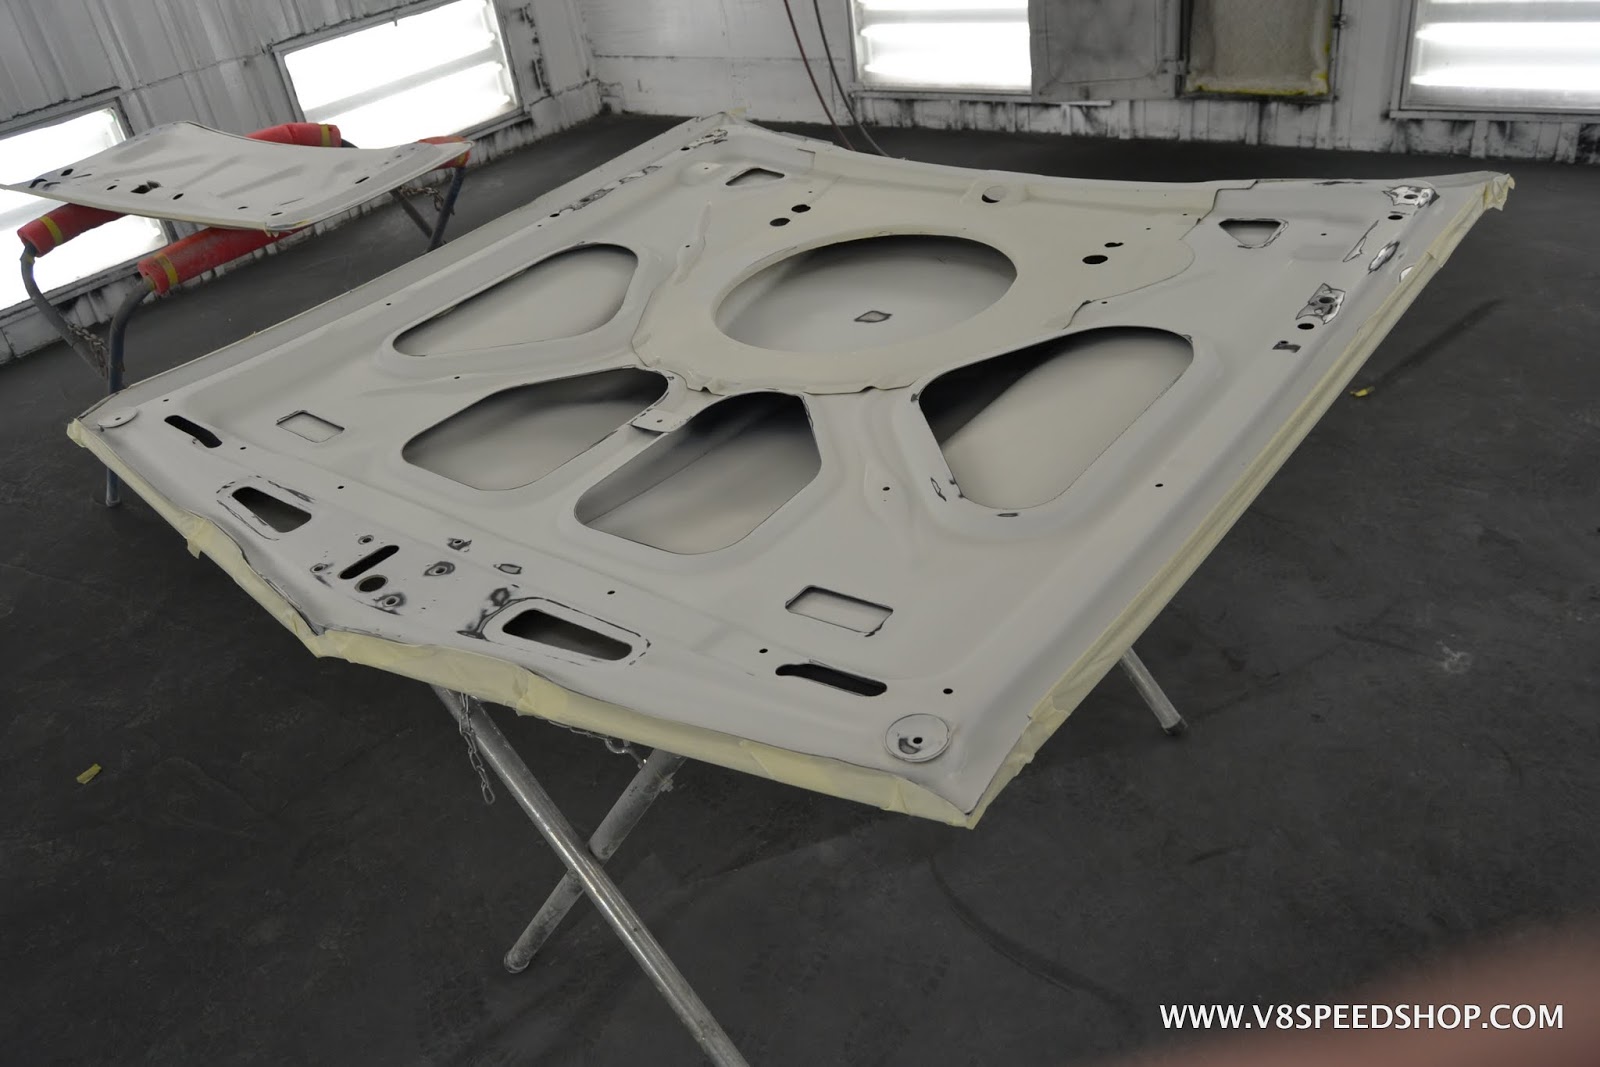
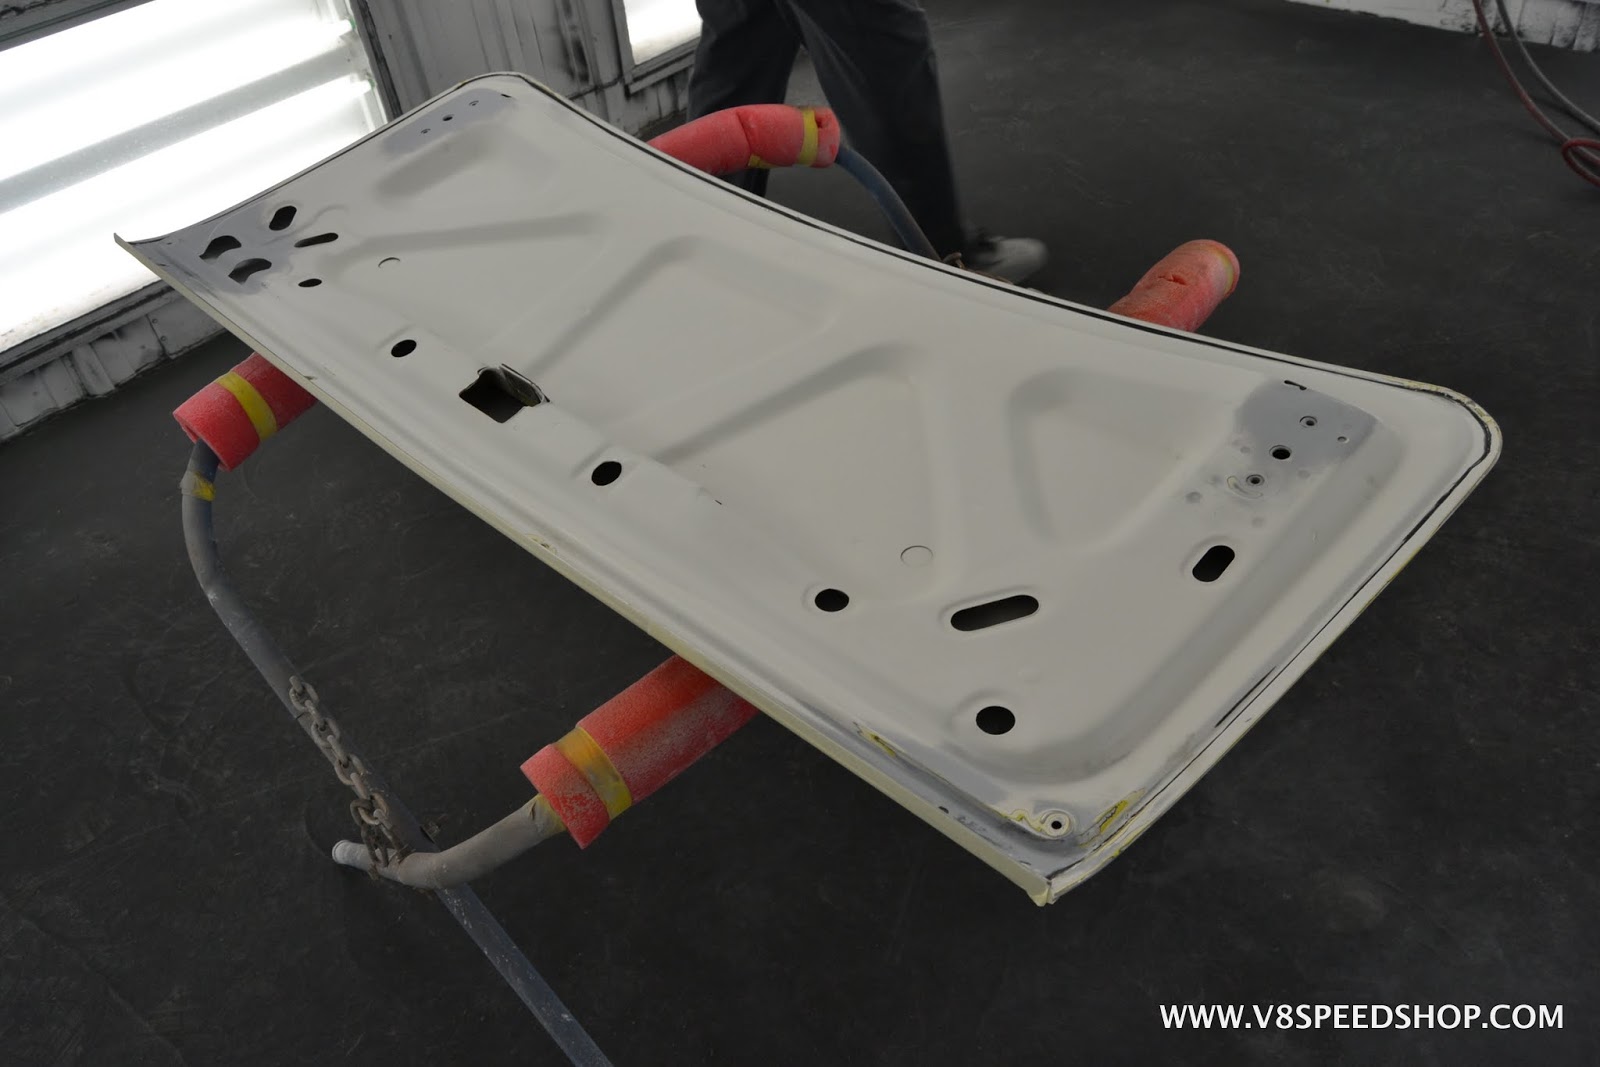
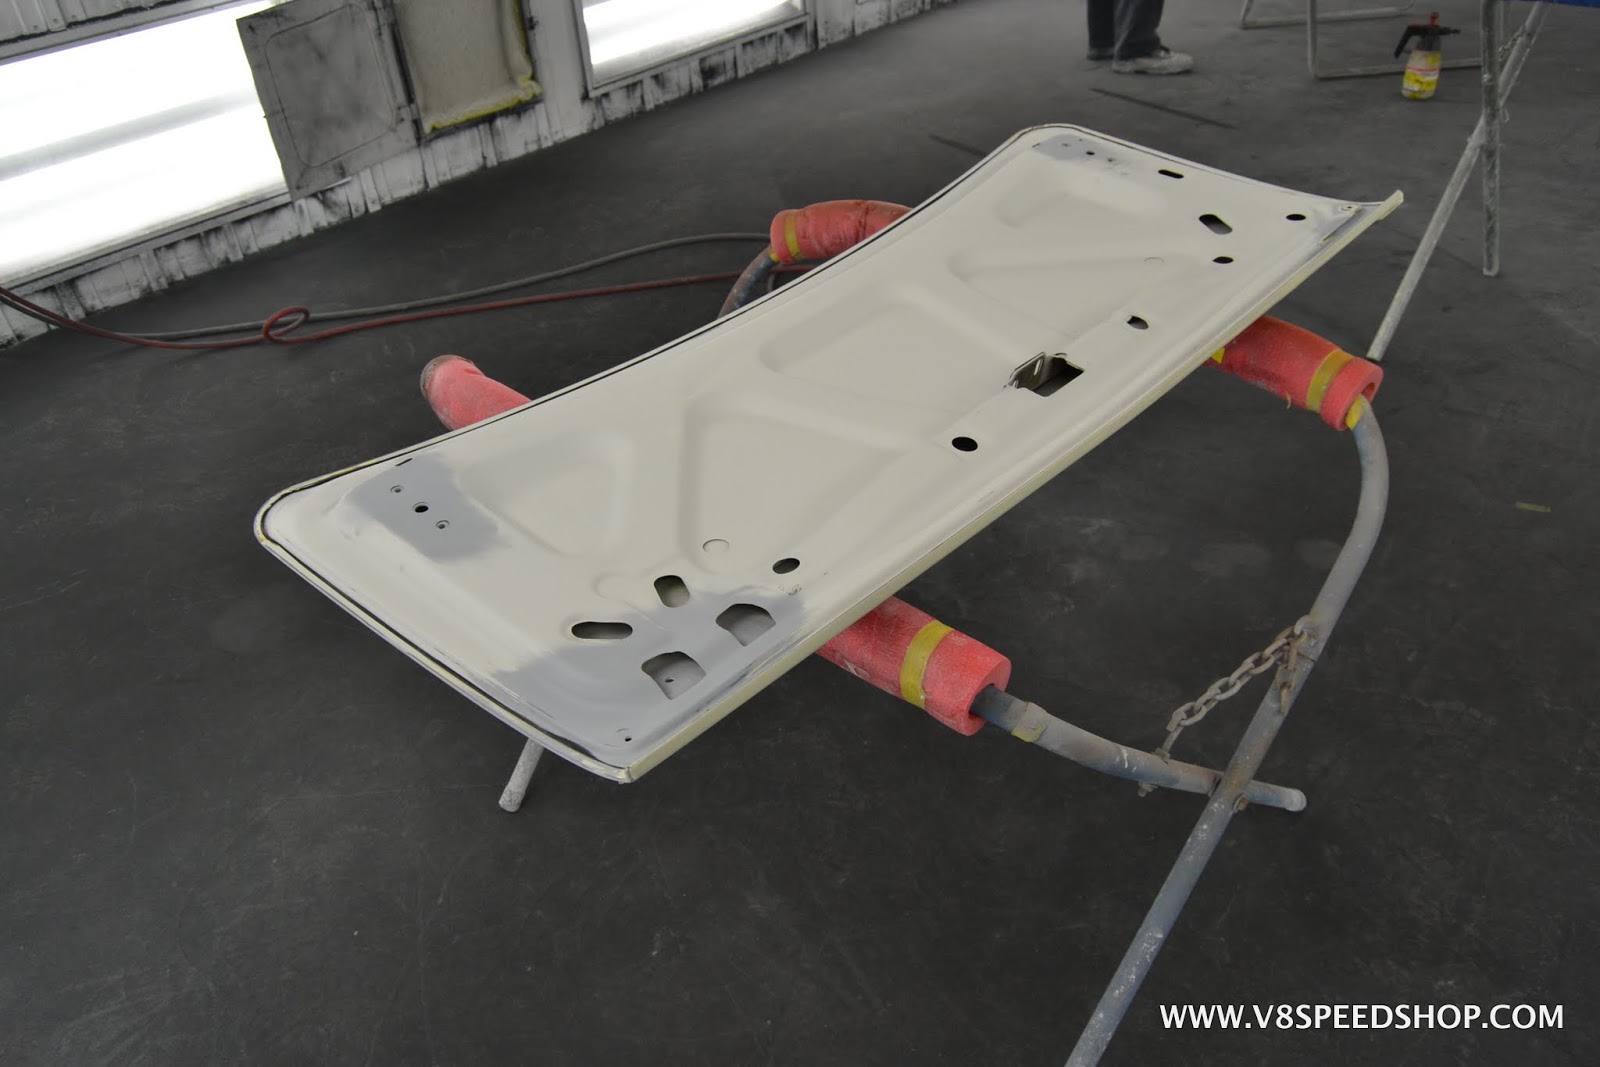
The bottom of the hood and decklid were sanded and prepped, and 3M seam sealer was applied before a final sealer and then basecoat color!
 Kevin Oeste
V8 Speed and Resto Shop
V8TV
Muscle Car Of The Week
V8 Radio Podcast
All about us:
https://www.v8speedshop.com
10-02-2017 #58
Registered User
- Join Date
- Dec 2004
- Location
- Midwest
- Posts
- 2,263
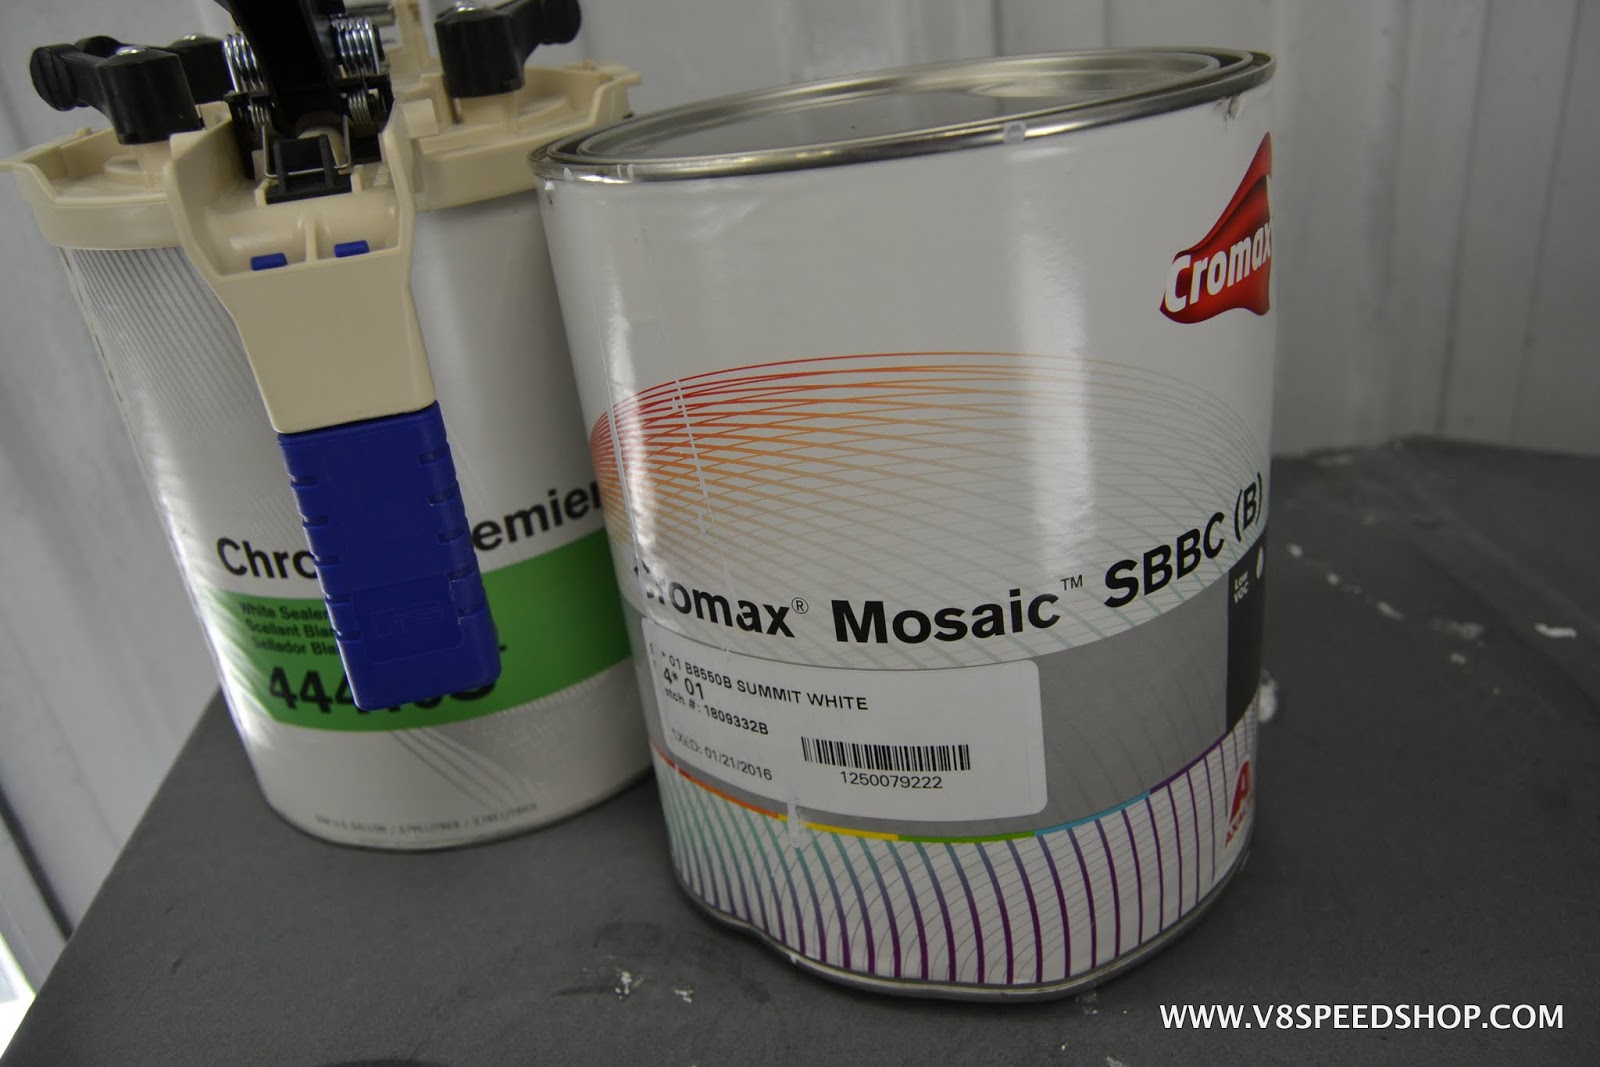
The plan was to shoot the car in the brightest white we could find, a color called Summit White. We had some mixed in Axalta Cromax SBBC base coat and prepped the car for application.
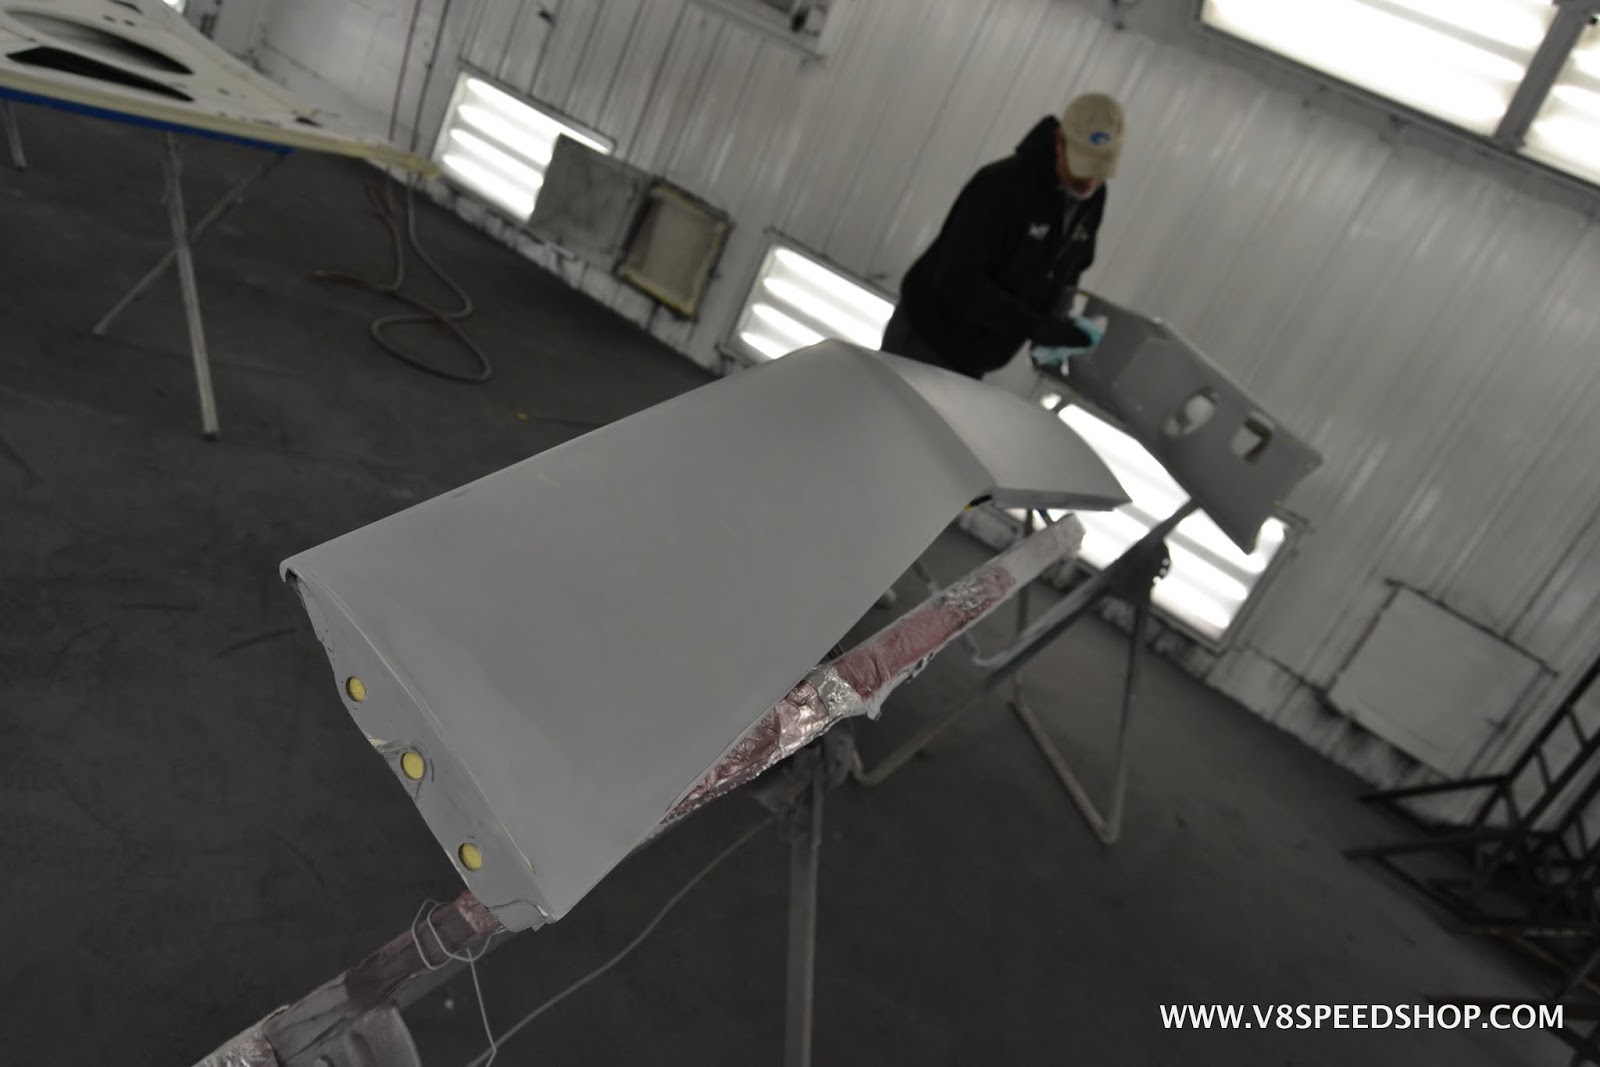
A booth-load of panels were mounted in the paint booth, then cleaned and degreased with wax & grease removers and preparation solvents. They were then wiped with a tack cloth to pick up any fuzz left behind. Even though lint-free Sontara towels are used, you cannot be too careful.
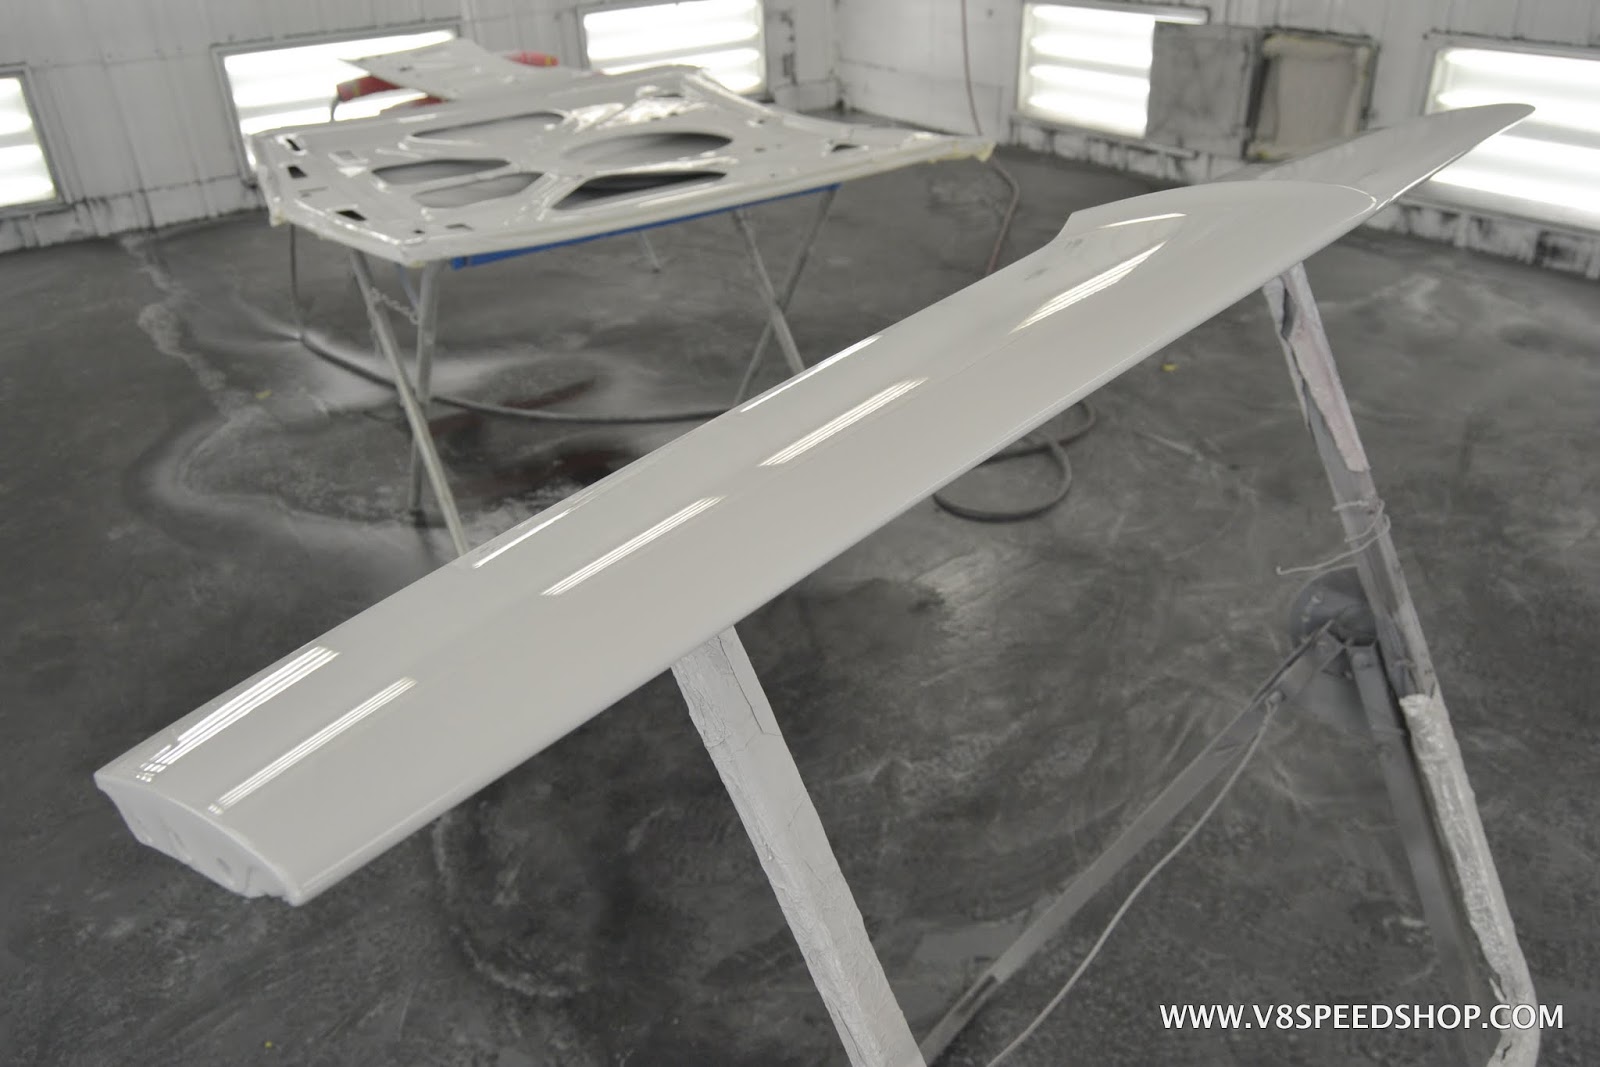
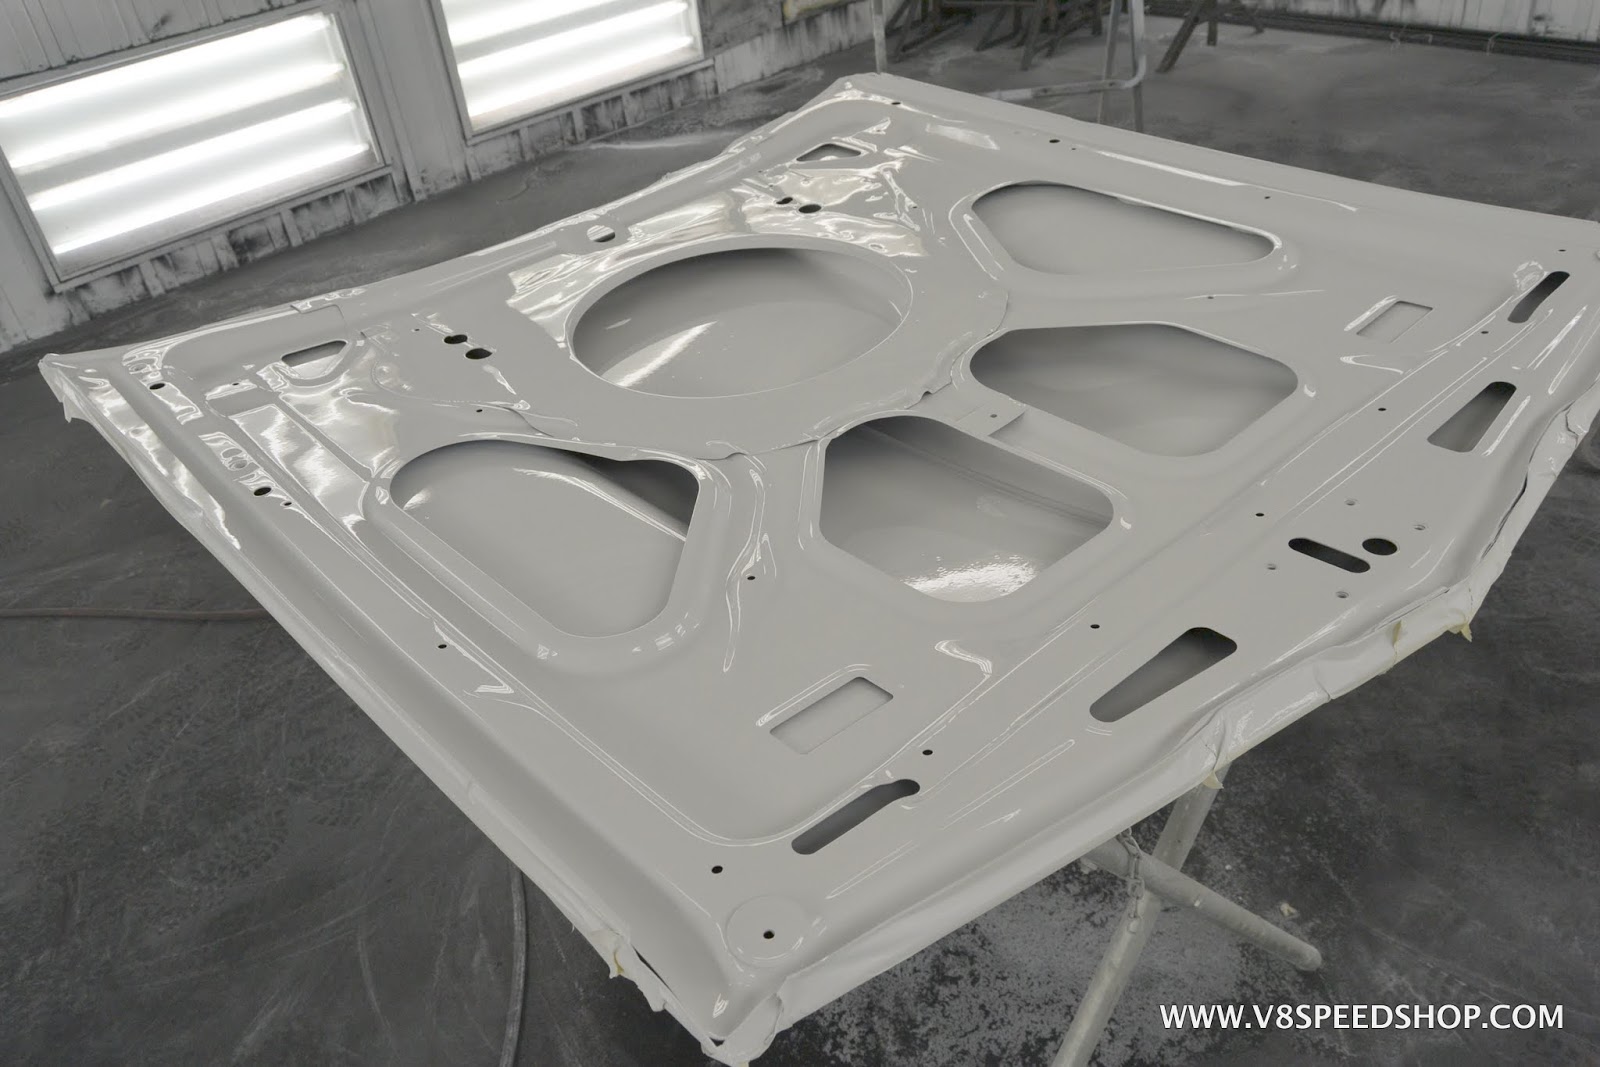
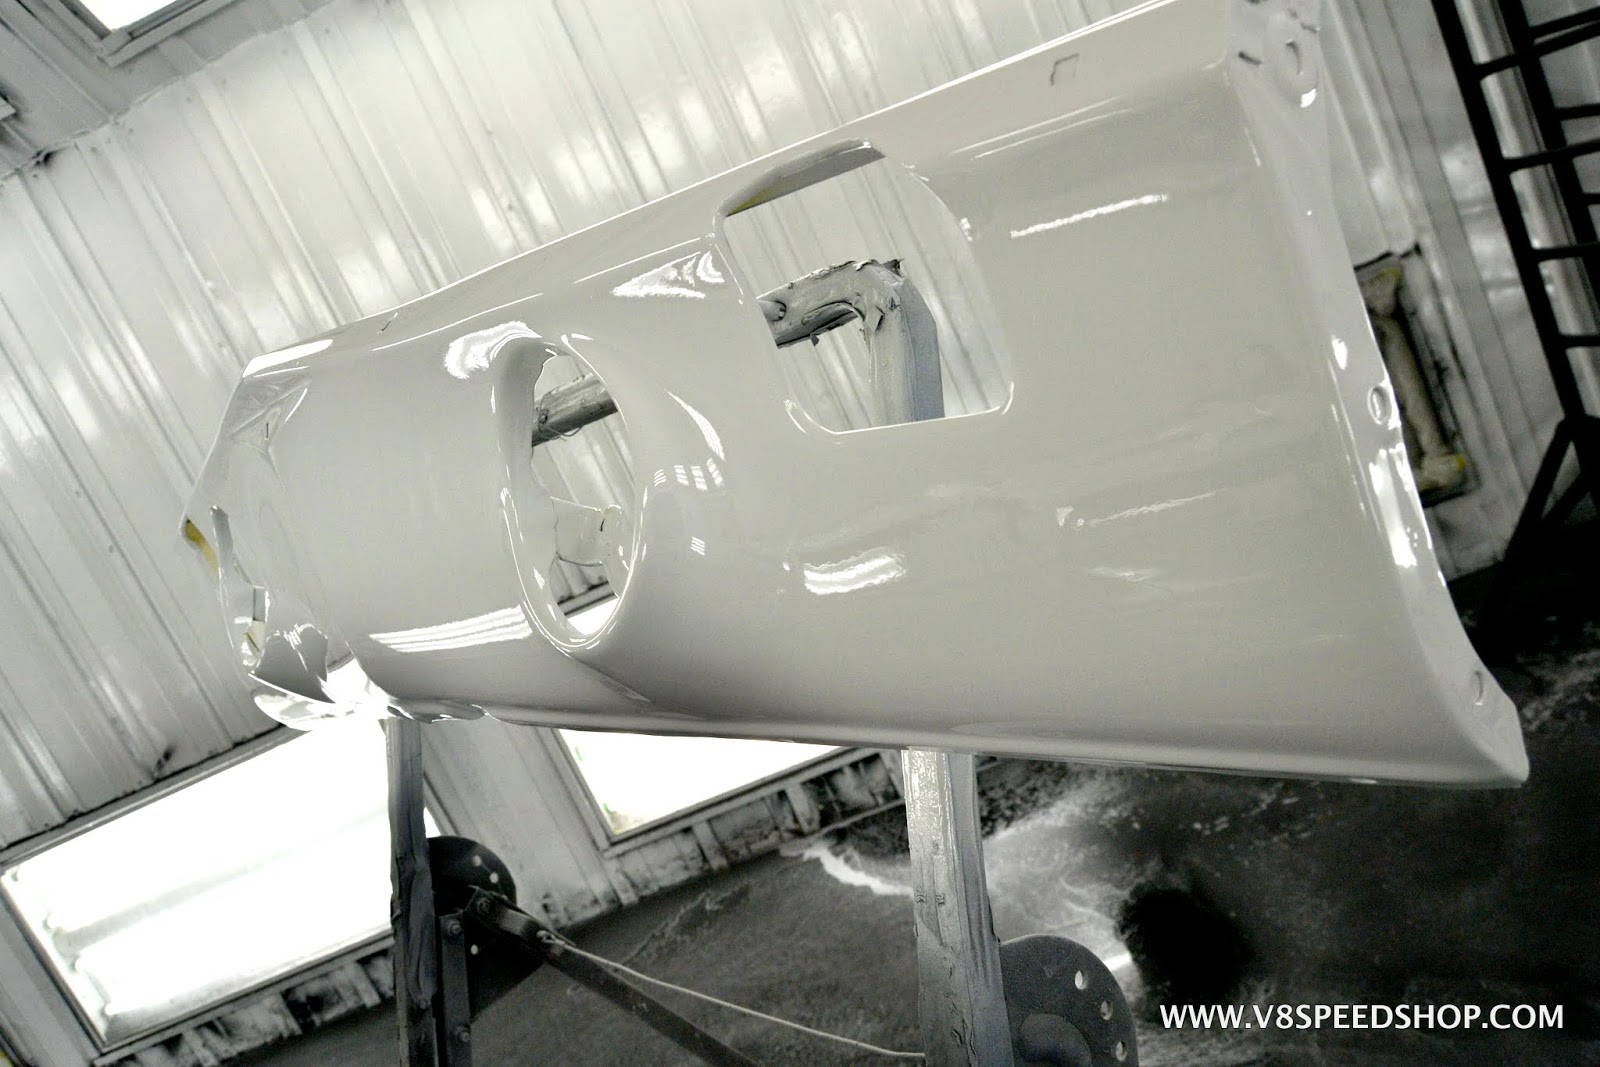
The first parts to receive the Summit White came out really slick. Painter Jeff Wittlich sprayed several base coats, and then shot Axalta clear over them to bring out the gloss and protect the color.
 Kevin Oeste
V8 Speed and Resto Shop
V8TV
Muscle Car Of The Week
V8 Radio Podcast
All about us:
https://www.v8speedshop.com
10-02-2017 #59
Registered User
- Join Date
- Dec 2004
- Location
- Midwest
- Posts
- 2,263
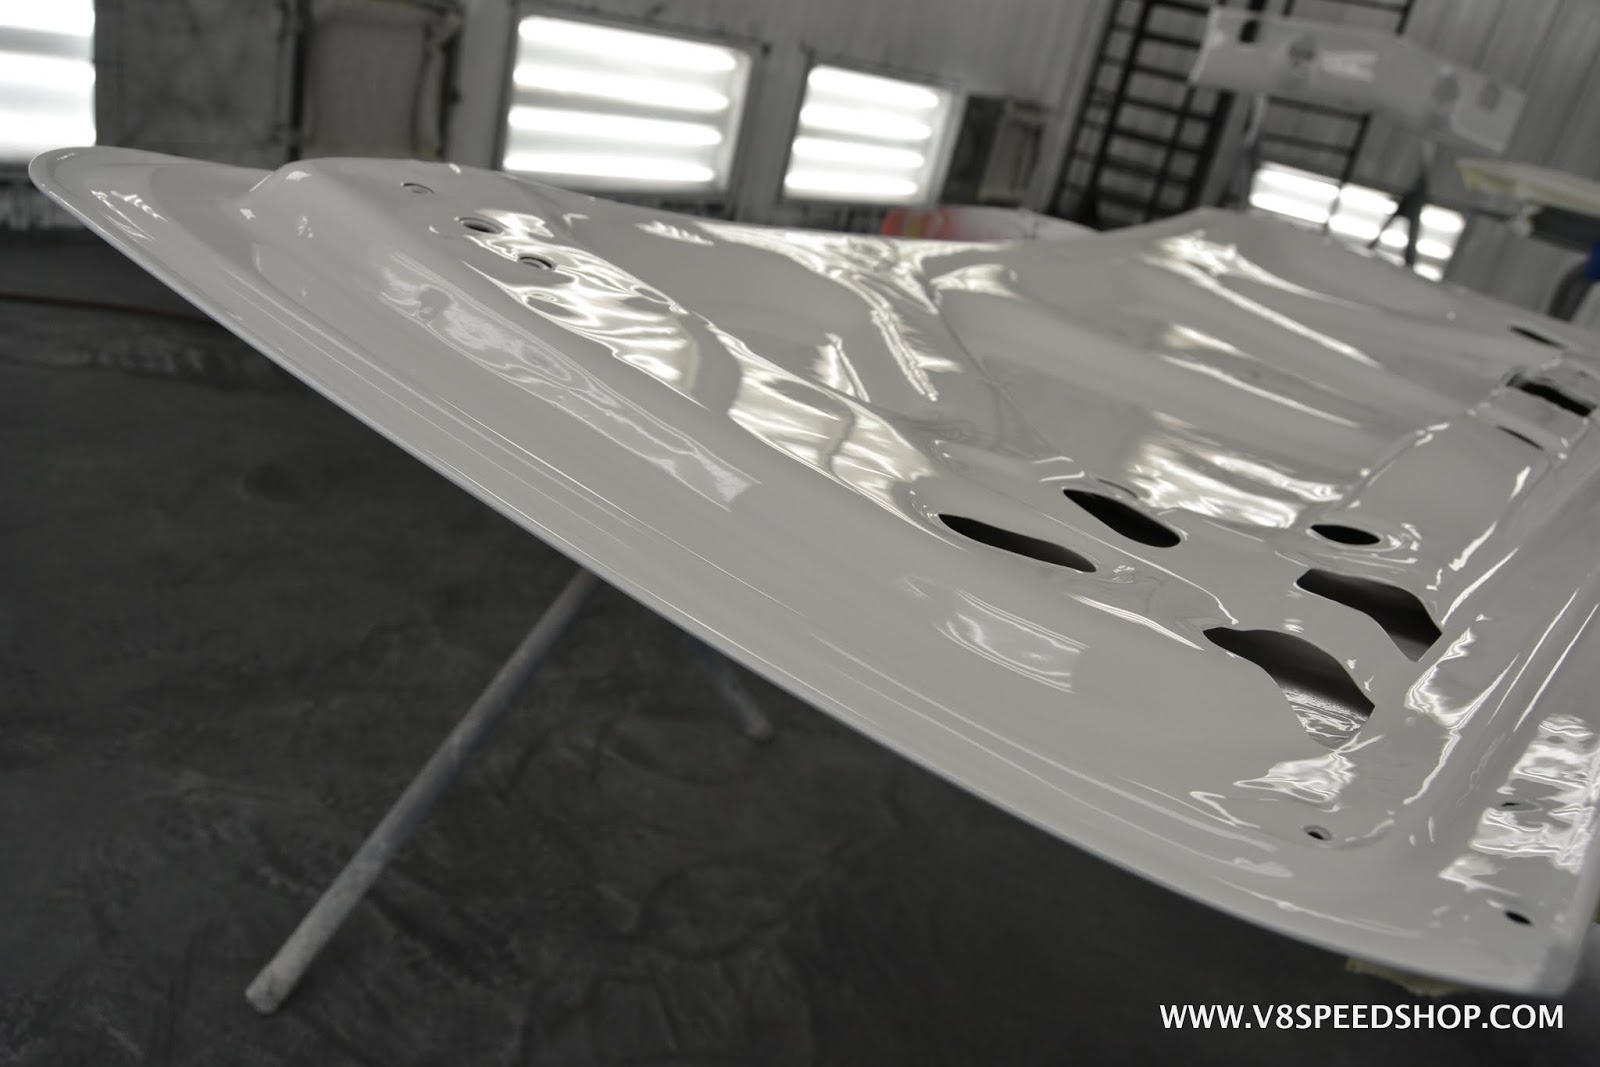
The backsides of the hood and deck lid were sprayed white as well.
Once the parts had cured, the body shell was rolled back into the booth and prepped for color. The shell was masked with paper, plastic, and 3M tape, then cleaned and degreased, and wiped with tack rags. Jeff also hung the doors and fenders to spray them in color.
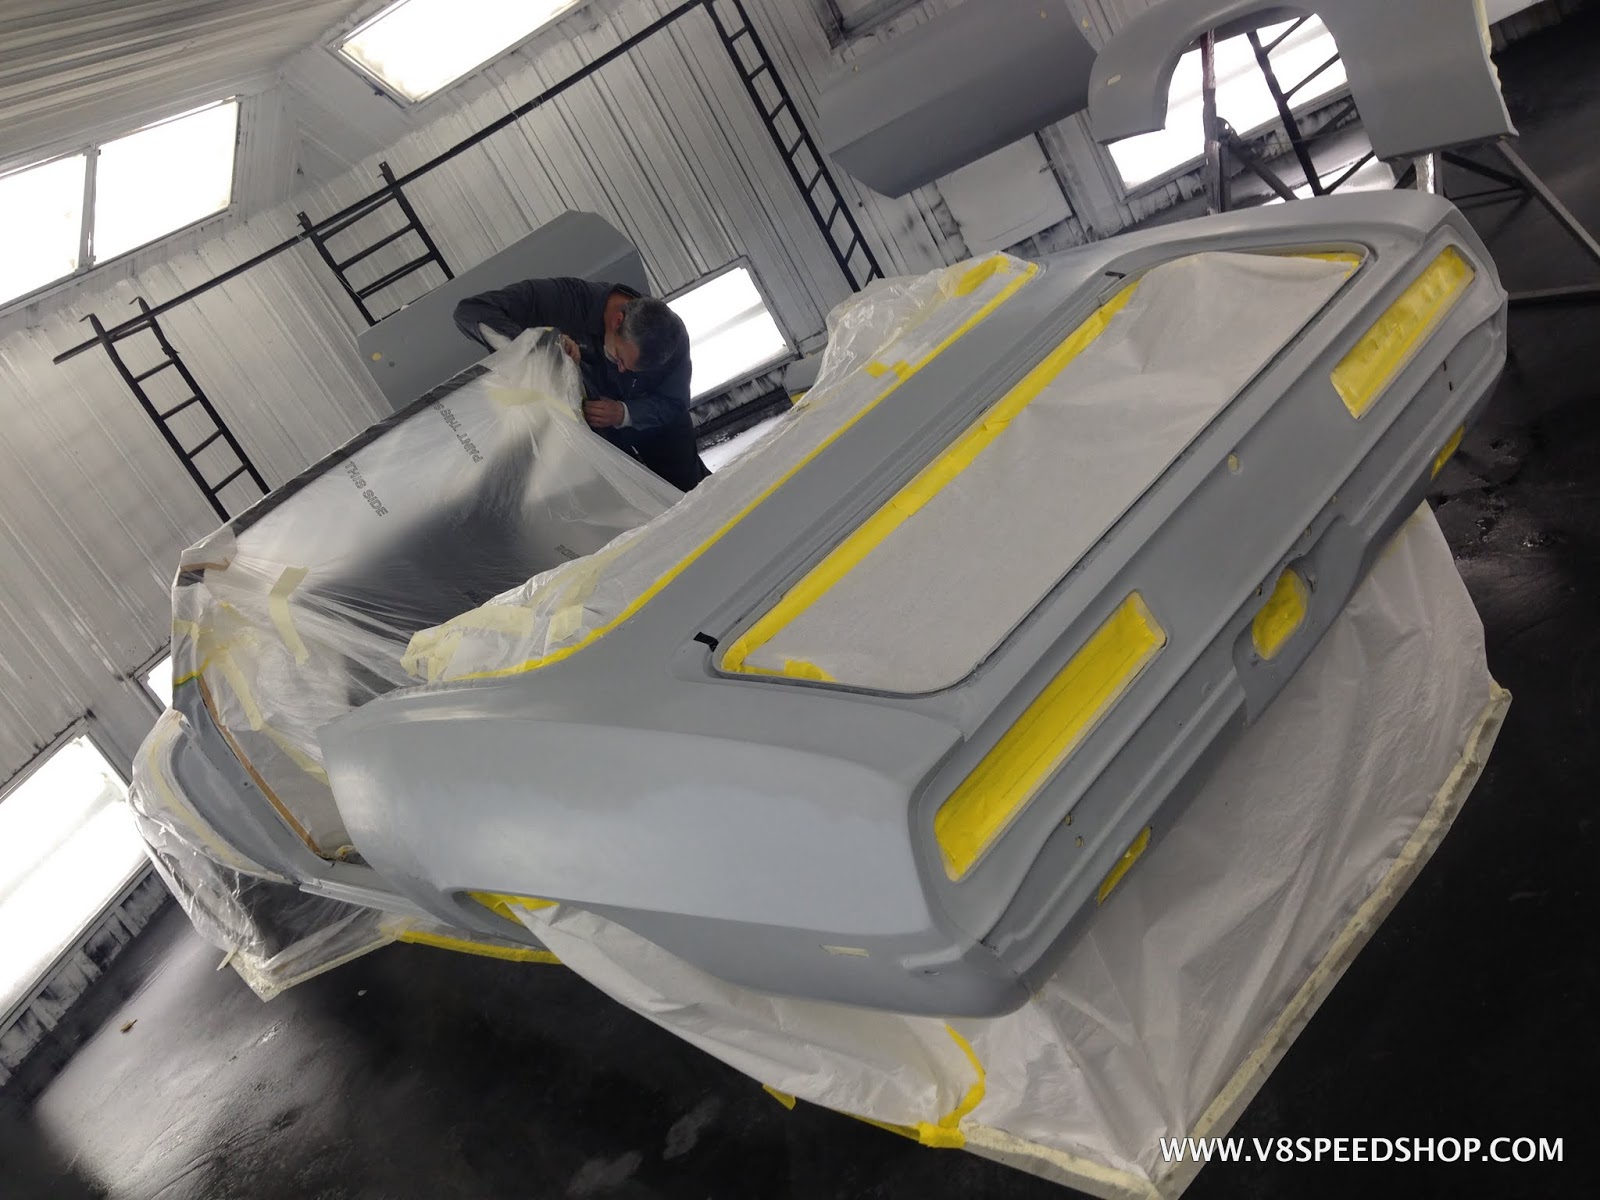
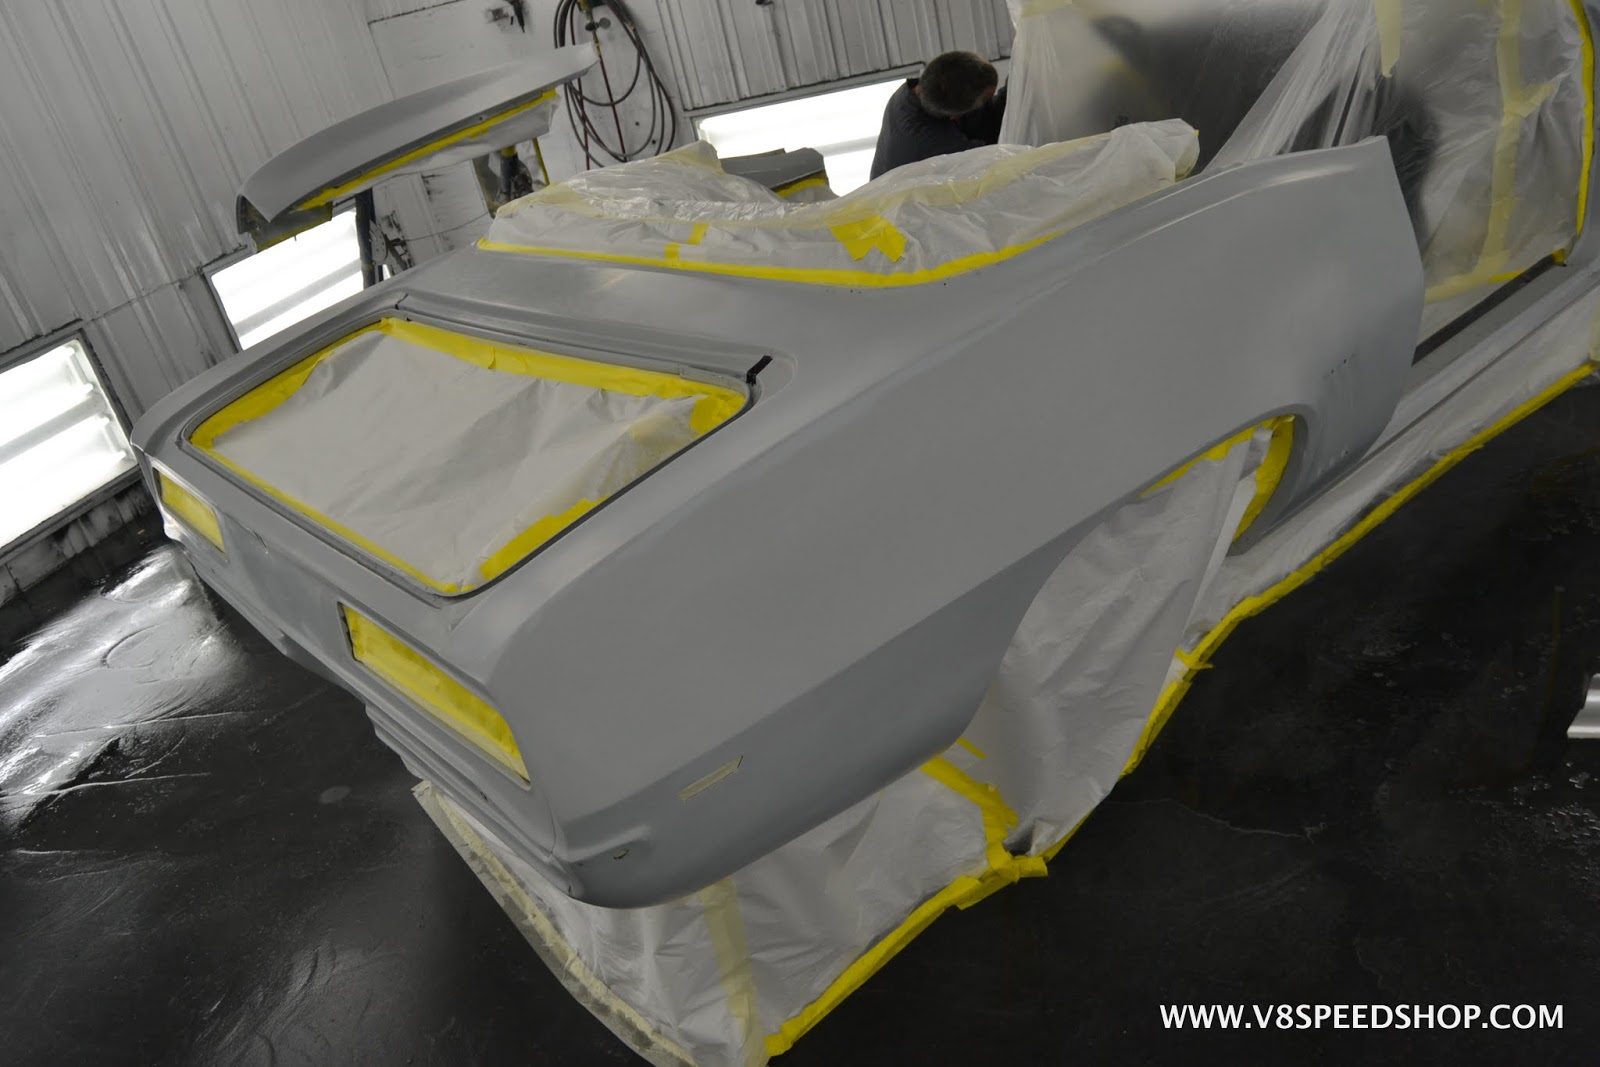
The panels were masked to protect the backsides.
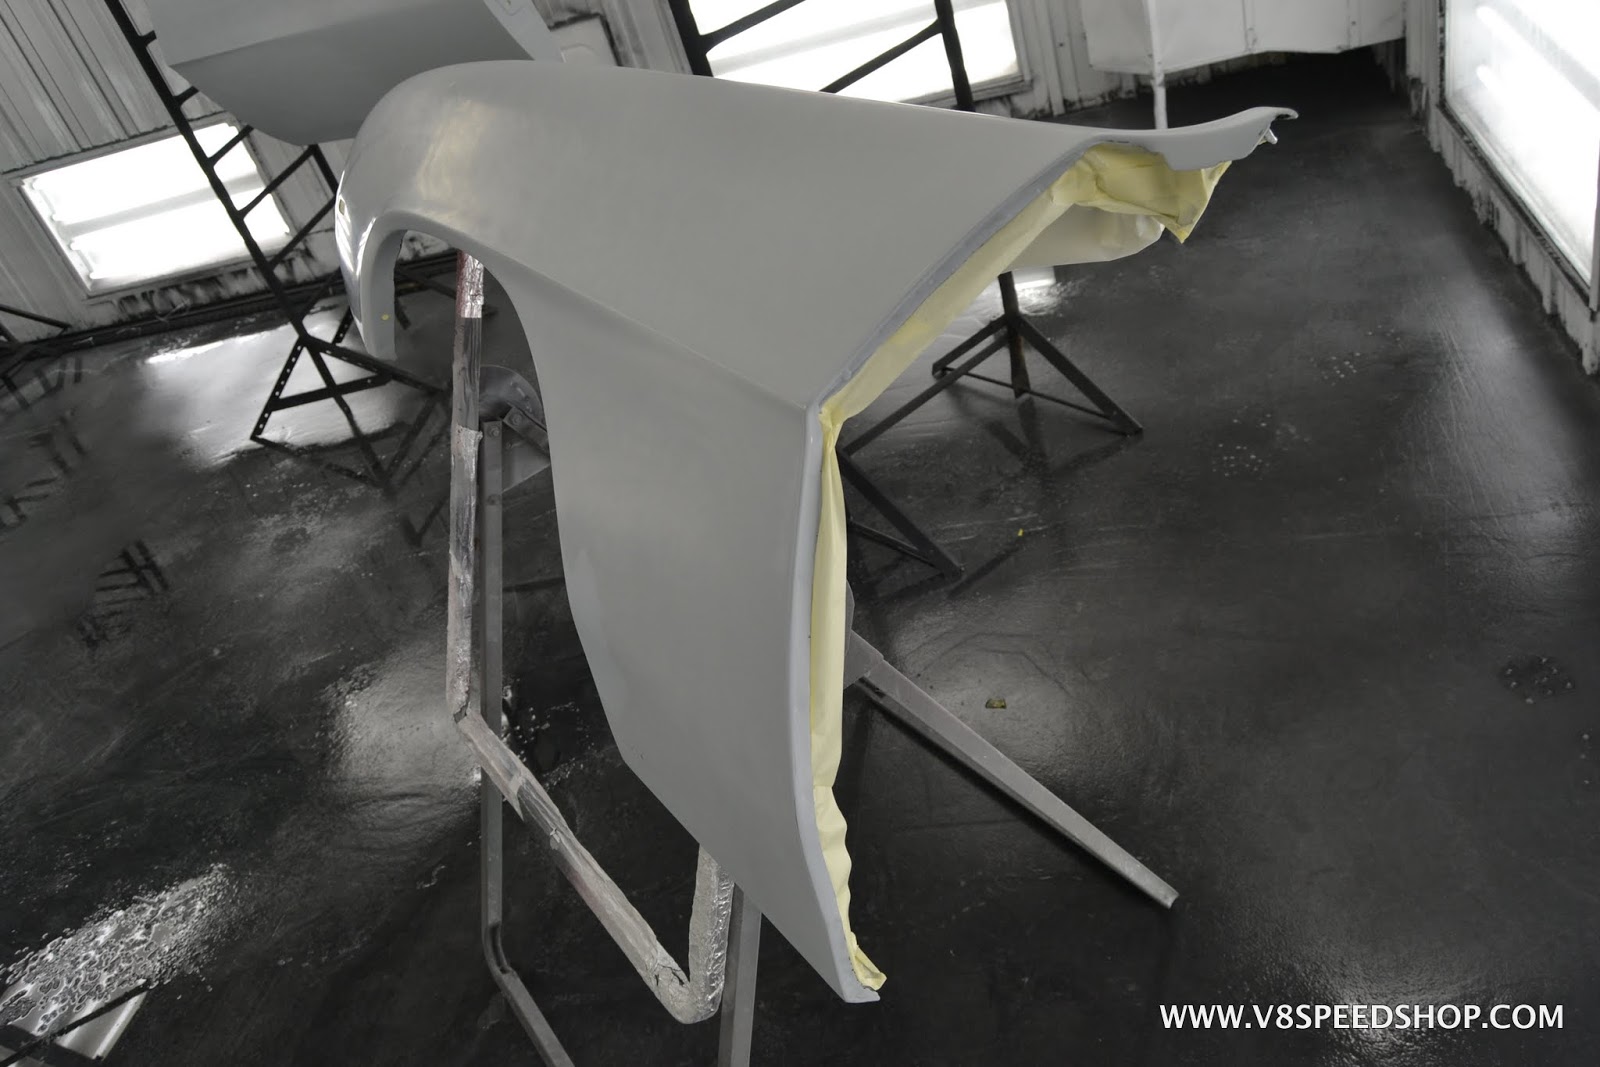
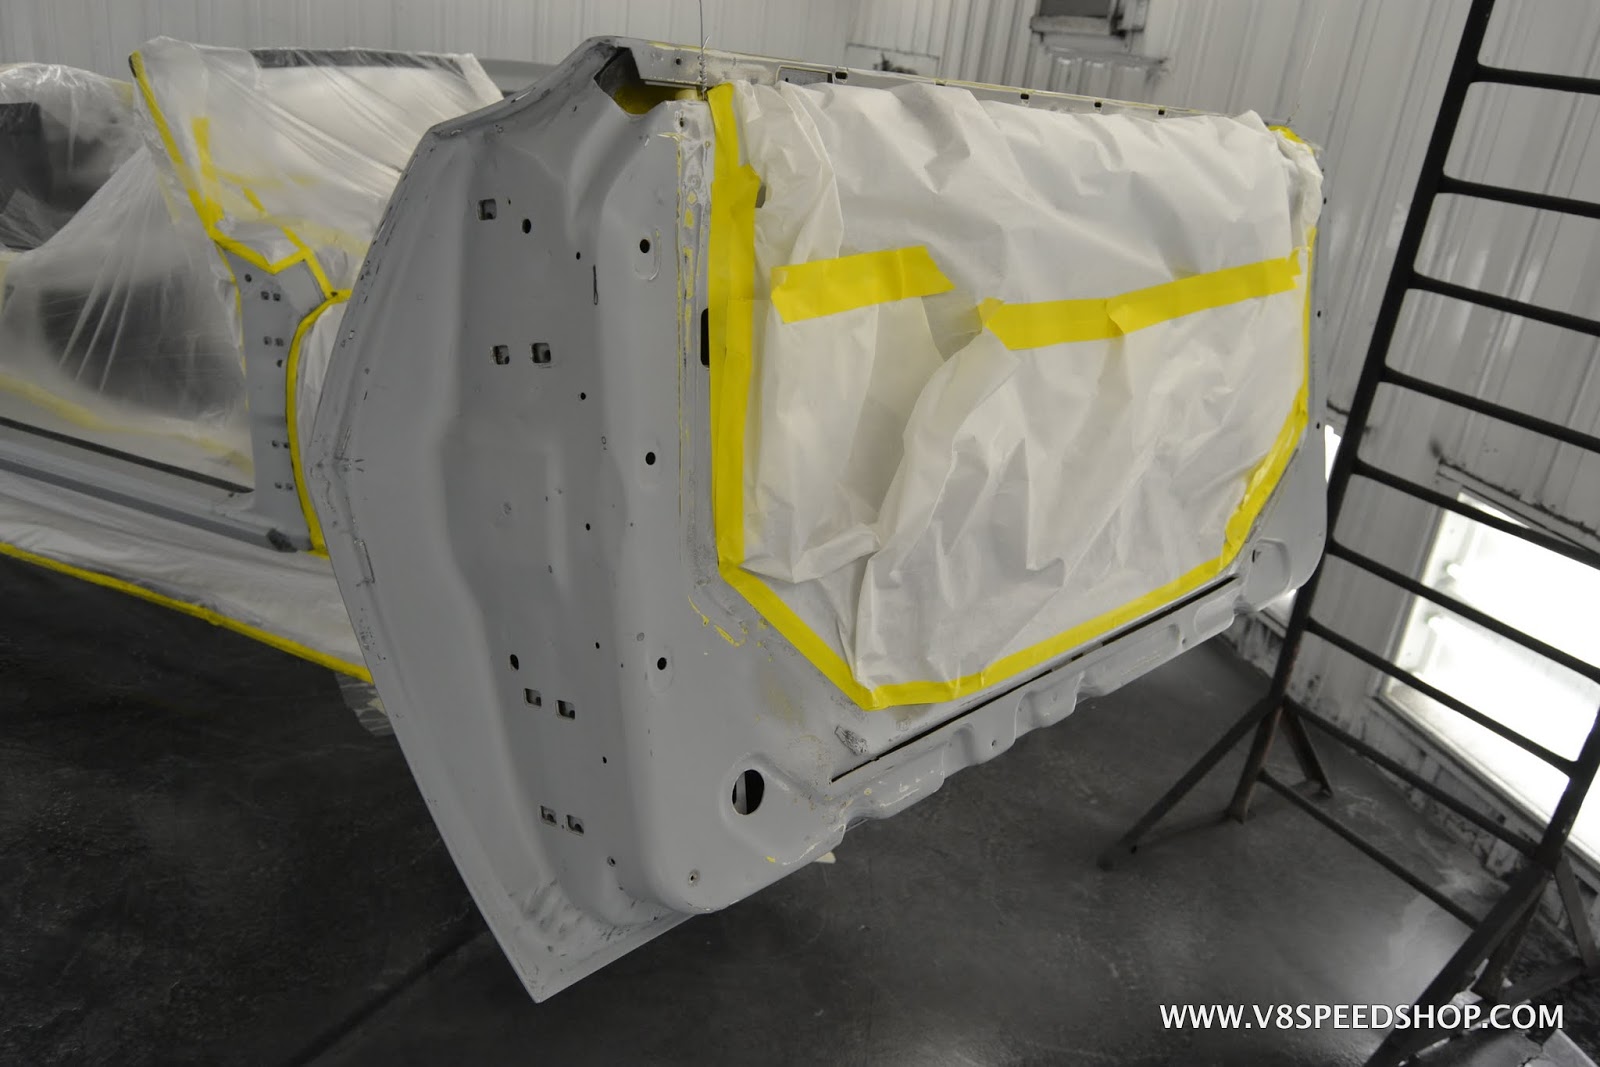
- - - Updated - - -
The floor was washed to remove dust, and the car was masked to the floor to keep the bottom side clean.
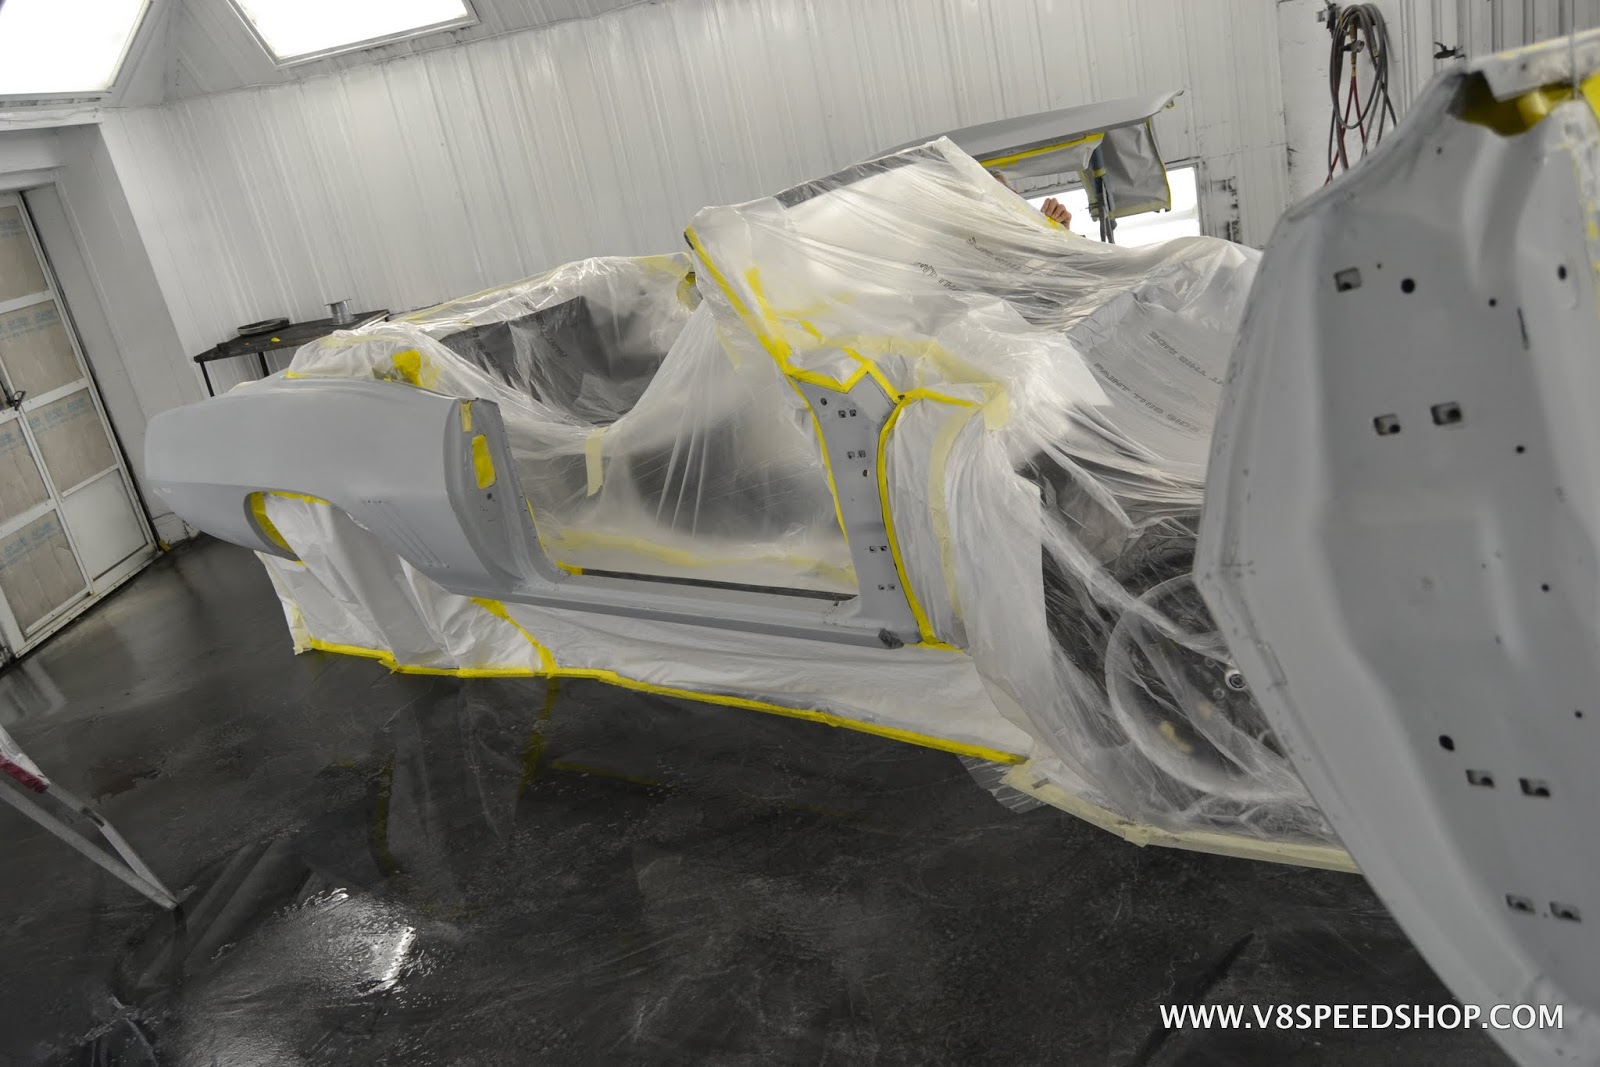
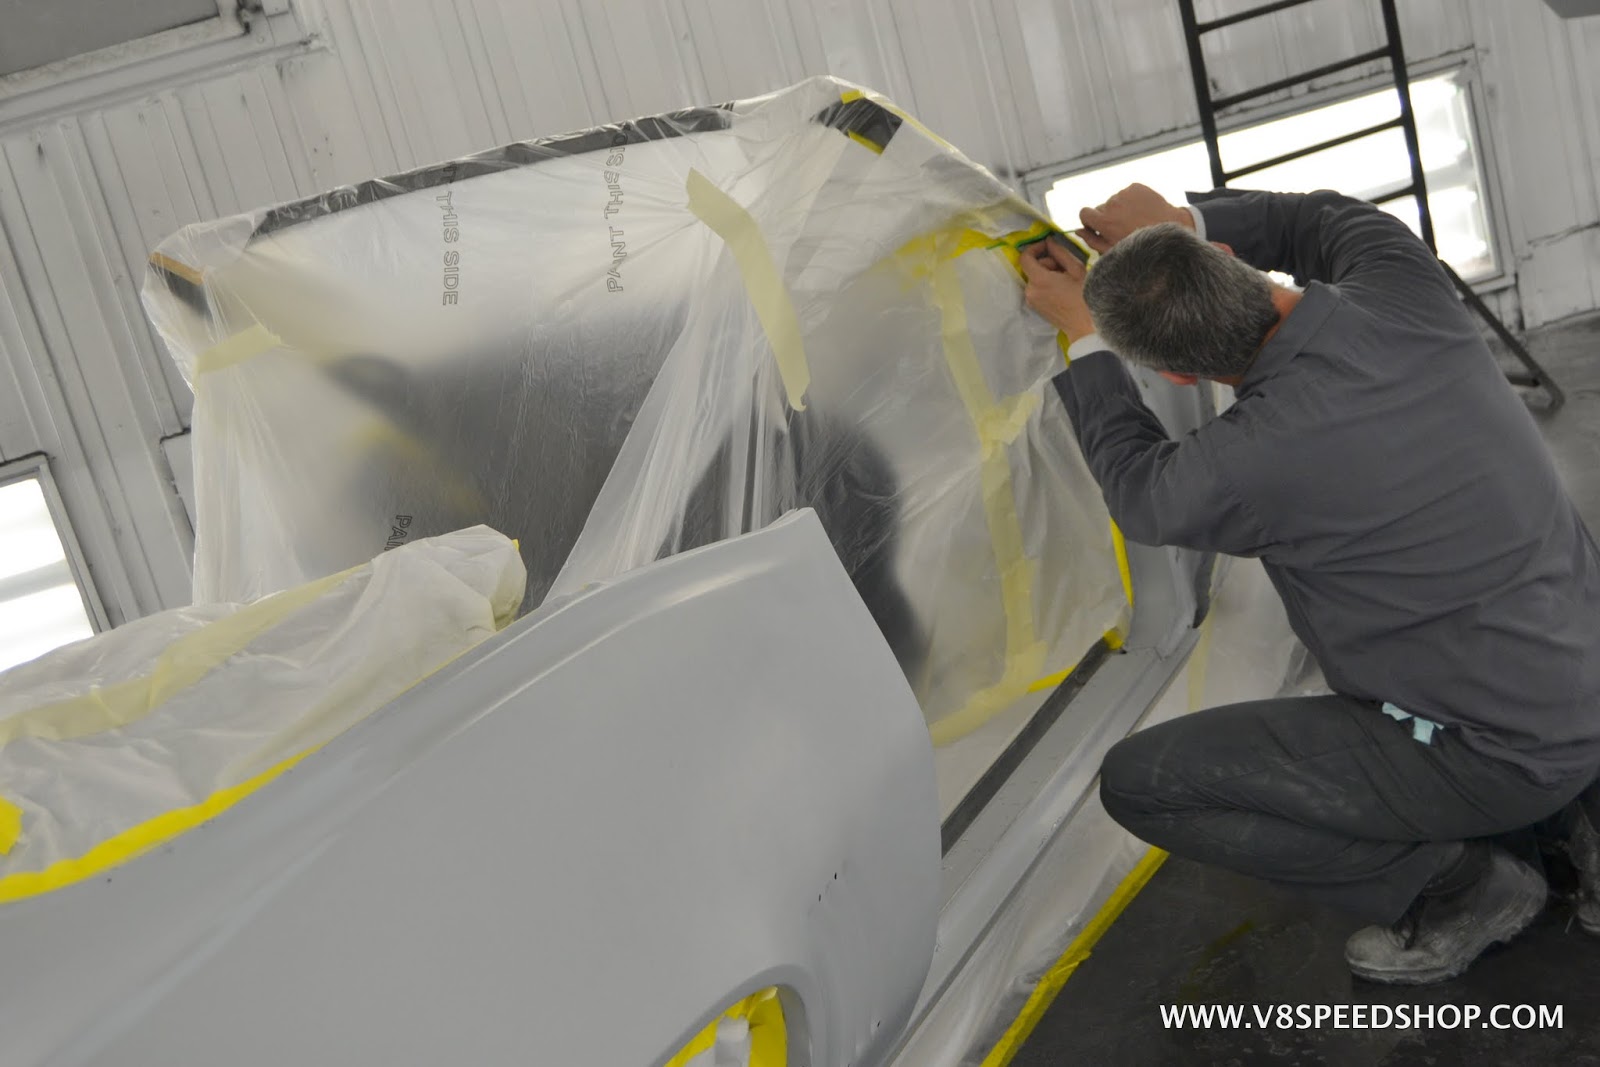
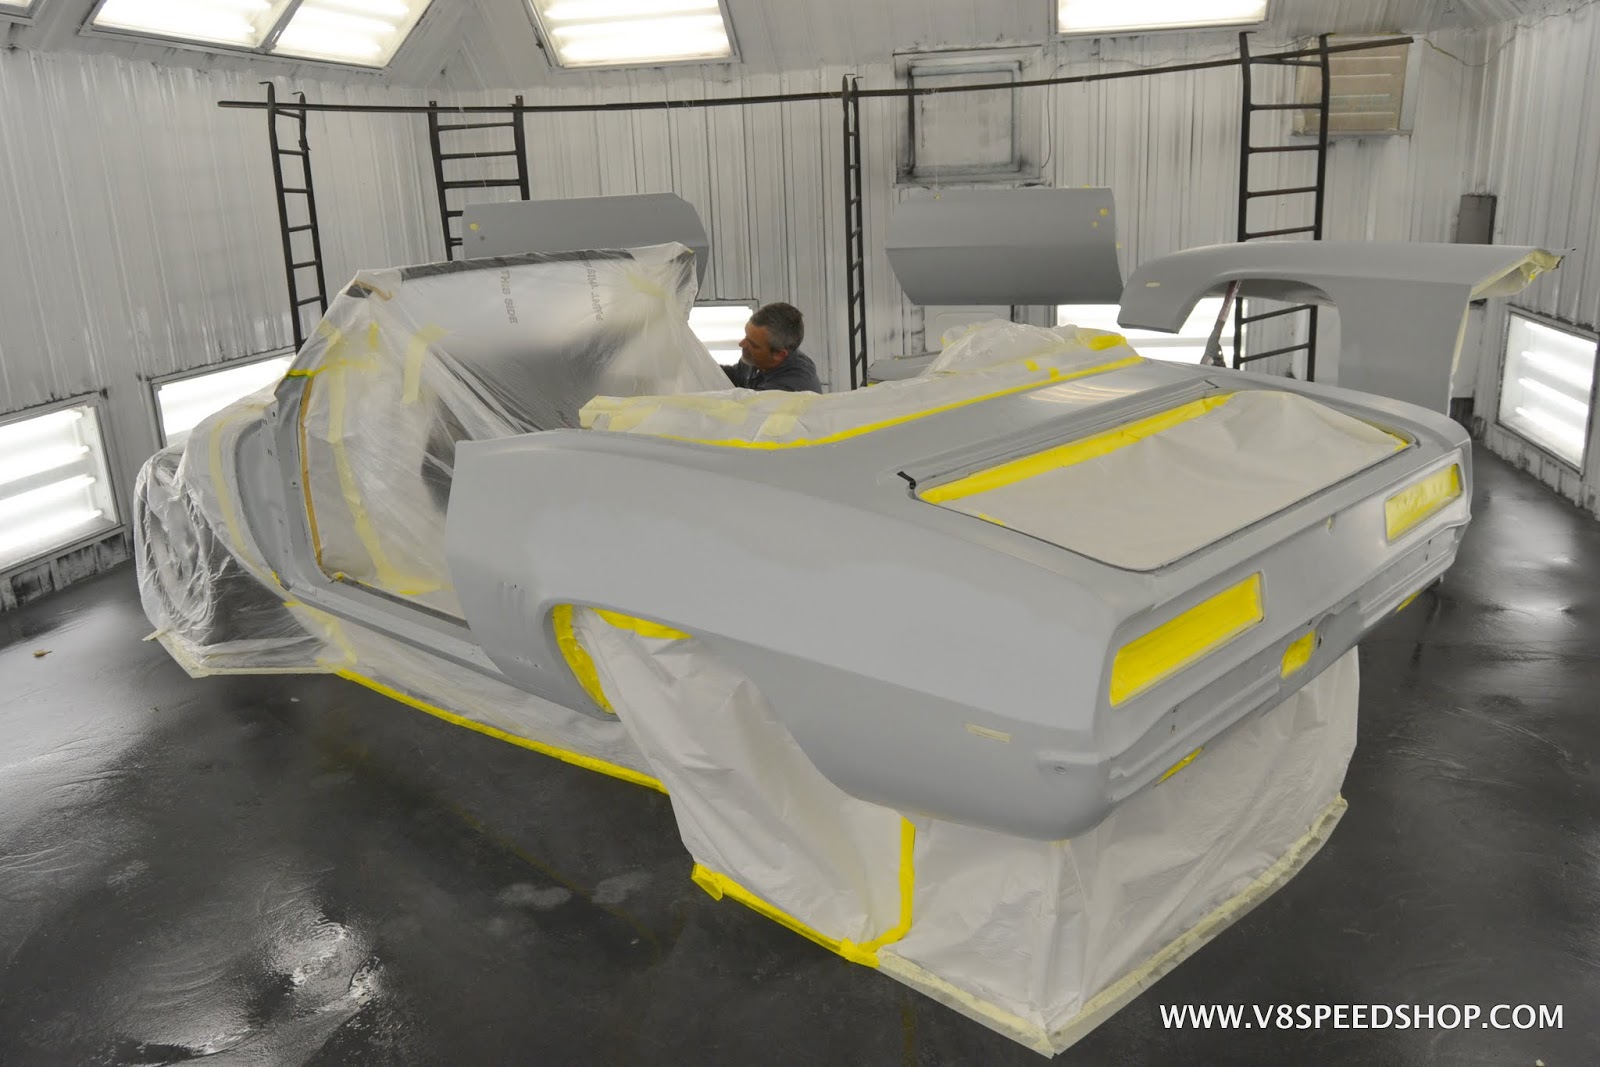
Soon, it was time to spray the color!
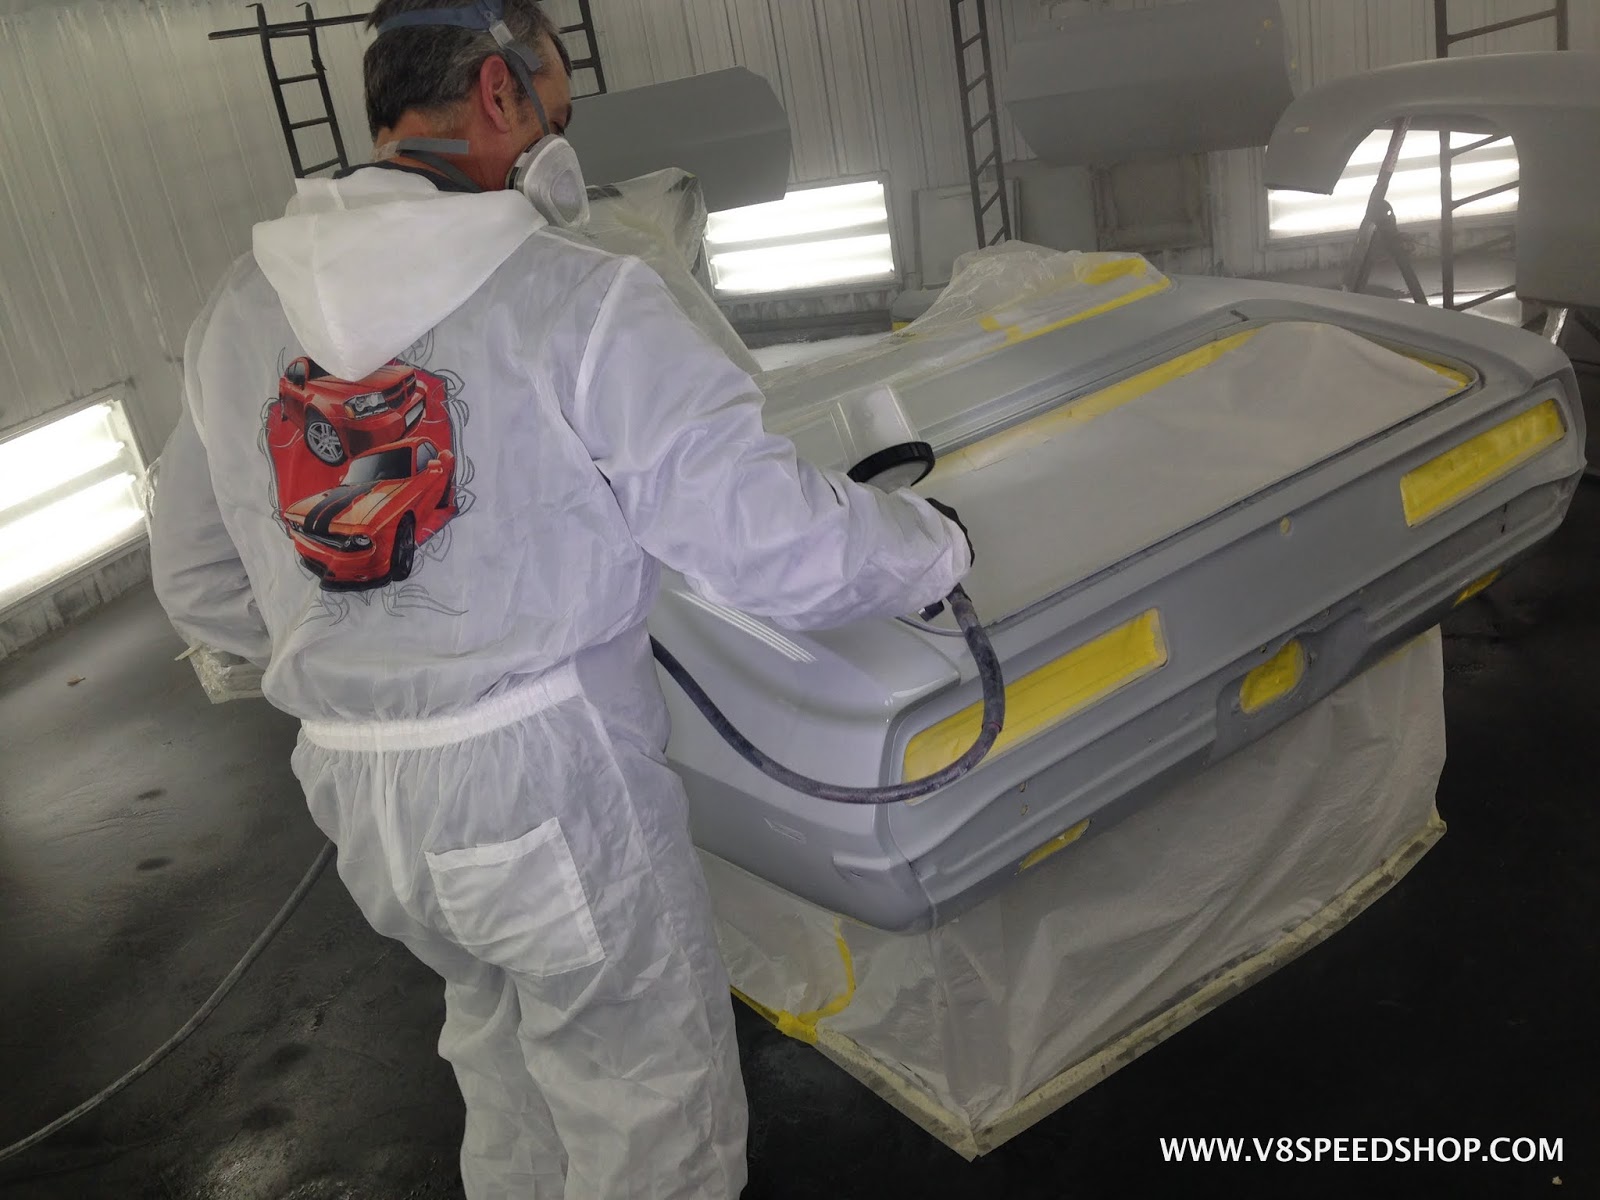
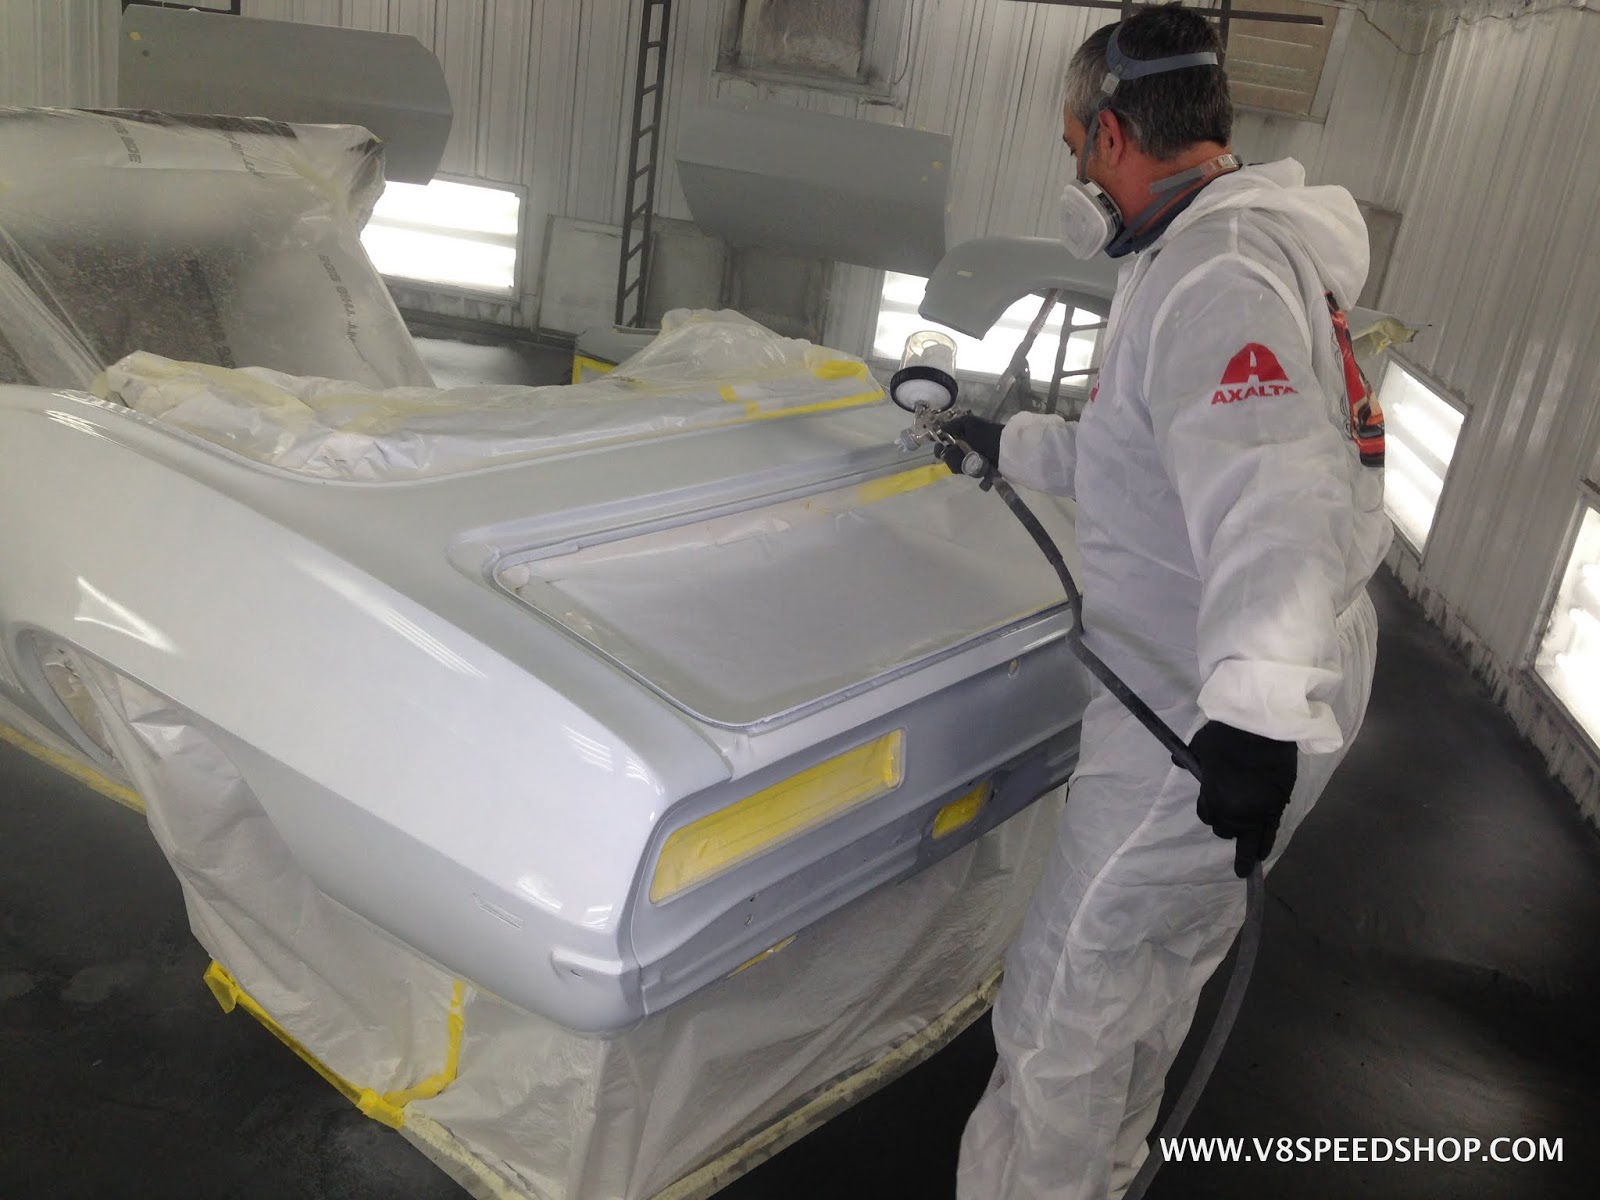
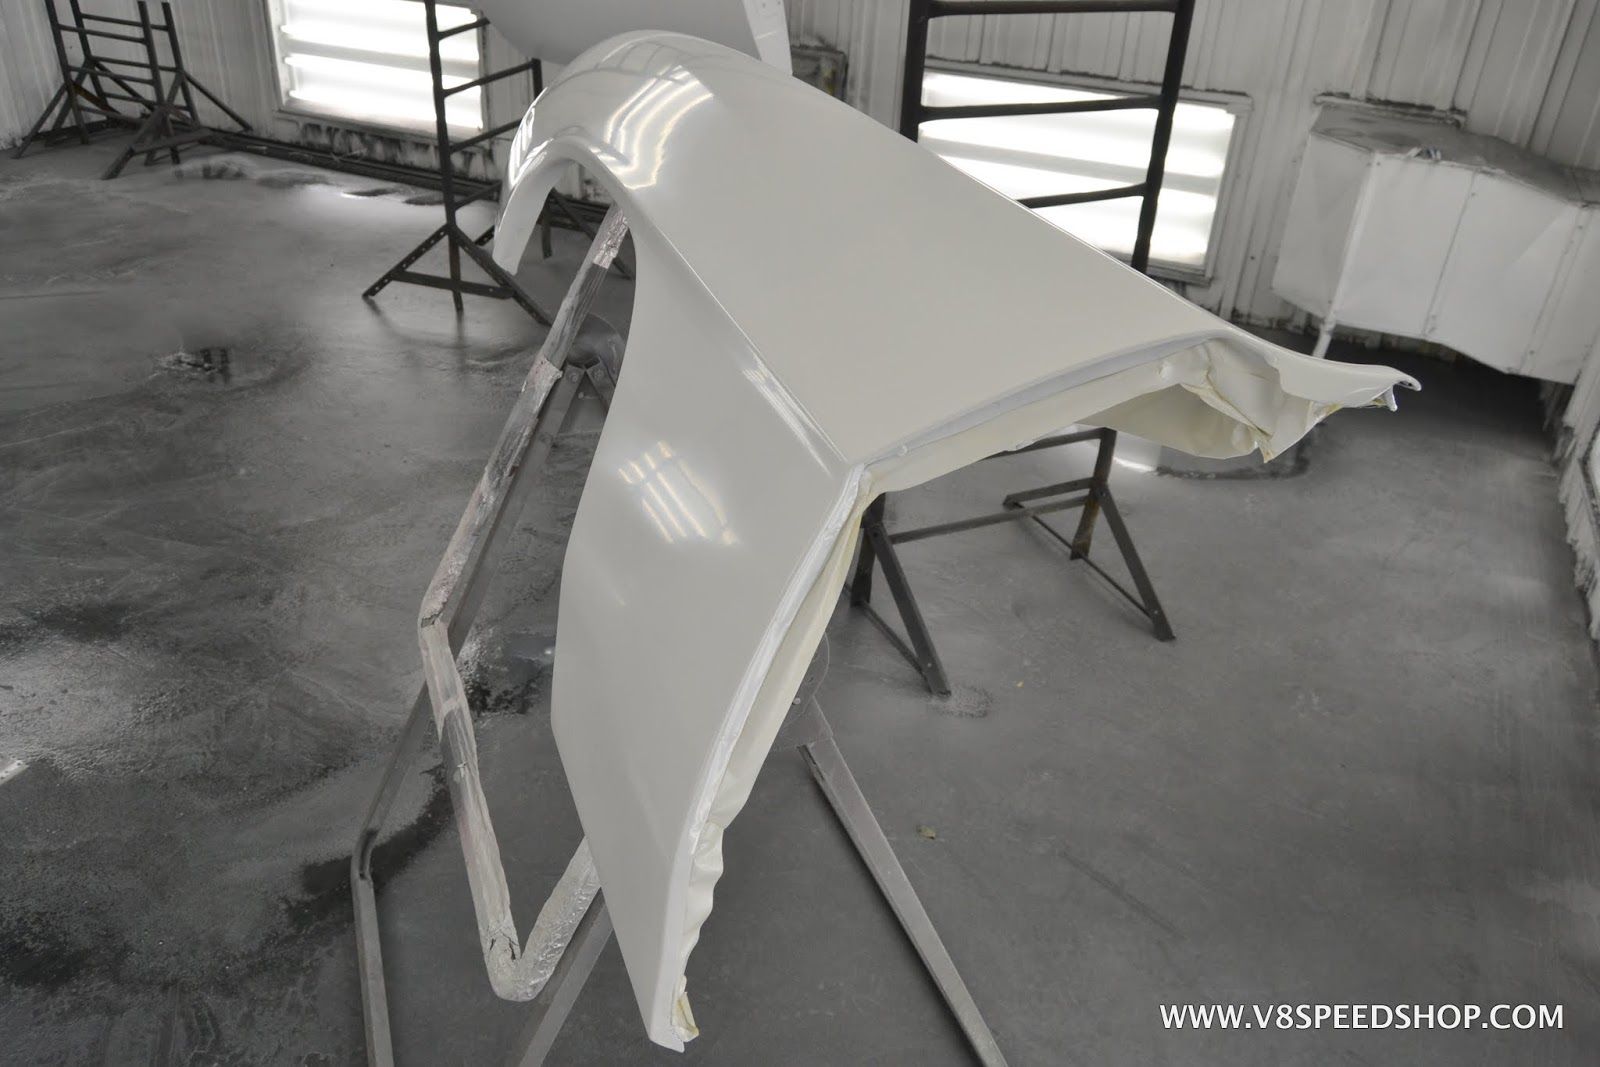
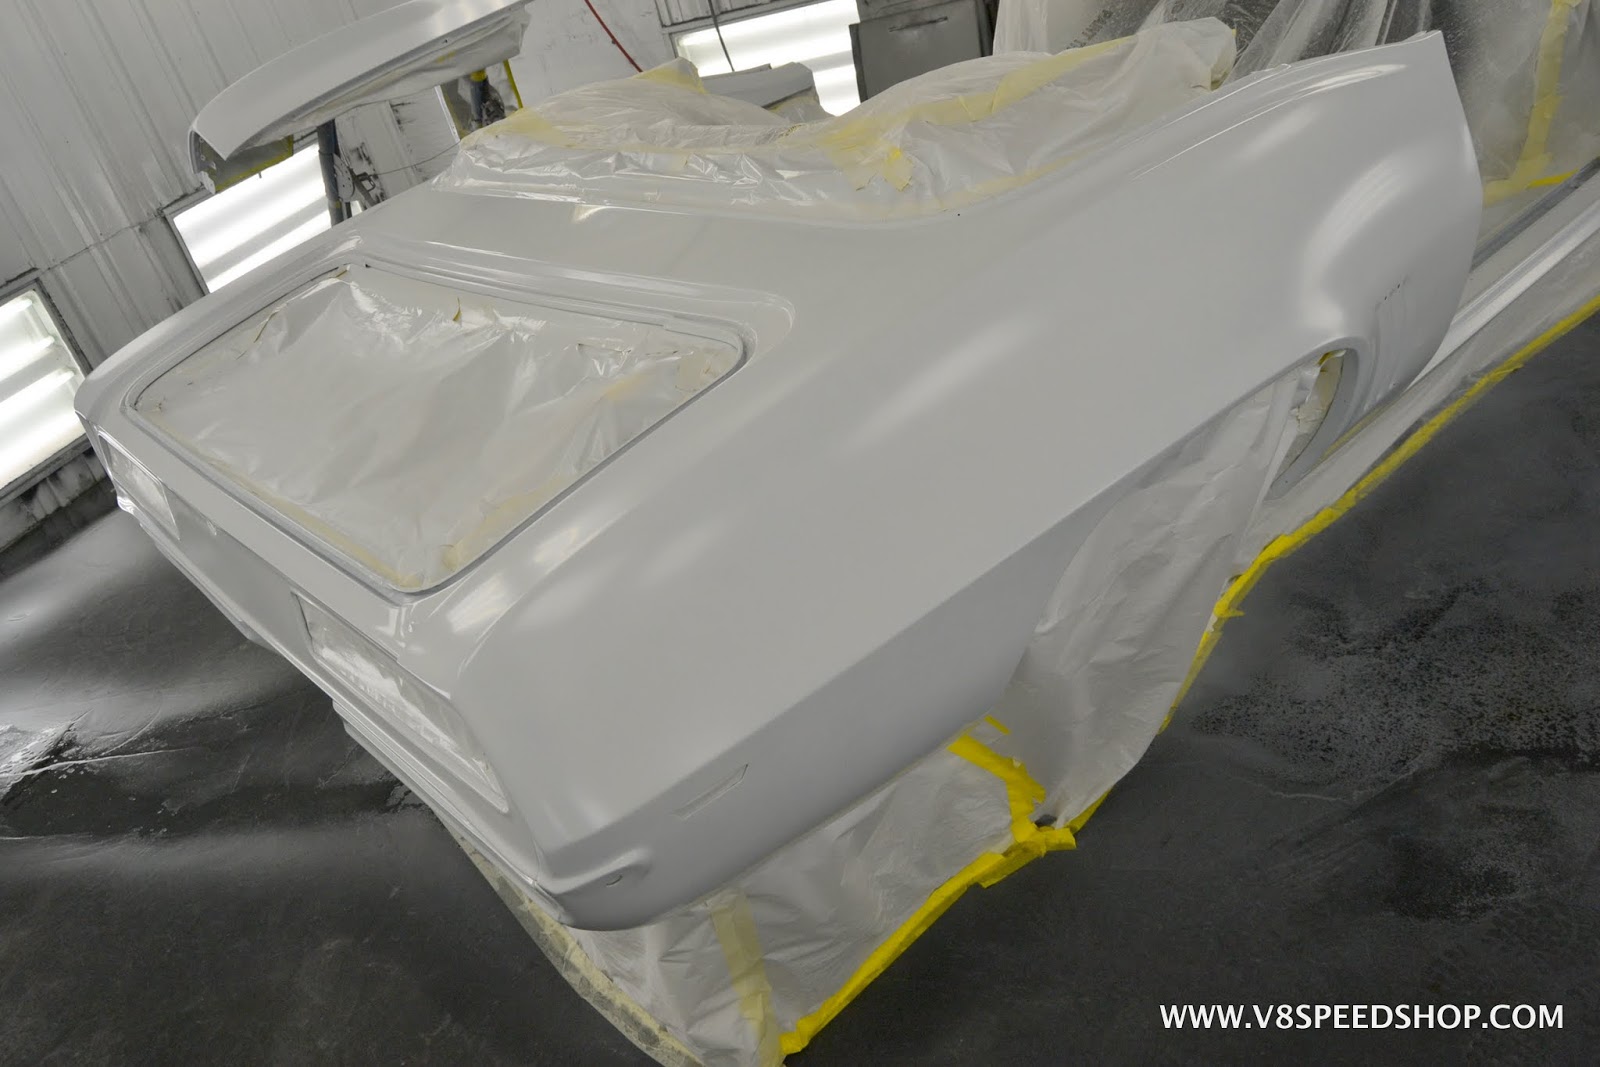
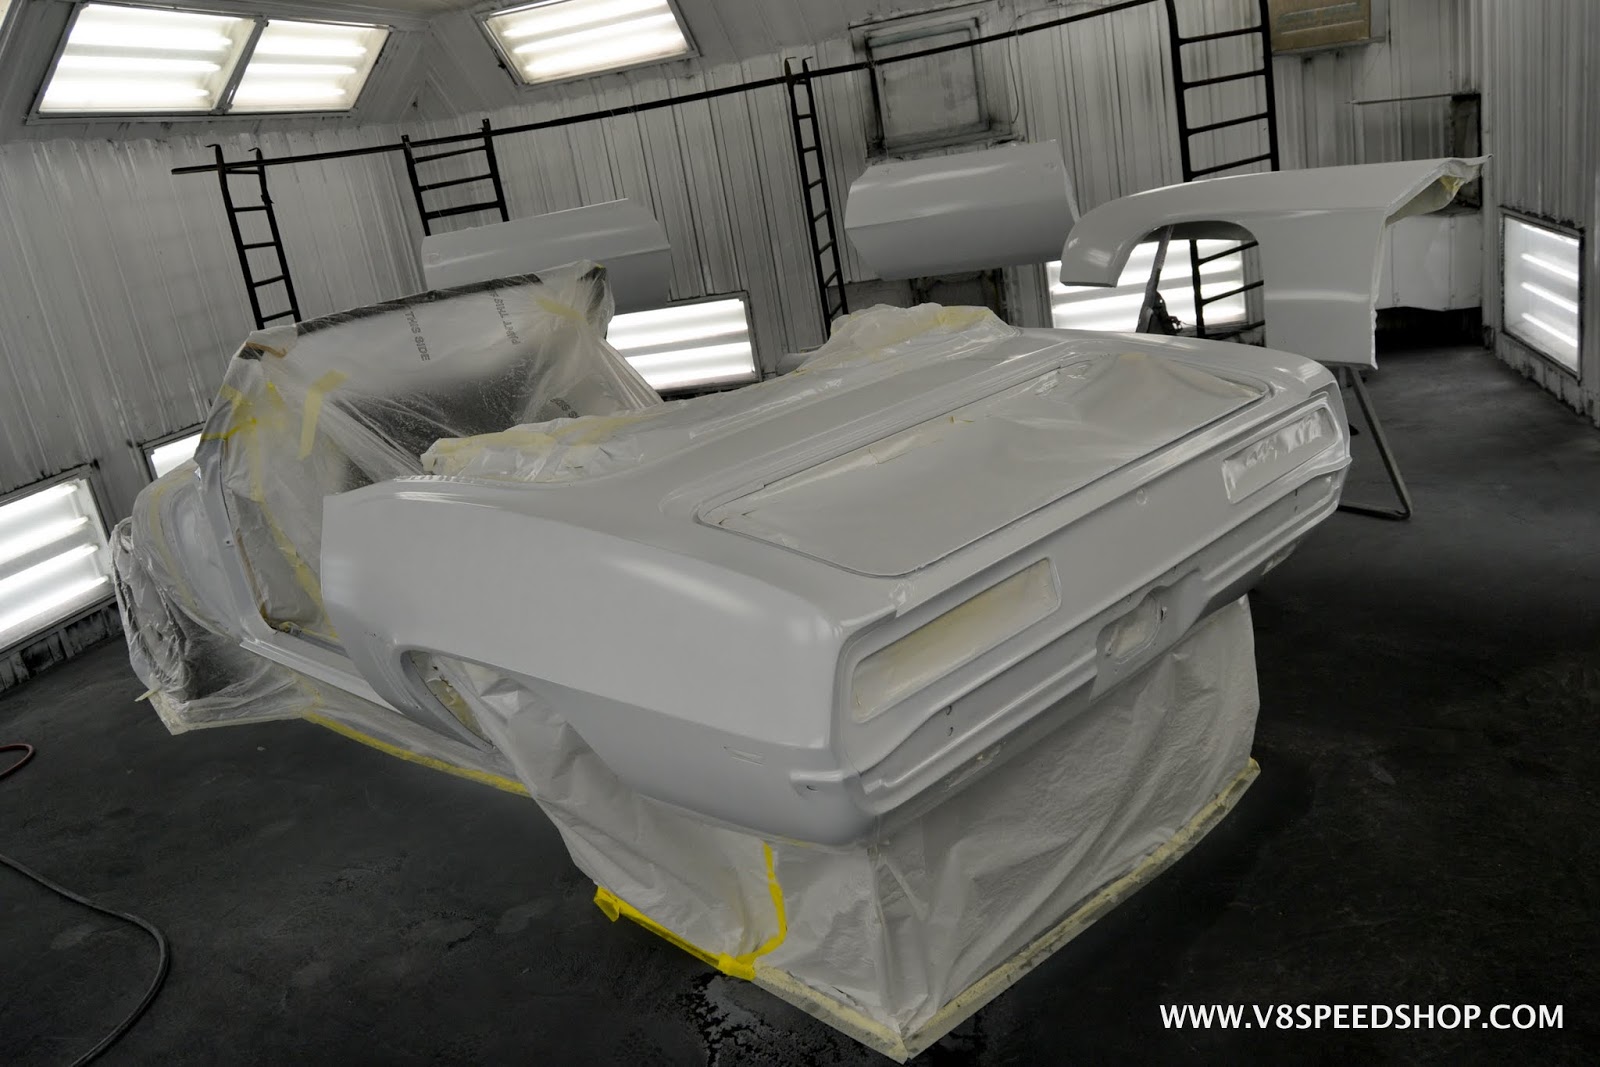
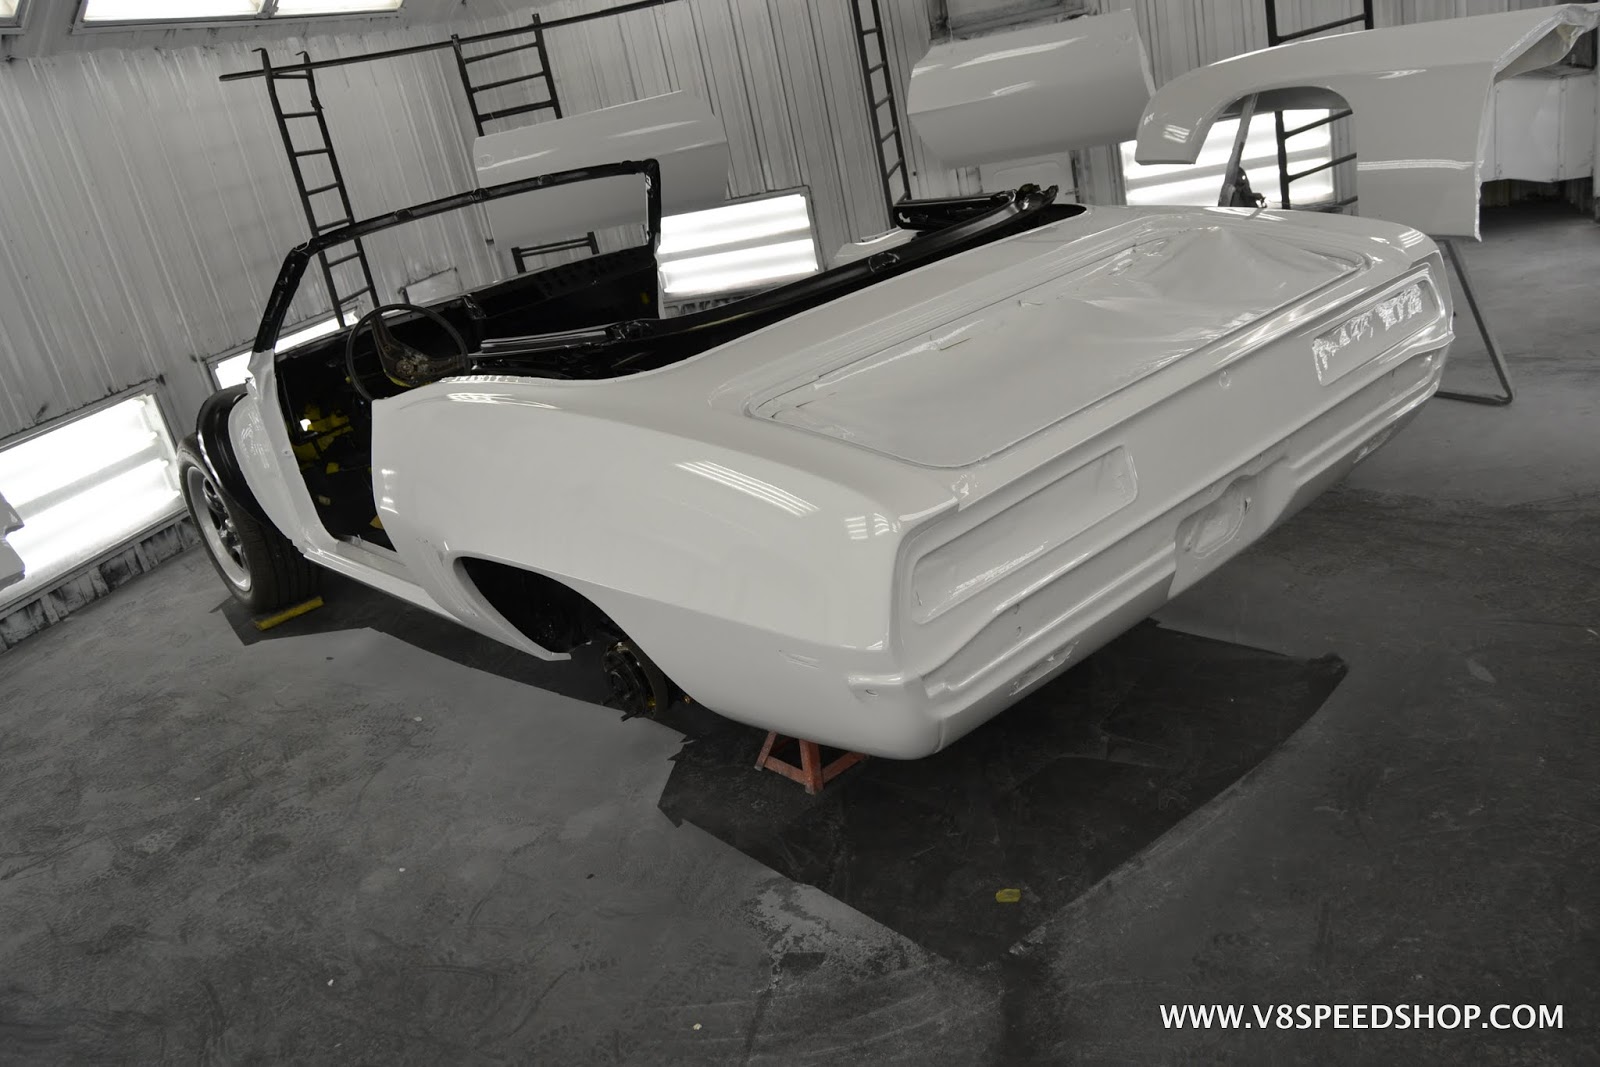
The Cromax base coat “flashes” and dulls, awaiting additional coats and eventually clear.
- - - Updated - - -
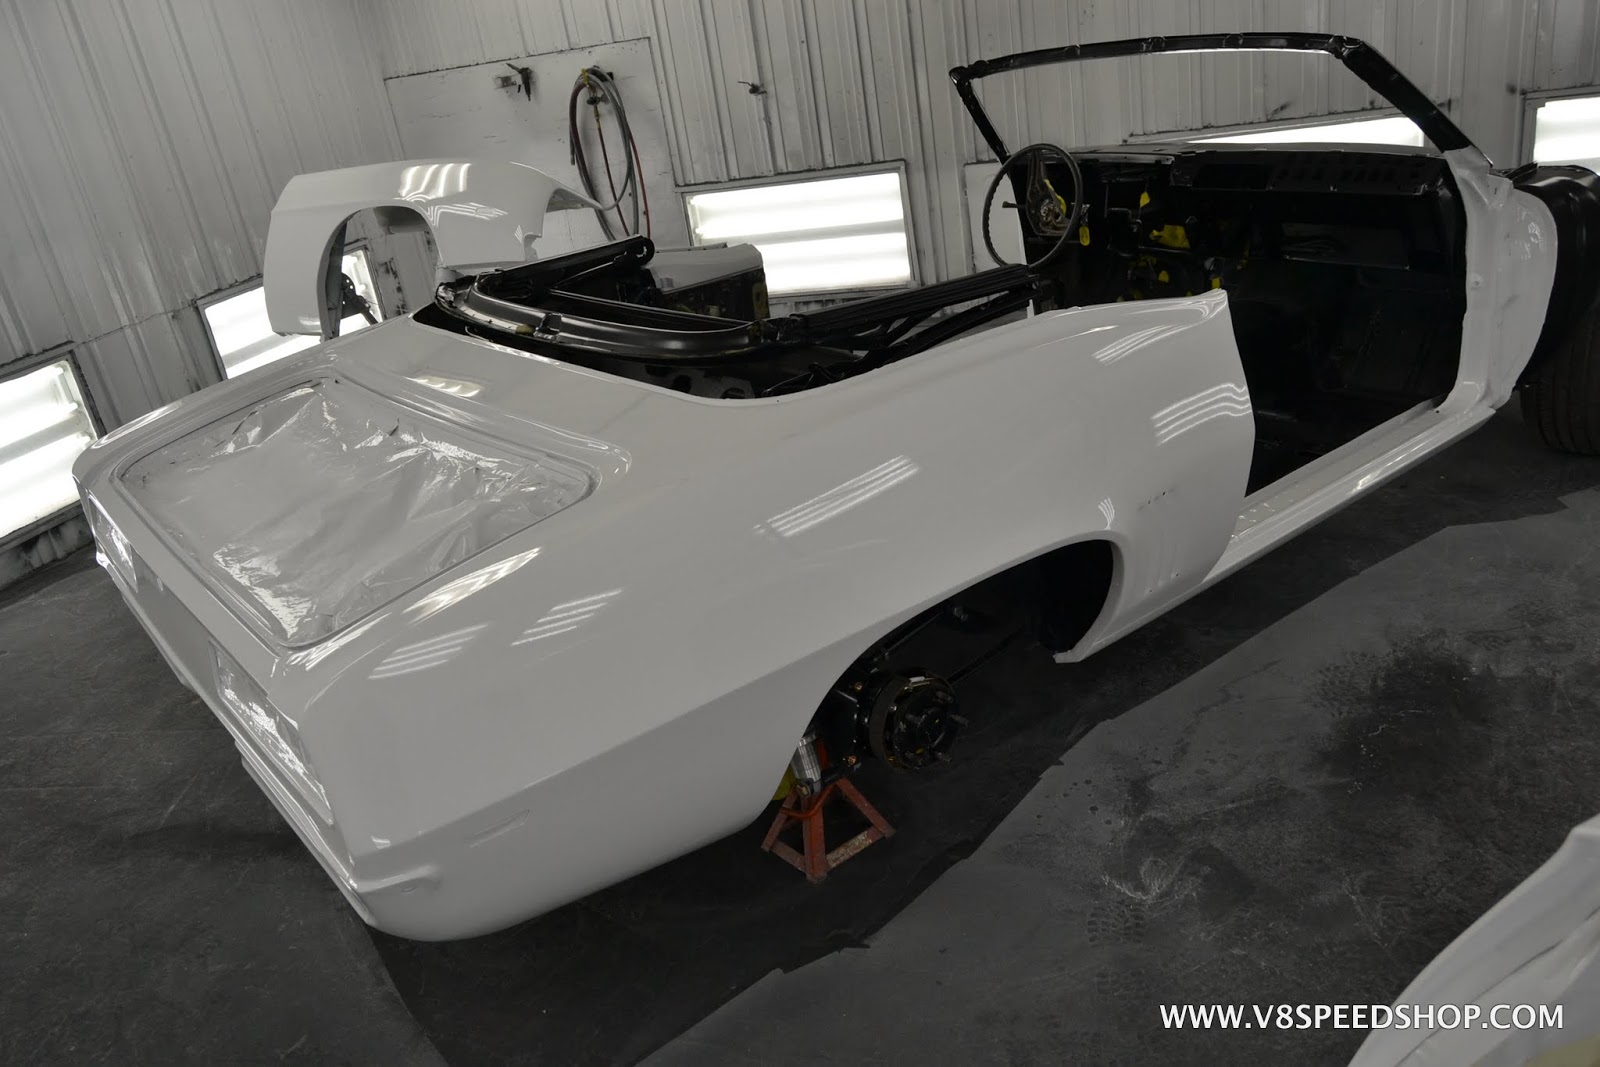
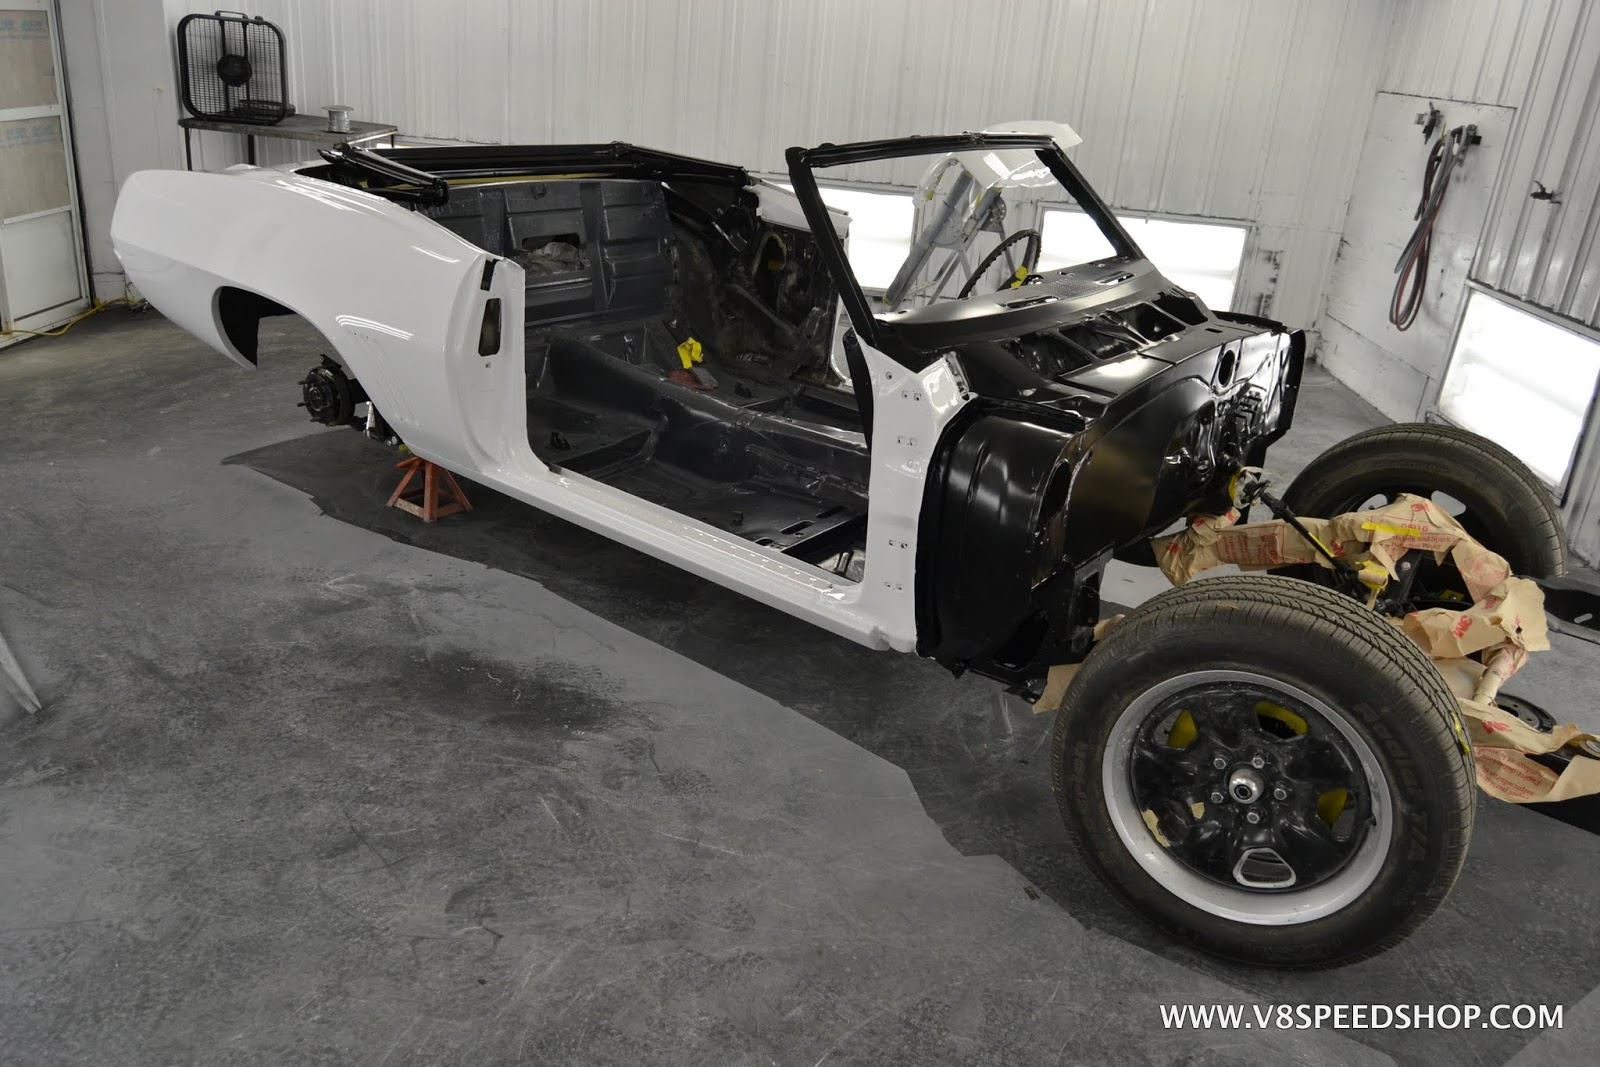
After the appropriate drying time had passed, Jeff sprayed the clear and the shine began to emerge.
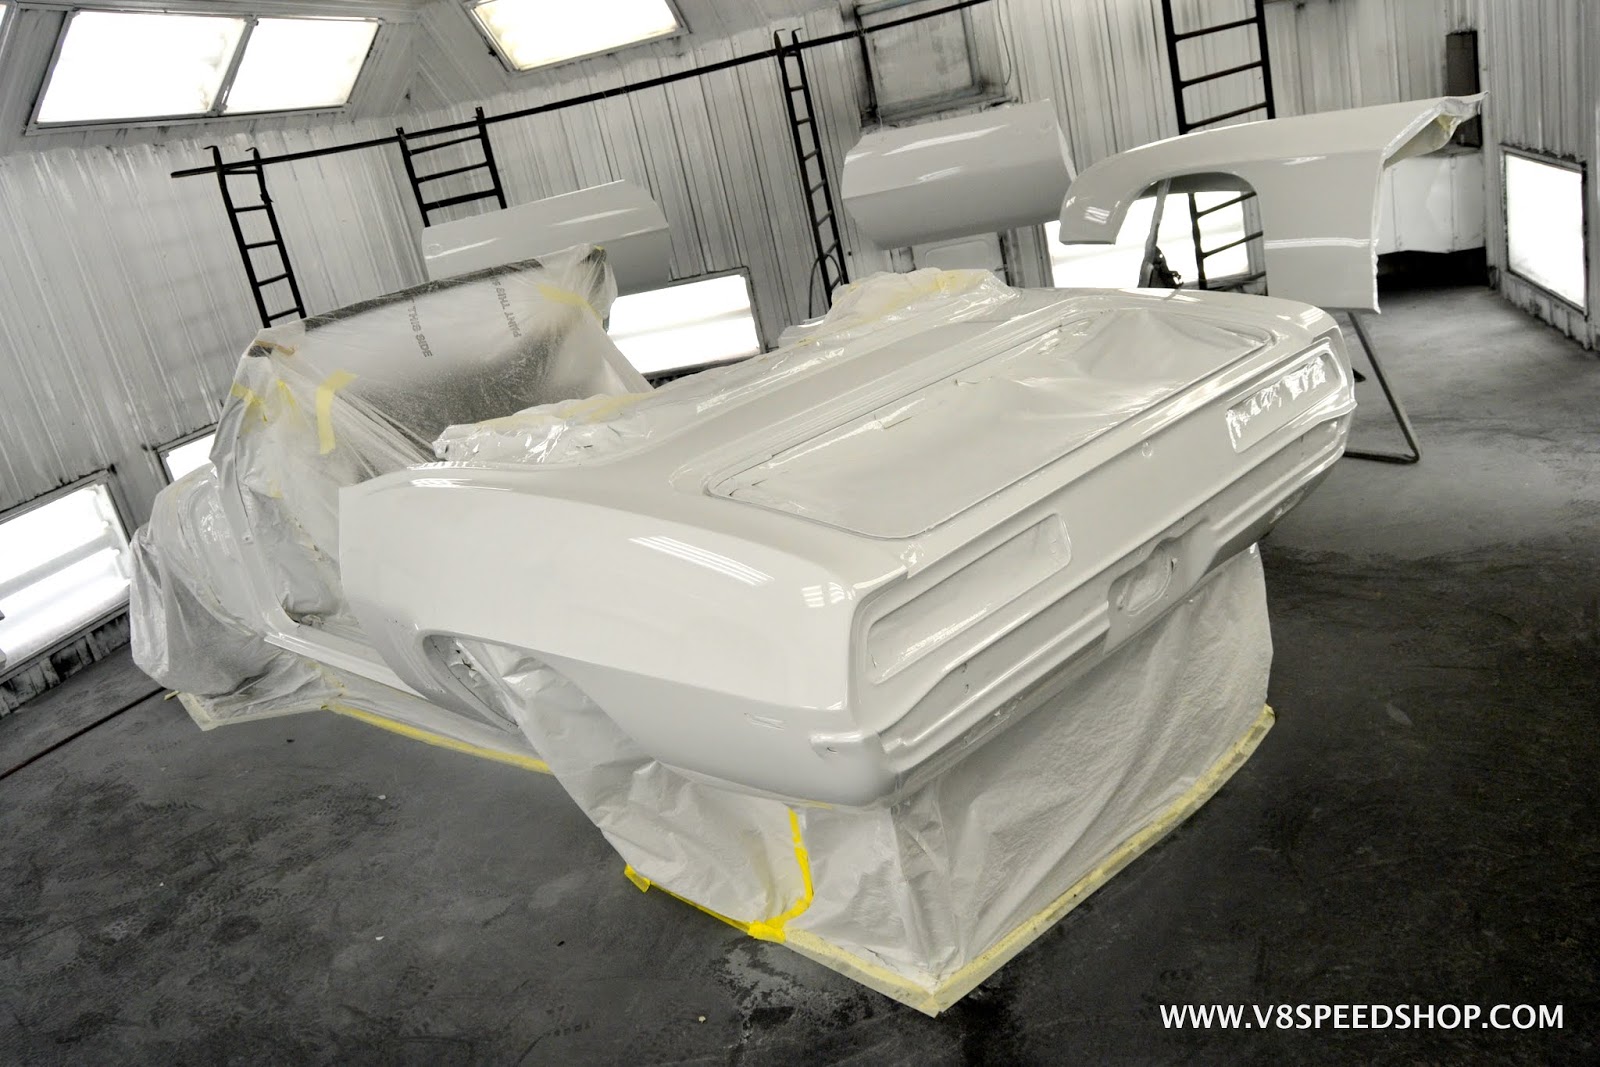
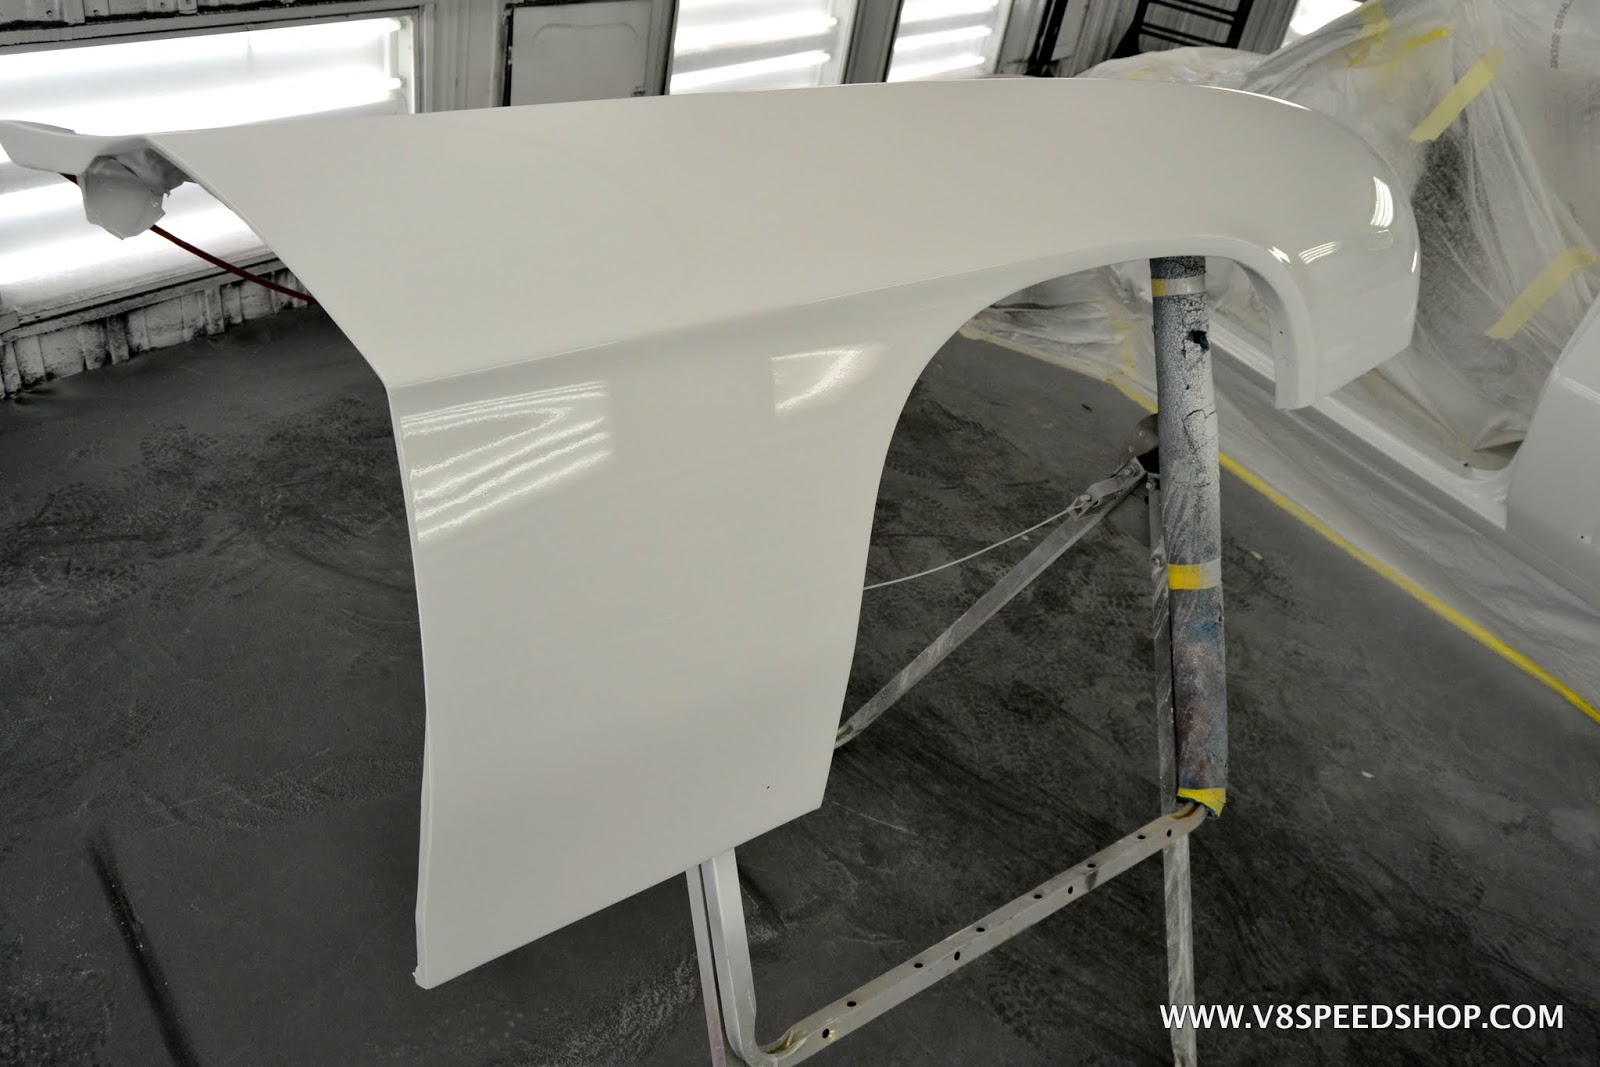
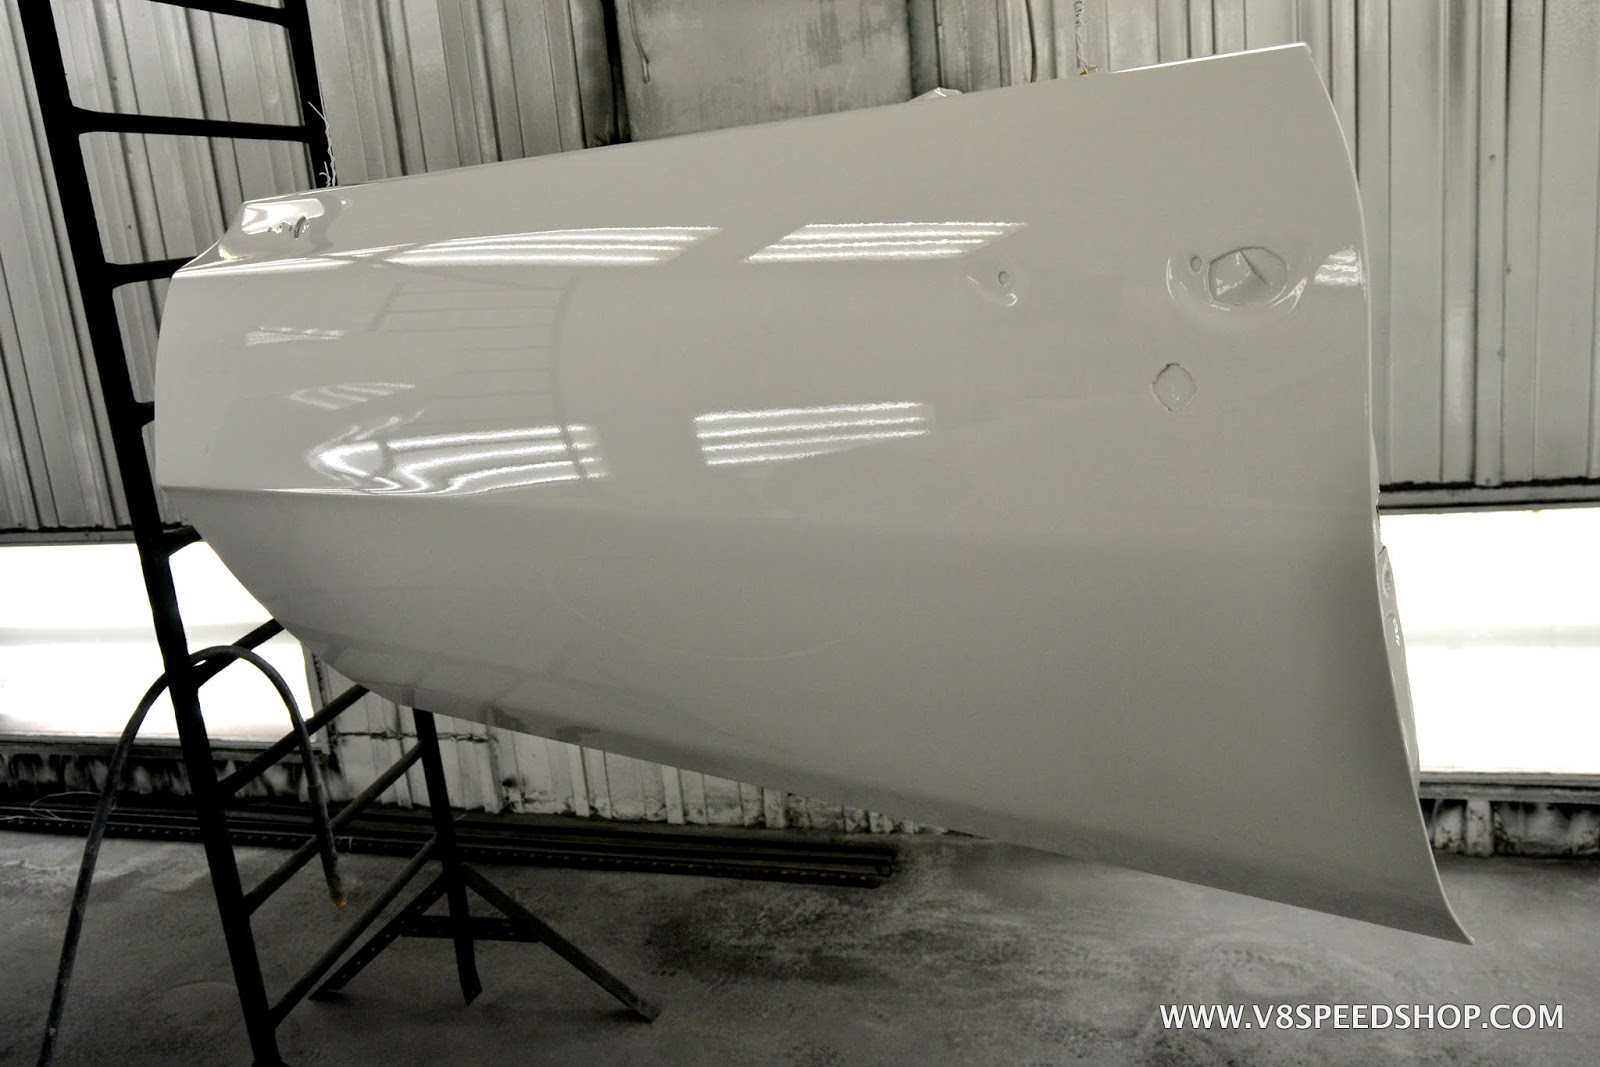
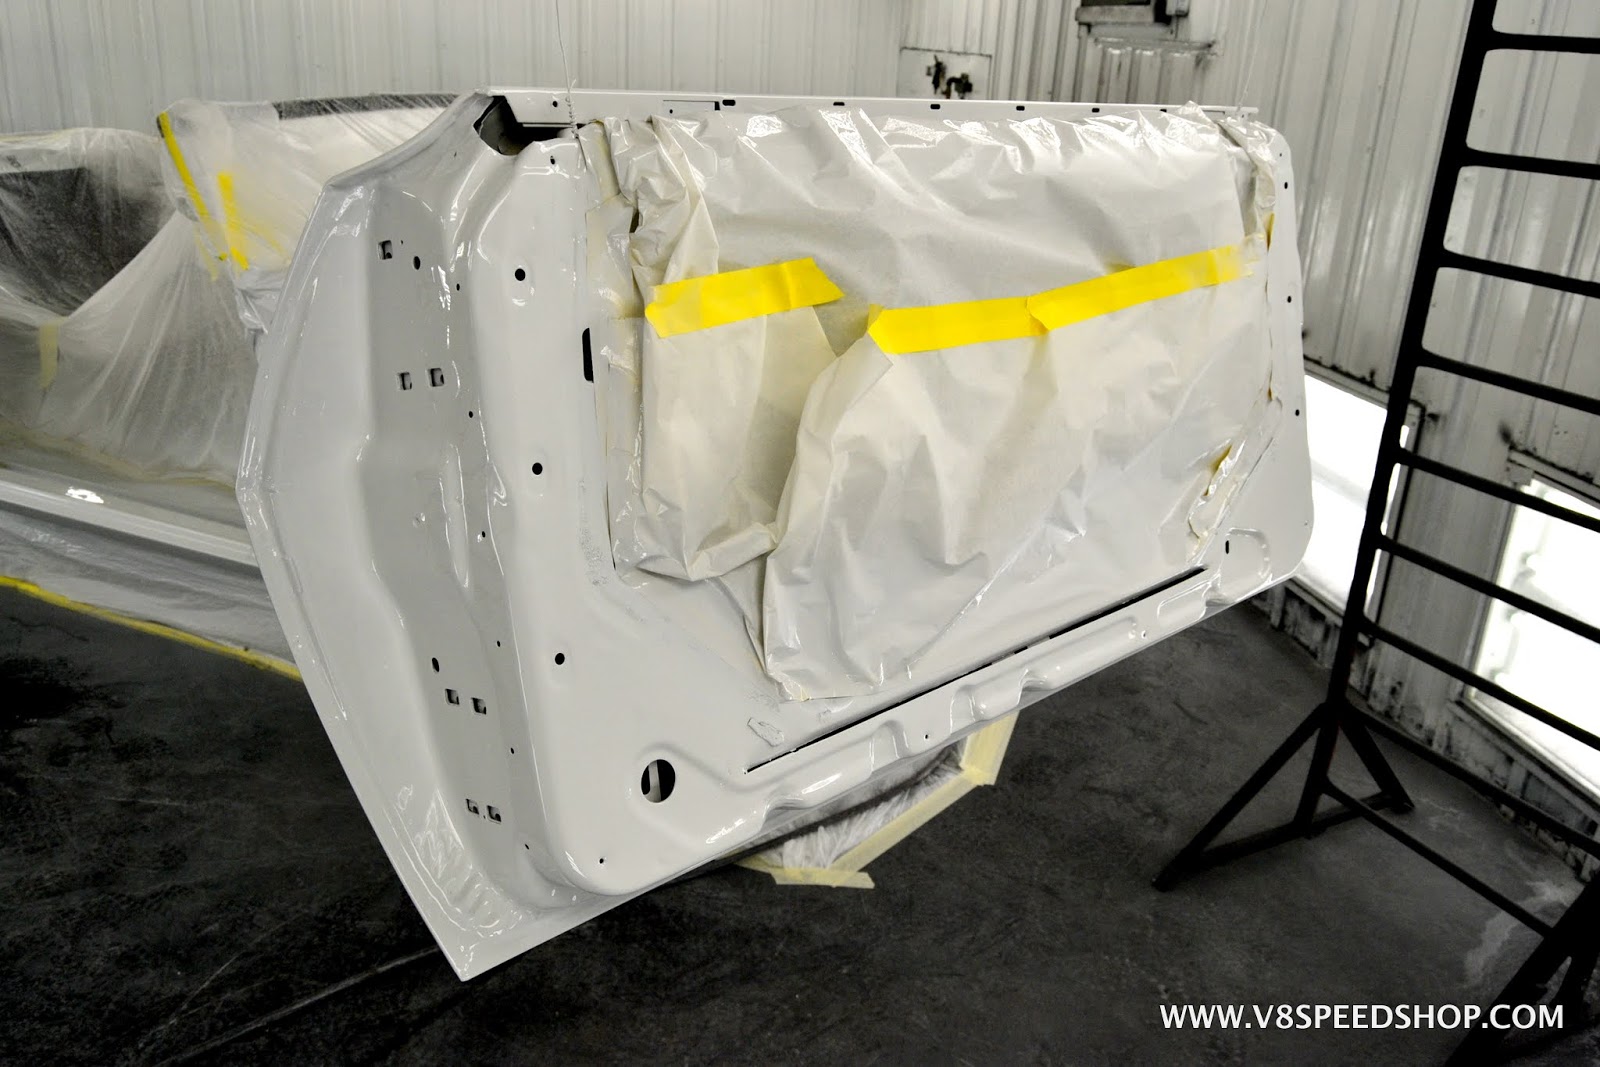
The stark contrast between the satin Imron black and the glossy Summit White became apparent once the masking was removed.
 Kevin Oeste
V8 Speed and Resto Shop
V8TV
Muscle Car Of The Week
V8 Radio Podcast
All about us:
https://www.v8speedshop.com
10-04-2017 #60
Registered User
- Join Date
- Dec 2004
- Location
- Midwest
- Posts
- 2,263
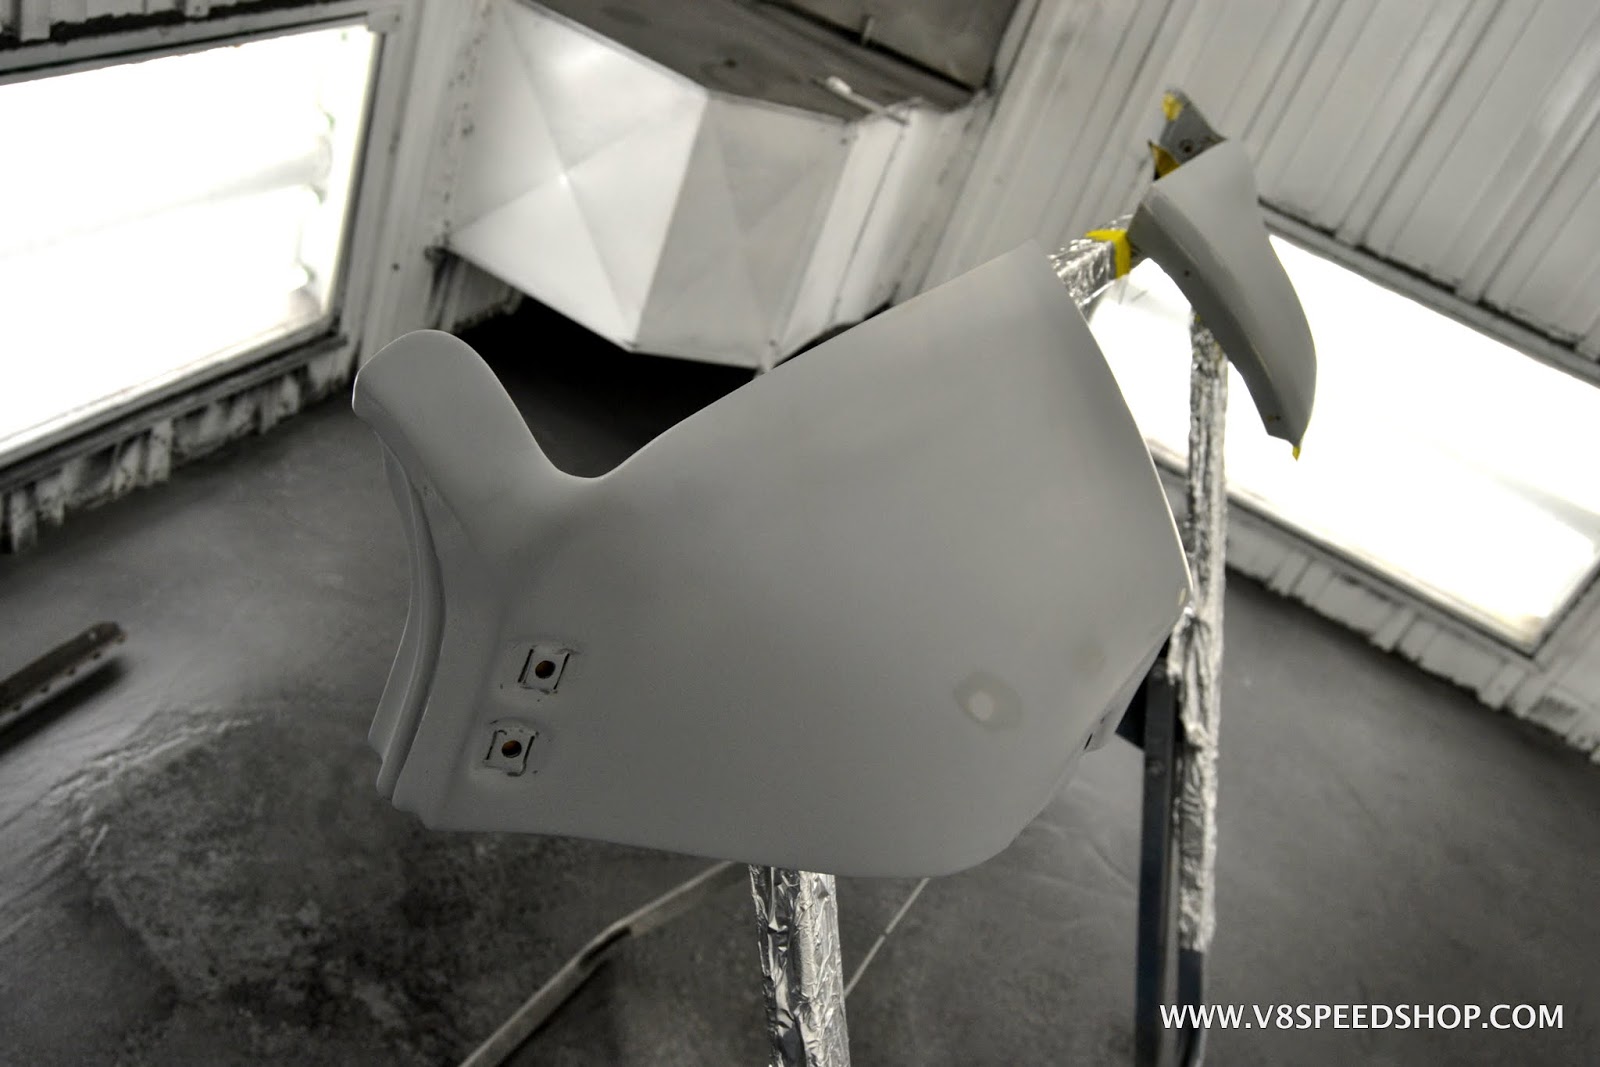
Next, the the outside of the decklid and hood were prepared and the backsides masked for color.
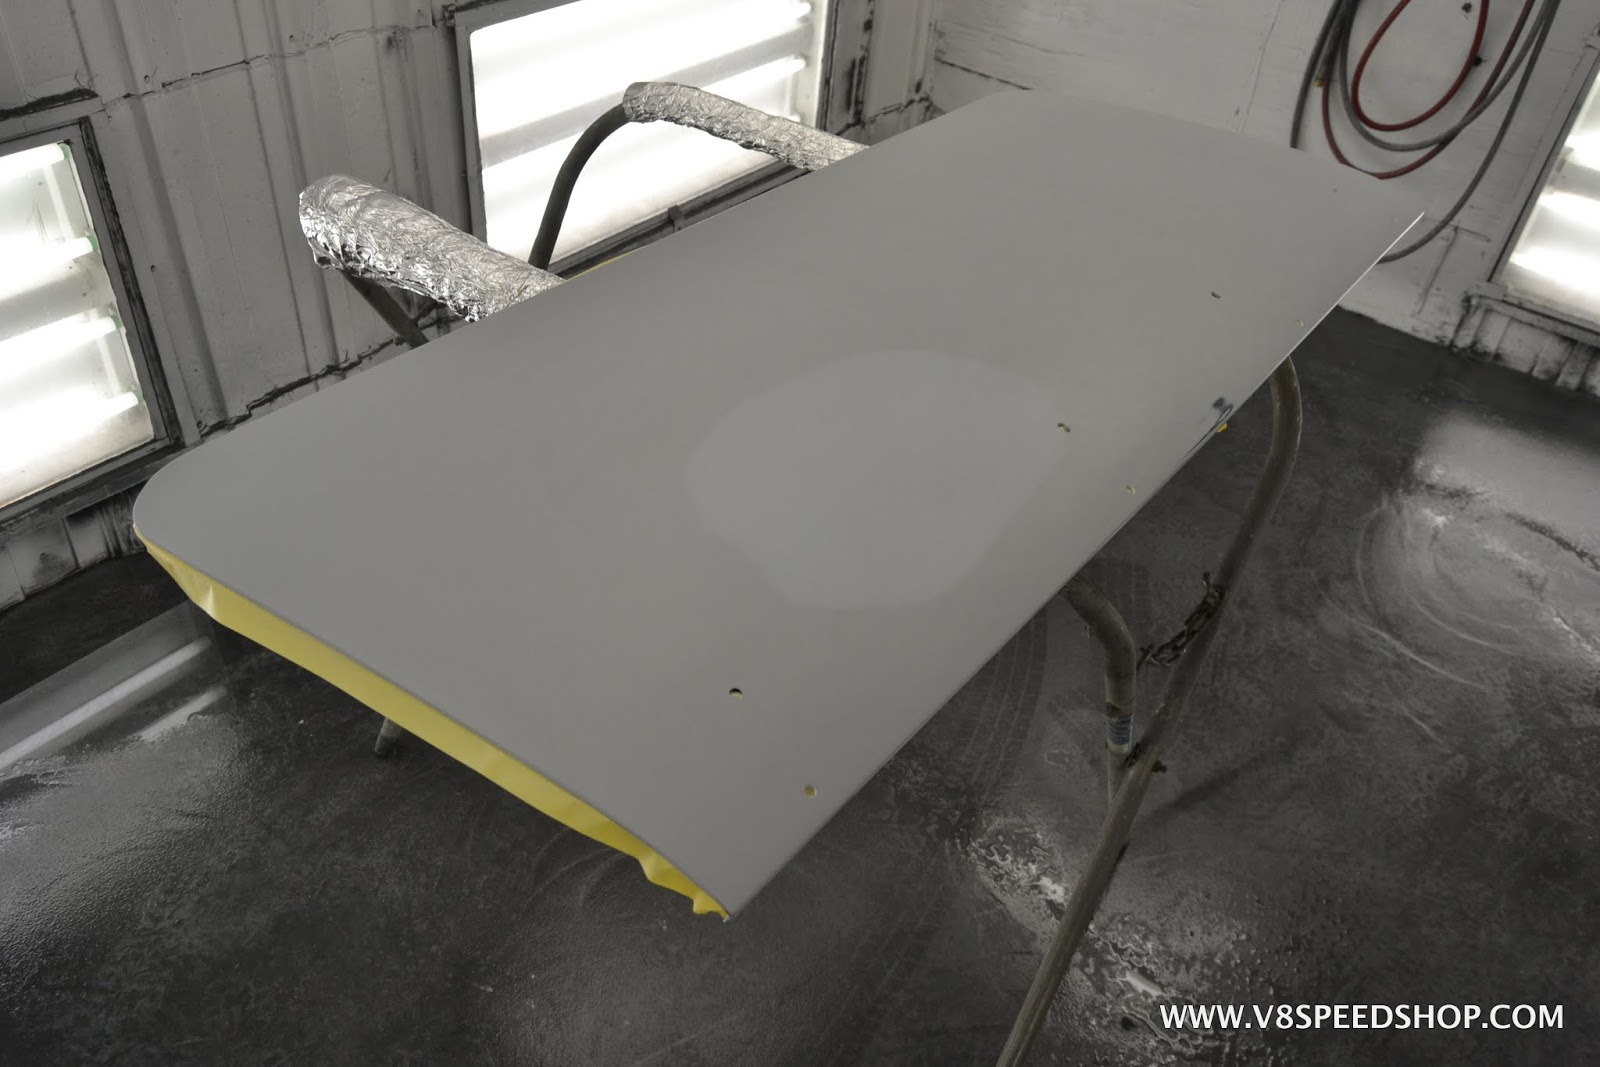
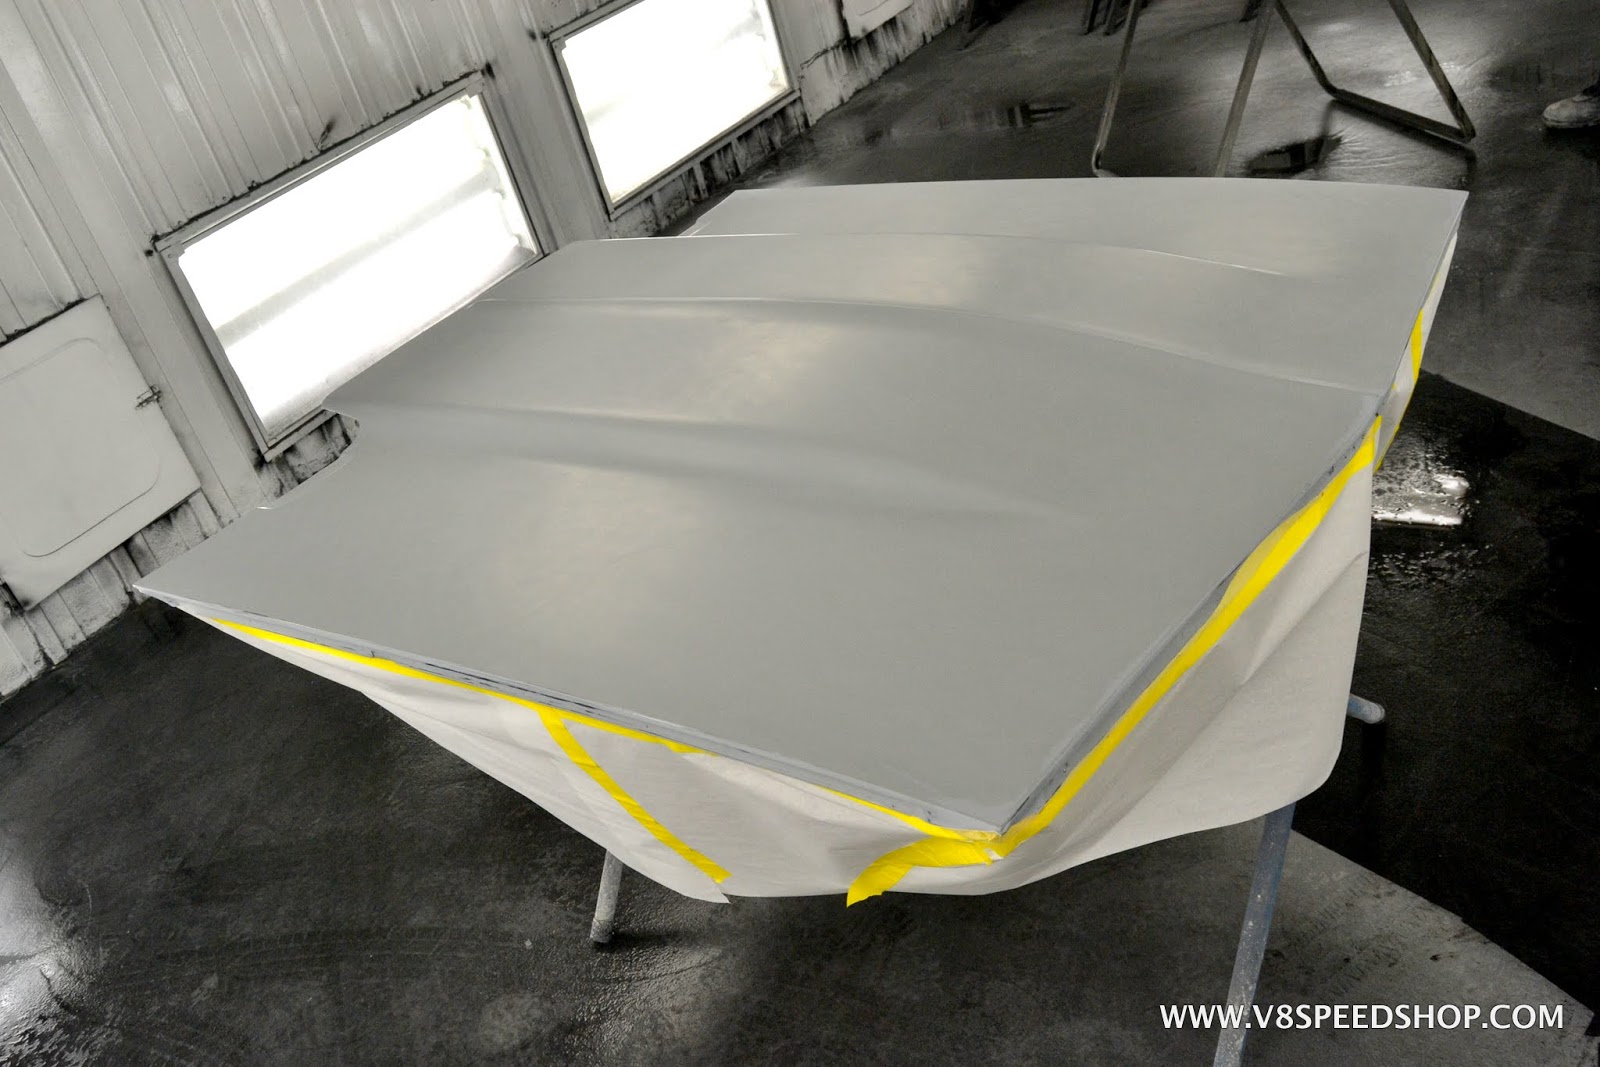
More parts were also readied for paint, like the grille surround, rear wing, fender extension, and cowl screen.
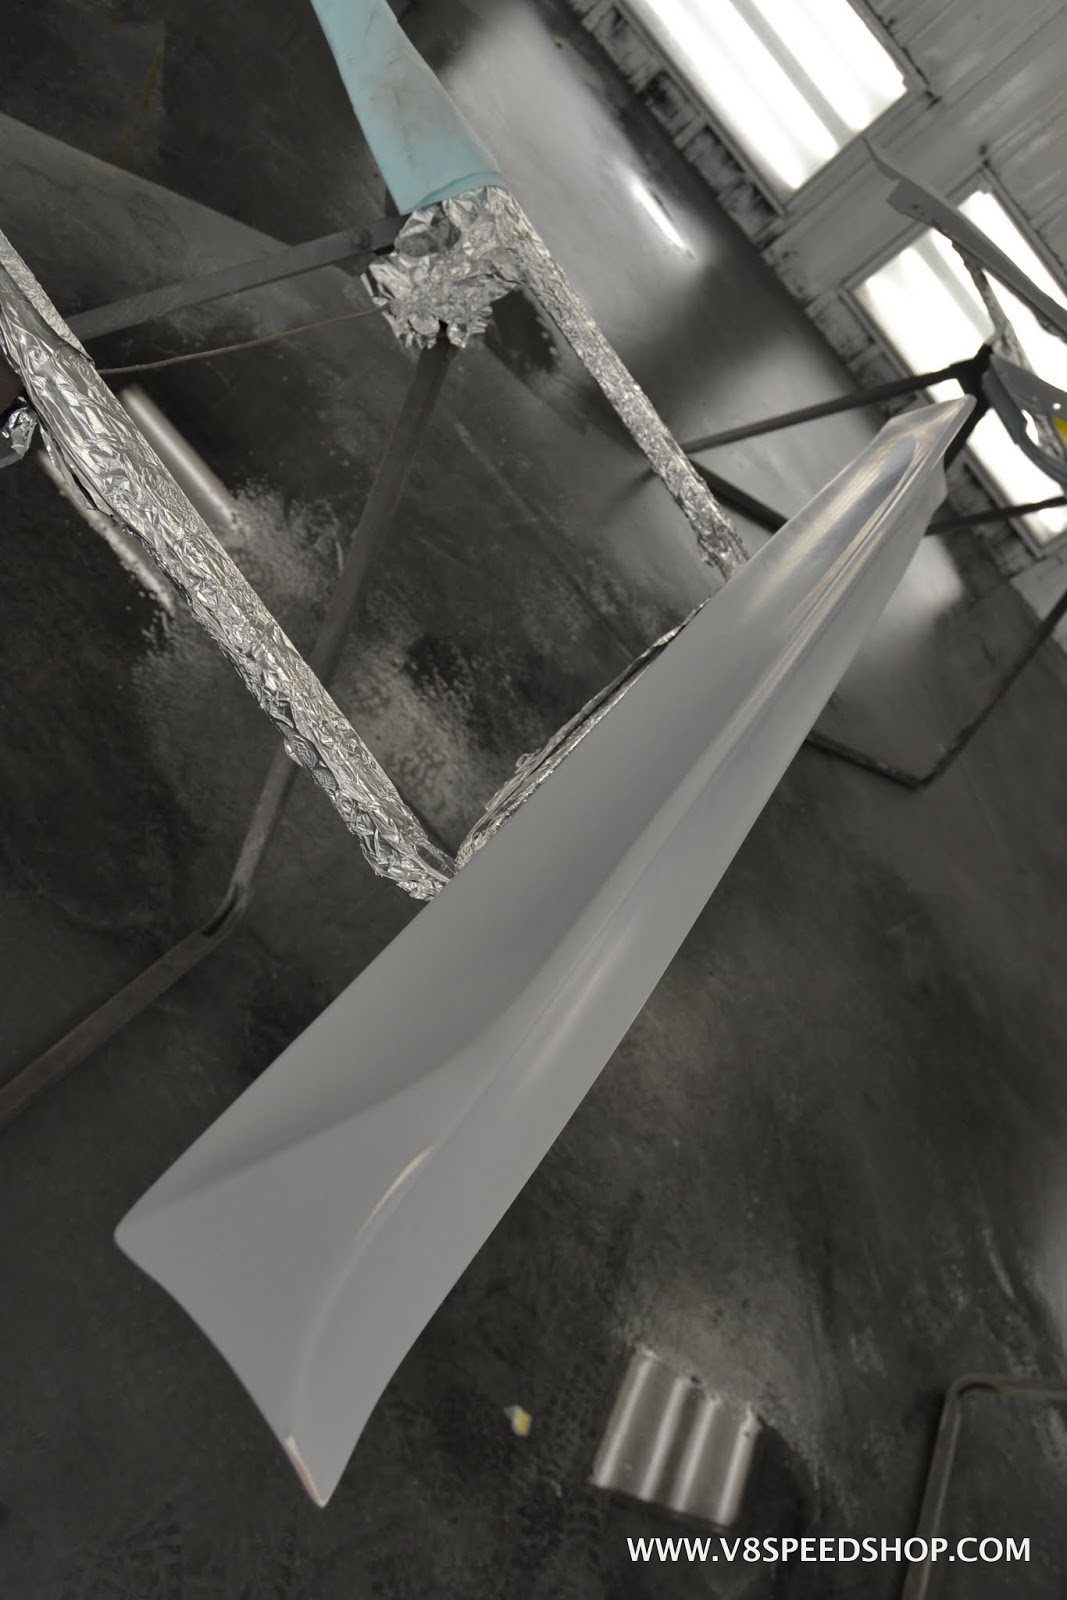
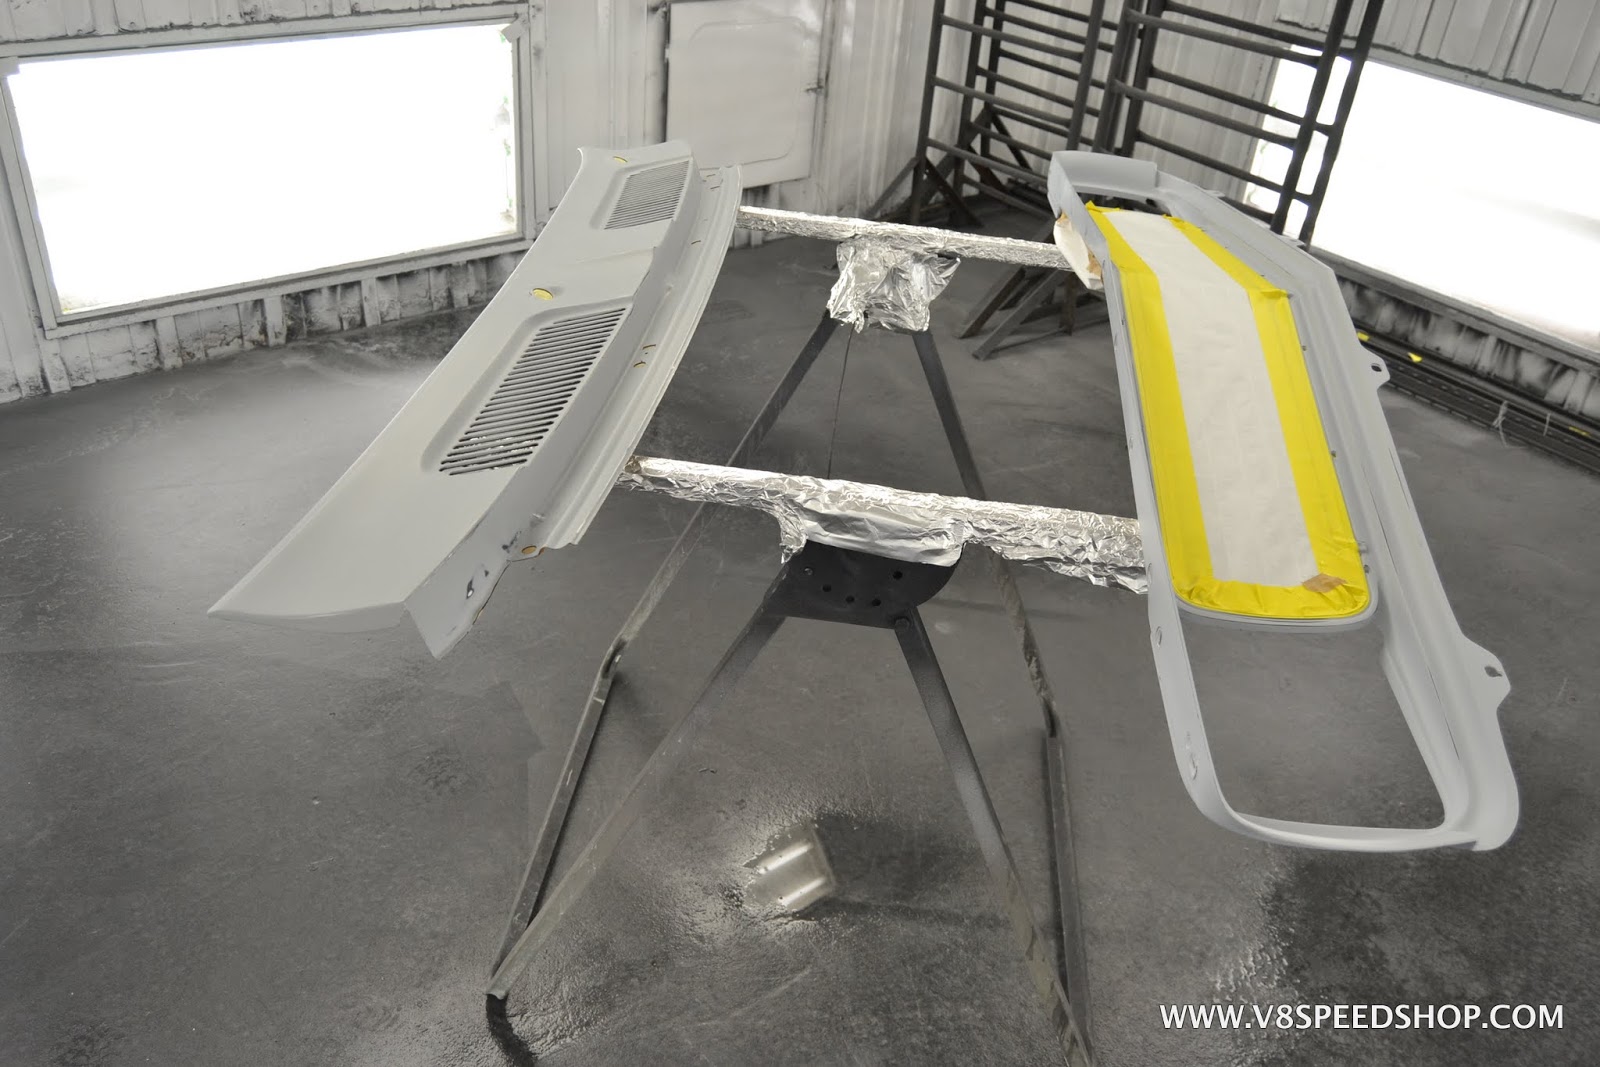
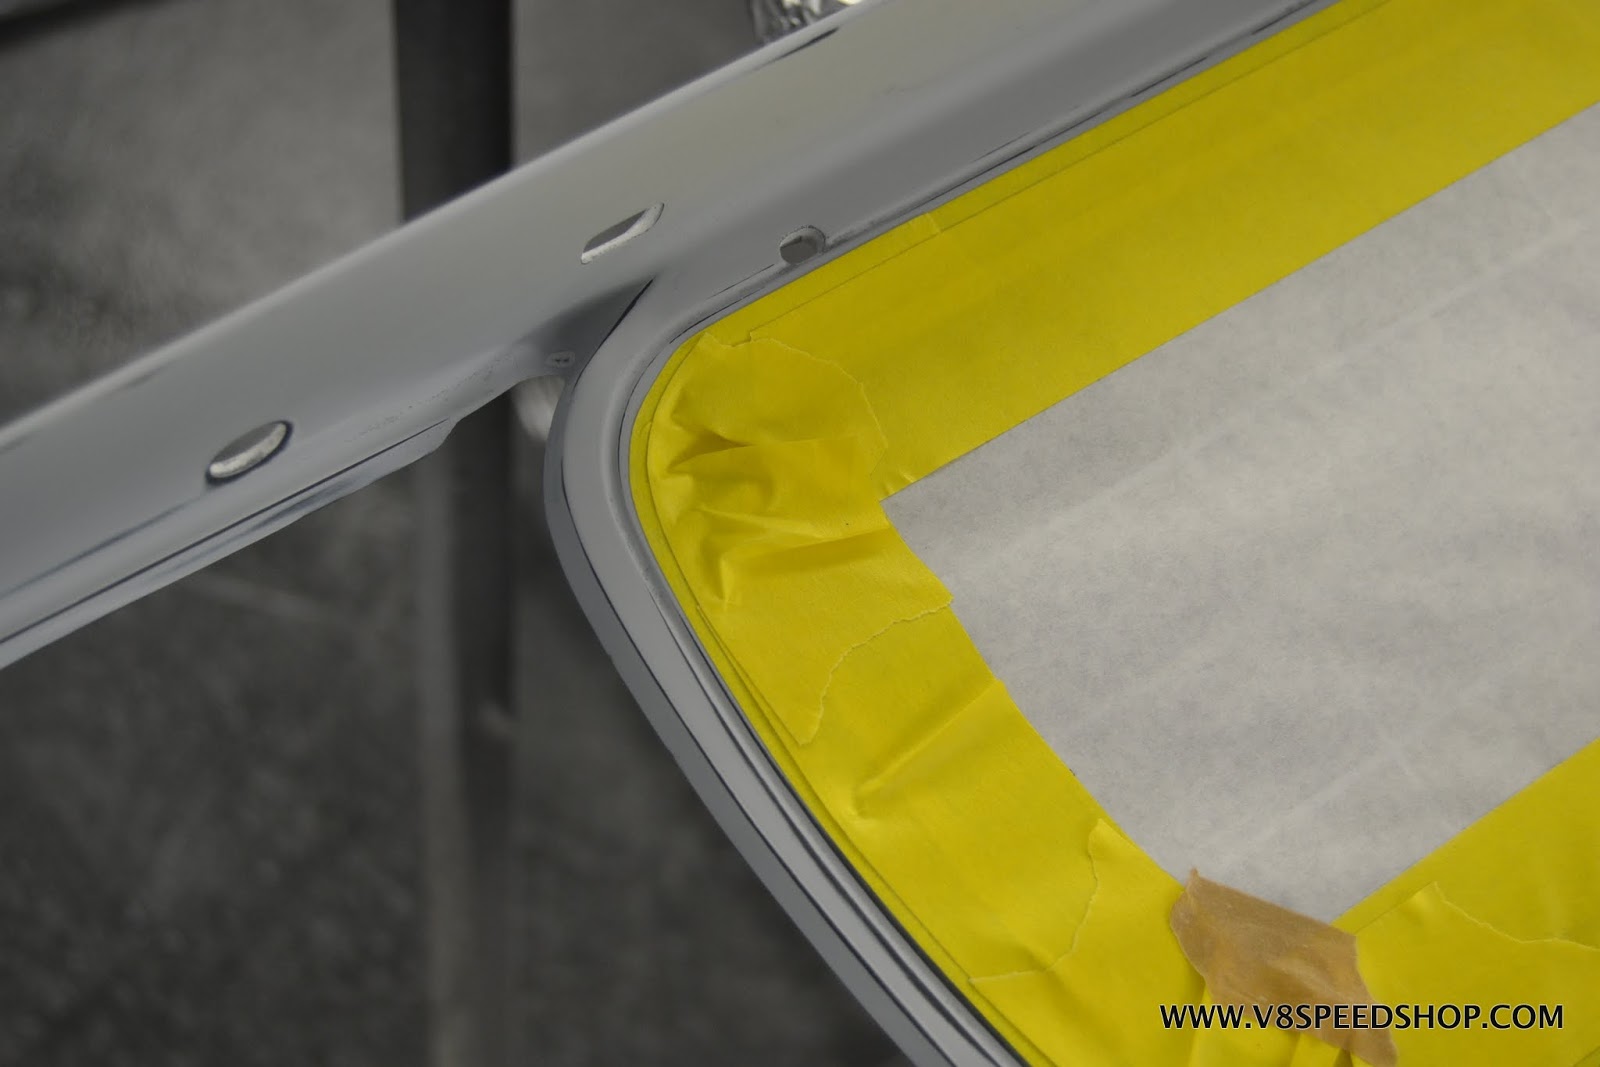
Careful masking is done to ensure crisp edges.
 Kevin Oeste
V8 Speed and Resto Shop
V8TV
Muscle Car Of The Week
V8 Radio Podcast
All about us:
https://www.v8speedshop.com

 Reply With Quote


