


Results 1 to 20 of 38
Thread: '63 Grand Prix Project
Hybrid View


-
02-02-2016 #1
 Registered User
- Join Date
- Nov 2015
- Location
- Saint Louis MO
- Posts
- 36

Body
Time for an update!
Installed the new FAST intake on the engine. Decided to just run the 3 bolt 75mm throttle body for now vs getting a 102mm. Also switch the factory LQ4 valley cover over to a PCV style LS6 one.

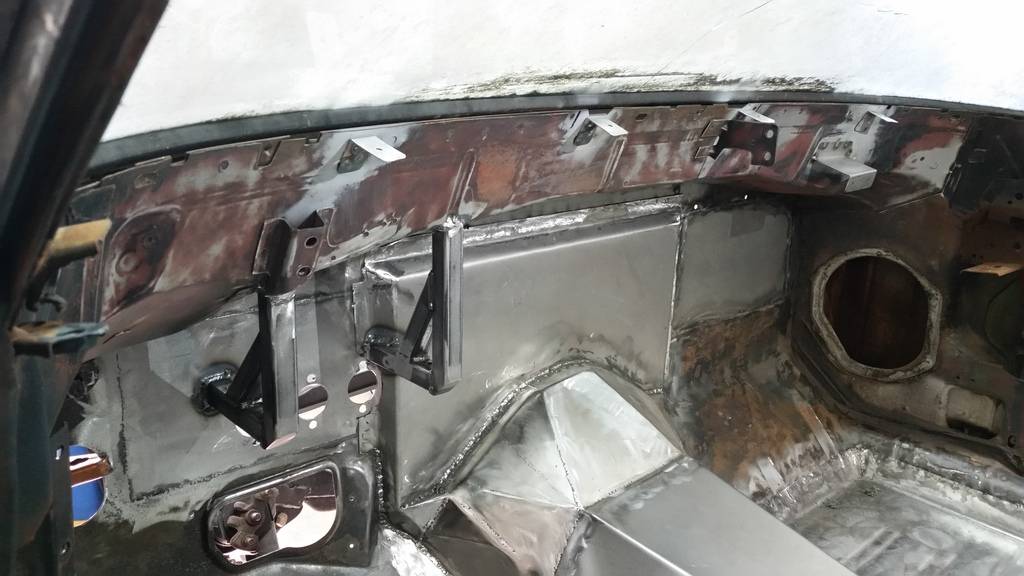
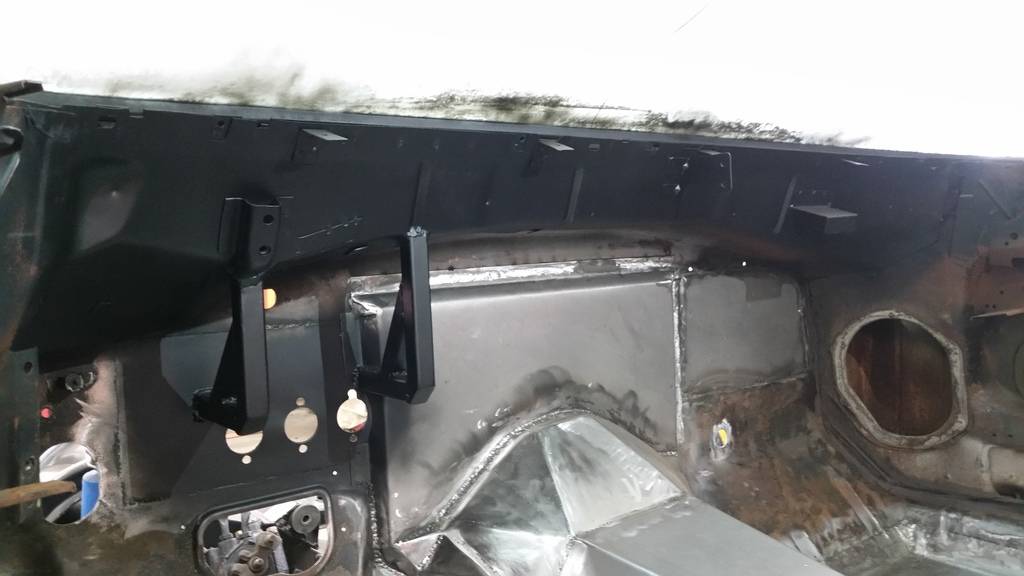
Made some little brackets to mount the vintage air unit and defrost ducts. Just sport welded them to the cowl, Forgot to snap a picture of the mock up.

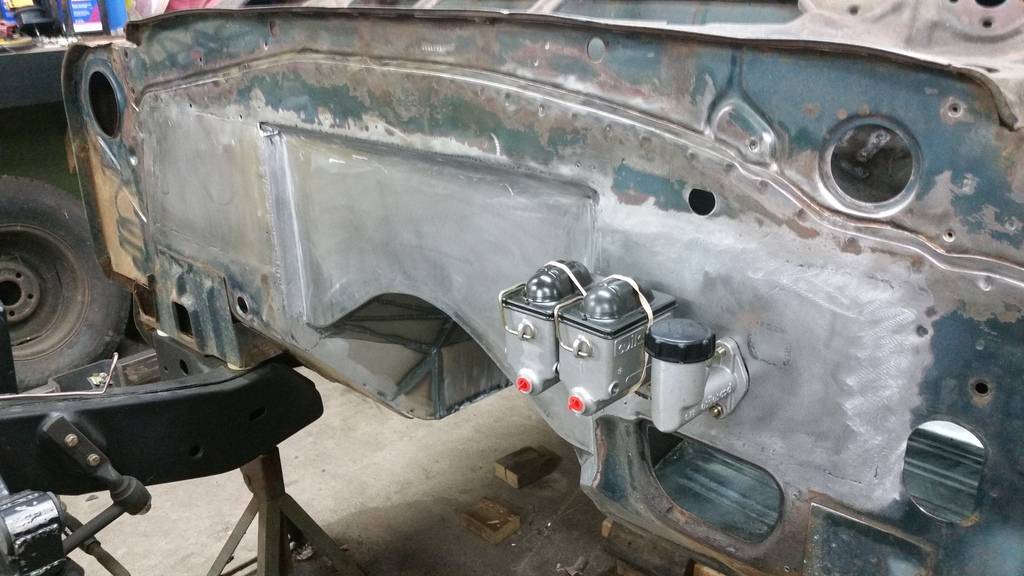
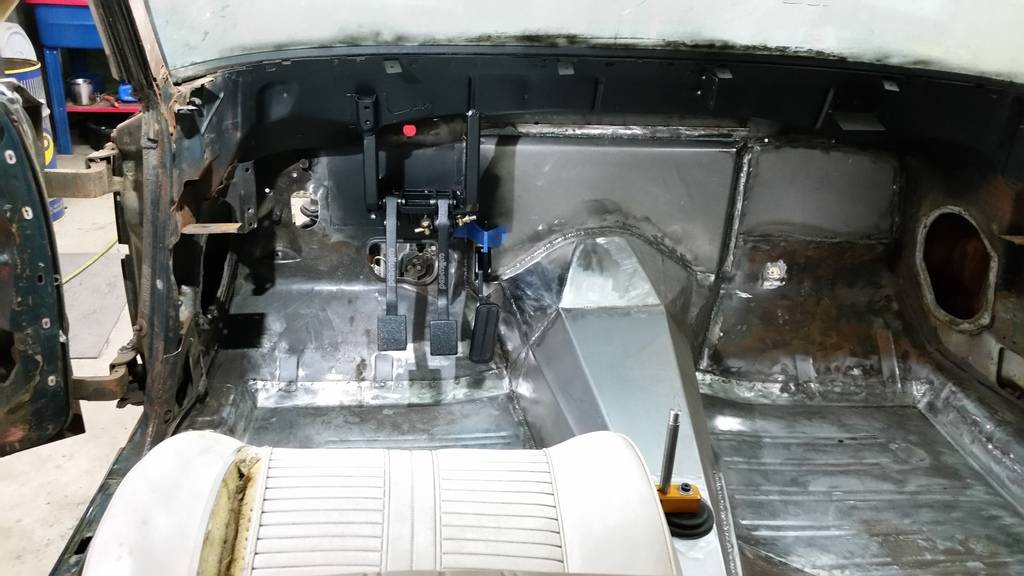
Built a mount for the brake and clutch pedals as well. Then hit the cowl with some black.
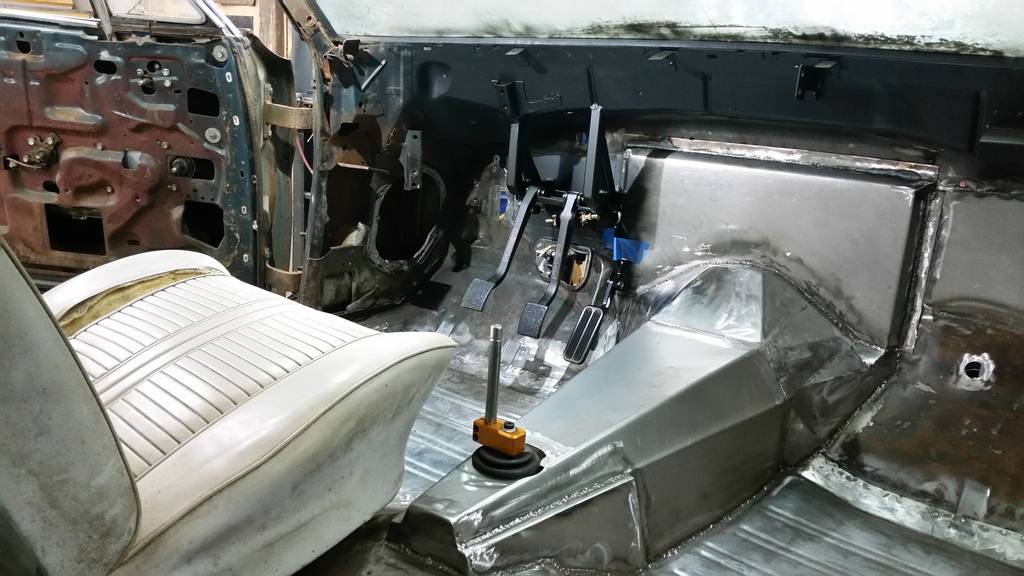
Found a good spot for the accelerator pedal and got it mocked up. Once the pedals were installed, I had to put the seat in to get a better perspective. I plan on ordering the LOKAR brake and clutch pedal pads to match the accelerator.
Next I moved on to the windshield wipers. The original wiper motor to the car was locked up, so I was in need of a new one. Since I didn't care to much for the big bulky original one, I decided to come up with something different. After some research I found a very nice well put together universal kit that DSE sells, BUT I was not going to spend that kind of coin on wipers. So I picked up a new CTS wiper motor, made my own plate and modified the original wiper motor arm to bolt to the CTS motor.
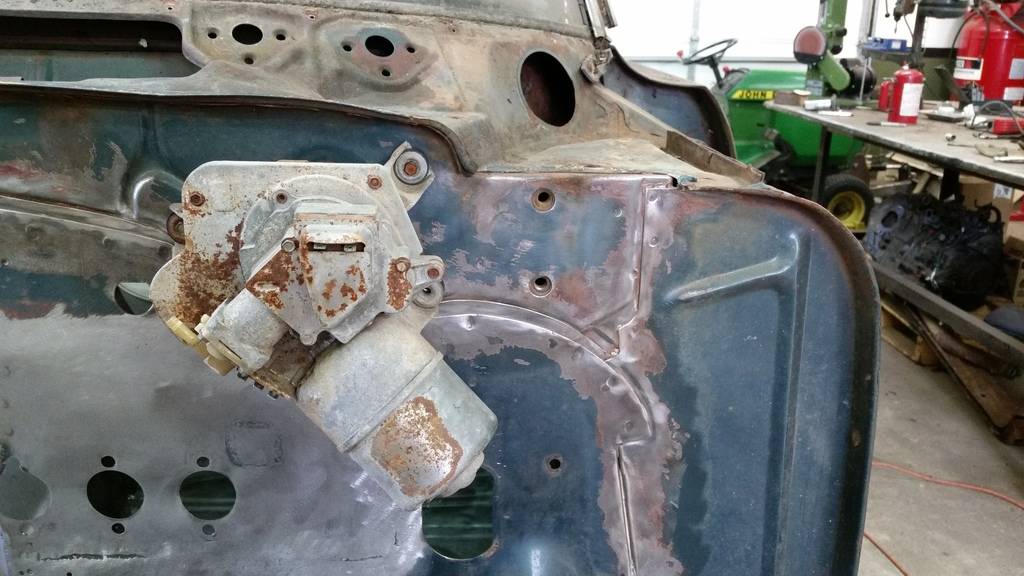
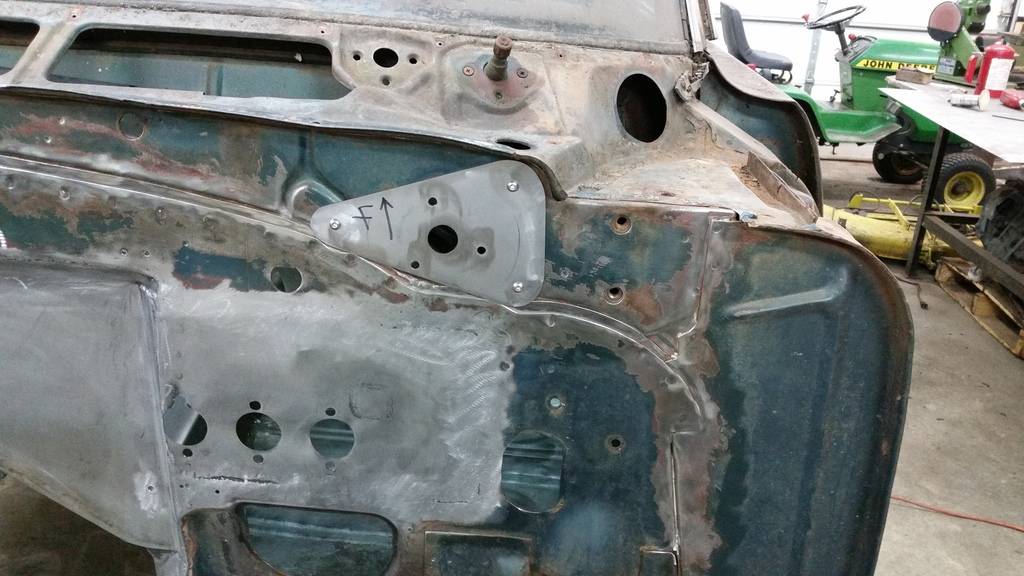
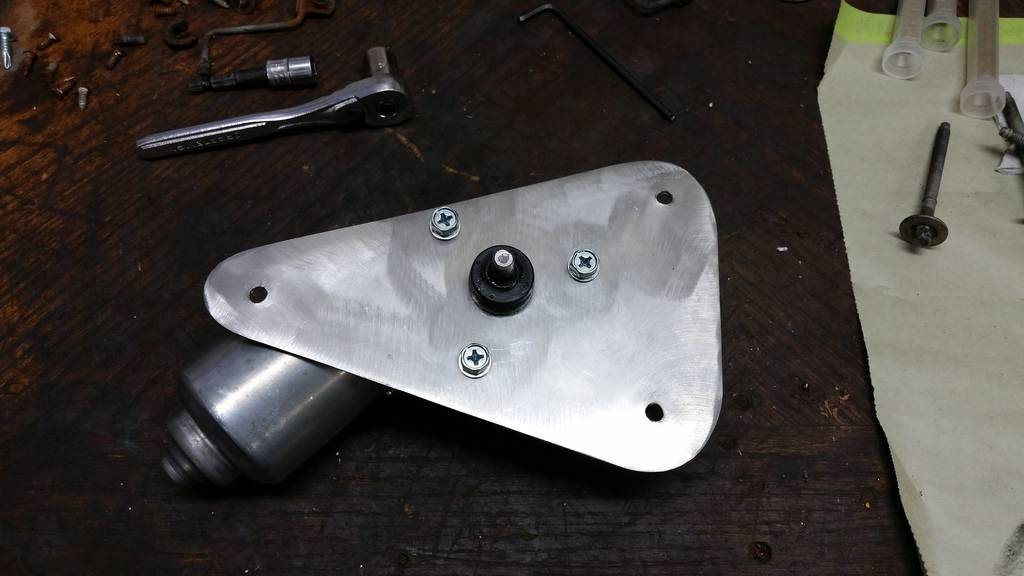
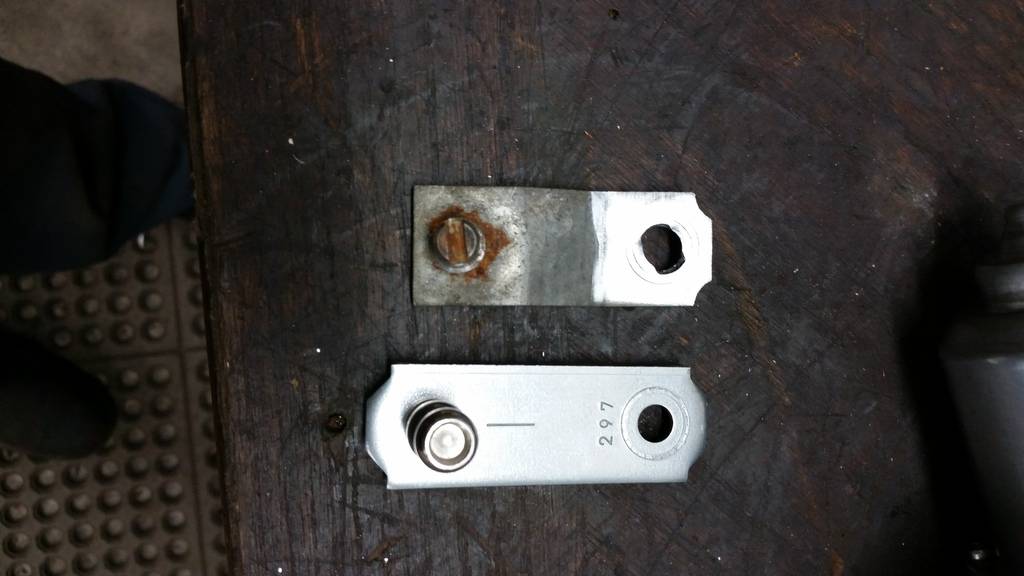
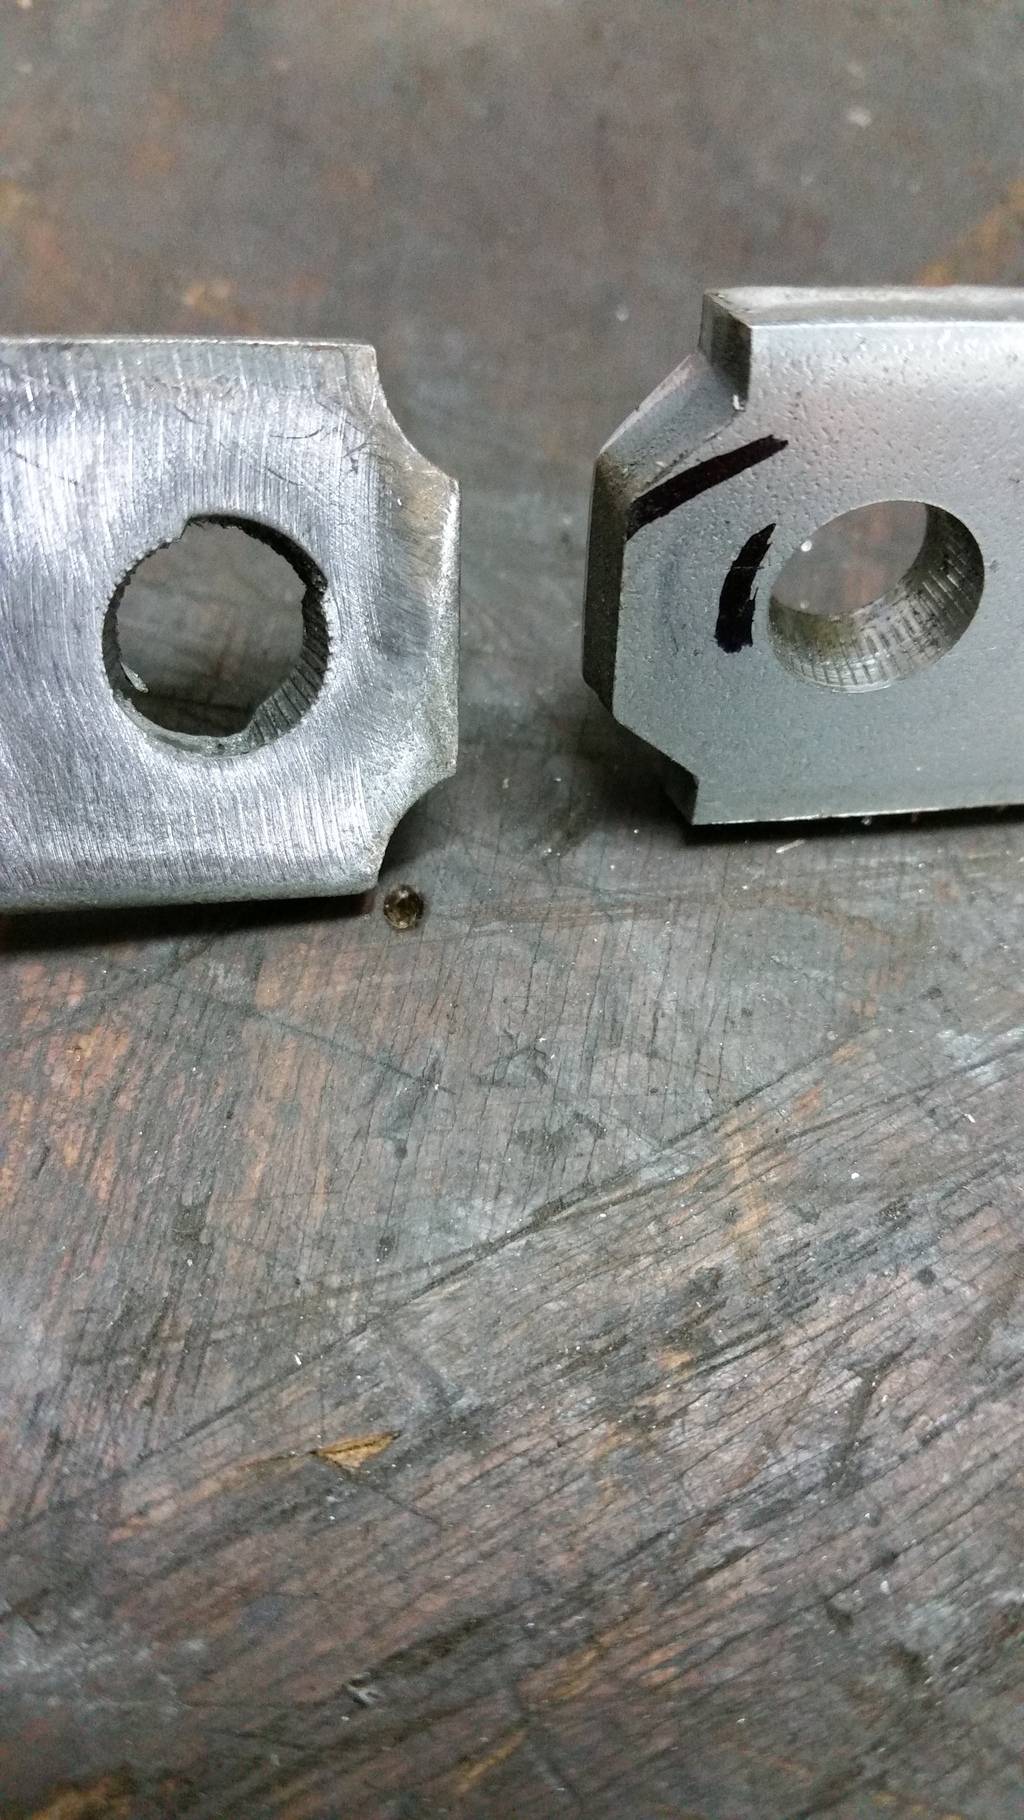
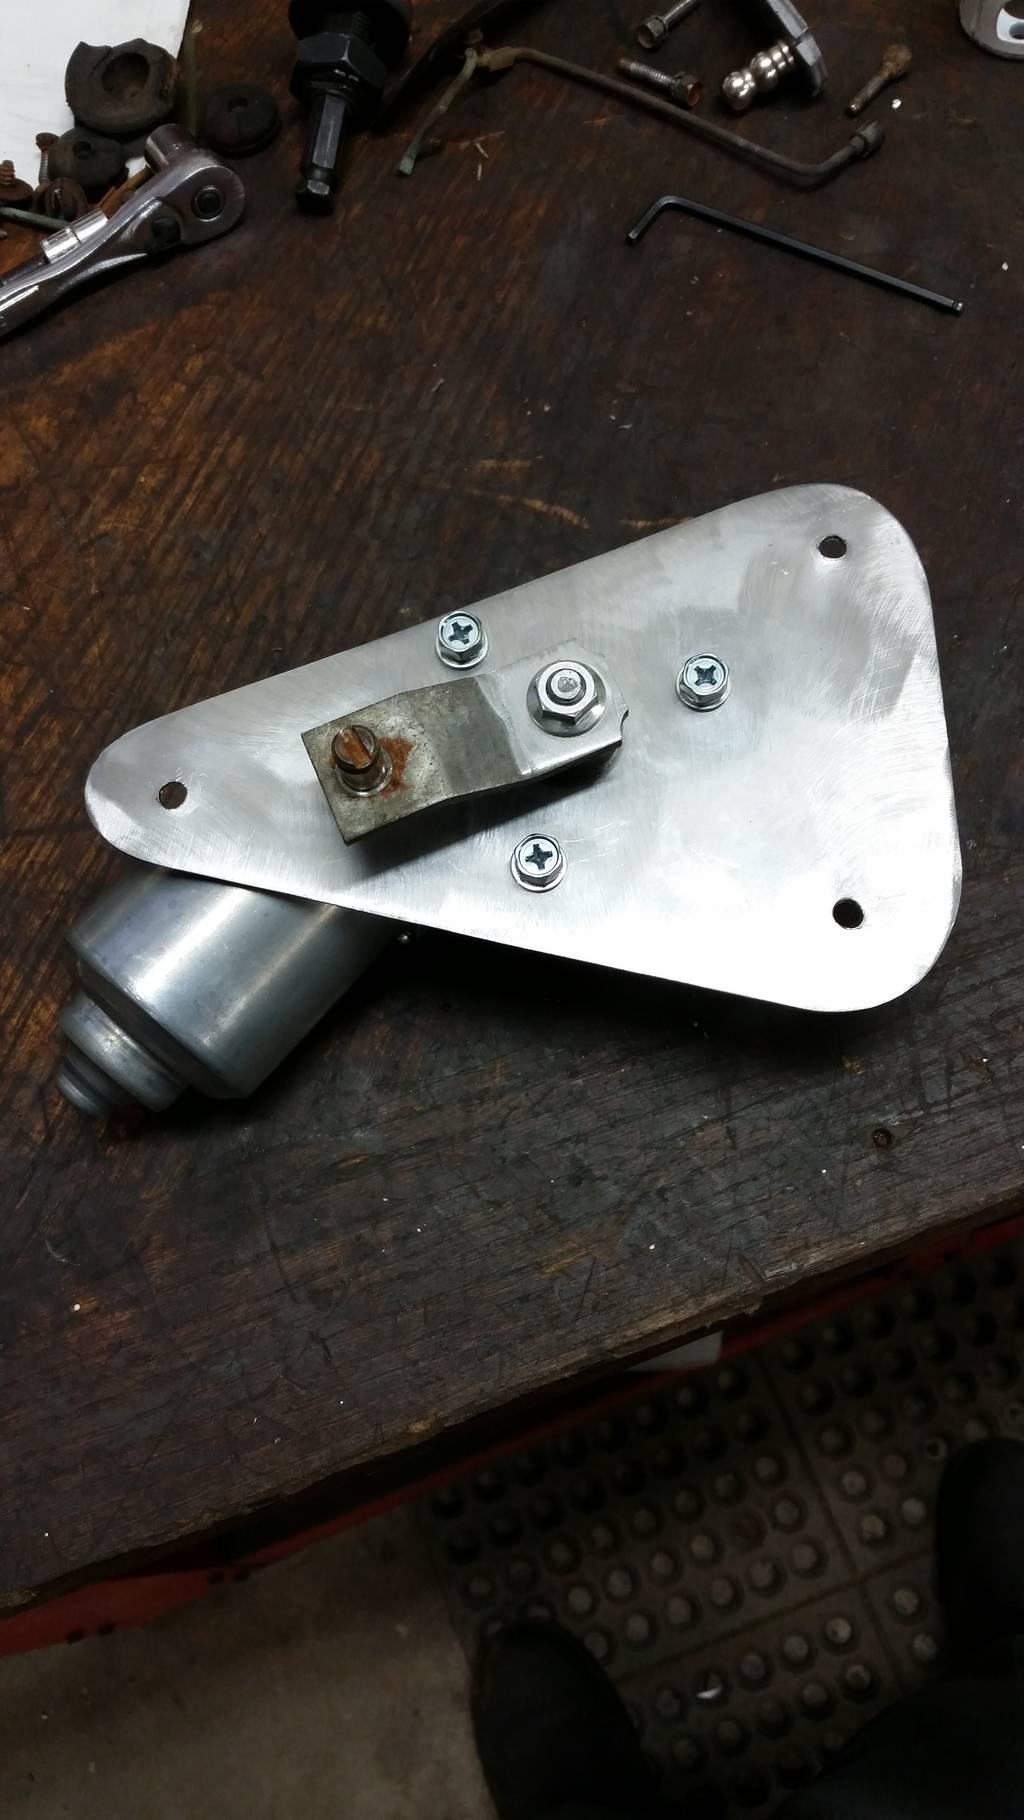
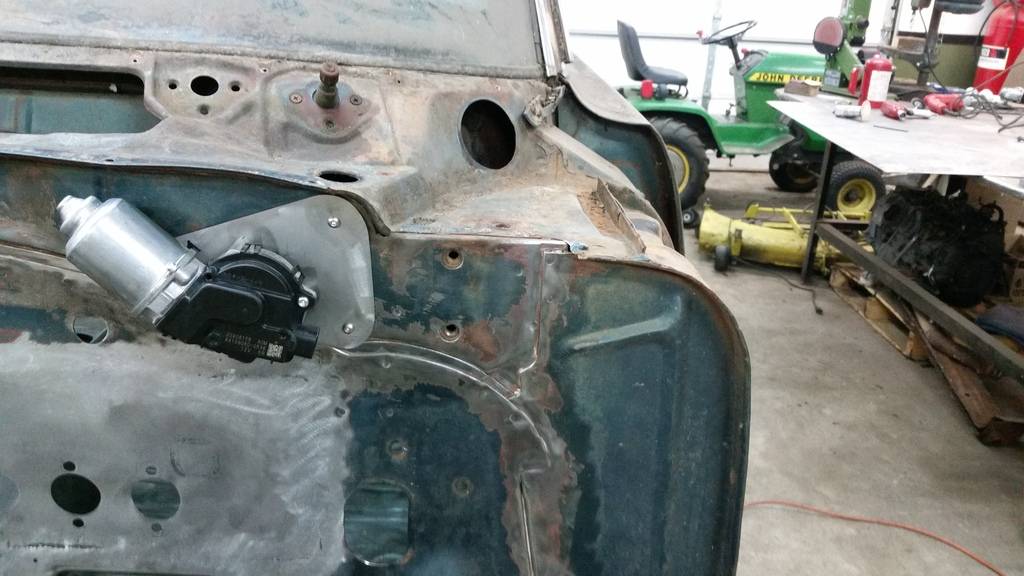
I know that DSE sells a wiper control module with their kit in order to utilize the park and control delay. I plan to just build my own module with some relay's and a 555 timer.
Now on to the dreaded trunk, the worse of the rust. The entire floor was rotten, along with both trunk extensions which connect the floor to the lower rear quarter panels, all the floor braces, the mounts, and the lip that holds the trunk lid weather strip.
First was the trunk weather strip lip. After weeks of contemplating how I wanted to attack the issue, I decided to give POR15 a shot to see how good of a product they claim to have. So I picked up their trunk and floor pan resto kit, followed their direction to a T and when to town.
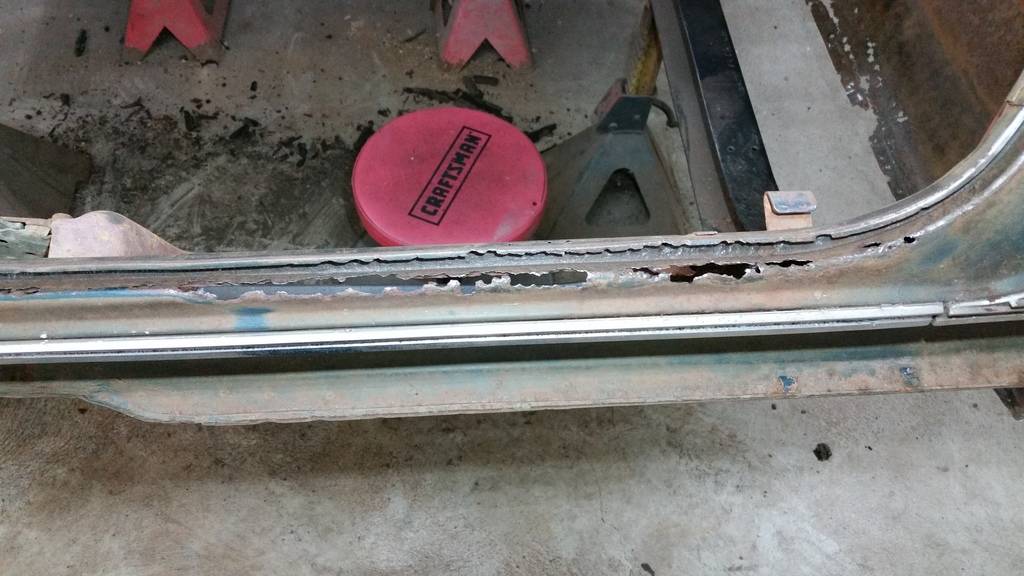
Here is what I had to start with.
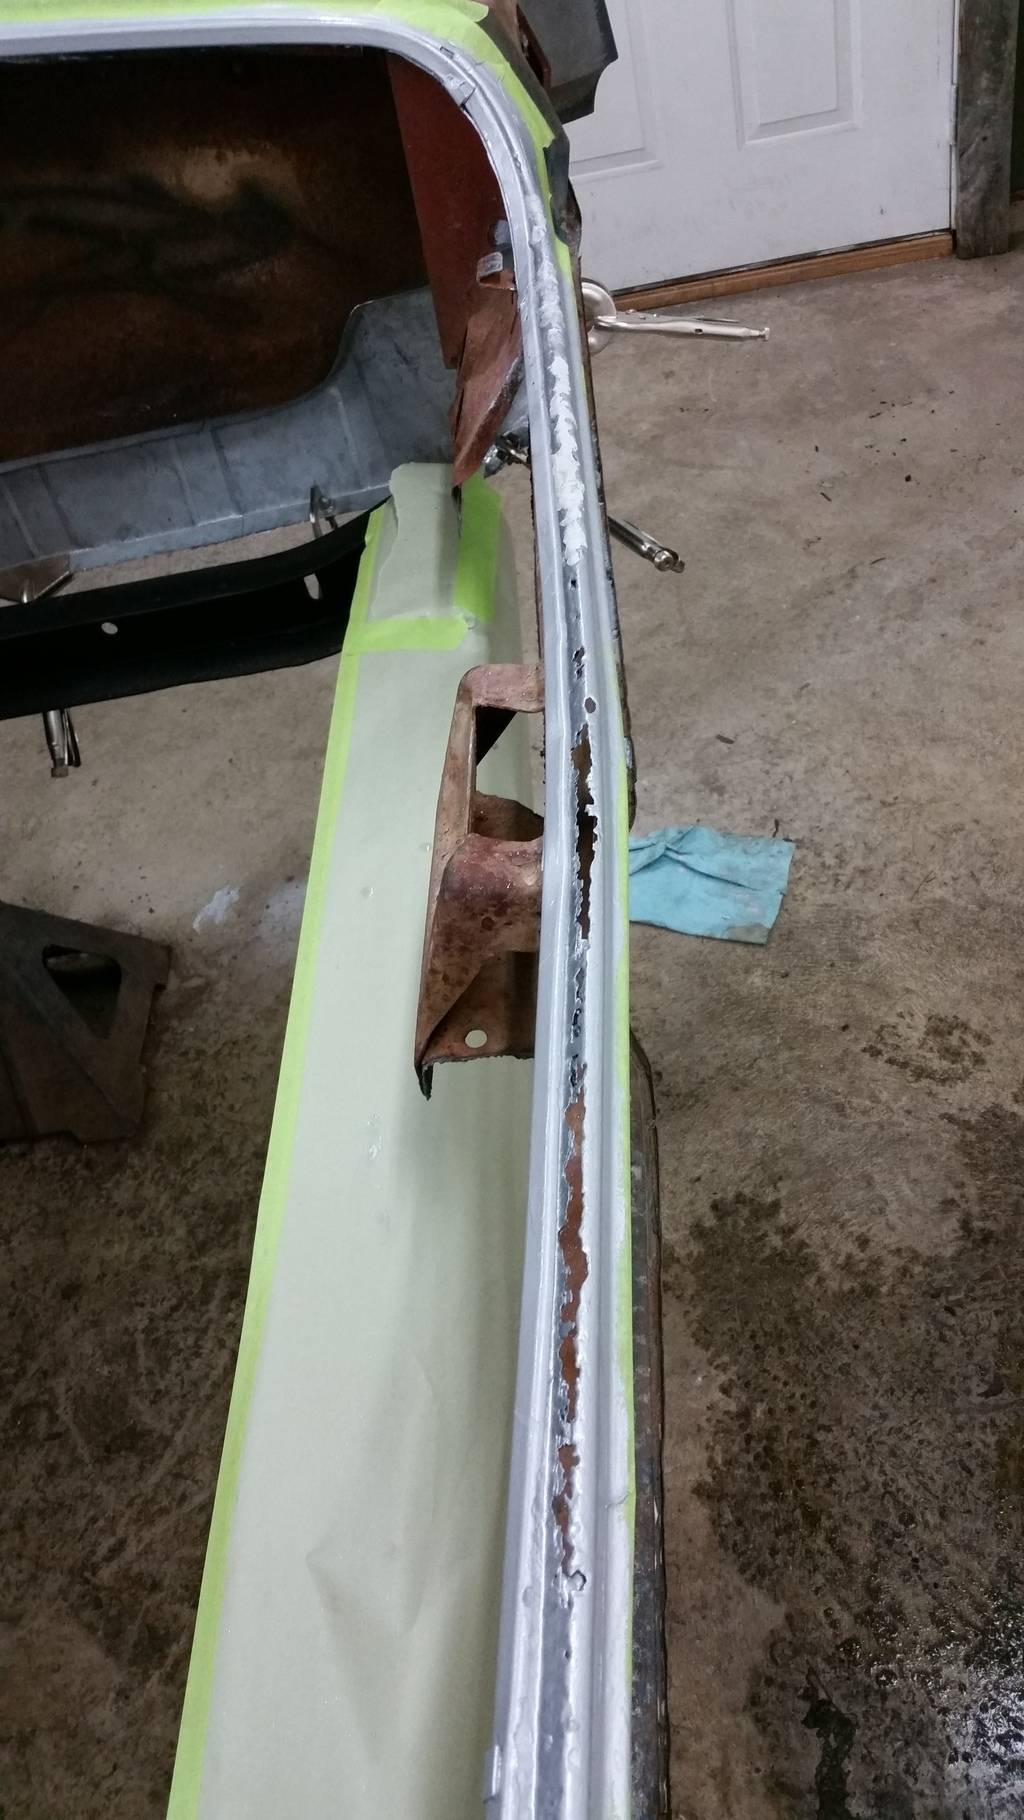
Put two coats on the entire weather strip lip and let it setup.
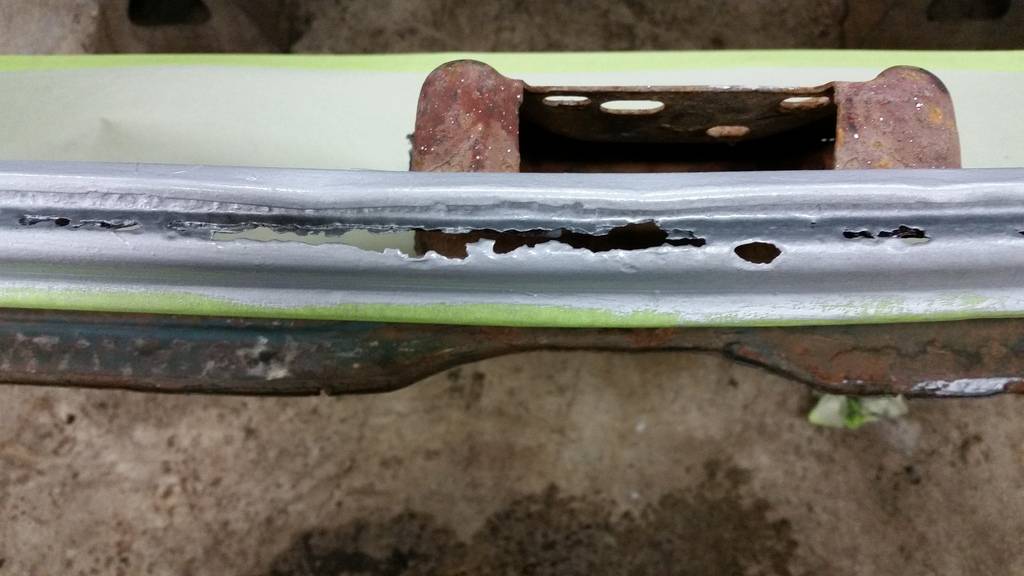
Then cut off some of the epoxy putty, mixed it up and started pushing it into the holes.

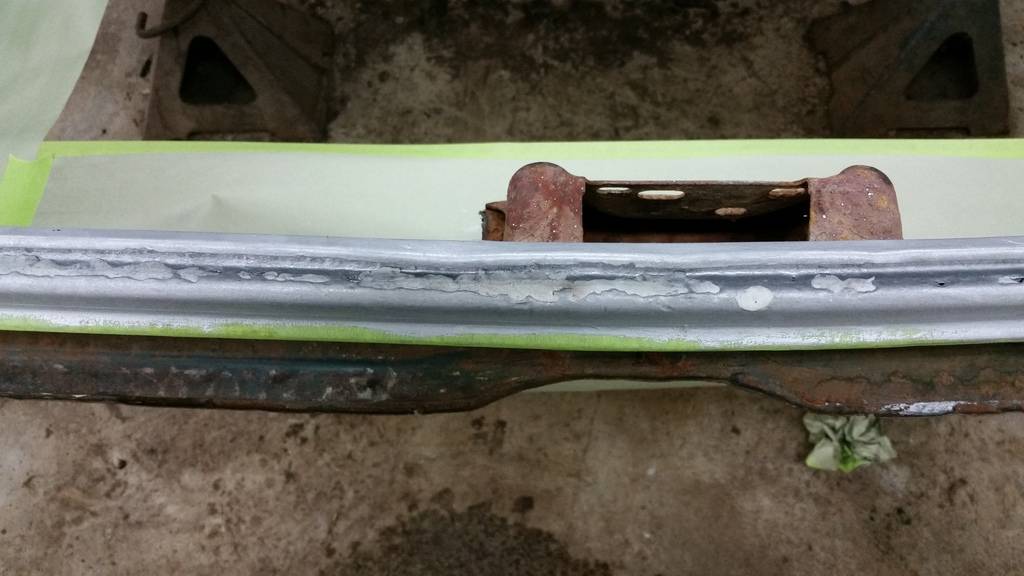
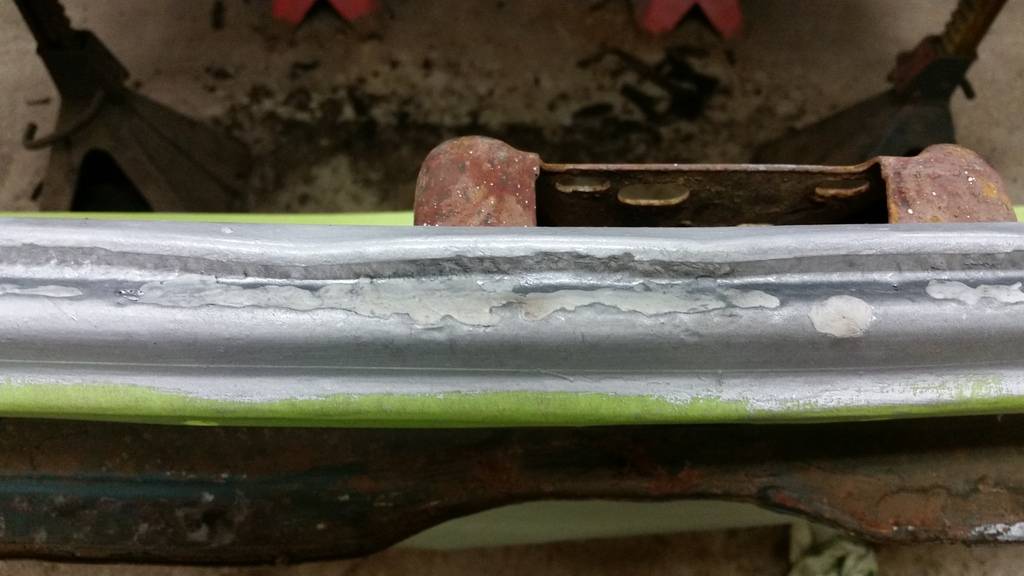
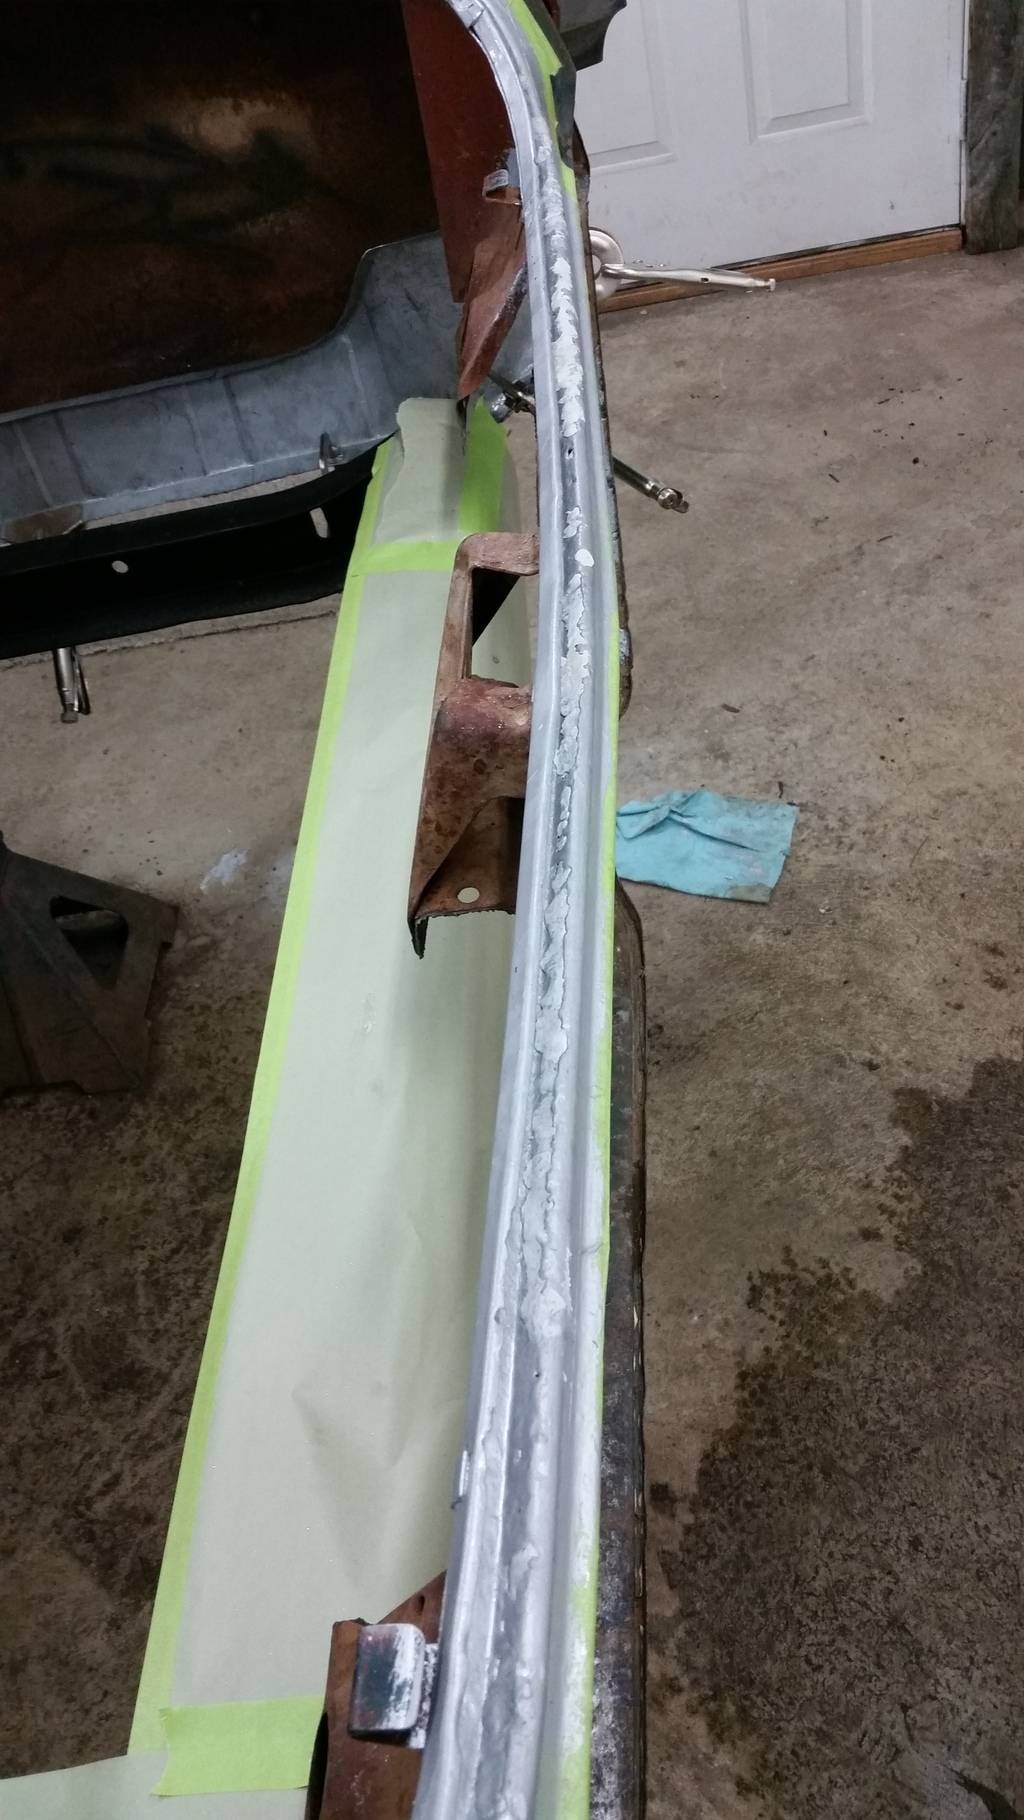
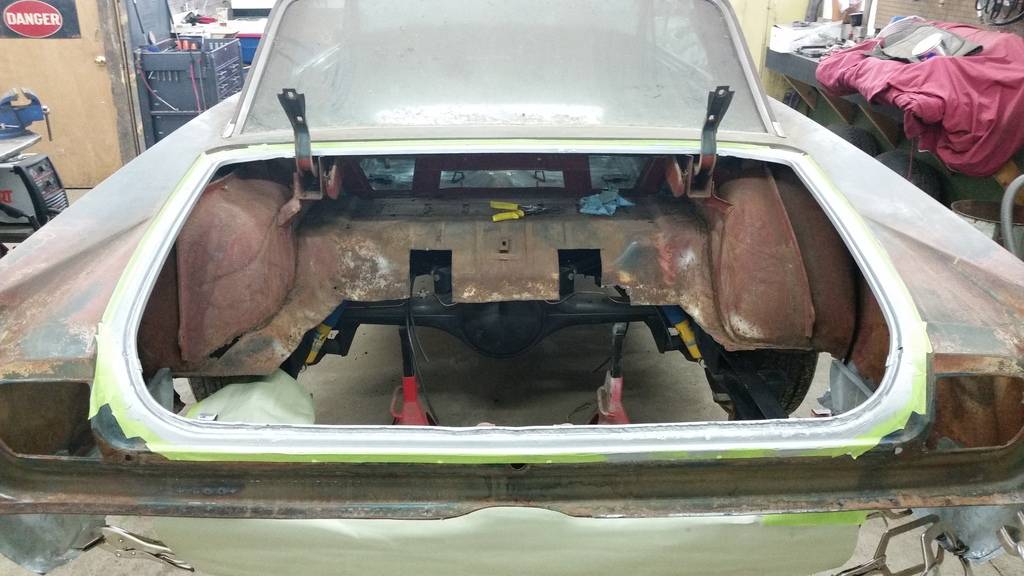
In all reality I am pleased with the way it turned out so far. The epoxy putty took care of the holes and also reinforced the whole rear section of the lip. It dries extremely hard and in sand able.'63 Pontiac Grand Prix
https://www.pro-touring.com/threads/...d-Prix-Project
-


 Reply With Quote


