

Results 1 to 20 of 122
Thread: '67 El Camino - First attempt
-
09-29-2015 #1

 Registered User
- Join Date
- Sep 2015
- Location
- Rockvale TN
- Posts
- 402

'67 El Camino - First attempt
After viewing Herb's "Yelcamino" for awhile now I decided that is what I wanted to do as well. Having owned several El Camino's over the years it was a no brainer I would eventually make my way back...regret to this day selling my '65. Found this '67 local and it was in decent shape so it followed me home.
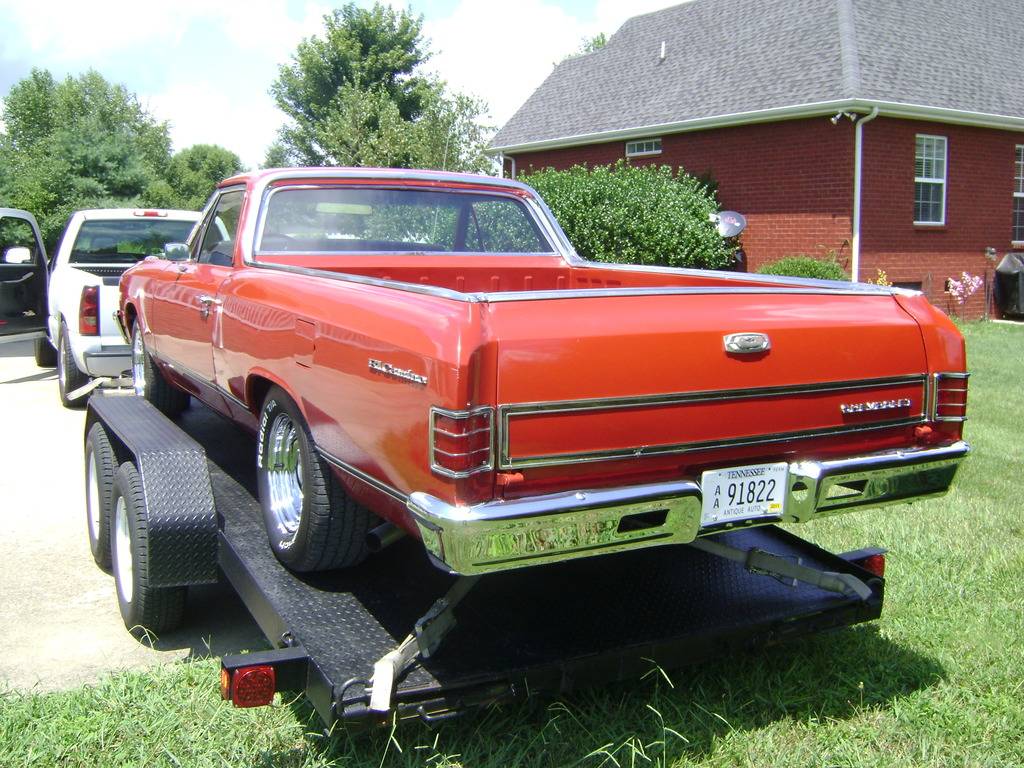
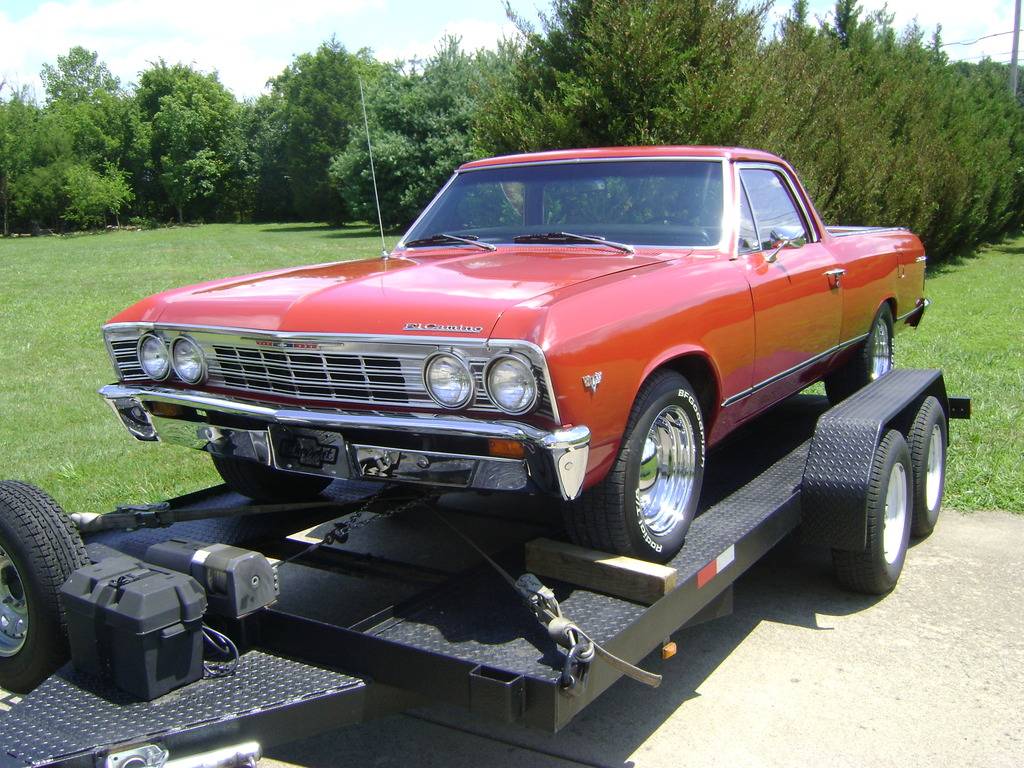
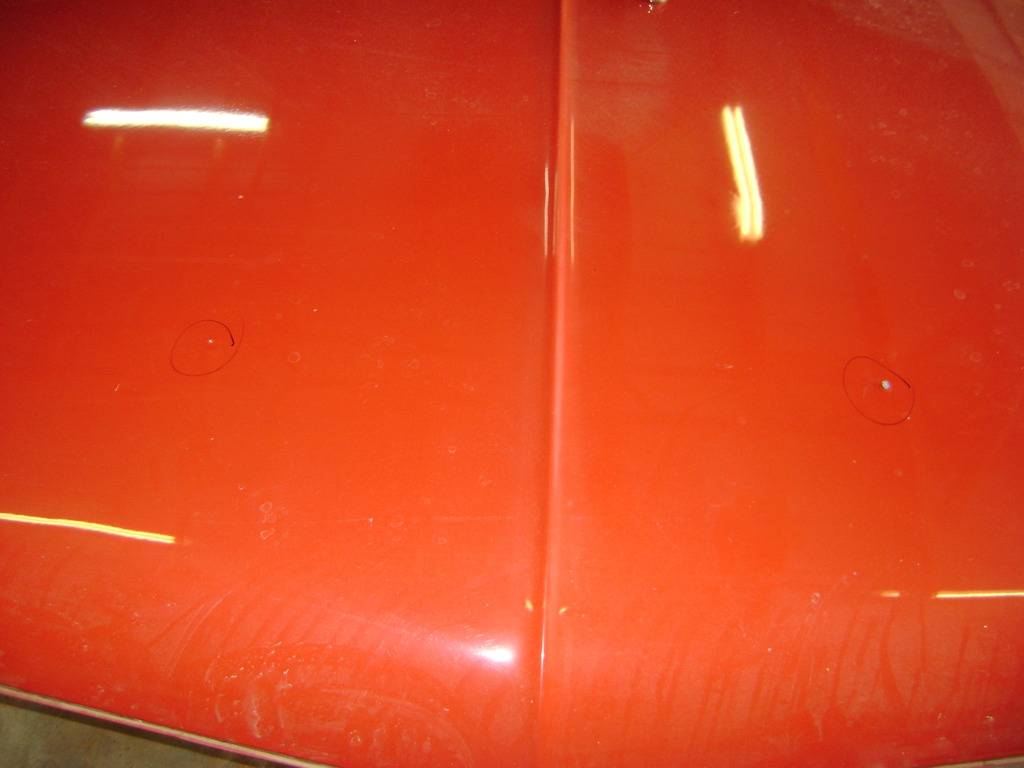
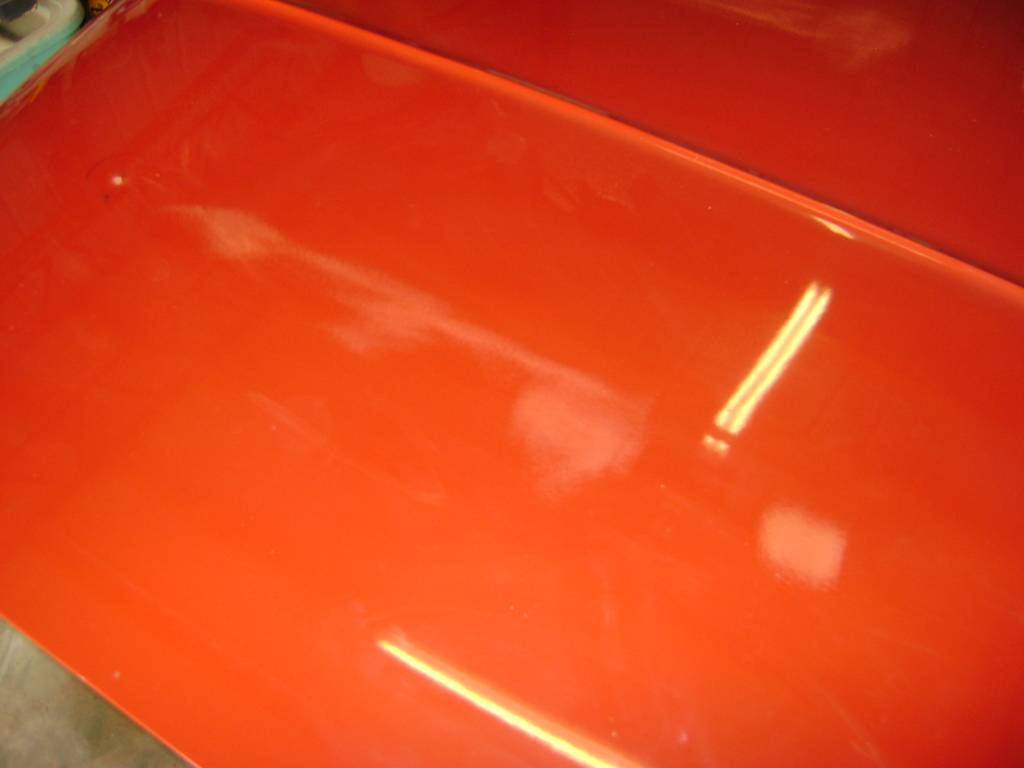
I'm not enthused about the "tomato soup" paint color, so a new paint job is first on the agenda. Kind of late in the season to be beginning this project and not sure how far I can get before cold weather sets in. All work will be done by myself in the back portion of my race partner's shop which is not heated or insulated.
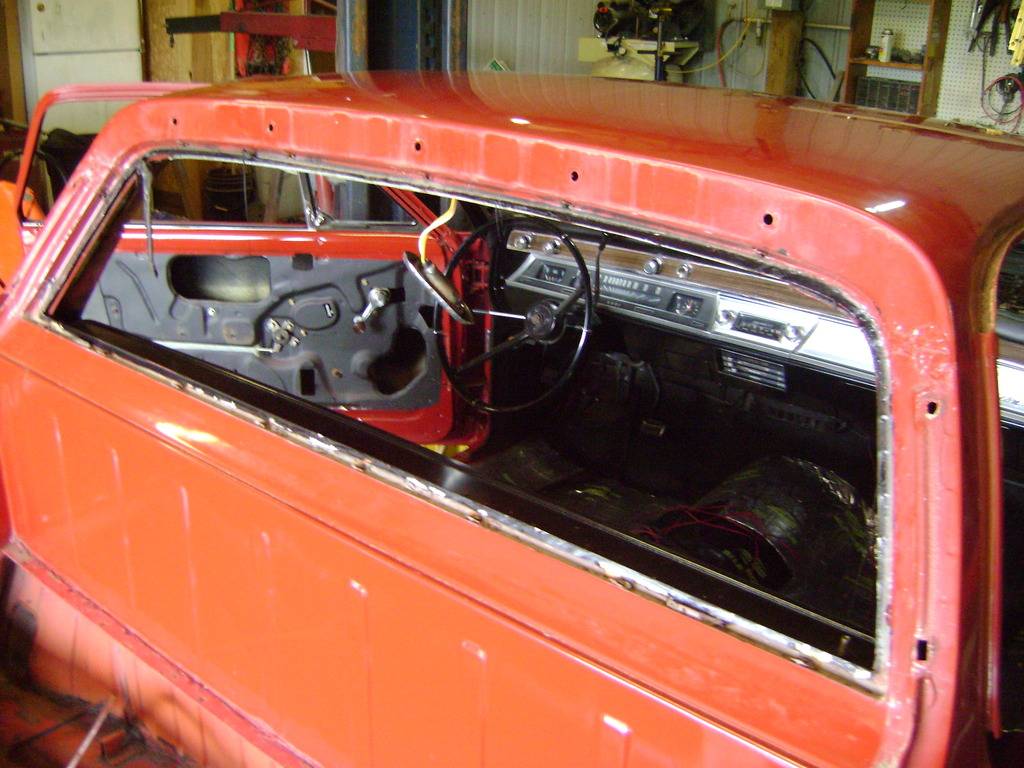
I've started by removing all the trim and glass...steering column and dash to follow.
Hoping to get some tips here on suspension/wheels when that time comes.
Rich
-
09-29-2015 #2 Rat Pack Member

- Join Date
- Sep 2006
- Location
- Indiana
- Posts
- 2,668
09-29-2015 #3 Registered User
- Join Date
- Nov 2006
- Location
- Ma.
- Posts
- 5,567
It looks nice. I hope you get that warn weather you need.
Wayne
Car FINALLY home !!!!!! lol
Project FNQUIK https://www.pro-touring.com/showthre...ghlight=FNQUIK
09-29-2015 #4
Registered User
- Join Date
- Sep 2015
- Location
- Rockvale TN
- Posts
- 402
Thanks guys for the welcome and I promise to have a '67 rear bumper on it at completion instead of the current '65 version.

Rich
09-30-2015 #5 Registered User
- Join Date
- Feb 2006
- Location
- Tennessee
- Posts
- 814
Wow, nice car to start on!!
Subscribed.66 Chevelle - LS-Leap
LQ9 / T56 Complete - Phase 2 in process!!
https://www.pro-touring.com/threads/...t-LS-Heap-quot
SC&C, Kore3, Detroit Speed, BBS, Advanced Induction, TickPerf, Currie, Moser, Holley, Hellwig, Edelbrock LS-Kit, Mast, Wilwood, BP-Automotive, StopTech, Ridetech, Hotchkis, UMI, Energy Suspension, AAW, B&B Classic's, PPG, Aeromotive, Canton, C&R, Sparco, Ididit, Spectre, Bridgestone, DakotaDigital, Alpine, RockfordFosgate
09-30-2015 #6 Registered User
- Join Date
- Jan 2006
- Location
- McKinney, TX
- Posts
- 1,625
I've had a build idea about one of these for a while, whats the plans?
66 Mustang "Project: Ballin on a budget"
89 Mustang "Box Wine"
09-30-2015 #7
Registered User
- Join Date
- Sep 2015
- Location
- Rockvale TN
- Posts
- 402
First will be paint. Nardo Gray is on top right now...can't get the color out of my head. Pretty much decided it will be SB powered with a McLeod five speed w/3.73 gear in the 12-bolt. I'm leaning towards the coilover shocks on all four corners so I can get the body down the way I have it envisioned in my head. I wanted 17" wheels from the start because I like more sidewall than rim...wheel/tire choice is still up in the air. Interior will have some type of buckets w/5-point harnesses for both driver and passenger. I have an idea in my head for providing an attachment point for the shoulder belts and seat back supports combined into one...no roll bar planned at this juncture. The smugglers box will be hinged for jack/tool storage and the spare will also be stored in the bed area with a nice cover over it. Inside of bed to be spray lined w/body color. I'm also searching for someone to fabricate a two-piece aluminum bed cover that I can install slightly recessed...probably fastened with some type of dzus. I have lots of ideas...we will see how many of them I can pull off lol. Originally Posted by Z06killinSBF

10-01-2015 #8 Registered User
- Join Date
- Feb 2015
- Location
- Ladera Ranch, CA
- Posts
- 25
You started out with a nice piece. Can't wait to see the finished product!! Keep 'em coming!!
10-26-2015 #9
Registered User
- Join Date
- Sep 2015
- Location
- Rockvale TN
- Posts
- 402
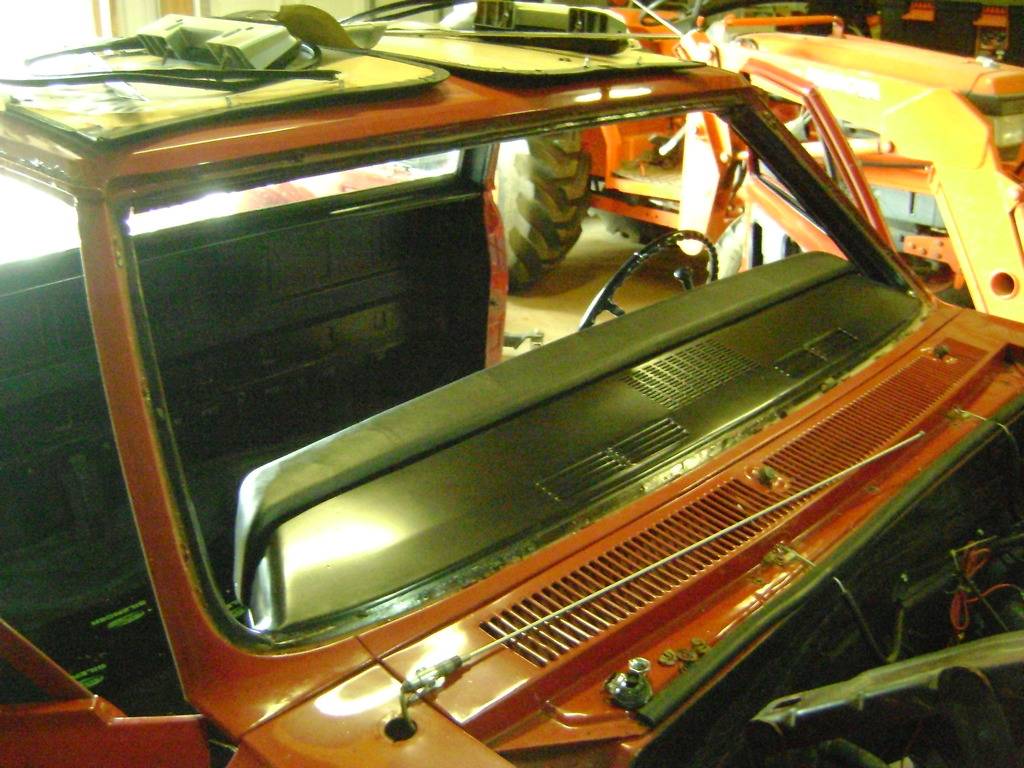
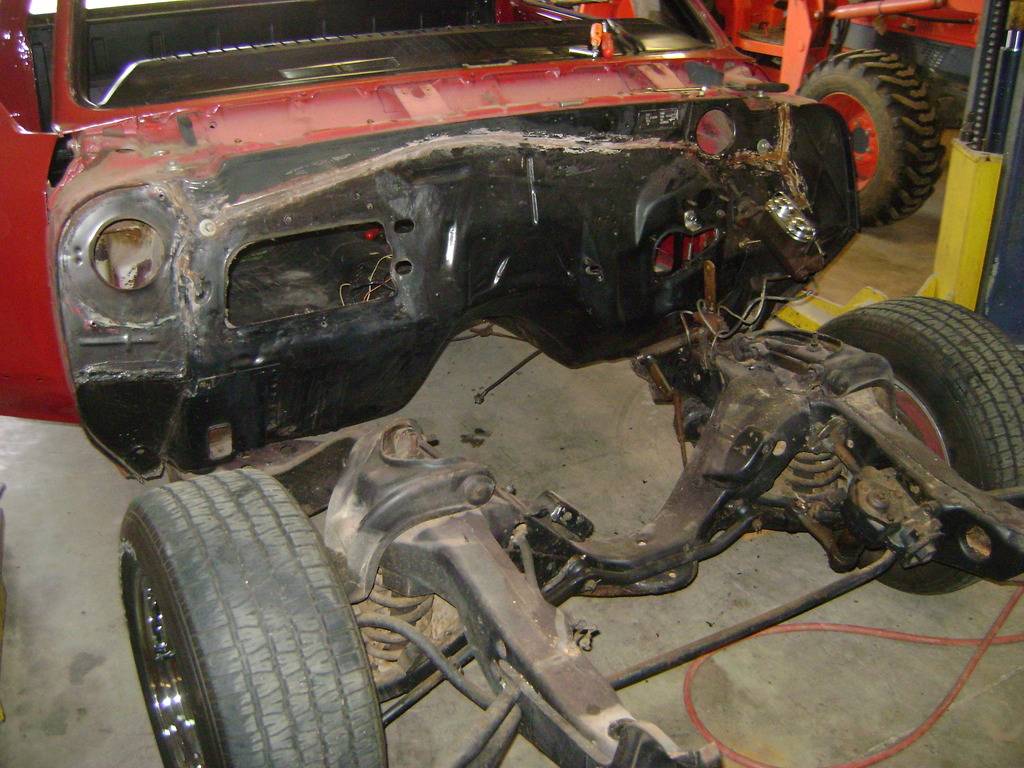
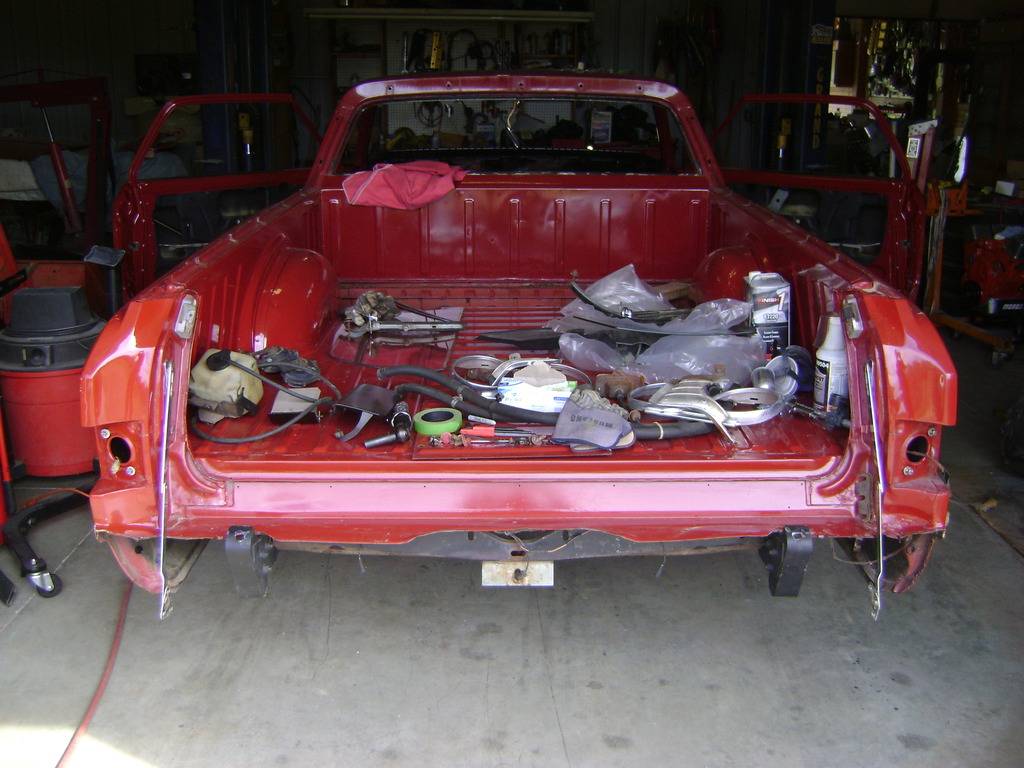
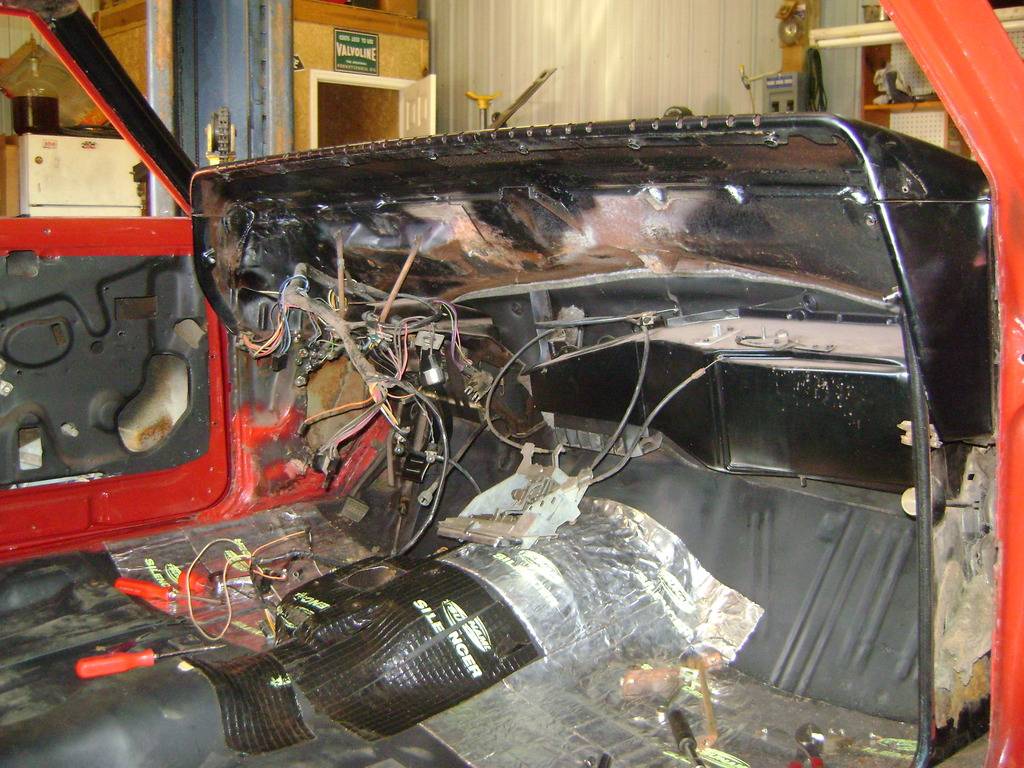
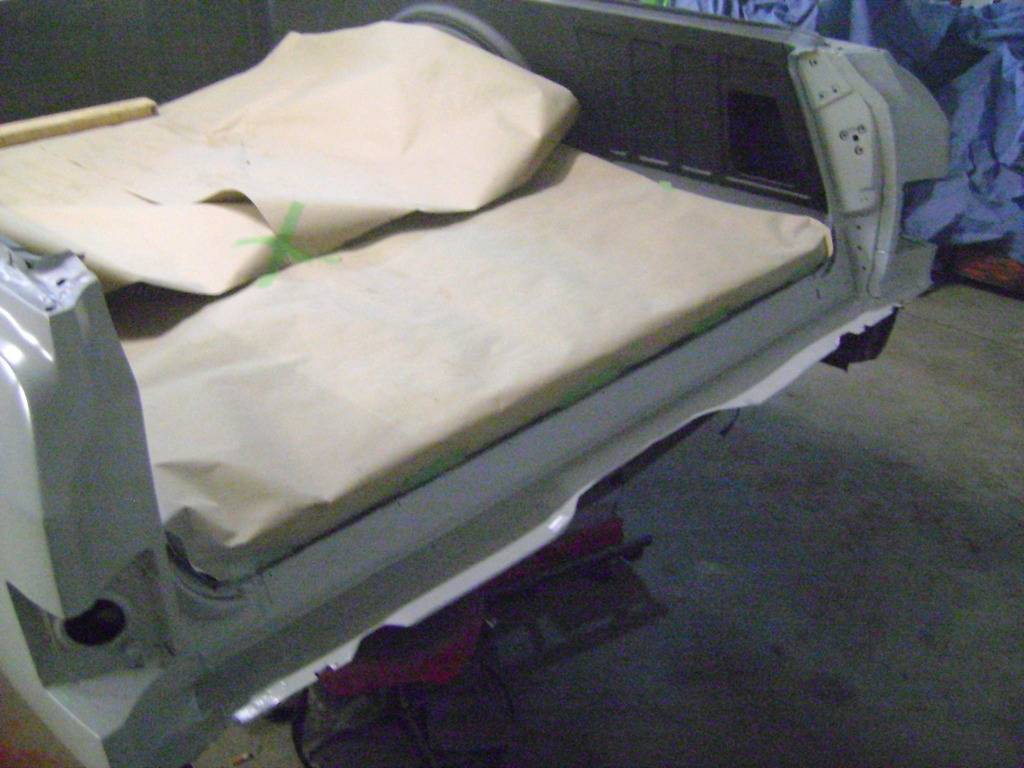
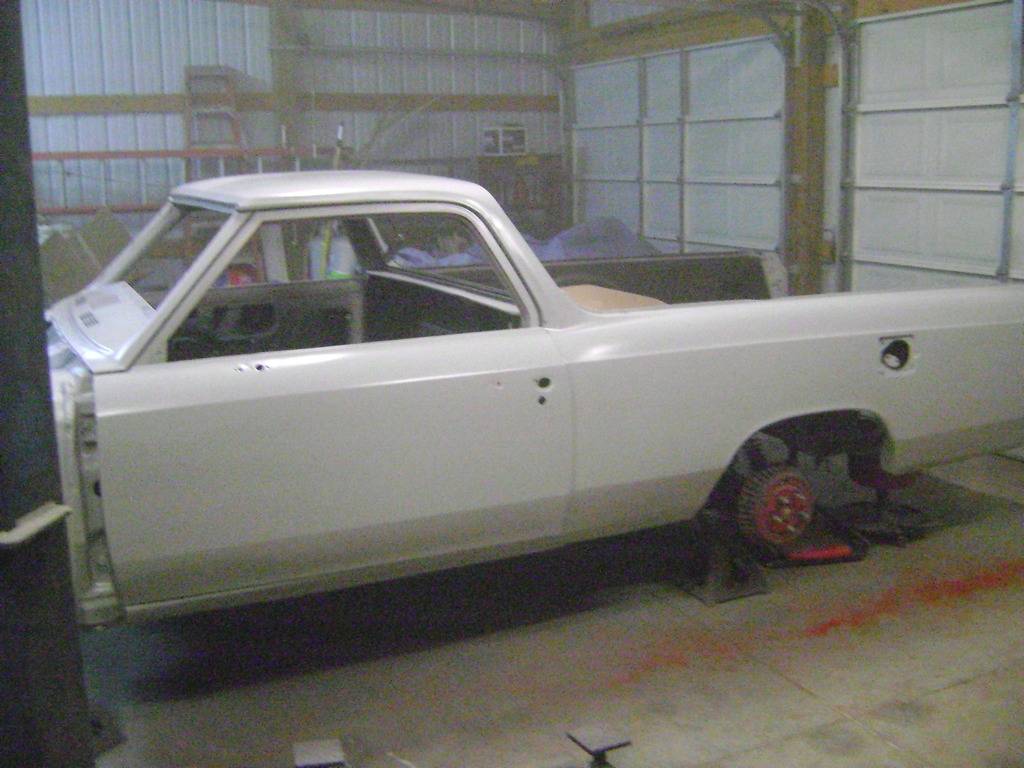
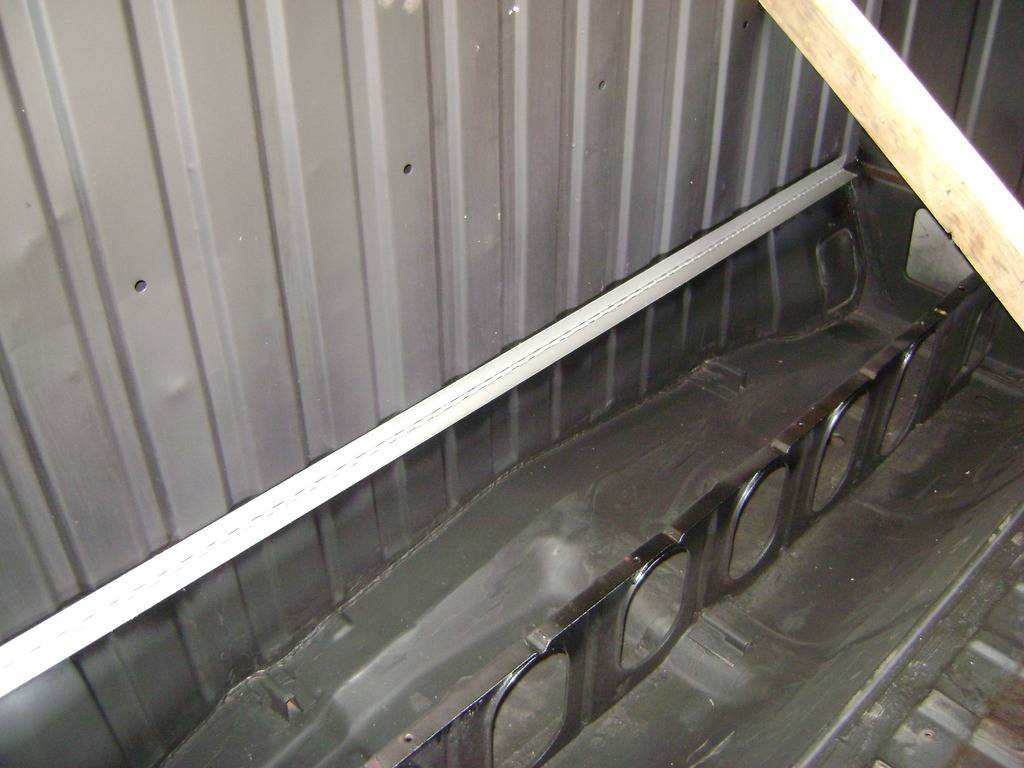
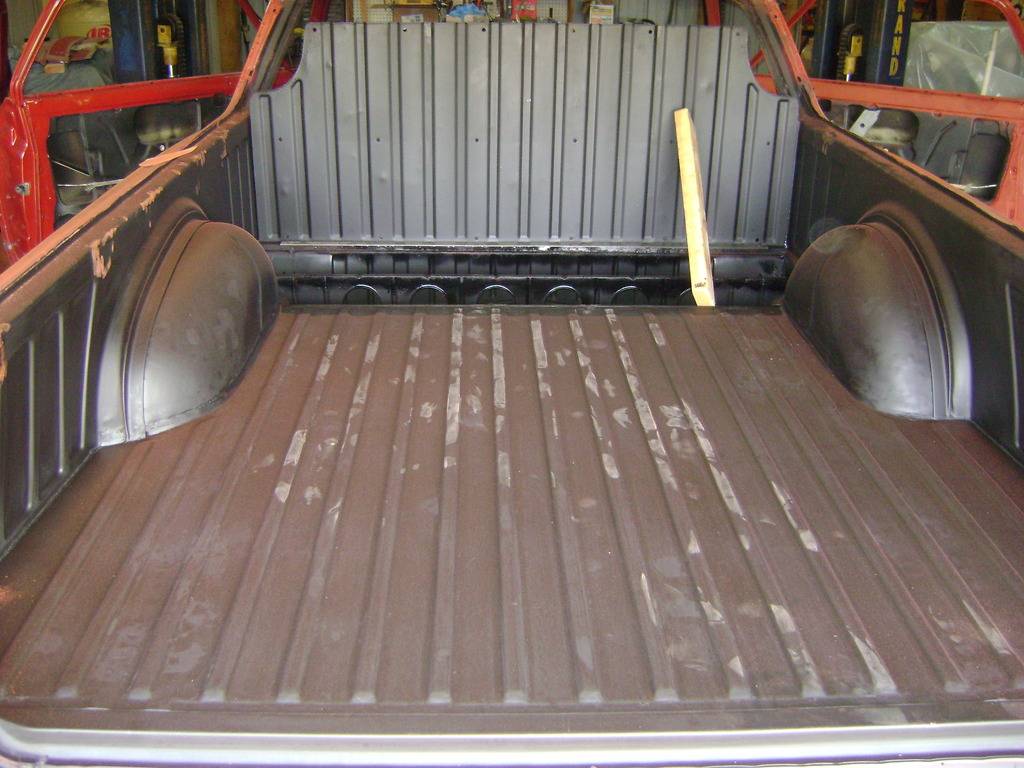
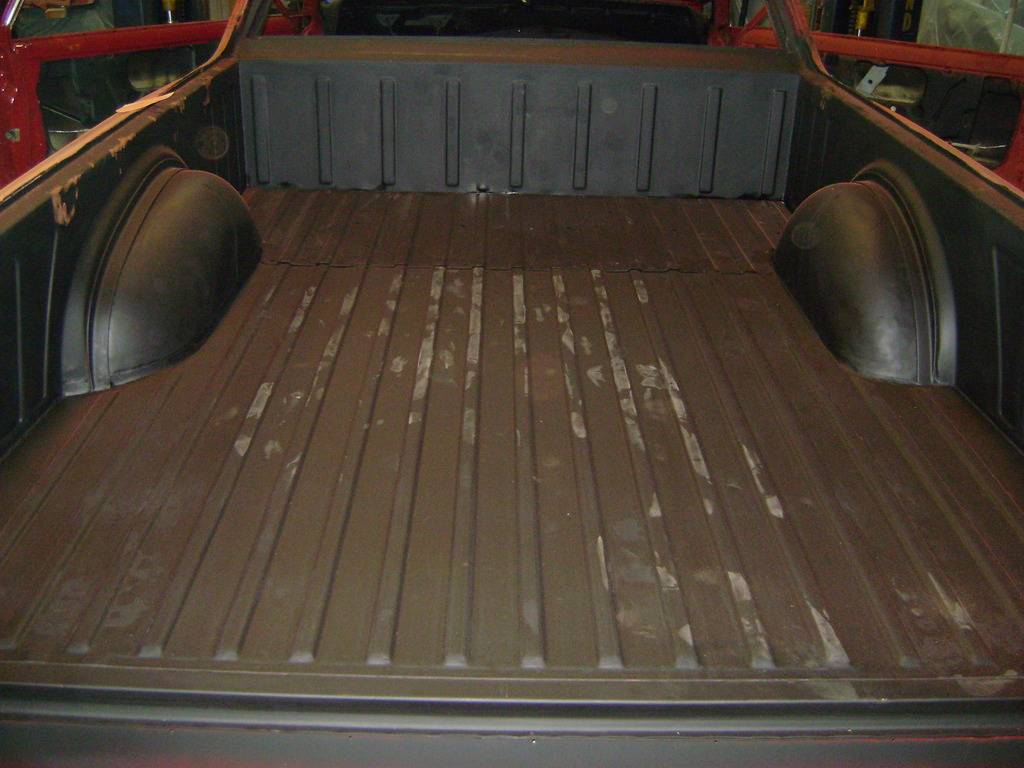
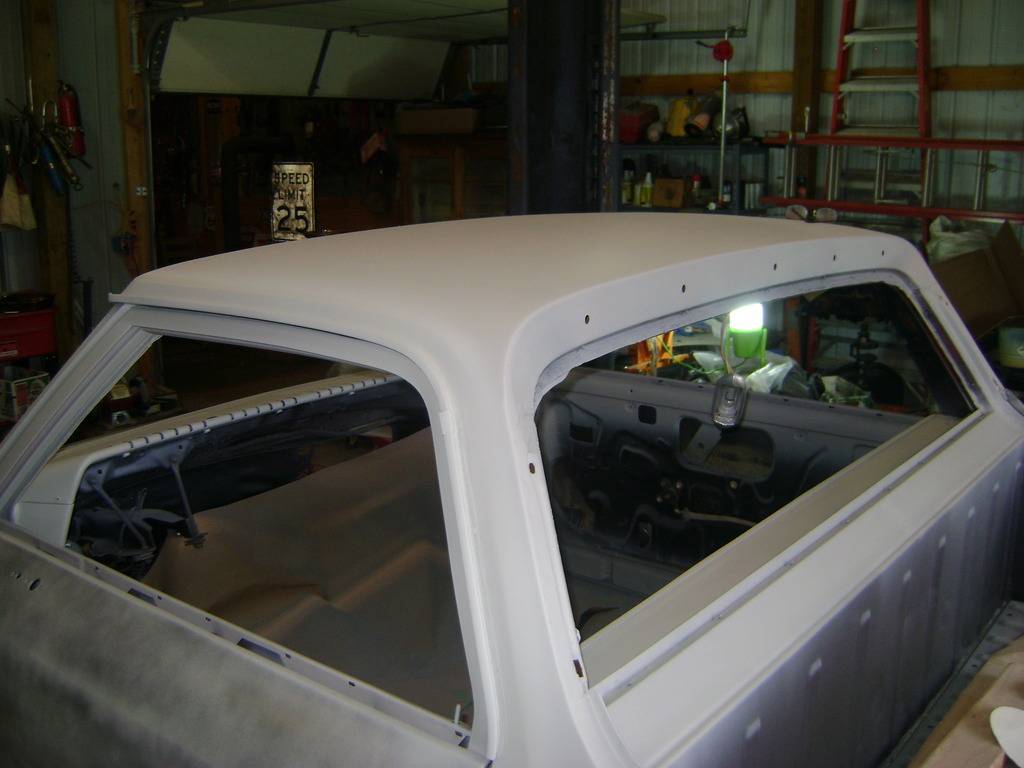
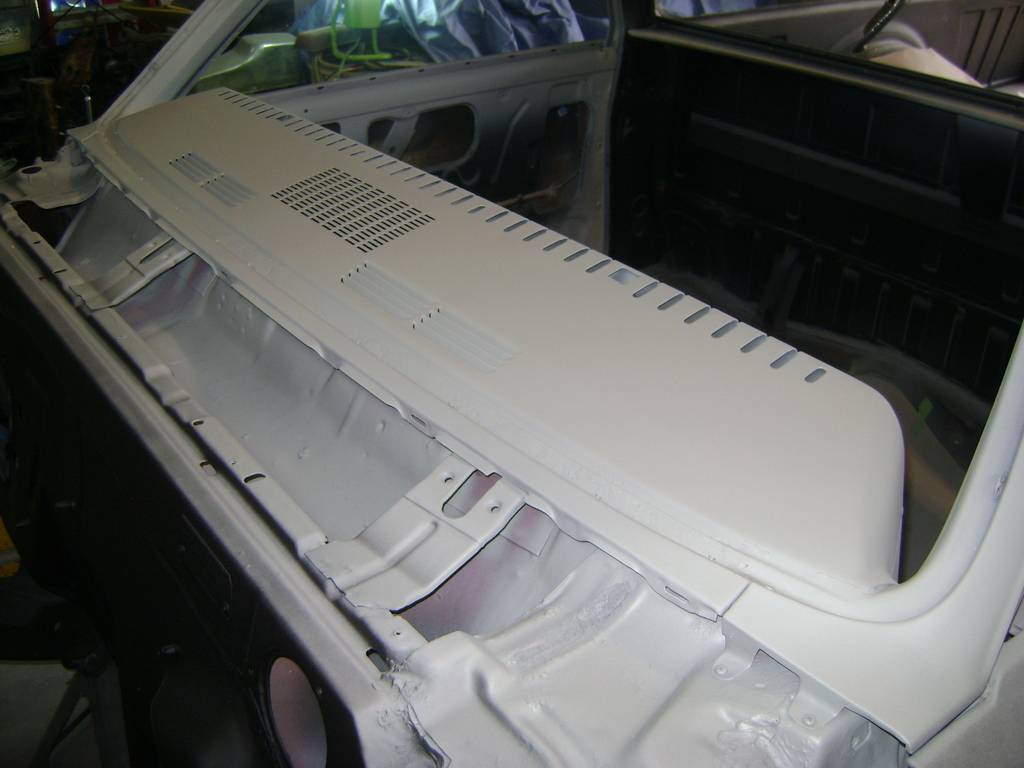
Been a slow go lately with my partner wanting me to haul him to the track every weekend lol. I have managed to get the Camino pretty much stripped however...all glass out, dash and tailgate removed. Began digging out all the seam sealer on the firewall in preparation for smoothing. With luck I may get this project in primer at least before cold weather sets in. What a mess...

10-27-2015 #10 Registered User
- Join Date
- Oct 2010
- Location
- Mena, AR
- Posts
- 287
Welcpme and good to see another Elky!! I thought it was mine at first glance. Looking forward to your build. My 67 is on hold til I can finish my son's 51 Chevy truck.
Chris
Chris
1967 ElCamino
2004 Chevy SSR (my sons)
1951 Chevy pickup(my sons)
1967 Elky https://www.pro-touring.com/showthre...587-Evil-Angel
1951 truck https://www.pro-touring.com/threads/...3-year-old-son
11-01-2015 #11
Registered User
- Join Date
- Sep 2015
- Location
- Rockvale TN
- Posts
- 402
I agree Chris, from the rear pictures they do look nearly identical.
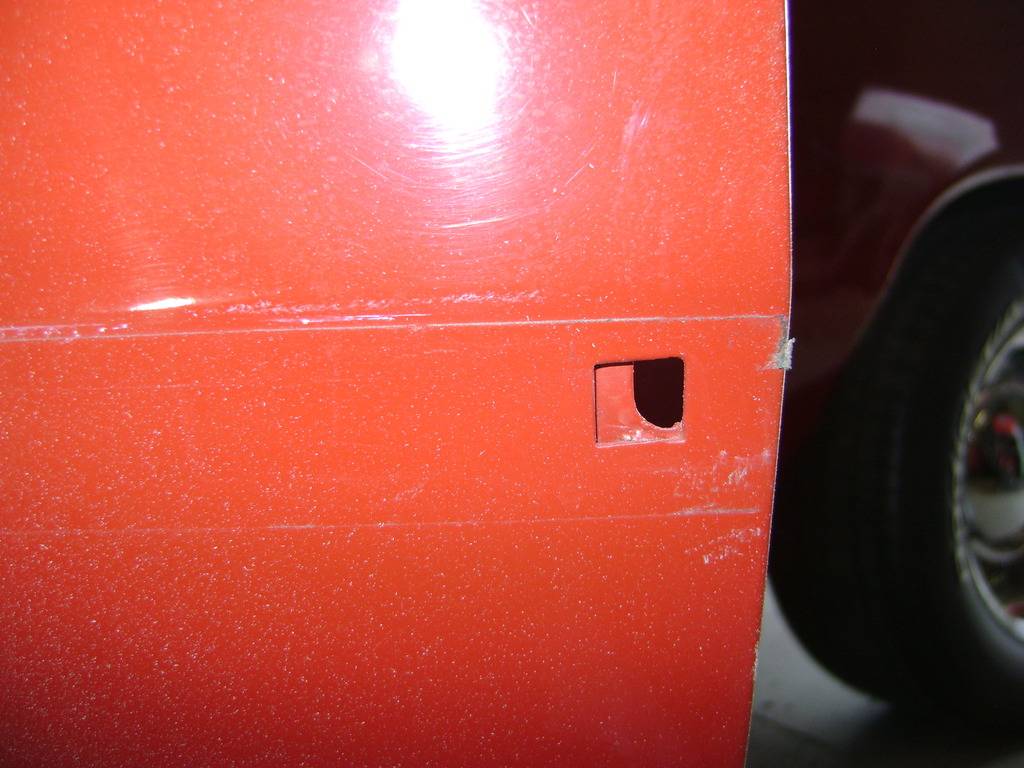
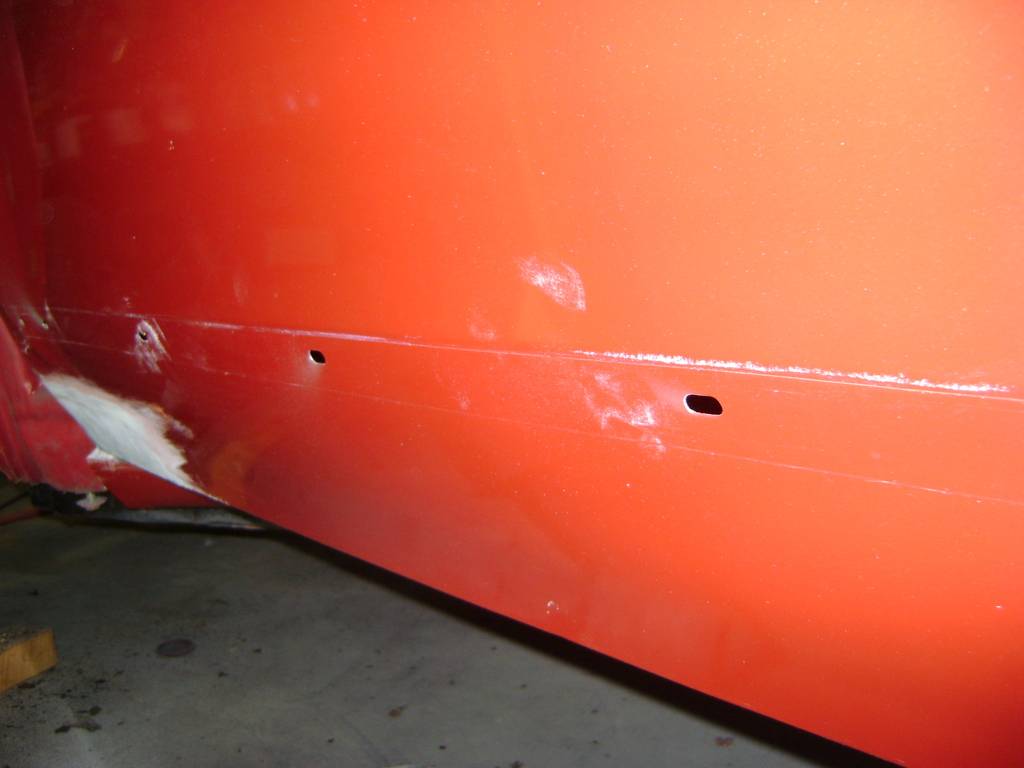
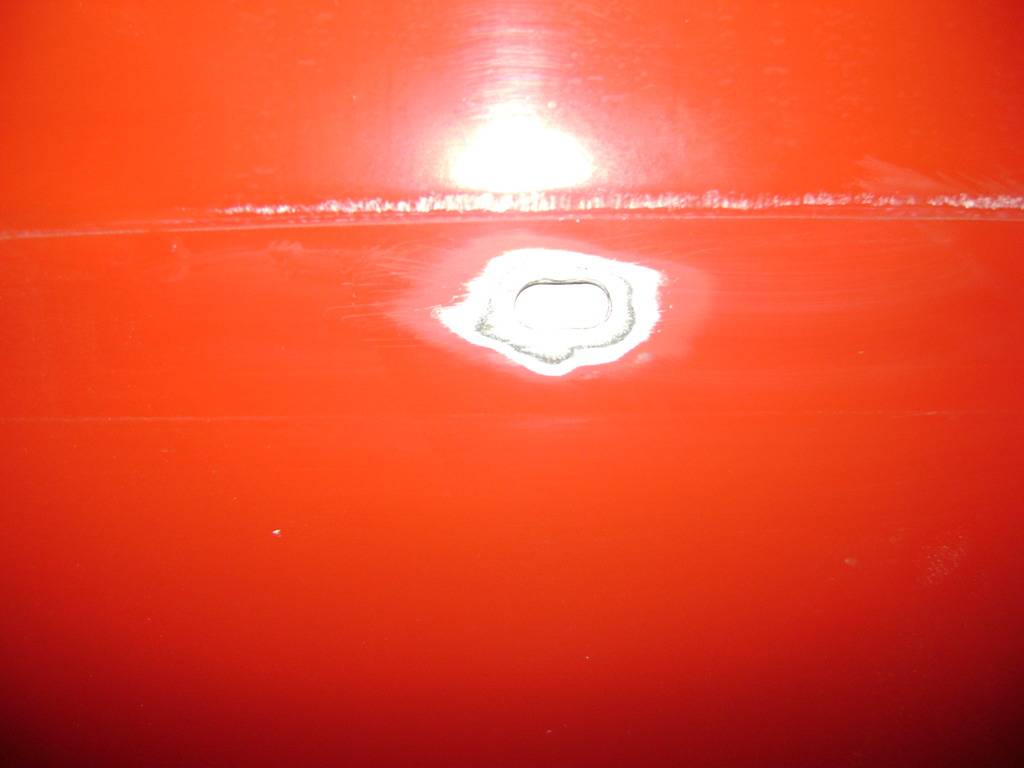
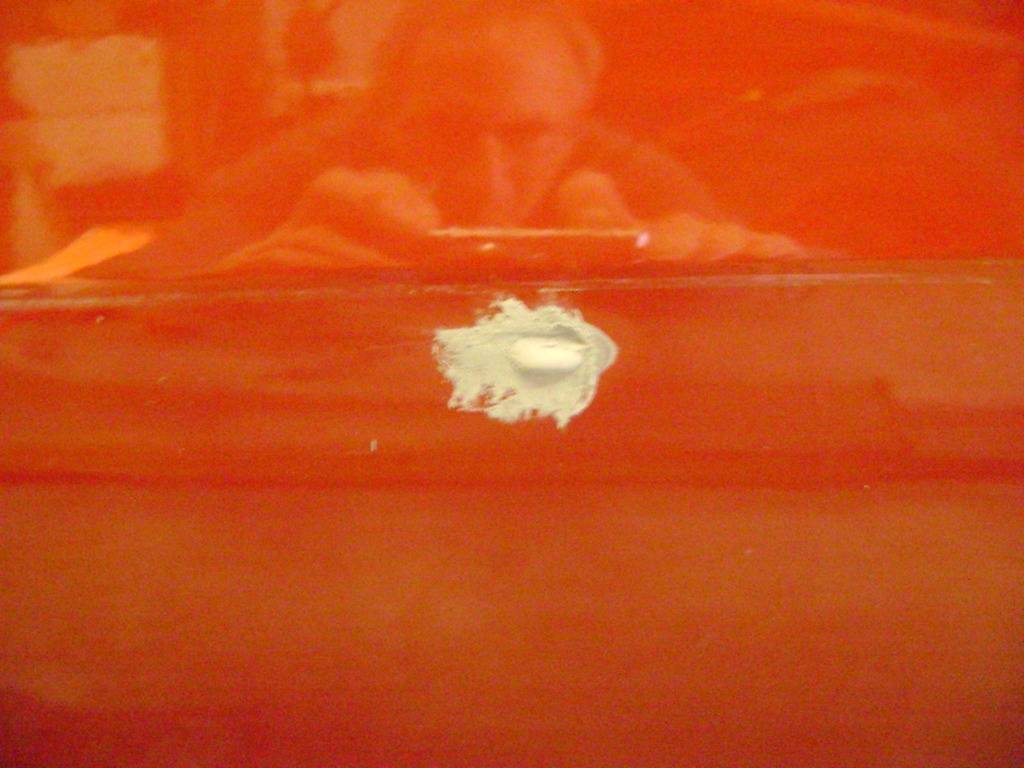
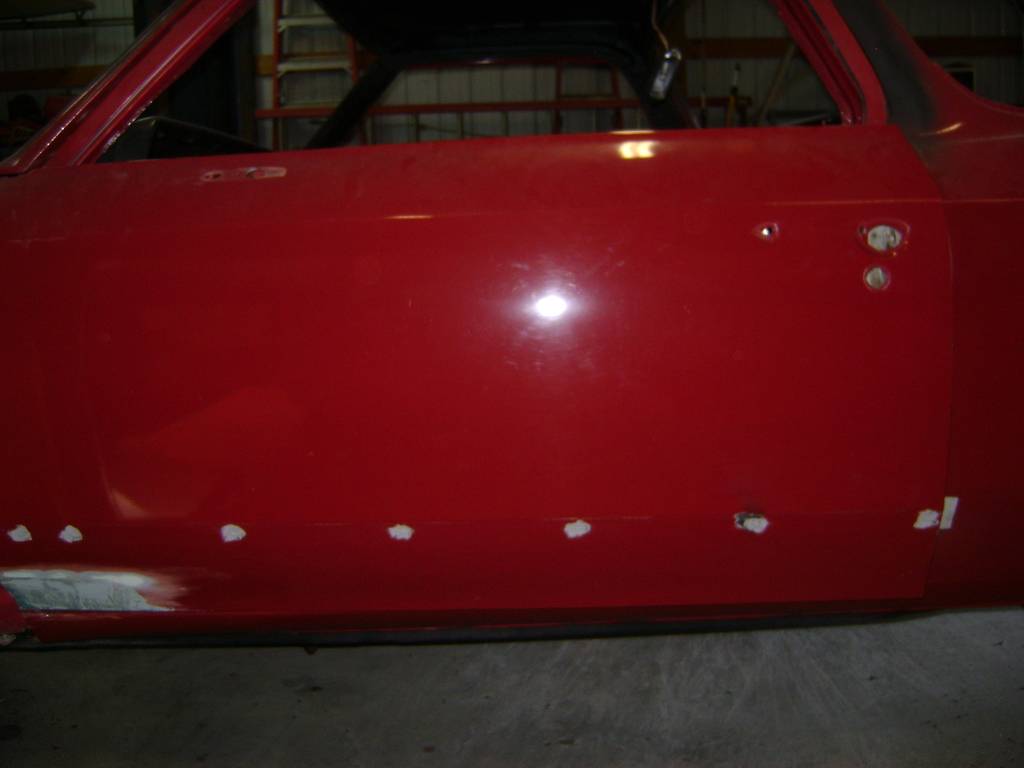
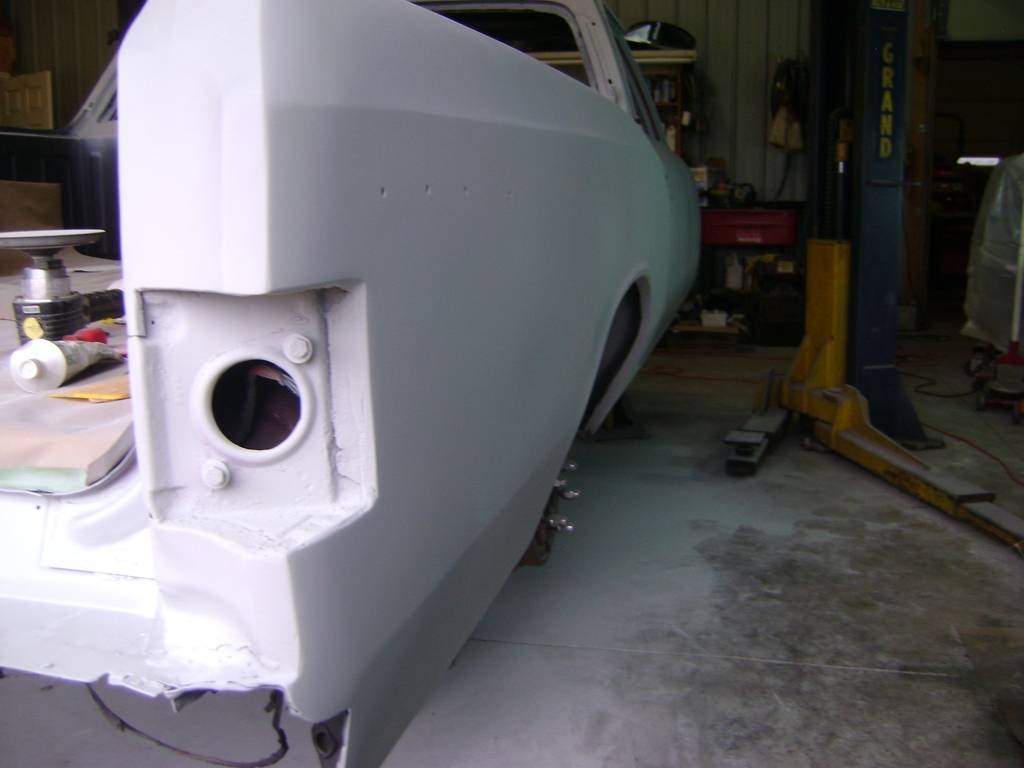
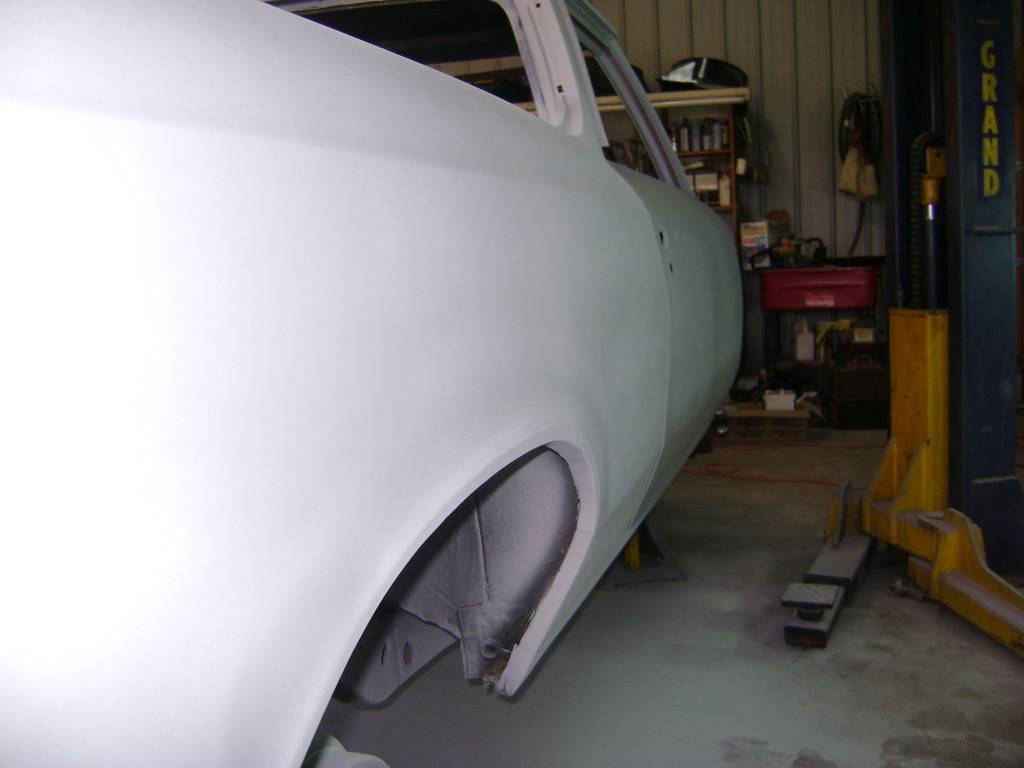
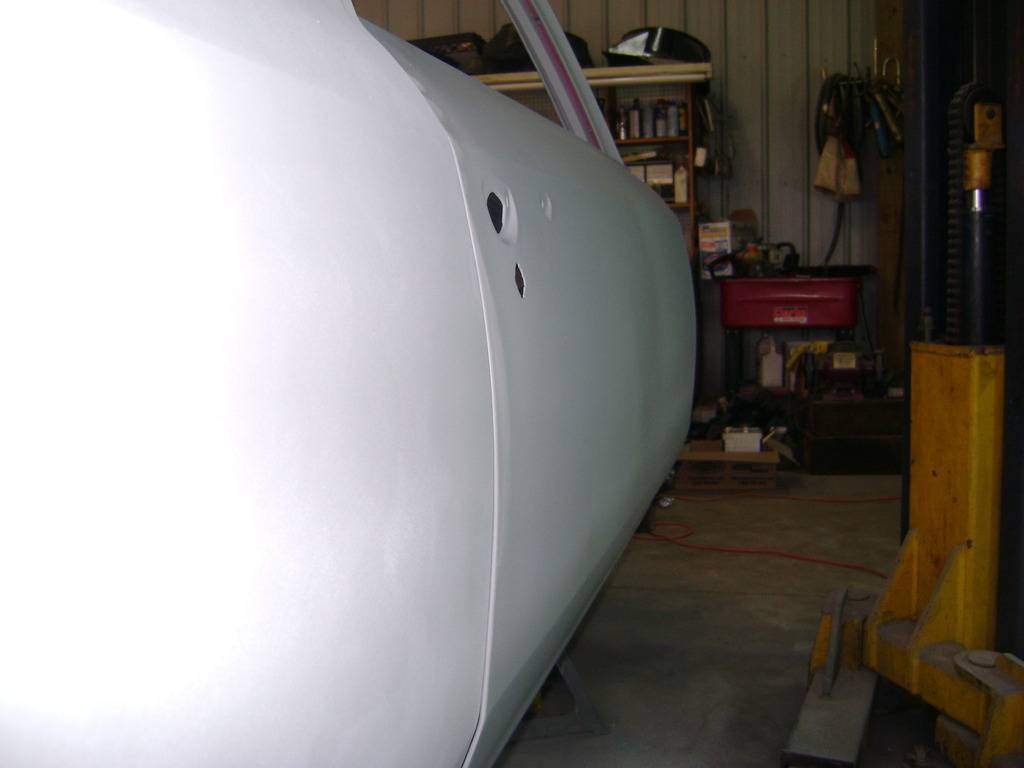
I had to make a decision about the trim retaining holes in the door skins since I will not be going back with any side trim after paint. I tried the Mig welder/copper backing method on one hole and it worked somewhat, but I am just not comfortable with the process.
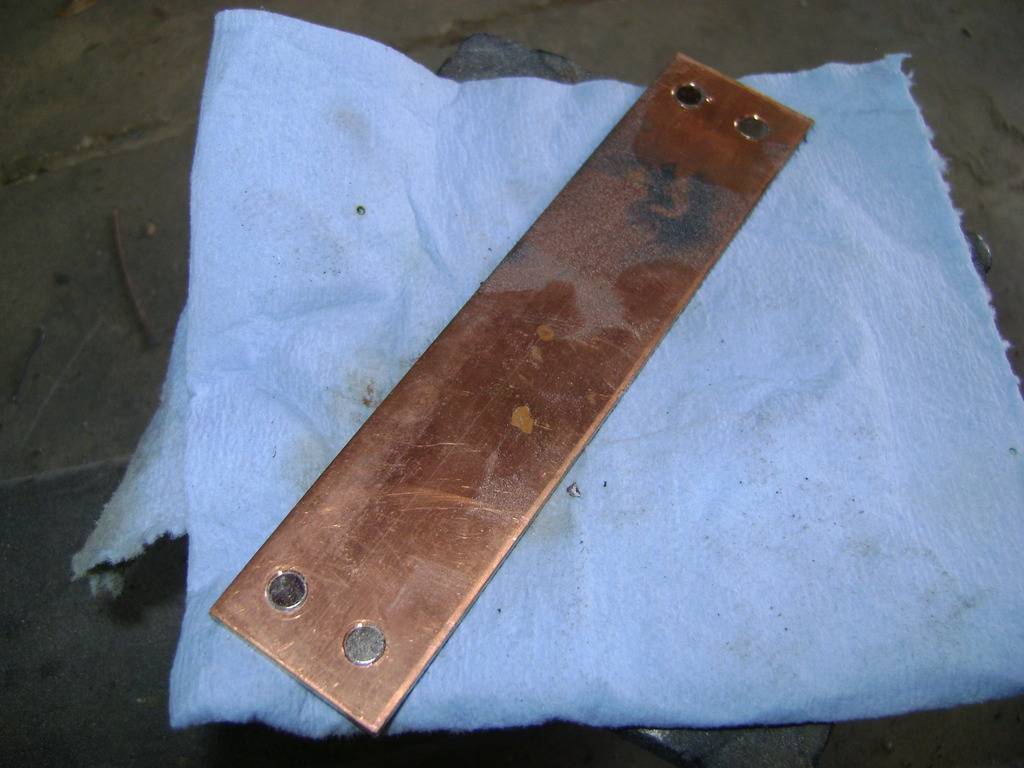
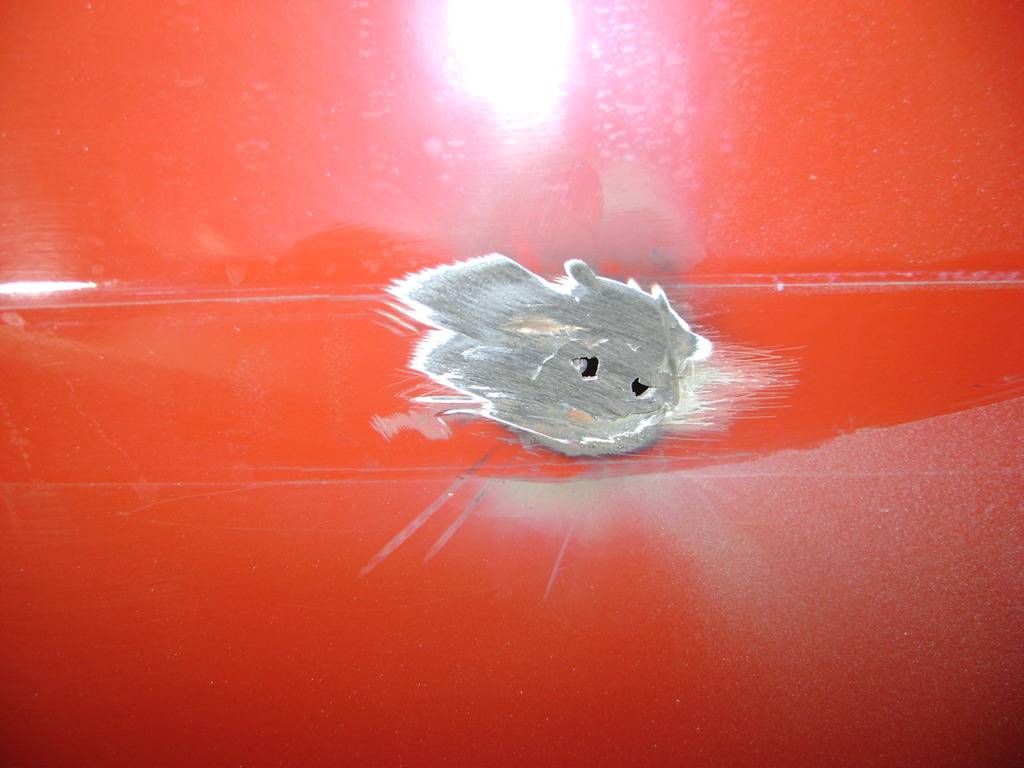
Decided to try a different method with a product I have not used in years and never in this fashion...Lab Metal.
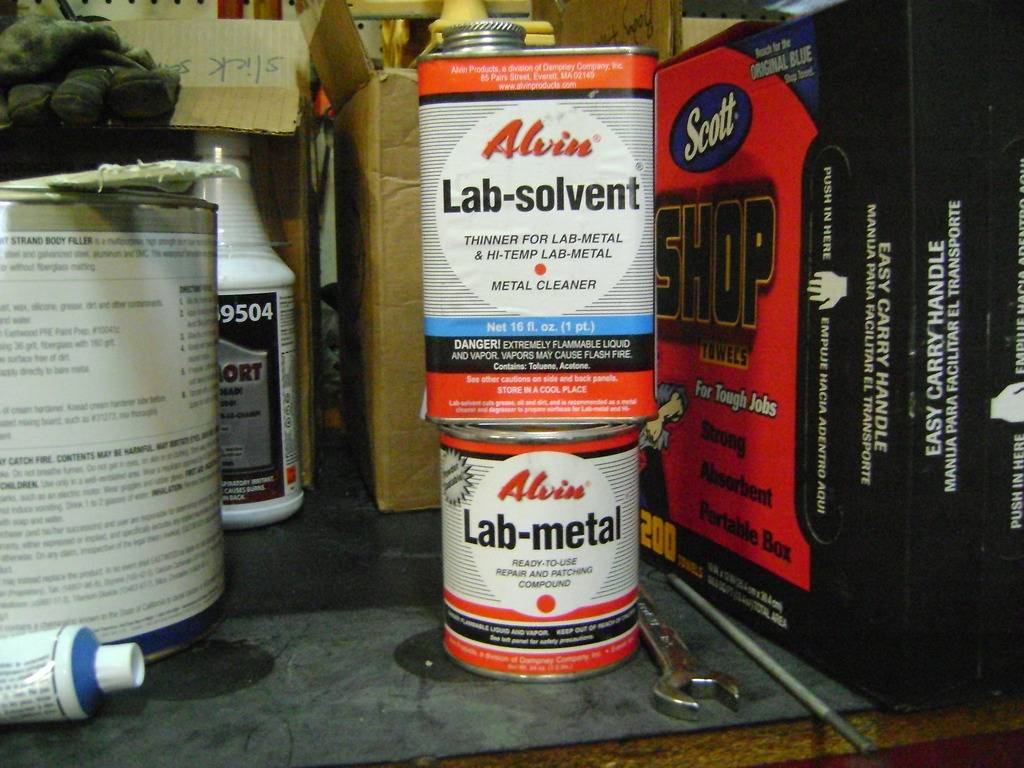
I ground the paint/primer from around the holes and scuffed the interior of the door skins as well. Placed duct tape behind the holes for a temporary backer then lifted the edges of the tape around the perimeter of the holes to allow the Lab Metal to slightly ooze around the backside. Using a plastic filler spreader I packed/smoothed the metal...will access the strength of the patches after a 24 hour period. If all is well I may give them another skim coat before proceeding with body filler/primer.
11-02-2015 #12
Registered User
- Join Date
- Jan 2006
- Location
- McKinney, TX
- Posts
- 1,625
If you can reach the back side, I've done it where I put tape on the outside and fill from the rear. You end up with a wider contact patch that wont thin out during sanding.
66 Mustang "Project: Ballin on a budget"
89 Mustang "Box Wine"
11-02-2015 #13
Registered User
- Join Date
- Sep 2015
- Location
- Rockvale TN
- Posts
- 402
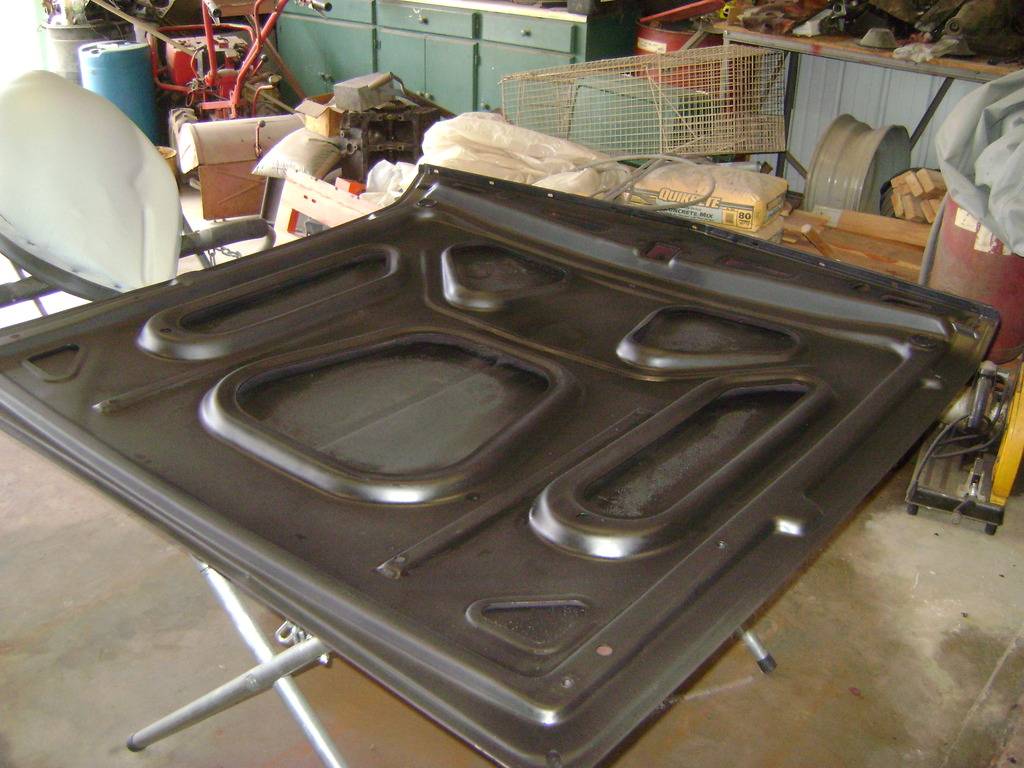
So you have used this method as well? I figured I was the only one in this grand experiment lol. Going back to the shop this afternoon to check on it. I did take my finger and slightly dimple the spots from the outside as it was setting up...if all look good I will add a skim coat over them and call it done. I may even try this on the tailgate skin for the holes that mount the moulding which is no longer available. Originally Posted by Z06killinSBF
12-20-2015 #14
Registered User
- Join Date
- Sep 2015
- Location
- Rockvale TN
- Posts
- 402
Gawd, snails are running over me on this project. I do have a little progress to report.
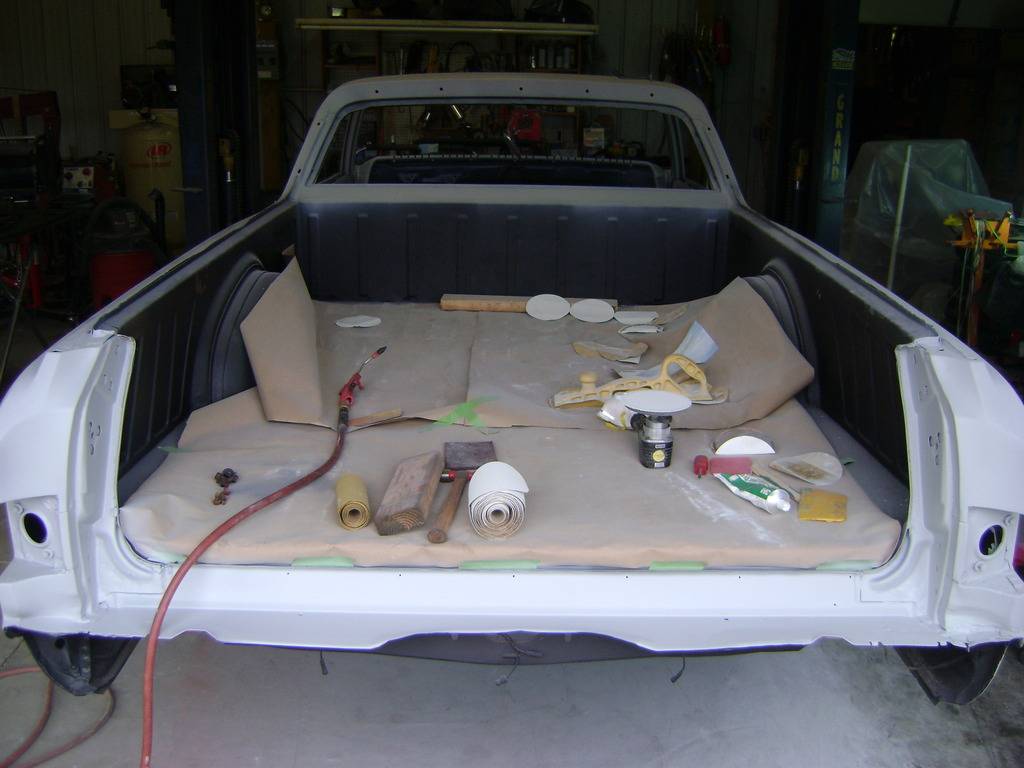
Nothing firm on plans for the smugglers box yet, but it will be hinged soon at any rate.
12-21-2015 #15 Registered User
- Join Date
- Jan 2014
- Location
- Seattle WA
- Posts
- 288
Wow. You had a super clean vehicle to start with. Jealous! Eager to see where you go with it! Good luck!!
1967 El Camino 408ci LSx....and the build begins!
1967 Turbocharged 408ci LSx Chevelle - 1012 rwhp, 959 rwtq 67 Chevelle
2009 Supercharged Silverado - On the Dyno
12-21-2015 #16
Rat Pack Member
- Join Date
- Sep 2006
- Location
- Indiana
- Posts
- 2,668
12-24-2015 #17 Rat Pack Member
- Join Date
- May 2007
- Location
- Mooresville, Indiana
- Posts
- 1,878
I like it! We have a 65 Elco for our daughter to drive and auto-x.
Tom Farrington
66 Chevelle hardtop (ours) https://www.pro-touring.com/showthre...PT-build-(ours)
64 Chevelle 4-dr wagon (wife's) https://www.pro-touring.com/showthre...HAUL-LONG-ROOF
The new shop build https://www.pro-touring.com/showthre...53#post1016553
12-24-2015 #18
Registered User
- Join Date
- Sep 2015
- Location
- Rockvale TN
- Posts
- 402
I had a '65 at one time and always regretted selling it. Originally Posted by tommycomfort
12-26-2015 #19
Registered User
- Join Date
- Sep 2015
- Location
- Rockvale TN
- Posts
- 402
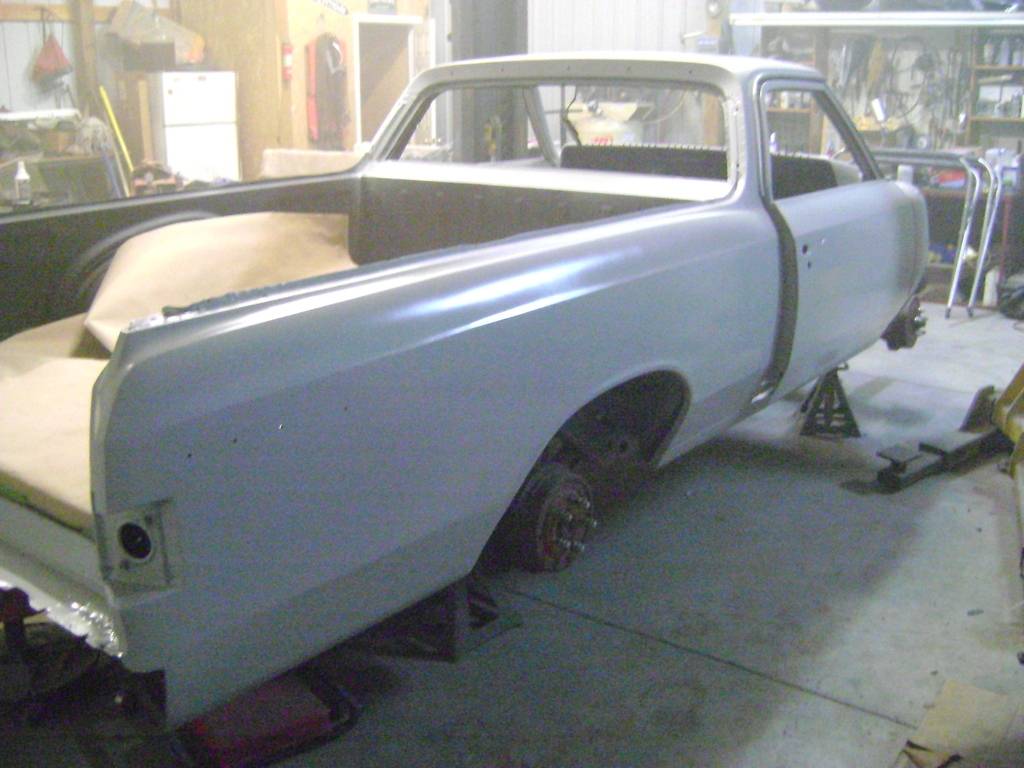
Sneaking up on it...one more blocking will tell the tale.
Bits and pieces...
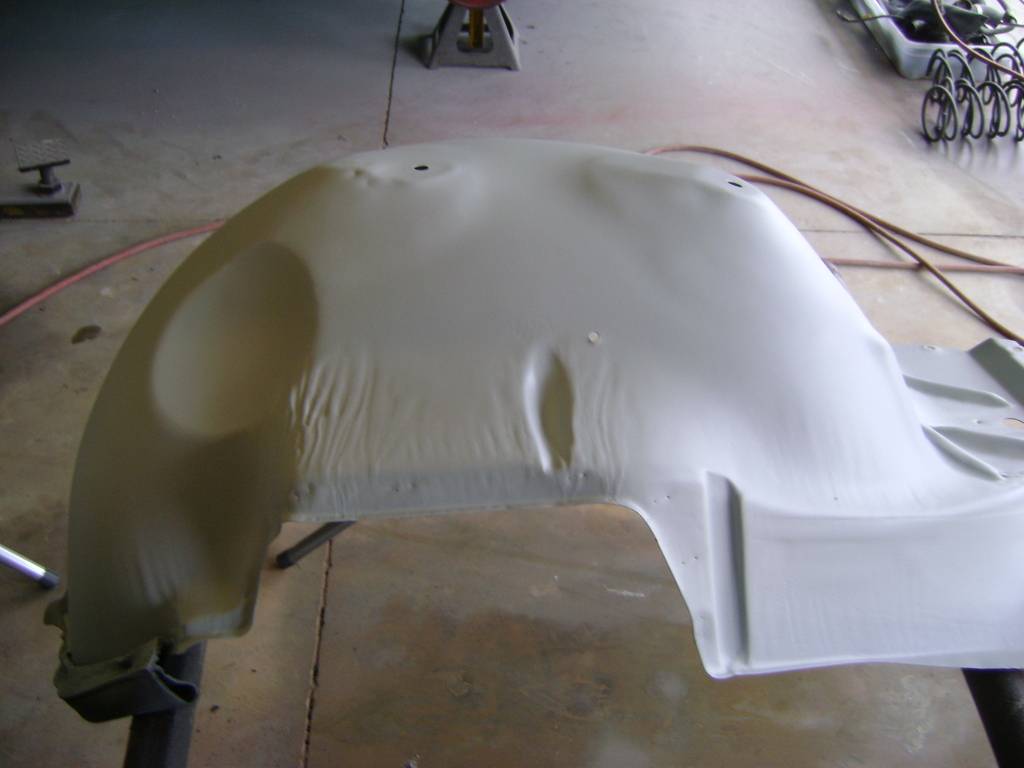
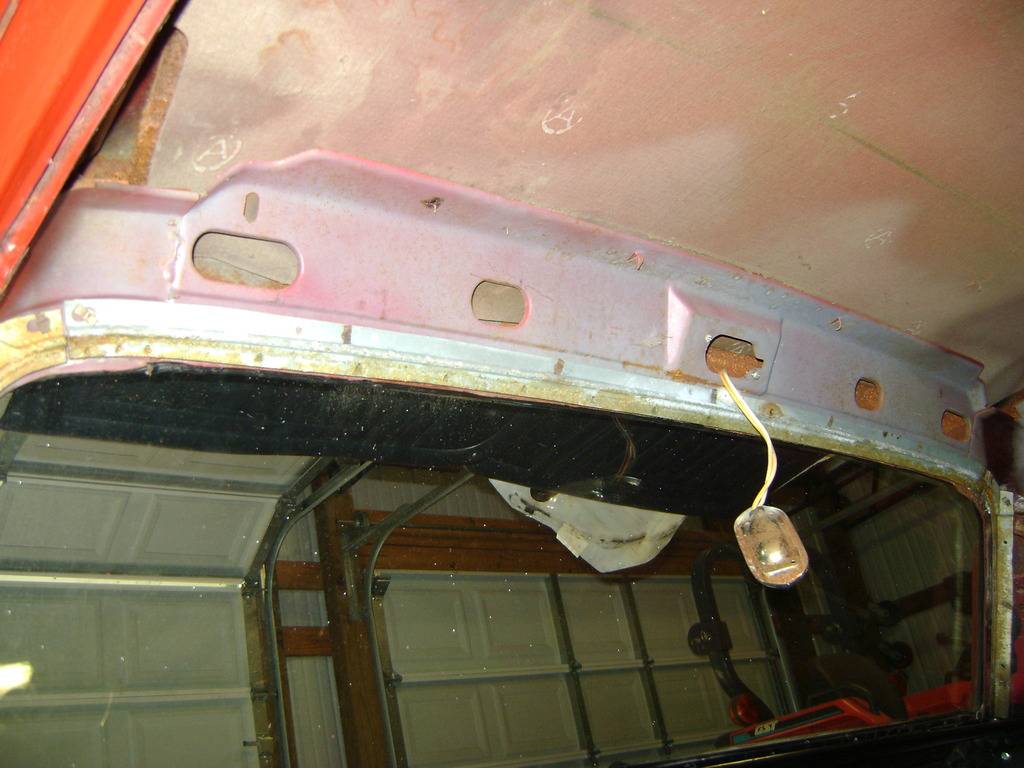
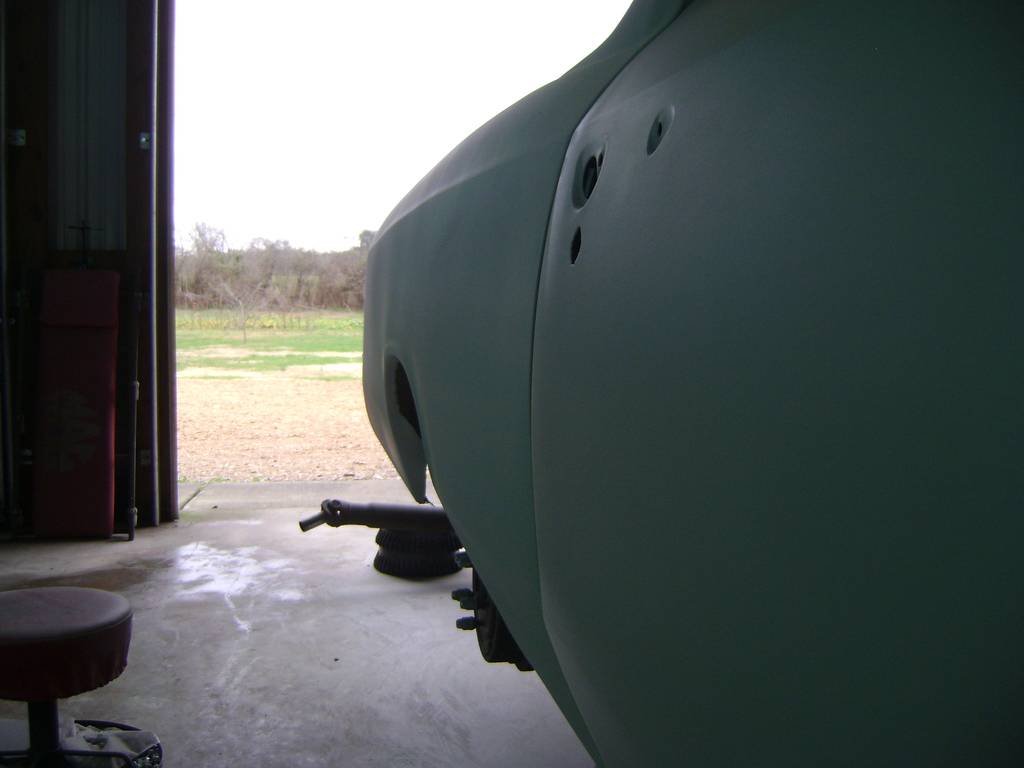
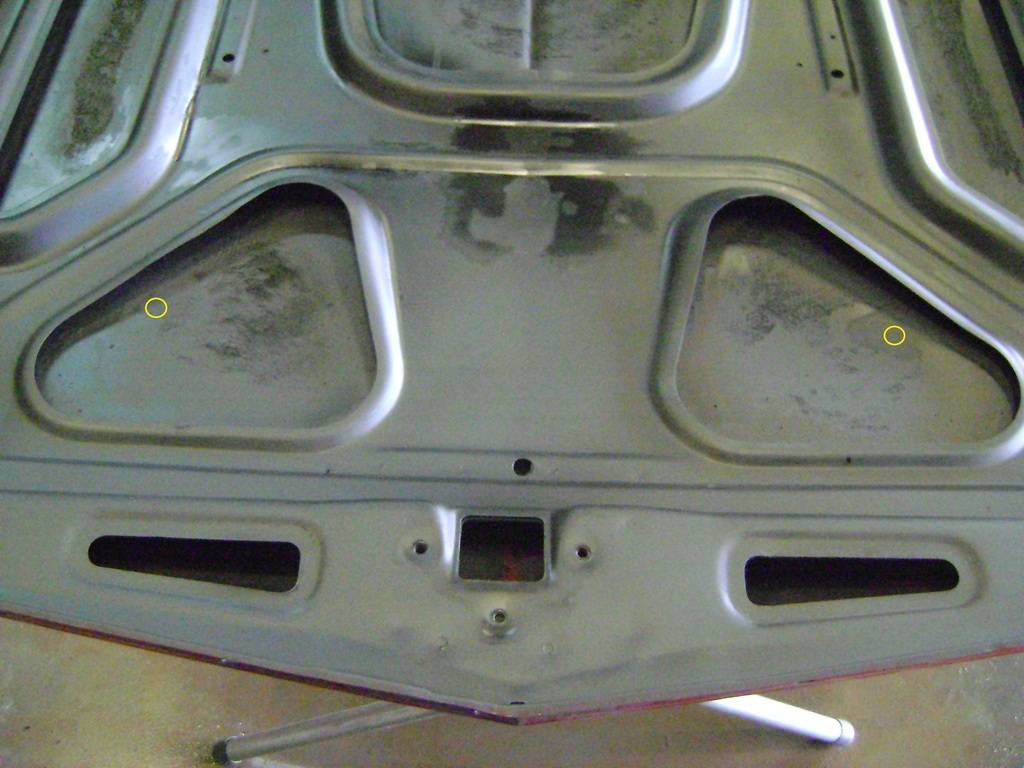
Question - While scratching around under the hood I found what I initially thought was a rust pinhole. Further sanding revealed another hole on the opposite side in the the exact same location. There is no rust in the hood and these are perfectly drilled holes about 1/16" or smaller. What in the devil could these have been used for?
12-27-2015 #20
Registered User
- Join Date
- Sep 2015
- Location
- Rockvale TN
- Posts
- 402
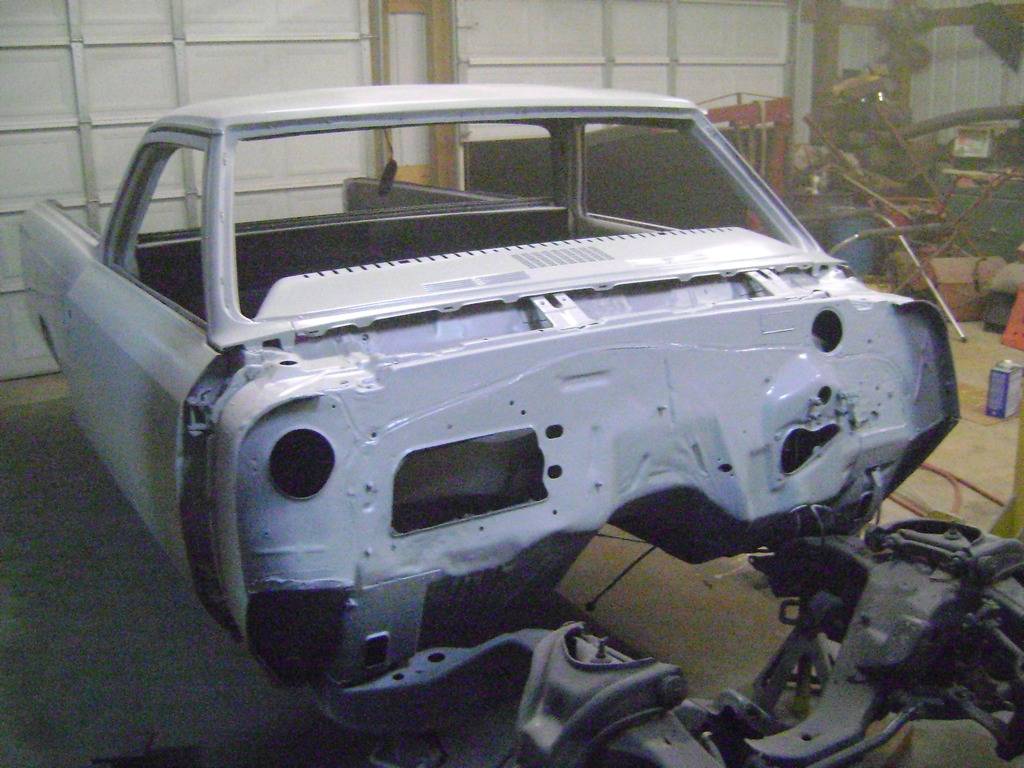
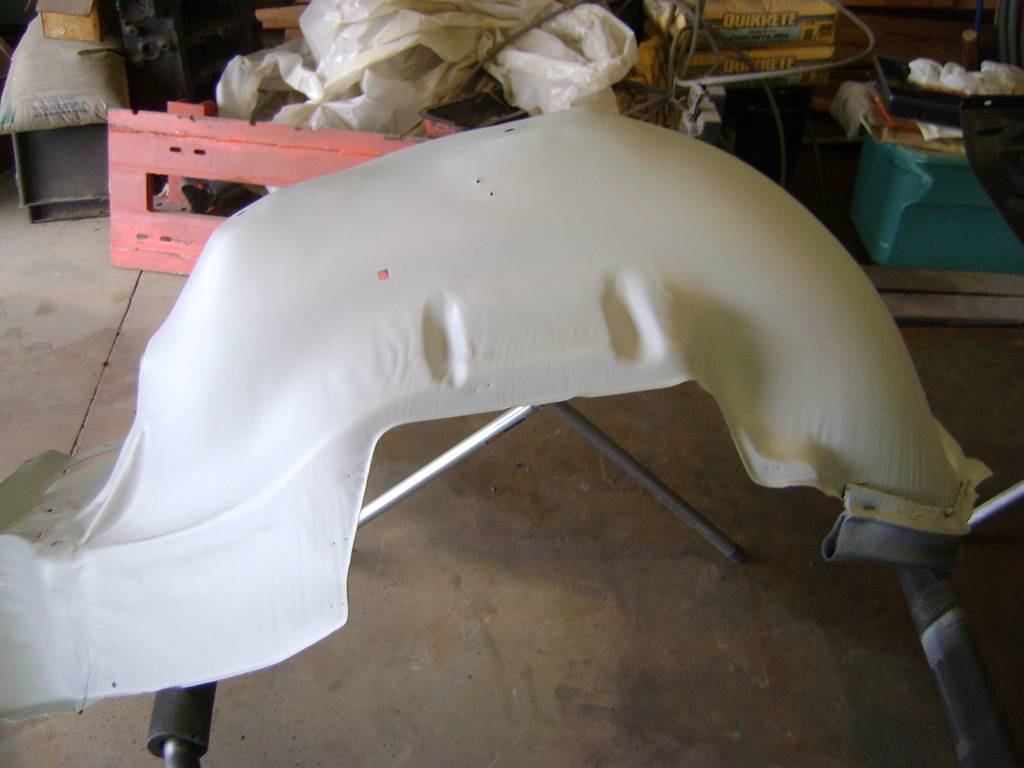
Passenger side blocked good this morning. I'll wait until the driver's side is done then spray one more coat followed by another blocking with 320 or 400 grit.
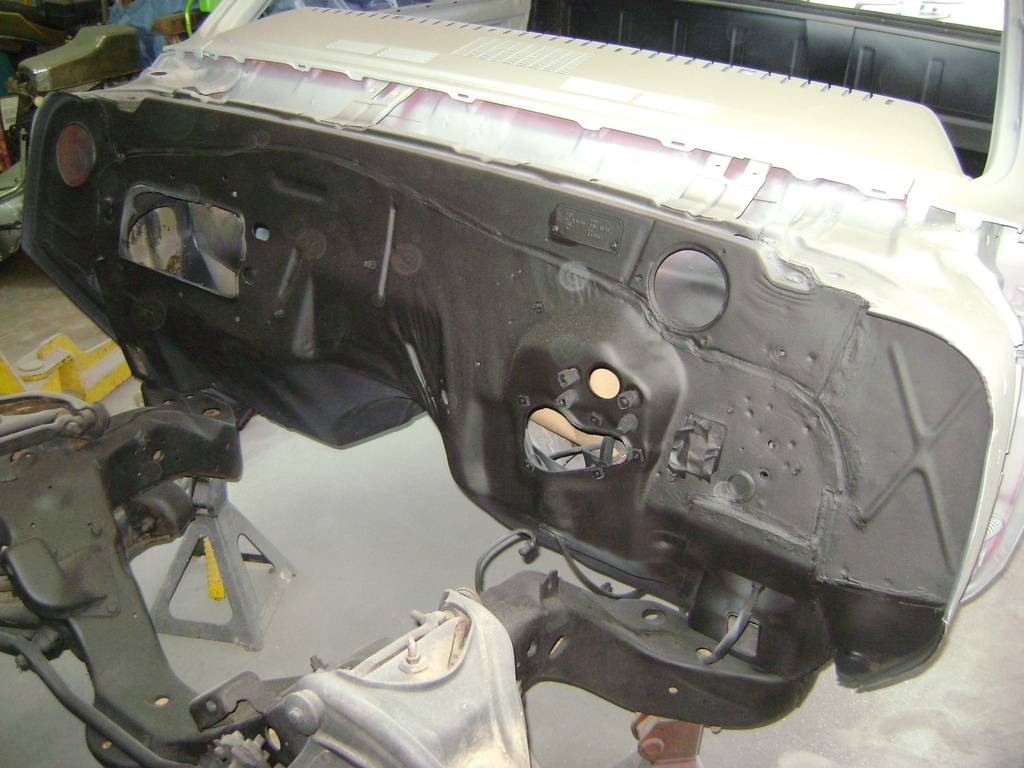
Done all I am going to do with the firewall other than paint...
Turned the hood over this morning for a little sanding session. You can see those mystery holes I have circled with some body filler oozing thru from underneath.
It did not take long to discover there are a string of holes on either side straight back from those two earlier discovered holes (four I believe). These were without question there from manufacturing...question is why. I havent a clue if this is the original hood or aftermarket. I'm leaning towards it being the original for no other reason than I found spots of white paint under the hood which was the original color of this El Camino.
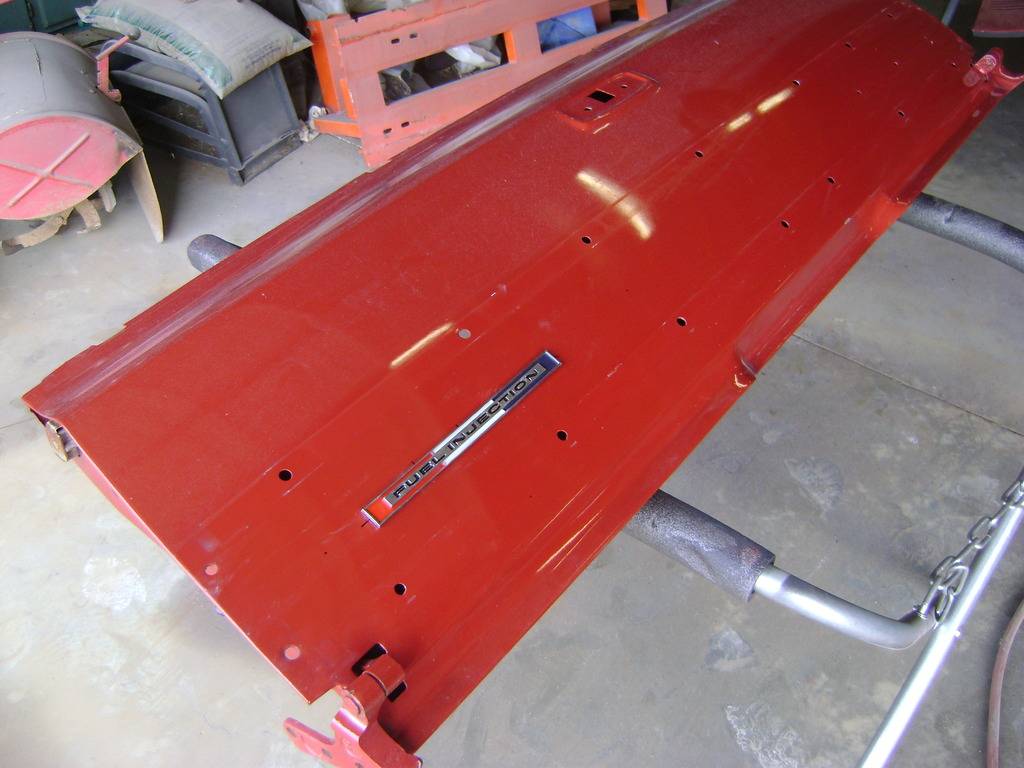
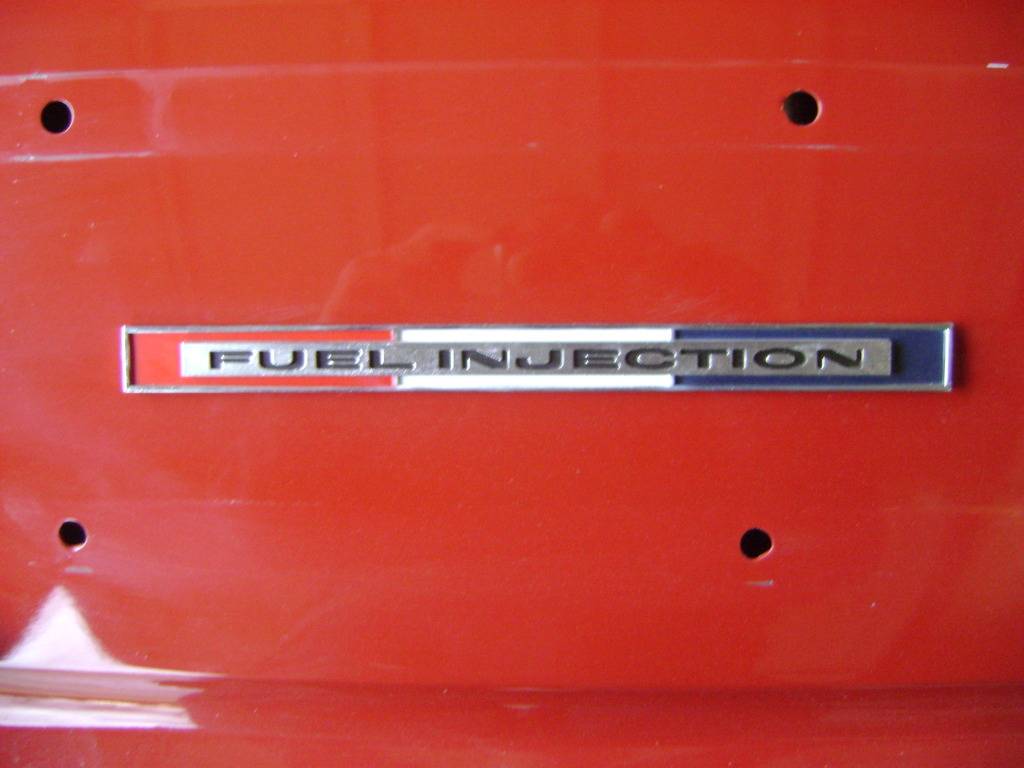
Before beginning sanding on the tail gate I made one simple modification. The idea was stolen from a forum member who did the same.

 Reply With Quote


