


Results 1 to 20 of 153
Hybrid View


-
08-11-2021 #1

 Registered User
- Join Date
- Aug 2012
- Location
- Phoenix
- Posts
- 162

After doing some measuring and trimming and roughing in of the lift, I'd decided how and where it was going to be mounted. Drilled my anchor holes in the floor on the right-hand side and set the anchors without issue. I will go back in and trim out the openings in the 'wall' to give everything a cleaner look. Started to drill the holes for the anchors on the left-hand side (the side against the outer edge of the slab) and 4 of the 5 punched through the concrete. No big deal as the instructions mentioned that it was ok as long as the concrete was 4.25-.5" deep. The concrete is 3.25" thick.....damn it. A void of nothing but air and dirt below the holes. Sonuva......fine. I started calling around to get quotes on footers. I was going to have to grind the right side down some to make it level so I decided to look at having two footers put down so that everything is thick enough, tied into the existing slab and level so i have less to do.
After calling around and getting lots of "too busy" or "too small of a job" or "3 months lead time" answers, I found a local contractor that is well reviewed, has a good idea of what I'm wanting to do and is willing to work me in to their already booked schedule. The downside is that it's more money that I didn't want to spend, and will cut into the first part of the cooler season here in Phoenix. Either way, I'd rather it be done right and remove the worry of the concrete giving up and allowing the car to flatten me. Progress....i guess....Once the lift is in, I'll hopefully be able to get back into the subframe install and floor completion. Then i can squirt paint and lizardskin on the floors and start the wiring.....and maybe fire this pile up at some point....
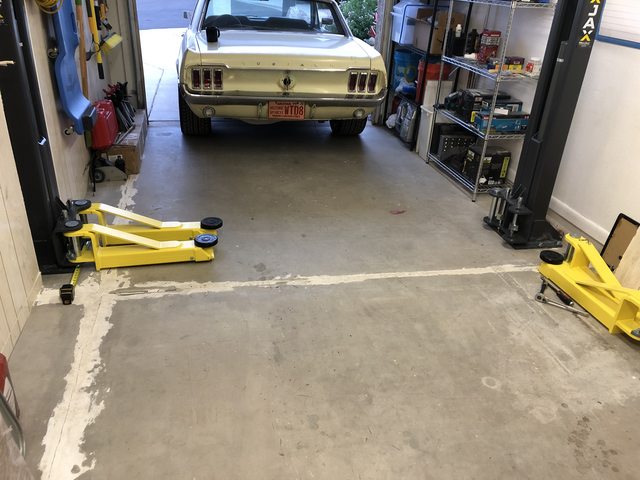
Recessed lift post into the divider 'wall'.
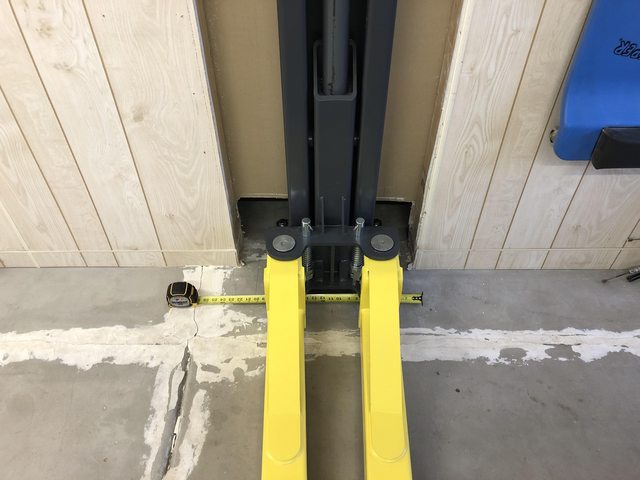
Only part of base sticking out on the double bay side.
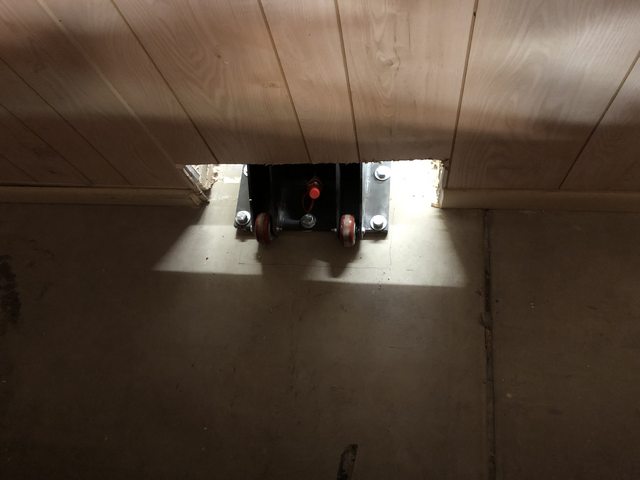
Post on the thin side of the slab.
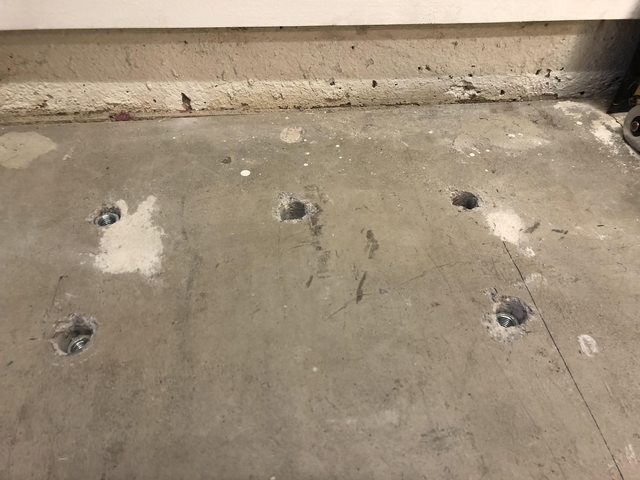
Anchors after 'setting'. The top-left one is the only one that set correctly. The others could be pushed back down by hand.....
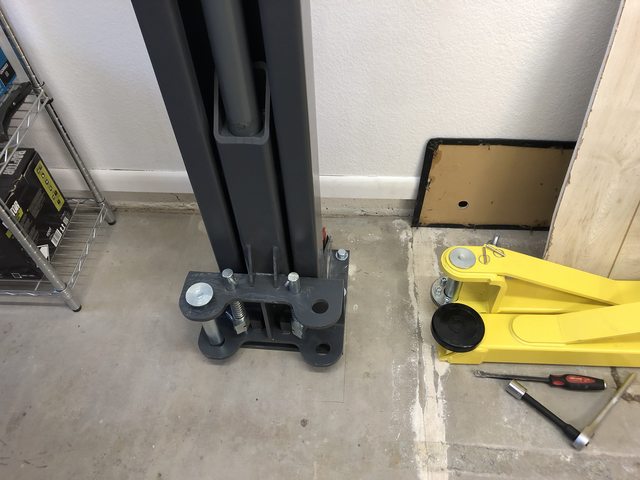
This will be suitable for space once I can get everything mounted solidly. The arms on the divider wall will sit flush and out of the way.
 Kris - Building the poor man's '68 Mustang.
-
08-16-2021 #2 Registered User
- Join Date
- May 2019
- Location
- Melbourne Australia, dual citizen tho with USA.
- Posts
- 20
[QUOTE=arcane73;1363406]After doing some measuring and trimming and roughing in of the lift, I'd decided how and where it was going to be mounted. (Quote)
BOY....I THOUGHT MY INSTALL WAS TIGHT. .....at least i didn't have to go out to the sidewalk.
I have concrete footers 24" deep x 12 x12 with a backbone linking them because brick paving.
Note 1" clearance to house and zero at carport frame.
The right side post has polished aluminum building cladding to disguise it cos this is the entry to my house.
08-24-2021 #3
Registered User
- Join Date
- Aug 2012
- Location
- Phoenix
- Posts
- 162
We do what we have to, right? Although, I'm jealous of the height you've got over what I'll have. Originally Posted by Falcon64
 Kris - Building the poor man's '68 Mustang.
10-18-2021 #4
Registered User
- Join Date
- Aug 2012
- Location
- Phoenix
- Posts
- 162
So, the latest on the lift install:
Concrete guy requested a bit more space for the footer on the inner wall. He wanted to do a 2' x 2' square that was 1' deep and tie it in to the existing slab with rebar. I agreed with that assessment and opened up the divider wall on either side of the post to the next stud. That not only gave him enough room for the footer, it gave me more room to walk around the post when the car is on the lift.
I waited to get a spot in his work schedule and then had to wait for the concrete to cure. Fast-forward to this week and I've punched new holes for anchors in the concrete and started to get this ball rolling again. I was exceptionally pleased with how well he was able to get everything leveled like I asked.
Here's where everything stands as of this morning. I plan to get it all mounted, lines ran and filled, and the car in the air to test everything out this weekend.
Making a bigger hole:
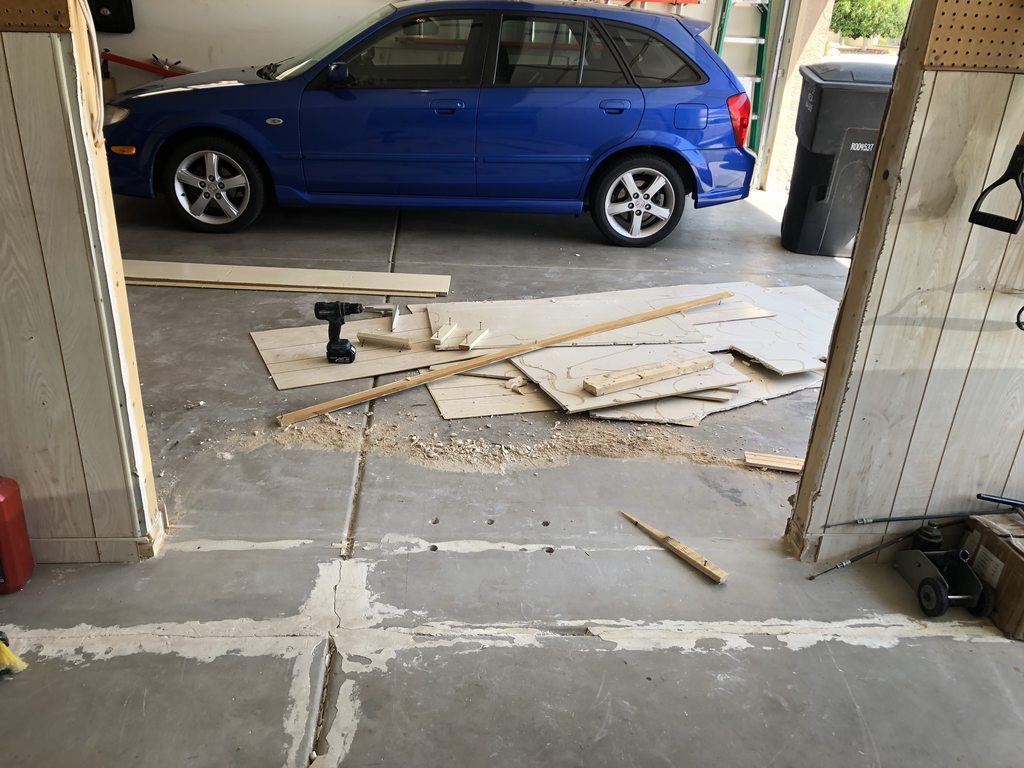
Posts on their new pads with anchor holes drilled:
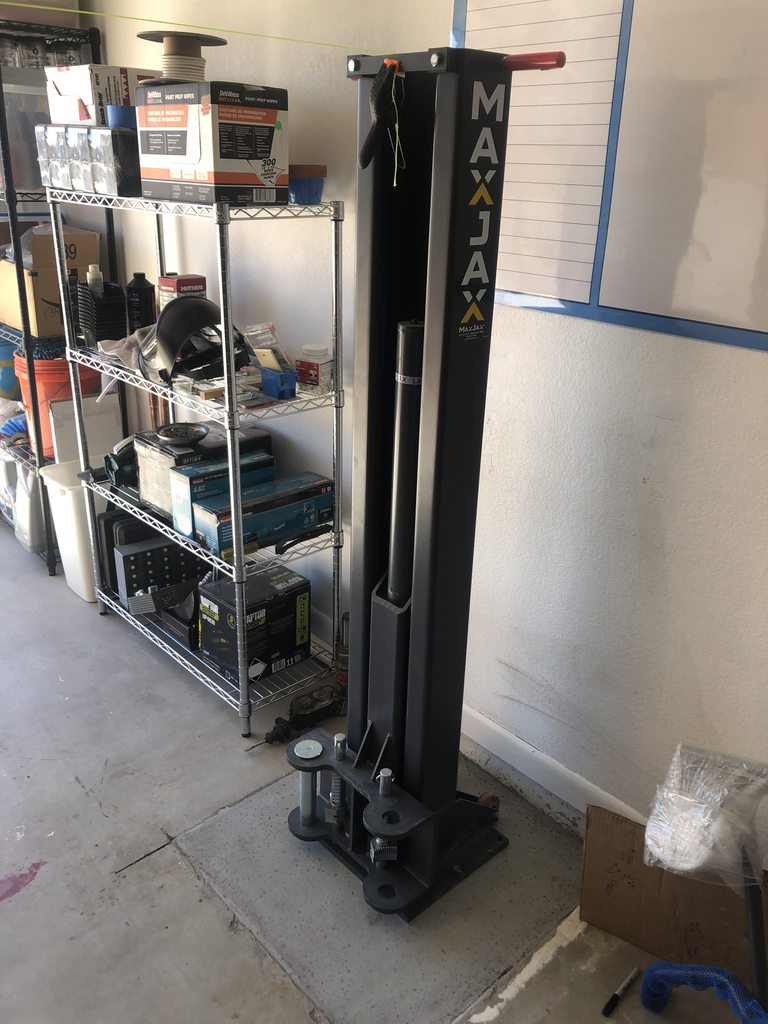
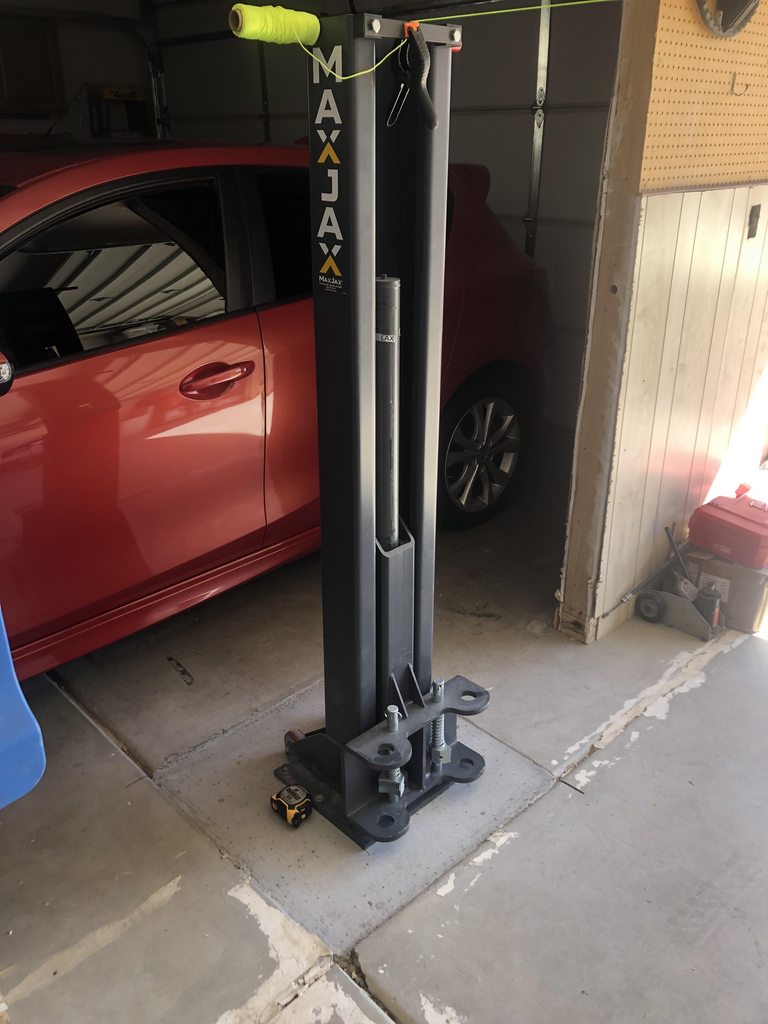
Everything is level and ready to be bolted in place:
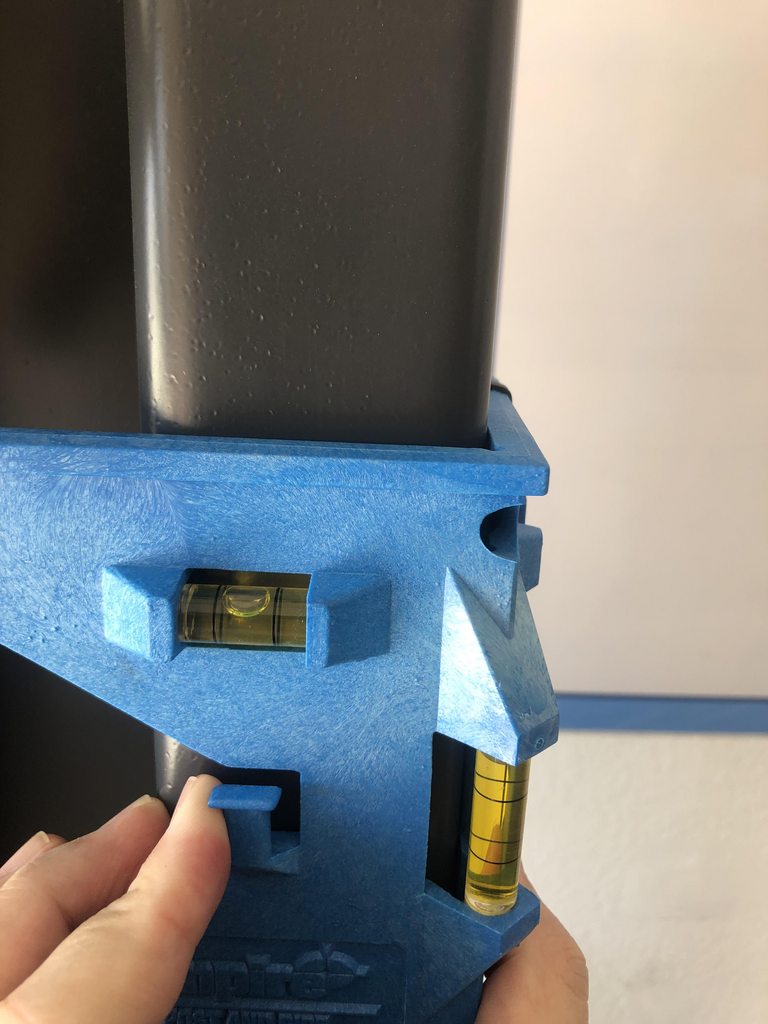
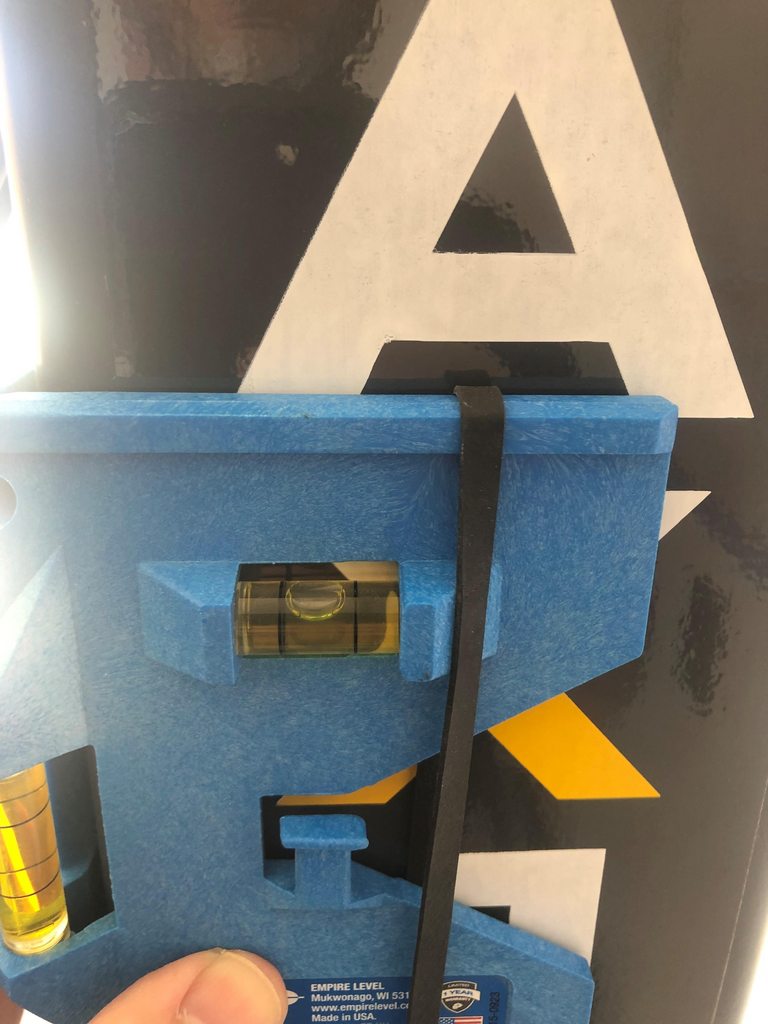
From post to post:
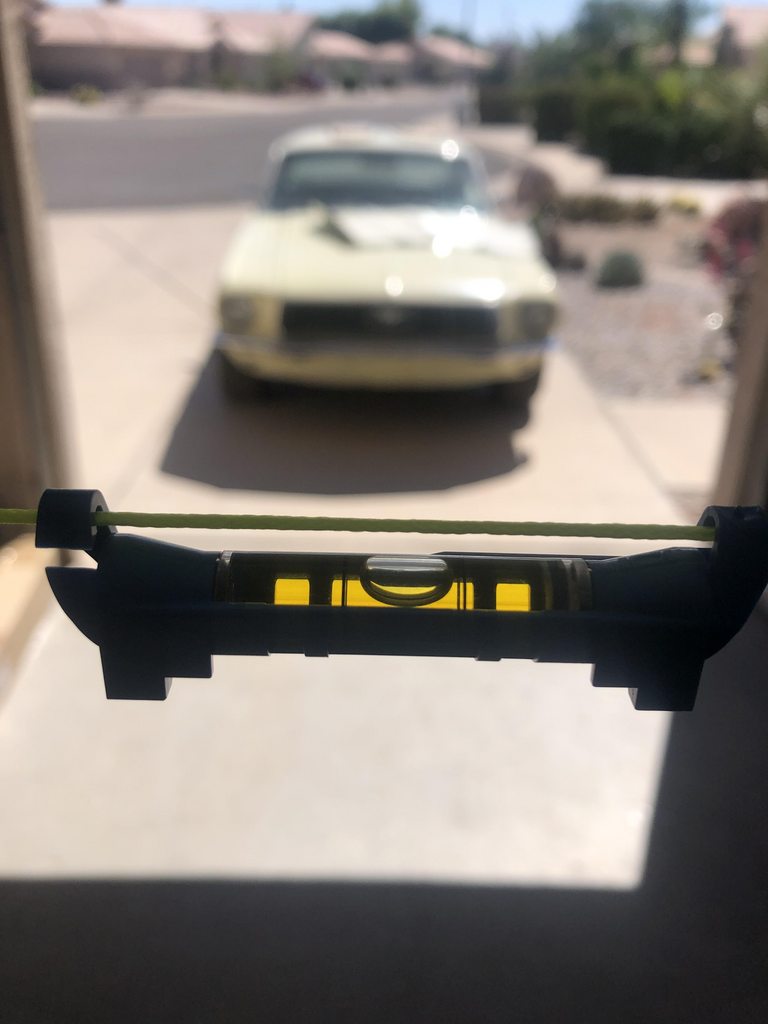
The following weekend resulted in more work and results!
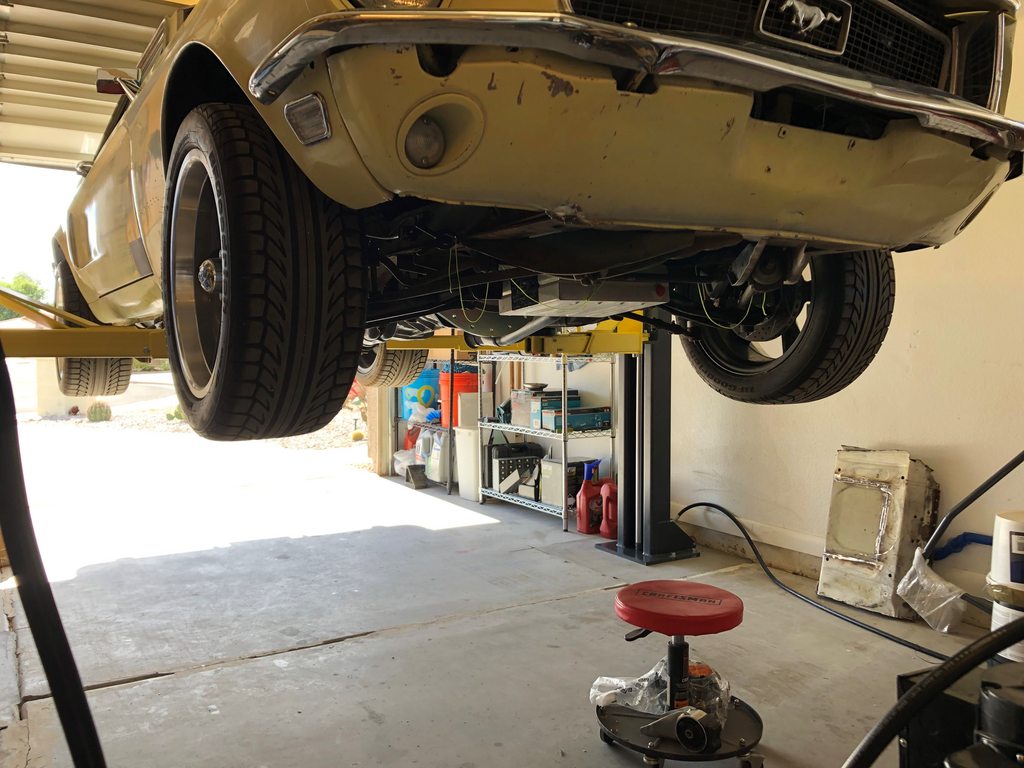
The lift is mounted and I'm in the process of bleeding the system to get the last of the air out. I ran into a couple of issues that kept it from being a flawless install but nothing that can't be addressed.
I had to re-tighten a couple of fittings and I'll have to bleed the lines a couple of more times, I think. Overall, I'm happy.

I ended up removing the light above the door. I'll need to turn it 90* or move it back to prevent the car from making contact with it at full lift. No big deal.
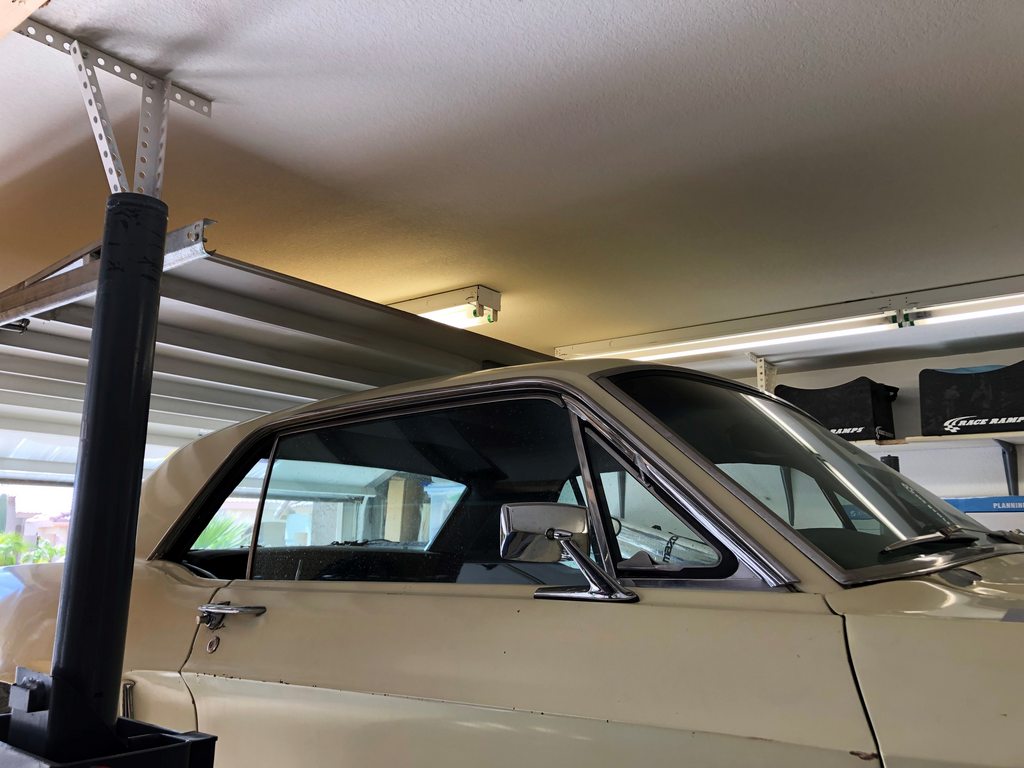
Once I get the bleeding completed and light moving/replacement done, I should be able to sit upright under the car at full lift. As it stands now, I have to sit stooped a little on that stool. I'm sure that I can find a shorter stool to make things more comfortable, but I'm just happy that I won't have to lay on my back to finish the work underneath the car!
 Kris - Building the poor man's '68 Mustang.

 Reply With Quote


