


Results 21 to 40 of 216
Hybrid View


-
03-27-2014 #1

 Registered User
- Join Date
- Aug 2004
- Location
- Mapleton, IL.
- Posts
- 252

Your not kidding Tom. I think I spent about a full week in the evenings sanding and trying to get in all the nooks and corners. Then no matter how much you blow it off and go over it with tack cloths every time you move it or go to spray primer or paint, dust or dirt comes out of some hidden place!
Mark
Current project 1963 Chevy II
https://lateral-g.net/forums/showthread.php?t=58772
1964 Buick Skylark
Build thread https://www.pro-touring.com/threads/...t-budget-build
-
03-29-2014 #2
Registered User
- Join Date
- Jan 2013
- Location
- Cypress, California
- Posts
- 381
Nice looking motor you have. A few Skylark conversions on LSTECH for you to gather information. It saved me from some posible pitfalls.
L92/6L80 in my 65 Skylark. This is an earlier picture. I have tidied it up some since then. The first time on the dyno we got 471rwhp. However come to find out that was third gear when it should have been 4th gear. Looking for 480+rwhp next time out on the dyno. I also expect to get 25+mpg.
03-29-2014 #3
Registered User
- Join Date
- Jan 2005
- Location
- Dallas TX
- Posts
- 1,633
Very cool build. I like a ton of different cars but 64-67 A-bodies are my favorite. Up until the LS swap your build was near identical to the 66 Cutlass I built a few years ago. Can't wait to see more.
03-30-2014 #4
Registered User
- Join Date
- Aug 2004
- Location
- Mapleton, IL.
- Posts
- 252
Thanks Gearheads78.
The Buick motor and the 4 speed are now back out of the car for the last time along with the gas tank.
Started cleaning up the transmission. Looking for some opinions on color choice for the engine. Should I keep it black or give it a little nostalgic look by painting the block the 60's buick green color like the previous engine? Thoughts?Mark
Current project 1963 Chevy II
https://lateral-g.net/forums/showthread.php?t=58772
1964 Buick Skylark
Build thread https://www.pro-touring.com/threads/...t-budget-build
03-31-2014 #5
Registered User
- Join Date
- Jan 2005
- Location
- Dallas TX
- Posts
- 1,633
I would do block and heads Buick green. It will look great IMO Originally Posted by 64G-lark

04-14-2014 #6
Registered User
- Join Date
- Aug 2004
- Location
- Mapleton, IL.
- Posts
- 252
Thanks Zoomin.
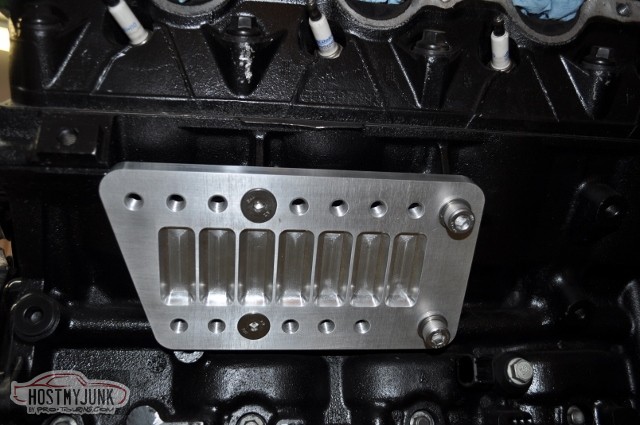
Still haven't decided on what color to paint the engine. The other option would be the Buick red. In the mean time I designed some motor mount adapters, Then my oldest son who is learning machining made them on a CNC mill at school. They turned out pretty nice. I had him make them out of 1/2" thick 6061 to start with and I can mill the backside to thin them out if needed. I purchased some stainless bolts from the bolt depot.com to finish it up.
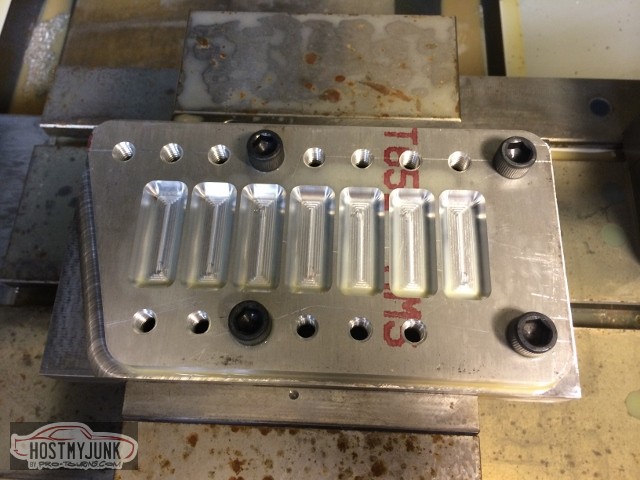
Here is the completed mount on the engine. The multiple holes allow a lot of adjustment and the recessed areas clears the back side of the Energy suspension urethane motor mounts.
 Mark
Mark
Current project 1963 Chevy II
https://lateral-g.net/forums/showthread.php?t=58772
1964 Buick Skylark
Build thread https://www.pro-touring.com/threads/...t-budget-build
04-14-2014 #7
Registered User
- Join Date
- Aug 2004
- Location
- Mapleton, IL.
- Posts
- 252
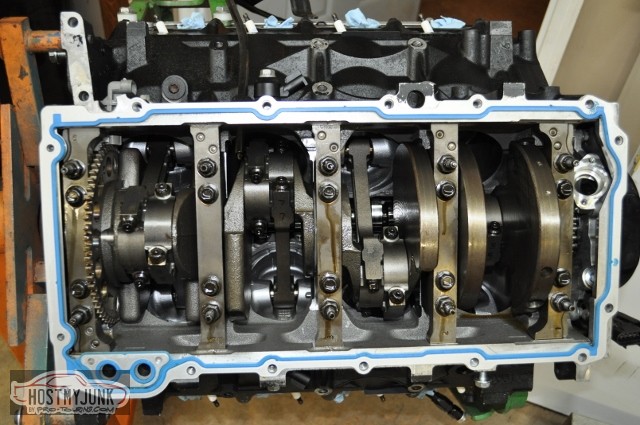
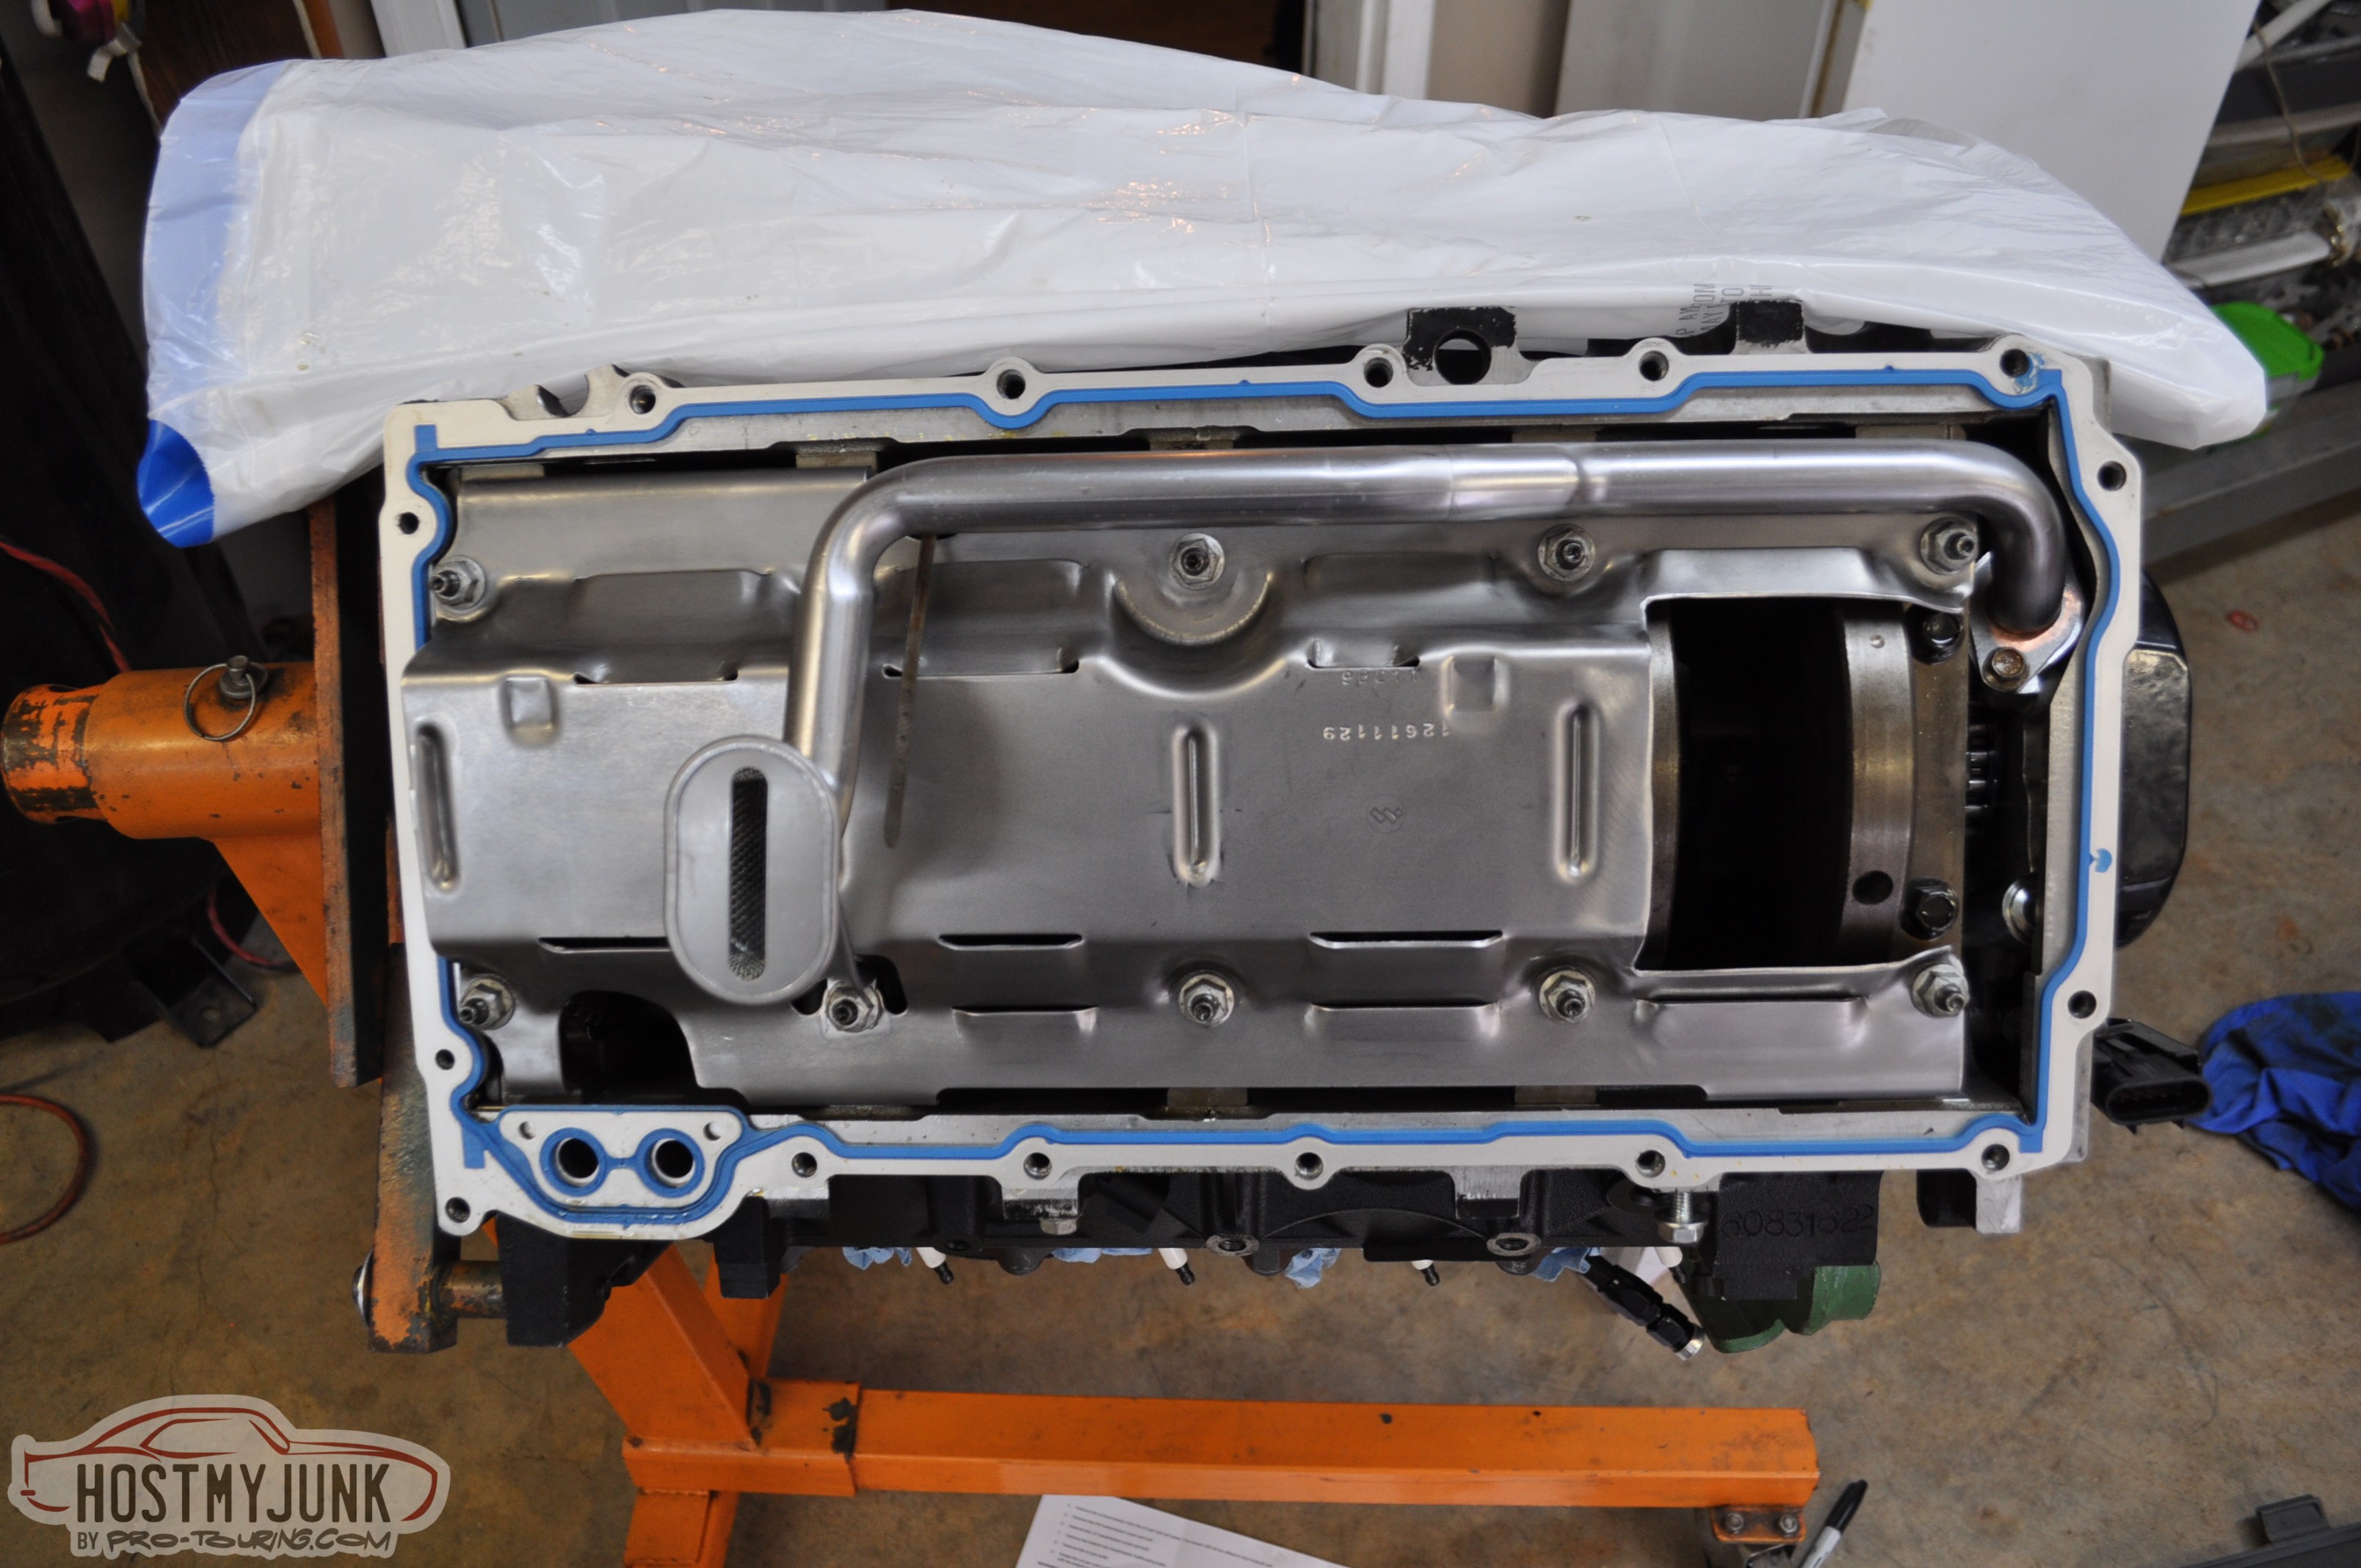
I removed the truck style oil pan, oil pump pick-up and windage tray and was pleased to see the inside of the engine as clean as a pin. Tom had already upgraded the rod bolts with ARP fasteners.
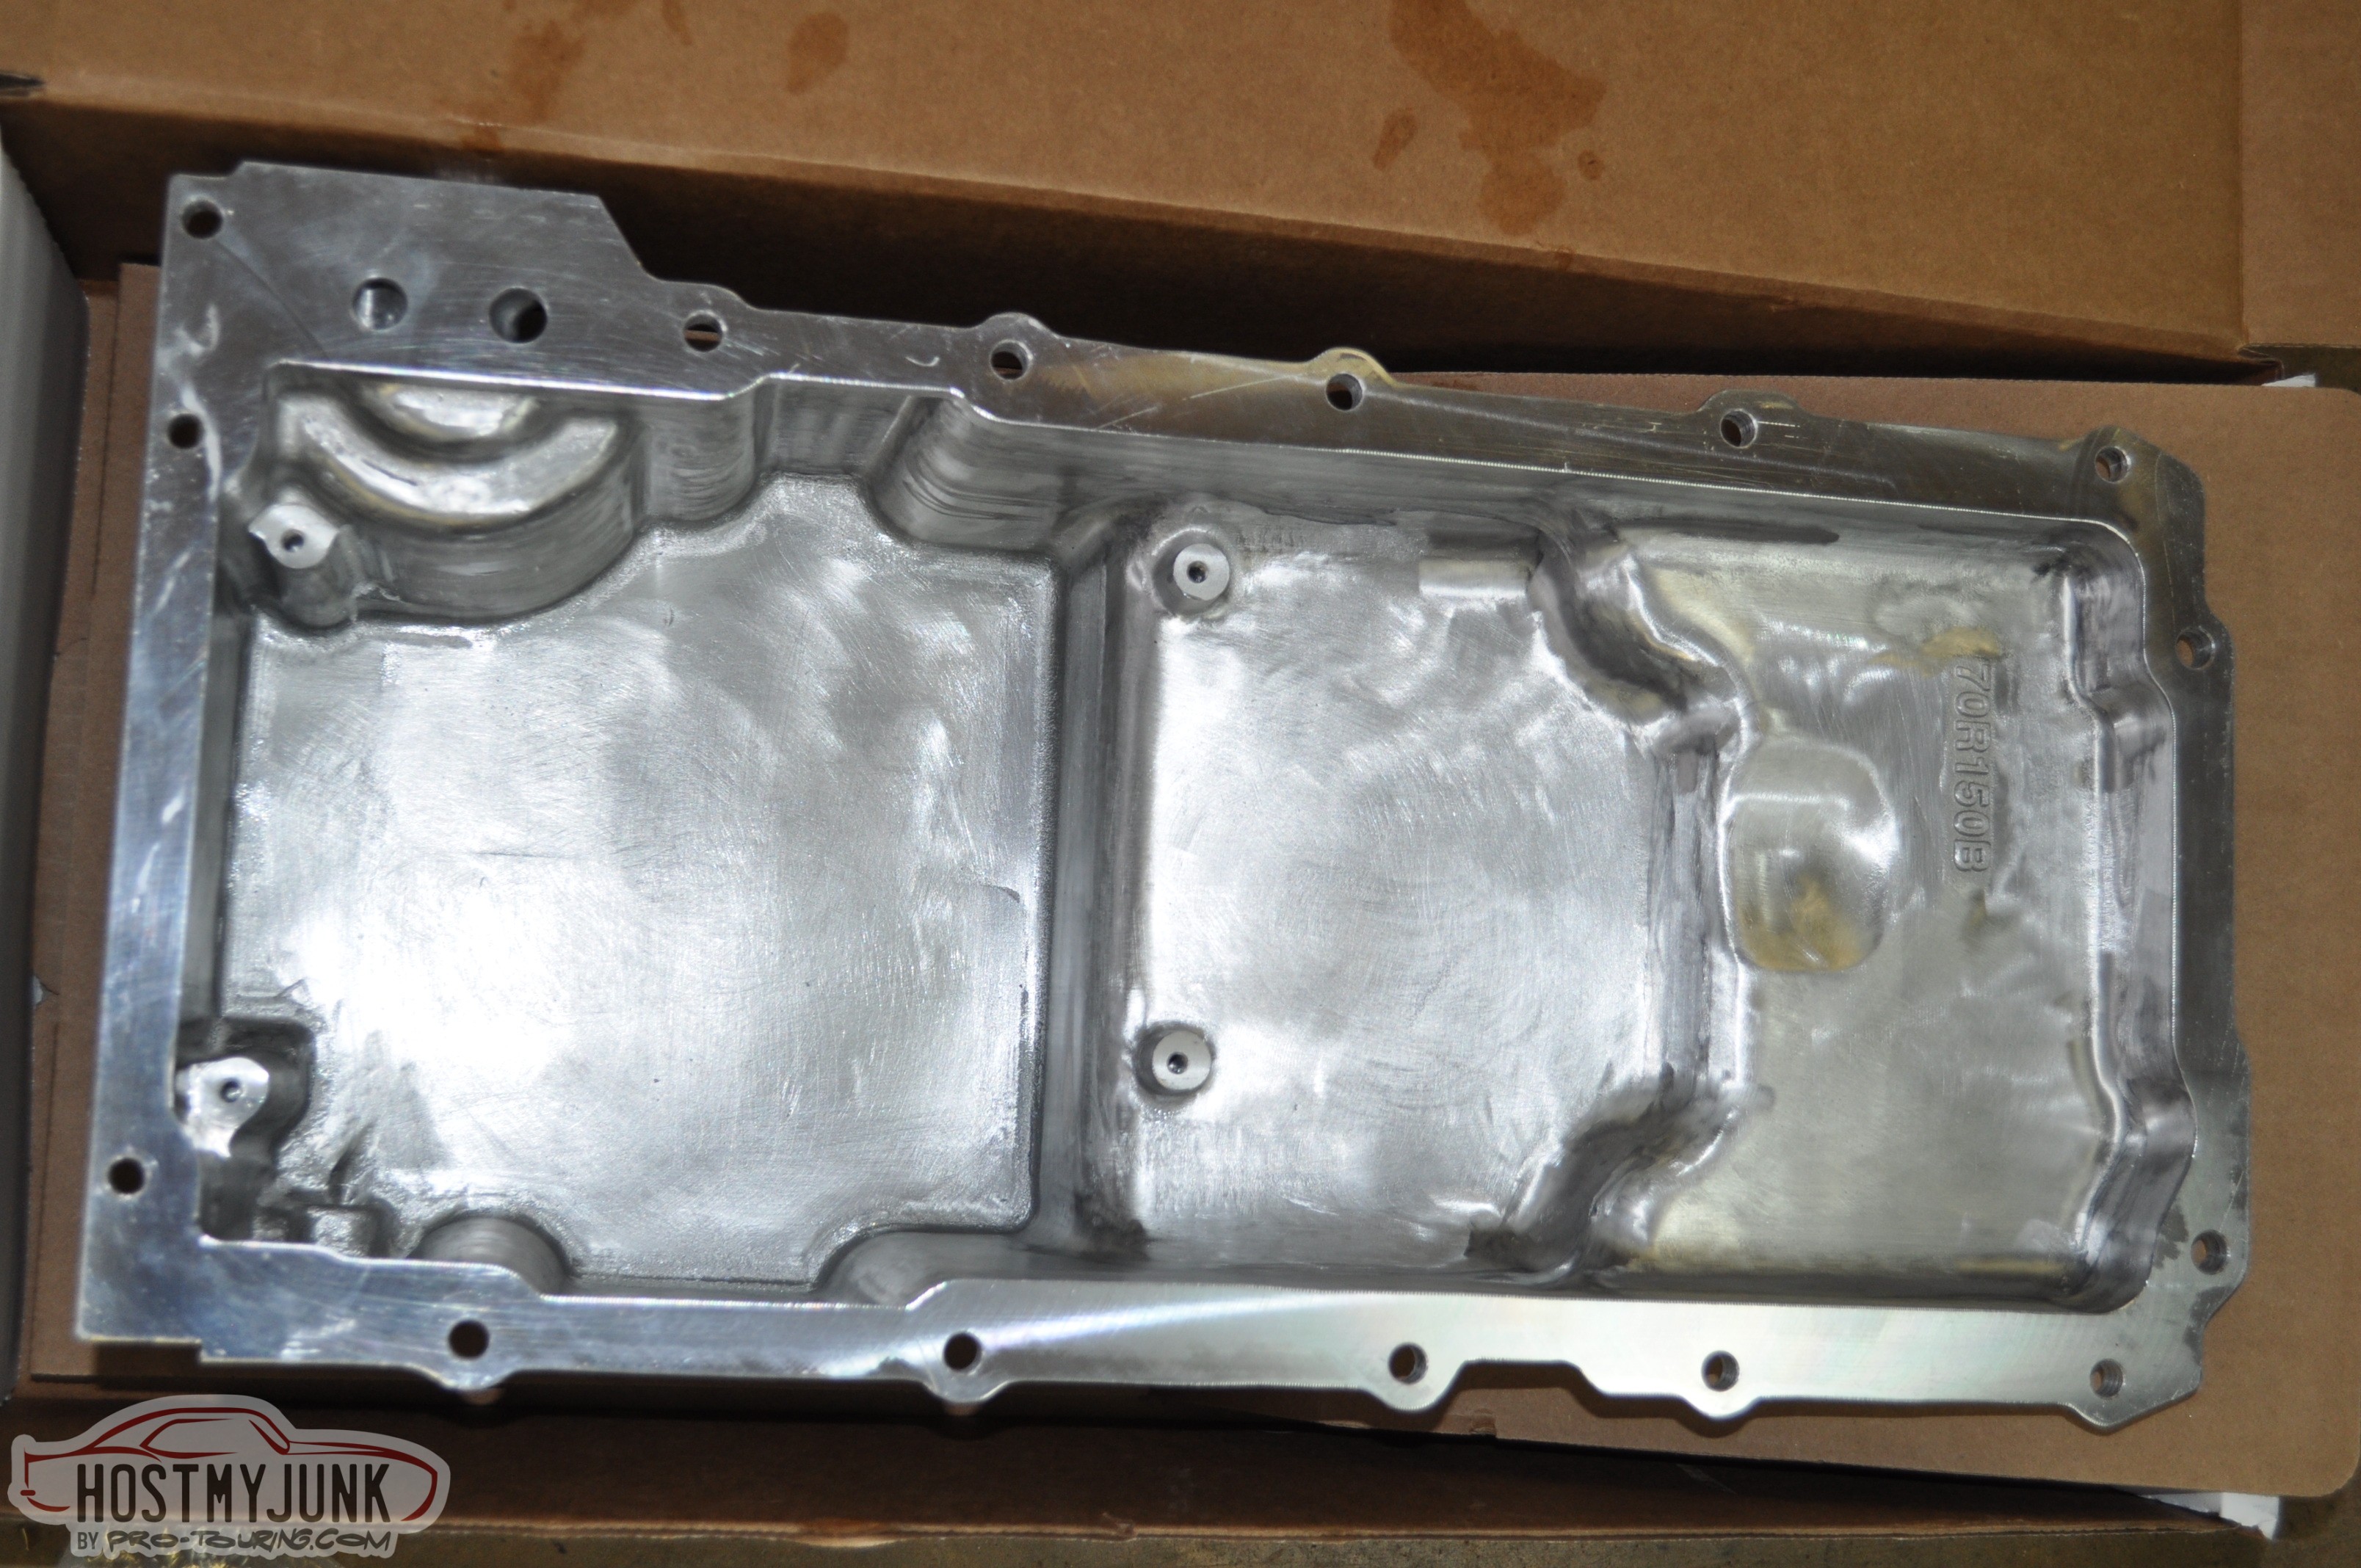
The Holley oil pan is cast and the casting was very coarse on the inside, so before installing it I spent a little time knocking the roughness down. This turned into about a two hour project. Hopefully this will aid drain back a little. The picture doesn't do it justice, its much smoother than it appears. I also spent some time smoothing, opening up and radiusing the oil passages.
The truck style windage tray would not clear the front of the pan. This is the new Holley pan 302-2 that is the tightest pan in the front section to hopefully clear the inner tierods. After some careful measuring I cut out the front section to provide the needed clearance. Both the pan and the windage tray got a through bath before going back on the engine.
The Holley oil pump pickup tube has provisions for two bolts on the oil pump end so I added the second bolt with a little Loctite on both.
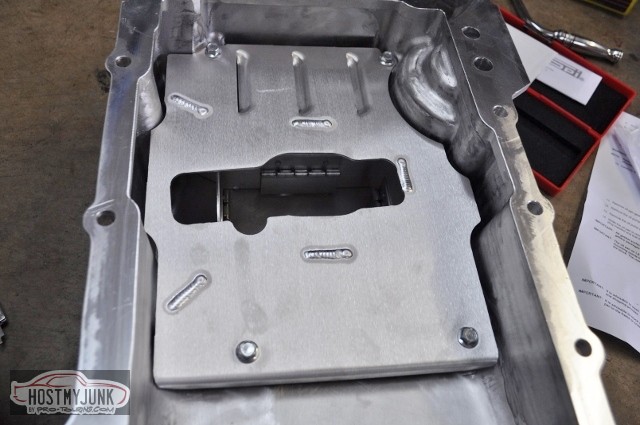
The oil pan then got the Improved Racing trap door style baffle Holley part number 302-11 bolted in.
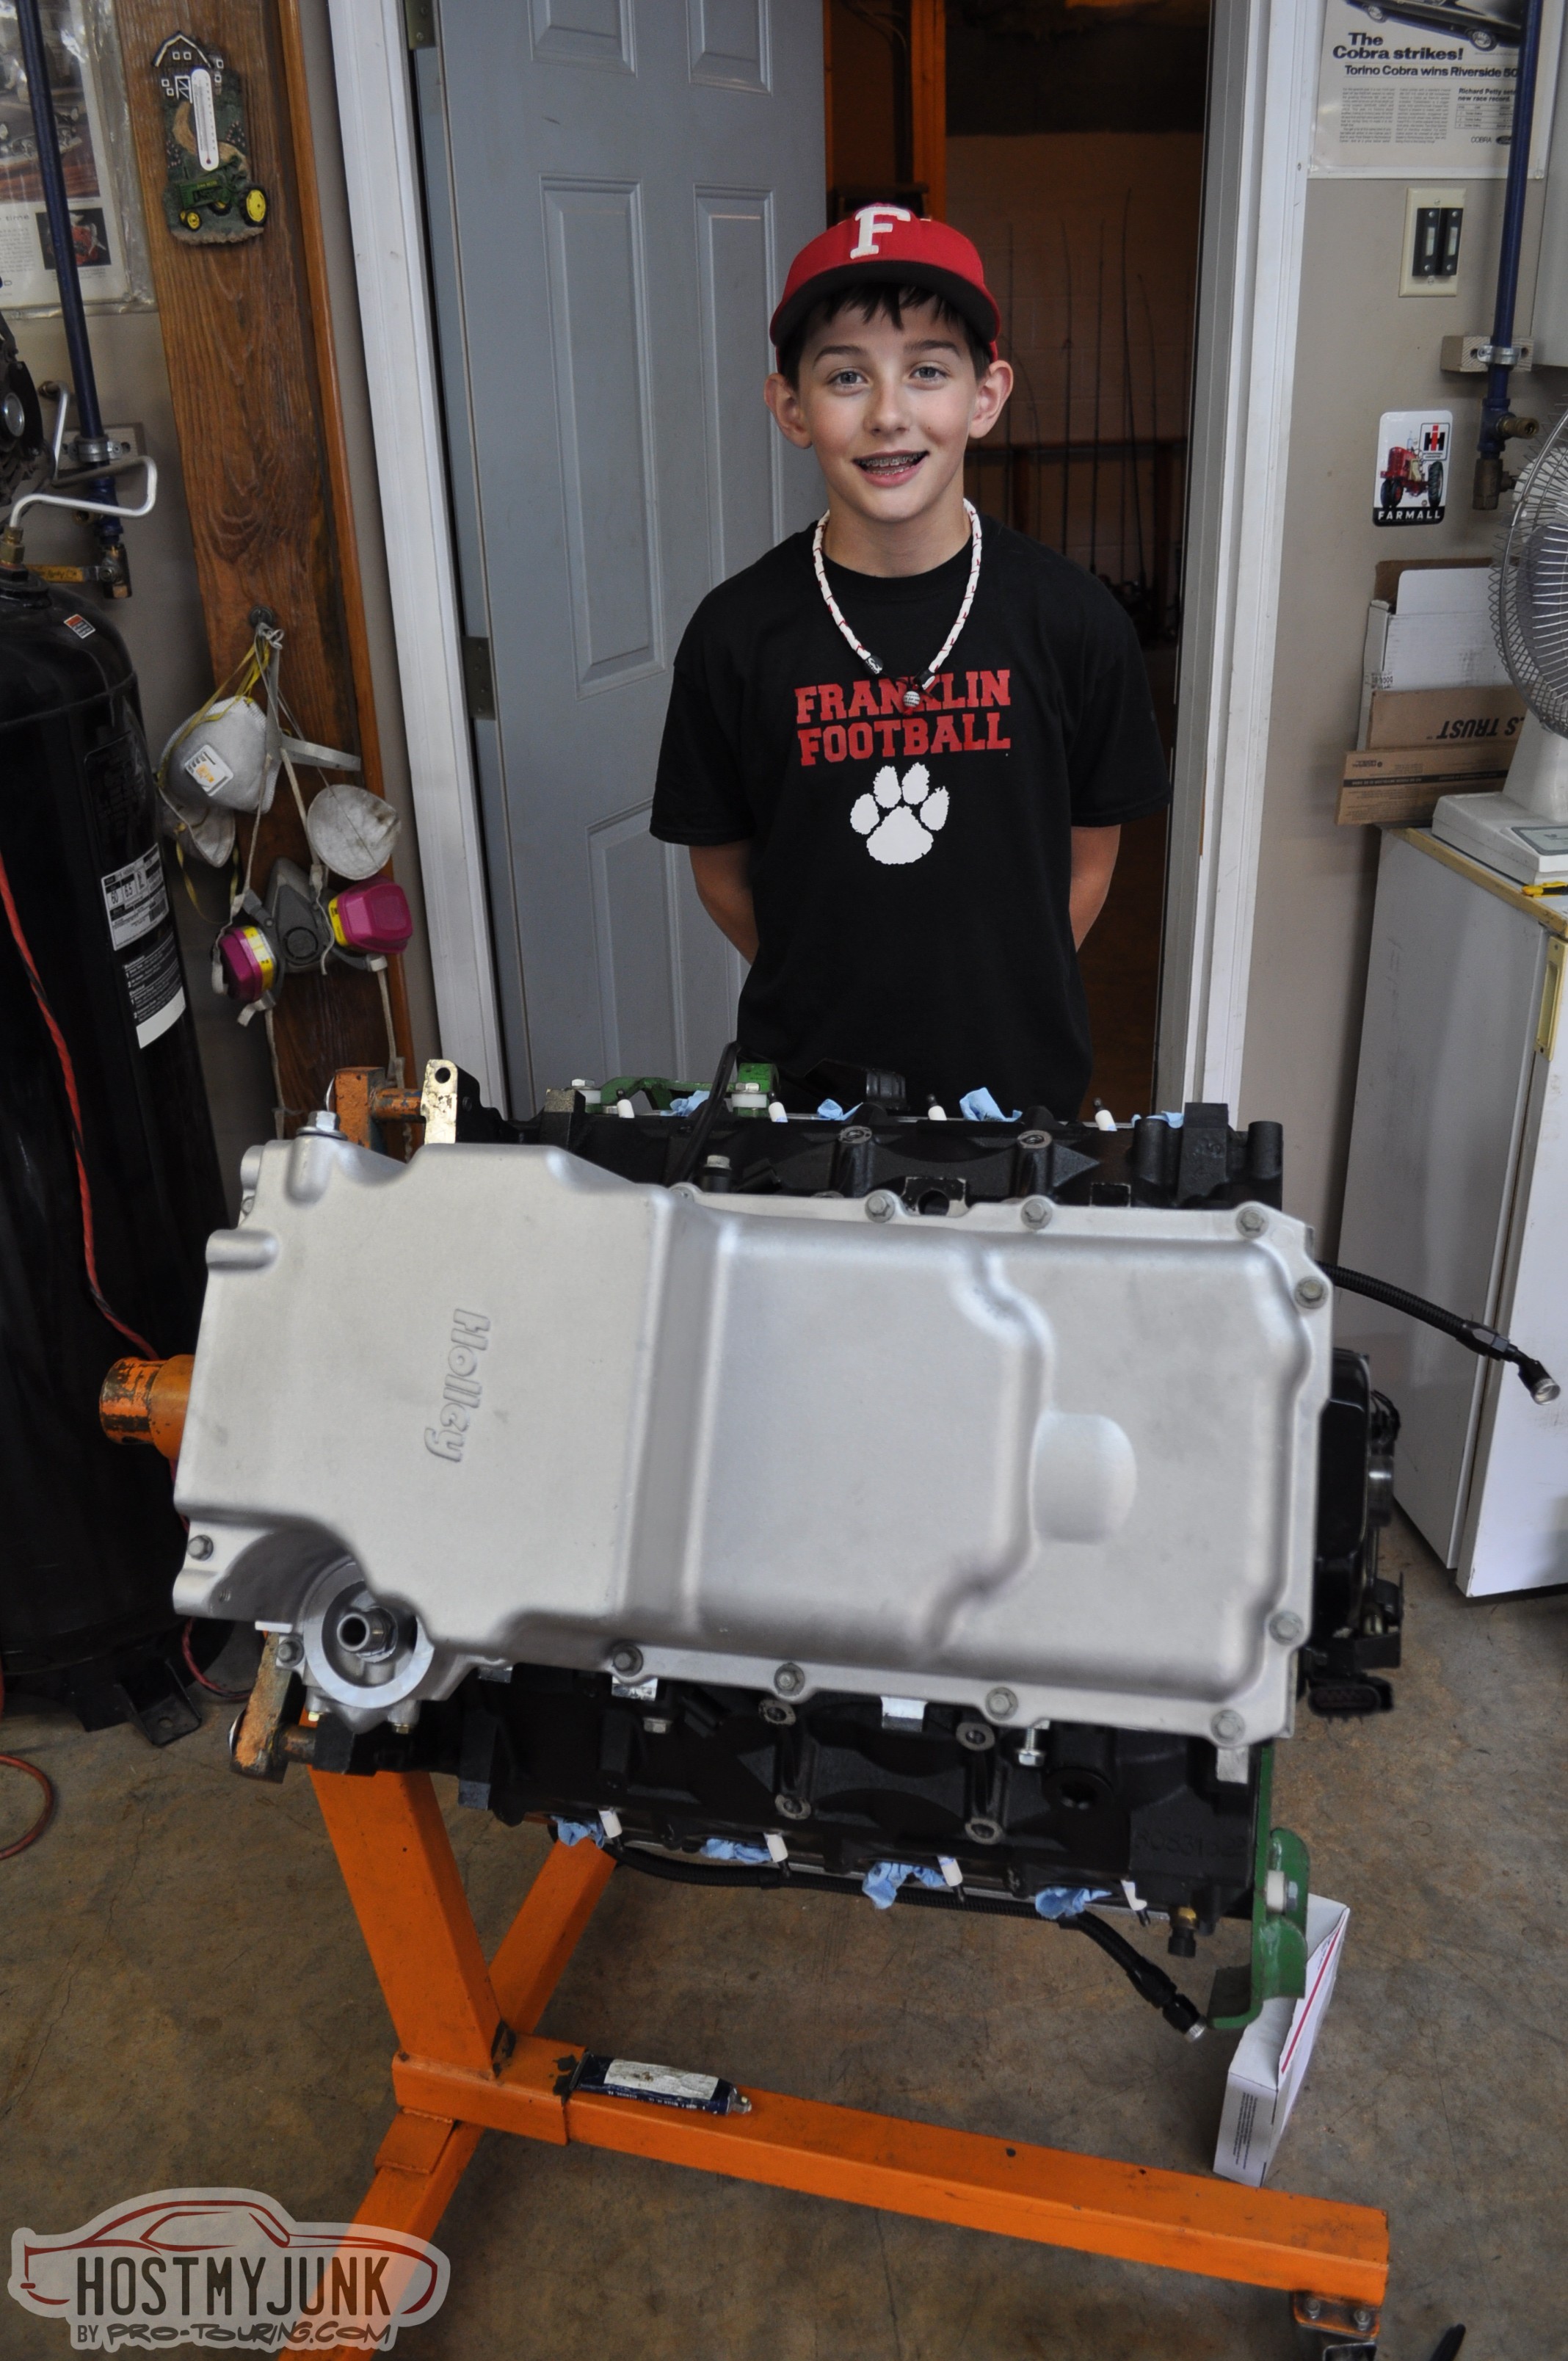
My youngest helper posing with the finished install.
 Mark
Mark
Current project 1963 Chevy II
https://lateral-g.net/forums/showthread.php?t=58772
1964 Buick Skylark
Build thread https://www.pro-touring.com/threads/...t-budget-build
04-14-2014 #8
Registered User
- Join Date
- Aug 2004
- Location
- Mapleton, IL.
- Posts
- 252
Time to start on the top side and ditch the truck style intake and fuel rails.
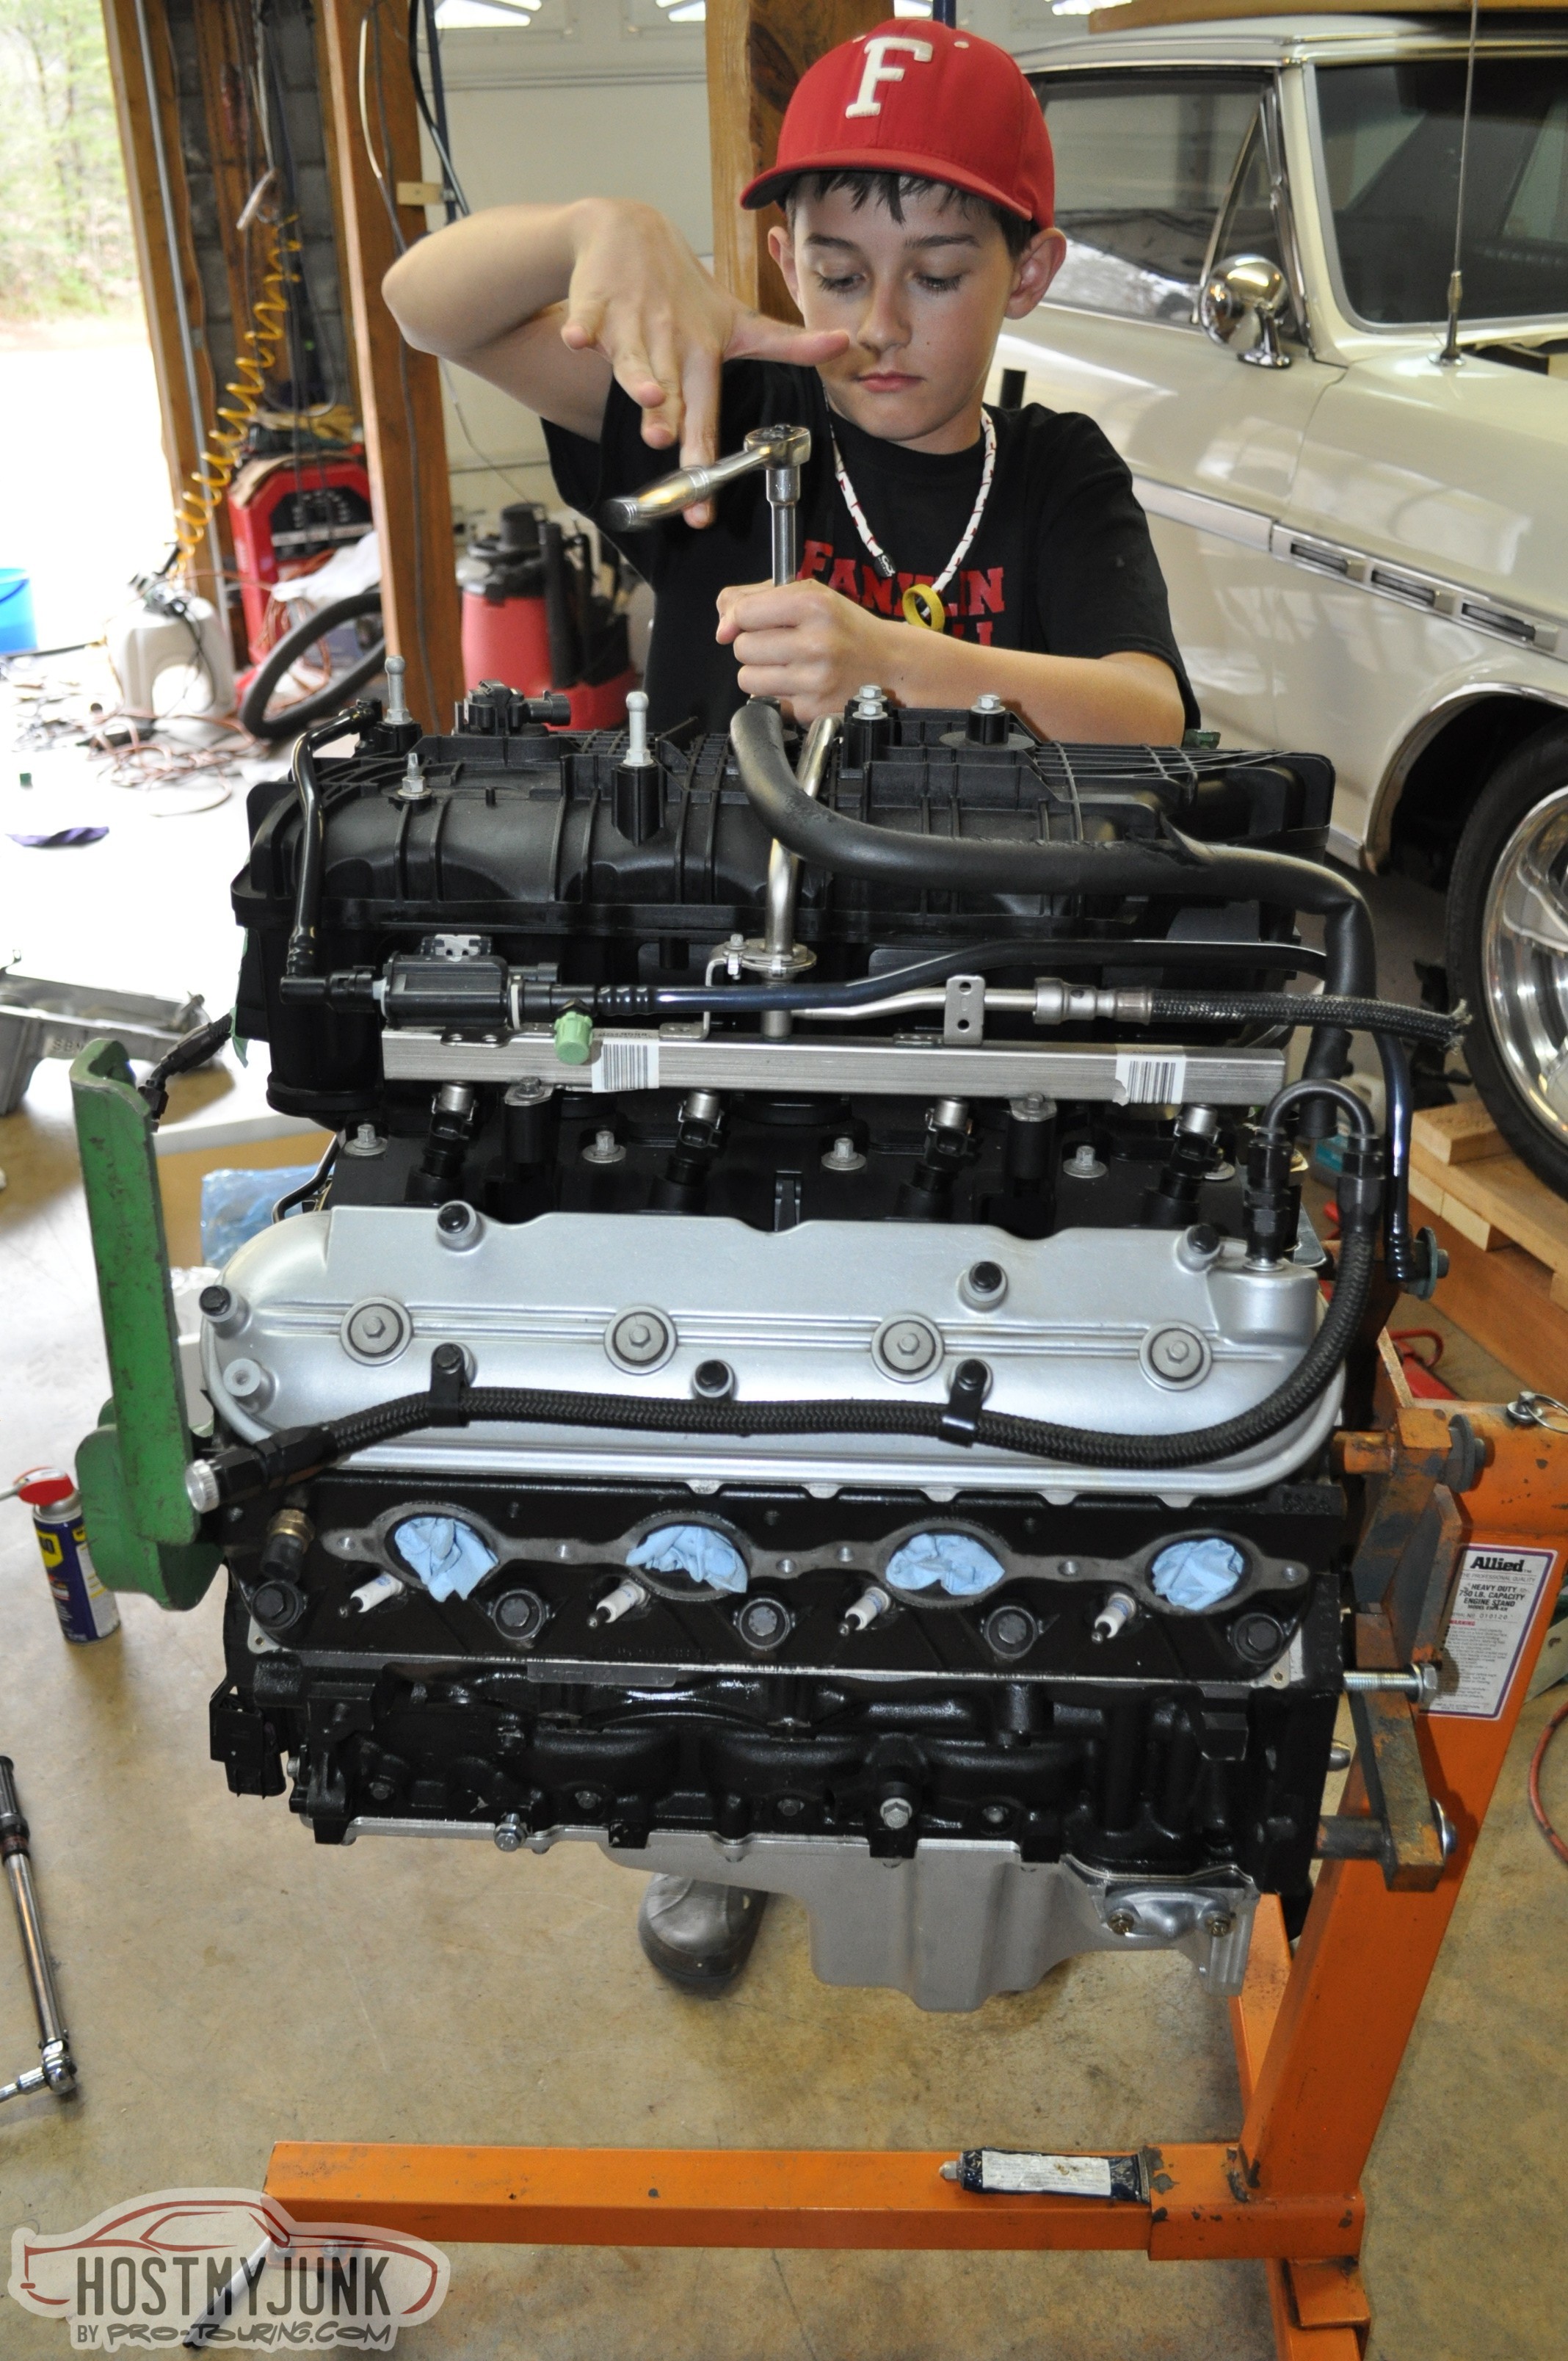
Test fitting the 2012 Camaro LS3 intake, fuel rails, and DBW throttle body.
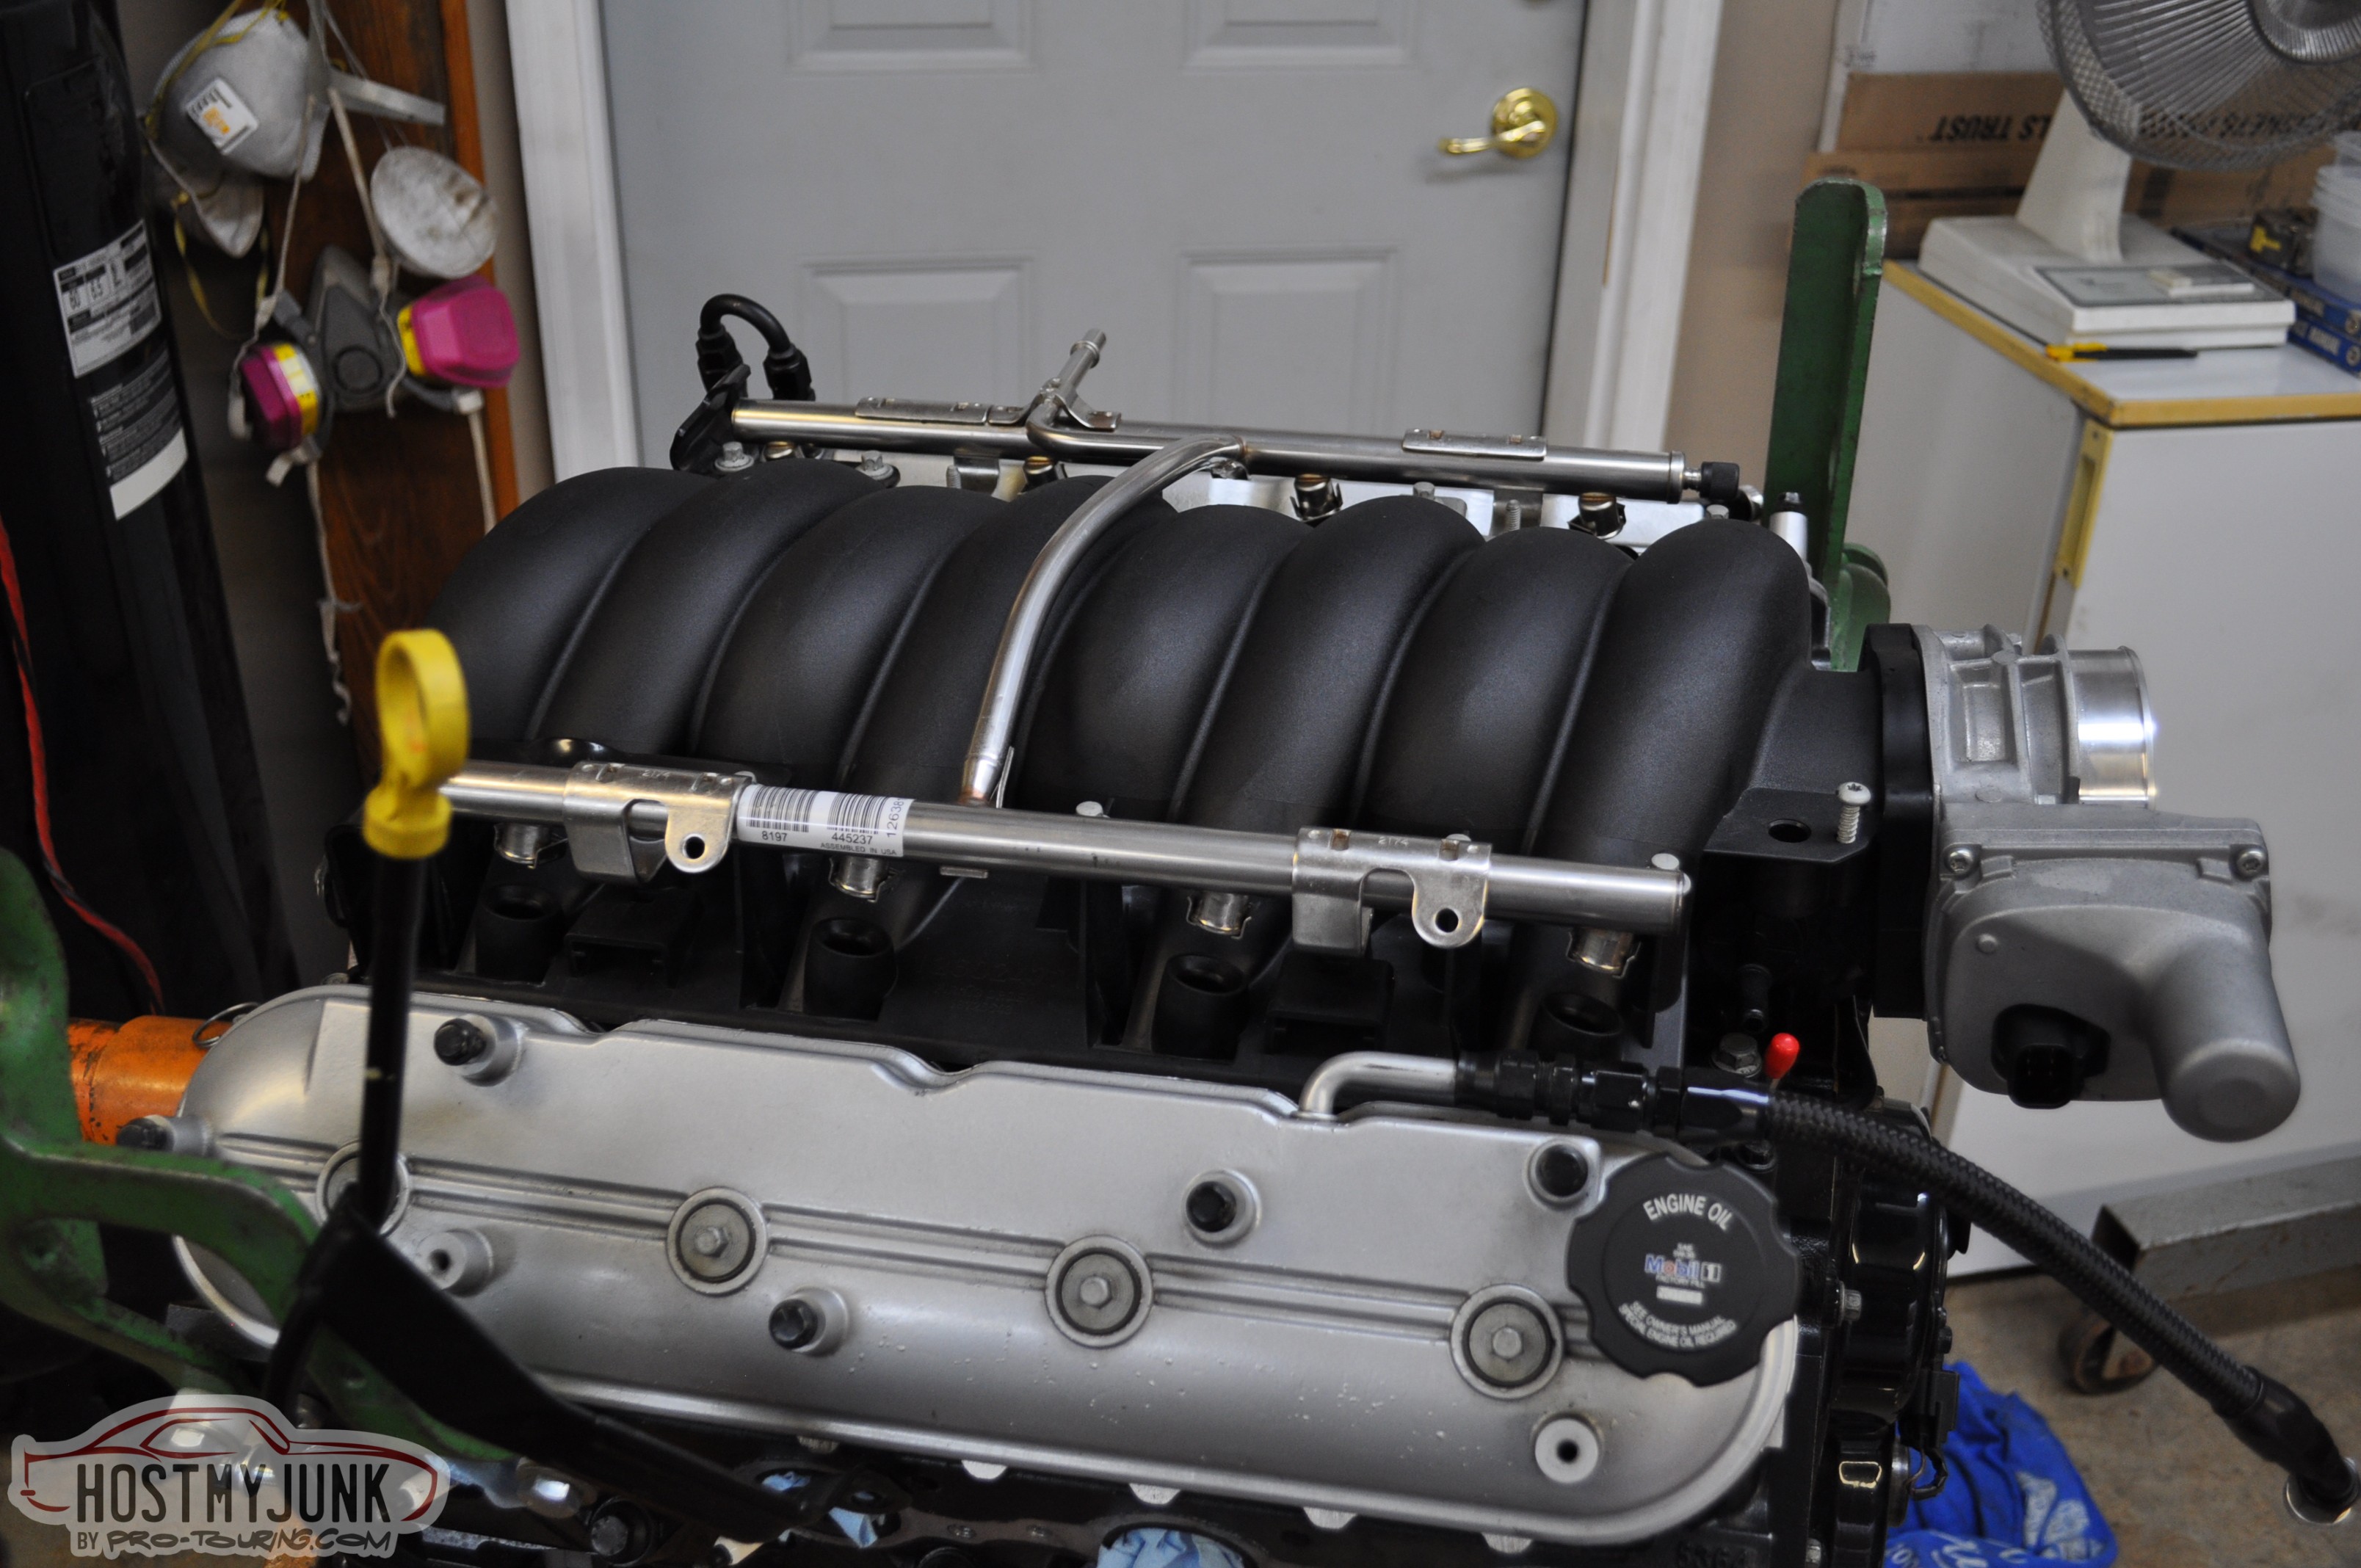
Its been a balancing act between working on the car, engine and spending time selling off the original parts to keep funding the next purchase for the build. I have been fortunate and have had good luck selling off the Buick parts.Mark
Current project 1963 Chevy II
https://lateral-g.net/forums/showthread.php?t=58772
1964 Buick Skylark
Build thread https://www.pro-touring.com/threads/...t-budget-build
03-30-2014 #9
Registered User
- Join Date
- Jan 2013
- Location
- Cypress, California
- Posts
- 381
The Buick green would be a nice tribute to the original. I tried to keep as many original parts as posible and when making changes I tried to keep the theme of the car intact. However that is just me.
03-30-2014 #10
Registered User
- Join Date
- Nov 2012
- Posts
- 346
Love what you've done so far!
I'm working on a 66 Skylark myself, and mine also had the 300 in it. Reliable as a boat anchor but just lacked suds, so I'm putting an LS1 in it. Like you, I have been wondering how to give it a nod to Buick. I thought about the green route, but there are only a few people that would have a clue what that was about. Still ruminating on it._______________
1969 Camaro
1966 Skylark
1964 Lemans
1960 Biscayne
Steve
04-14-2014 #11
Registered User
- Join Date
- Jan 2013
- Location
- Cypress, California
- Posts
- 381
Very nice.
04-14-2014 #12
Registered User
- Join Date
- Aug 2004
- Location
- Mapleton, IL.
- Posts
- 252
Thanks 1989GTA. Those are some nice numbers you got. What cam, ECM and harness did you use? Did you retain VVT?
Mark
Current project 1963 Chevy II
https://lateral-g.net/forums/showthread.php?t=58772
1964 Buick Skylark
Build thread https://www.pro-touring.com/threads/...t-budget-build
04-15-2014 #13 Registered User
- Join Date
- Feb 2011
- Location
- Mid-Michigan
- Posts
- 136
Nice progress Mark. Looks like you are really doing your homework! And it was nice to talk to you last week.
Oh, love the billet mounts
04-15-2014 #14
Registered User
- Join Date
- Jan 2013
- Location
- Cypress, California
- Posts
- 381
My first pass on a Superflow chasis dyno was 471rwhp but that was done in third gear instead of forth. By the way that was with California 91 octane gasoline. The camshaft is a Texas Speed VVT3 so yes I retained the VVT. A lot more people are doing that now because there is more power available under the curve. Originally Posted by 64G-lark
I used the factory 2007 Escalade harness. However I upgraded the software to the 2011 Corvette version including the 6L80 transmission and E38 ECM. On May 6th I am going back on the chasis dyno for the final tune. We shall see what the final power numbers will be.
I like how your build is going.
04-16-2014 #15
Registered User
- Join Date
- Aug 2004
- Location
- Mapleton, IL.
- Posts
- 252
A few more parts arrived over the last few days. Got an F-body bell housing for the trans. Decided to go with the BRP mid length headers. I thought it might offer the best ground clearance and I might not have to fight the issues of hitting the floor board or hanging to low while trying to get the engine where I want it. I know I may give up a few HP but I like the simplicity. Also needed some bolts for the bell housing, water pump, balancer, etc. The engine already had ARP Head bolts so I went with ARP on the balance.
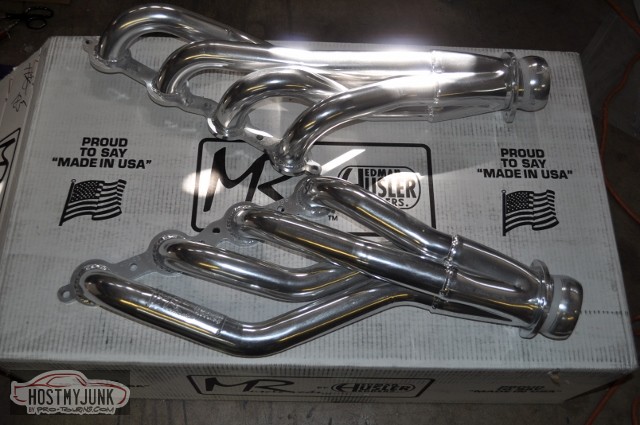
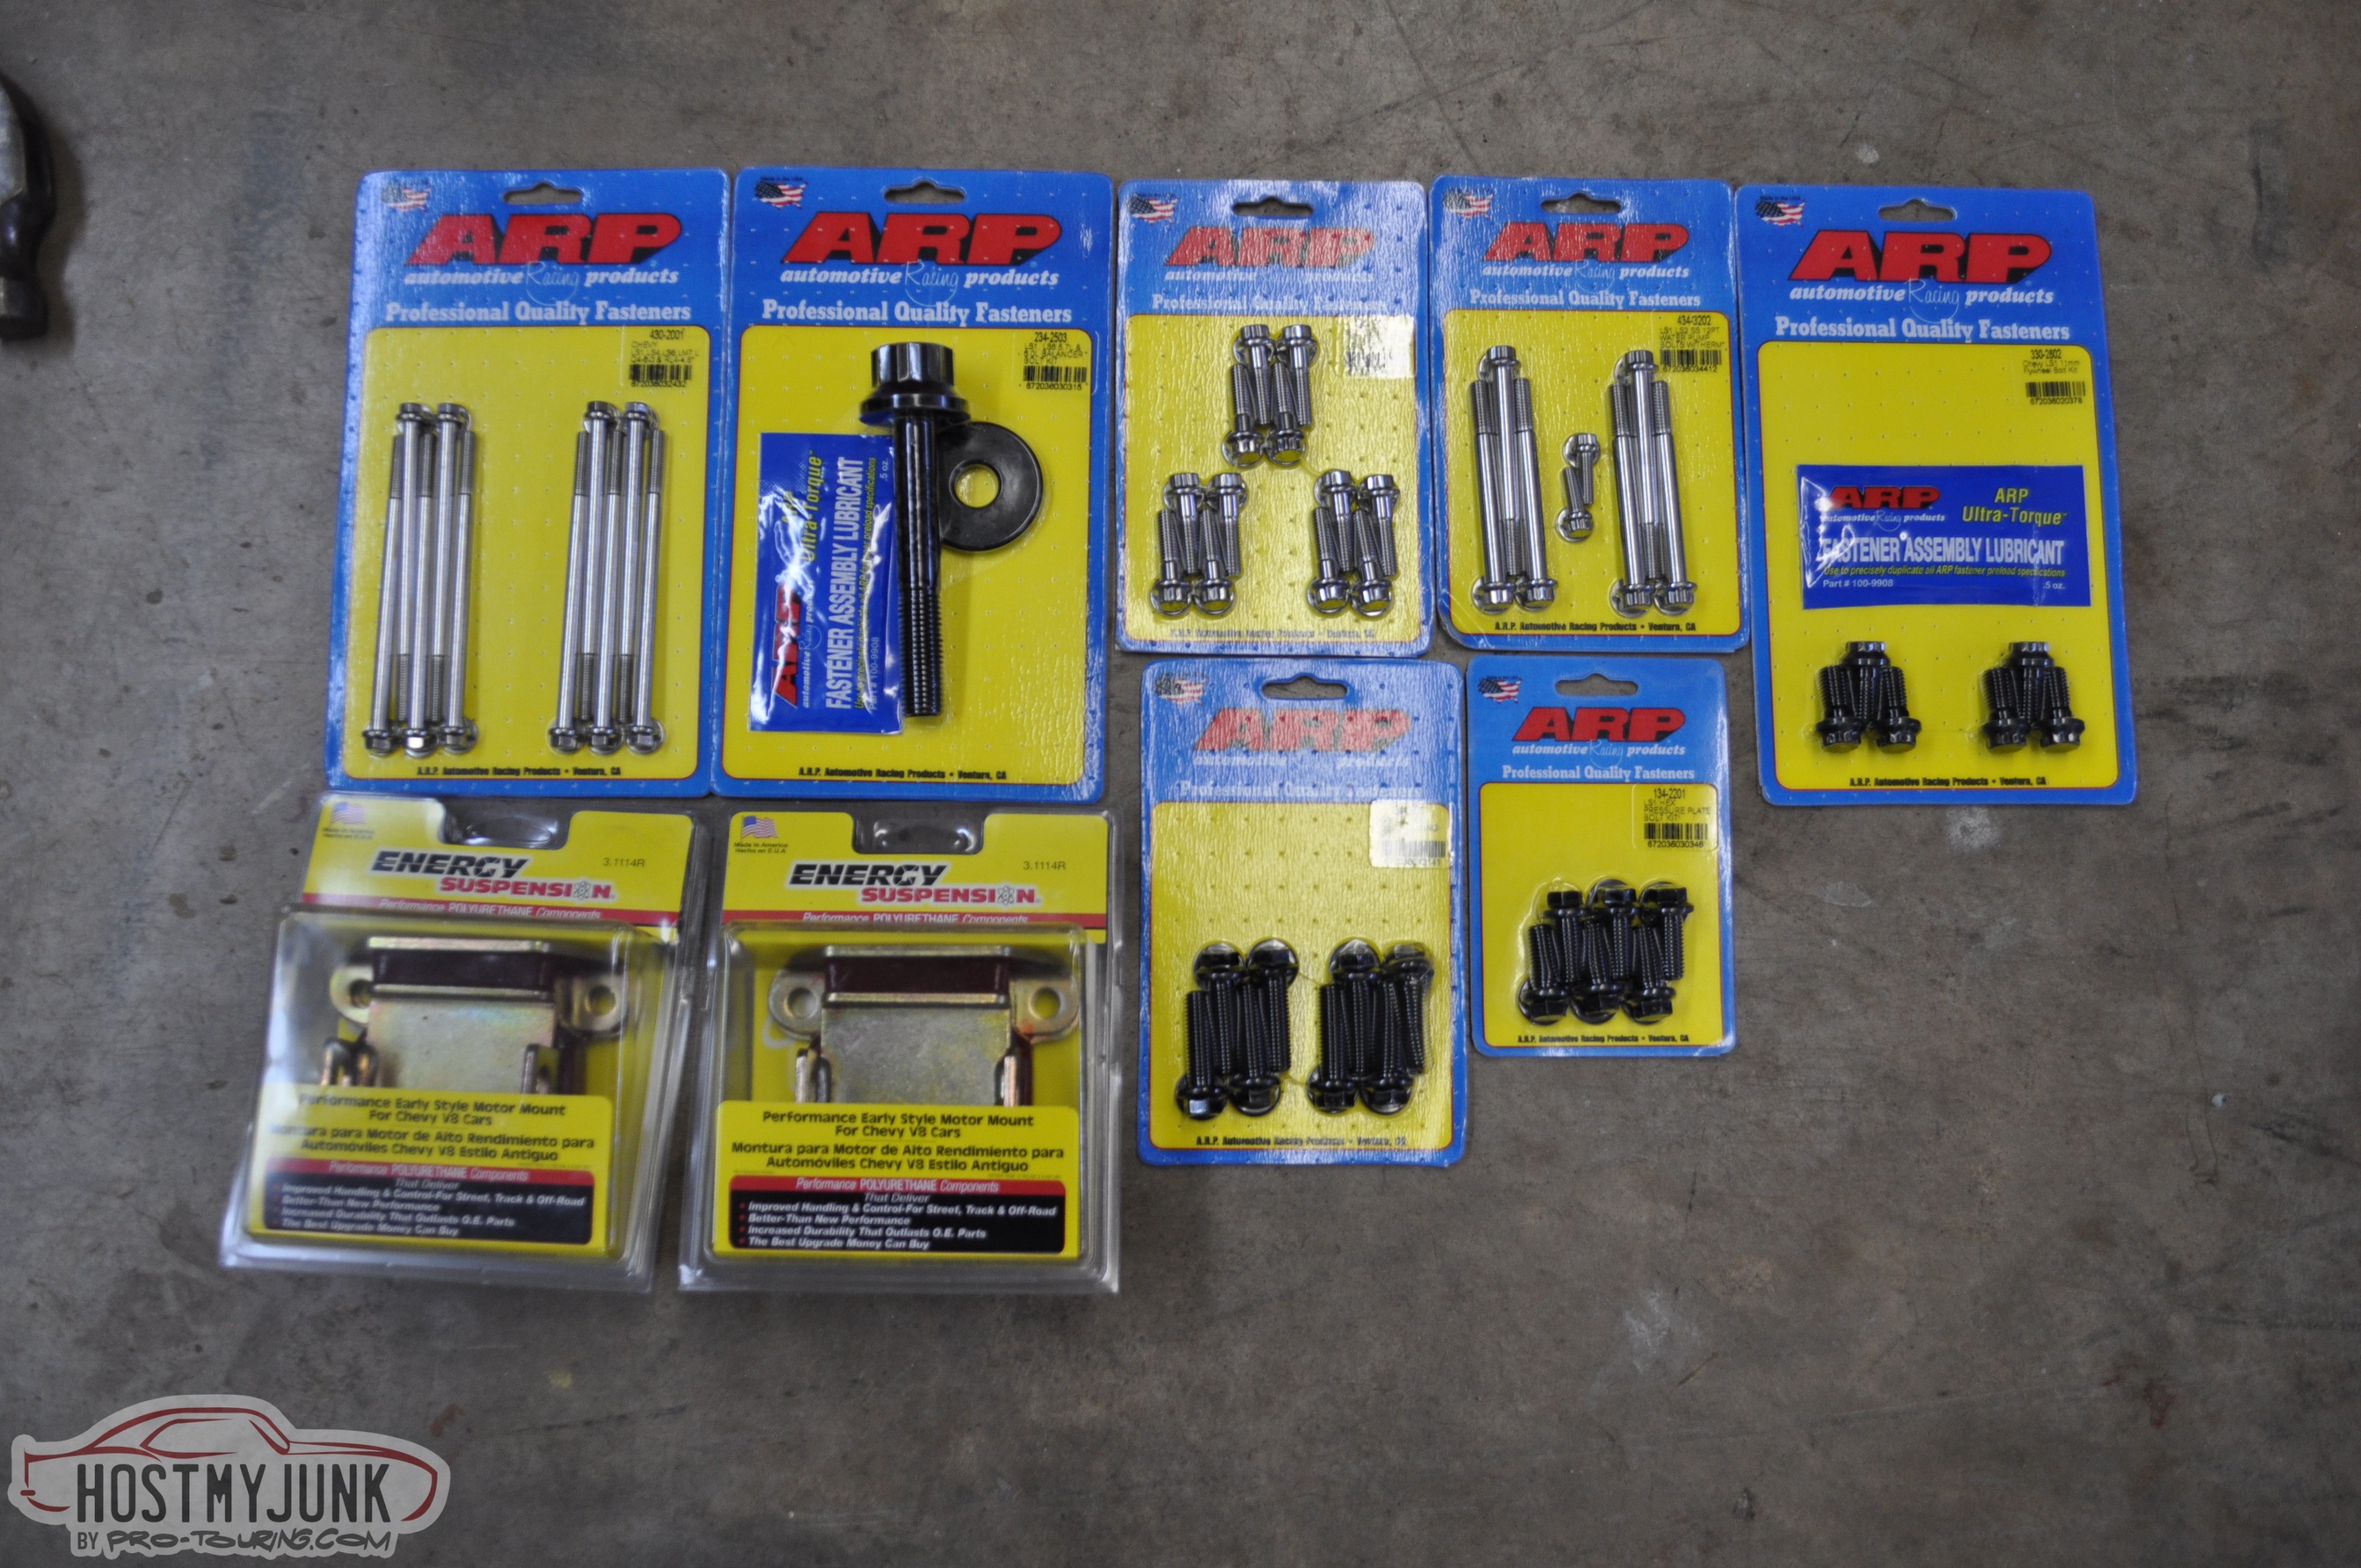
Test fitting bell housing and factory crossmember that was lightened.
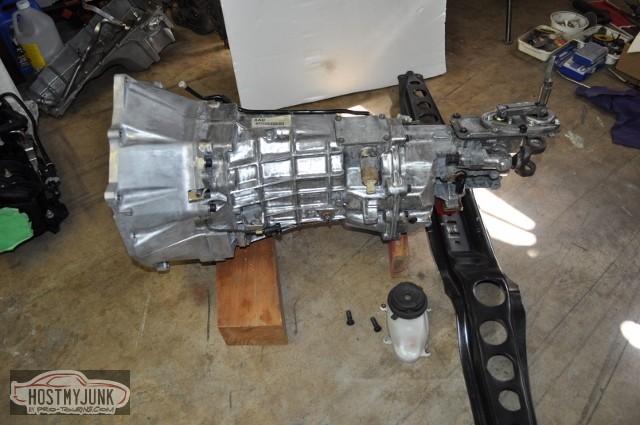 Mark
Mark
Current project 1963 Chevy II
https://lateral-g.net/forums/showthread.php?t=58772
1964 Buick Skylark
Build thread https://www.pro-touring.com/threads/...t-budget-build
04-16-2014 #16
Registered User
- Join Date
- Aug 2004
- Location
- Mapleton, IL.
- Posts
- 252
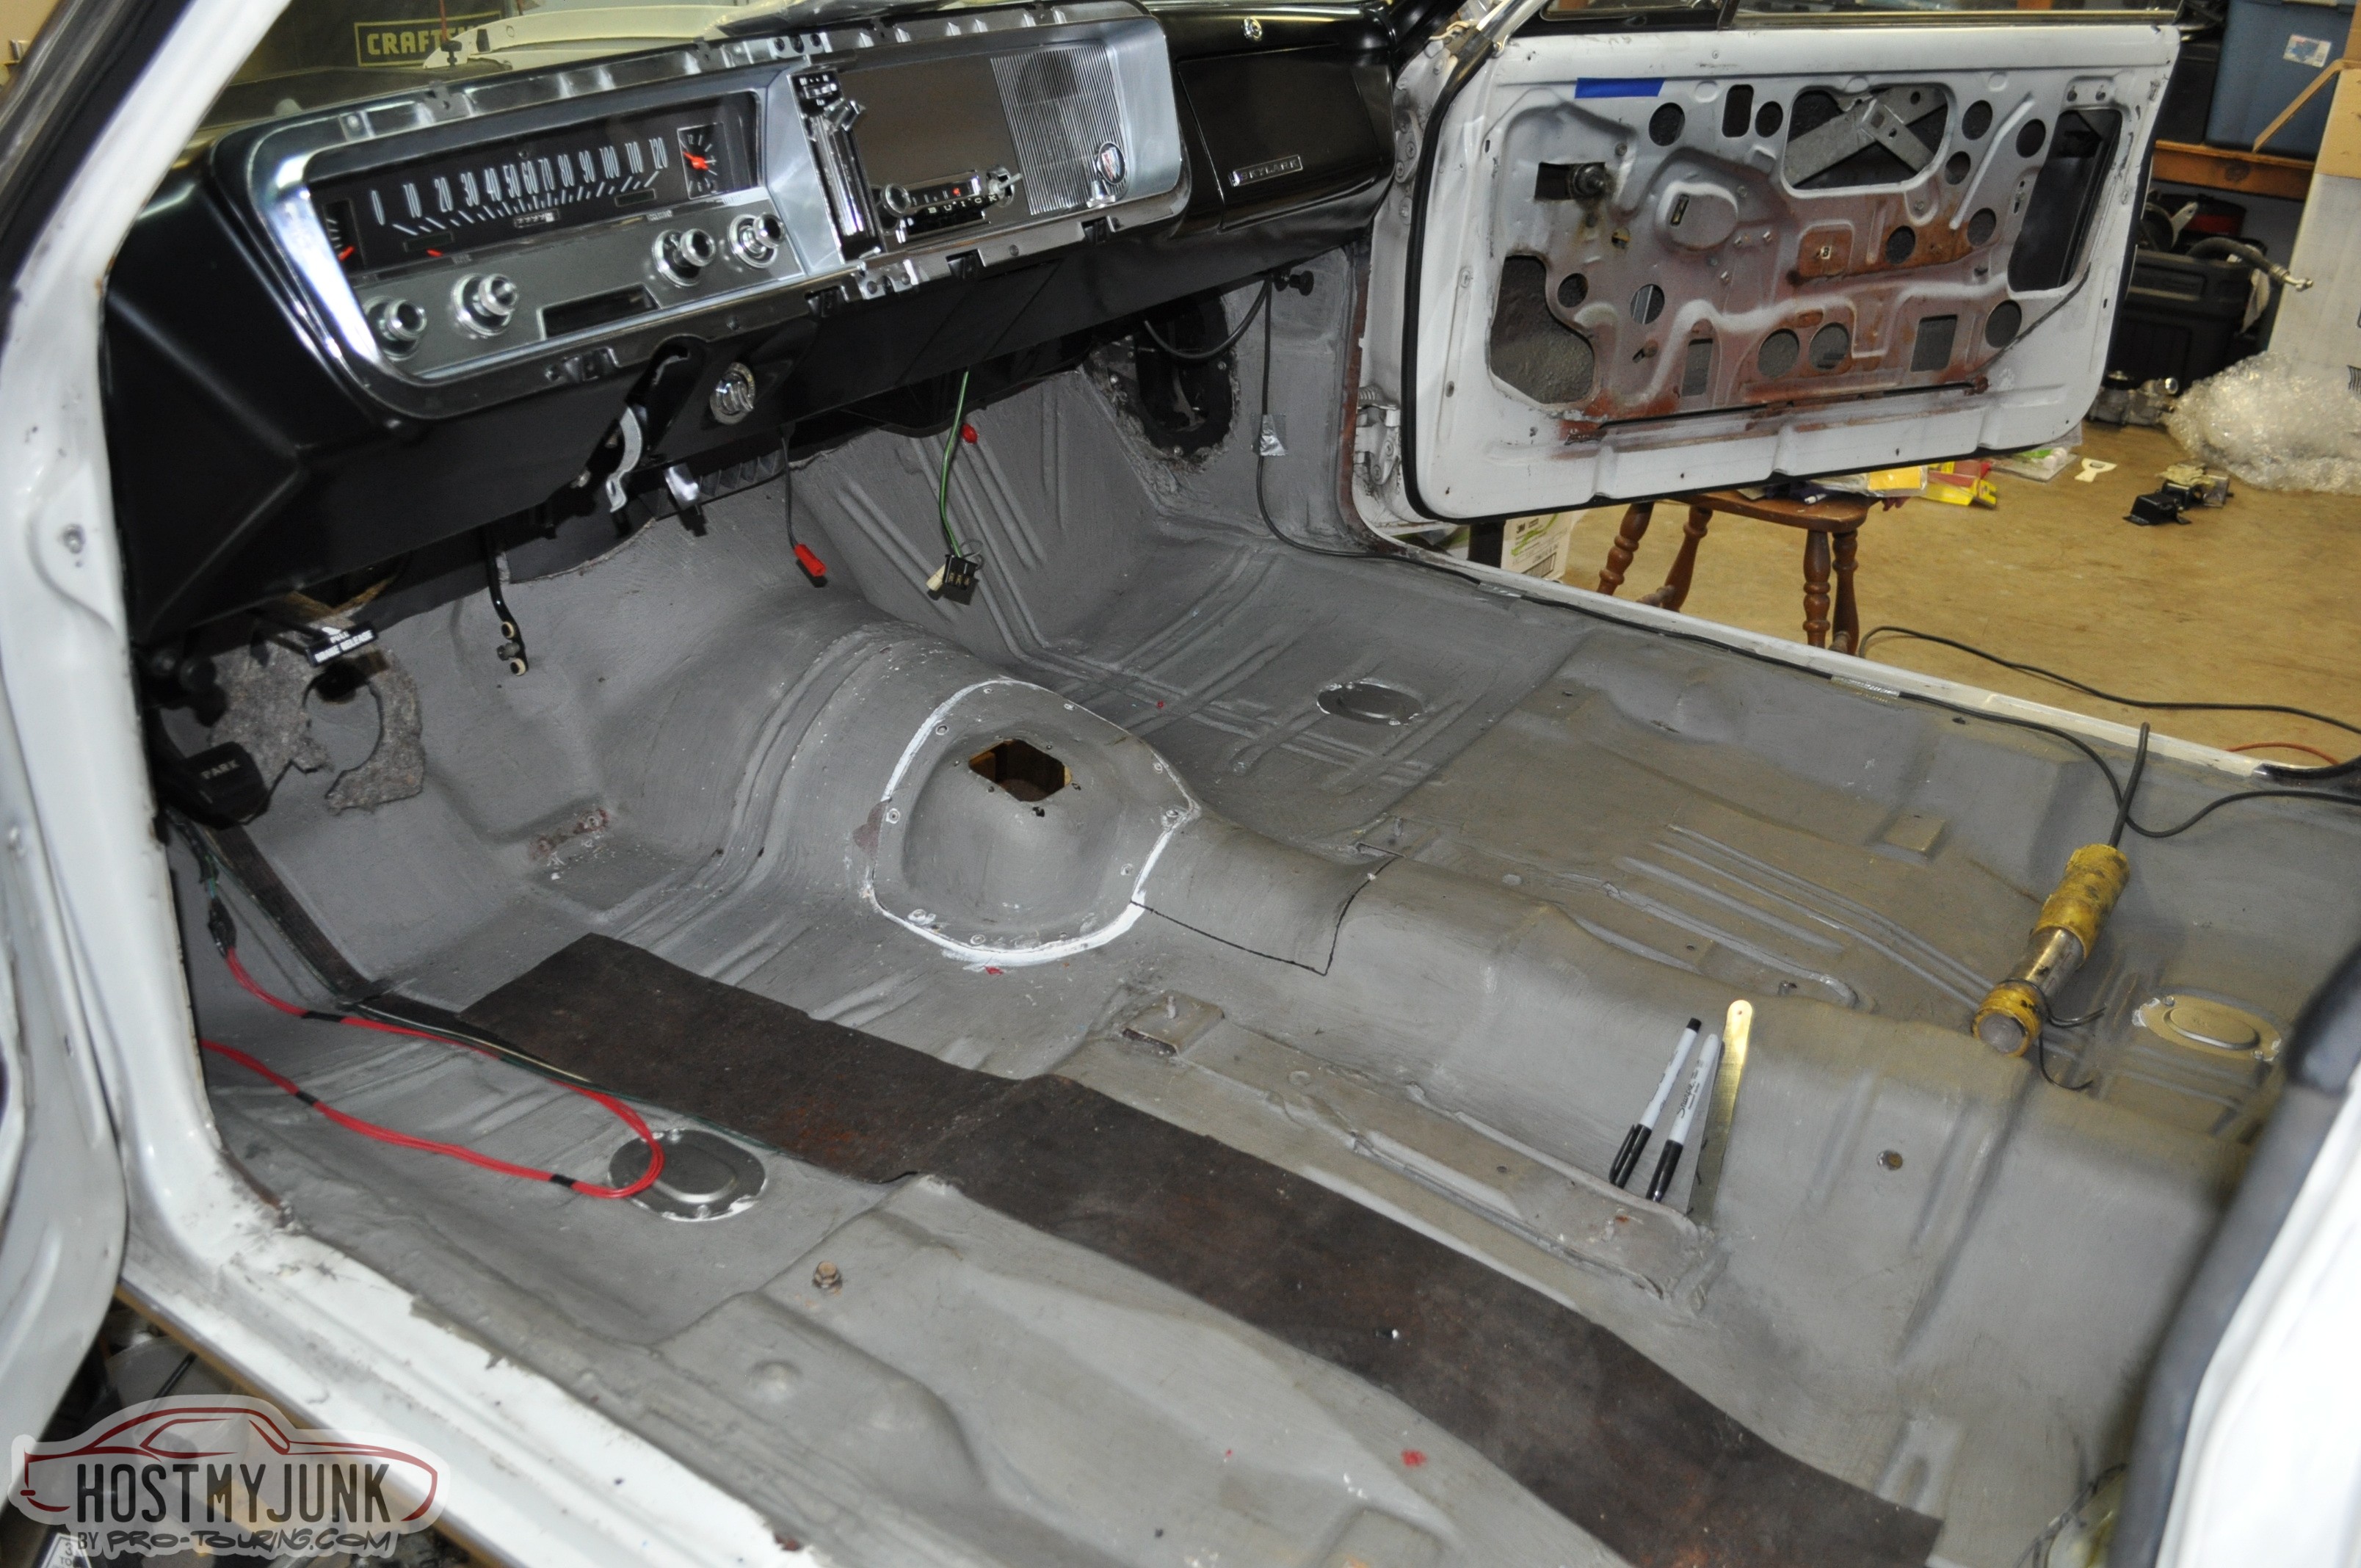
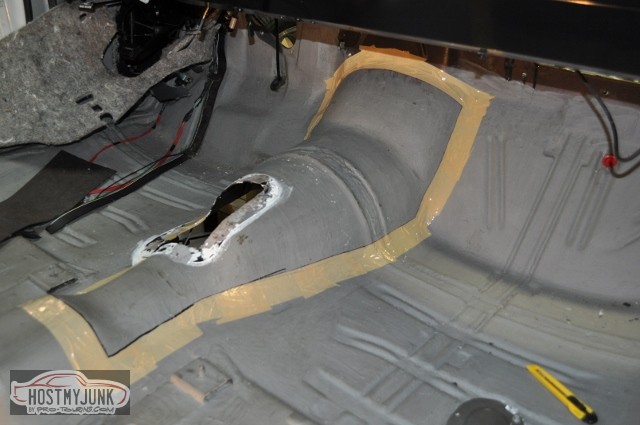
Performed the dreaded tunnel-ectomy yesterday. This is the part I have worried about the most. I hated cutting up an original floor pan with no rust issues.
Before
Prepping
After
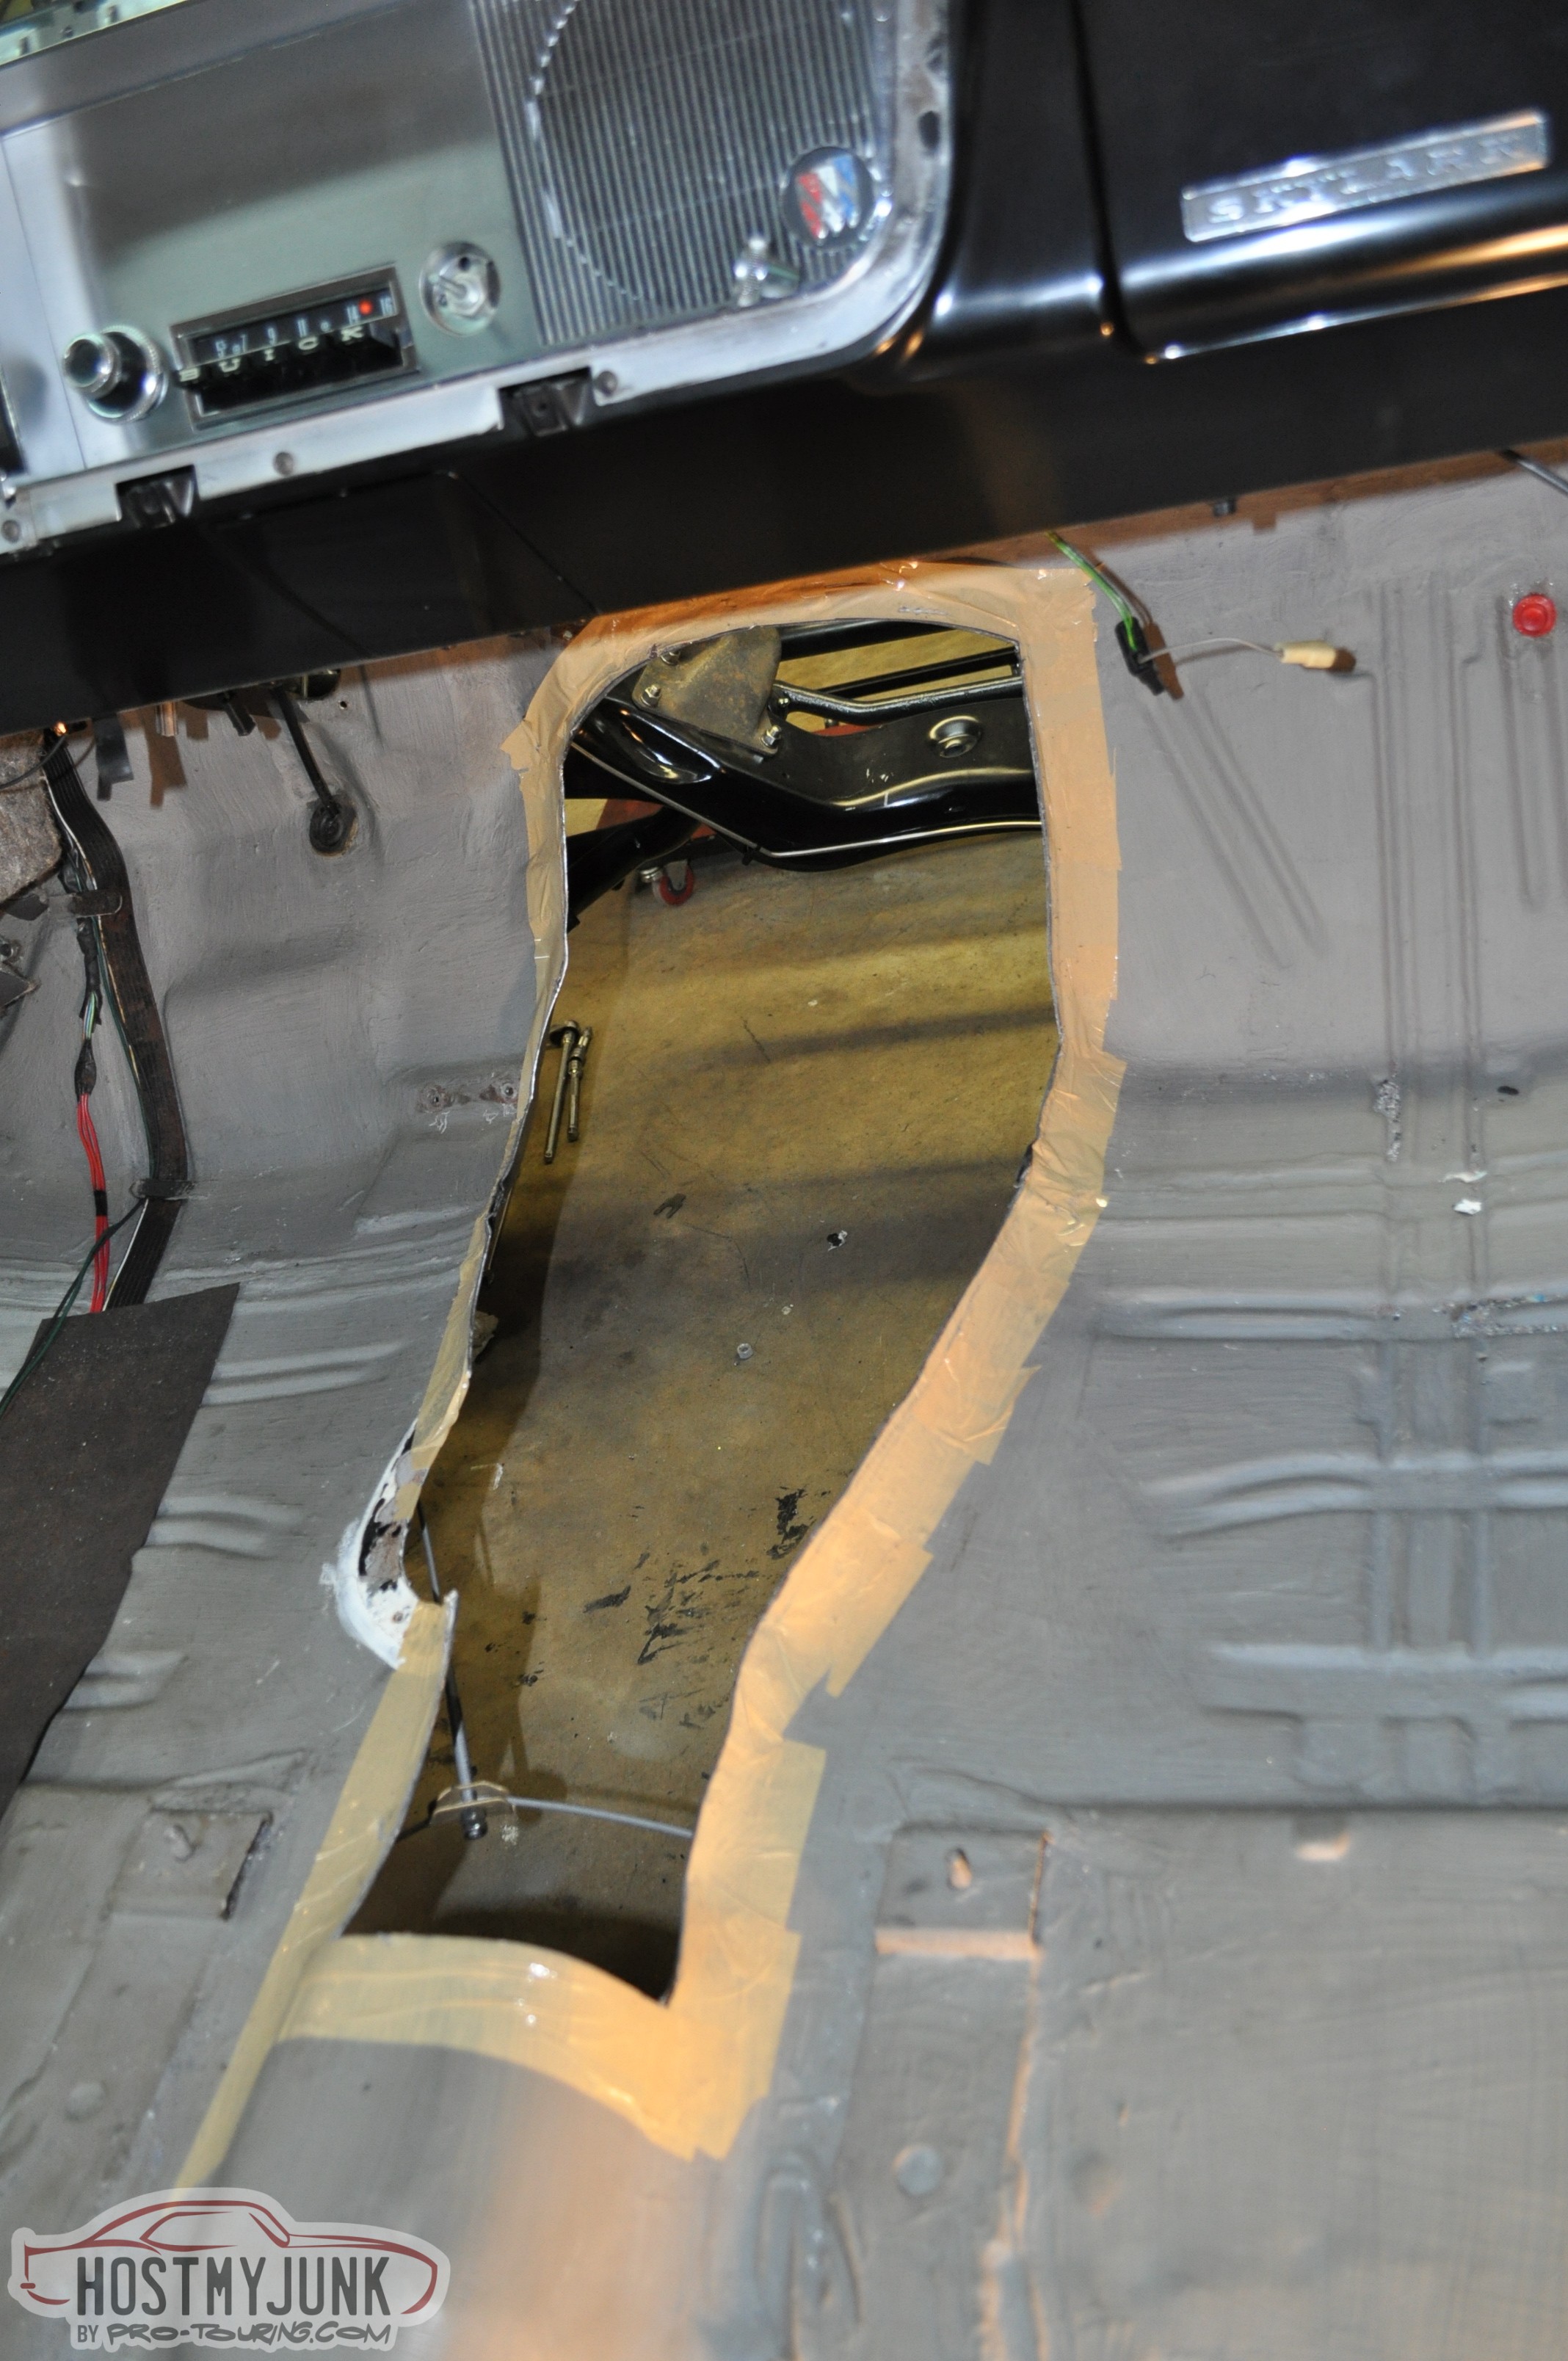
I purchased a cheap air saw from Northern Tool with a gift certificate from Christmas. I couldn't believe how well it worked. It really made cutting the tunnel easy with no sparks and flying debris to deal with like I would have had with a die grinder and cut-off wheel.Mark
Current project 1963 Chevy II
https://lateral-g.net/forums/showthread.php?t=58772
1964 Buick Skylark
Build thread https://www.pro-touring.com/threads/...t-budget-build
04-16-2014 #17
Registered User
- Join Date
- Aug 2004
- Location
- Mapleton, IL.
- Posts
- 252
Well as much as I hate to admit it my motor mount plan is not working out. The mounts we made work great mounting to the engine and the Chevy motor mounts bolt up fine. My problem is when I test fit the headers the drivers side tube hits the crossmember. I cant get the motor mounts bolted in the Chevelle frame stands with this header. I don't like how the Chevelle stands sit so far forward on the crossmember. The Buick style stands are a better design centered over the crossmember, but create two other issues. First the width is wrong for the Chevy motor mounts and when bolted in the spread between mounts is wrong. I could alter the width but then the spread is still an issue. I have been researching different mount options. The best option would be to fab some from scratch. I could probably do this given enough time, but the time and cost of doing this outweigh going back to BRP for their mounts that are guaranteed to fit, have the right driveline angles and clear the headers. As they say the best laid plans don't always come together.
As a side note the Holley oil pan appears to fit great. Doesn't look like it will hang below the crossmember and it looks like the tie rods will clear and no cutting on the front crossmember. Once we get it all bolted down I will report back on the clearances.Mark
Current project 1963 Chevy II
https://lateral-g.net/forums/showthread.php?t=58772
1964 Buick Skylark
Build thread https://www.pro-touring.com/threads/...t-budget-build
04-15-2014 #18 Rat Pack Member

- Join Date
- May 2007
- Location
- Mooresville, Indiana
- Posts
- 1,874
Looking great Mark! You guys are really going to town on this thing.

Tom Farrington
66 Chevelle hardtop (ours) https://www.pro-touring.com/showthre...PT-build-(ours)
64 Chevelle 4-dr wagon (wife's) https://www.pro-touring.com/showthre...HAUL-LONG-ROOF
The new shop build https://www.pro-touring.com/showthre...53#post1016553
04-16-2014 #19
Registered User
- Join Date
- Aug 2004
- Location
- Mapleton, IL.
- Posts
- 252
Chevelle mounts courtesy of the Farringtons bolted in for test fit. They will get cleaned up and painted for the final fit.
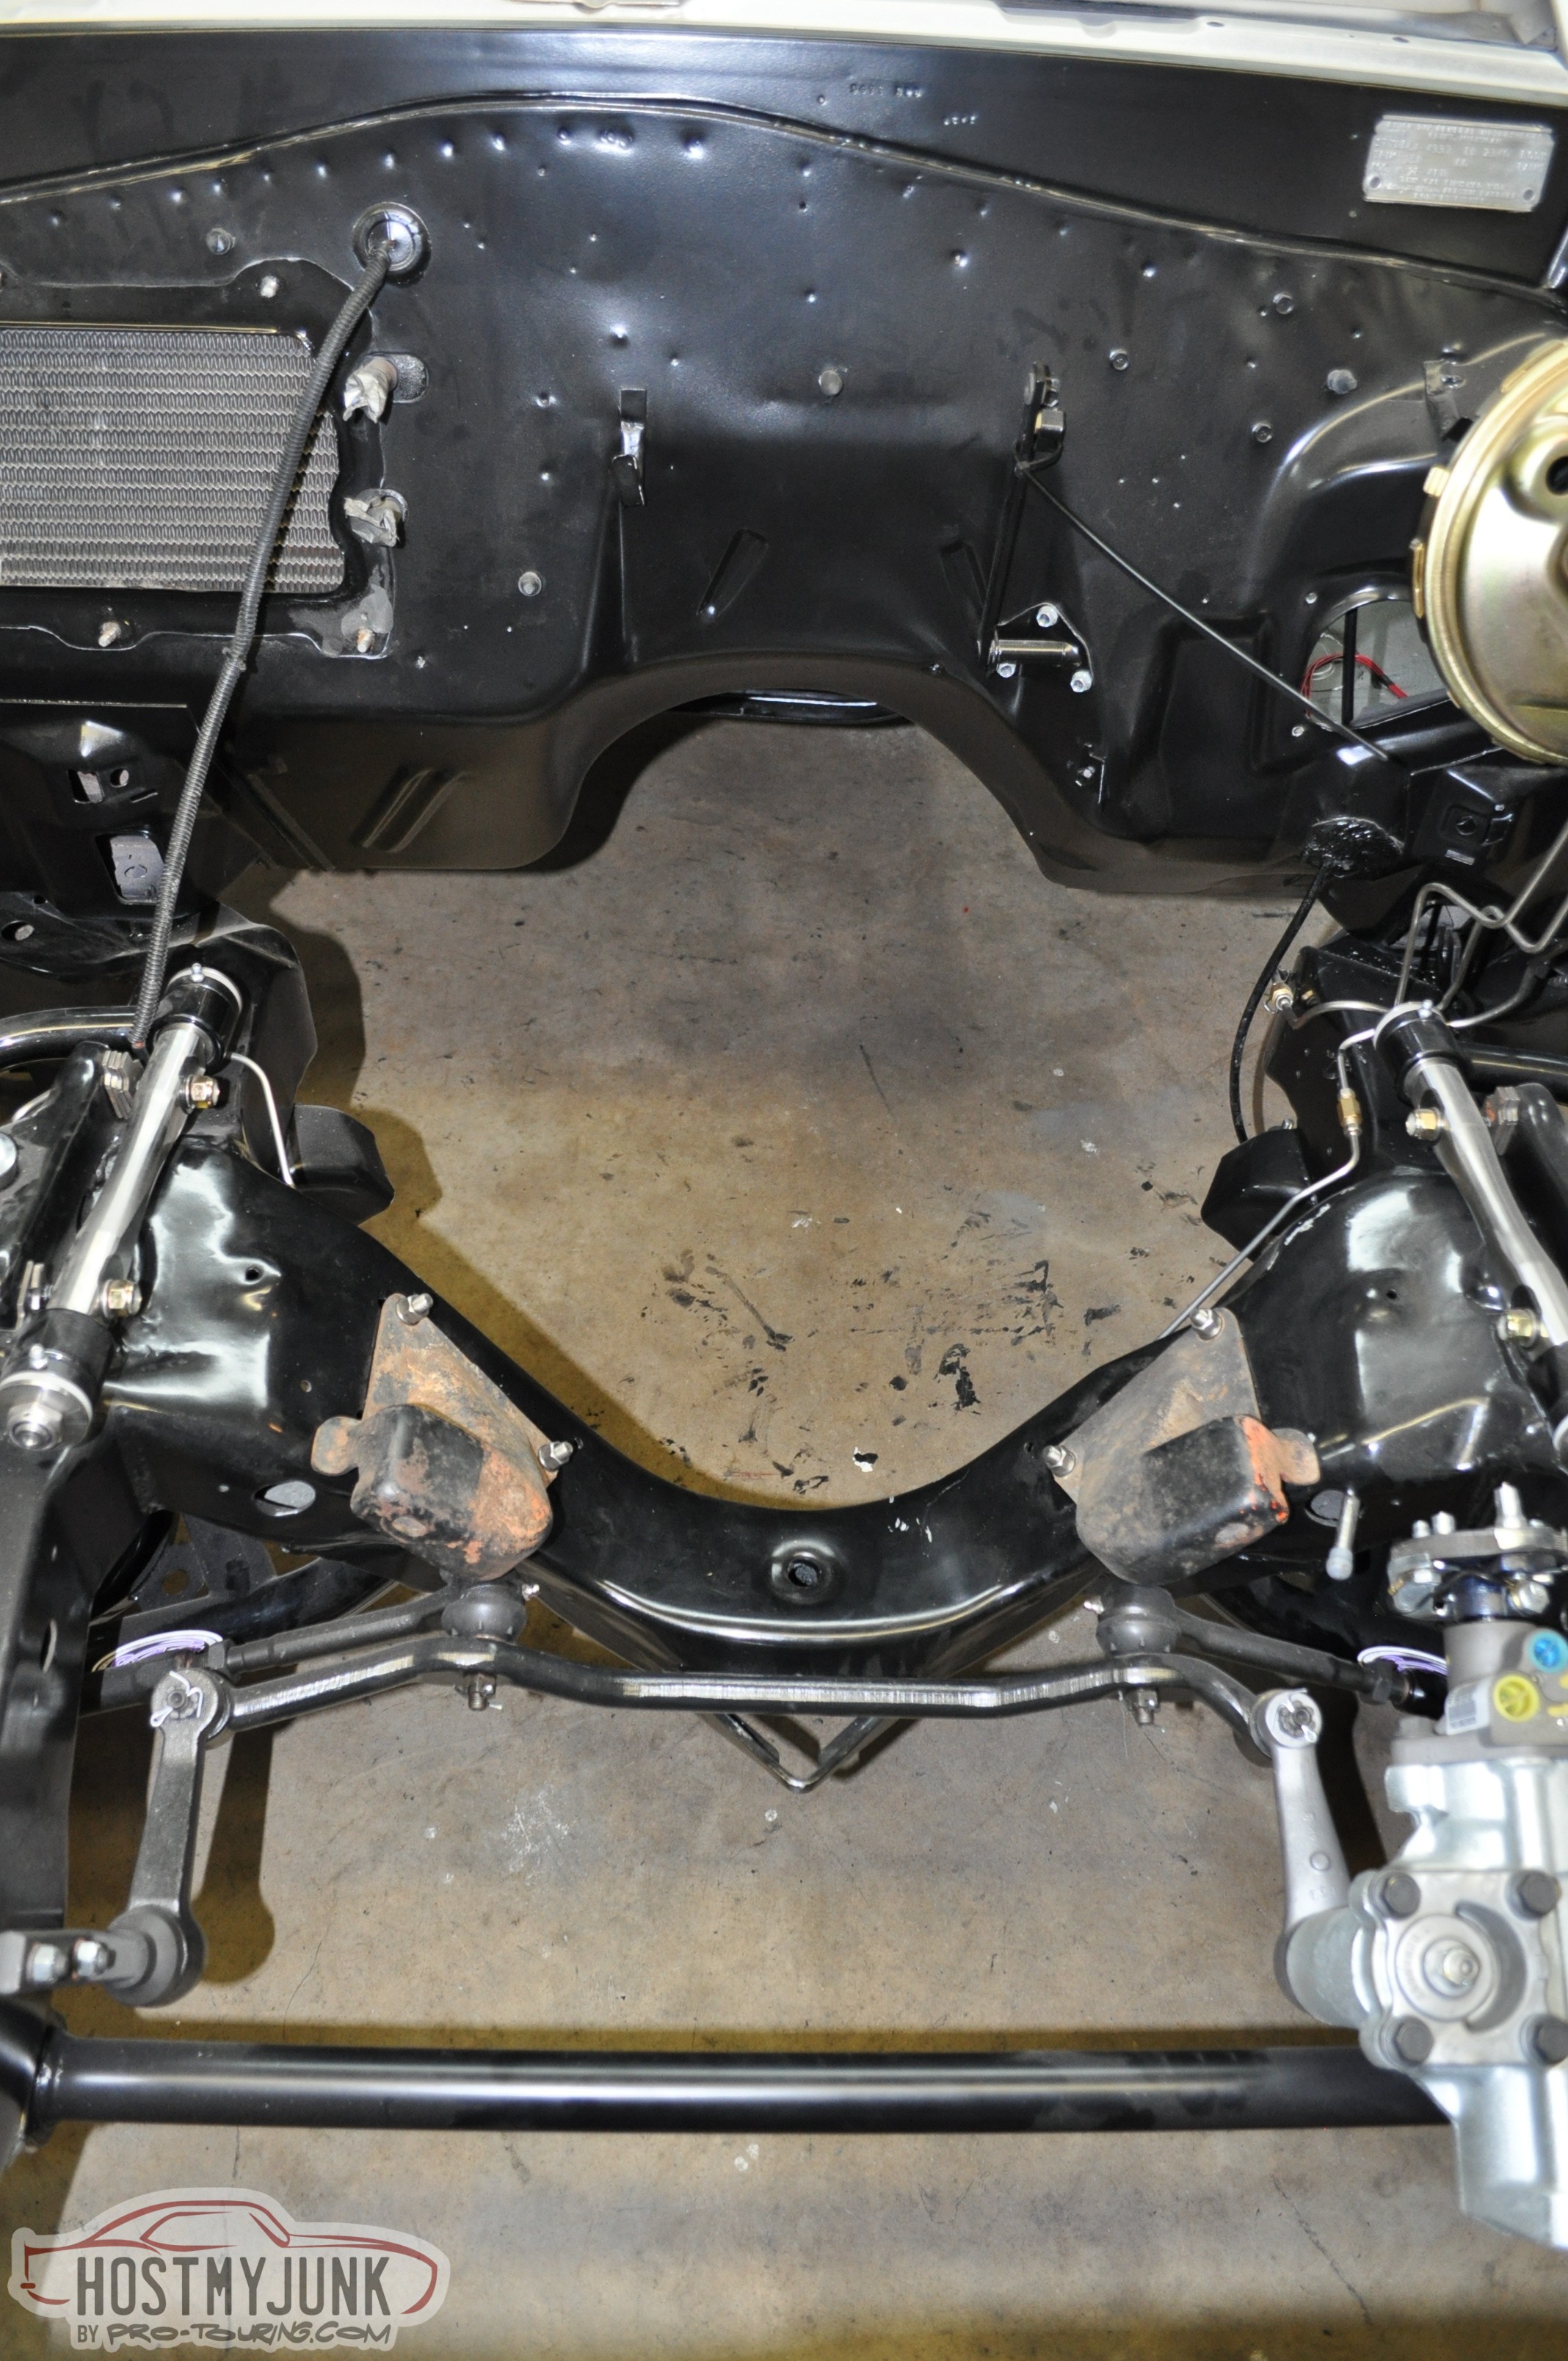
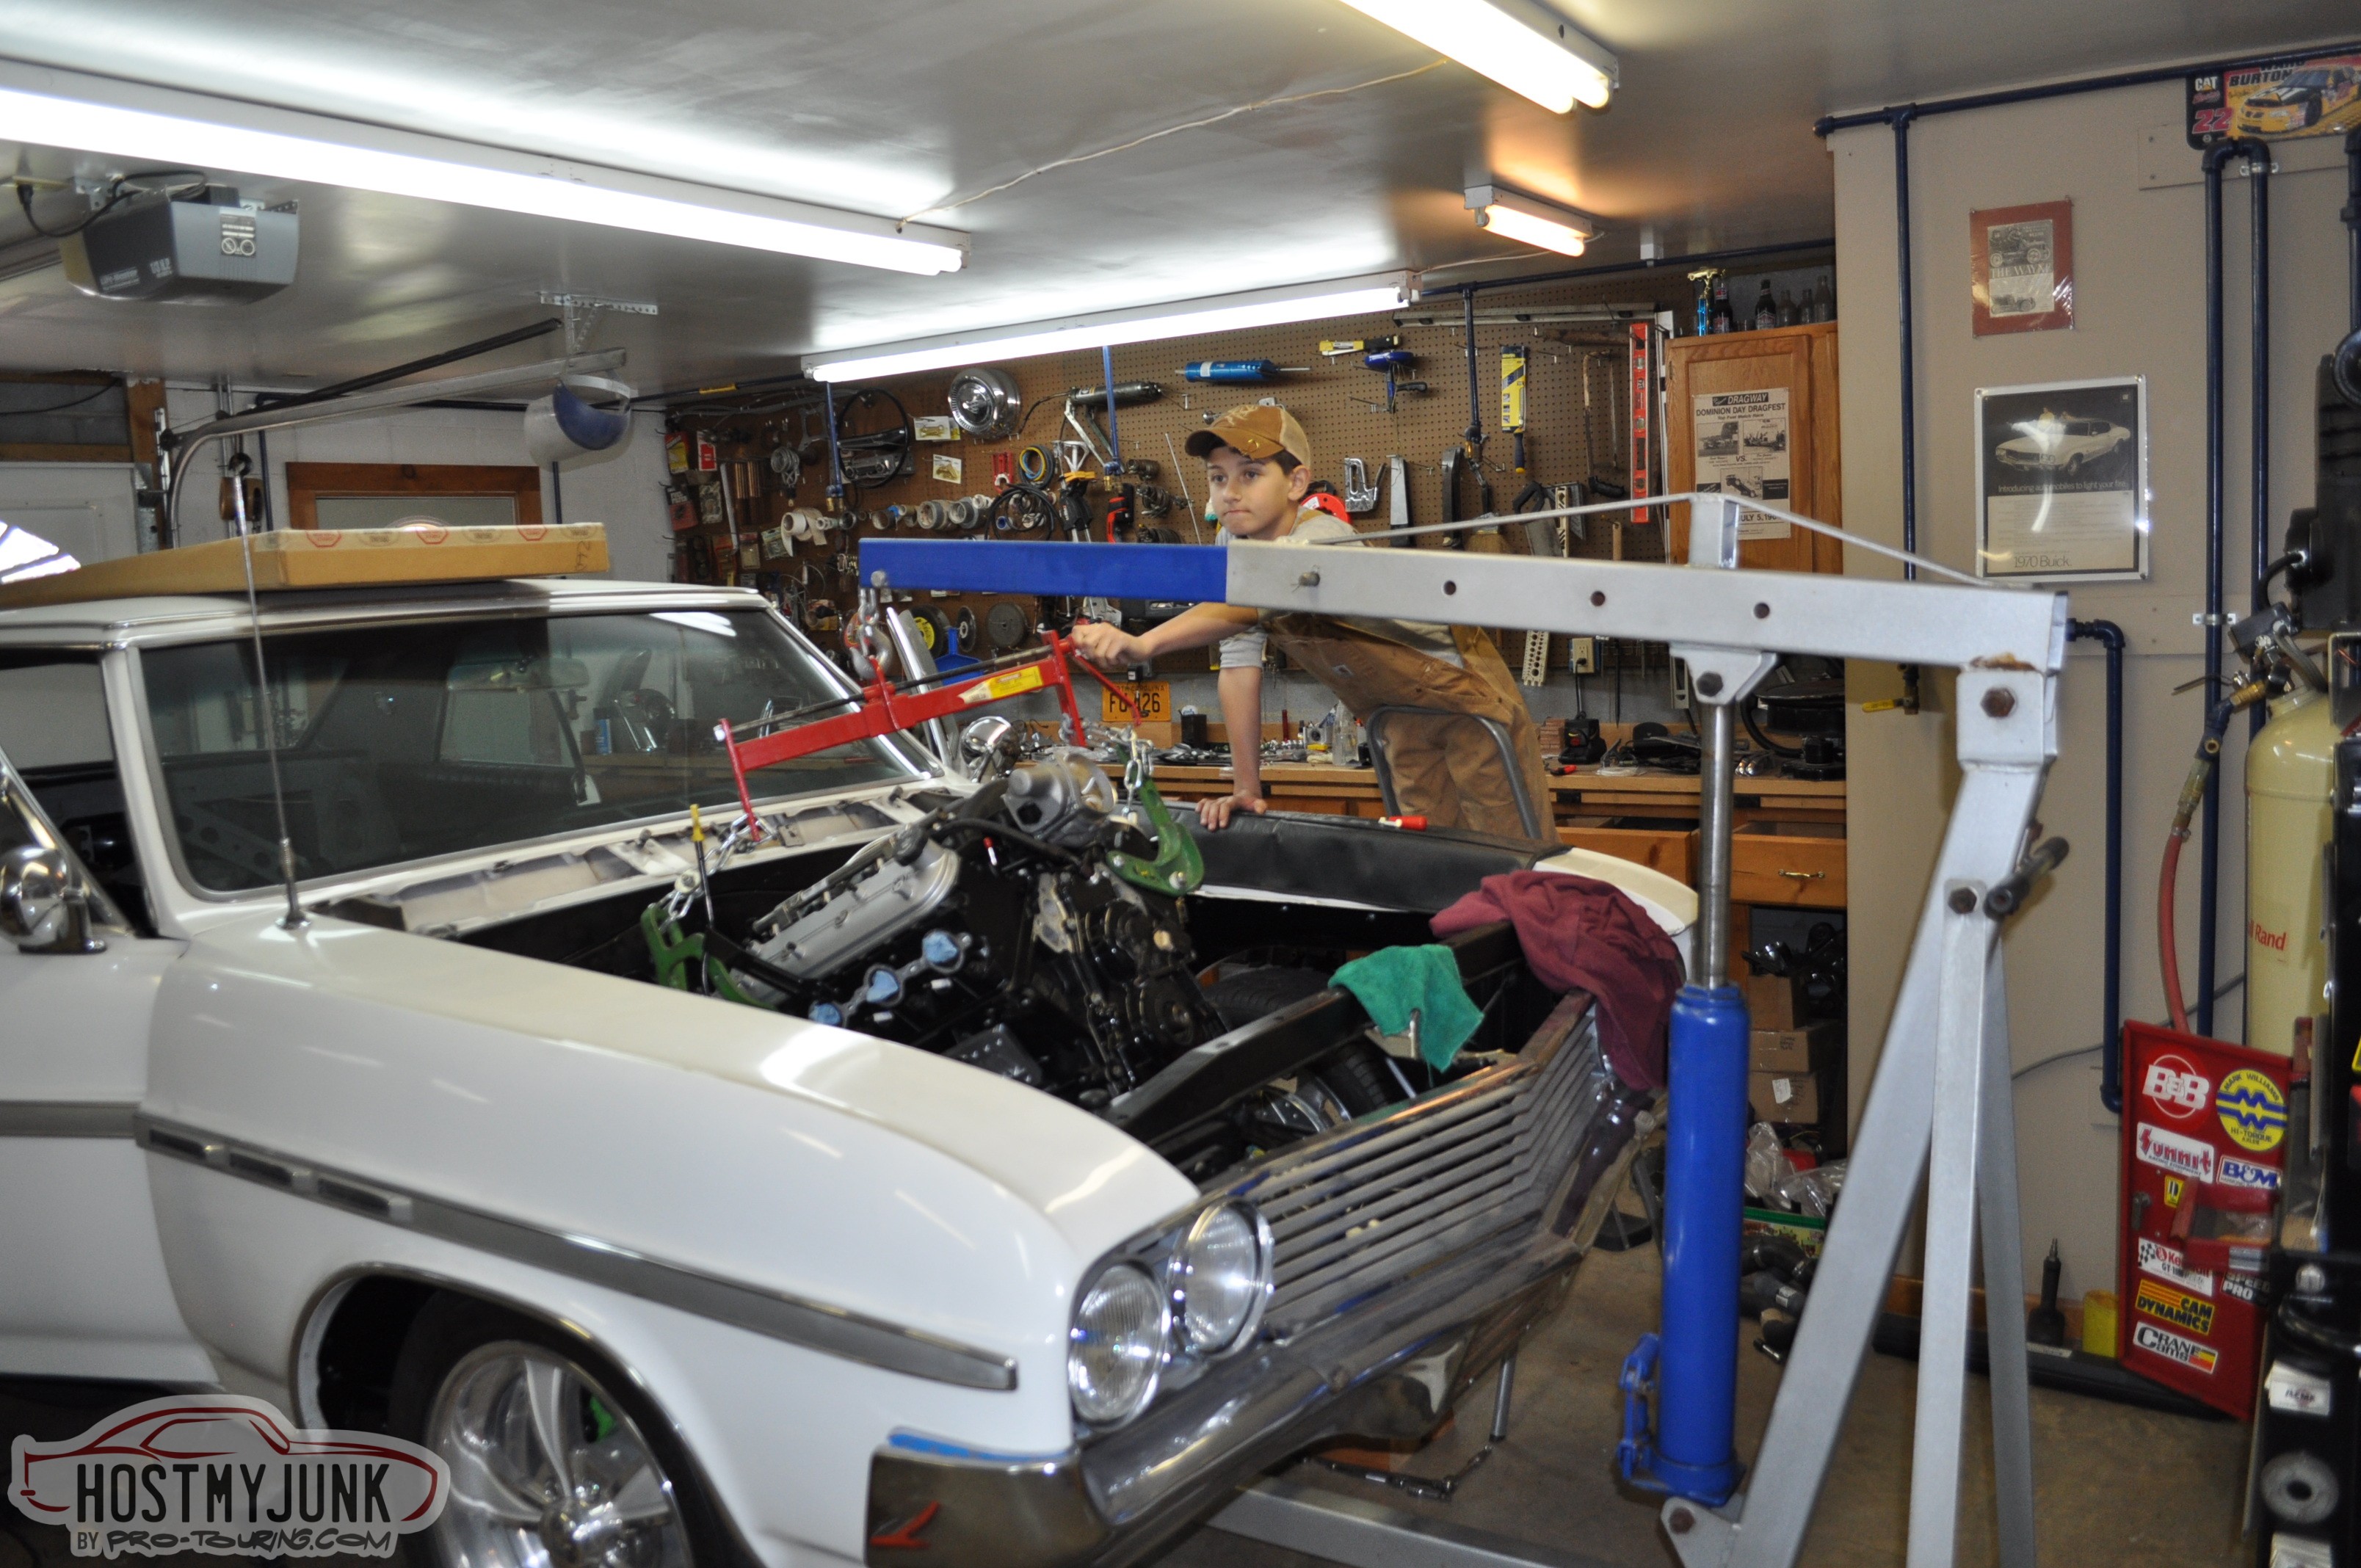
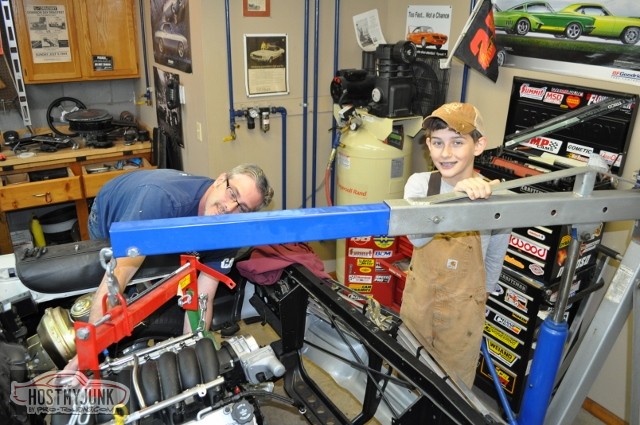
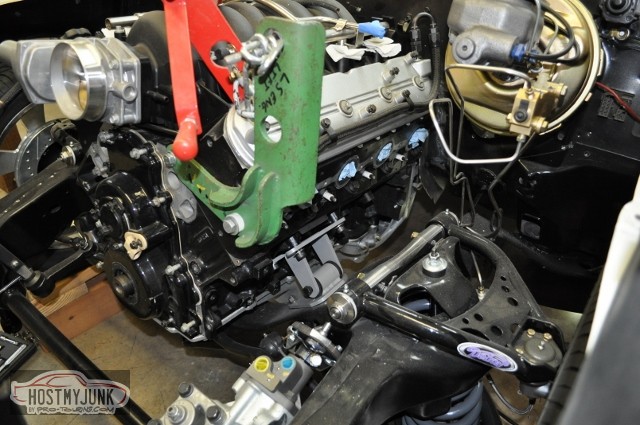
Time for the first mock up of the engine and trans.
This was a challenge in the confines of the garage. I will have a taller ceiling in the next one! I had to change up the rigging several times. Its very tight getting enough angle to get the transmission started into the tunnel, and getting everything back far enough to drop the oil pan behind the front cross member. Unfortunately this wont be the last of these maneuvers. My Wife (Robin) came down to the garage to celebrate the success of seeing it in the car.
 Mark
Mark
Current project 1963 Chevy II
https://lateral-g.net/forums/showthread.php?t=58772
1964 Buick Skylark
Build thread https://www.pro-touring.com/threads/...t-budget-build
04-16-2014 #20
Rat Pack Member
- Join Date
- May 2007
- Location
- Mooresville, Indiana
- Posts
- 1,874
Mark, you're starting to make me feel guilty about the amount of project work I get done in a week.
Tom Farrington
66 Chevelle hardtop (ours) https://www.pro-touring.com/showthre...PT-build-(ours)
64 Chevelle 4-dr wagon (wife's) https://www.pro-touring.com/showthre...HAUL-LONG-ROOF
The new shop build https://www.pro-touring.com/showthre...53#post1016553

 Reply With Quote


