


Results 201 to 220 of 331
Thread: 1971 Nova Build ??
-
12-31-2017 #201

 Registered User
- Join Date
- Jan 2014
- Location
- Orange County, CA
- Posts
- 241
It's close DY69Cam, and that's the clearance at full lock to lock. I'm ok with the clearance now, cause before it was rubbing big time. I'm sure somewhere it will rub but shouldn't be that bad. I don't see much rubbing with daily driving. It will be put on track to see some fun driving and that's where it may rub some. If it's really bad looks like I may look into a different sub frame lol ;) oh damn lol Originally Posted by DT69Cam

-
12-31-2017 #202 Registered User
- Join Date
- Oct 2009
- Location
- CT.
- Posts
- 742
Funny how some build threads just fall through the cracks. Just now seeing this one and have now gone through the entire build. Love it!!! Looking forward to the rest!
Glenn
1955 Chevy BelAir
1951 Chevy 3100
1987 Chevy Silverado
My last project....
https://www.pro-touring.com/threads/...my-72-Maverick!!
01-01-2018 #203
Registered User
- Join Date
- Jul 2016
- Posts
- 348
 Haha Looks great. Perhaps a little different offset on rims or a spacer if need be. Originally Posted by Kiquee71
01-01-2018 #204
Registered User
- Join Date
- Jan 2014
- Location
- Orange County, CA
- Posts
- 241
Thank you HotRod47. Just read thru your project and wish that most of the photos were up to see the work you did to the car. Your finished car defiantly gives me more push to get more done to my Nova. Your car looks awesome. Originally Posted by HotRod47
01-08-2018 #205
Registered User
- Join Date
- Jan 2014
- Location
- Orange County, CA
- Posts
- 241
1971 Nova Build ??
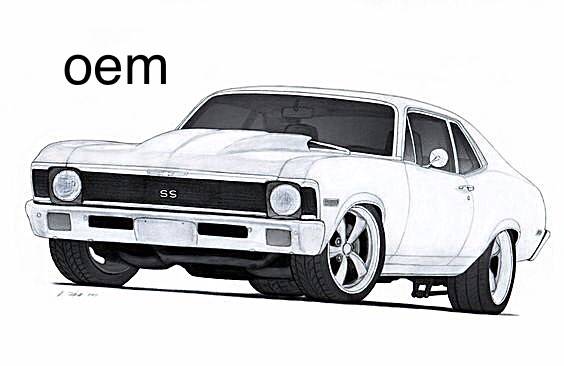
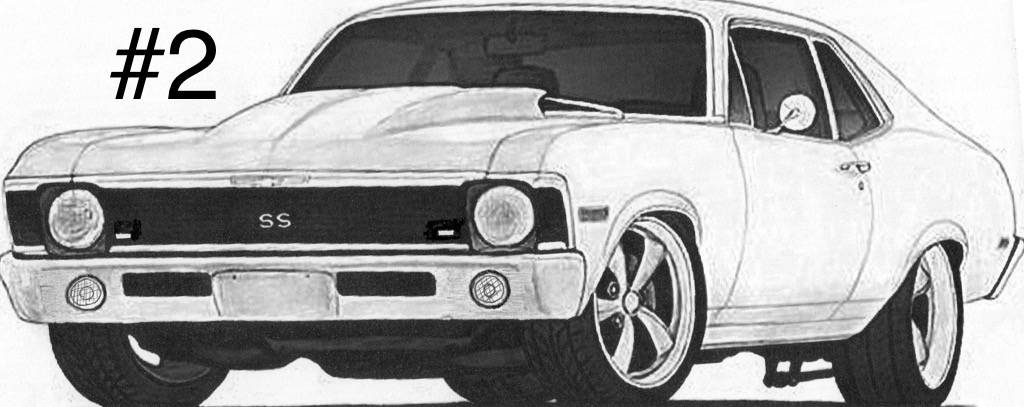
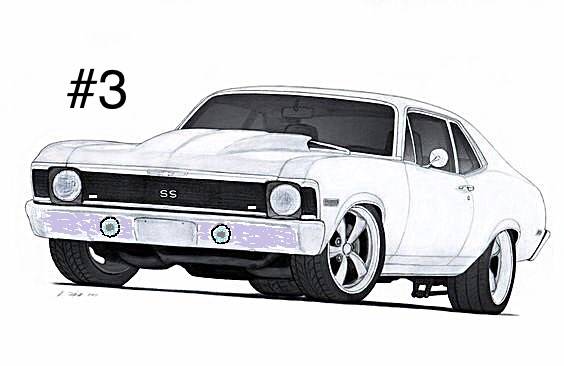
Ok would like some feedback from you guys. I've been tossing some ideas about how to clean up the front bumper, nothing too crazy. I've come up with a few, 1st is OEM, #1 is a LED daytime running bar modified just below the vents and flush, #2 is round daytime running light in place of the original turn signal and #3 is just like a 69 Camaro. In all drawings their will be small LED mounted in the grill and will not be noticeable until they turn on. Bumpers will also be shaved clean from bolts too. Not my drawing either, got it off the old internet, made it easier to do this lol. Let the comments begin, any will help. Thanks.

01-09-2018 #206
Registered User
- Join Date
- Mar 2009
- Location
- Houston, TX
- Posts
- 1,197
I'd vote #1. IMO, the round 69 Camaro style has been done to death.
Tu Ho
Firebird V2-LS swap
01-09-2018 #207 Registered User
- Join Date
- Jul 2013
- Location
- St. George, UT
- Posts
- 1,144
#1 no.
#2 is a nice subtle change, looks like it fits the design well, and keeps the design based on the Nova rather than the Camaro.
#3 as said has been done a lot. Still looks good but if you're going to go through the effort to change yours why do something that's already been done a lot?
Here's a Nova we wrapped up recently where we filled the rectangular holes but left the turn signals, sort of a combo of #2 & 3 of your drawings. Filling those holes and adding round driving lights might be kinda cool and different enough from stock without looking too out of place. Food for thought.
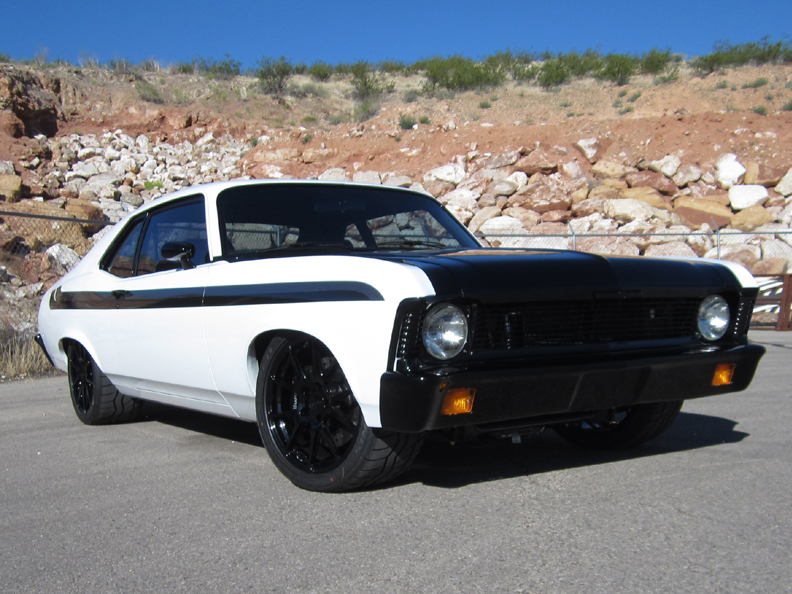
Good luck!-Ben, Creative Director at Speedtech Performance
We sell some really cool parts, build cool cars, and do cool concept renderings too!
435-628-4300 www.speedtechperformance.com
My Pumkinator build thread- https://www.pro-touring.com/showthre...ght=pumkinator
01-09-2018 #208
Registered User
- Join Date
- Nov 2017
- Posts
- 129
there is another guy on here and this is what he did https://www.pro-touring.com/threads/...driver-project
01-10-2018 #209
Registered User
- Join Date
- Jan 2014
- Location
- Orange County, CA
- Posts
- 241
Thanks Ben will definitely keep that in mind when I get at that point. Originally Posted by Ben@SpeedTech
01-11-2018 #210
Registered User
- Join Date
- Oct 2009
- Location
- CT.
- Posts
- 742
Here is what I did......
As you can see I went with aforementioned 69 Camaro lights in the lower valance. While they may be to a point of being over used, in the Maverick/Comet world this is a completely different look and is very unique. But for turn signals/running lights I made a little bracket and mounted it vertically behind the grill. Mostly out of site when but still very bright and effective when lit up.
This photo they show up very clear, but with the hood down and then looking at them standing up you just don't see them.
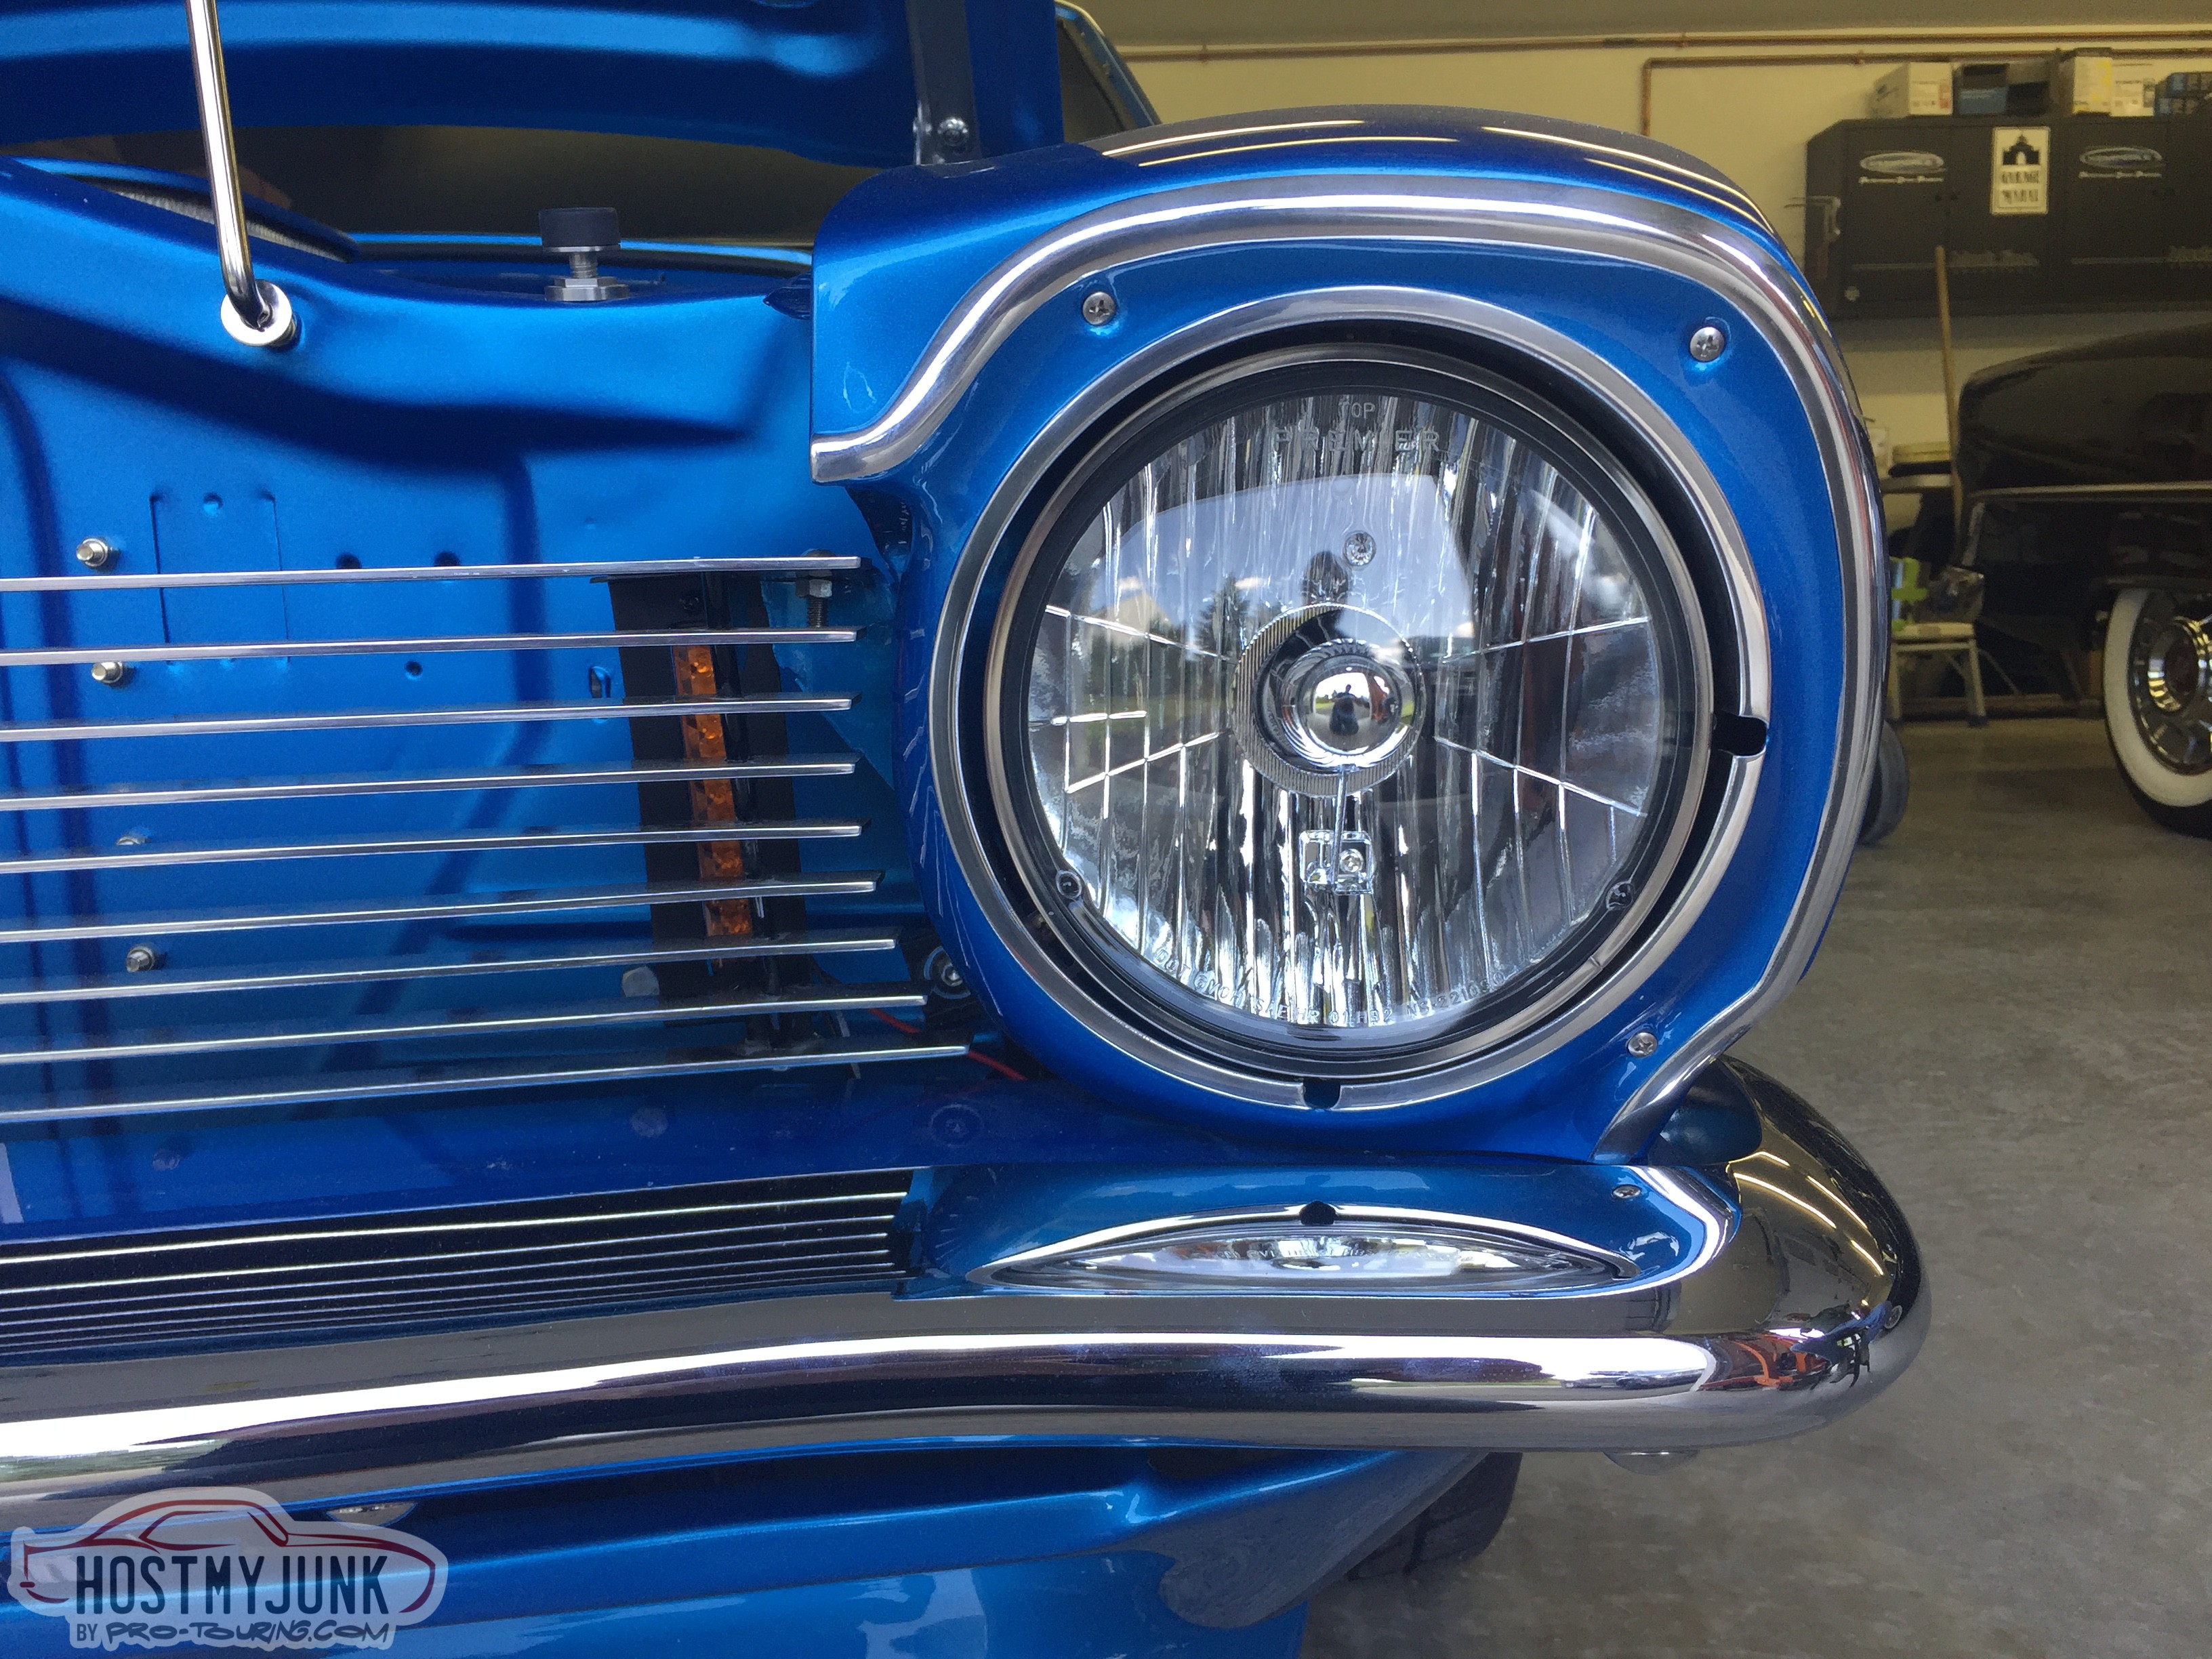
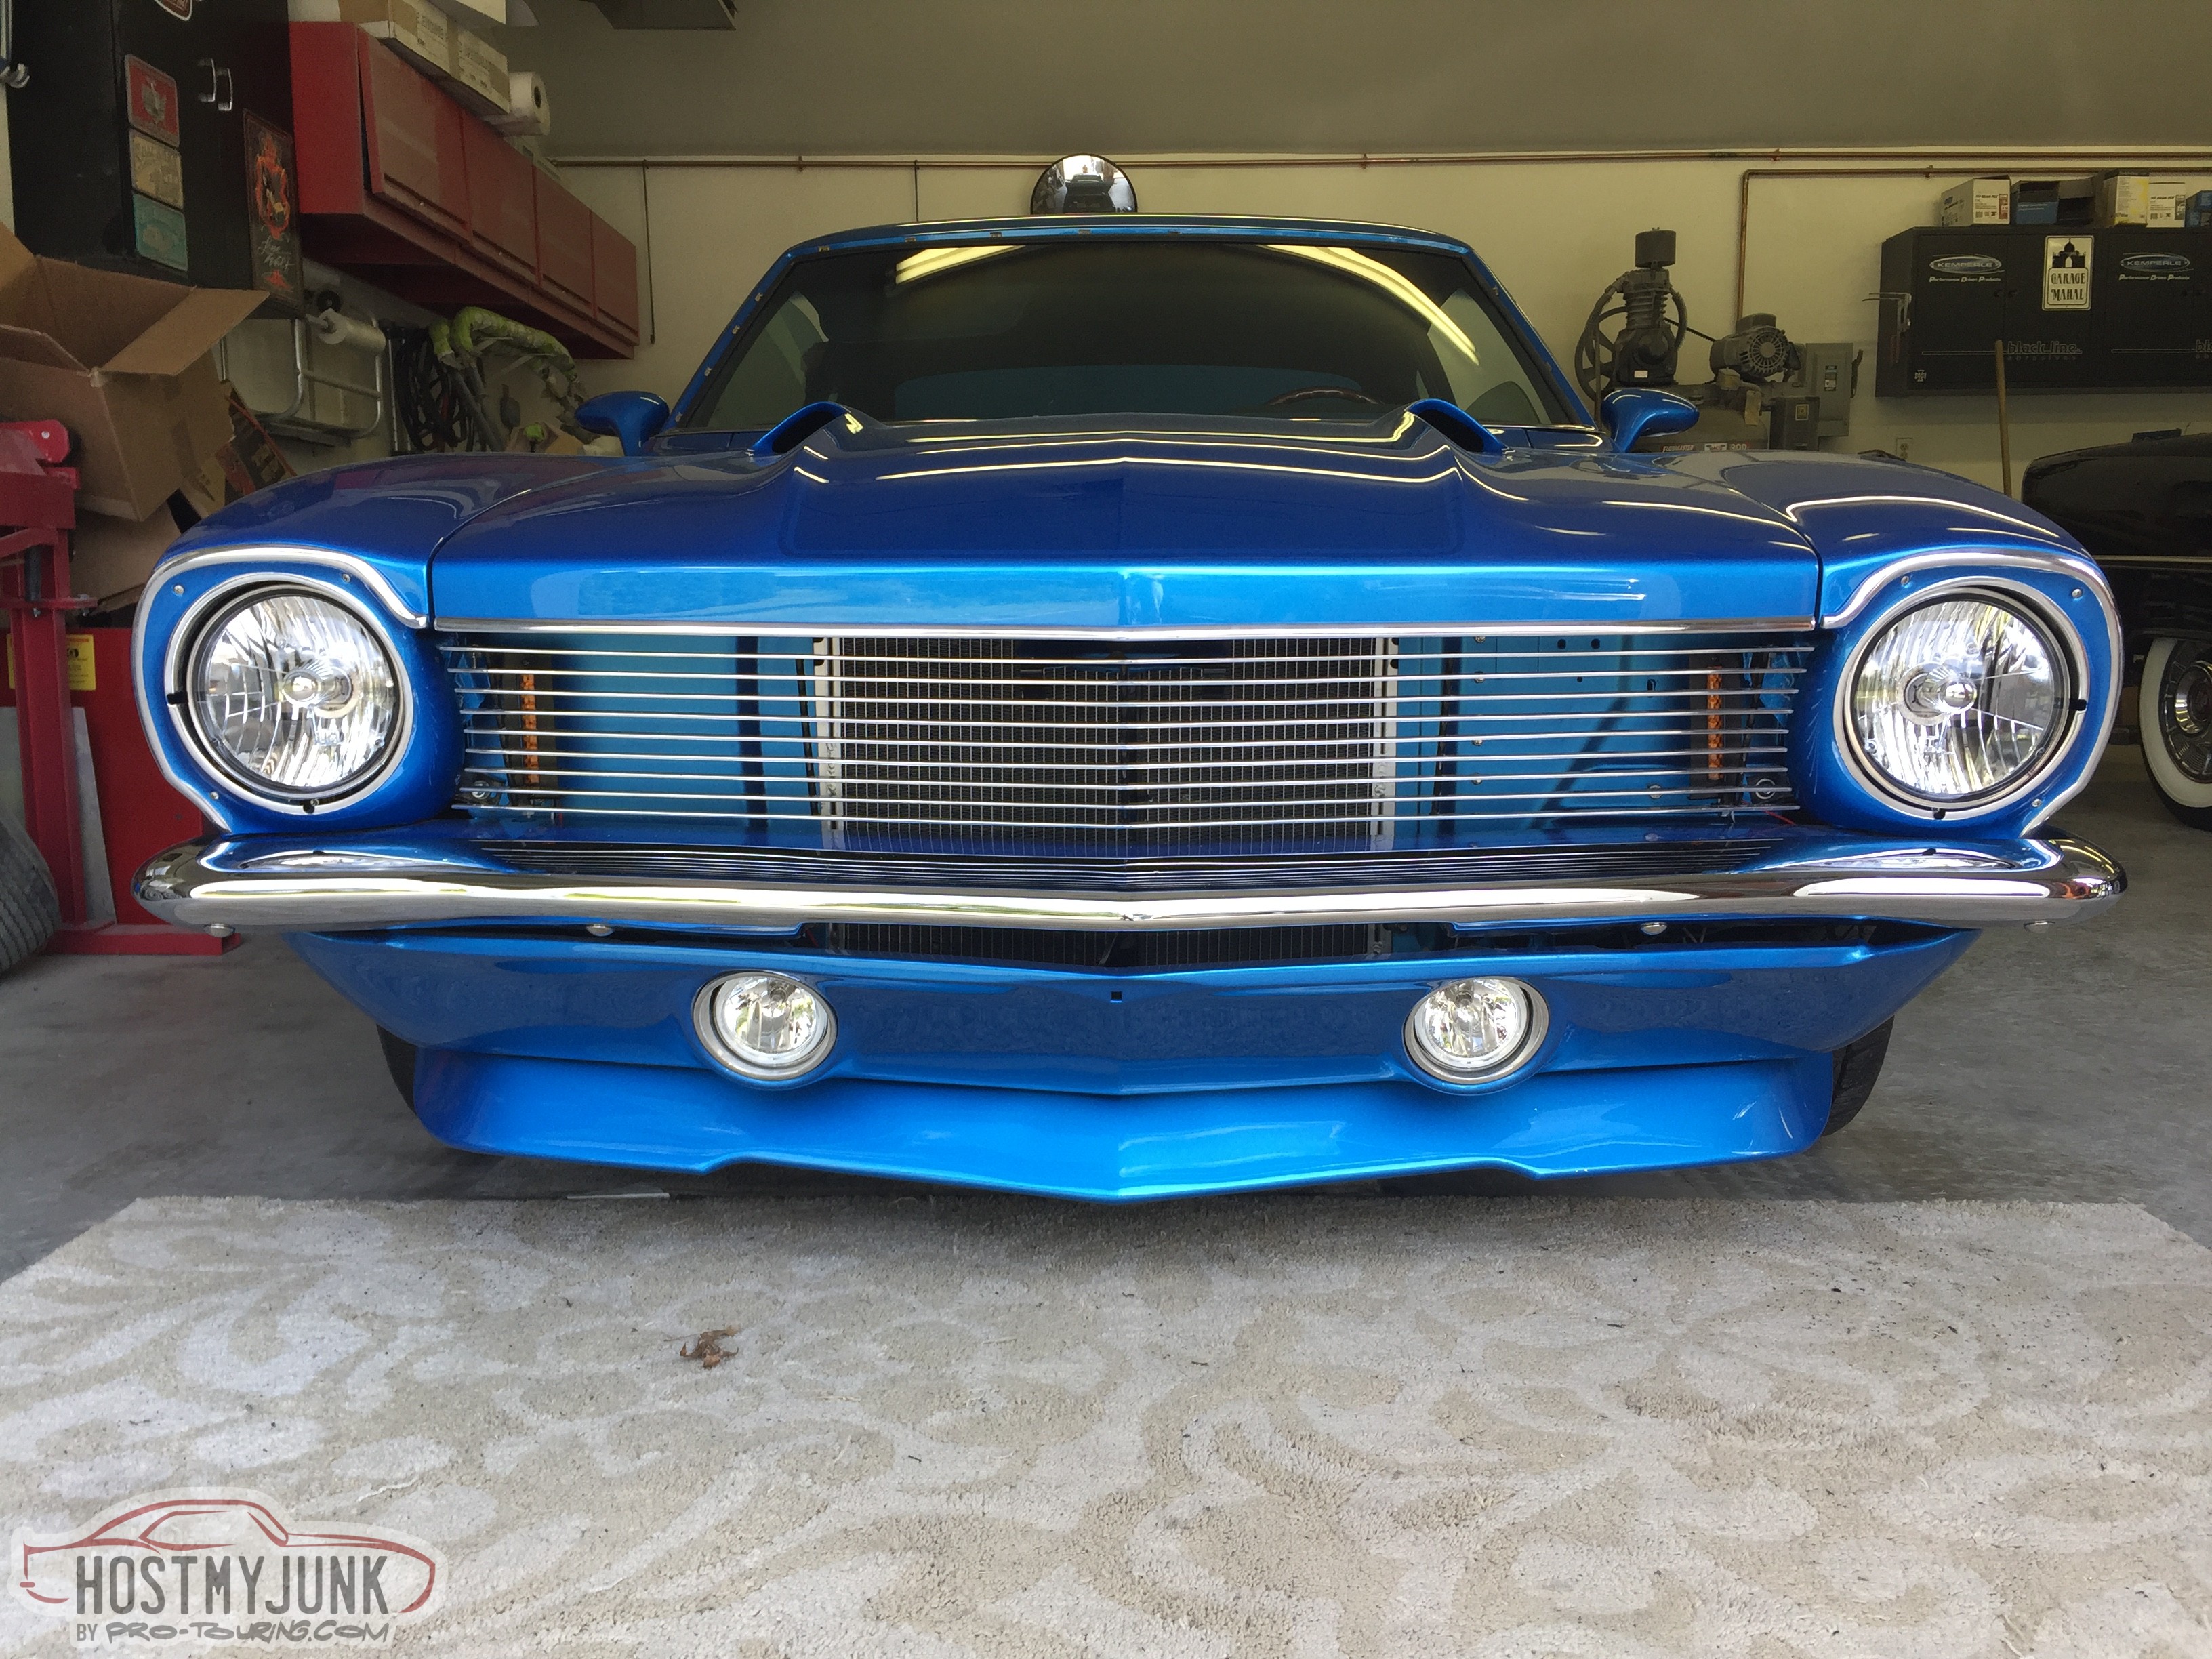
The lights themselves I got from Rodworx and are actually replacement lights for a 1932 Ford front spreader bar.
https://www.rodworx.com/shop/1932-fo...ar-lens-amber/
Just showing another option for the lighting.
Glenn
1955 Chevy BelAir
1951 Chevy 3100
1987 Chevy Silverado
My last project....
https://www.pro-touring.com/threads/...my-72-Maverick!!
01-11-2018 #211 Registered User
- Join Date
- Jul 2007
- Location
- Phx AZ
- Posts
- 24
#2, with mesh in the holes with the LED’s behind it ?
01-11-2018 #212
Registered User
- Join Date
- Feb 2014
- Posts
- 196
Hi Glen,
Which front spoiler is are you using?
Originally Posted by HotRod47
01-14-2018 #213
Registered User
- Join Date
- Jan 2018
- Location
- Oregon
- Posts
- 40
I am really digging this build thread. Love what you have done with the sub frame and inner fender modifications. I am undecided if I am going to keep my original sub or not but if I do I am going to try an replicate what you have done in order to fit bigger tires up front, already have mini tubs on order for the back and plan on using a speedtech torque arm. Any decisions on color? The yellow is really growing on me.
01-15-2018 #214
Registered User
- Join Date
- Oct 2009
- Location
- CT.
- Posts
- 742
It is from Spoilers by Randy. He has a web site and makes them for many muscle car era vehicles. This one is for a 69 Camaro and is called his Pro Touring style. Originally Posted by BlackHD
Glenn
1955 Chevy BelAir
1951 Chevy 3100
1987 Chevy Silverado
My last project....
https://www.pro-touring.com/threads/...my-72-Maverick!!
01-15-2018 #215
Registered User
- Join Date
- Jan 2014
- Location
- Orange County, CA
- Posts
- 241
Thank you. Haven't decided on color yet, it's still a little ways from getting to that point. Originally Posted by OregonianNova
HotTod47 thanks for that tip about the spoiler, I'll be looking into one myself.
01-28-2018 #216
Registered User
- Join Date
- Jan 2014
- Location
- Orange County, CA
- Posts
- 241
Thanks Rebob. That's something that I will look into. Originally Posted by Rebob
01-28-2018 #217
Registered User
- Join Date
- Jan 2014
- Location
- Orange County, CA
- Posts
- 241
1971 Nova Build ??
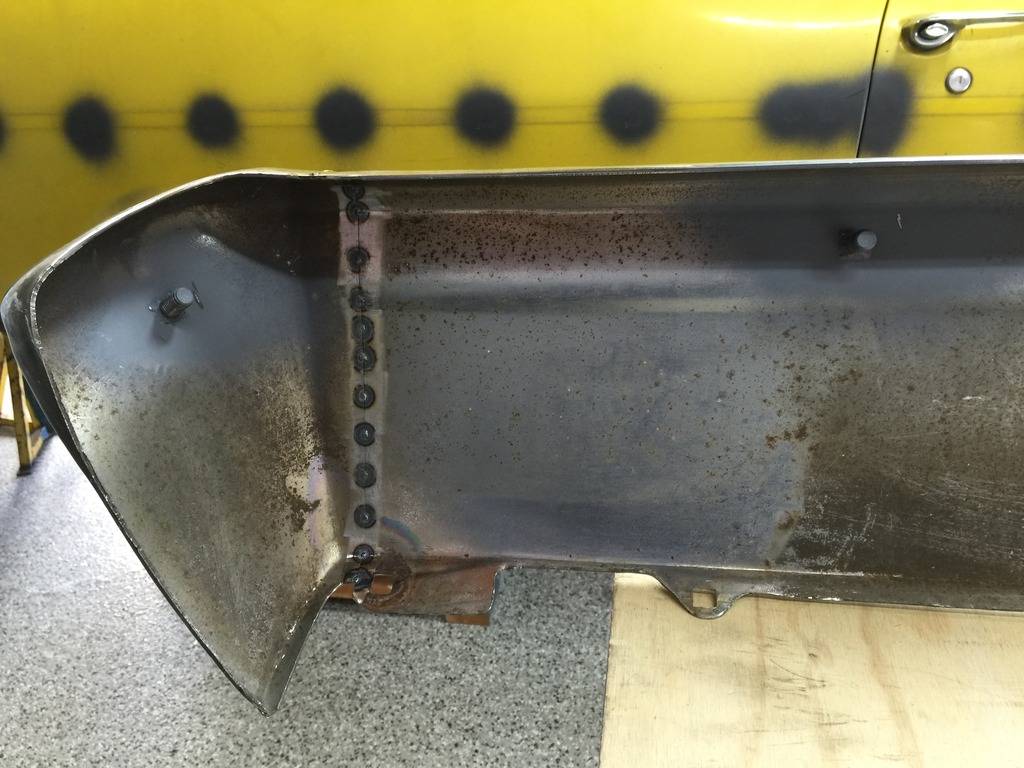
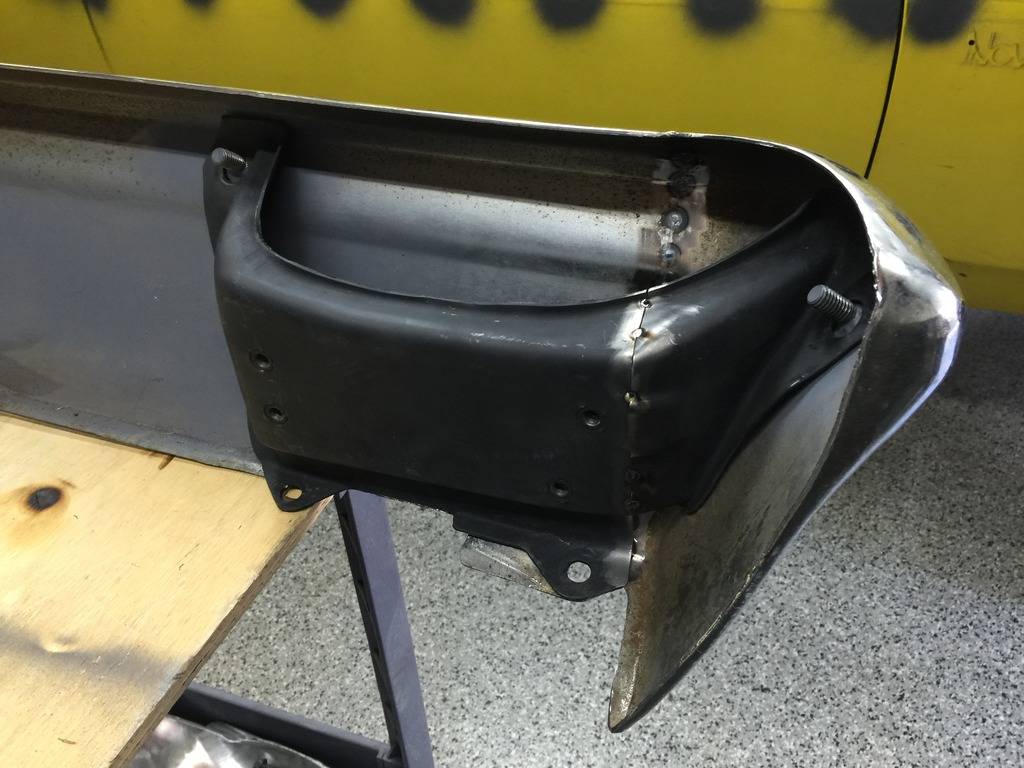
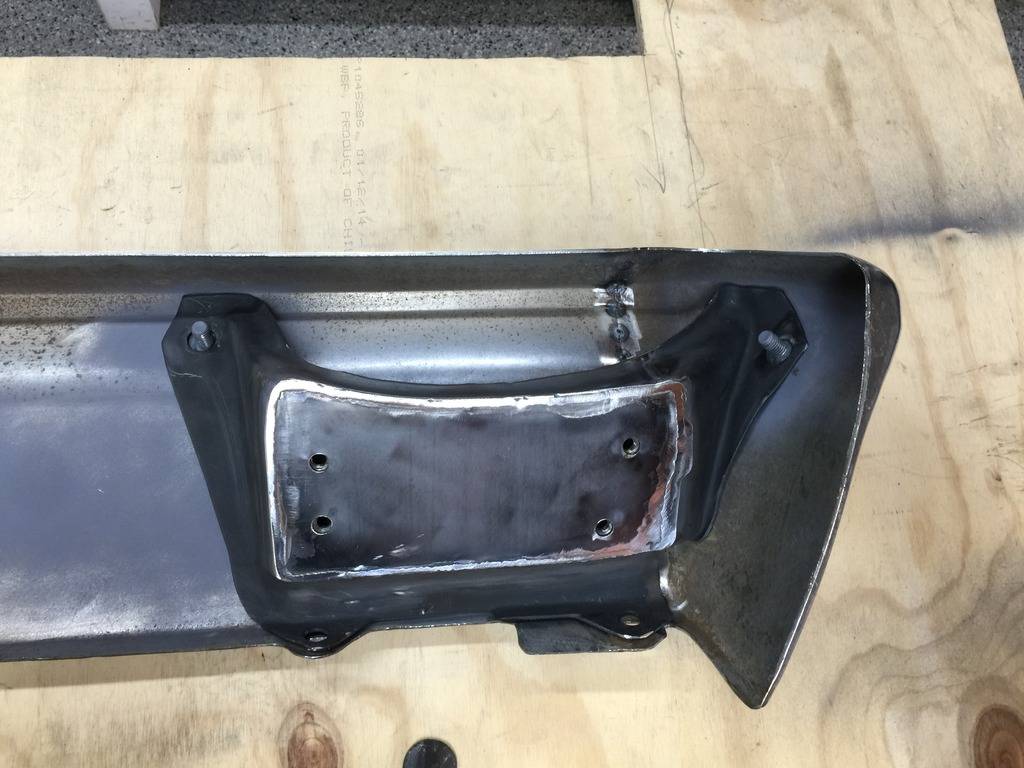
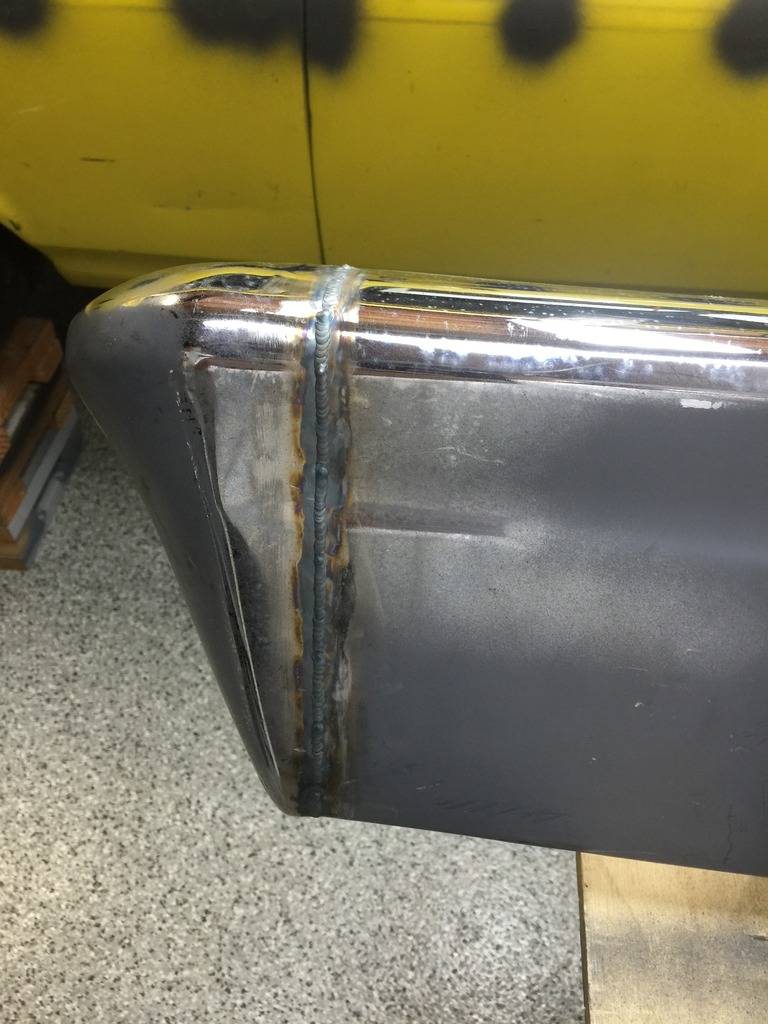
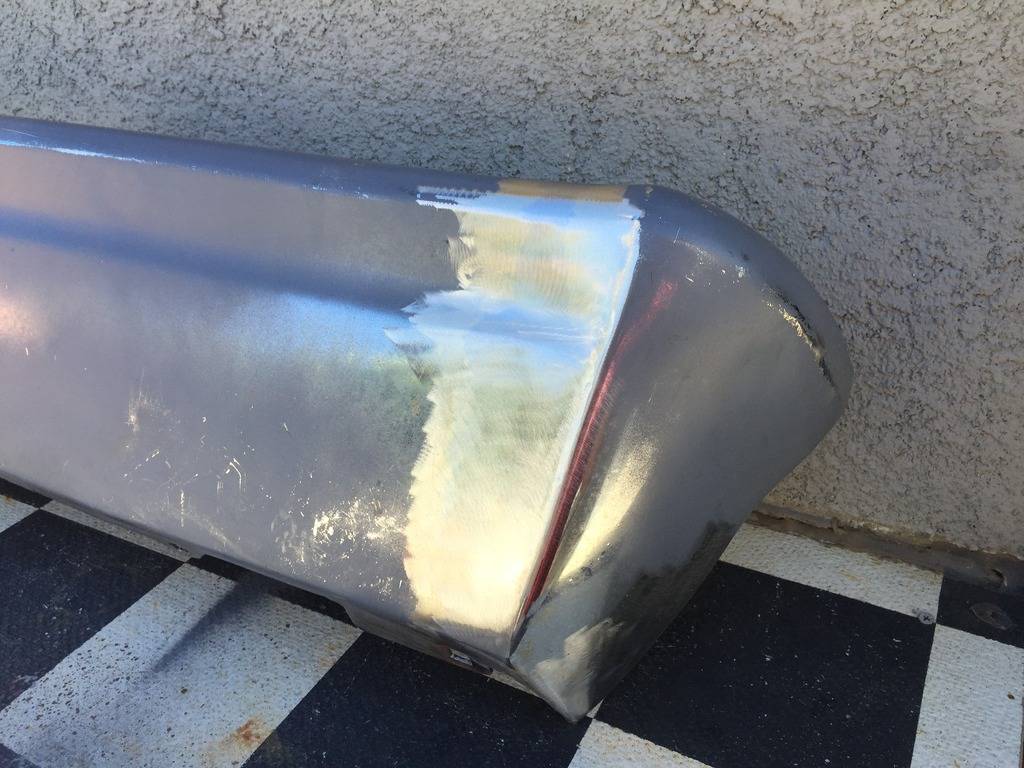
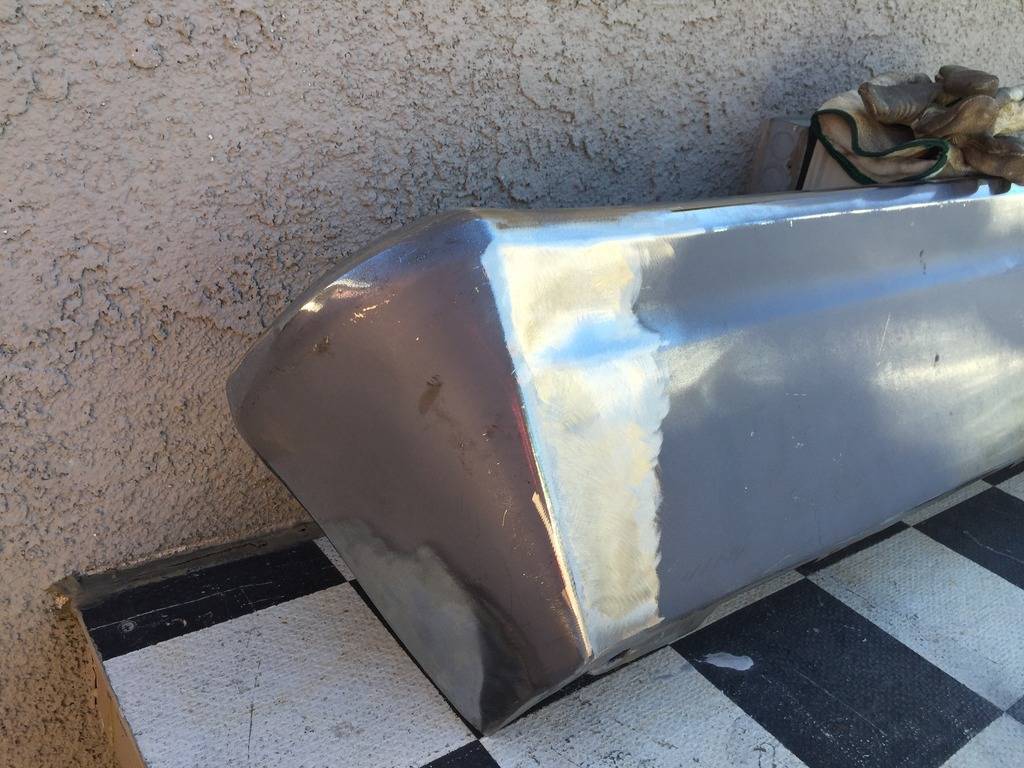
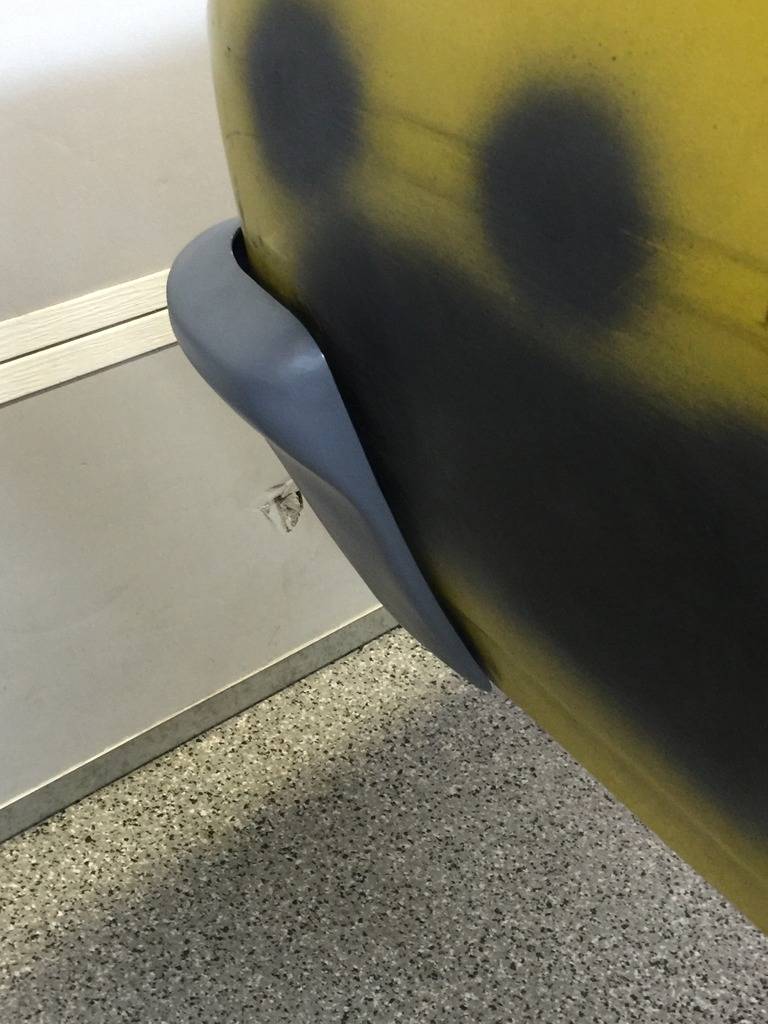
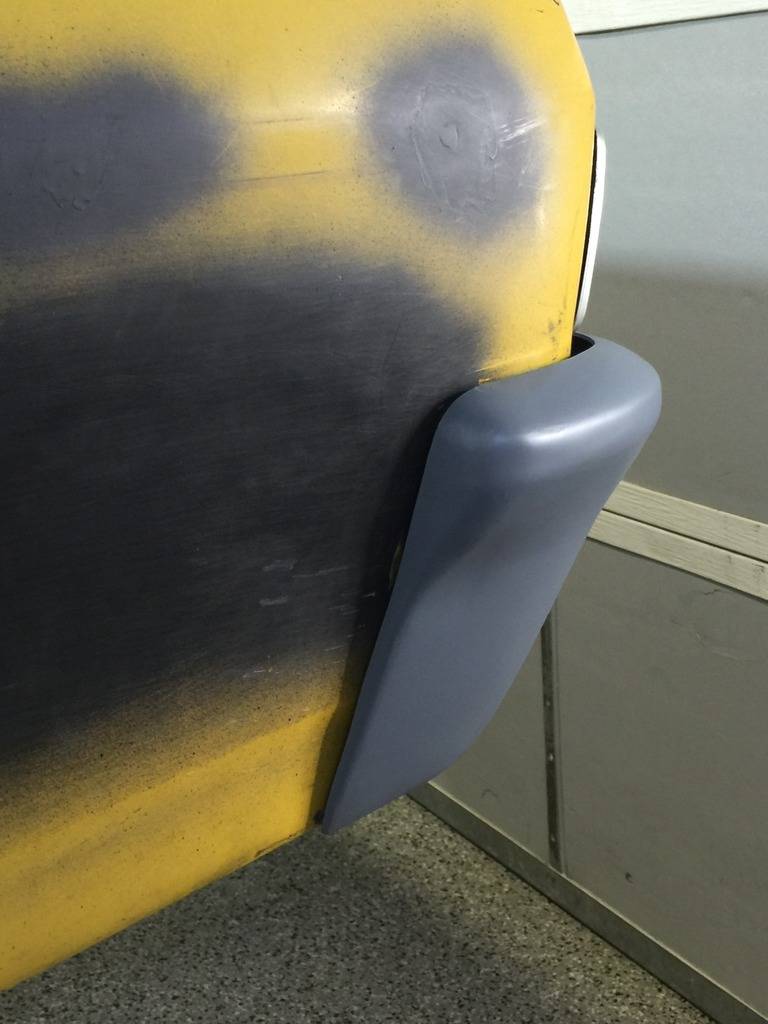
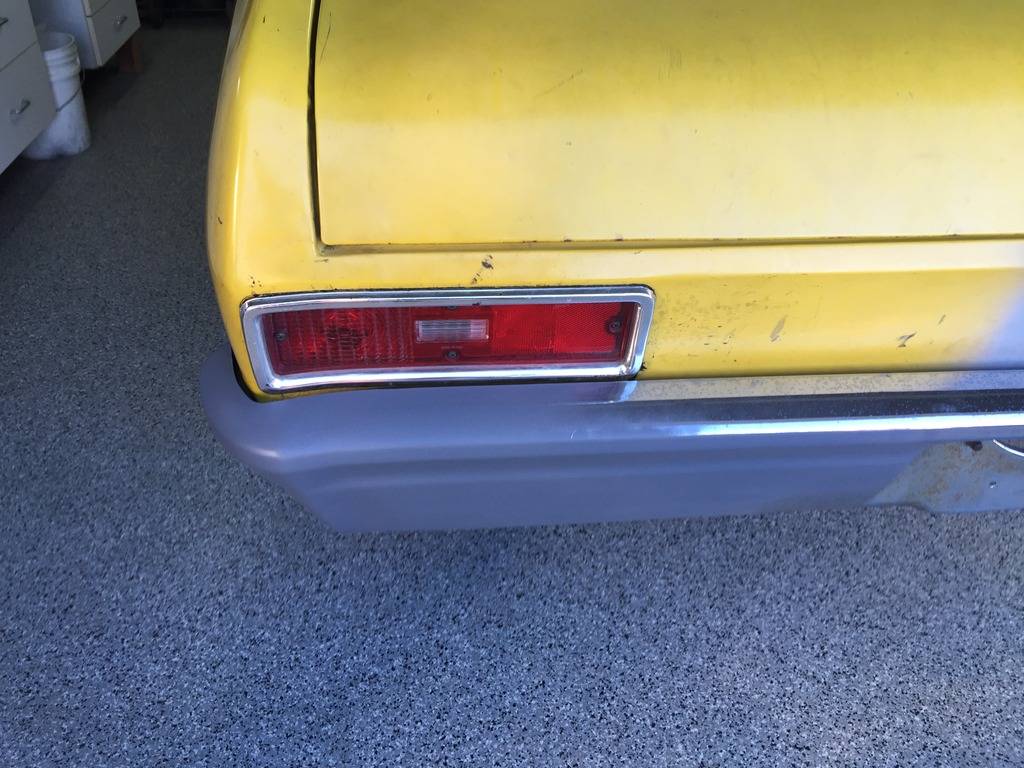
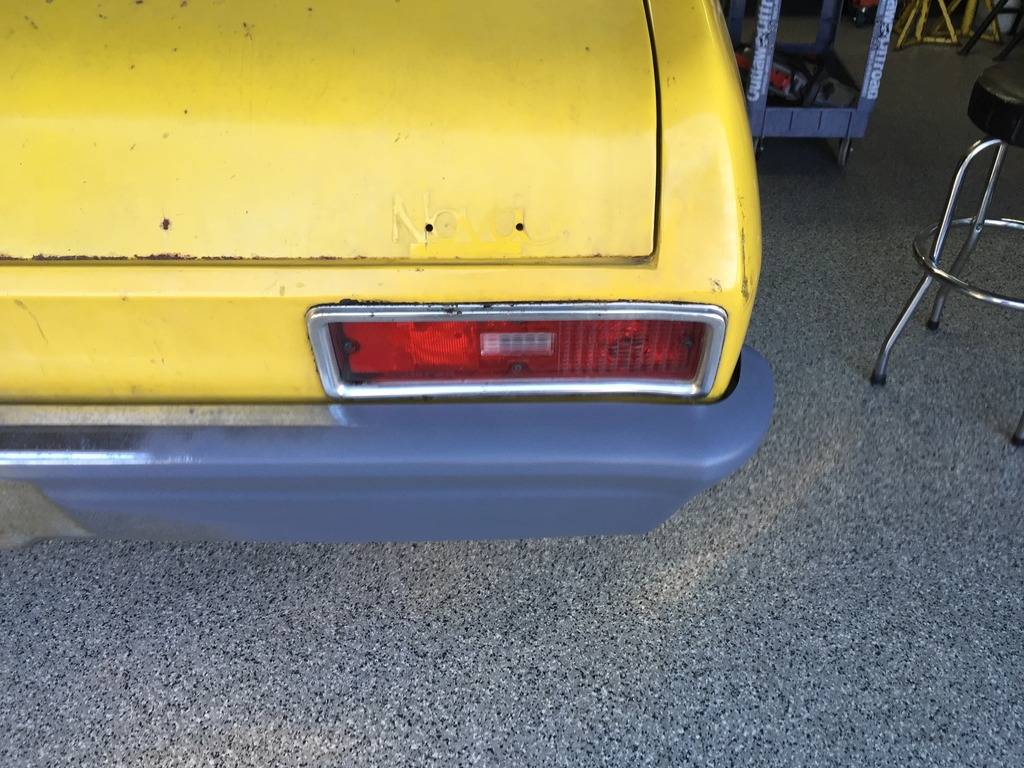
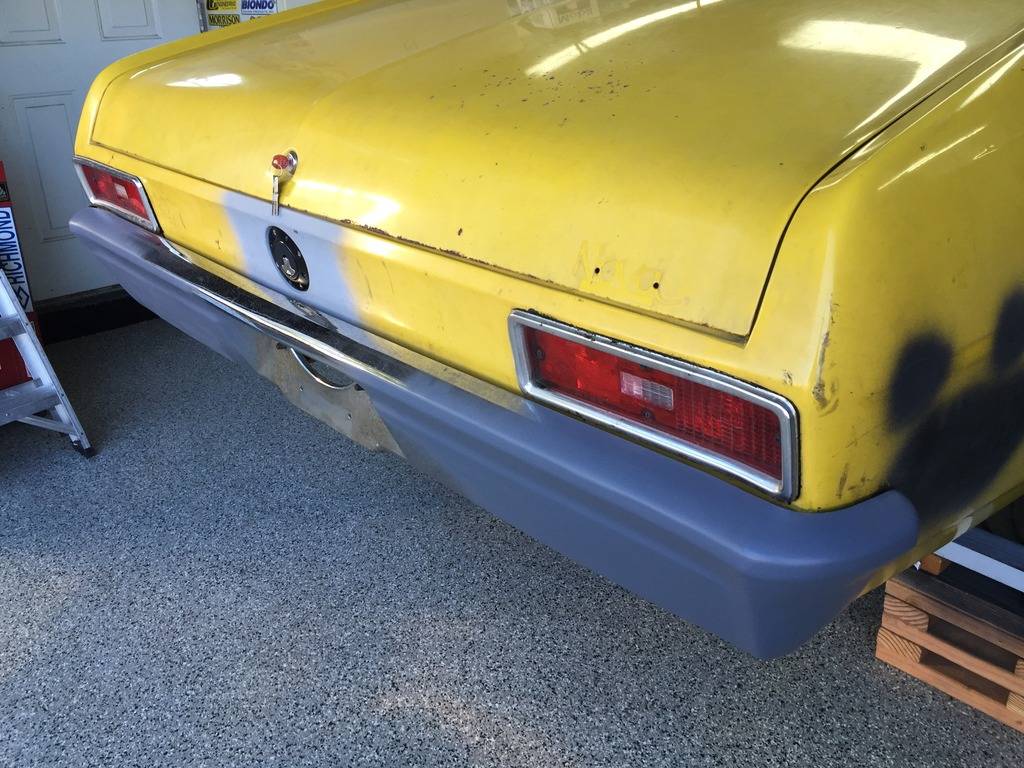
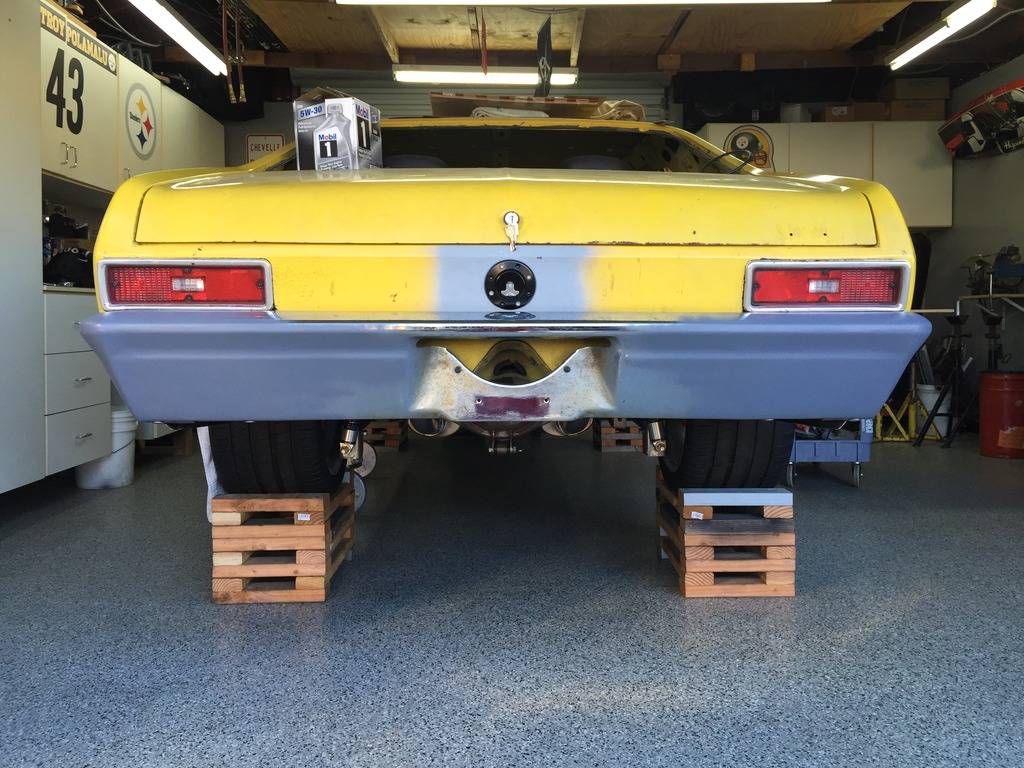
Ok rear bumper is done. I've never really had a problem with the rear bumper until I put it into place, man I didn't like the way it fit. I mean the ends of the bumpers look like dumbo ears, there is about an inch between the body and bumper lol. Then the part that runs along the tail lights also about an inch between them. So a little nip & tuck had to take place. Never done this before but have seen some photos out their in the old inter web lol. Took 3/4" out of the sides & 3/8" from where it runs along the tail lights. Shaved the bolts so I get that smooth look. A lot of putting in on & off and my arms and back are burnt out lol. Over all I'm satisfied with the end result. Cool.
I'm waiting for my radiator that I ordered from Wizard Cooling and will be getting the radiator core ready for it when it arrives, can't wait.
01-28-2018 #218
Registered User
- Join Date
- May 2017
- Location
- Sacramento, California
- Posts
- 40
nice work on the bumper! looks great.
01-29-2018 #219 Registered User
- Join Date
- Jun 2012
- Location
- South Lyon, MI
- Posts
- 1,244
The bumper turned out great.
Bill Harvey
Scope Creep - 1974 Nova - https://www.pro-touring.com/showthre...rit-of-America
Family Fun - 1955 Belair - https://www.pro-touring.com/showthre...hter-55-Belair
01-29-2018 #220 Registered User
- Join Date
- Nov 2006
- Location
- Ma.
- Posts
- 5,560
Nice job on the bumper, it looks great.
Wayne
Car FINALLY home !!!!!! lol
Project FNQUIK https://www.pro-touring.com/showthre...ghlight=FNQUIK

 Reply With Quote





