


Results 41 to 44 of 44
Thread: First Build: '71 Nova
-
01-21-2014 #41
 Registered User
- Join Date
- Jul 2013
- Posts
- 23

The flush mount method I intend to use is as follows: move stock windshield up to the top of the window frame, leaving a 3/16 - 1/4" gap for urethane, then fab and weld in sheet metal fillers on the sides and bottom. Might buy a shrinker/stretcher
 It's much cheaper and far more likely to work correctly than custom glass. I still have the stock windshield for testing unless the cracks give way. The one thing you have to compensate for is that replacement glass will be a bit thinner than '71 spec. I saw this on a linked article for a ridetech car I think. Since the factory window seal is hiding under the trim, you wouldn't know it was bad until it's too late, which is what happened to this car, so I want to avoid that for myself and/or the person I sell the car to down the road...if I sell it, huge if. This has been a fun learning experience, I've never done any of this before.
-
05-05-2014 #42
Registered User
- Join Date
- Jul 2013
- Posts
- 23
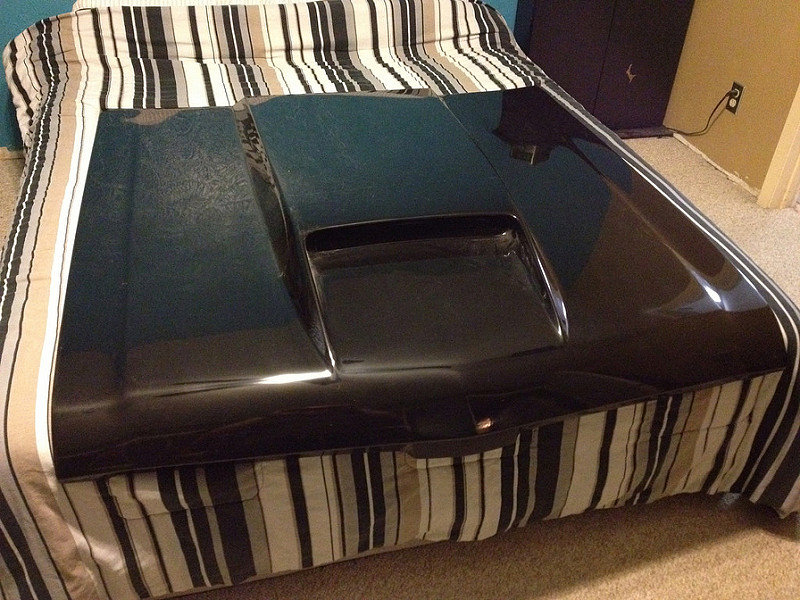
Hey look what came in the mail!
-
10-13-2016 #43
Registered User
- Join Date
- Jul 2013
- Posts
- 23
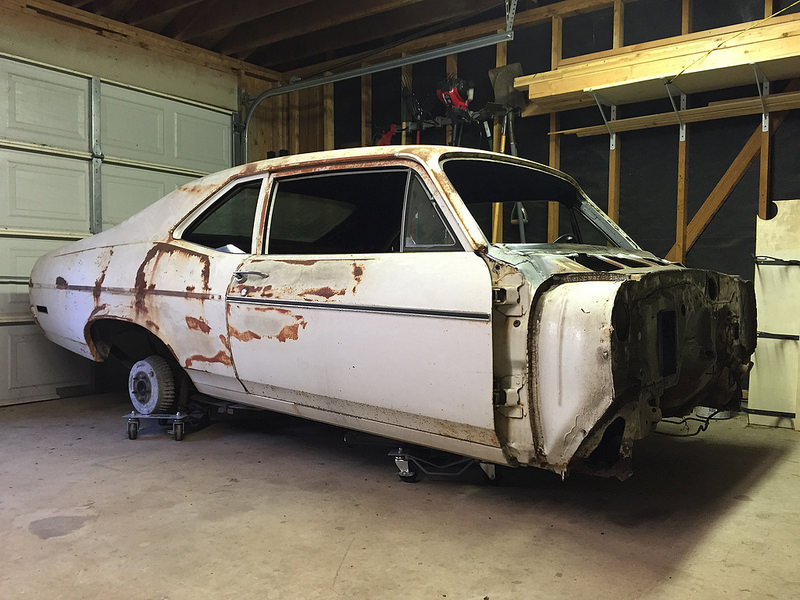
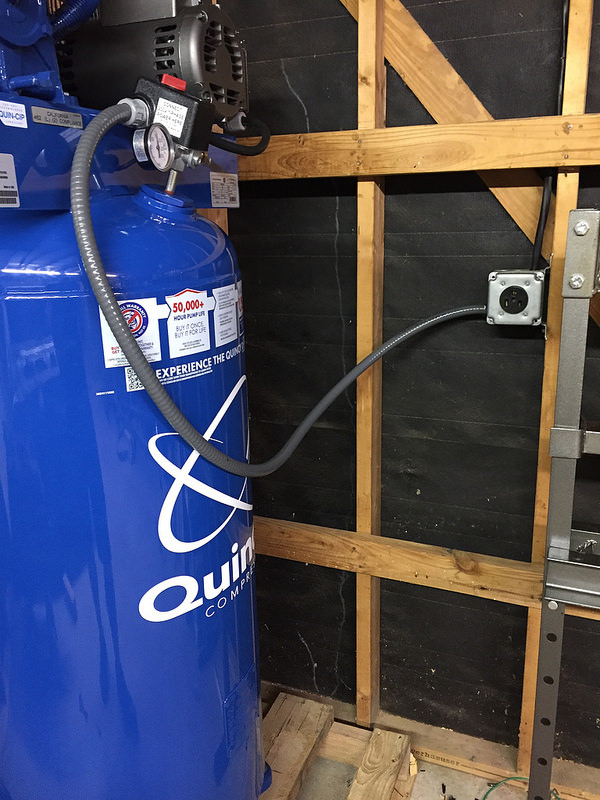
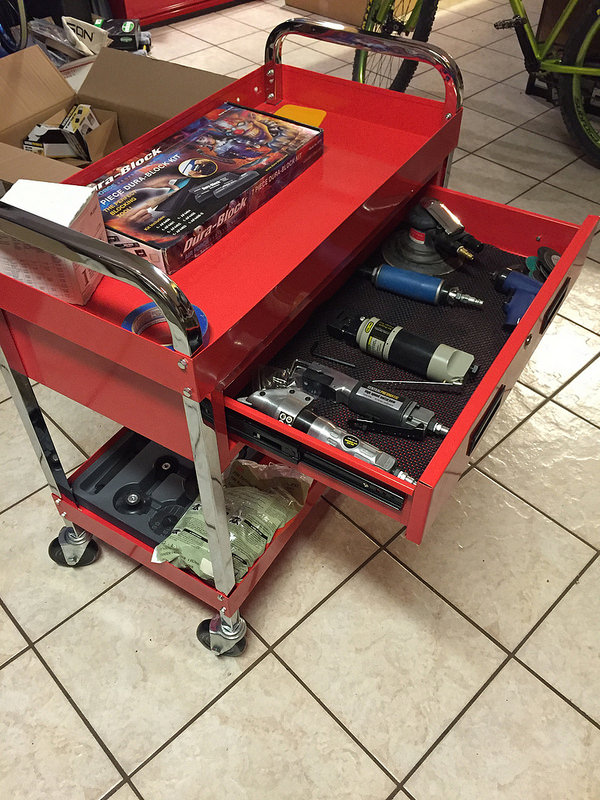
Back from a long hiatus. Sorry to any who were following this build, the short answer is $$$. But progress has been reignited. I finally got a compressor that can handle all the grinders/saws/sanders I'll be using. I had my buddy gang in an outlet for my Miller 211 in case I need to run it at 220V for thicker metals. I got some other goodies in as well. There was a hangup in my last order of patch panels (my fault, I was supposed to call and confirm the order and just didn't do that) which is fine since they would have been sitting around taking up space. I've spent the last few weeks organizing tasks and expenditures, obtaining tools and took a few stabs at organizing the garage (you don't realize how much stuff you don't need 'til its all in your way) Hopefully more frequent posts to come.
I found the panel from Ground Up that contains the front body mount (the passenger side is totally rusted out) which will make that and the outer kick panel (with the fender mount) that much easier to get right, so I ordered that and a couple other things that were discounted and shipped free for their columbus day sale I guess. (3 point retractable seat belts, front clip hardware kit)
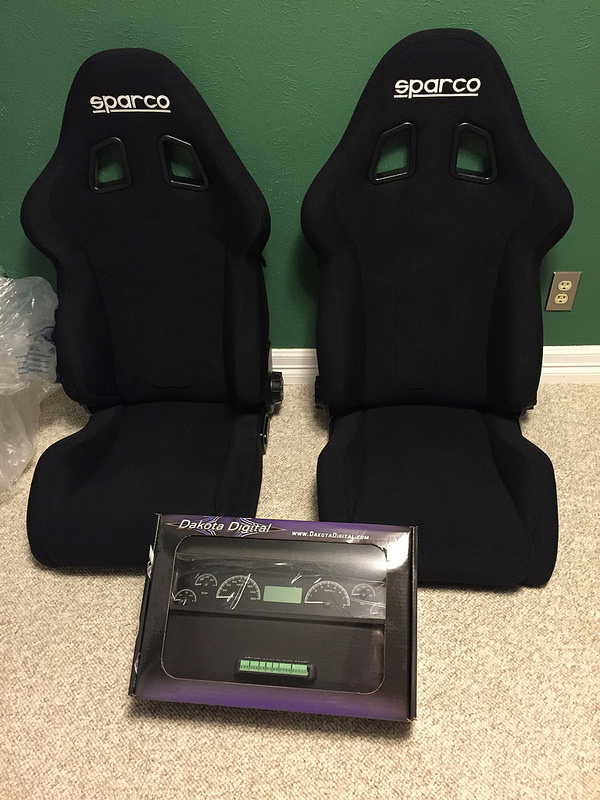
I grabbed some Sparco r600 seats and a Dakota Digital gauge cluster as well.
 Untitled
 Untitled
 Untitled
 Untitled
-
11-22-2016 #44
Registered User
- Join Date
- Jul 2013
- Posts
- 23
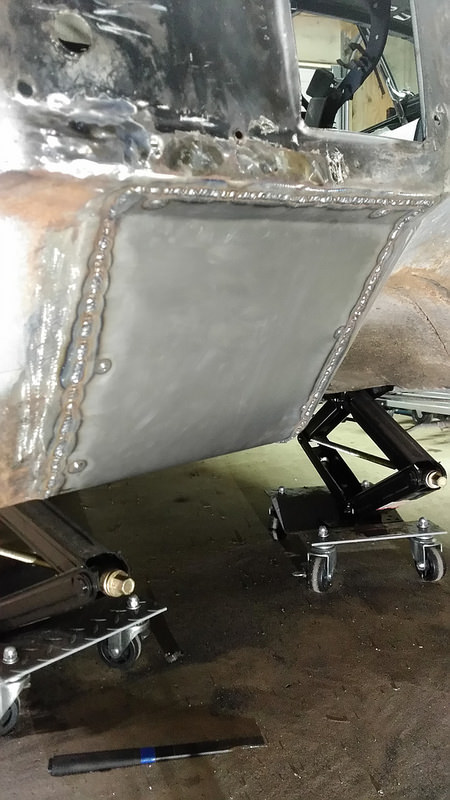
After cutting out the firewall support and the rusted section of the kick panel support, I found some cancer in the footwell. I don't have a bead roller, so I patched it with a flat panel, but I feel like the edge of the firewall support will do just that. I'll need to grind and seal this panel before putting the fw support in, so I'll update when that goes down. I will be patching the driver side as well before filling in the firewall.
-

 Reply With Quote


