


Results 1 to 9 of 9
Thread: VA Gen IV install in a 71 Nova
-
09-28-2008 #1
 Registered User
- Join Date
- Feb 2007
- Location
- USA, TN
- Posts
- 850
VA Gen IV install in a 71 Nova
I've also posted this on StevesNovaSite, but I thought this would be useful members here too. Most of this will apply to first gen Camaros as well. It is long, but I tried to post as much detail as possible. I've got most of it in except for the vents. I'll update on those later. I would also like to thank Frank at Prodigy Customs for his advise.
I've split it up into multiple posts to get all the pics in.
I decided on the Vintage Air Gen IV perfect fit system for a 69 Camaro. I went this route because it is cheaper to buy the kits than it is to buy the individual parts. Frank at Prodigy Customs set me up with the complete kit. He ordered it with the right side compressor option to match my compressor location (69 Camaro’s have a left side mounted compressor).
I received the kit in two large boxes. Everything was packaged well and all the small parts were bagged, tagged and inventoried. The only thing that seemed out of place was a 5/16 washer lying loose in the box.
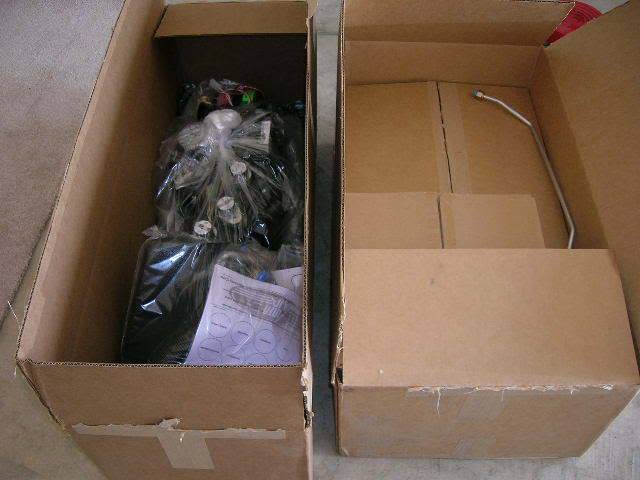
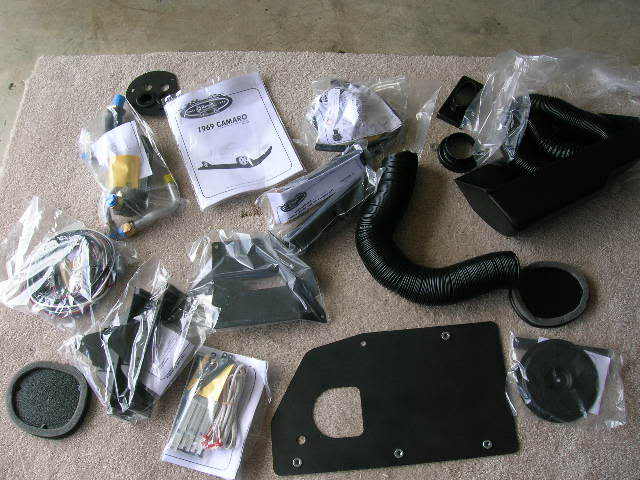
There were three instruction books for different parts of the system. One a scale of 1 to 10 (1 = more harm than good; 10 = an untrained idiot could follow it), I’d rate the evaporator instructions at 8, condenser instructions at 9 and the control switch at 10. These are some of the best instructions I’ve seen. The kit is sell documented and illustrated. I can’t stress enough to read the instructions start to finish before beginning the installation.
What have I bought complete the installation?
- ¼ * ½ inch long bolts, Black oxide finish to match fire wall, Qty 4
- 5/16 * ½ inch black oxide bolts, Qty 1
- ¼ * 1 inch bolts Black oxide finish, Qty 2 (Optional)
- ¼ in nuts, Qty 4 (optional)
- ½ inch tubing clamps, Qty 2 (Optional)
- 3/8 inch tubing clamp (Optional)
- 3M Strip Caulk
- -6 adapter for Pressure/safety switch fitting (source from VA)
Evaporator install:
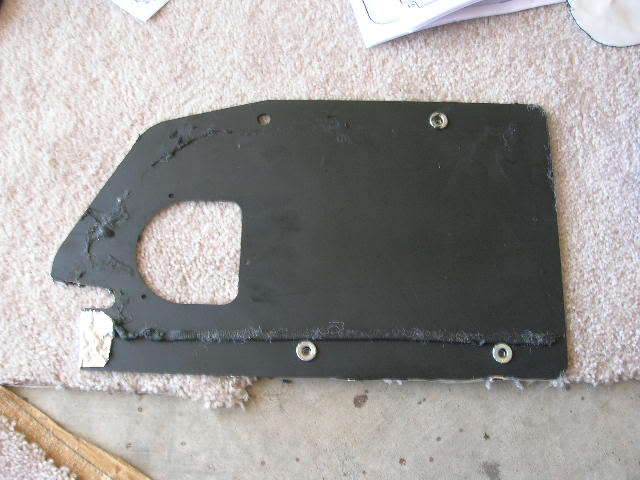
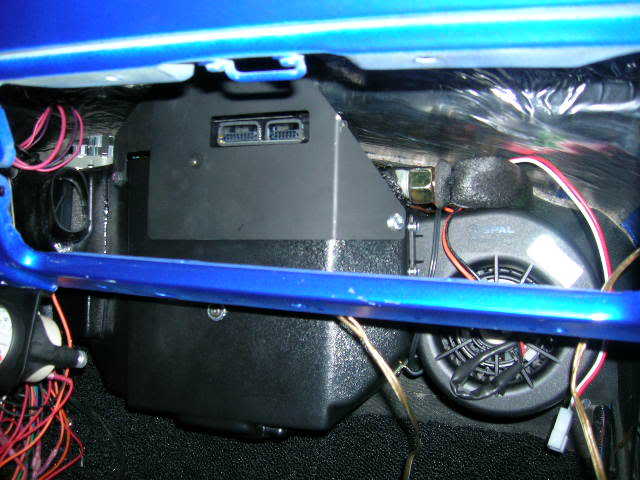
I will only comment on observations where I deviated from the instructions or adjusted the fit. For the most part the evaporator installs as per the instructions. The supplied firewall block of plate is made of heavy gauge steel and has nuts pressed into it to make installation easy. However, I did have to trim off the lower right corner of it so I could use the existing firewall hole to pass wiring through. I also used strip caulk to seal it instead of silicone as recommend. I like strip caulk. Make sure you have box on hand.
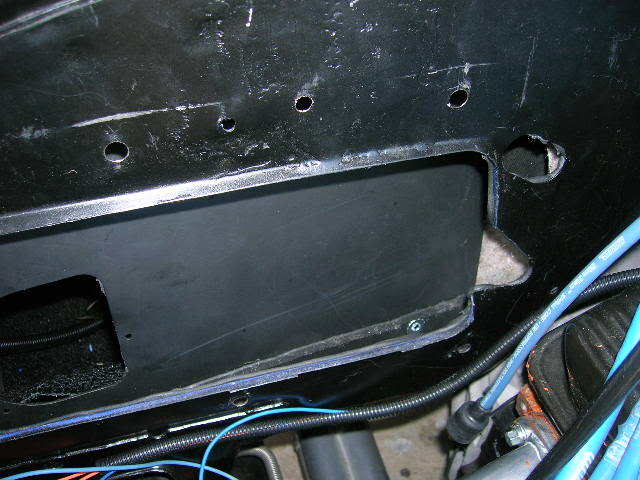
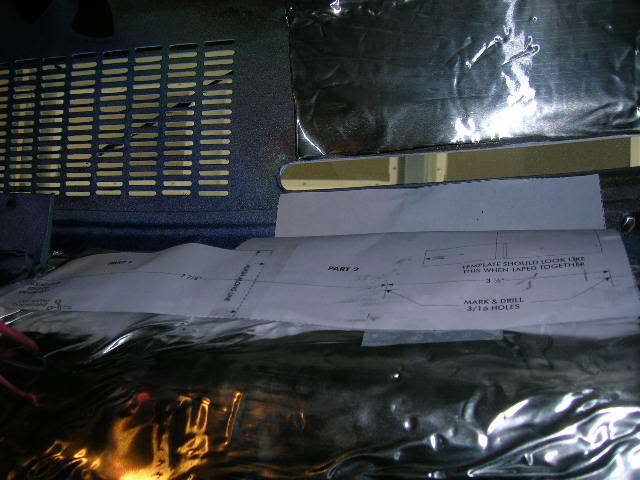
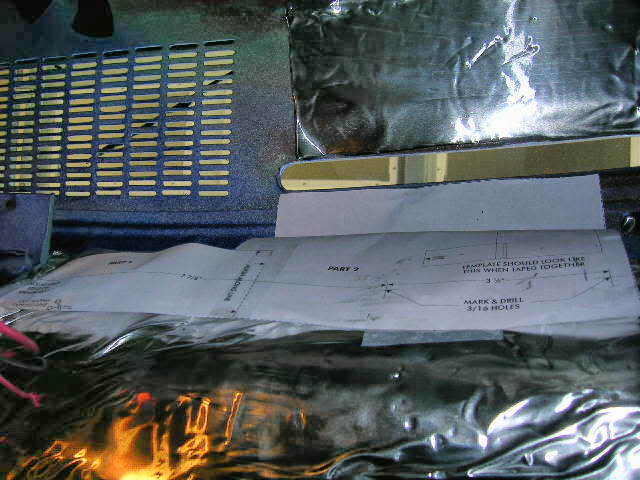
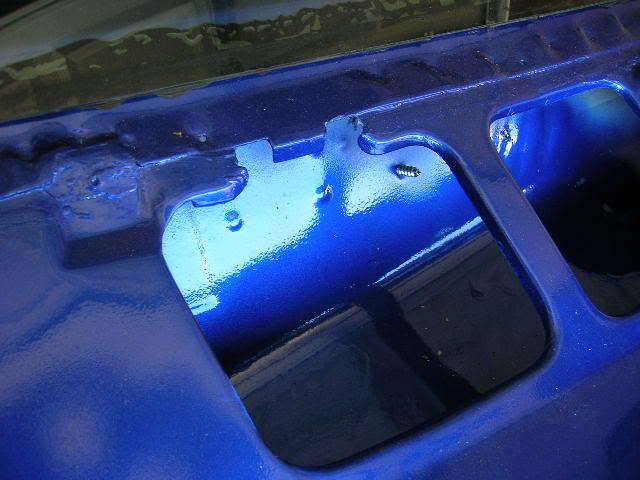
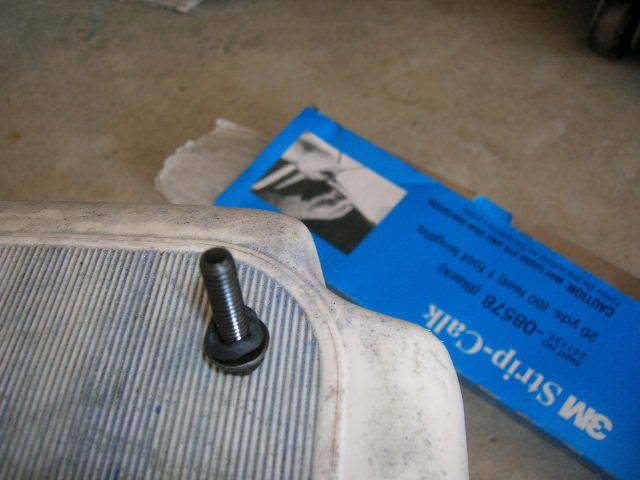
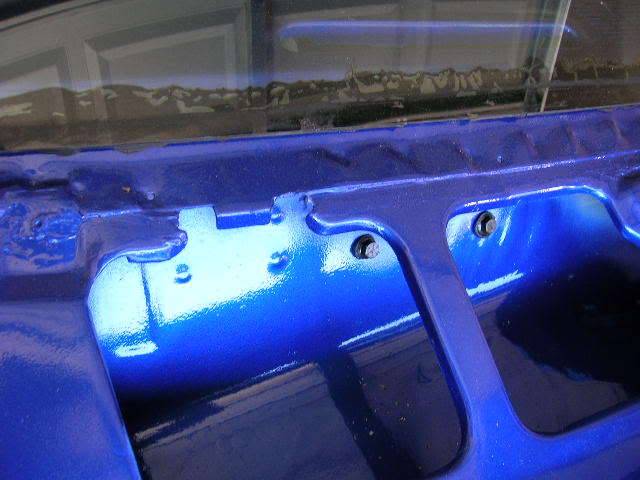
The instructions have a template for drilling holes through the cowl. The 69 Camaro template is accurate for the 3rd gen Novas. I was surprised, but it was spot on. The kit gives #14 screws that protrude through the cowl near the wiper linkage. The instructions say to drill 3/16 holes, I drilled ¼ inch holes and use the ¼ by 1 inch bolts instead. I lined the bolt heads with strip caulk to seal them. The longer bolts give you a mounting point for wire harnesses or relays later. The AC bracket already has ¼ inch holes. Install the brackets to the evaporator and mount it in the car using the supplied firewall bolt and the ¼ * 1 inch bolts (or #14 screws) per the instructions
Template taped in place.
#14 screw protruding through.
Bolt with strip caulk
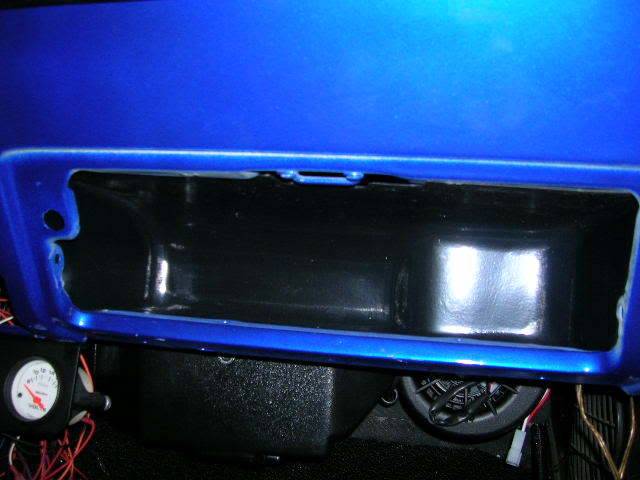
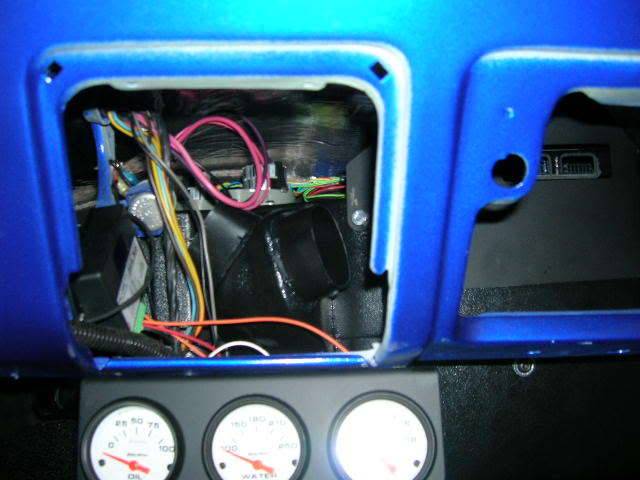
Evaporator installed
-
09-28-2008 #2
Registered User
- Join Date
- Feb 2007
- Location
- USA, TN
- Posts
- 850
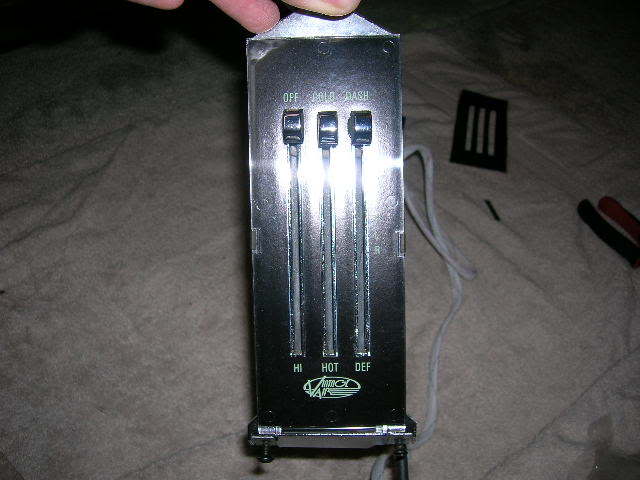
Control panel modifications:
The control panel mods were done per the instructions with two exceptions. I added a washer to the cold/hot slide pot mount to better align it. I also added a 3/8 inch tube clamp to hold the wires in place.
Getting started
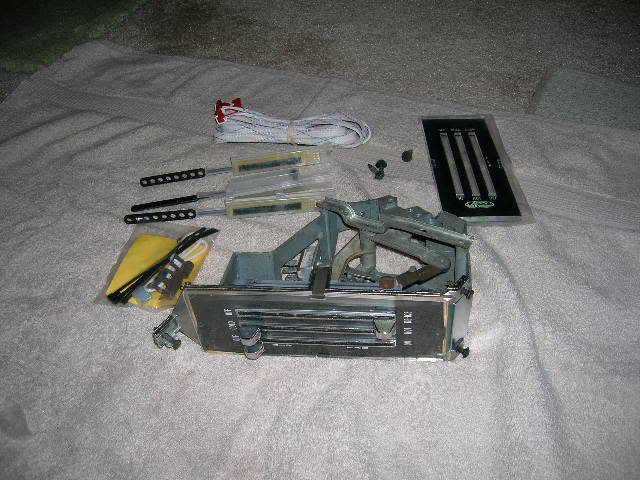
Washer and tubing clamp install
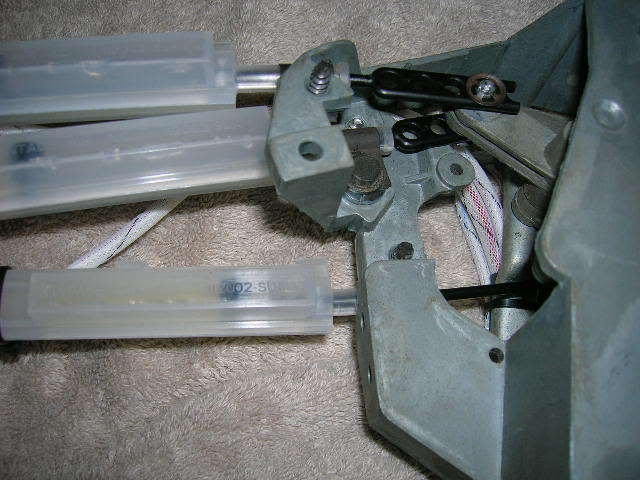
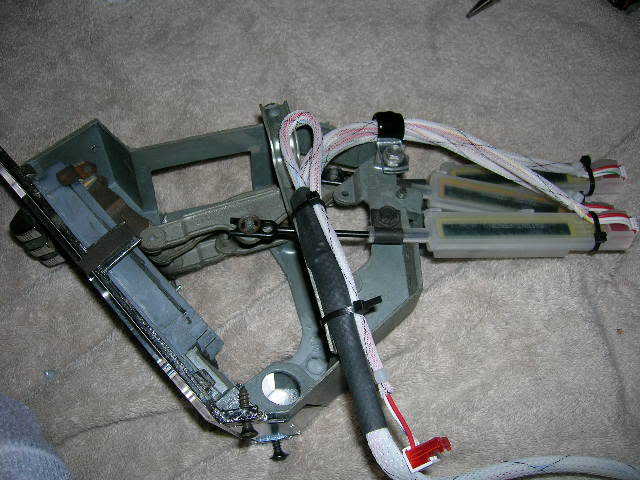
New face plate
Condenser Install:
The condenser required the most modifications, but nothing difficult. The Camao condenser is larger than the Nova condenser, but it will fit almost per the instructions. The following deviations from the instructions
- Move drier up 4 inches
- Relocate lower brackets
- Fab upper bracket (original will work, but requires rebending.
- Make new -6 hard line from condenser to drier (Gave spec to VA and they made)
- Relocate pressure/safety switch.
The good news: the condenser, all but one bracket and all but one hard line work with little or no tweaking.
To mount the lower brackets use the holes per the pic below.
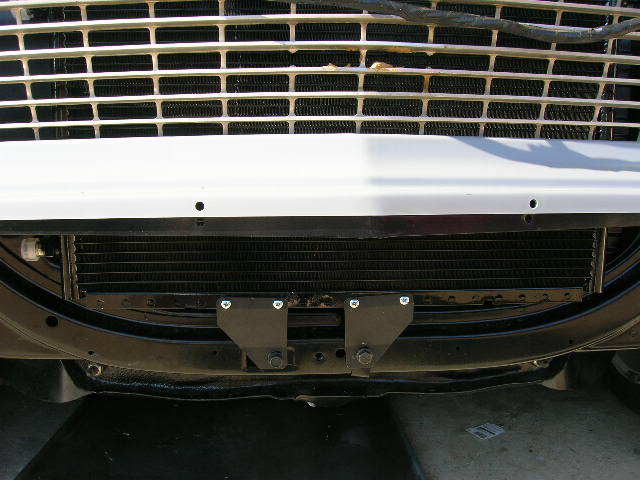
To mount the drier, use the supplied brackets and mount to the condenser per the instructions. Mount the drier to the drier bracket using the upper most mounting holes The will raise the drier up 4 inches from the Camaro location. See pic
Note: 73 and 74 Novas may have enough room to mount the drier in the Camaro location.
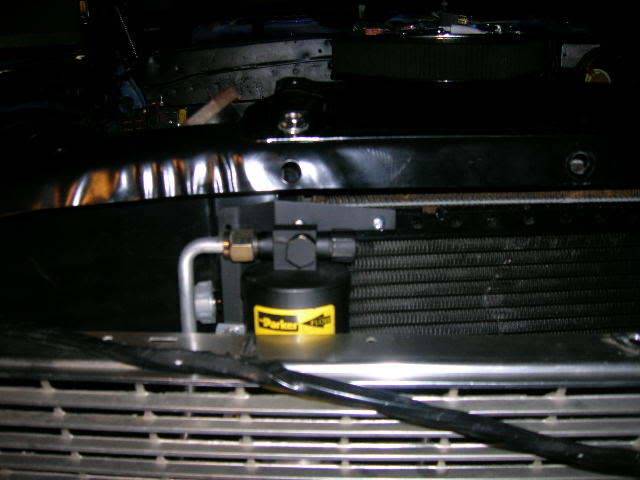
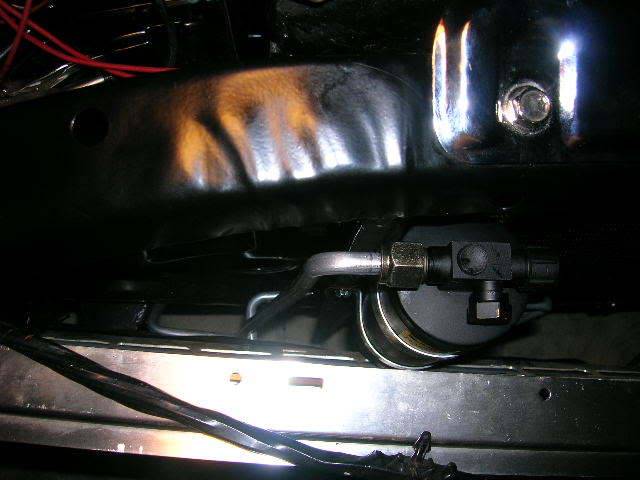
In the pick above, you will see I used the included -6 line from the drier to the fender well. I had to bend it a little by hand, but it works fine. The -8 hard lines from the condenser to the engine bay work without modifications. I got the -8 lines for both the left and right side compressor installation and they both fit fine.
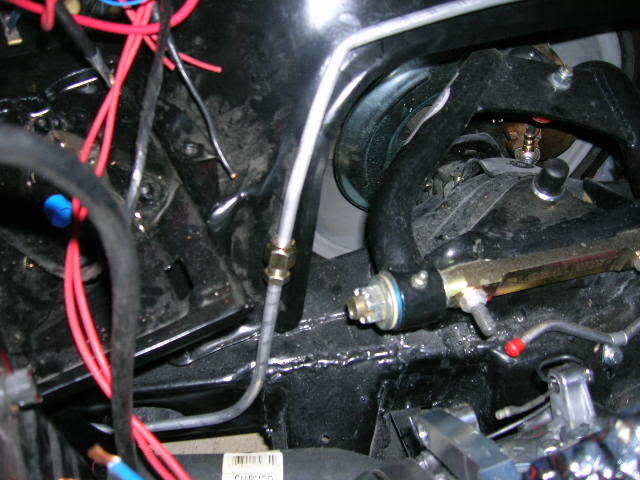
I purchased a -6 t-fitting to mount the pressure/safety switch on the fender well (see pic for future location. Mounting it on the drier per the instructions will directly expose it to the weather, wind, bugs and other road debris.
09-28-2008 #3
Registered User
- Join Date
- Feb 2007
- Location
- USA, TN
- Posts
- 850
Hoses:
Frank at Prodigy Customs requested the kit with the optional right compressor and VA sent the lines for both left and right hand compressor. I also ordered the Trinary switch and VA sent both the trinary and binary switch. Most of the hard lines shipped with the 69 Camaro kit fit the Nova.
The -8 line from the condenser to the compressor fit perfectly. I checked the line for the left hand compressor and it fit too.
The -6 line from the condenser to the drier was 4 inches short because I move the drier up 4 inches. I marked up the line sent with the kit and set it to VA to have a new one made. I also took a ½ inch out of the bottom of the line so it wouldn’t hit the filler panel.
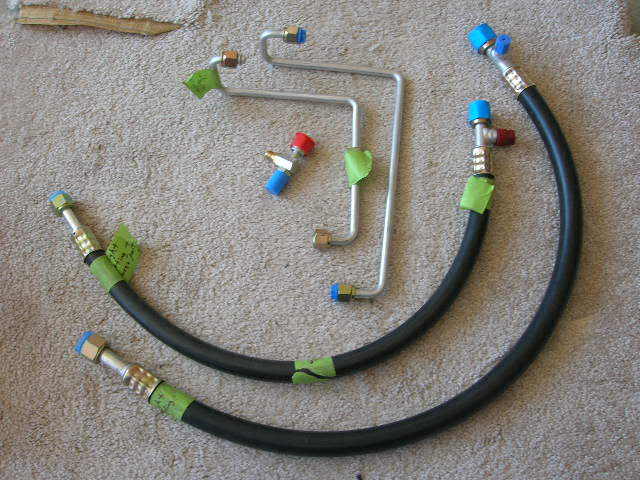
I wrote all my instructions on the tape and included a note. VA got everything exactly as asked. There was no change for crimping the rubber hoses. They charge $85 (including shipping) for the new -6 line, the -6 T-fitting for the trinary switch and the AN adapters for the compressor (SD508 compressors don’t require them).
The -6 line from the drier to the fender well needed some rebending, but it was easy to do by hand and it fits fine. The -6 from the firewall to the fender well required no modifications. I put the T-fitting for the trinary switch in were these two lines meet.
Hard lines from the bottom: I will straighten up the condenser when I make the upper bracket.
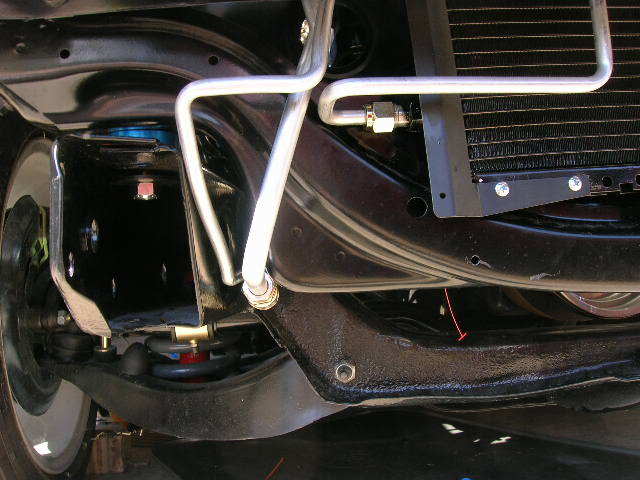
Hard lines from the top
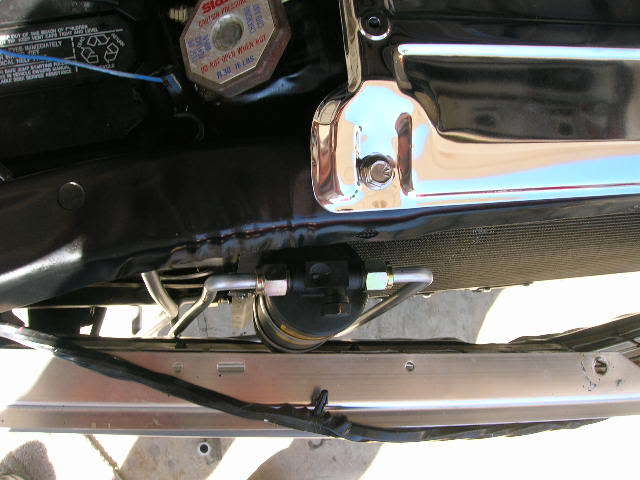
Trinary Switch: I added the weather pack connector
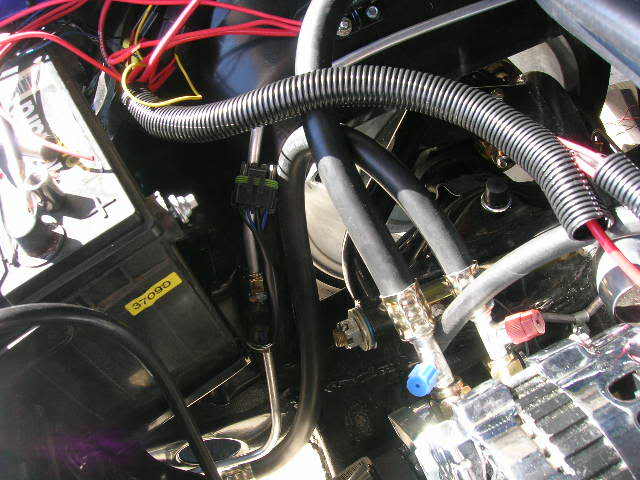
Rubber hoses (I have moved the fuel line)
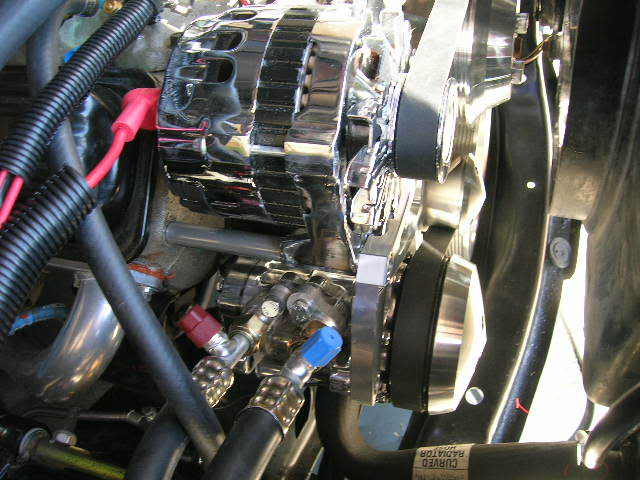
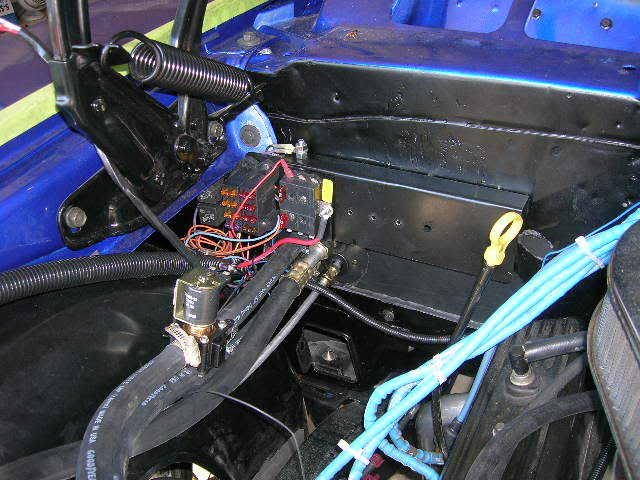
Wiring:
Wiring is completely by the book. VA supplies a one-piece wiring harness and a couple of loose wires. One of the loose wires goes from the trinary/binary switch to the AC compressor and the other is the ground wire for the heater control valve.
Here is a good place for the two relays. Self tapping screws make installing the relays a breeze.
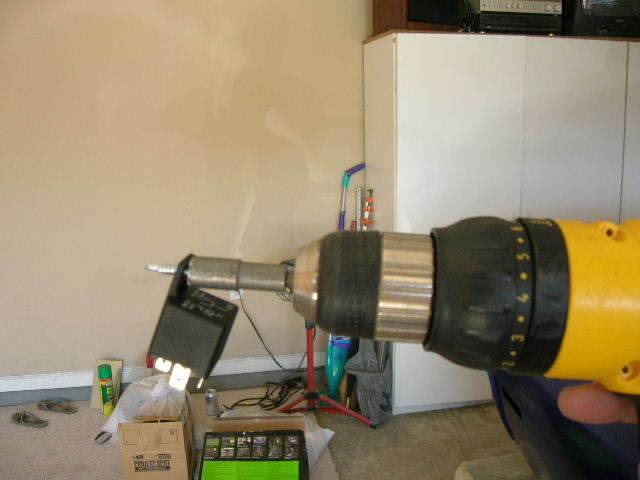
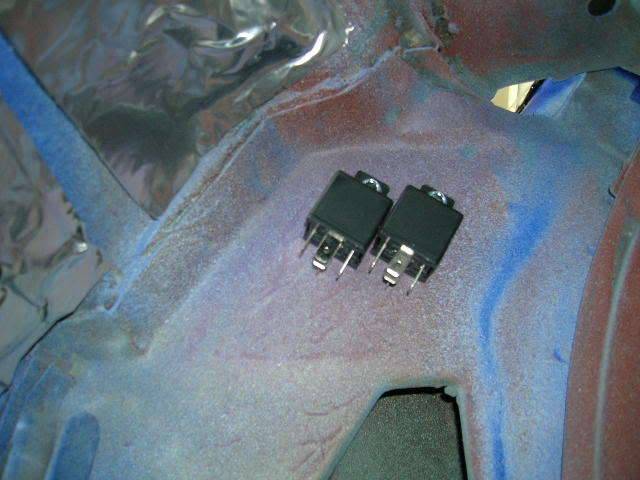
You could also mount them on the two long bolts holding the evaporator to the cowl, but I have other plans for those.
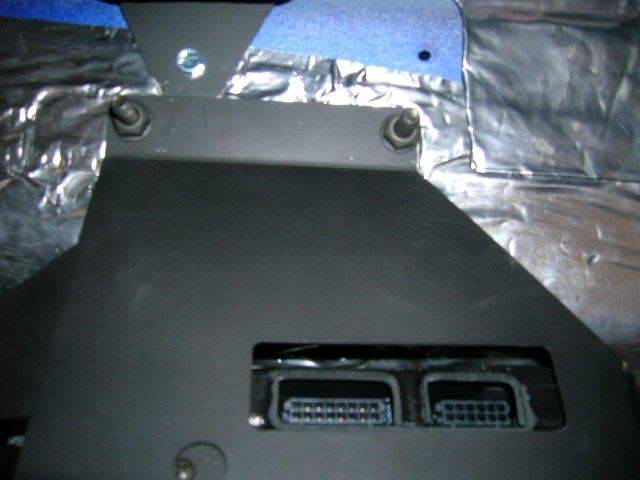
I also added a hose clamp to hold everything up under the dash. Be very careful with this screw. You can easily damage the evaporator if you hit something behind it. The other plug on the evaporator is for the control panel.
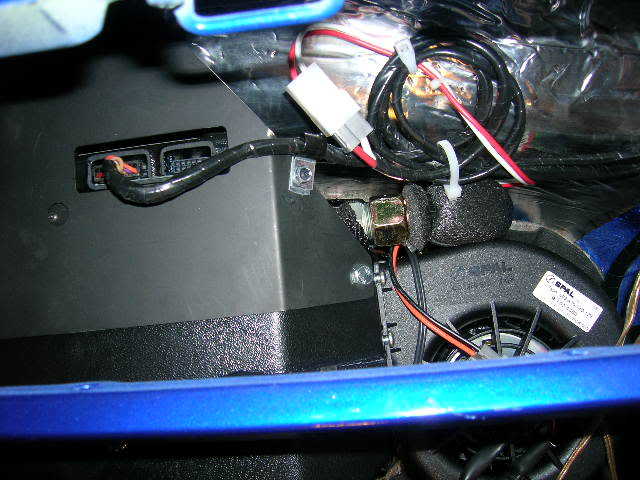
Glove Box:
I test fit the glove box and it fit like a glove. You will need to drill holes for the mounting screws.
09-29-2008 #4
Banned
- Join Date
- Aug 2003
- Location
- Orlando, FL
- Posts
- 8,745
Wow! Do you want a job? I need a tech writer. Outstanding work.
Thanks so much!
09-29-2008 #5
Registered User
- Join Date
- Feb 2007
- Location
- USA, TN
- Posts
- 850
I'm always looking for extra cash (LOL). The car is draining my resources. It also takes all of my spare time. Originally Posted by ProdigyCustoms
09-29-2008 #6 Registered User
- Join Date
- Sep 2005
- Location
- League City, TX
- Posts
- 707

10-14-2008 #7 Registered User
- Join Date
- Dec 2005
- Location
- Dublin, CA
- Posts
- 502
I just test fit my Gen IV evap unit this weekend and got the holes drilled for the mounts. Since my firewall is smoothed, I went with stainless button headed allen bolts for there and the cowl mounts. Like you, I thought the sheet metal screws looked awful.
I had not thought about mounting the relays on the mounting bolts... something to think about. Since I am trying to minimize the wiring going through the firewall I am thinking of putting the hot water control valve in the vent cowl where all the other hoses are going through. Also, thought the templeted drain location was bad, so located it in the lower part of the vent area out of sight.
Looks good!Brent
1971 Camaro, LT1, 4L60E
10-14-2008 #8
Registered User
- Join Date
- Feb 2007
- Location
- USA, TN
- Posts
- 850
It is a nice kit, but the hardware screems "tacked-on tacky." Since everyone has different objectives for appearance, it is probably best to supply the cheap stuff and let the user replace them to suit their appearance needs.
They do give plenty of rubber hose to route hoses just about anyway you want. If you need custom hard lines, VA will bend them for you at a reasonable price.
11-01-2008 #9
Registered User
- Join Date
- Feb 2007
- Location
- USA, TN
- Posts
- 850
I finally finished my write up. The system is installed but I still need to get it charged.
Condenser Bracket:
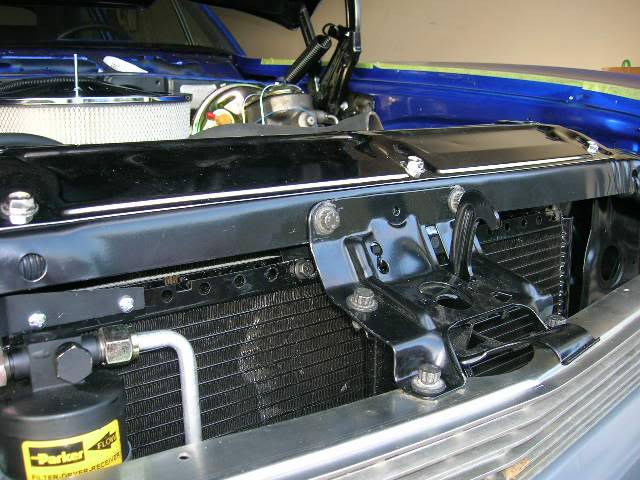
I finally got the upper bracket made to finish the condenser install. I didn’t state it above, but the condenser is easiest to install from the bottom. Plan on taking the bumper and hood latch support off. I started by mocking up the bracket with a piece of 22 gauge galvanized steel. After I got it mocked up I realized no one would see it, so neatness didn’t count. Since neatness didn’t matter, I ended up using my mockup.
The bracket is six inches wide with three bends. The upper part is 1 ¼ inch and the lower part is ¾ inch. The middle step is 7/8 to 1 inch depending on how tight you want your condenser to fit. Mine is 1 inch and it is pretty tight.
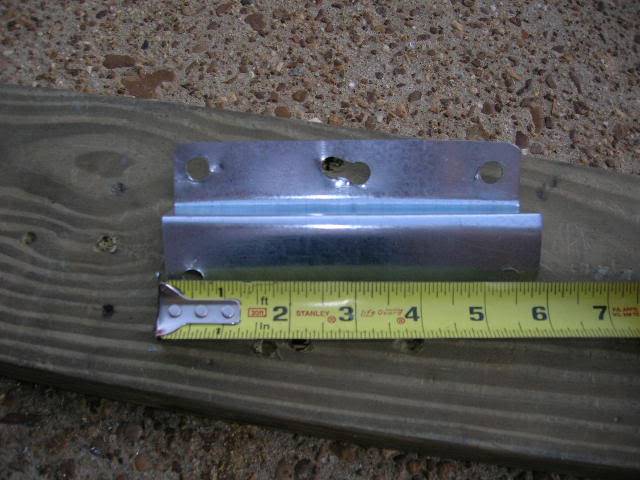
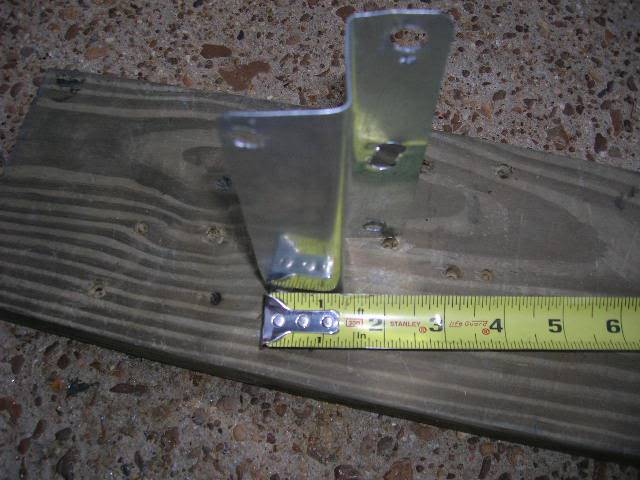
The holes are drilled 5 inches on center with the upper holes being 3/8 inch and the lower holes are 5/16 inch. The J-nuts that hold the hood latch to the core support go on the upper holes. I used two ¼ inch by ½ inch bolts for the bottom to the condenser. The center hole in the pic is not needed. The wire loom is held in place by the bracket. Below are a couple of pics of it installed.
Vents:
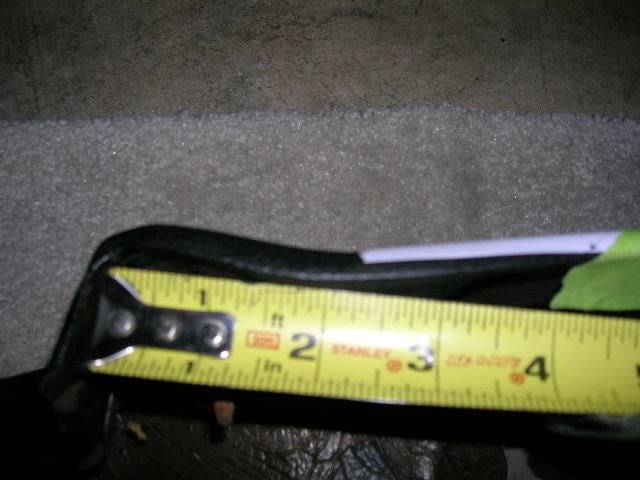
I’ll start of by saying I’m not happy with my vent install. The good news is I haven’t done anything that can’t be easily undone. The center vent is supplied in the kit. You will need to purchase left and right vents separately. I started with the center vent. The Camaro kit comes with a center vent that fits fine. The template supplied with directions also works. It needs to be located about 2 ¼ -2 ½ inches from the edge of the dash (see pic). The instructions locate the vent at the very bottom of the dash which is where I installed it. I would recommend raising it ¼ inch up as this will give you a little bit of dash pad below it for a cleaner look
Supplied template
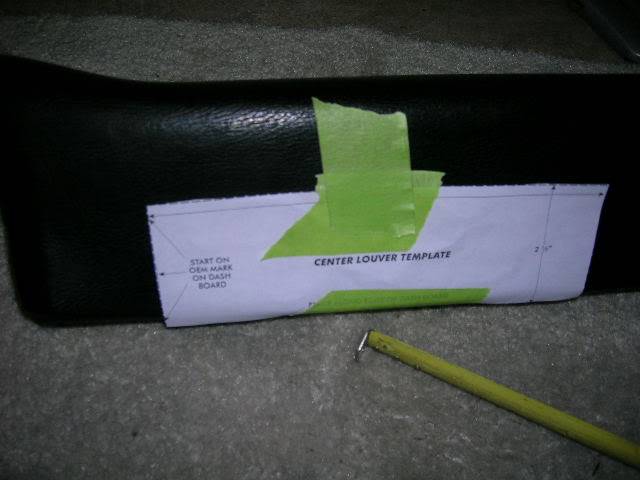
Measure from the edge of the dash pad
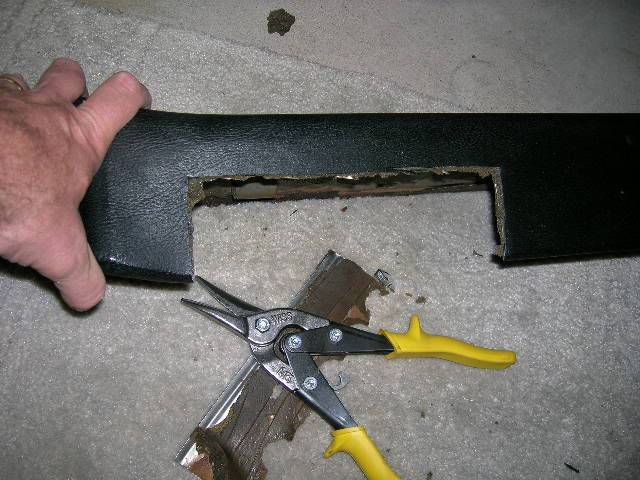
I decided to install the right vent in the dash pad as well. I think it looks better there than in the sheet metal. It still requires cutting the dash, but the cuts are covered by the dash pad. I use one of the billet trimmed vents.
Start by tracing the vent location on the pad. There is a mount on the back side so placement is important. I located it about 3 inches in from the edge and ¼ inch up. Do not place it on the bottom edge because cutting the hole in the dash behind it will get tricky. The Nova badge had to go.
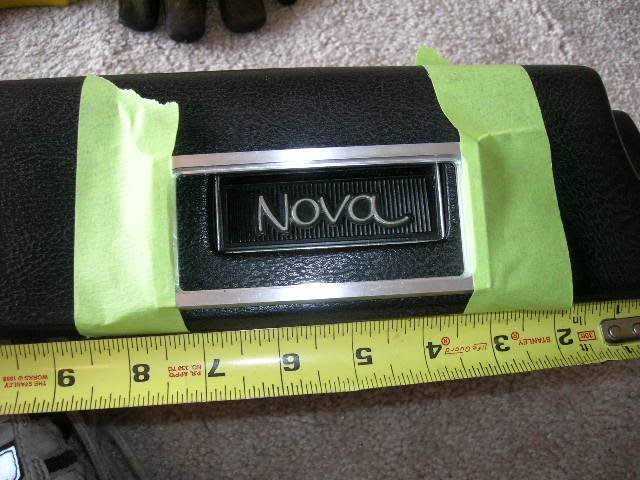
Cut hole in the pad and drill for 3/16 inch holes to hold it in place.
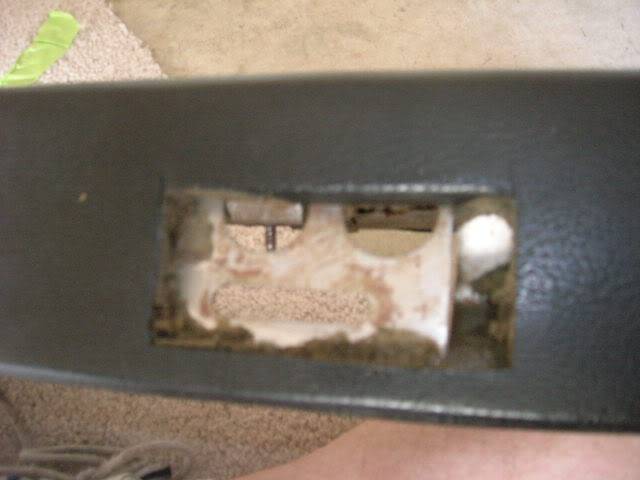
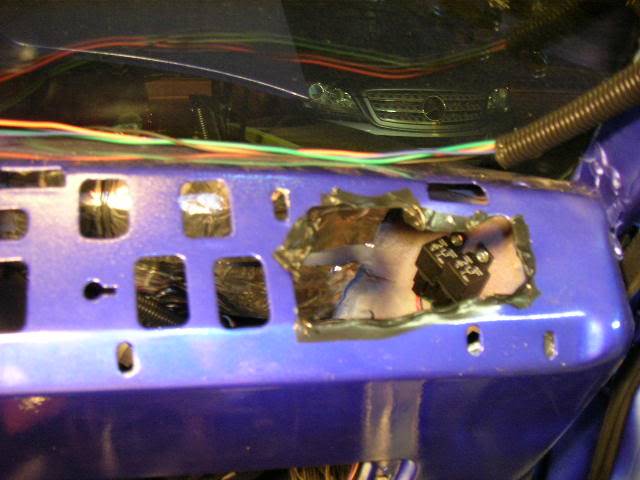
Cut hole in dash for vent to slide through
I installed the left vent in the instrument panel where the factory vent goes. It is the same process as on the right dash pad. Trace the inside of the billet bracket and cut it with a dremel. Drill four 3/16 inch holes and screw the billet bracket to the instrument panel, then pop in the vent.
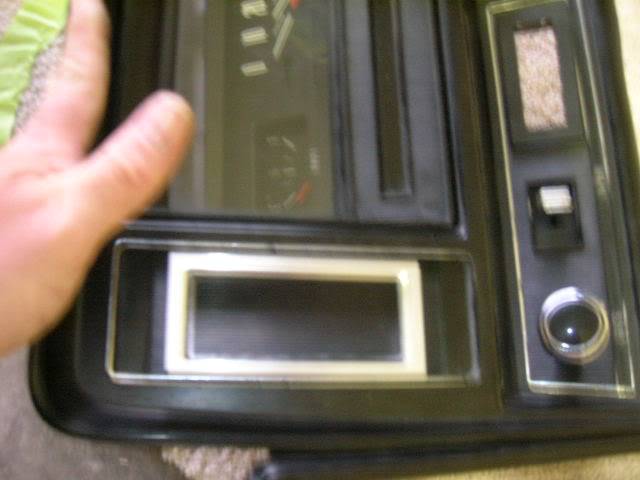
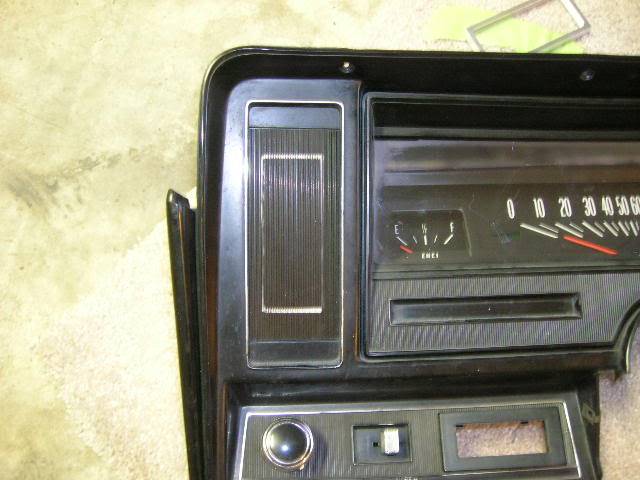
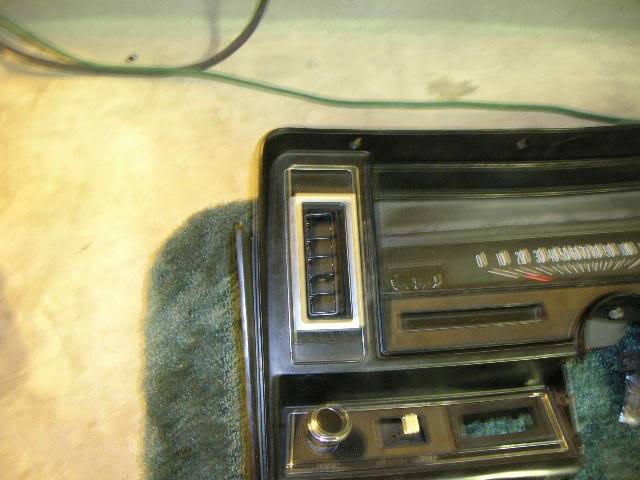
At some time in the future, I will either install billet center vents or black plastic outer vents. I’m leaning towards the black outer vents, but the billet vents may grow on me.
Ducts:
The kit supplies 2 inch and 2 ½ inch ducts. Cut the 2 inch duct per the directions for the center vents and defrost ducts. You need to measure and cut the 2 ½ inch duct to fit your vent placement. The ducts are stretched pretty tight, but there is enough in the kit.

 Reply With Quote


