

Results 61 to 80 of 121
Thread: 78' Malibu Build
-
10-30-2016 #61

 -Moderator/Sponsor-
- Join Date
- Apr 2001
- Location
- The City of Fountains
- Posts
- 15,977

You should shoot to make Holley LS fest 2017. Good times!
Andrew1970 GTO Version 3.0
1967 Cougar build
GM High-Tech Performance feature
My YouTube Channel Please Subscribe!
Instagram @projectgattago
Dr. EFI
I deliver what EFI promises.
Remote Holley EFI tuning.
Please get in touch if I can be of service.
"You were the gun, your voice was the trigger, your bravery was the barrel, your eyes were the bullets." ~ Her
-
12-25-2016 #62 Registered User
- Join Date
- Sep 2004
- Location
- DFW, Texas
- Posts
- 217
Not much done for over a month, hunting season has been using up my spare time, but I'm back in the garage for a year end push, I have all of next week off.
Floor plugs in, wheel wells sealed, and prepped for spraying Raptor Liner Monday.
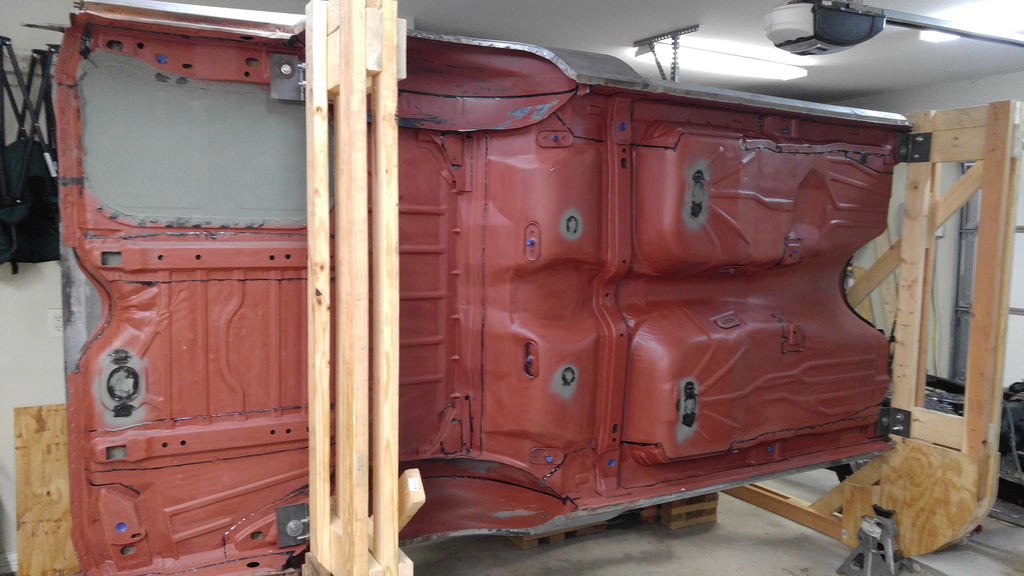
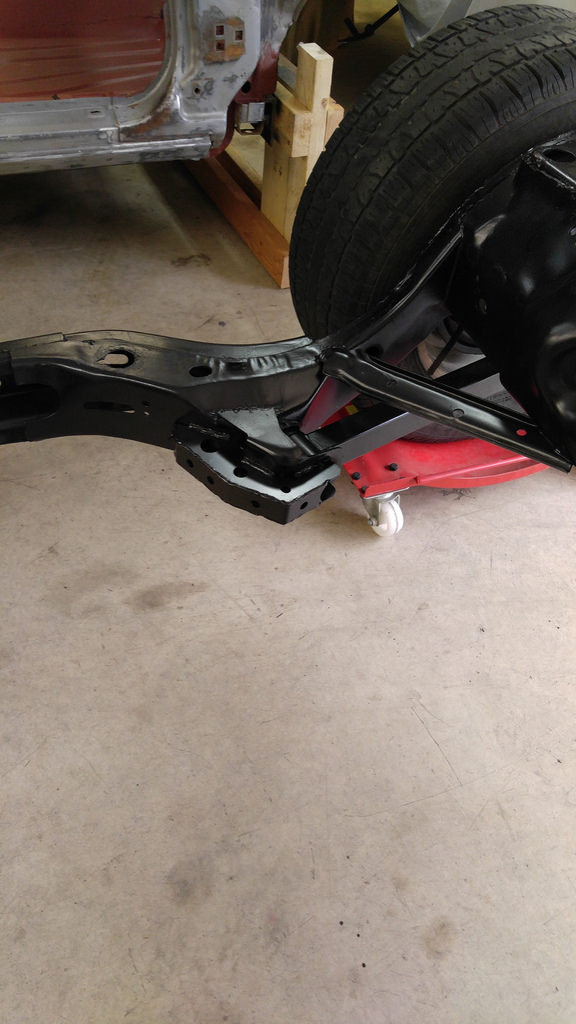
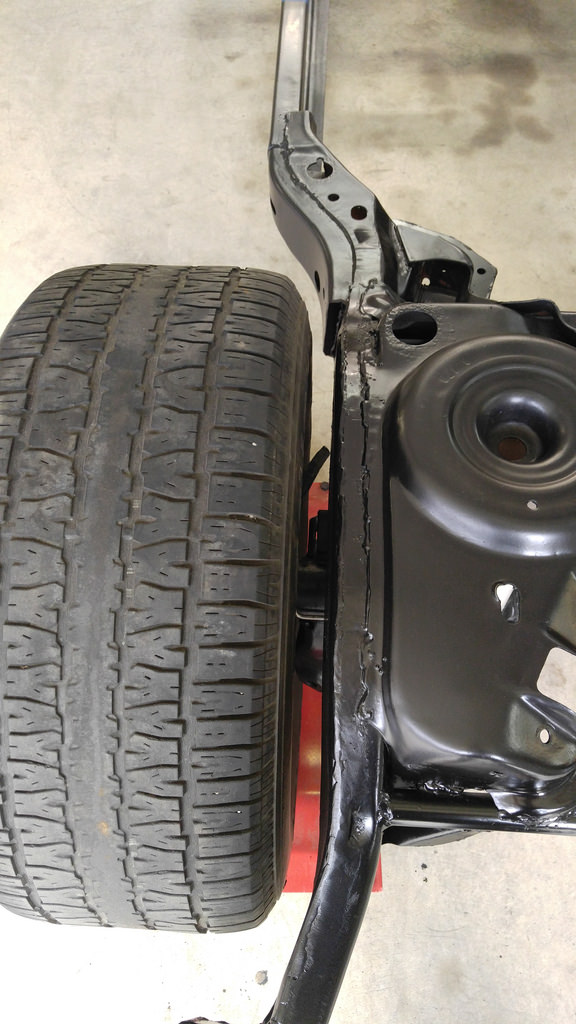
And I got back on boxing the frame rails back in although I need to swap out to my .035 wire for this heavier stuff and the frame braces.
12-25-2016 #63 Registered User
- Join Date
- Oct 2009
- Location
- CT.
- Posts
- 738
Love this build, great job. I have always liked this body style.
Glenn
1955 Chevy BelAir
1951 Chevy 3100
1987 Chevy Silverado
My last project....
https://www.pro-touring.com/threads/...my-72-Maverick!!
12-25-2016 #64 Registered User
- Join Date
- Feb 2012
- Location
- Central NY
- Posts
- 240
Looking good! You don't really need .035 wire for the frame though. .030 will work fine. The frame isnt really that thick
12-25-2016 #65
Registered User
- Join Date
- Sep 2004
- Location
- DFW, Texas
- Posts
- 217
It's not that thick but I only have .035 and the .025 I have been using for bodywork, so .035 it is! Originally Posted by Streetbu

12-26-2016 #66 Registered User
- Join Date
- Nov 2010
- Posts
- 39
are you interested in a 12 bolt rear end that will bolt right in with the south side arms? New 4;11 Richmond gear with new Eaton posi blasted and painted black, summit cover, new drum brakes...
12-26-2016 #67
Registered User
- Join Date
- Sep 2004
- Location
- DFW, Texas
- Posts
- 217
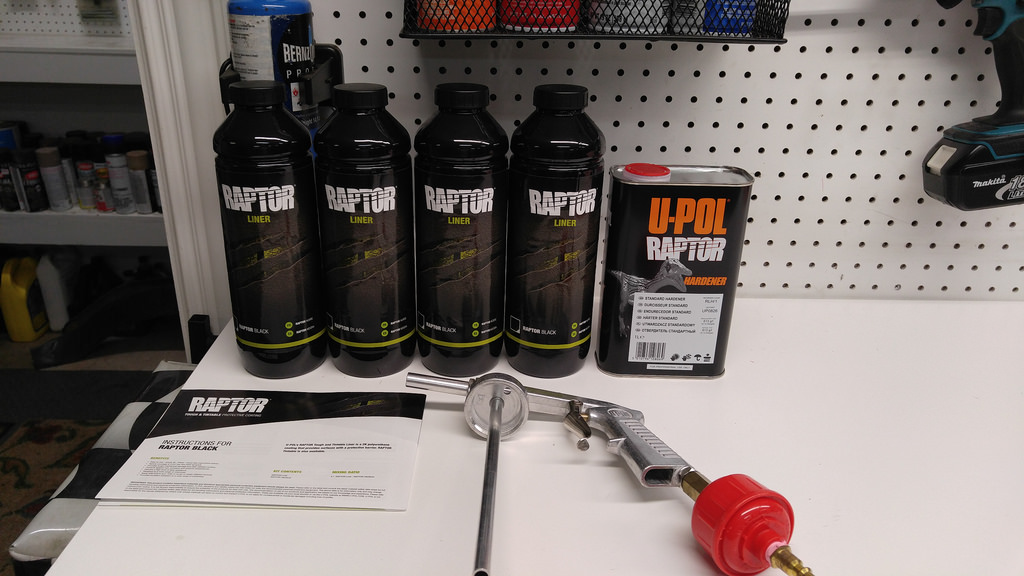
First thing this morning
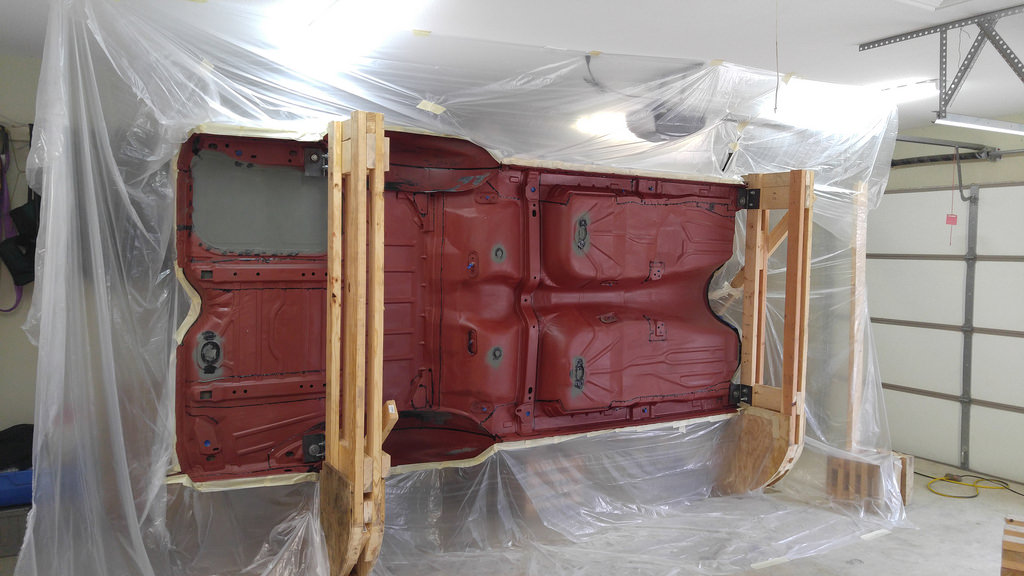
So, from the point of laying on it's side, all sanded and prepped with 180 grit sandpaper and wiped with lacquer thinner it still took 1.25 hours to mask it all off to when that photo was taken. At that point I started mixing the raws using a 250ml graduated cylinder, because I use them for work, then got to spraying at about 60psi to keep the pattern as tight as possible.
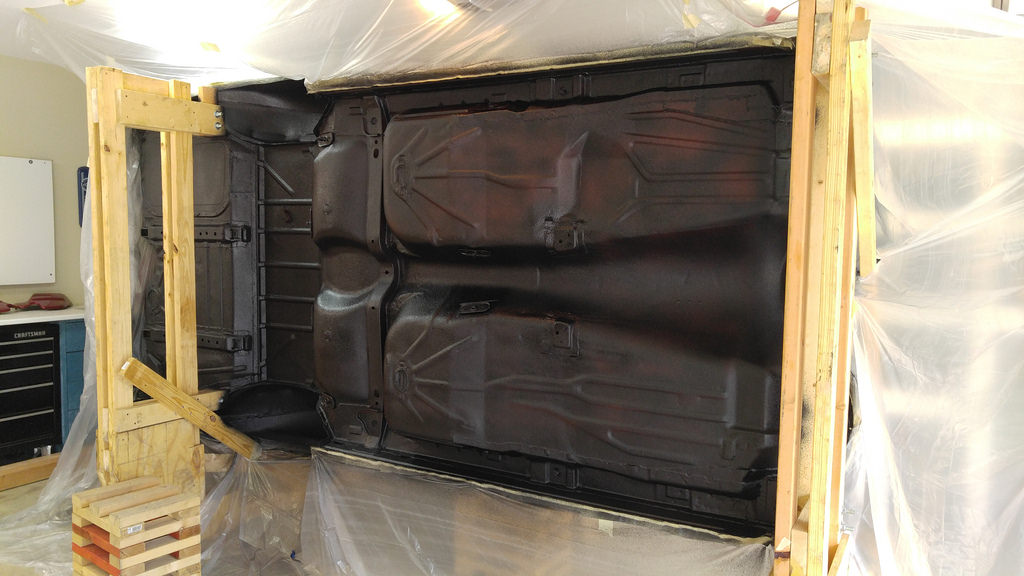
After 1.5 coats
Then after all four liters of material and masking pulled
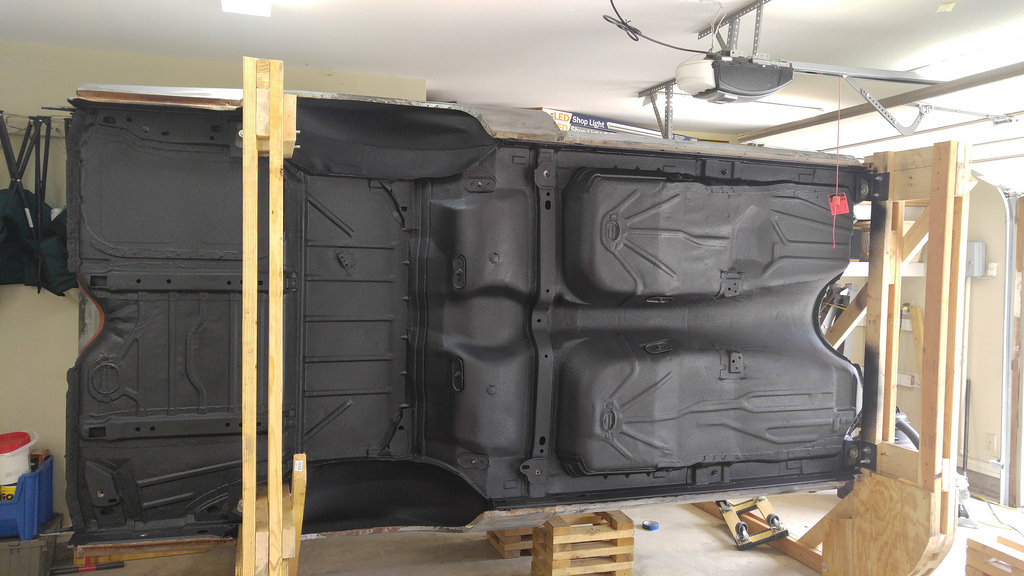
Surprisingly it all went well with no problems or snafu's, I expected problems, none arose, little to no overspray on the floor, and I managed to keep any overspray/mixing off myself although I do recommend a respirator made for organics, this stuff is stout.
12-26-2016 #68
Registered User
- Join Date
- Feb 2012
- Location
- Central NY
- Posts
- 240
Lookin good!
12-27-2016 #69 Registered User
- Join Date
- Aug 2012
- Location
- Peoria, AZ
- Posts
- 1,758
Love the look of a fully finished out bottom side of a body... Does that make me strange?

Nice work...Lance
1985 Monte Carlo SS Street Car
12-28-2016 #70
Registered User
- Join Date
- Sep 2004
- Location
- DFW, Texas
- Posts
- 217
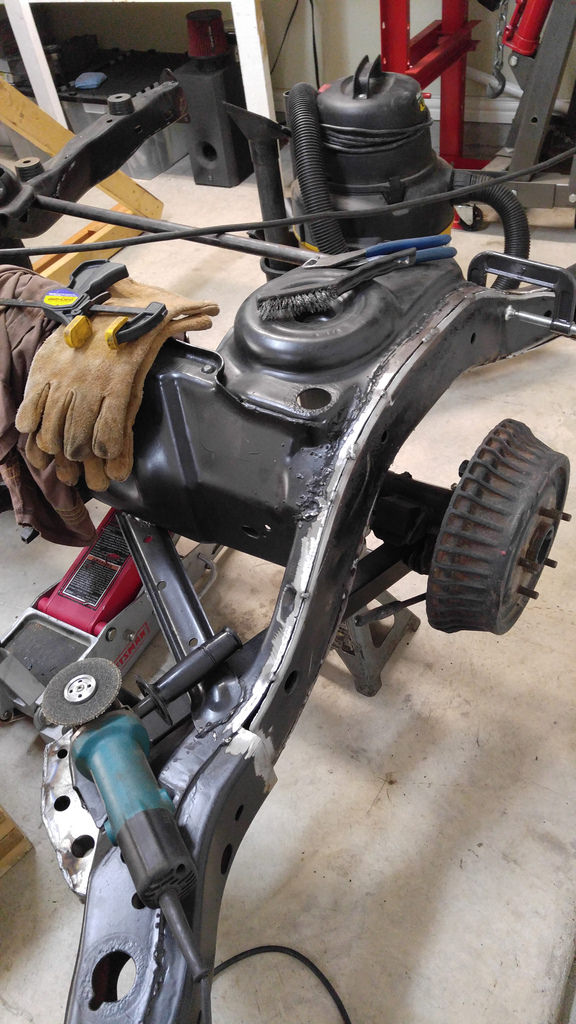
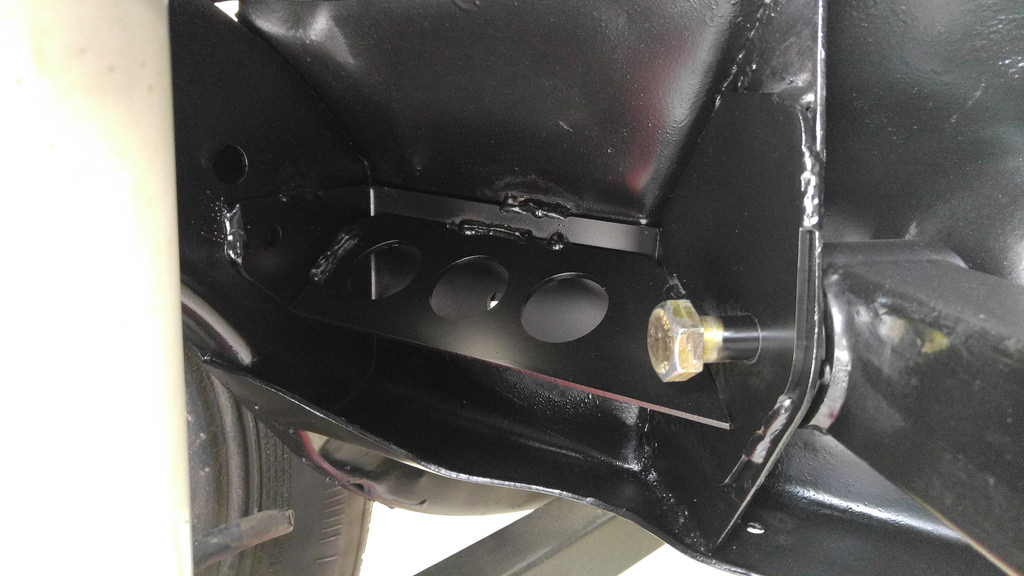
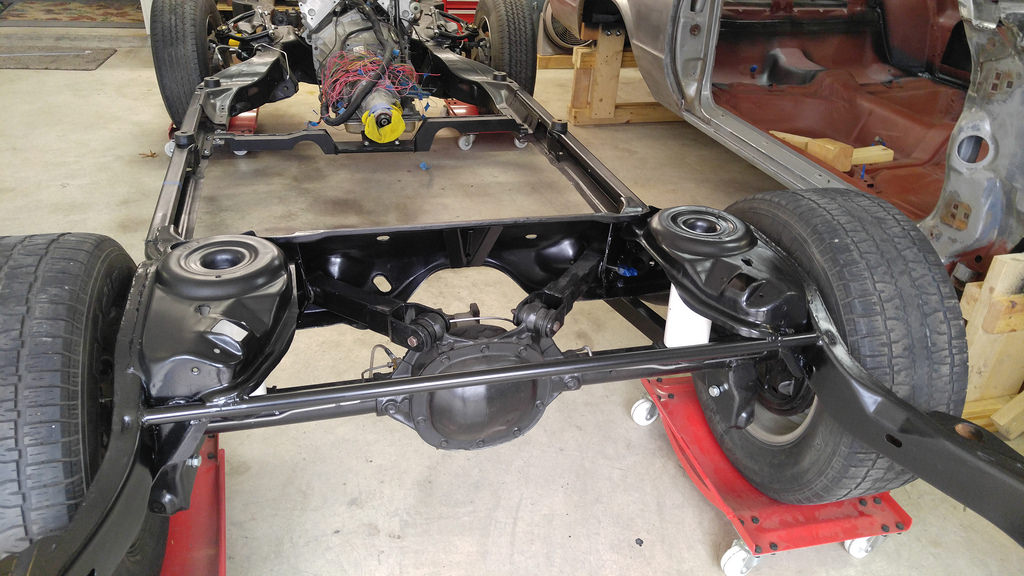
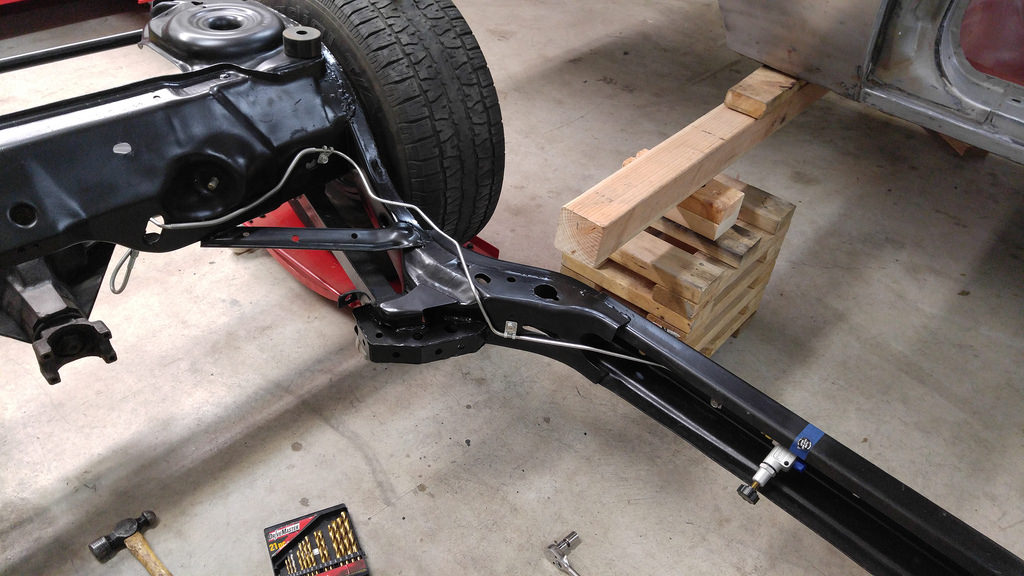
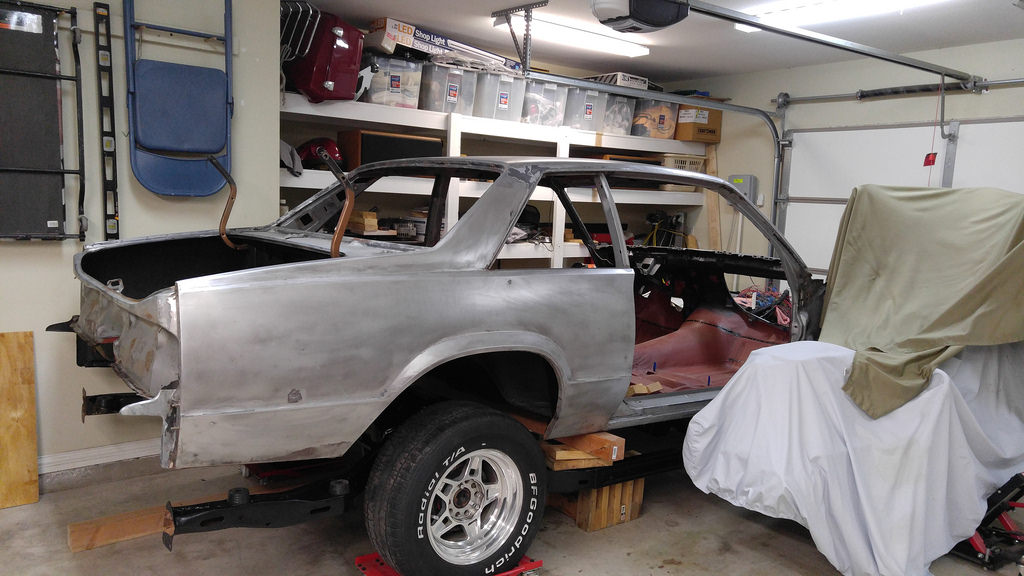
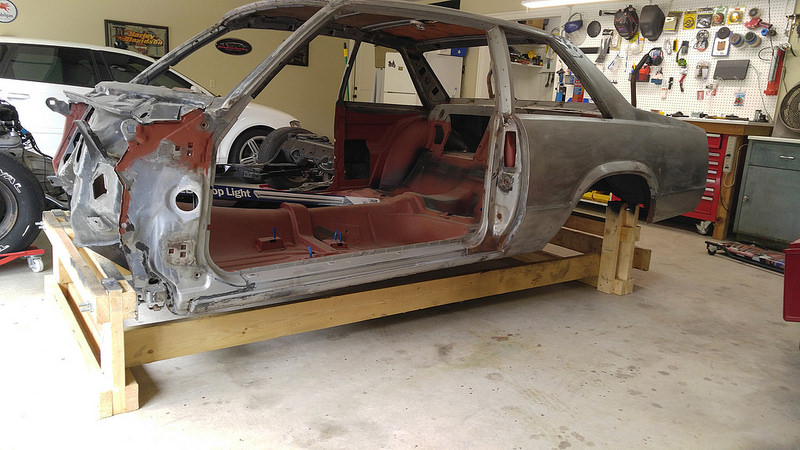
So I started welding last night then spent the better part of 5 hours finishing the welding today along with installing my JTraceshop control arm braces then coating with some Napa chassis black. I'm whupped and my hands hurt but I'm ready to drop the body back on the frame hopefully for the last time.

01-01-2017 #71
Registered User
- Join Date
- Sep 2004
- Location
- DFW, Texas
- Posts
- 217
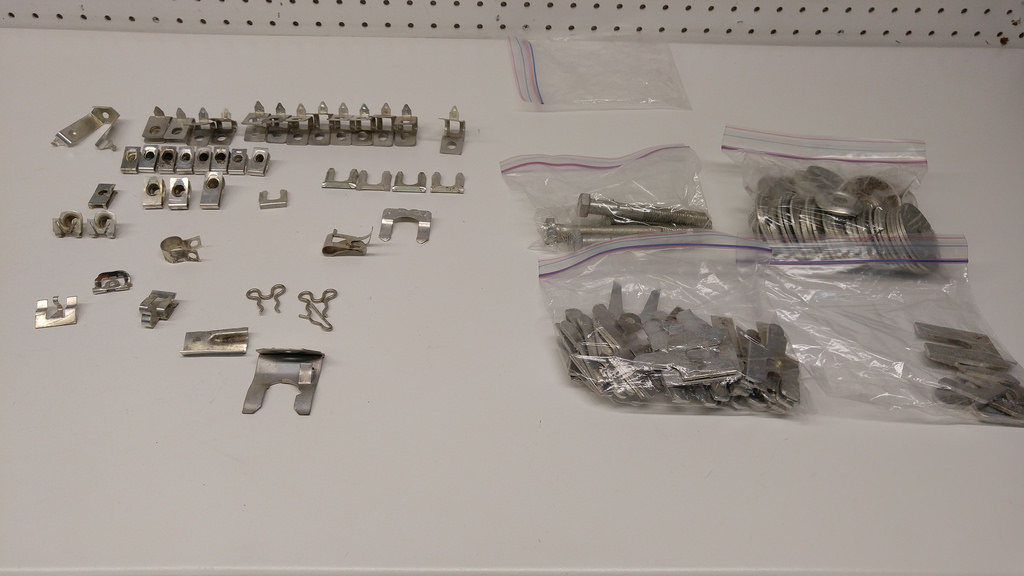
Back at it again after a brief hiatus working on one of the two project Jeeps for 1.5 days. This morning I decided I wanted to get the body close to back on but I needed to finish the brake line install and that meant flaring one spot of stainless for the prop valve plus re-tapping the holes for the distribution valve but it's done.
Broke out all the recoated hardware

Back in the corner and I got my parking space back
01-02-2017 #72
Registered User
- Join Date
- Aug 2012
- Location
- Peoria, AZ
- Posts
- 1,758
Nice progress!!!
Lance
1985 Monte Carlo SS Street Car
03-25-2017 #73
Registered User
- Join Date
- Sep 2004
- Location
- DFW, Texas
- Posts
- 217
Finally finished the side project and back at the Malibu again
Today's scrapin's
04-22-2017 #74
Registered User
- Join Date
- Sep 2004
- Location
- DFW, Texas
- Posts
- 217
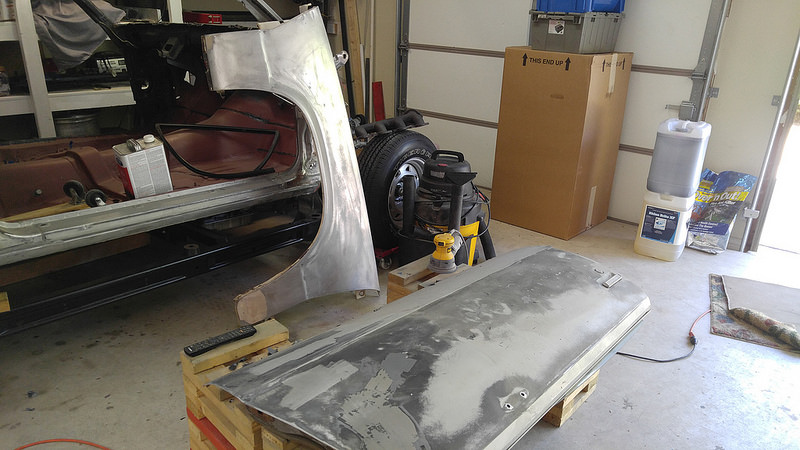
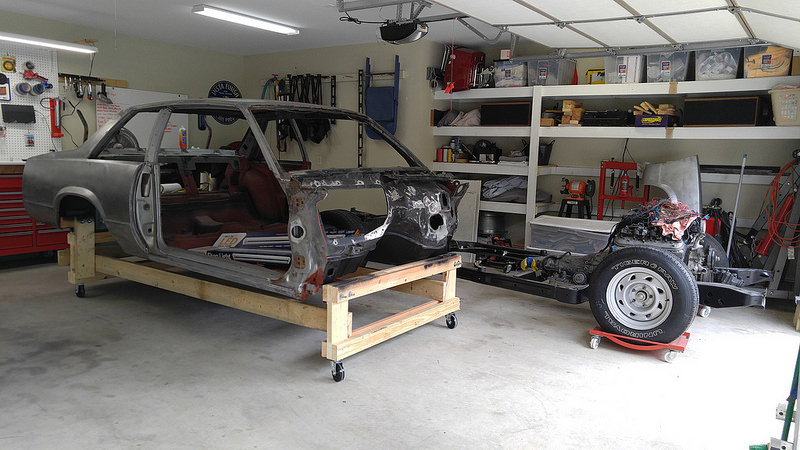
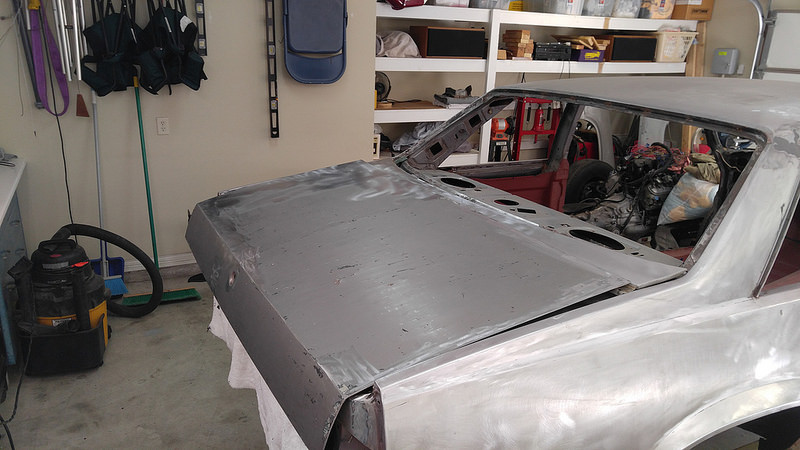
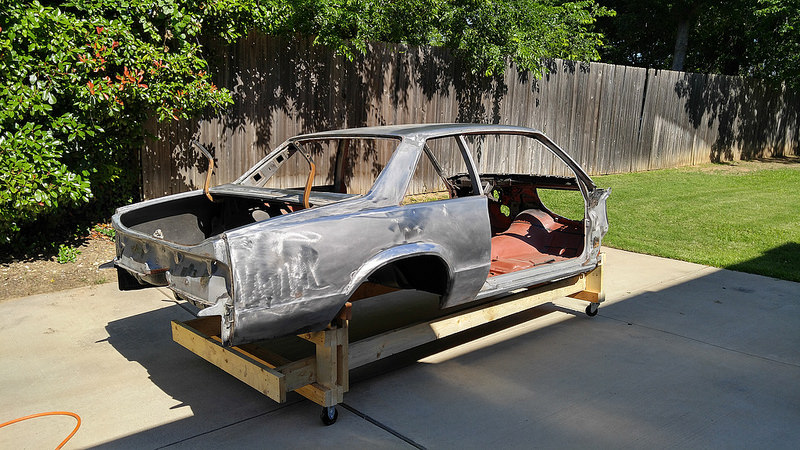
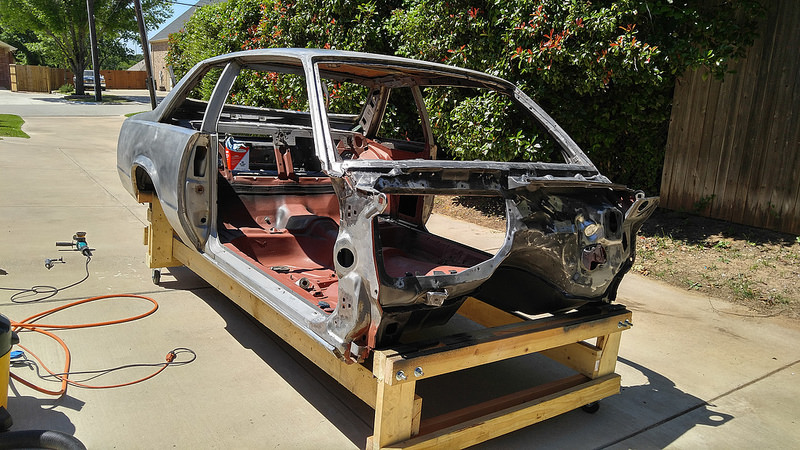
Back in the garage and today I repurposed the tip-tissorie into a body cart so I can move this around easier while I get it in primer and start bodywork.
04-25-2017 #75
Registered User
- Join Date
- Sep 2004
- Location
- DFW, Texas
- Posts
- 217
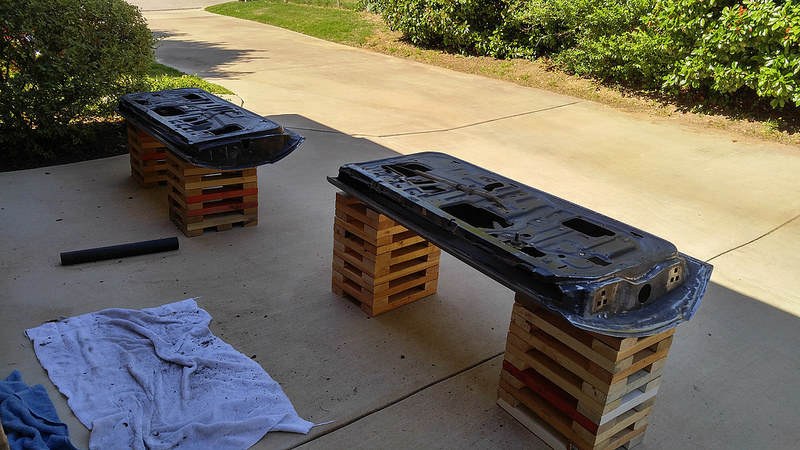
Last panel to scrape
05-04-2017 #76
Registered User
- Join Date
- Sep 2016
- Posts
- 44
beautiful progression. keep it up.
05-05-2017 #77
Registered User
- Join Date
- Sep 2004
- Location
- DFW, Texas
- Posts
- 217
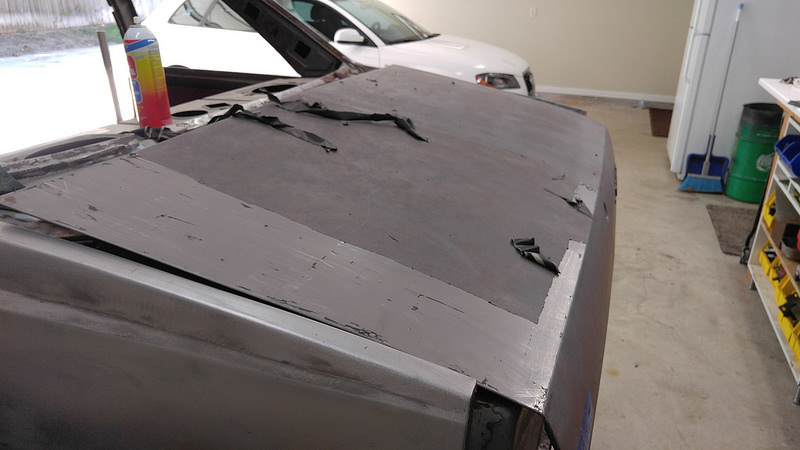
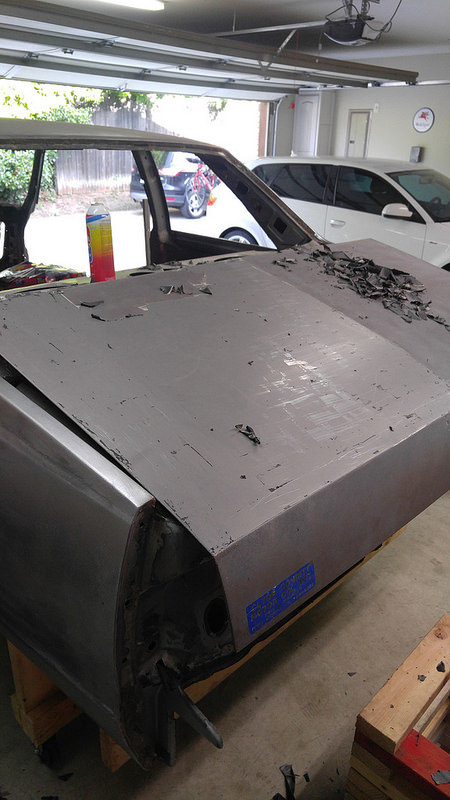
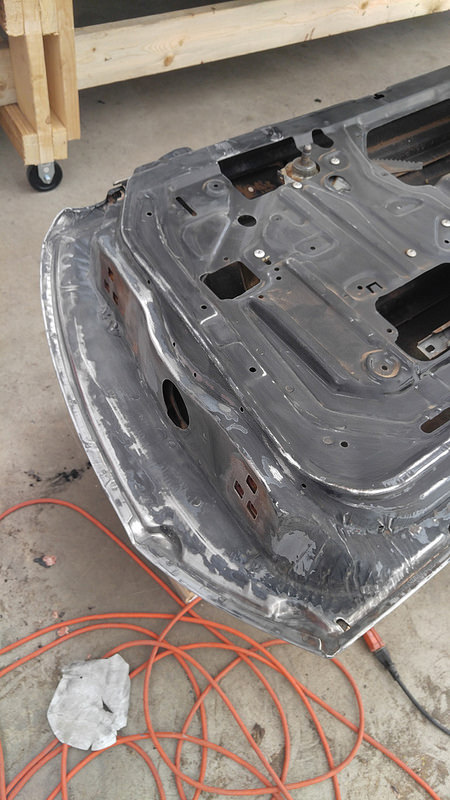
Even more scraping and all door and trunk seam sealer removed.
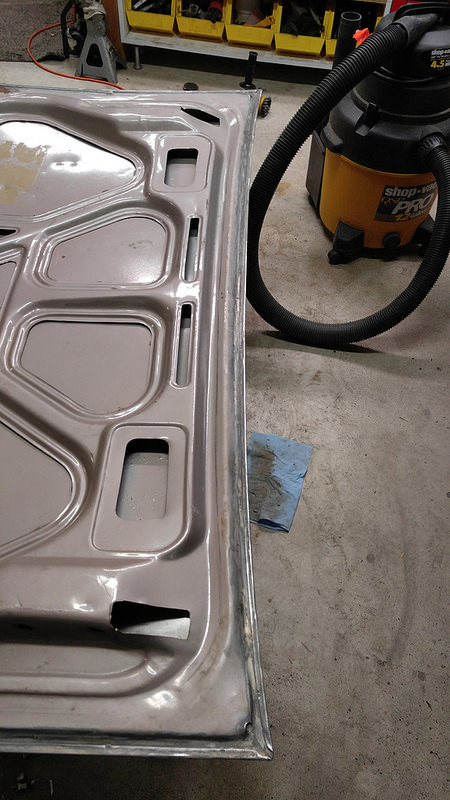
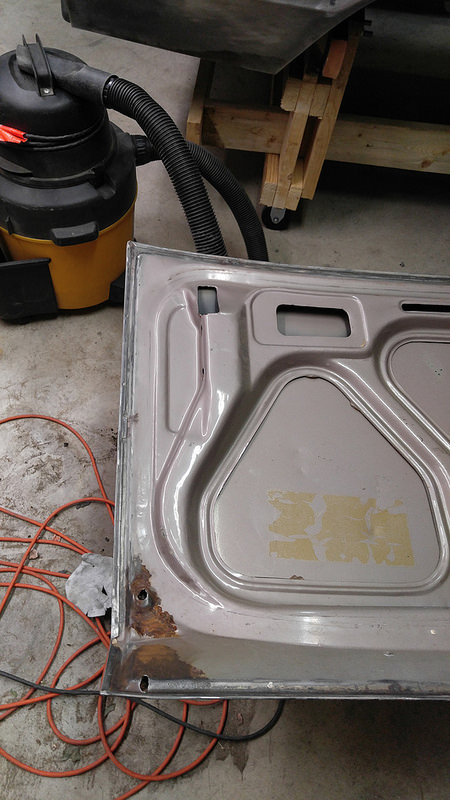
Driver's door, must have had grass growing up there.
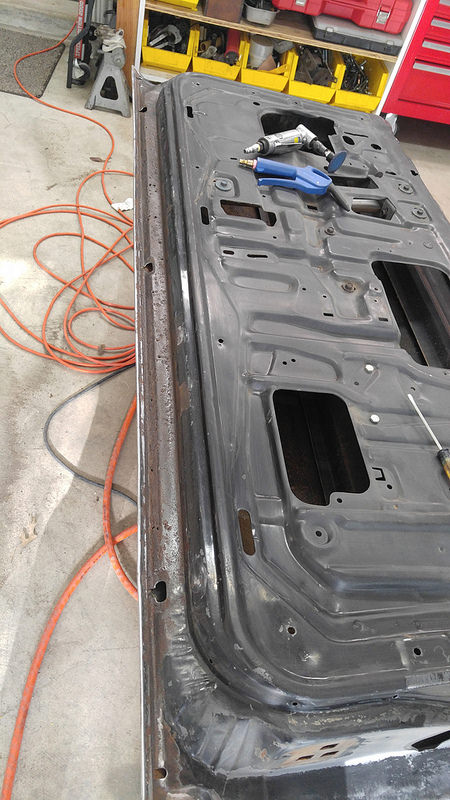
Passenger side is much better

Both doors cracked like this at the front tops
That is the end of the paint stripping and with a little sanding this is ready to go in primer and start bodywork.
05-07-2017 #78
Registered User
- Join Date
- Sep 2004
- Location
- DFW, Texas
- Posts
- 217
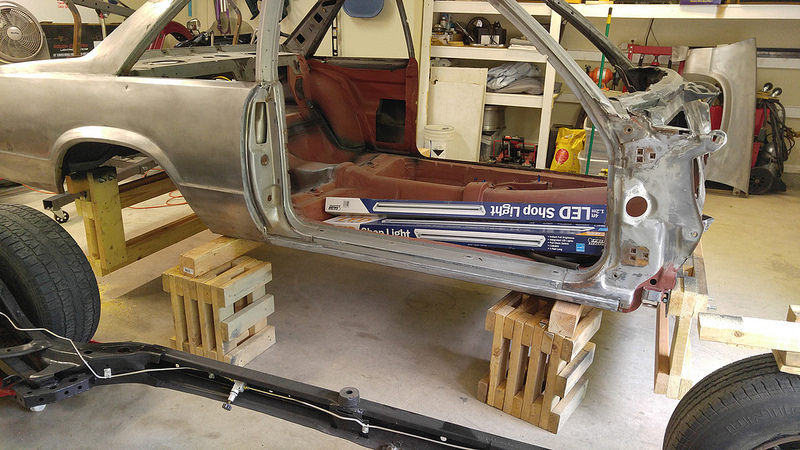
The Bu made it's first trip outside in a few years. I took everything out of the garage to clean up the mess from removing all the seam sealer then blew the car, doors, and trunk all out with air, something I should have done a long time ago to the doors, there was a lot of dirt and crud in the nooks and crannies. Also welded up the stress cracks at the front of the doors.

05-13-2017 #79
Registered User
- Join Date
- Sep 2004
- Location
- DFW, Texas
- Posts
- 217
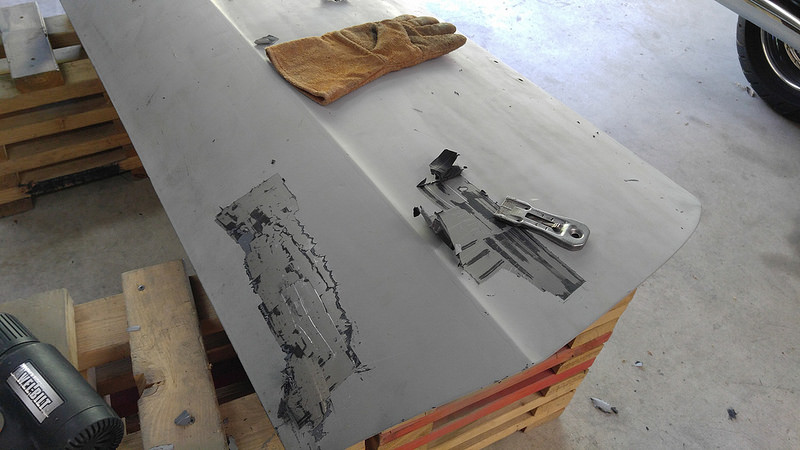
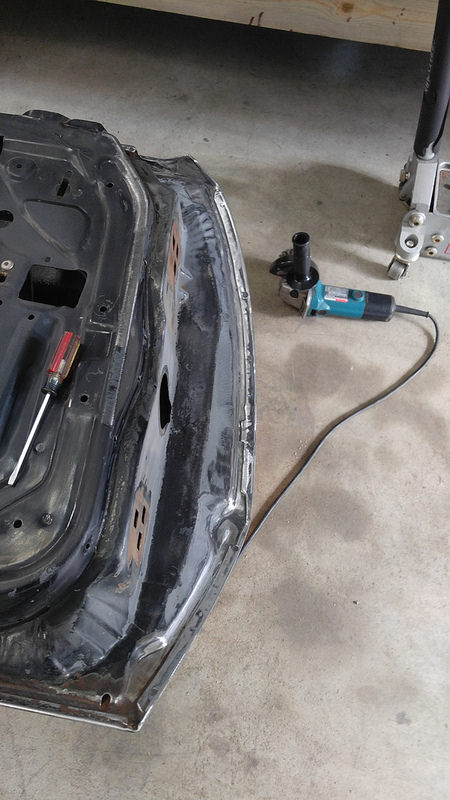
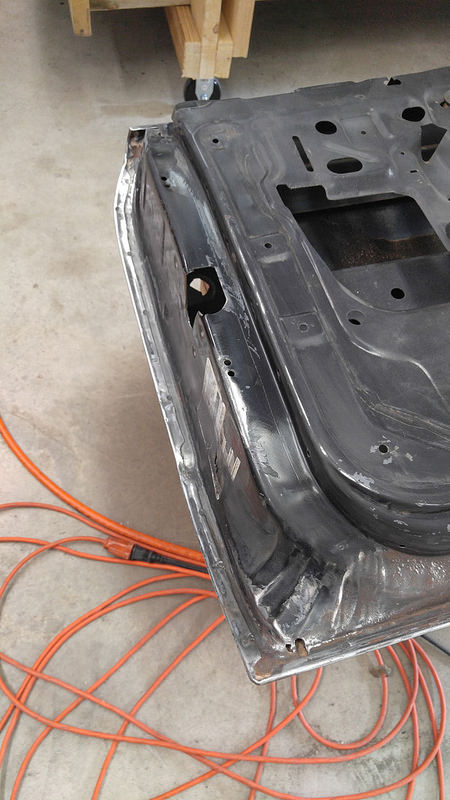
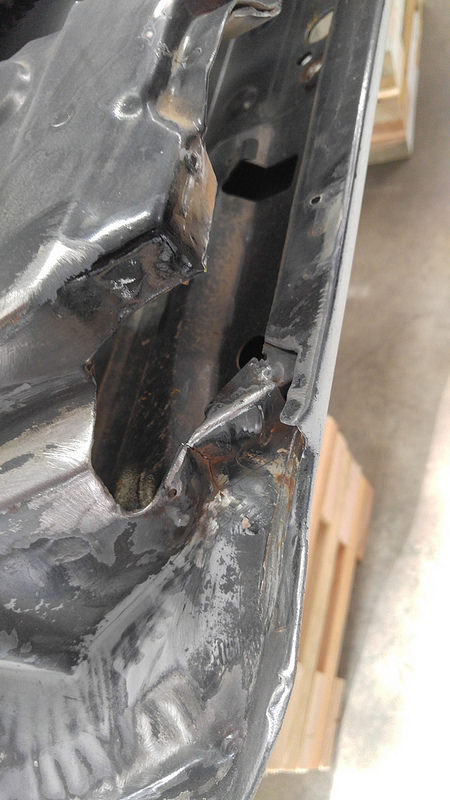
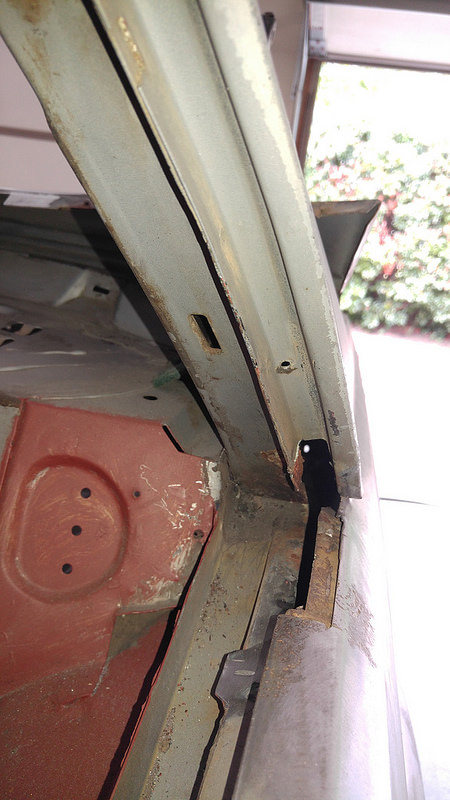
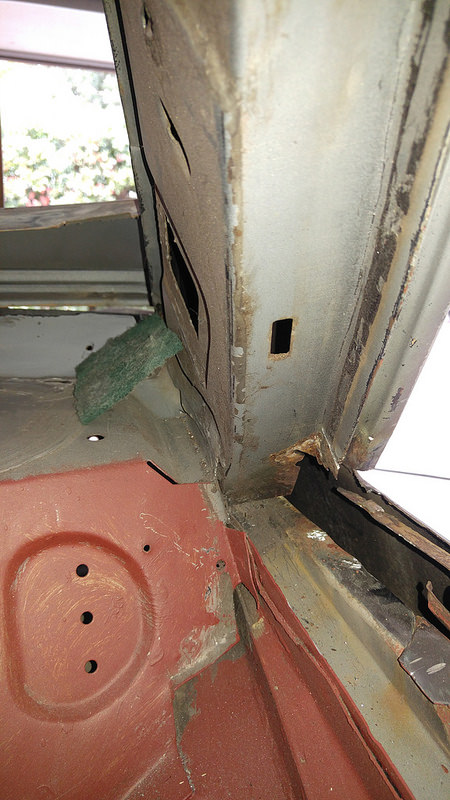
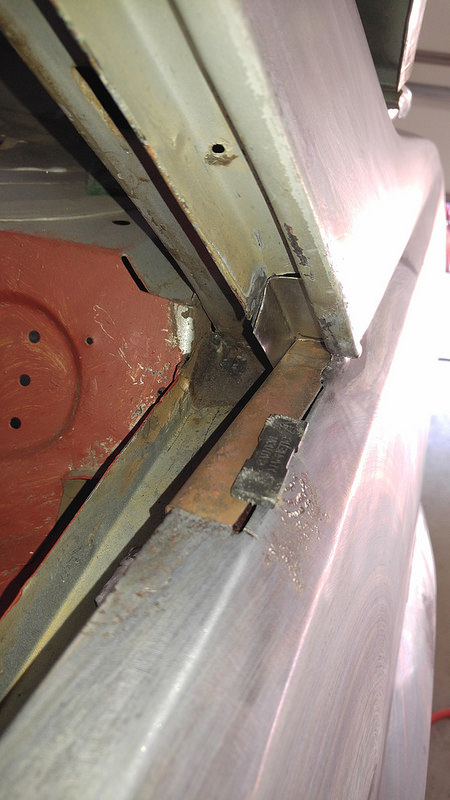
I finally tackled the project I have been dreading for a while. Both corners of the quarter windows were rotted back at the pointy part, right were normal tools really don't fit or are in the wrong position even if you get them in there. Out came the dremel, 90* die grinder, die grinder, and files.
Cut out the bad
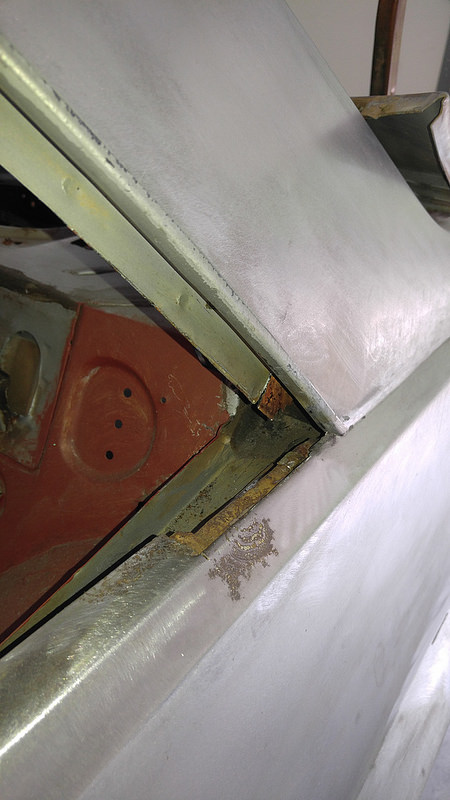
Fabbed up a couple pieces
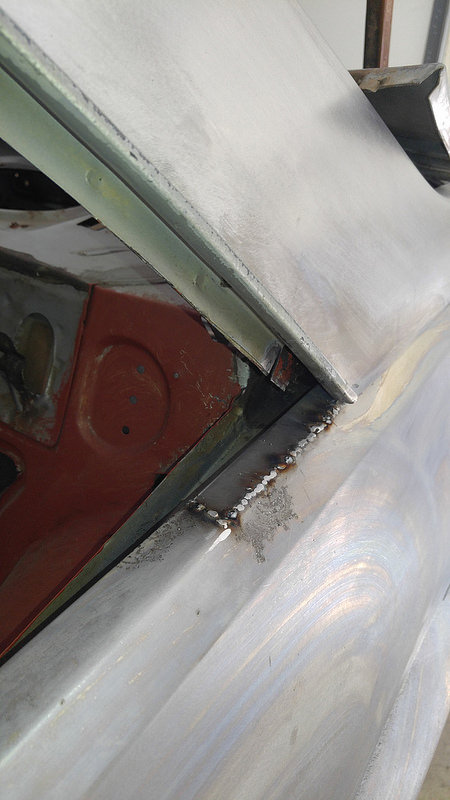
And Voila!
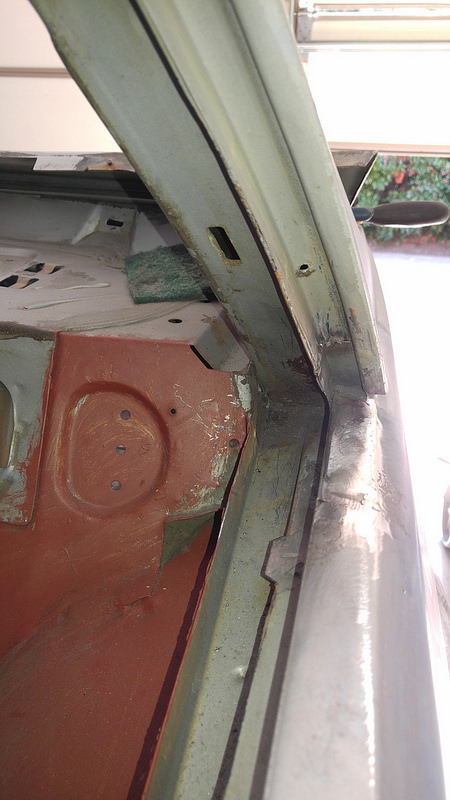
That sequence took hours of grinding, fitting, grinding, fitting, etc, I am usually all about metal work but this was not fun. Luckily the passenger side isn't quite as bad but I hope to knock it out tomorrow.
05-13-2017 #80
Registered User
- Join Date
- Feb 2012
- Location
- Central NY
- Posts
- 240
Wow, great job! I had the same issue but not as bad luckily.

 Reply With Quote


