

Results 121 to 140 of 258
-
10-11-2018 #121
 Registered User
- Join Date
- Feb 2007
- Location
- Hawaii
- Posts
- 225
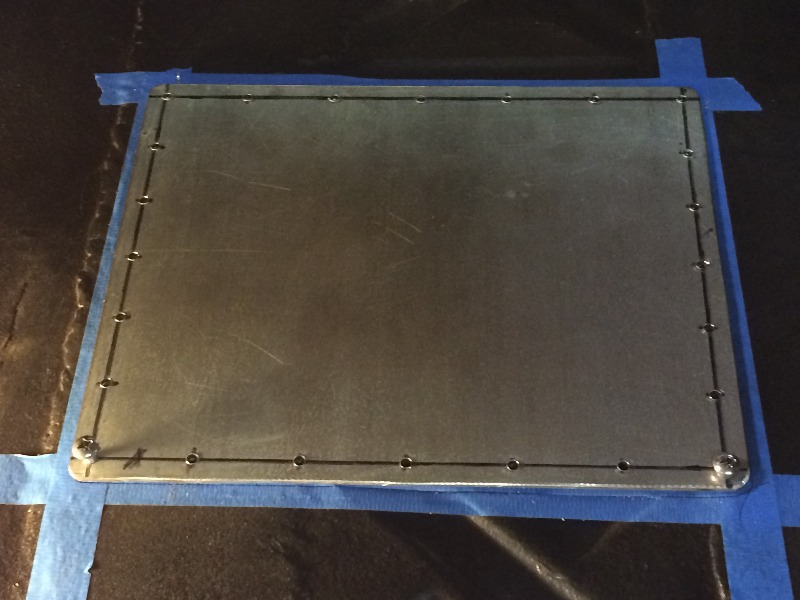
Had a little time to run to the shop with a piece of 16 ga. galv. sheet metal I had laying around, and cut it to 10" x 12" to fit over that 8" x 10" hole in the trunk, drilled it on a uniform pattern so it should not matter which side it up when ever I put it on. Had some #14 ss sheet metal screws around, 3/4" and 1" long, a bit over-kill but what the heck...
Drilled the cover with the smaller hole size initially to use as a pattern to drill the trunk floor prior to tapping the sheet metal screws into the floor metal....
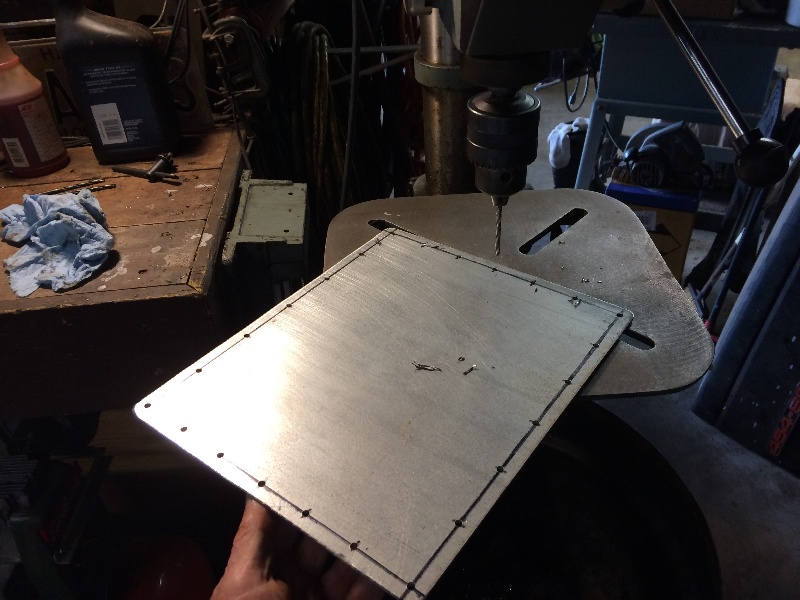
Transferred two corner holes to the floor where the cover will go, then redrilled those two corner holes in the cover plate to the larger size for the #14's to slide through, then screwed down the cover with those two corner screws, then drilled the rest of the smaller holes in the floor using the cover as a guide. Then redrilled the cover holes to the larger size for the #14's...
Now I have to go do the initial tap of those #14's into the floor around the hole....
Think I'm gonna need a coupla beers to get this job done....
Aloha,
Willy
-
10-13-2018 #122
Registered User
- Join Date
- Feb 2007
- Location
- Hawaii
- Posts
- 225
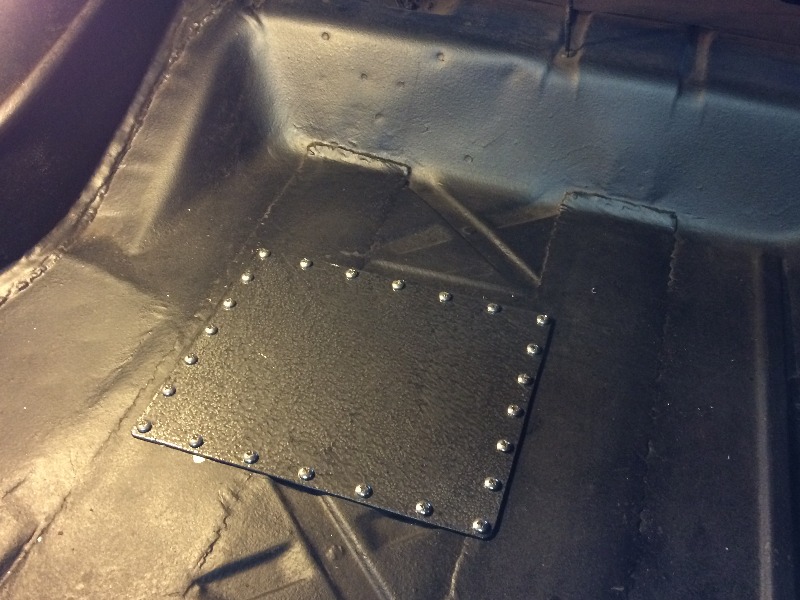
Redrilled the holes in the cover plate to the larger size, tapped the screws into the holes in the floor, painted the cover with black hammer tone, and installed it....
-
10-14-2018 #123
Registered User
- Join Date
- Feb 2007
- Location
- Hawaii
- Posts
- 225
Put it back on the floor just to see how she sits...
I love it !!!
Willy
More pix here...
-
10-24-2018 #124
Registered User
- Join Date
- Feb 2007
- Location
- Hawaii
- Posts
- 225
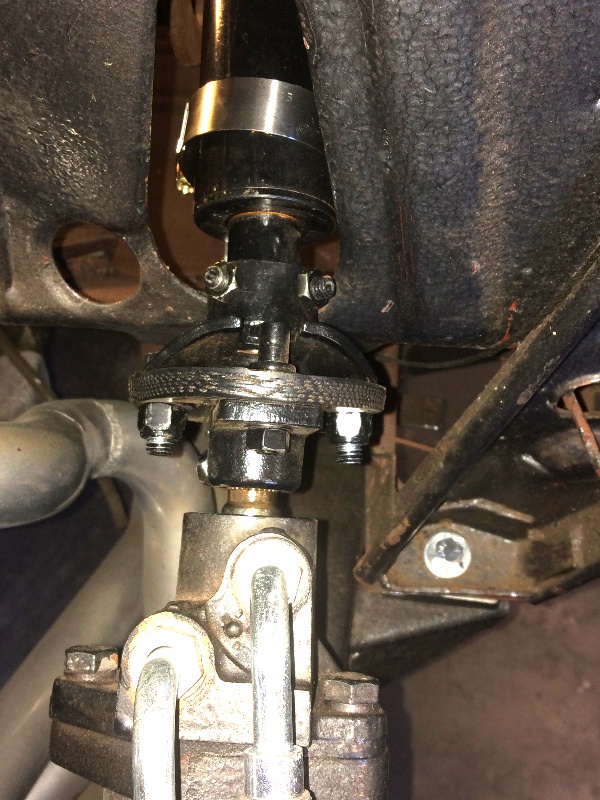
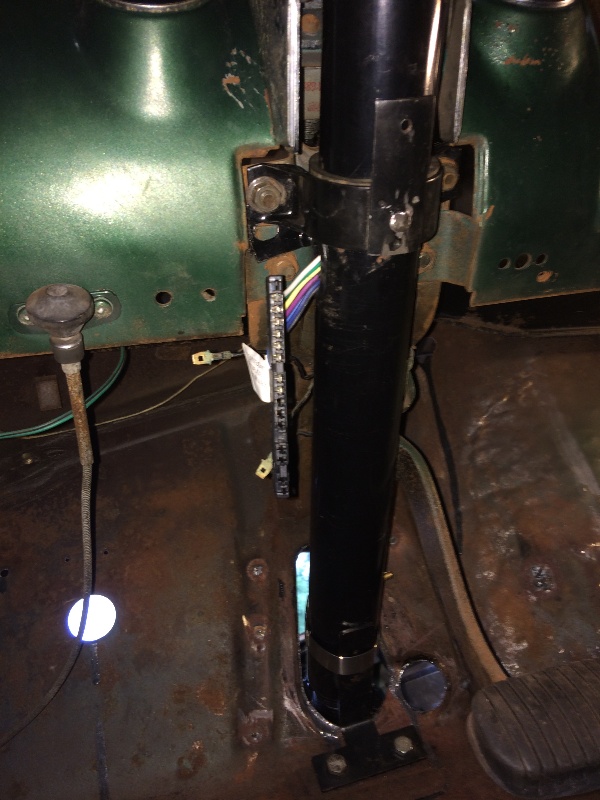
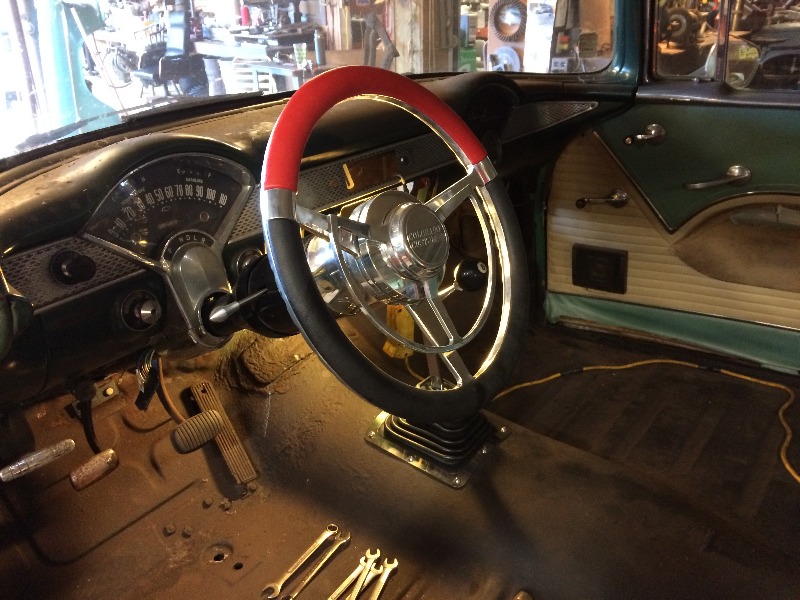
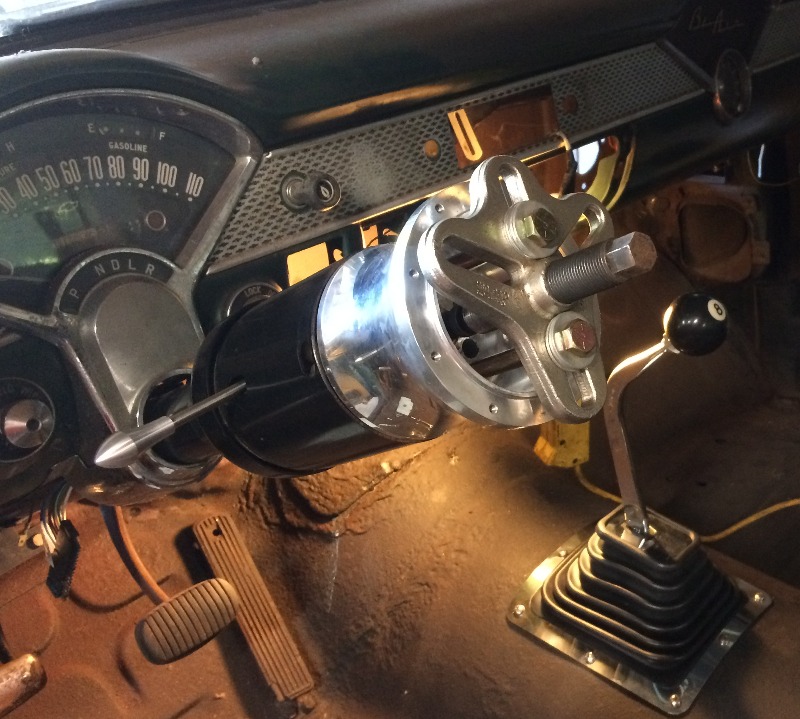
Put the Ididit steering column and rag joint in,
hooking up to the 500 steering box,
the locking screws on the upper side of the
rag joint hit the firewall, some clearancing required...
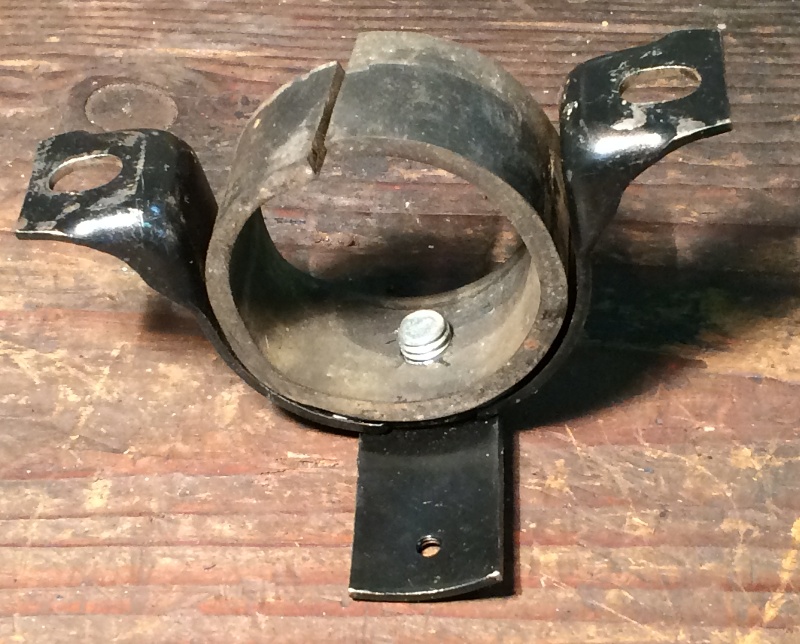
The stock mounting bracket under the dash
is way too large, I'm going to have to modify
it or fab a new one to fit properly...
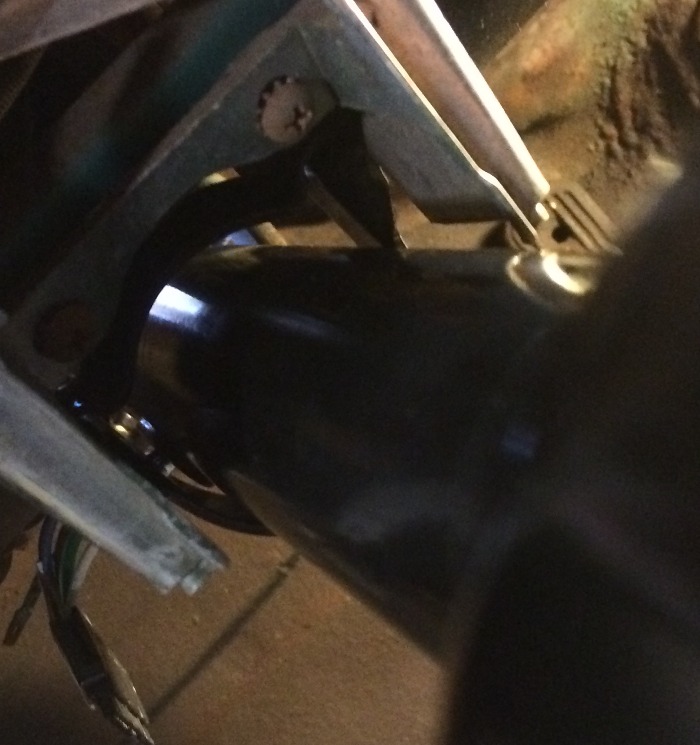
Yup, going to require some work here...
Any suggestions ?
-
10-30-2018 #125
Registered User
- Join Date
- Feb 2007
- Location
- Hawaii
- Posts
- 225
I found the original rubber wrap that goes in under the clamp under the dash, going to try that. Been busy with household chores, hope to get back to the car today...
-
10-30-2018 #126
Registered User
- Join Date
- Feb 2007
- Location
- Hawaii
- Posts
- 225
With some shims between the steering box and the frame,
I could get better alignment with the steering column,
but I'm too close to the headers already, so the steering
box will stay where it is...
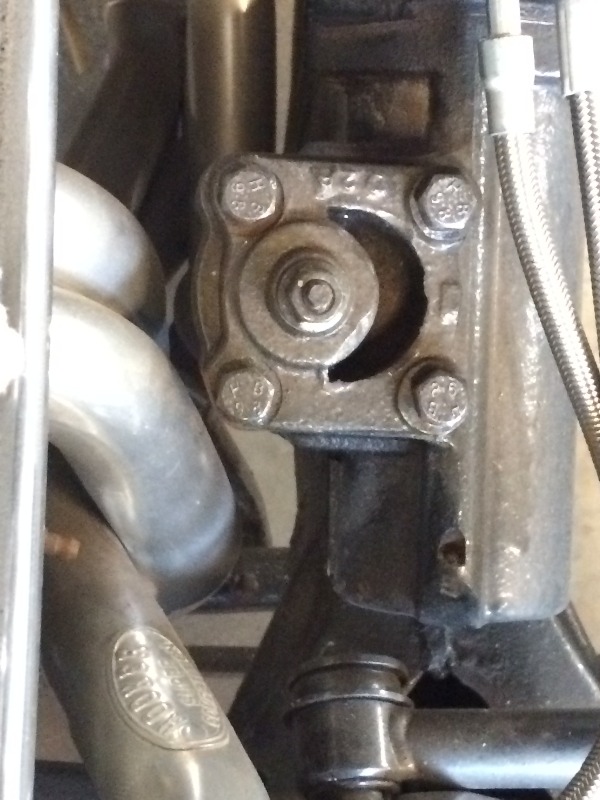
This is the misalignment I'm referring to,
but that rag joint should be able to handle it ok...
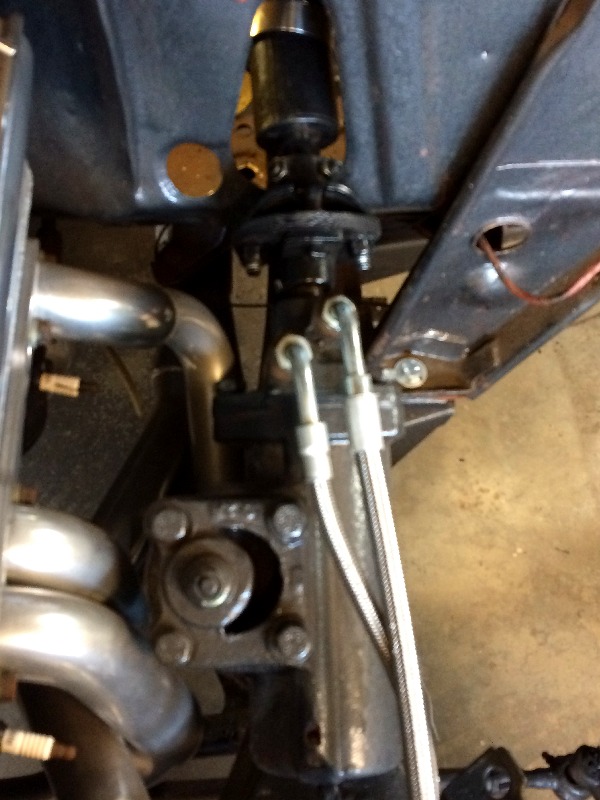
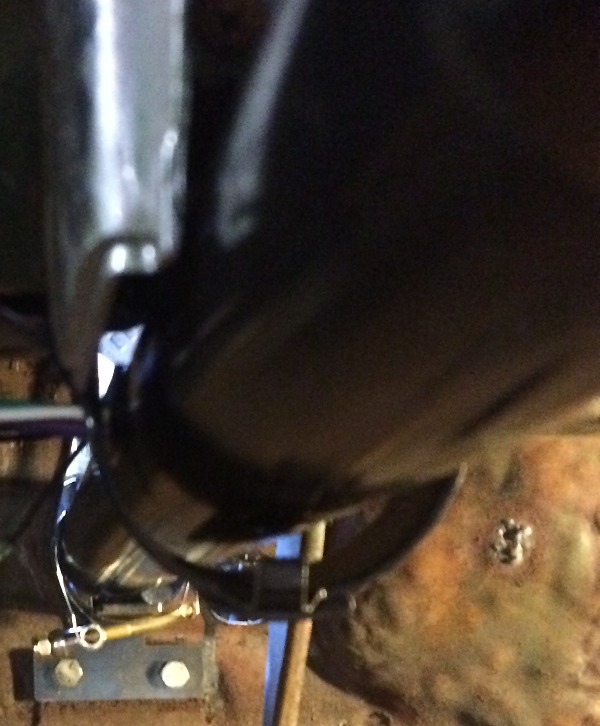
I found this original rubber sleeve from the original
steering column, just needed to put in a locator
bolt to match the slot in the bottom of the steering column...
Everything bolted up quite nicely...
-
11-02-2018 #127
Registered User
- Join Date
- Feb 2007
- Location
- Hawaii
- Posts
- 225
Dug out the shift lever and boot...

Screwed down the boot, lookin' good there...
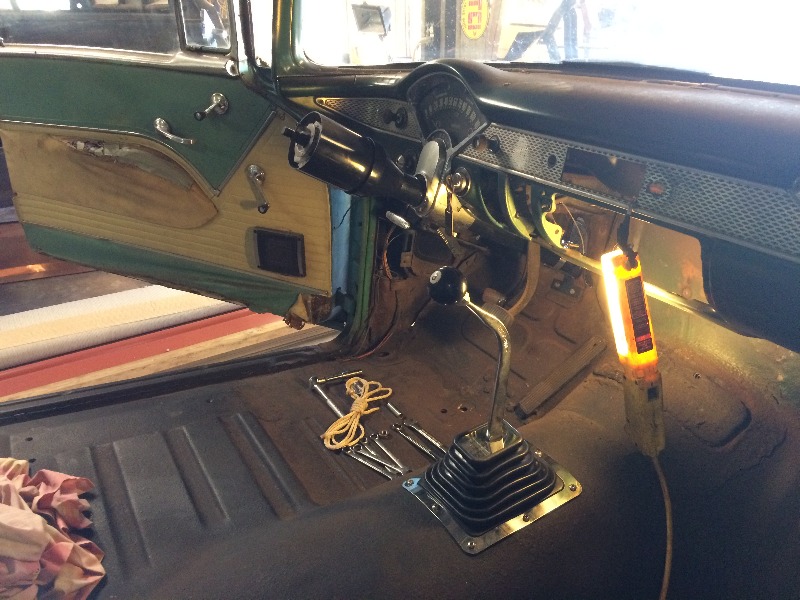
Hung the clutch pedal, now to figure out how to hook up a juice clutch MC...
(the T56 has a hydraulic operated throw out bearing)
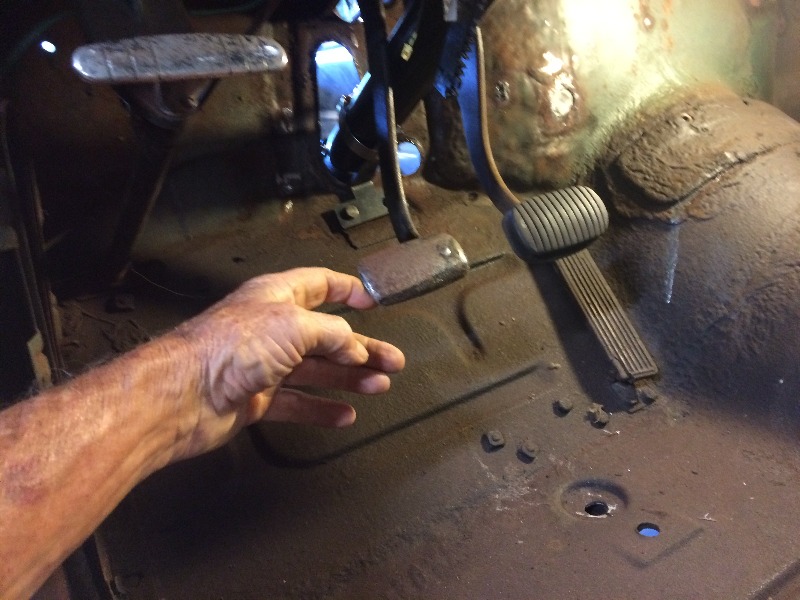
Pulled this new brake master cylinder off the shelf (for the brakes),
not sure how to hook up that compensating valve...
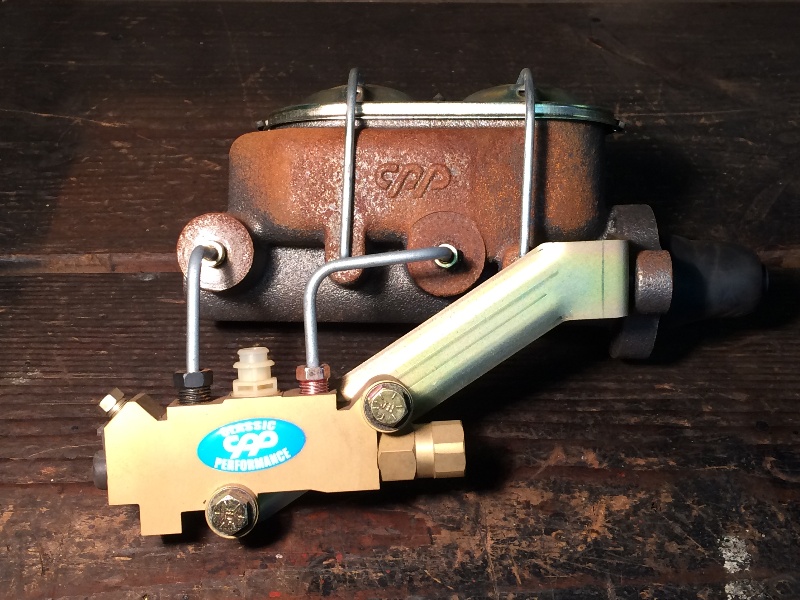
From the numbers here, it's been sitting on the shelf for about 10 years...
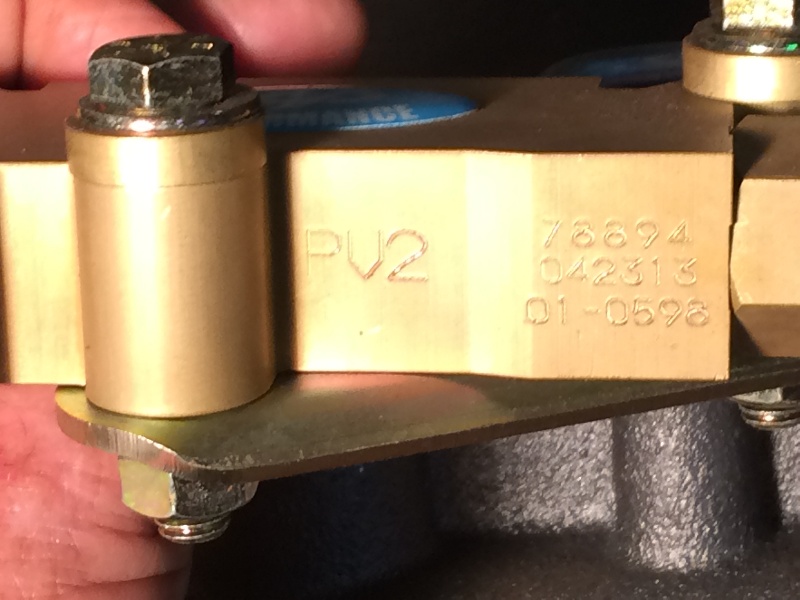
Got some work ahead of me....
-
11-04-2018 #128
Registered User
- Join Date
- Nov 2017
- Location
- Lake Elsinore, CA
- Posts
- 90
I've got a similar setup in my '55.
Rear line (back of fitting) was not in place at this point. I have the instruction sheet somewhere - I can did it up if need be.
Jeff
-
11-04-2018 #129
Registered User
- Join Date
- Nov 2017
- Location
- Lake Elsinore, CA
- Posts
- 90
I also have a ton of pics on the mods I did to get an unmodified 2000 Camaro clutch master to work with my pedals for the T56. Let me know if I can help out there.
Sounds like we are on a parallel journey - I'm mod stream on wiring it all up. First time and oh so much fun...
Jeff
-
11-04-2018 #130
Registered User
- Join Date
- Feb 2007
- Location
- Hawaii
- Posts
- 225
Cool....
I'm trying to figure it out...
Guess I'm too old and too old fashioned for all these modern auto stuff...
Gonna figure it out though...
Willy
-
11-04-2018 #131
Registered User
- Join Date
- Feb 2007
- Location
- Hawaii
- Posts
- 225
I'll let you guys figure this out...
-
11-06-2018 #132
Registered User
- Join Date
- Feb 2007
- Location
- Hawaii
- Posts
- 225
Oh, Wait, I need to pull that steering wheel hub back off so I can screw down the turn signal lever....
-
11-12-2018 #133
Registered User
- Join Date
- Feb 2007
- Location
- Hawaii
- Posts
- 225
Back on my '55 hardtop project, I'll be using this diagram for the fuel pressure regulator hookup...
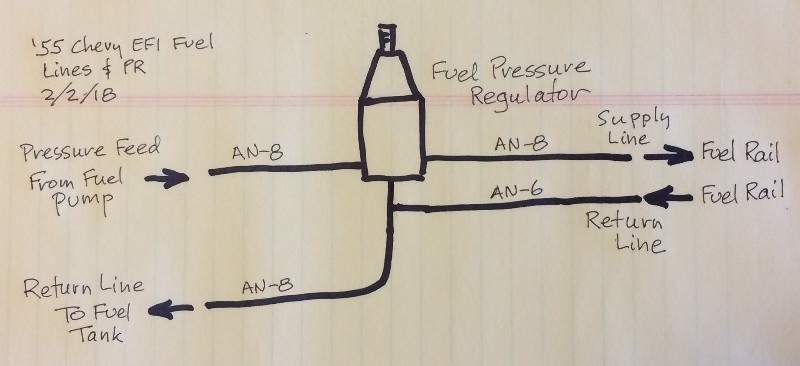
fuel pump pressure inlet to the main PR on the left, controlled pressure outlet feed to the fuel rails on the right, return secondary PR feed from the fuel rails to the return line at the bottom of the main PR....
An alternative method would be to modify the fuel rails and put the return PR and return line out at the other end of the fuel rails, but I'm going to try it this way first...
-Willy-
More photos HERE...
-
11-12-2018 #134
Registered User
- Join Date
- Feb 2007
- Location
- Hawaii
- Posts
- 225
Looking for the right size bolts for those fuel rails to the plenum
and noticed the plenum only had 4 rusty bolts, so dug out
some ss allen head bolts and washers, and installed them...
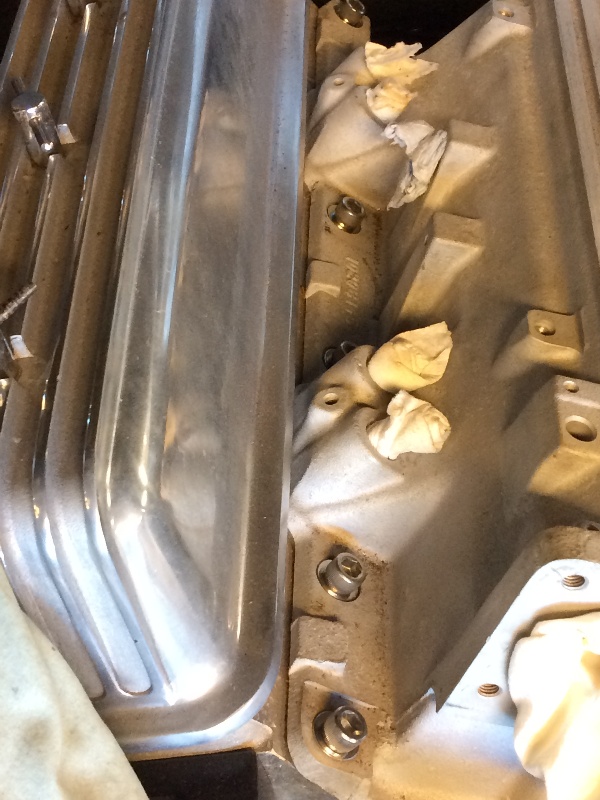
I've always had good luck with a copper anti-seize when using
ss bolts in aluminum heads...

-
11-13-2018 #135
 Registered User
- Join Date
- May 2017
- Location
- Spokane, WA
- Posts
- 88
I love this Protour/Hotrod Tri-Five!
-
11-13-2018 #136
Registered User
- Join Date
- Feb 2007
- Location
- Hawaii
- Posts
- 225
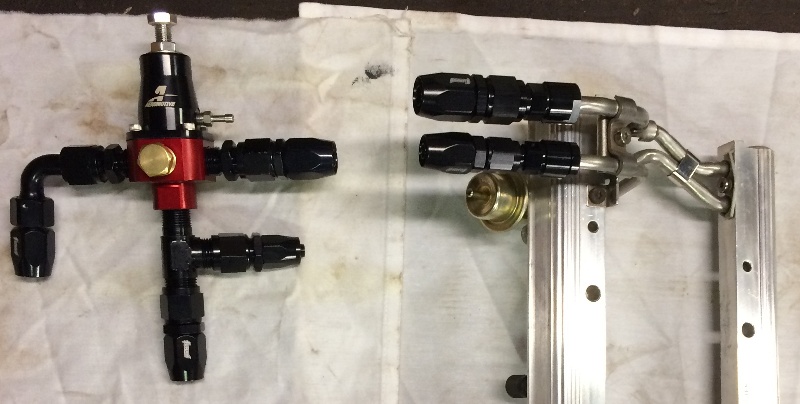
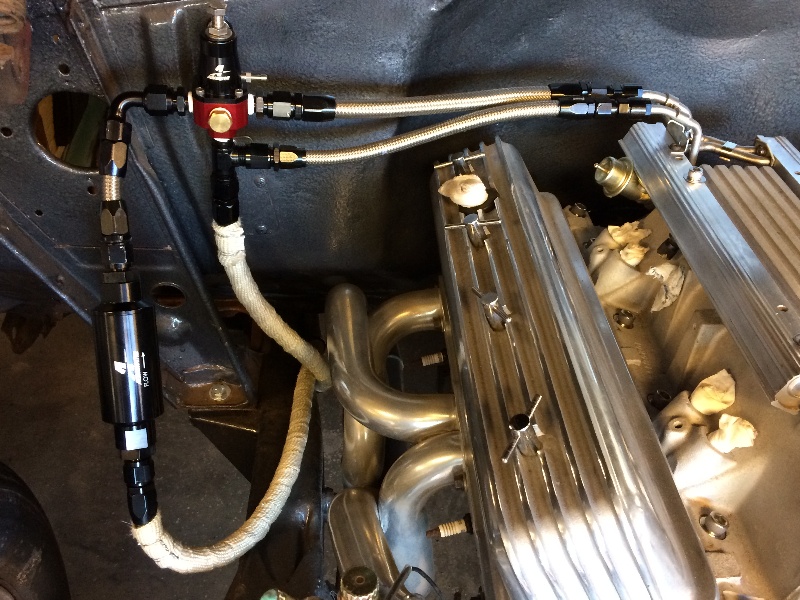
Hung the main fuel PR valve and hooked up hoses, eventually it will probably need to be modified after the front fenders are on, but for now....
And no, that return line is not as close to the headers as it looks in this pic...
More pix here, (scroll down...)
Willy
11-16-2018 #137
Registered User
- Join Date
- Feb 2007
- Location
- Hawaii
- Posts
- 225
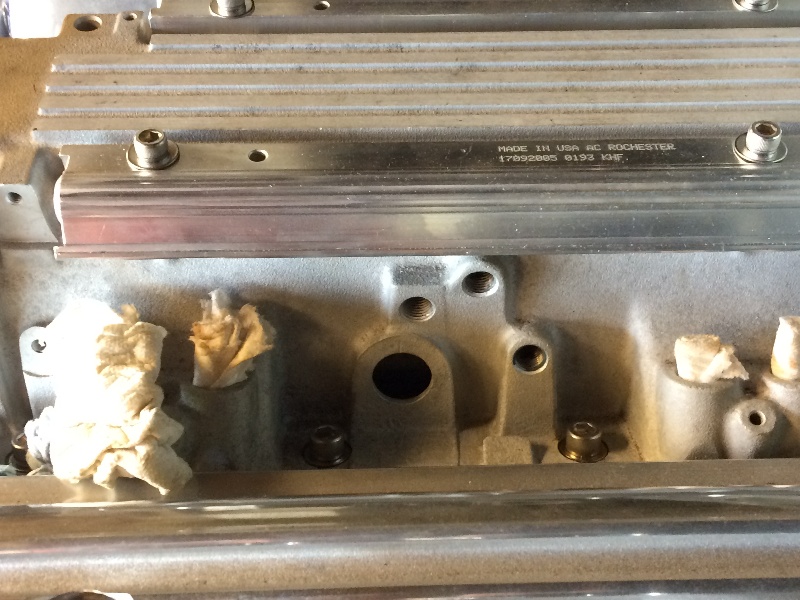
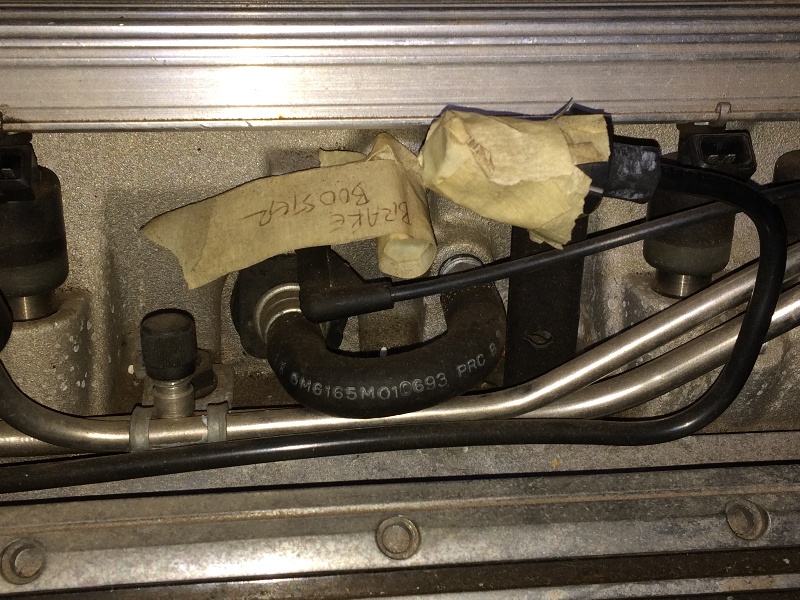
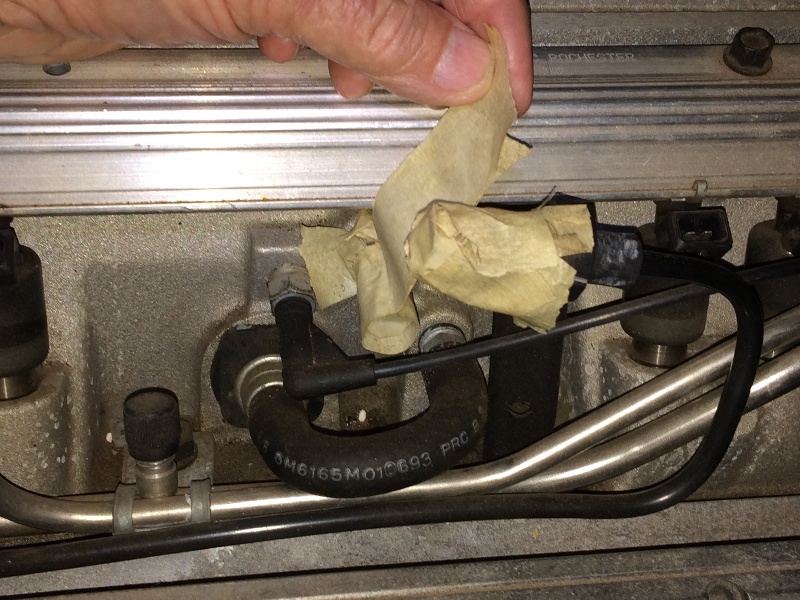
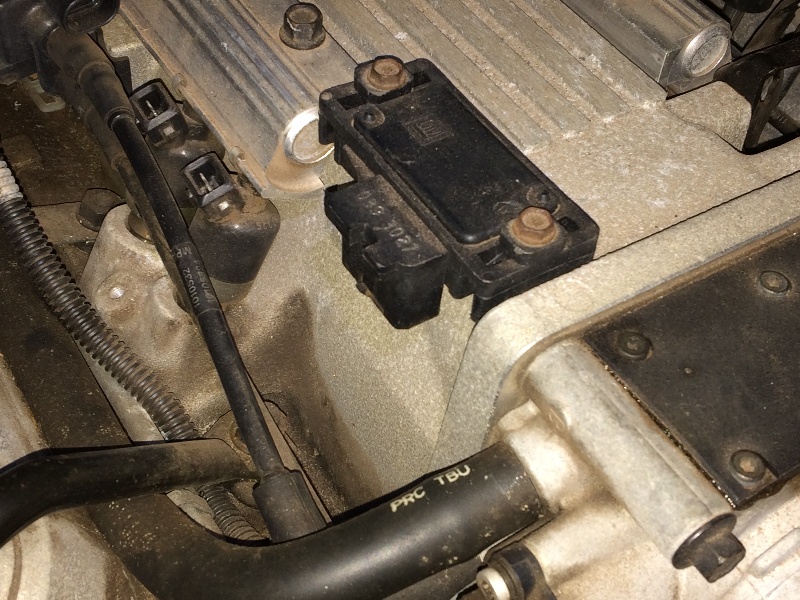
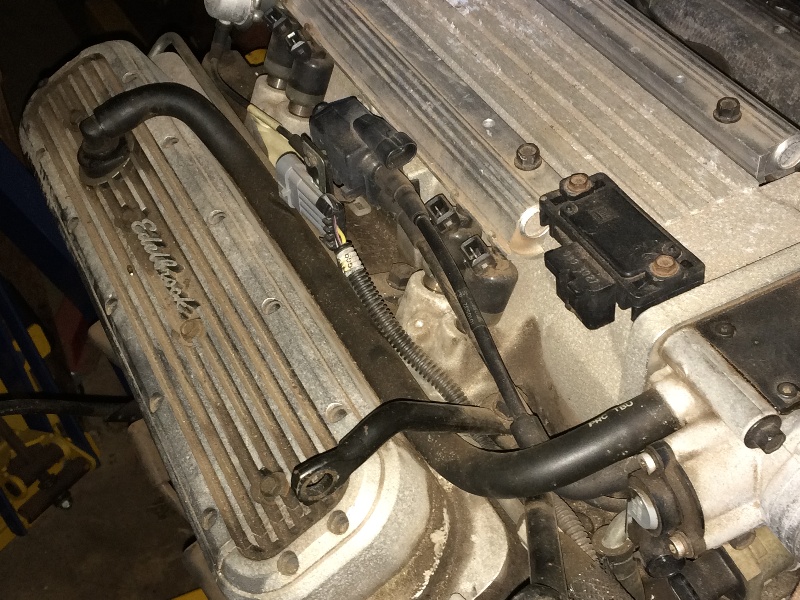
I'm going to have to dig around and find out what all these ports are for,
These four are on the left side of the plenum...
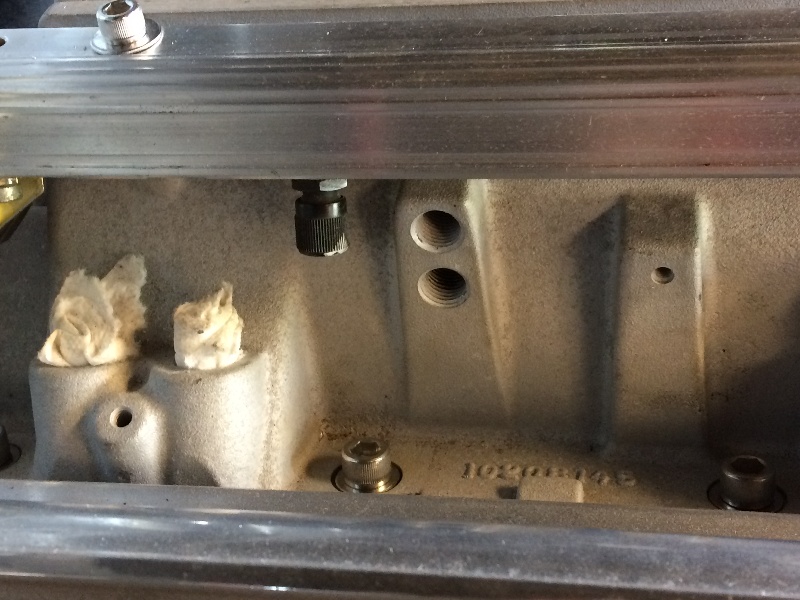
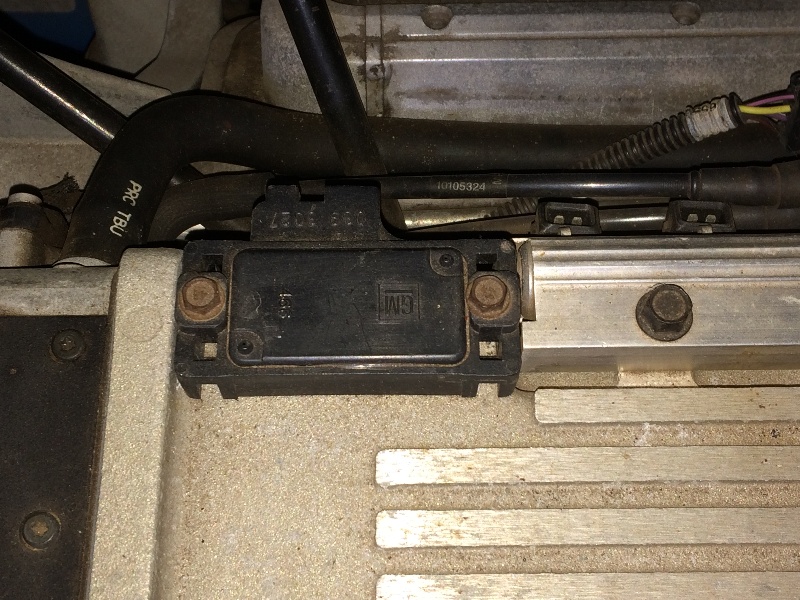
These two are on the right side...
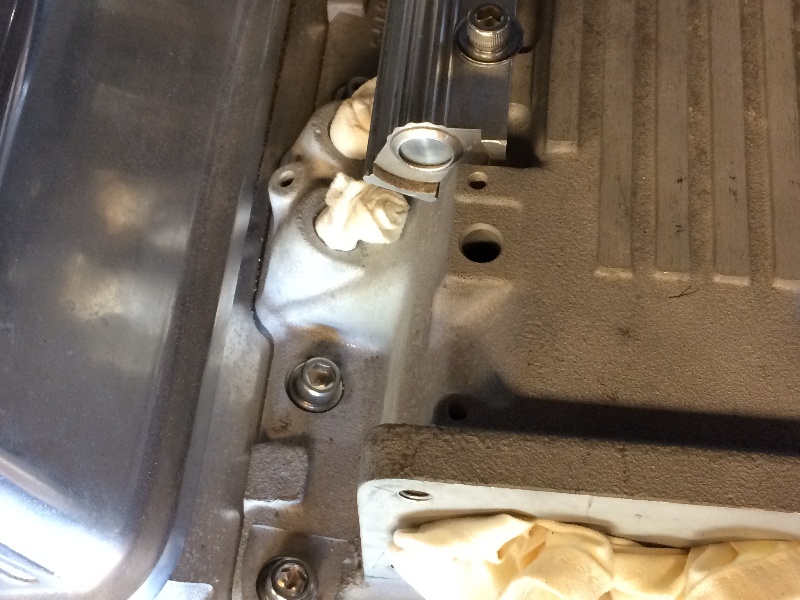
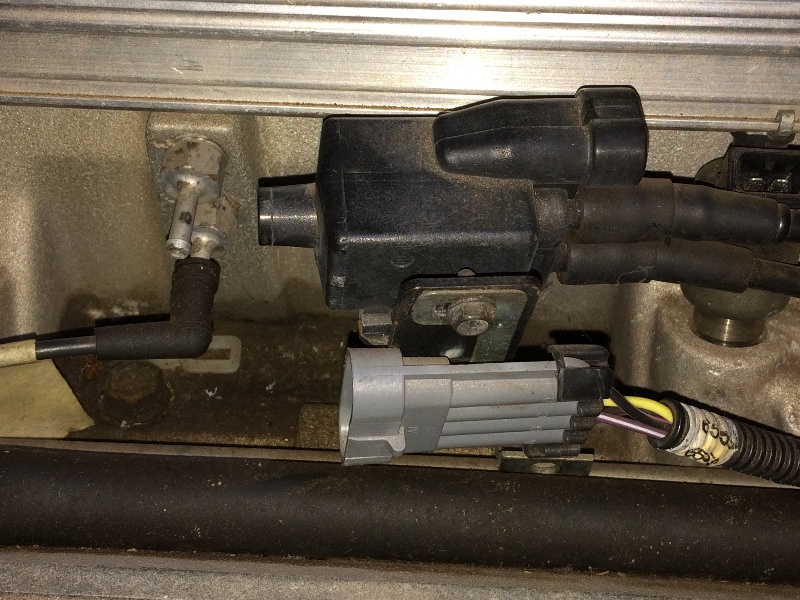
This one is on top of the front, right corner of the plenum...
11-16-2018 #138
Registered User
- Join Date
- Feb 2007
- Location
- Hawaii
- Posts
- 225
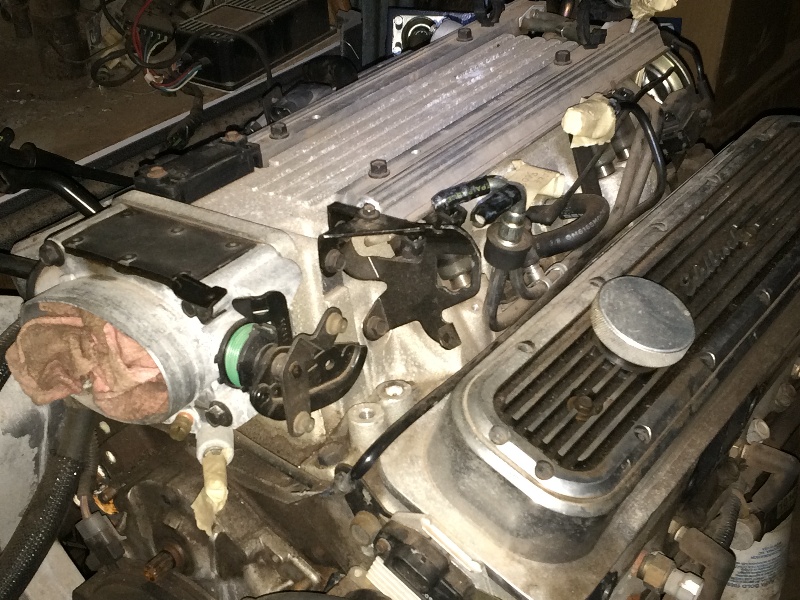
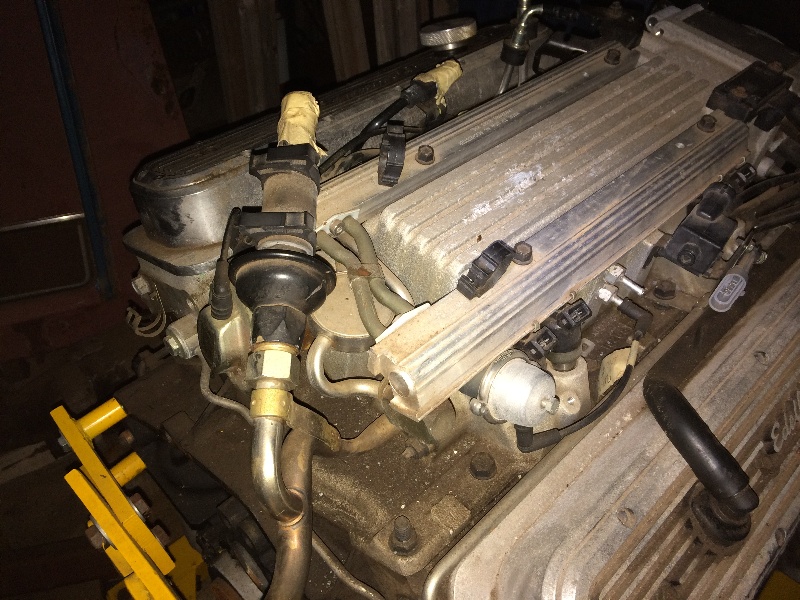
Here's 8 old pix of the original motor,
freshly pulled out of the wrecked '93 Camaro Z28, LT1
11-17-2018 #139 Registered User
- Join Date
- Oct 2007
- Posts
- 1,853
Not to be critical but high pressure fuse lines over the top of headers is a red flag for me.... an alternative could be running the lines to the front then back to the engine
From a place you will not see comes a sound you will not hear....
67 Camaro In progress
https://www.pro-touring.com/showthre...-Tap-67-camaro
11-17-2018 #140
Registered User
- Join Date
- Feb 2007
- Location
- Hawaii
- Posts
- 225
Excellent point, Thanks !

 Reply With Quote


