

Results 1 to 20 of 57
Thread: My 1st PT 69 Camaro vert build
Threaded View


-
06-29-2012 #1

 Registered User
- Join Date
- Mar 2007
- Location
- Florida
- Posts
- 2,391

My 1st PT 69 Camaro vert build
I've been around a long time and although I work on a lot of cars I've never built a PT 69 Camaro. I know there's boatloads of them on this forum but it's a first for me. I own a real 67 RS SS vert myself I haven't been able to bring myself to take too far from stock so it's going to be fun building this one for another member here.
The car is a rescue from a shop that wasn't making progress as quickly as the owner wanted and so it was pulled and I'm doing most of the assembly at the owners home. For those of you who've had troubles in shops you can imagine it's comforting to look in your garage and see steady progress. Building at an owners home presents it's own challenges. A lot of the work I do at my home shop or the machine shop I work out of sometimes. Then I take the parts back to the owners home for install.
So at this point the car is torn down and some of the work that was done by the shop will remain while some has been altered. Rather than give a list of what the car is getting I'm just going to post what I'm working on at the time. so without much more jabber, here's some pics!
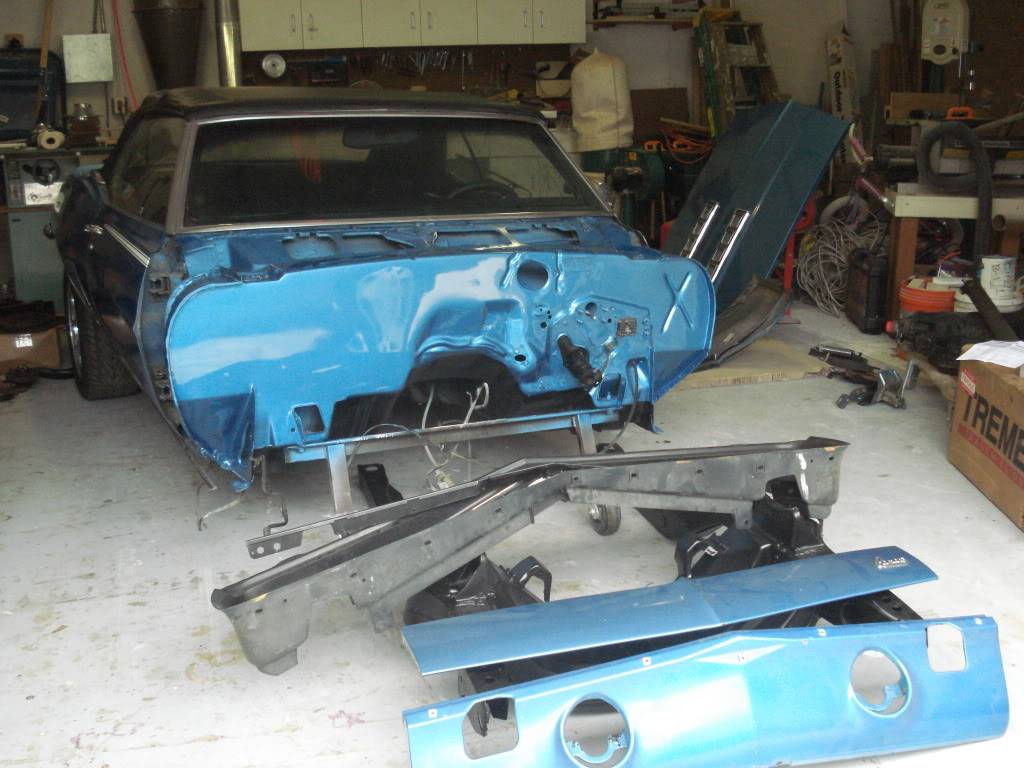
1st up, the car as returned to the owner by the shop. Some other parts are not pictured and some are MIA.
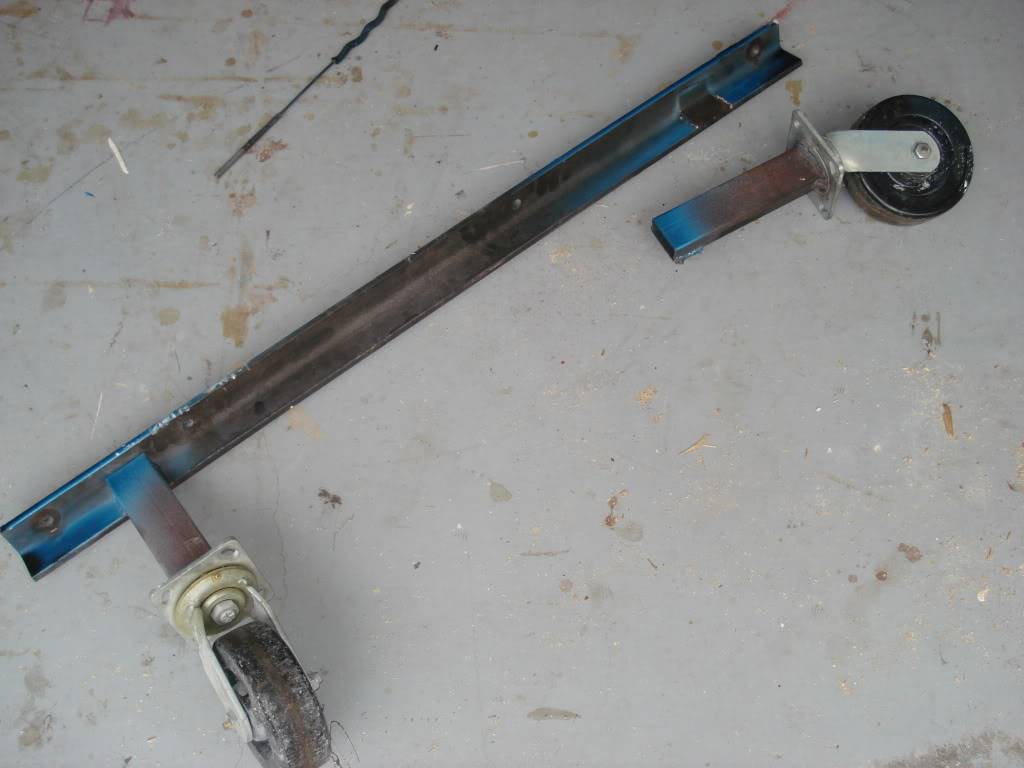
Very carefully took the car off the dolly wheel stand after noticing a broken weld. Pulled the leg off with ease by hand, luckily the car didn't crash to the floor at some point.
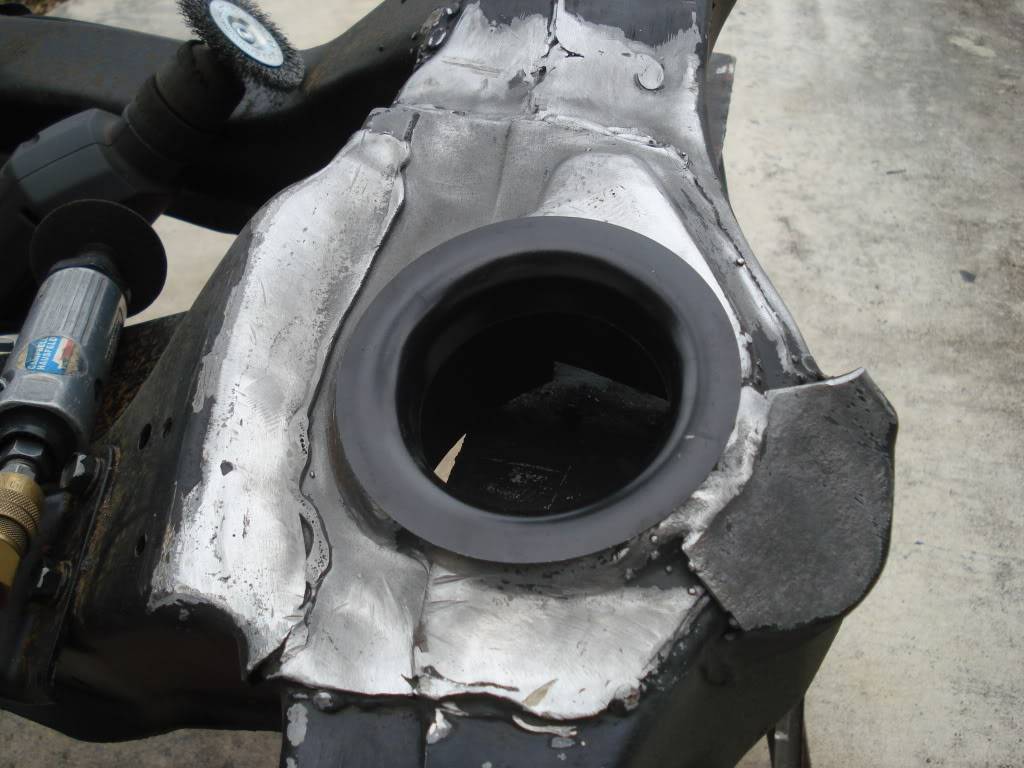
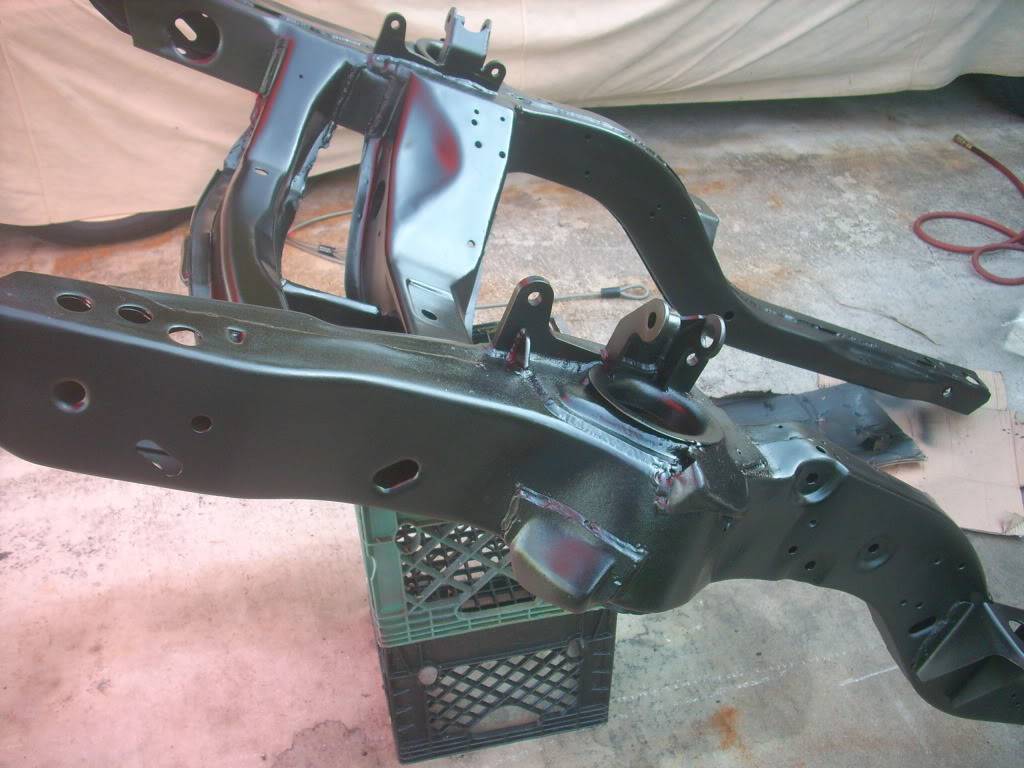
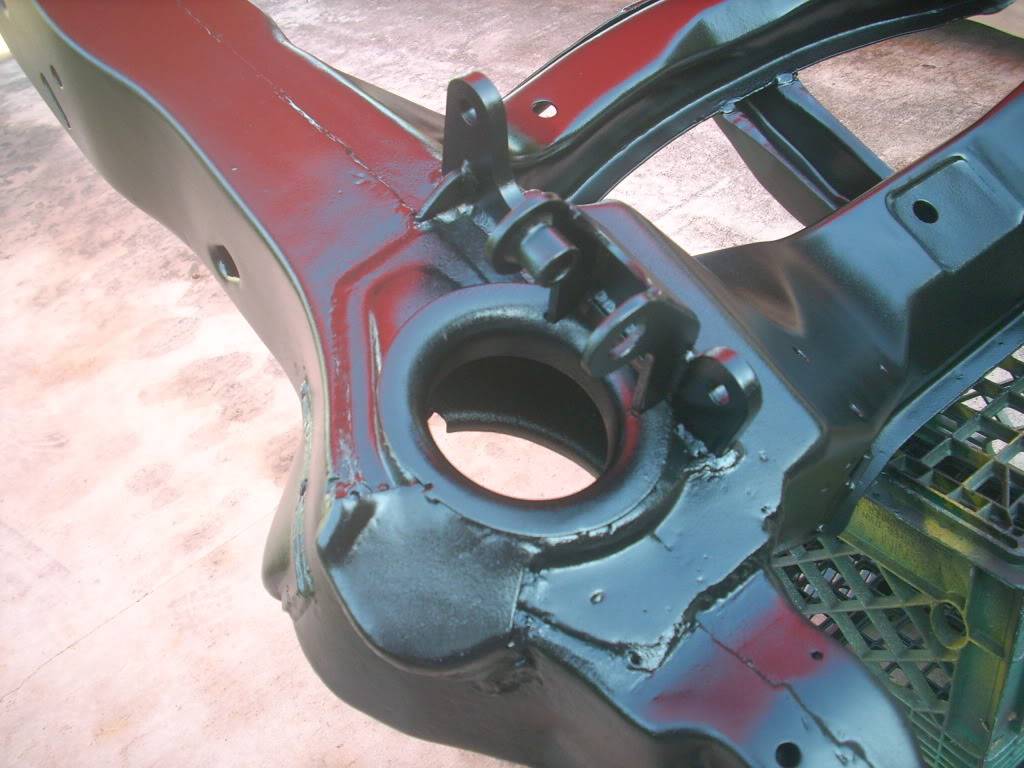
The previous shop had the subframe blasted and painted. A change in plans now calls for the shock towers to be removed for a DSE level 3 front coil over setup. So off they come!
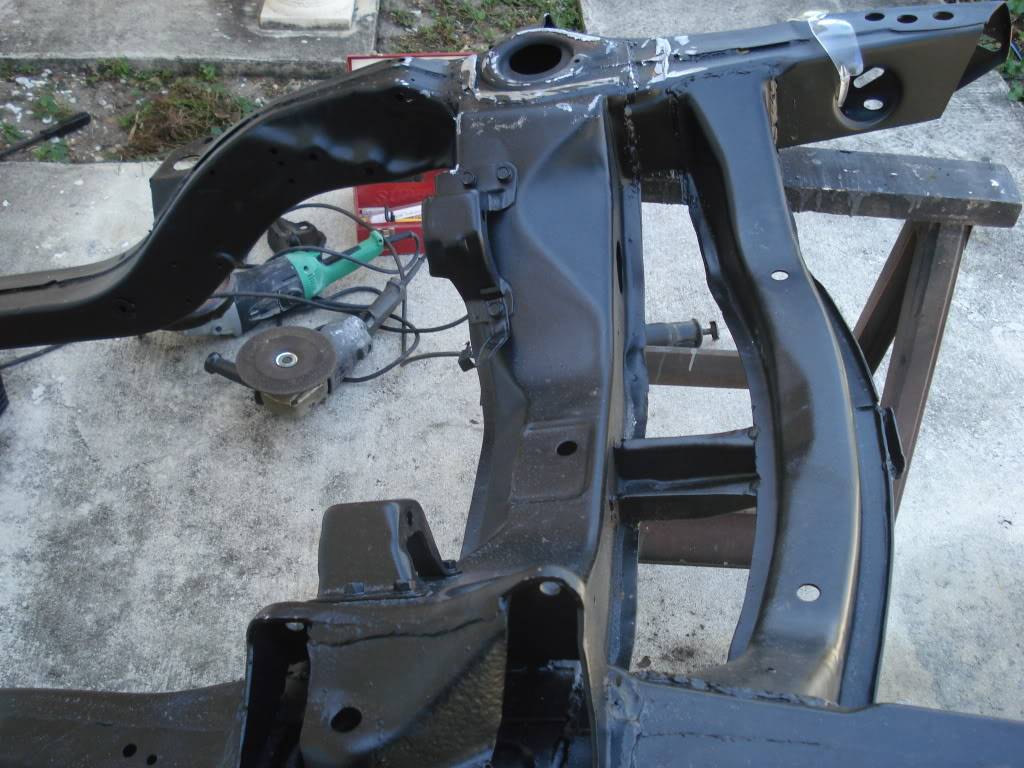
Ground down and the shock hole opened up for the coil overs.
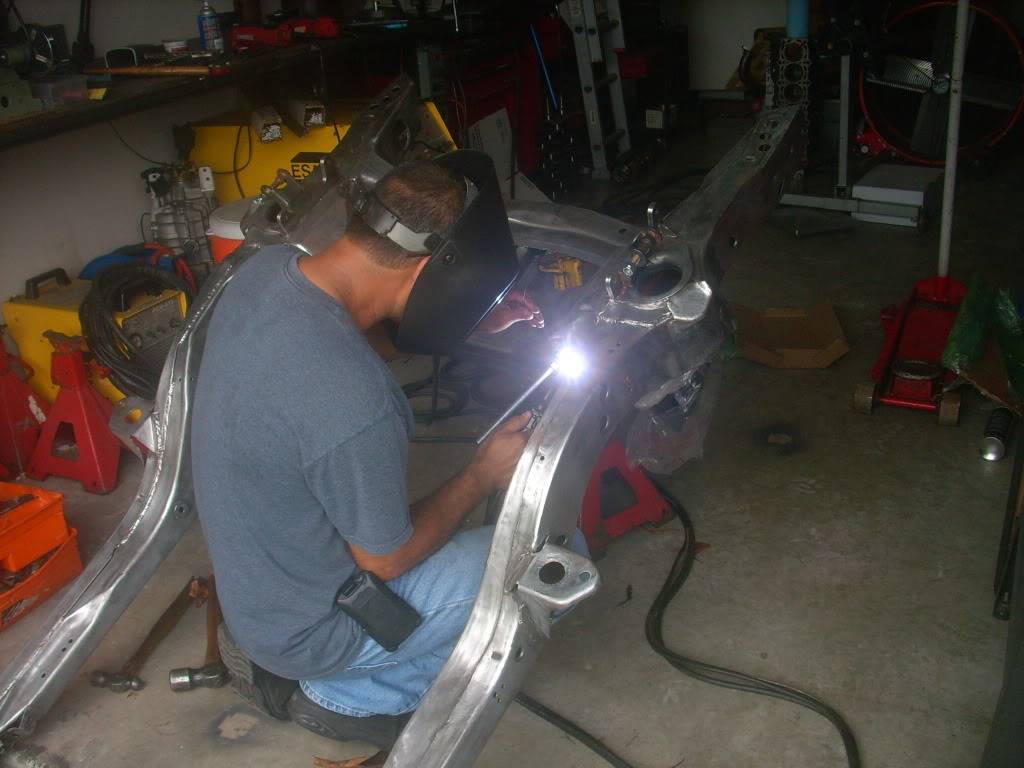
Some cutting and fab work to install the new upper mounts was done along with TIG and MIG welding to install the mounts and add reinforcement inside the frame.
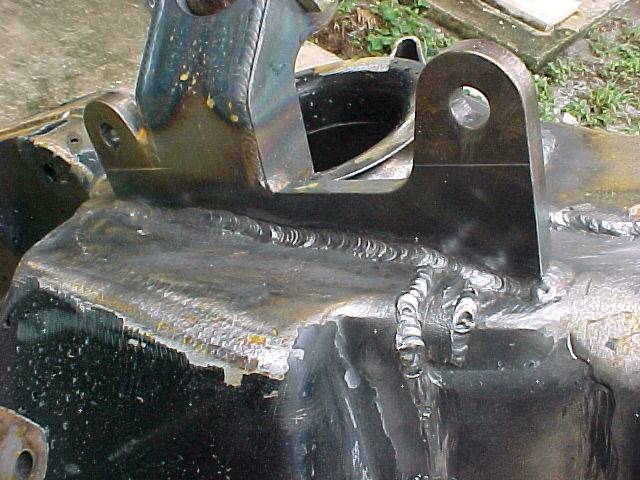
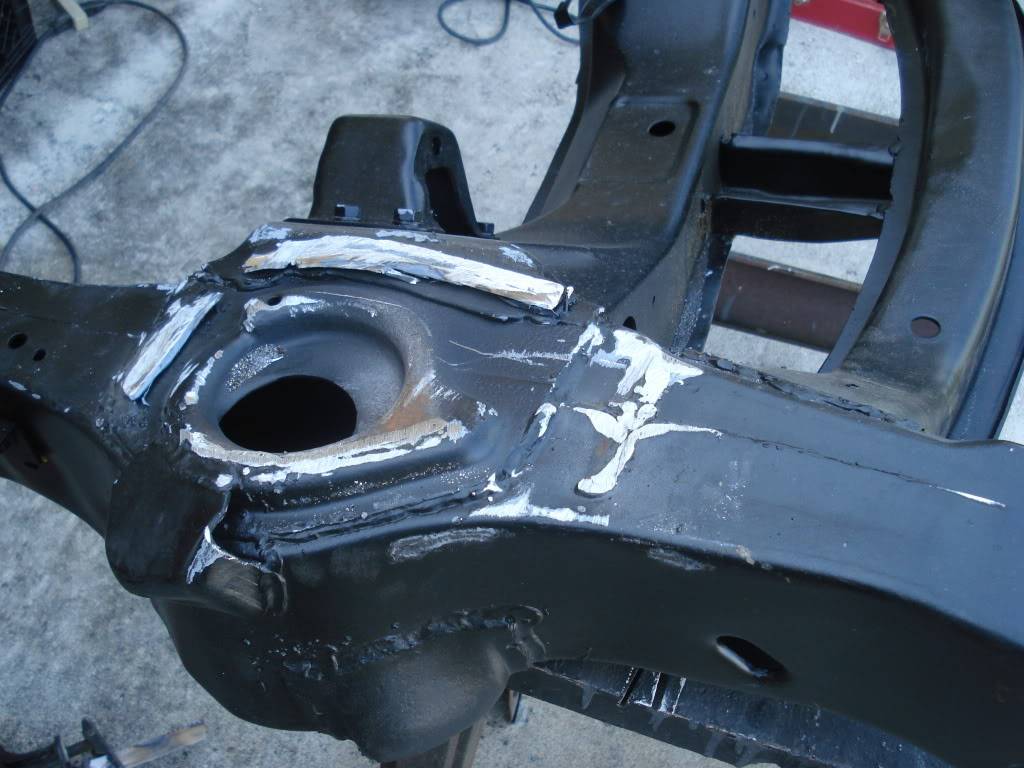
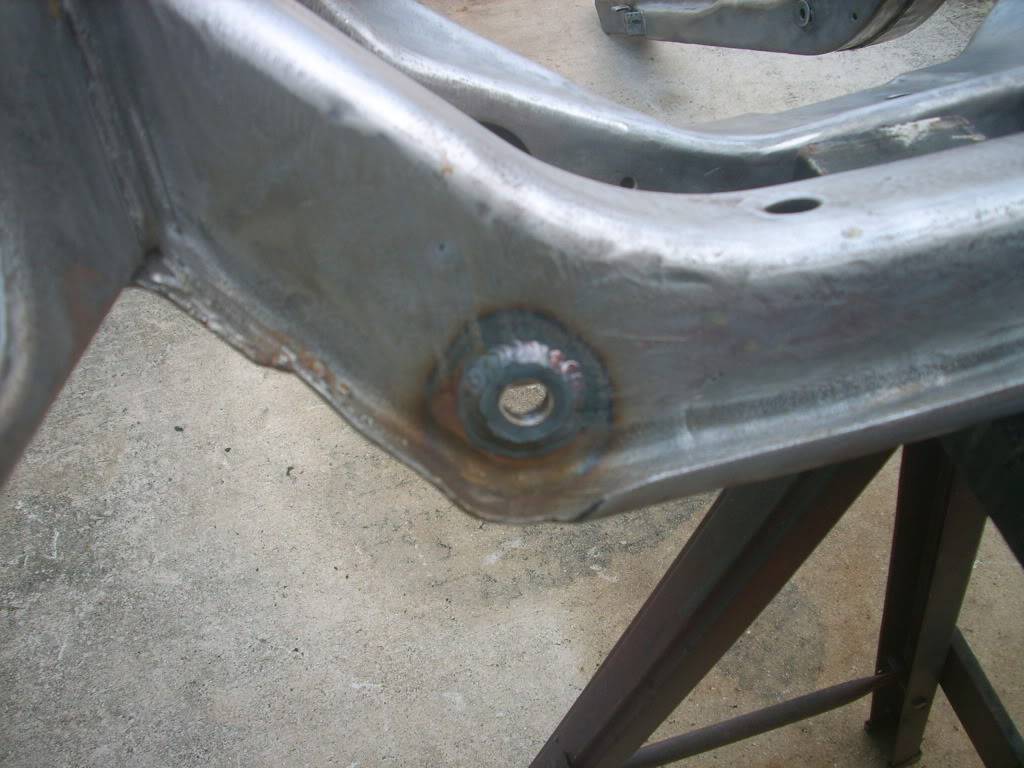
Any crappy factory welds were ground out and rewelded along with welding other areas to strengthen the frame.
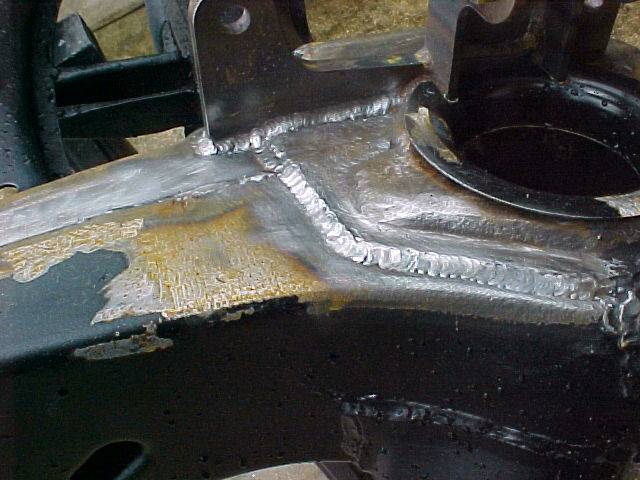
Next The lower control arm mounting holes were reinforced and the whole frame was stripped and smoothed for new paint.
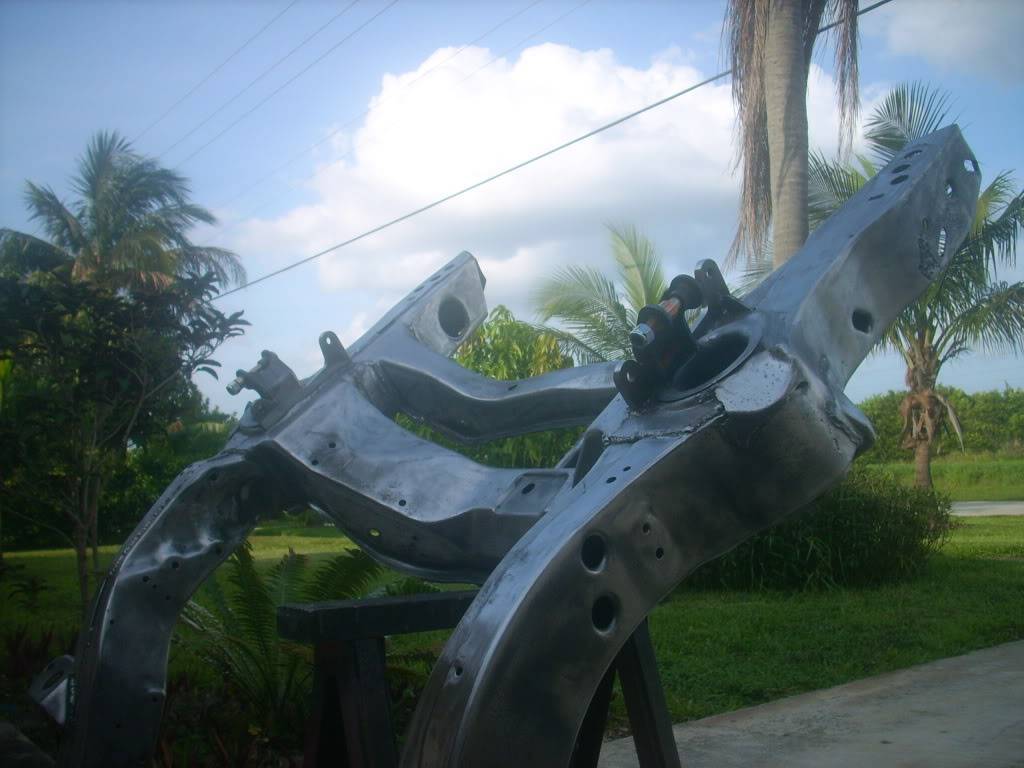
At last, time for paint!
-

 Reply With Quote


