Results 1 to 20 of 114
-
06-18-2012 #1

 Registered User
- Join Date
- Jun 2012
- Location
- Upstate SC
- Posts
- 95

Project Goldilocks '66 Chevy C10 Resto-Mod/Mild Pro-Touring Build
Hey, my name is John. I'm new here an fairly new to the Pro-Touring world. I went to the Goodguys Charlotte show last fall and was fascinated by watching the cars run the autocross track so Ive been hooked on the pro-touring style since then. I bought this truck last July as an unfinished project to just throw back together, but it's safe to say that those plans changed big time after the Goodguys show.
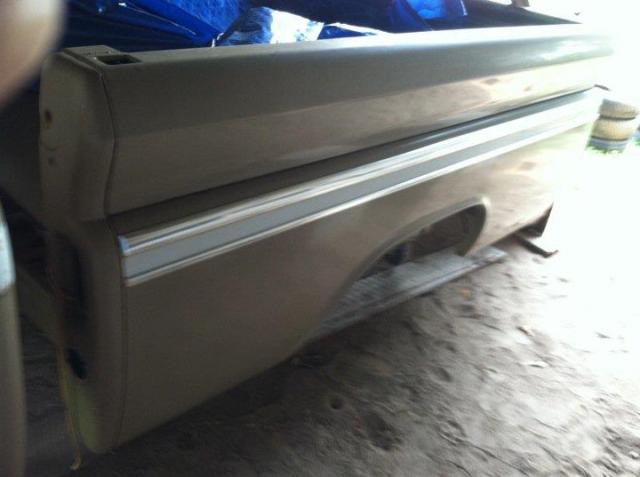
The truck is a Saddle Poly/off-white 1966 Chevy C10 with a big window cab, short/fleetside bed, and has both Custom Group option packages so it has polished aluminum side trim and grill, chrome bumpers, and Deluxe interior trim. It was bought new locally and kept in great condition by all of the previous owners. It has one repaint from years ago that I'll be keeping and touching up; I want a decent driver and not a show truck that has to be constantly detailed. It'll get driven and beat on, and used as a truck so new paint would just get torn up anyways. I'll be deviating from the standard definition of pro-touring in the appearance area as I really love the original styling of these trucks, and want to retain as much of that as possible. Any of the modifications will detailed to appear stock.
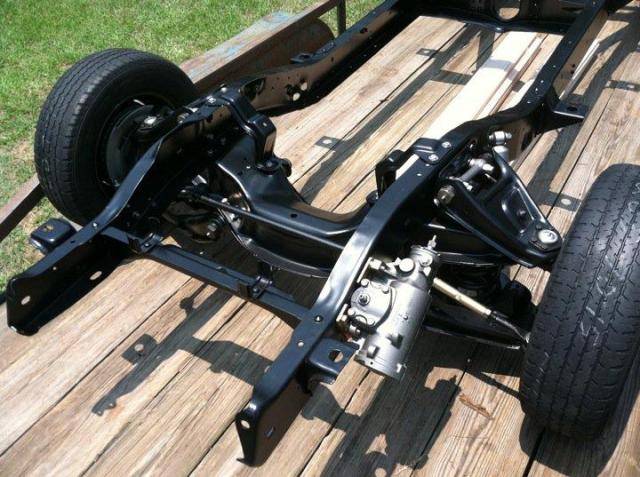
The frame and suspension was already fully rebuilt, blasted/powdercoated with new dropped spindles, lowering springs, later model power steering, disc brakes added, and it came with a new GM 350 crate engine. All that would have been fine until the go-fast bug bit, so I'm in the process of selling it all off and planning what to go back with for suspension, drivetrain, and brakes. I'm not looking to compete with the truck or go crazy with modifying the suspension; it's just going to be a driver that I want to handle well and get away from the "old work truck" driving feel.
As far as frame/suspension work goes, I've started bracing the frame to reduce torsional twisting, added an axle notch in the rear, mounted air bags, and flipped the trailing arm crossmember over to raise the T/A mounts. I've had the front upper bag mounts mocked up but haven't decided if I'm modifying the original control arms or buying tubular arms. I'll be building a full length adjustable rear track bar to replace the stock half length bar, and it's mounting points will be adjustable as well to change the roll center. I'd like to figure out some adjustable sway bars to add front and rear as well when I get to that point in the suspension work. The shocks will be relocated to be more effective with the amount of drop available from the bags and C notch. I'm also planning on using No Limit Engineering's bolt in rack and pinion kit instead of the original style steering box arangement.
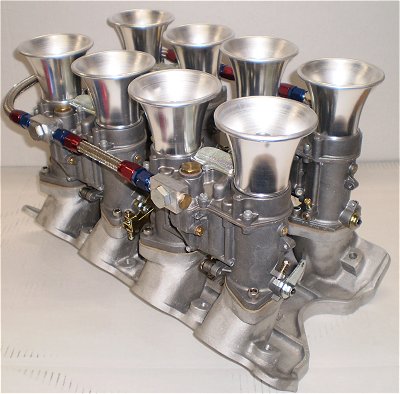
The drivetrain will be a high-revving aluminum block LSx build with either a 3.9 or 4.0" bore and a 4.8 crank which works out to either 312 or 329 CI. I will be building an individual runner intake that uses four Weber or Dellorto two barrel carbs. Ignition will be MSD's LS1/LS6 controller. Valvetrain will be converted to solid roller lifters and shaft mounted adjustable rockers. I have a T56 from a LS1 Camaro already, and will be using around a 4.56 R&P and ~29" tall tires. The blocks, heads, and intake will be painted in the original 1966 327 truck engine color, the coils will be relocated inside the firewall, and I'll fabricate either 327 style or "Chevrolet" script valve covers with a LSx mounting flange.
The intake will be something like this, but probably with Dellorto DRLA's instead of the Weber IDA's pictured.
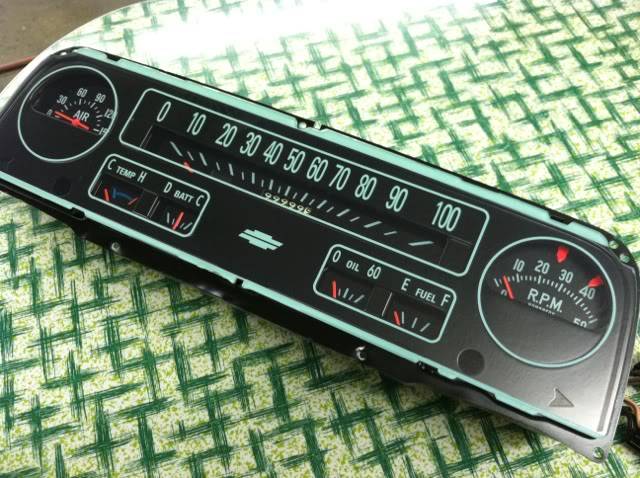
I've also done some work to the interior parts like shortening the steering column three inches, sectioning the stock steering wheel down to 15" diameter from 16 3/8", and restoring a factory air pressure/tachometer gauge cluster from a C60/80 truck with air brakes. The air pressure gauge will be used for my air ride tank. I'll have the stock bench seat foam reworked with denser foam bolsters to hold me in place better, but retain the original cover materials and pattern. I'm having the speedometer reworked to go to 140 mph, and the tach will go to 10K but have the original fonts/colors/style to keep with the OE+ theme. I'm looking for someone that does engraving to take a stock four speed shift knob and engrave a T56 six speed pattern into it.
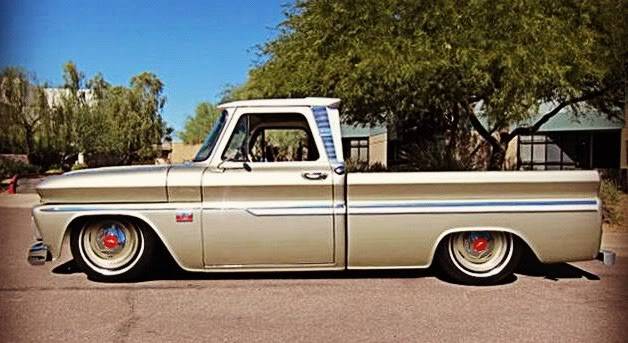
Here's a pic to give a rough idea of the style I'm going for with the truck; stock looks but updated underneath. I'd like to run 18x8 and 18x10 steelies with the original caps, but may also go with a set of 19/20" forged three peice wheels from Rotiform. I hope you guys don't mind me wanting to keep as much of the original styling of the truck as possible, since thats more resto-mod than pro-touring. I think you'll appreciate the handling modifications underneath, and I'm looking forward to getting input from you guy's on the build plan so far!

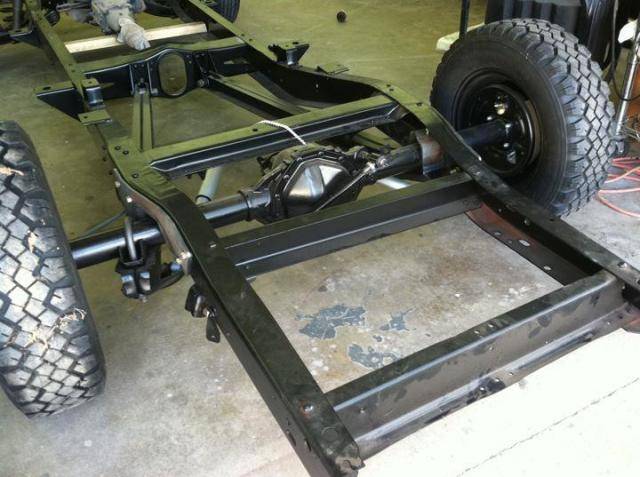
Rear bags mounted and C notches installed.
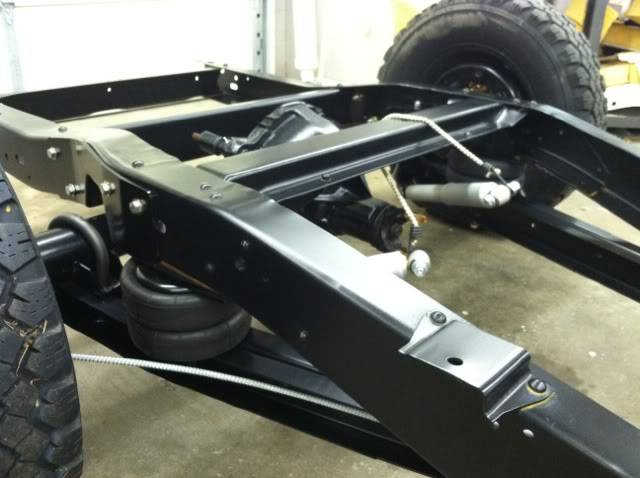
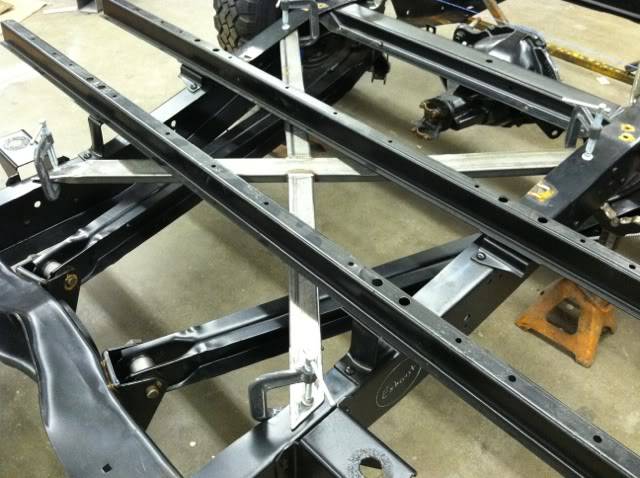
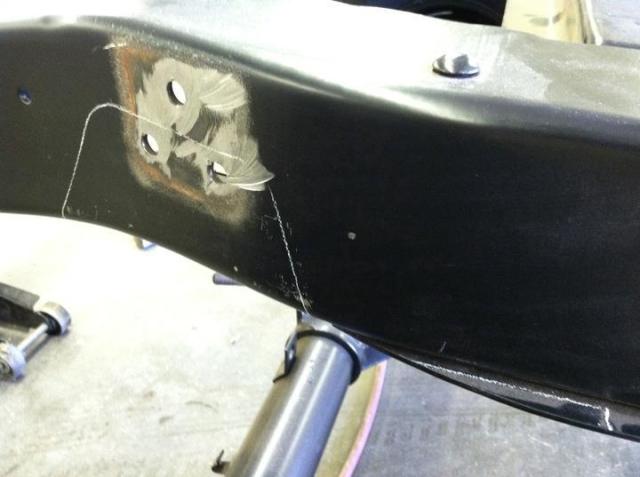
Here's a shot that shows how much the frame flexes with one rear bag pumped up- note the front crossmember is still level. The crossmembers are only riveted in place and they loosen up over time. I'll be welding the crossmembers in place, and also adding X braces to stiffen up the frame.
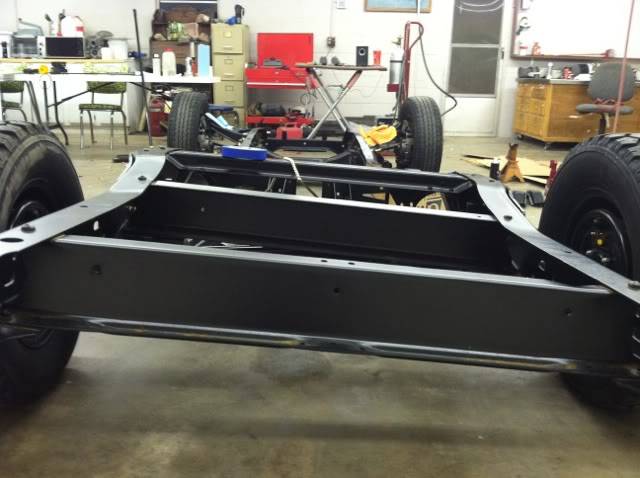
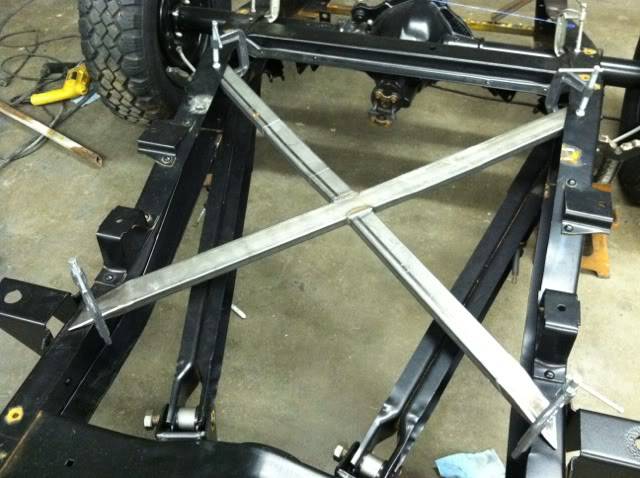
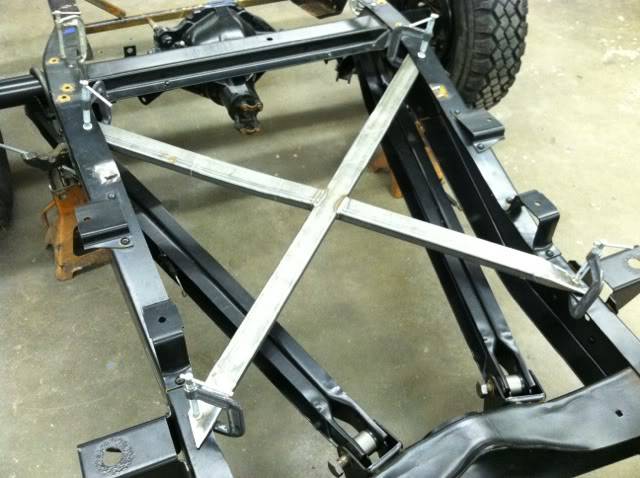
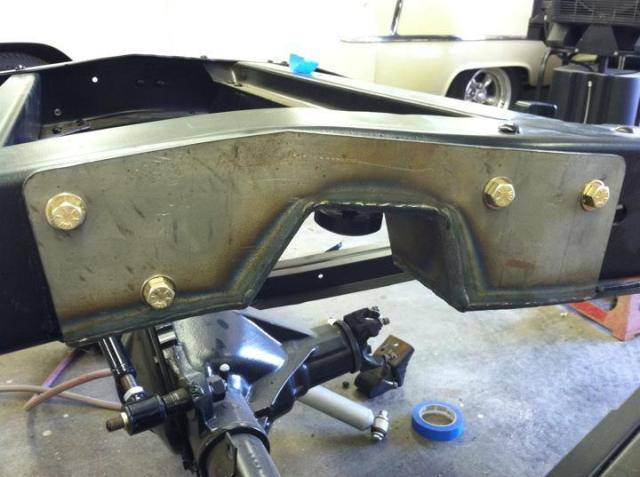
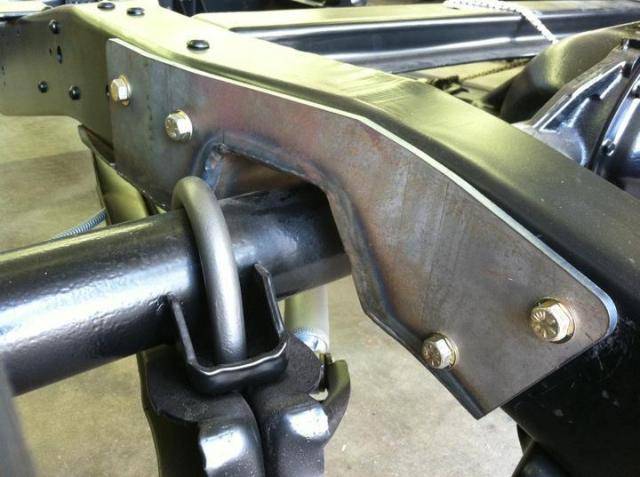
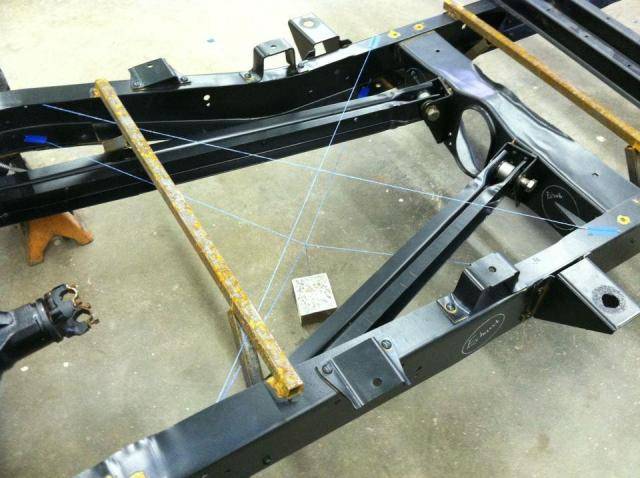
Pics of the first X brace. There will be a matching X brace underneth this one that attaches to the lower flange of the frame rail, and they'll be tied to gether with triangulated braces inbetween the two. I'll also build a second set of X braces to go in front of the trailing arm crossmember that will surround the transmission and extend as far forward as possible.
-
06-18-2012 #2
Registered User
- Join Date
- Jun 2012
- Location
- Upstate SC
- Posts
- 95
I'll post some progress pics to catch the thread up to where I am now.
I shortened the original steering column three inches to put the wheel in a more comfortable position and give more room in the cab.

06-18-2012 #3
Registered User
- Join Date
- Jun 2012
- Location
- Upstate SC
- Posts
- 95
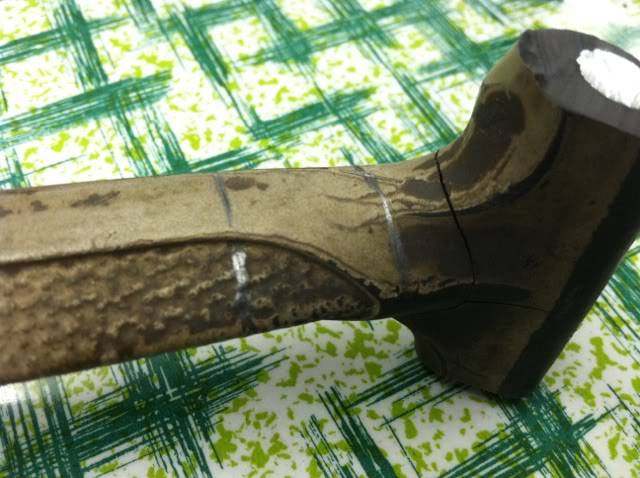
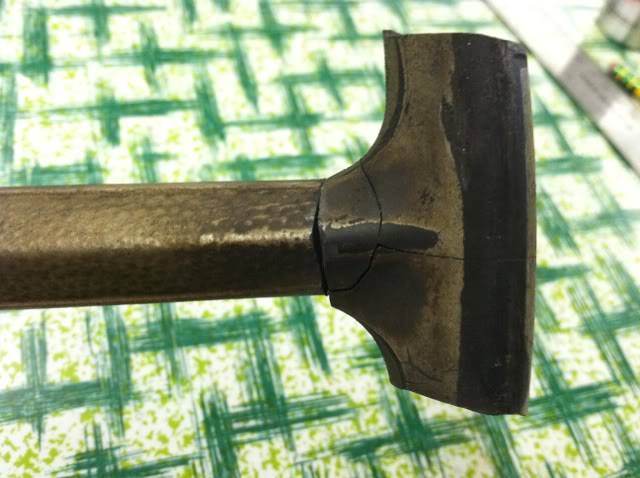
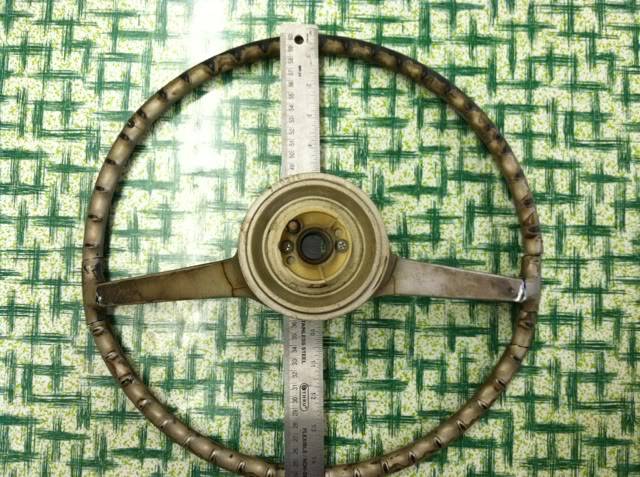
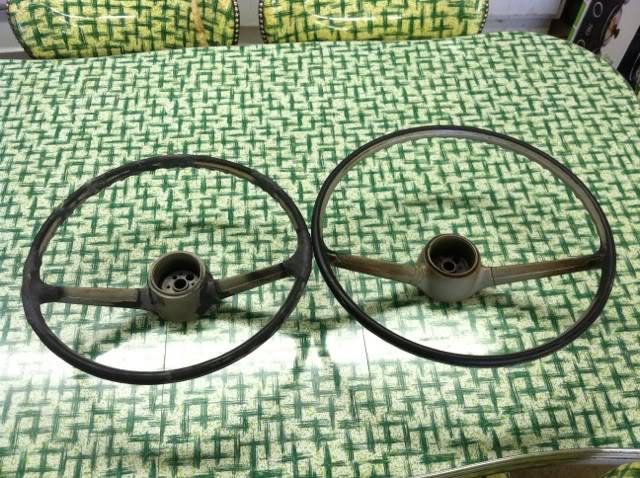
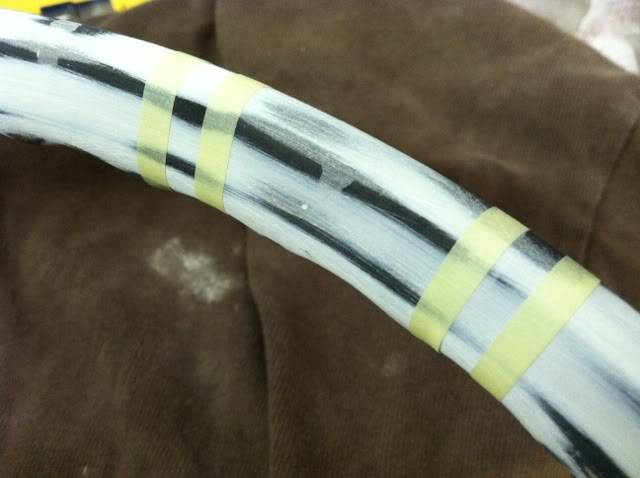
The stock steering wheels are huge at 16 3/8", so I cut the rim apart and sectioned it down to 15" diameter. I retained the original recessed/dimpled area by masking it off while epoxying the sectioned areas.

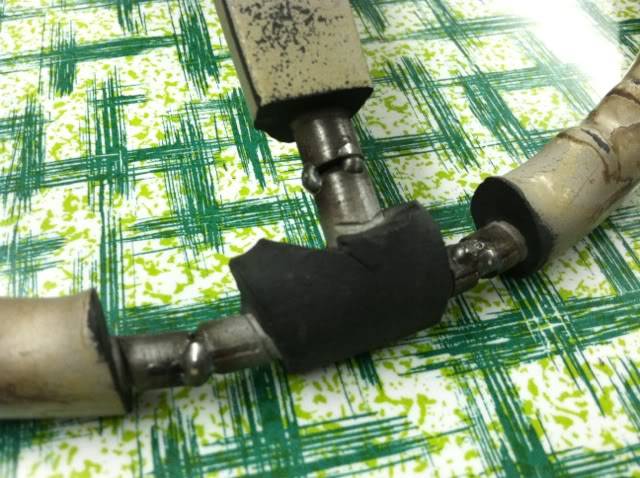
Spokes shortened and temporarily superglued in place to mock up the rim peices.
Plastic ground back and inner frame tacked together for mockup.
Sectioned areas filled with PC-7 epoxy, same as Eastwood sells for steering wheel restorations.
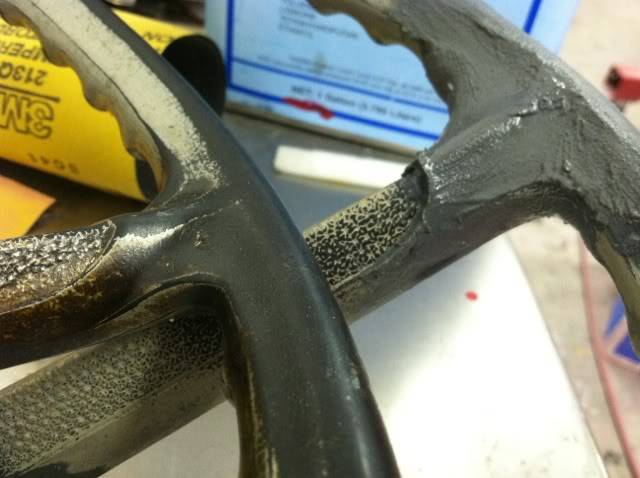
Compared to an original wheel and checking the fit of the horn ring.
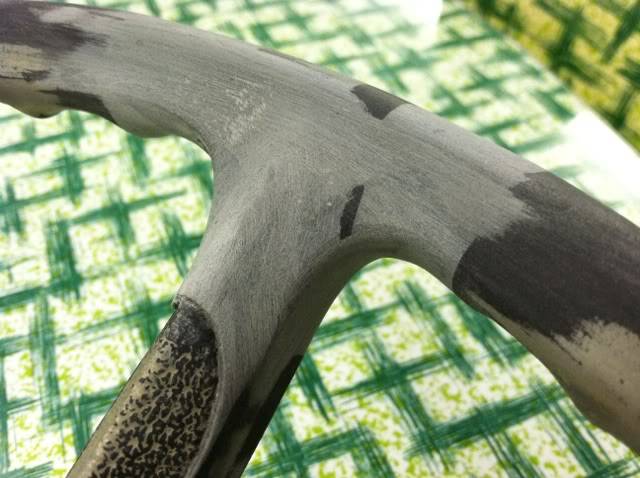
Sanding the epoxy to match the original shape, and shot with Bulldog adhesion promoter and Slick Sand high build primer.

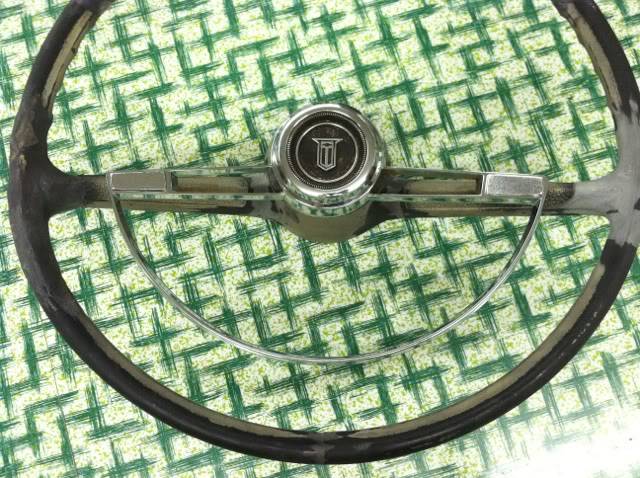
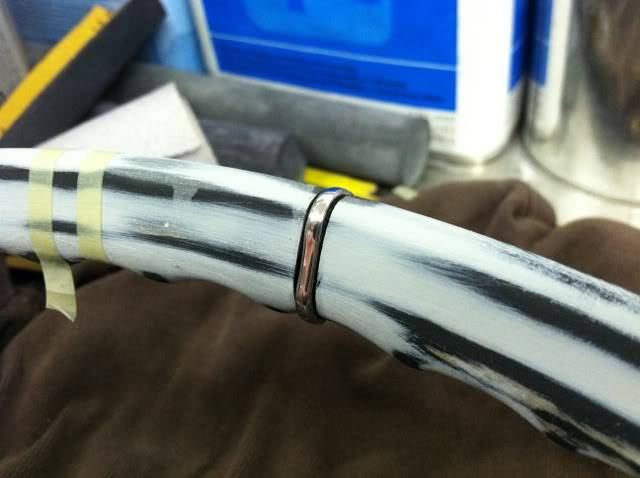
I wanted to add a stripe at the top of the wheel like race/drift/rally cars have as a reference to center, but wanted it to look like something that could have been original. I grabbed an early Nova wheel and took two of the stainless rings from the rim to add to my wheel. I used string and a square to find the top center of the rim, and cut grooves to hold the rings just like the Nova wheel has. I'll paint between the rings the same color as the dash panel; '66 trucks had a darker brown paint than the Fawn color that '64-'66 trucks had. The rest of the wheel will be Fawn like it came stock.

06-18-2012 #4
Registered User
- Join Date
- Jun 2012
- Location
- Upstate SC
- Posts
- 95
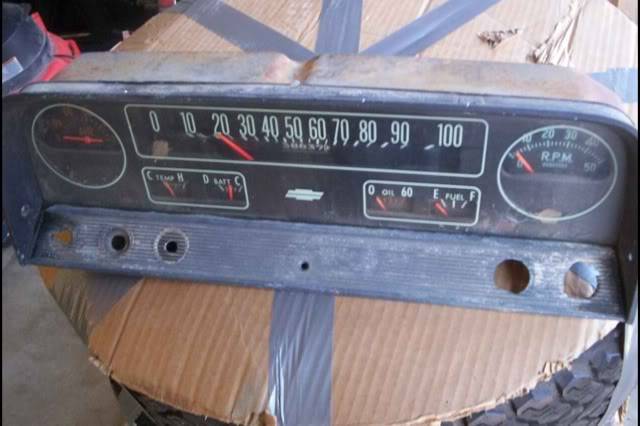
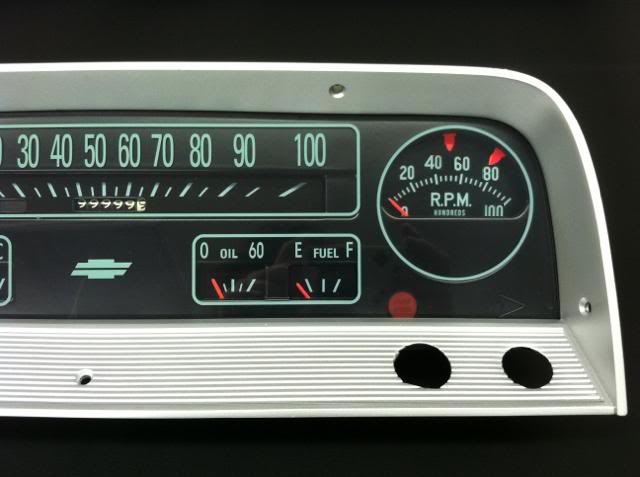
I bought and restored a factory tach/air gauge cluster to add to the truck, but when I decided to go with an LSx engine the 5K tach and 100 mph speedo weren't going to be adequate. I found a guy that can take a modern tach and make it look like an original tach, but have it go to 10K instead. He can also make 140 mph graphics for the speedo lens.
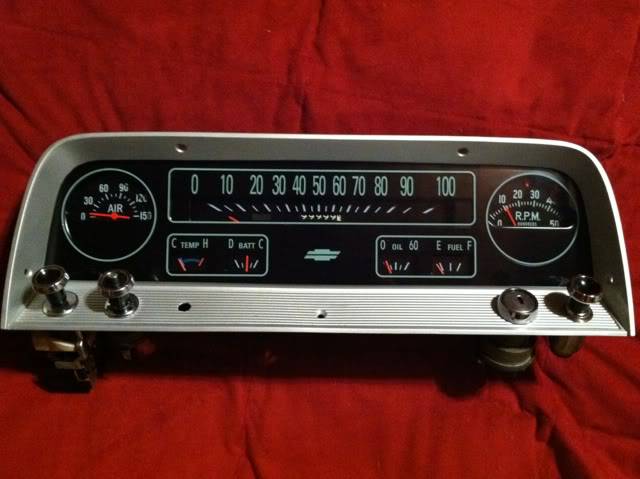
Here's a photoshop I did to give my gauge guy an idea of what I was wanting the 10K tach to look like.
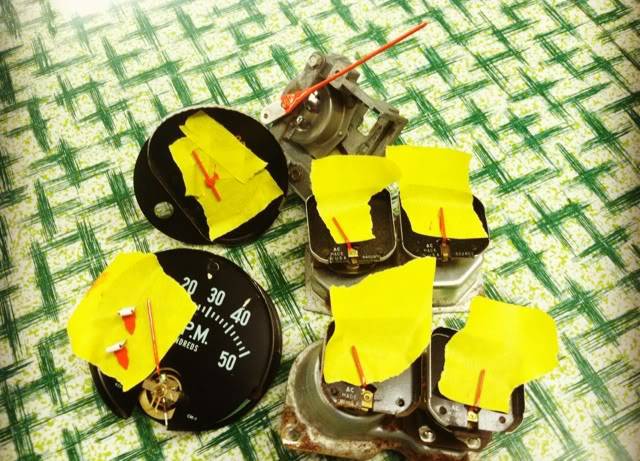
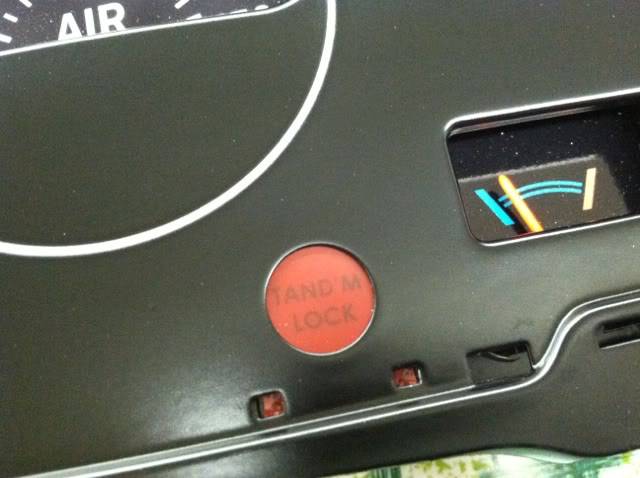
The clusters came with red-lens "OVER SPEED" and "TAND'M LOCK" warning lights that I remade when I first restored the gauges. I'll have the "OVER SPEED" light come on with the rev limiter, and I'll change the "TAND'M LOCK" lens to a yellow/orange "SHIFT" lens with a higher wattage bulb so it's actally visible.

06-18-2012 #5
Registered User
- Join Date
- Mar 2010
- Location
- Ridgecrest, Ca
- Posts
- 17
very nice work ! i love these old trucks and love what you're doing with this one.
06-18-2012 #6 Registered User
- Join Date
- Feb 2011
- Location
- Mid-Michigan
- Posts
- 136
Cool project
Wow, nice fab skills. Love a low truck that handles too

06-18-2012 #7
Registered User
- Join Date
- Jun 2012
- Location
- Upstate SC
- Posts
- 95
 Originally Posted by drylegmcrae
 Thanks dudes! Originally Posted by 65_LS1_T56
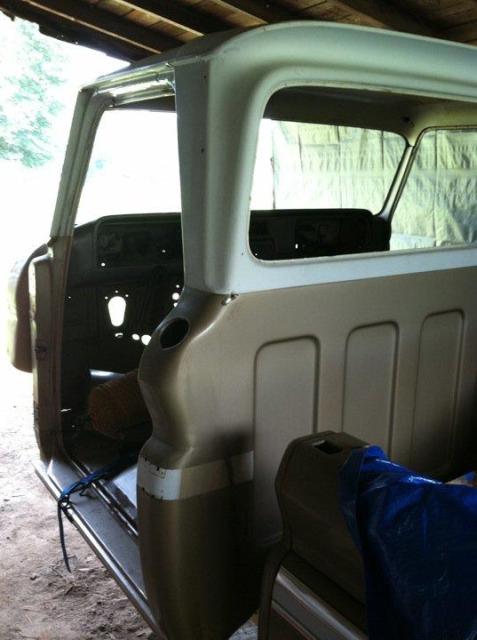
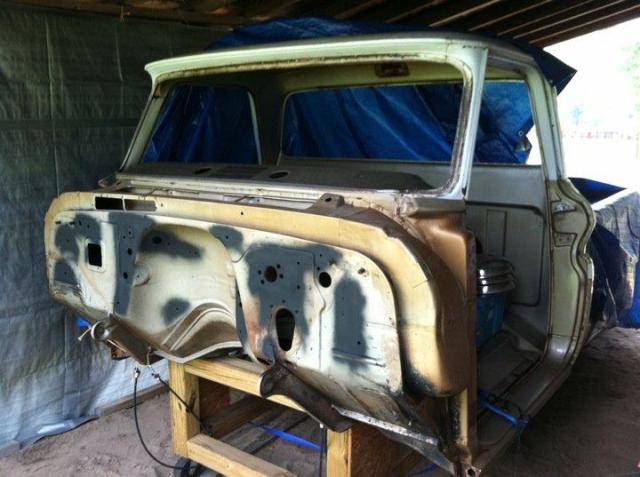
Here's more old pics to catch yall up on the progress. This was the day I brought it home. My dad's mechanic had started restoring the truck but bought another '66 that he also wanted to restore. When dad told him that I was looking for a truck, he said he'd sell it so he'd have more room and cash to work on his other truck. He had the frame ready for the engine/trans but hadn't touched the body yet.
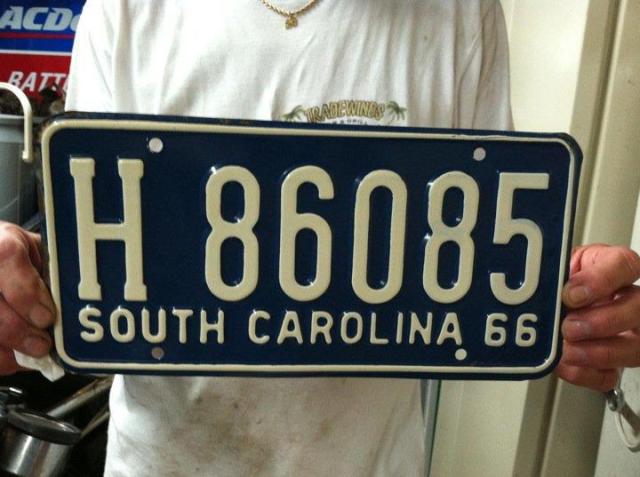
It had both of the original '66 license plates tucked under the seat.
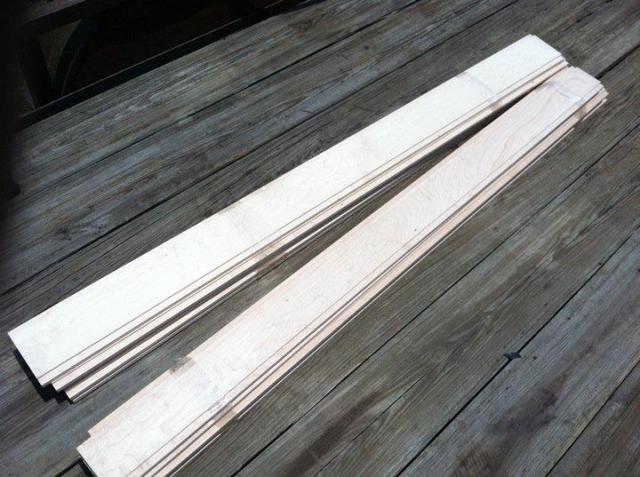
New hard maple for the bed floor.
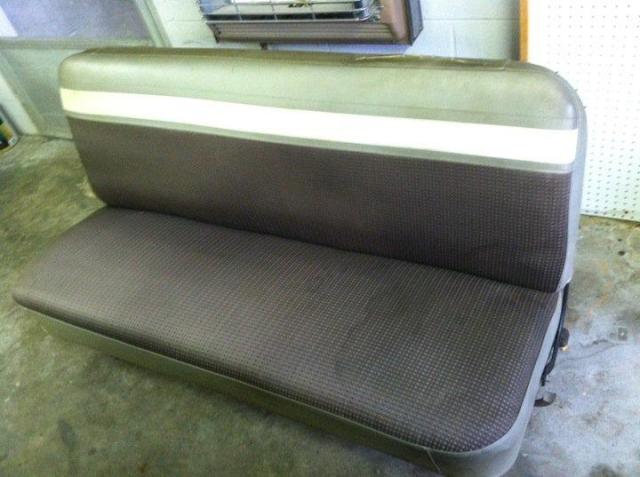
The original bench seat.
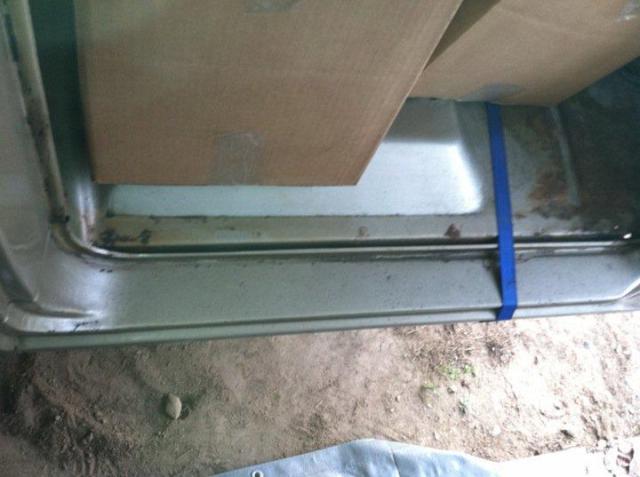
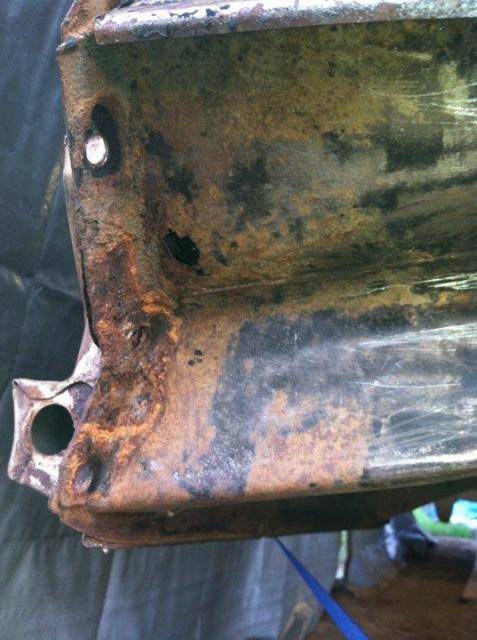
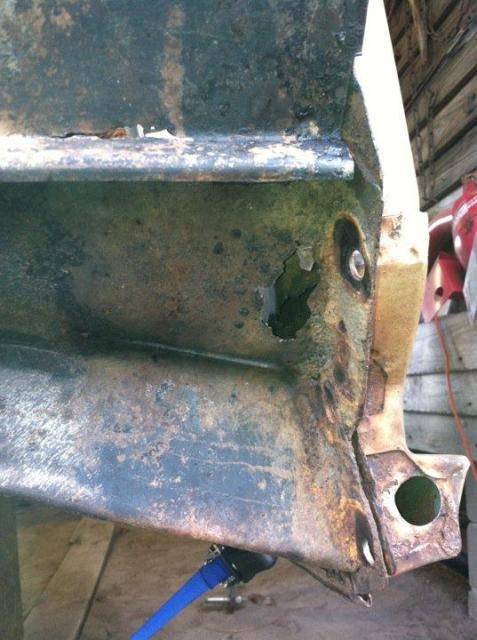
Pretty much all of the rust in the whole truck are in these two spots. This is a RARE find for our area. I looked at around a dozen trucks before buying this one, and nearly all of them were eat up with rust.
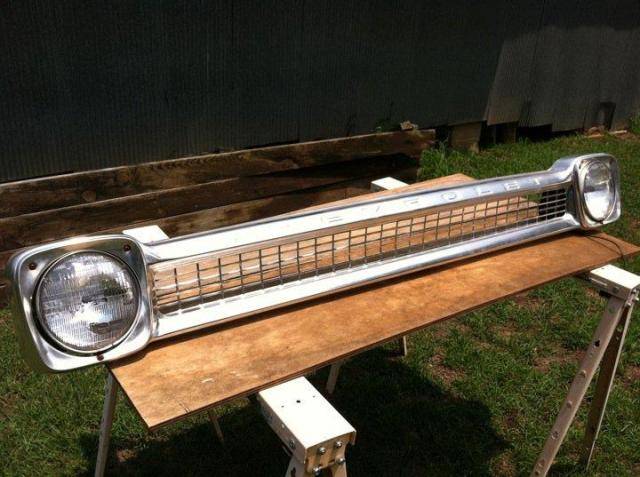
The original anodized grill is in perfect shape, and I got two new chrome bumpers in the deal too.
06-18-2012 #8
Registered User
- Join Date
- Jun 2012
- Location
- Upstate SC
- Posts
- 95
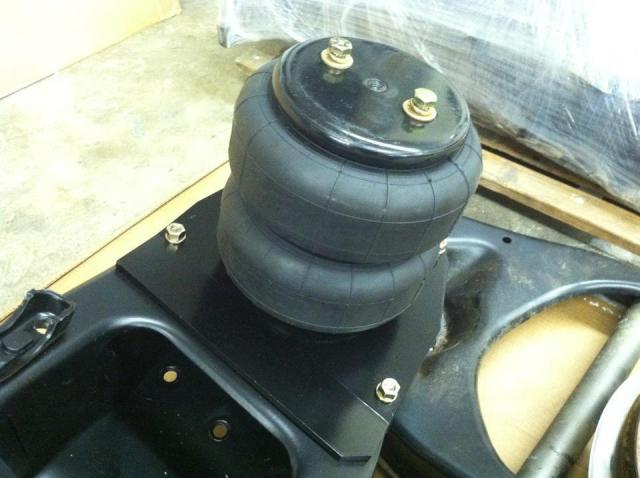
Here's some of the rear suspension work so far. I'm runinng Air Lift D2600 bags bolted straight to the frame and trailing arms. The cups that came with the kit were too tall and woudn't let the bags run within their design height at the ride heighth I'm wanting. With the trailing arms I can easily tune the bag pressure (spring rate) vs ride height with drop blocks if I need to go lower, or bag cups if I need to raise it up.
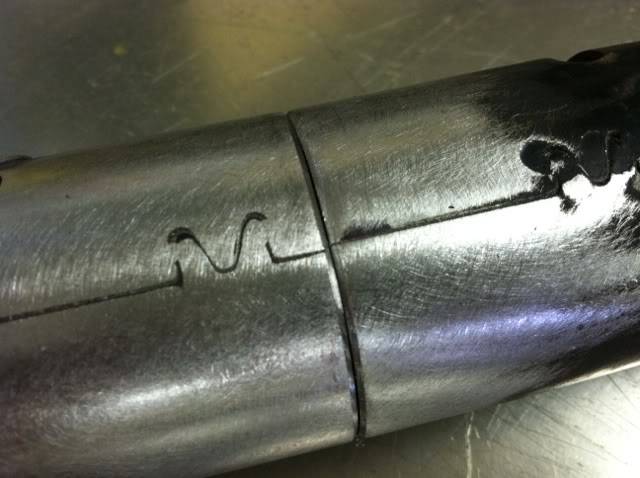
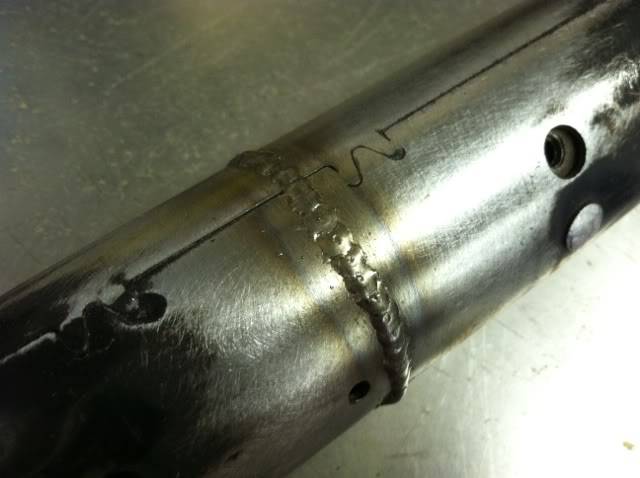
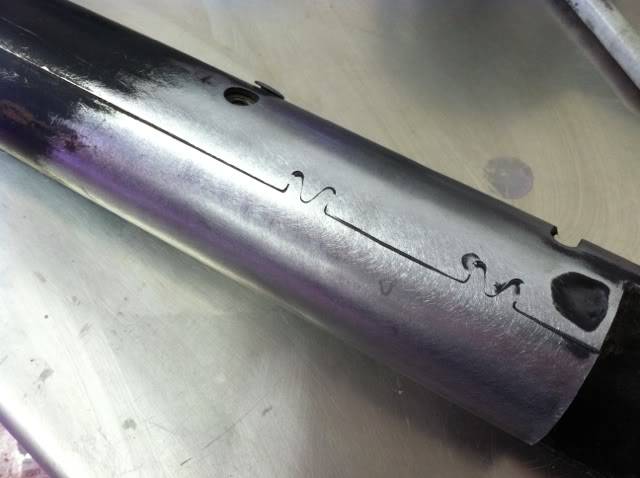
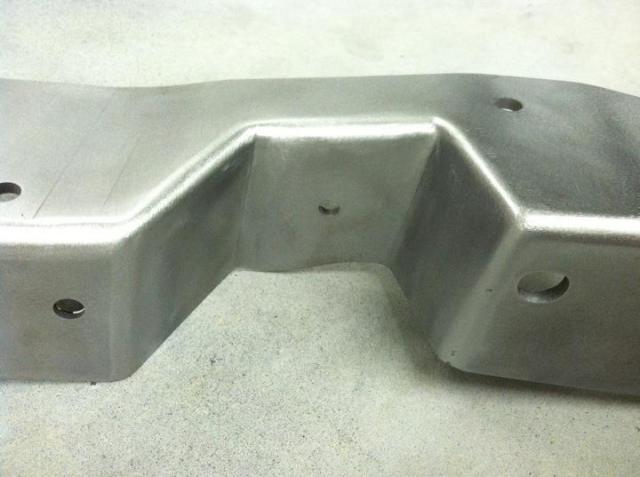
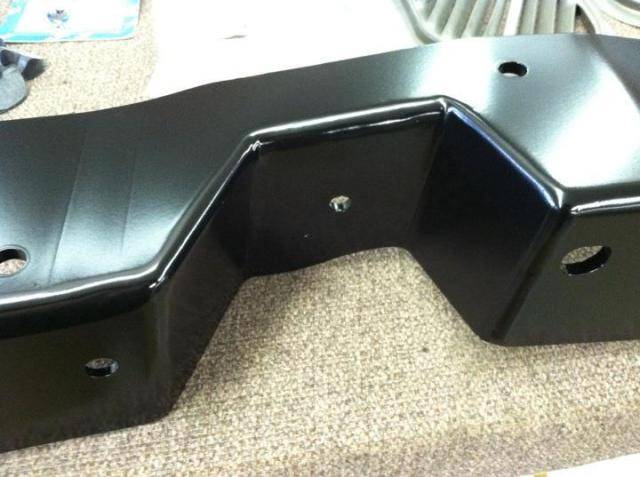
Removed the old bumpstop and marked the area that needed to be cut out for the notch.
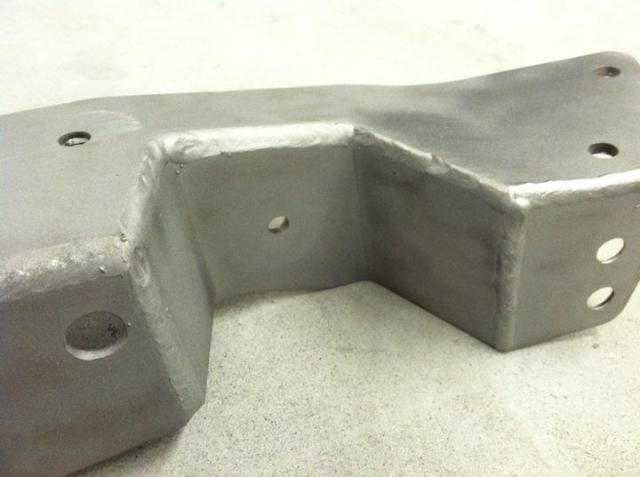
I also smoothed the welds on the notches before painting them to match the frame. I'll go back and repaint everything at the same time once I get the X braces welded in. That way the sheen matches on all the parts.

Marking the rear upper bag mounts.
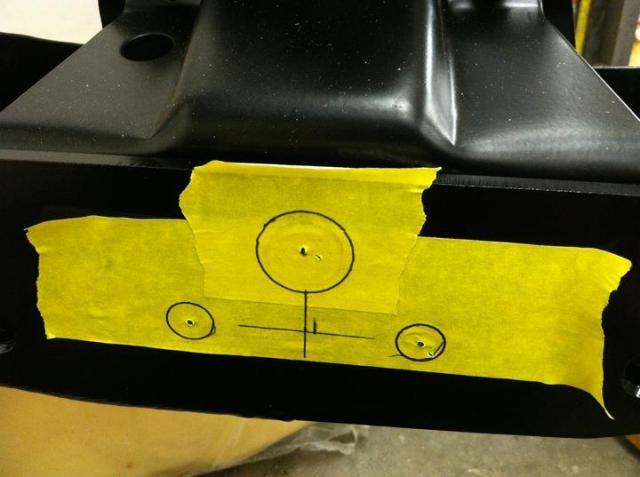
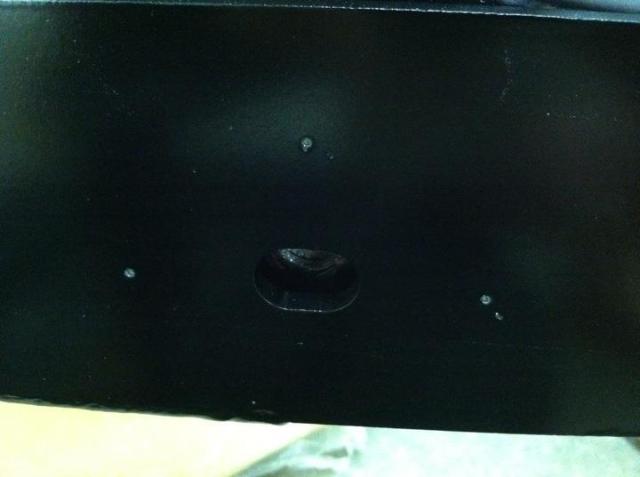
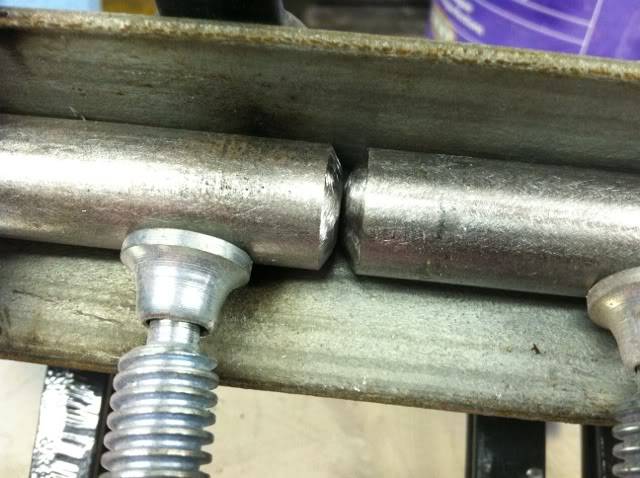
The notches came with very small bump stops and they're too short- the axle will hit the bed floor like it is. I'll add taller adjustable ones to make sure the center section of the axle doesn't come crashing through the bed floor when it's aired out.
Between the above pic and this one, you can see that I flipped the trailing arm crossmember to raise the T/A mounts, which raises the instant center so it'll hook better. I'm also planning on boxing this section of frame rail and the T/A crossmember, then welding in 4" tubing for side exit exhaust with full ground clearance. I don't have room to run the exhaust to the rear due to the frame bracing.

Front bags and plates installed on the bottom of the crossmember.
06-18-2012 #9
Registered User
- Join Date
- Dec 2009
- Location
- Pocahontas, AR
- Posts
- 77
Awesome build! Can't wait to see more.
Chris1966 Chevrolet C-10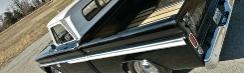
06-18-2012 #10
Registered User
- Join Date
- Jun 2012
- Location
- Upstate SC
- Posts
- 95
Thanks Chris! There's alot more in the original thread I started about a year ago on 67-72chevytrucks. The full details are there, the link to that is in my signature. You'll see the change from the original plan of a lowered stock truck with a warmed up inline 250 inline 6 to what it's evolved into now. I actually had bought a 1966 250 and a LT1 T56 and had it mocked up in the frame when I changed my mind to go with LSx power. Originally Posted by CHRIZ28
06-18-2012 #11 Registered User
- Join Date
- Dec 2005
- Location
- Birmingham, AL
- Posts
- 3,356
Love the concept. I want one of these one day, they have gobs of style. I like the idea of a destroked lsx too.
Stephen
06-19-2012 #12
Registered User
- Join Date
- Apr 2006
- Location
- MD
- Posts
- 232
Very cool idea and meticulous attention to detail!
06-19-2012 #13 Registered User
- Join Date
- May 2011
- Location
- Spokane, Washington
- Posts
- 125
Damn! Very cool. Great fab work, and I love the wheel modification!
Looking forward to seeing the rest of this!
06-19-2012 #14 Registered User
- Join Date
- Jun 2011
- Location
- marion illinois
- Posts
- 46
i love trucks, looking forward to see more
06-20-2012 #15
Registered User
- Join Date
- Jun 2012
- Location
- Upstate SC
- Posts
- 95
Thanks, I'm thinking that the IR intake will make up for the loss of low end torque from destroking it, while moving the HP peak up to broaden the powerband. I'm hoping for a hp peak around 72-7500 and I'll set the rev limiter around 8K depending on where the power falls off at. Originally Posted by srh3trinity
Thanks, glad you guys like the plans so far! Originally Posted by SickSpeedMonte
Thanks alot, the wheel was a ton of work! I've restored a wheel before but never cut one up to reshape it, and it was a chore! Originally Posted by nicke
Thanks, I can't wait myself to get more done on it. Originally Posted by 72D100
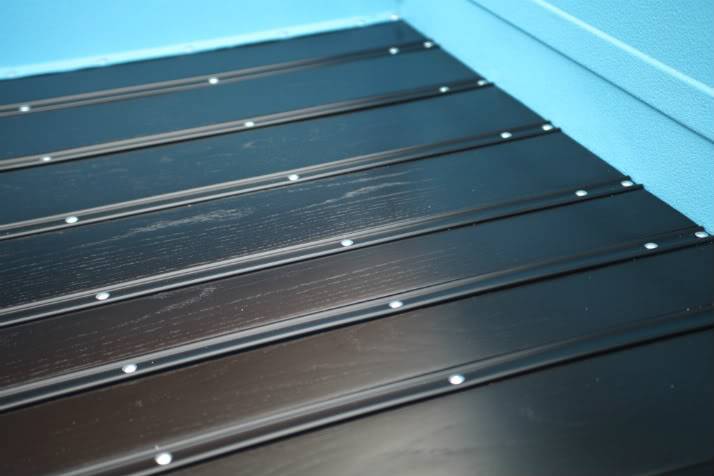
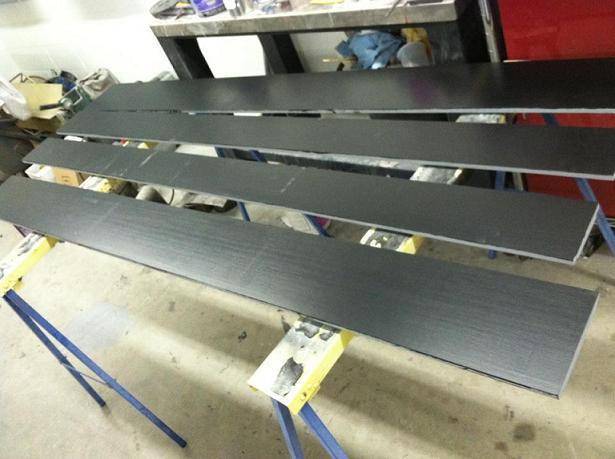
More old progress pics to get yall caught up. I've pulled the old bed floor out and started sanding/priming/painting the new maple that's going back in. I'm painting it low gloss black like the factory did- not staining/clearing like 99% of guys do.
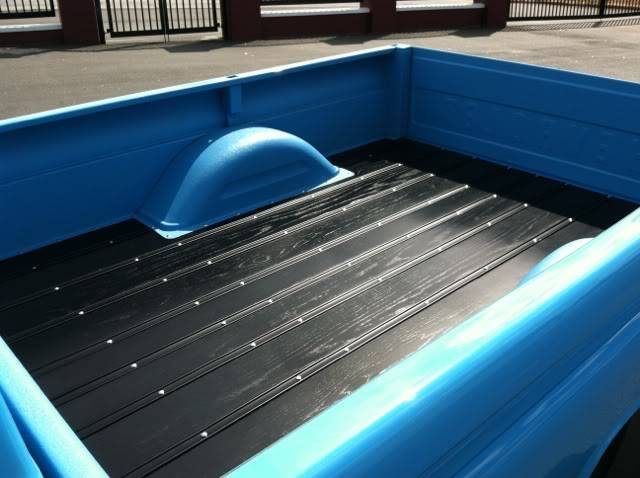
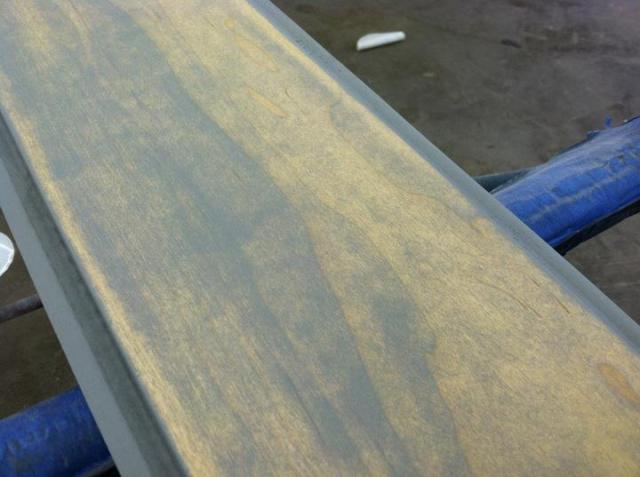
Here's a black oak floor I did in a '65 C10 I restored. The maple for my '66 won't have the grain that this oak does, which I don't really like but it's what I've got and it will be used to haul stuff, so no need for it to be 100% perfect.
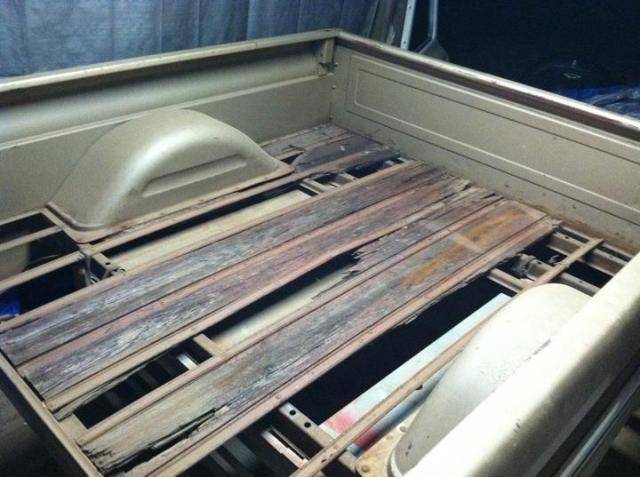
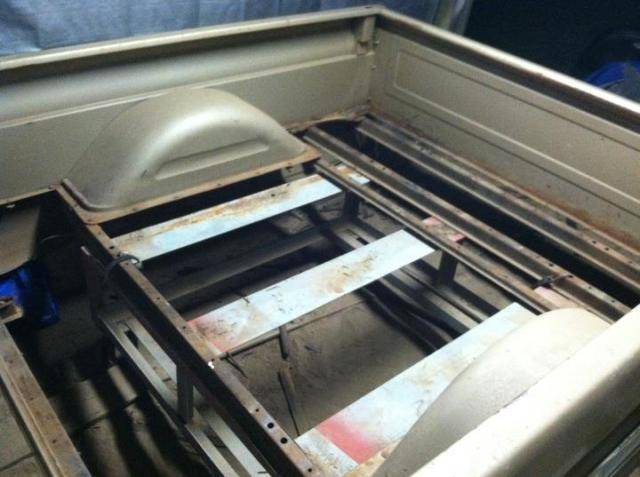
Taking the old wood, metal strips, and floor support channels out.
New maple laid out to check the measurements and mark the outer boards for cutting.
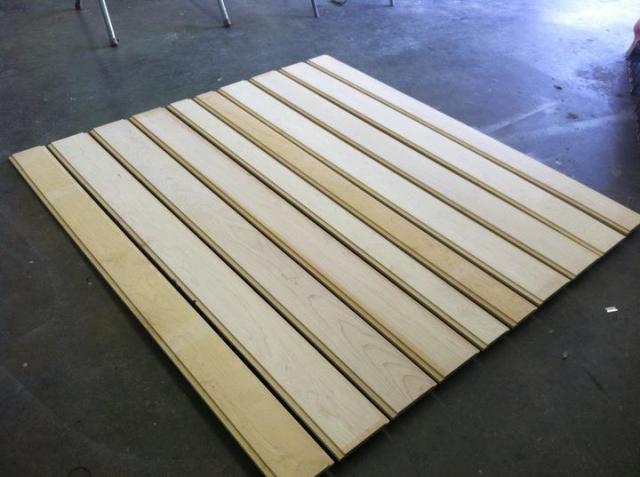
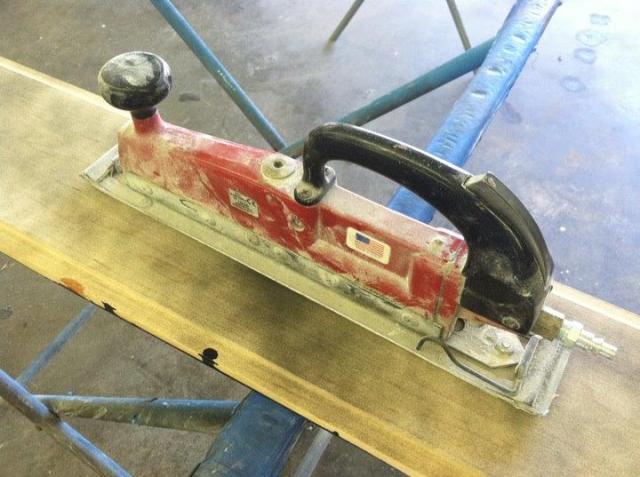
Guide coated and sanding with a longboard.
Primed and sanded enough to take some primer off the high spots. Hopefully the paint will soak in and raise the grain like it did with the oak in the '65. Otherwise it'll look like smooth black plastic planks.
Mocked up and marked for trimming around the fenderwells.
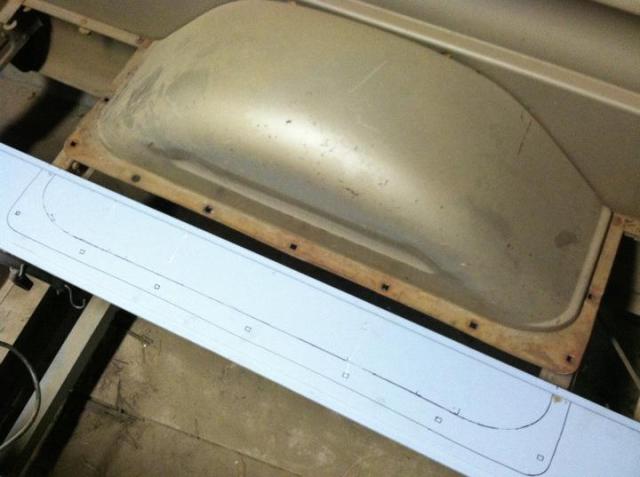
Backside primed and painted to seal the wood up all around. This will keep it from rotting.
06-20-2012 #16
Registered User
- Join Date
- Jun 2012
- Location
- Upstate SC
- Posts
- 95
The inspiration for the destroked engine build with an IR intake came from my background with hi-po aircooled VWs, which use IR intakes with Webers/Dellortos quite commonly. My daily driver is a '64 VW bug with a 1679cc (or 102 CI) engine that has two Dellorto DRLA 2 barrel carbs so I already have a good bit of experience with them. They have a rediculous amount of throttle response, make more power all over the powerband, and I picked up 12 hwy mpg over the stock carb so they're good on gas too. I've got it tuned to lean cruise at 16-16.5 AFR with centrifugal advance only (could go to 17:1 if I had vac advance) and 12.5-12.75 at WOT. They venturis are interchangable to tune the carb's CFM based on the needs of the engine. I've put about 50k miles on the VW after installing the Dellortos, and wouldn't EVER go with anything else for a N/A engine! I haven't found much info on using these carbs on a street V8, the closest I've found are ITB/IR intakes on EFI V8's. I'm sure the benefits over using a IR intake vs plenum will be the same weather you use carbs or EFI/throttle bodies.
I ran across this video when I was looking for info on V8's with IR intakes. It's a BMW M3 with a 4.0 V8, and makes about 400hp at the wheels. I know these have variable cam timing which helps with driveability, but it's still extremely impressive for any NA engine to make 100 hp/liter at the wheels and still drive smoothly like this one does. This is what I'm going for with the destroked LS build; a high rpm HP peak, and the IR intake to boost low end torque to still be driveable. The broad powerband should be a big help on an autocross track. The sound this this makes it unreal!! Stock the M3's make 420 hp and redline at 8300 rpm.
06-20-2012 #17
Registered User
- Join Date
- Apr 2006
- Location
- Huntington Beach, CA
- Posts
- 2,415
Cool project! My first ride was a 64 C10. I always wondered why they didn't get more love. I personally think the styling is fantastic.
Please Subscribe to the AutoXandTrack YouTube Channel
Autocross and track blog about running autocross and track events with pro touring cars
06-21-2012 #18
Registered User
- Join Date
- Dec 2009
- Location
- Pocahontas, AR
- Posts
- 77
I knew I had seen a project goldilocks before! Lol I'm over on the truck forum too. I like your plan with the seat. Mine still has the original vinyl cover, and you'd slide all over the place in a fast turn. Good to see someone building a pt'd 60-66!
Chris1966 Chevrolet C-10
06-21-2012 #19 Registered User
- Join Date
- May 2011
- Location
- Northwest, MO
- Posts
- 101
Cool project and it sounds like that engine combo is going to be sweet!
Tyler Gibson
There's nothing like building up an old automobile from scratch and wiping out one of these Detroit machines... That'll give you a set of emotions that will stay with you... Know what I mean? Those satisfactions are permanent...
06-26-2012 #20 Registered User
- Join Date
- Oct 2011
- Location
- Katy, Tx
- Posts
- 309
Subd. Looks like it will be a nice project.

 Reply With Quote